Community Brag Posts

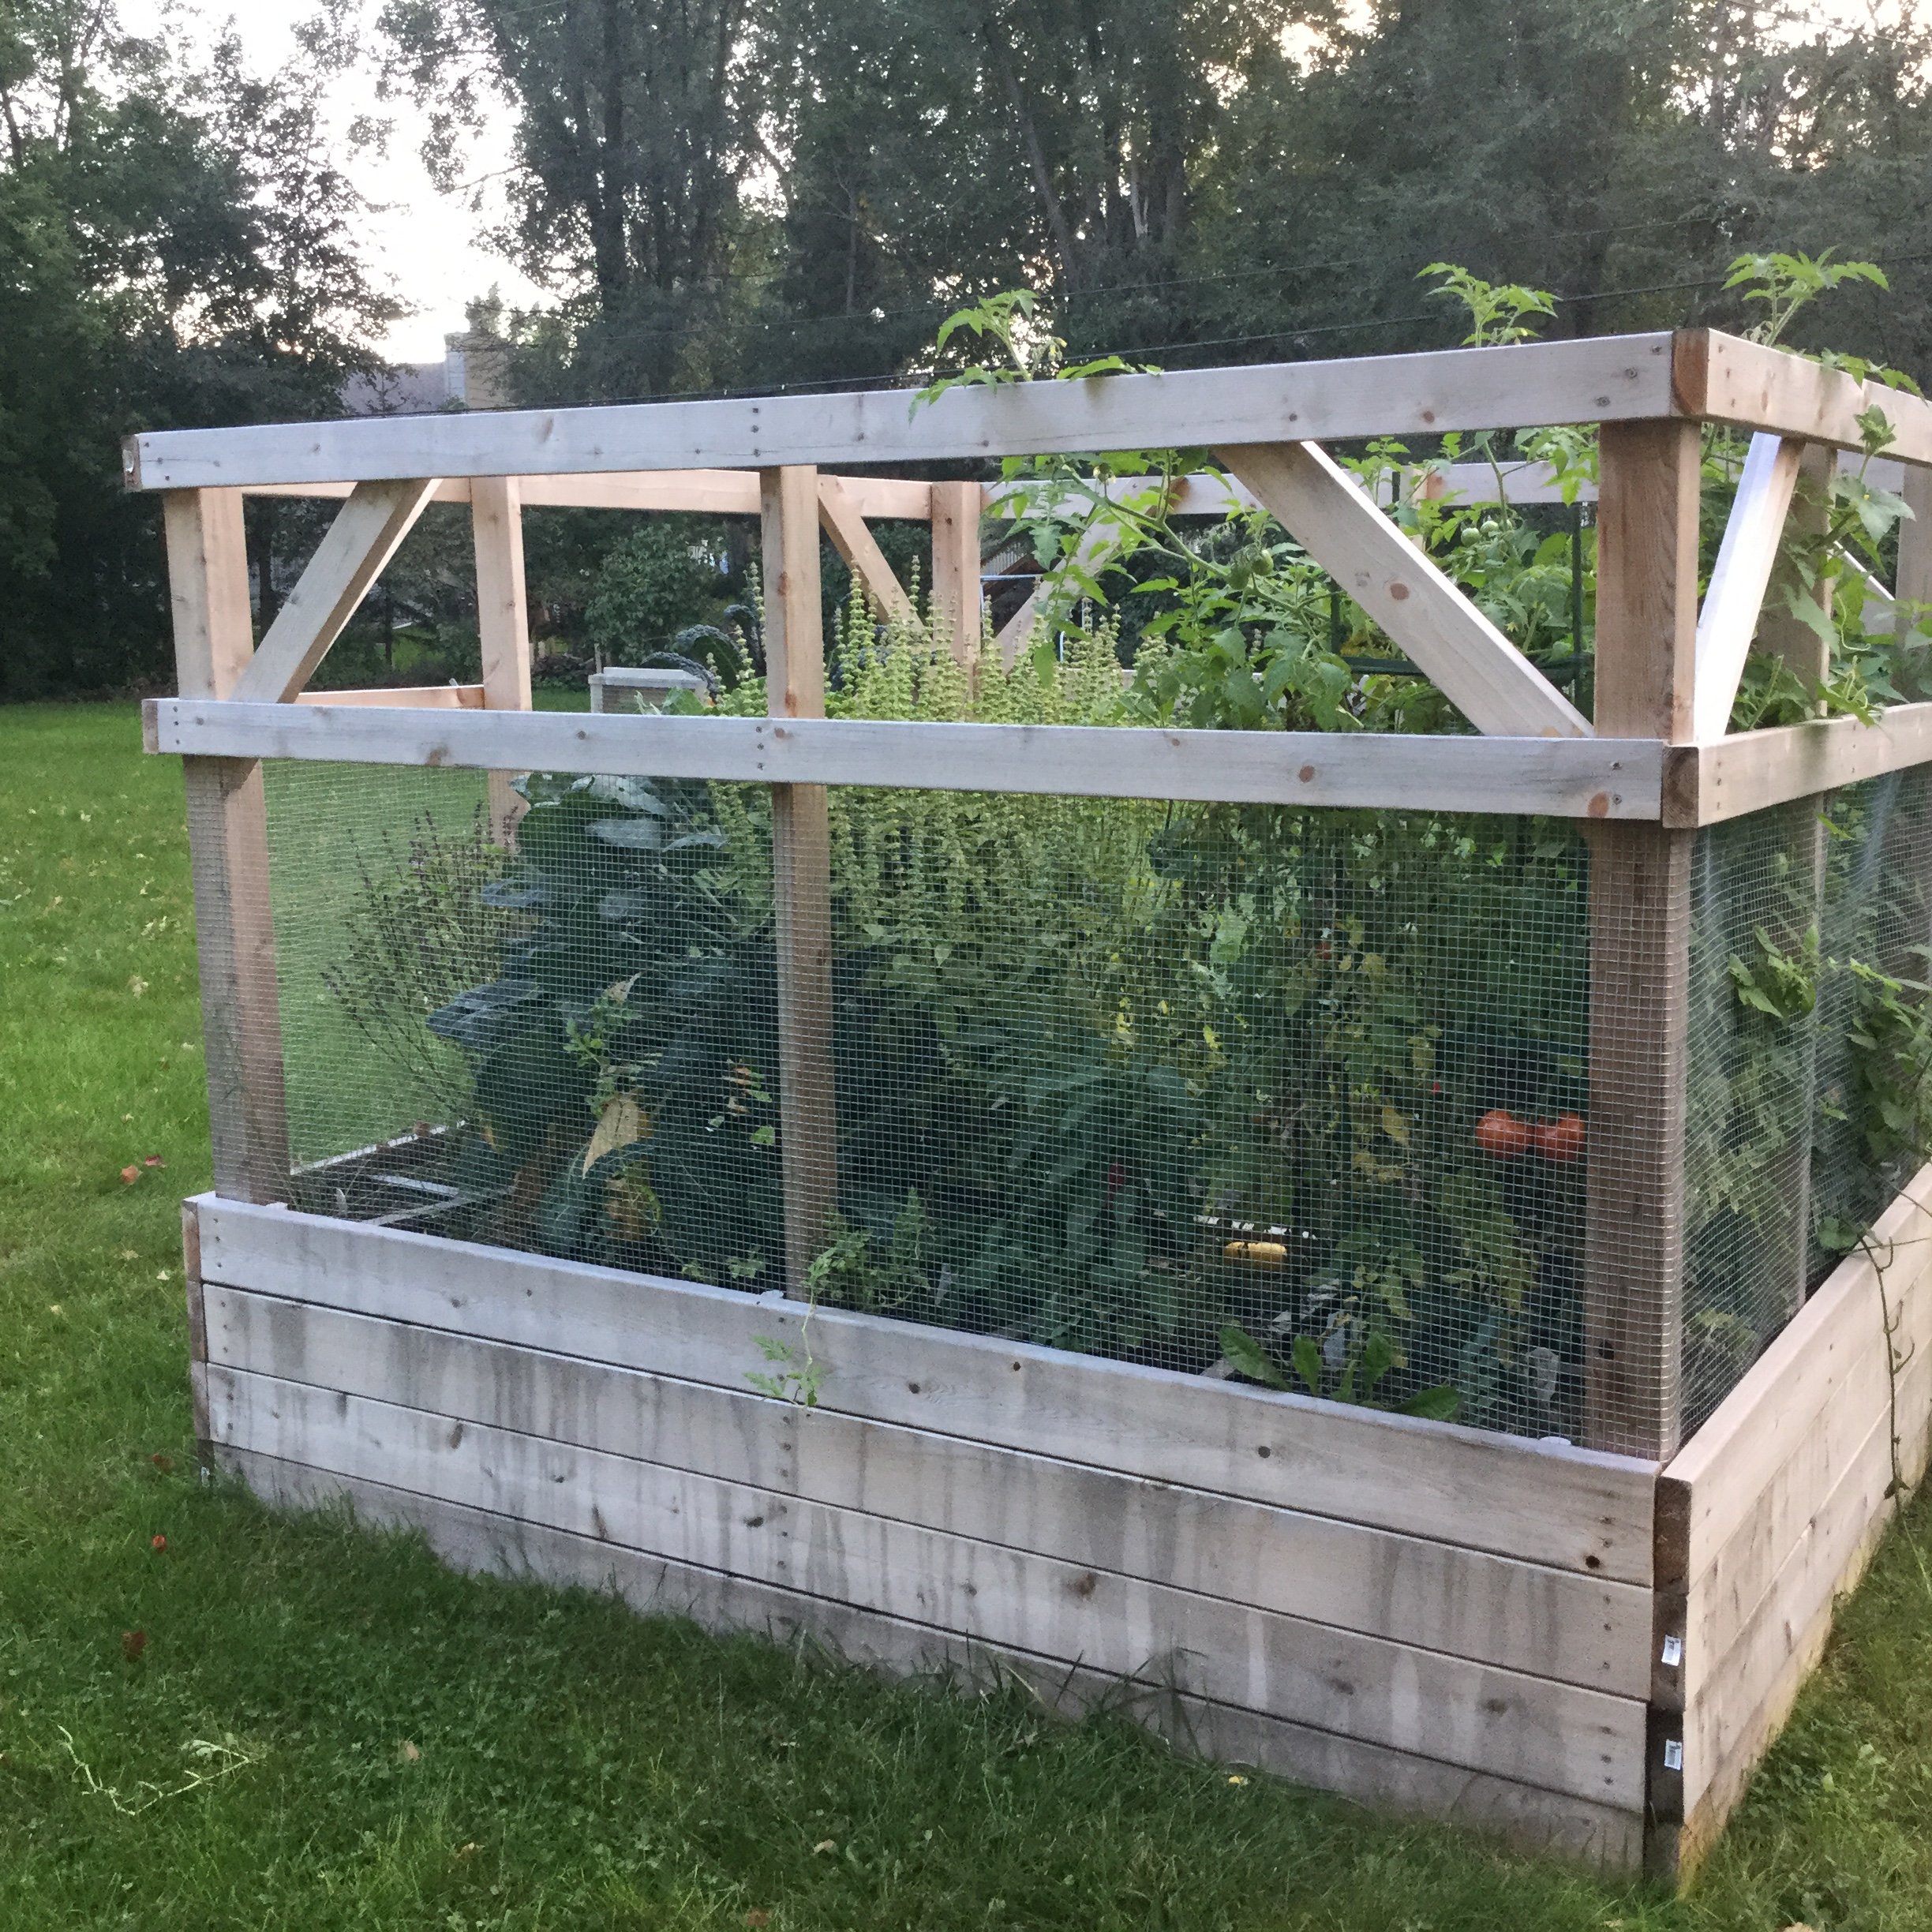
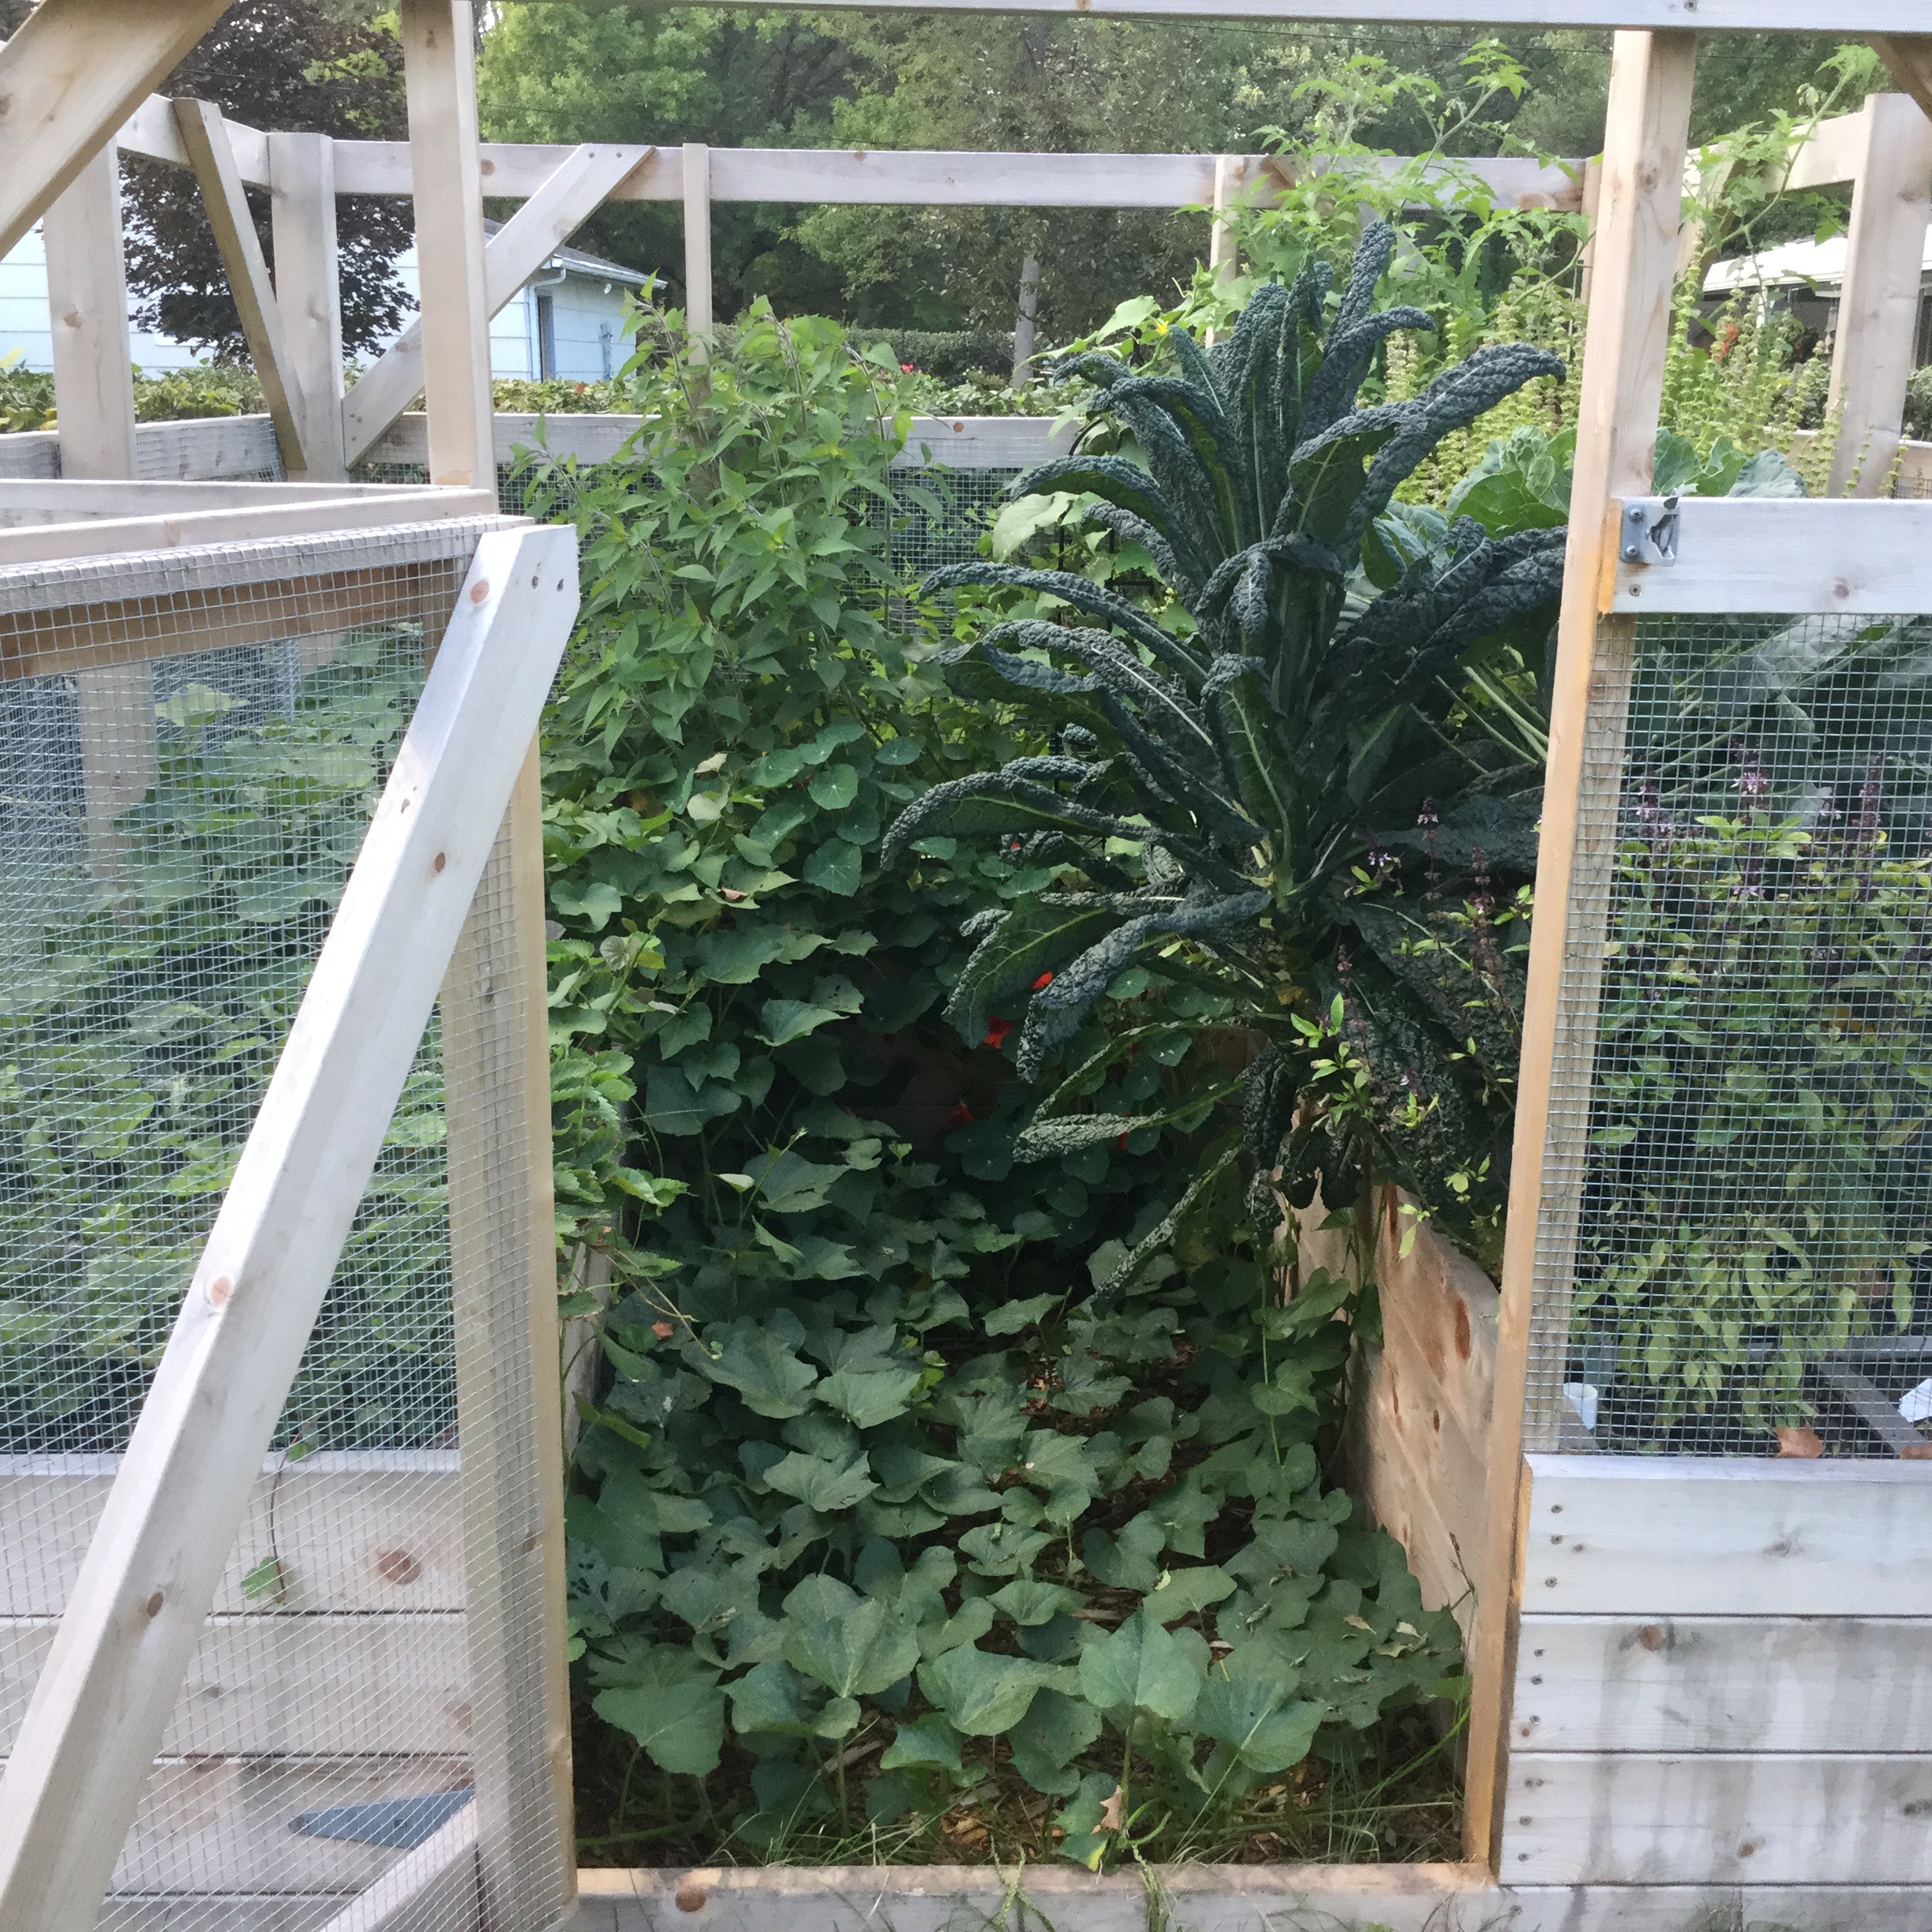
My version of the SMALL CEDAR FENCE PICKET STORAGE SHED

Submitted by dalbrough on Wed, 08/13/2014 - 08:53

We needed something to hold our garbage cans and recycling.
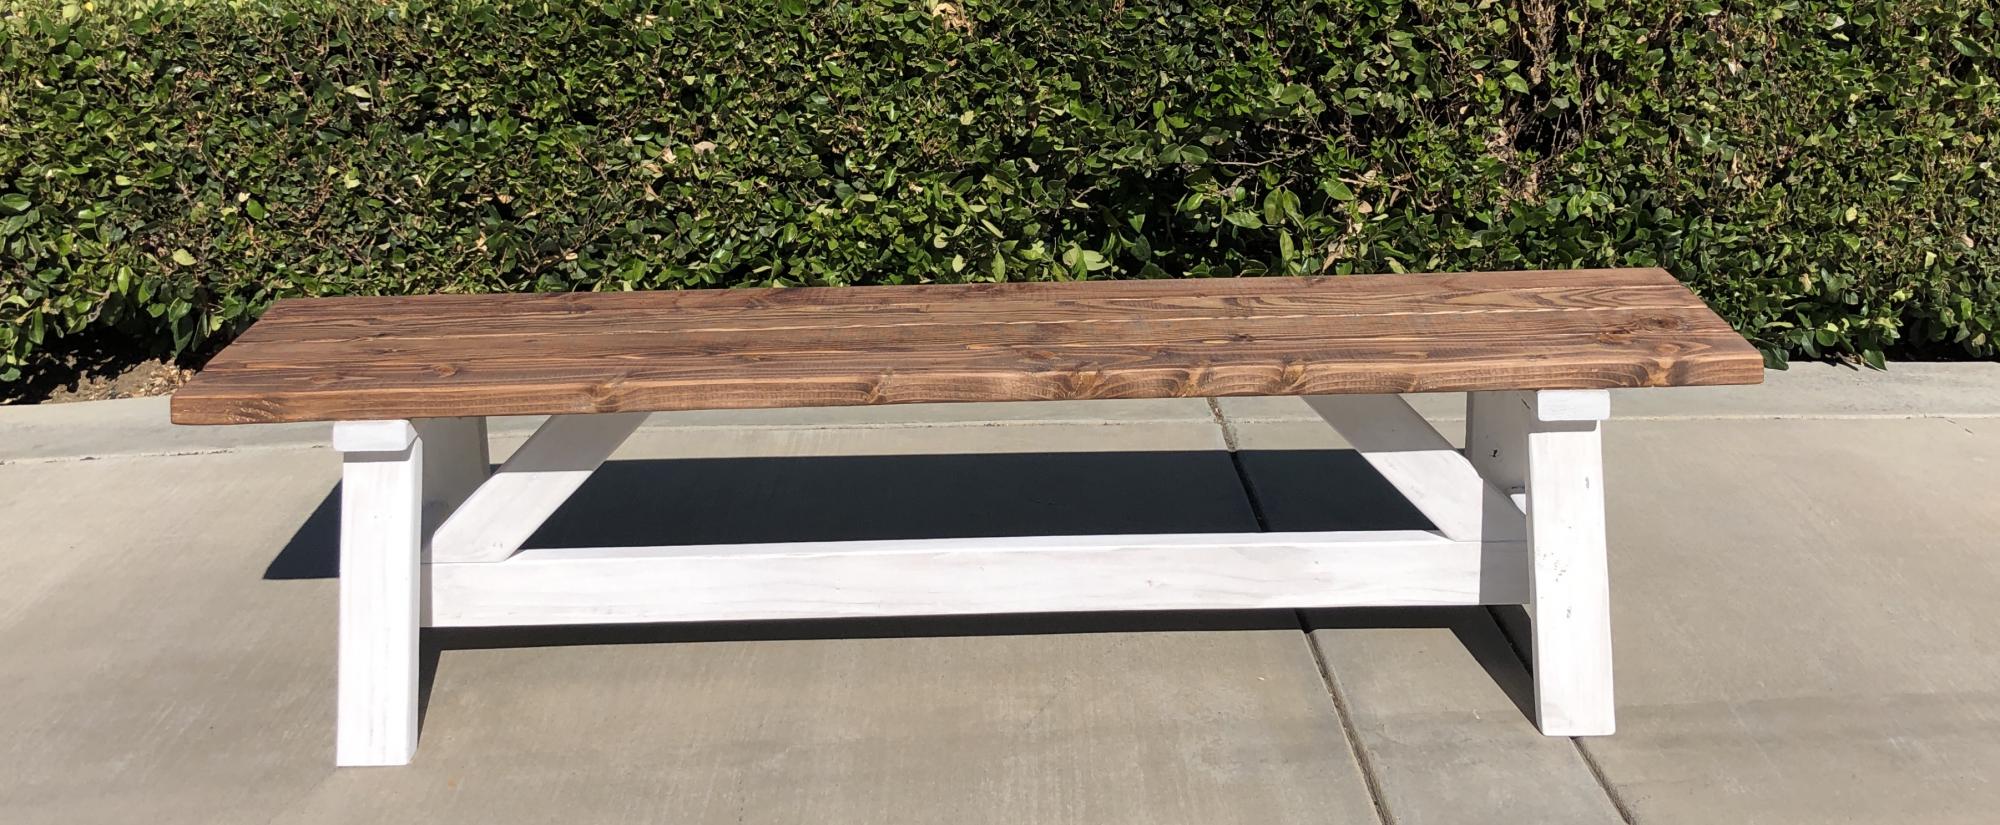
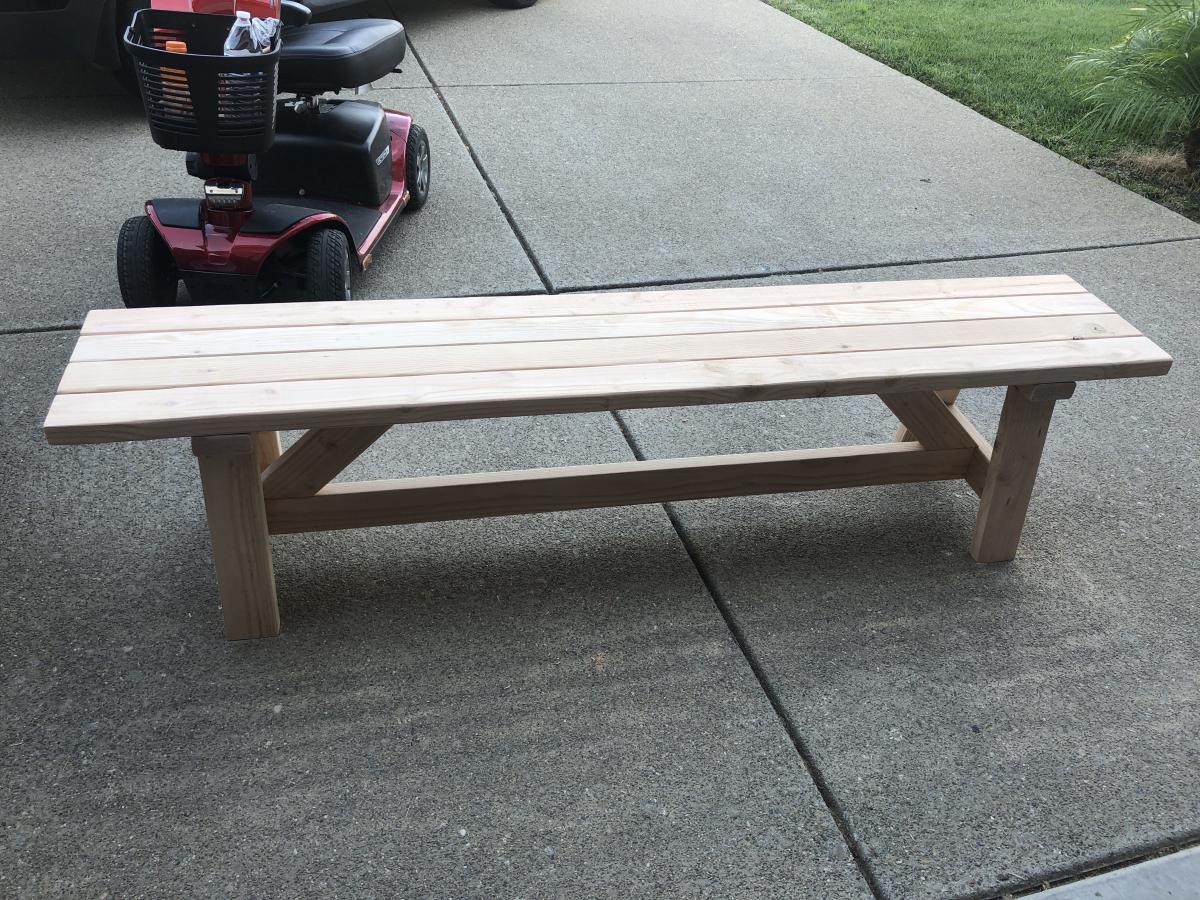
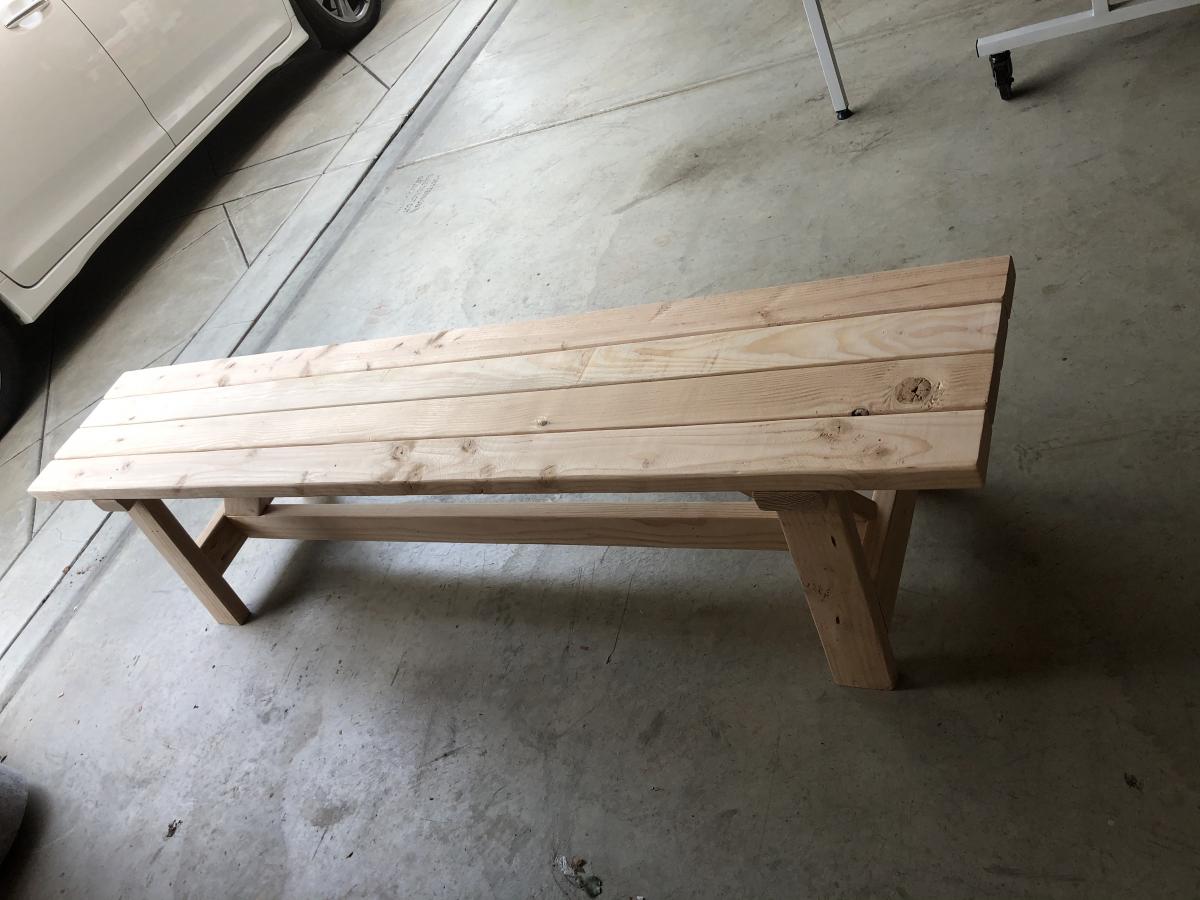
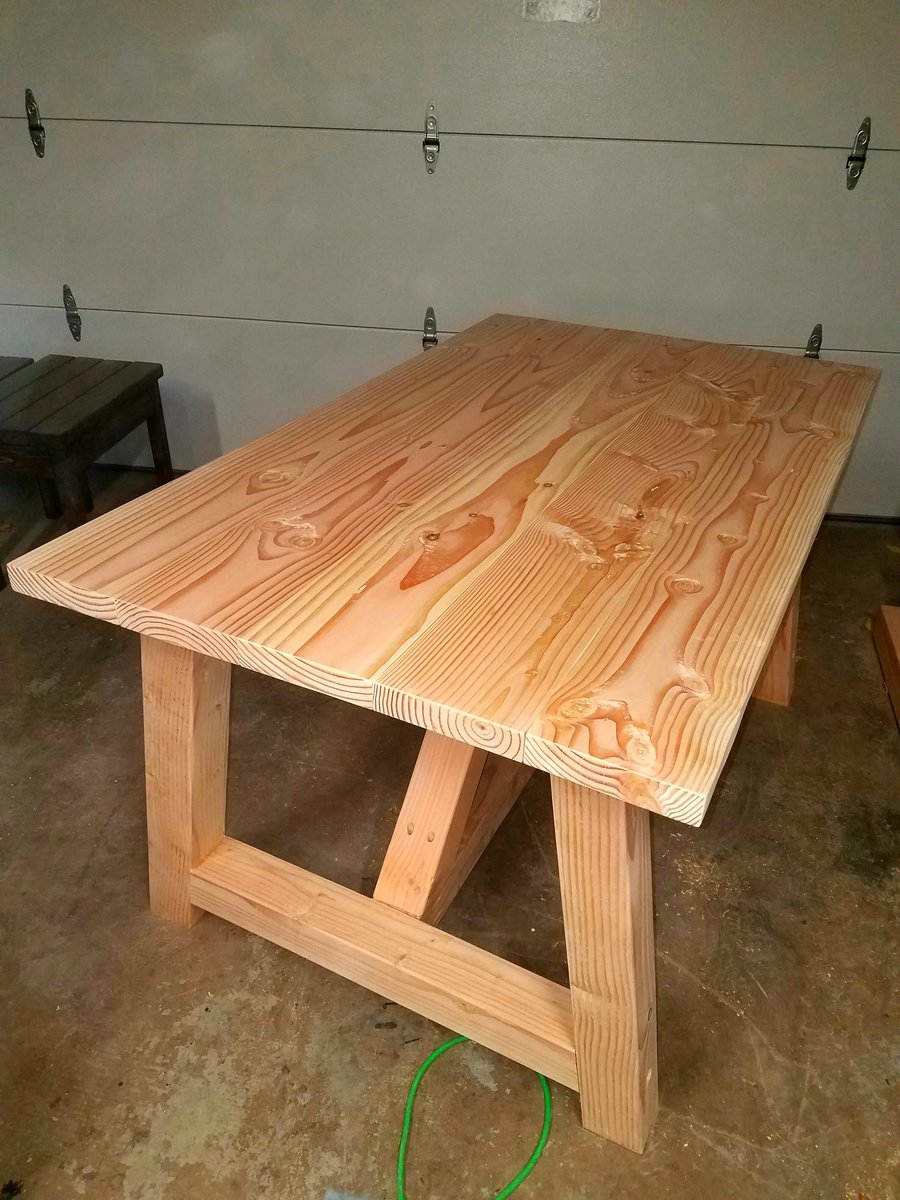
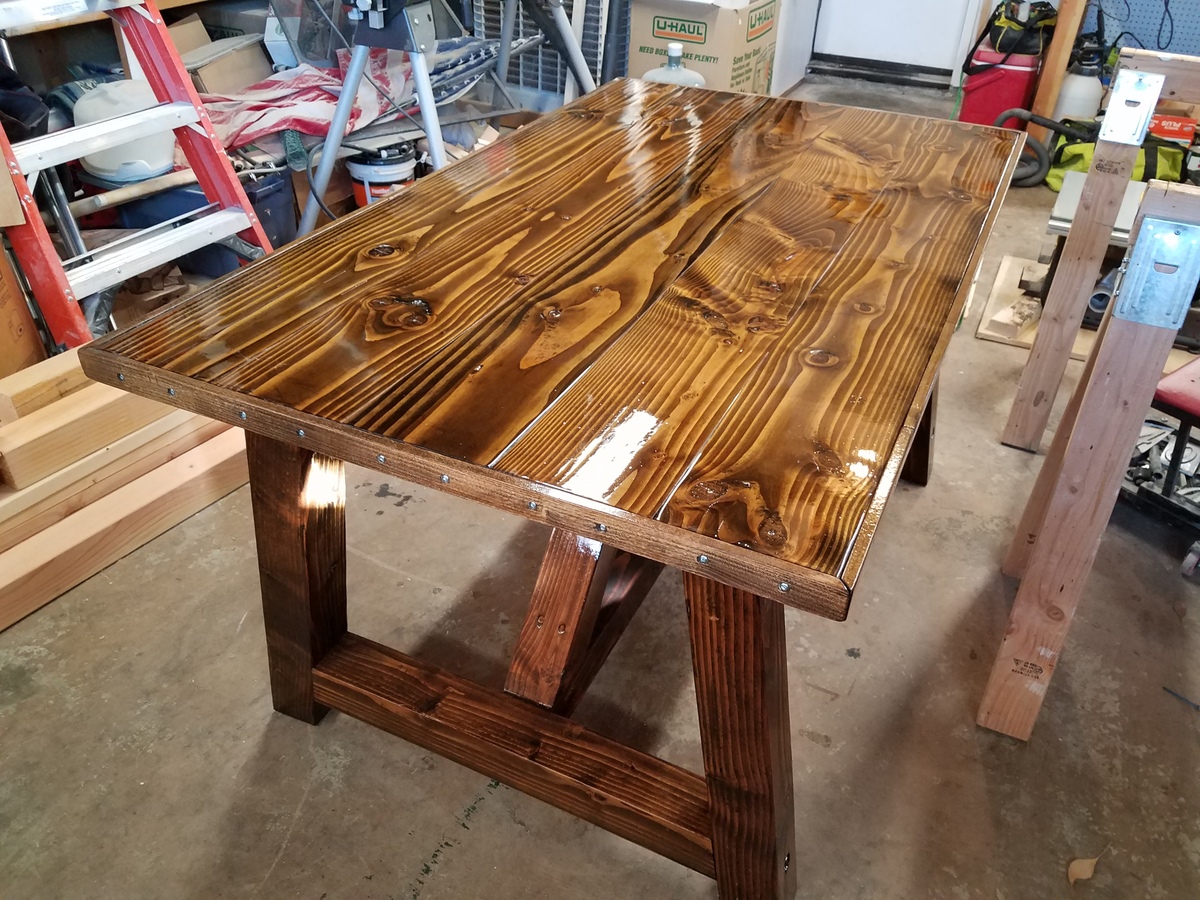
We made this little shed with fence board floor and fence board roof a lot shorter in depth and height - We also used 2x4's as we already had them - fits perfect and was amazingly easy to do.

Looks fantastic in our yard - we are still working on the yard so ignore the extra fence boards and 2*4s laying next to it.

Thanks so much for the great plans.

Estimated Time Investment
Weekend Project (10-20 Hours)
Recommended Skill Level
Beginner

Fireplace

Submitted by Anonymous (not verified) on Tue, 11/29/2016 - 13:30

My husband and I have little wood-working experience, and were able to assemble this in an afternoon. I love how it came out!

Estimated Cost
Roughly $100 for wood, paint, and stain.
Estimated Time Investment
Afternoon Project (3-6 Hours)
Finish Used
Walnut stain; white Benjamin Moore paint, pearl finish
Recommended Skill Level
Beginner

Bench

Submitted by cmacias22 on Mon, 08/17/2020 - 07:40

This bench was meant to be used around our fire pit in the back yard which is where is it for now. This is only our second wood build. This bench turned out great and seems to be to nice to be outdoors.

Built from Plan(s)
Estimated Cost
$35
Estimated Time Investment
Day Project (6-9 Hours)
Finish Used
Special Walnut Stain and white chalk paint
Recommended Skill Level
Beginner

Back Door Shelf and Coat Rack

Submitted by rjh2006 on Tue, 10/30/2012 - 13:26

We wanted something by the back door for our jackets and hats'n' mittens. This came out better than we thought!

Recommended Skill Level
Starter Project

Wooden Cooler Stand

Submitted by dlewis39 on Mon, 08/18/2014 - 06:36

We built this as a birthday gift for family members and boy were they excited. We, though, were not excited to let it go. So happy with how it turned out. The plans are good for reference but make sure to make your own measurements when using milled lumber from a big box store. Some of the the changes we had to make on the fly were to the back and front panels having to use a different combination of board sizes to fill it in without massive gaps. Its recommended that you lay them out first before attaching them to the frames. Also the measurements on the cooler lid were smaller by 1/4" to 1/2" of what's listed in order to get a snug fit. The shelf on ours is two 1x6's cut to the width of the whole project (around 16.5") and then the shelf brackets were also 1x6's cut to a length of 10". Brackets are mounted inside the legs using wood glue and three 2.5" screws through the backside/inside of the cooler box to hide (obviously done before the cooler was inserted). For drainage we attached a 2" piece of 1/2" inside diameter clear tubing that was fed/jammed through the cooler drain and pulled through the other side and then a 1/2" push on adapter, threaded on the other end screwed unto a 1/2" faucet head. Drilled a 3/4" hole about 2.5" (center mass) from the 2x4 cooler base through the middle piece on the side. We placed the cooler in first and used a pair of pliers to grab the clear tube and line it up with the hole and then pushed a long screw driver through the tube from inside the cooler in order to guide the faucet head/adapter combo into the tube and stiffening the tube so it didn't collapse when pushing it on. We couldn't decide what do to with the center display piece and then remembered we had a can of chalkboard spray paint left over from another project. We spray painted the whole menu board and then painted the "logo" at the top before clear-coating it with a protective enamel. Its a snug fit so the pressure holds it in place but you could also use velcro strips on the back if that tickles your fancy. We took the snug fit route that way if they didn't want the menu board in. A 1/2' hole was drilled towards the top so they can use a finger to pull the board out.

Built from Plan(s)
Estimated Cost
$70 + the cost of beer to fill it
Estimated Time Investment
Weekend Project (10-20 Hours)
Finish Used
Custom mix of Minwax American Pine and Rustoleum Kona. Paint
Recommended Skill Level
Beginner
Seasonal And Holiday

Garden Enclosure

This was a fun project.  The plans are written so that many of the boards don't need to be cut.  It's made from cedar that (thank goodness) was on sale.  I made the raised beds twice as deep as was called for in the plans because I wanted to minimize bending while I garden.  That added to the cost of the lumber and the soil.  I also like the way it looks.


I found it helpful to measure and cut the boards as I went.  This was crucial for fitting the door.  The most difficult part for us was working with the hardware cloth and trying to make it as smooth as possible.


It has been effective keeping deer and rabbits out of the garden.  Things that can fly in are another issue.  

Built from Plan(s)
Estimated Cost
>$500
Estimated Time Investment
Week Long Project (20 Hours or More)
Finish Used
None
Recommended Skill Level
Intermediate
Seasonal And Holiday

Laundry Dresser

Submitted by rosiejane on Fri, 11/02/2012 - 23:32

Really happy with the final product and the hubby is glad I have finally finished a project. This project was an answer to the piles of washing crowding our small laundry. I found 3 sturdy family sized (huge) rectangular laundry baskets for $10ea at Kmart and then used Sketchup to adjust the plans to allow for the bigger baskets (Sketchup is so much fun to use). I ended up having to buy an extra piece of wood for the top because I forgot to allow for the thickness of the sides when measuring the top and base. (I know, I know, measure twice cut once...) I used the piece I had cut for the top as the base and then got a new piece for the top. When I finally got all the pieces cut to size it all went together pretty quickly. I used melamine for the box because it was cheap and I wouldn't have to paint it. It did chip a little bit along the edges when I cut it but it's not too bad. I used 30 x 30mm pine for the basket supports and had to countersink the screws 1cm so I could use 30mm screws. I used iron-on melamine edging to finish the exposed edges of chipboard and used paint on the back and supports. Actual construction didn't take long but the painting took about a day by the time I'd done one basecoat and two top-coats.

Built from Plan(s)
Estimated Cost
$40 (AUD) incl. screws. Already had the paint.
Estimated Time Investment
Day Project (6-9 Hours)
Finish Used
Dulux Prepcoat & Dulux Aquanamel White on back and basket supports. The rest was white melamine.
Recommended Skill Level
Beginner

Comments

rosiejane

Mon, 11/05/2012 - 01:06

Thanks for the feedback. I cut the melamine myself. I clamped a straight edge on top of the melamine (allowing for the distance from the edge of the saw to the blade) and then used my jigsaw to cut. My local bunnings didn't seem too interested in cutting specific sizes. They were happy to just cut lengths down so I can fit them in my car but said their saw could be inaccurate up to 10mm from one end of the cut to the other. (Personally I think the guy just couldn't be bothered) Since I wanted my project to be square I figured it was much easier to just do it myself.
With sketchup I just play around and learn as I go. I got the hang of it pretty quickly although I'm still figuring out some of the more complicated stuff like using the protractor tool to do angles etc.

Npledger

Thu, 01/01/2015 - 22:05

I love this. These baskets are very sturdy. Is there anyway you can post the measurements. I have never made anything but this looks perfect. I have never used sketch up. Please let me know if you are able to post the measurements. Thanks!

Step-up Side Table

For my second-ever project, I built the step-up side table! It actually came together much faster than the "updated simplest console," which is listed as a starter project. However, I learned the importance of keeping square on this build!

I don't have a Kreg jig, so I followed the steps in a slightly different order since I couldn't do pocket holes. I also avoided ripping plywood to make 1x16s by using 1x12s instead. The dimensions fit my narrow space between two chairs better this way.

I LOVE this easy build and modern design. I'm pretty sure the cats are going to try to take it over, though. Thank you, Ana!

Built from Plan(s)
Estimated Cost
~$45 in lumber with lots of scrap
Estimated Time Investment
Day Project (6-9 Hours)
Finish Used
3 coats Valspar paint + primer already owned (custom mixed color), 2-3 coats Minwax gloss polycrylic (3rd coat only applied to horizontal surfaces and back)
Recommended Skill Level
Beginner

King Farmhouse Bed

I have loved this bed since I first saw it probably 8 years ago. Hubby finally got it built for me. It took him one weekend day. I was able to get the finishing done in a couple of days with plenty of dry time between coats of finish. Thank you Ana for this amazing plan!

Estimated Cost
$160
Estimated Time Investment
Weekend Project (10-20 Hours)
Finish Used
Primed wood with Kilz primer,
Painted with an oops off white color of Valspar High Gloss Enamel,
Glazed with a 1:1 mix of Valspar Clear mixing glaze and Minwax Gel Stain in Aged Oak,
Stained top boards in Minwax Gel Stain in Aged Oak
Recommended Skill Level
Beginner

Simplest Armoire as a pantry cabinet

Submitted by aklab on Sat, 08/23/2014 - 19:45

Used the simplest armoire plans -- great plans and relatively simple for a first-timer like me. Chalkboard paint on the doors made it fun for the kids!

Built from Plan(s)
Estimated Cost
$100 including lumber, paint and hardware.
Estimated Time Investment
Weekend Project (10-20 Hours)
Finish Used
glossy white latex paint and chalkboard paint
Recommended Skill Level
Beginner

Grandson toy box

Submitted by joker16417 on Sun, 12/11/2016 - 15:25

I used the plans from this site with just a couple changes but the idea came from this plan here 

Built from Plan(s)
Estimated Cost
$110
Estimated Time Investment
Weekend Project (10-20 Hours)
Finish Used
Gliddon paints and wall decals
Recommended Skill Level
Intermediate

Outdoor loveseat

Submitted by Anonymous (not verified) on Mon, 08/24/2020 - 17:43

Just wanted a nice looking bench to seat at the porch! This turned out great!

Built from Plan(s)
Finish Used
Special Walnut and oil based polyurethane

Laundry Dresser

Submitted by Tina Barta on Fri, 11/09/2012 - 01:20

My very first build inspired by the Ana-White.com website. I would declare this as a success. Decided to make two laundry drawers and keep the bottom open for extra supplies. Perfect for our household.

Estimated Time Investment
Weekend Project (10-20 Hours)
Finish Used
Primer Zinsser 1-2-3, leftover paint sitting around in garage.
Recommended Skill Level
Starter Project

Dollhouse

Submitted by Anonymous (not verified) on Thu, 12/15/2016 - 11:31

When my daughter was born I promised that I would make her a dollhouse. A few weeks ago I found these plans, and absolutely loved the visual layout of the rooms. I stuck with this layout and tweeked the dimensions according to what worked best for the space it would proudly sit in. It is 46 inches high and 31 inches wide at the walls, and is made from 12 inch wide MDF which I primed with a latex primer and then finished off with a semi-gloss white on the majority of the walls. I also mixed the colors for the roof and also the 3 accent walls to give it an extra wee shot of color. 
I was very, very happy with the end result, and haviong caught what I now know as the "dollhouse bug" I though "what about if I added a chimney ?". So I added it. I then thought what about adding a roof ridge and something to cover my dodgy gable on the roof front . The house looked even better. Progressing onto full-blown "dollhouse-flu",  I then decided to make a chair for what would later be the living room. That was it, fully addicted now I couldn't stop and found myself obsessively planning, designing, messing up, re-designing, cutting, building and painting until I reached the point where last night I attended my first "DA" meeting. 
I found Dollhouse Annonymous very helpful and although not cured, I realise that it is perfectly acceptable for a 44 year old Scotsman to build a dollhouse for the daughter (naughty 2 1/2 year old daughter) that is the love of his life. If she is happy when she unwraps it on Christmas morning, then all of the work shall be worth it. 
This site is top of my bookmark list and I love it. !

Built from Plan(s)
Estimated Cost
$90
Estimated Time Investment
Week Long Project (20 Hours or More)
Recommended Skill Level
Beginner

Narrow end table

I adjusted the dimensions to fit my space and added a shelf on the bottom. I built it using my Kreg Jig.

Built from Plan(s)
Estimated Time Investment
An Hour or Two (0-2 Hours)
Finish Used
I stained the end table and then polyurethaned over the stain.
Recommended Skill Level
Beginner

Benchright Round End Tables

Submitted by DWL on Sat, 08/30/2014 - 21:06

This project was a challenge because of the instructions regarding the "recommended" pocket holes for the aprons. I soon realized you can't put a 3/4 pocket hole on a 45 degree mitred edge, and when I adjusted the depth of the pocket hole, I could not for the life of me screw it into the legs without the apron getting sucked past the edge of the legs. I ended up putting the pocket screws on the outside which I know is a major faux pas for wood workers, but because I used Kreg wood plugs and painted it, you can't see the little ovals where the screws are.

The photos are just for scale. The little girl is a big 2 1/2 year old, and the dog is not a St. Bernard.

We love the table and it works great for baby brother's room.

Thank you Ana for another great project!

Built from Plan(s)
Estimated Cost
$50
Estimated Time Investment
Day Project (6-9 Hours)
Finish Used
Gripper primer and Semi-gloss paint
Recommended Skill Level
Beginner

Truss Beam Table 35x60 size

Submitted by mlatanzi on Sun, 12/18/2016 - 22:12

Truss Beam Table size 35x60

Built from Plan(s)
Estimated Cost
$100-$150
Estimated Time Investment
Weekend Project (10-20 Hours)
Finish Used
Minwax Dark Walnut, Spar Urethane Ultimate
Recommended Skill Level
Intermediate

Cedar Planters

Submitted by ajmorfeld on Mon, 08/31/2020 - 15:03

Very easy fun build. I laid out the fence boards and marked the 5 degree angle but cut them with a miter saw as I was not confident to use the hand saw. Also numbered each section to easily put the sections back together. Miter saw was set to 5 degree angle also. I initially built with 7 boards and then took off two of them as it was really tall.

Estimated Cost
40.00
Estimated Time Investment
Afternoon Project (3-6 Hours)
Finish Used
Behr solid stain in Cordova Brown
Recommended Skill Level
Beginner

Farmhouse Bedside Table

For the 7 years I have been married to my lovely wife we have used an old 70's bedside table and some Rubbermaid boxes as our nightstands. It was time to give my wife a nightstand that she would love. With the help of the Kreg Jig, a new table saw and some trials and tribulations in staining, I have given her a special treat. Best part: She loves them!

Built from Plan(s)
Estimated Time Investment
Week Long Project (20 Hours or More)
Recommended Skill Level
Beginner

Comments

Jake

Tue, 11/20/2012 - 02:11

You did a great job on the night stands. What did you use for the legs? They look like 2x2s but where did you get them?

Scott Kershaw

Wed, 01/02/2013 - 01:47

Funny enough the legs are ripped down to 2x2's but they started as 2x3's. The 2x3's were cheaper at my local big box joint. What was nice about ripping them down on the table saw was that I could get a nice square edge on everything unlike just throwing a off-the-shelf 2x2 on there with their inconsistent rounded edges.