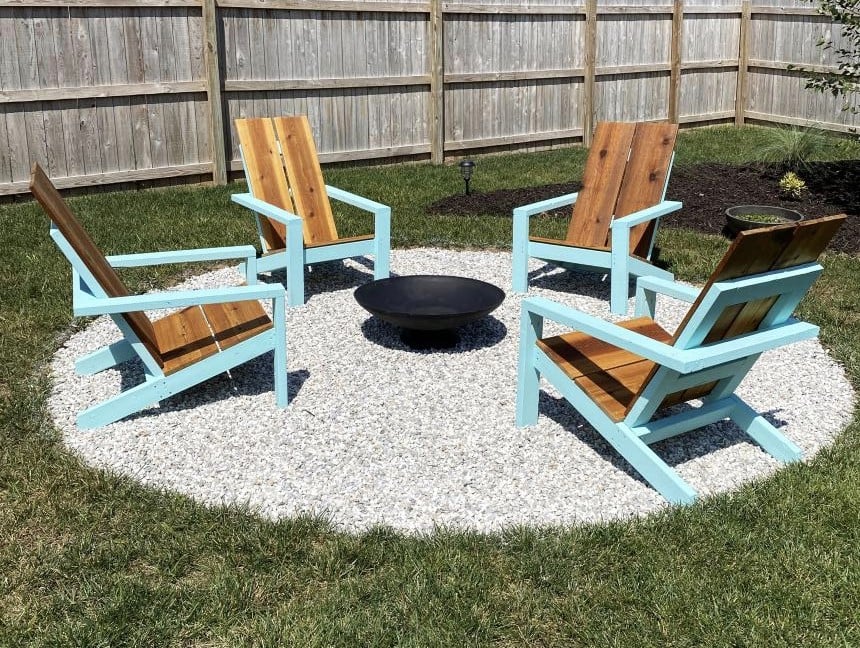
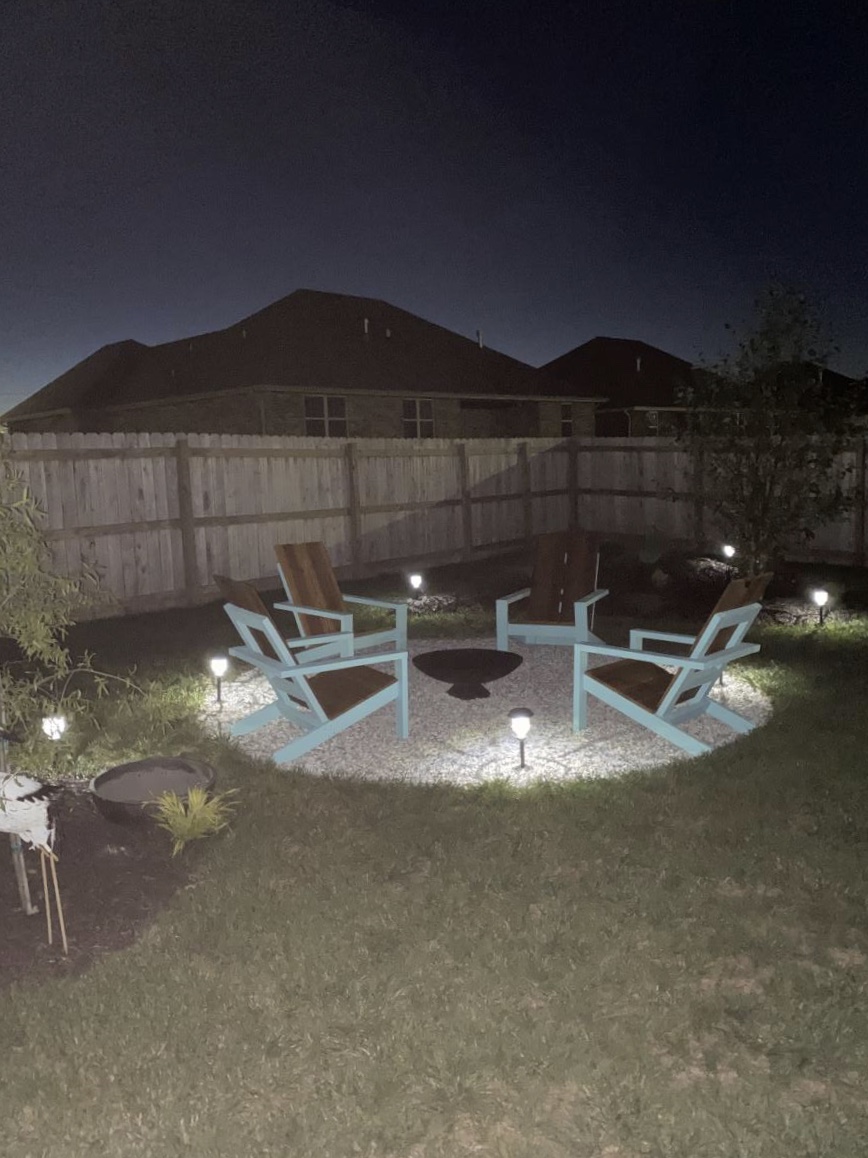
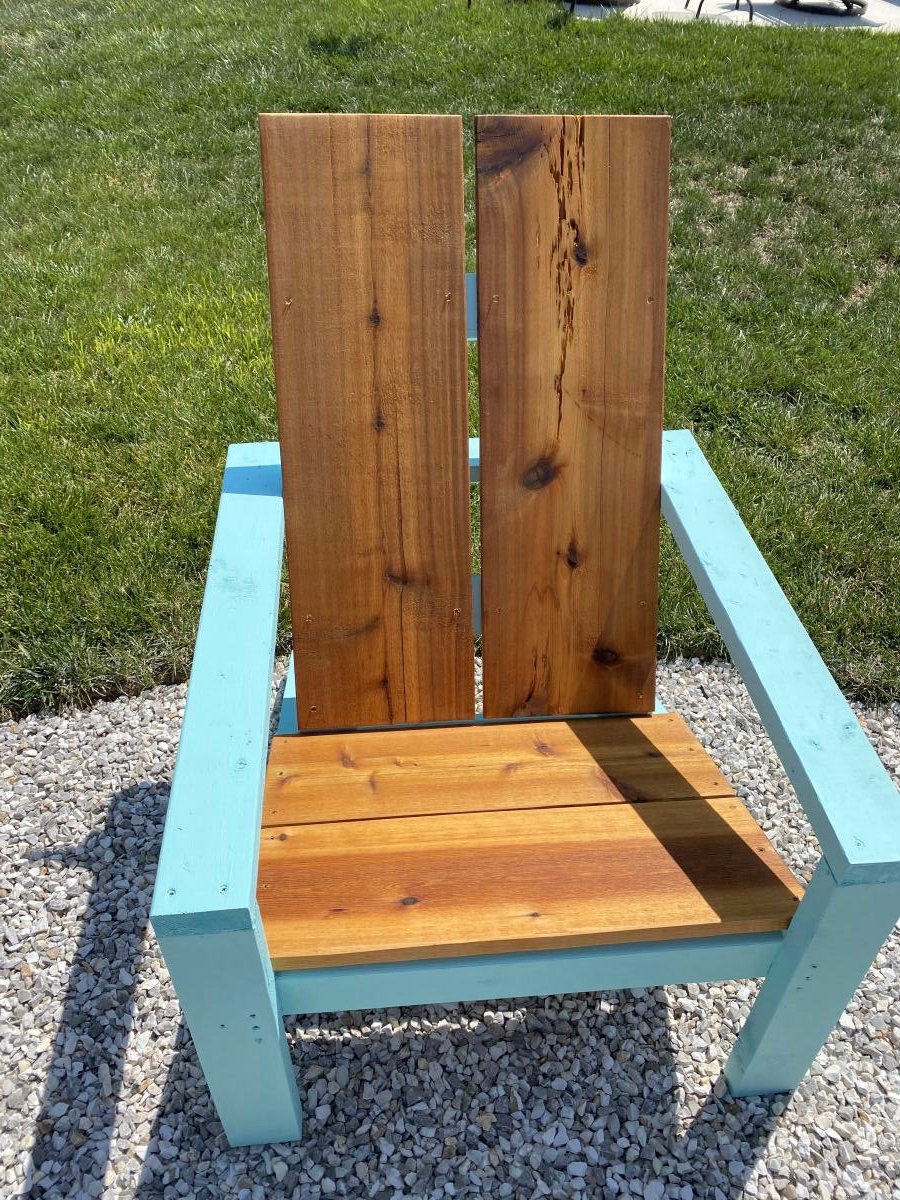
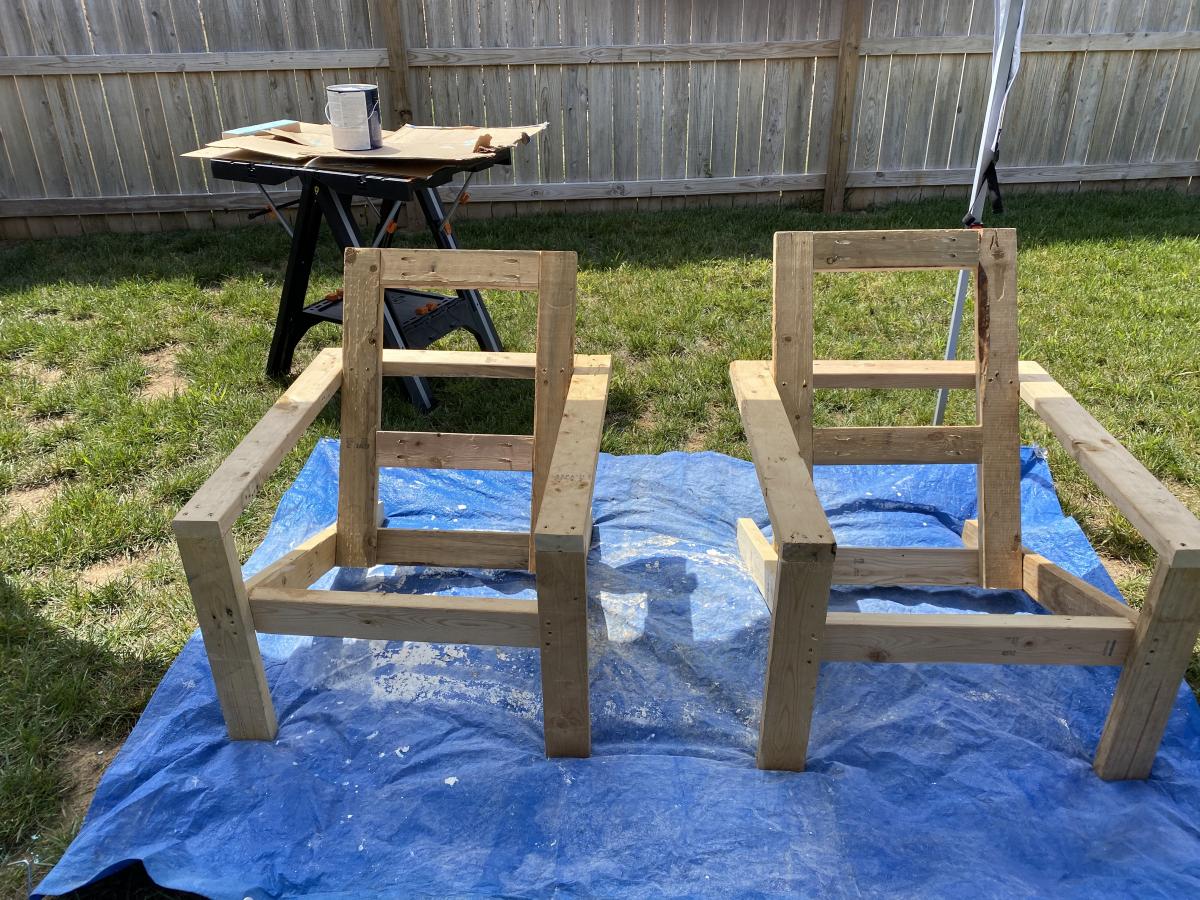
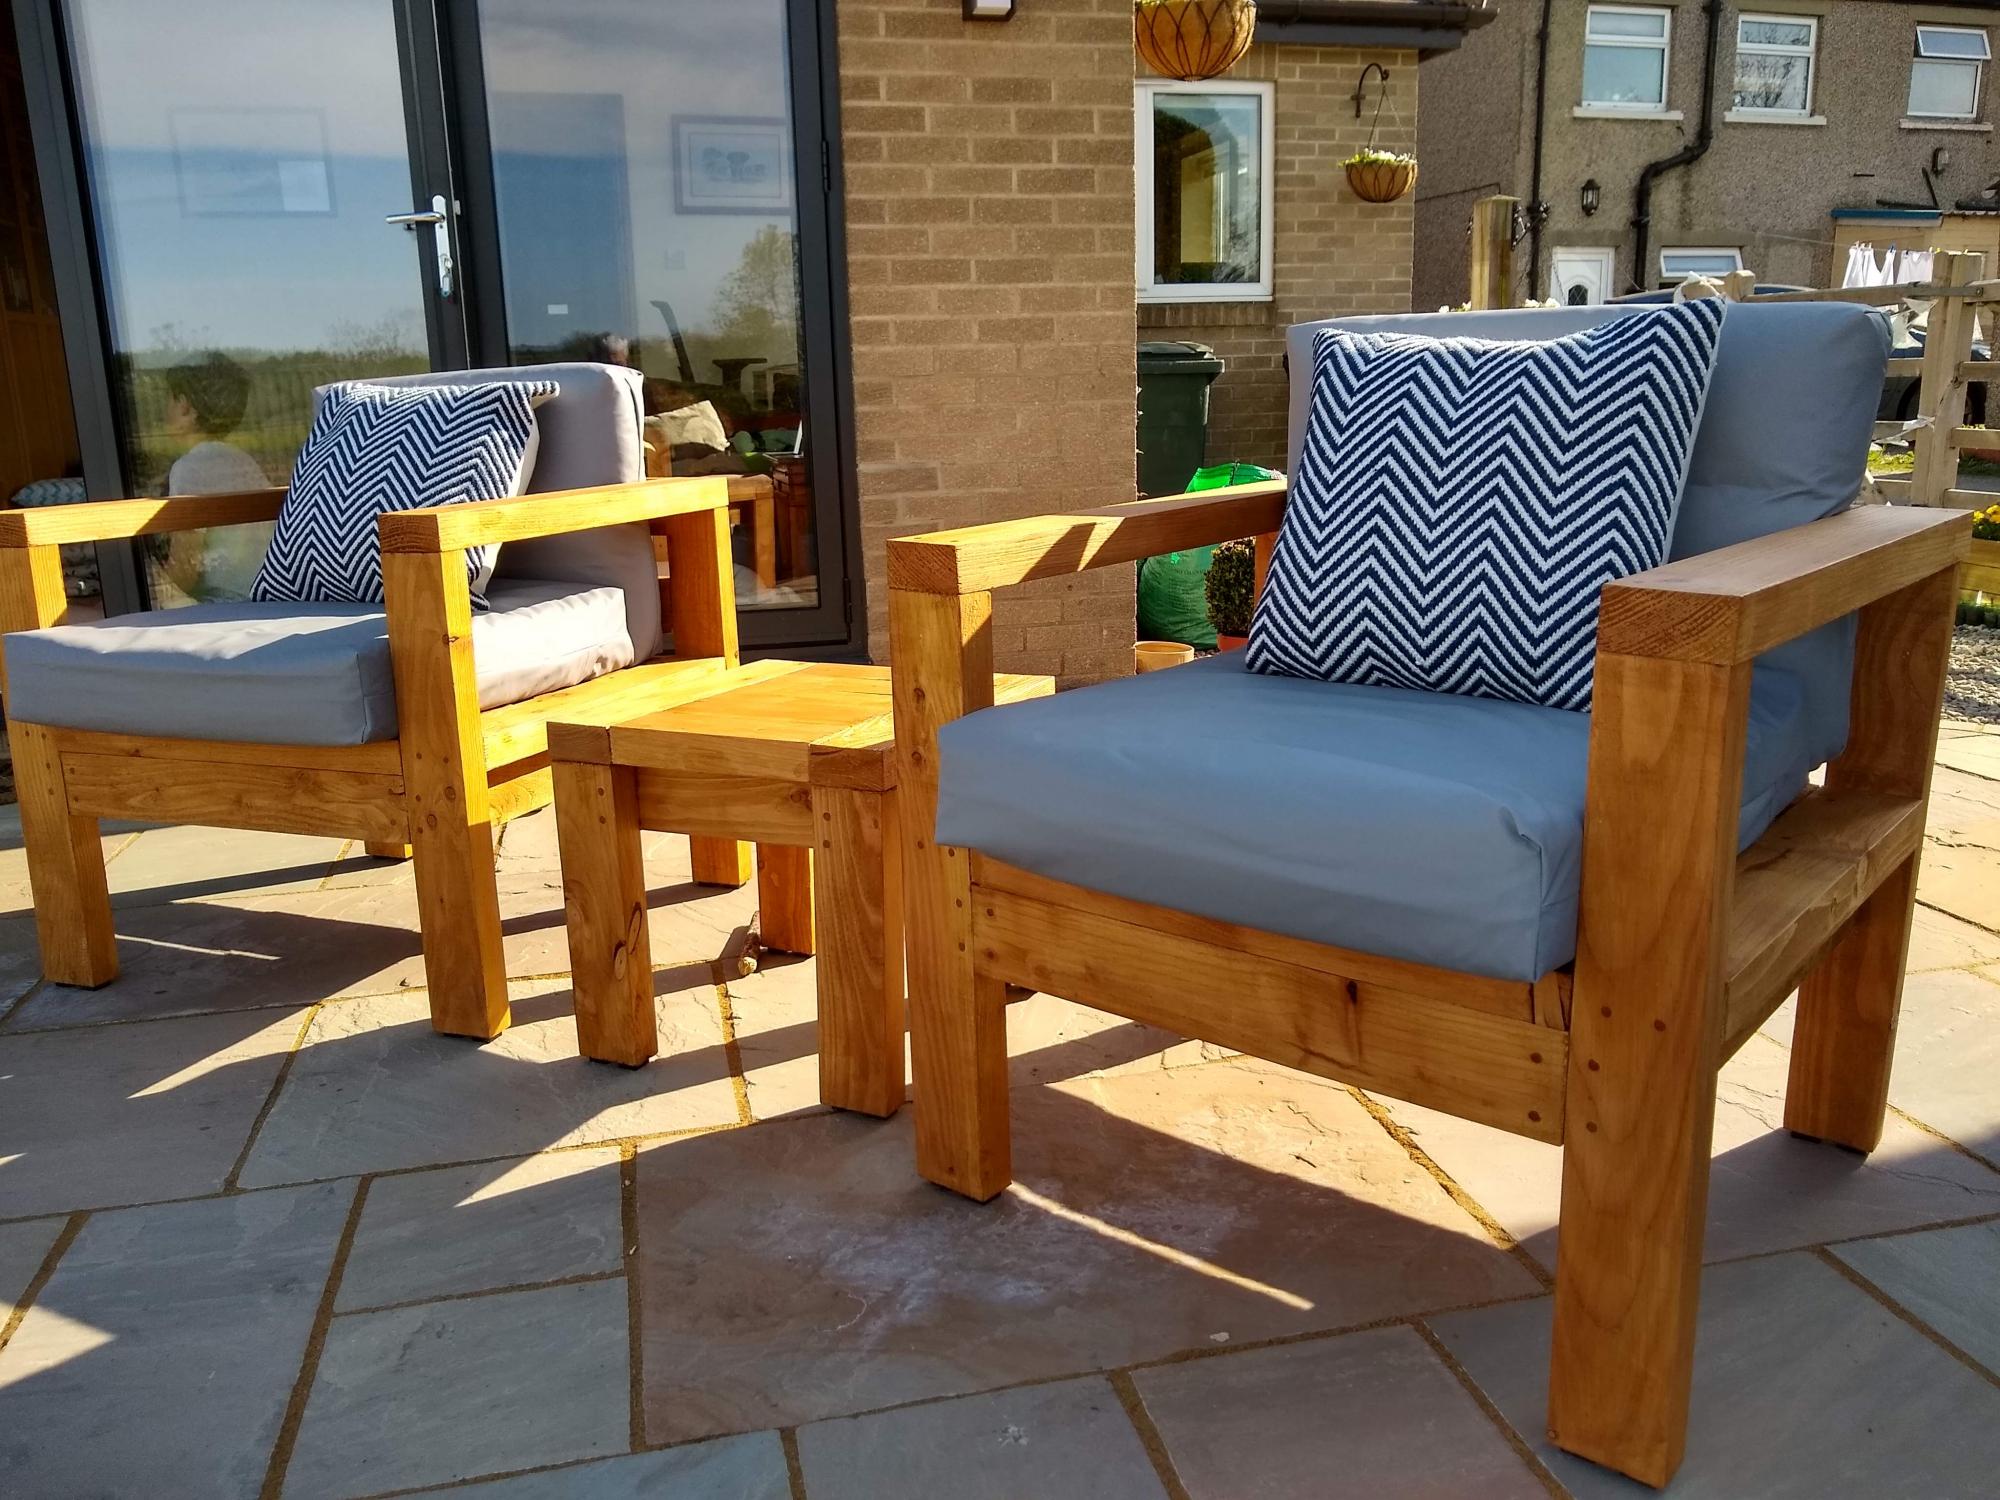
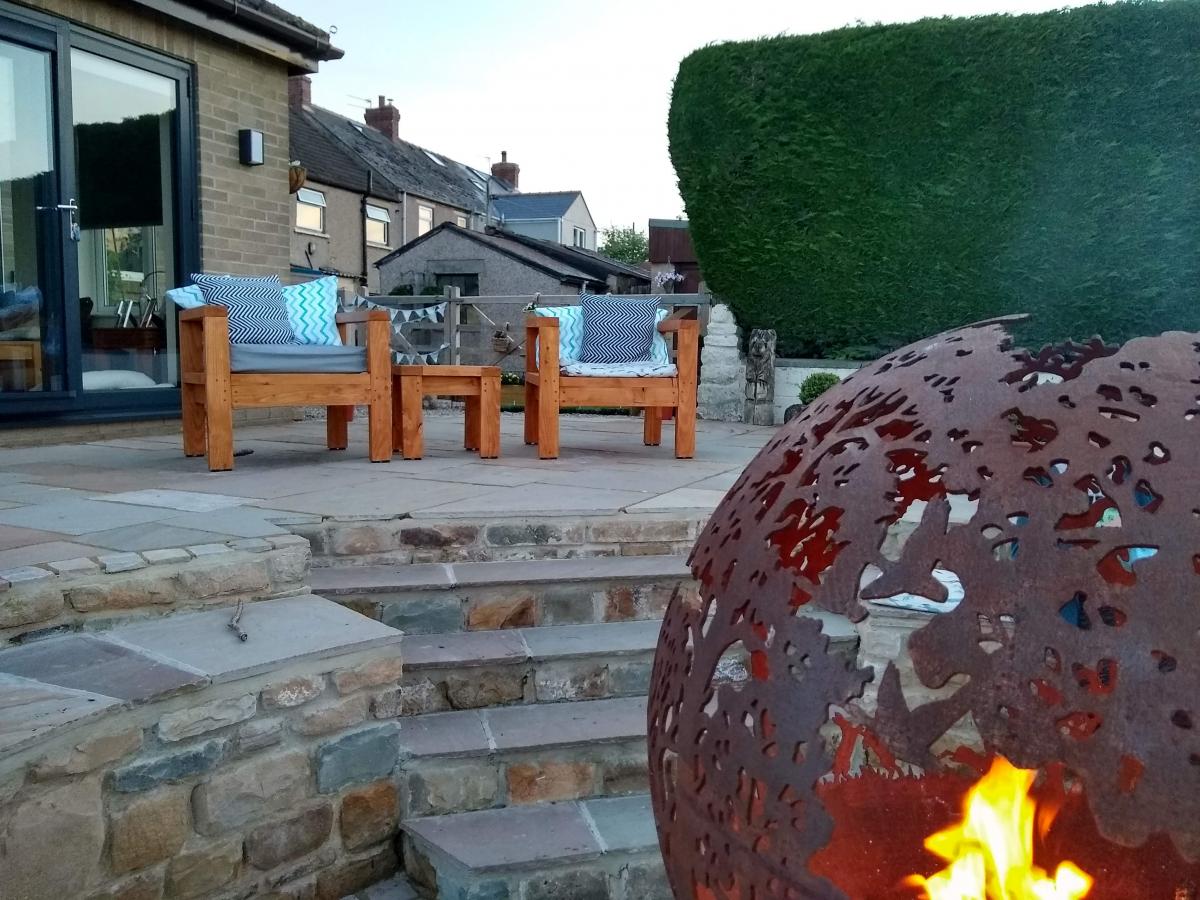
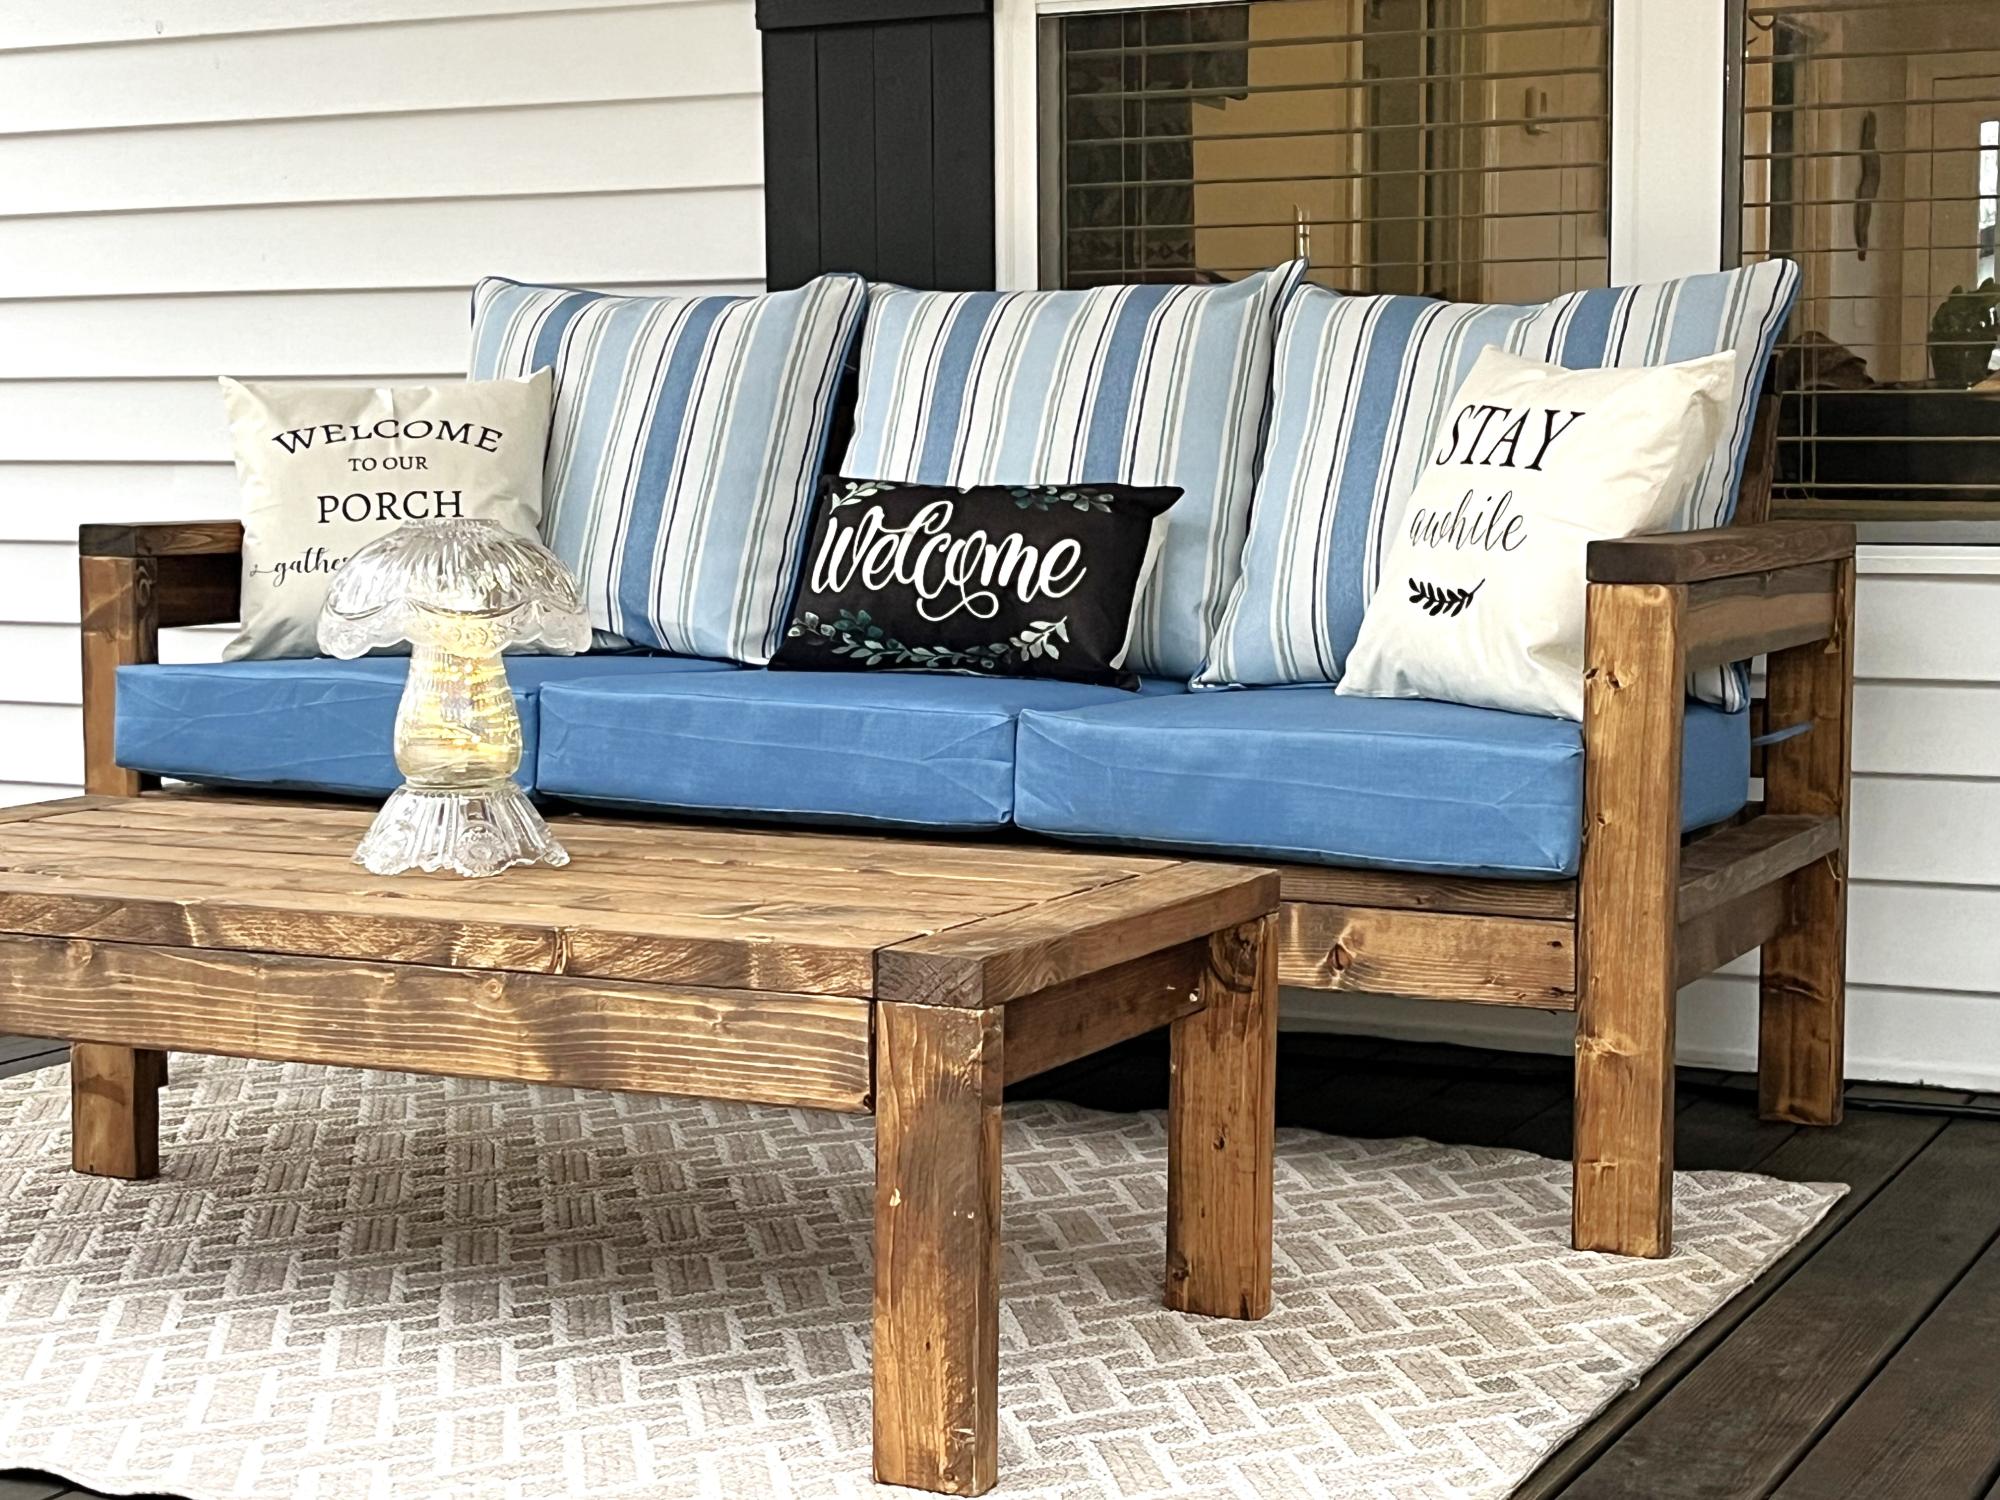
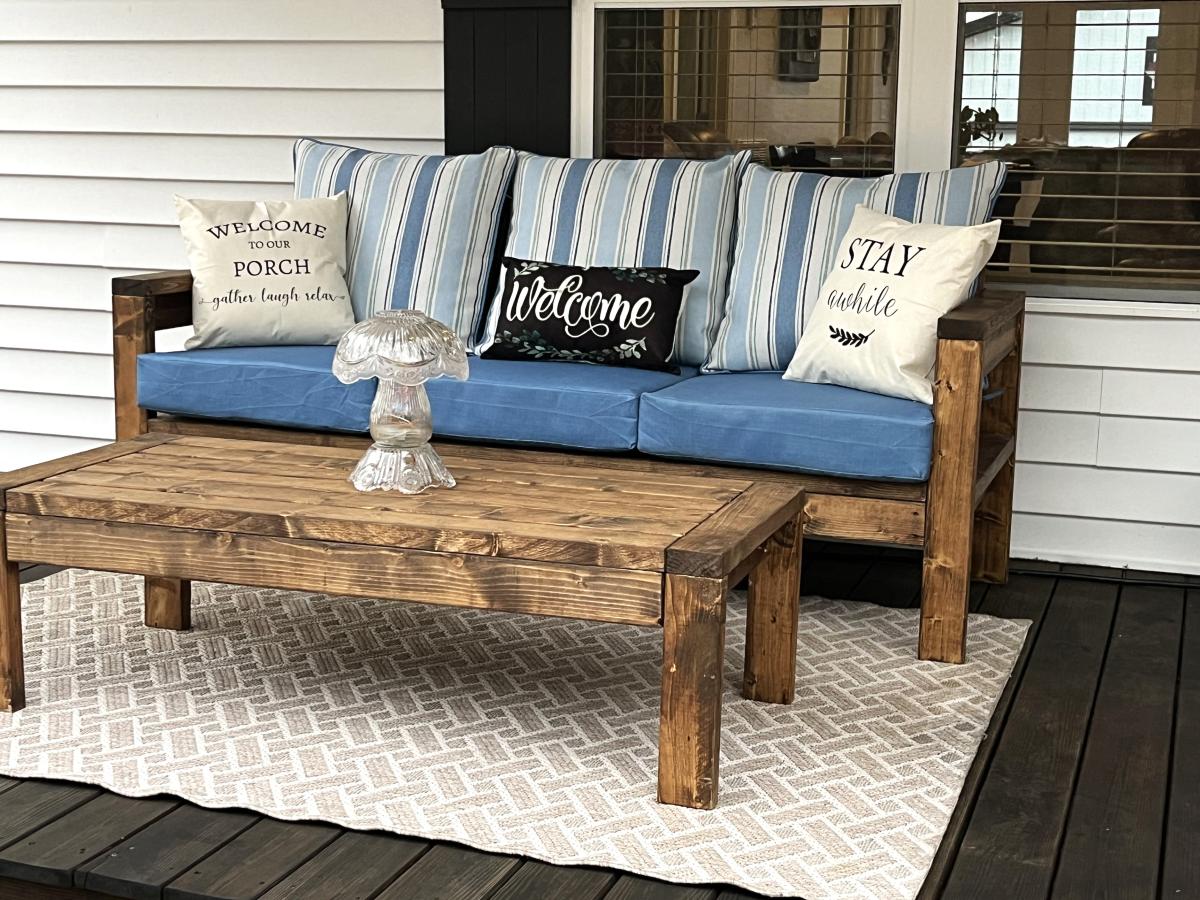
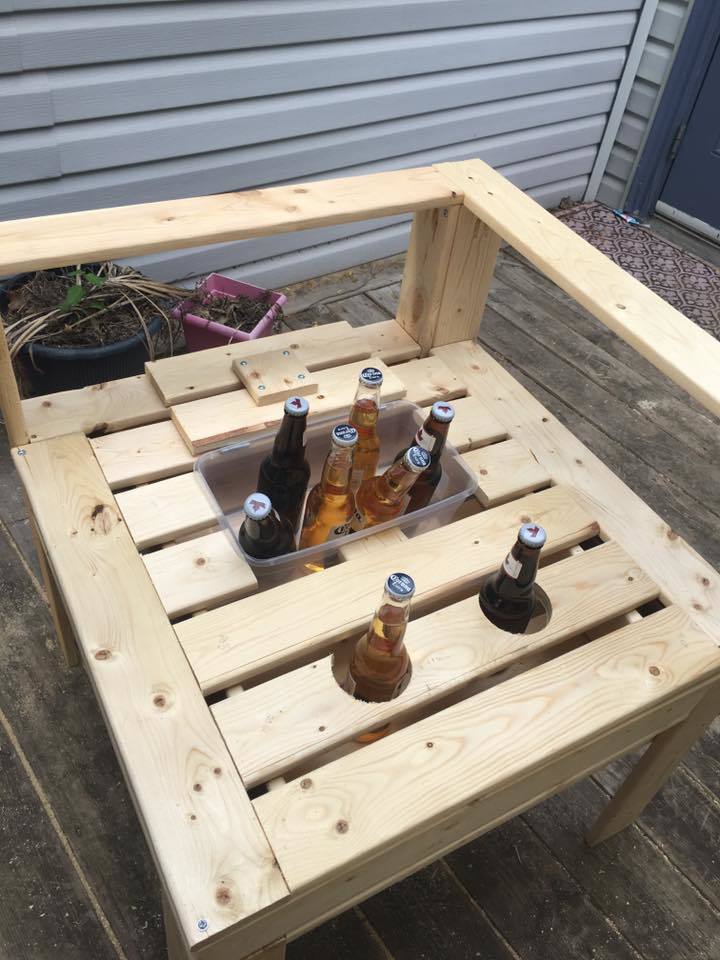
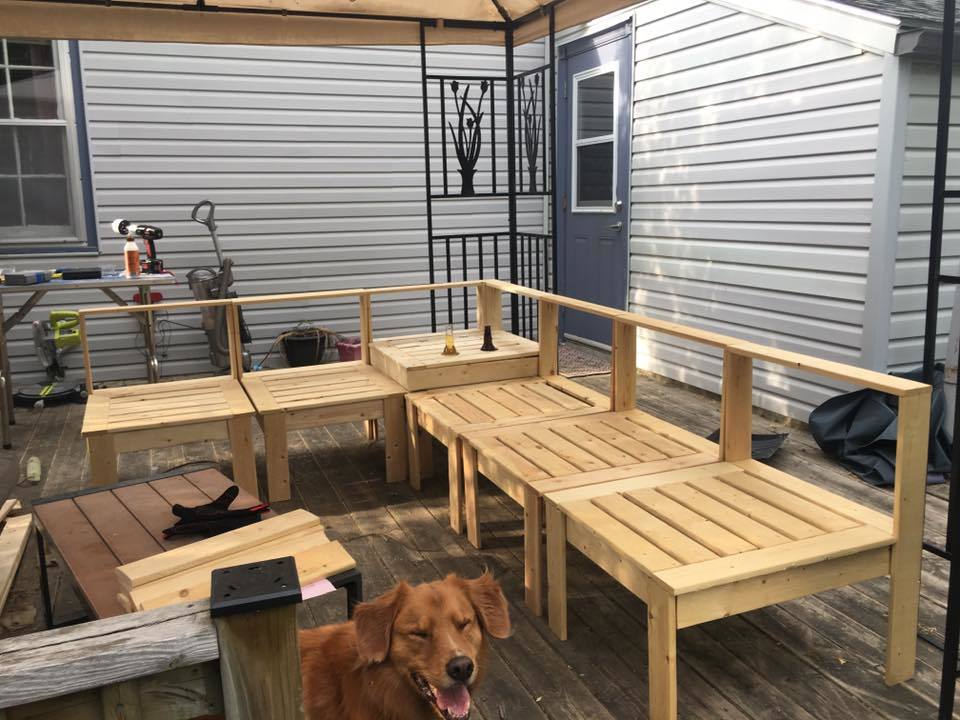
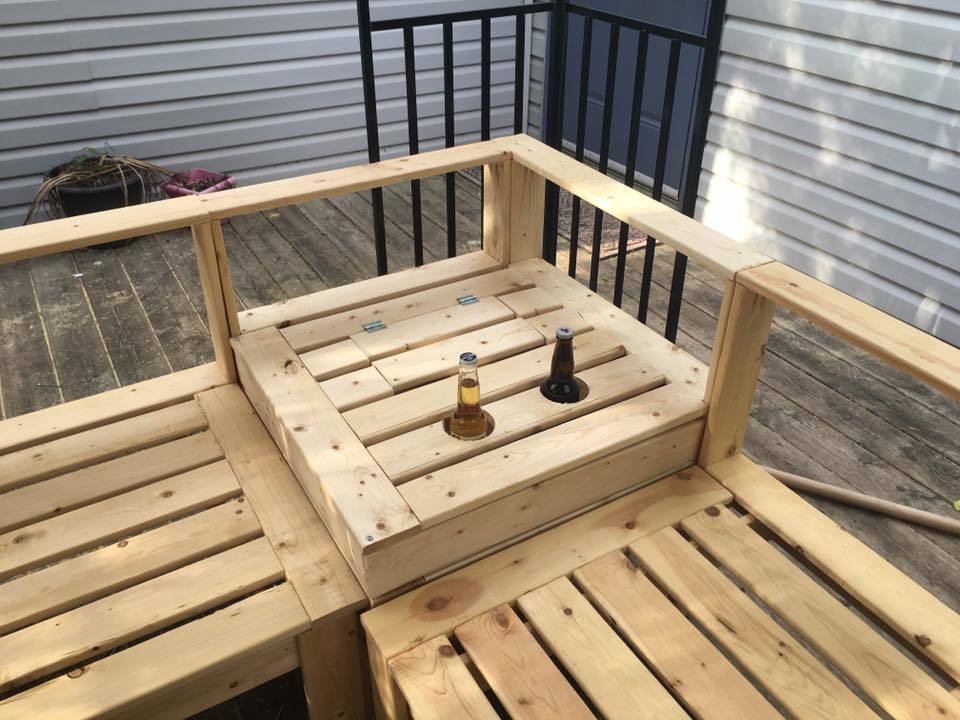
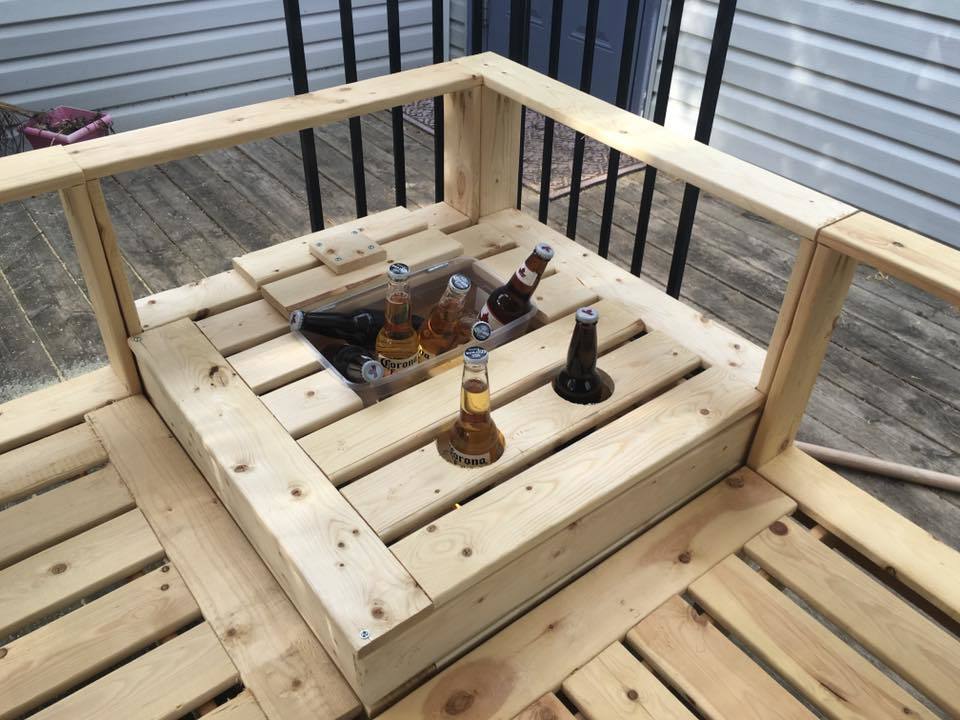
Furniture for the Deck
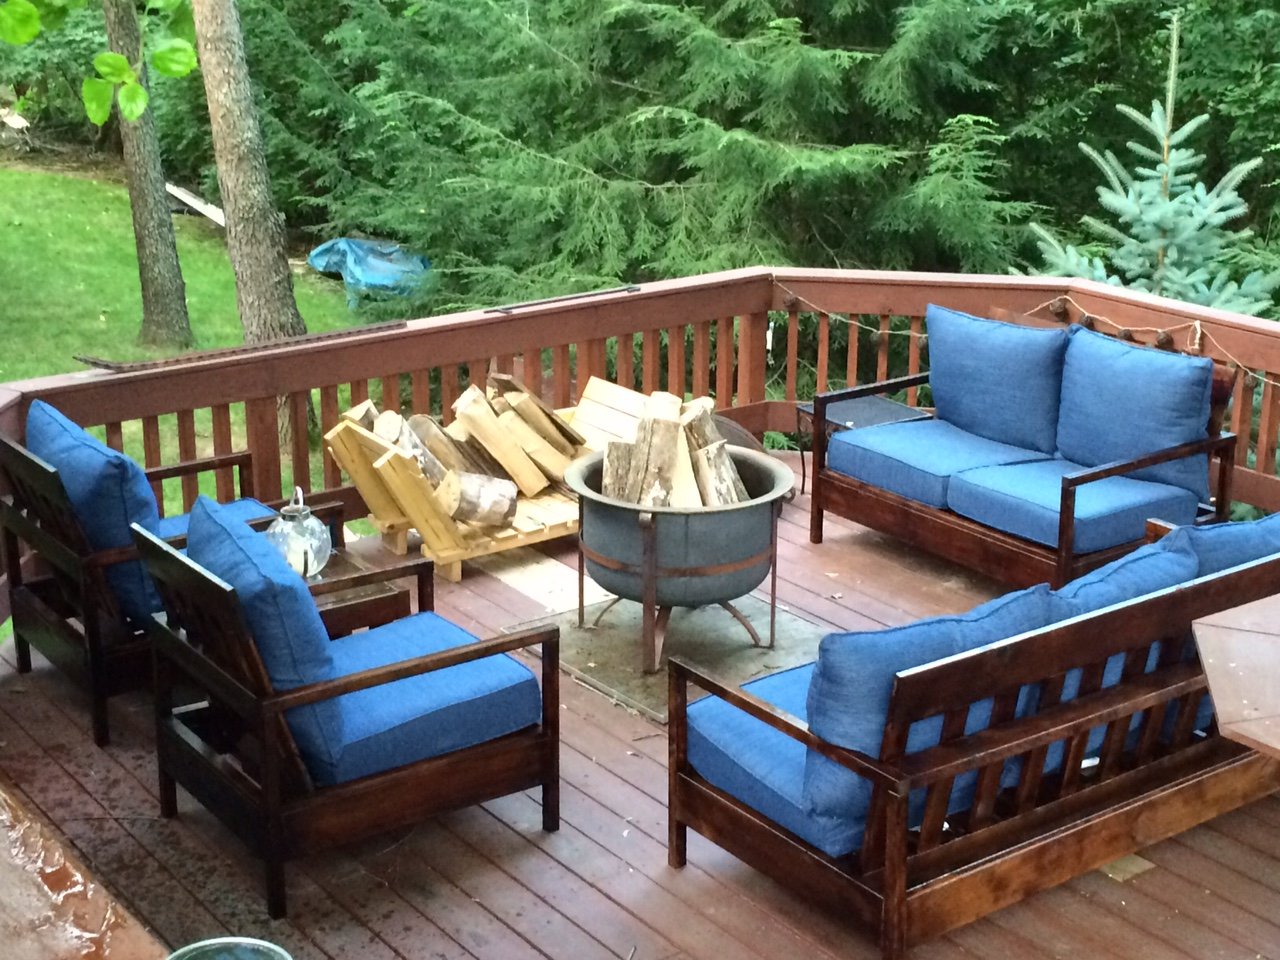
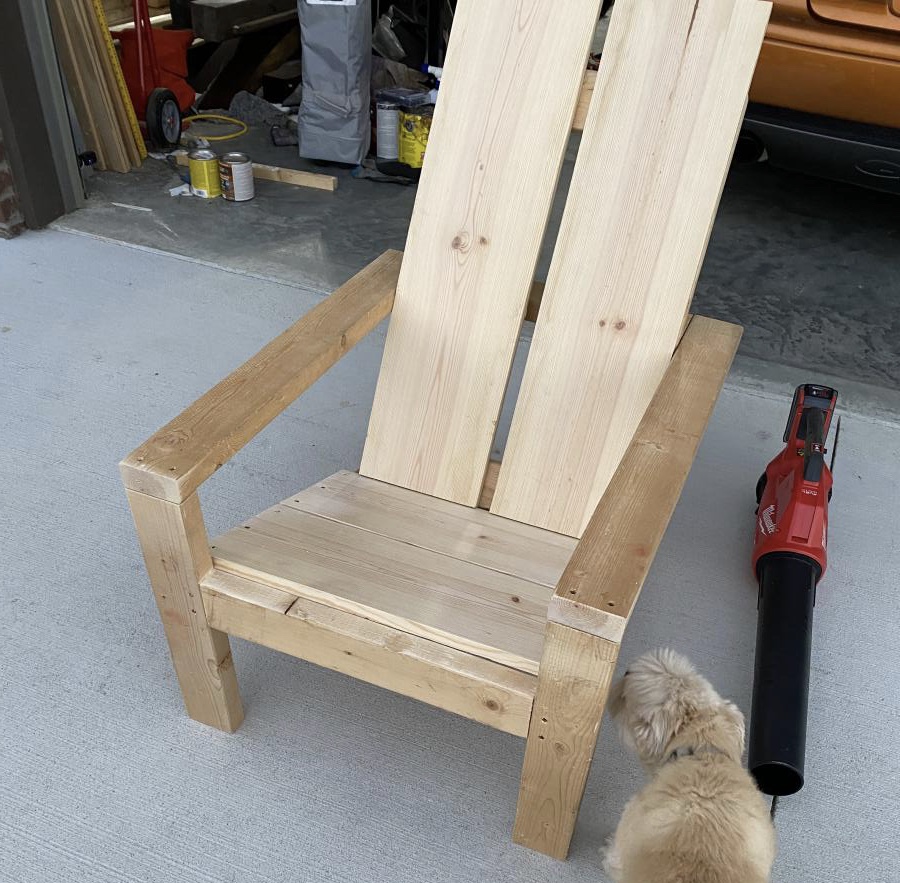
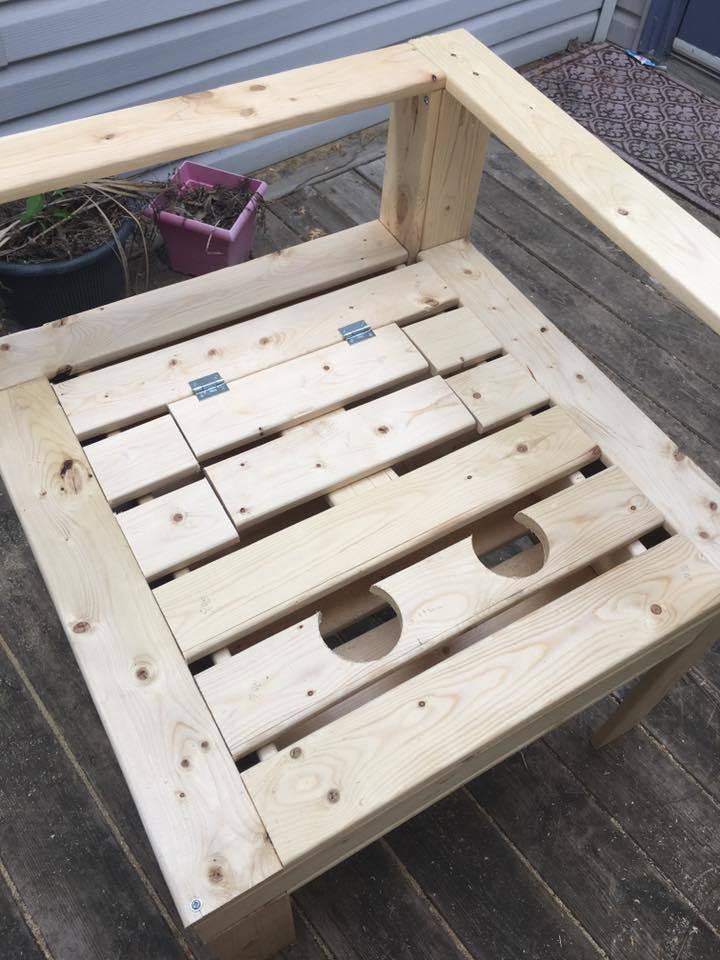
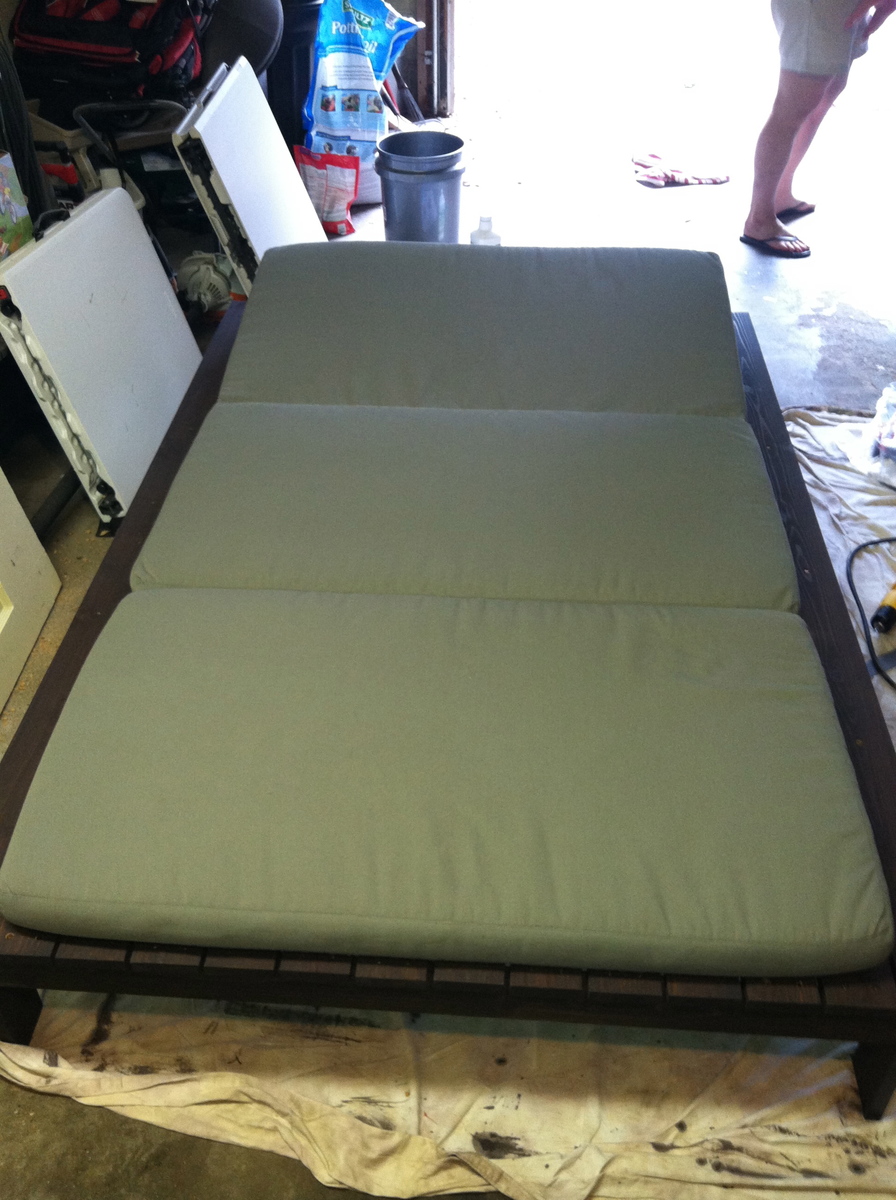
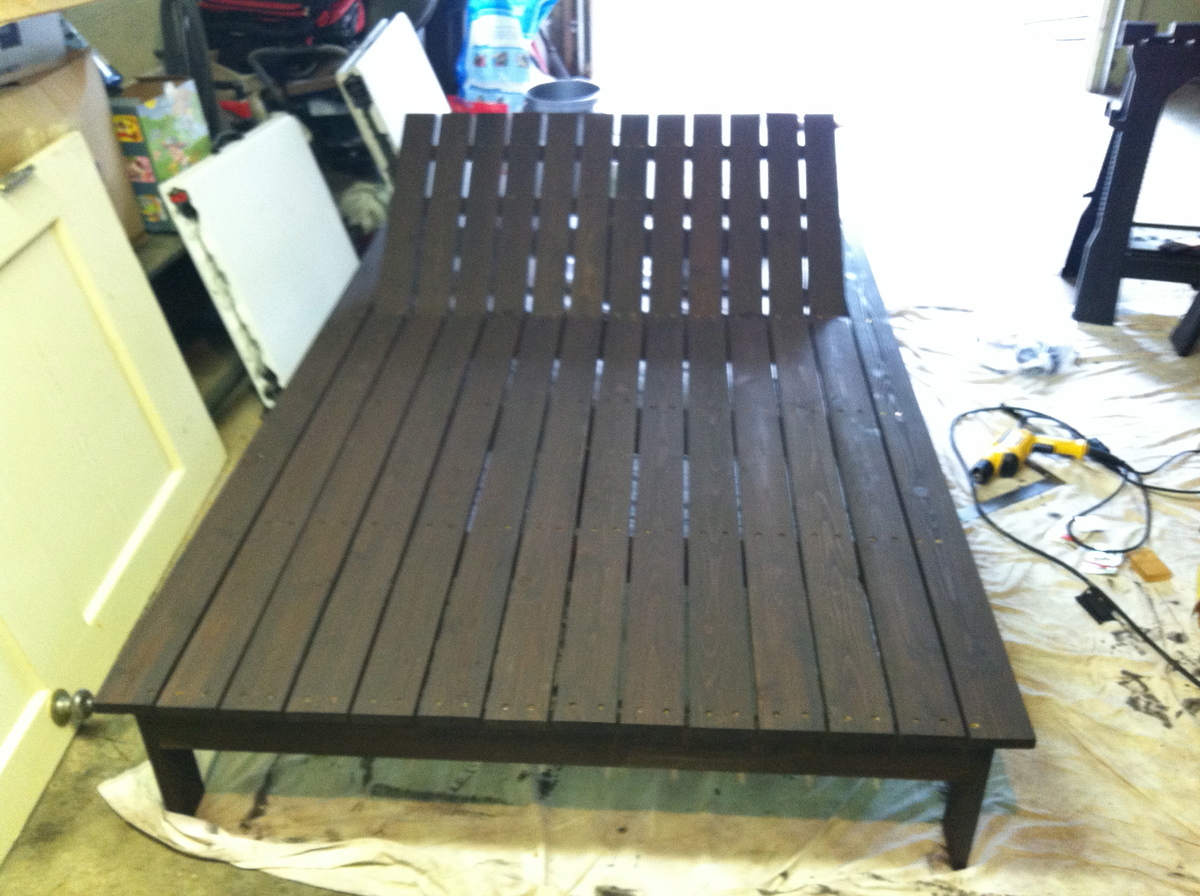
I followed the plans to build the counch. My wife liked it so much she requested the love seat and chairs. The chair plans were not up on the site yet. That said, the plans were so easy to follow, I was able to adjust the loveseat plans to make the chairs with ease. Thank you very much!
Built from Plan(s)
Estimated Cost
Couch, Loveseat, and 2 Chairs - Wood, Screws, Stain - $500.00 - Cushions were another $420.00
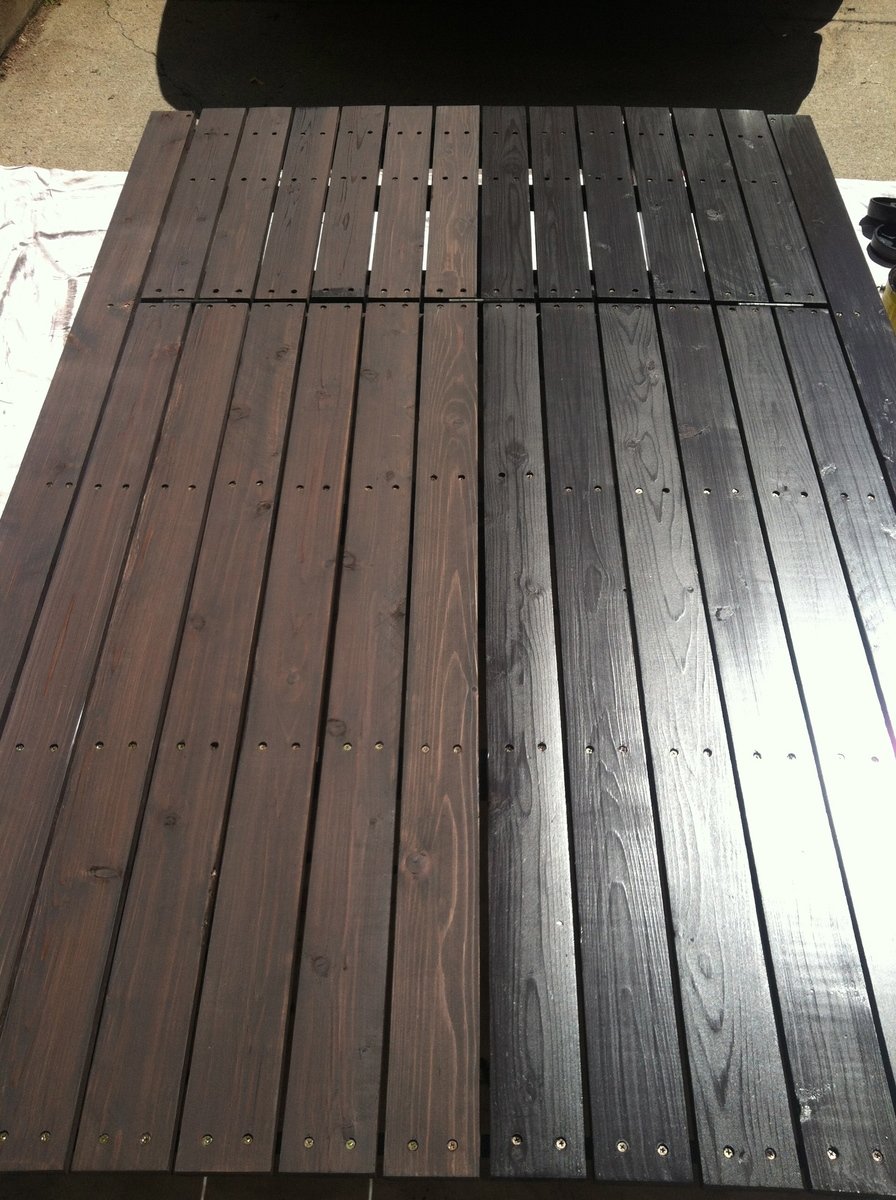
Each piece took about two to three hours to cut and assemble. The sanding and staining took another two hours per peice
Each piece took about two to three hours to cut and assemble. The sanding and staining took another two hours per peice
Estimated Time Investment
Weekend Project (10-20 Hours)
Finish Used
Minwax Mission Oak
Recommended Skill Level
Beginner