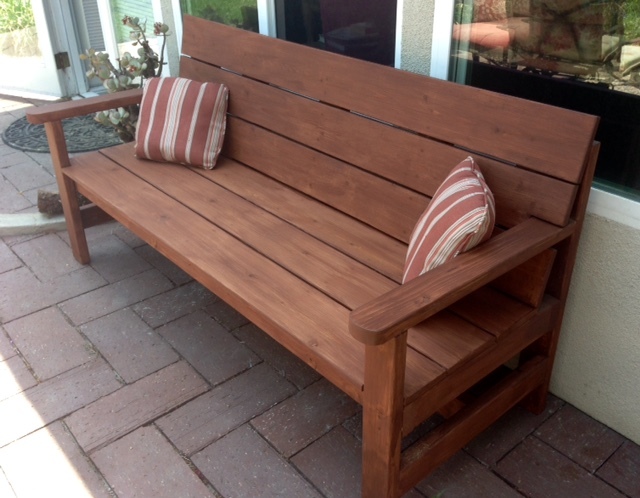
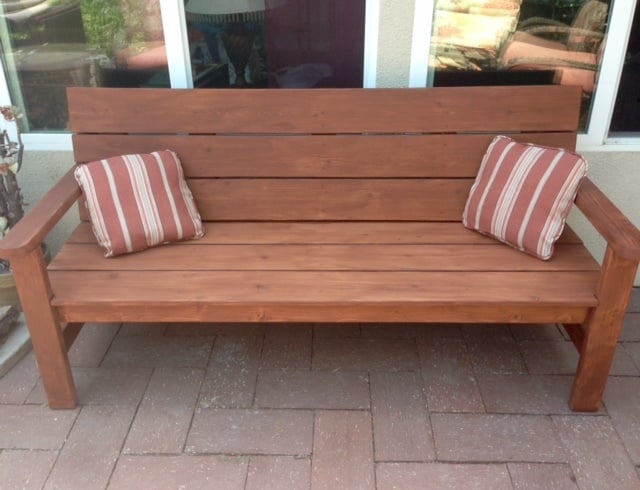
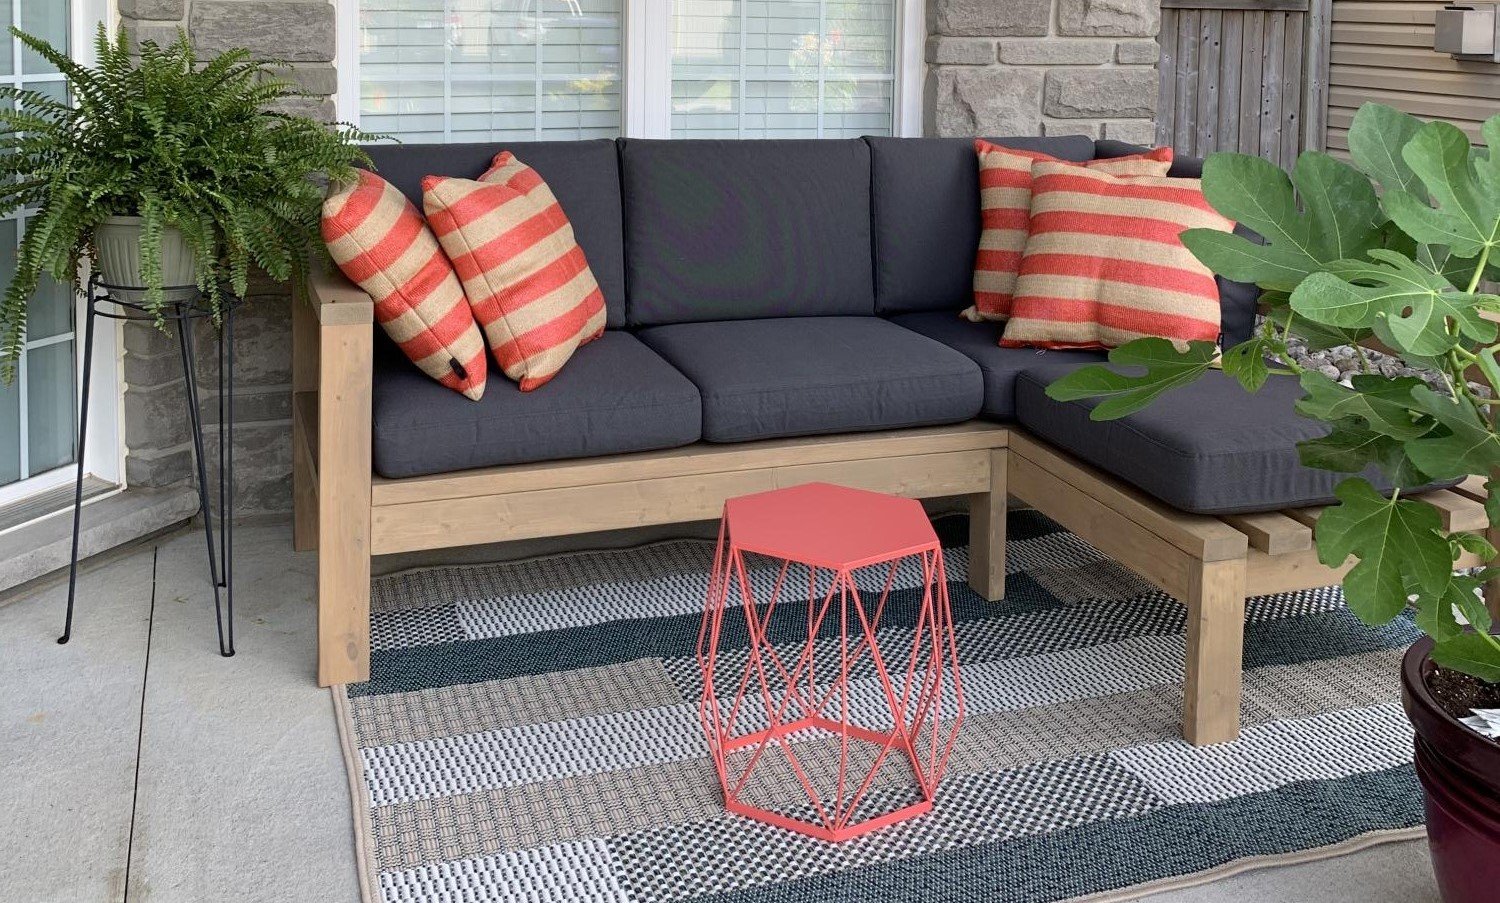
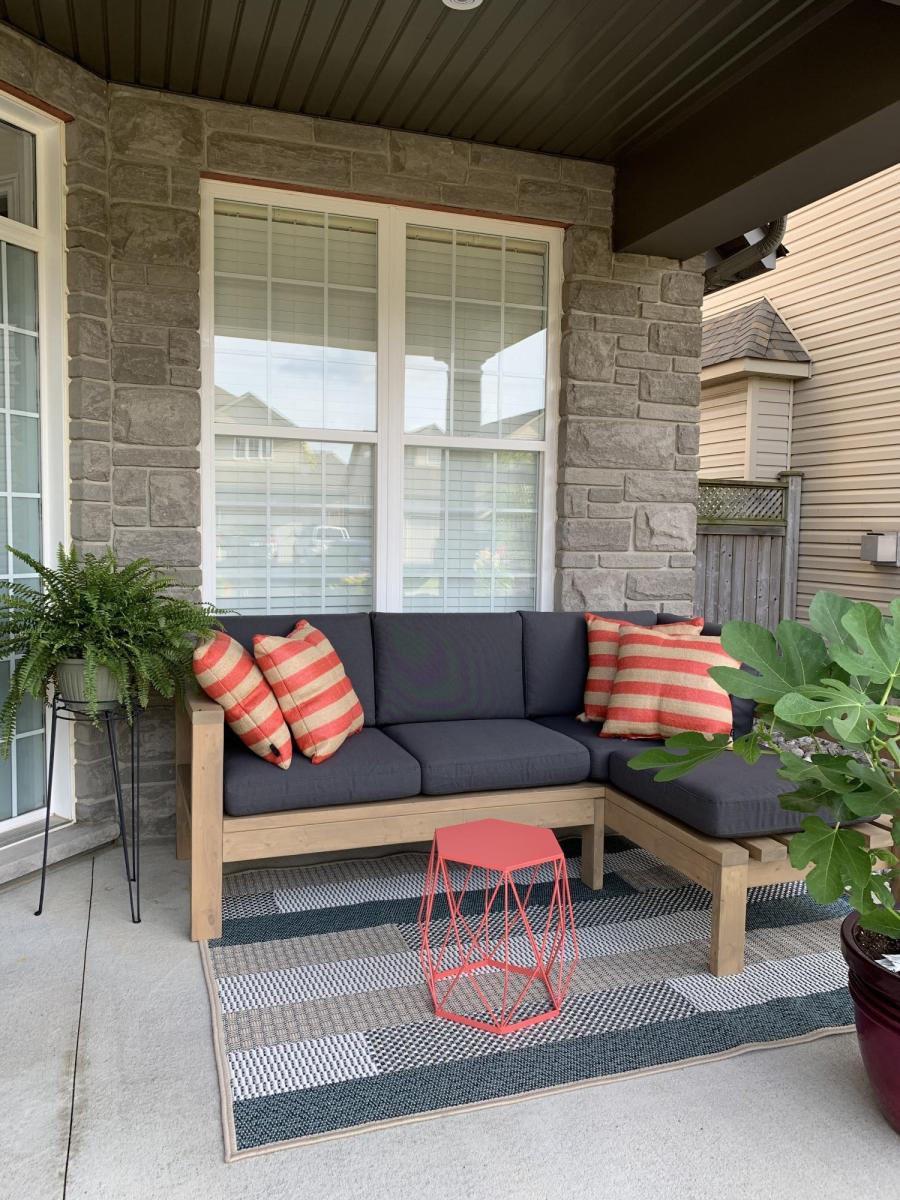
Modern Outdoor Chairs and Sofa with Coffee Table

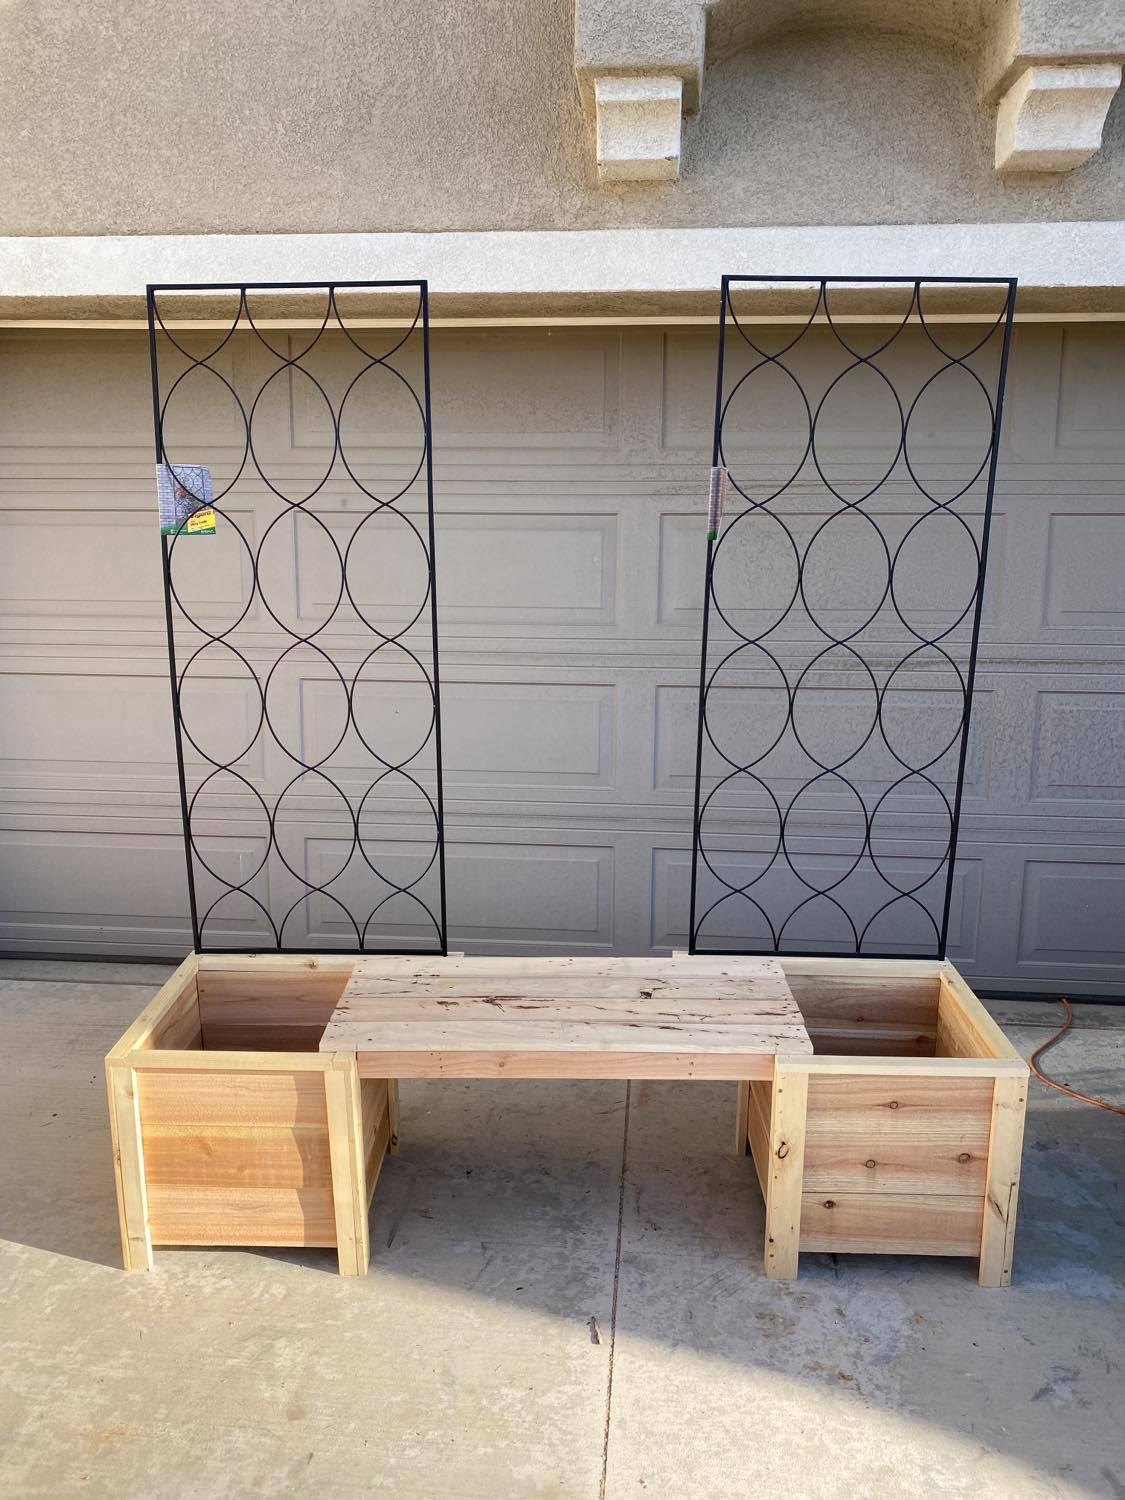
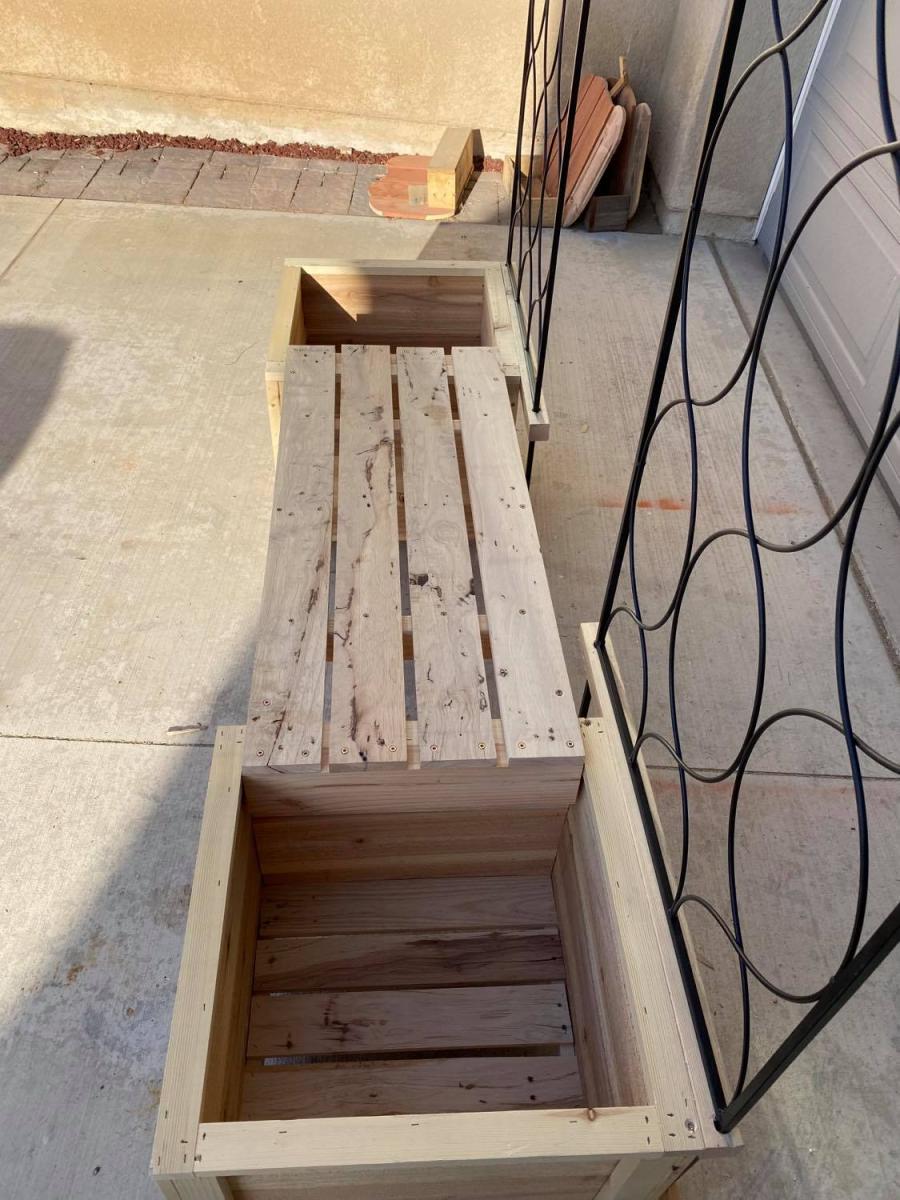
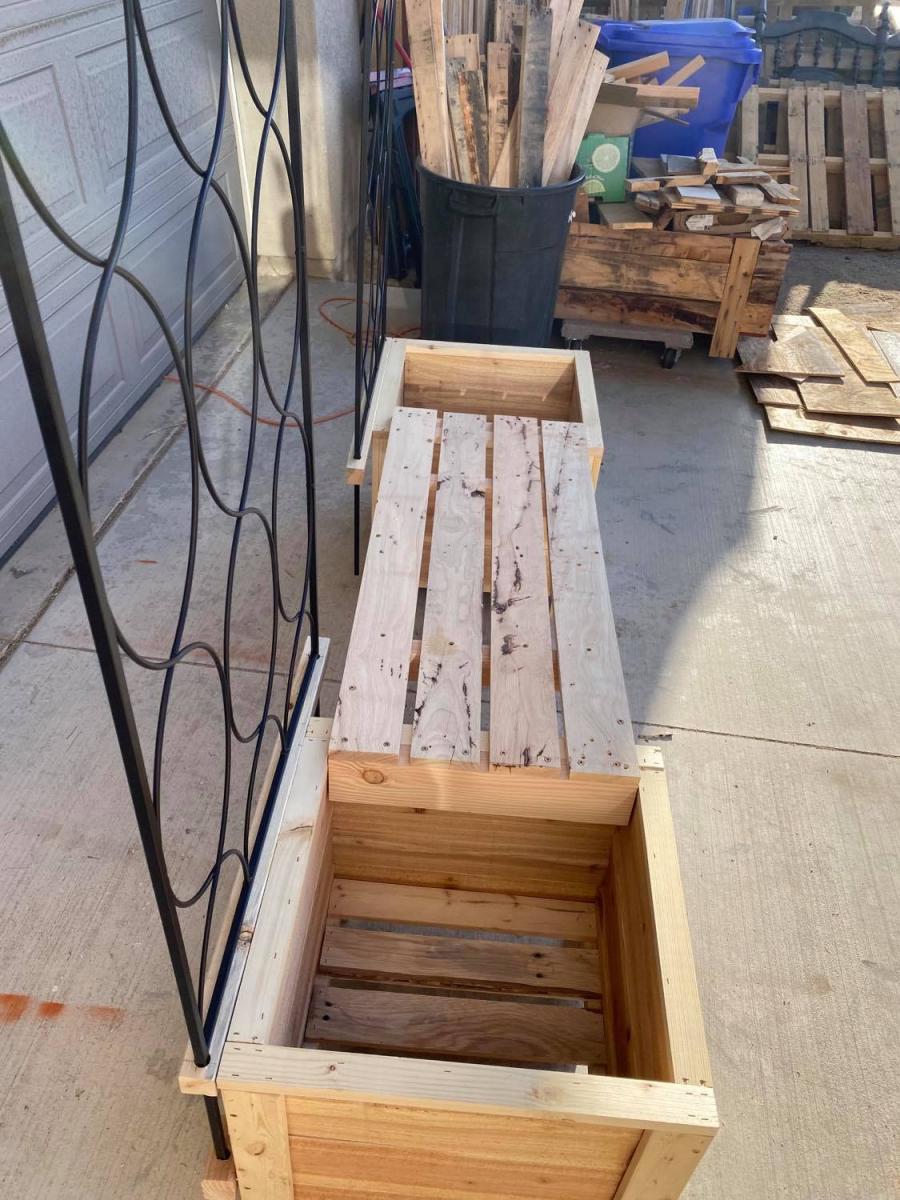
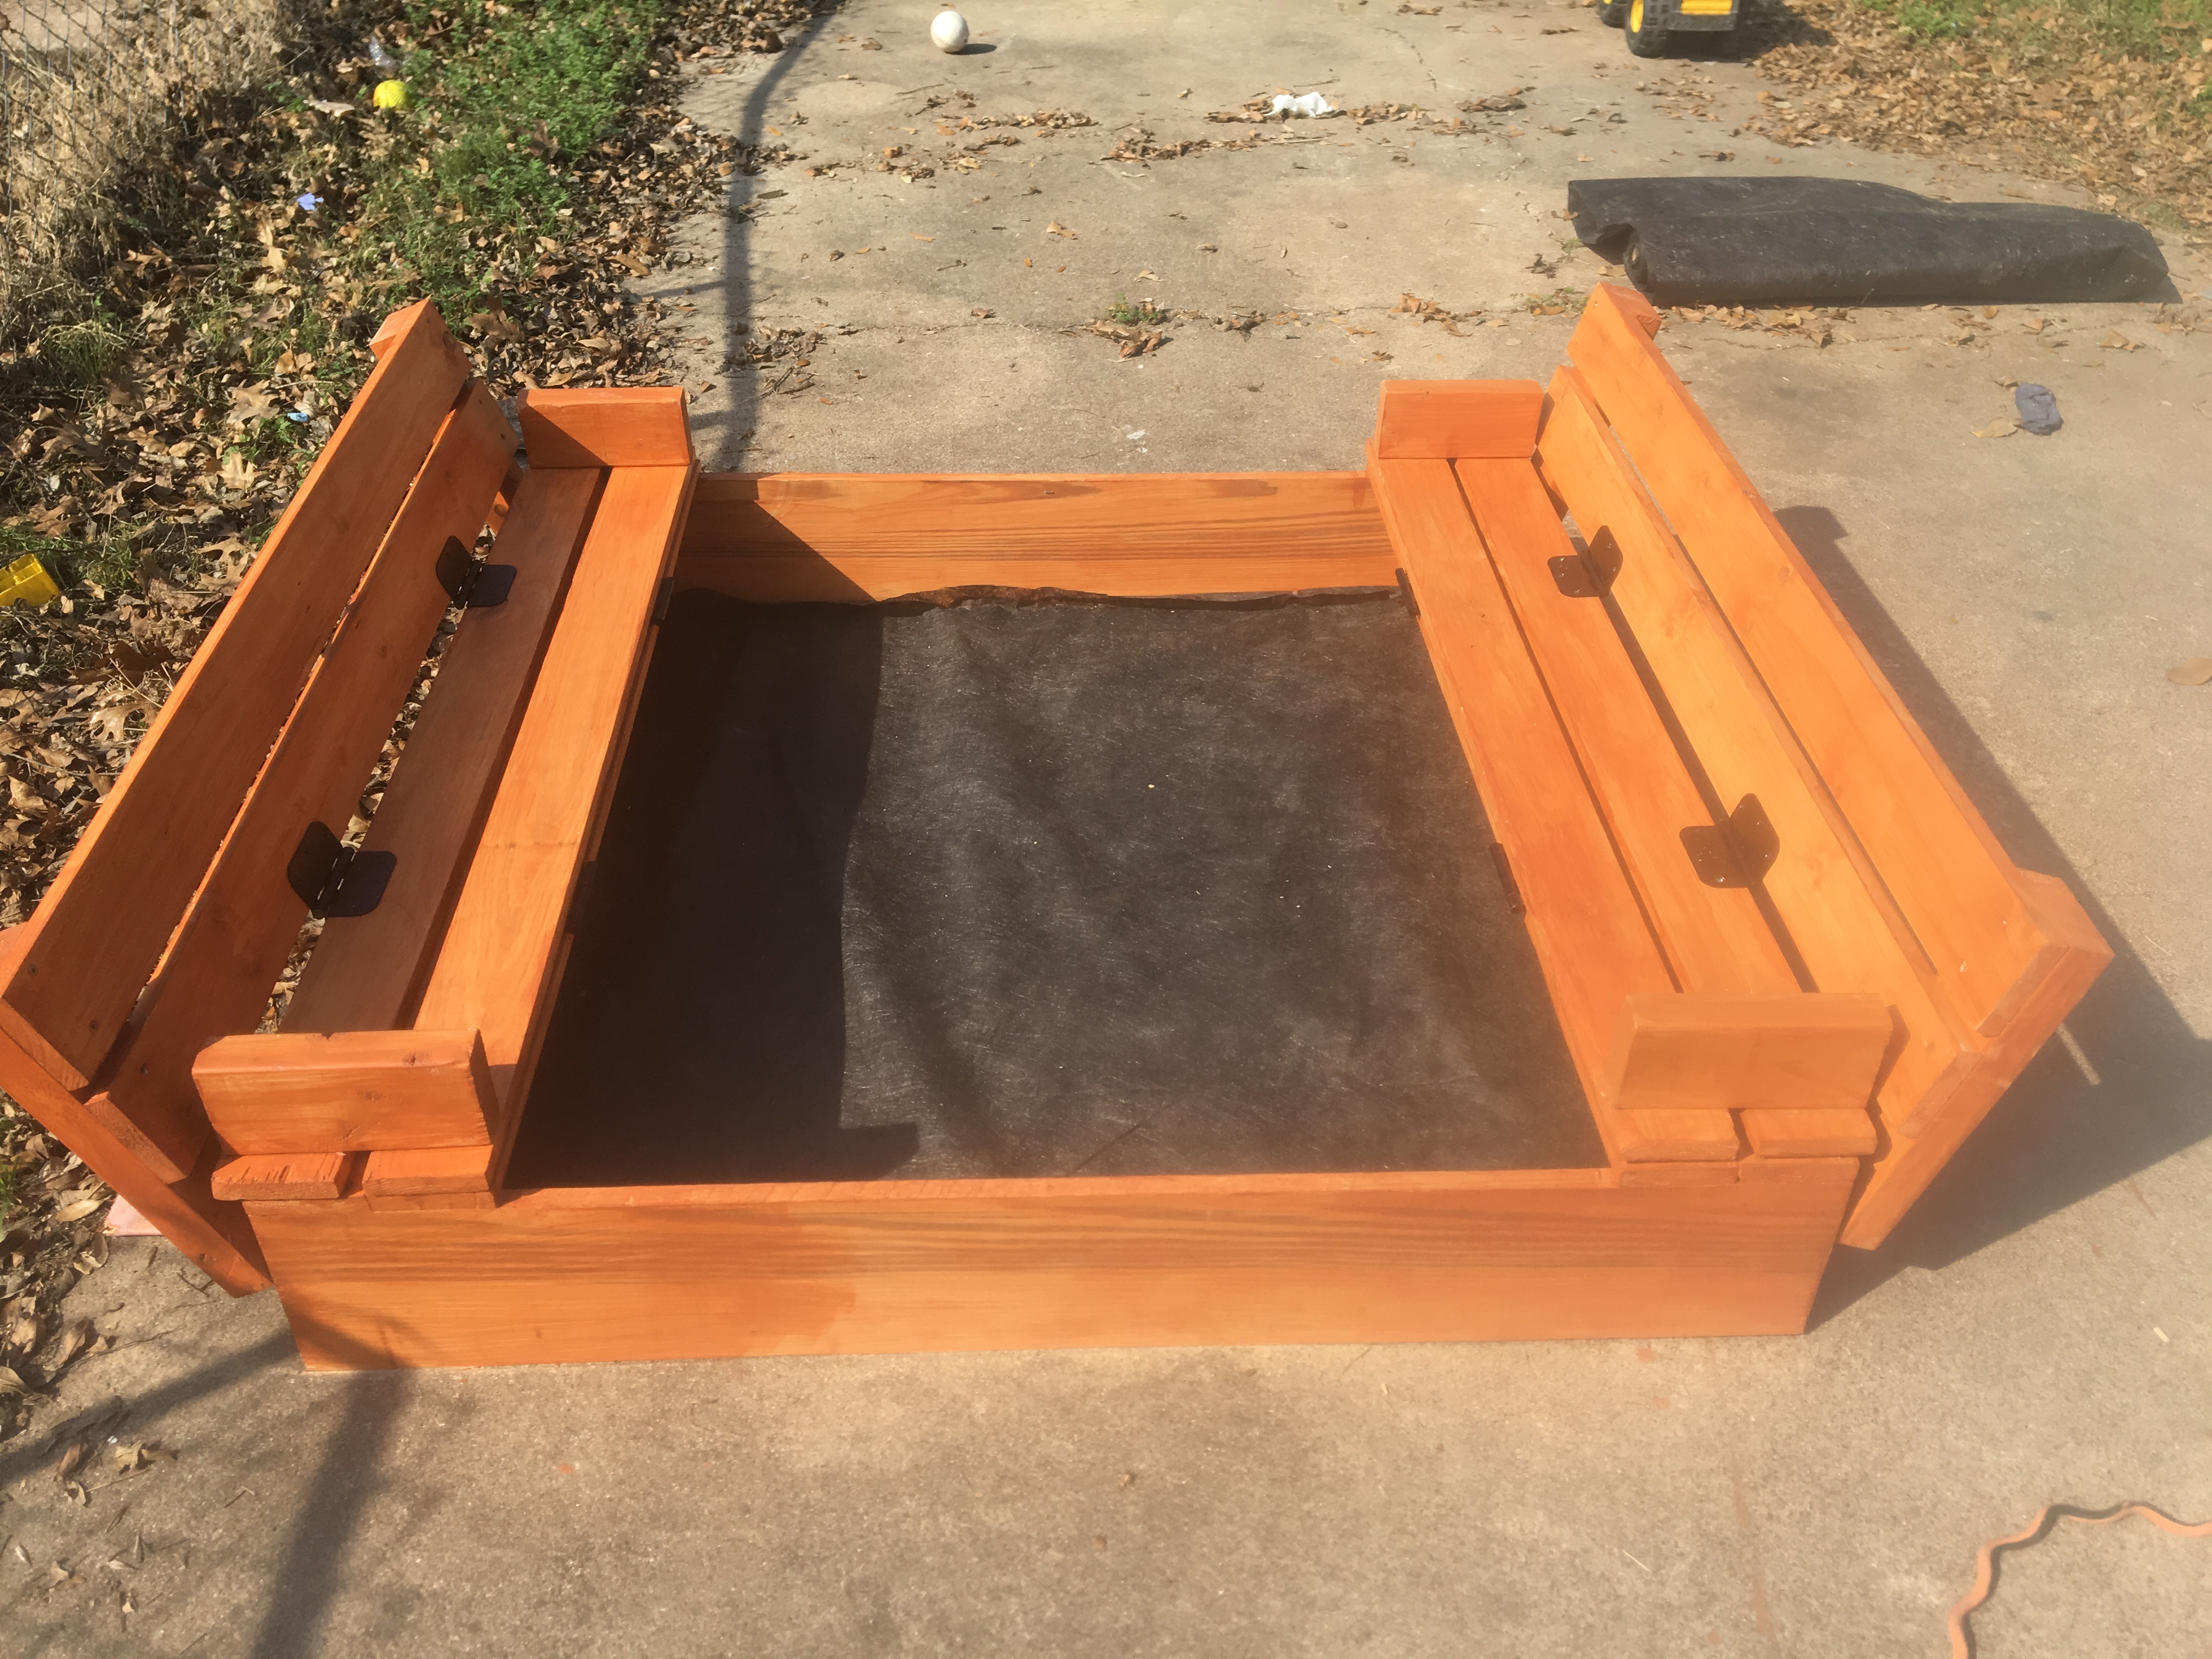
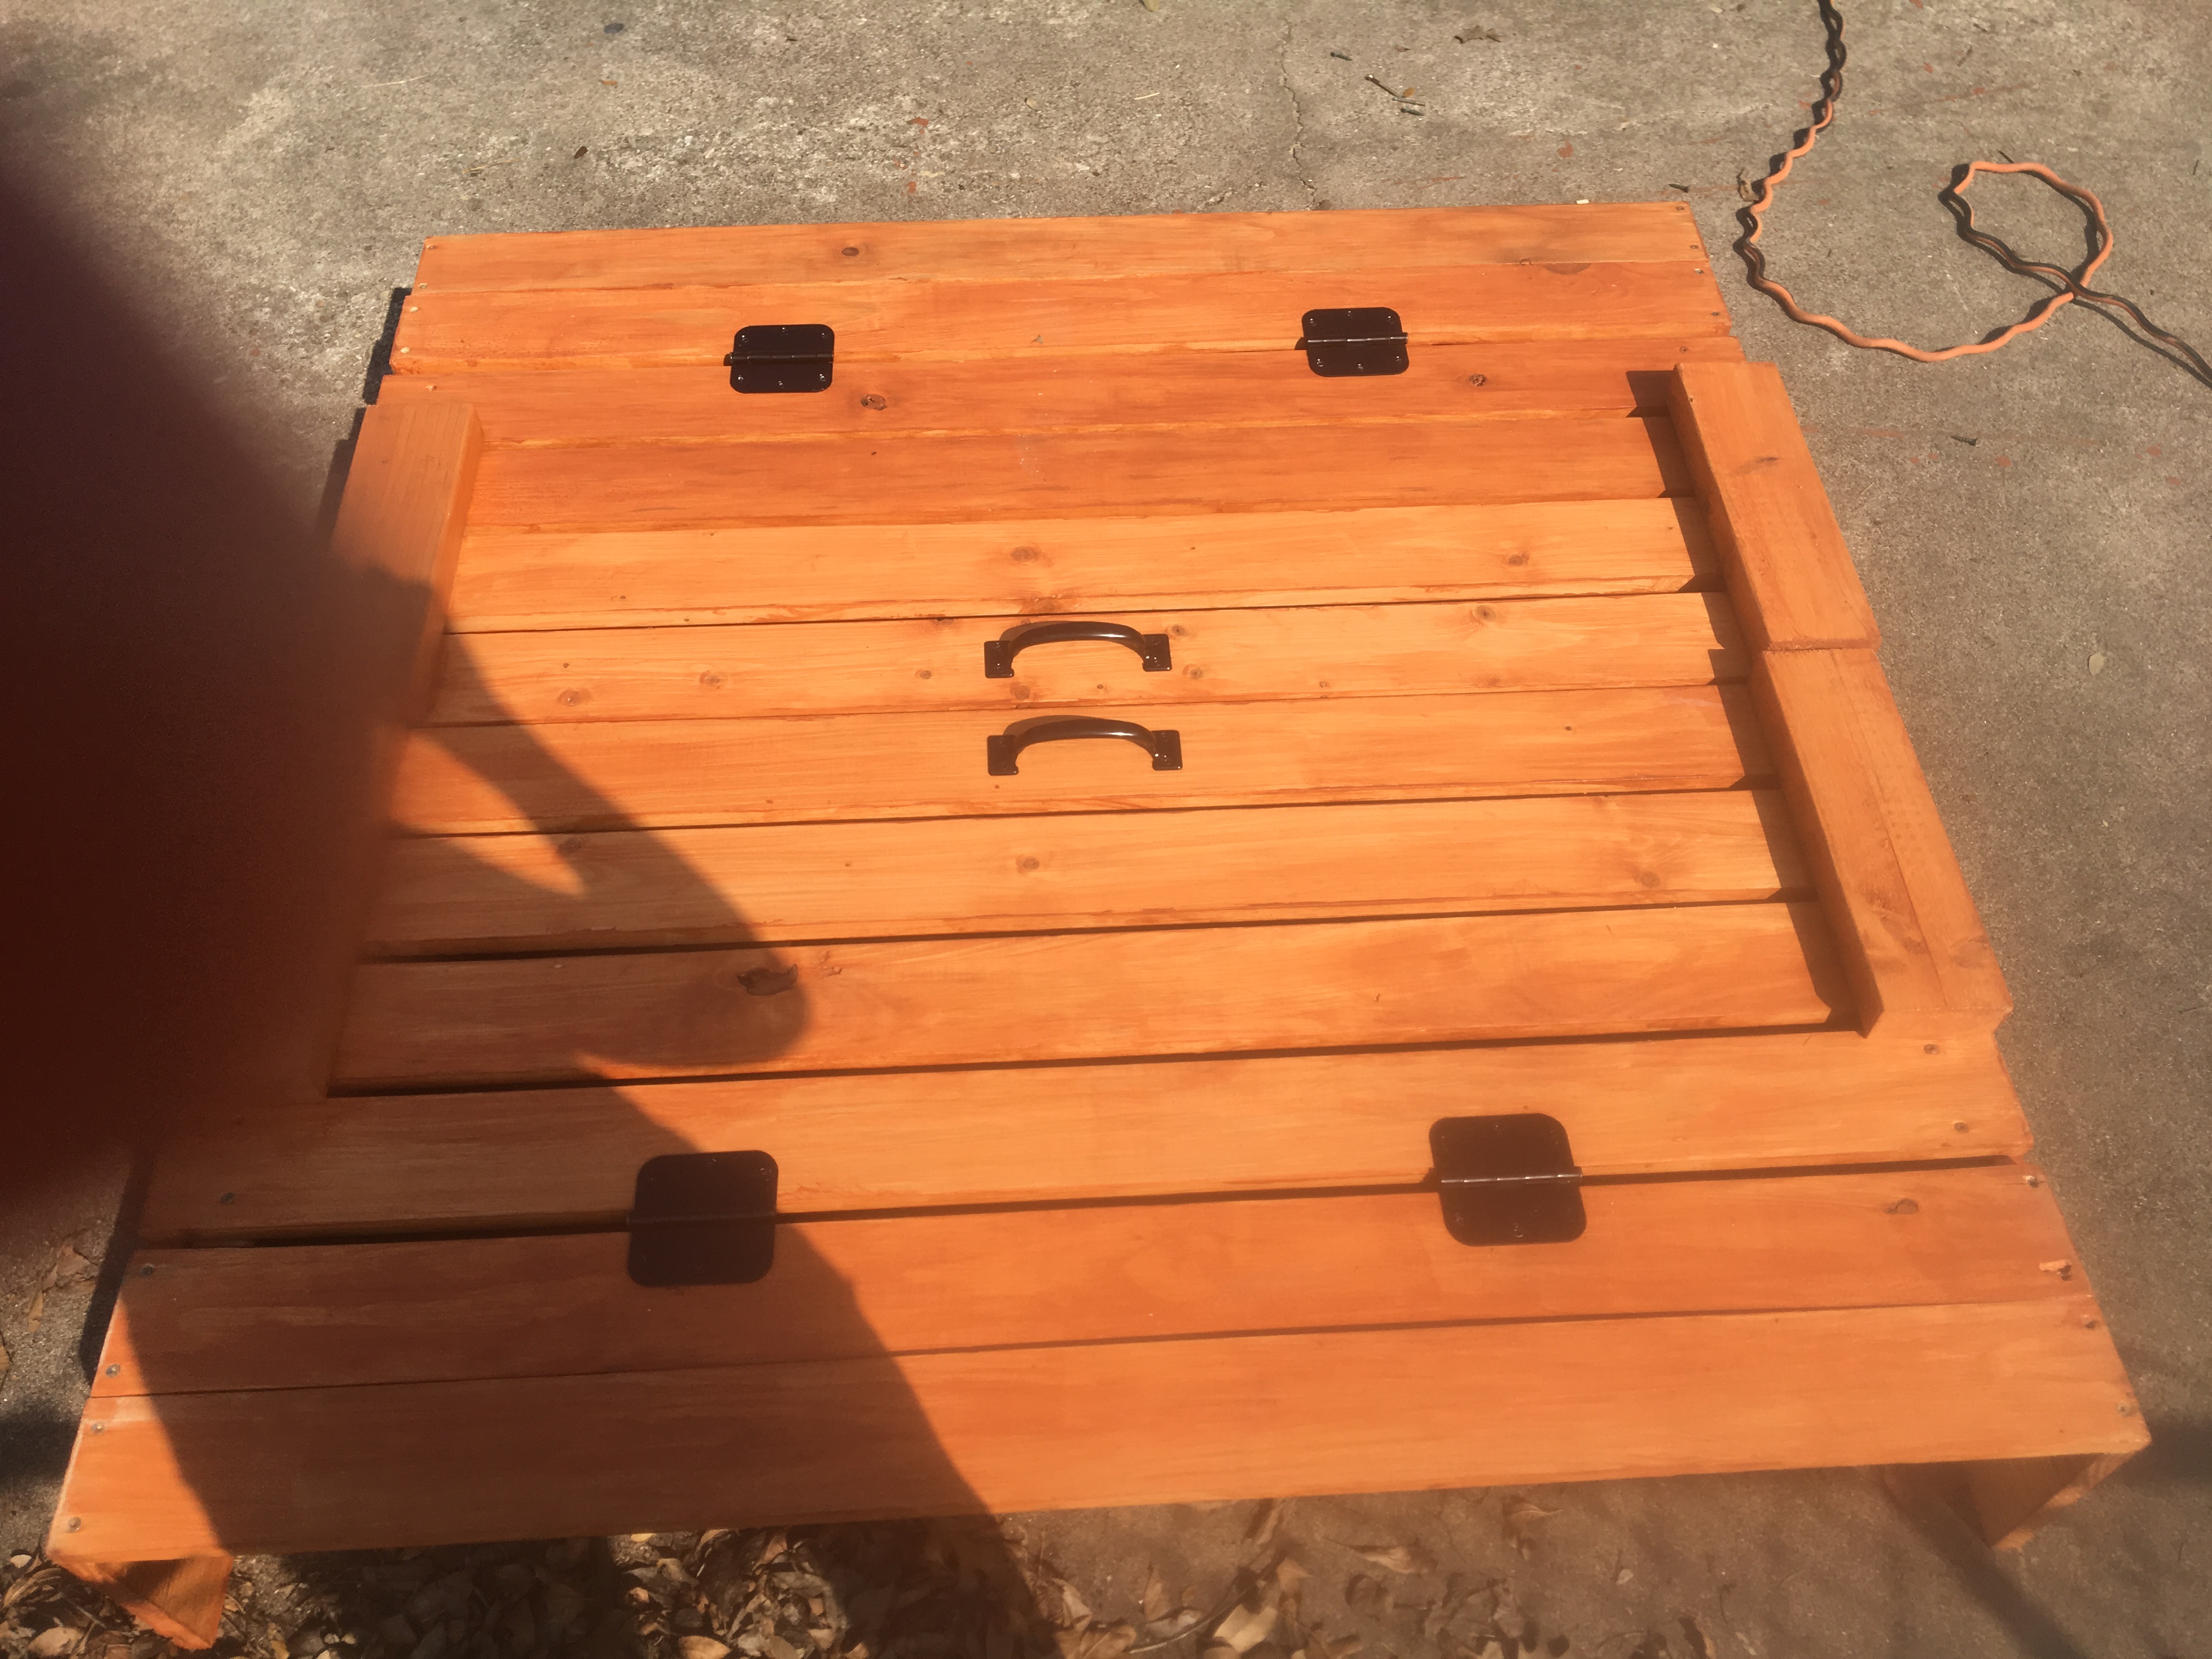
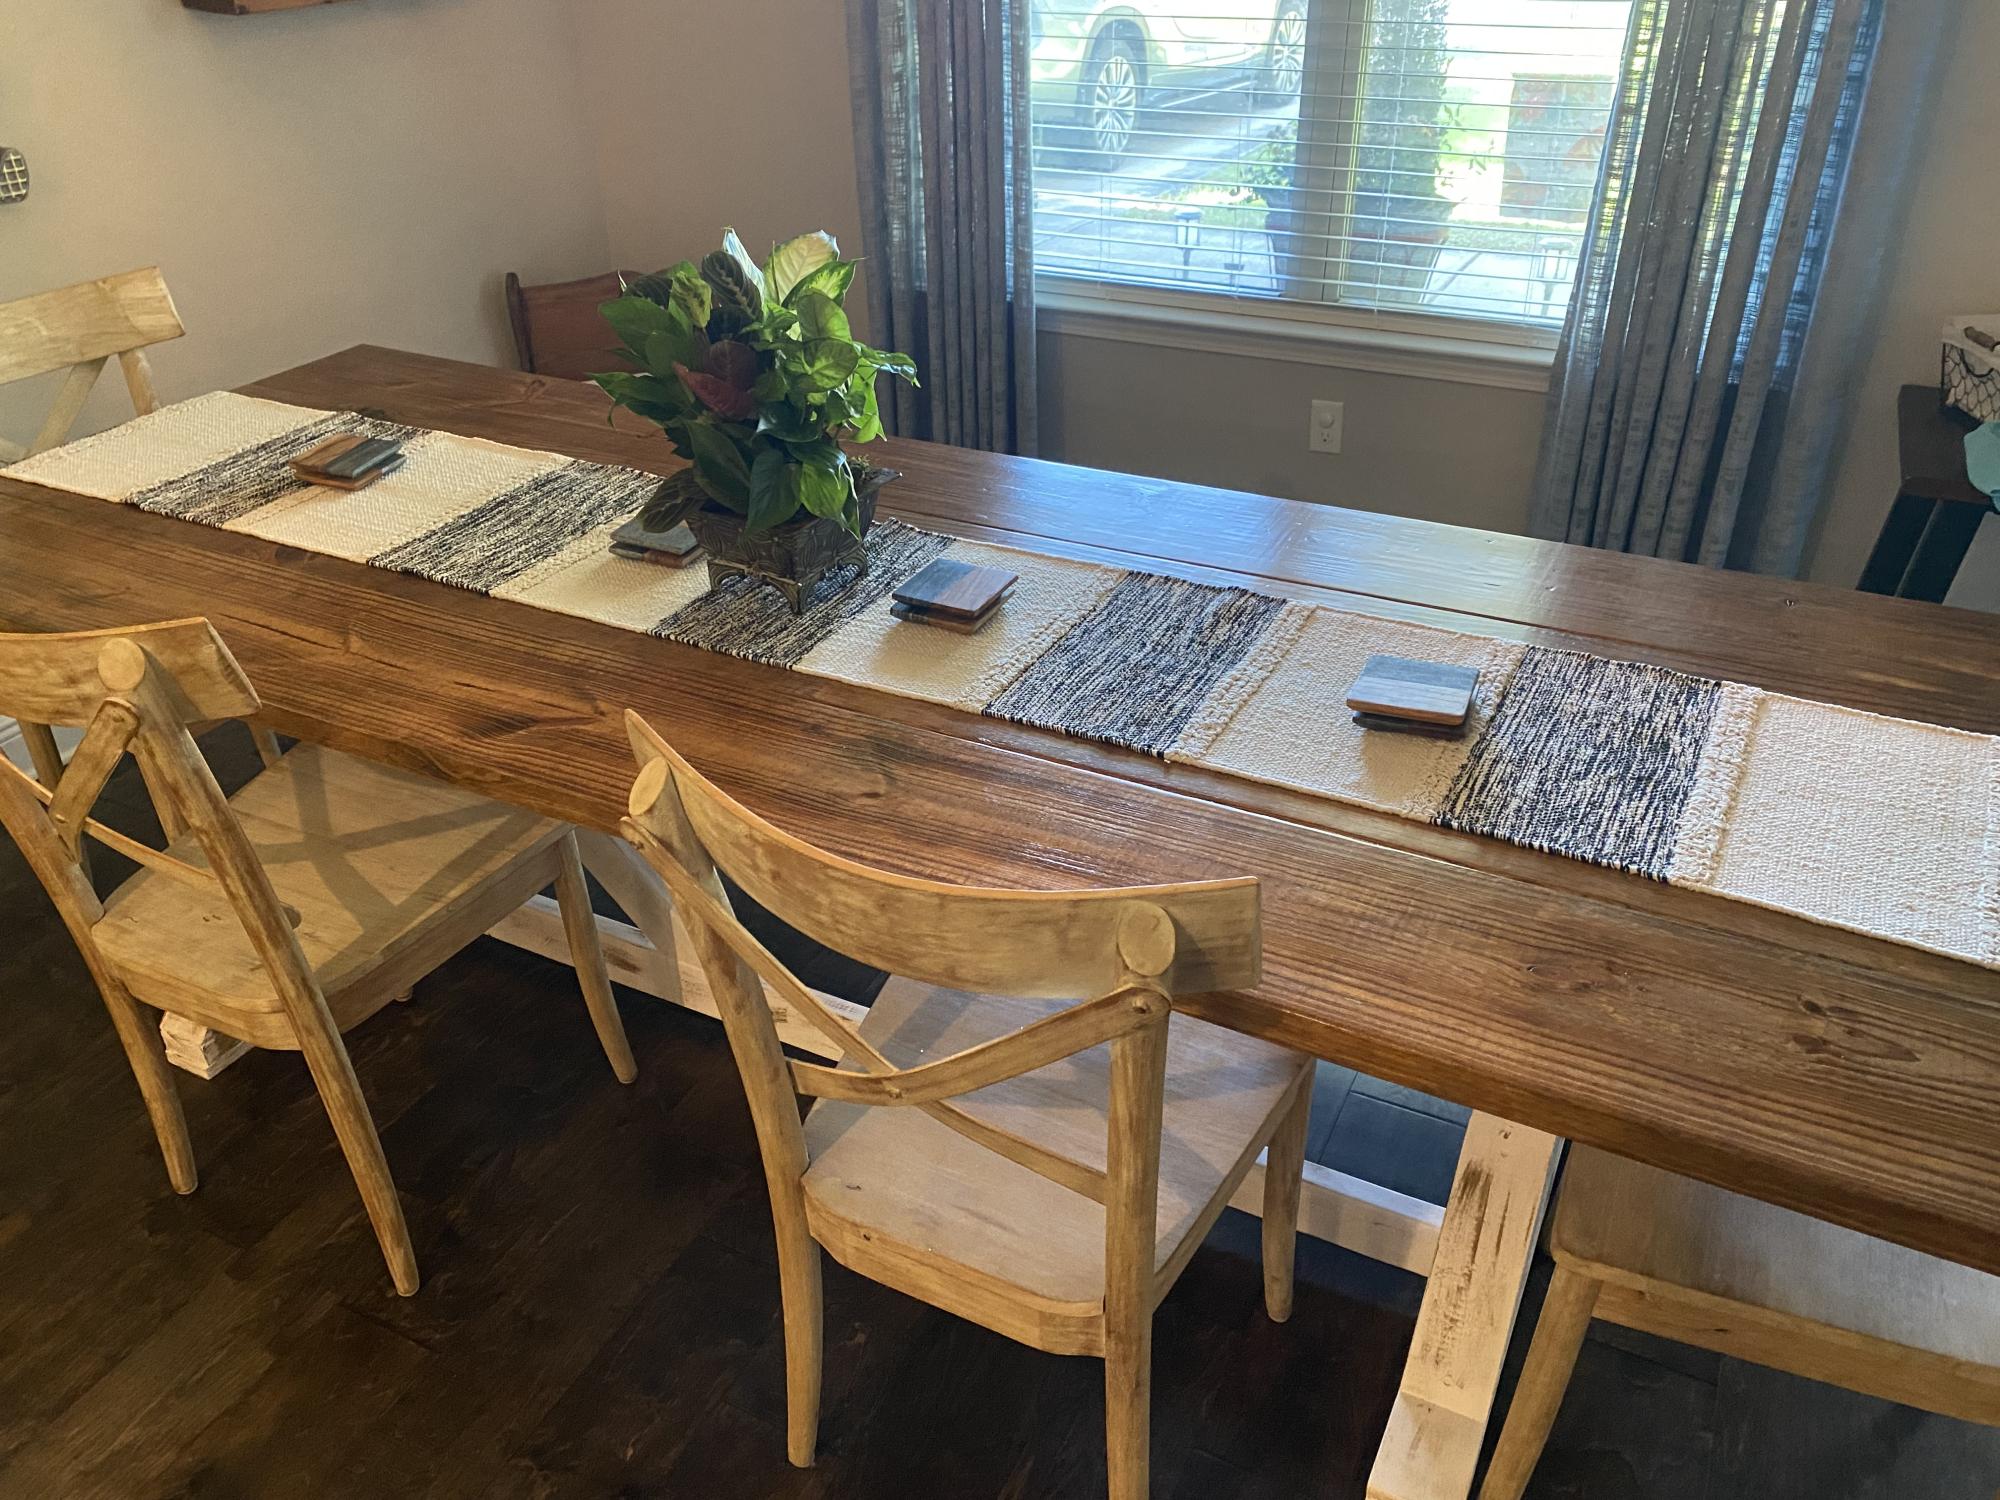
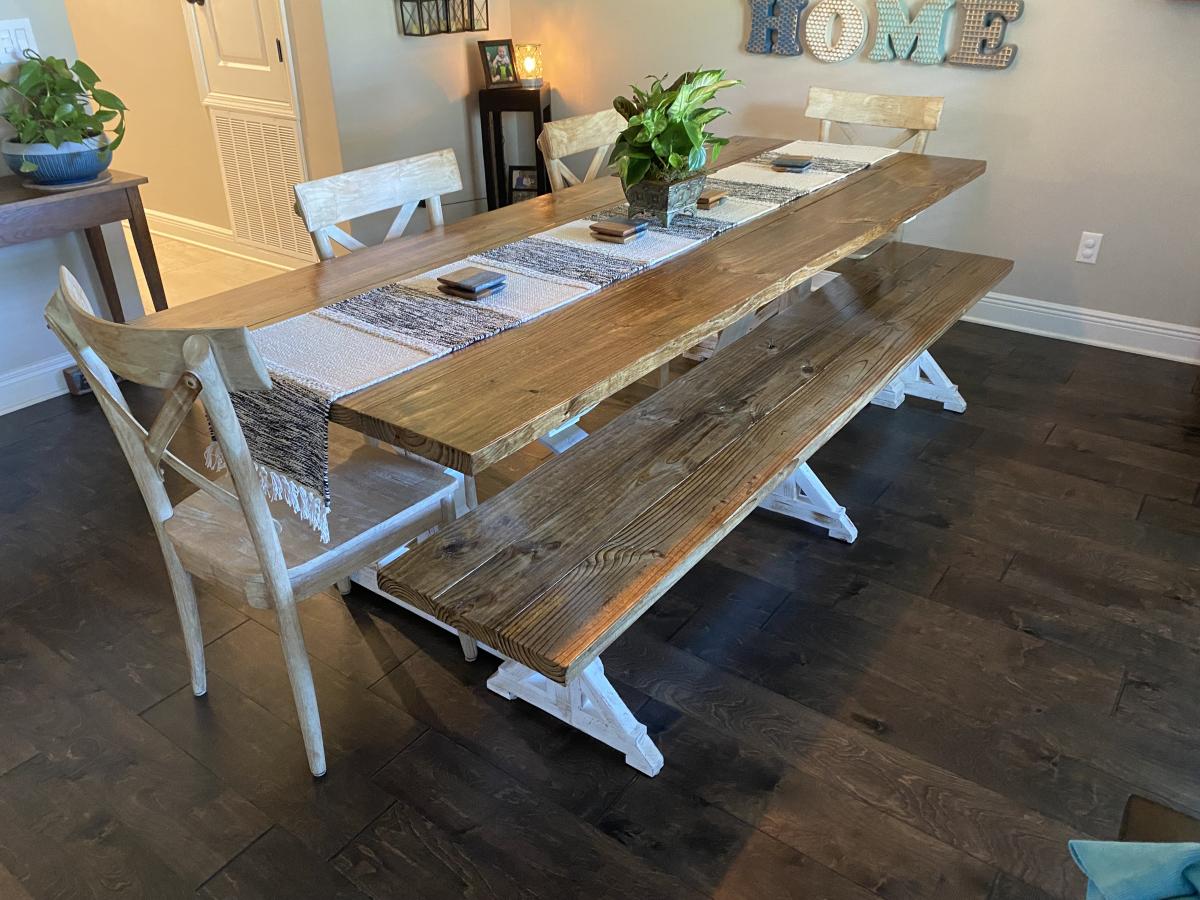
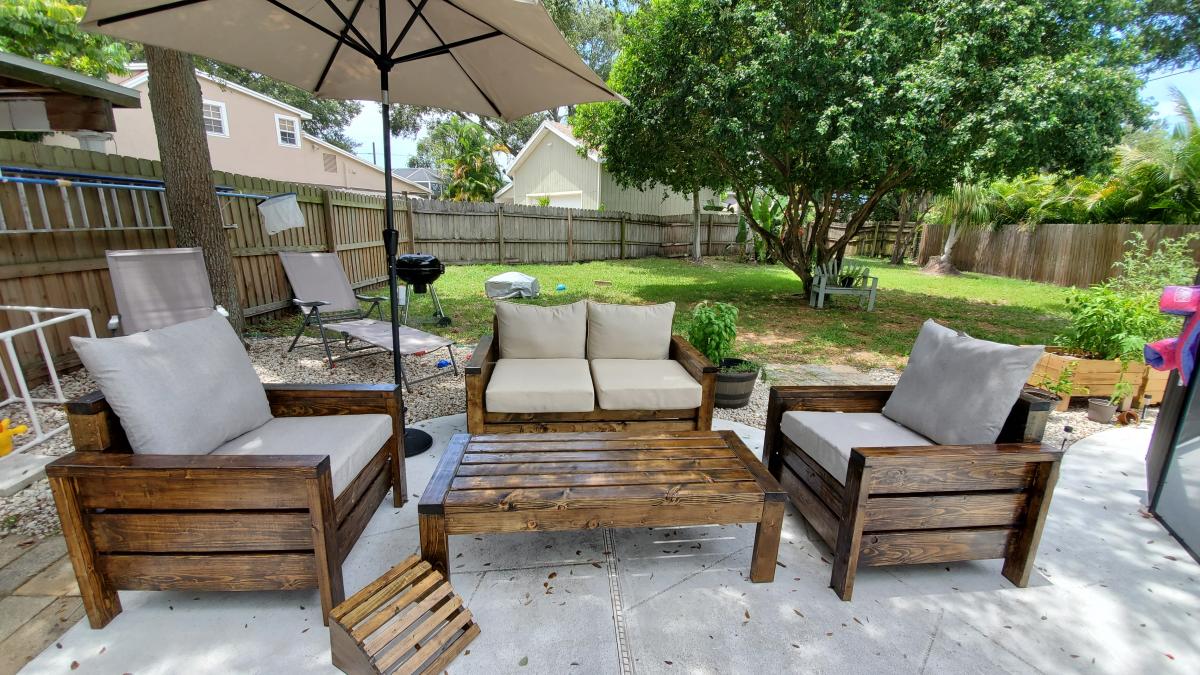
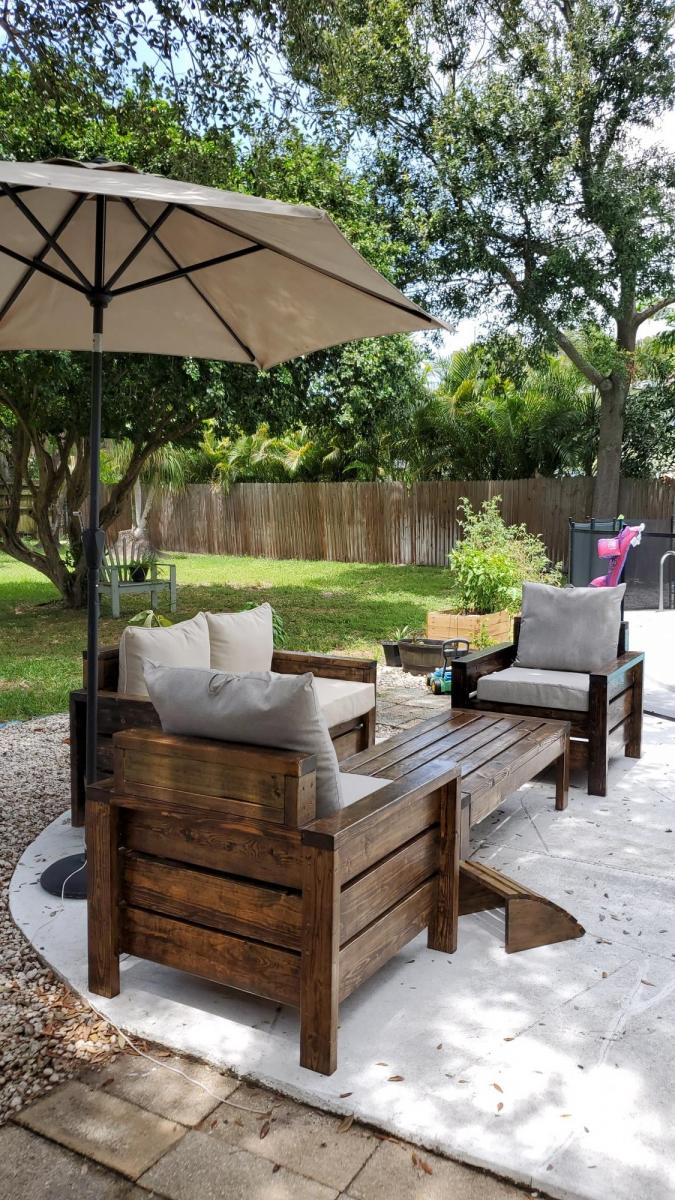
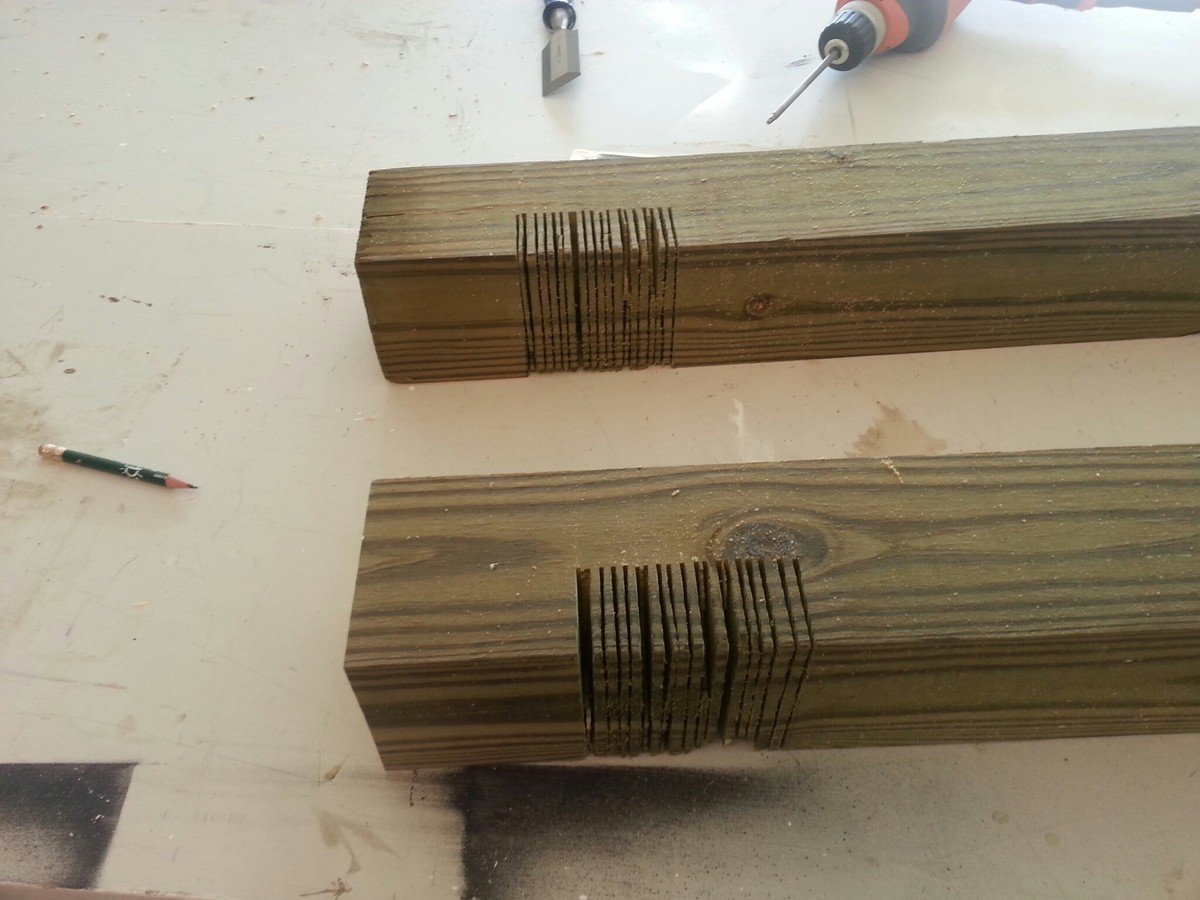
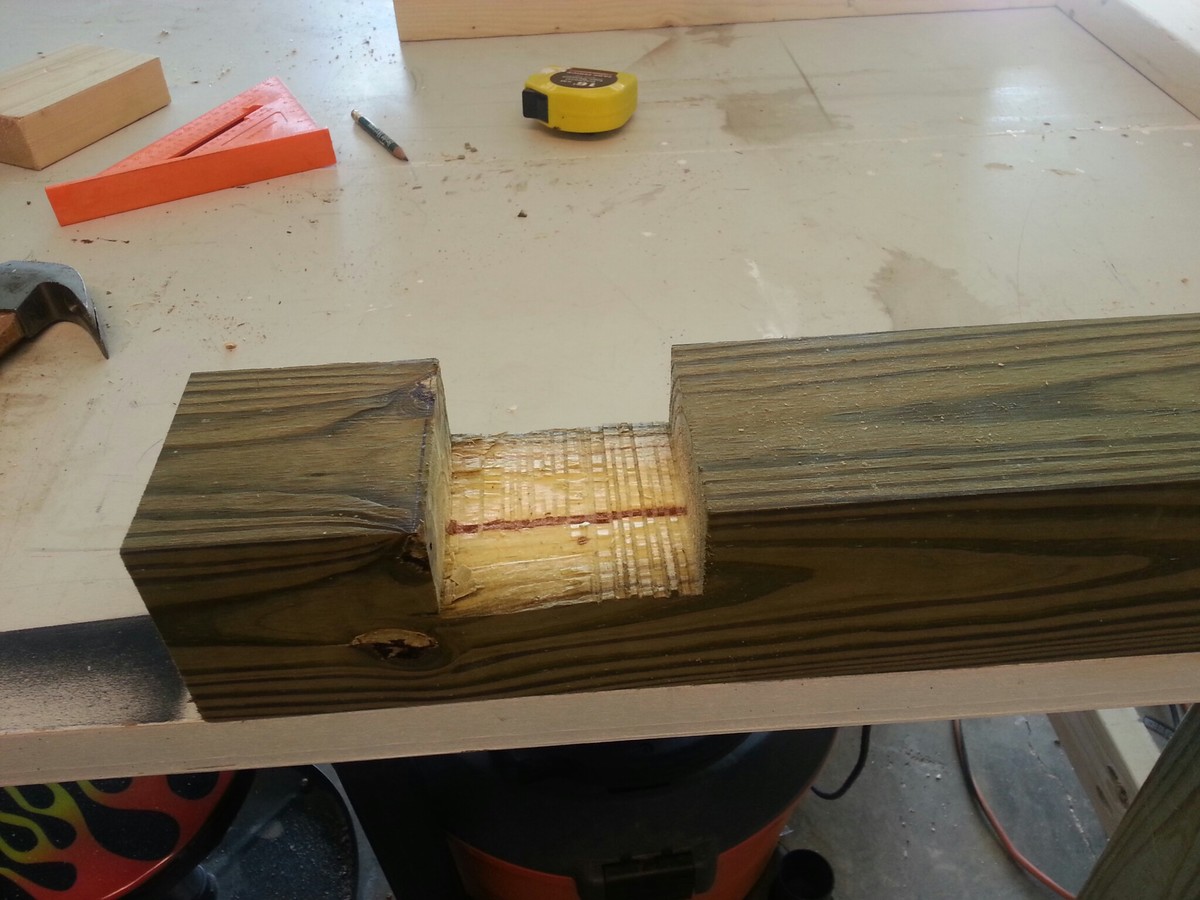
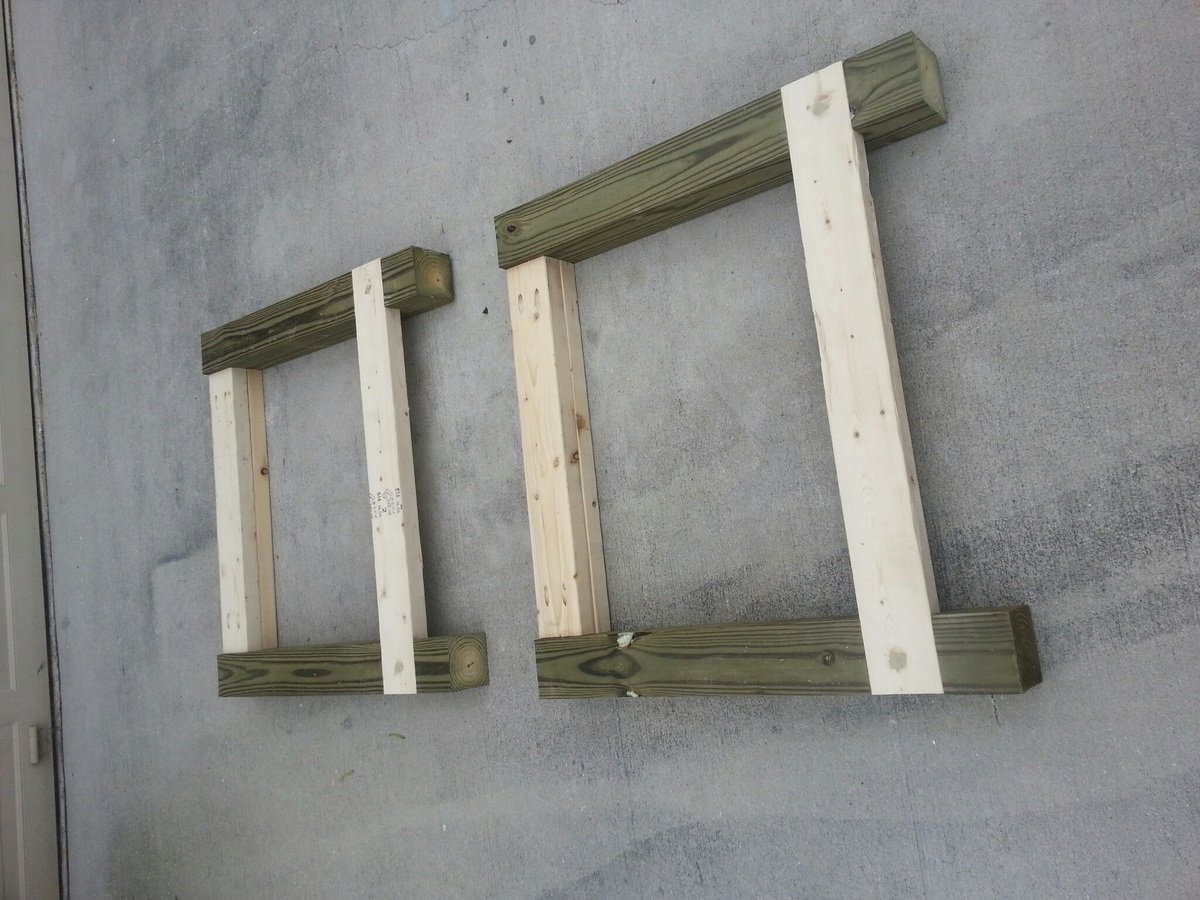
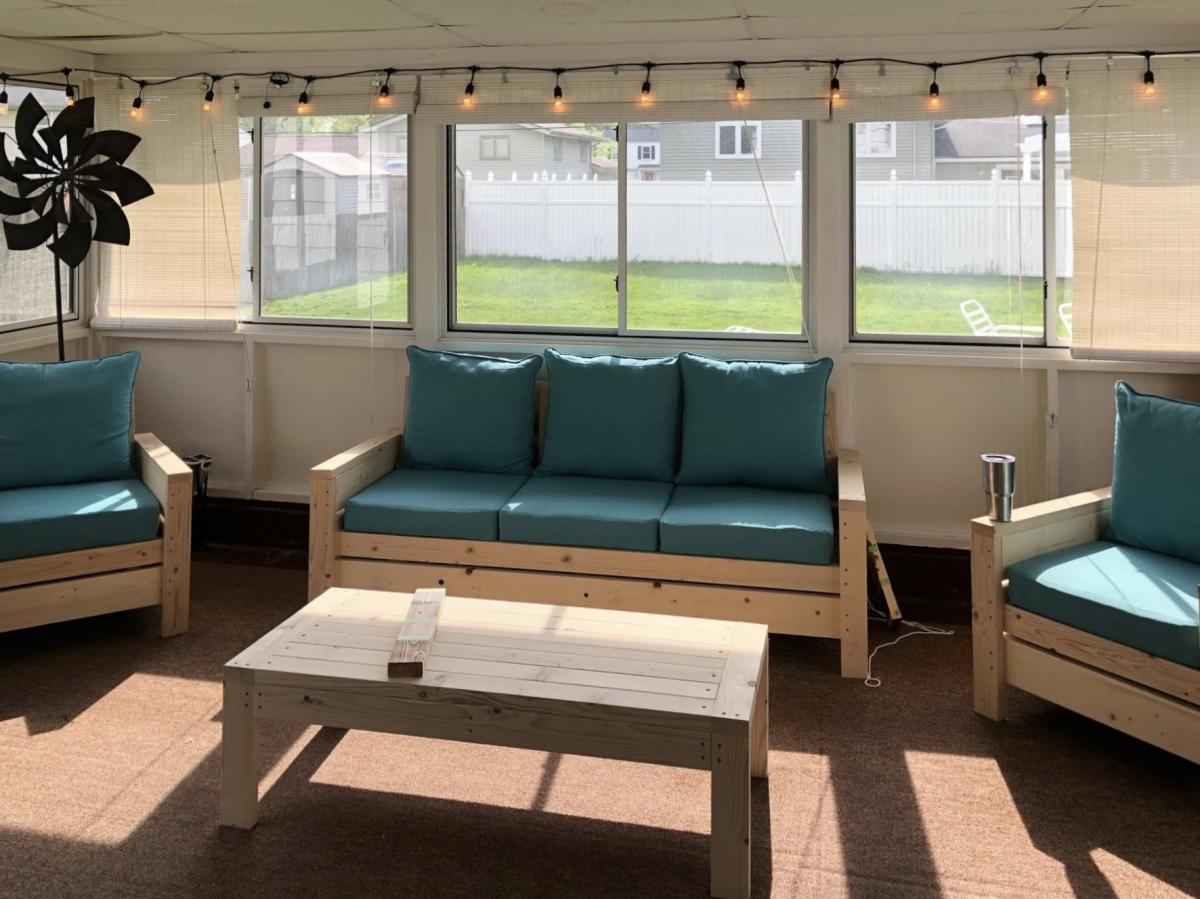
At the start of the COVID situation, I decided to make a furniture set for my three seasons room. I figured, i had all the tools, so why not. We used the Modern Chair and Modern Love Seat ( but extended the love seat for 3 seats). I added a middle support on the couch to accommodate the longer length. I also added the backs, because we found out that the cushions we ordered liked to fall off the back. I just made a 10 degree cut on 2x4's and added a 2x6 piece for the top of the backs. I also ripped a 2x4 down to make the table top close to seamless ( I did not properly join the 2x4's) It was a great project, my wife and i enjoy doing these projects together. We cant put a children's play set together, but we can create things from scratch.
Built from Plan(s)
Estimated Cost
$300
Estimated Time Investment
Weekend Project (10-20 Hours)
Finish Used
Varathane Stain ( Carbon )
Varathane Sparthane Satin Finish
Varathane Sparthane Satin Finish
Recommended Skill Level
Beginner