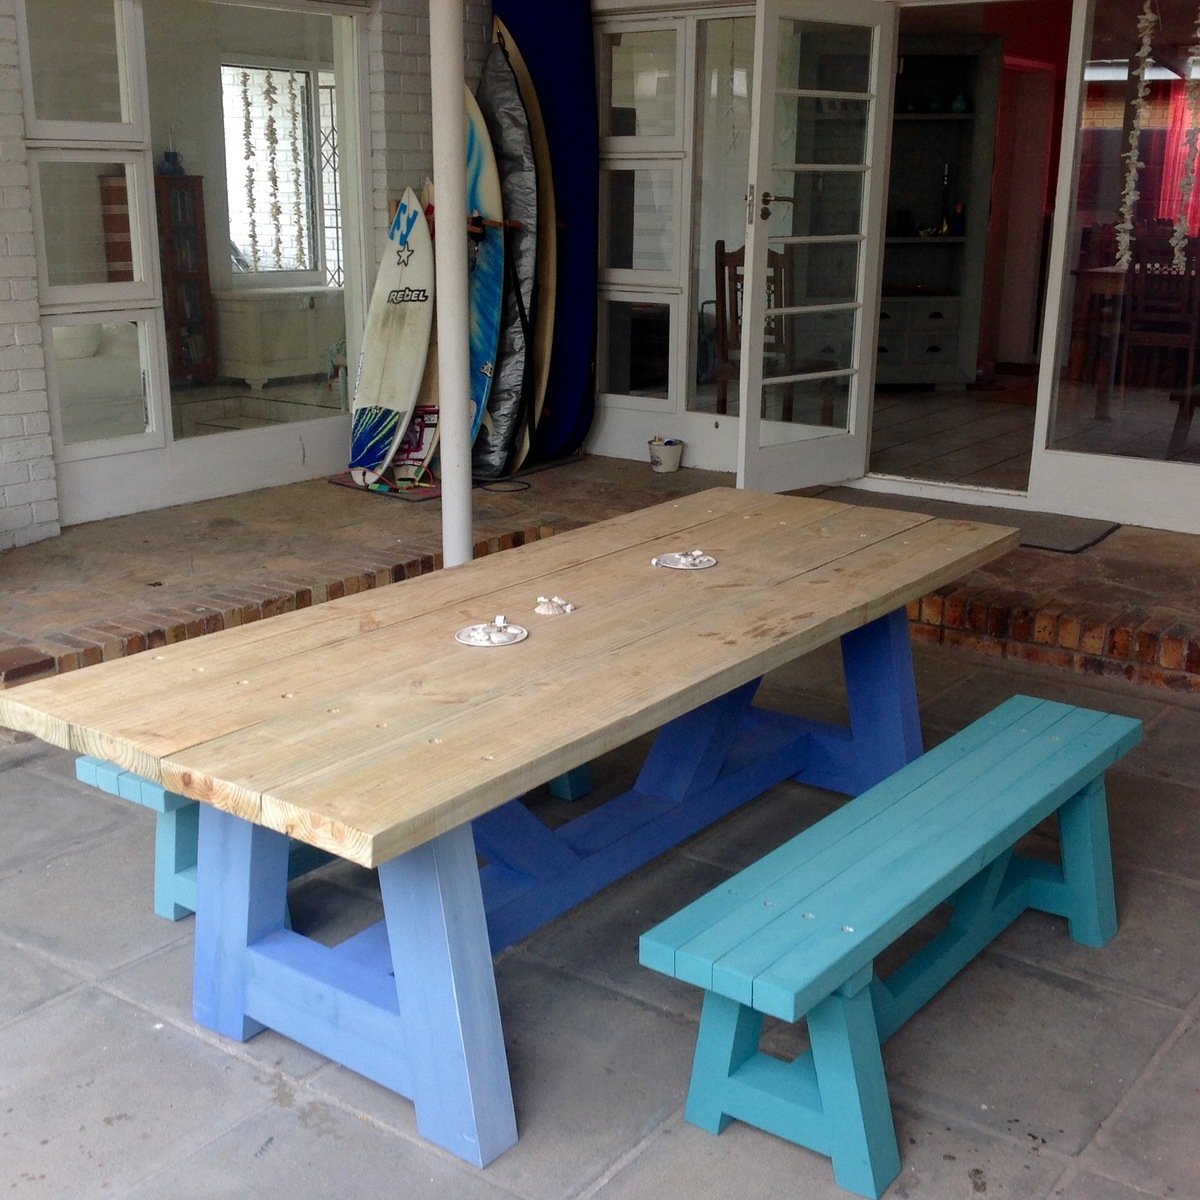
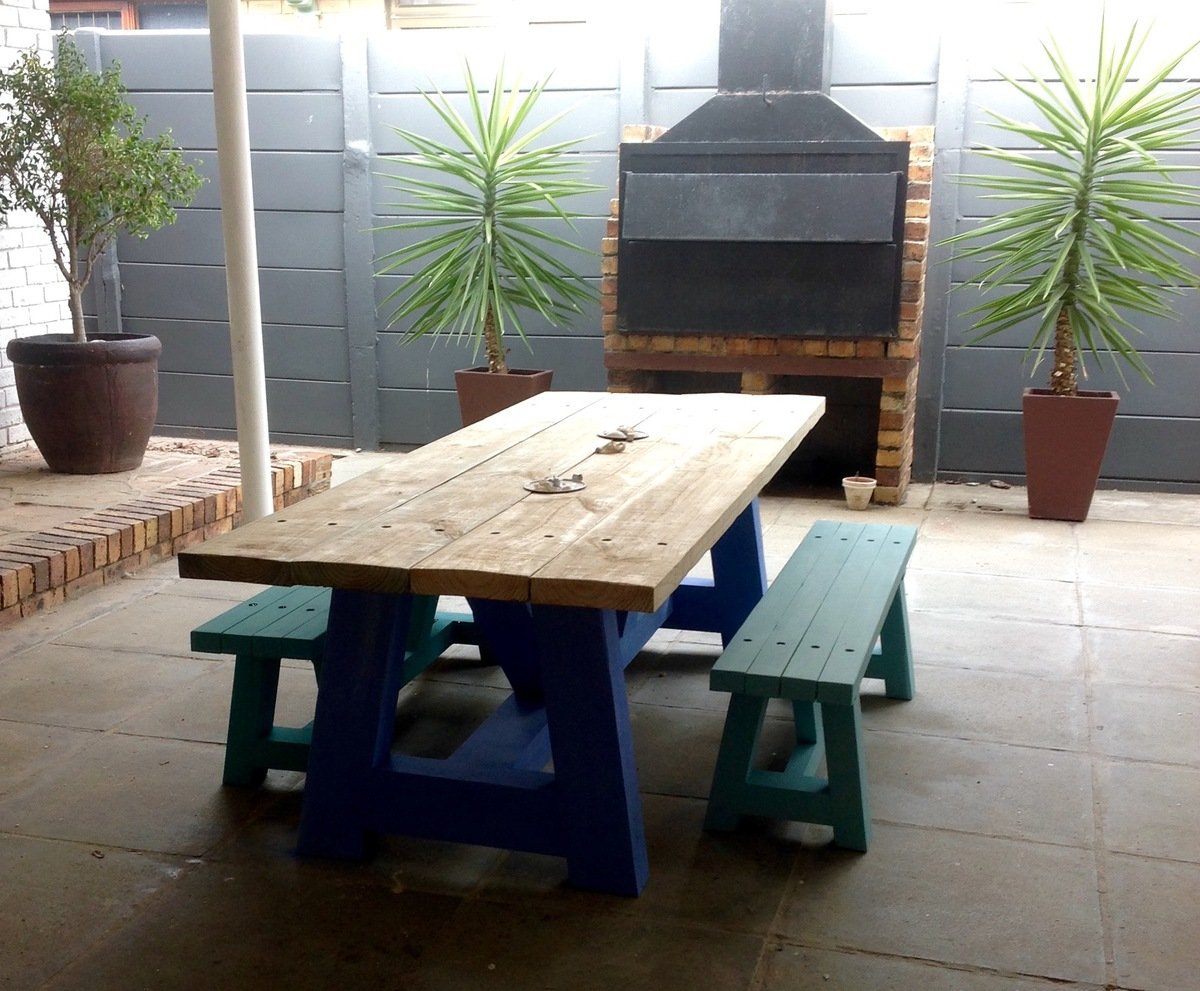
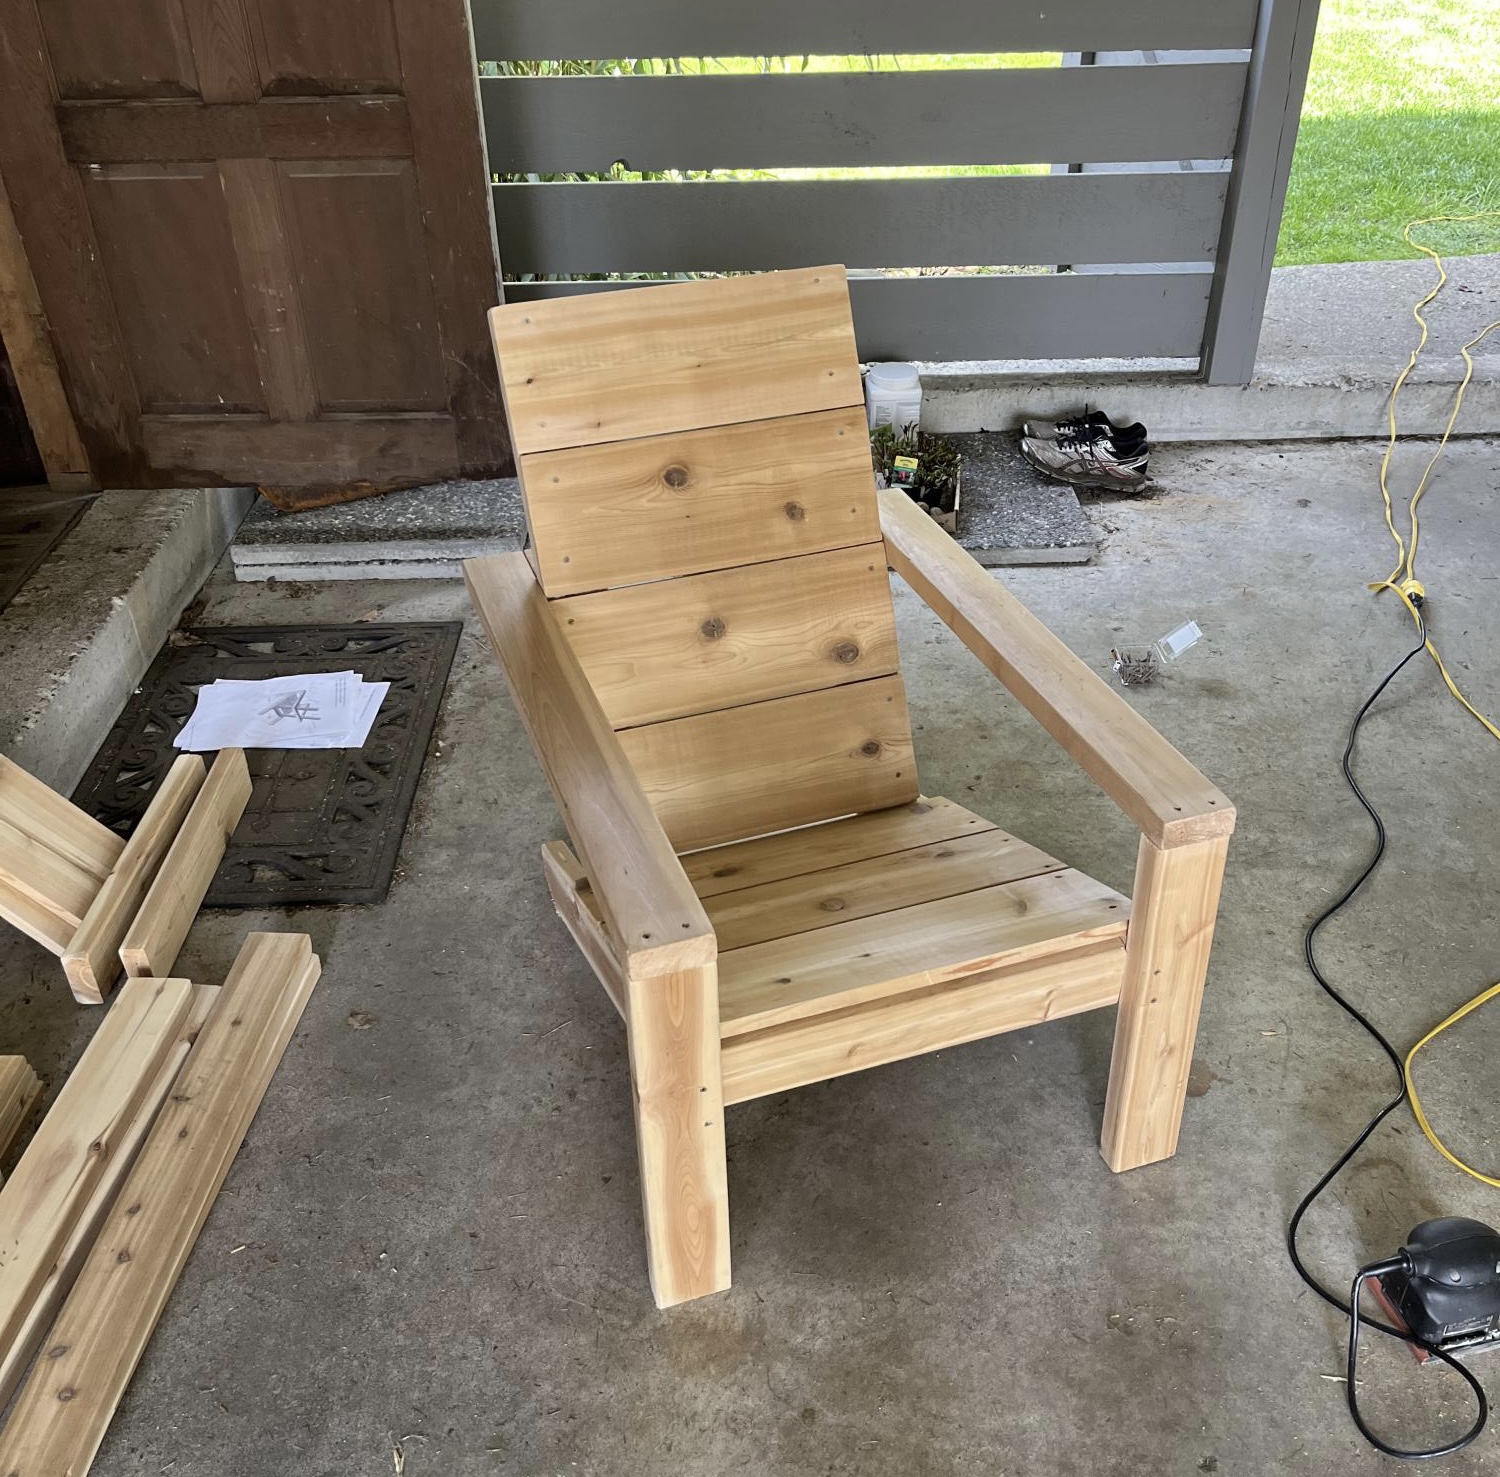
Looking for rustic outdoor table ideas, I came across Ana's website and the Providence Table and benches. When I saw it, I knew this was what we were after. After some more browsing I came across the 4x4 truss beam table and decided to rather go with the chunkier table. Although I’ve done a few woodwork projects, this was the most ambitious to date, especially considering that I only have a few hand held tools.
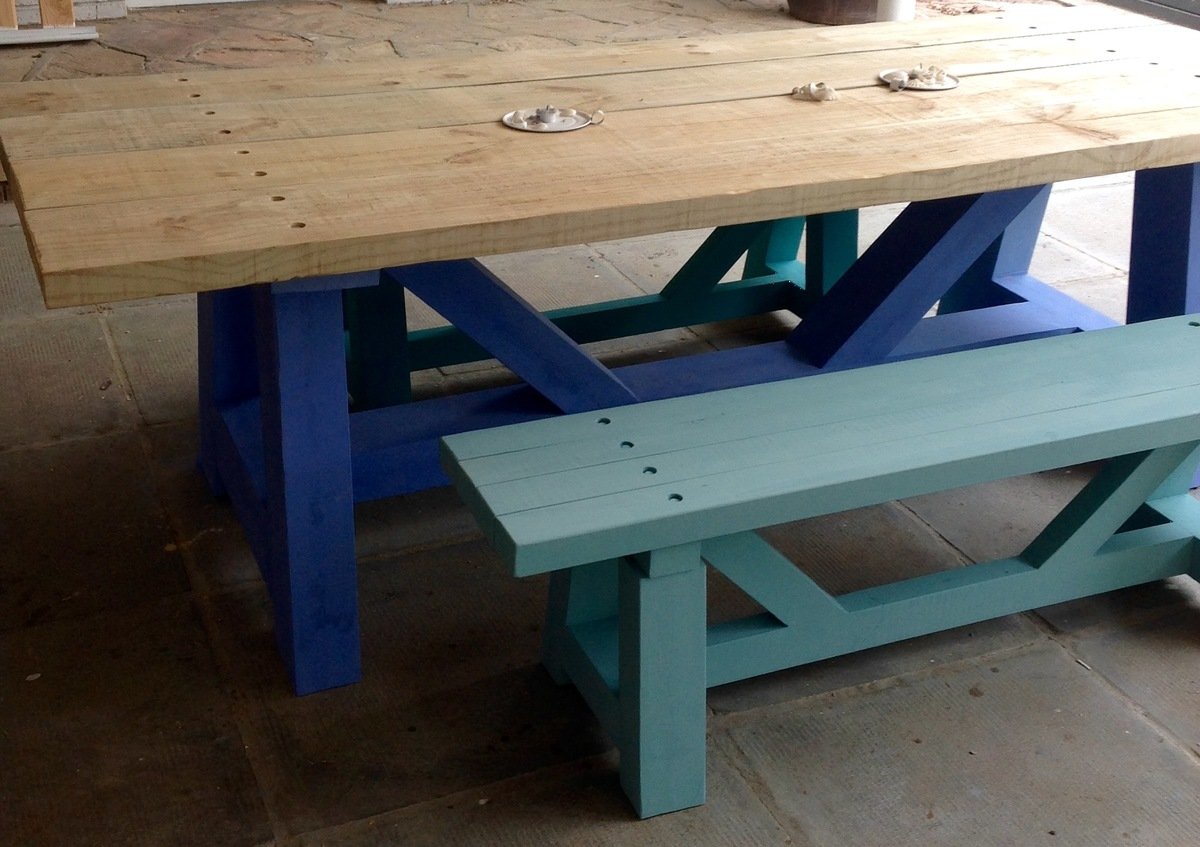
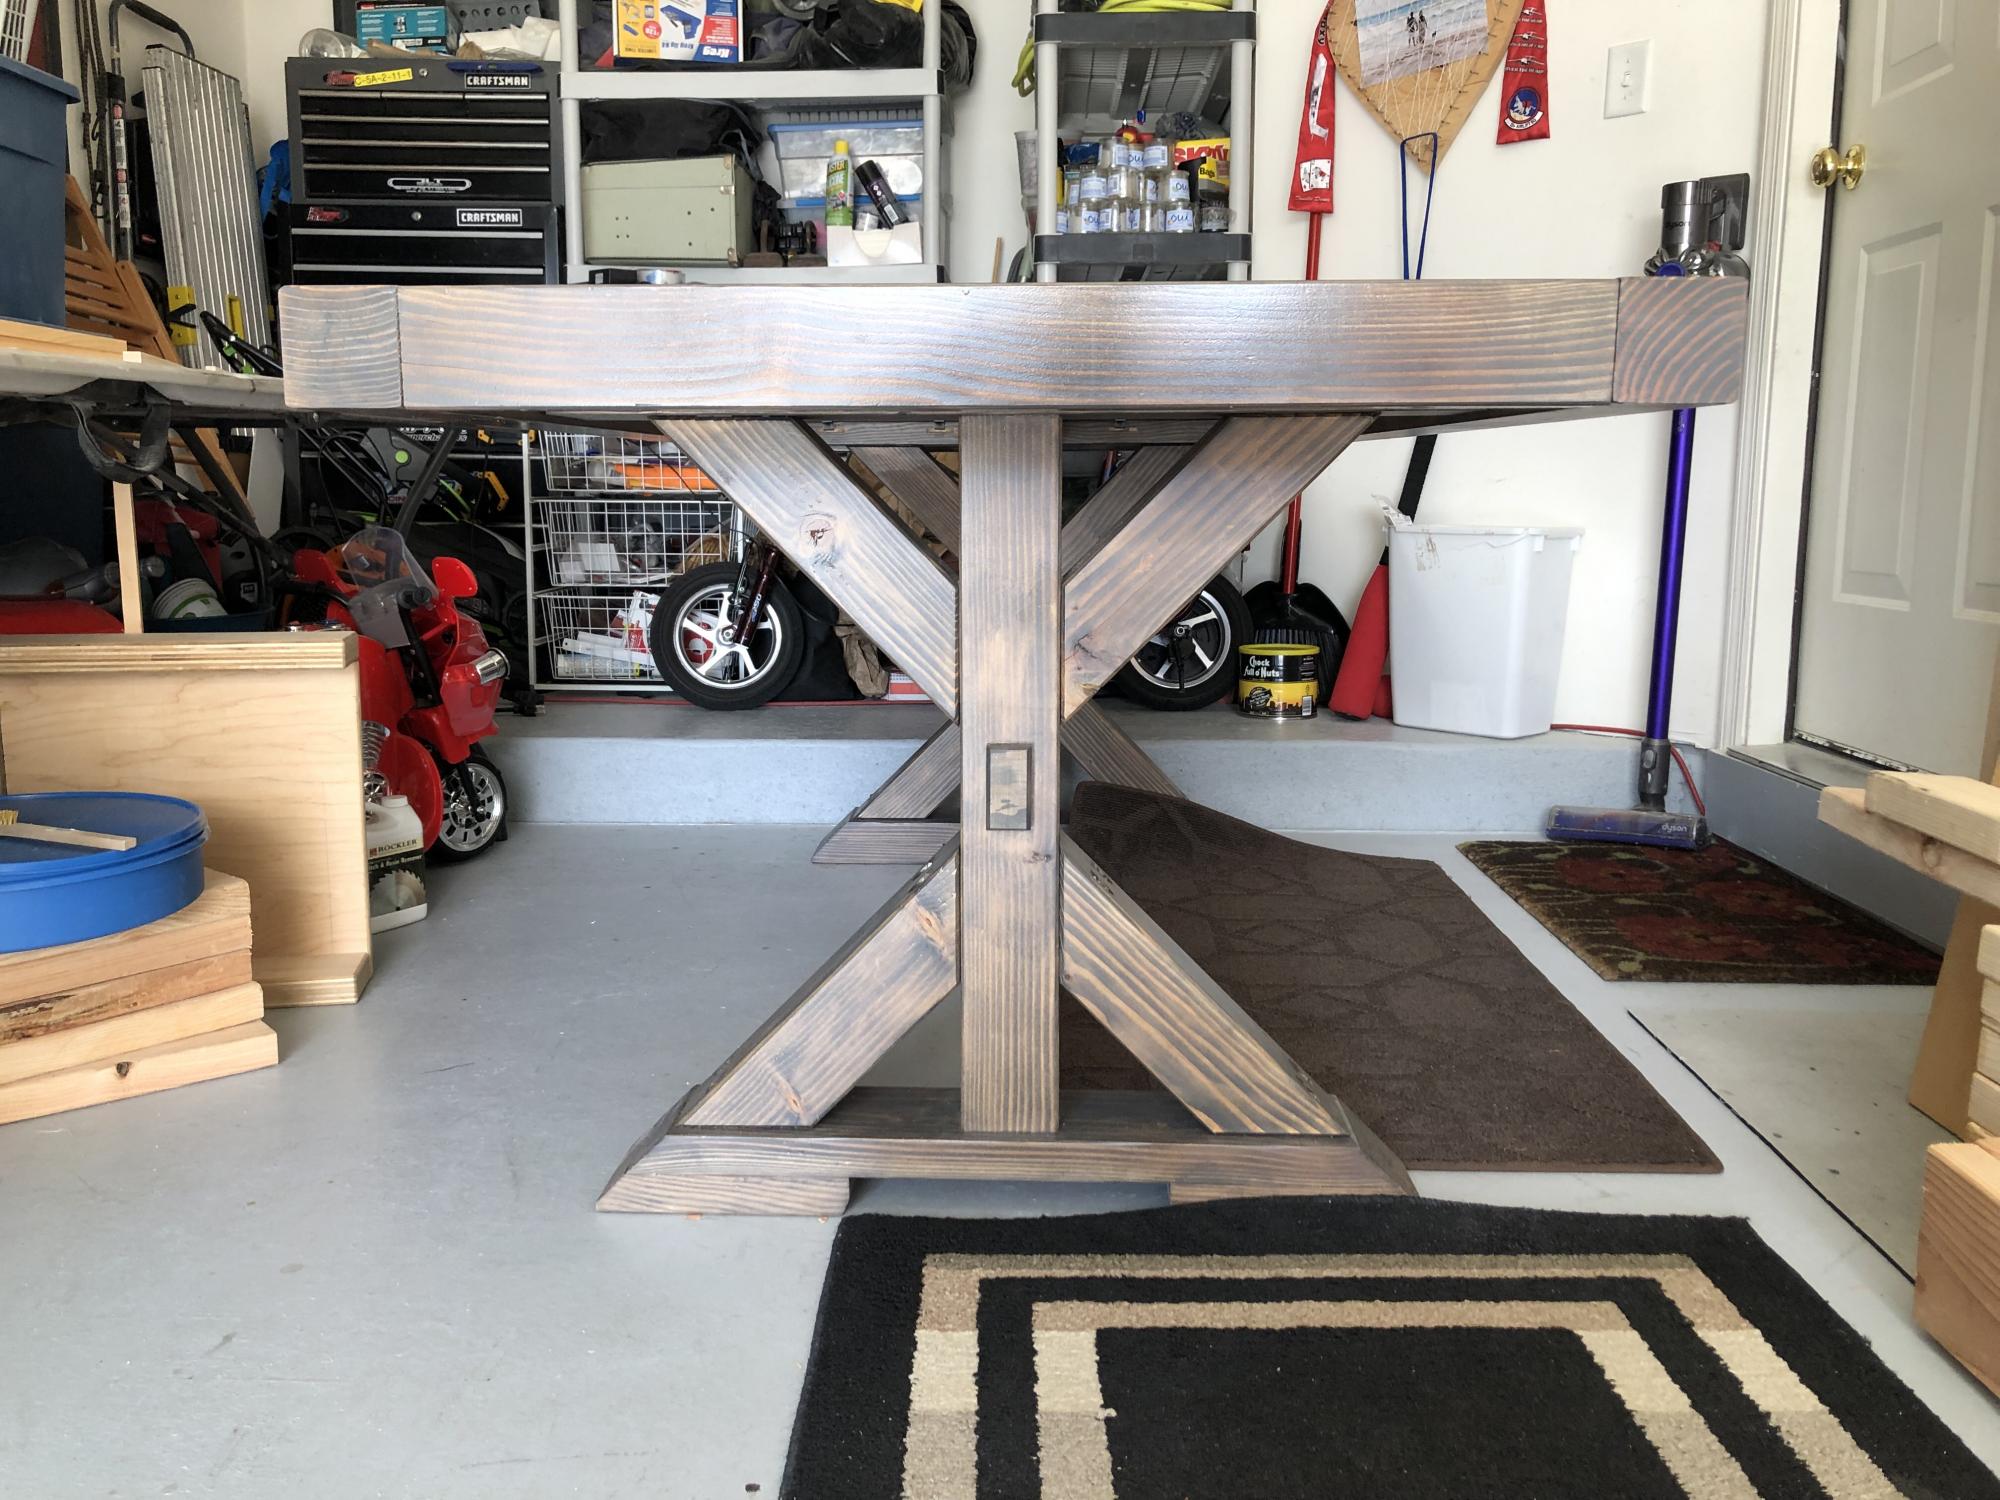
We live in beautiful Cape Town, South Africa - we work in metric, so all dimensions needed to be converted. Also, our locally available wood sizes are different to timber sizing in the States, i.e. we don't have 4x4 (100mm x 100mm) or 2x4 (50mm x 100mm) available, so it was a bit of a challenge to decide what to go for. In the end I decided to use 75mm x 50mm rough cut treated construction pine. It was cheaper, and I could end up with a REALLY Chunky table if I glued 4 pieces together! In order to do this, I need to amend the plans as if it was made from 6x4 beams.
So I started the process of cutting the 75mm x 50mm timber to rough sizes, gluing the pieces together, sanding the joints, filling the gaps with glue/ sawdust mixture and re- sanding for each member of the table! I took my time with this and did a bit each day after work. It was interesting watching YouTube vids on this build - the guy starts with perfect 4x4 timber pieces, cut them and assemble. For me just to get to the starting point took quite some effort, but I knew I would be very happy with the more chunky look.
Other challenges I did not fully appreciate when deciding on the REALLY Chunky size, was the cutting of these thick pieces of timber using hand held tools and how to join them!! You don’t get very long small drill bits for pilot holes, so ended up using self-drilling screws. Unfortunately the longest length I could find was 120mm (8.66inch) - so I had to counter sink them really deep into the timber - this was quite tricky!
Other things I did were to lower the original design table height as recommended by other builders on this site so I made the table height 750mm (29.5inch). It worked out very well for small children as well for adults (I'm 6ft2). Table length I made 2.4m (approx 8ft). For the table top I used 220mm x 50mm (8.66 x 2 inch) timber, once again due to the restrictions of locally available sizes. I also change the spacing between the legs in order to fit the benches under the table (1600mm opening to fit the 1550mm benches).
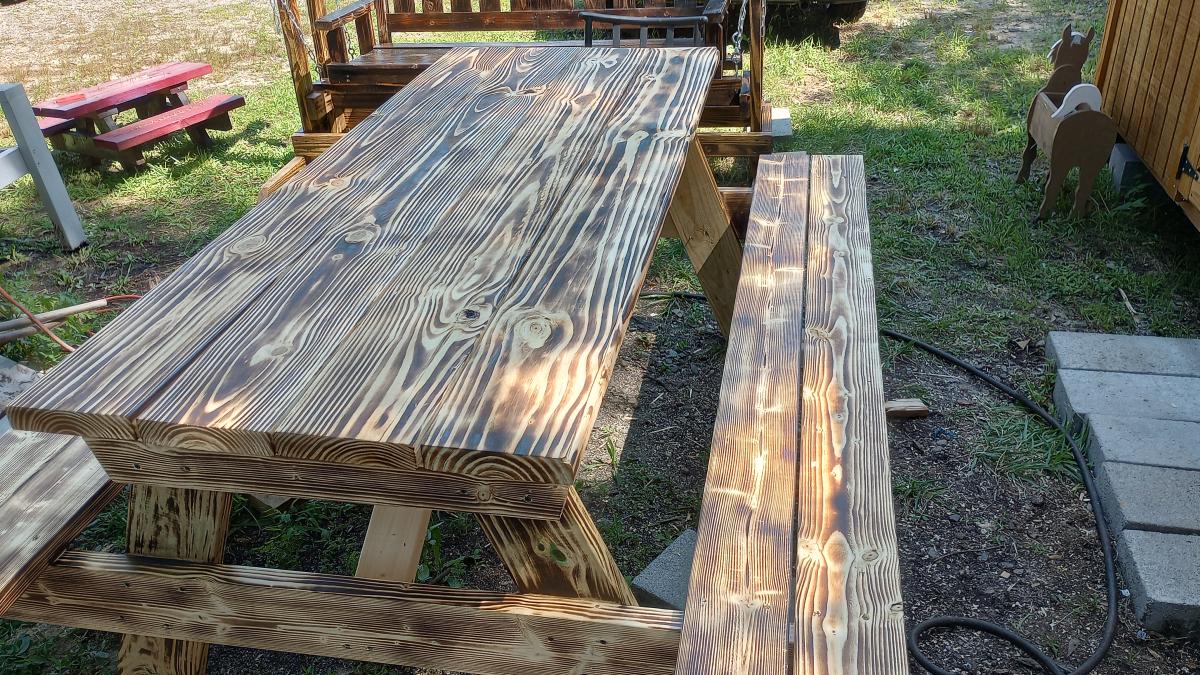
For the benches, I once again had to decide what timber sizing to use. I wasn't keen to go through the process of forming 6x4's for each bench member for 2 benches and also felt that it would look just too chunky for the short bench legs. So the design ended up being a hybrid between the providence bench- and the chunkier 4x4 bench design, using 2 pieces of 75mm x 50mm to create 100mm x 75mm (4 x 3.5inch) legs.
Other changes made to the bench design was to make the bench height 450mm (17.7inch), amend the overhangs of the seat, and change the overall length to be able to slide the bench in under the table.
The altered height of the table and benches really worked out well and we sit very comfortably at that table.
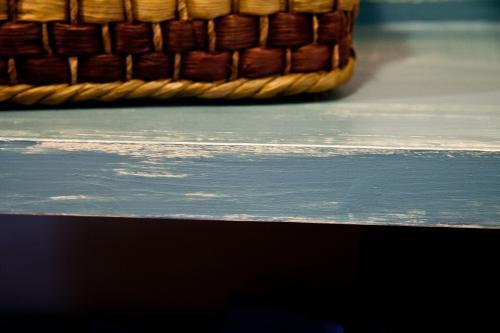
We used chalk paint for the finish, but as you can see, we're still deciding on colour choices and final look of the top.


Comments
Ana White Admin
Sat, 12/19/2020 - 10:30
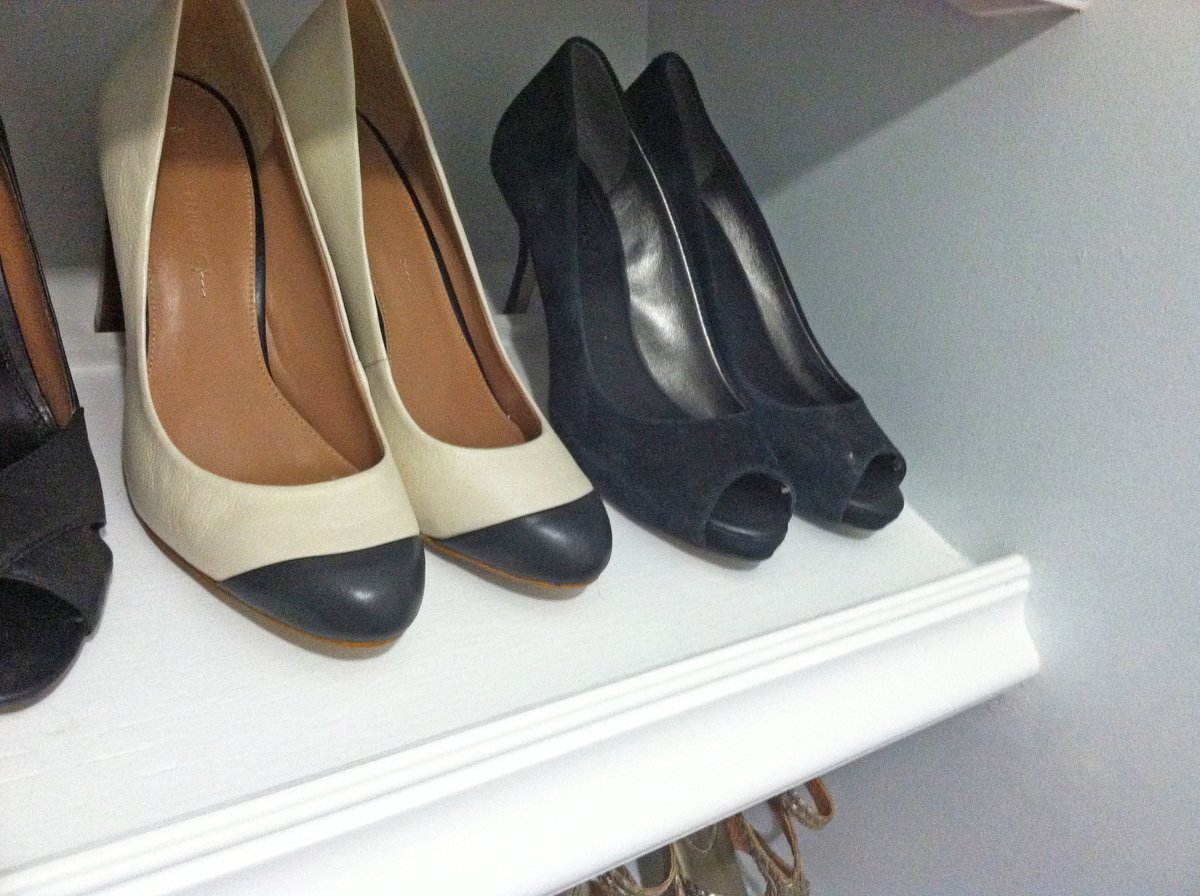
Lots of great workspace and storage!
Thank you for using Shelf Help! It looks fantastic:)