Green Adirondack Chairs

These are great chairs! Easy to build, comfy to sit in. Check out my blog post for more info.

These are great chairs! Easy to build, comfy to sit in. Check out my blog post for more info.
Rather than burning a few thousand on vanities for my bathroom remodel I decided to build them instead. The bottom shelf on the right slides out for a footstool so the kids can reach the sink.
Sun, 01/05/2014 - 20:55
These are so beautiful -- they really look like high-end rustic pieces. The slide-out footstool is genius. The distressing is fantastic. I really love your pebble art as well.
Would you mind sharing the stain color?
Wed, 02/03/2016 - 17:48
I drew this up in sketchup as I was planning to build one like this, but decided to do something different. Is there a way to upload a sketchup file?
I made this for my sister the day before her house warming party. It was a pretty easy build. I used wood glue and 2" nails. Using a nail gun, this came together pretty quickly. I do wish that I had wide enough clamps to hold everything in place while it dried, because there were a few gaps due to some imperfect boards. I used 104" stud length boards, so I only need to purchase 7 instead of 9. this was enough to make the cuts for the top and both leg pieces from each board. the price was the same and we had limited space in our van for boards, so this was a better option for us. I used a sprayer hooked up to an air compressor to apply the stain and was able to get in between the slats fine with this method, brushing over it as I sprayed. Luckily I chose the same color as her deck not knowing, so it matches great. Now I need to make one for myself! :)
Expecting our second child, my wife and I decided to do away with our guest bedroom and combine it with our office. The only problem was our queen bed took up way too much space and it didn't get enough use to justify the sacrifice. We looked at the wall bed options available for purchase and decided they were way too blah and very expensive. I then found the "A MURPHY BED YOU CAN BUILD, AND AFFORD TO BUILD" post on Ana's website (thanks for the inspiration)!
Using cheap pine boards, plywood, door hinges, vinyl upholstery and stain I constructed the wall bed you see here. It really wasn't that difficult but facing it took the most time. To give the boards a more rustic look I used a utility knife to shave off the edges/corners and stained them with the Minwax American Walnut water based stain and the Minwax White Wash Pickling. When this started we thought we were going to have to settle for something unattractive and less than desirable. Seeing it in our office now, we love our new bed and actually think it makes the room look much better! I didn't keep track of costs, but it couldn't have been more than $150.
Tue, 07/08/2014 - 08:08
Looks great! May I ask what the final outside dimensions were? Curious to see if this would work for me.
Thanks!
Wed, 08/06/2014 - 09:23
I would have to measure it when I get home... at work currently. Looking back, I think the best approach is to take the measurements from the plan, find the difference between standard mattress and queen mattress dimensions (check wikipedia for standard sizes), then add that difference back to the plan. I cut it real close on mine and could use a little more space. It would be nice to make it a bit deeper and with some head room to store comforters and pillows.
Sat, 03/21/2015 - 08:32
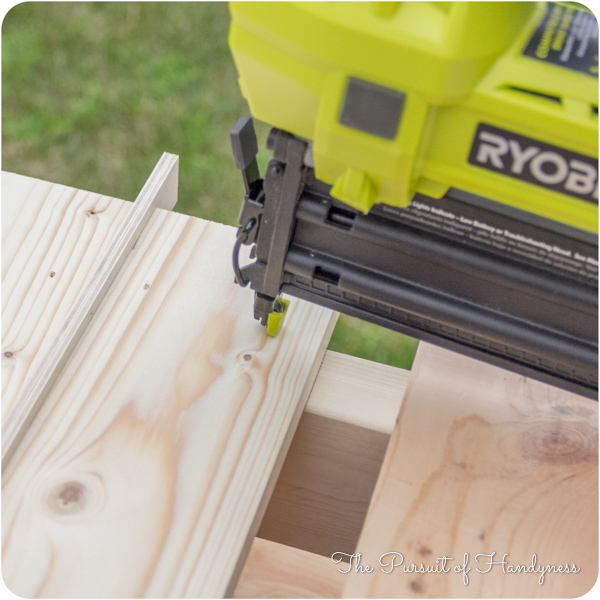
To fasten the facing I used wood glue then a Ryobi 18ga nail gun. It's part of their 18v One+ line and works great!
Sun, 12/28/2014 - 12:59
I am dying to get started on this wall bed project. I keep getting this message when trying to open the Plans.
The page you are looking for is temporarily unavailable.
Please try again later.
can someone help me find them.
Sun, 12/28/2014 - 12:59
I am dying to get started on this wall bed project. I keep getting this message when trying to open the Plans.
The page you are looking for is temporarily unavailable.
Please try again later.
can someone help me find them.
Sat, 08/15/2015 - 12:05
did you ever find the plans?
I'm having thee same problems
Tue, 08/09/2016 - 15:24
Hi. I would love to try this. Looking to build in the next month before parents in law come over. Is there any working links to the plans??
Wed, 01/24/2018 - 21:42
WHERE CAN I FIND THE PLANS, MATERIALS LIST AND DIMENSIONS? THE ATTACHED LINK TO YOUR ARTICLE LEADS TO A TWIN SIZE BED. THANK YOU
Thu, 01/25/2018 - 06:30
is there a link to the plans? I can't find them and I really want to make this
Slight variation on Ana’s Potting Bench. I lowered the bottom shelf and added a middle shelf with wood from a gate we removed. I’ve received many compliments. Thanks, Ana!
Kathy Joy
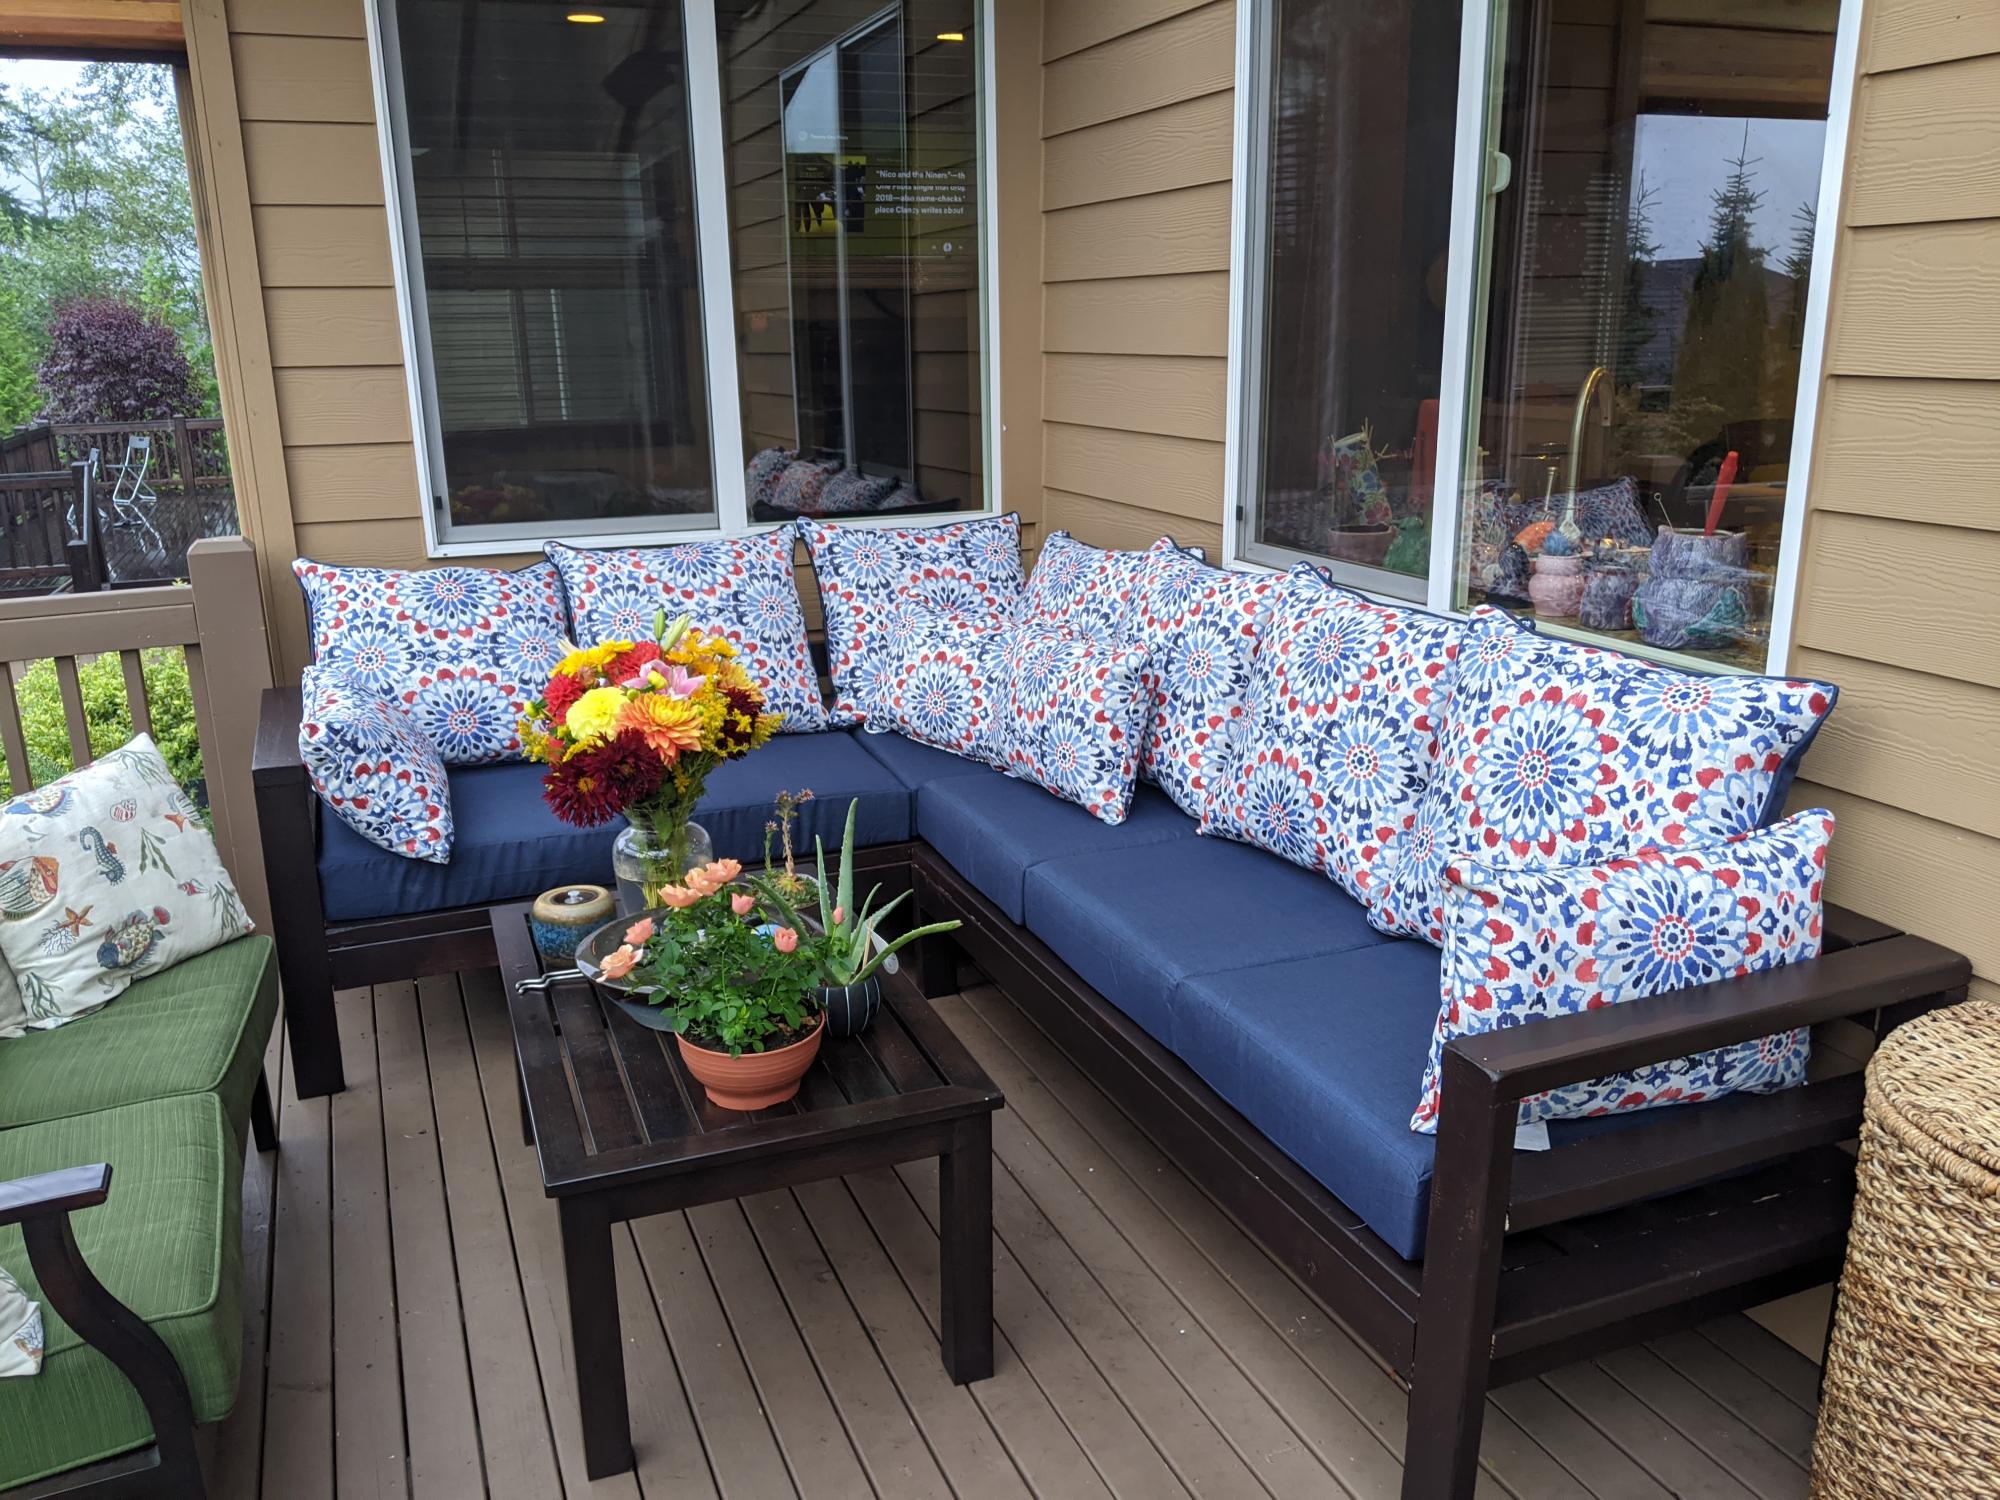
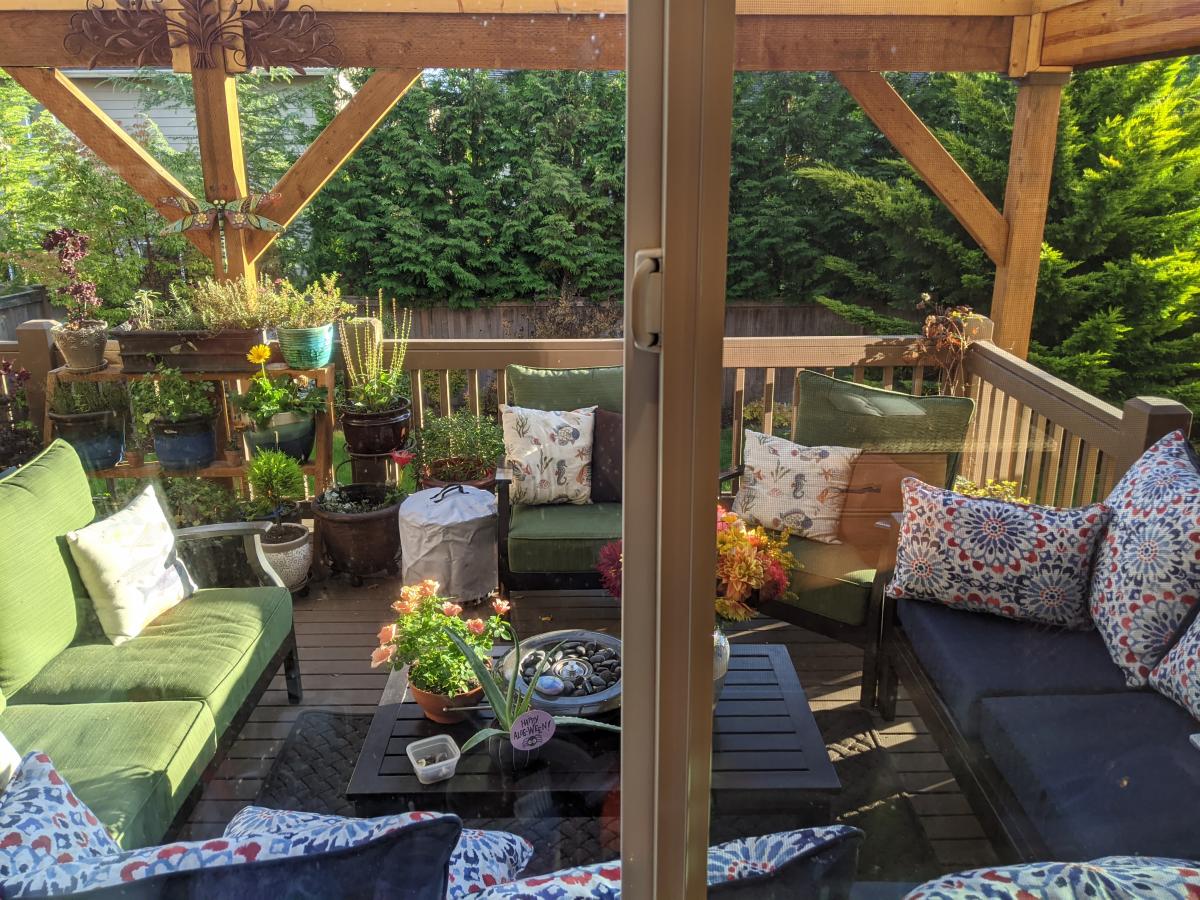
Loved these easy to follow plans and love our outdoor living room!
Potting Bench Build! 🪴🛠️❤️
.
Another project I’d been working on 😍💪🏼 I love building things and woodworking. Been wanting to build a potting bench for a couple years now. Finally decided to do it. Found a little plan on Pinterest by Ana White, headed to Home Depot, and bought a bunch of 8ft 2x4s and 1x4s. Customized the plan by adding additional shelves, lattice-like backing, hooks, and knobs.
Had a bunch of leftover paint and stain, finished it off with a few coats of spar urethane. - Kendra
I have made several things from Ana White plans. This time it was the Double Wide Chicken coop. It was a pretty easy build. Added lots of my own things. I added roosting bars on the inside, a board to keep shavings in and a vinyl floor. (Sorry didn’t take photo) Also an auto door and some lights. Still plan to add 2 windows and an exhaust fan. Monique Curry Facebook Community
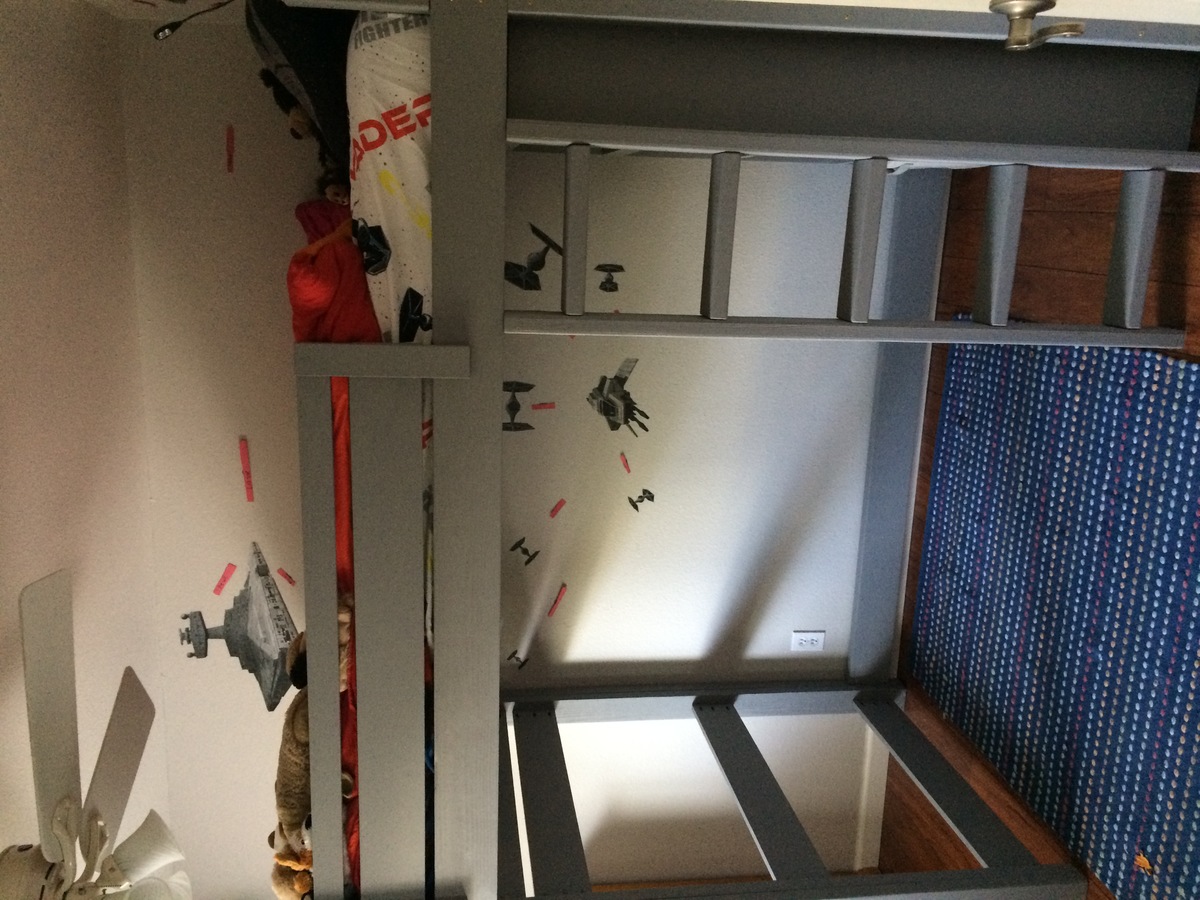
I built this bed when my kids and wife were away on vacation (again). It was for my youngest (3 1/2 yrs) who loves, or shall I say loved Minions. I had one month to get it done. Room is small so I designed it with the stairs on the front. I ordered minion stickers and cut out the shapes from plywood then glued the entire sticker. The figures also serve as support for the rails.
On the side of the stairs is a storage area while on the inside there's an opening with another storage area for chalk and toys! There's a chalkboard inside the playhouse and a low voltage light. I left the side to the wall open which would allow using the bed in different configurations such that another bed would sit below it perpendicular to the top. Just an idea.
Bad news is, after the initial day of excitement when she saw it, she asked for her toddler bed and didn't want Minions any more!
The good news is that I lost about 15 lbs working on it part time after work!
The stairs are not yet finished as I will do two drawers and a shelf.
Unfortunately I never had time to put the design to paper. It was all in my head mostly done during my commute to and from work. I had a couple of big goof ups as a result as you would expect.
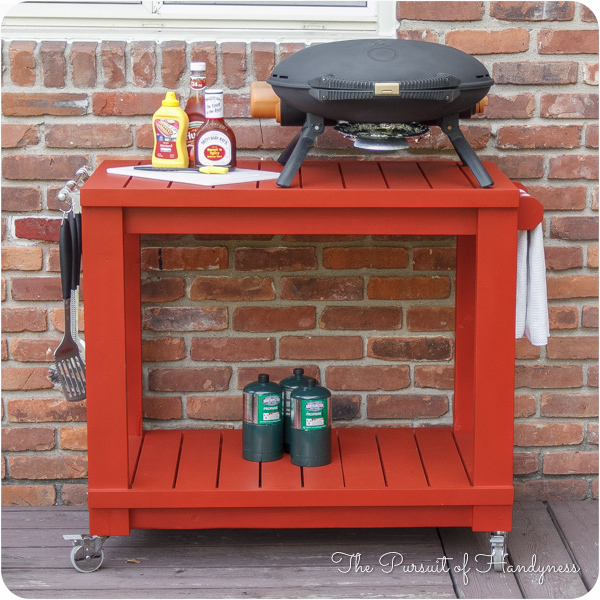
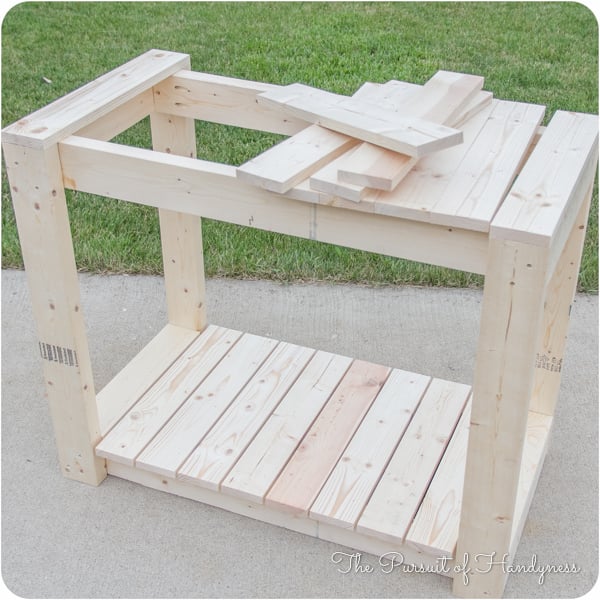
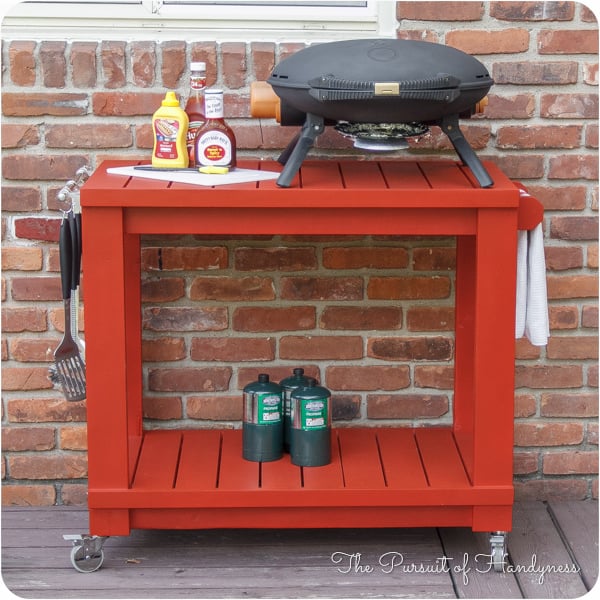
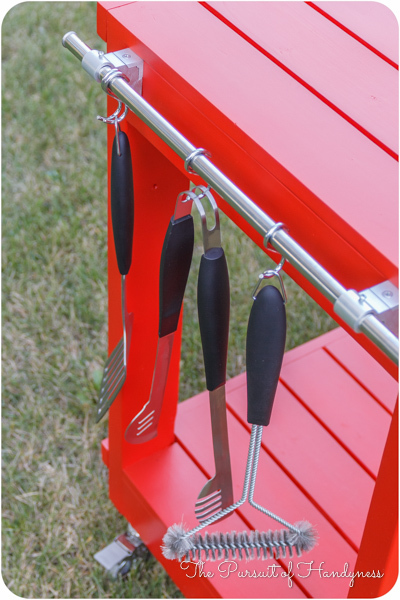
I made this table to go next to an outdoor grill to be used as a food prep area or just a surface for holding ingredients (instead of using the deck railing!). The top is stainless steel which fits tightly over 2 3/4" pieces of plywood laminated together. The bar/handle in front is made out of galvanized pipe. All wood was treated.
Legs - 4x4 posts
Bottom shelf - 1x6's
Sides - 1x4's
Top - 2 pieces of 3/4" plywood laminated together with a stainless steel top (custom fit) over top
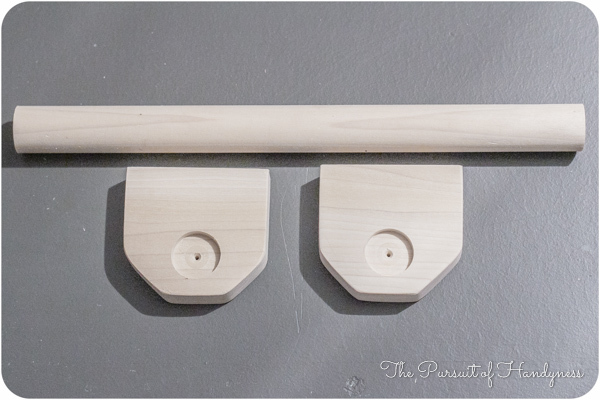
Towel bar - galvanized pipe (cut and threaded to size at Lowe's), floor flanges and 90 degree elbows
Thu, 05/15/2014 - 10:33
Sorry about the late reply! Yes, I just gave my dimensions to a local steel supplier and they made the top. I think I have about $40 into the stainless. They didn't weld the corners but I've never had an issue with them.
Sat, 04/26/2014 - 15:41
I too would like to know your source for the sheet metal.
In reply to Stainless steel sheet metal by Pursuit of Handyness
Thu, 05/15/2014 - 10:35
I just found a local steel supplier, told them what I need and they formed the top. It cost me around $40 (without welding of the corners). I took a fine grit sandpaper to it afterward to scuff it up so it didn't look so bright.
Wed, 04/30/2014 - 12:55
I would like to know are there any plans available to make this table? I am very impressed of its design.
In reply to Grill table with stainless steel top by AMR4412
Thu, 05/15/2014 - 10:46
No...I didn't have any plans when I built it but it's a very simple concept. I chose to use all treated wood since I knew it would be sitting outside unprotected. However, my 4x4 posts weren't square so this caused a lot of problems and everything was built to fit. I believe I just used 4x4's, 1X6s (for the bottom shelf) and 1x4s for the sides (top and bottom). For the top, I just laminated 2 pieces of 3/4" plywood together to bulk it up and then had the stainless top built to fit. It fit perfectly so I didn't glue it to the plywood. This makes it easy to remove and clean, if necessary. For the galvanized pipe (towel bar), I bought it at Lowe's and had them cut/thread it to fit my dimensions.
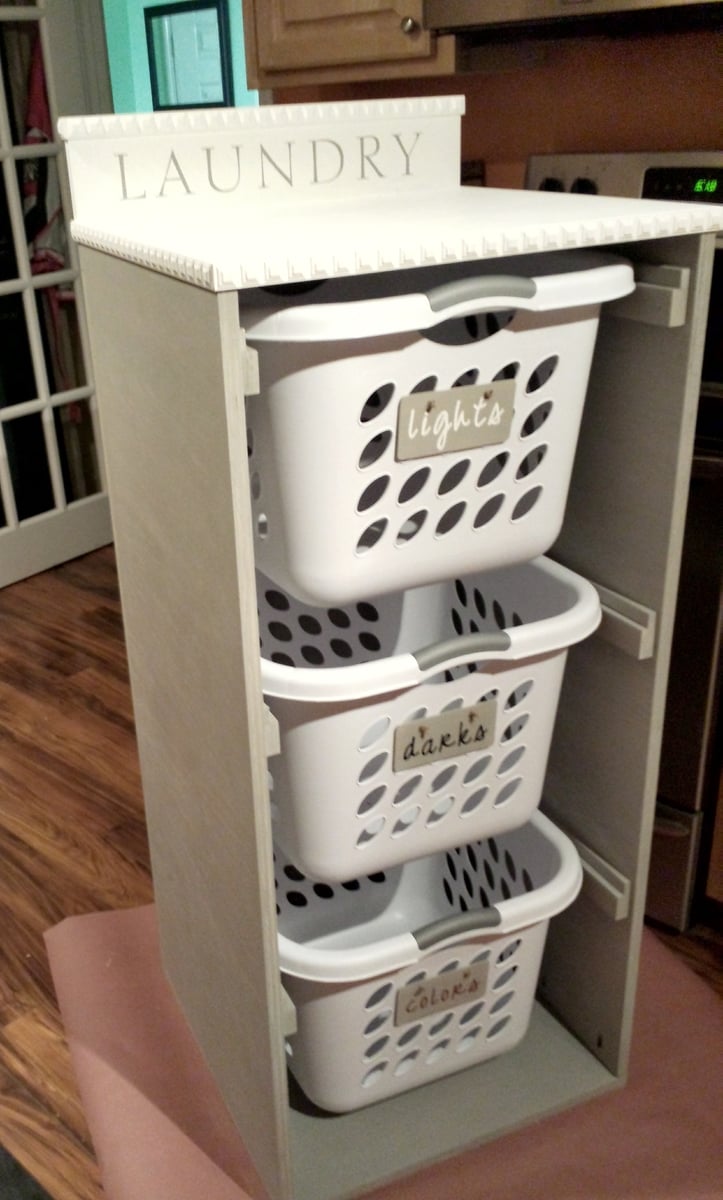
Didn't want to pay $300
My Grandson wanted a place to change his shoes! Thanks for the plan Ana! - Steve S.
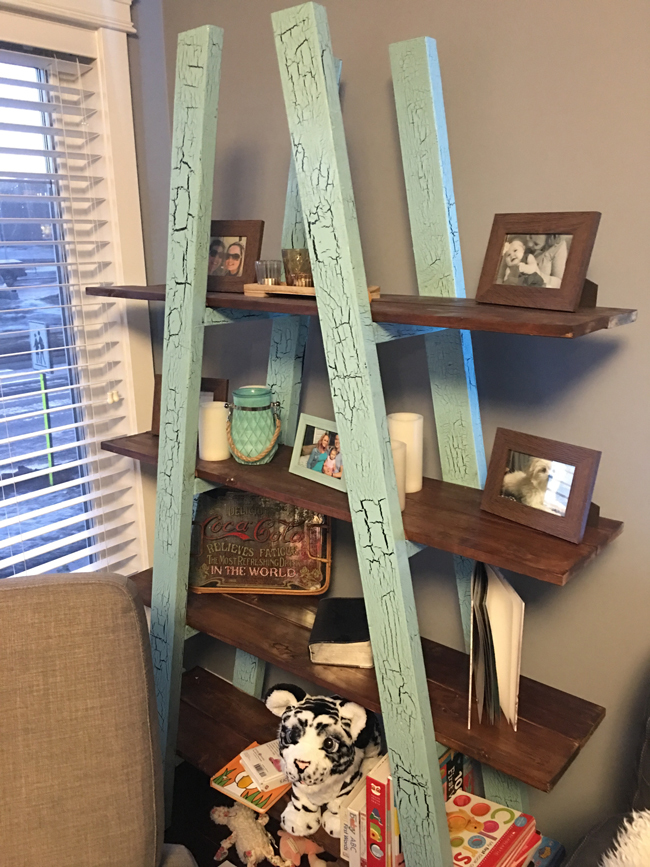
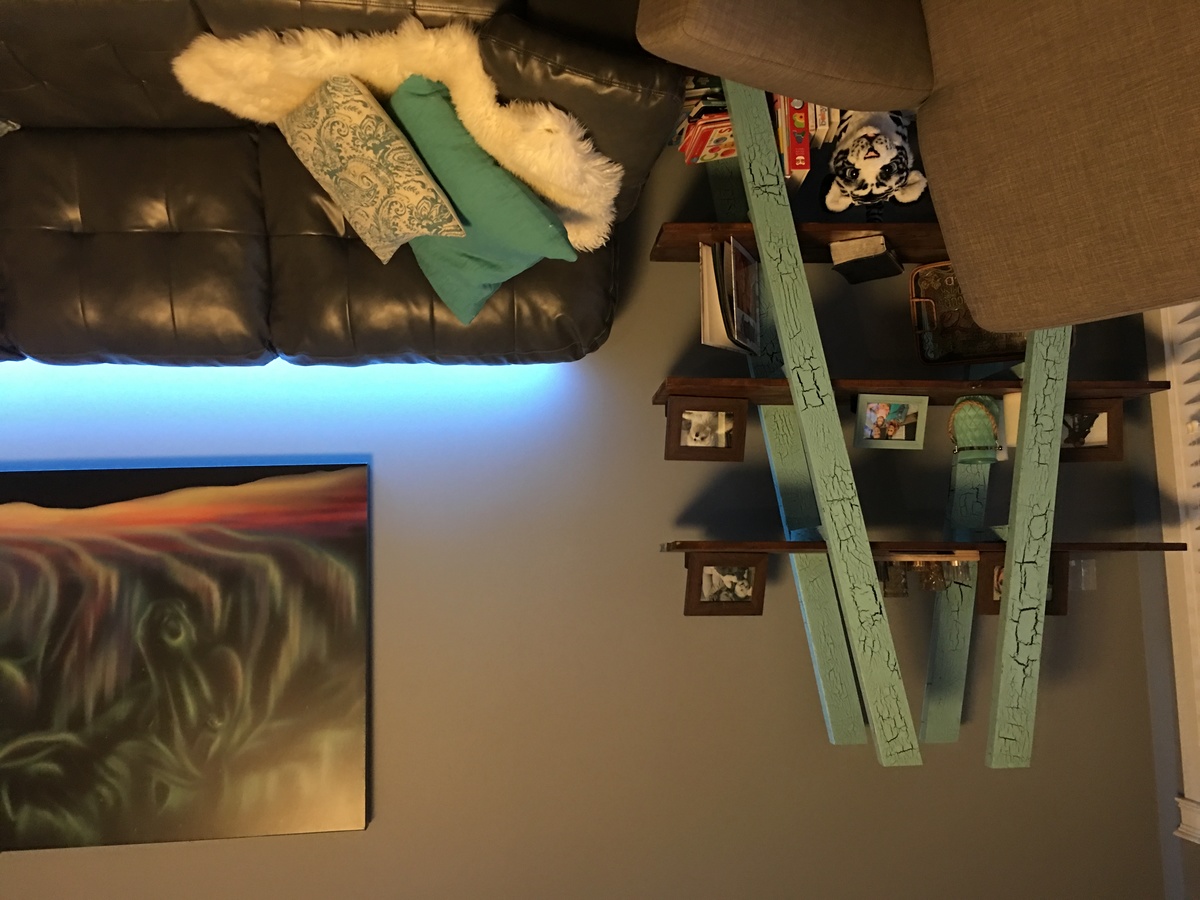
Build a leaning wall shelf easily with Ana White's free plans!
Took the farmhouse plan and added a Trundle. Was initially going to build two farmhouse beds for my two girls, but thought adding the Trundle would free up some much needed floor space. The girls love it!
I took the basic idea of the Rustic X Console. Raised it to countertop height so I could use it for three stools. I also added a shelf so people sitting on the sectional could put drinks right behind them. Added a charging station to that shelf as well. Topped it with a live edge black walnut slab. Finally, I didn't use the X because the table was too high and the base was too narrow to make the X work. I used a tablesaw to cut a grove in the legs and then put a 1/4 plywood panel.
Thank you so much for sharing your tutorials, I find you projects easy to follow and have made some but we just got our 1st puppy in a while since our last past away a few years ago, her name is Maggie and she is a golden doodle, and she is adorable and only 12 weeks old. We needed something to put her in when we go to work so I took your double design and made it work for us. 60” wide with a single door in middle, plan on having a bed to left and eating to right and I left it open like your plans for a pan or mat for accident s as I’m sure will happen. I took the bars and spaced them 3” apart but 2 areas by the door are about 3.5” and she can slip through still need to add a few more bars so she don’t but again thanks love your projects
I am so in love with my greenhouse, it is amazing the plans were perfect and it went up without any problems, your designs are amazing and beautiful. We are going to do the chairs next!!!
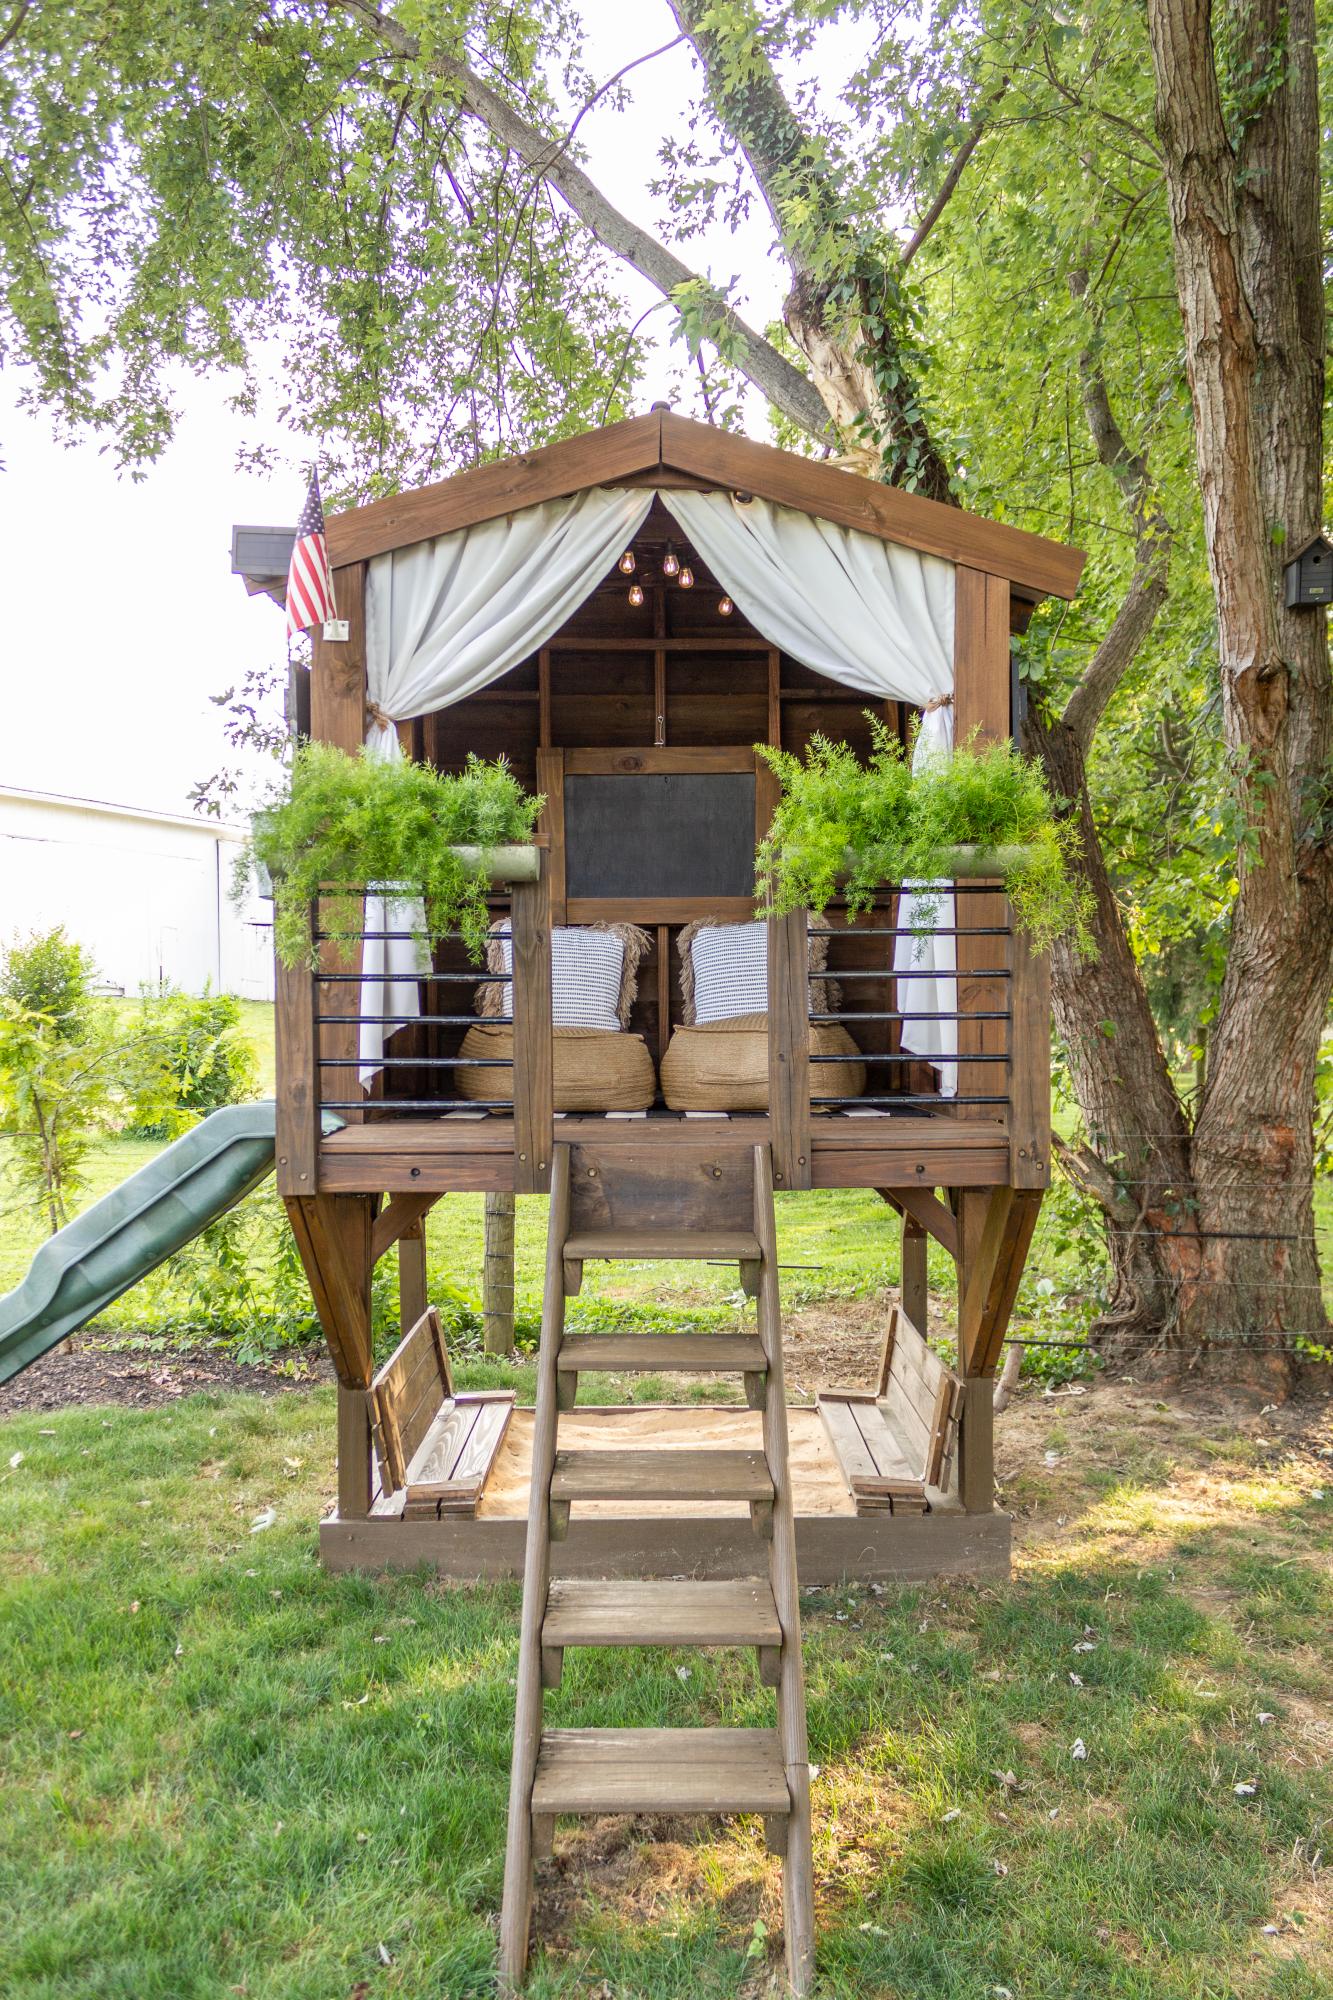
Thank you! You've helped me look like a true carpenter who knows what he's doing! My whole family is impressed with my woodwork lately, and now I'm addicted. I've done your seesaw, bar table and stools plus the treehouse in 2 weeks. Thank you for sharing your plans!
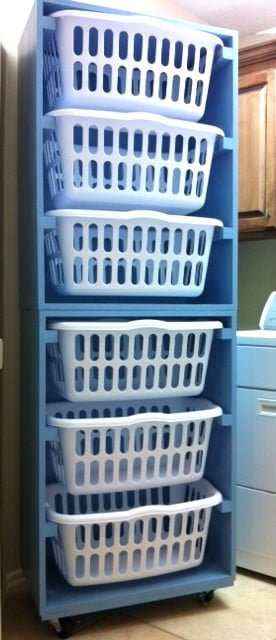
I made a version of the "DIY Rolling Pantry - Classy Clutter" project, but I sized my shelves differently than in the original photo. This is an easy starter project for just about anybody. It is full of counter-sunk butt joints and can be constructed in a single afternoon or evening.
We couldn't apply any finish because it is too damn cold.
The frame is 59"x26" to match the size of my fridge (minus the door). Add in the casters on the bottom and it matches my fridge perfectly.
Materials Used:
- 4, 1x4" select Pine boards
- 1, 4'x8' sheet of Red Oak plywood
- A bunch of 1 1/2" wood screws
- A bunch of nails
Thu, 01/08/2015 - 13:33
To be perfectly honest, other than some stuff in shop class in middle school and the quick work table in my garage, I hadn't done any woodworking in my life. I have the tools, but I never just sat down and did it. It was a learning experience. I can't wait for my next project.
Thank you for the plans. It was a fun build and my girls love it!
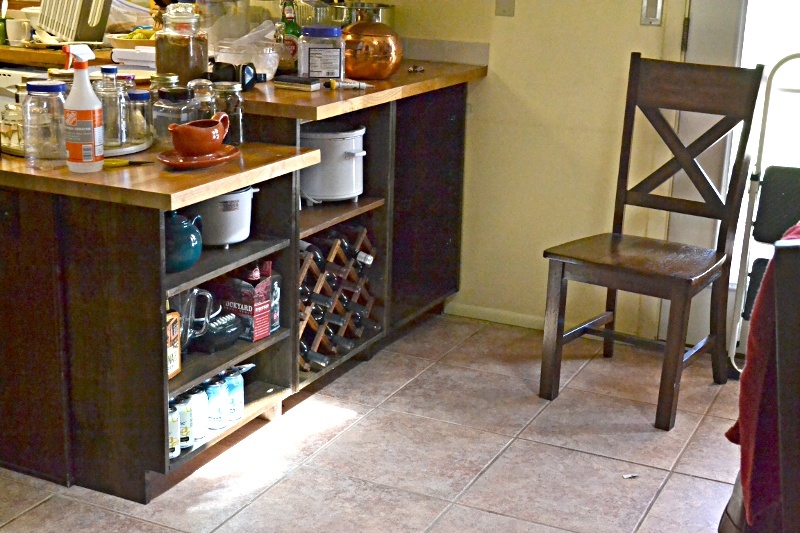
I took some ideas from an Ana White wine rack I saw and made this Pantry for our kitchen. Pretty happy with how it turned out.
Comments
Ana White
Mon, 06/24/2013 - 10:59
Beautiful chairs Hillary!!!!
Beautiful chairs Hillary!!!! I love the green!!!
Thanks so much for building and bragging!
Ana
WorkShopWendy
Thu, 06/27/2013 - 20:23
Nice Job
Hi Hillary, Great job. These are great chairs aren't they, and sturdy. I work at Home Depot and I hosted the Do it Herself work shop for them. Very easy to build and inexpensive. I really like the color you chose, very cheery.
keribeth
Fri, 06/28/2013 - 15:58
Beautiful!
I'll be making four of these this week in turquoise to match the little ones I made for the kids. Yours is an inspiration!
Debbie742
Sun, 05/10/2015 - 05:17
Very nice..
Are these kid size or adult, and where are the plans for them....
thanks bunches,
Debbie.