Community Brag Posts

Entry Shoe Bench

I've officially stopped stalking and started building! First project a modified spa bench. Still have to stain it, but it already makes the big pile of shoes by the door look neater! I'm a hands-on person and not afraid of power tools (got a band saw for my birthday!) but it's still a challenge building a piece of furniture. I've already learned lots of do's and don't do's for next time!
Thanx a bunch for your site, Ana! It definitely gets the mind plotting great projects to come!

Built from Plan(s)
Estimated Cost
~50$ (honestly, I can't remember!)
Estimated Time Investment
Day Project (6-9 Hours)
Finish Used
PolyShades Royal Mission, several coats... and a spray can of clear coat too.
Recommended Skill Level
Beginner

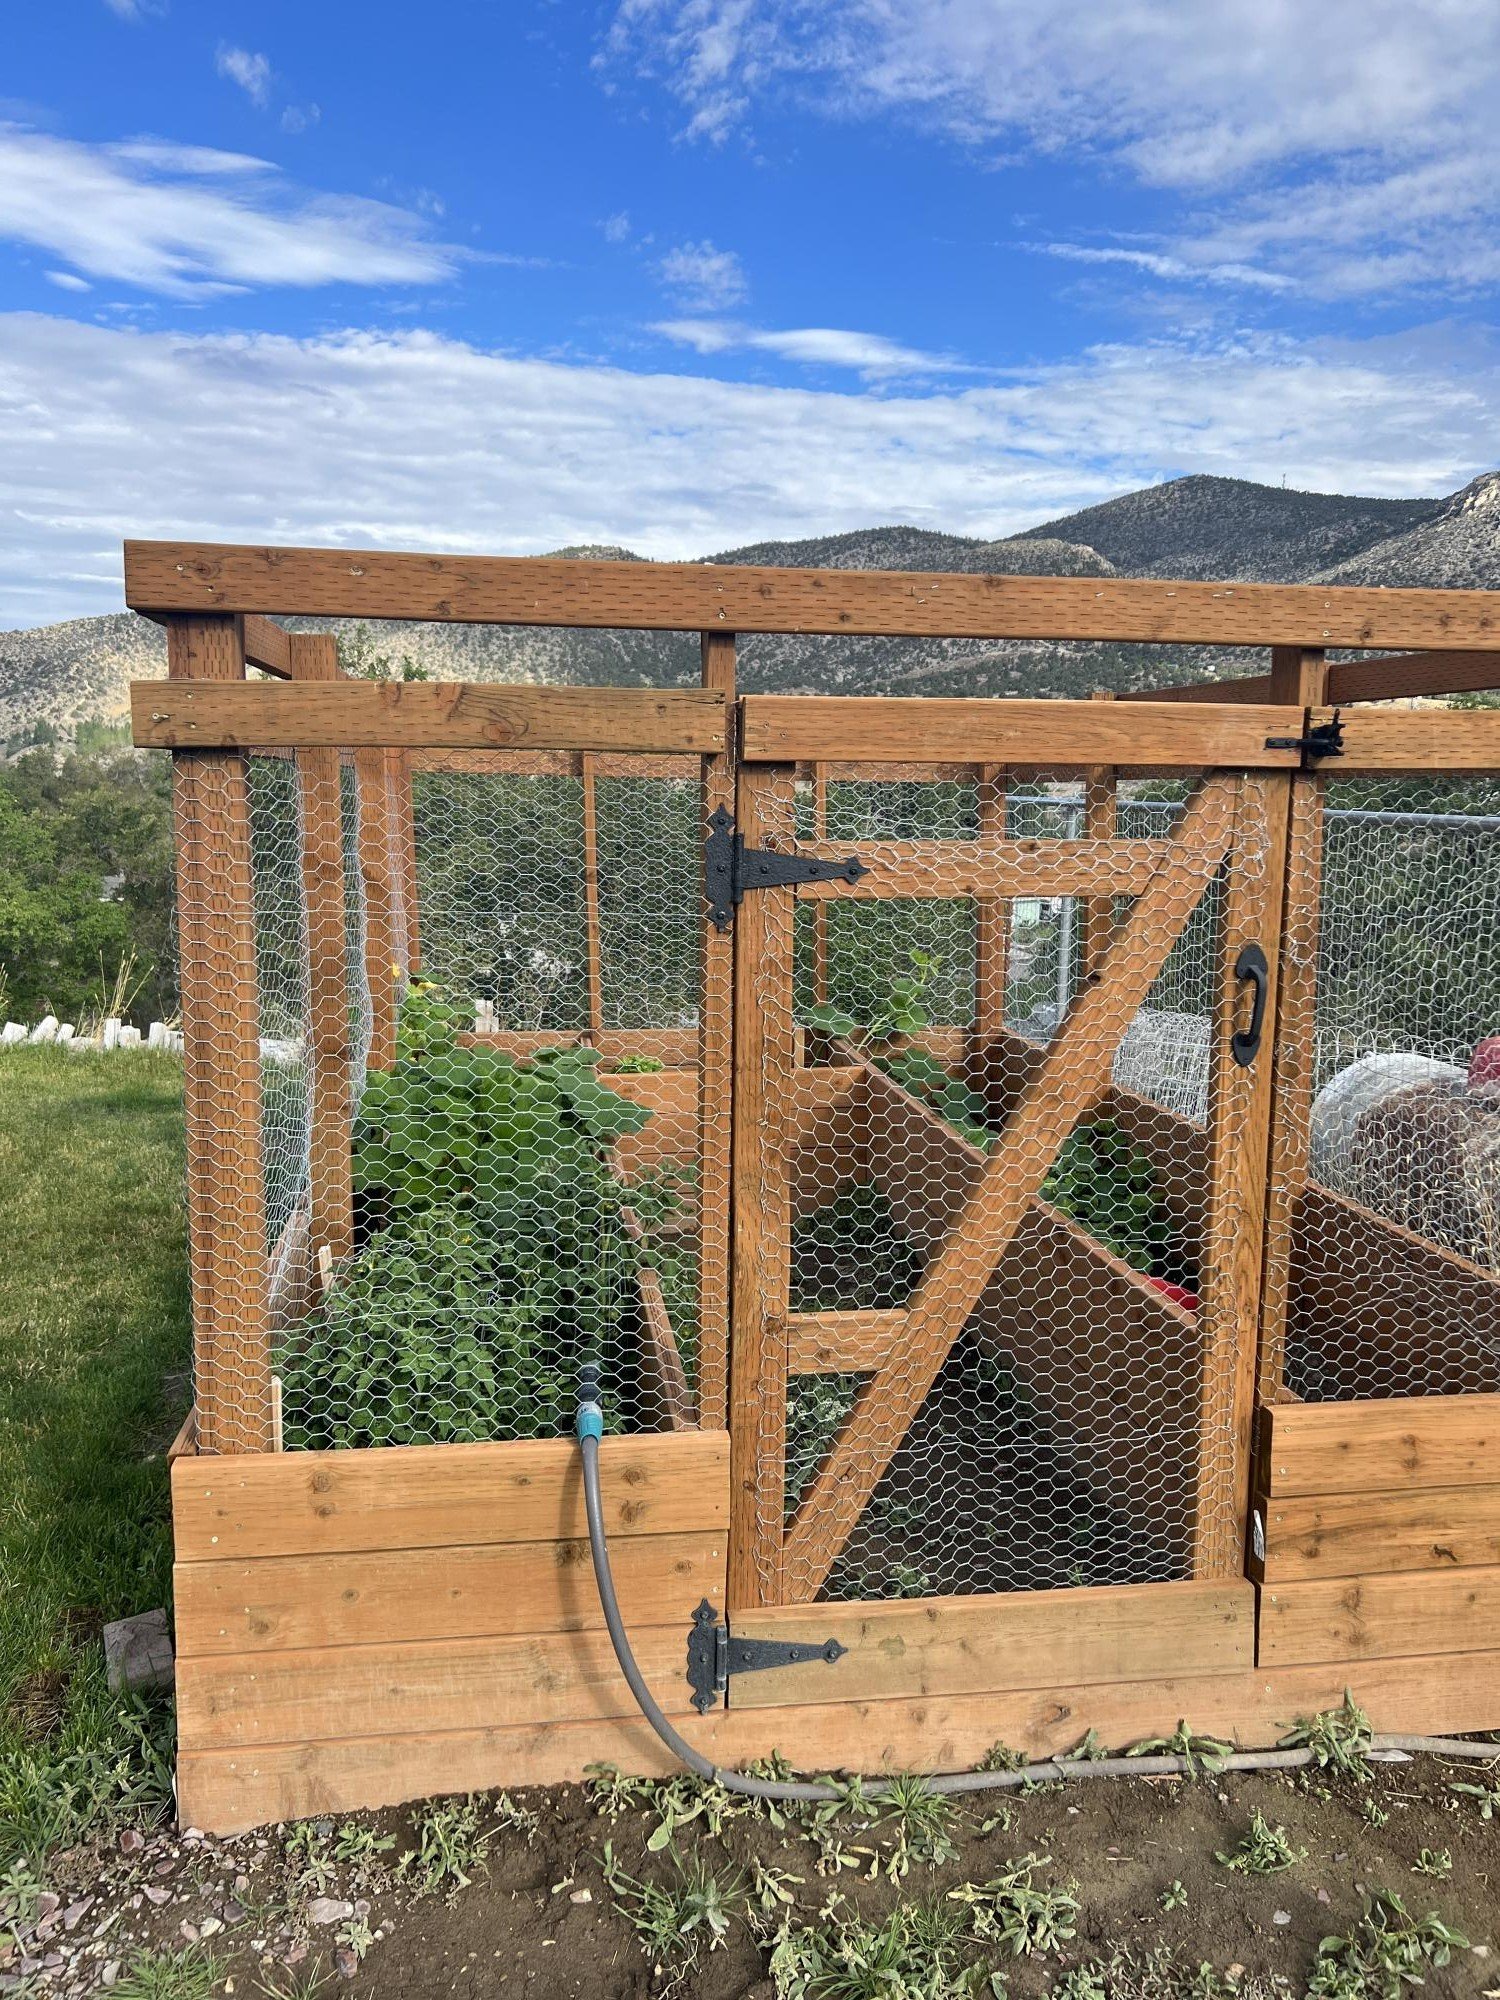
Deer Proof Garden Enclosure

Submitted by verarj on Fri, 08/05/2022 - 17:18

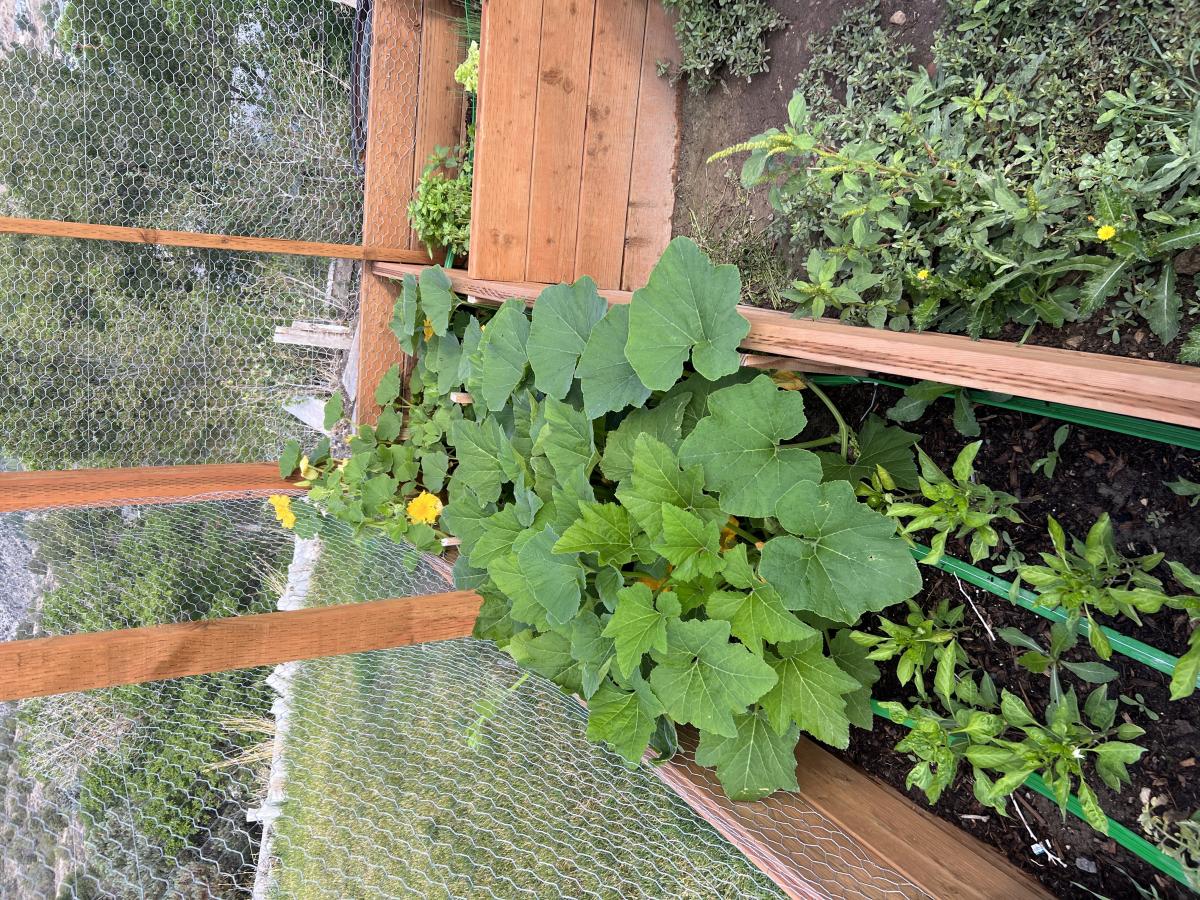
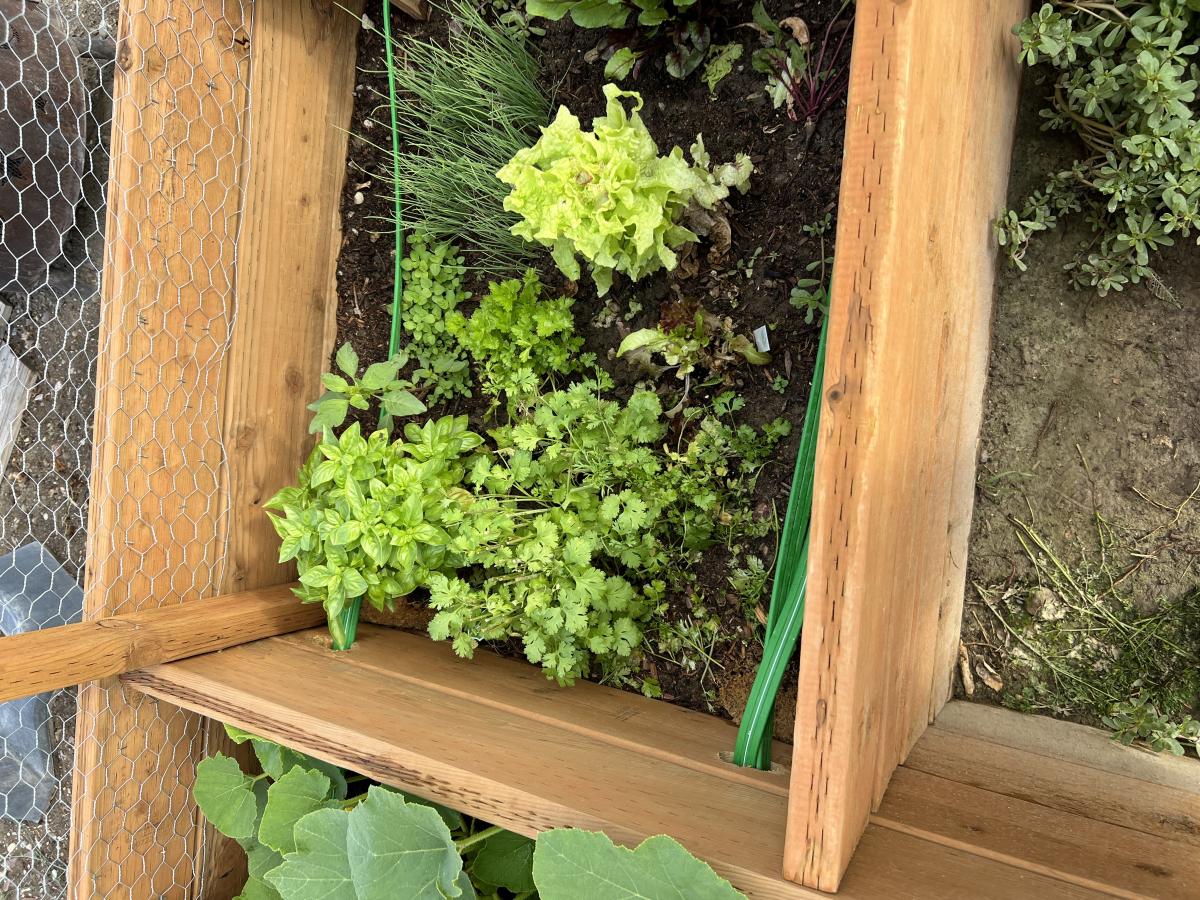
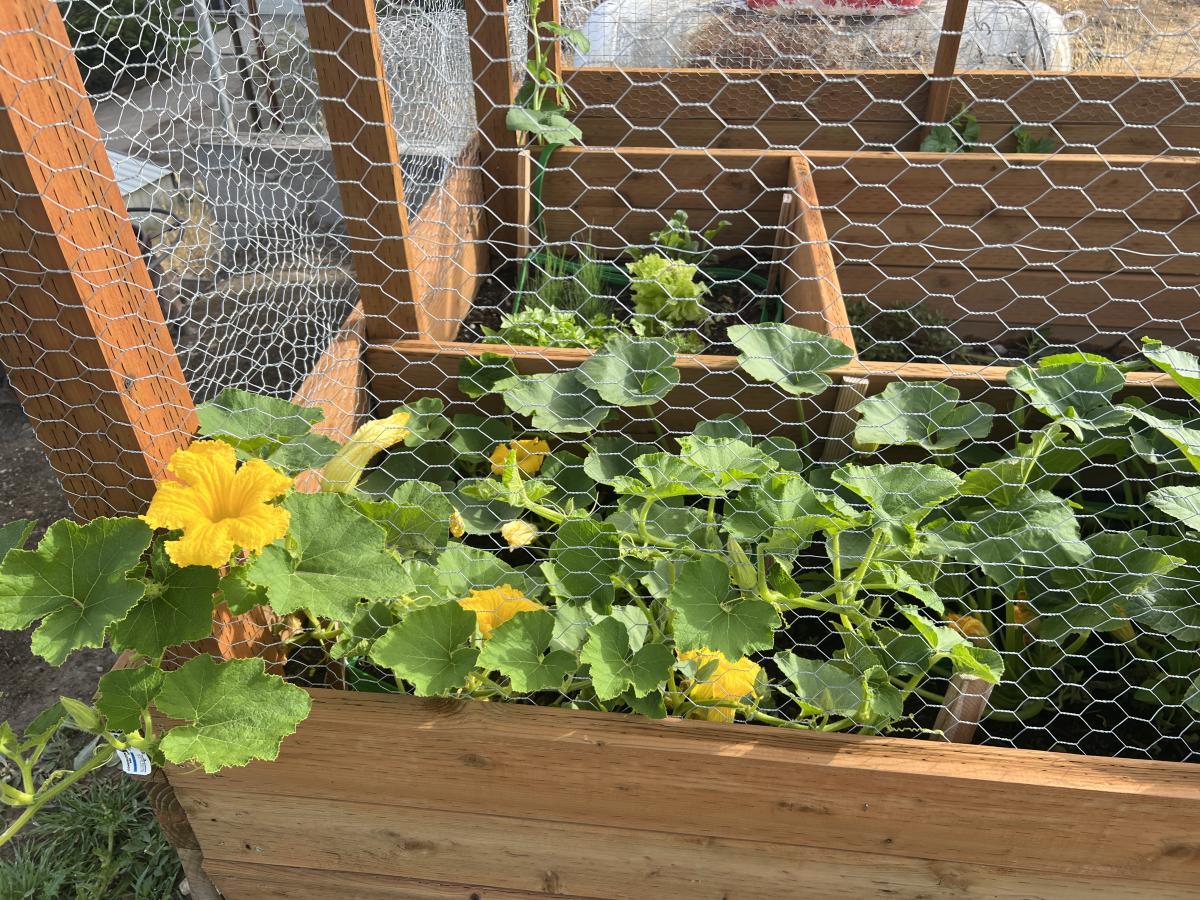
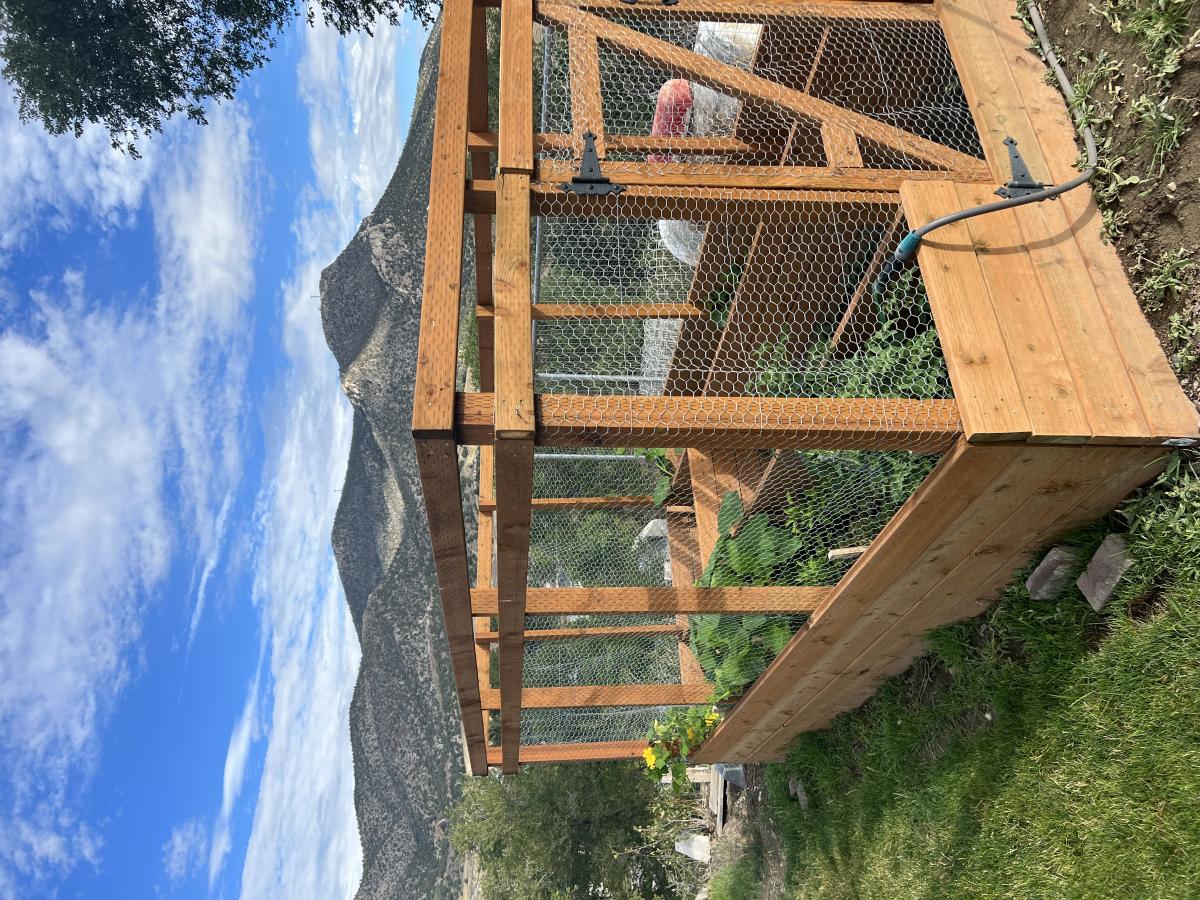
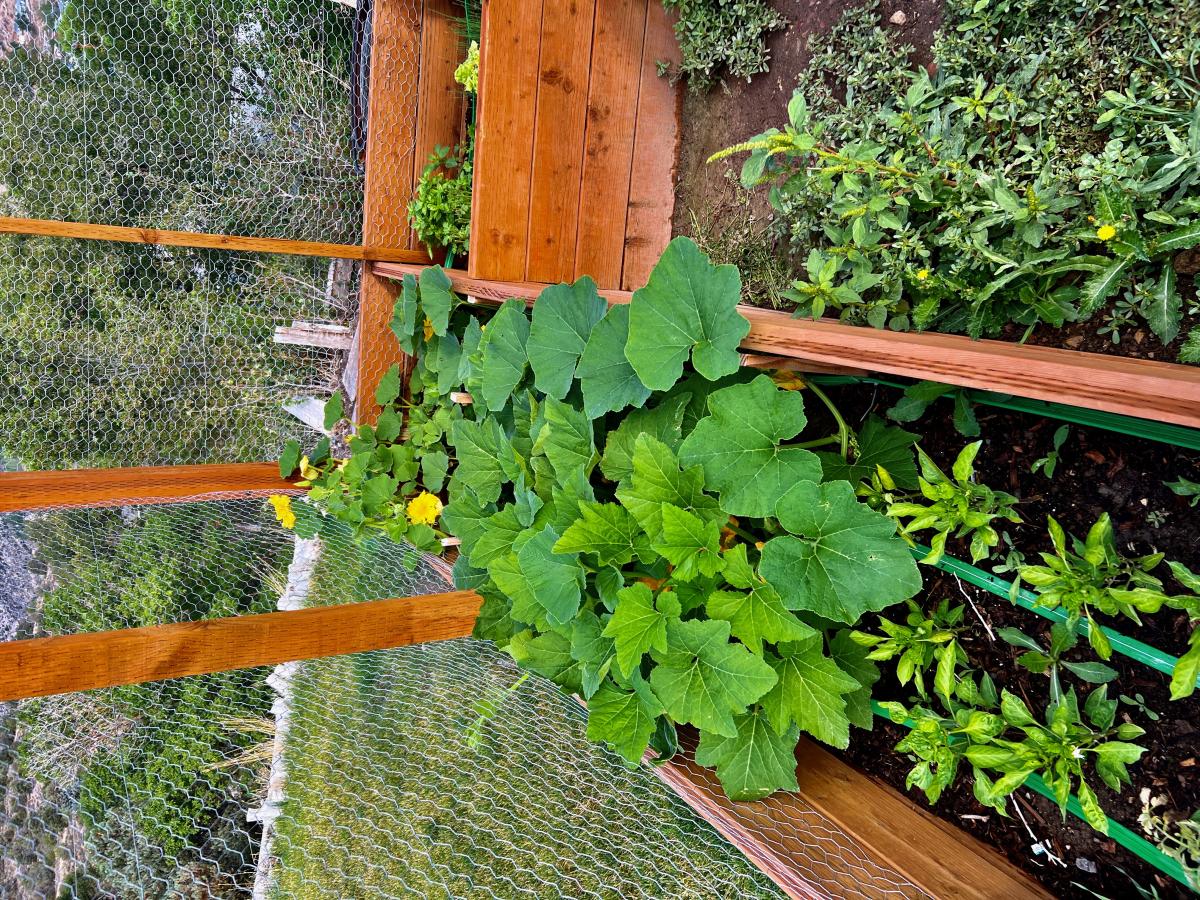
We used the plans from the Garden Enclosure, but built the sides twice as high to make for less bending. The only problem was this made our wire come up higher so we had to adjust the door height. We haven't produced too much yet, but hoping next year brings a quicker yield. The plans were so helpful and easy to use for us novices. *Sorry I couldn't get the pictures to rotate.

Built from Plan(s)

Chicken Coop

Submitted by Elloh on Tue, 08/11/2020 - 11:05

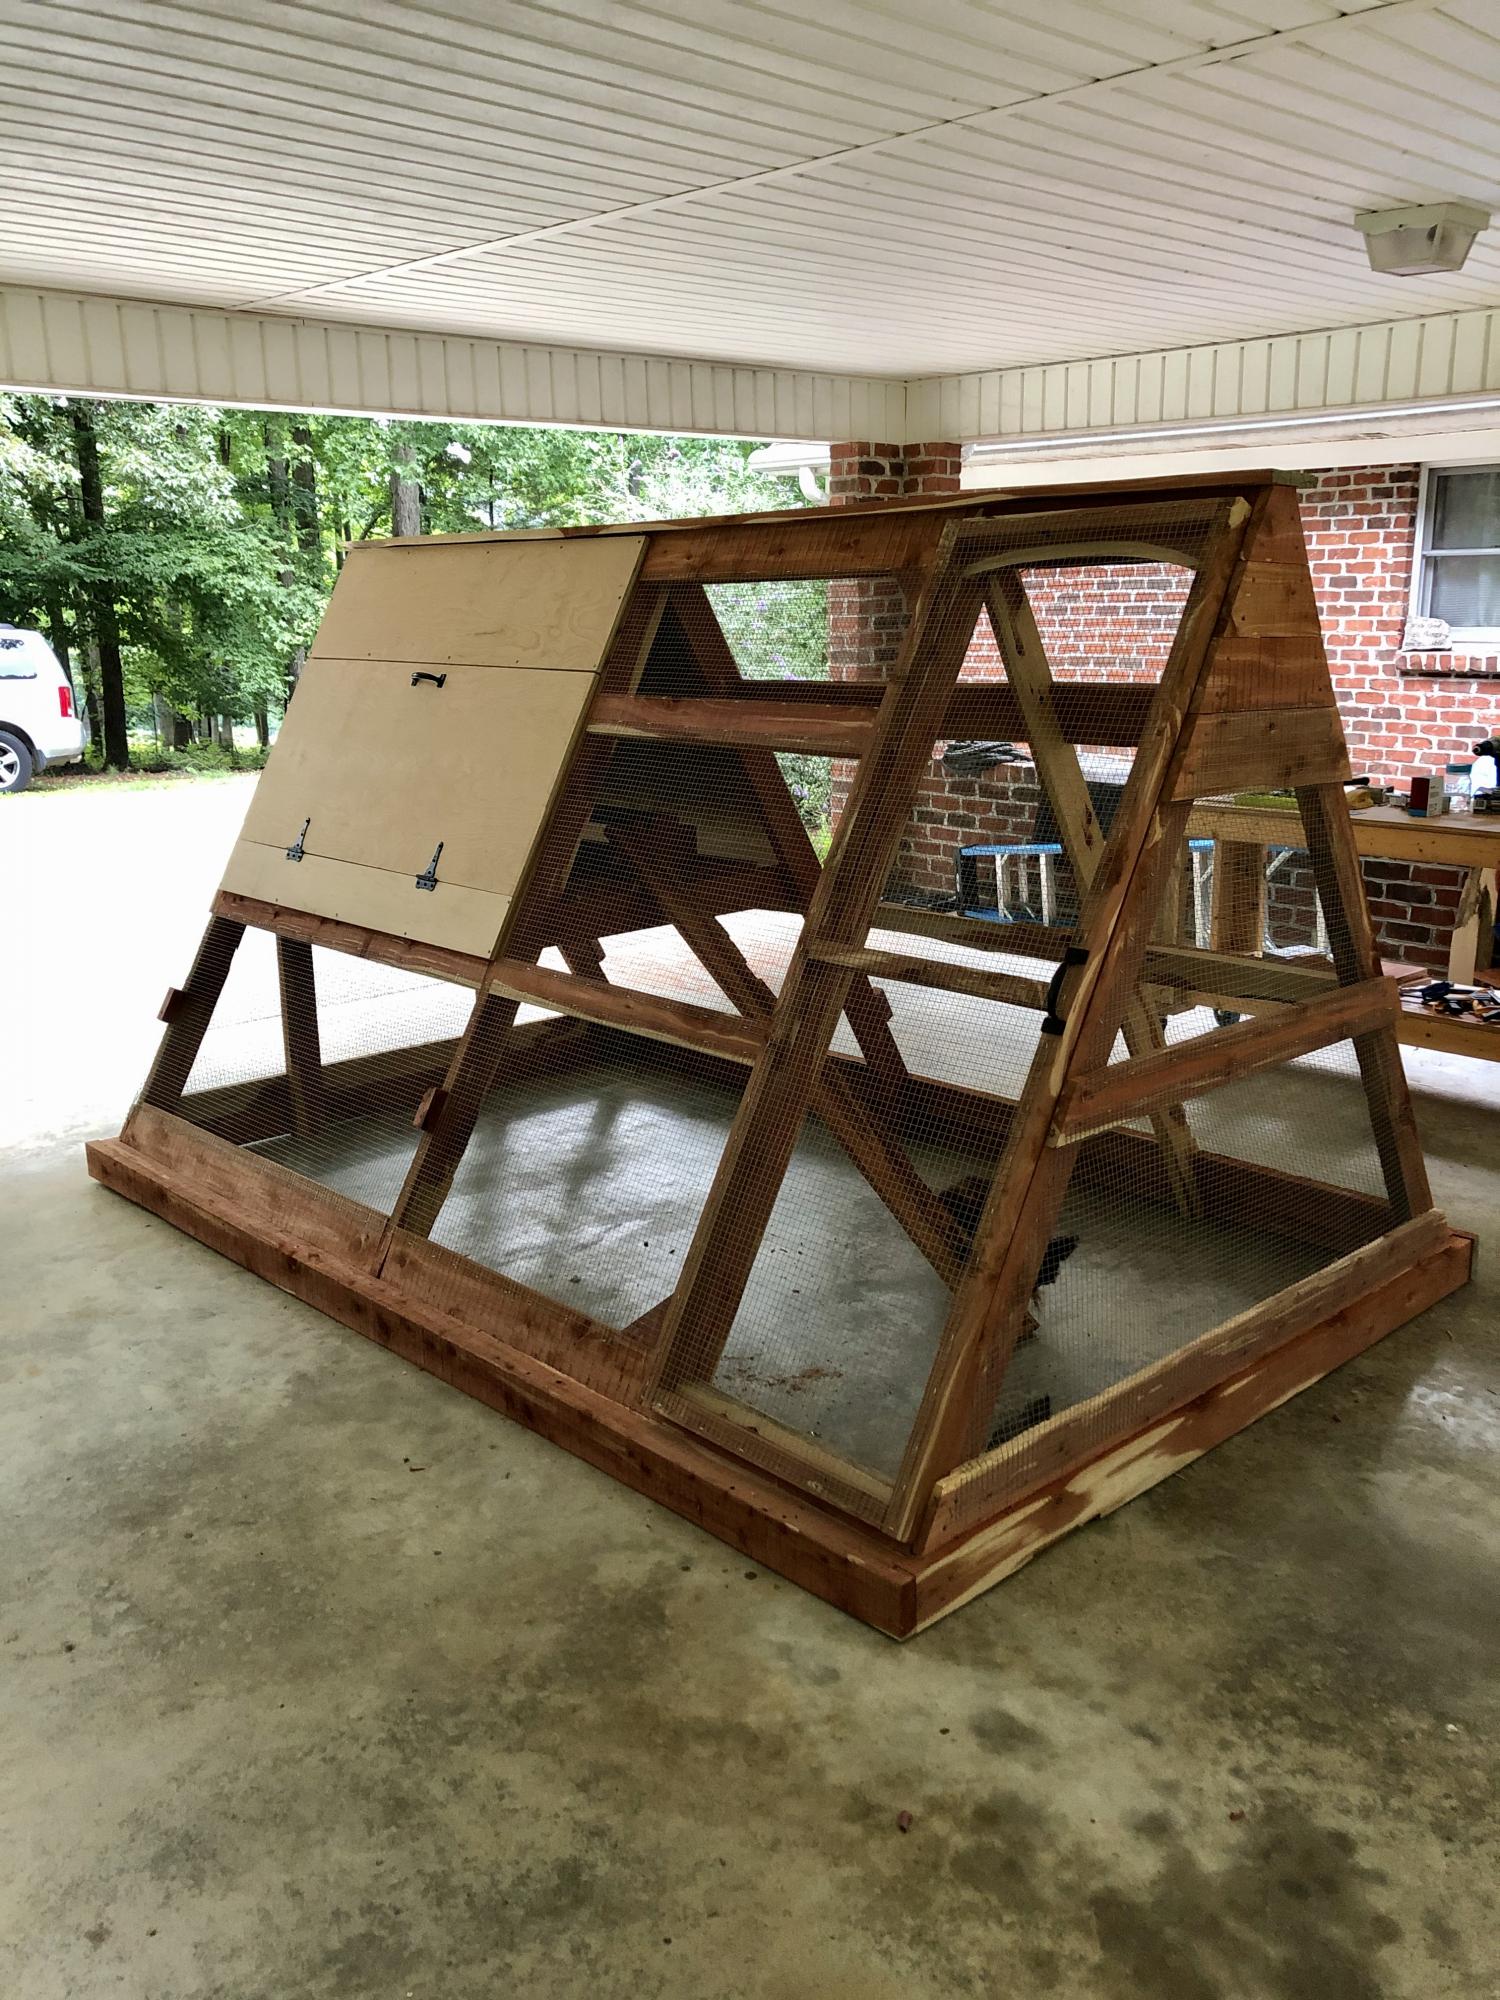
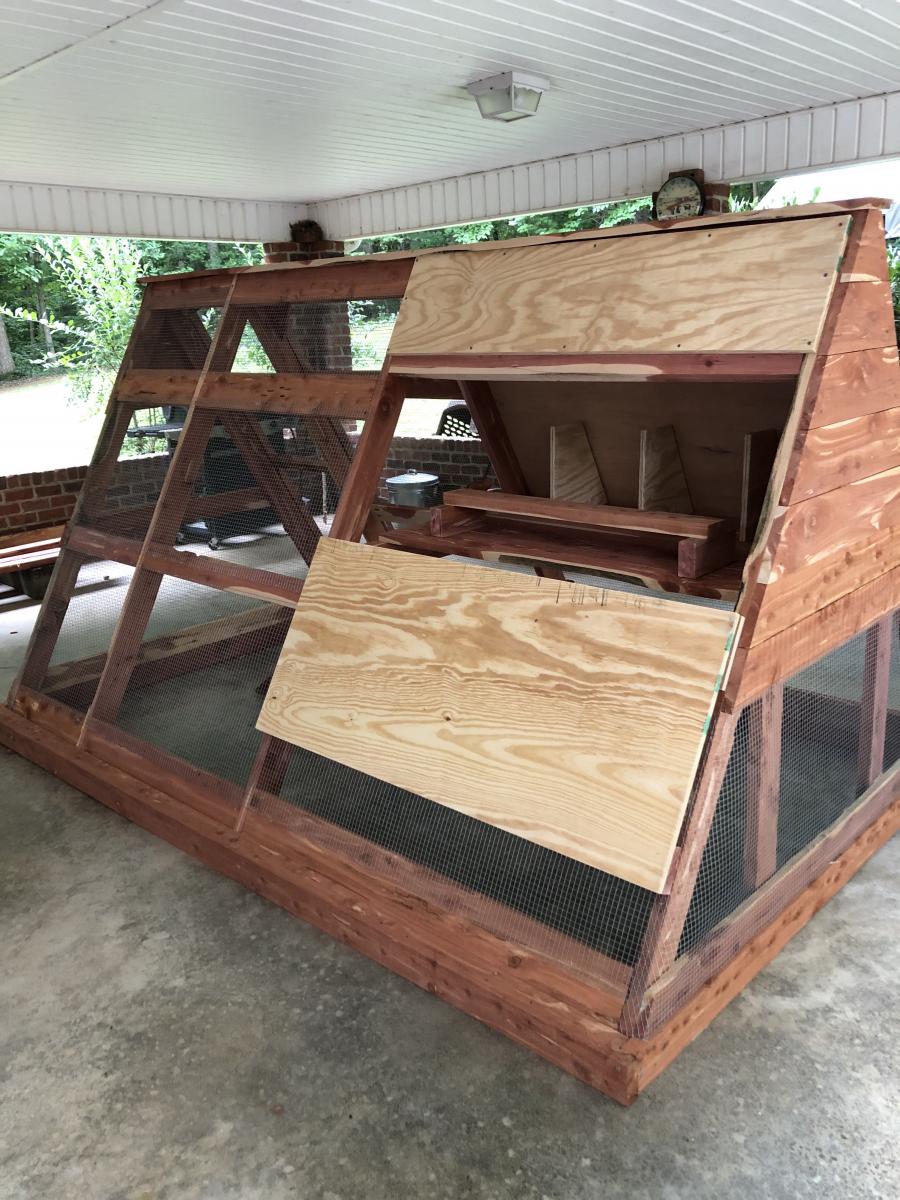
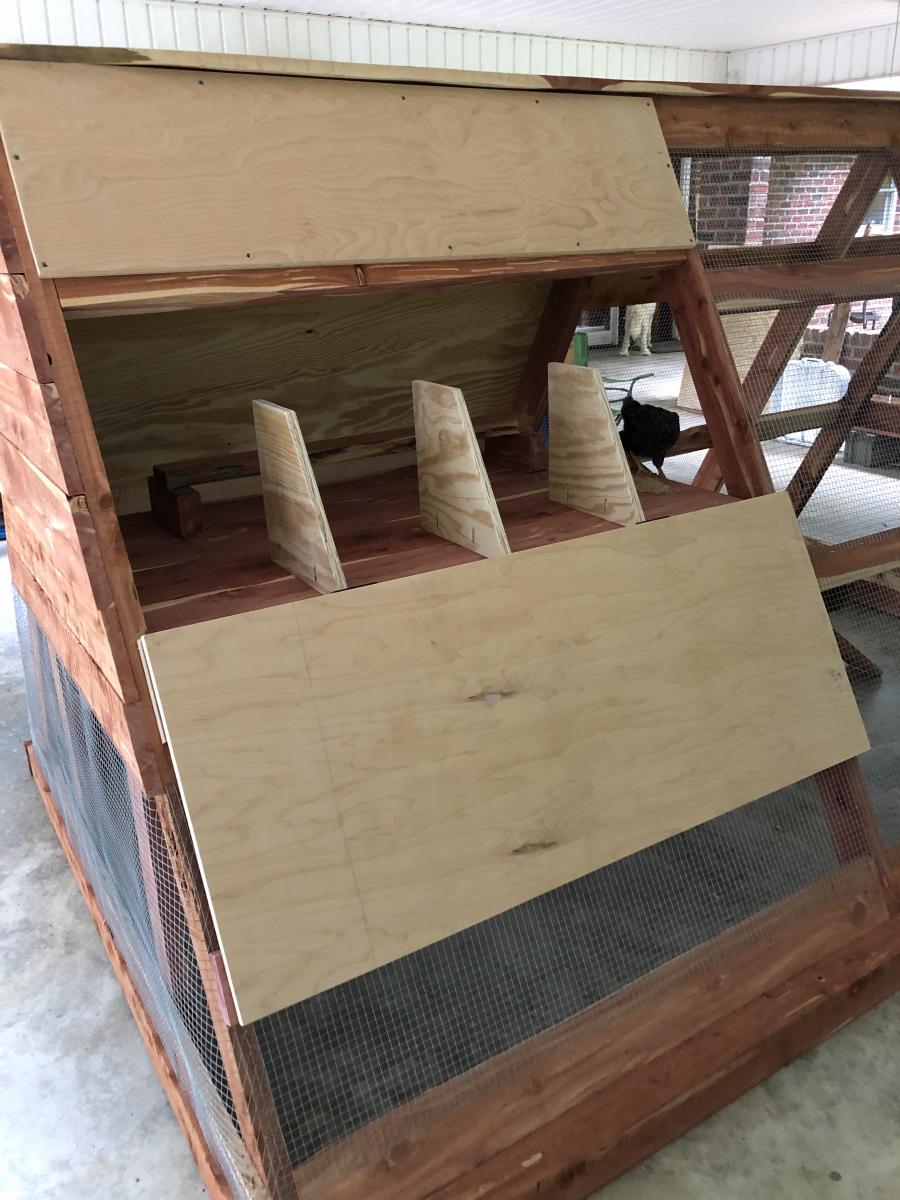
This was my biggest build yet and these plans along with being able to see a few brag posts with modicifactions made this project less intimidating. I extended the coop in order to add a walk in door. The drop down doors on both sides will give plenty of access and help with cleaning. I've added door latches to all the doors since putting it in place. My dad provided the cedar so that greatly reduced my costs. This project took about six days to complete. The fun part was getting it out of my carport : ) This was built for my daughter's chickens and she is thrilled with it. So am I! Thanks for the plans Ana!

Estimated Cost
Hardware, screws, hardware cloth and plywood - around $150

Paper Roll Dispenser

Submitted by vendo on Wed, 11/17/2021 - 10:44

This took me about 20 minutes! I love the look of it and that it can just be left out when the kids aren't doing art. A great little item to add to keep the kids busy and inspired. I made a couple of mods from the plan. I used glue and nails instead of pocket holes and I did that bottom board flat instead of on it's side. I also used a little bigger dowel, and bought two rolls of paper on Amazon for $14.I'm giving this to my daughter for her birthday with some fun art supplies, so I think it's a great gift idea for any occasion for those crafty people out there!

Built from Plan(s)

Comments

Monika

Tue, 04/02/2024 - 06:09

Sometimes, when working with papers, you might need to convert file formats, right? So, I recently came across this website https://pdfflex.com/webp-to-png It's super handy for converting. It's been a real time-saver for me, especially when I need to tweak documents for printing or sharing. I'd desided to share in case it helps someone else out there too!

Outdoor Loveseat

Still need to stain but this was my very first project and it turned out well!  The directions are very easy to follow and I am very happy with it!

Estimated Cost
$25
Estimated Time Investment
Afternoon Project (3-6 Hours)
Finish Used
Will be using Minwax oil-based stain over a wood conitioner, and a clear flat oil-based top-coat.
Recommended Skill Level
Beginner

outdoor patio furniture

Well this was first project my hubby and I tackled together. He actually let me use the power tools. The plans were great! Loved having a shopping list! I made the cushion s myself. I have to say, I wish I had made the couch and chairs the size of cushions available at Lowes . AFt e r you buy foam batting fabric and chording I found set at lowes for a lot less but I am so happy how it all turned out . Thks for providing plNz!

Estimated Cost
500 with cushions
Estimated Time Investment
Day Project (6-9 Hours)
Finish Used
Non transparent stain.Olympic elite stain an sealant n one
Recommended Skill Level
Beginner

Comments

charitydtrull

Sun, 05/24/2020 - 14:45

I can't find the plans for these pieces. I found the one using 2x4, but these pieces look like they use 2x2. Can someone tell me where to get the plans?
Thank you,

Seasonal And Holiday

Sandbox with lid

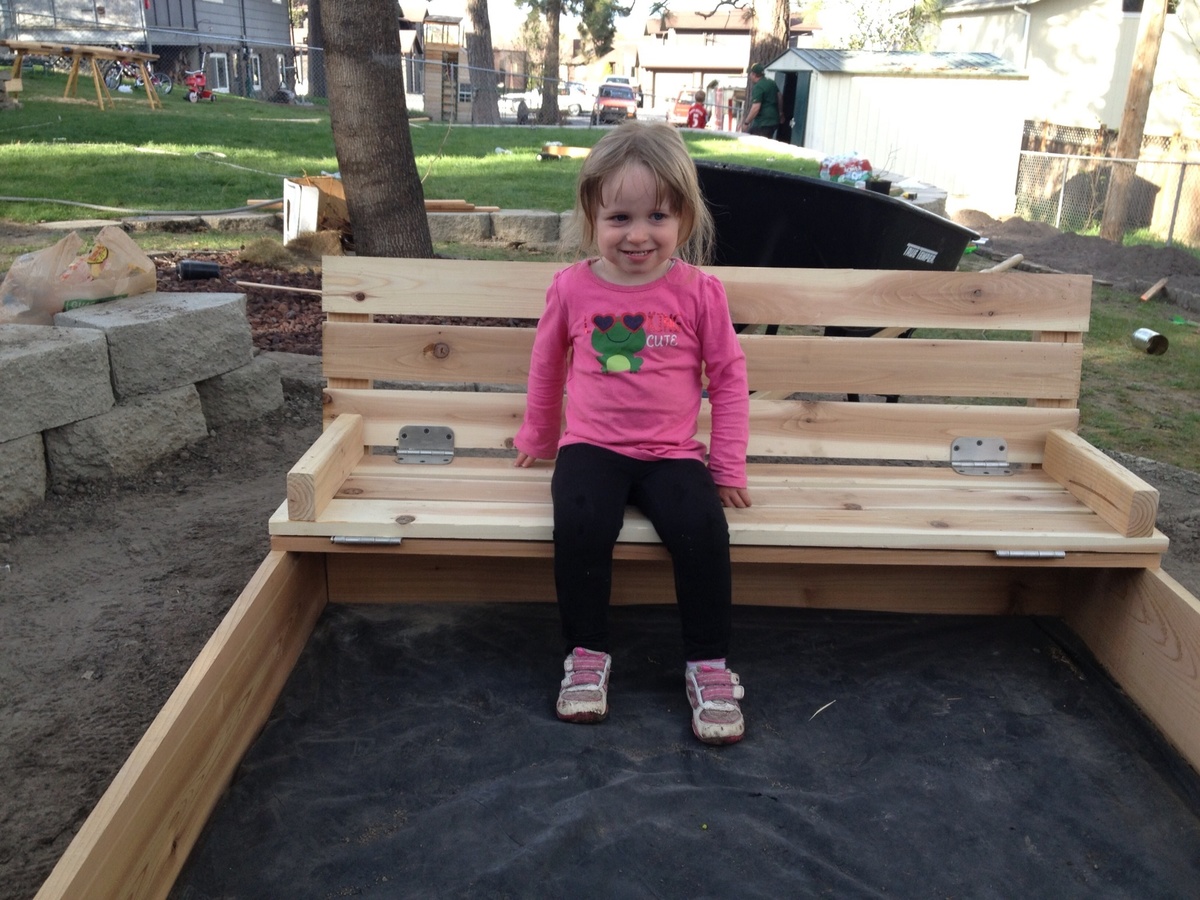
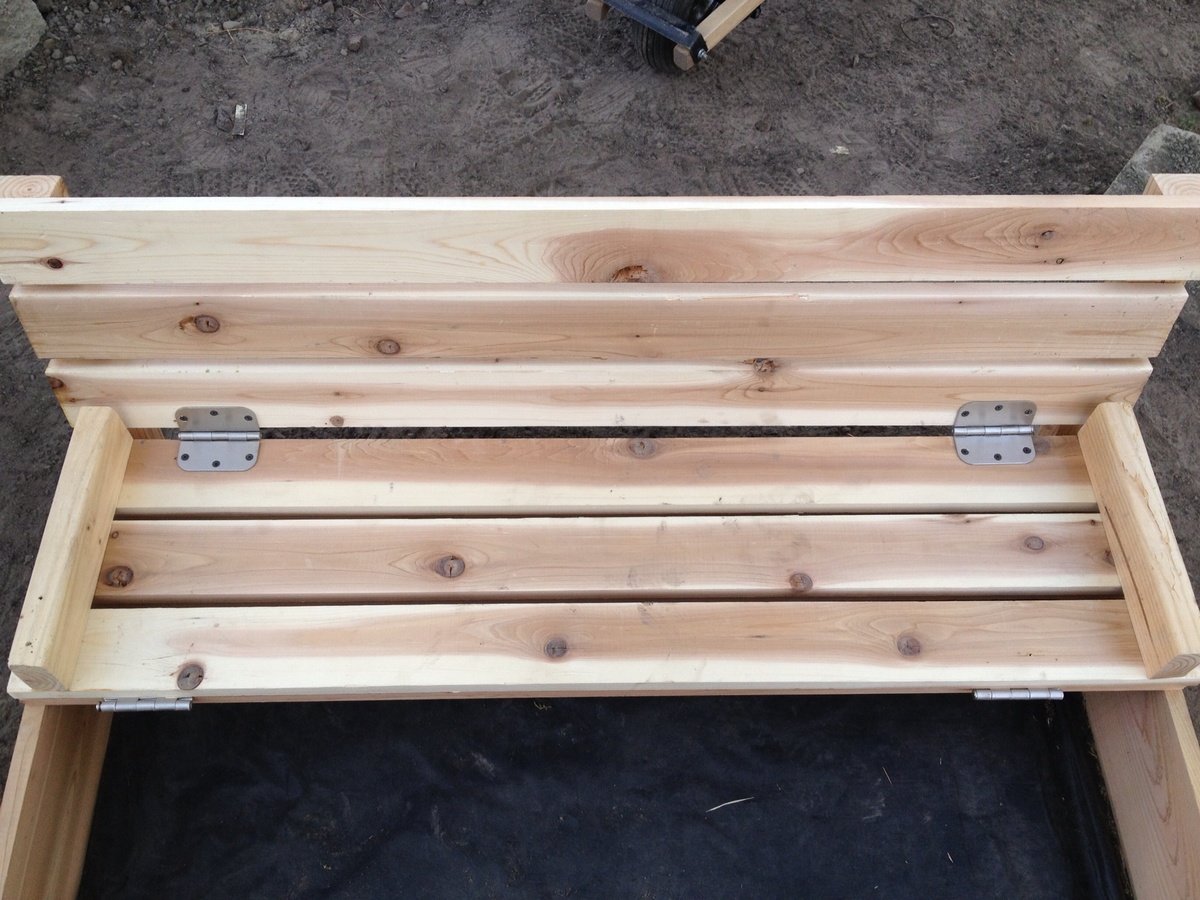
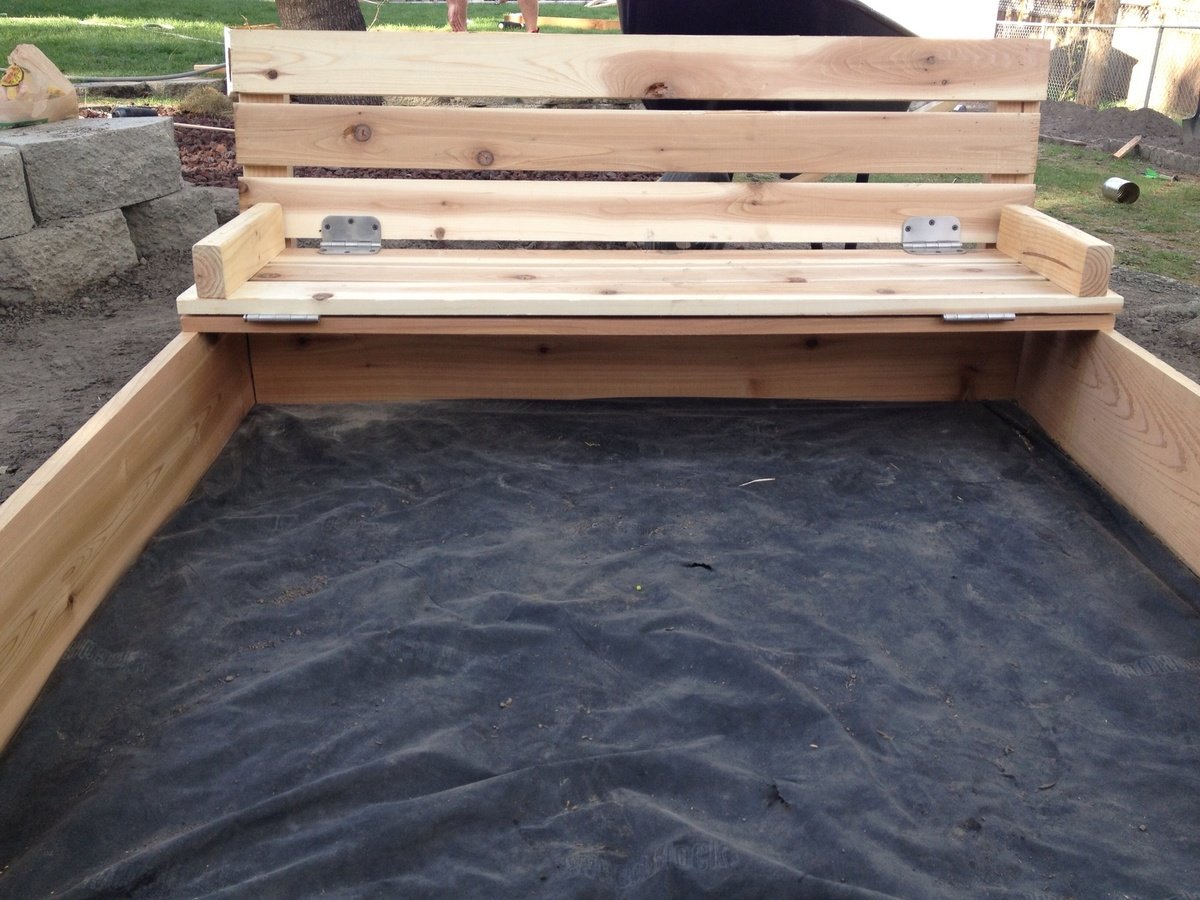
This was my first EVER wood working project.

With that being said, it took me more than just an afternoon.
I used cedar, and all the materials on the cut list had to be sanded , since I didn't like the roughness of the cedar.
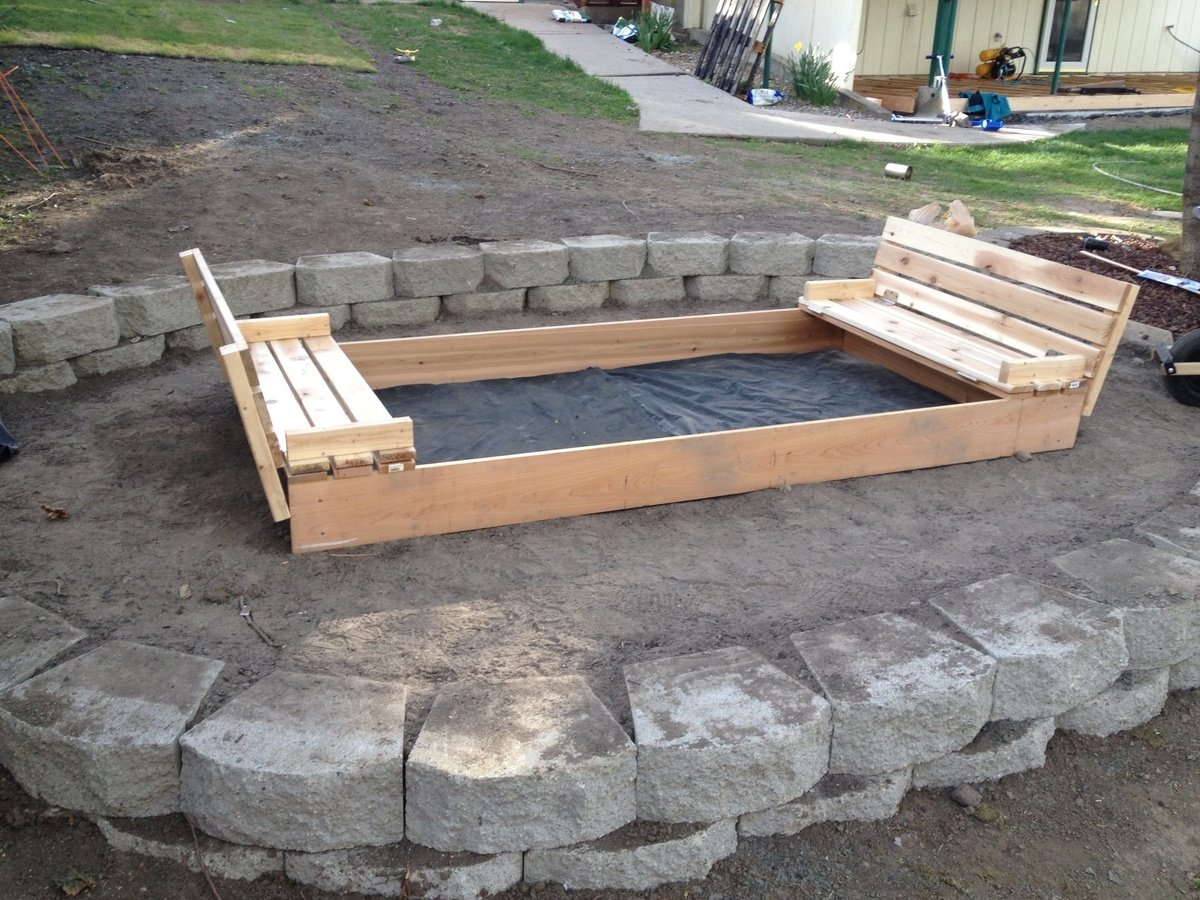
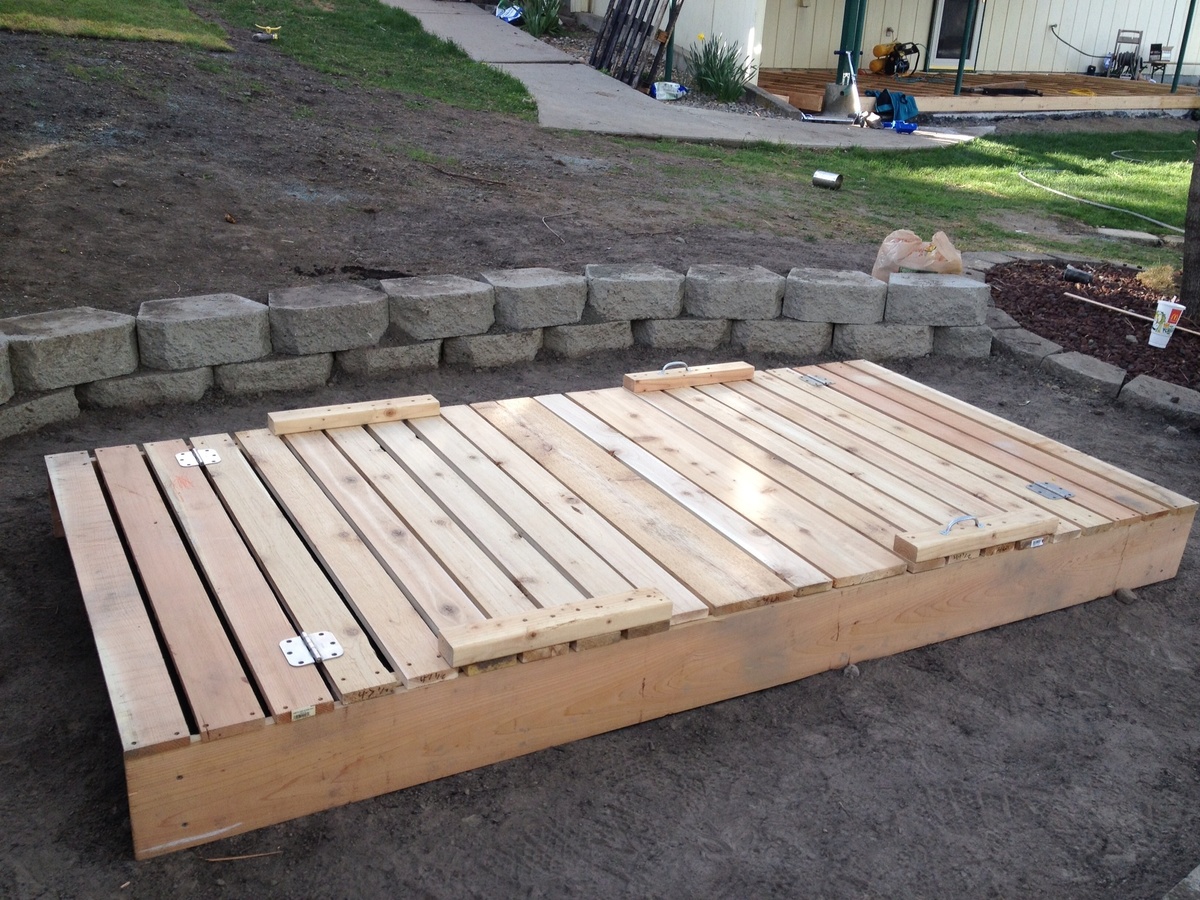
I also made the box 4x8. I didn't take into account that that would require a minimum of 48 inches for the top planks. So, some of my top planks are shorter.

I also wished I had a little more instruction from which side to screw the screws in. May sound a little needy for some of you, but I never did anything with wood before. The instructions simply read attach top planks to arm rests (or something int that manner) and I wish it would have told me from which side to screw in (or give me a picture). Looking at some of the brag posts helped a lot.

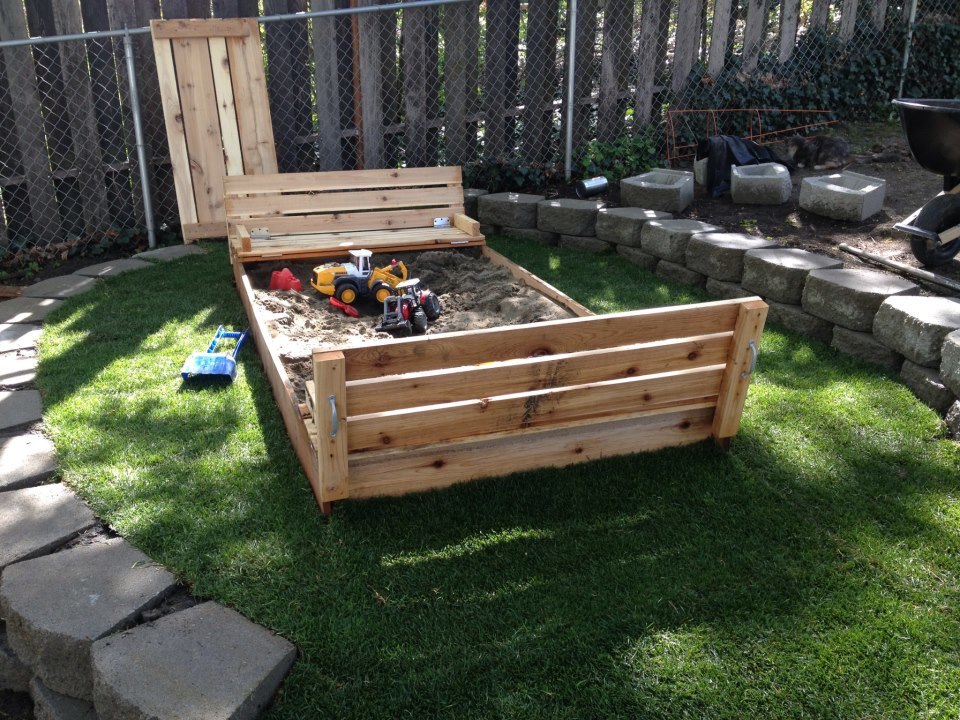
Because its larger size, I decided to make the seats 3 top planks wide (and also the back rest) and made another middle cover piece to bridge the additional gap when both seats are folded down.

Also, the cedar was VERY expensive, and all the screws, hinges, and handles almost cost me as much as the wood.

The sand to fill the box ran us another $80 (for good plays and), but that was because we made it so big.

All in all, a rather pricey sandbox, but worth it because of the large custom sizes, and the cute little seats.

Pictures show the sandbox without sand, and with some of the handles still missing. I also still need to fill the holes.

Will add a picture of finished box filled with sand when it is available.
Built from Plan(s)
Estimated Cost
$250
Estimated Time Investment
Weekend Project (10-20 Hours)
Finish Used
None
Recommended Skill Level
Beginner

Chair Build with Loveseat Modification

Submitted by Joshh81 on Sat, 09/02/2017 - 12:26

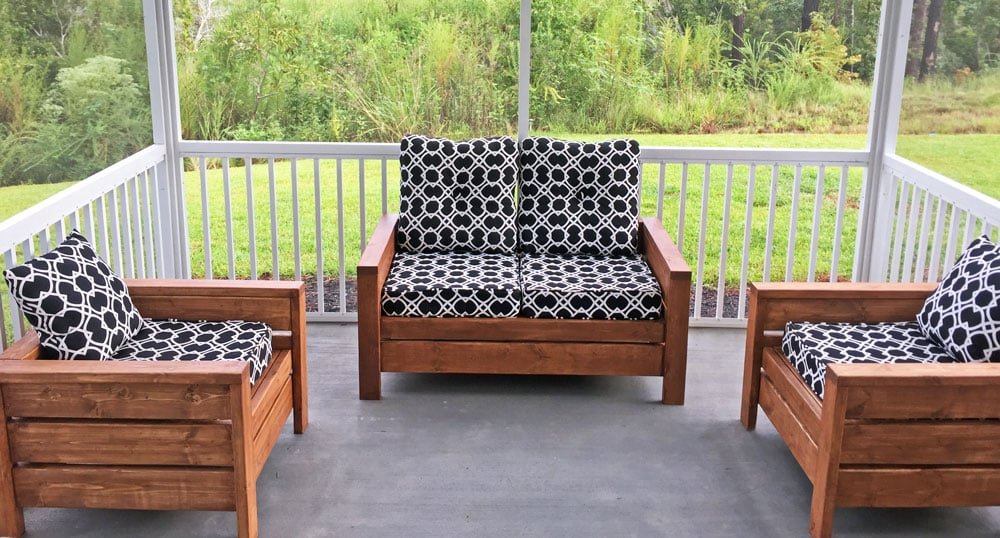
Built the 2 chairs according to the plans, and then modified it for a bench that's 48" (our cushions are 23.5 x 23.5). Worked really well!

Estimated Time Investment
Weekend Project (10-20 Hours)
Recommended Skill Level
Beginner

Comments

Seasonal And Holiday

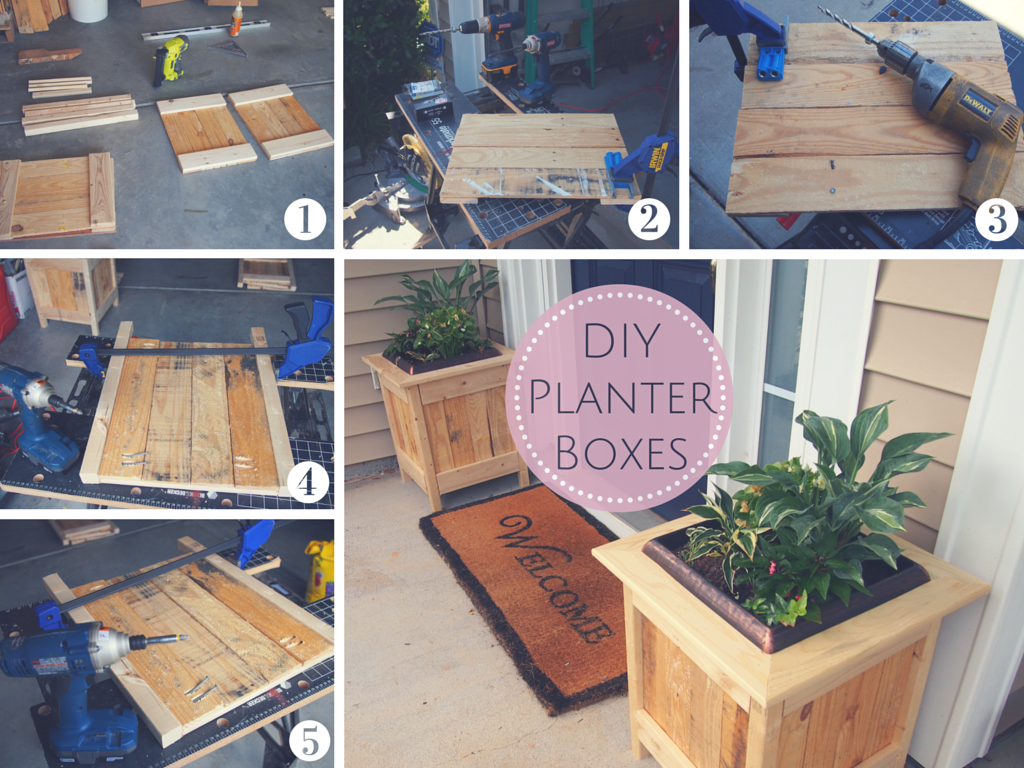
DIY PLANTER BOXES WITH PALLET WOOD

We picked up a couple 14.9" square plastic garden planters from Home Depot and ended up creating some wood planter boxes from pallet wood for them to sit in. 

I didn't add up the cost of these boxes, because we had most of the wood and only needed a few pieces, but I'd say they were definitely less than $10 a box. 

We altered our dimensions to fit our HD planters so they would slip in for a snug fit and made the legs flush with the top of our sides. We build a simple frame for the top, which allowed the lip of our HD planters to sit firmly on top. 

Something I didn't do, but wish I did: fill in the cracks with wood filler.  There were a couple places that really could have used it, but I was in a rush and decided to skip it.  They turned out great, but could have been even better had I taken an extra 30 minutes.  On an off weekend, we are going to use wood filler in the seams, sand them down, and do a second coat of white paint. 

Can't wait to plant these with some mums for Fall! :)

Built from Plan(s)
Estimated Cost
$20 total for 2 boxes.
Estimated Time Investment
Day Project (6-9 Hours)
Finish Used
White Semi-Gloss outdoor paint
Recommended Skill Level
Beginner

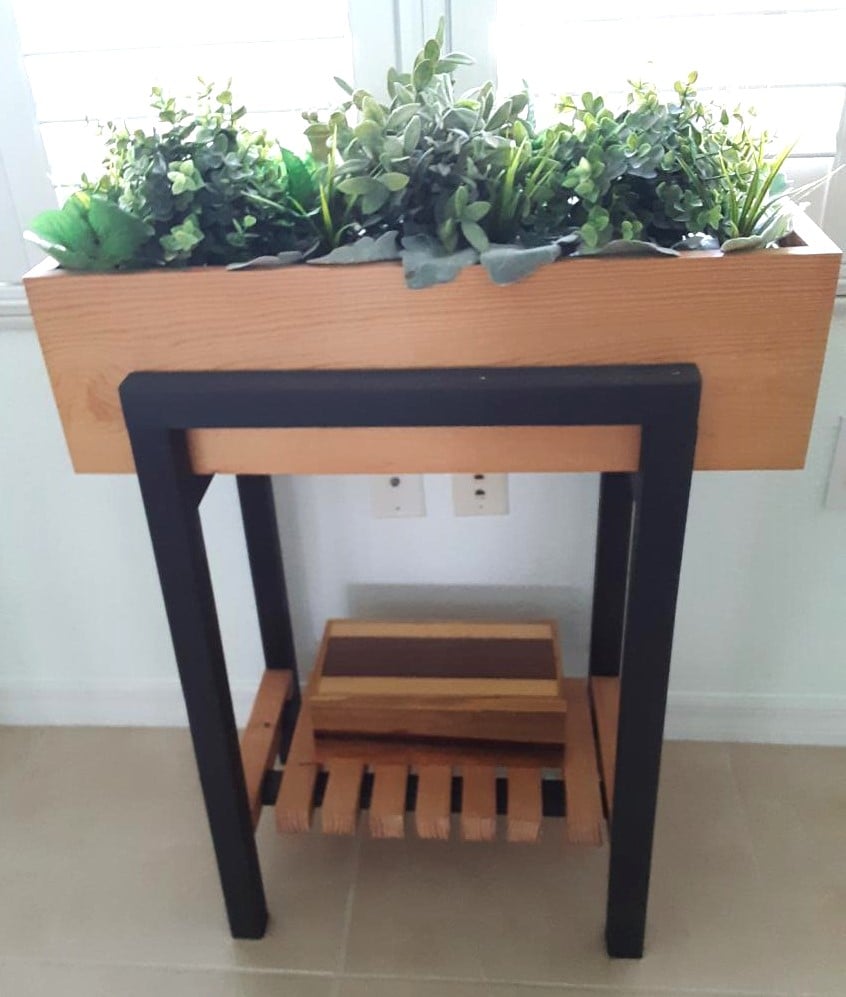
Raised Planter Stand

Submitted by Anonymous (not verified) on Sun, 04/30/2023 - 13:02

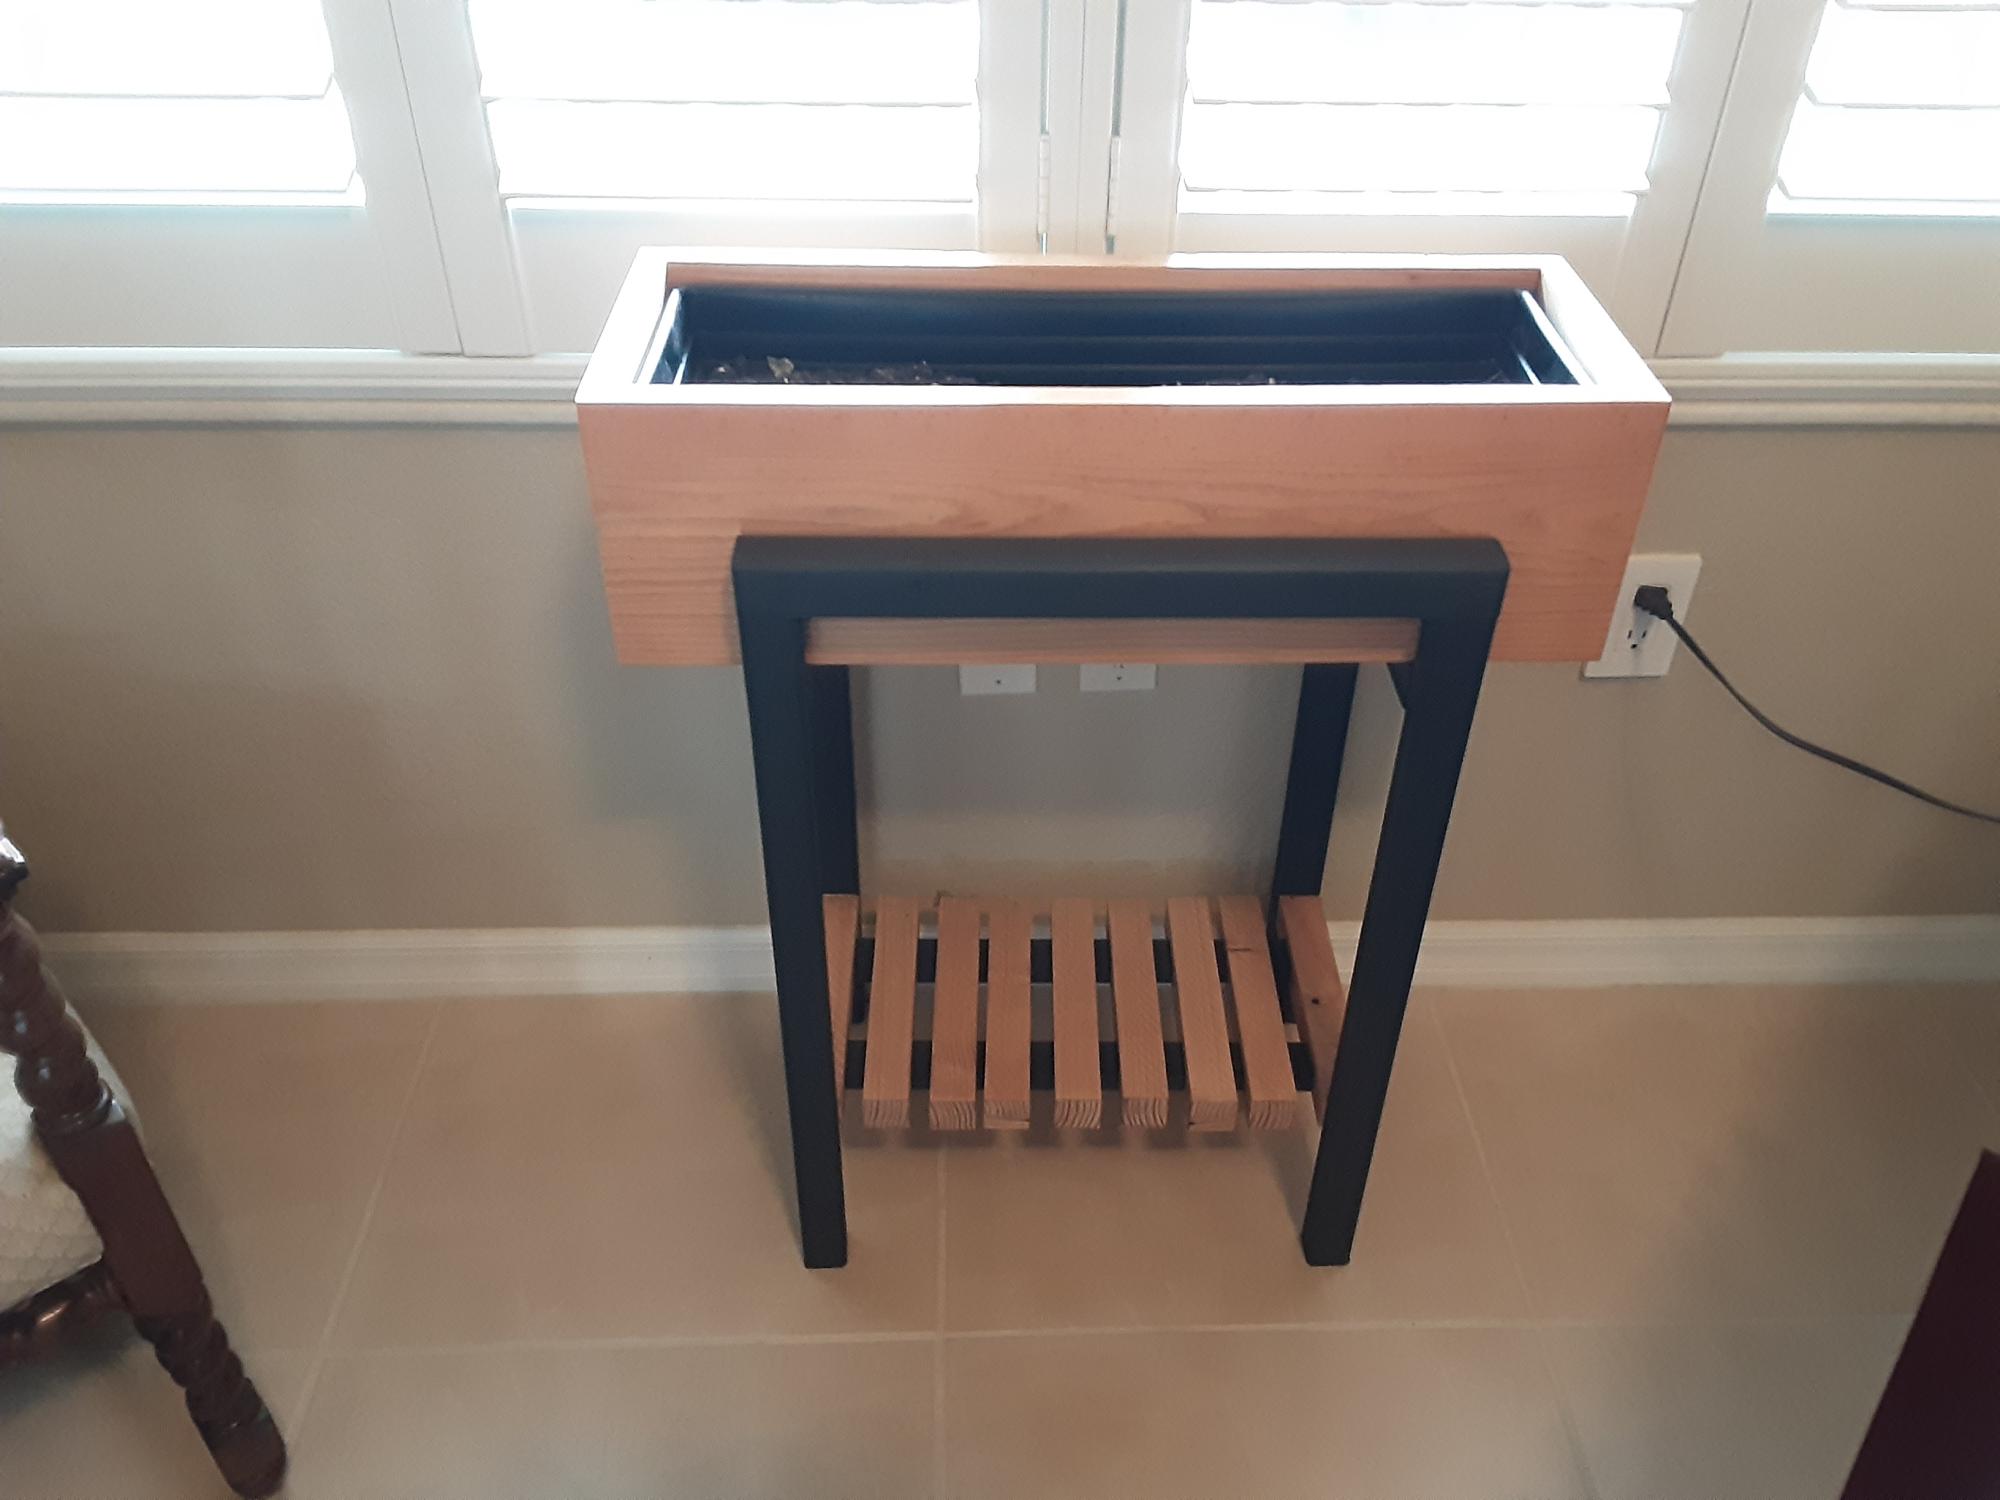
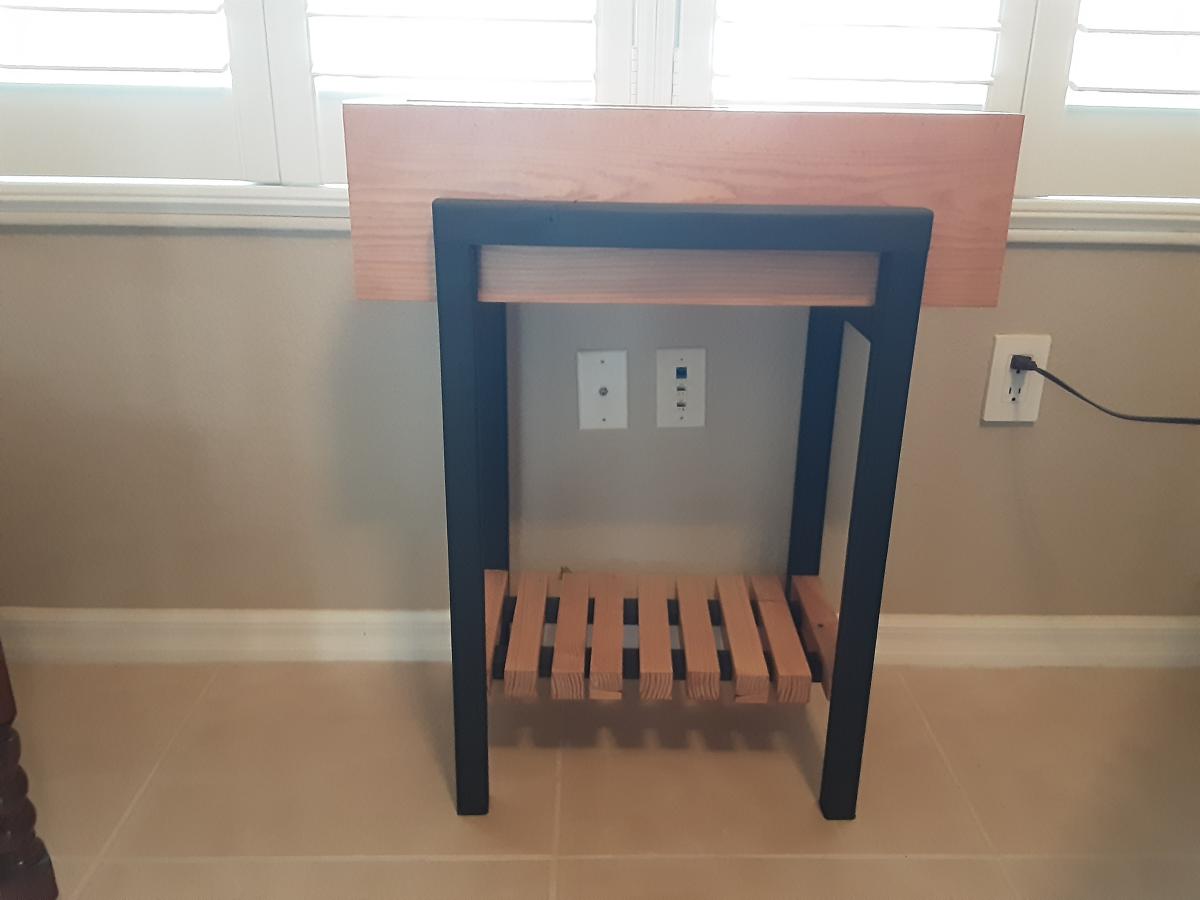
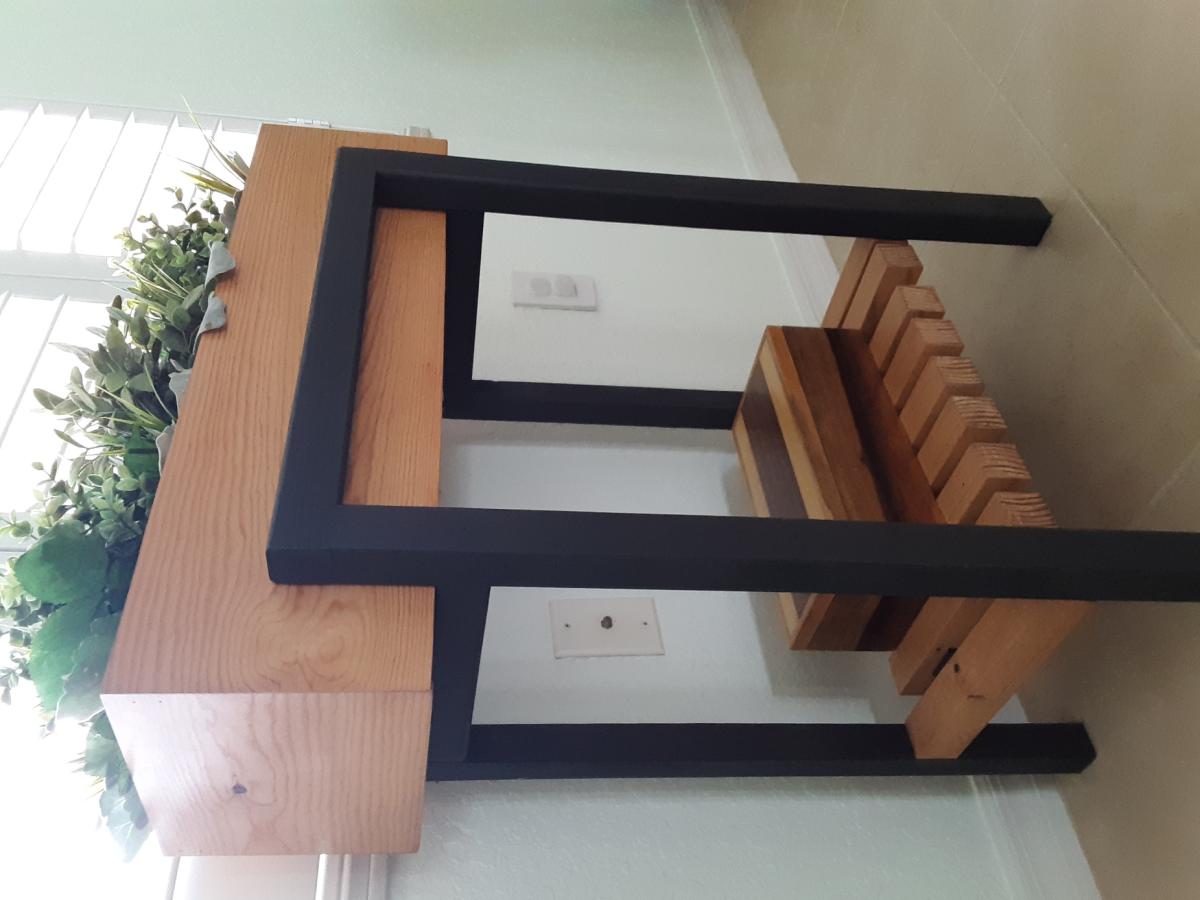
Created the stand for the raised planter using 2X2 assembled using dowels. Painted the stand mixing black with a bit of white to simulate metal. The actually plastic window box fits within a wood open box with mitered corners fir clean log. Bottom of the stand provides a shelf using (9) 2X2s with a dado placed on either end to fit on the runners of the stand.

Built from Plan(s)

Comments

8x12 Shed

Submitted by Anonymous (not verified) on Tue, 06/13/2023 - 03:26

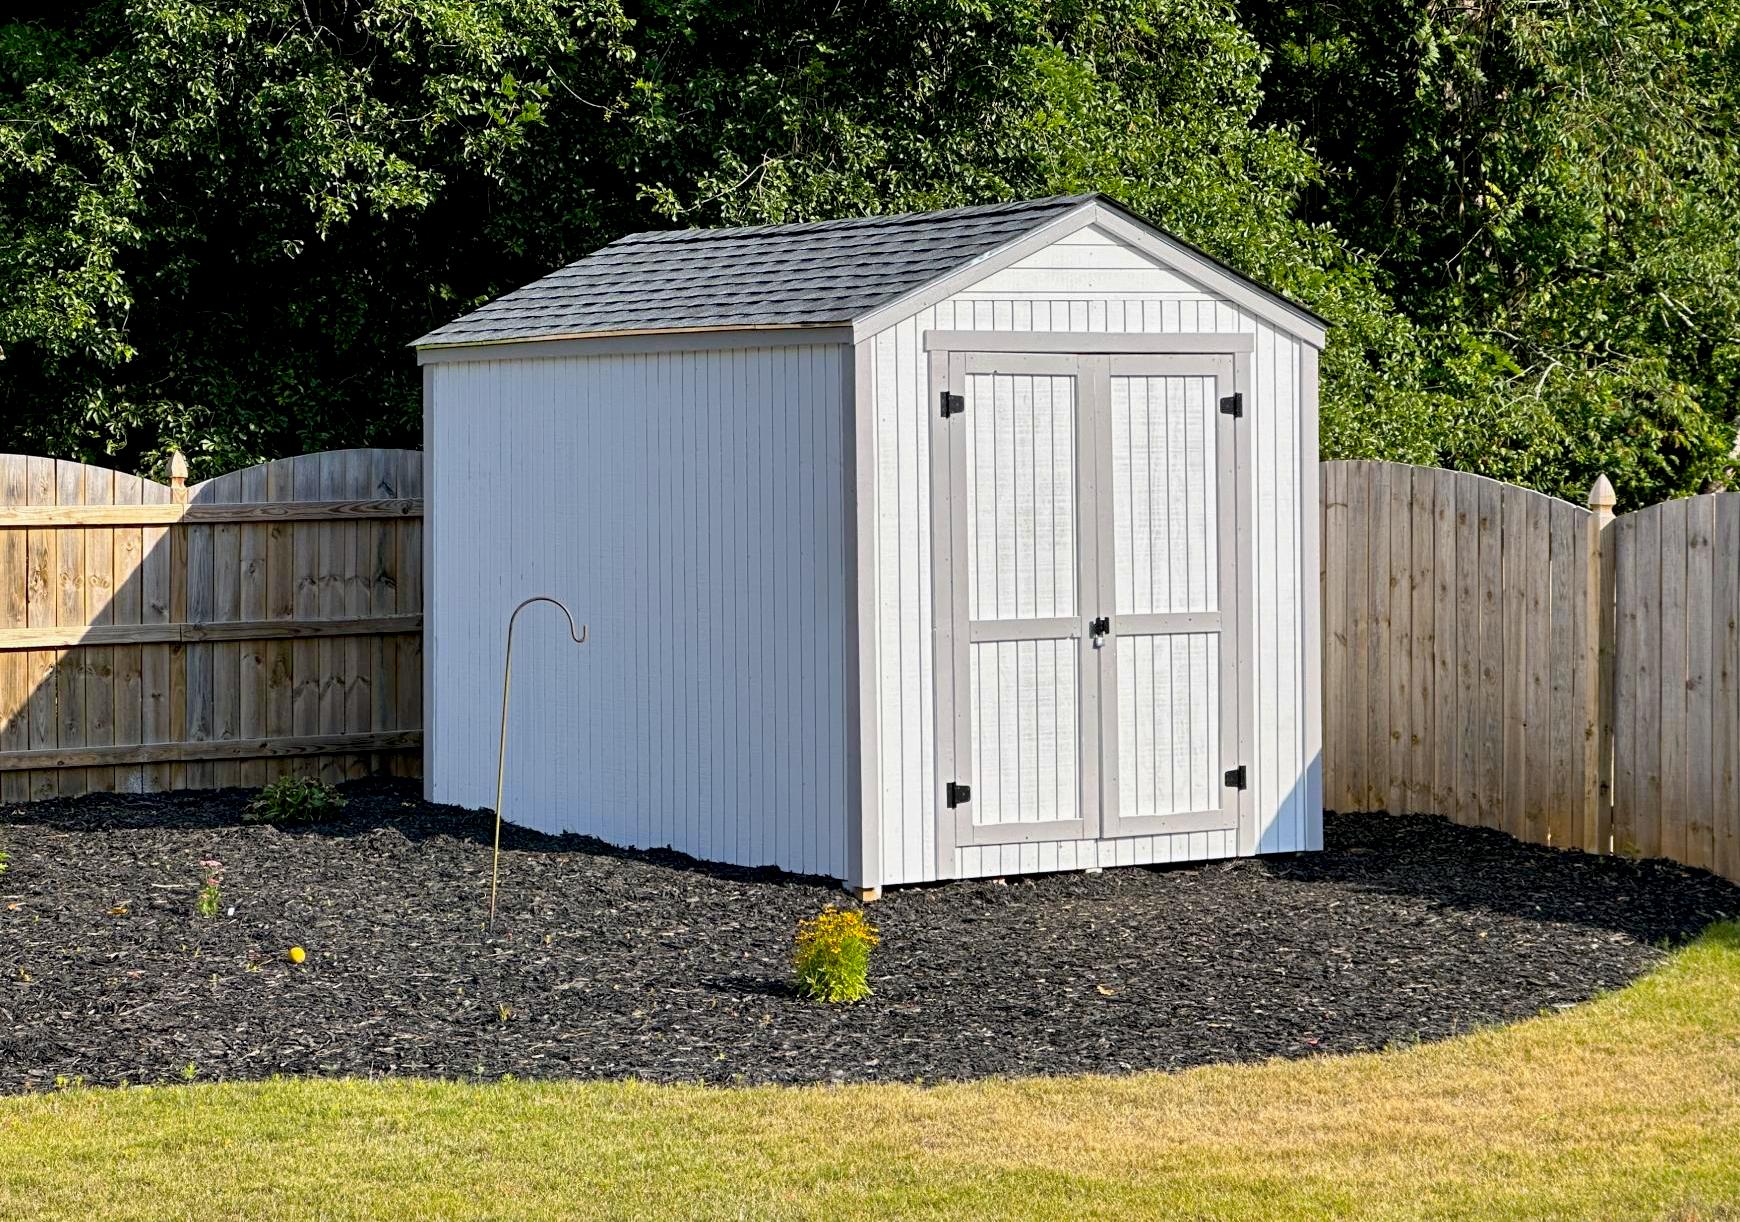
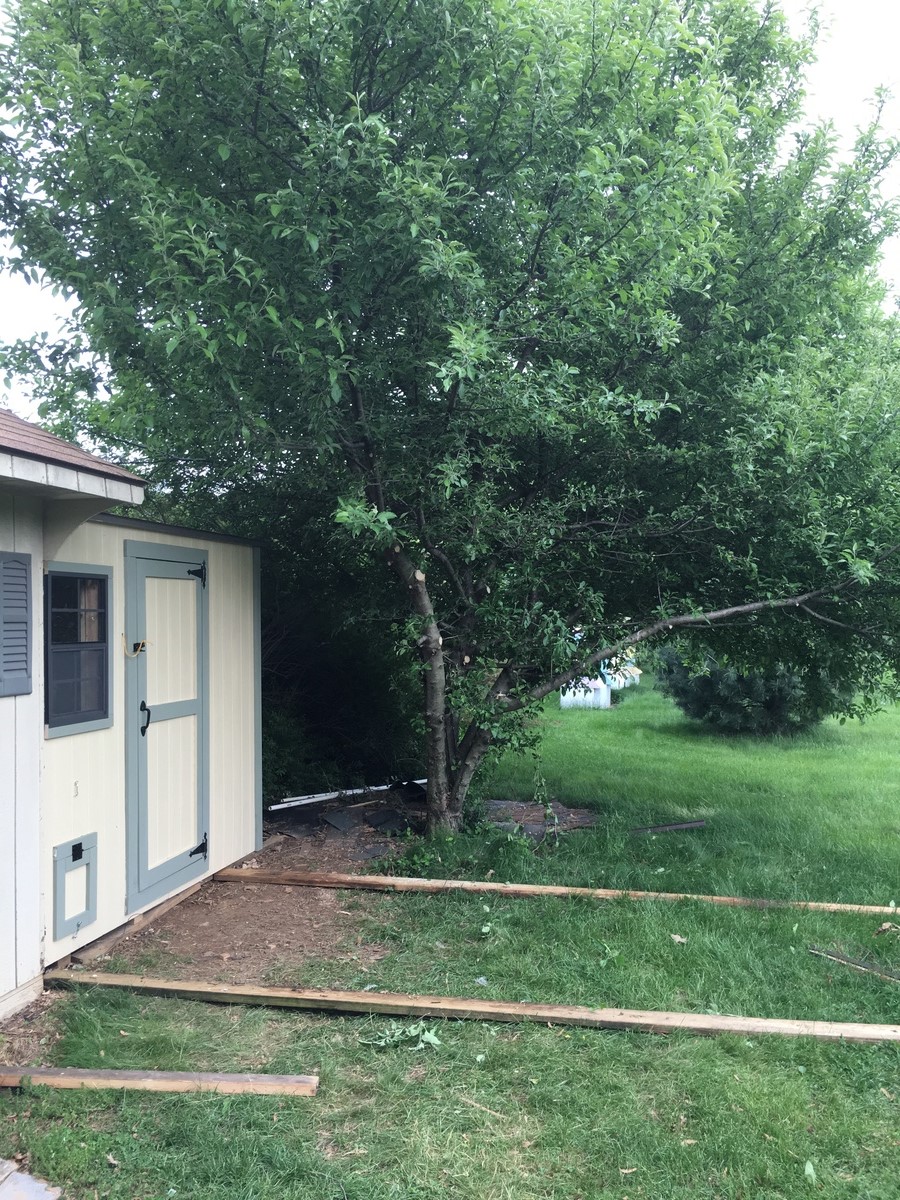
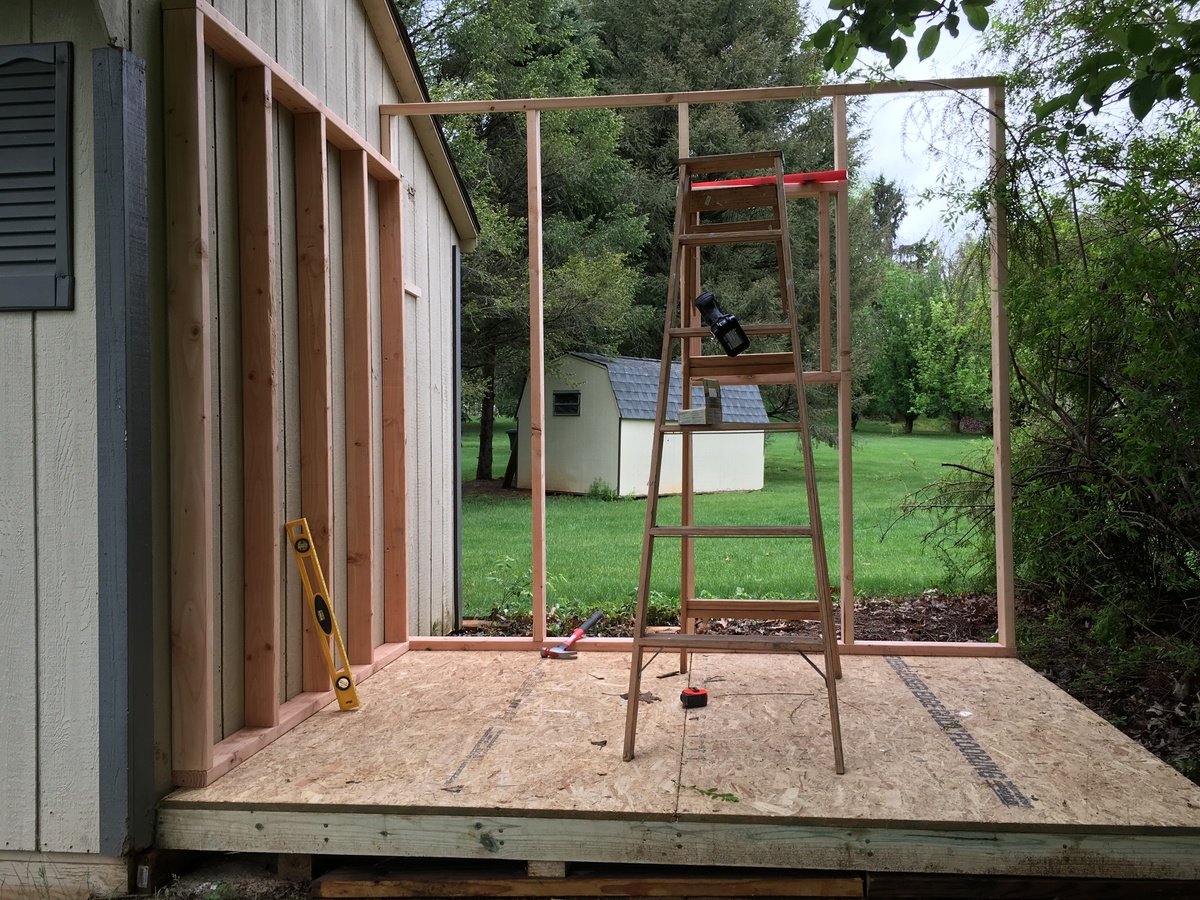
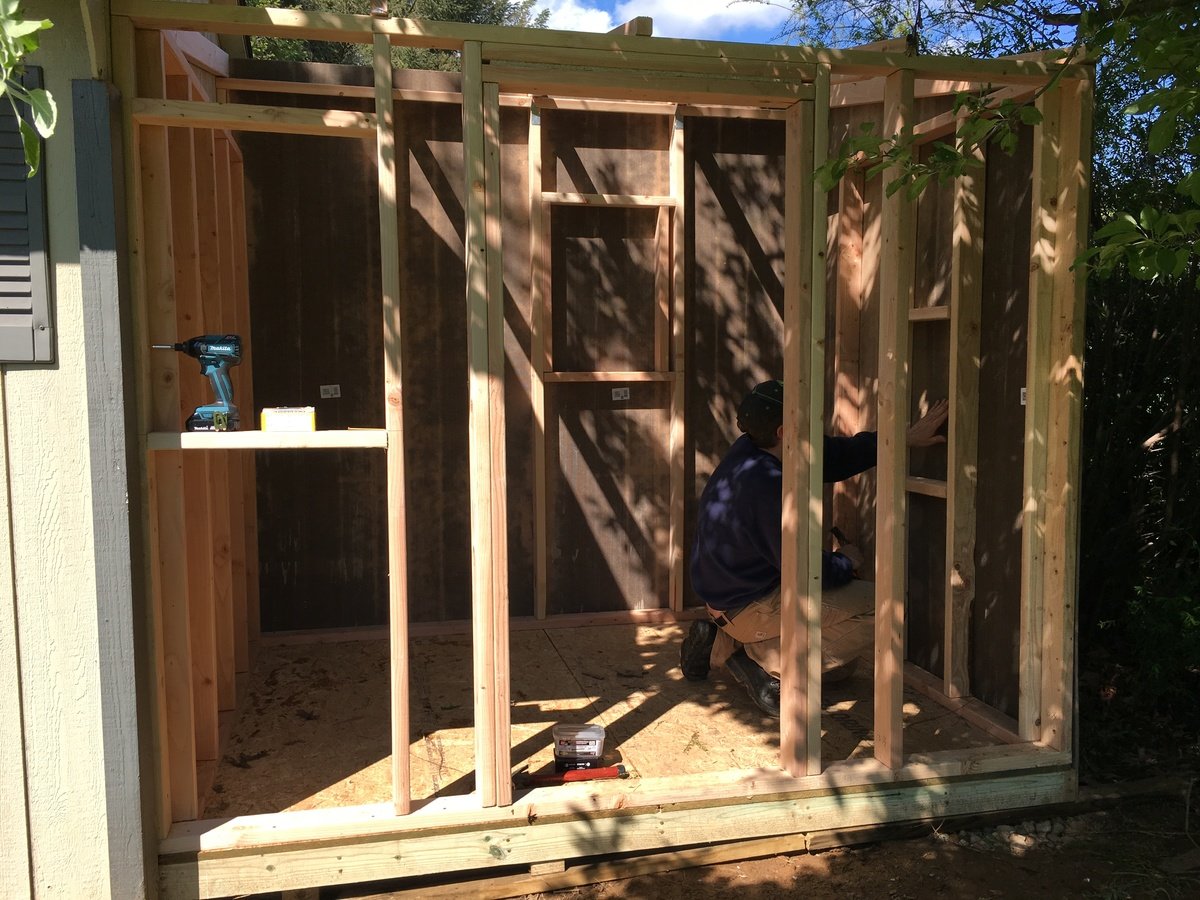
My new garden shed built from your premium plans! I'm 62, never built a shed before, and worked mostly alone. My sons helped with some of the wall and roof sheathing. In the end, I did everything except for the shingling. I painted it to match my house main color and trim.

The video is very helpful - I watched it several times. My major change to the plans was using Simpson Strong Ties and hurricane ties to secure the rafters to the ridge pole and the top plates. Otherwise, I used all other methods. I recommend cutting the front wall sheathing before cutting the panels for the doors. I do not have a trim saw and thought my standard circular saw was too heavy for me to make the cuts like Jacob did.

Built from Plan(s)

Comments

Seasonal And Holiday

Raised Cedar Beds

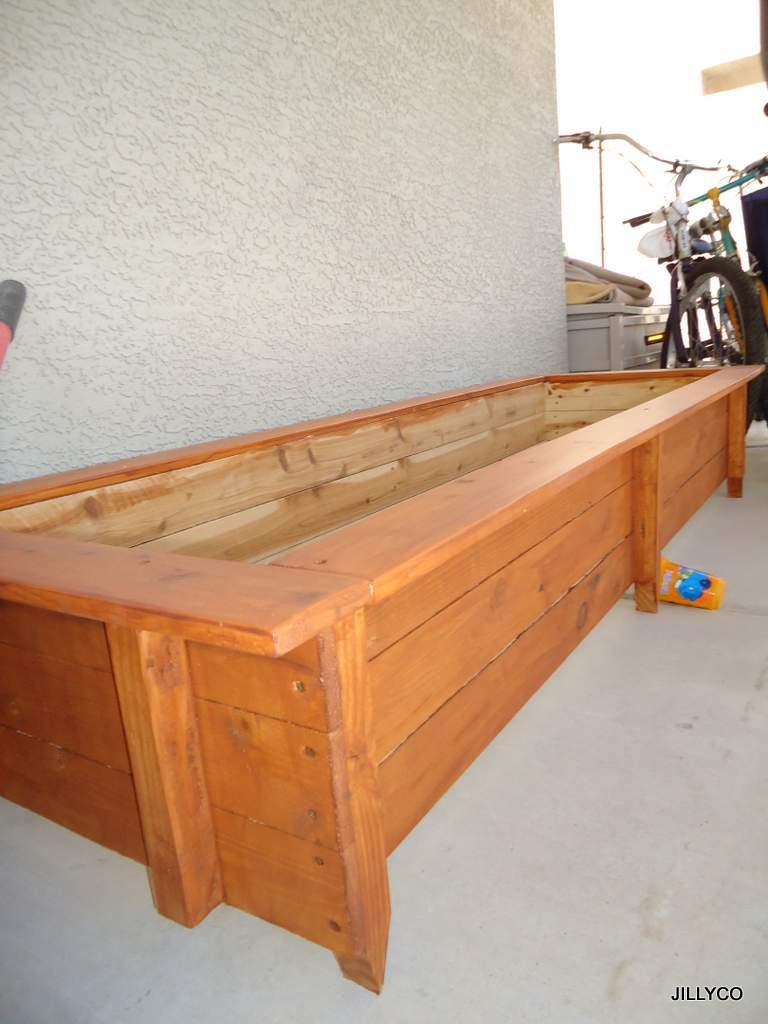
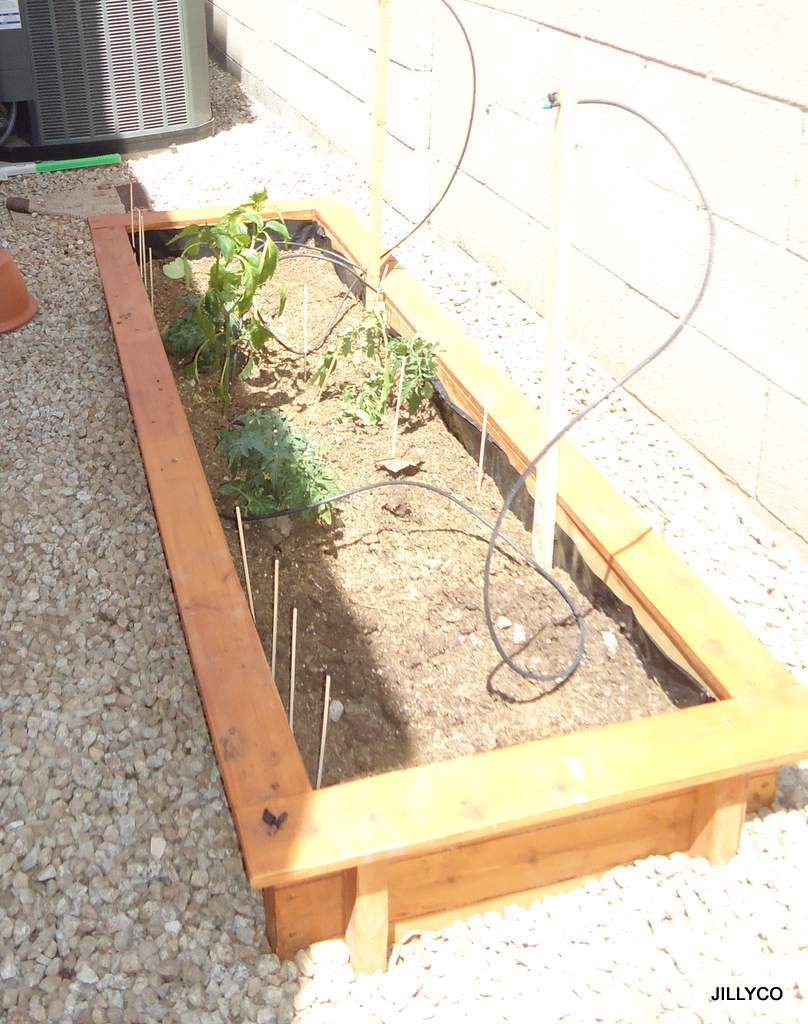
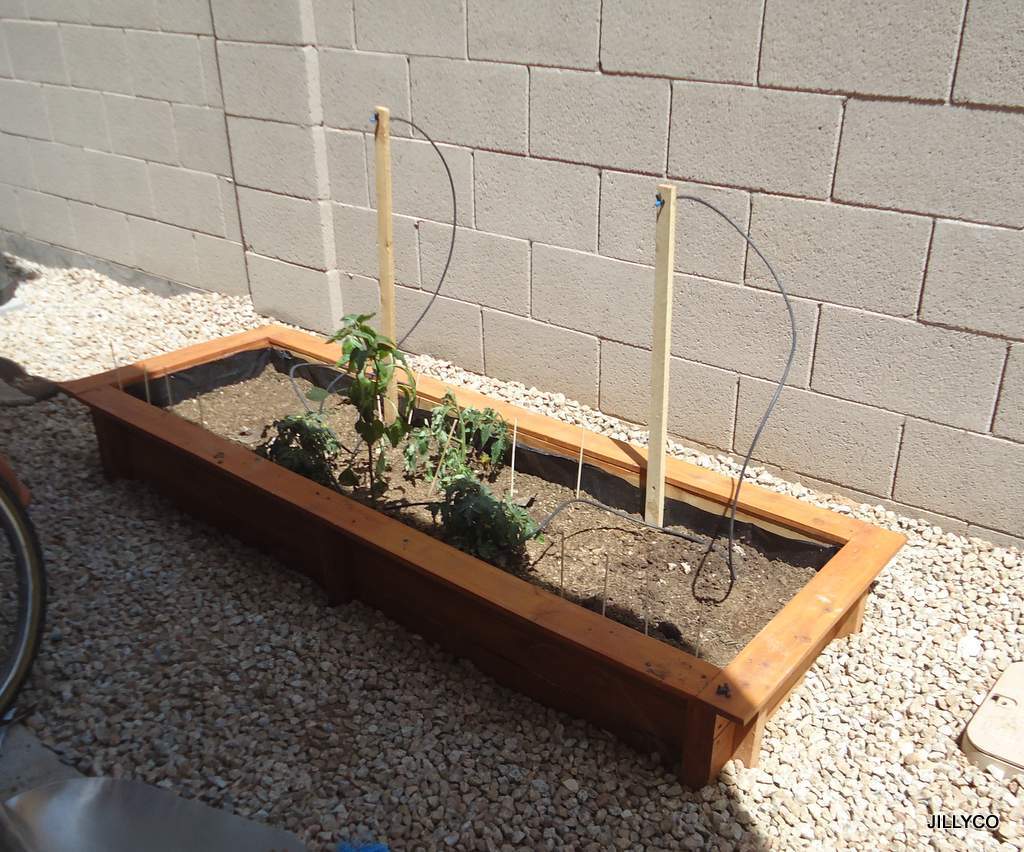
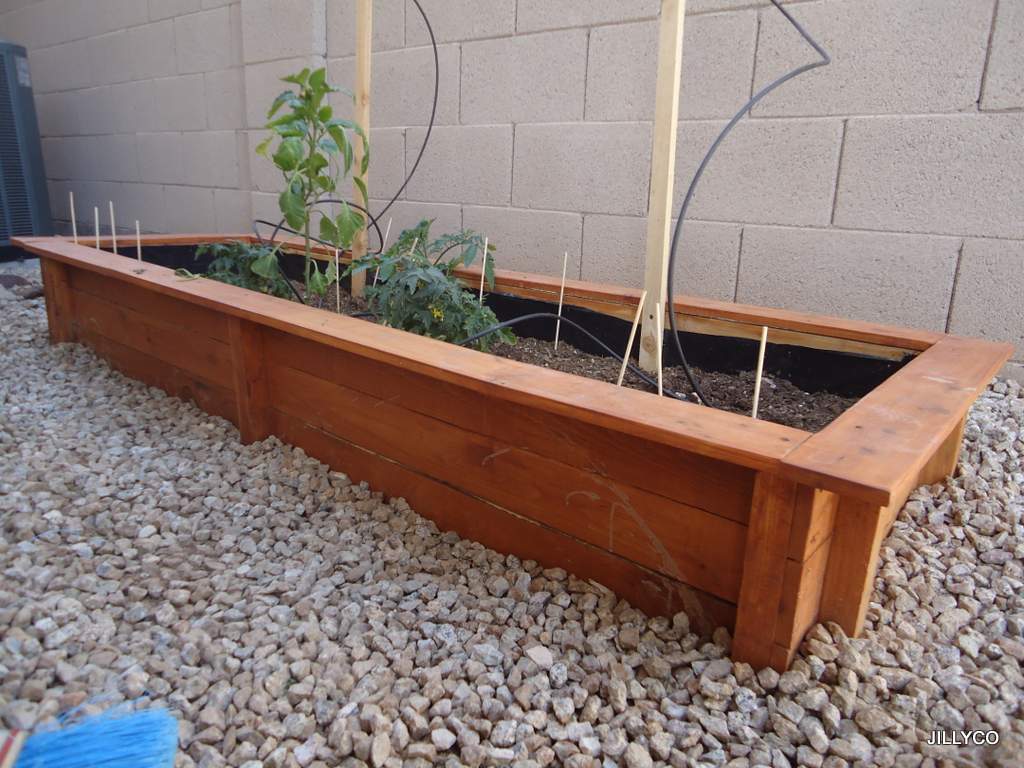
THANK YOU Ana's your plans are a life saver and pocket book saver as well. You make your plans so easy to follow and use. For my project I used the cedar fence pickets and redwood 2" x 2" stakes that where on sale at the orange box store for "6 pack bundle" for only $.50 each. All I can say is SCORE! ;') Since we live in Arizona I treated all the lumber with a outdoor weather proofing wood finish (Cedar Color), lined all the interior beds (only the Wood Sides) with 4 mil plastic to keep the cedar from absorbing all the water and wired mesh on the bottom of the garden prior to adding dirt. This keeps my local rabbits/other creatures from eating my roots from the bottom up. And I have my dog from the top side. We are already a 100 degrees here and we needed to get our seedlings in a garden asap. Thanks Again for the Plans, Ana! I will be making more of these garden boxes to come.

Estimated Cost
$15
Estimated Time Investment
An Hour or Two (0-2 Hours)
Finish Used
Behr Premium Transparent Weather Proofing Wood Finish (Cedar Color)
Recommended Skill Level
Starter Project

Comments

Mariel

Thu, 08/08/2013 - 09:39

Love this! We are new to Phoenix - originally from the Midwest - and I really would like to add some raised beds to our backyard. I appreciate your comments on how you adapted these for the desert! May I ask what side of your house they are on? I'm thinking to put mine on the east side so they get morning sun, but not the scorching afternoon rays. Thanks for your AZ advice!

Seasonal And Holiday

Corner Desk - from Farmhouse Desk plans

Submitted by james_e on Wed, 01/13/2021 - 14:15

My wrist has not taken well to the work at home requirement of the pandemic. So, I decided to replace my desk with a similar one that I have at work. Only, this one is much prettier.

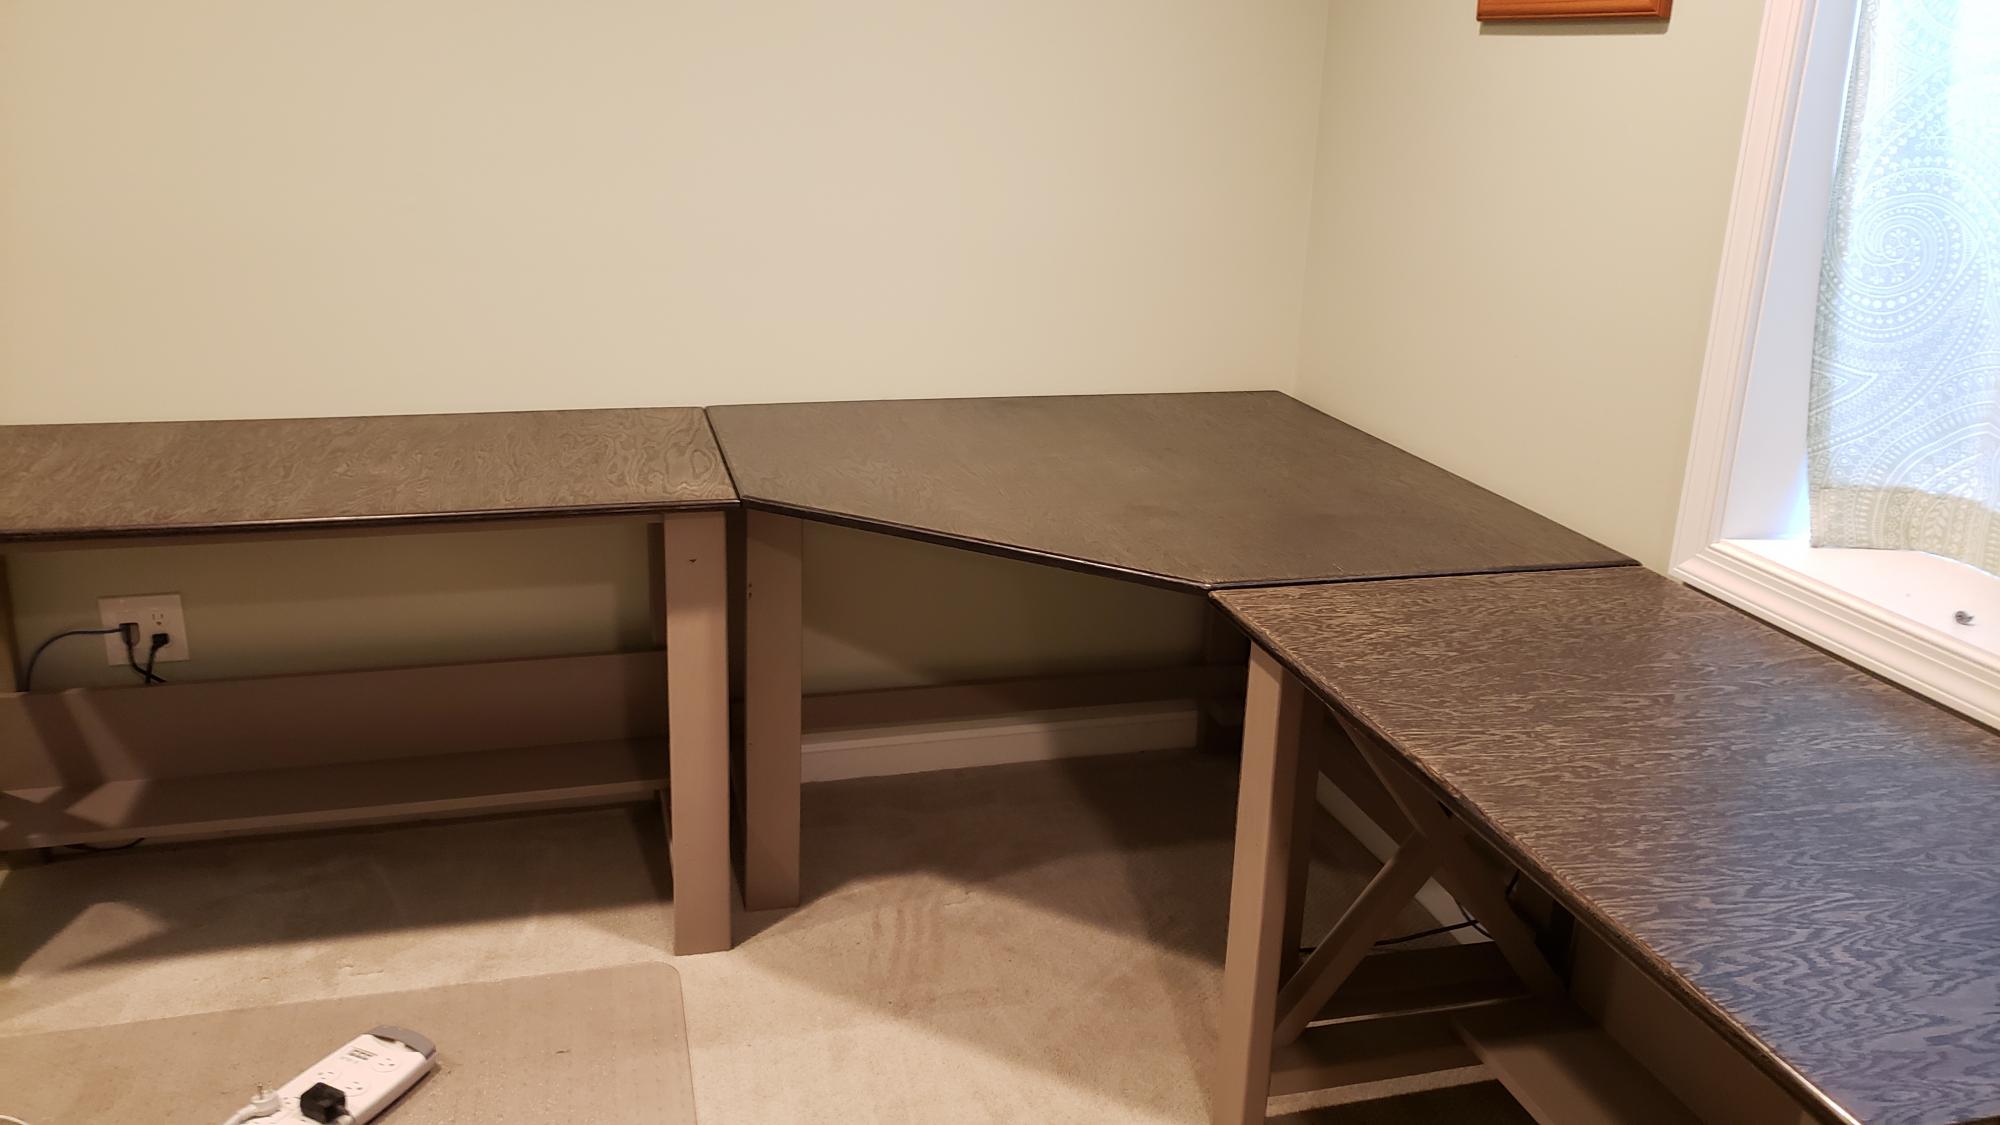
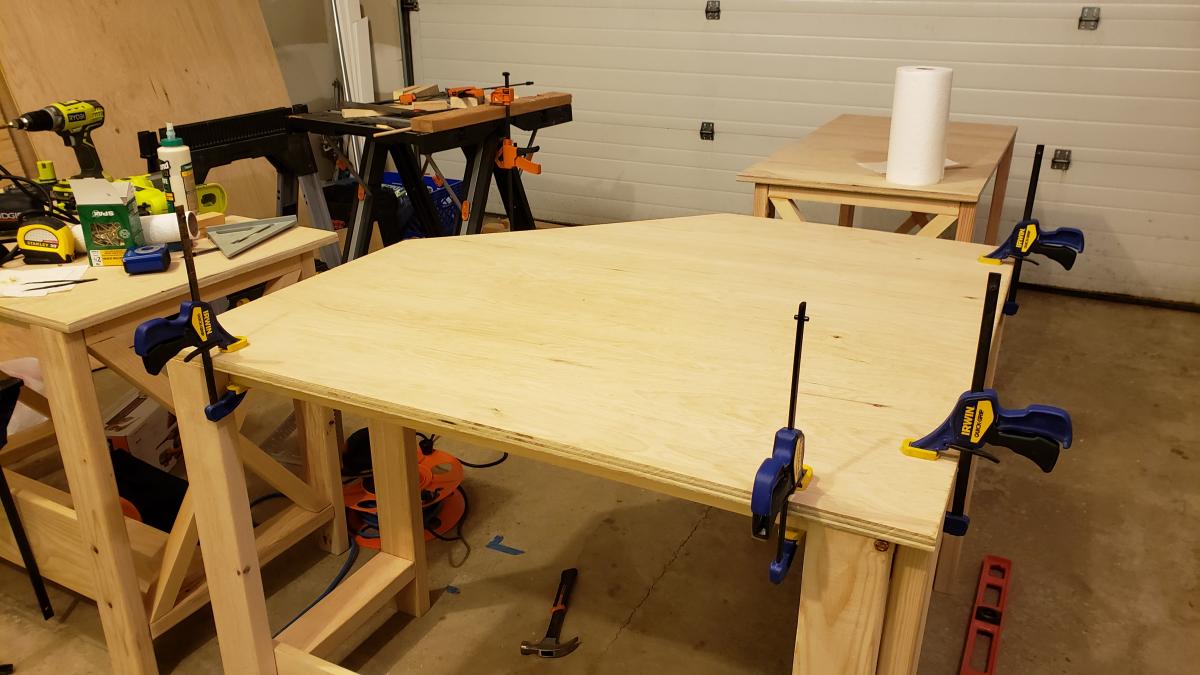
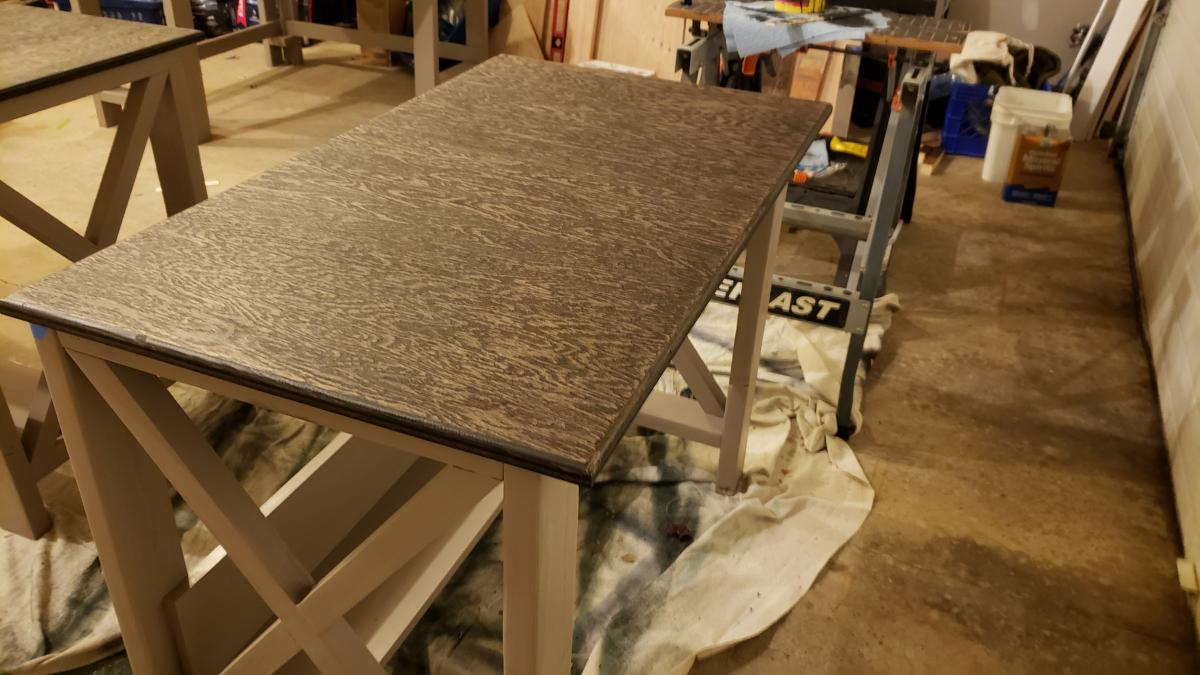
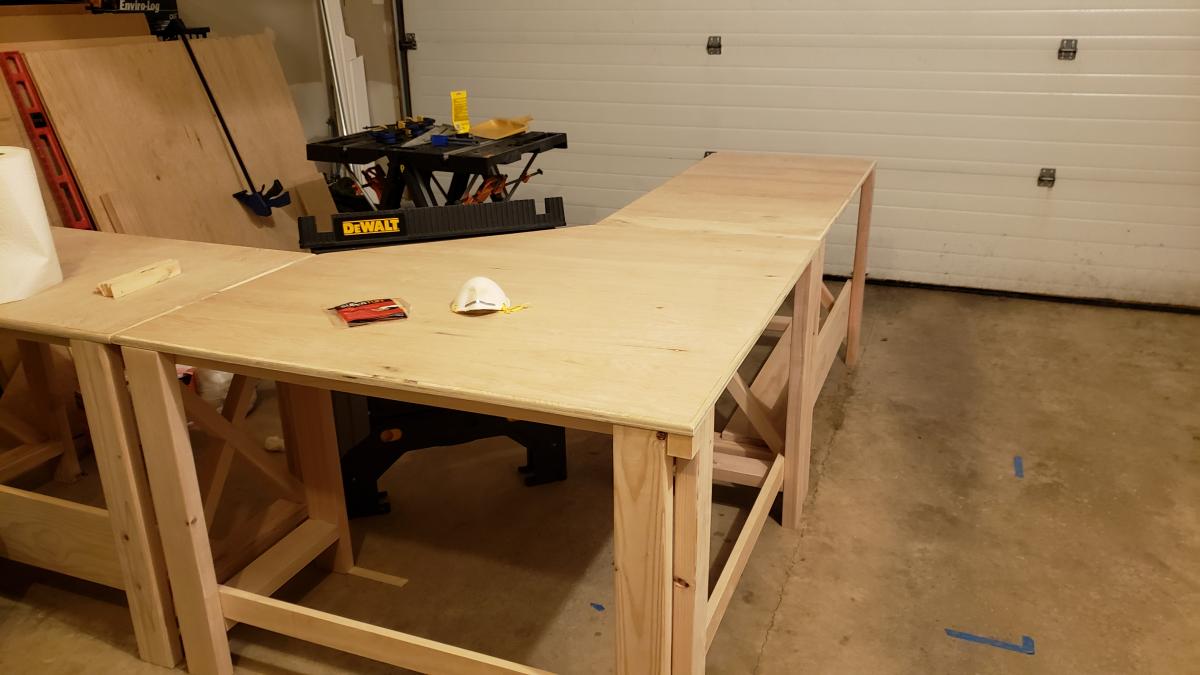
Essentially, I built two desks using the farmhouse desk plans. One of them I made less wide than the plans by simply making the horizontal pieces 36" instead of the plan's 47 1/2".

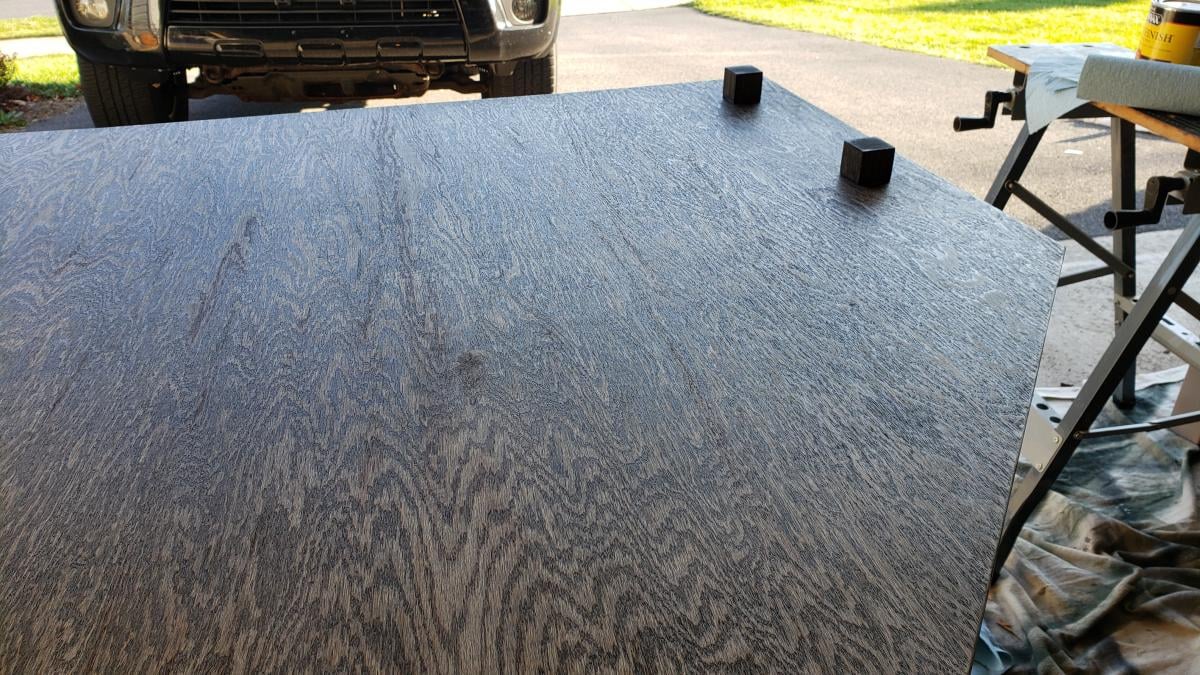
For the middle portion of the corner desk , I based it off of the Office Corner Desktop plans. I made just the middle portion for those plans, but made the edges 46" instead of 38" for a deeper desk as well as to allow more room for my legs not to hit the uprights of the farmhouse desks. I made the corner desktop detachable, so it was easier to fit down the stairs to the office, using some small ~2" cubes placed on the bottom. They just serve to keep the desktop from moving around on the frame. The base of the middle portion I made up using the same ideas used to create the farmhouse desk frames.

I made plenty of mistakes along the way as I'm a software engineer, not a carpenter. I think next time I'll buy a miter saw, most of these cuts were by hand and aren't as straight as I'd like them to be. But, I like to work with my hands and this has made my day job less painful while I'm working from home.

Estimated Cost
$200
Estimated Time Investment
Week Long Project (20 Hours or More)
Finish Used
Minwax oil based Ebony 2718, then satin poly
Recommended Skill Level
Beginner

Adirondack chair

Submitted by Gsmit96 on Sun, 05/19/2013 - 18:38

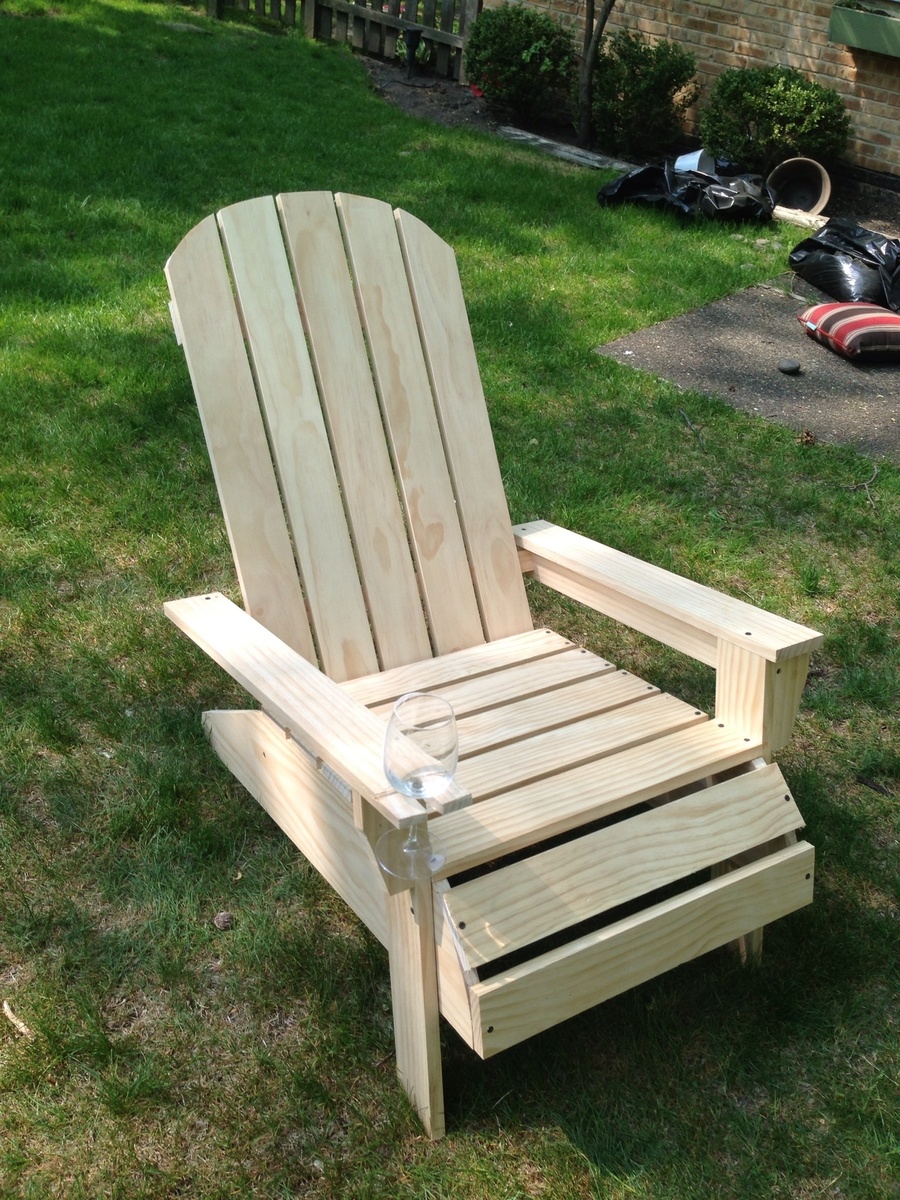
The only thing I did different to the plan was add 4.5 inches to the back slats so I could round the edges and 3 inches to the right arm rest so I could cut out a track to rest a wine glass. One thing I highly recommend is to create a stencil of the stringer. I did and now I have it for the next one so the next chair will be consistent. Thanks Ana white, this site is very therapeutic for me. Already built 3 projects in the last month.

Estimated Time Investment
Afternoon Project (3-6 Hours)
Finish Used
Haven't painted yet, will paint white soon
Recommended Skill Level
Beginner

Comments

sorese

Thu, 06/06/2013 - 06:38

The mods on this make me now want to build a set of these, the wine glass holder is genius! love the rounded front and back, so much better than original plans, thanks for inspiration!

Kids Picnic Table

Submitted by bkb on Thu, 05/25/2023 - 05:27

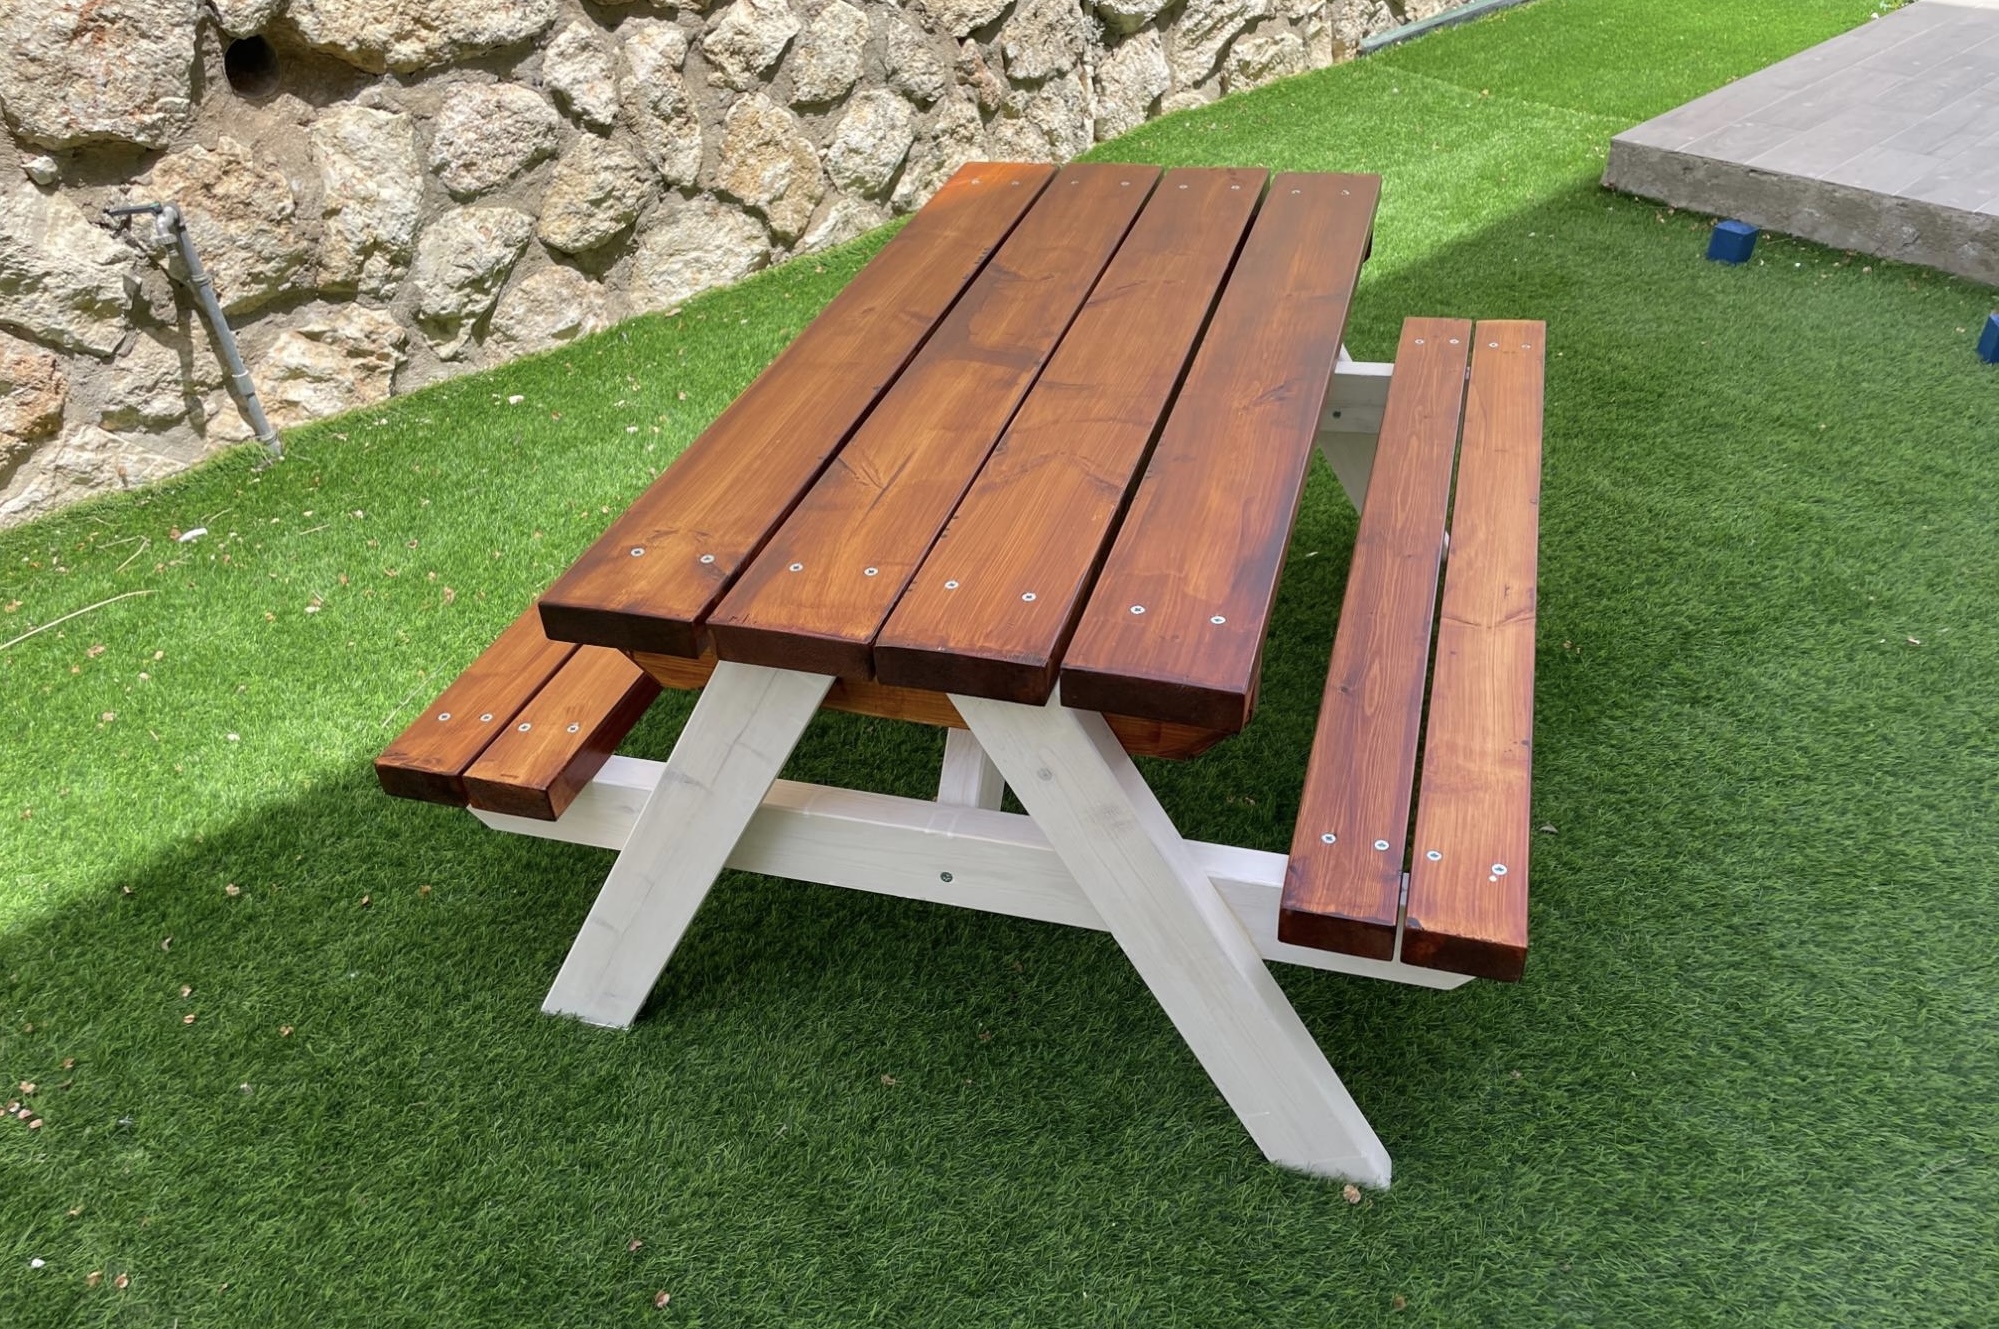
I made the picnic table for my grandchildren. The plans were great and so easy to follow. The cuts, measurement are perfect. Table is sturdy and came out balanced! I used water based paint. Thanks for the plans!

Built from Plan(s)
Seasonal And Holiday

King Farmhouse Bed

Submitted by Anonymous (not verified) on Tue, 10/01/2019 - 21:30

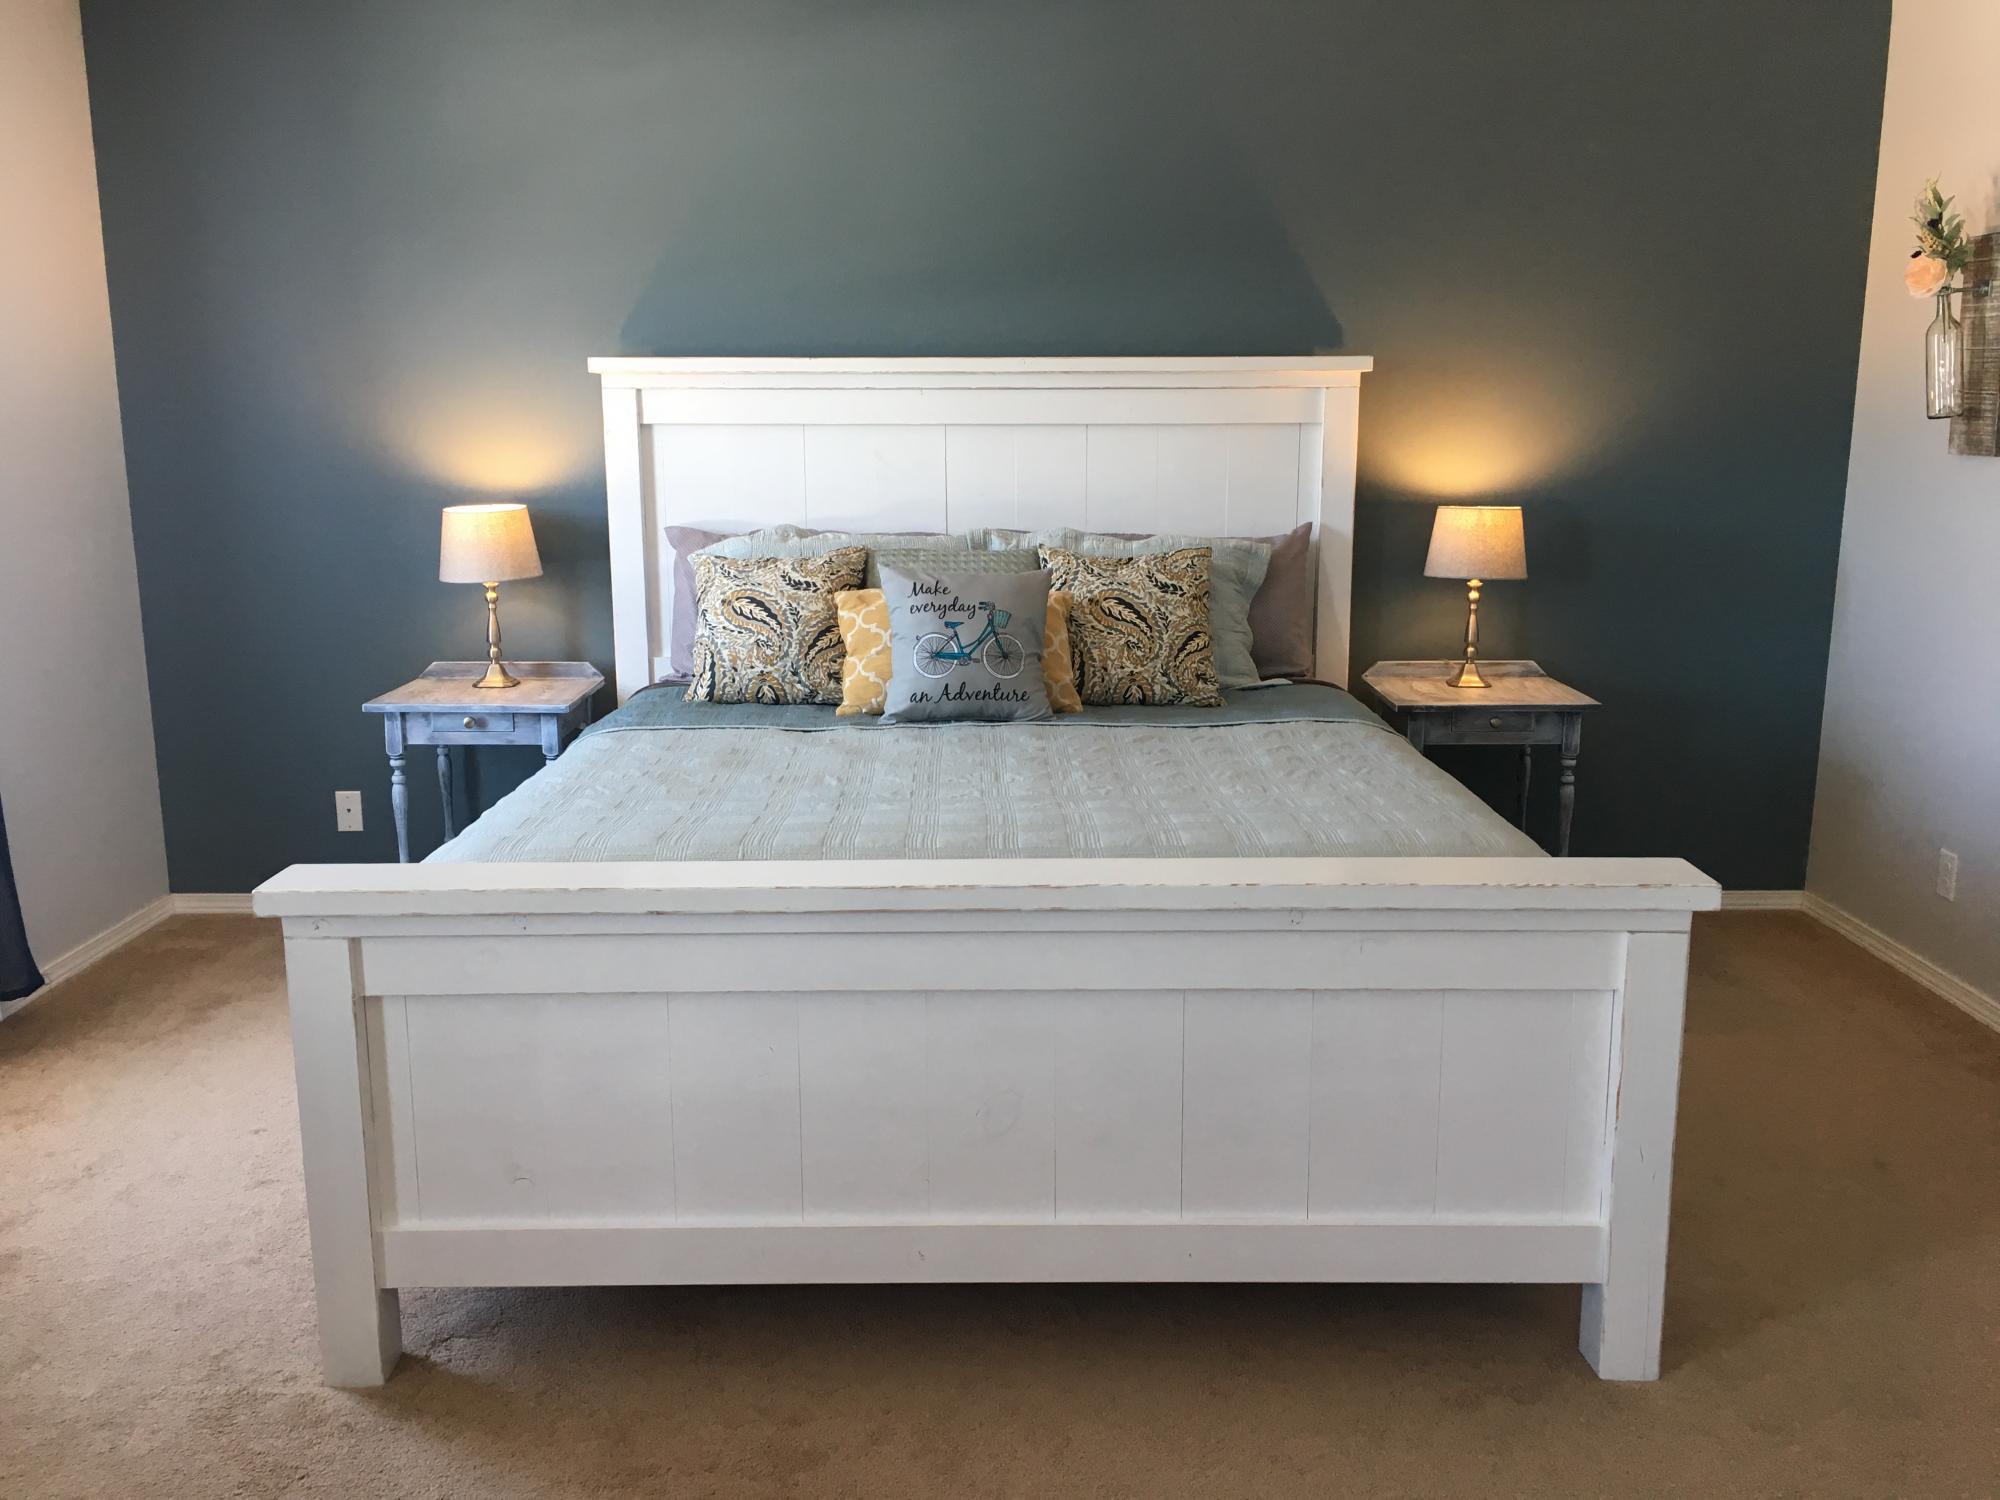
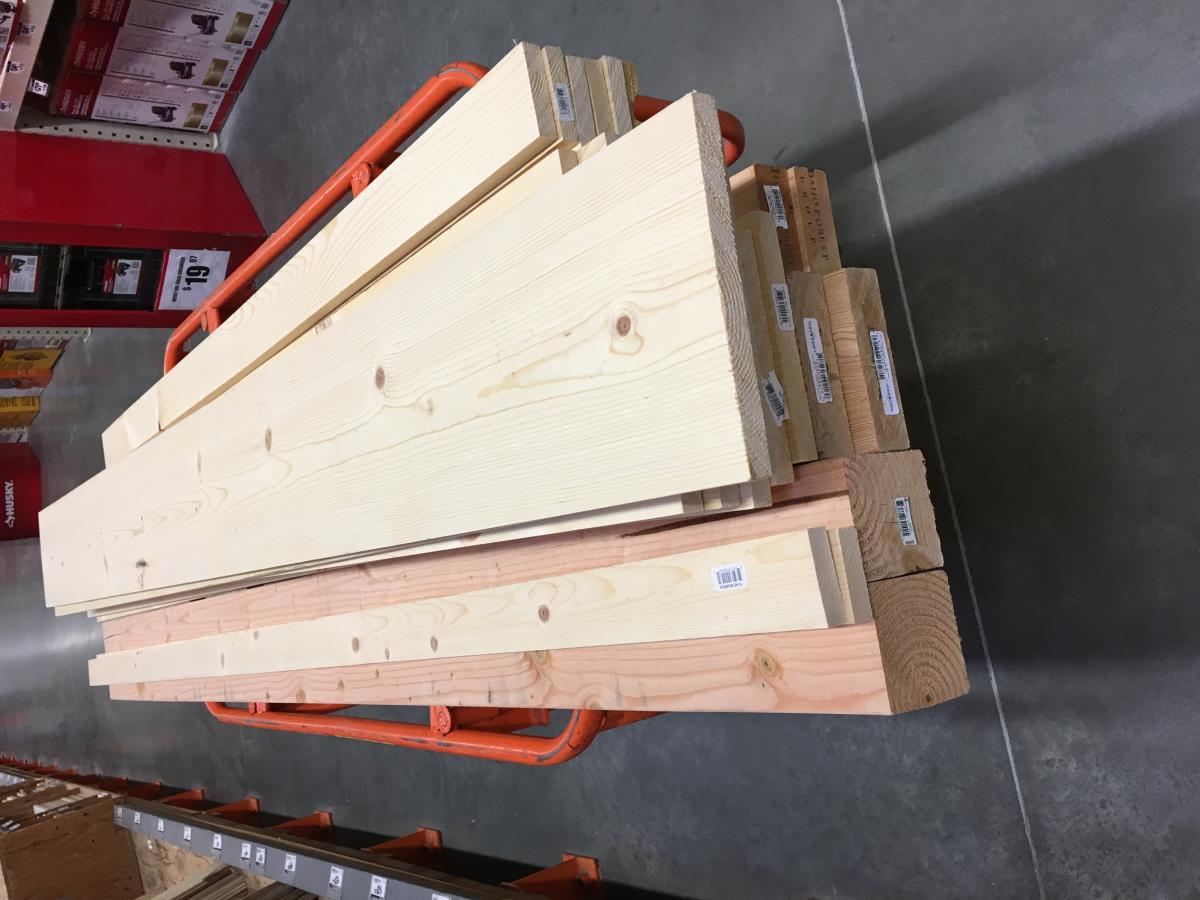
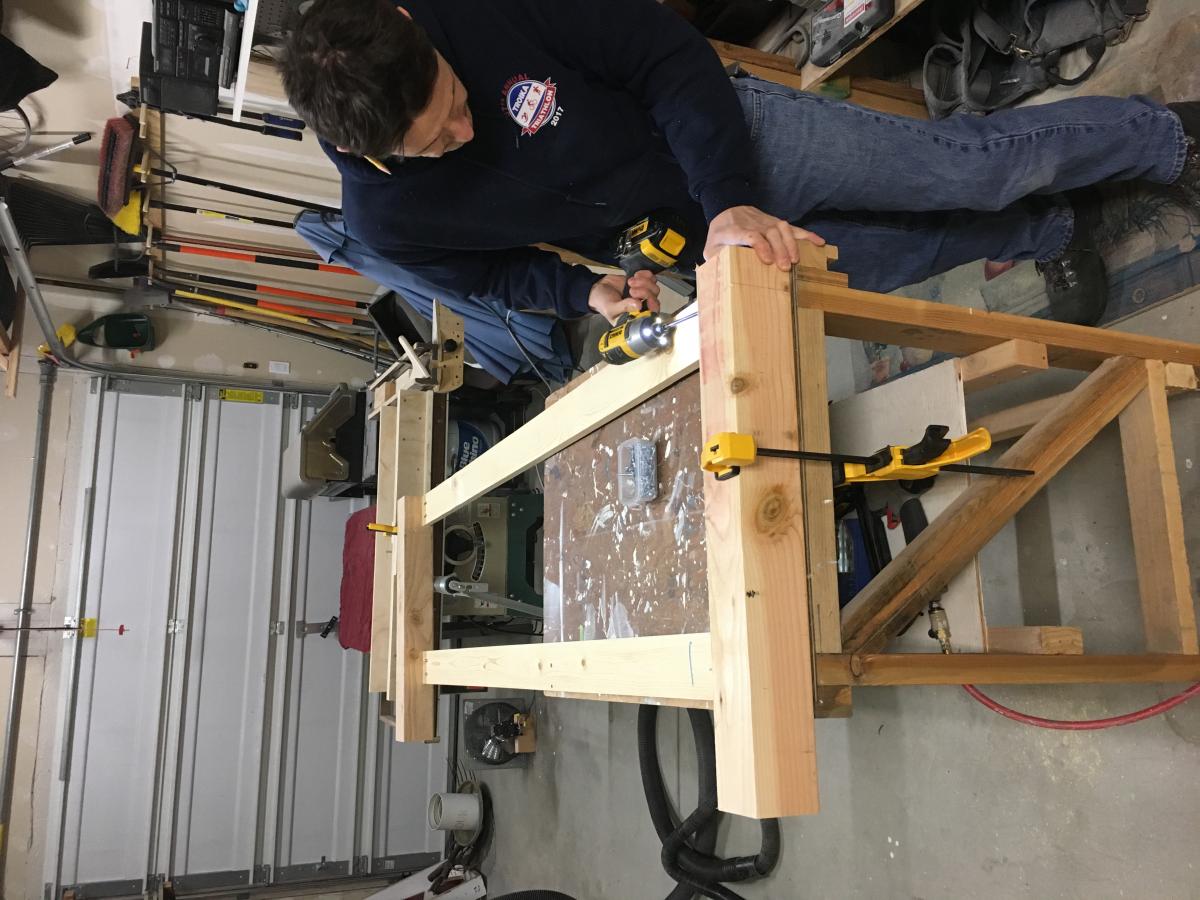
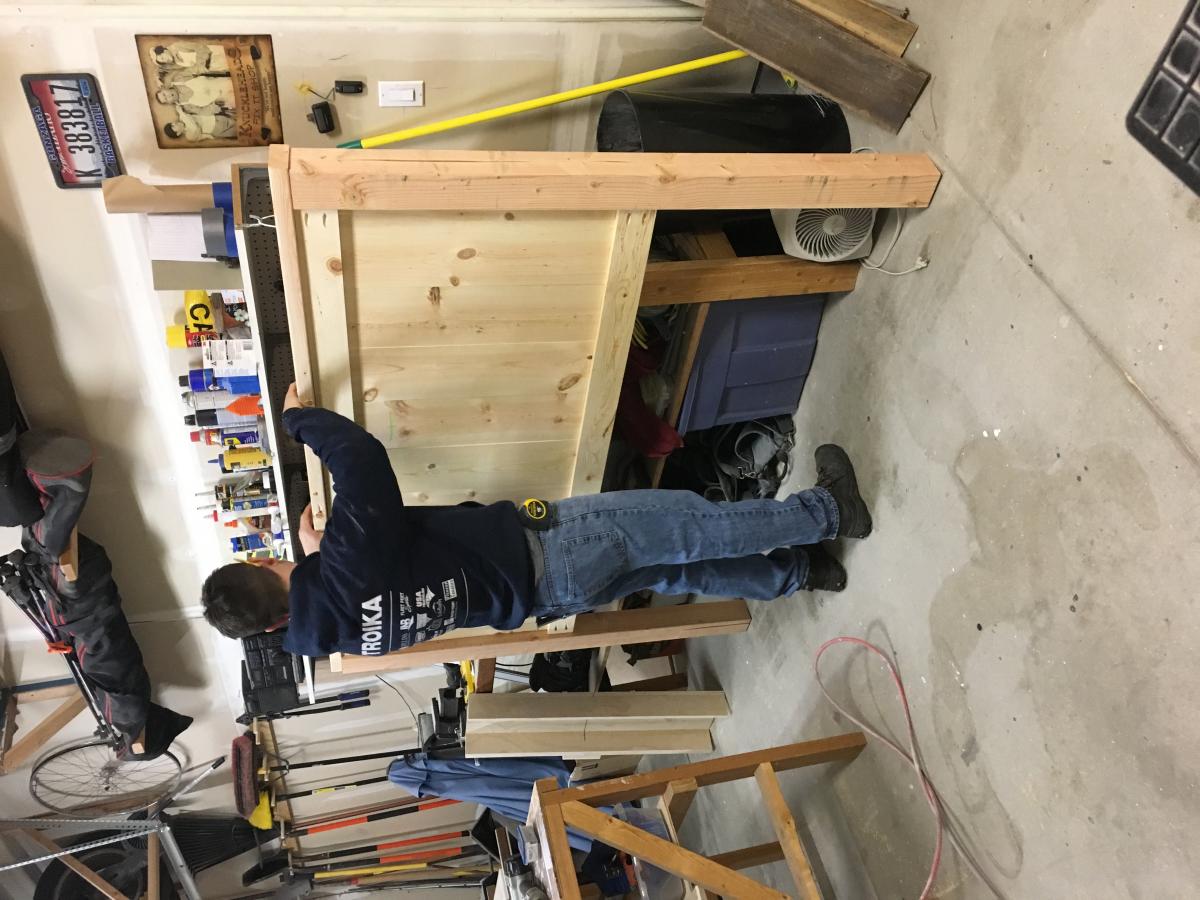
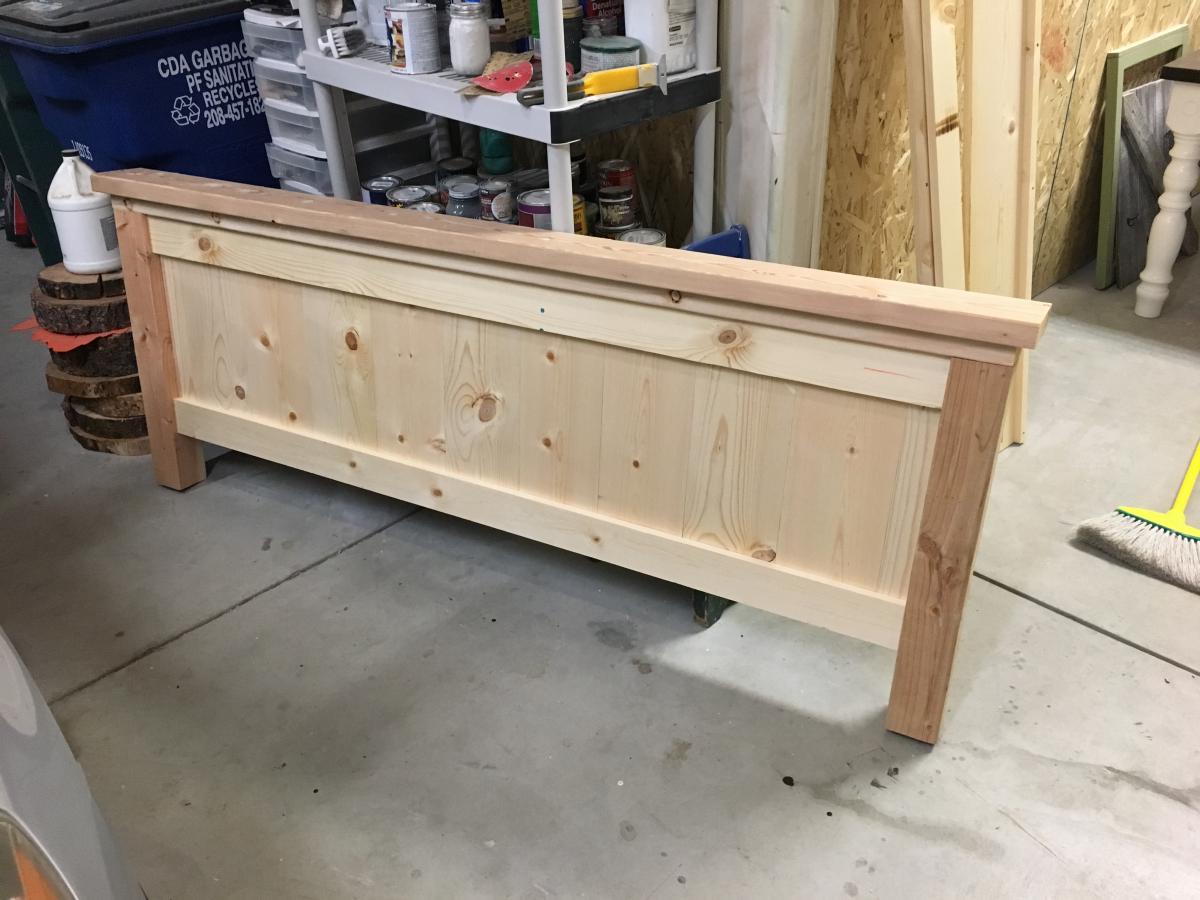
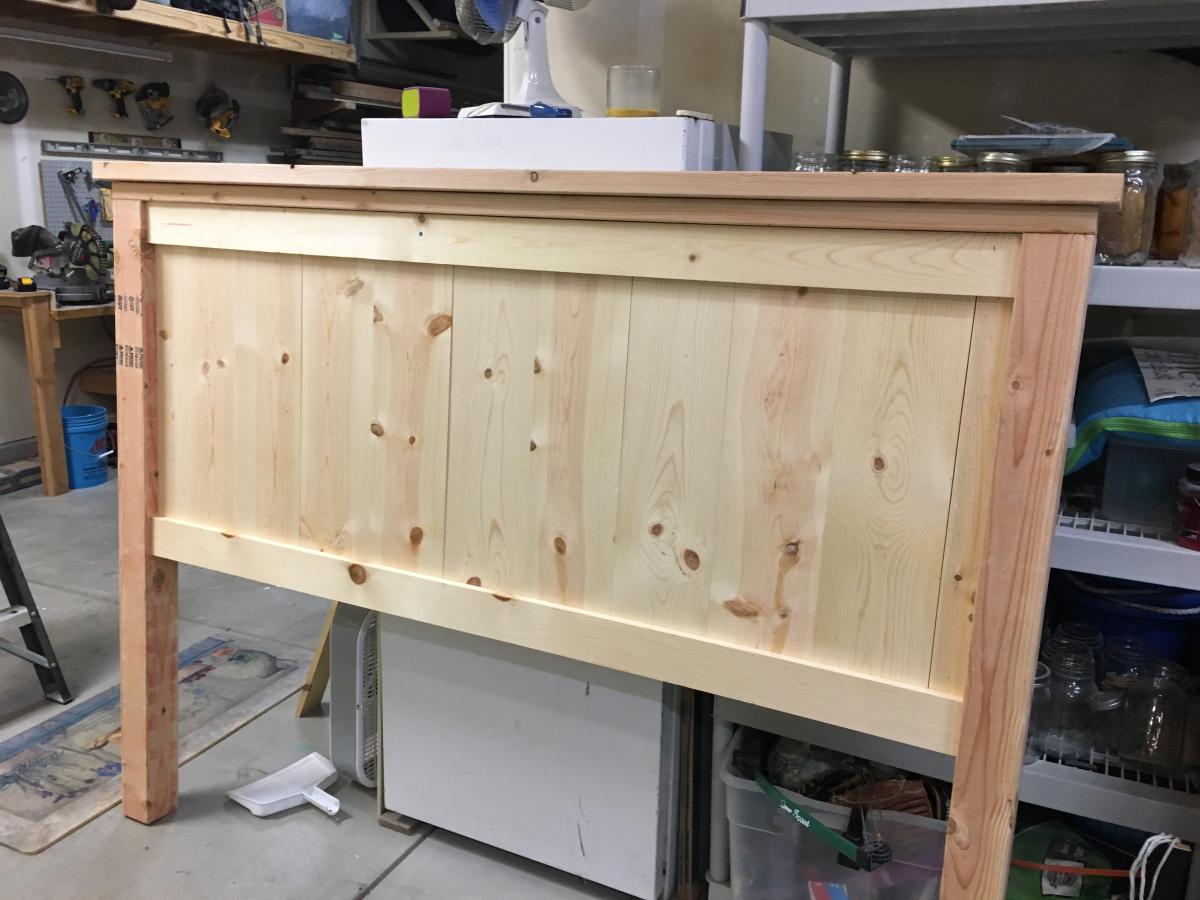
Fun weekend project to build together. We are loving the fresh look to our master bedroom.

Estimated Cost
350
Estimated Time Investment
Weekend Project (10-20 Hours)
Finish Used
General Finishes Snow White milk paint with Satin Topcoat
Recommended Skill Level
Intermediate

Comments

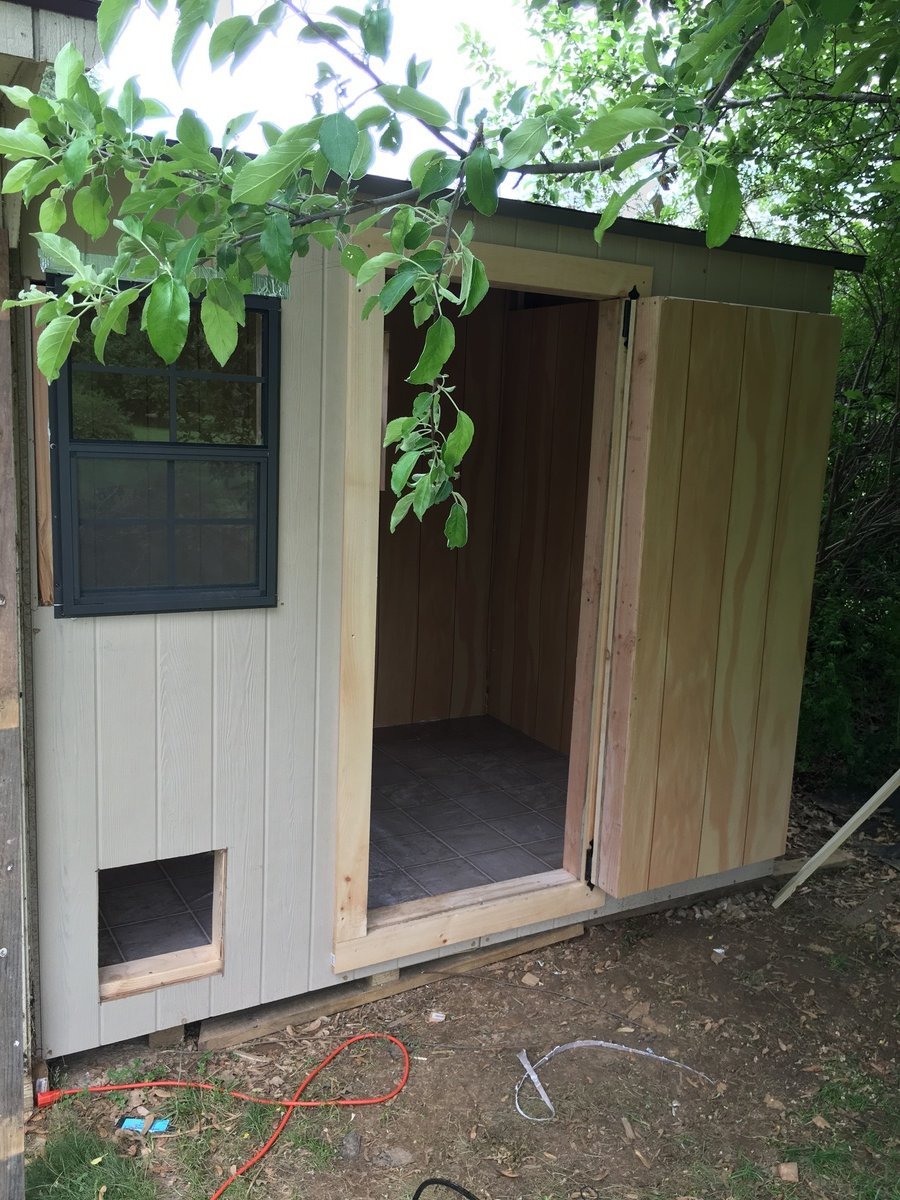
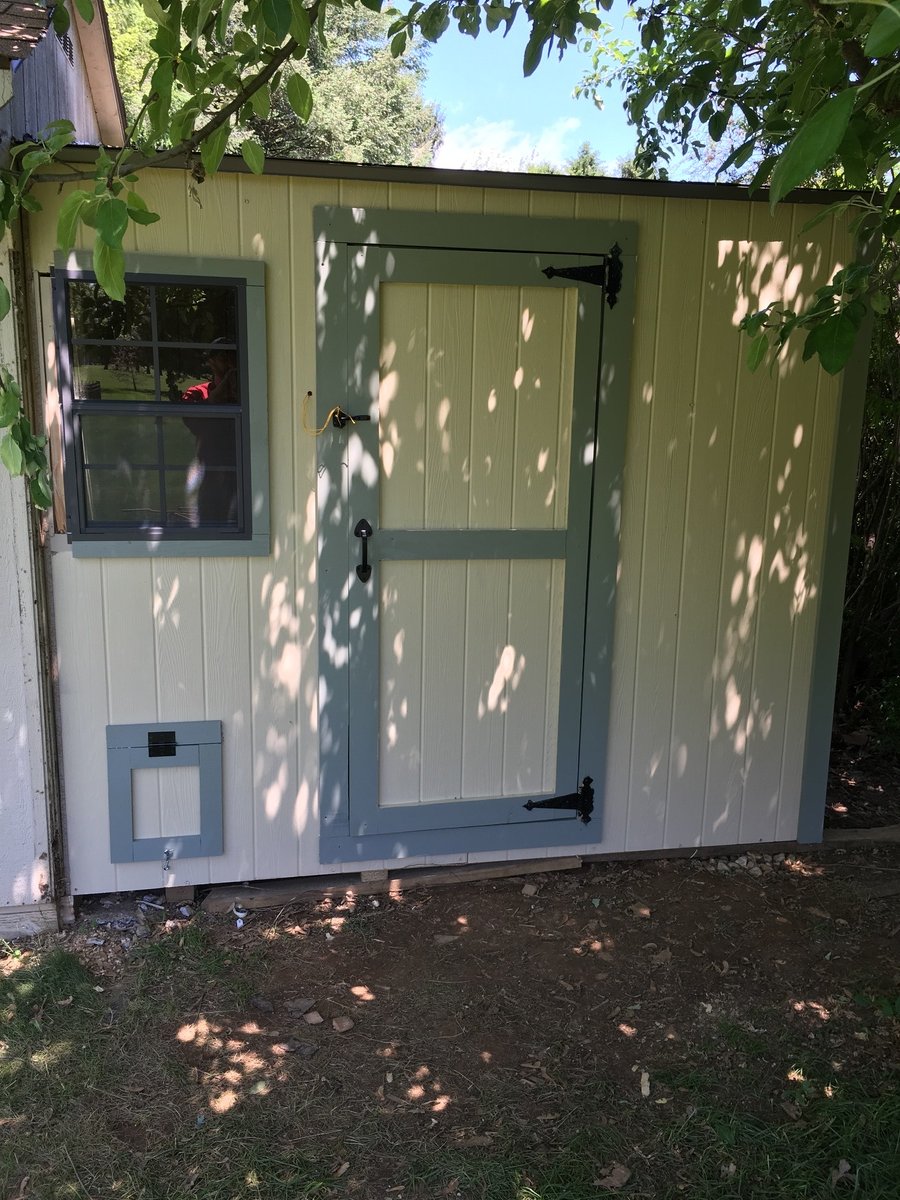
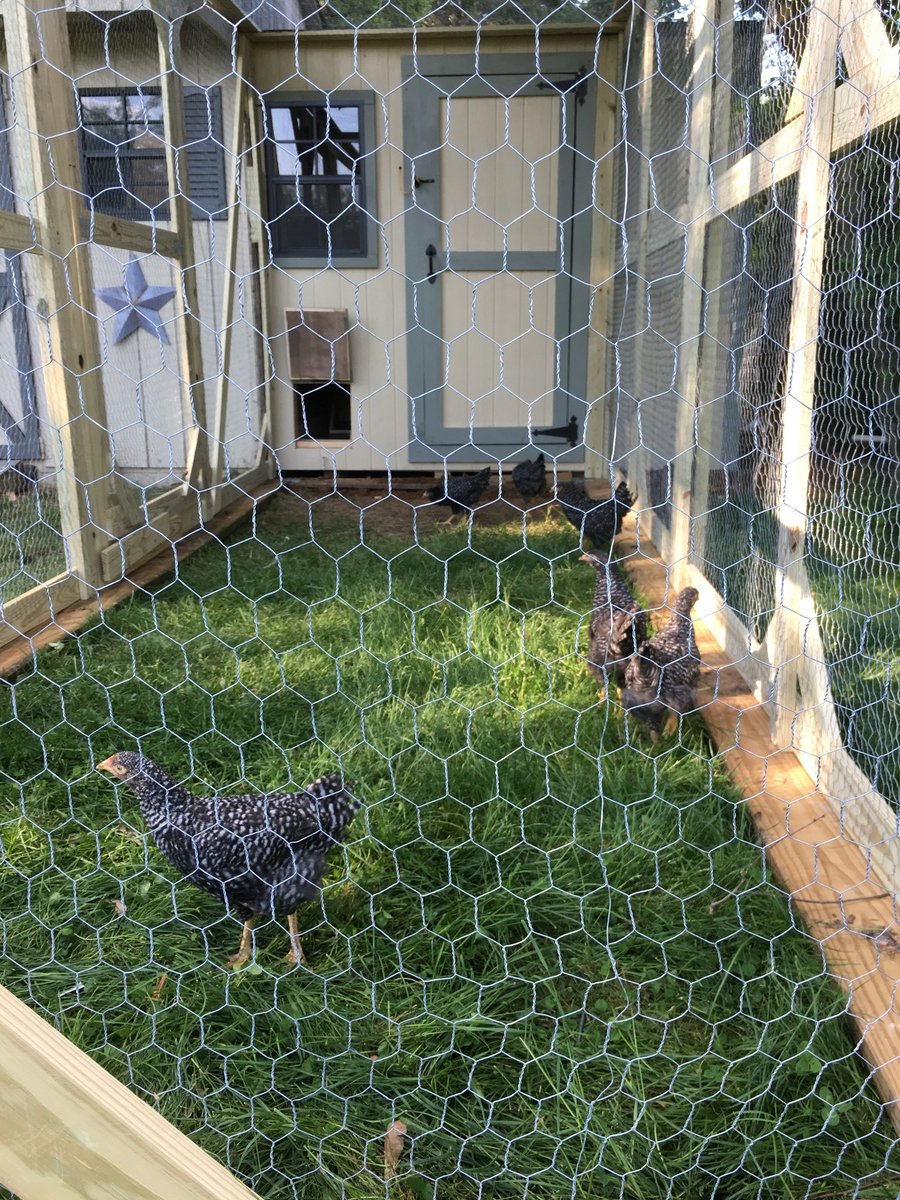
DIY Shed Chicken Coop 6x8

Submitted by Anonymous (not verified) on Thu, 05/19/2016 - 19:50

 The project was used using the same plans but I extended the floor to be 6 feet wide vice 4 feet the additional 2 feet provided the perfect amount space I wanted. I also added an extra windows  to get cross ventilation.    I also insulated the coop and put paneling on the walls and lenolium on the floors.  I dropped the back wall sheeting 1.5 inches for additional airflow since the shed doesn't have a ridge vent.   The plans are easy to follow and easily adaptable.   
Built from Plan(s)
Estimated Cost
$700. You may think that is a lot but you will learn a lot. Coops we were looking at were $1,200. This coop was less expensive and bigger and better plus you can say you built that.
Estimated Time Investment
Week Long Project (20 Hours or More)
Finish Used
T1-11 with home depot behr exterior paint.
Recommended Skill Level
Beginner

Comments

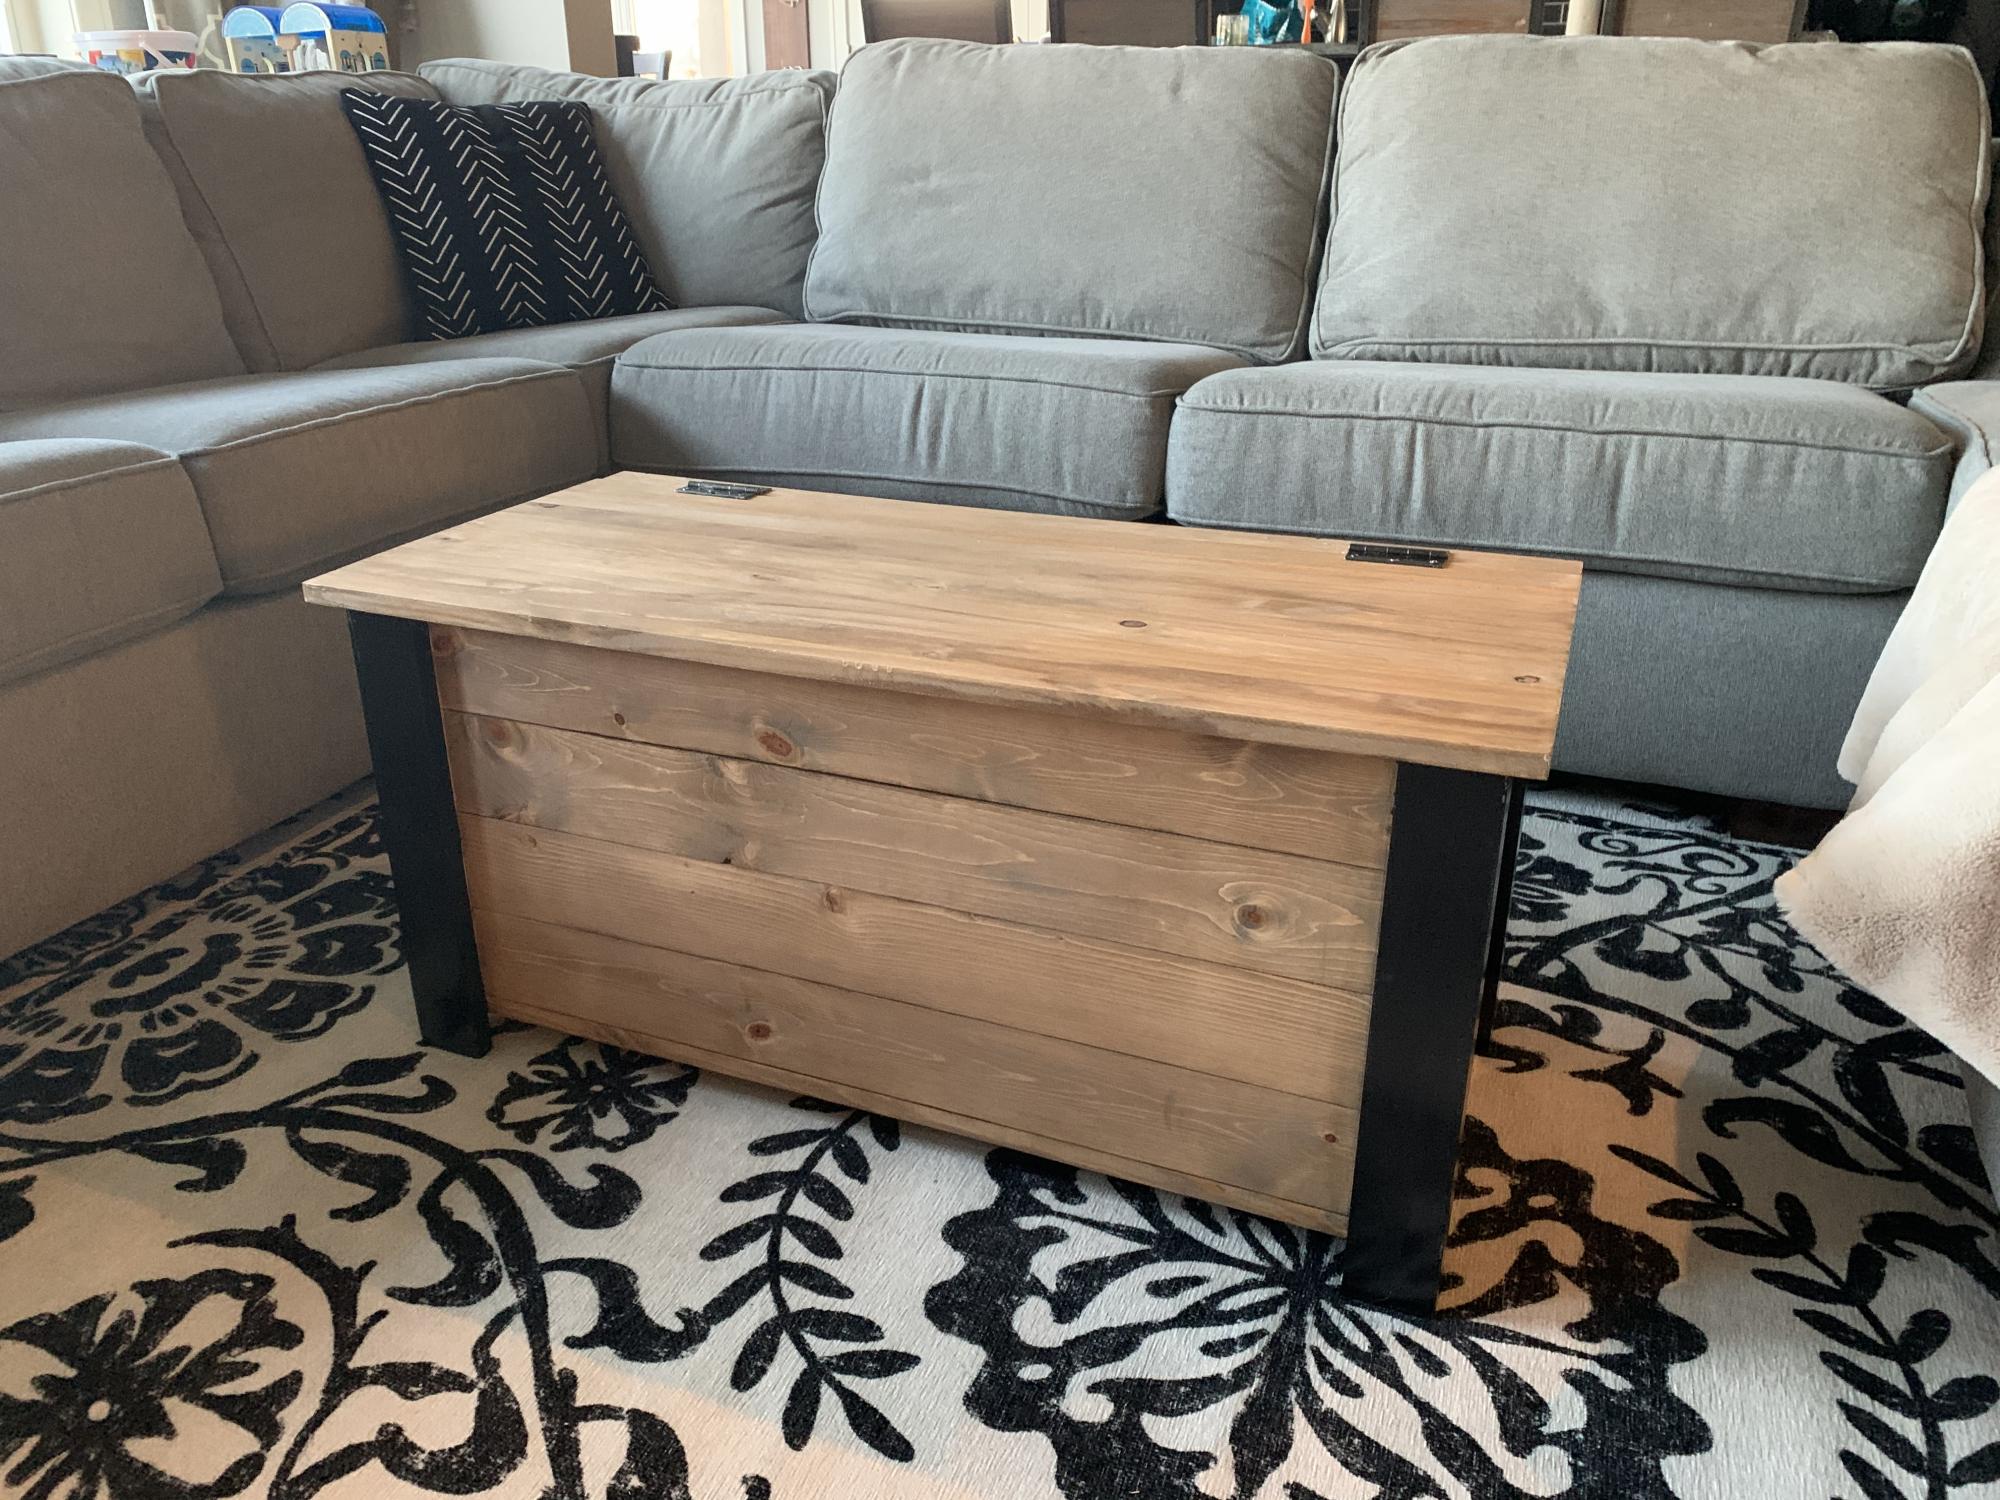
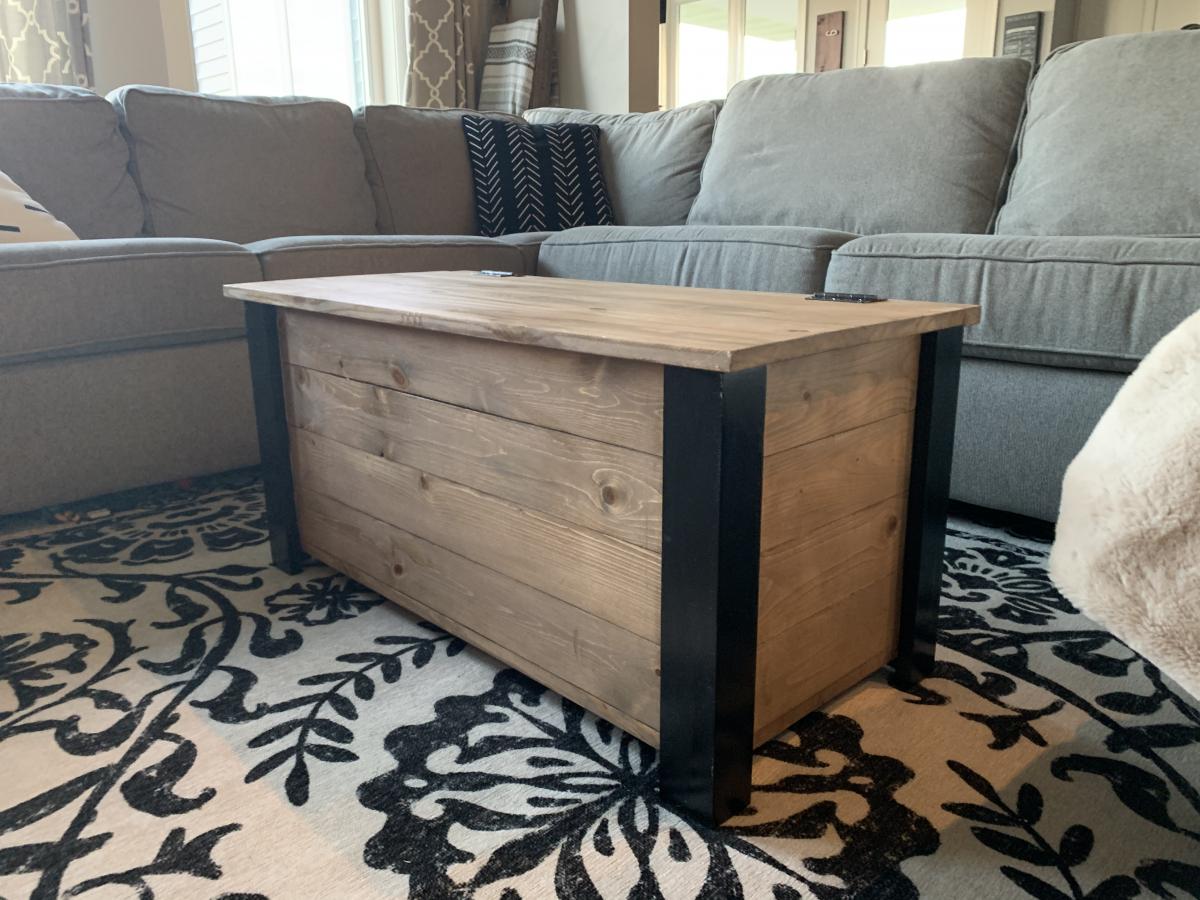
Farmhouse Toy Box

Submitted by Abby721 on Tue, 05/12/2020 - 17:58

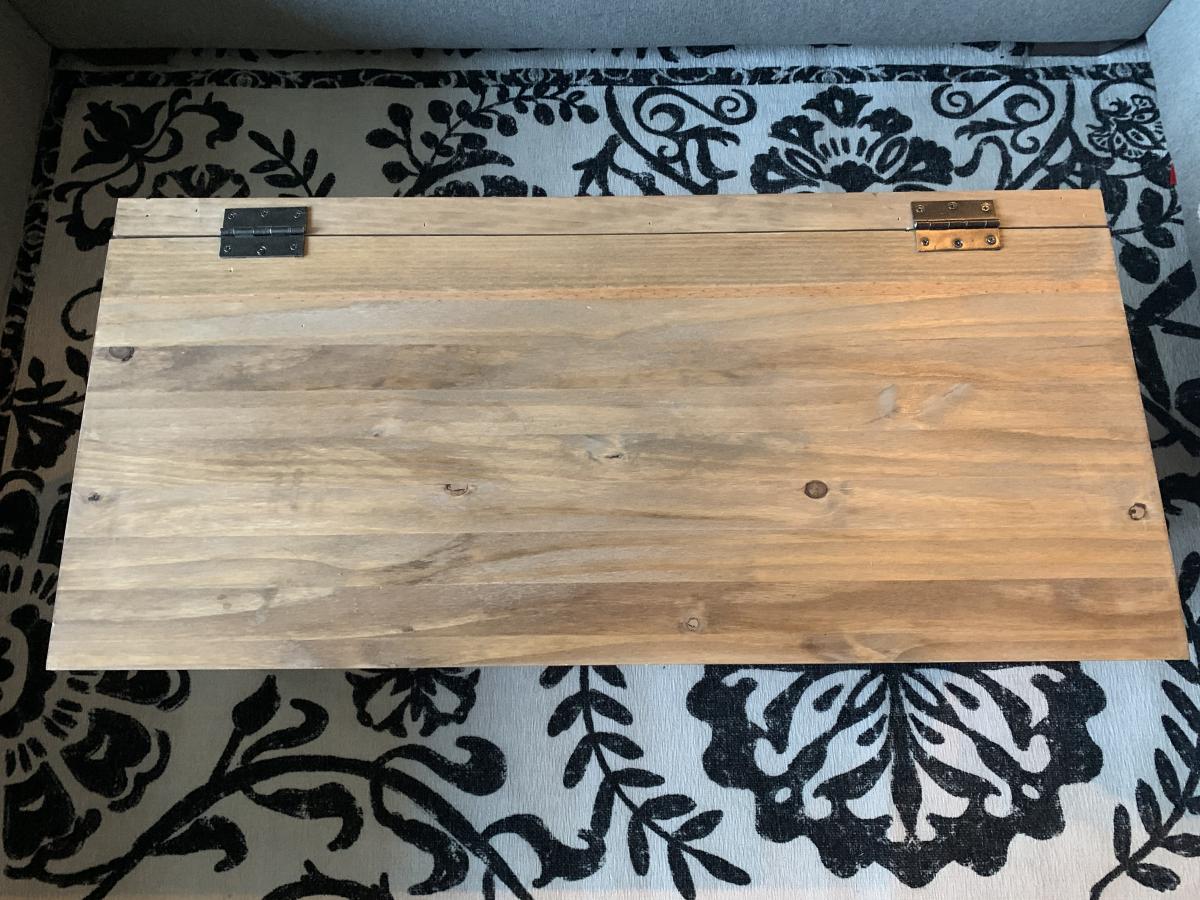
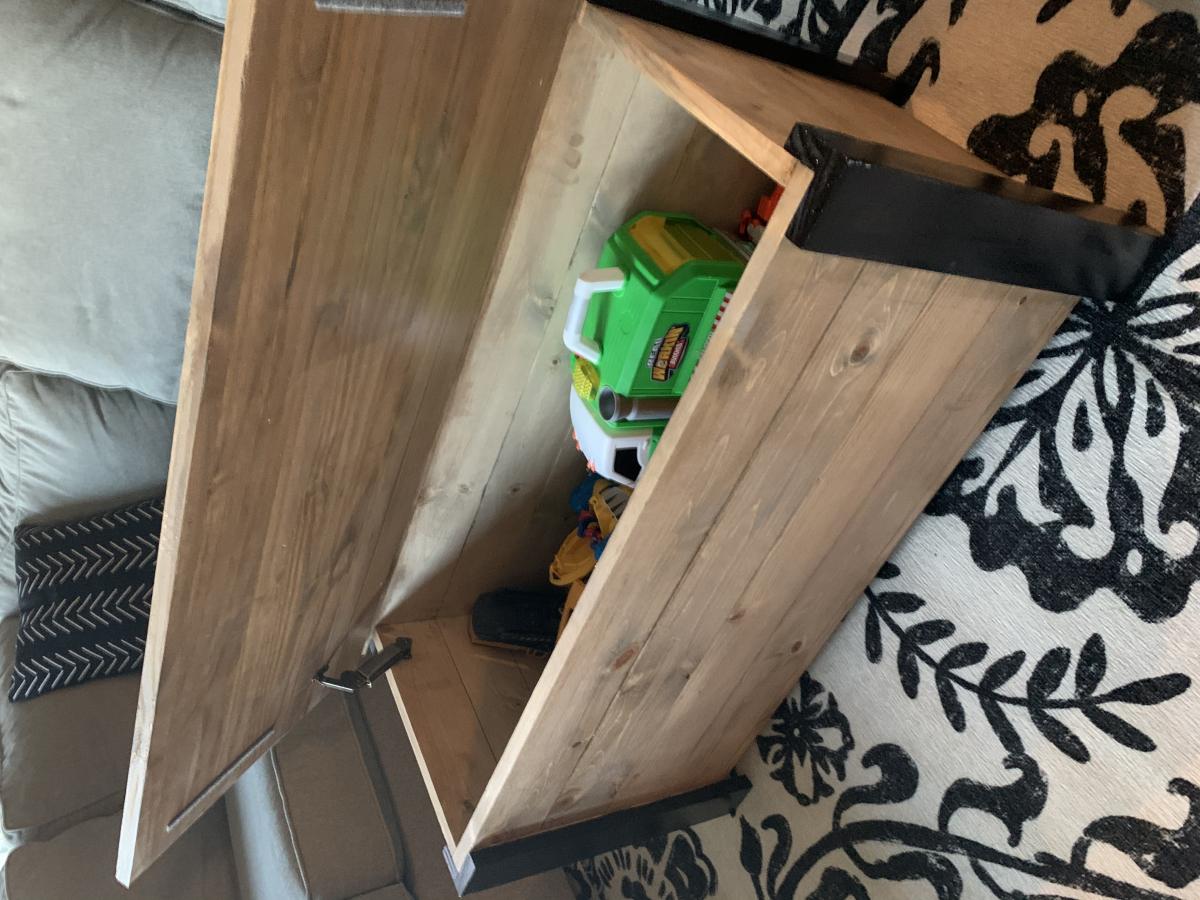
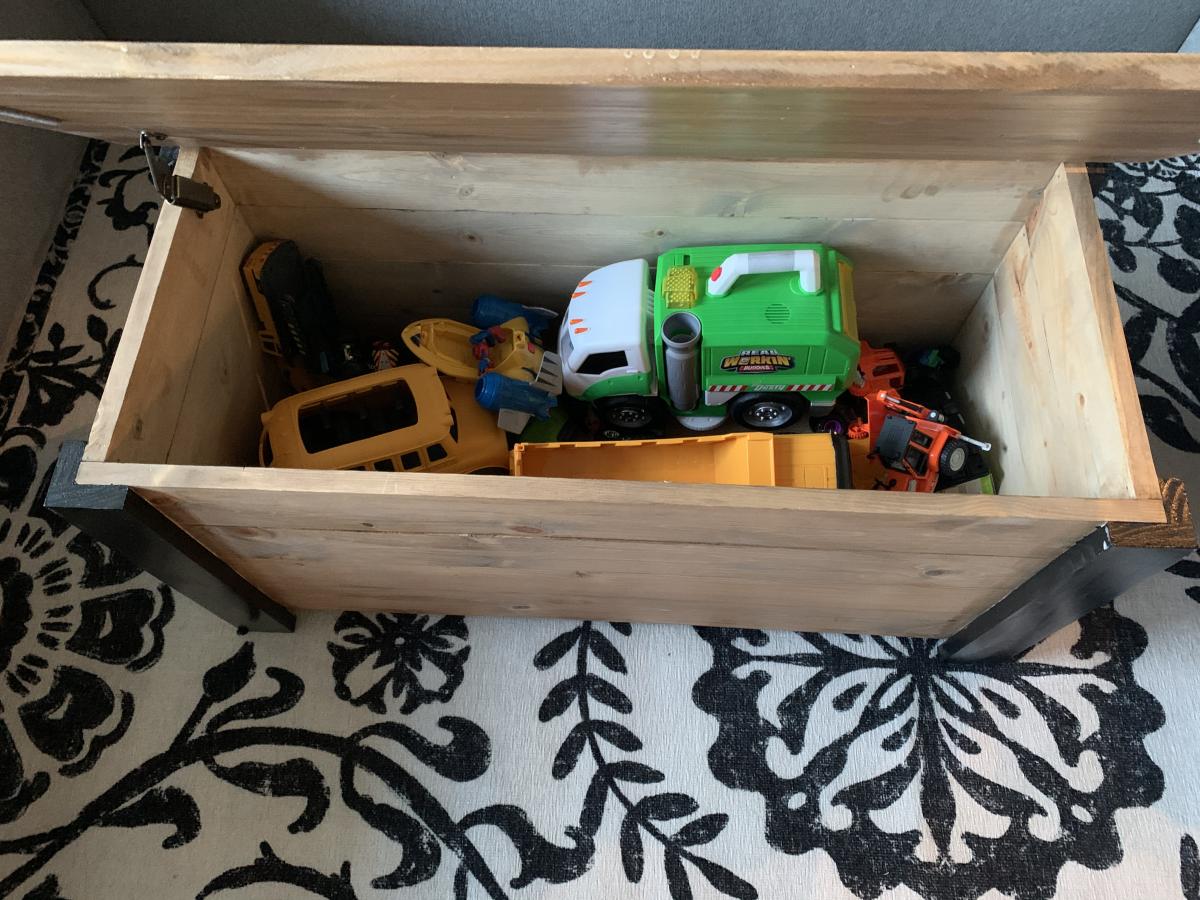
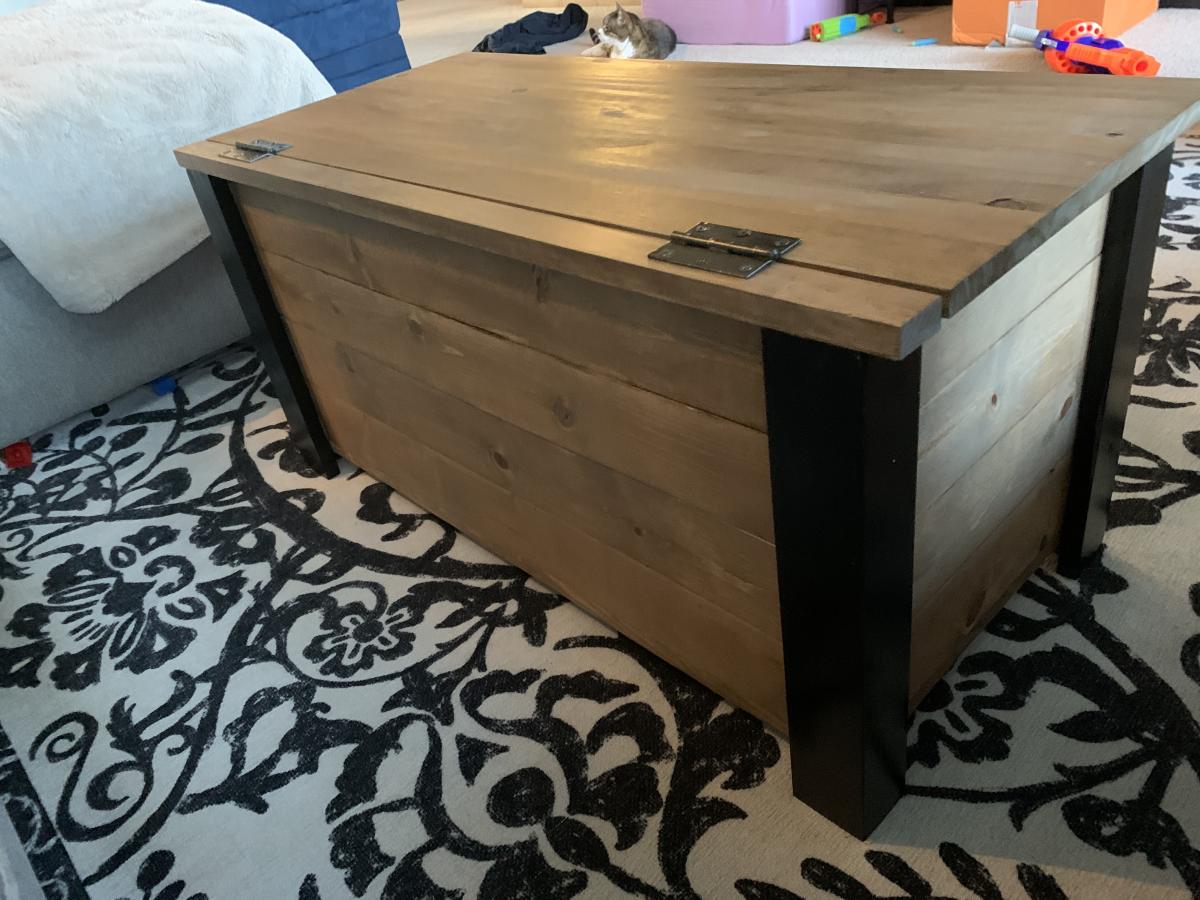
Super simple build with fabulous results! I have been using as a coffee table and it looks awesome and is functional for lots of toy storage as well. It would also work so great to house extra blankets and throw pillows. I added a lid support so it does not slam shut on little hands. This would also be a perfect addition to any playroom for some nice looking toy storage!

Built from Plan(s)
Estimated Cost
$50
Estimated Time Investment
Afternoon Project (3-6 Hours)
Finish Used
For the legs I used Rustoleum Canyon Black paint and for the rest I first used Minwax Weathered Oak with Minwax Early American over the top.
Recommended Skill Level
Beginner

Laundry Basket Rack

This was a great last minute Christmas gift. Took me a little over two hours. Made completely out if pallet wood.

Comments

Our new pantry

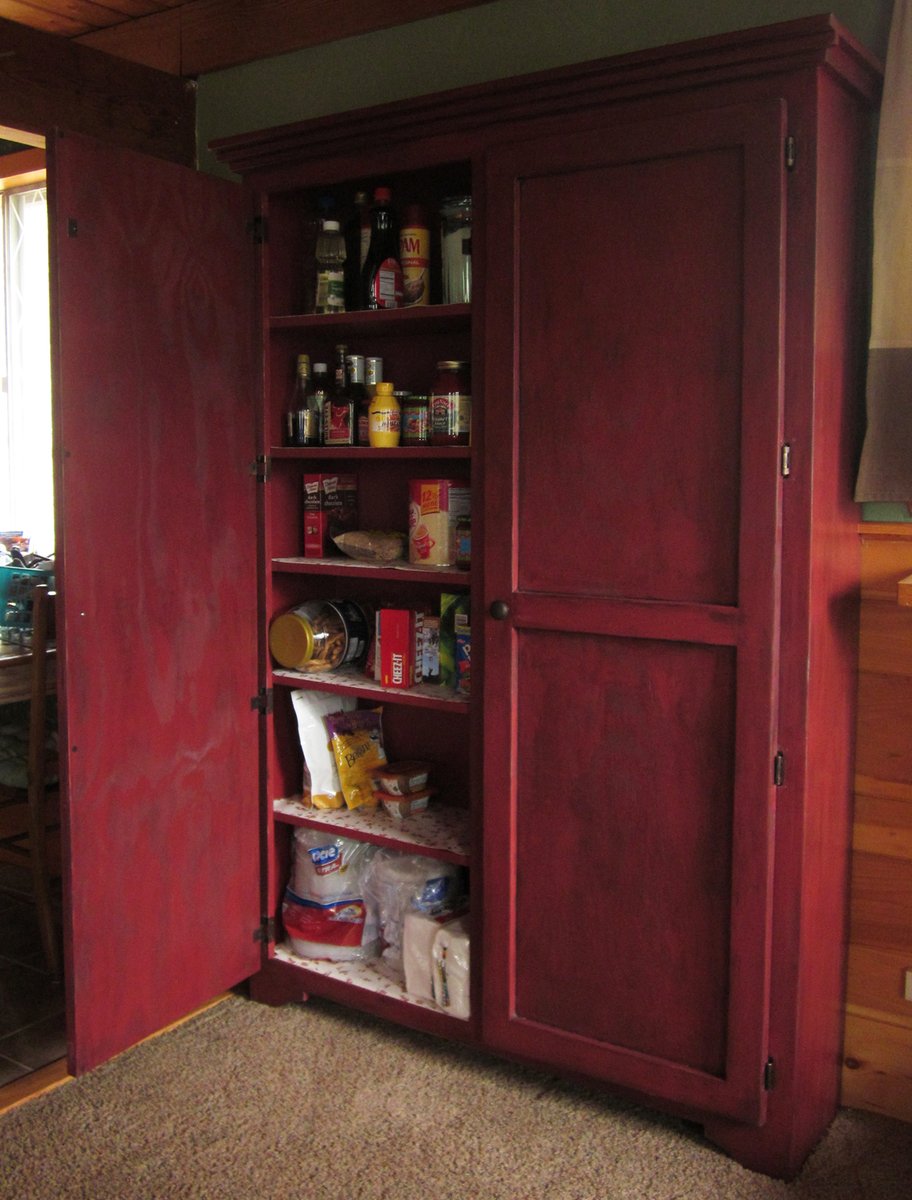
We bought a vacation home that has such a small kitchen. I knew we needed more storage. So I checked out Ana's plans and made this bad boy based on the Simplest Armoire plans.
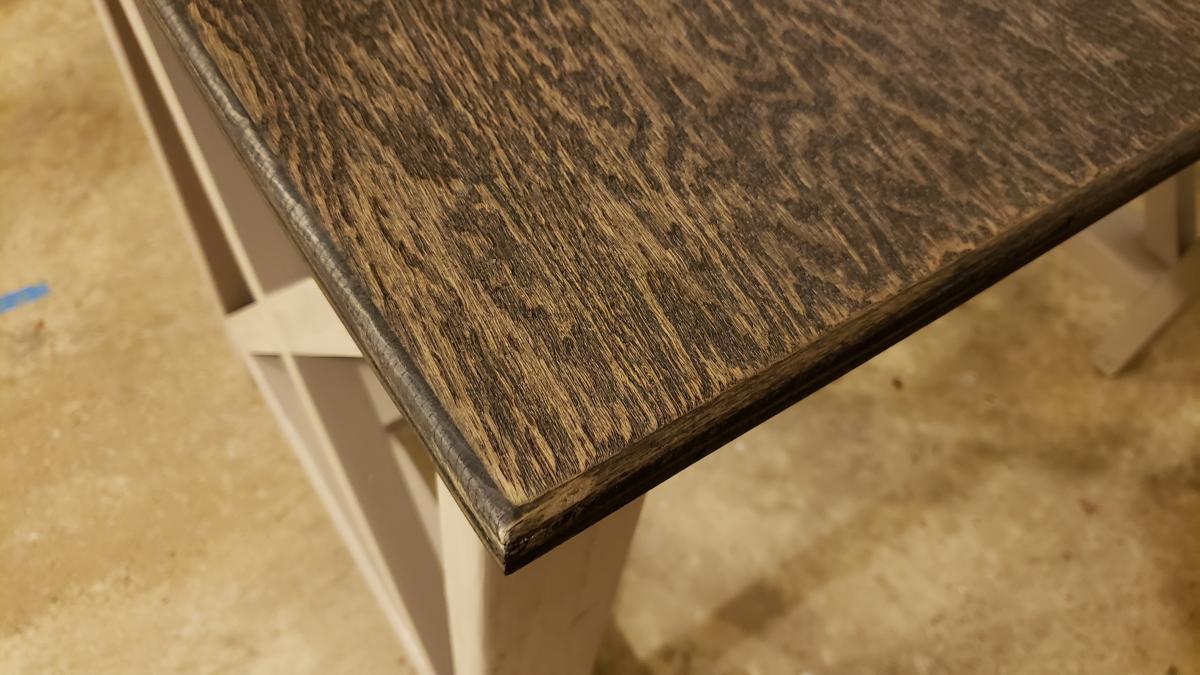
The home is in the mountain/lakes area of northern New Hampshire, so I wanted to bring the outside colors in. I used Valspar Cabin Red paint and the Valspar Antiquing glaze over the top after distressing it a bit.

Built from Plan(s)
Estimated Cost
$200 +
Estimated Time Investment
Weekend Project (10-20 Hours)
Finish Used
Valspar Cabin Red paint
Valspar Antiquing glaze
Recommended Skill Level
Beginner
Back