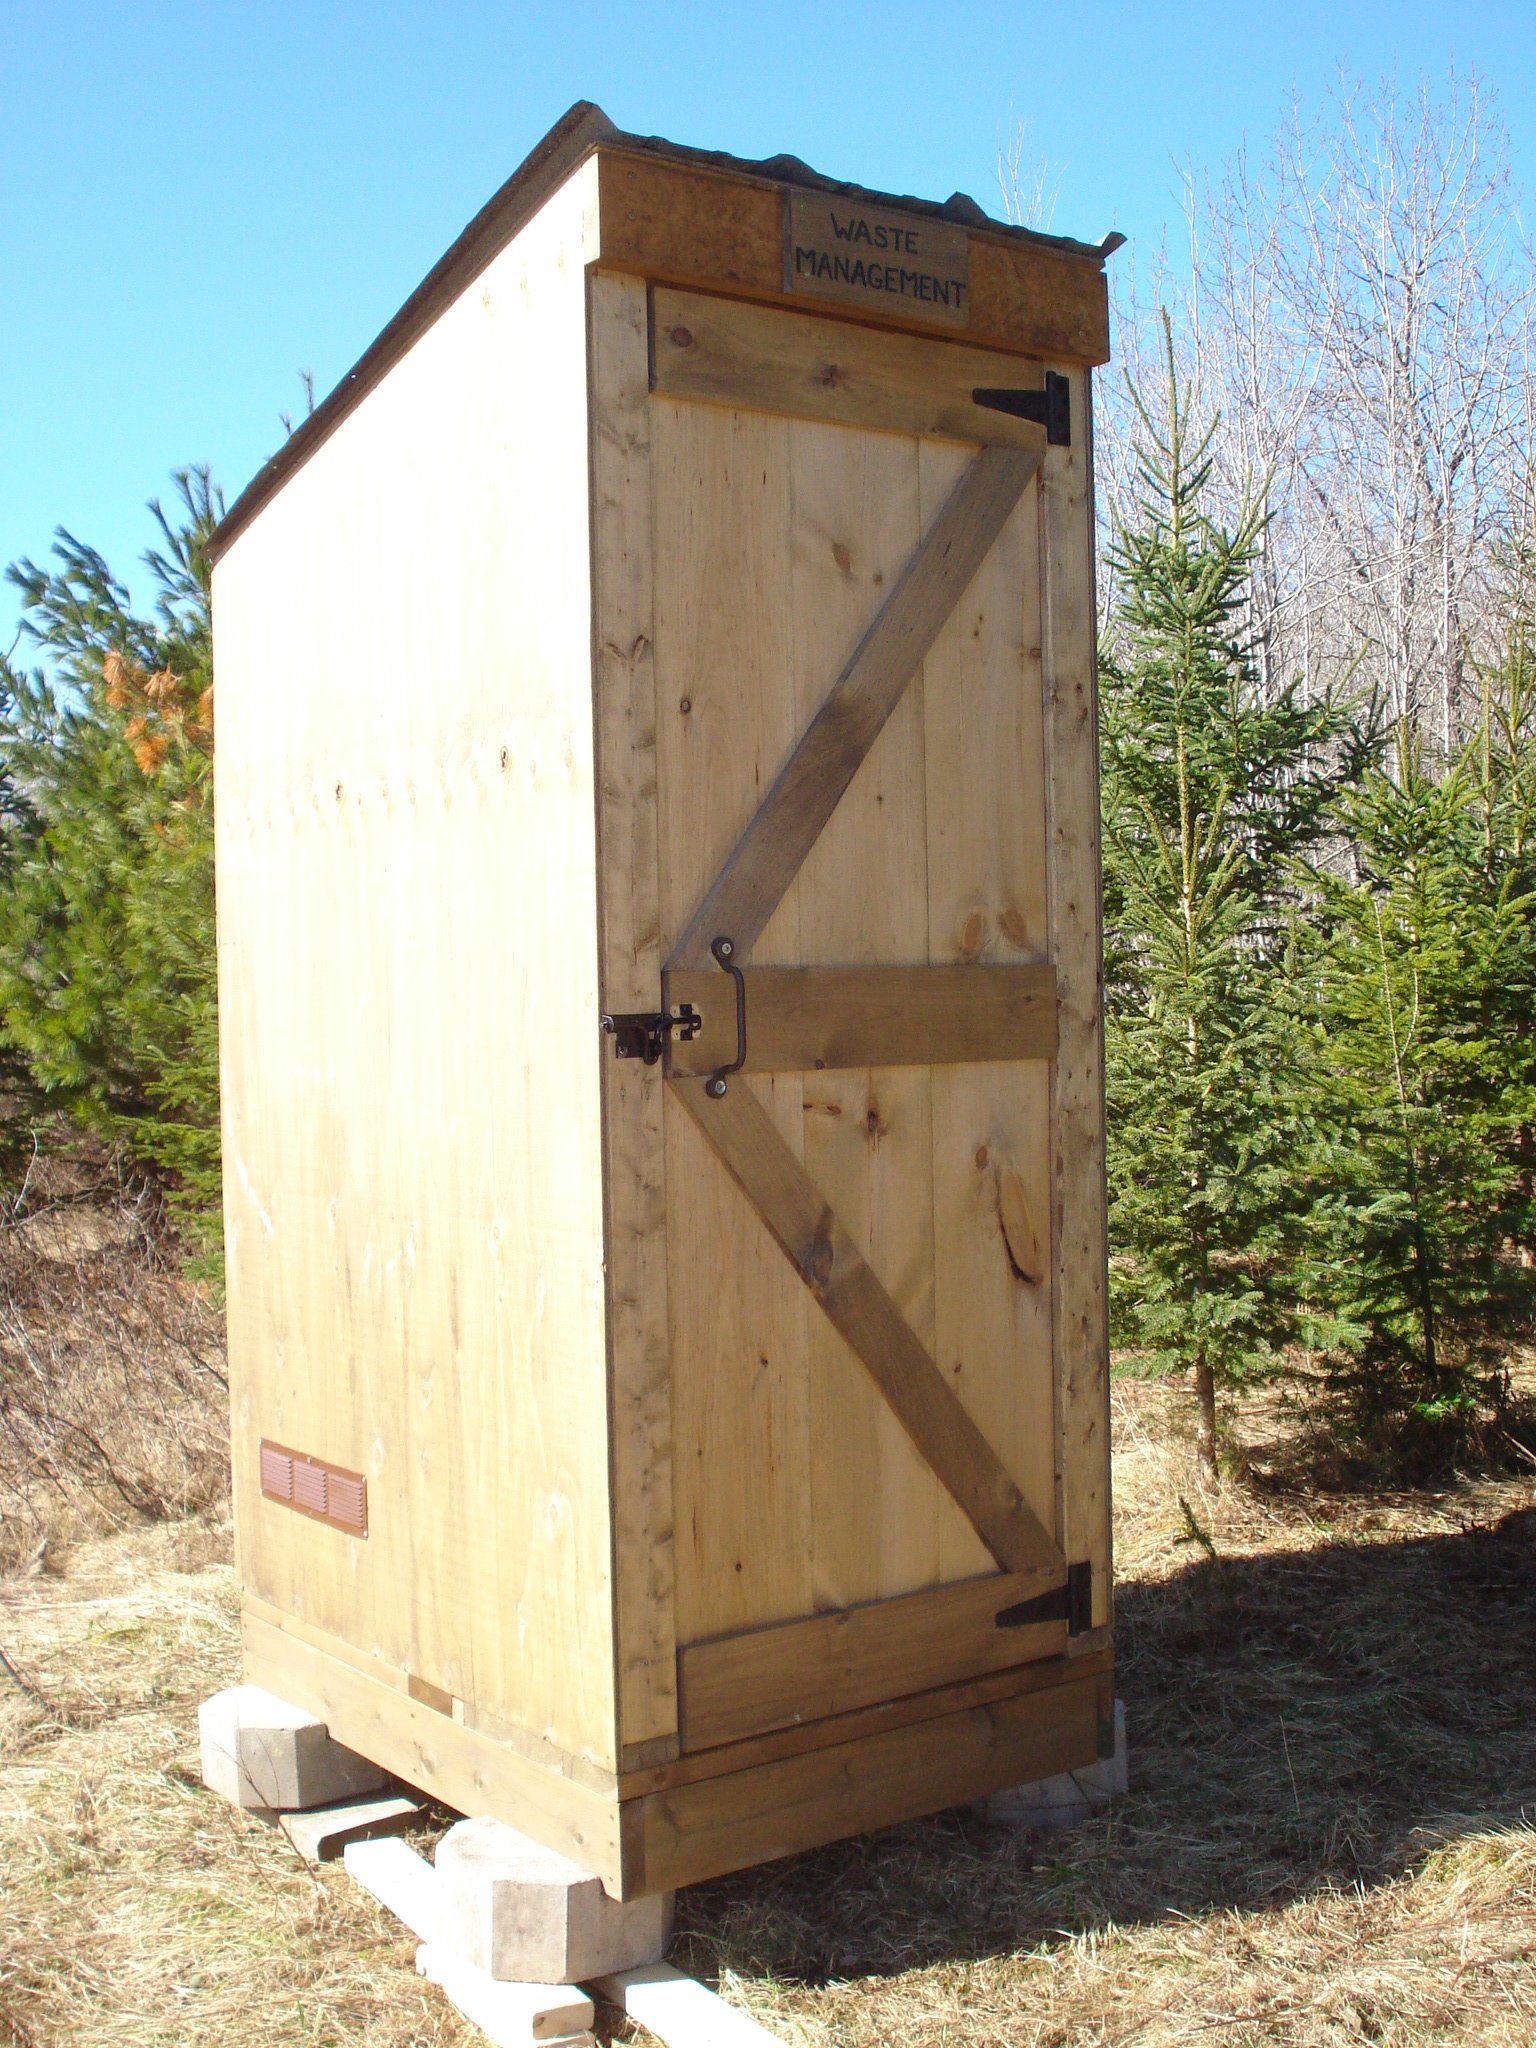
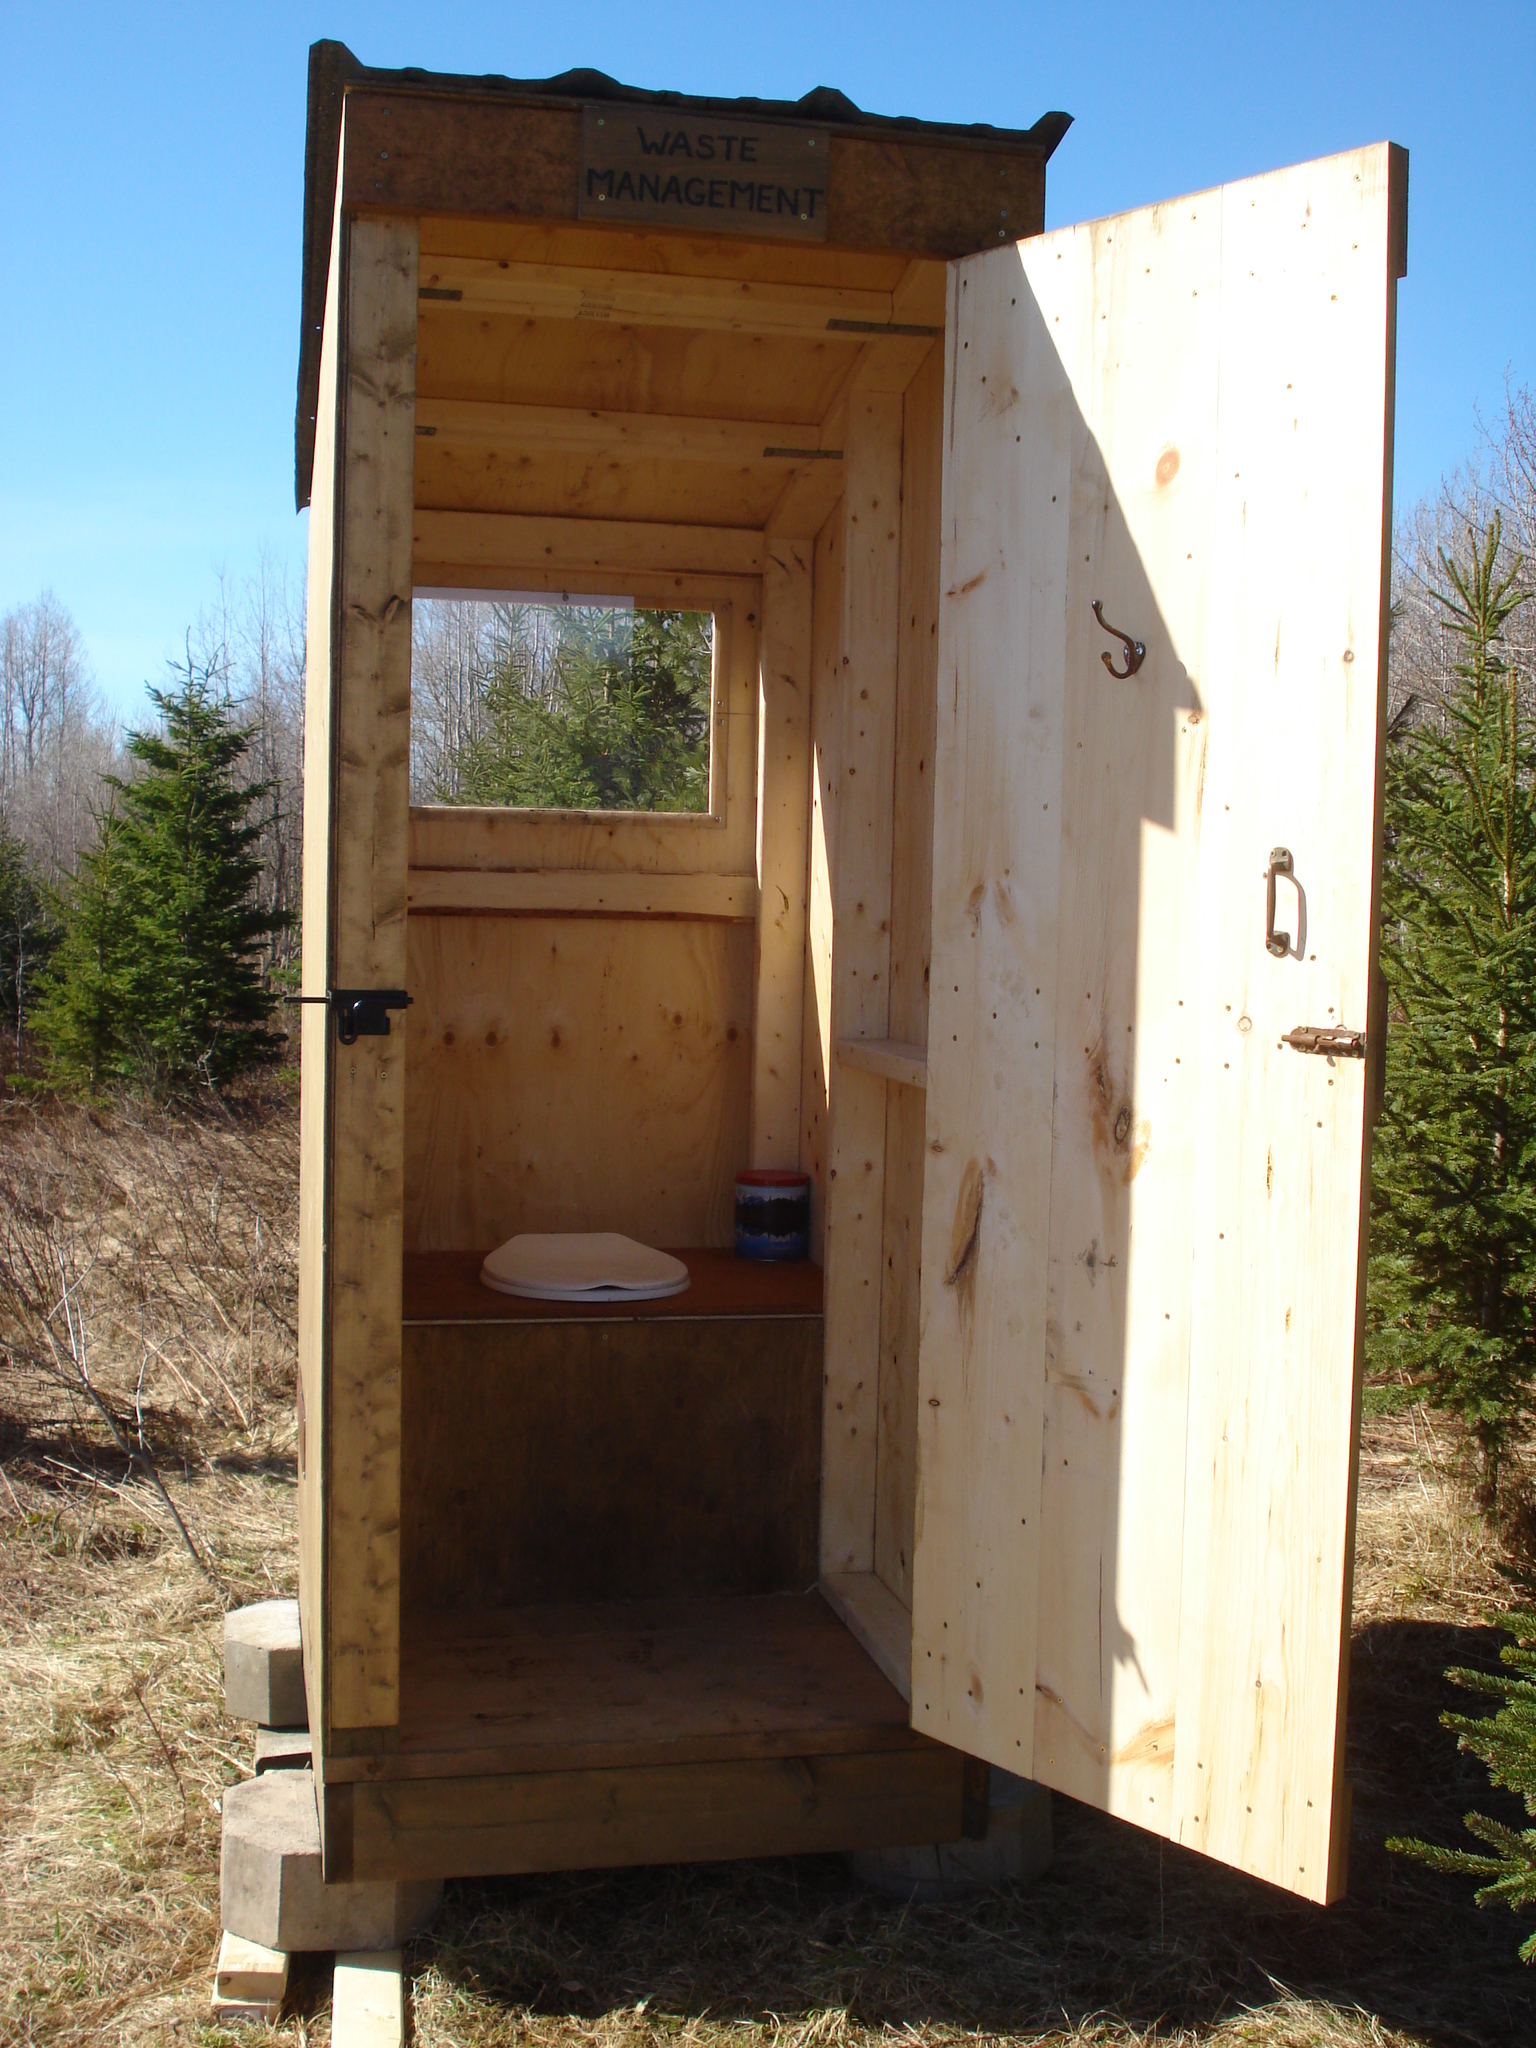
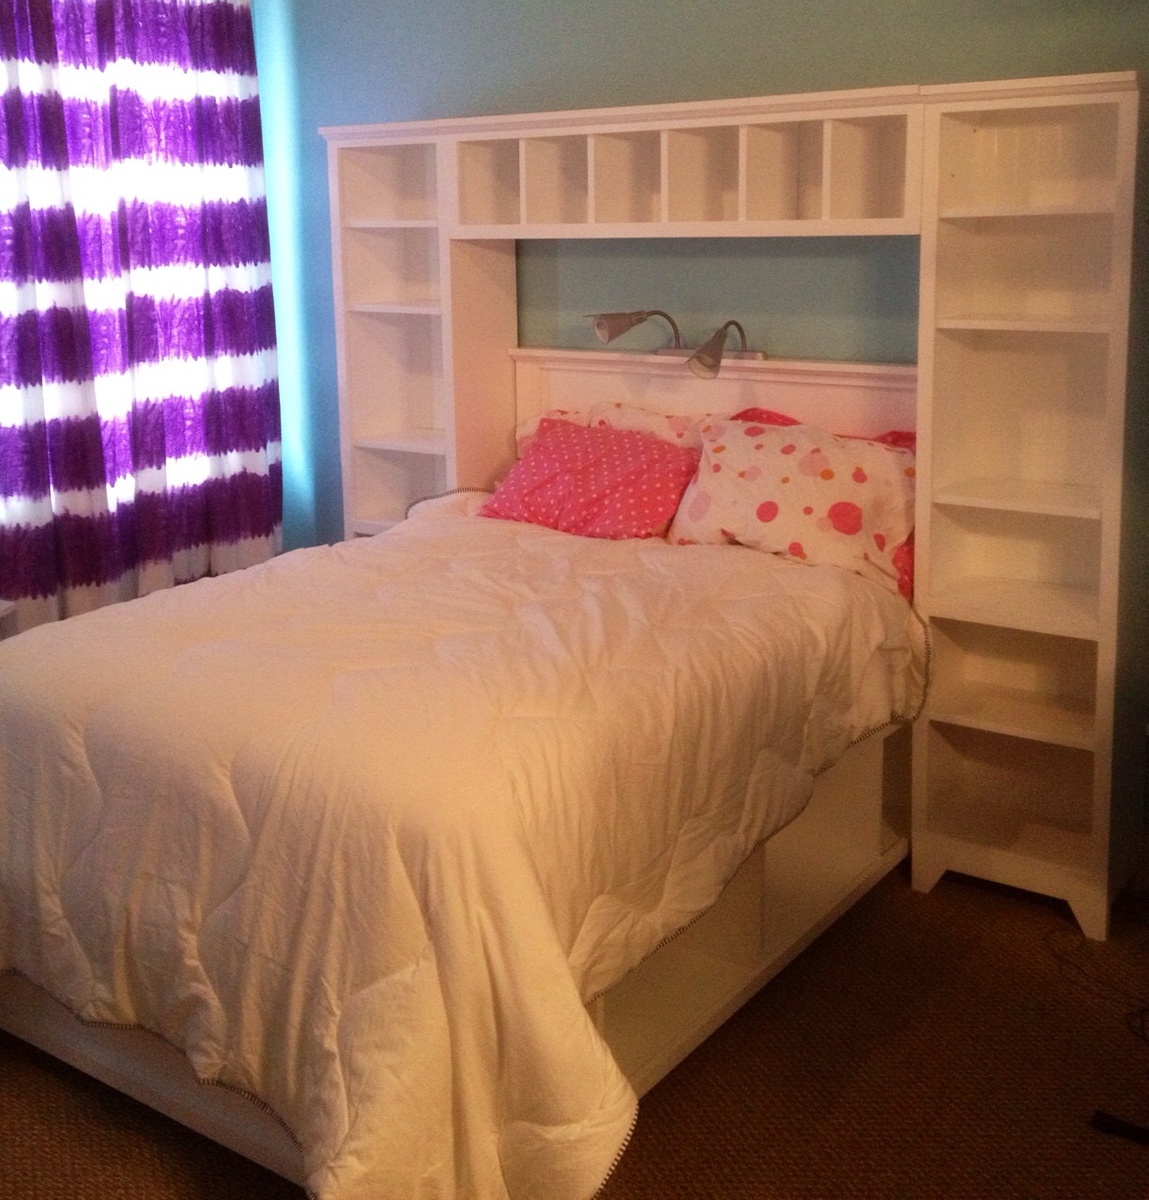
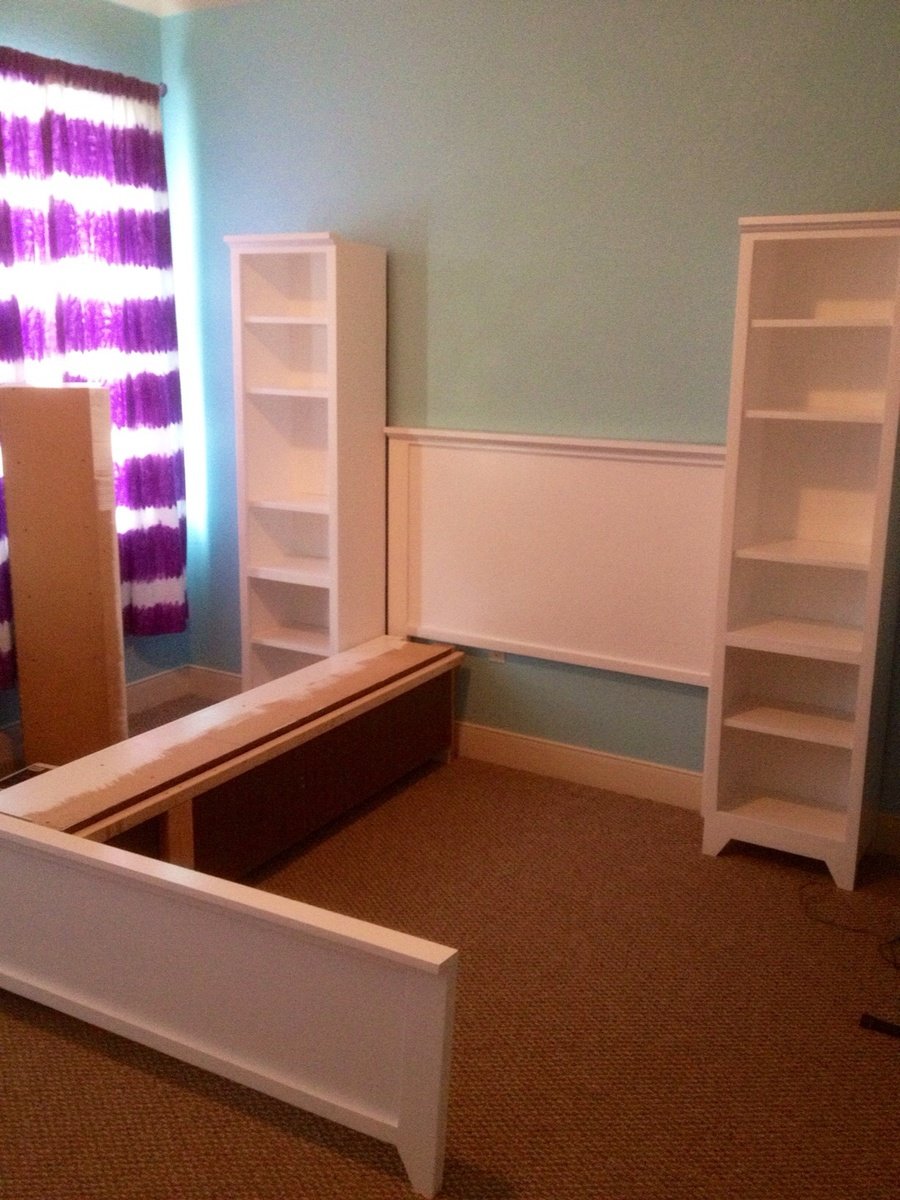
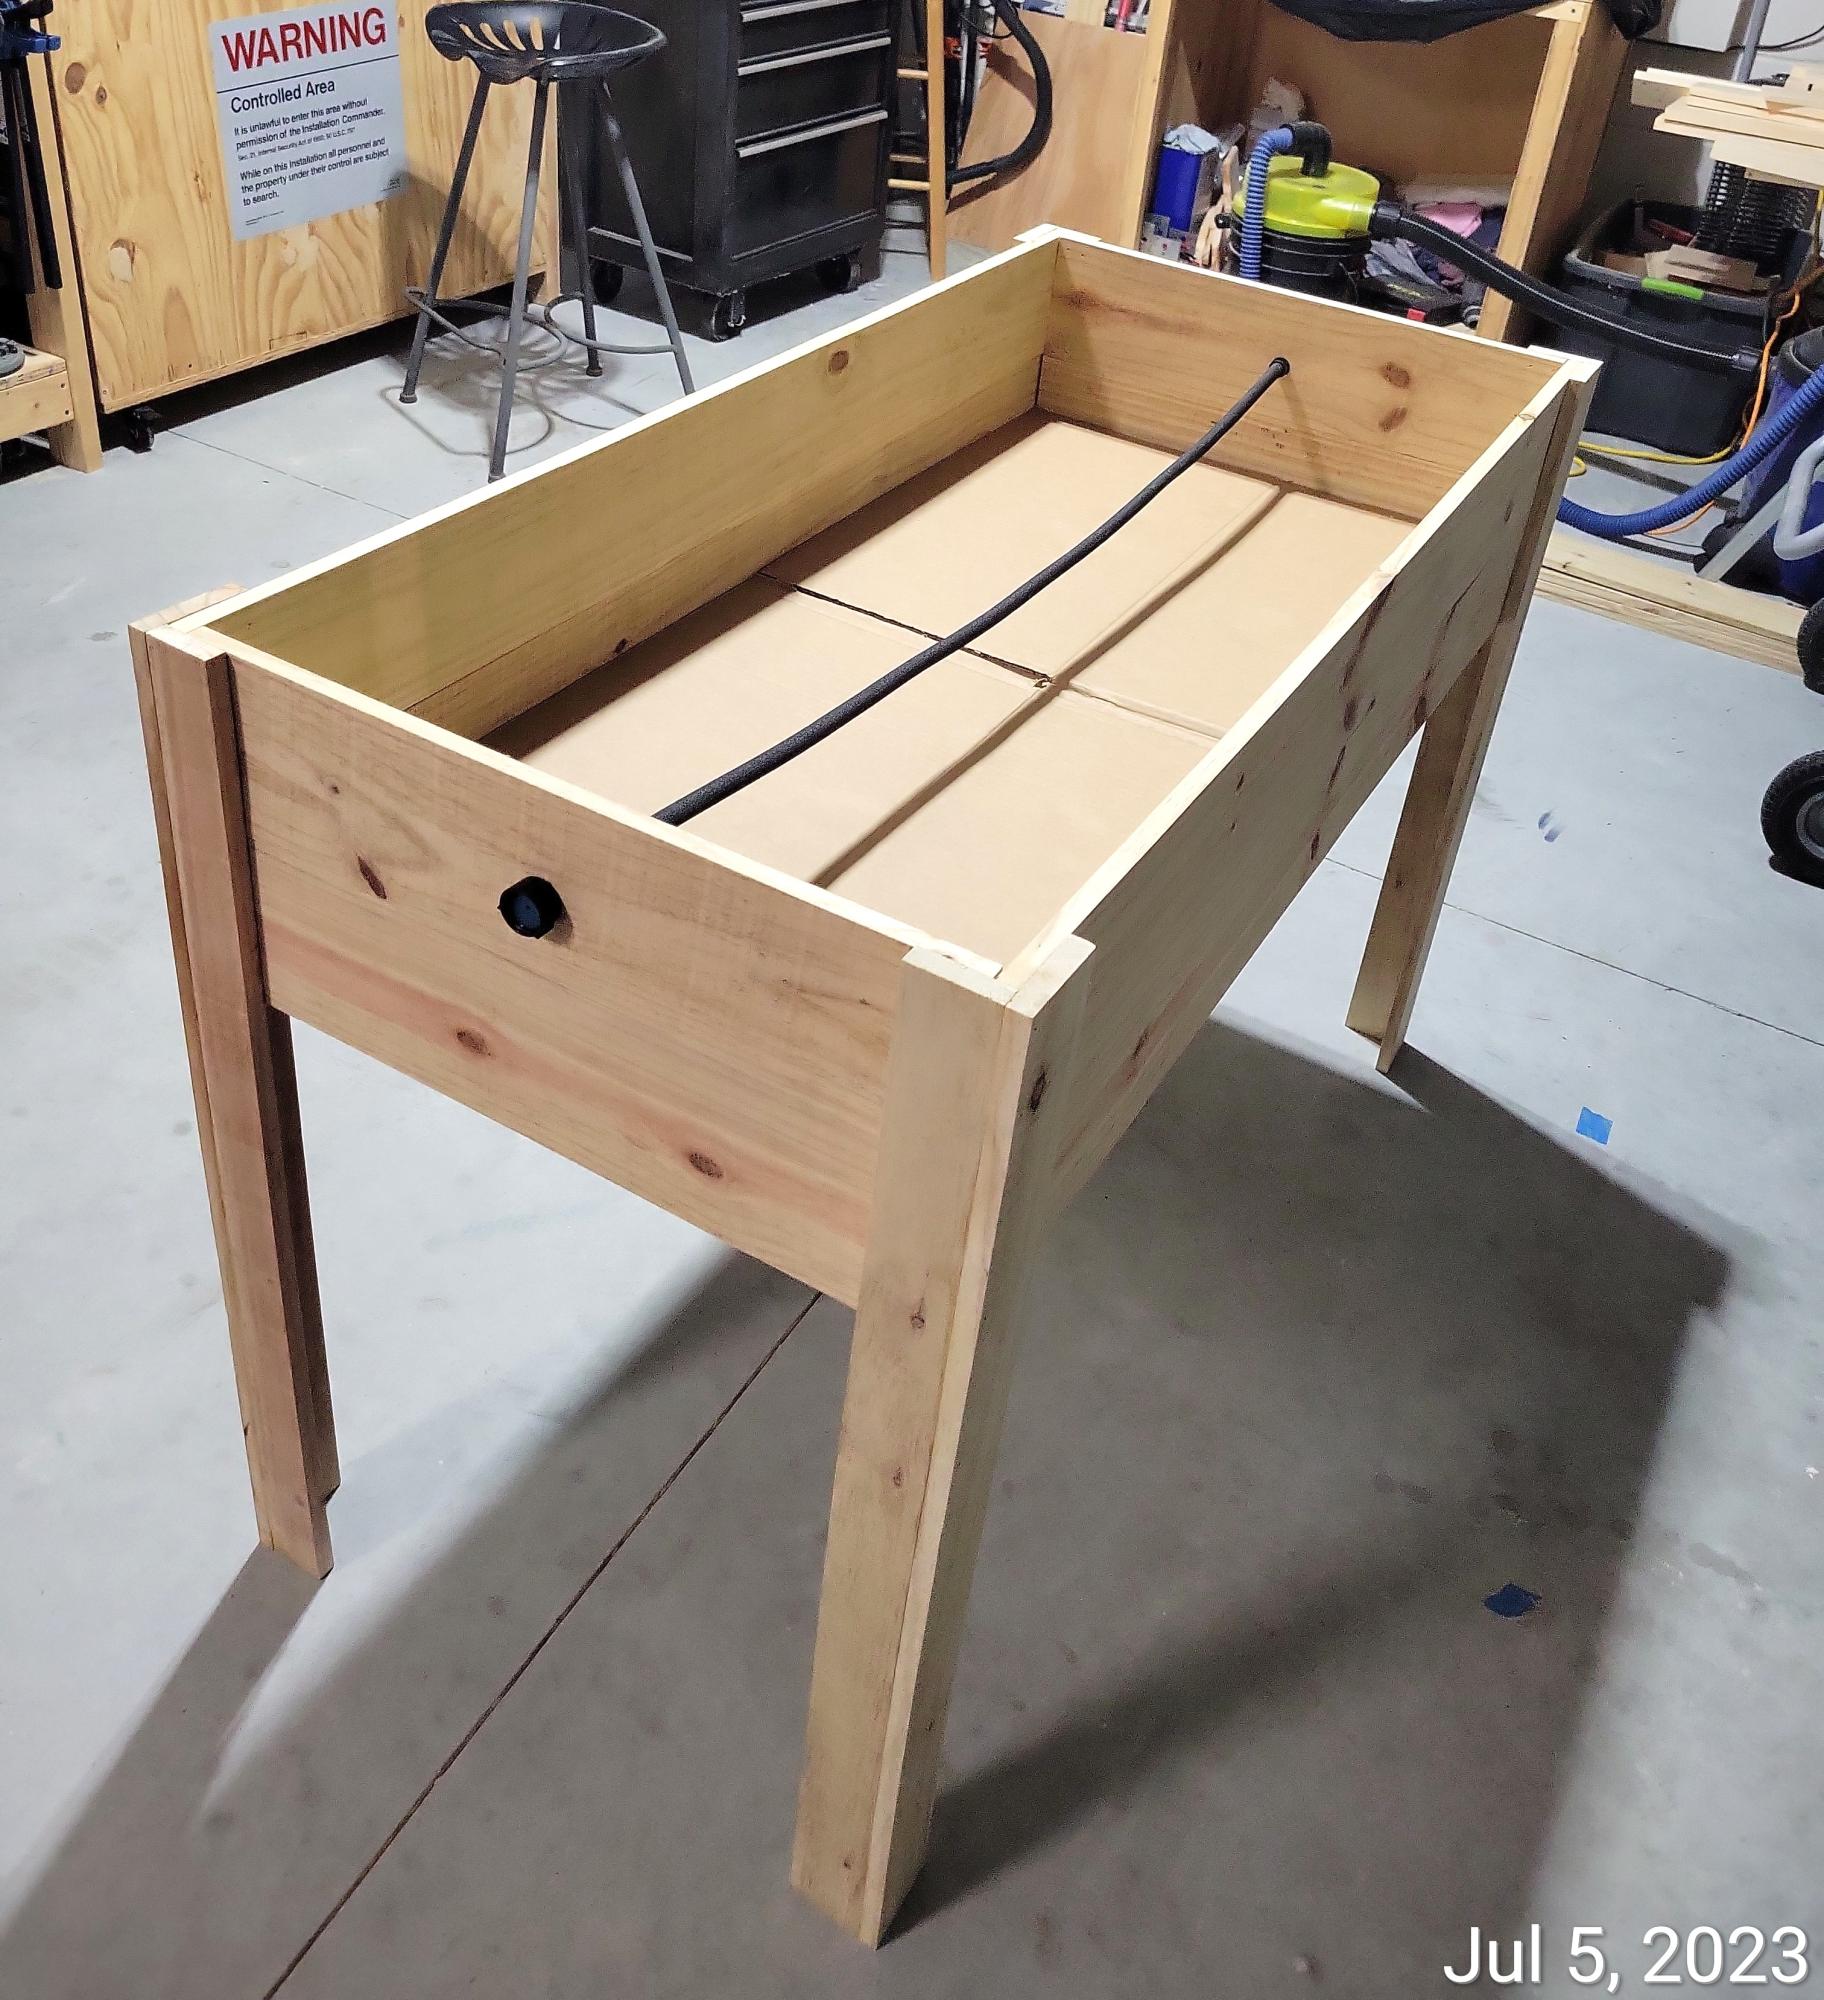
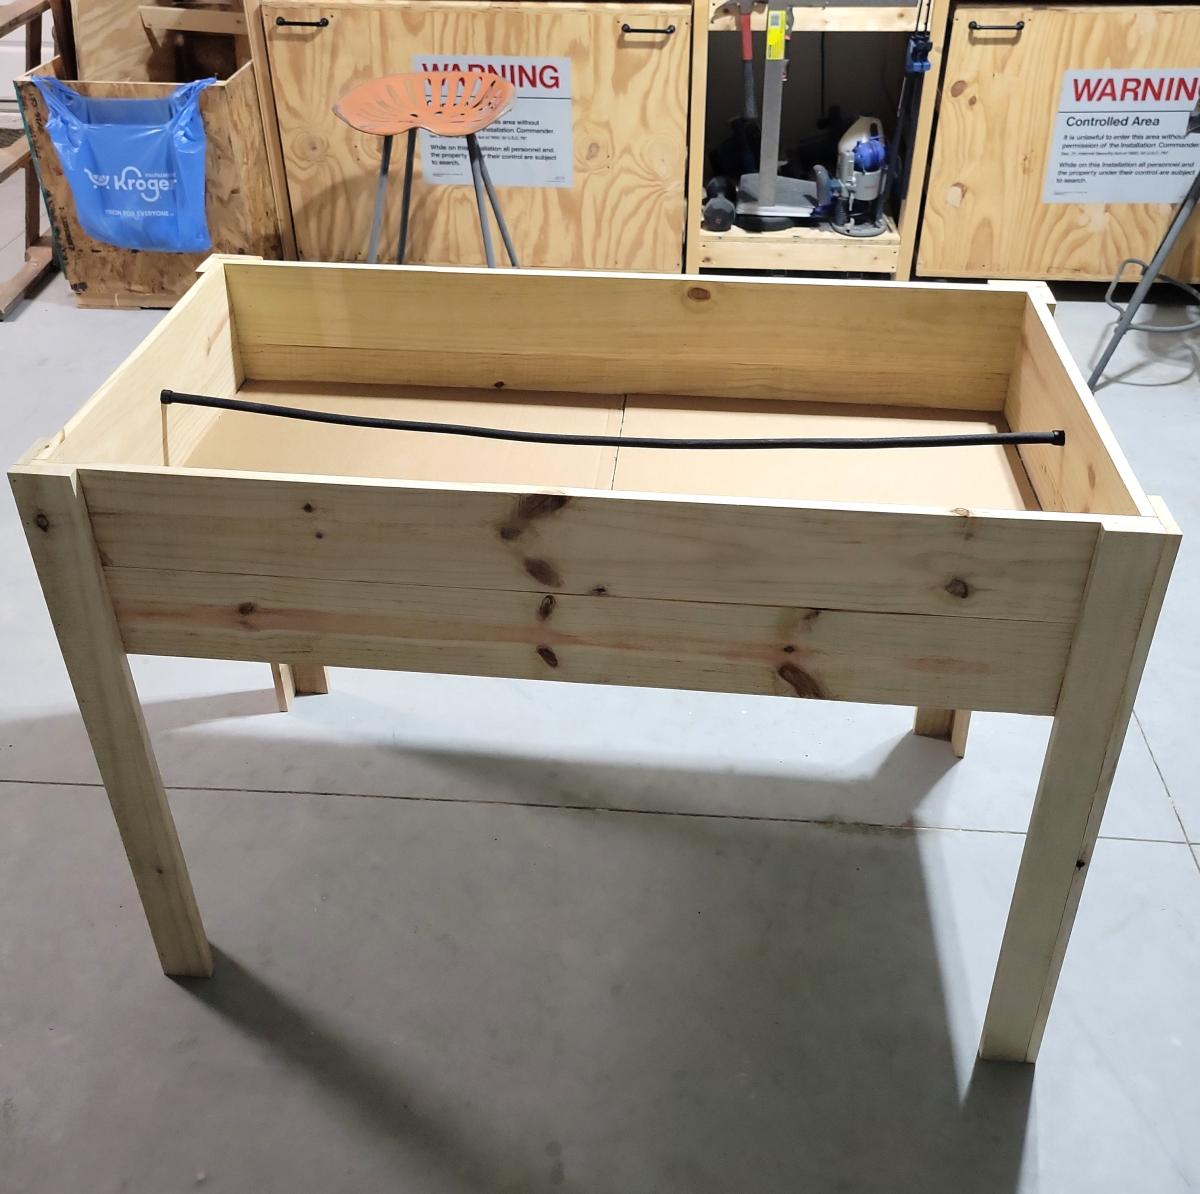
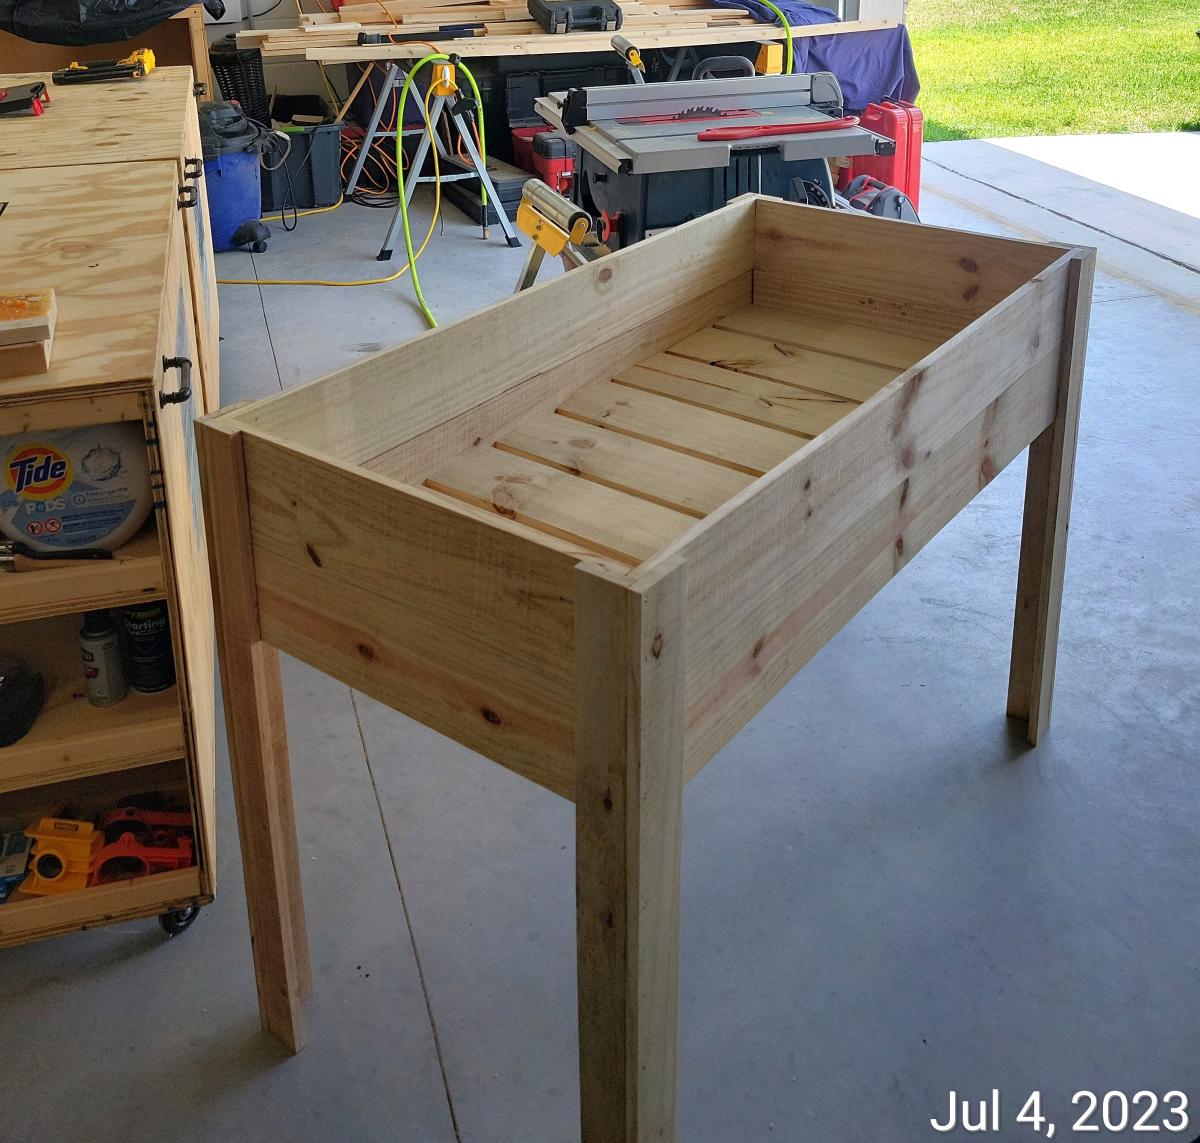
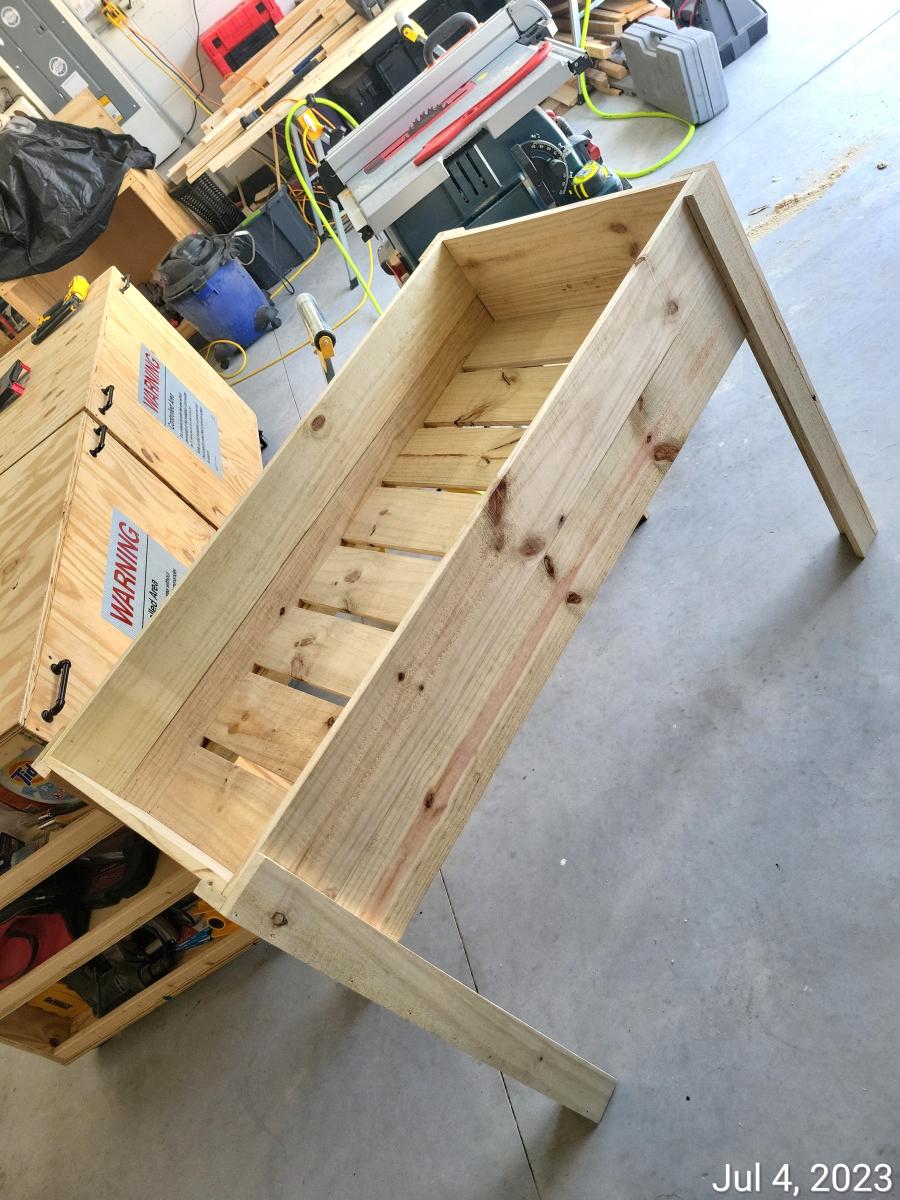
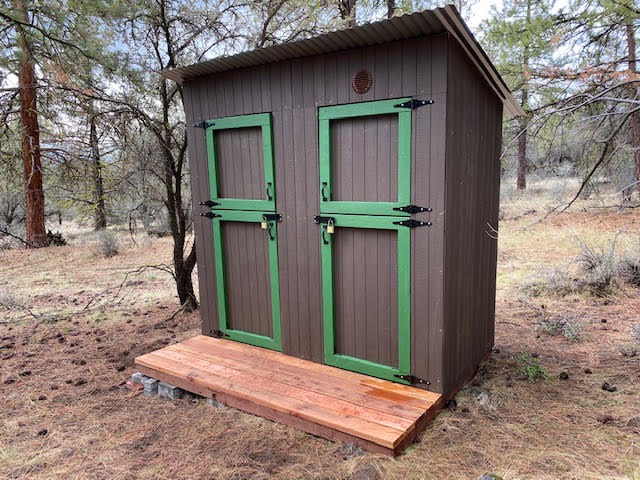
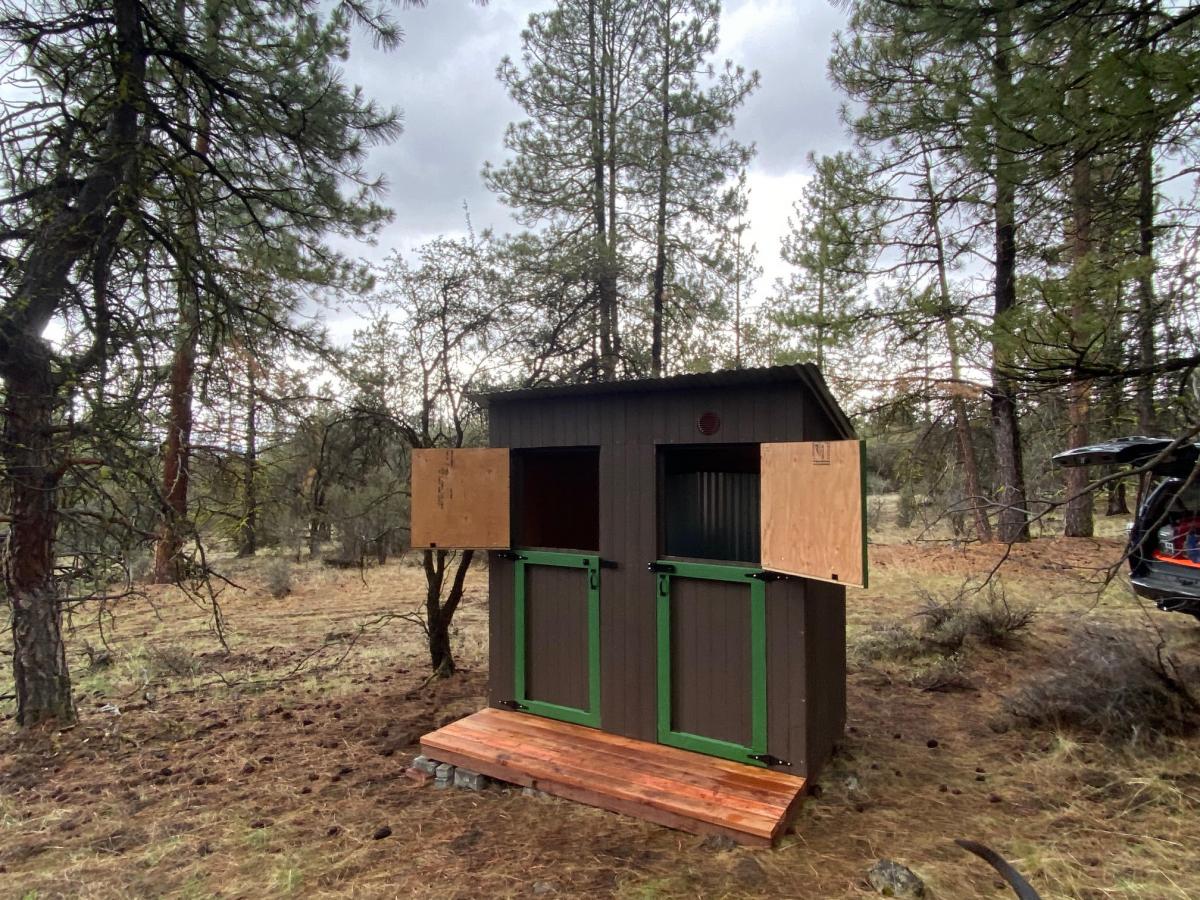
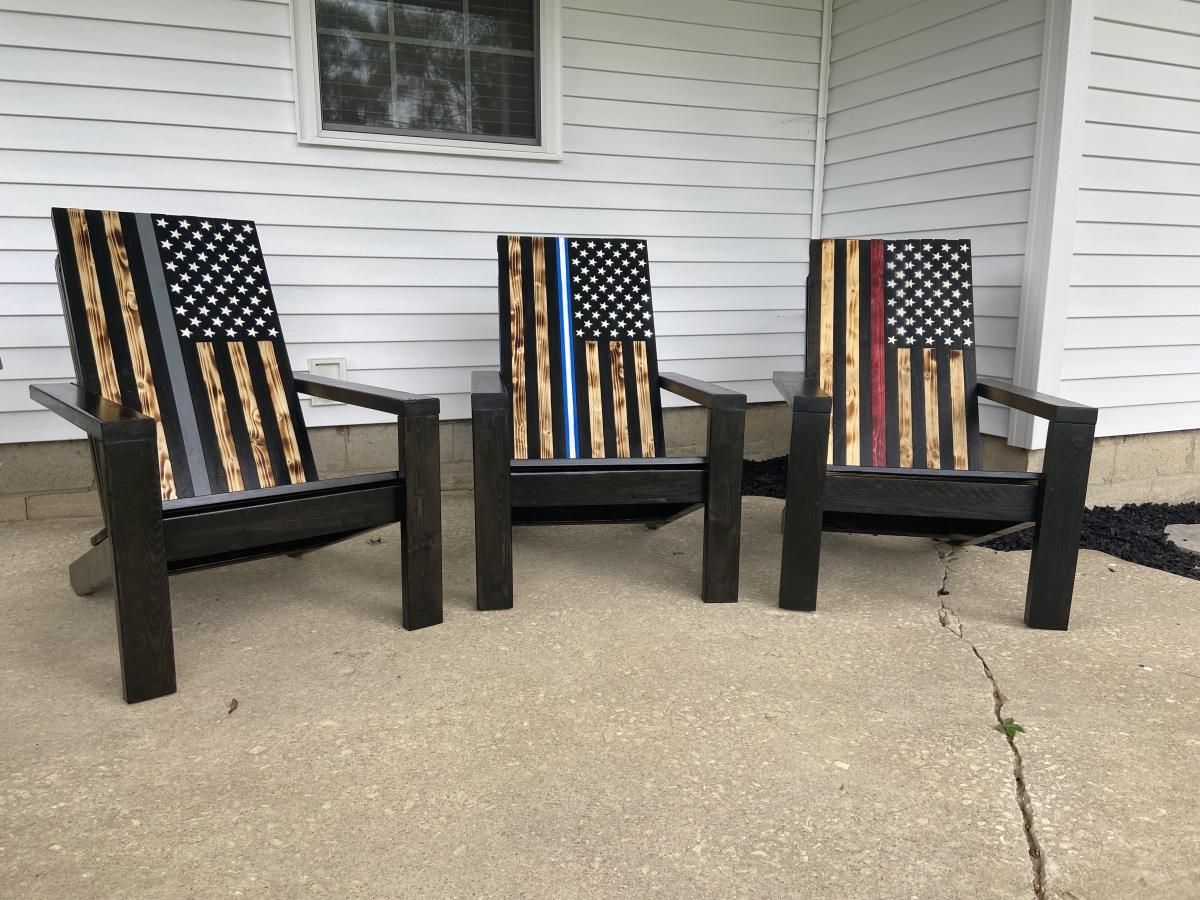
I built an an outhouse for my camping property in the PNW. The plans were great and easy to follow.
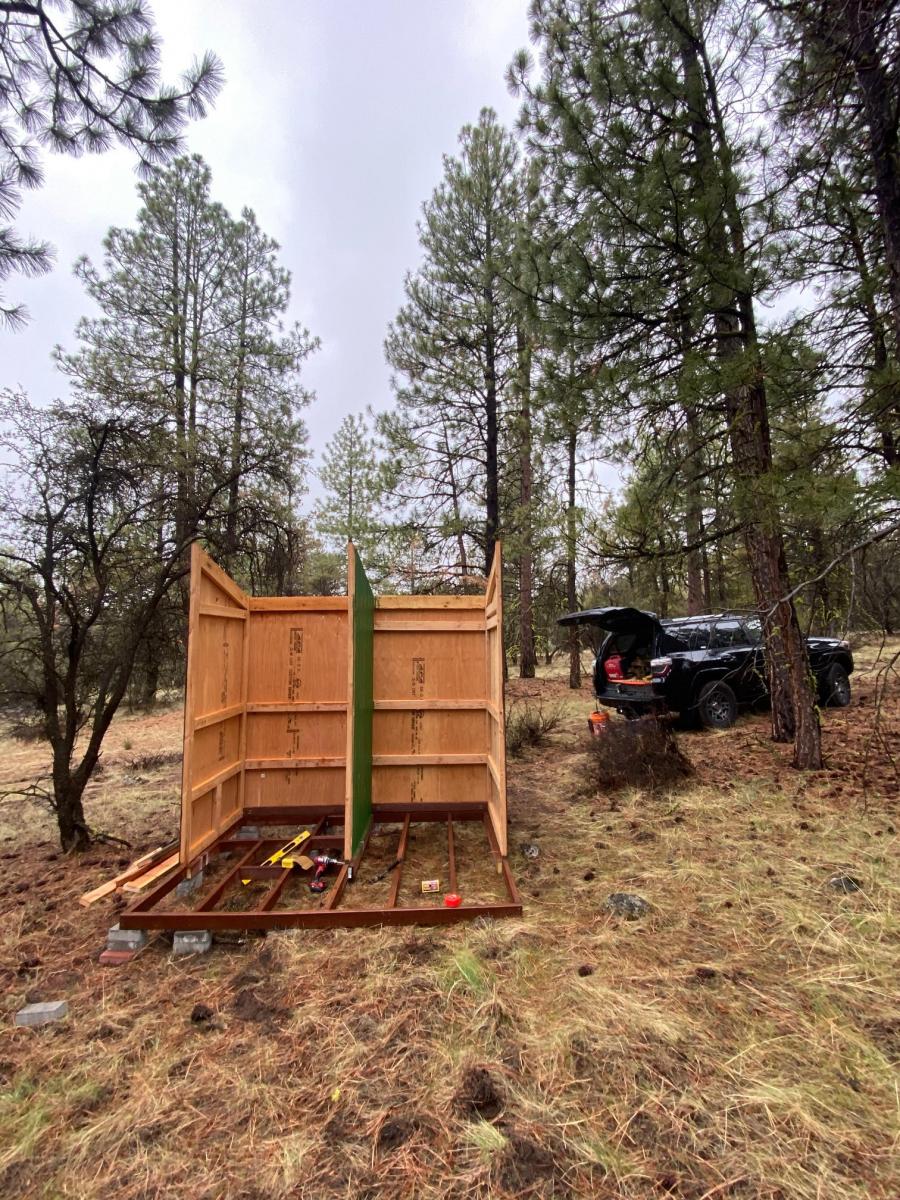
I did take the liberty of extending the the front wall to 8' still using the 15 degree roof line. I also wanted the option to shower during extending camping trips so I extended the floor and added one more back and side wall to create a shower house. With this design, I basically duplicated the side and back wall. Since I am in the middle of the woods, the Dutch doors were a last minute embellishment that I'm glad that I implemented in order to take advantage of the view!
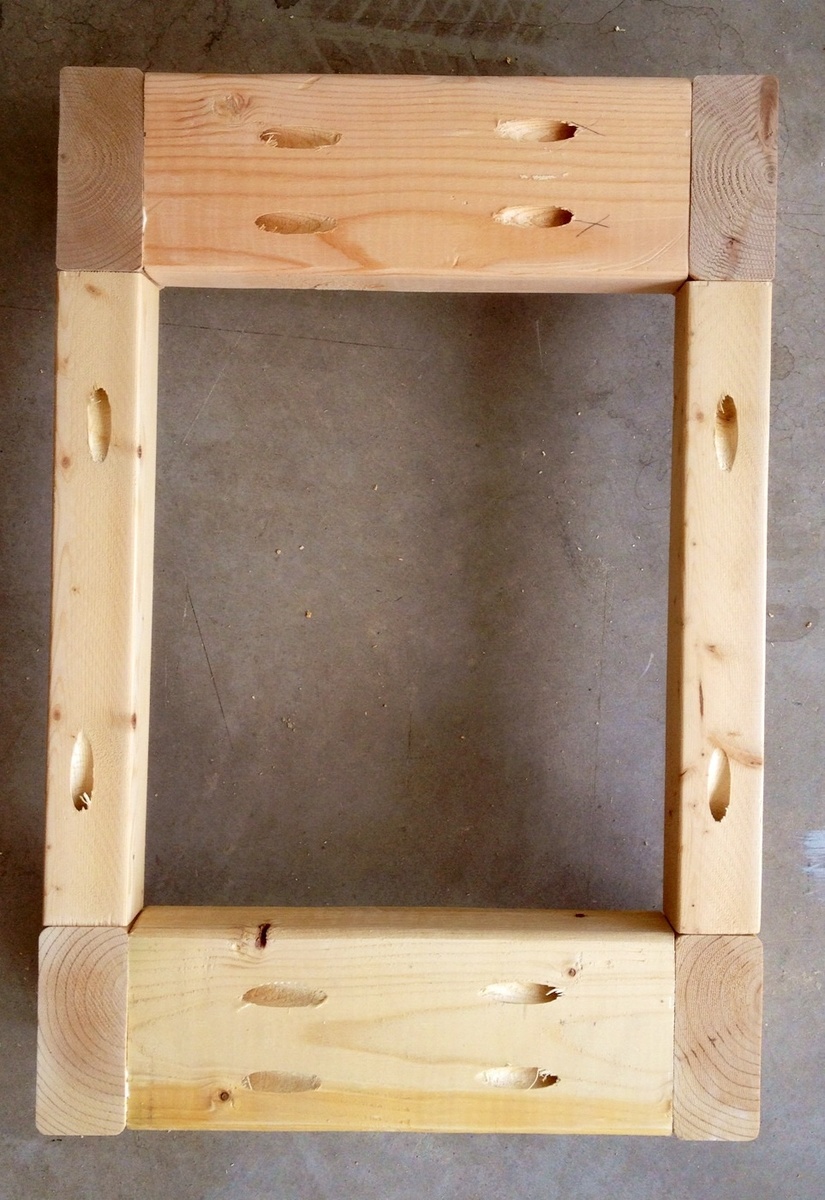
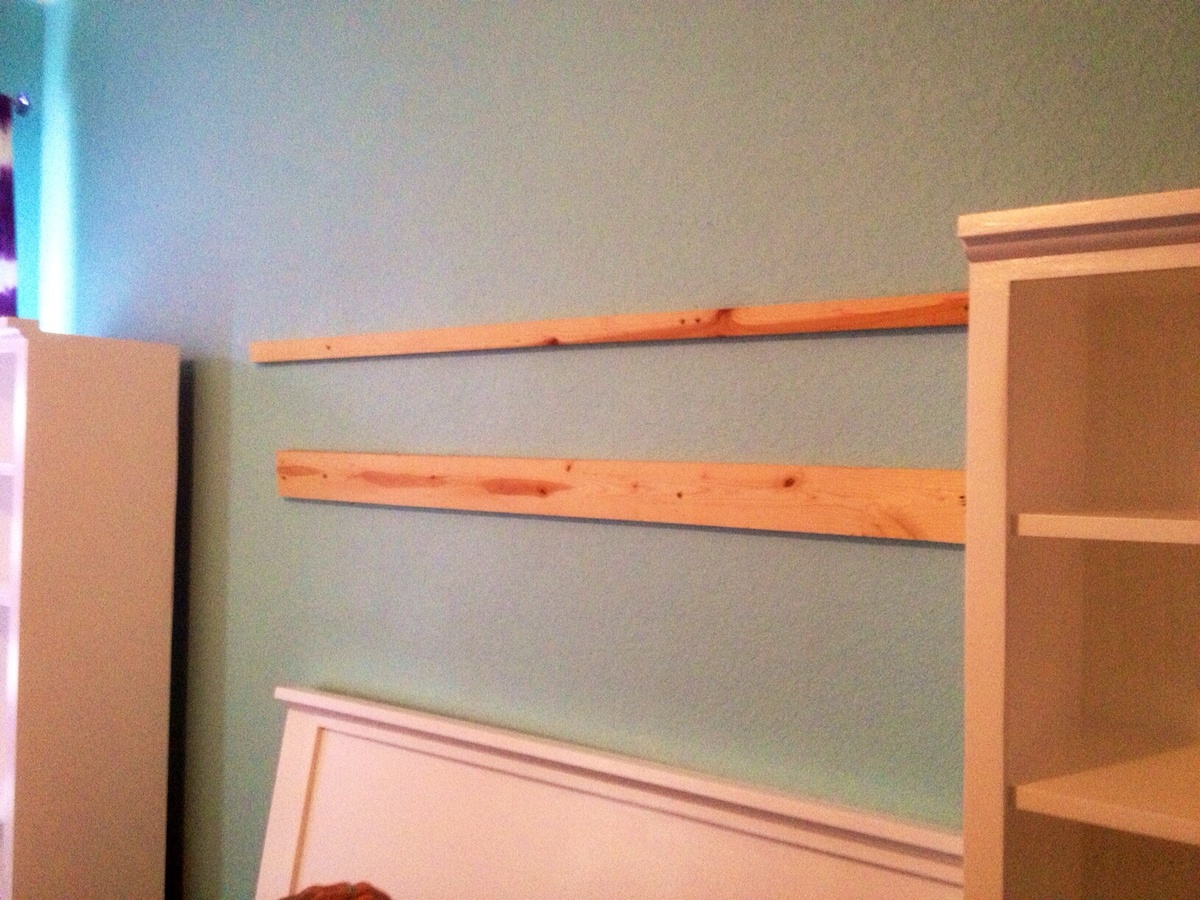
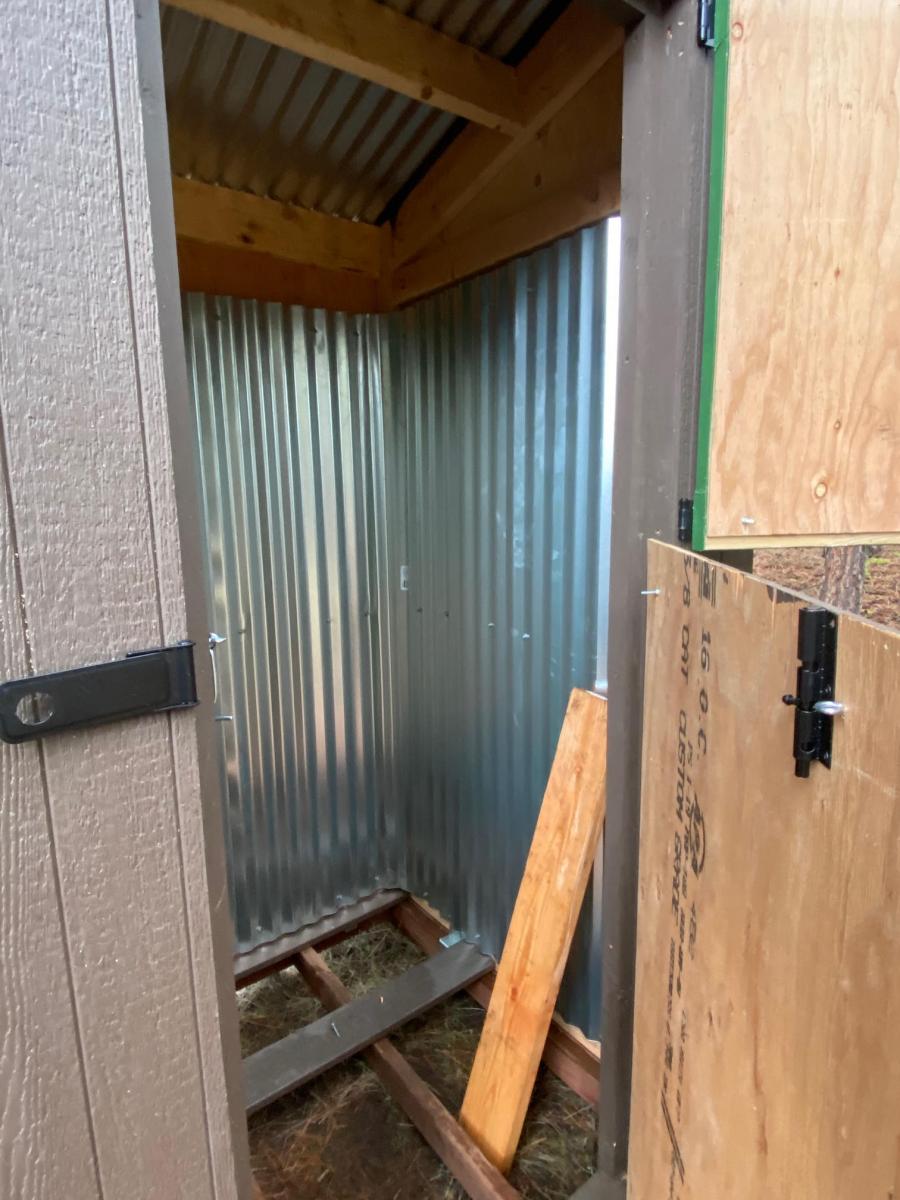
For the shower, I used composite decking with 1/2" gaps for drainage and lined the inside with 6' lengths of corrugated metal roofing.
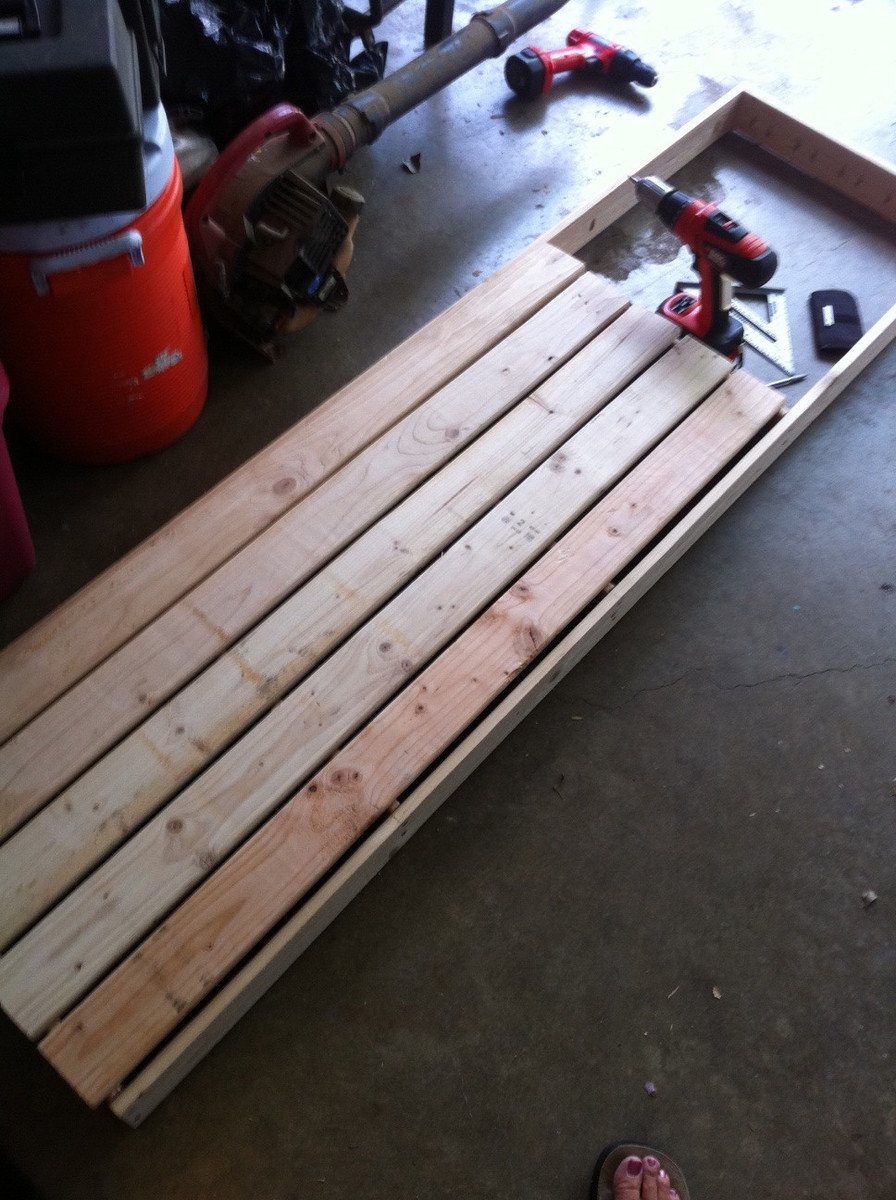
One additional note: I did build this on my back patio over a couple of weekends since my property is a fairly long drive from my home and about 2 hours round trip from the nearest hardware store. It broke down easily in about 30 minutes with 2 people and fit perfectly in the back of a full size pick up truck for the trip.
In summary, great plans and I love this site. Much appreciated and happy building!


Comments
givehugsprn
Fri, 05/30/2014 - 23:18
You did a great job!
You did a great job!
Ana White Admin
Sat, 05/31/2014 - 10:23
Amazing!
That is awesome, great job and super impressive!
reinkense
Sat, 05/31/2014 - 15:58
Thanks!
Thank you! I am really proud of it. I was thinking of putting together some plans.
tara.palmer
Thu, 02/25/2016 - 16:36
Please do!
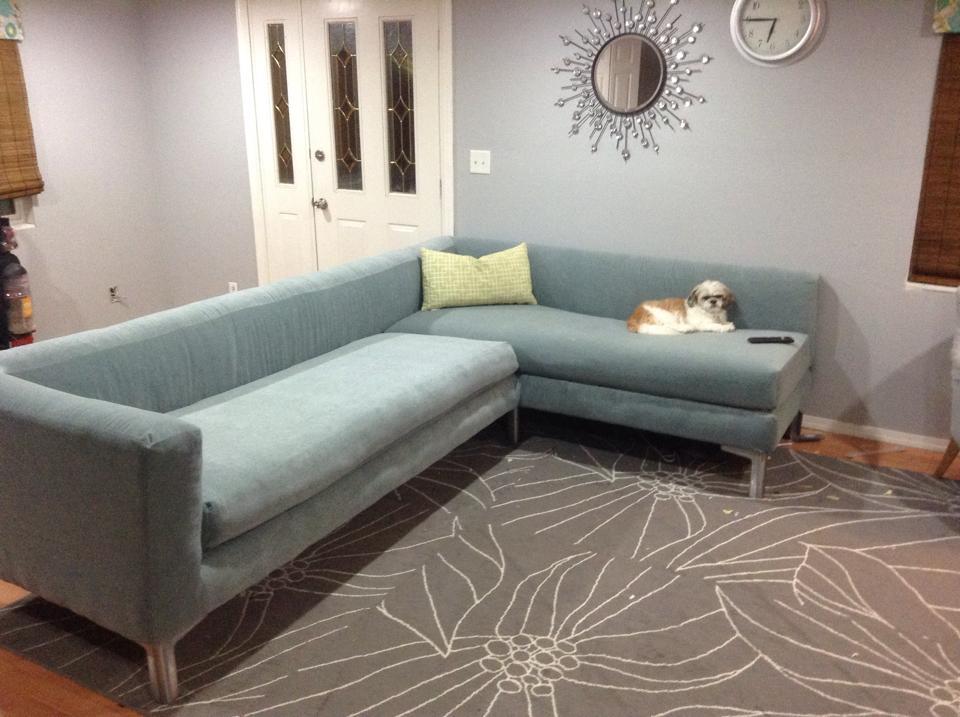
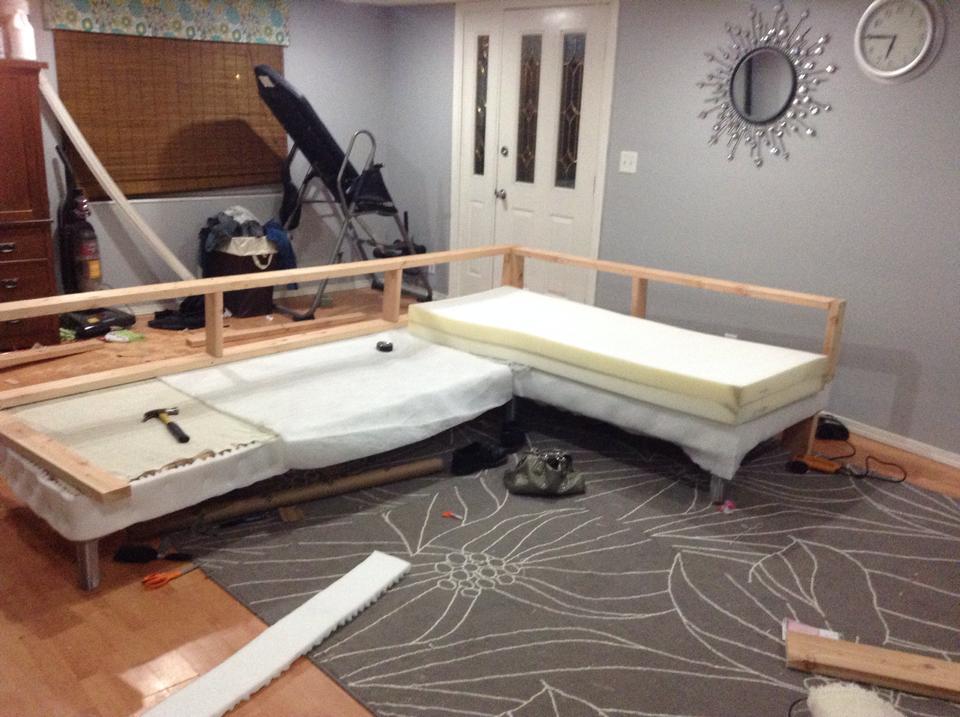
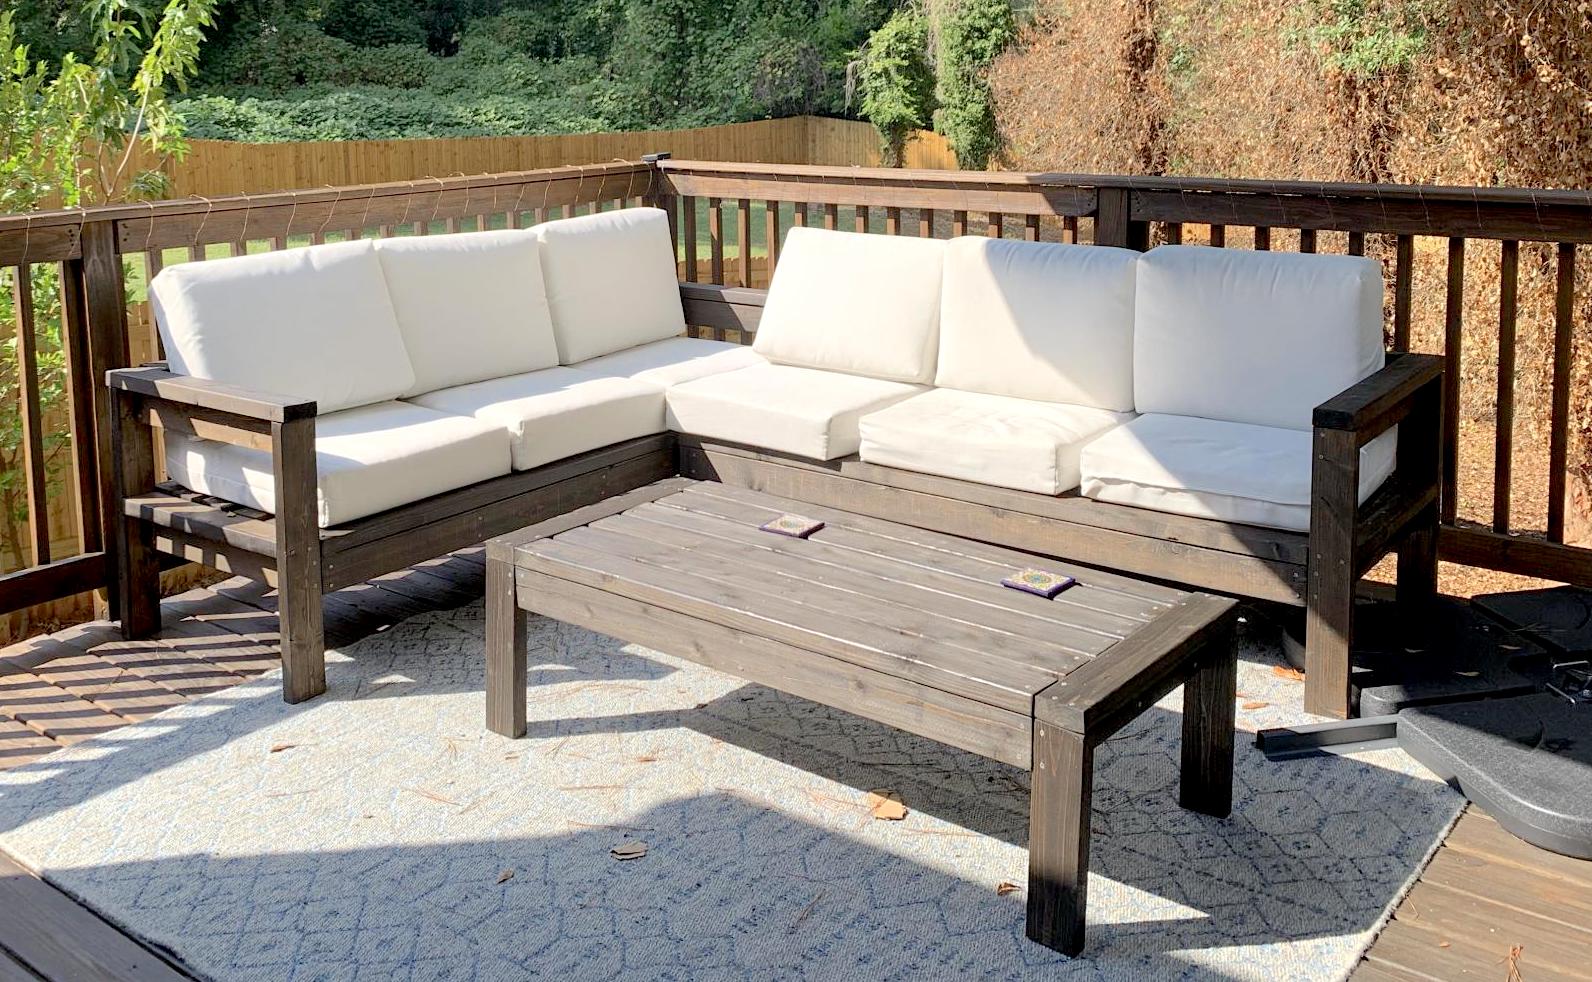
I would love some plans! Your couch is perfect!
Ana White
Sat, 07/25/2015 - 12:28
DIY Modern Sectional Awesomeness!
You are my hero ! Your modern diy sectional is amazing, love the blue fabric! Thank you so much for sharing! Ana
tannisg
Mon, 08/03/2015 - 14:52
I'm so excited!
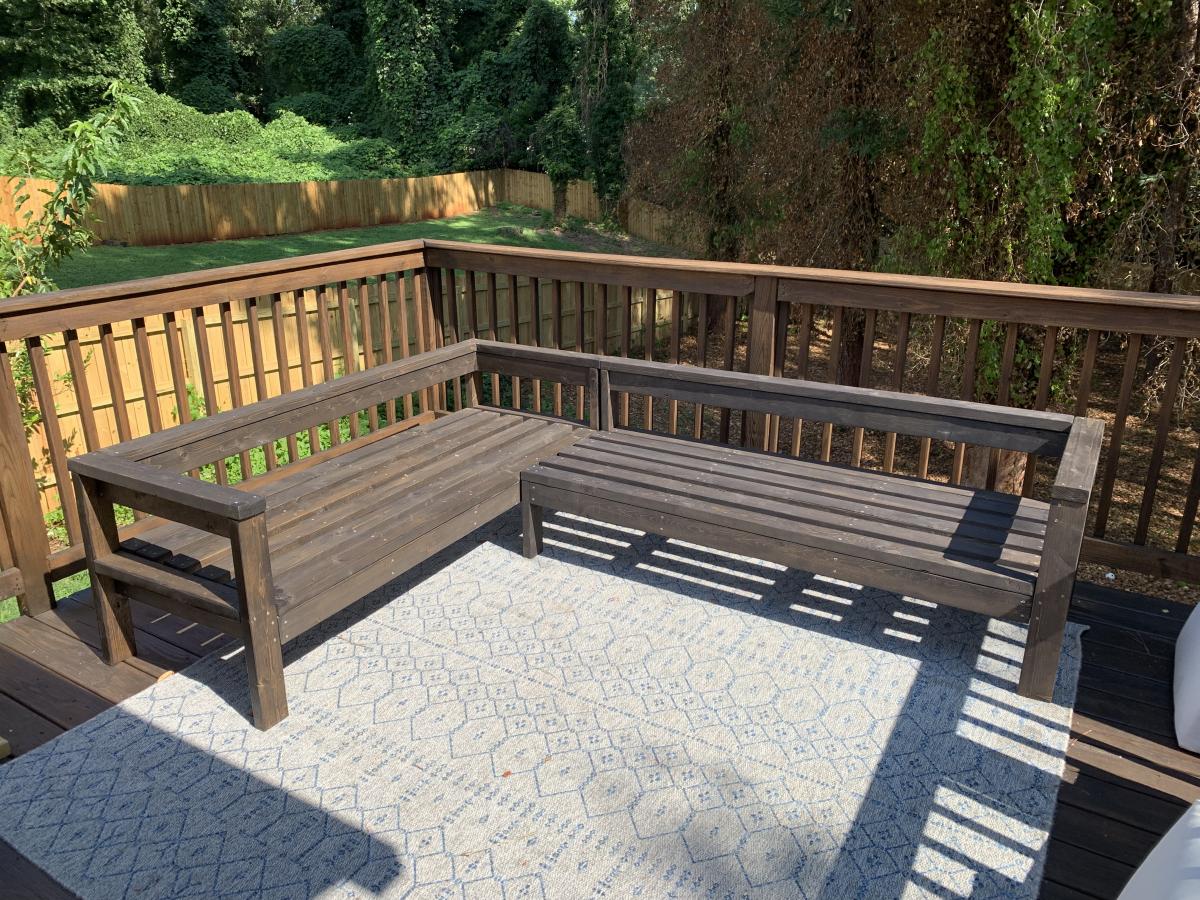
I've been looking for plans for a big sectional this would be perfect!
Samigdal
Fri, 12/25/2015 - 17:48
Plans?
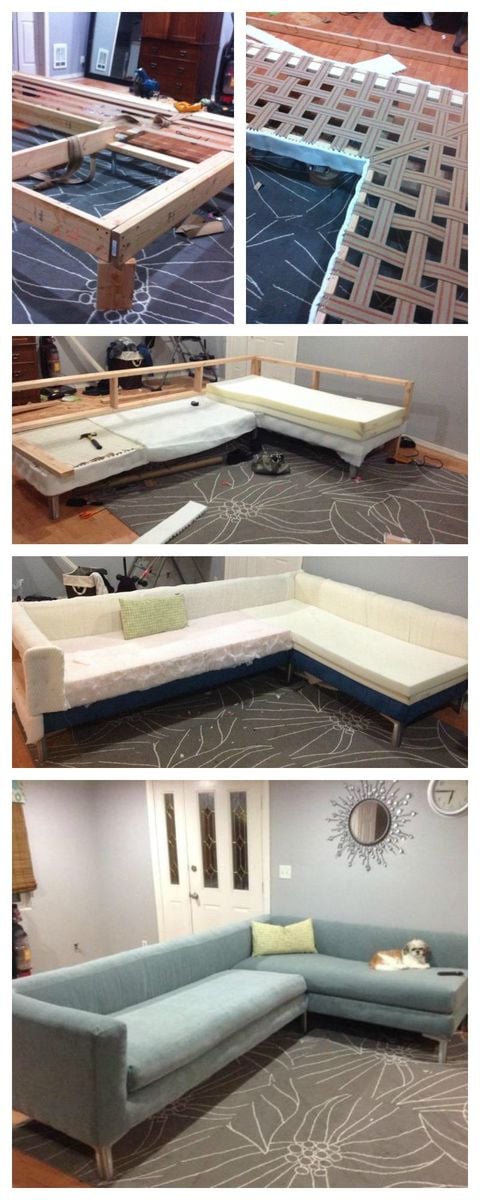
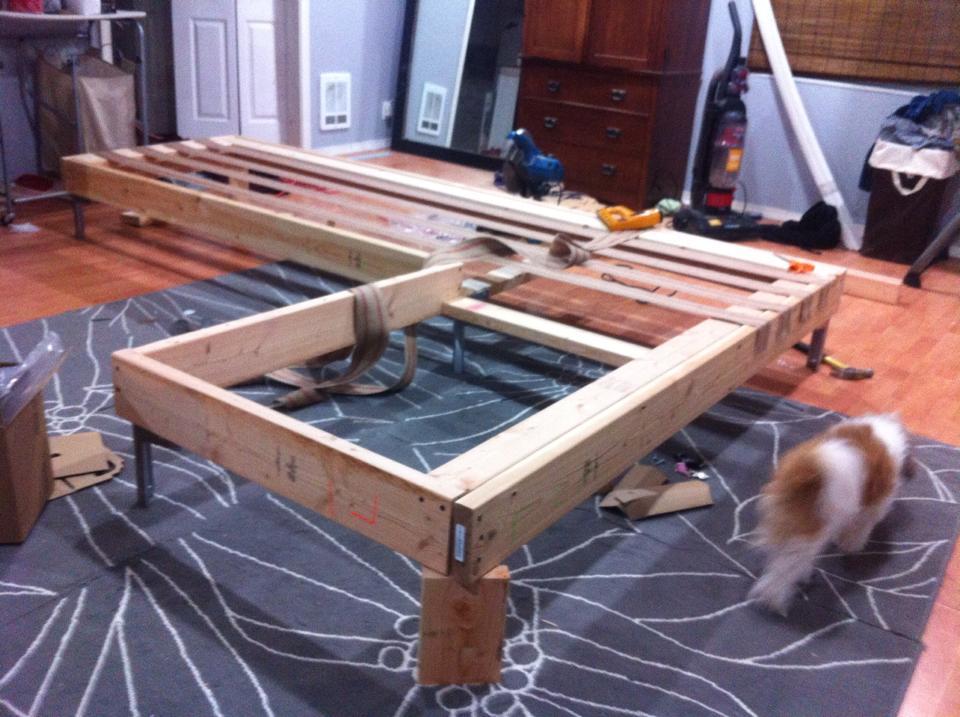
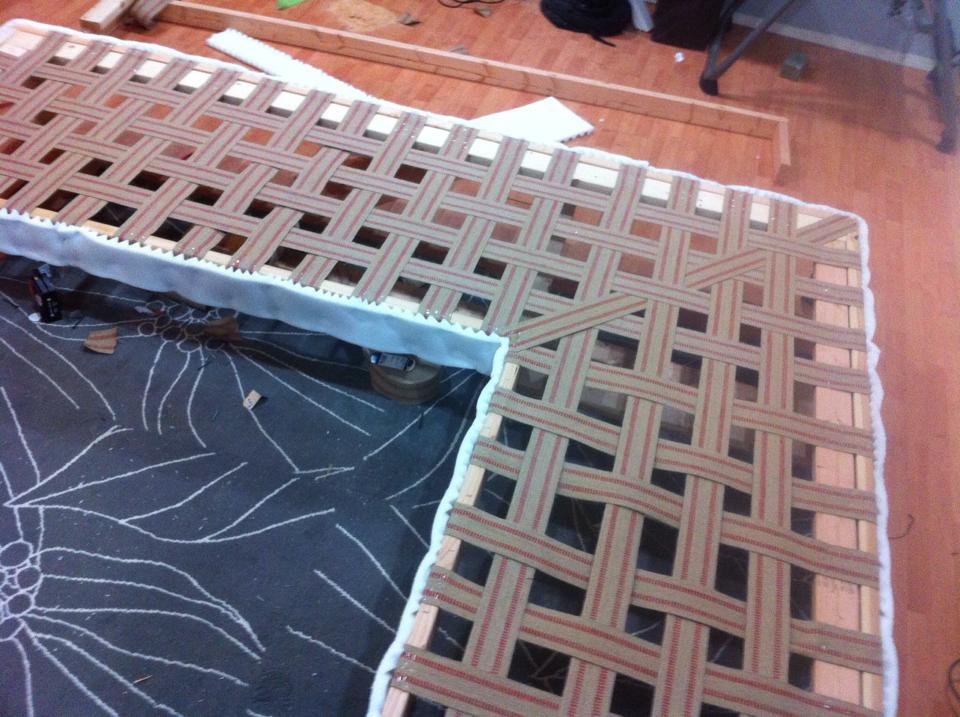
Are there step-by-step instructions for building this posted anywhere?
lildollface6510
Wed, 03/09/2016 - 10:54
Plans
What are or where can I find the plans
andashalla
Tue, 07/05/2016 - 13:40
Plans
Did reinkense ever make plans available?
walthoca
Fri, 01/06/2017 - 11:06
WOW
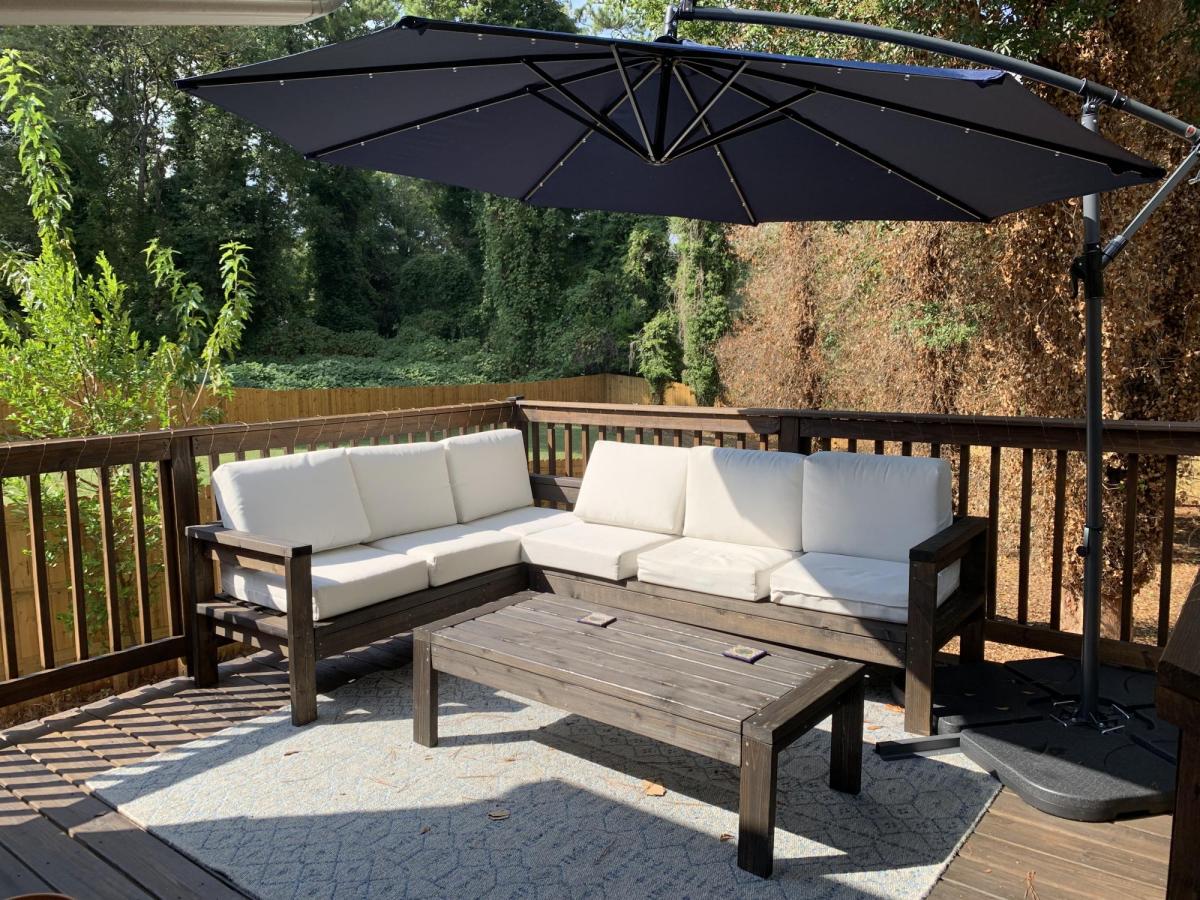
I am so impressed. We recently spent a small fortune on a sectional, but yours looks equally beautiful. You are incredibly talented!
eilykkc96
Tue, 06/11/2019 - 16:16
That’s awesome. I would love…
That’s awesome. I would love plans for this!