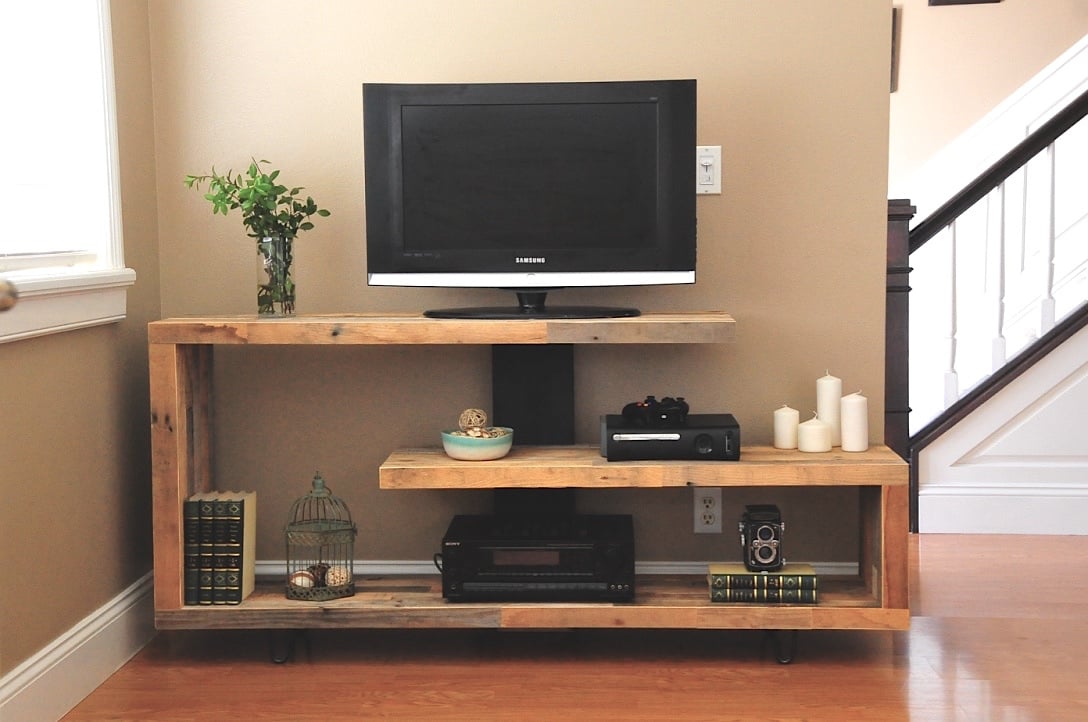
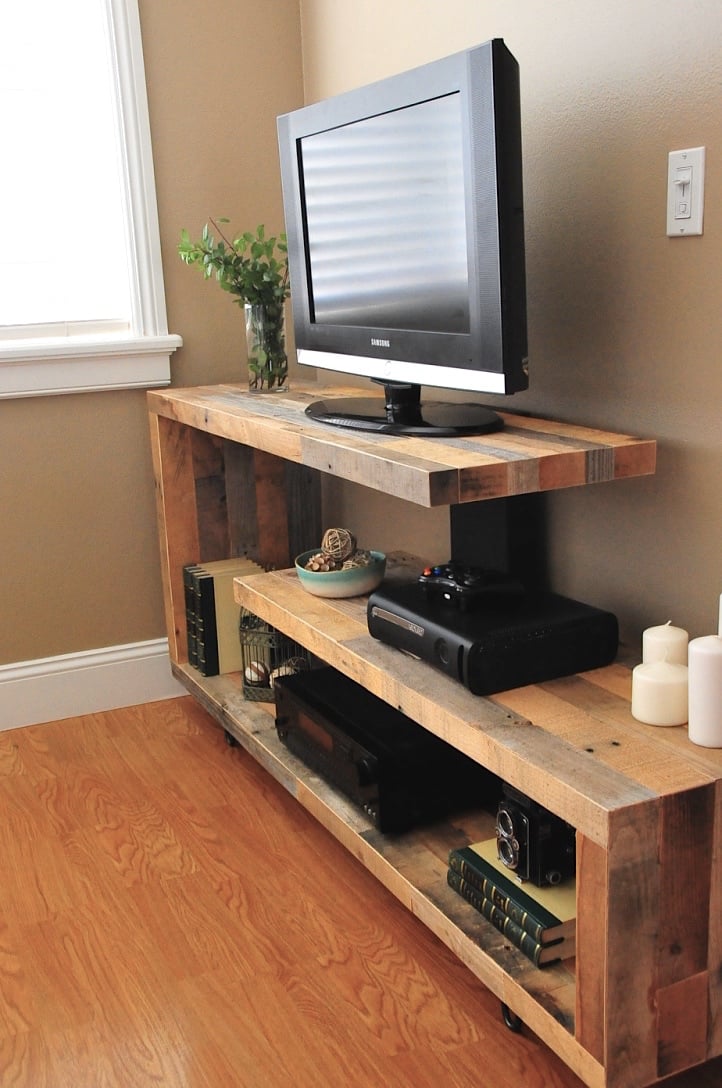
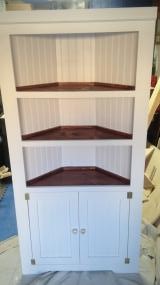
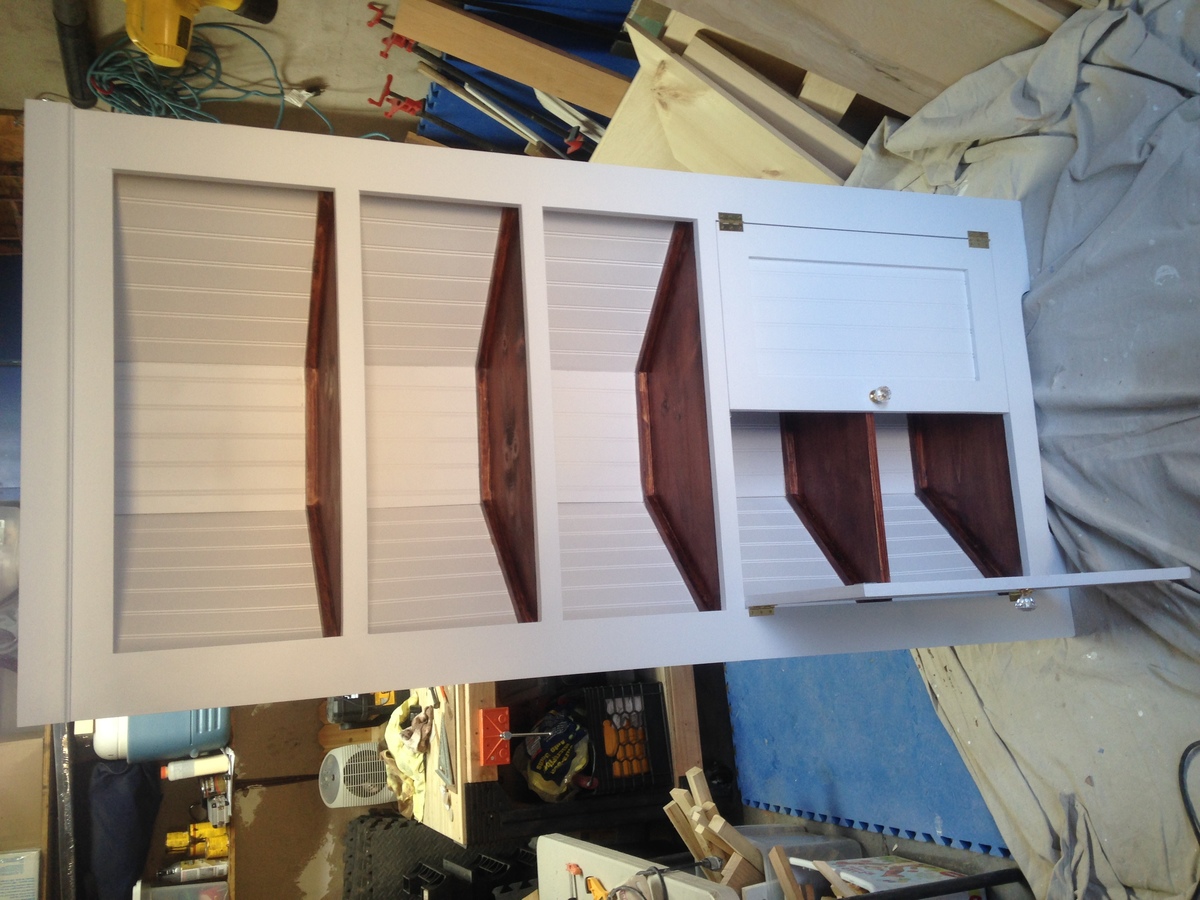
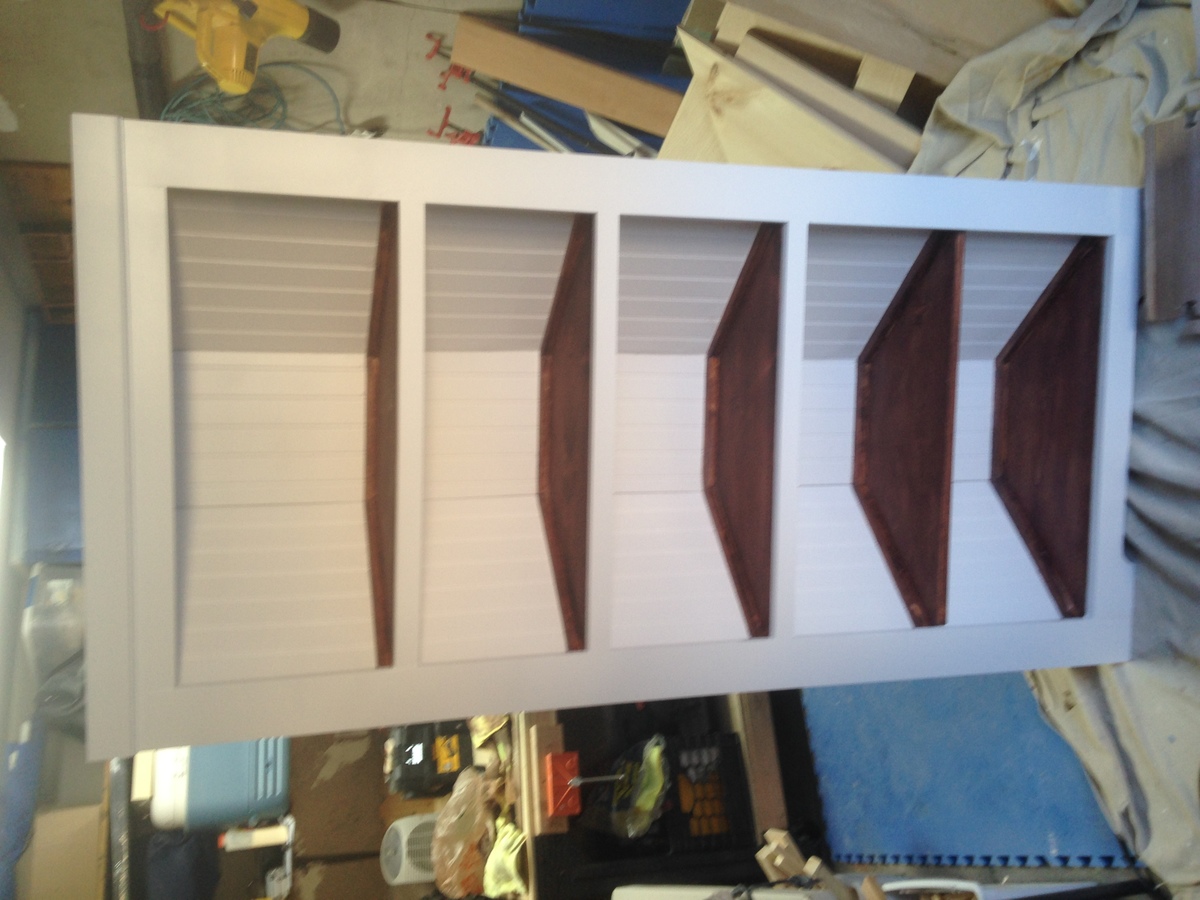
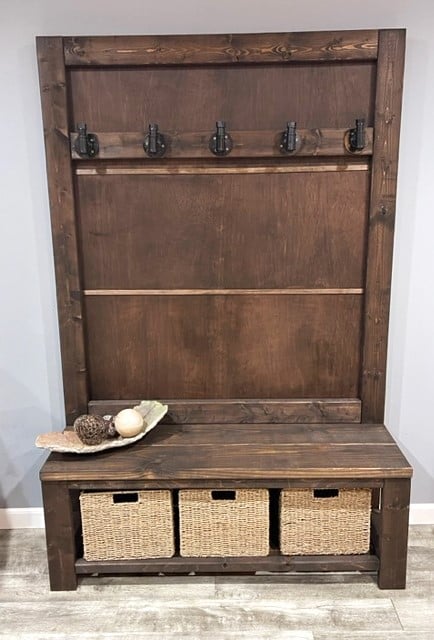
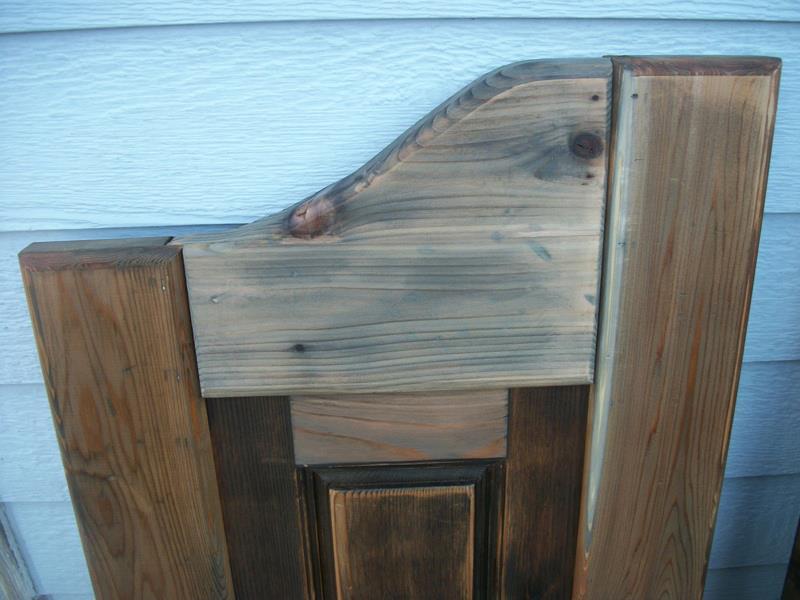
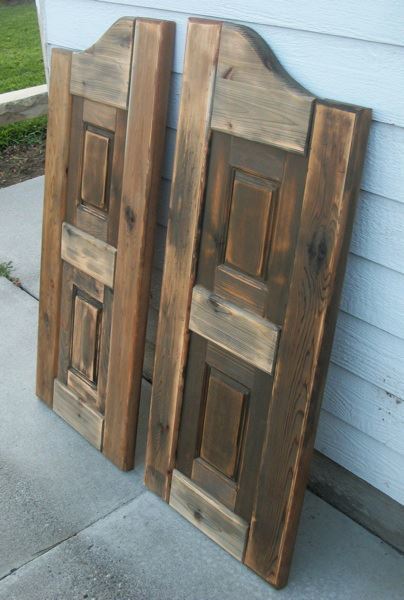
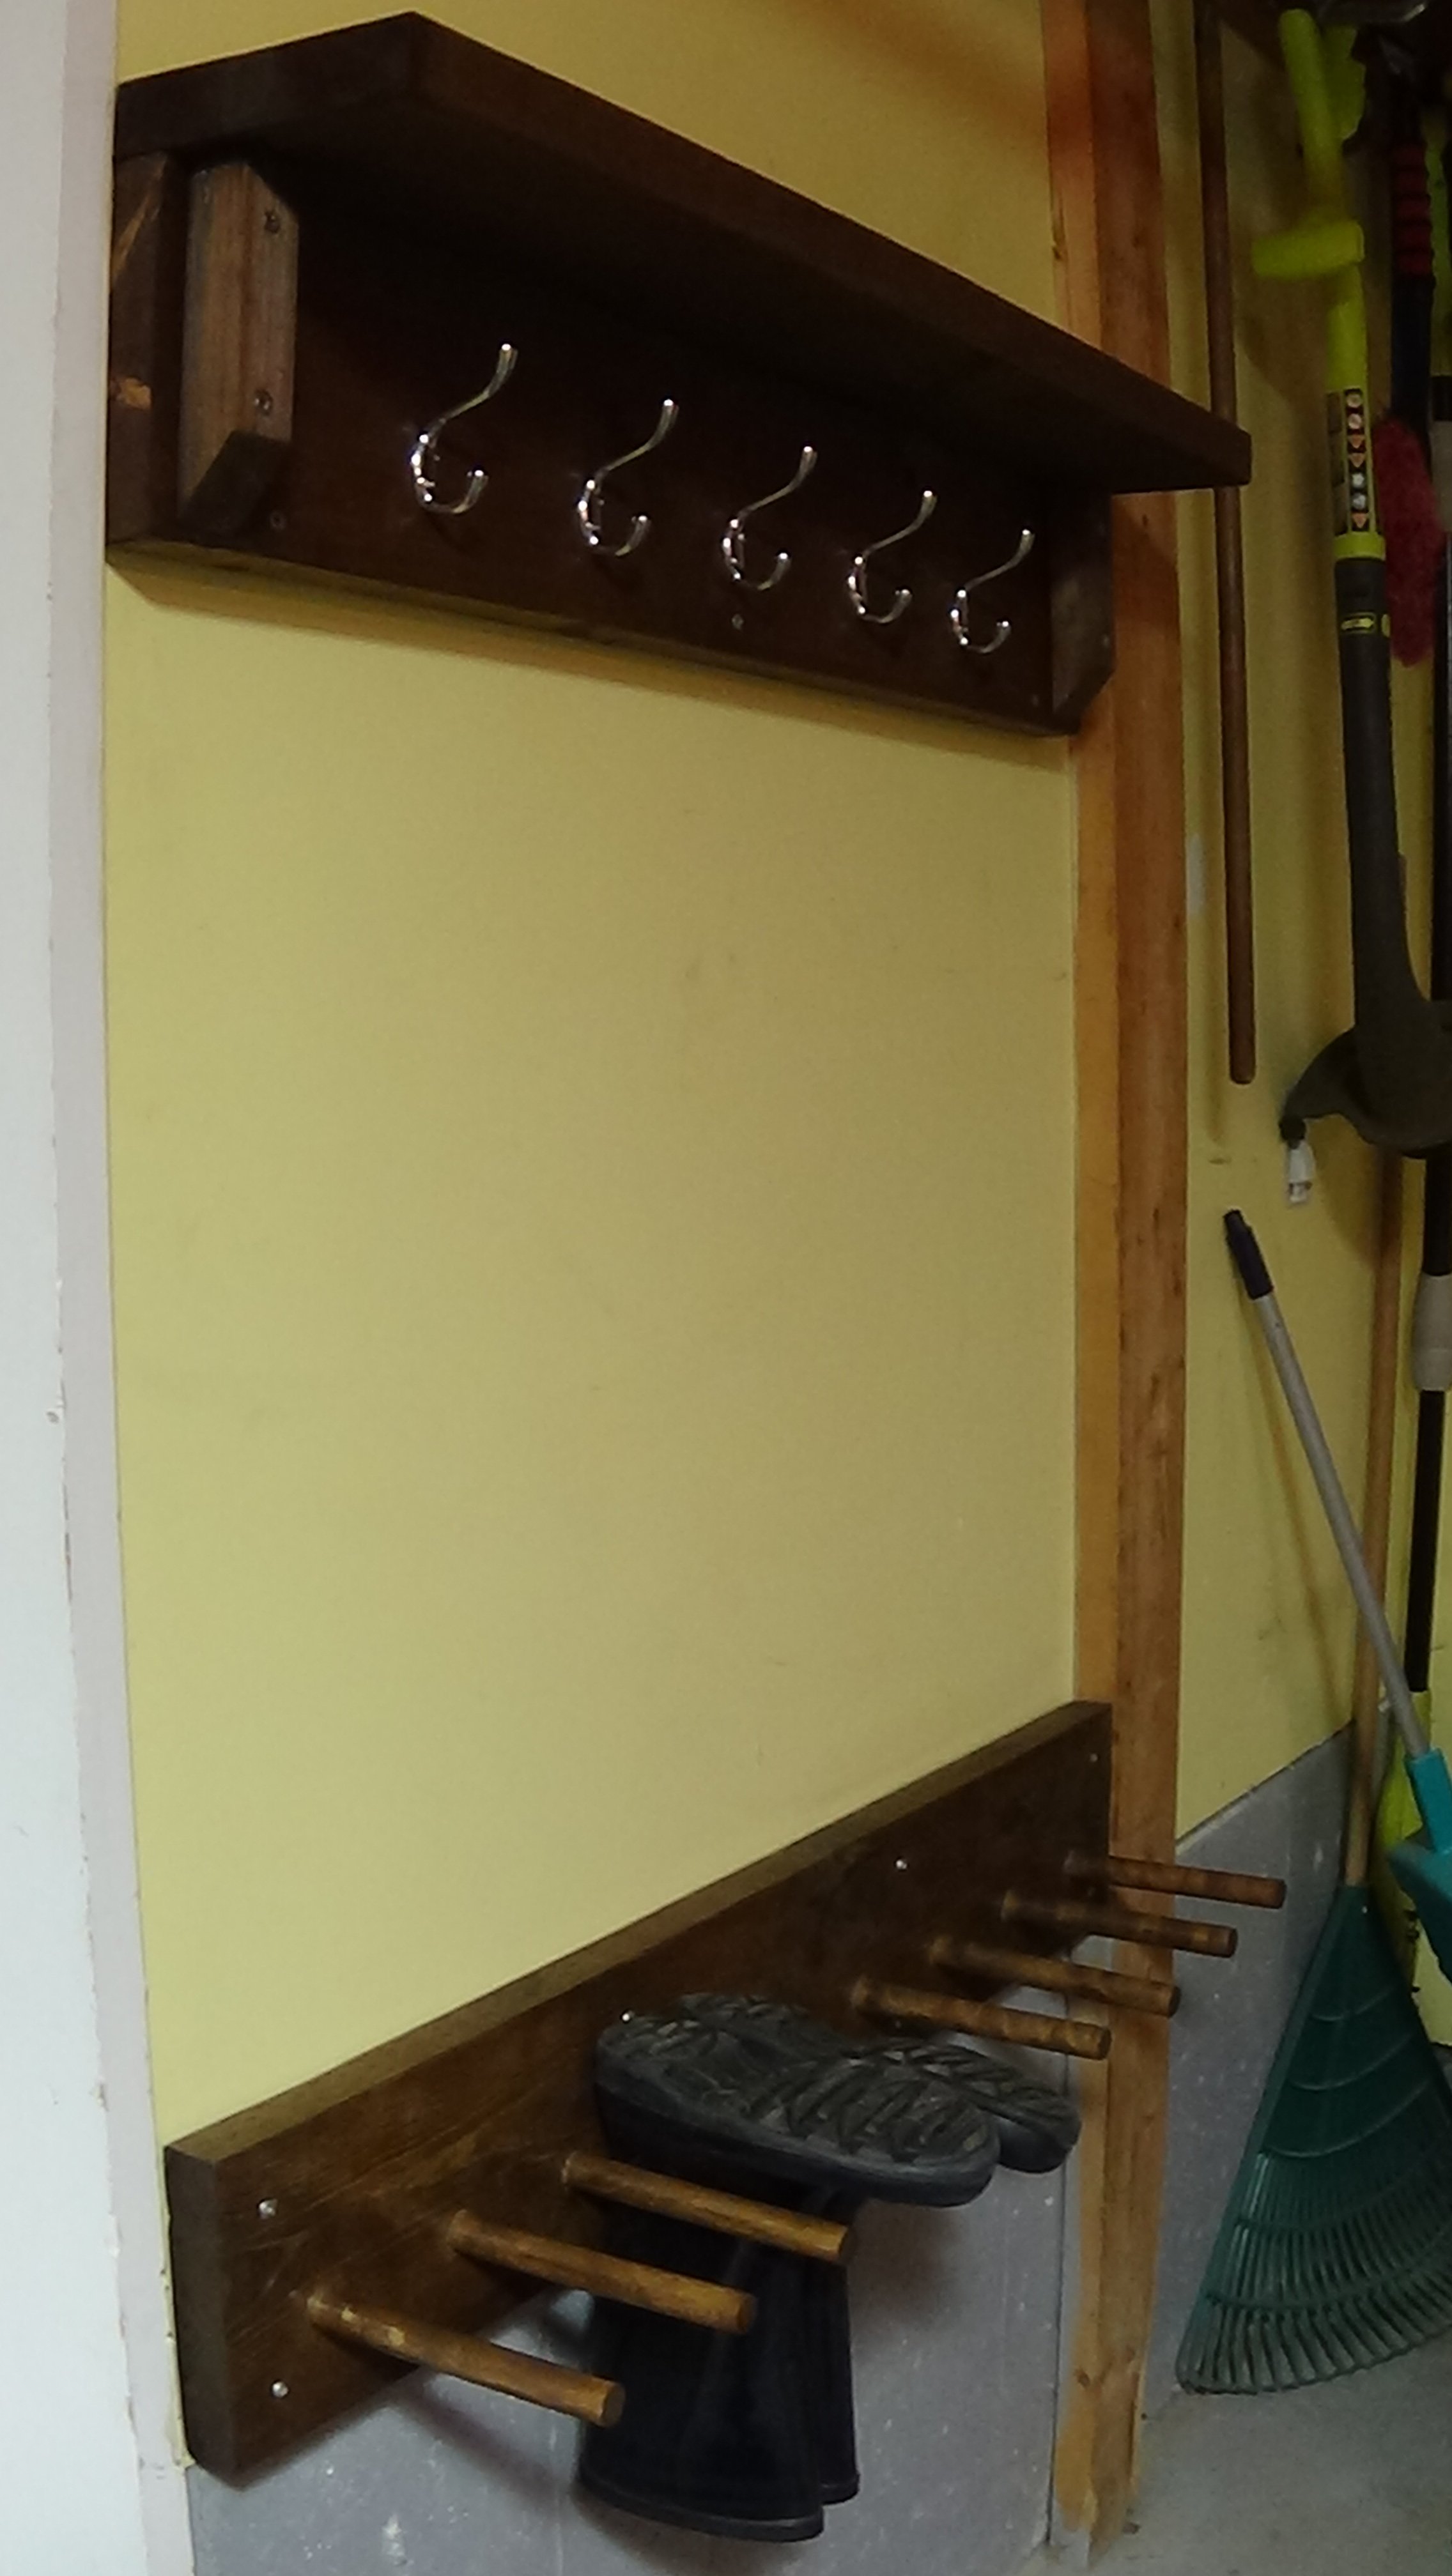
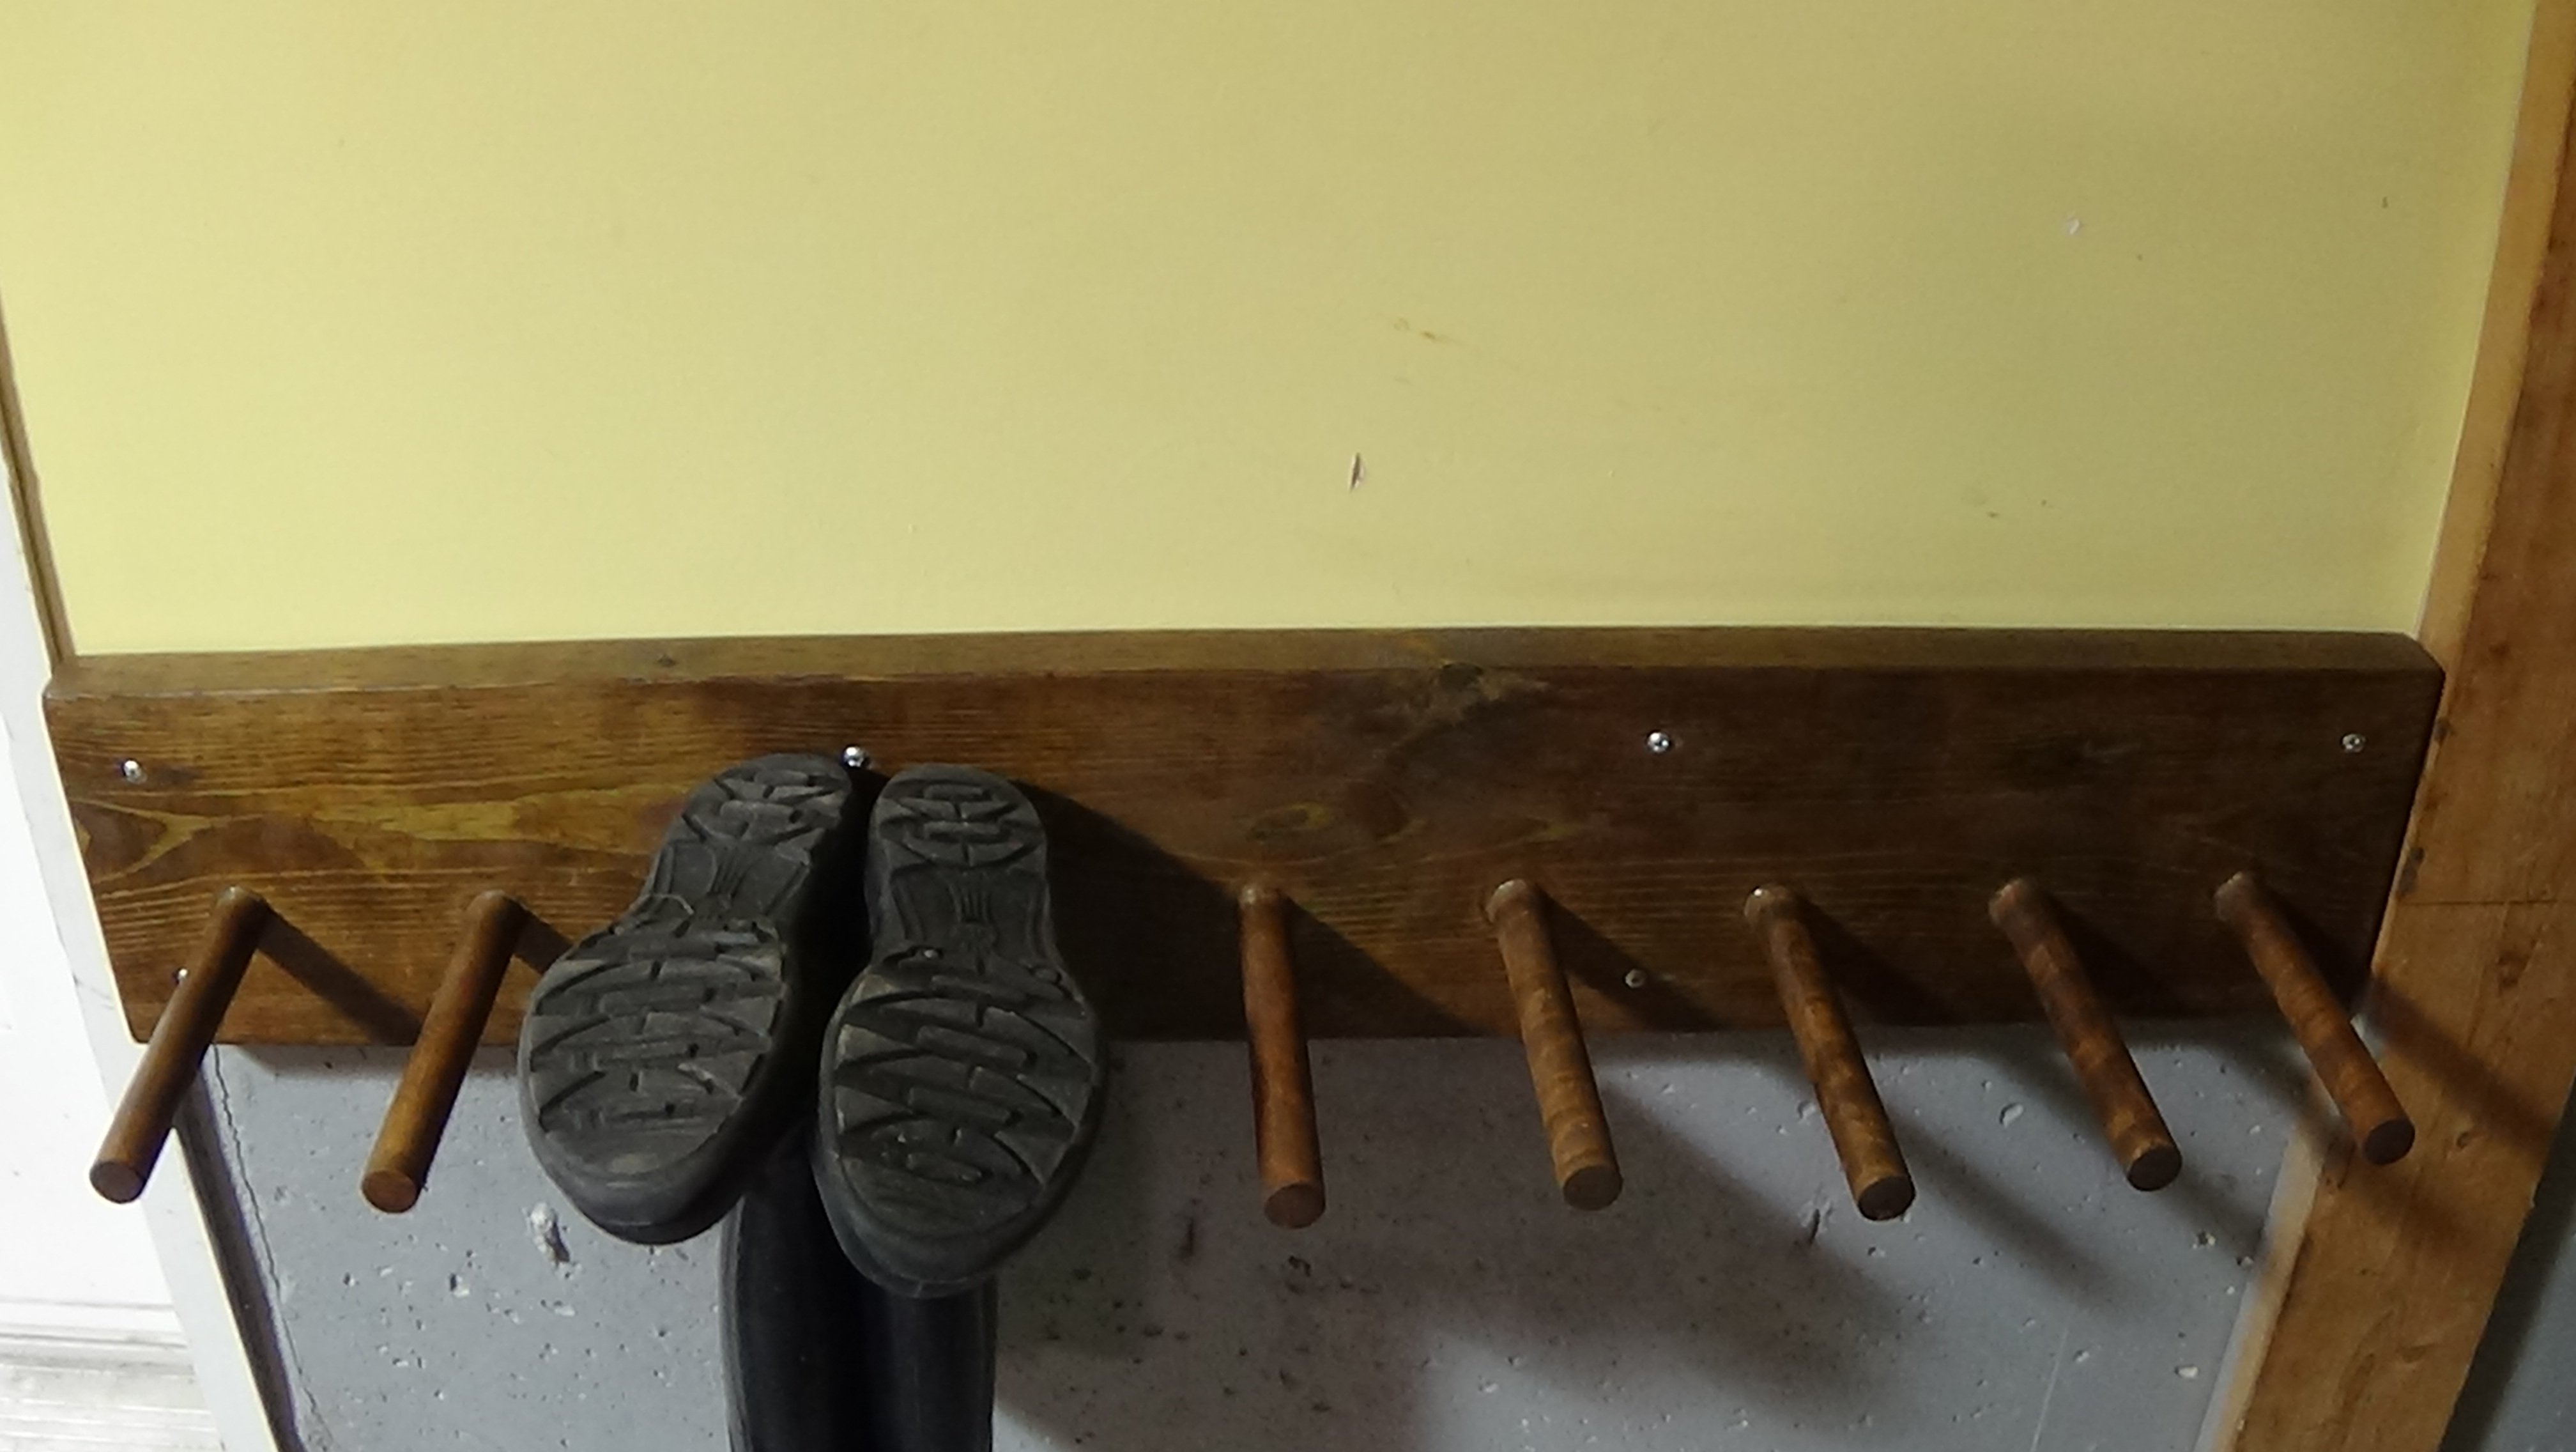
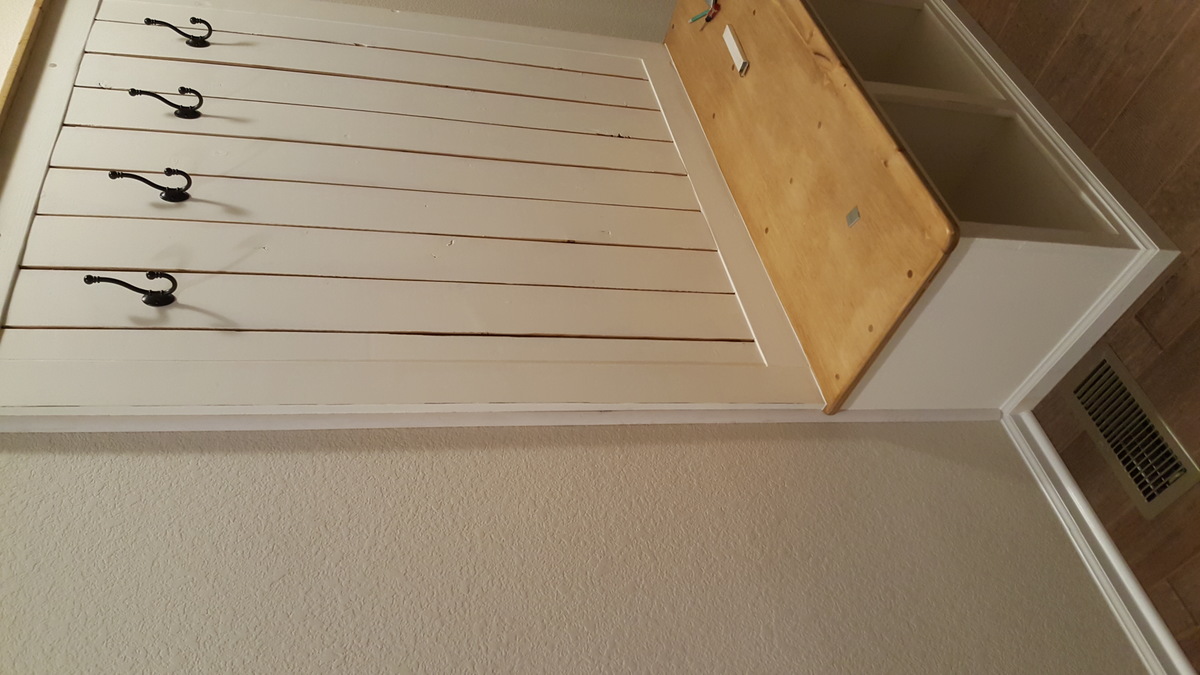
Community Brag Posts

Fancy Hall Tree

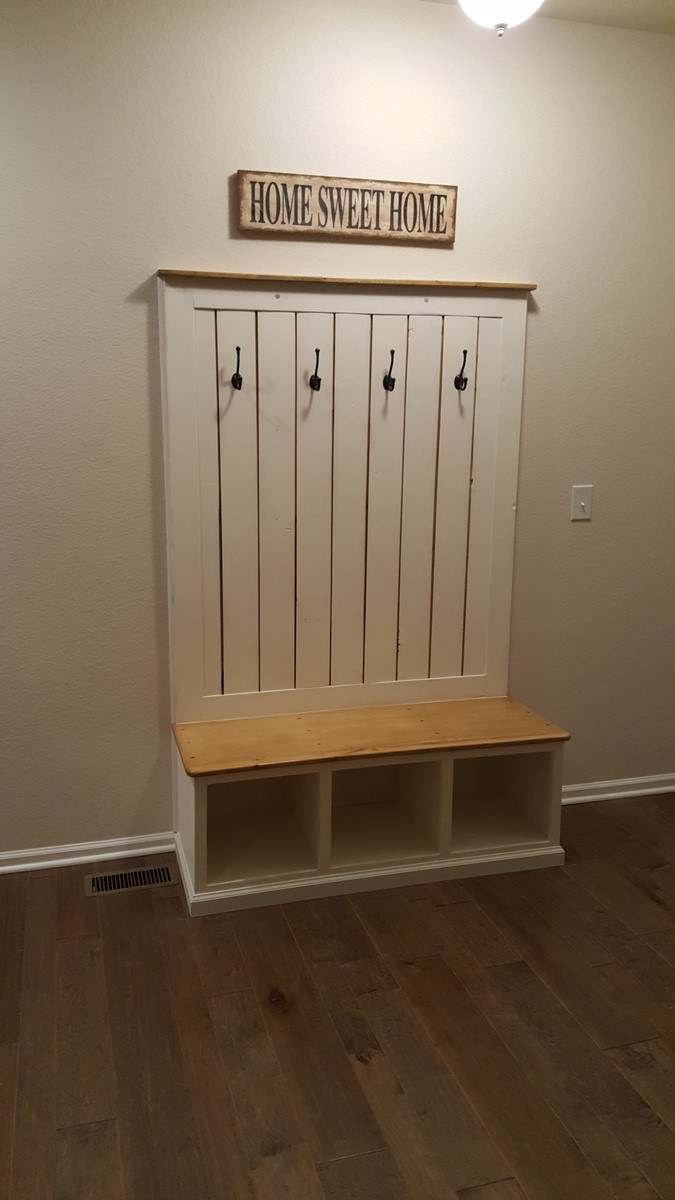
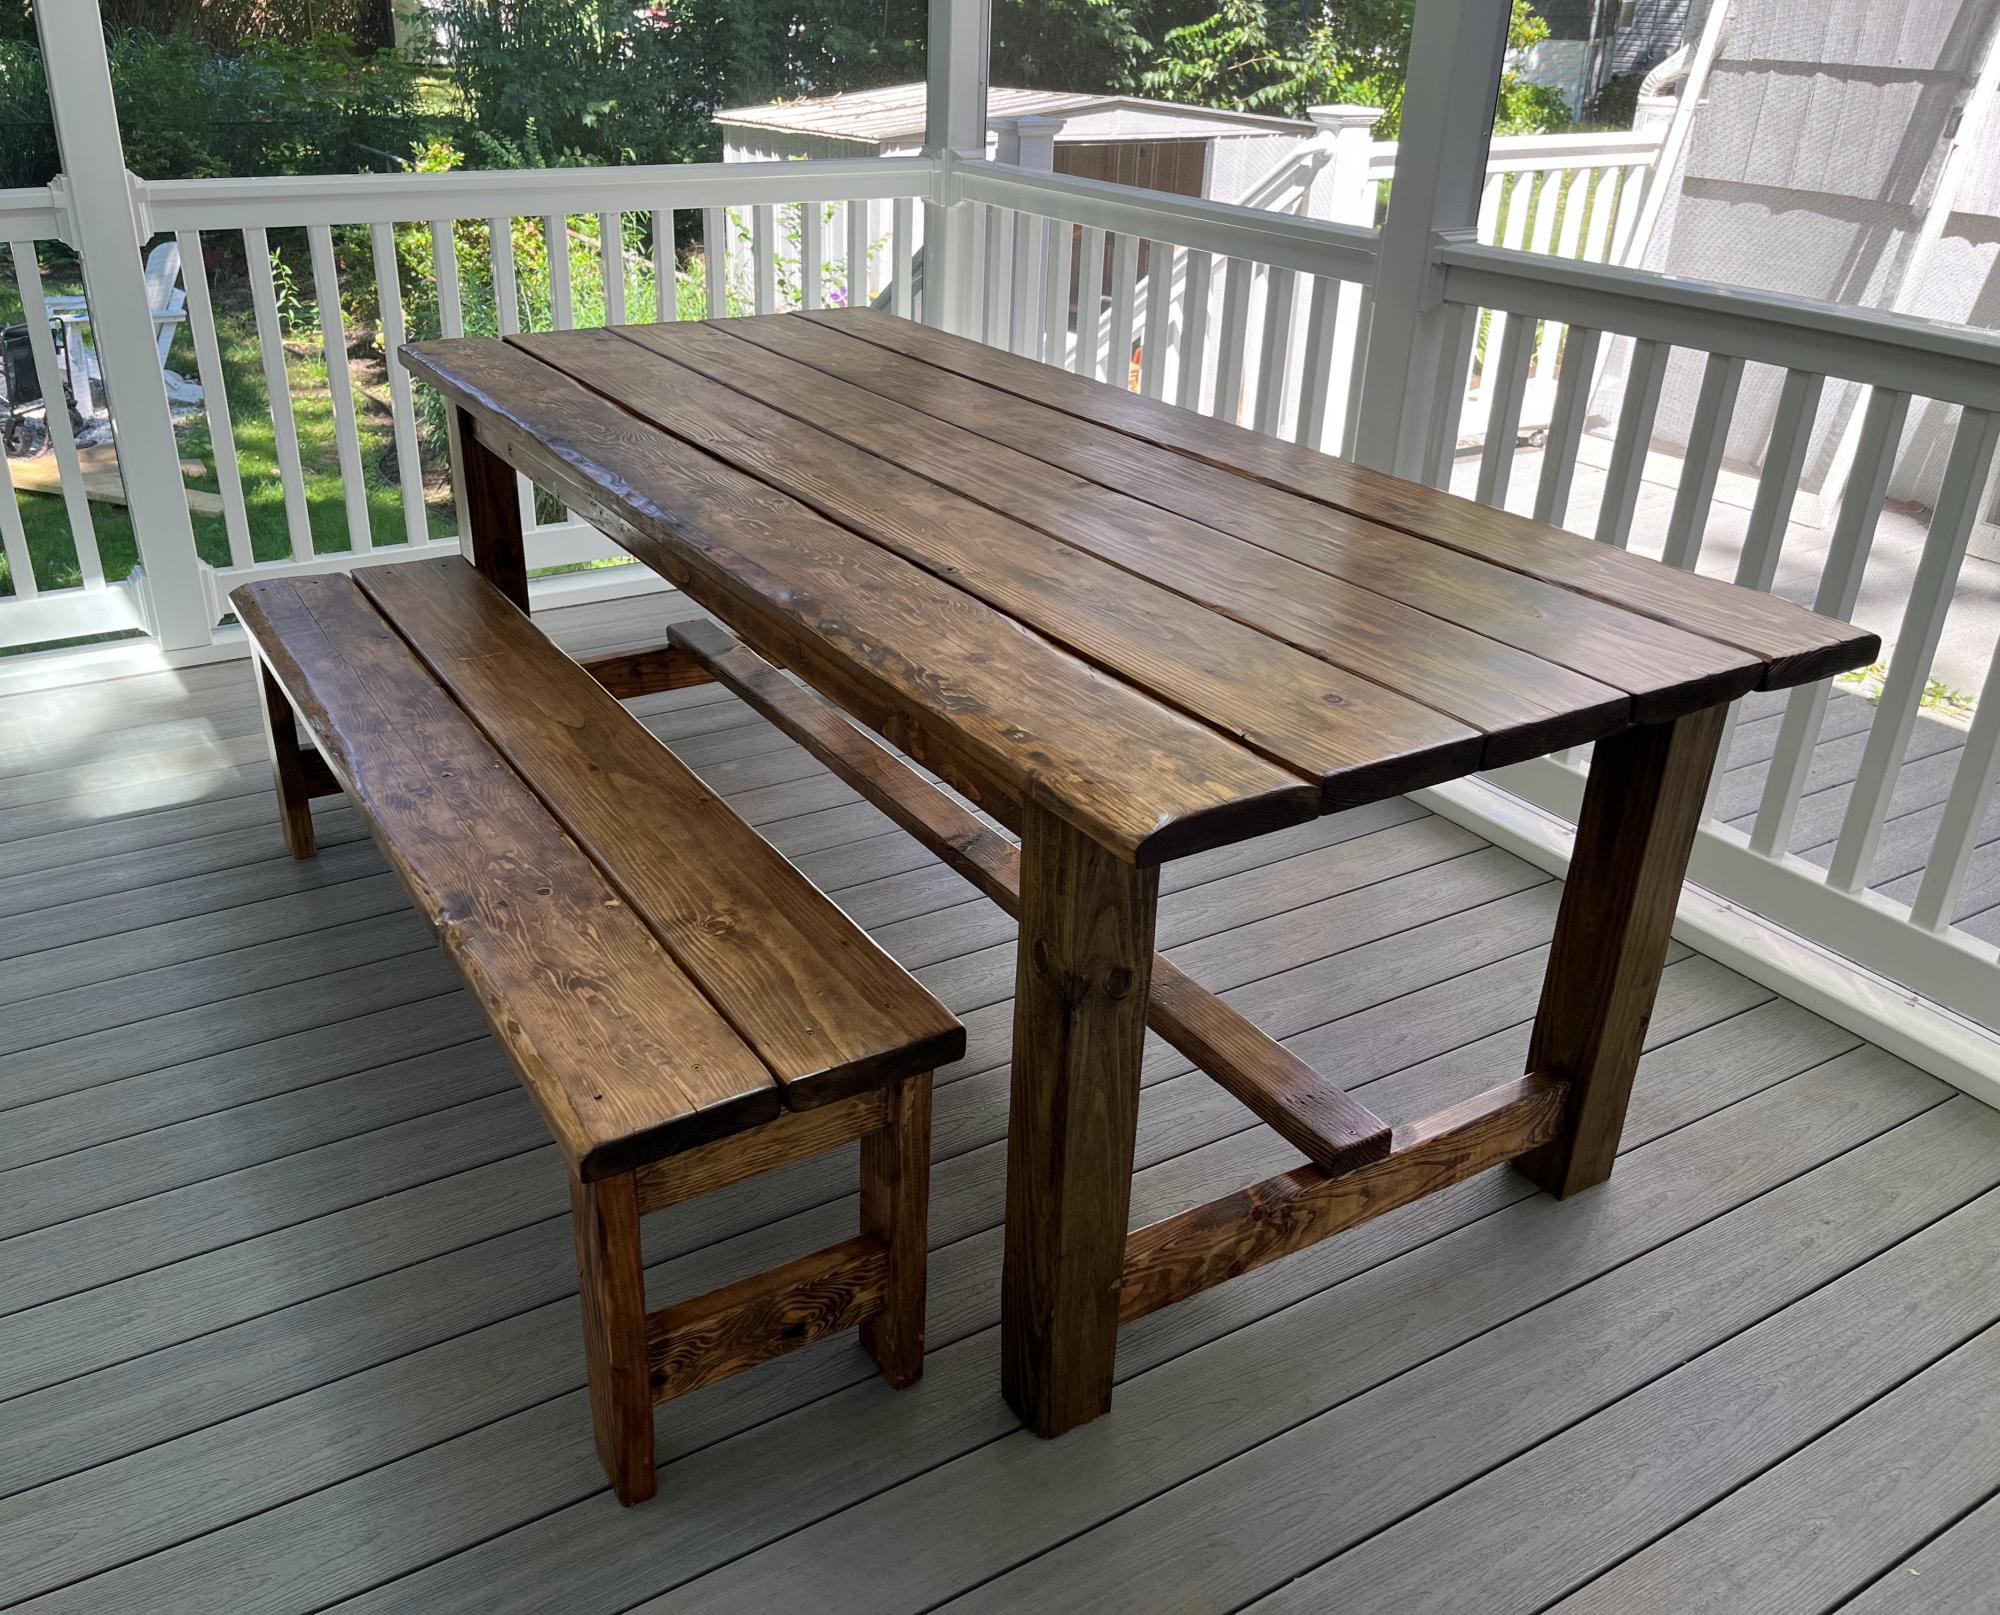
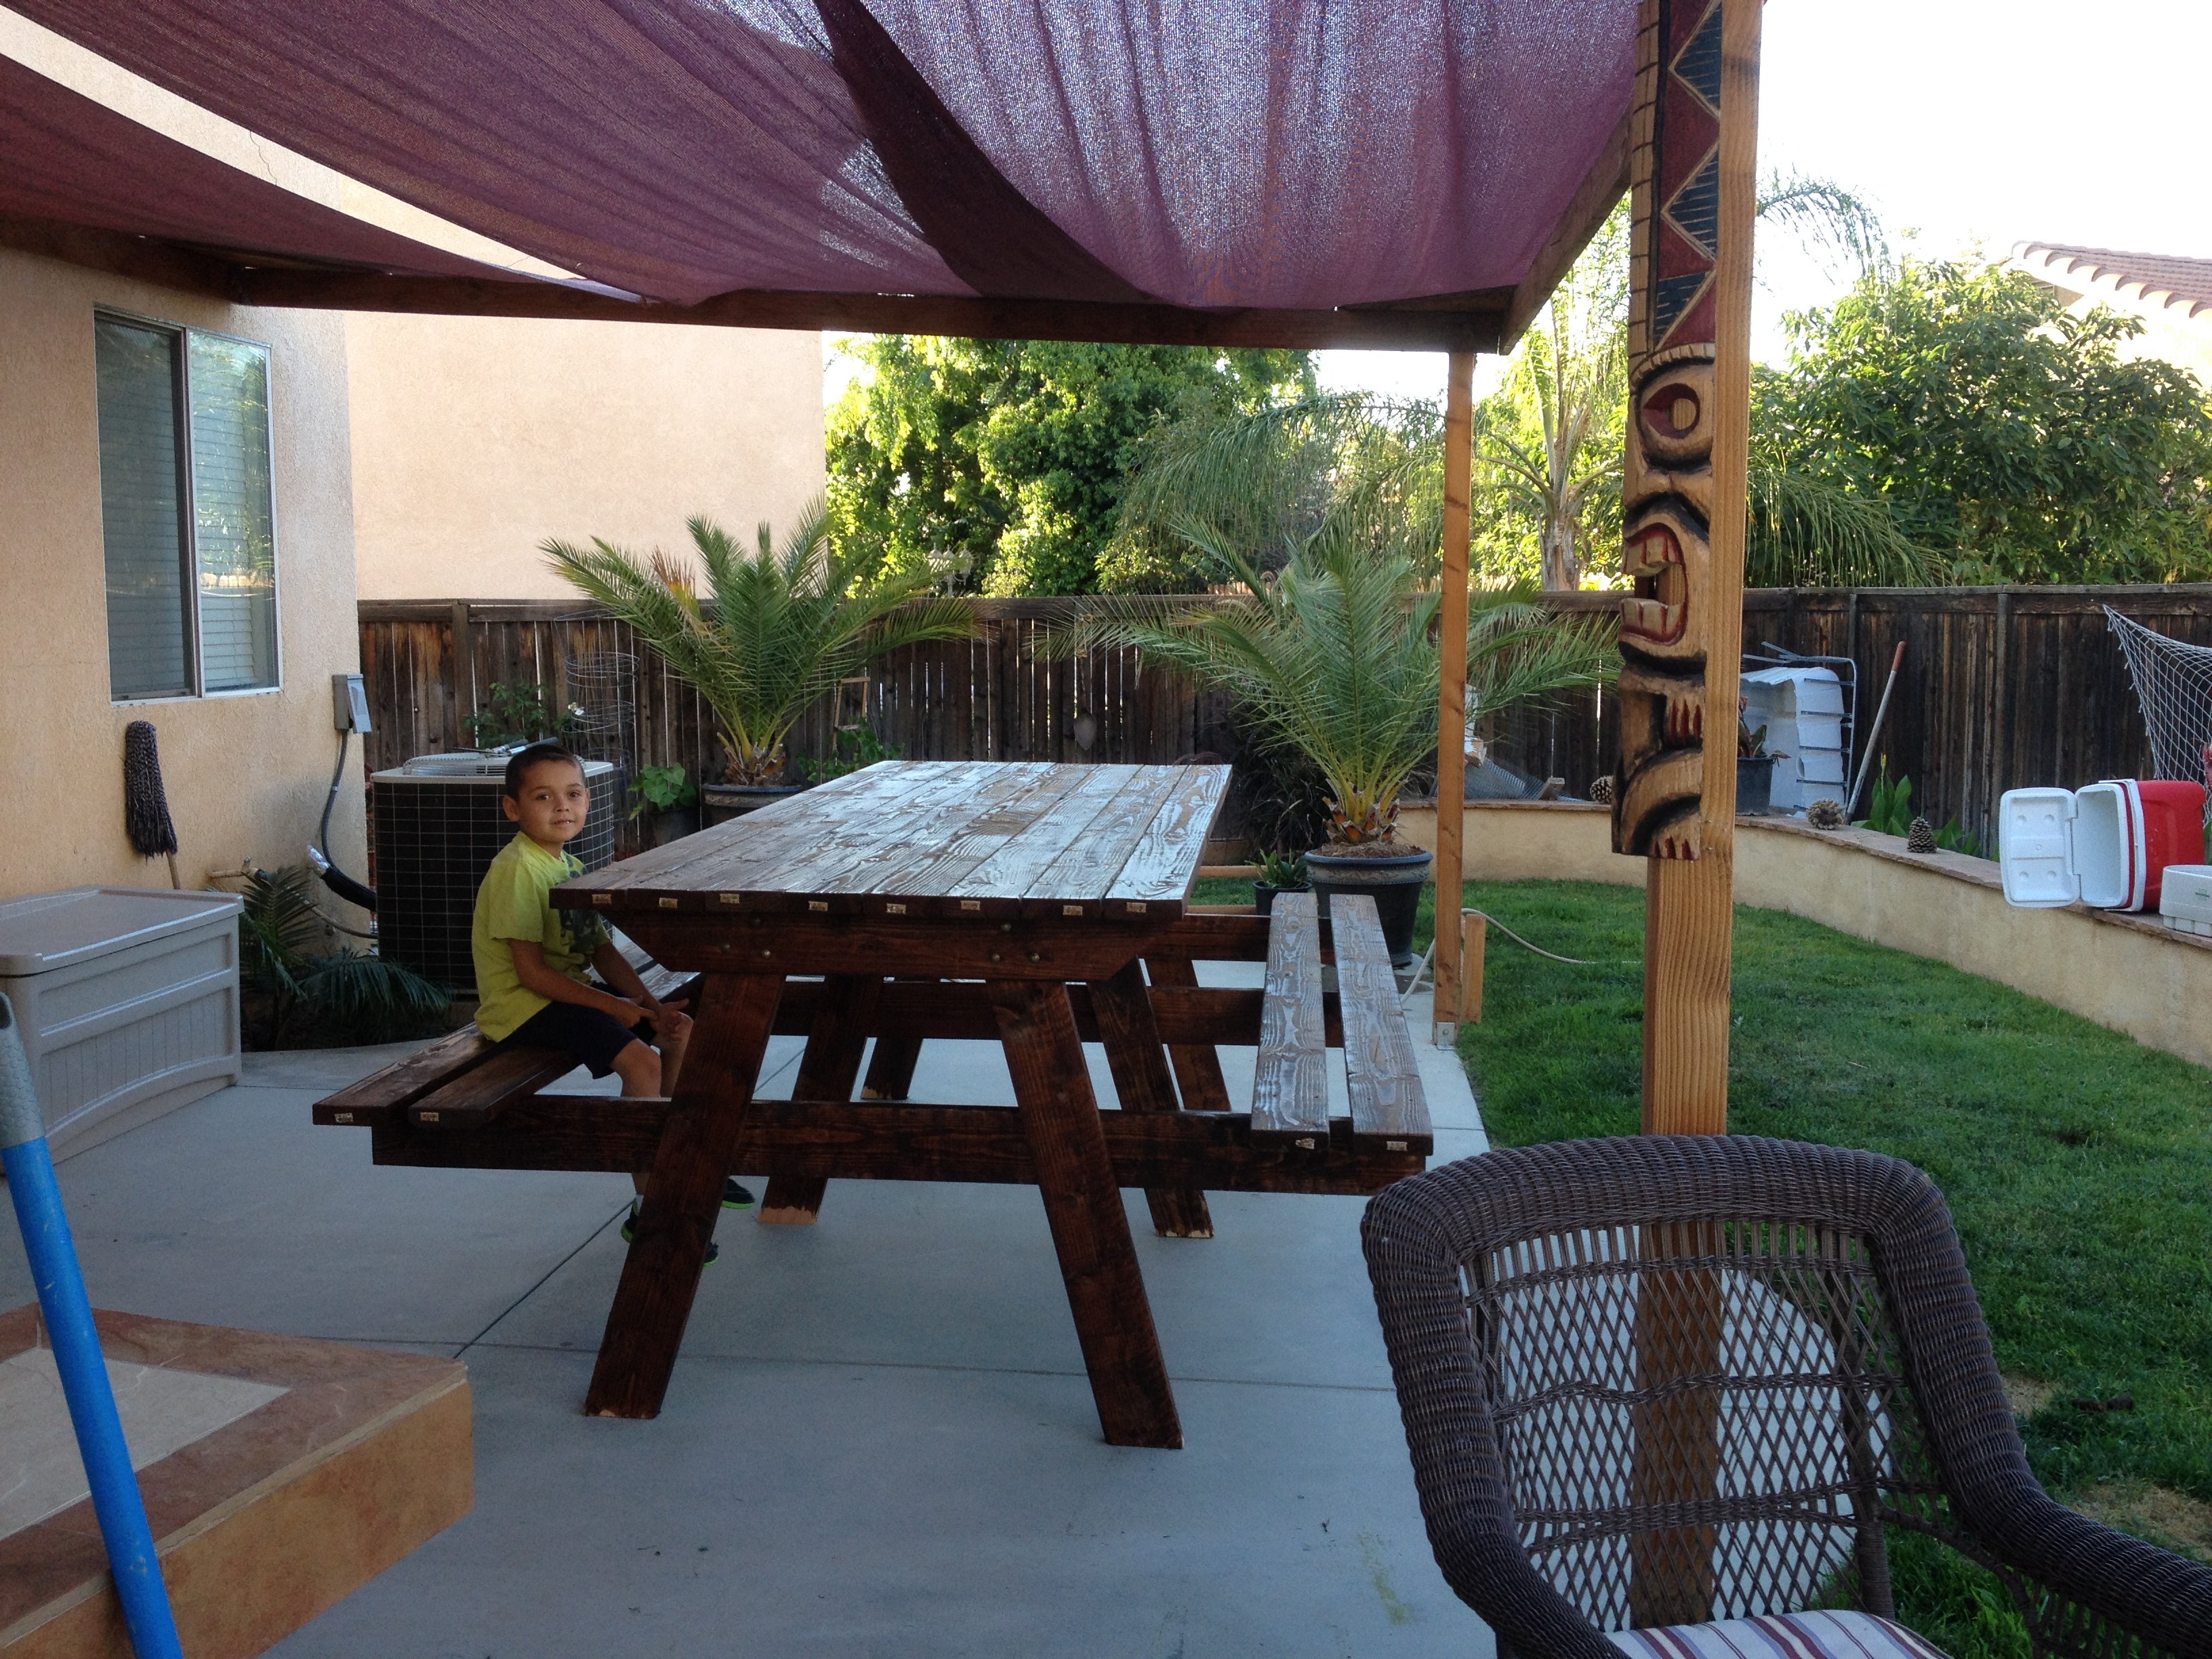
Love this site!  I've made the Facny X Farm Table, and now this piece.  I changed the back to ship lap.  Also cut out the baseboard so it sits up against the drywall then coped the baseboard around the base to look built in.  Thanks!!!

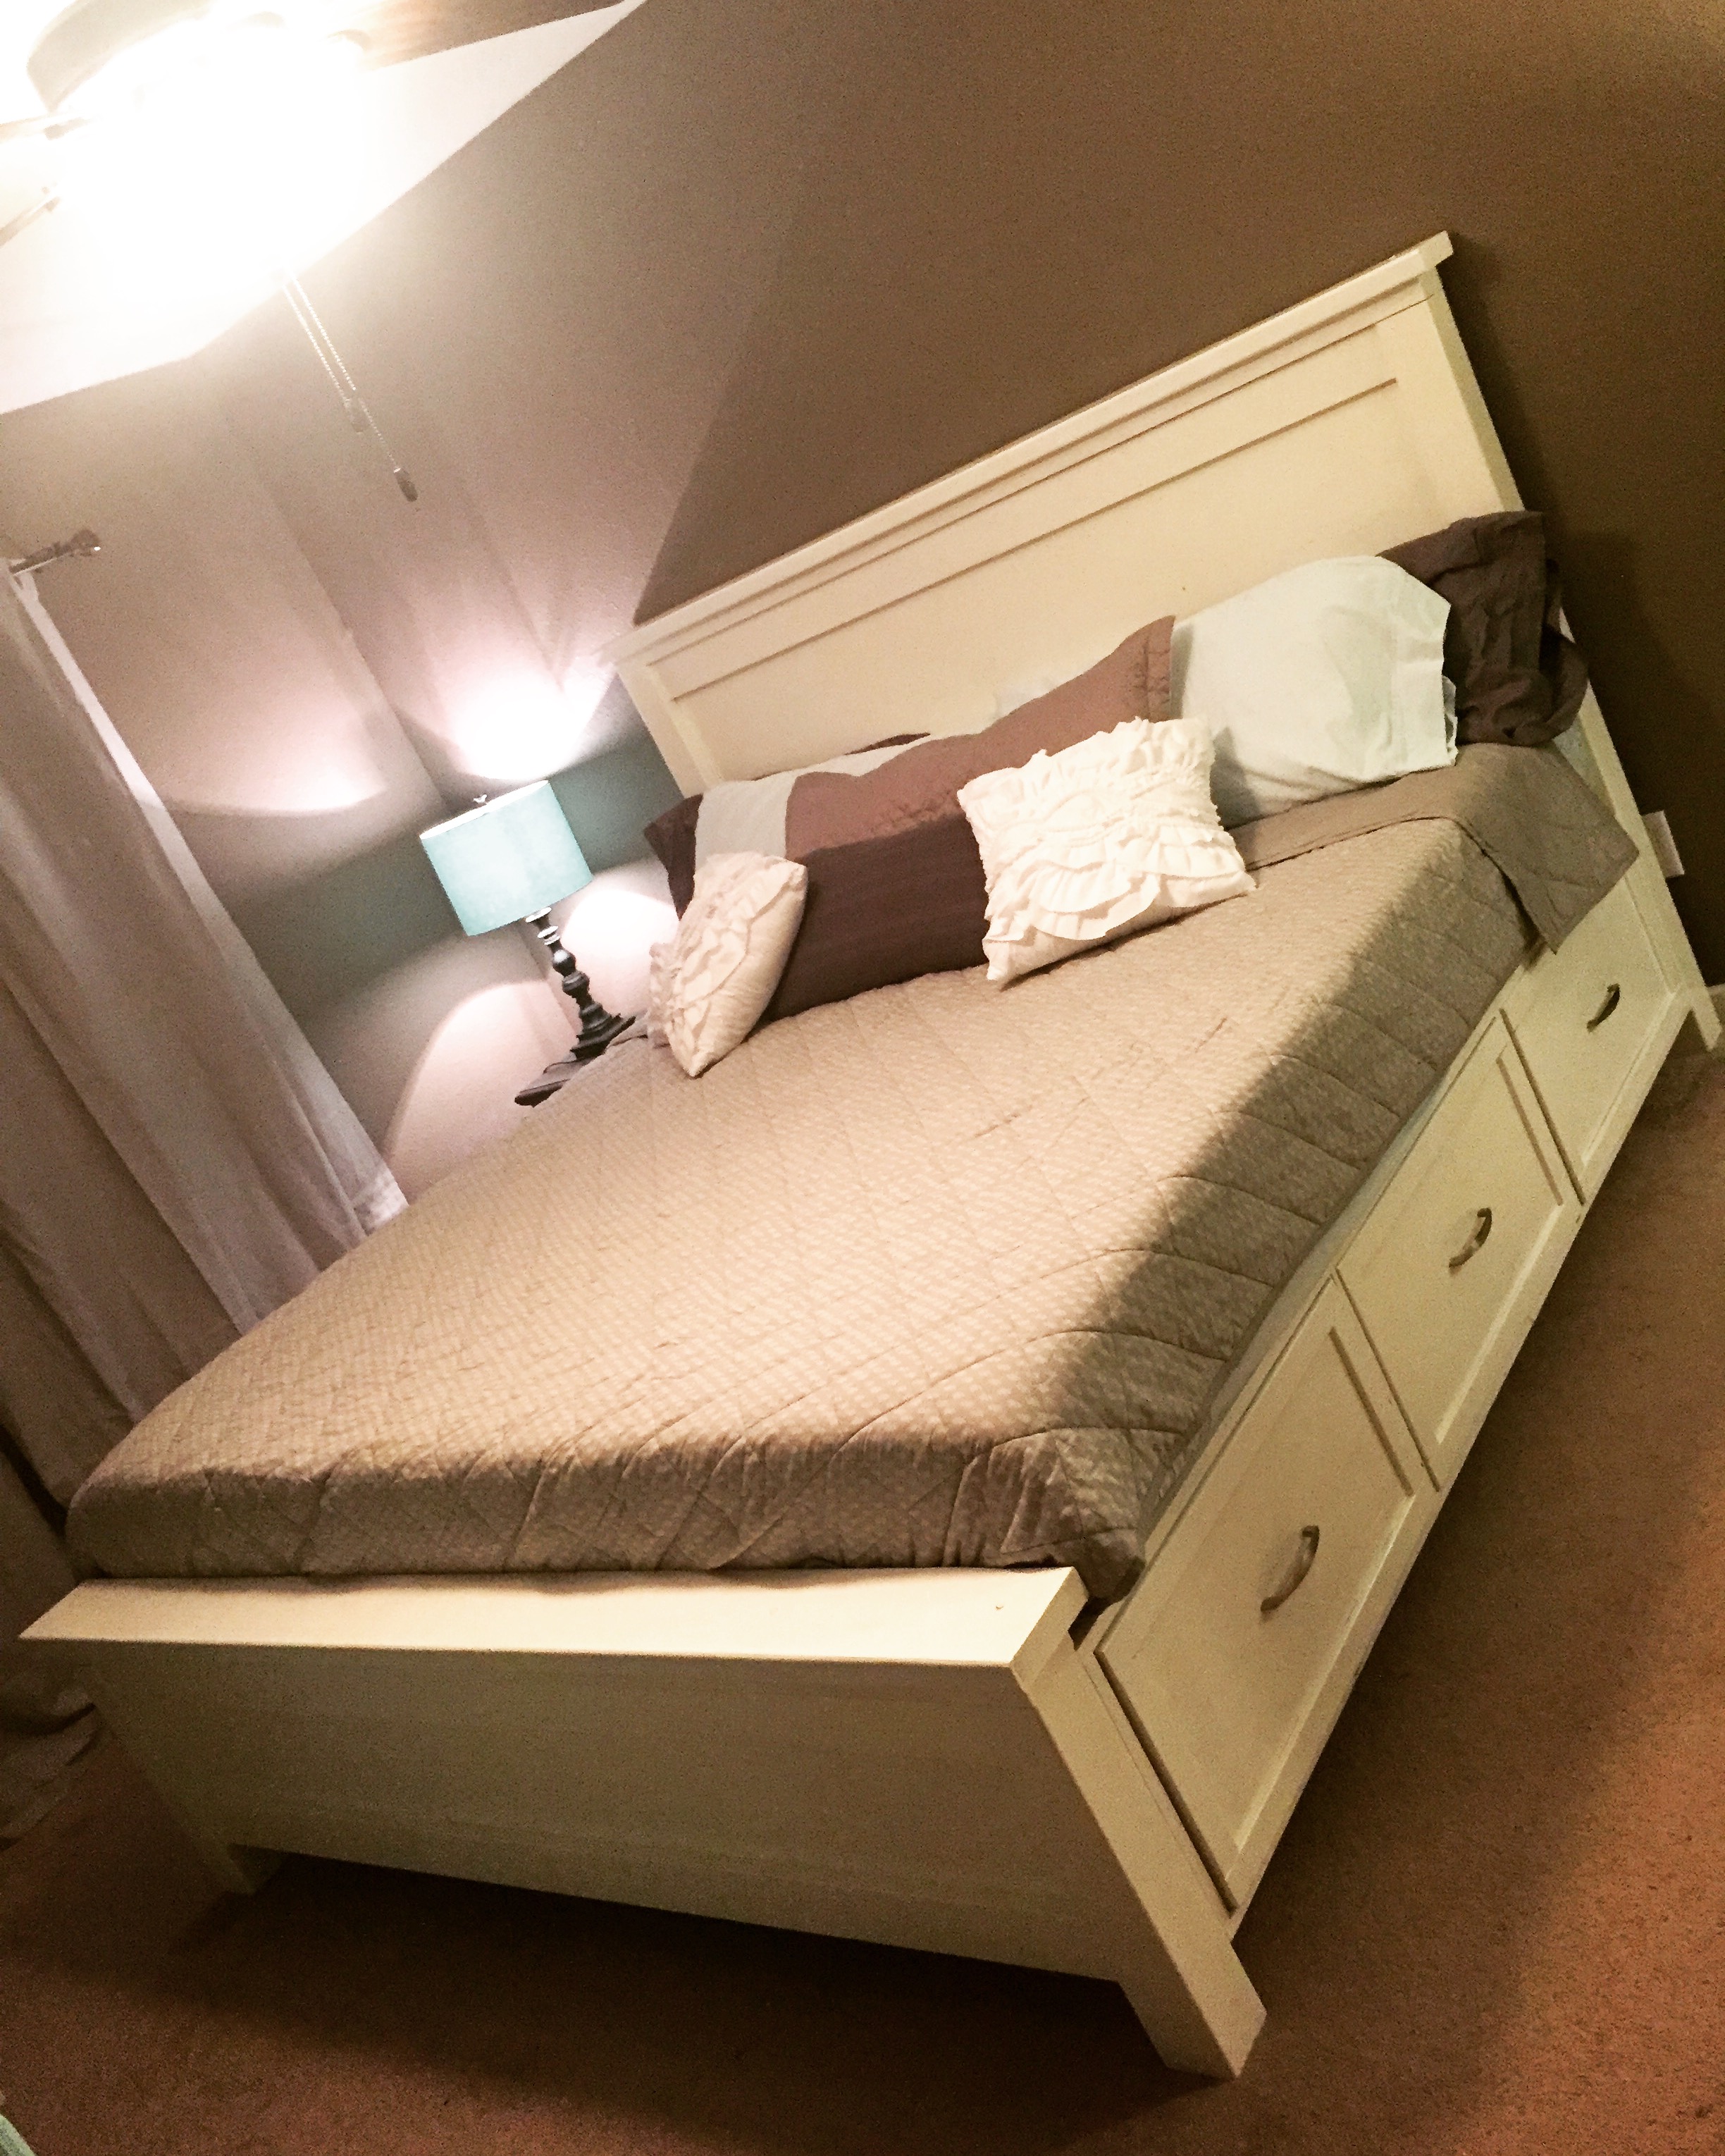
Edit - sorry for the pics being sideways, they're not like that on my phone or computer :(

Built from Plan(s)
Estimated Cost
$50
Estimated Time Investment
Weekend Project (10-20 Hours)
Recommended Skill Level
Beginner

Rustic Modern TV Console

Just finished up this unique TV console.  Built from reclaimed pallet wood. 

Estimated Cost
$150.00
Estimated Time Investment
Weekend Project (10-20 Hours)
Finish Used
Clear coat of wax
Recommended Skill Level
Advanced

Comments

Templar

Mon, 12/02/2019 - 22:10

Hi there Im new to site and also have the issue of not seeing the plans for this Rustic Modern TV Console. Are they available and Im doing something wrong or??

Modified Beginner Farm Table and Bench

Submitted by Anonymous (not verified) on Tue, 06/28/2022 - 12:09

Altered the Beginner Farm Table plans to use 2x8s for the top and 4x4s for the legs. I used pocket holes for the table. I followed the bench plans almost exactly, adjusting slightly for the 2x8 tops. I am a beginner and I did it myself! The table and bench are beautiful and sturdy! Thanks Ana!

Comments

Garage Shelves

Submitted by Anonymous (not verified) on Wed, 10/24/2018 - 08:43

This was a pretty easy project, but I had to adjust the vertical legs to accommodate the sloping garage floor. I drew a  horizontal line for the top edge then measured to the floor at the spacing I wanted the vertical legs. I used these measurements to cut the three vertical legs. It’s level and straight, even though my garage is sloped. 

Estimated Cost
$300
Estimated Time Investment
Week Long Project (20 Hours or More)
Finish Used
Garage shelving
Recommended Skill Level
Beginner

Chicken Coop

Submitted by Anonymous (not verified) on Sun, 07/10/2022 - 12:26

Great for a small flock of 5 or less.  

Comments

Seasonal And Holiday

Modern Adirondack Chair

Submitted by Anonymous (not verified) on Sat, 08/13/2022 - 20:12

I made this with 1x6 since Home Depot didn’t have any 1x10 treated wood. All the wood I used is treated. I also used the exterior screws and put on a gray poly mixed stain for a little extra protection. I of course messed up the angles twice on the feet, but they just look like I gave them extra decoration now lol. Everybody loves this chair!

Comments

Camp Loft bed - modified

Submitted by Milhouse on Tue, 09/24/2013 - 12:04

I liked the simple design of the camp loft bed, so I took the plan and modified it to fit over top of our existing Ikea daybed. I adjusted the width of the loft bed and made it a little taller, so that I could sit on the bottom bed and read to the kids with out hitting my head on the loft bed all the time.


I built the ladder into the side of the loft bed so that it wouldn't interfere with the drawers on the front of the daybed. This worked out well, as it also gives the girls more room to play!

This build is super easy, but I have to say that I don't like working with 2x4s. They are so rough....I spent a lot of time sanding and filling, and it's still not perfect. But I'm ok with it ;) I may add another cross support because it is a bit wobbly (probably b/c I made it taller).


The finish is a color matched 'All surface enamel' from Sherwin Williams.


Estimated Time Investment
Weekend Project (10-20 Hours)
Recommended Skill Level
Intermediate

Comments

roxanne89

Wed, 08/04/2021 - 06:38

Hello Millhouse. I love the loft bed you created. I have the exact hemnes daybed for my daughter and I beg to build the same loft bed. Do you have the exact modified plan you used with the measurements that fit the bottom bed? This would be super helpful!! Thanks in advance!

Outdoor end tables

I made these two Ana White outdoor end tables for my patio. Next up will be the matching coffee table

Built from Plan(s)

Comments

IKEA Hack 6" Tray Cabinet

Submitted by Matty3481 on Thu, 01/07/2016 - 16:30

I'm happy to share with everyone my IKEA hack 6" tray cabinet.

I found a 24" cabinet box in IKEA's As-Is section and took it home for half price ($23)!  I would have preferred plywood, but my table saw is a little small and cutting large sheets of plywood is a little scary.  When I deconstructed the cabinet, it sustained some damage (as its particleboard), so if you try this at home, be careful!  I ended up changing the depth to 22" in order to cut off the damaged piece, but that shouldnt be noticeable with average trays and cutting boards.  

I used Ana's 6" tray cabinet plan and modified the dimensions a little for my planned space.  It still needs the back, face frame and door (which will be a replacement drawer front from the cabinet manufacturer).  I plan on building the face frame at the time the cabinets are installed, since this will go in between the 36" corner easy-reach and the 36" sink base.  Once its done, I'll post updated pics!

Estimated Cost
$30 (cabinet and an aluminum straight edge tool to help me cut straight lines with my Dremel).
Estimated Time Investment
Afternoon Project (3-6 Hours)
Finish Used
Face frame will be painted to match factory cabinets
Recommended Skill Level
Intermediate

Treehouse/Playhouse

Submitted by Bigbill99 on Sun, 01/10/2016 - 00:07

Thank you! You've helped me look like a true carpenter who knows what he's doing! My whole family is impressed with my woodwork lately, and now I'm addicted. I've done your seesaw, bar table and stools plus the treehouse in 2 weeks. Thank you for sharing your plans!

Estimated Cost
$500.00
Estimated Time Investment
Week Long Project (20 Hours or More)
Finish Used
Spar urethane
Recommended Skill Level
Beginner

Storage cabinets

We needed extra storage in the living room and I didn’t want to pay mega bucks for our cabinet guy to make something I thought I could do. 
Its four ft tall, 3 ft long and 16 inches deep. I added 1x3’s to the sides and 1x4’s to the bottom.
I bought the Kreg shelf pin jig and it was super easy to use. Plan to use it again on a bigger project. 
Next is a fireplace and TV surround. 

Thanks Ana for the easy to follow plans!
 

Estimated Cost
$250-300. for both cabinets
Estimated Time Investment
Week Long Project (20 Hours or More)
Finish Used
Valspar cabinet paint in cream delight, applied with a sponge roller, 3 coats and sanded in between each coat. Knobs from Hobby Lobby and hinges from Hardware Source.
Recommended Skill Level
Intermediate

Corner Cupboard, Corner Cabinet

Submitted by Anonymous (not verified) on Fri, 04/15/2016 - 21:33

I saw the plans on Ana White website and and used them to put this together. I changed it slightly to fit my needs. I made this for my in-laws and it was a lot of fun to do. Hardest part was using blue tape on stain and paint.

Built from Plan(s)
Estimated Cost
125$ includes four cans of Rustoleum White Satin primer and paint from Home Depot, hardware, and lumber. Measure twice Cut once and all will be well.
Estimated Time Investment
Week Long Project (20 Hours or More)
Finish Used
Min wax Red Oak
Min wax satin poly
Rust oleum White Satin Paint and Primer
Recommended Skill Level
Intermediate

Rustic Hall Tree

Submitted by Anonymous (not verified) on Wed, 11/08/2023 - 10:21

I used the Rustic X Hall Tree plans and slightly modified them. I'm very happy with how it turned out. I used black pipe for the hooks as I have a lot of this style of decor in my home. The stain color is Dark Bourbon from Varathane. The back is luan with screen bead across the front to hide the cut panels (I have a Ford escape and had them cut the luan into panels). The back is secured with 1x2s so I had something to hold my 5/8 inch brad nails for the screen bead. I didn't use the X design; I can always add it later if necessary. The baskets are from Amazon sized 12x12x10. I also didn't add the 16 inch side pieces or the top piece. I used pocket holes on 95% or more of the piece.

Built from Plan(s)

Western Saloon doors

Submitted by tracysmith on Thu, 08/02/2012 - 00:44

I built these doors for a very good friend of mine who actually helped me get started turning my new love for building (after finding Ana's site) into a way for our family to make some extra money.

It took me a little while to wrap my brain around building something without using my Kreg Jig. I used a router table set up with some raised panels bits and put the whole thing together with glue and nails! Wonderful experience!

For the finish, I used a vinegar solution to give the cedar wood an old barn look. I think the final result turned out great and the final step was a clear coat sprayed on out of a rattle can.

Estimated Cost
Lumber cost was about $80
Estimated Time Investment
Week Long Project (20 Hours or More)
Finish Used
Vinegar solution and a clear coat put on.
Recommended Skill Level
Advanced

Comments

birdsandsoap

Thu, 08/02/2012 - 10:51

These turned out great! I haven't seen this style of door in forever! They used to be really popular, I remember my Aunt and Uncle having these in the entry to their kitchen. They were the coolest thing ever when I was a kid! Maybe they are a making a comeback?
I'm really impressed with your routing skills, that's a task I have yet to tackle, but I've got the bits laying around waiting.

Nice job!

tracysmith

Thu, 08/02/2012 - 21:10

Thanks a bunch! My friend is replacing an old set of louvered doors that went into her laundry room. Her family are farmers and rodeo people so the western decor really fits in their house. Great western stuff there. They made a chandelier out of a wagon wheel! Really cool!

This was my first attempt at routing so I really appreciate your compliment! It's really simple if you can get the basics of it. I'm sure you'll do just fine when you get to that point. If I can do it, anyone can do it! Thanks again!!

laneal1987

Mon, 01/23/2017 - 09:32

I really want to try and build this for a closet.  Are there any instructions for this?  This is the first door of this style that I have come across that I absolutely love.

Boot rack

Submitted by Taa-daa on Fri, 09/23/2016 - 17:31

My garage is in a different dimention now! Thank you Ana!

I had a bit of trouble with the length of the dowels but overall I am so happy with it.

Built from Plan(s)
Estimated Cost
I used scrap wood we had left from the previous project so I am not sure
Estimated Time Investment
Afternoon Project (3-6 Hours)
Recommended Skill Level
Beginner

Comments

Taa-daa

Sun, 09/25/2016 - 18:56

I have to say I will be making a few of those! I find the plan you designed is simply awesome! The boots are of the floor which simplifies the cleaning, the dowels are not very long so you wouldn't stumble upon them, the spacing is great! I can go on and on about this one very well thoughtout !!!

Lounge Chairs

Submitted by rhn0489 on Mon, 07/06/2020 - 11:50

This is a realtively easy build. Simply follow the instructions and it will come together beautifully. I have down a couple of these so far and this one was actually narrower than the plans called for. The lady I built them for wanted the center section to match her cushion width as closely as possible so I simply used one less cedar 1x4. It turned our perfectly.

I have found most of the plans I have built from this site are pretty simple and most of my time has been spent on the finish.

Estimated Cost
$270
Estimated Time Investment
Weekend Project (10-20 Hours)
Finish Used
Helmsman Clear Gloss.
Recommended Skill Level
Intermediate

Patio Makeover

Submitted by Chris 1975 on Sun, 06/29/2014 - 08:47

This is my 10ft long picnic table (which is bar height) that we built for the patio. We needed better seating for parties and BBQ's. I will post the plans later! Also featured is the couch that we designed and built with the center table.

Estimated Time Investment
Day Project (6-9 Hours)
Finish Used
minwax stain
Recommended Skill Level
Beginner

Comments

Large Garden Enclosure

Submitted by Anonymous (not verified) on Sun, 05/19/2024 - 10:40

The enclosed garden plan.
I made mine 12x12 and added a middle The instructions were very easy to follow. I also had old paver stones, sand and gravel kicking around from a project from last year so created a floor to help with weed control. I used screws and fender washers instead of staples to attach the caging. I added two tiny beds to the inside for sweet peas to grow up the caging to attract pollinators. Let the growing begin!

Barb

Built from Plan(s)
Seasonal And Holiday

White King Size Storage Bed

Submitted by Anonymous (not verified) on Tue, 10/18/2016 - 06:04

Took be about 2.5 weeks to build this bed, working evenings and a couple full days on the weekend. I HIGHLY recommend getting a Kreg Jig. It made life so much easier.

To go from a queen to a king, simply add 16" to all of the width pieces. All of the length pieces will be the same for a queen and king.


I added one 2x2 support beam down the middle of the bed, with two 16 3/4 inch legs attached to it, for added support.  I screwed the slats into all 3 of the 2x2 support beams.

The drawers are the trickiest part. Make sure you follow the plan in order, waiting to install the drawers until after you have screwed the storage bins to the headboard and footboard.


Estimated Cost
$400 for everything (wood, paint, screws, drawer slides, etc.)
Estimated Time Investment
Week Long Project (20 Hours or More)
Finish Used
white Olympic One semi-gloss paint
Miniwax polyurethane
Recommended Skill Level
Intermediate

Walkin Closet for my Wife

Submitted by Indy69 on Mon, 10/24/2016 - 09:52

I built this closet system based on the plans here.  So easy and so basic, just putting them all together to make a very nice looking closet setup.  I used 12 sheets of birch plywood, and premium select 1x2 pine.  All stained in Minwax Jacobean and satin clear througout with semi-gloss clear on the drawer fronts.

For the rods, I used chainlink top bars, which cost $6 for a 10' piece, and used #0000 steel wool to buff them out and then polished them.  For the 45 degree corners, I used 1" electrical conduit, and placed two 45 degree bend in each piece, and again steel wool and polished them as well. 

For the drawers, I used soft-close slides.  When using these, I highly recommend installing the rear brackets as well, as they make installation so much easier.  16 pairs of soft-close drawer slides with brackets cost $120 for all of them on Amazon.


Estimated Cost
Under $1,000
Estimated Time Investment
Week Long Project (20 Hours or More)
Finish Used
Minwax Jacobean in satin and semi-gloss
Recommended Skill Level
Intermediate

Comments

Back