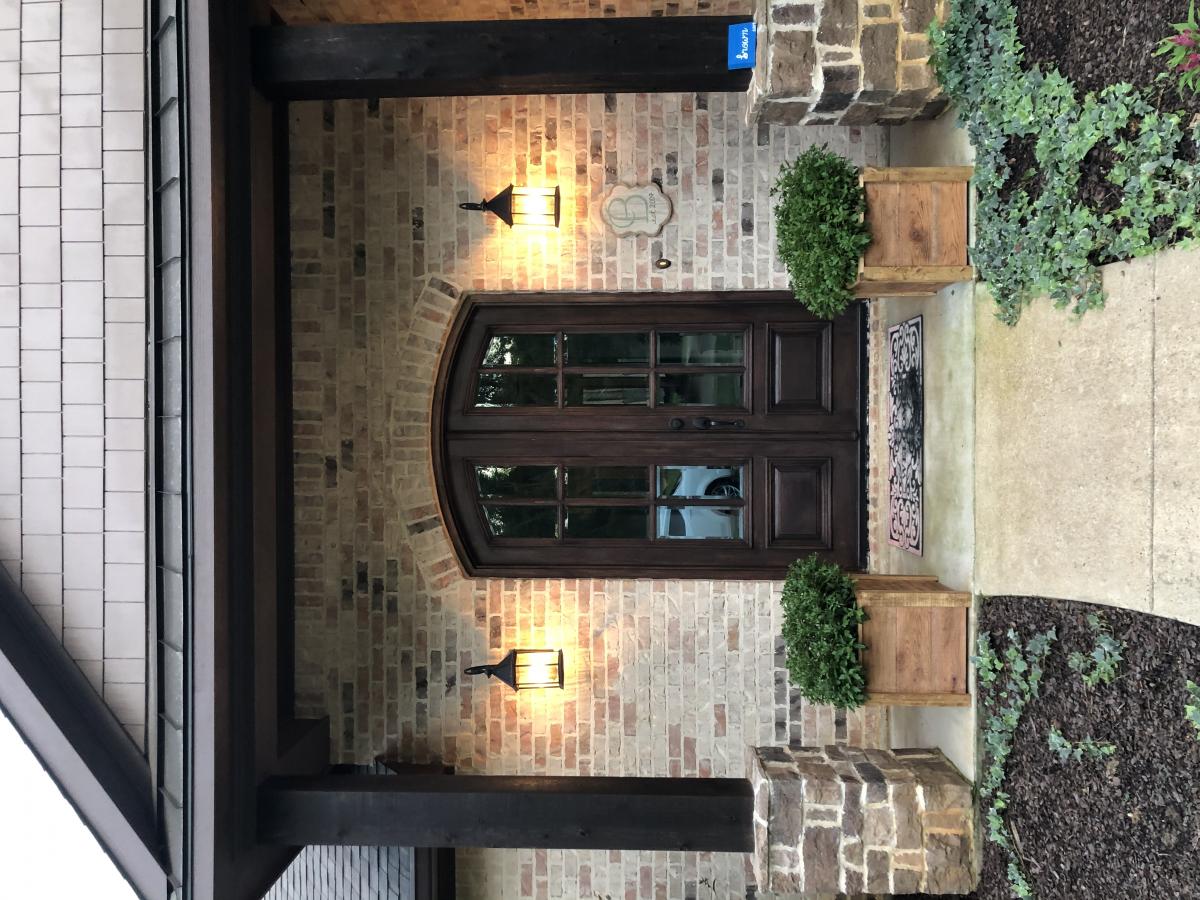
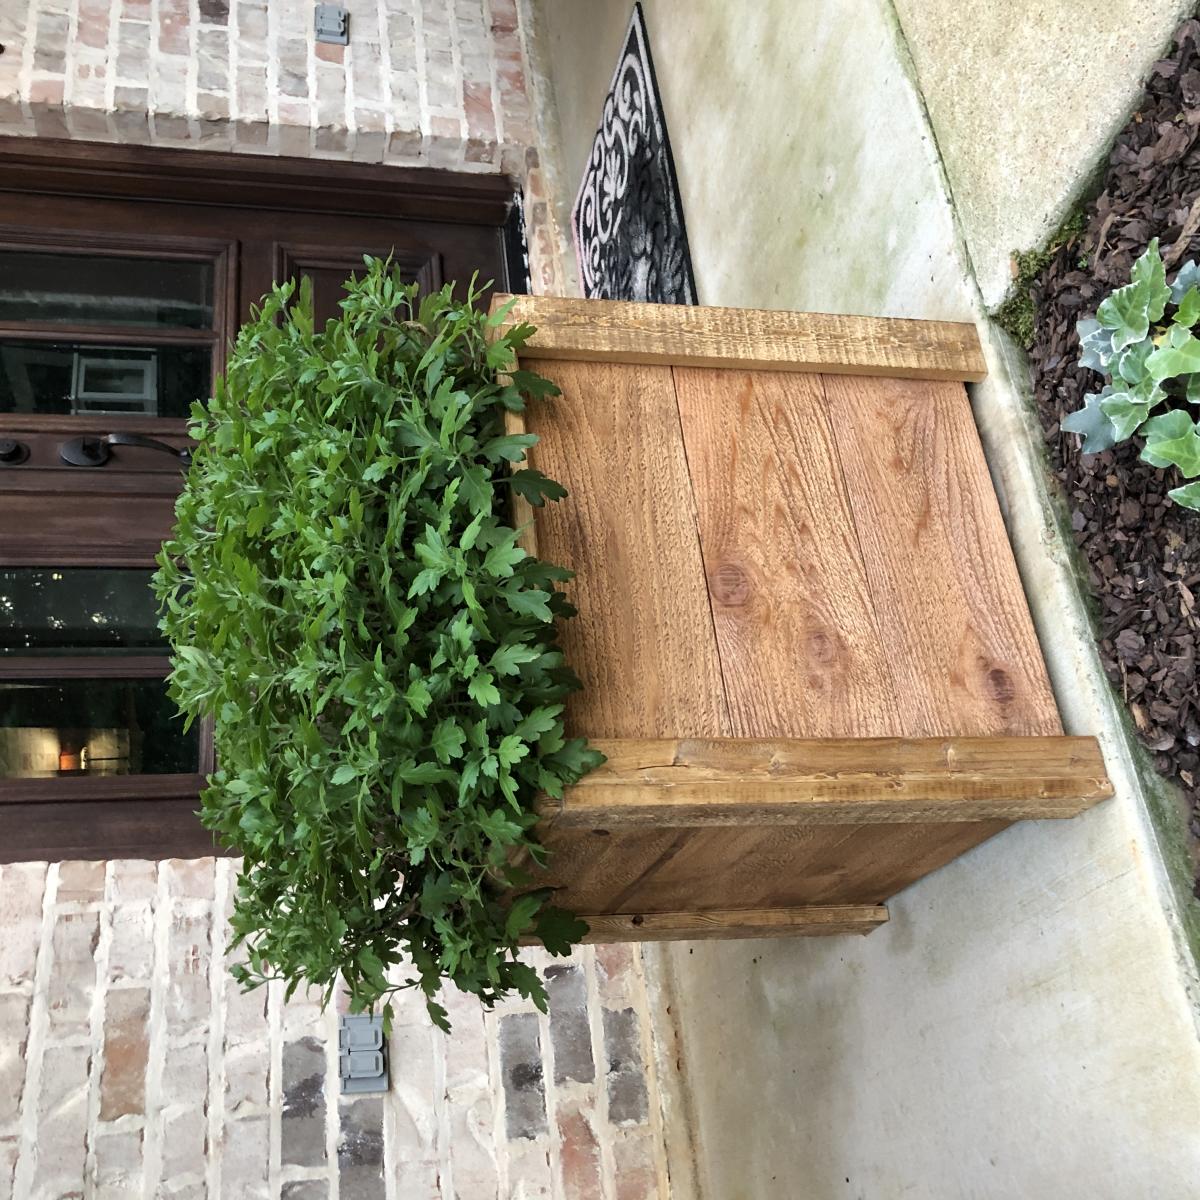
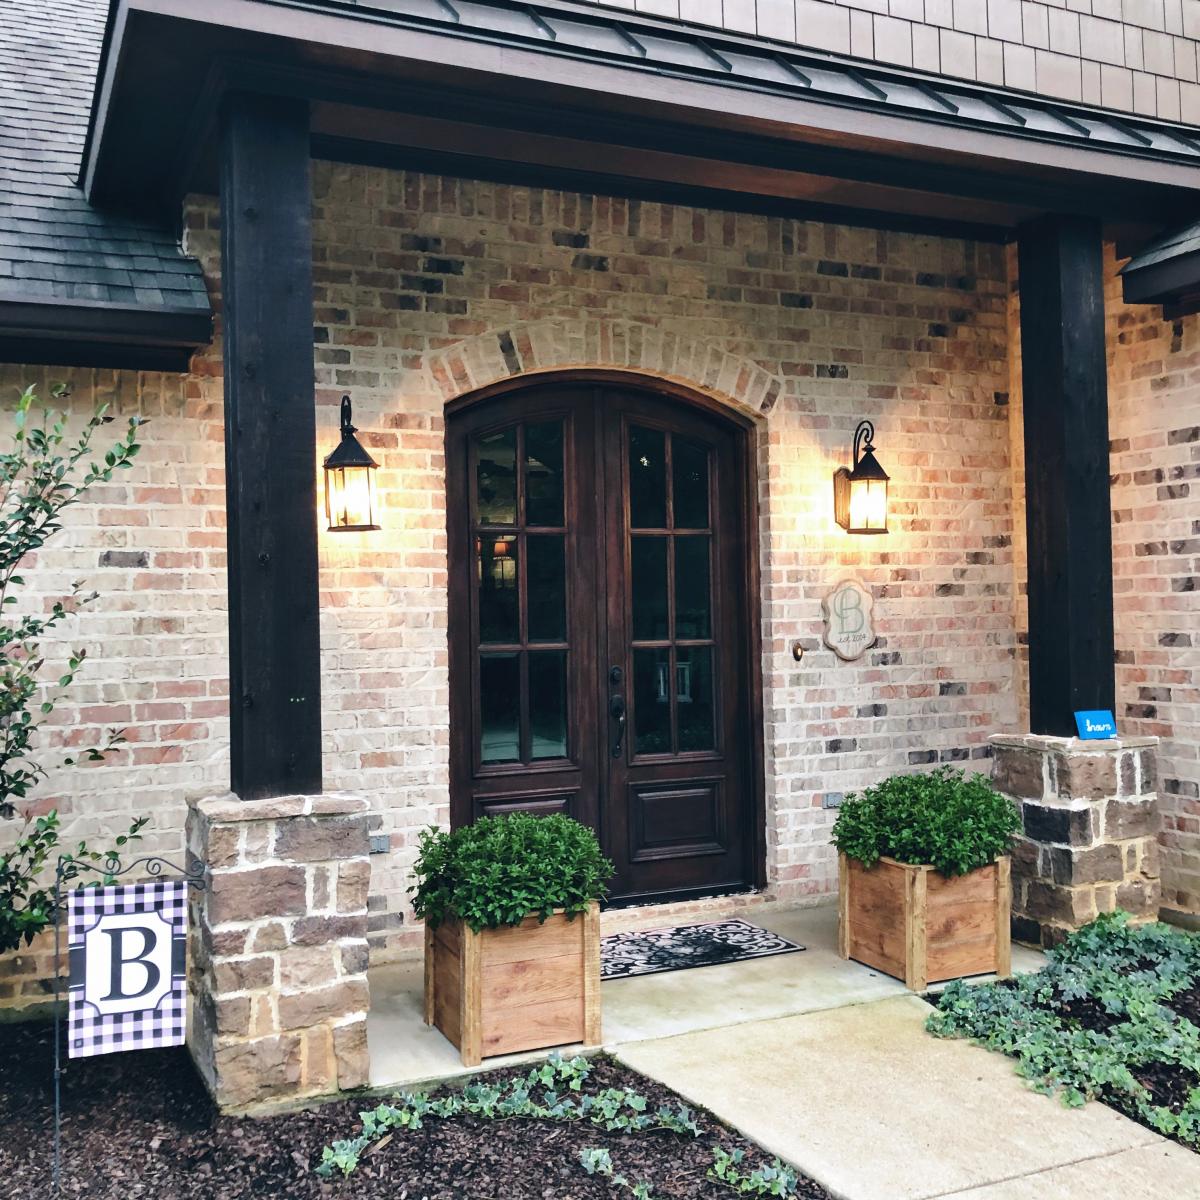
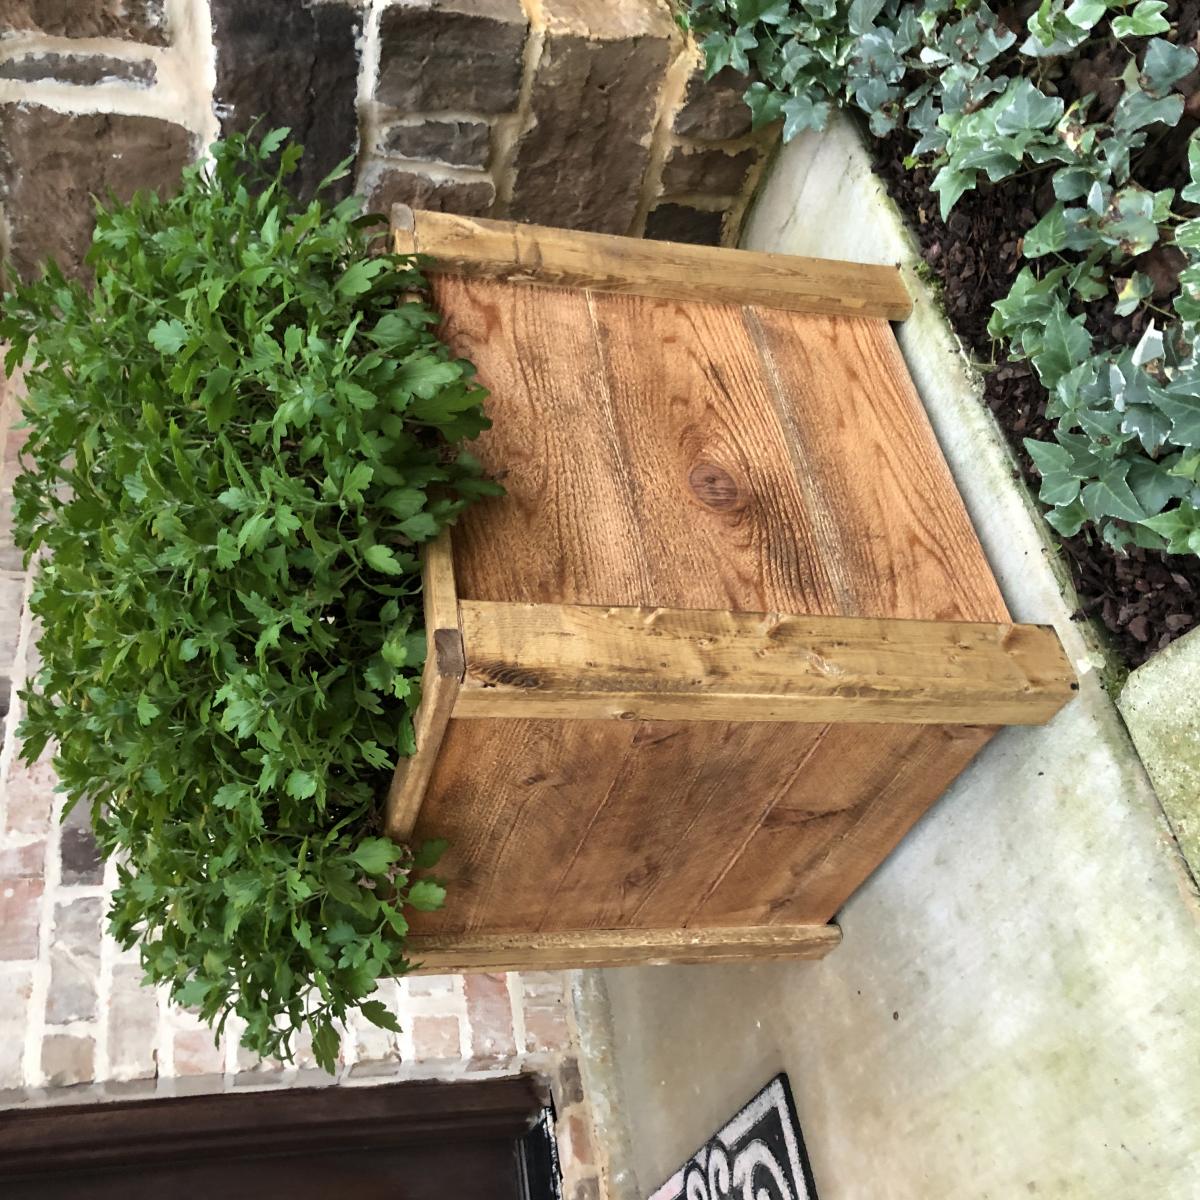
DIY Planter Boxes
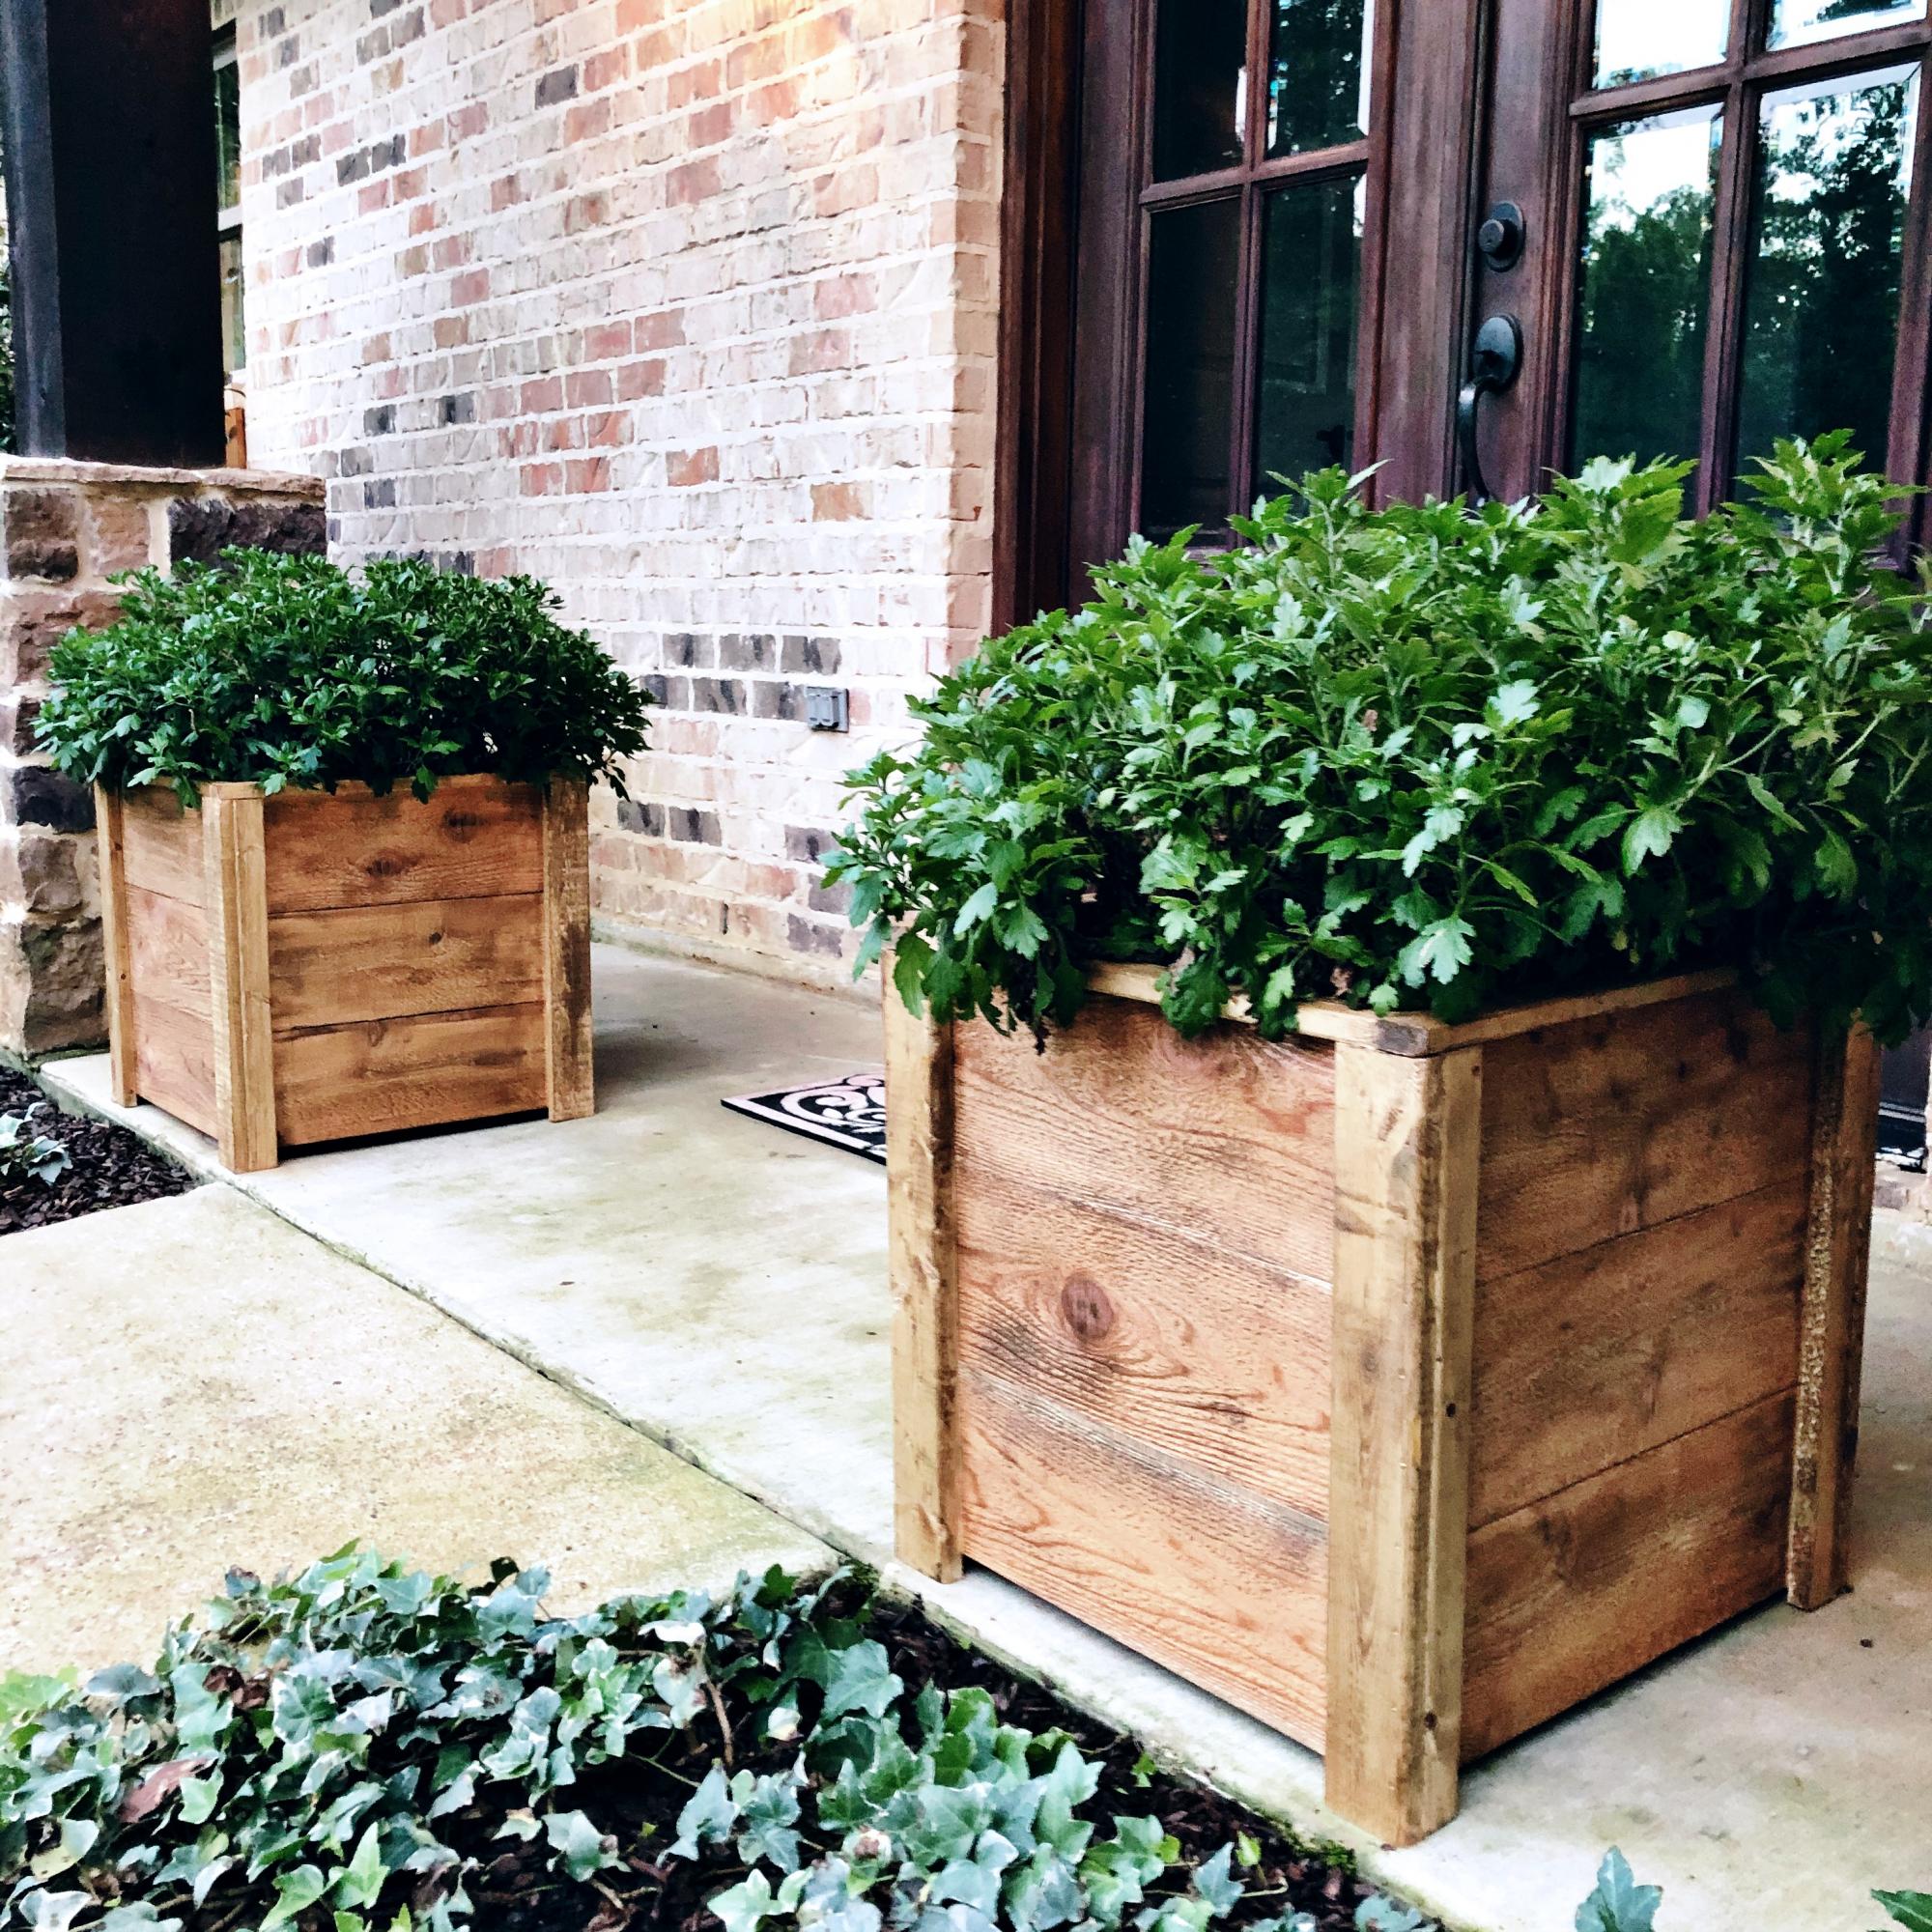
These were a quick weeknight build! And.... My very first “all by myself” build! I’m really proud of how they turned out and love how much style they add to my front porch!
Built from Plan(s)
These were a quick weeknight build! And.... My very first “all by myself” build! I’m really proud of how they turned out and love how much style they add to my front porch!
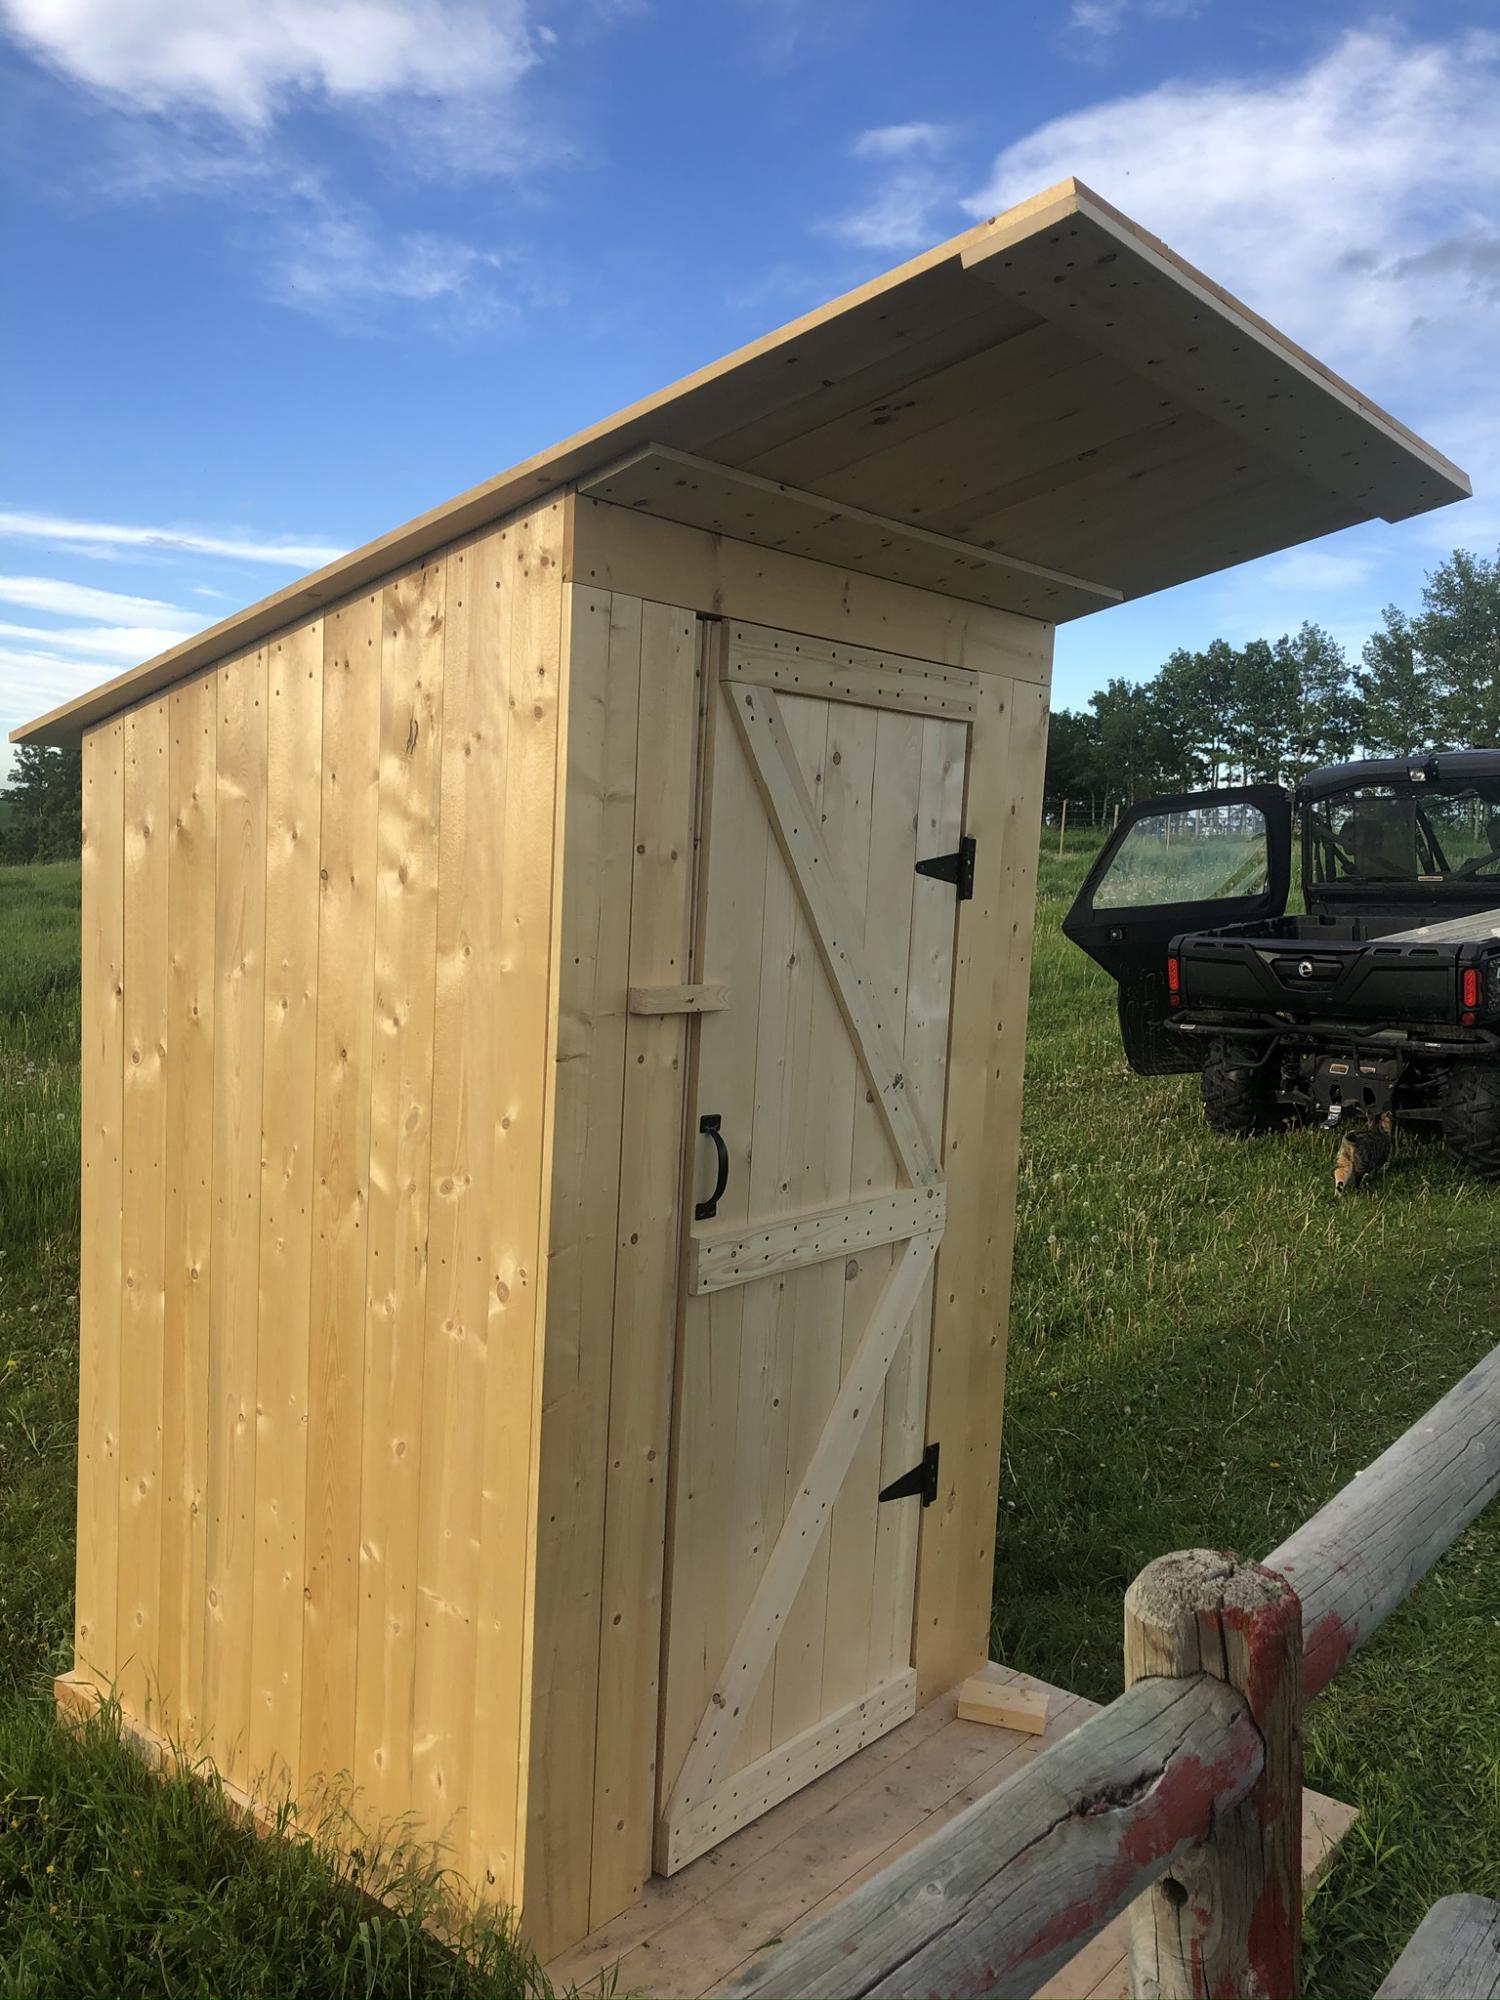
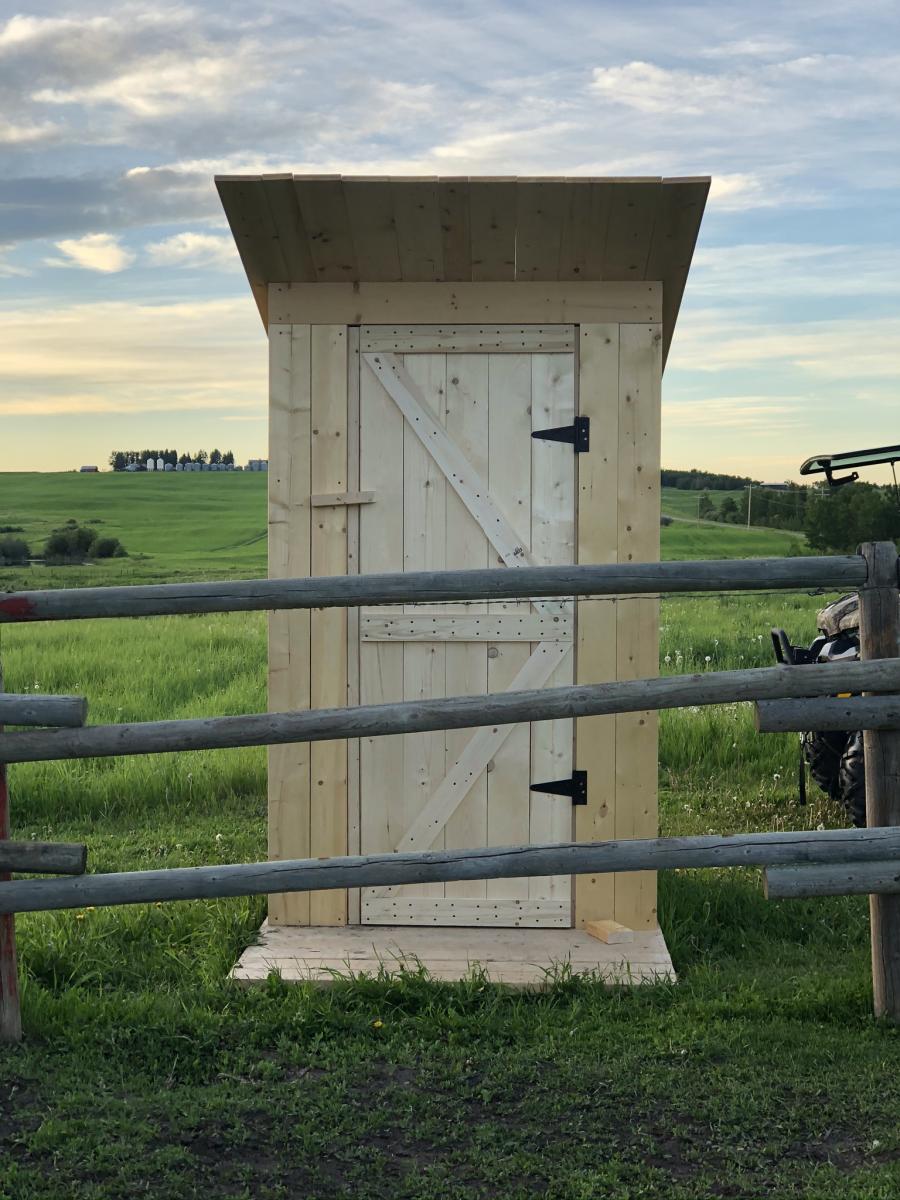
I built this outhouse for beside our barn. My first large project and I’m really pleased with how it turned out!
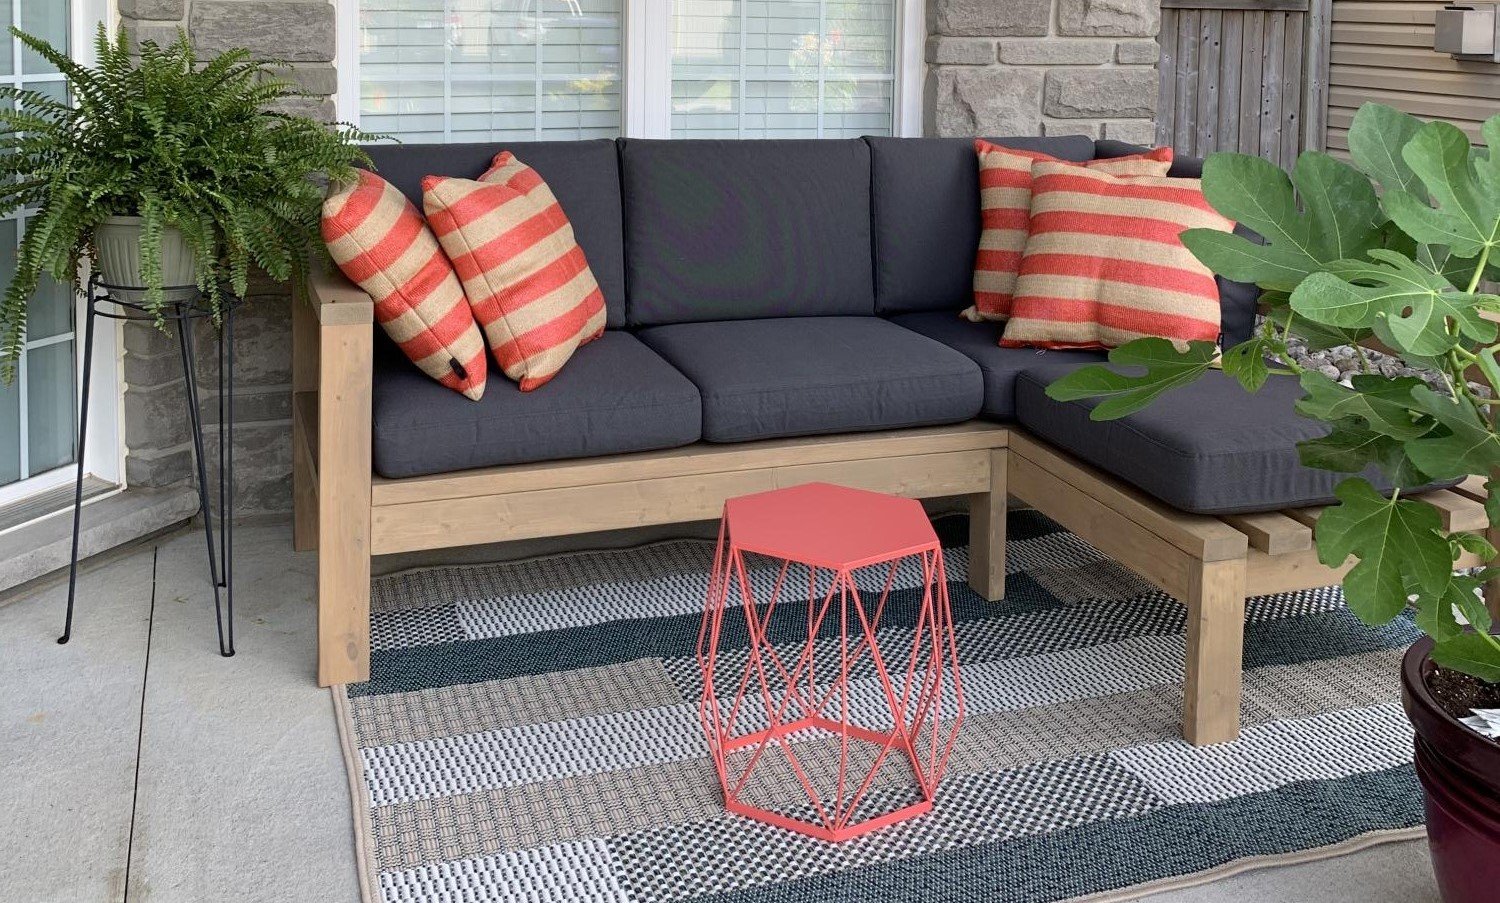
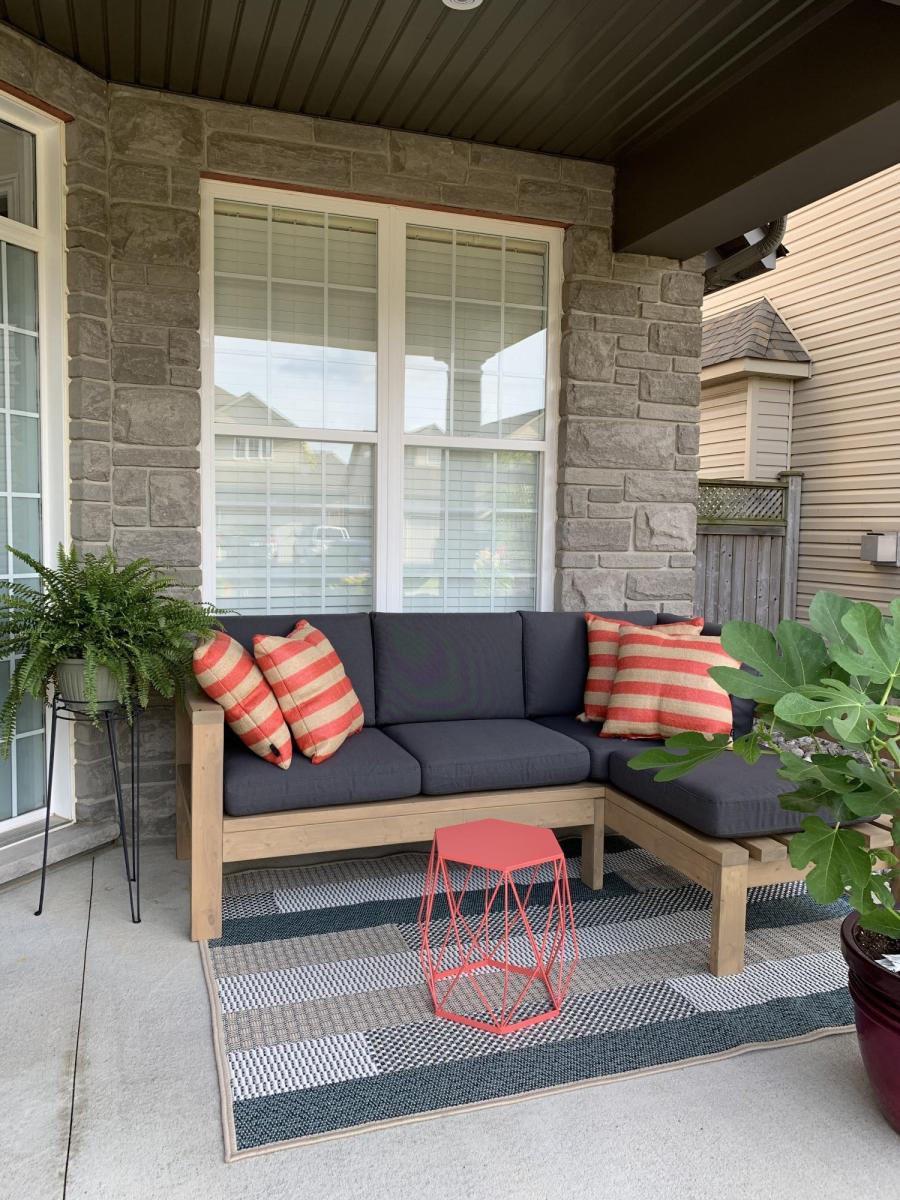
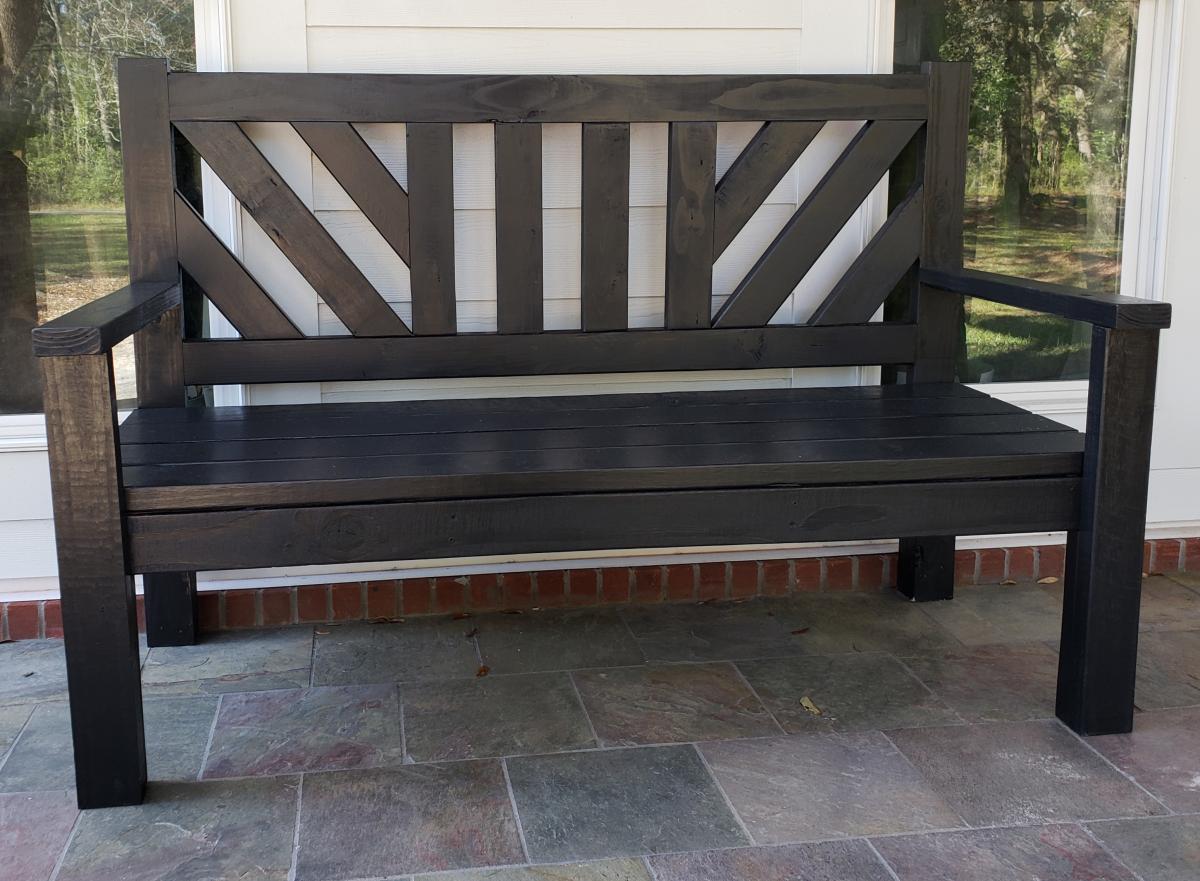
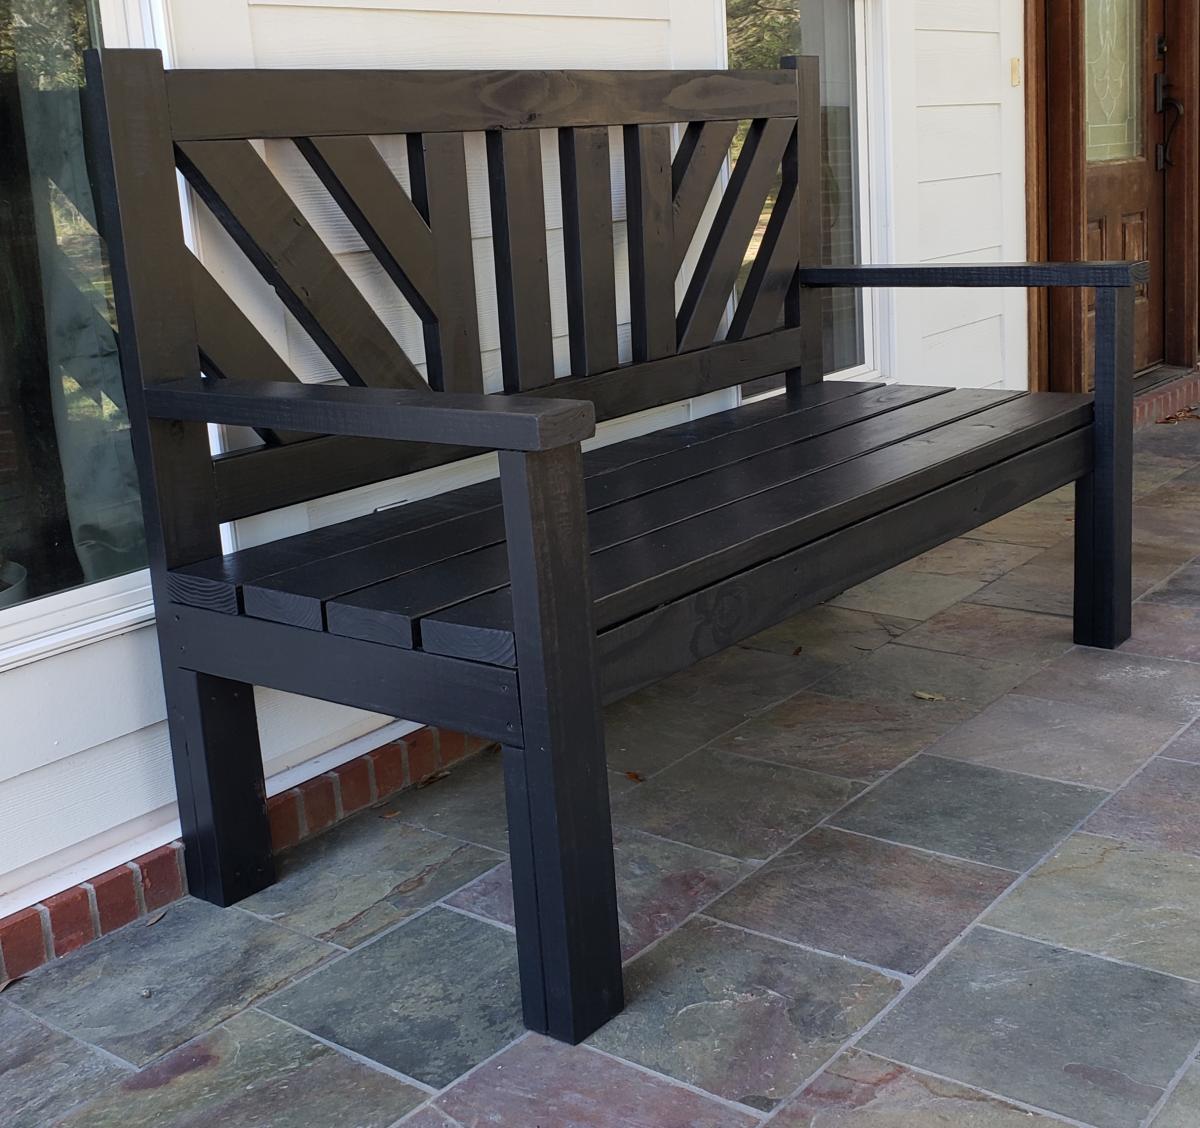
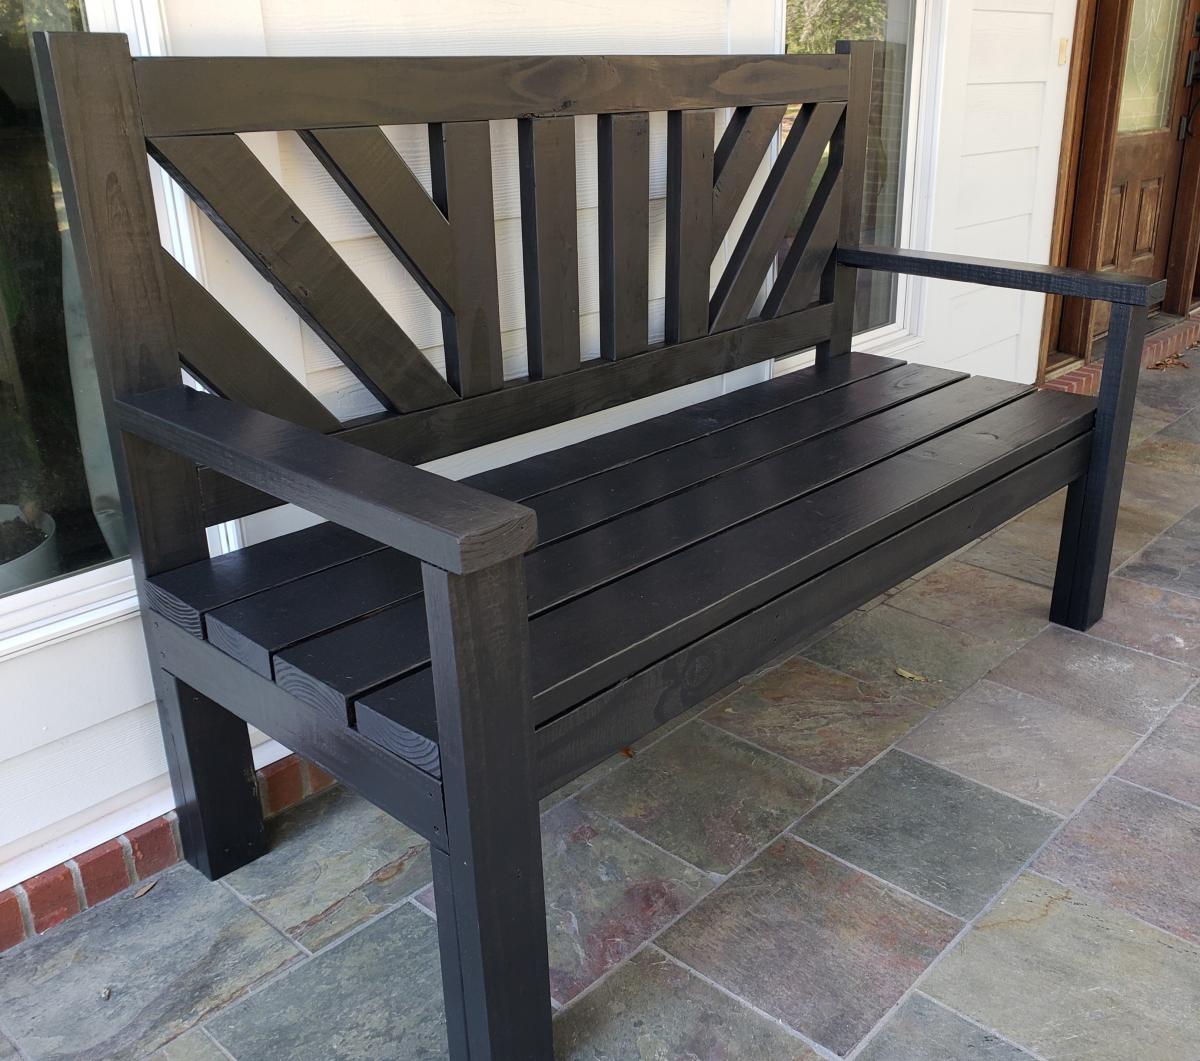
This project was quite easy and did not require many tools. The plan allowed me to adjust the measurements easily so it could fit in that space. I used regular 2x4’s and treated the wood with Mountain Ash colour in a semi-transparent stain from Sherwin Williams, I just love the colour! I build 2 - 2 seaters exactly the same. The one side has no arm, as I wanted it to look like a lounge chair. I love to sit in the corner and stretch my legs 😊. I bought the cushion covers from IKEA, and got good quality foam.
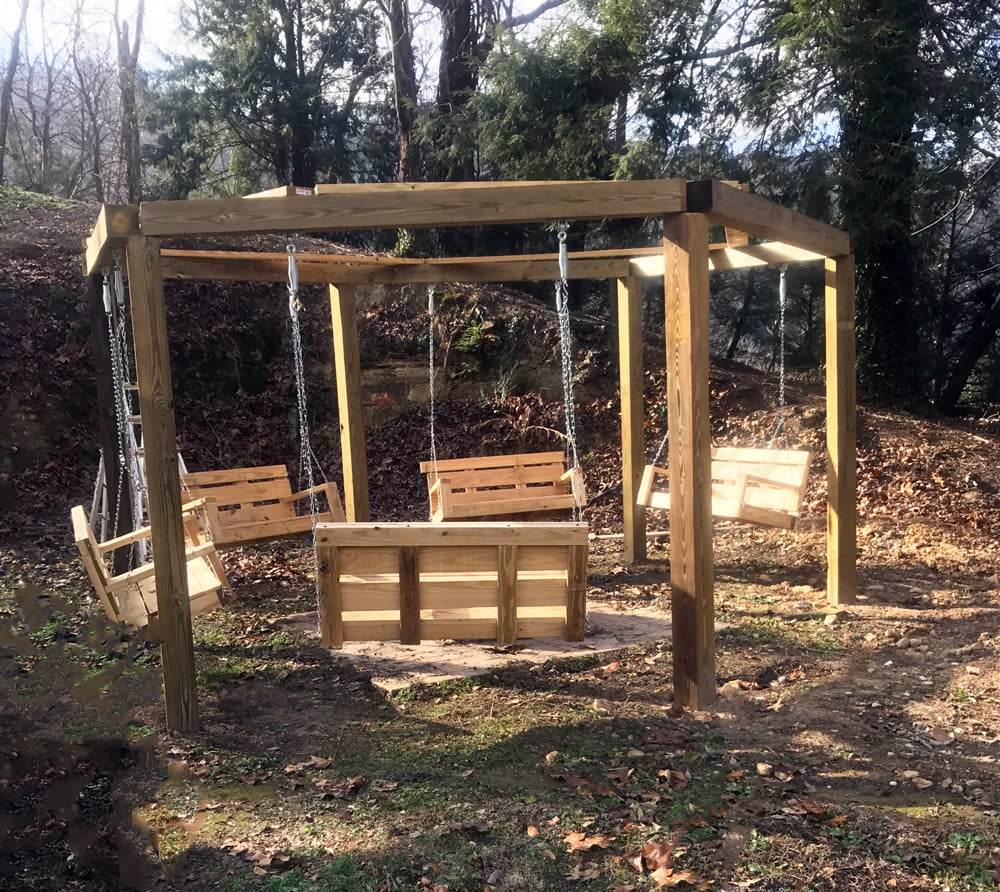
This was a real challenge as I did the whole project alone. 6x6 pressure treated lumber was used as posts and support beams. 120 lbs of quickcrete was used for each post and the support beams are bolted onto the posts. The swings were all made with pressure treated
lumber and I bought heavy duty mounting hardware for the chains. I bought the firepit kit at Lowe's and did the 4 block high enclosure. I had a lot of fun with this!
Tue, 03/07/2017 - 10:28
That is AWESOME! Job well done :) I need one of those in my back yard!
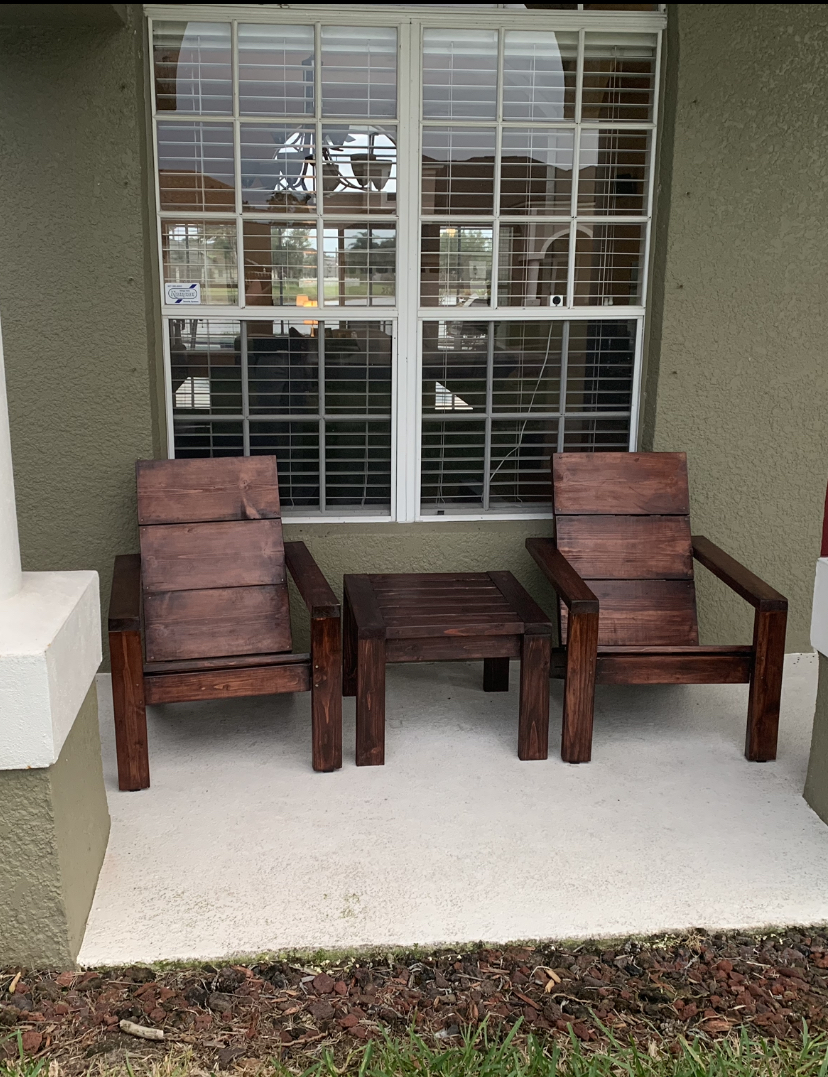
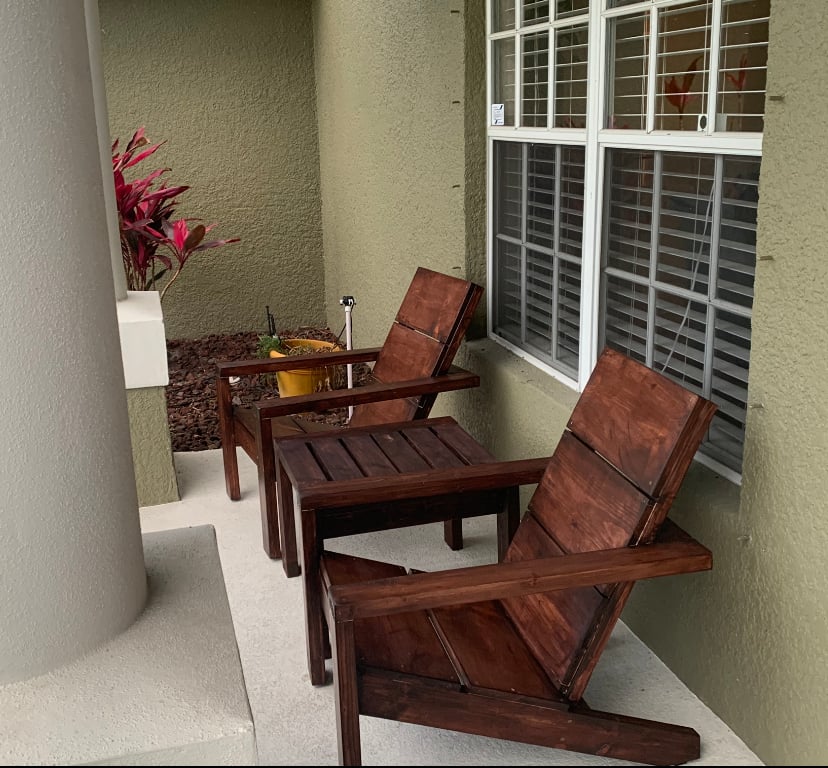
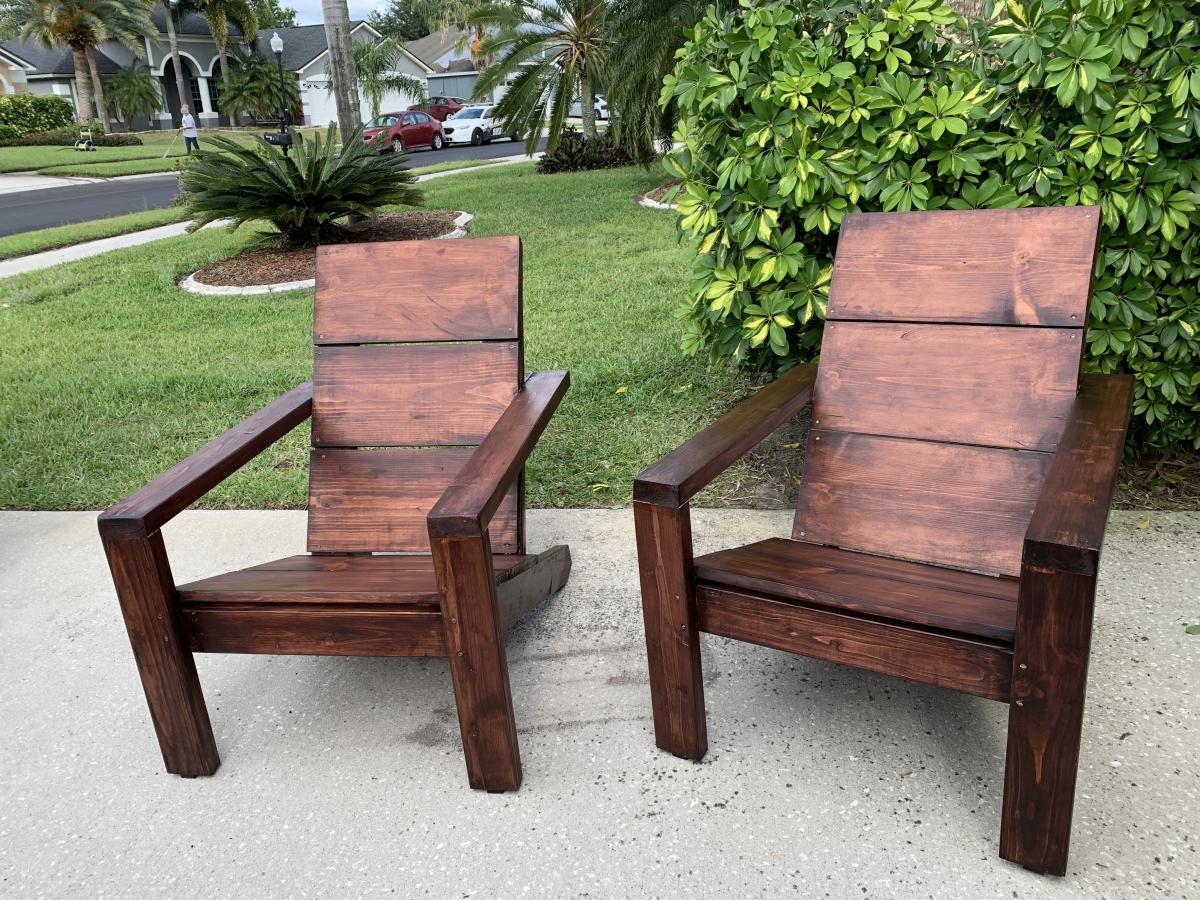
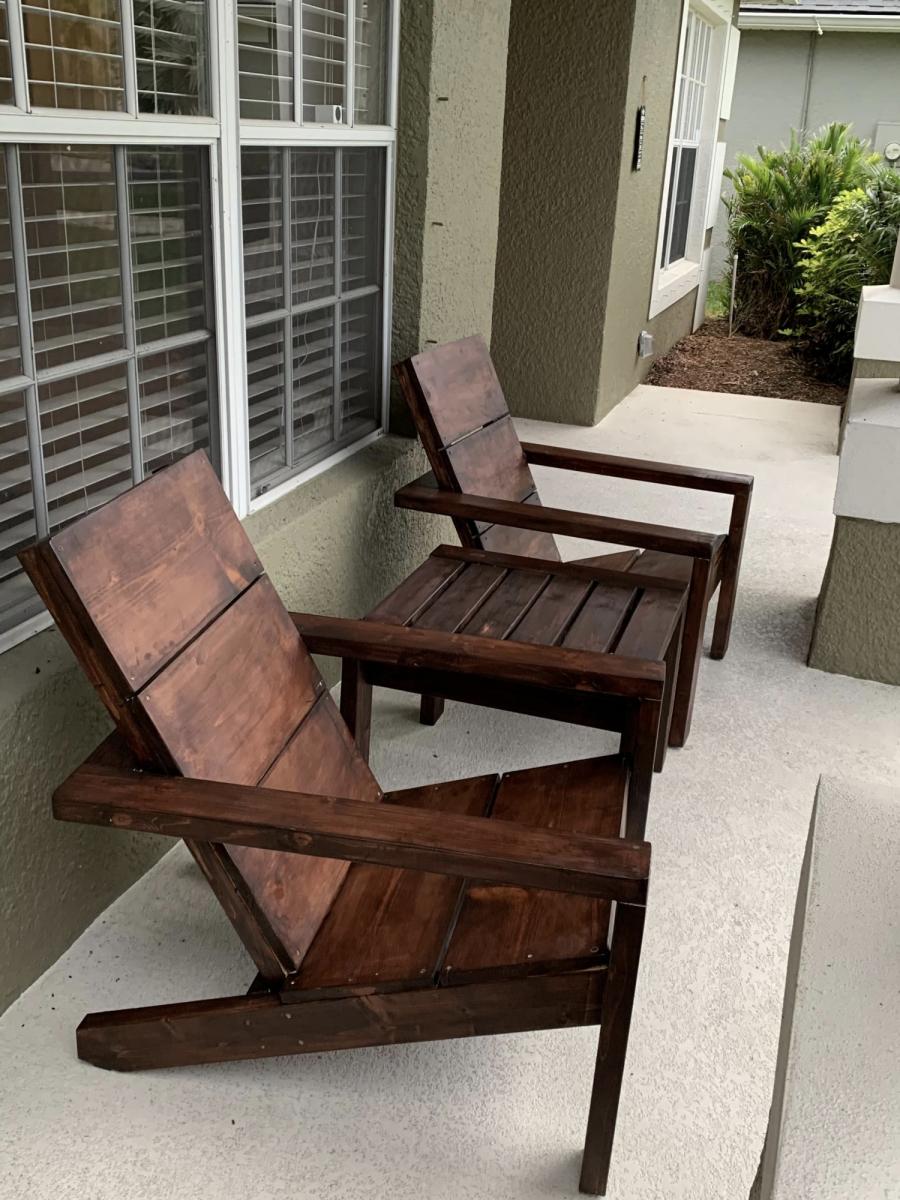
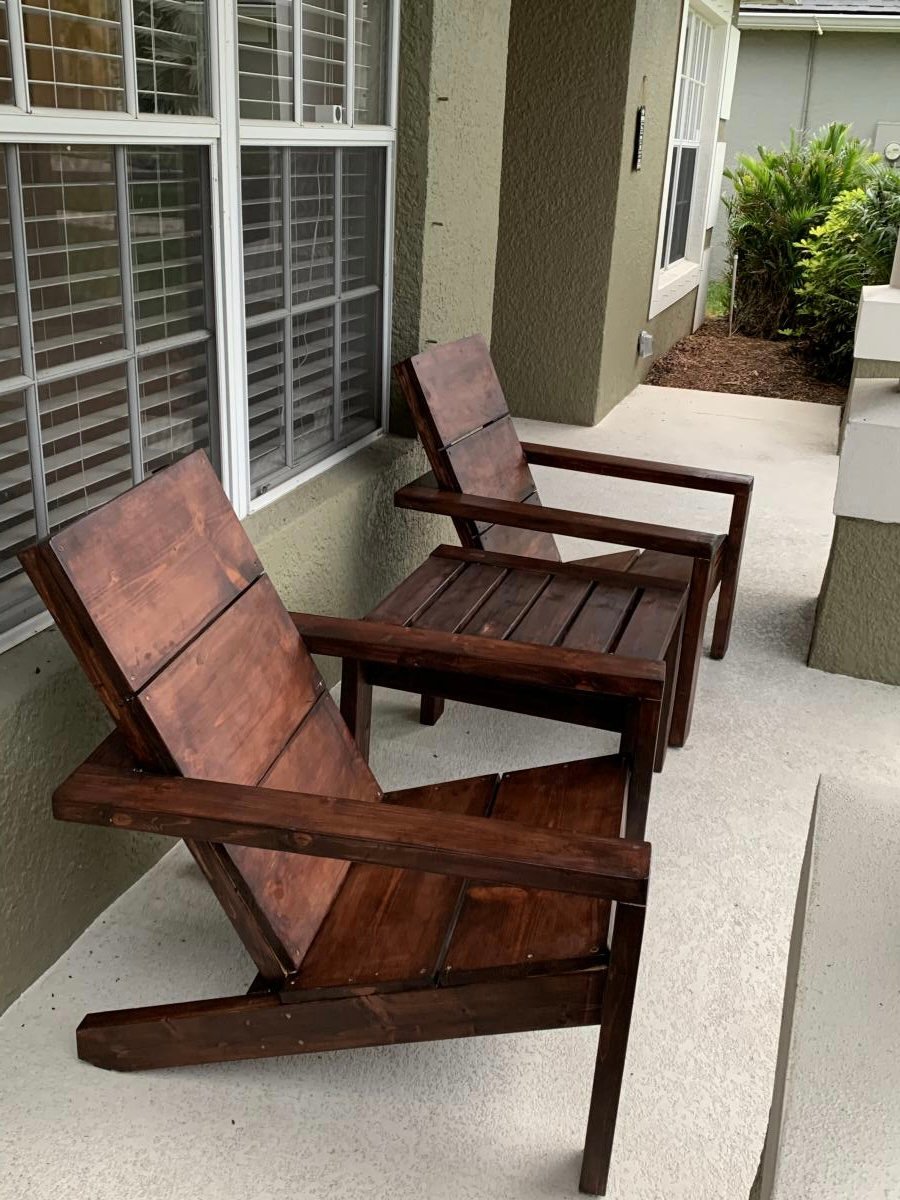
These modern Adirondack chairs were my first wood working project ever and they turned out awesome! I wanted to build a small table to complete the set and Ana’s new side table plans were exactly what I was looking for. I am truly amazed at how easy these projects were to make and how great they look on our front patio. Ana’s step-by-step plans make it so simple. My wife and I can’t wait to build some more of these projects for our backyard lanai and pool area.

Mon, 04/12/2021 - 10:21
Amazing job on your first build, I see more handmade pieces in your future!
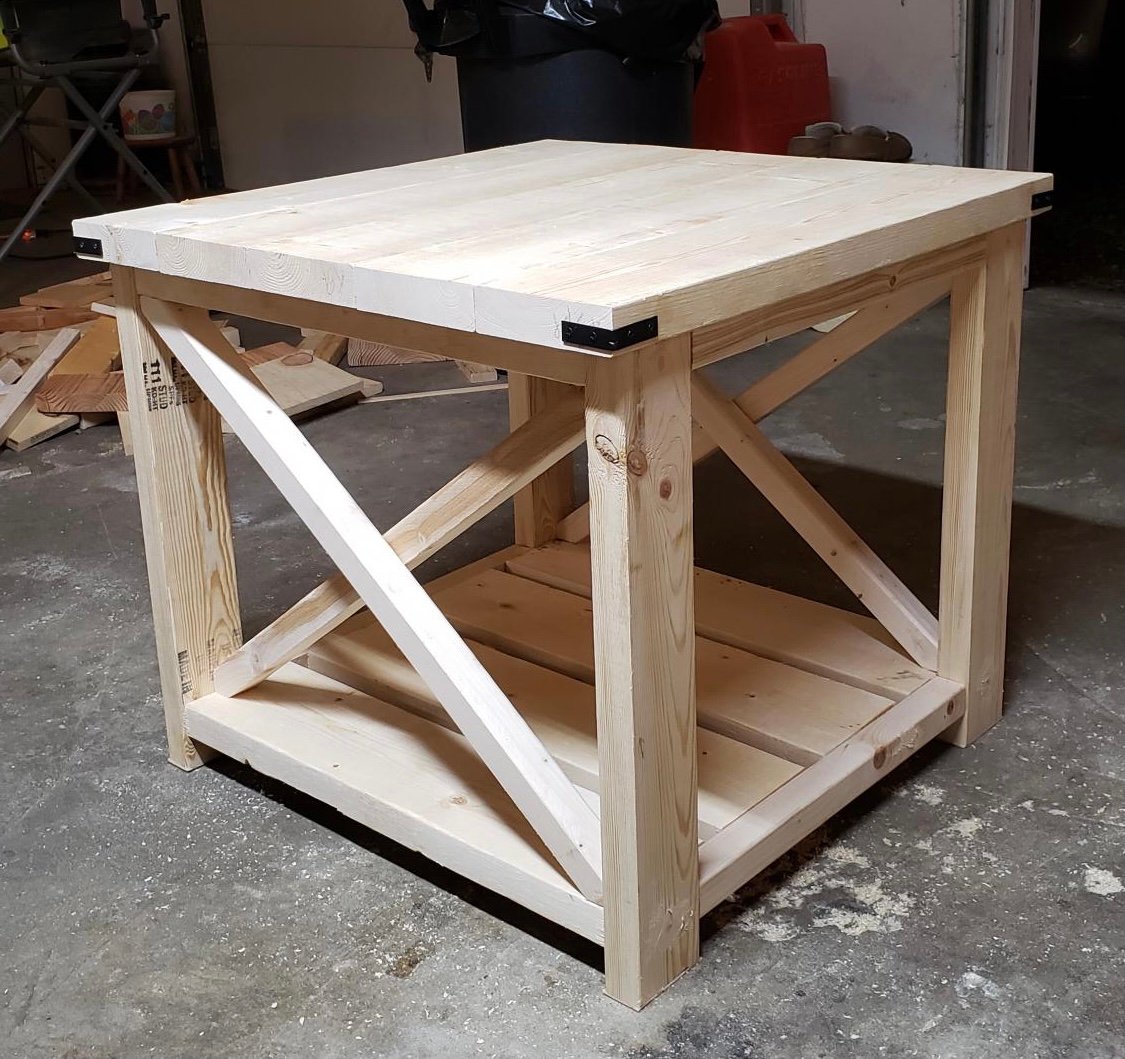
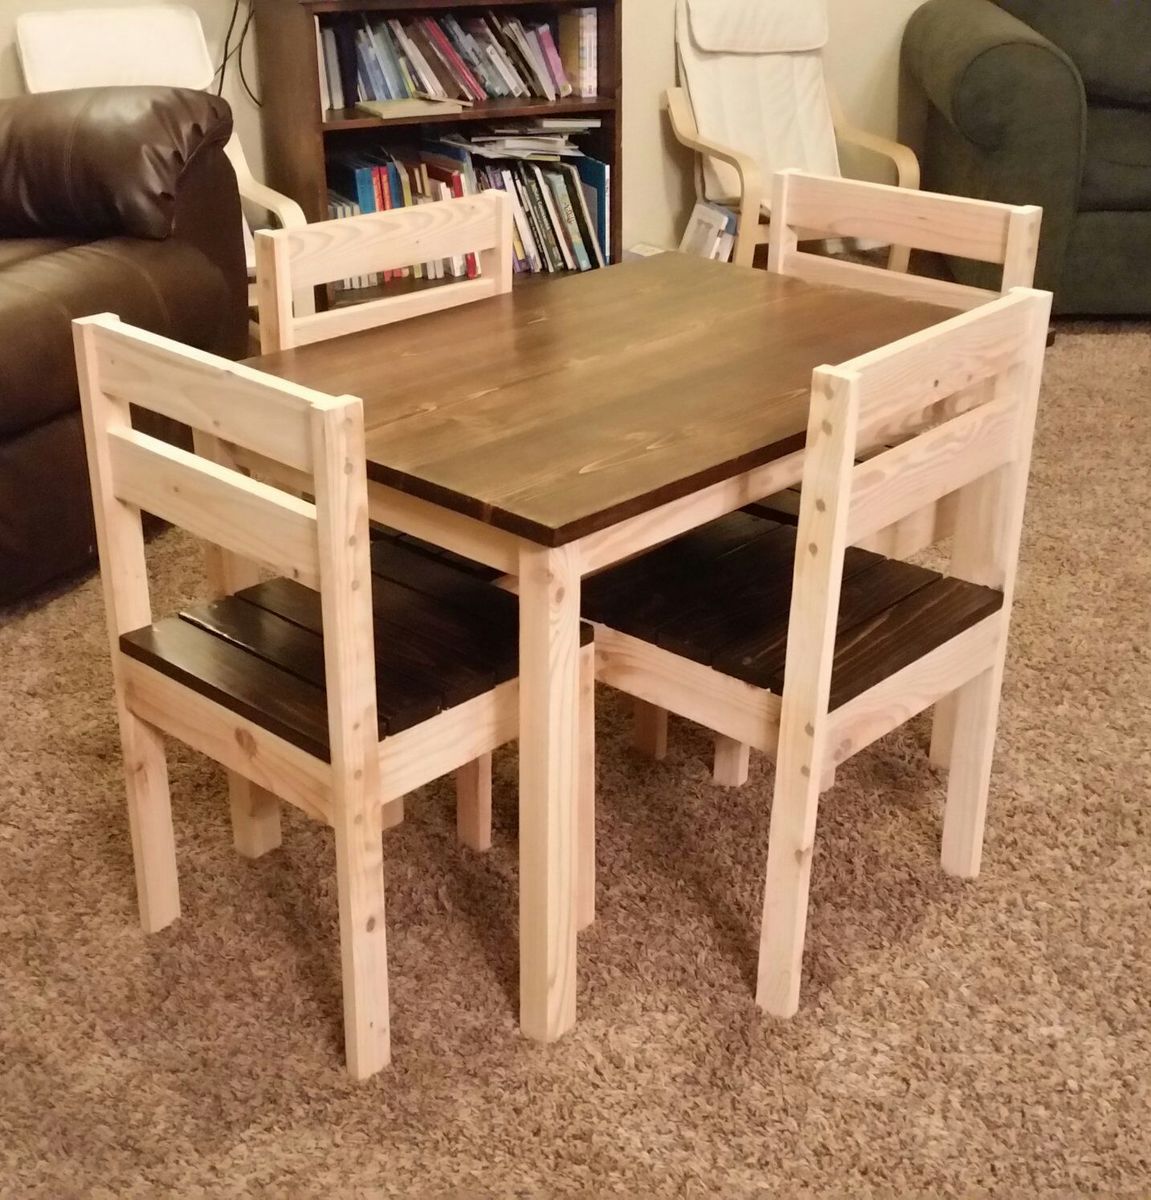
I had fun building this side table it took me one day to build it. I didn't sand it or stain that's how my daughter wanted it. I used pocket holes on the bottom shelves and the tabletop.

This was my first ever project! I decided to build myself this for mother's day. I'm very proud of my work and can't wait to build more.
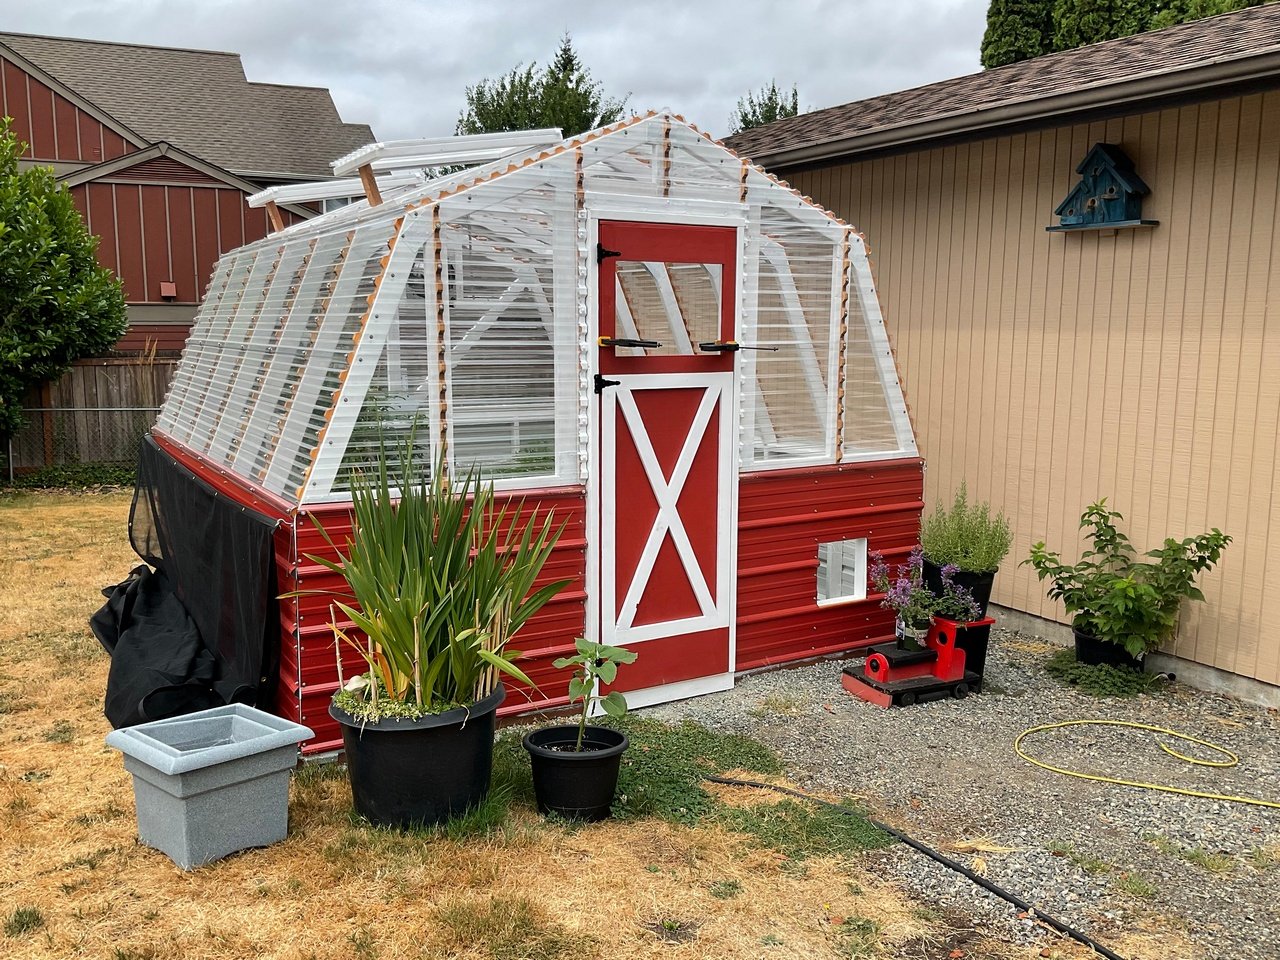
This was the perfect post-retirement project for me. It was a lot of work, but very rewarding.
I documented most of it on my blog.
We sure love this greenhouse!
Tue, 08/31/2021 - 12:23
Gorgeous, those skylights are the ticket! Thank you for sharing!

I was dying to try this little picnic table out for my boys. It was such a quick and easy build, though without clamps, I had to enlist my husband's help to hold things for me while I drilled!


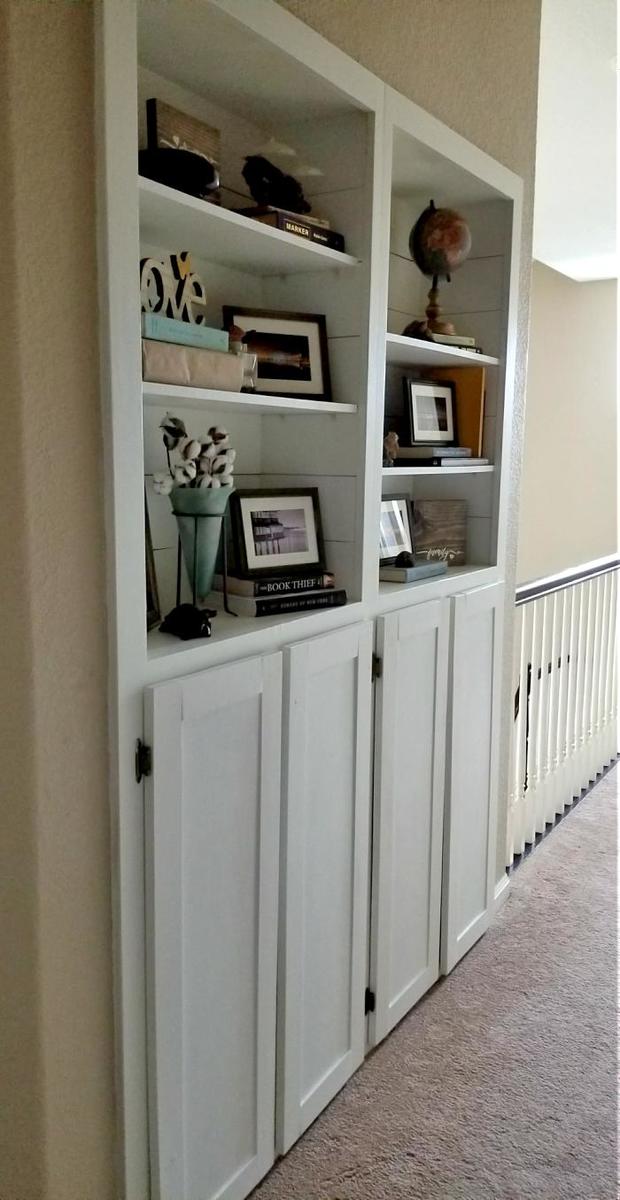
I used the easy frame and panel doors instructions to build 4 new large cabinet doors for my hallway cabinets! I painted them Sherwin Williams Alabaster. You can find my full blog post about them here: http://www.leapoffaithcrafting.com/make-shaker-cabinet-doors/

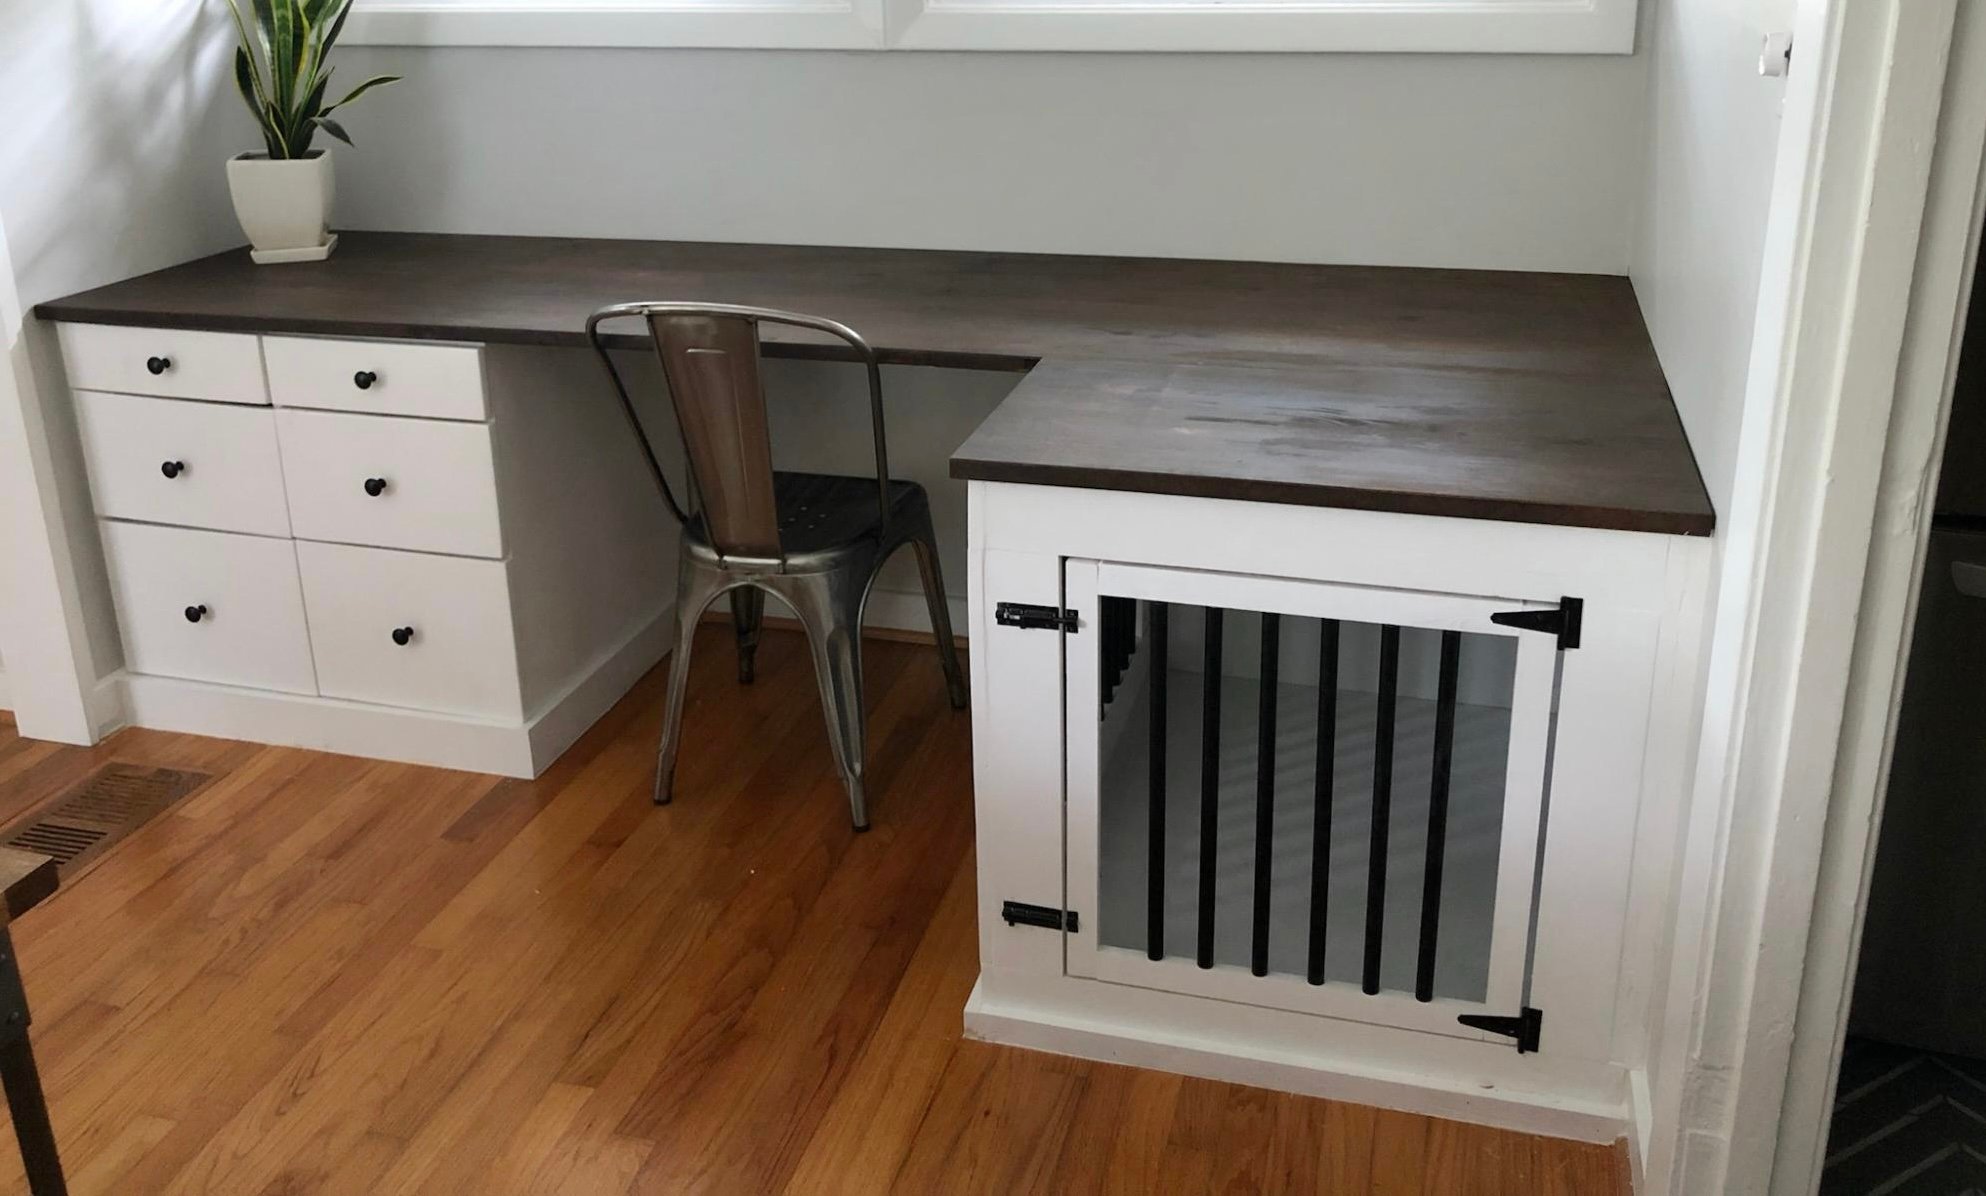
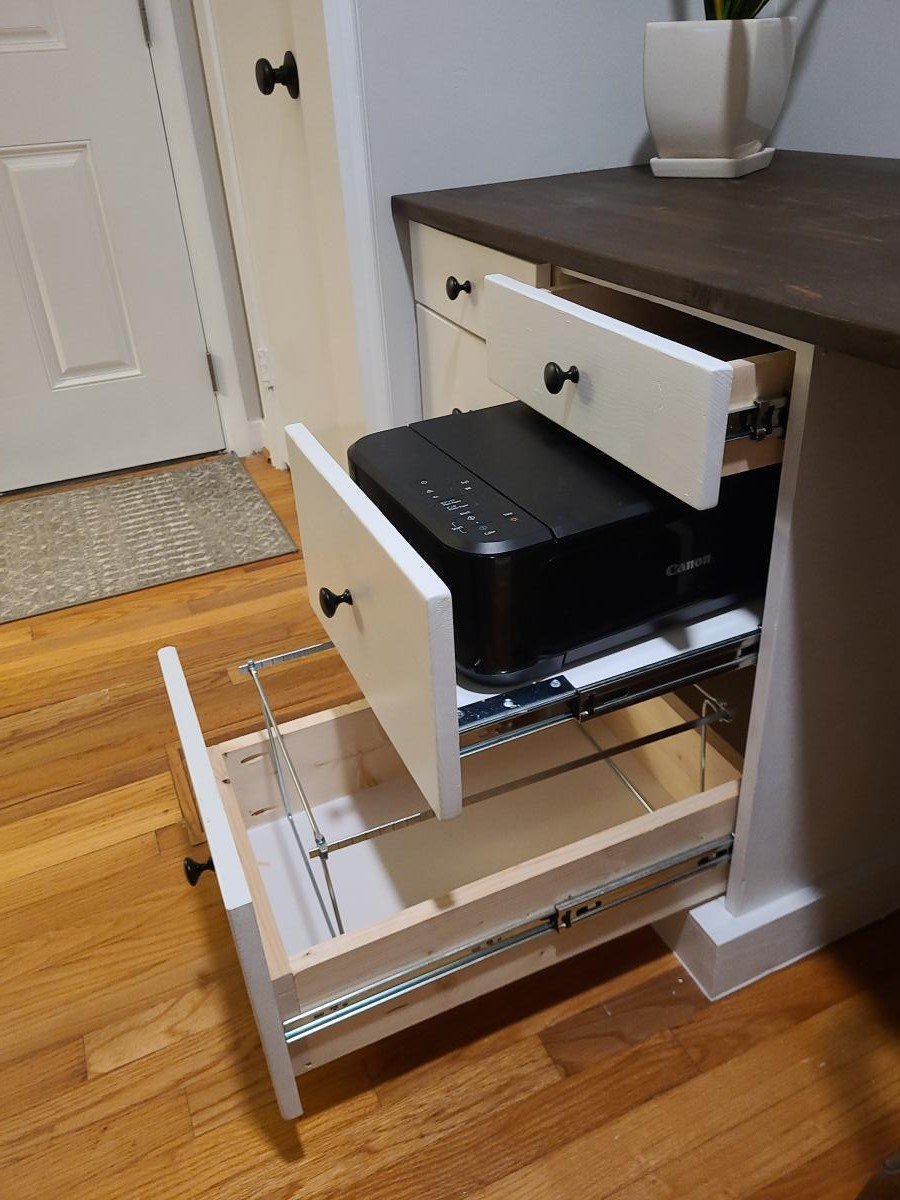
Built in desk with dog kennel complete with slide out printer drawer!
by Lisa
Great little project. Finished just in time for Thanksgiving.
Andy
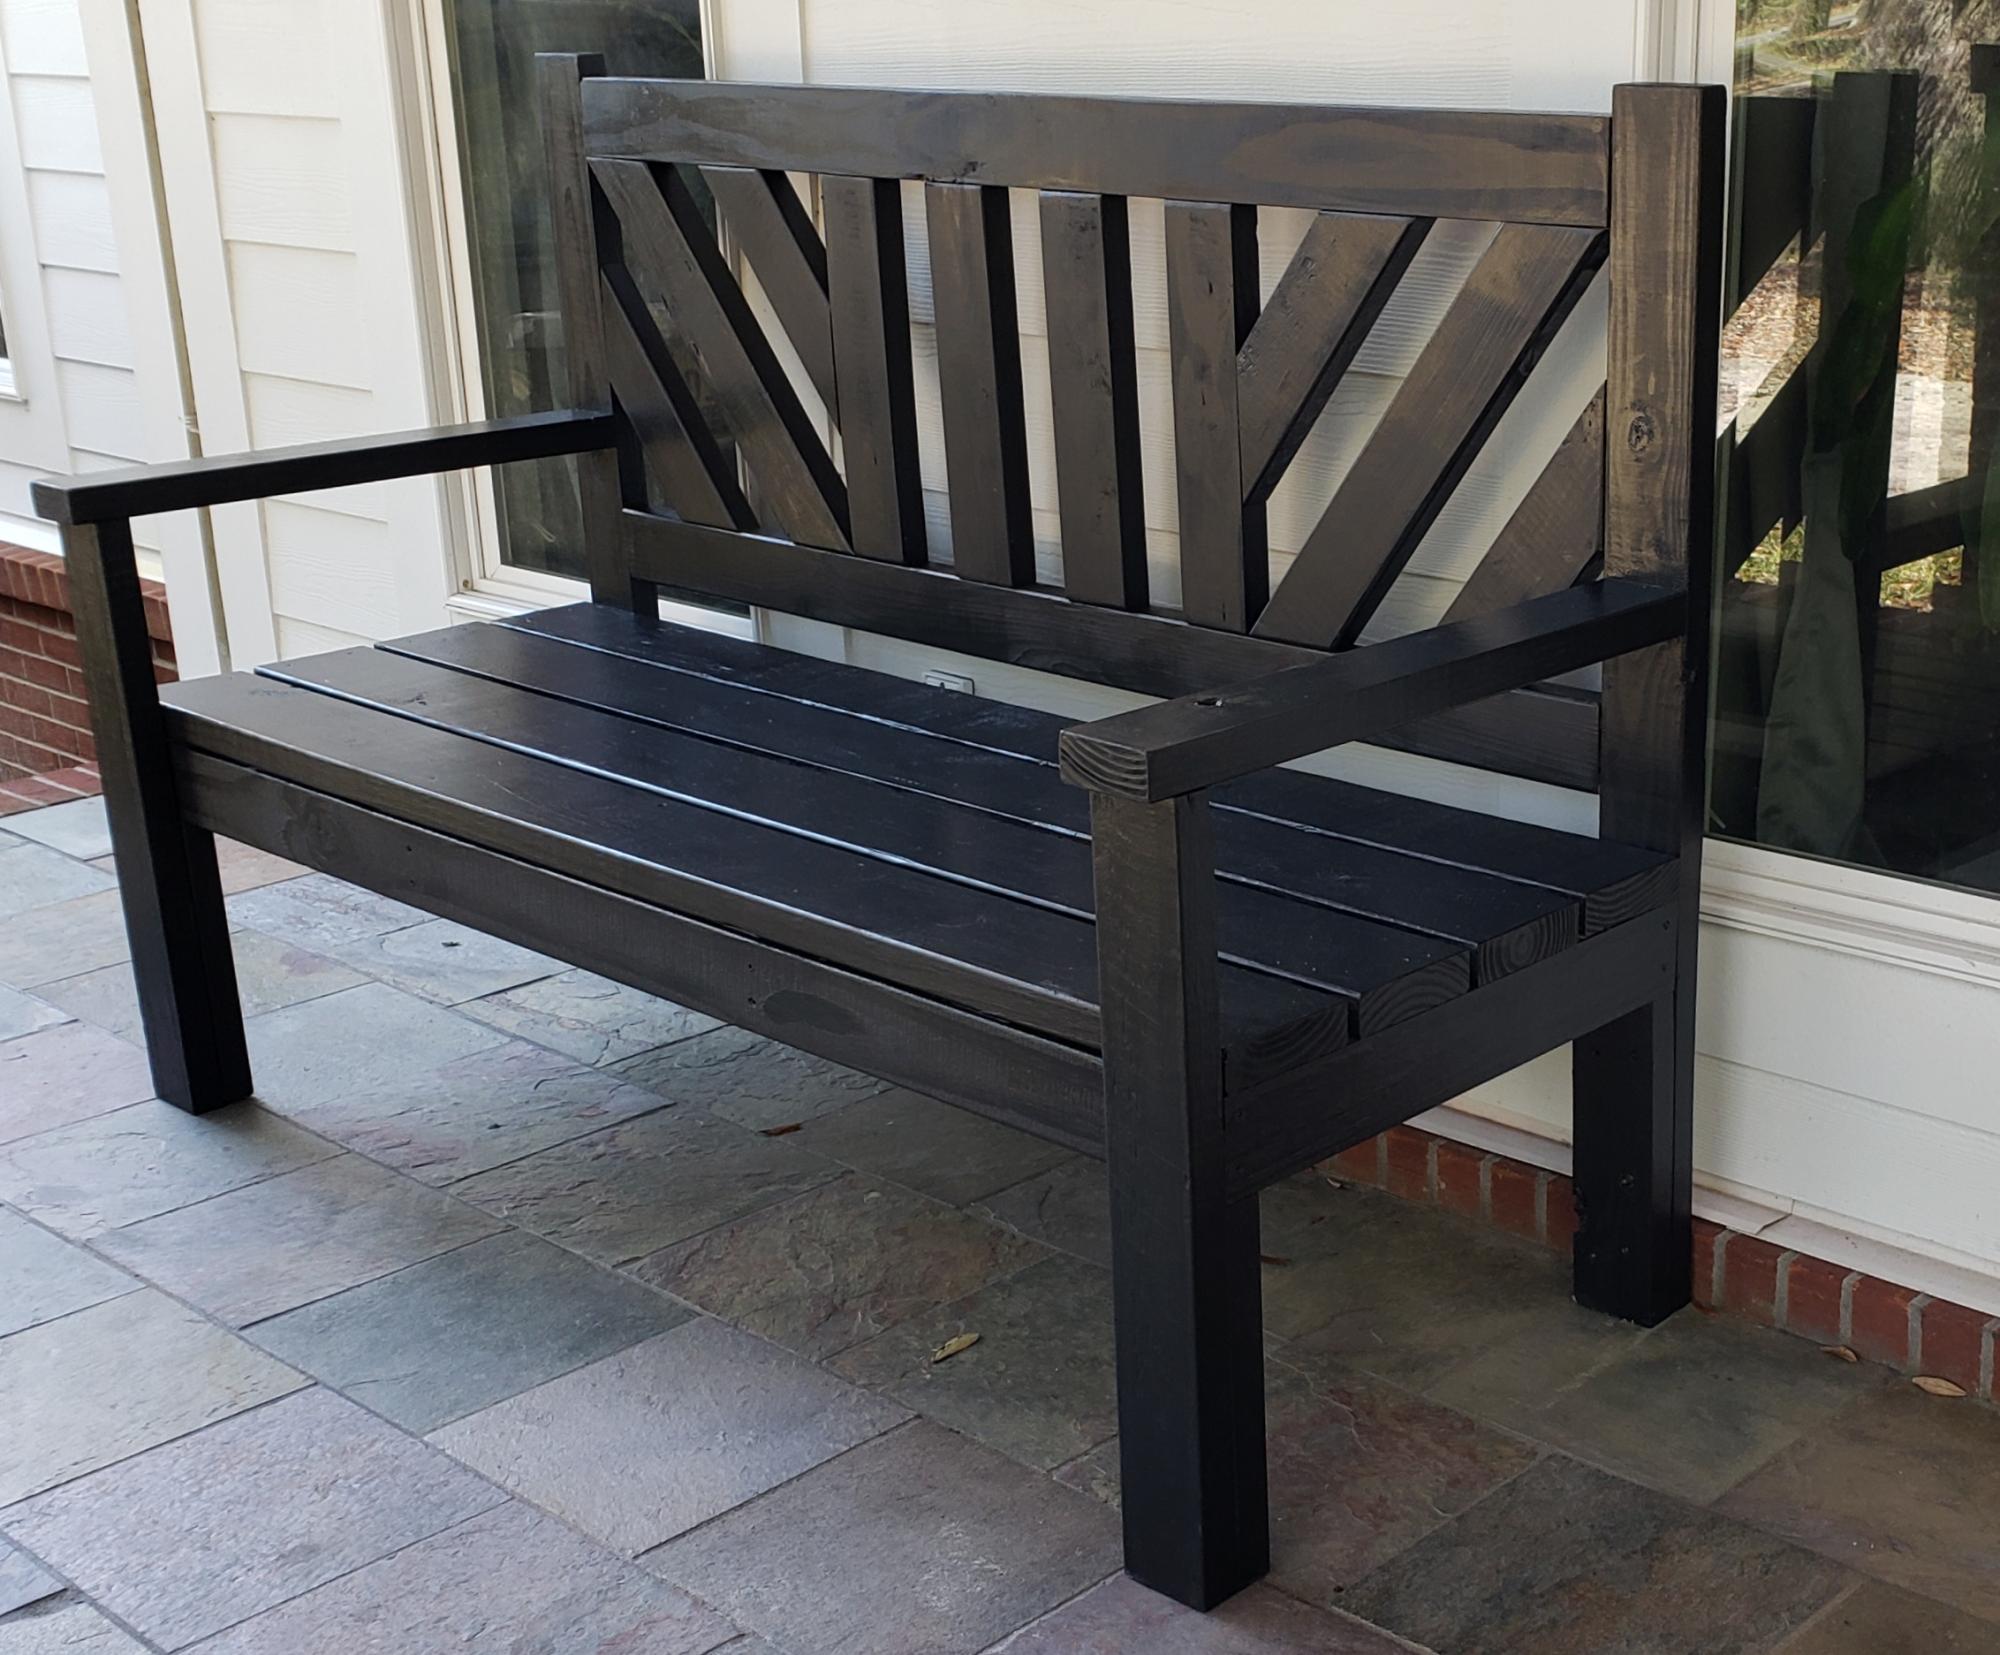
I used untreated pine for this project and painted with benjamin moore exterior paint.
I modified the back a little and I love how it turned out. I also added an extra brace against the back of each leg that fits under the seat for more support.
Very easy to build. I love the plan.
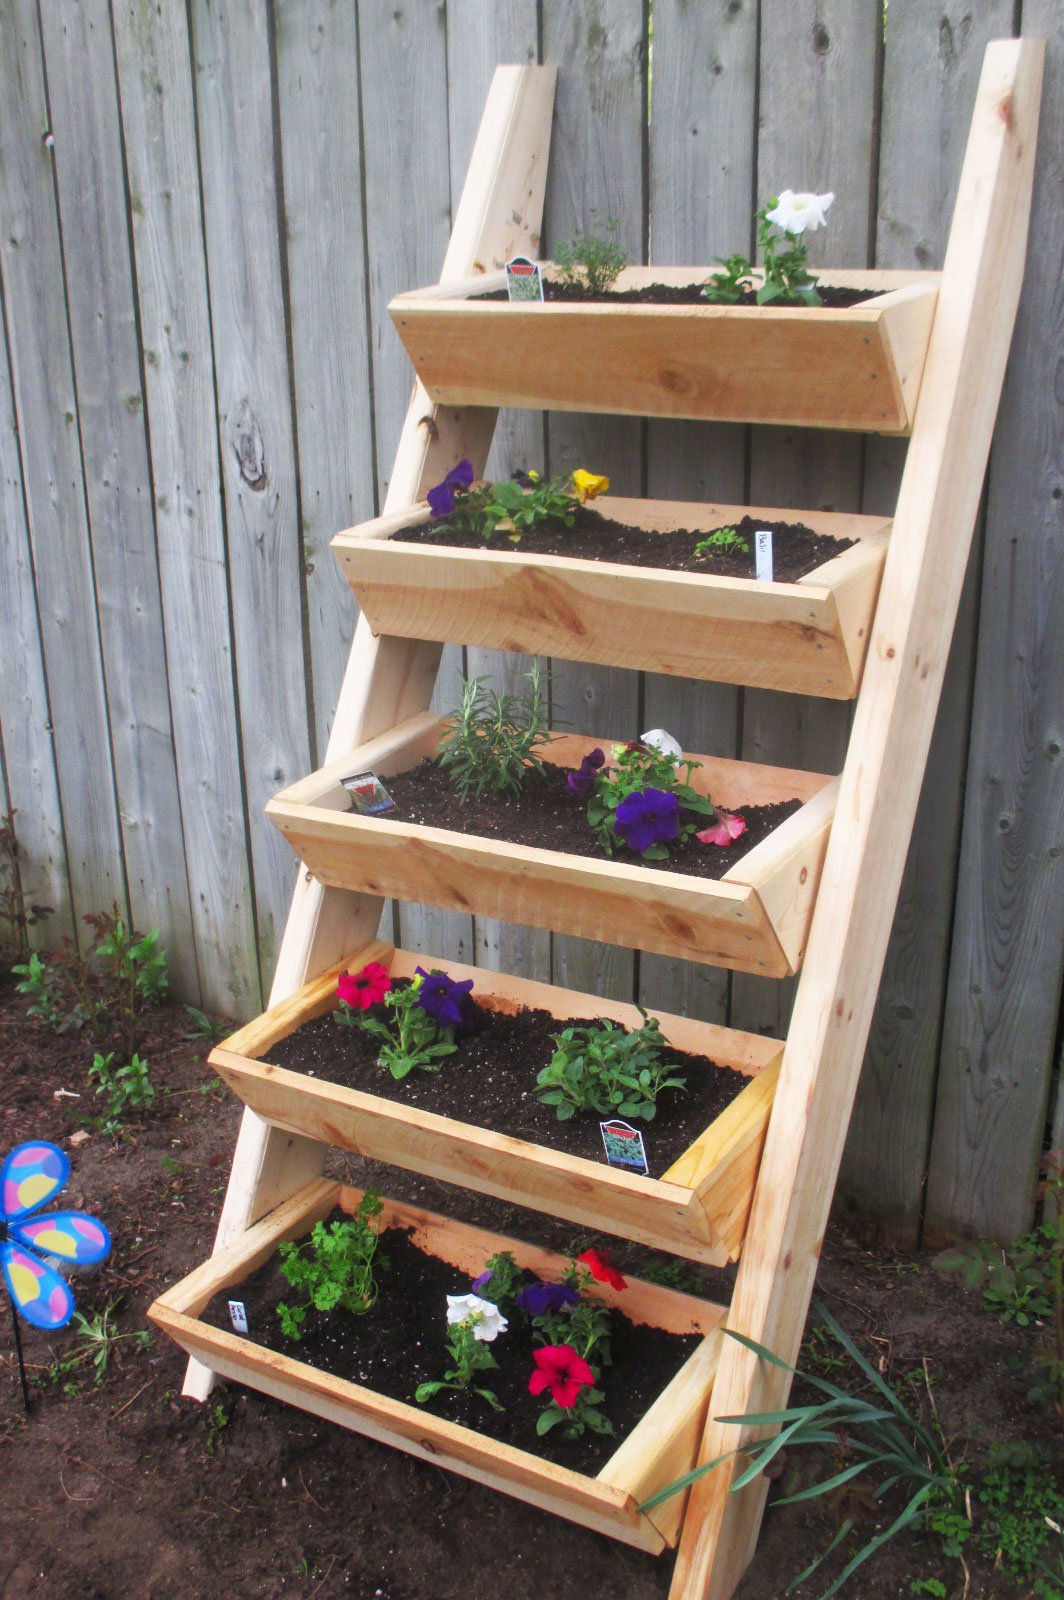
Living on a small city plot, this vertical ladder planter was just what I was looking for to grow my herbs and flowers. I am not an experienced builder but the plans were easy to follow. It didn't take me much time at all to complete this project. Now I am looking forward to fresh herbs and flowers all summer.
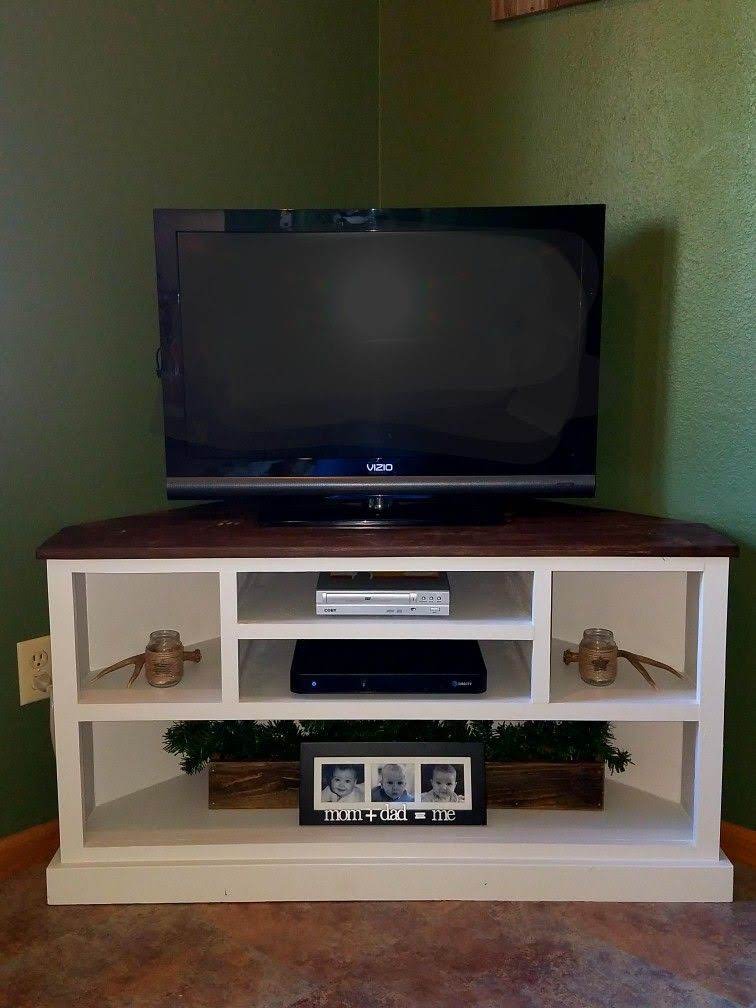
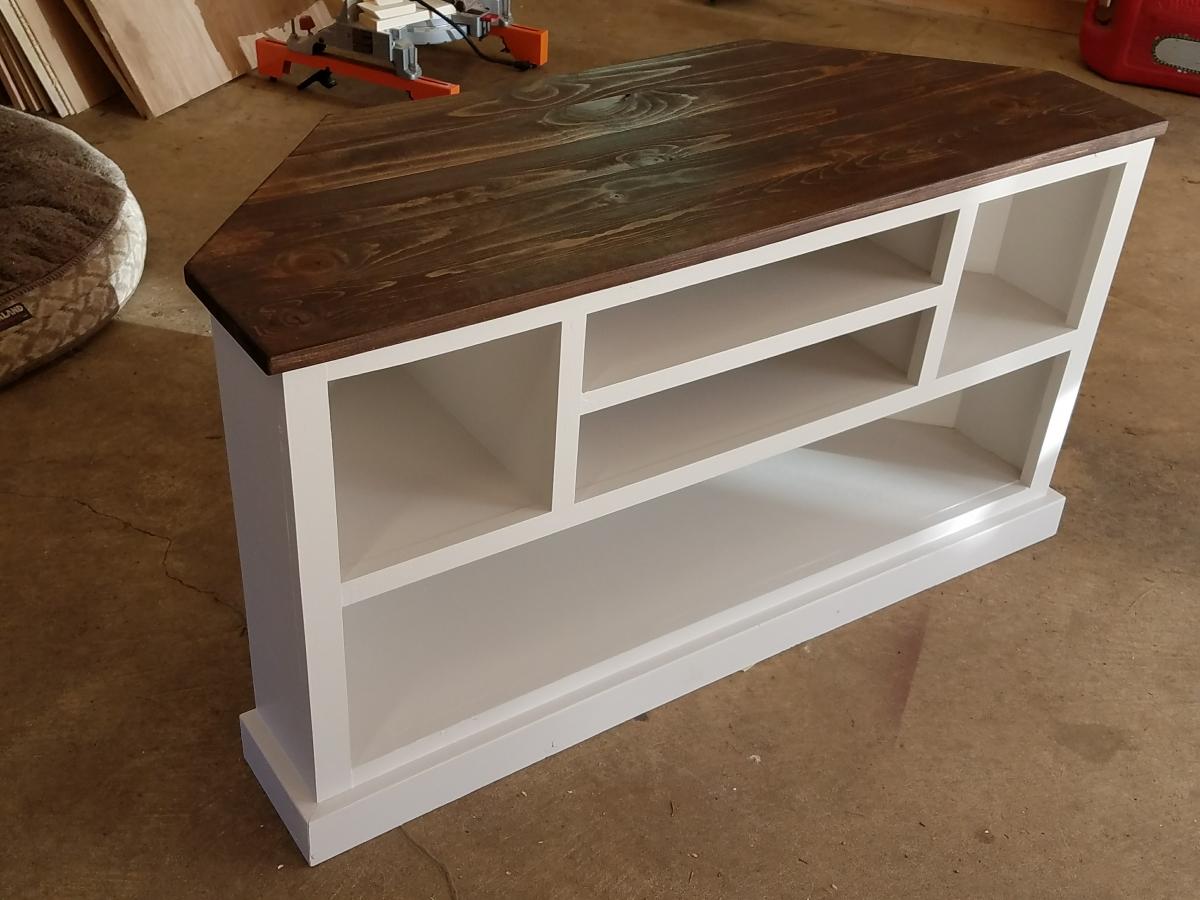
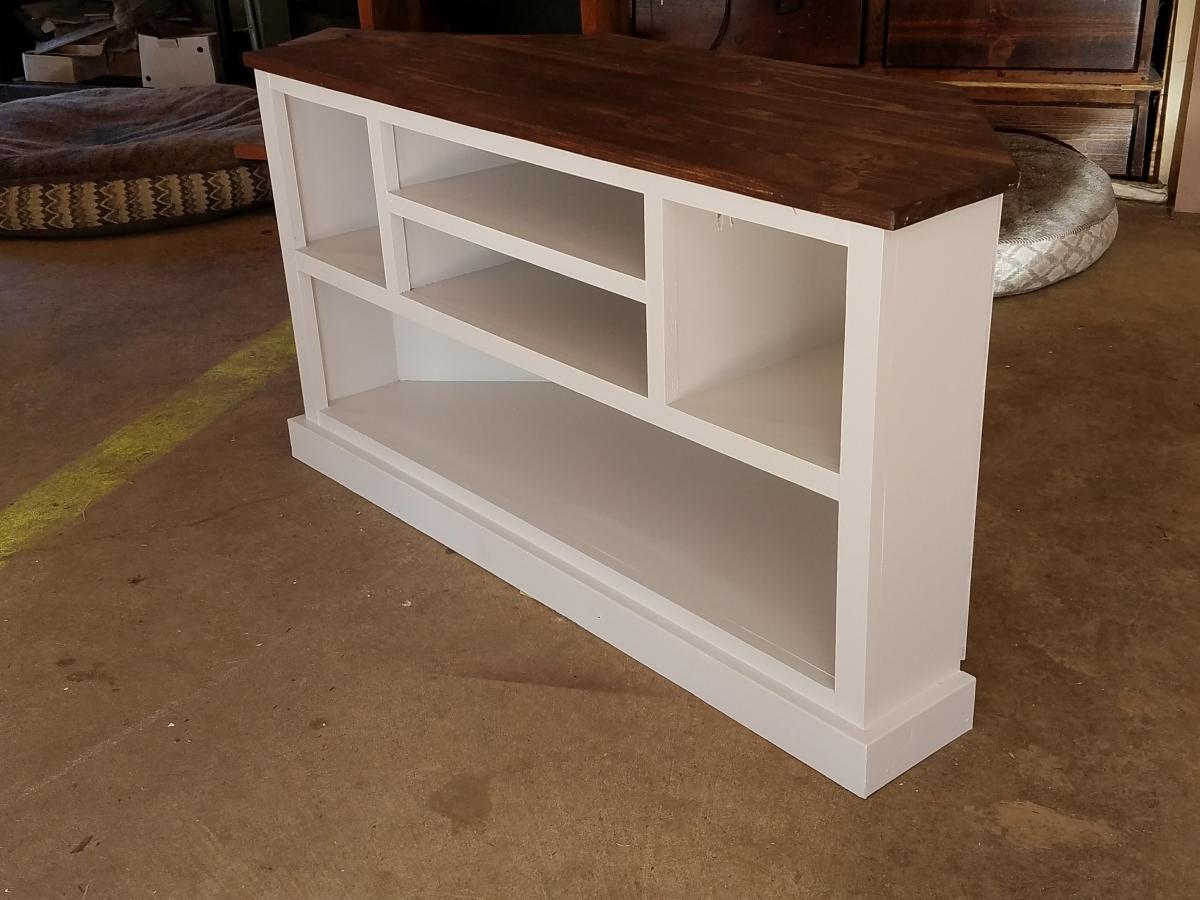
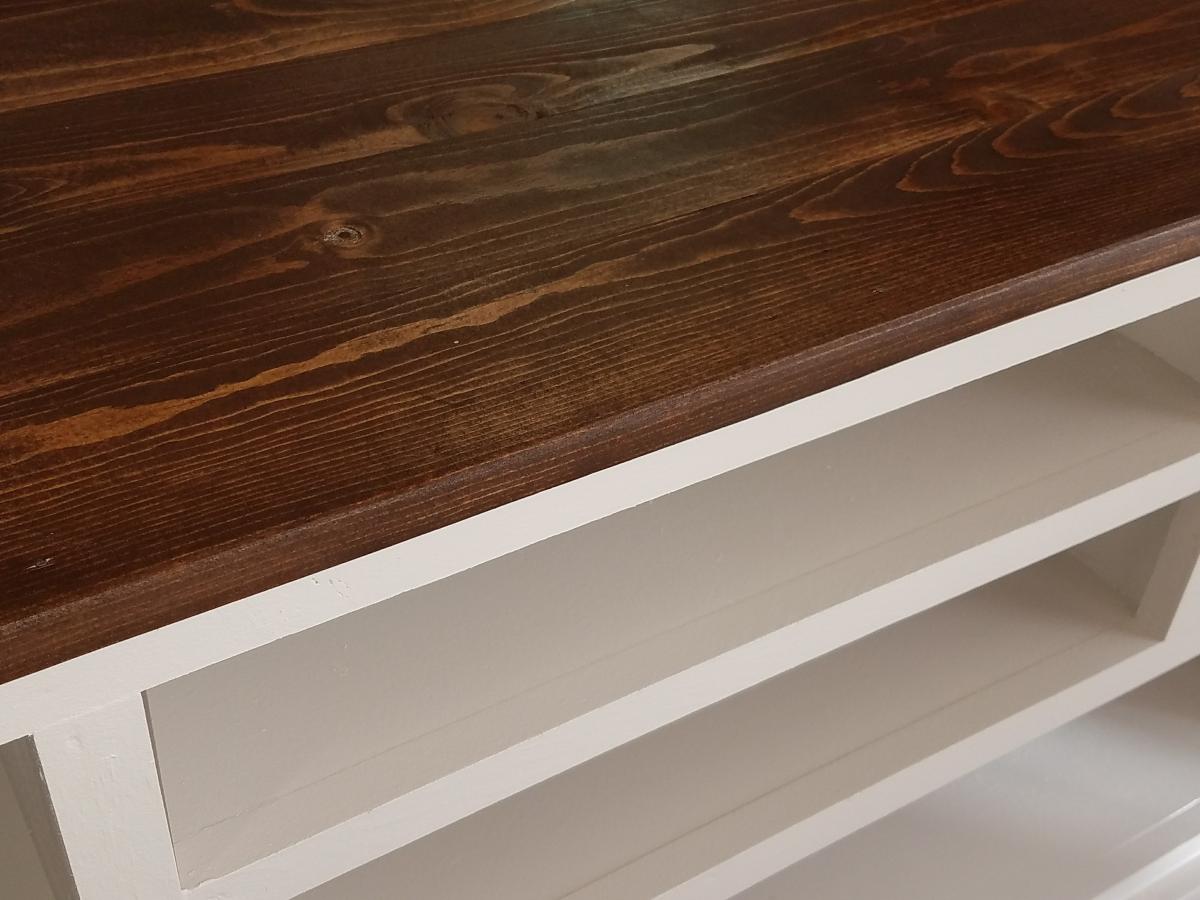
We had just moved into our new house and were using an end table for our TV stand I just didn't like it. I found this and modified it so it's shorter and fits in our room better. I also opted to not put doors on it and use it to display items instead. This was a relatively easy build and I'm learning new things with every build I make. It took about 2 days to complete not including filling holes/paint/stain. I love it, it looks so great in our room and I am planning on building end tables to match as well as replacing our buffet with movies in it to match also. Thanks for the easy-to-follow plans!
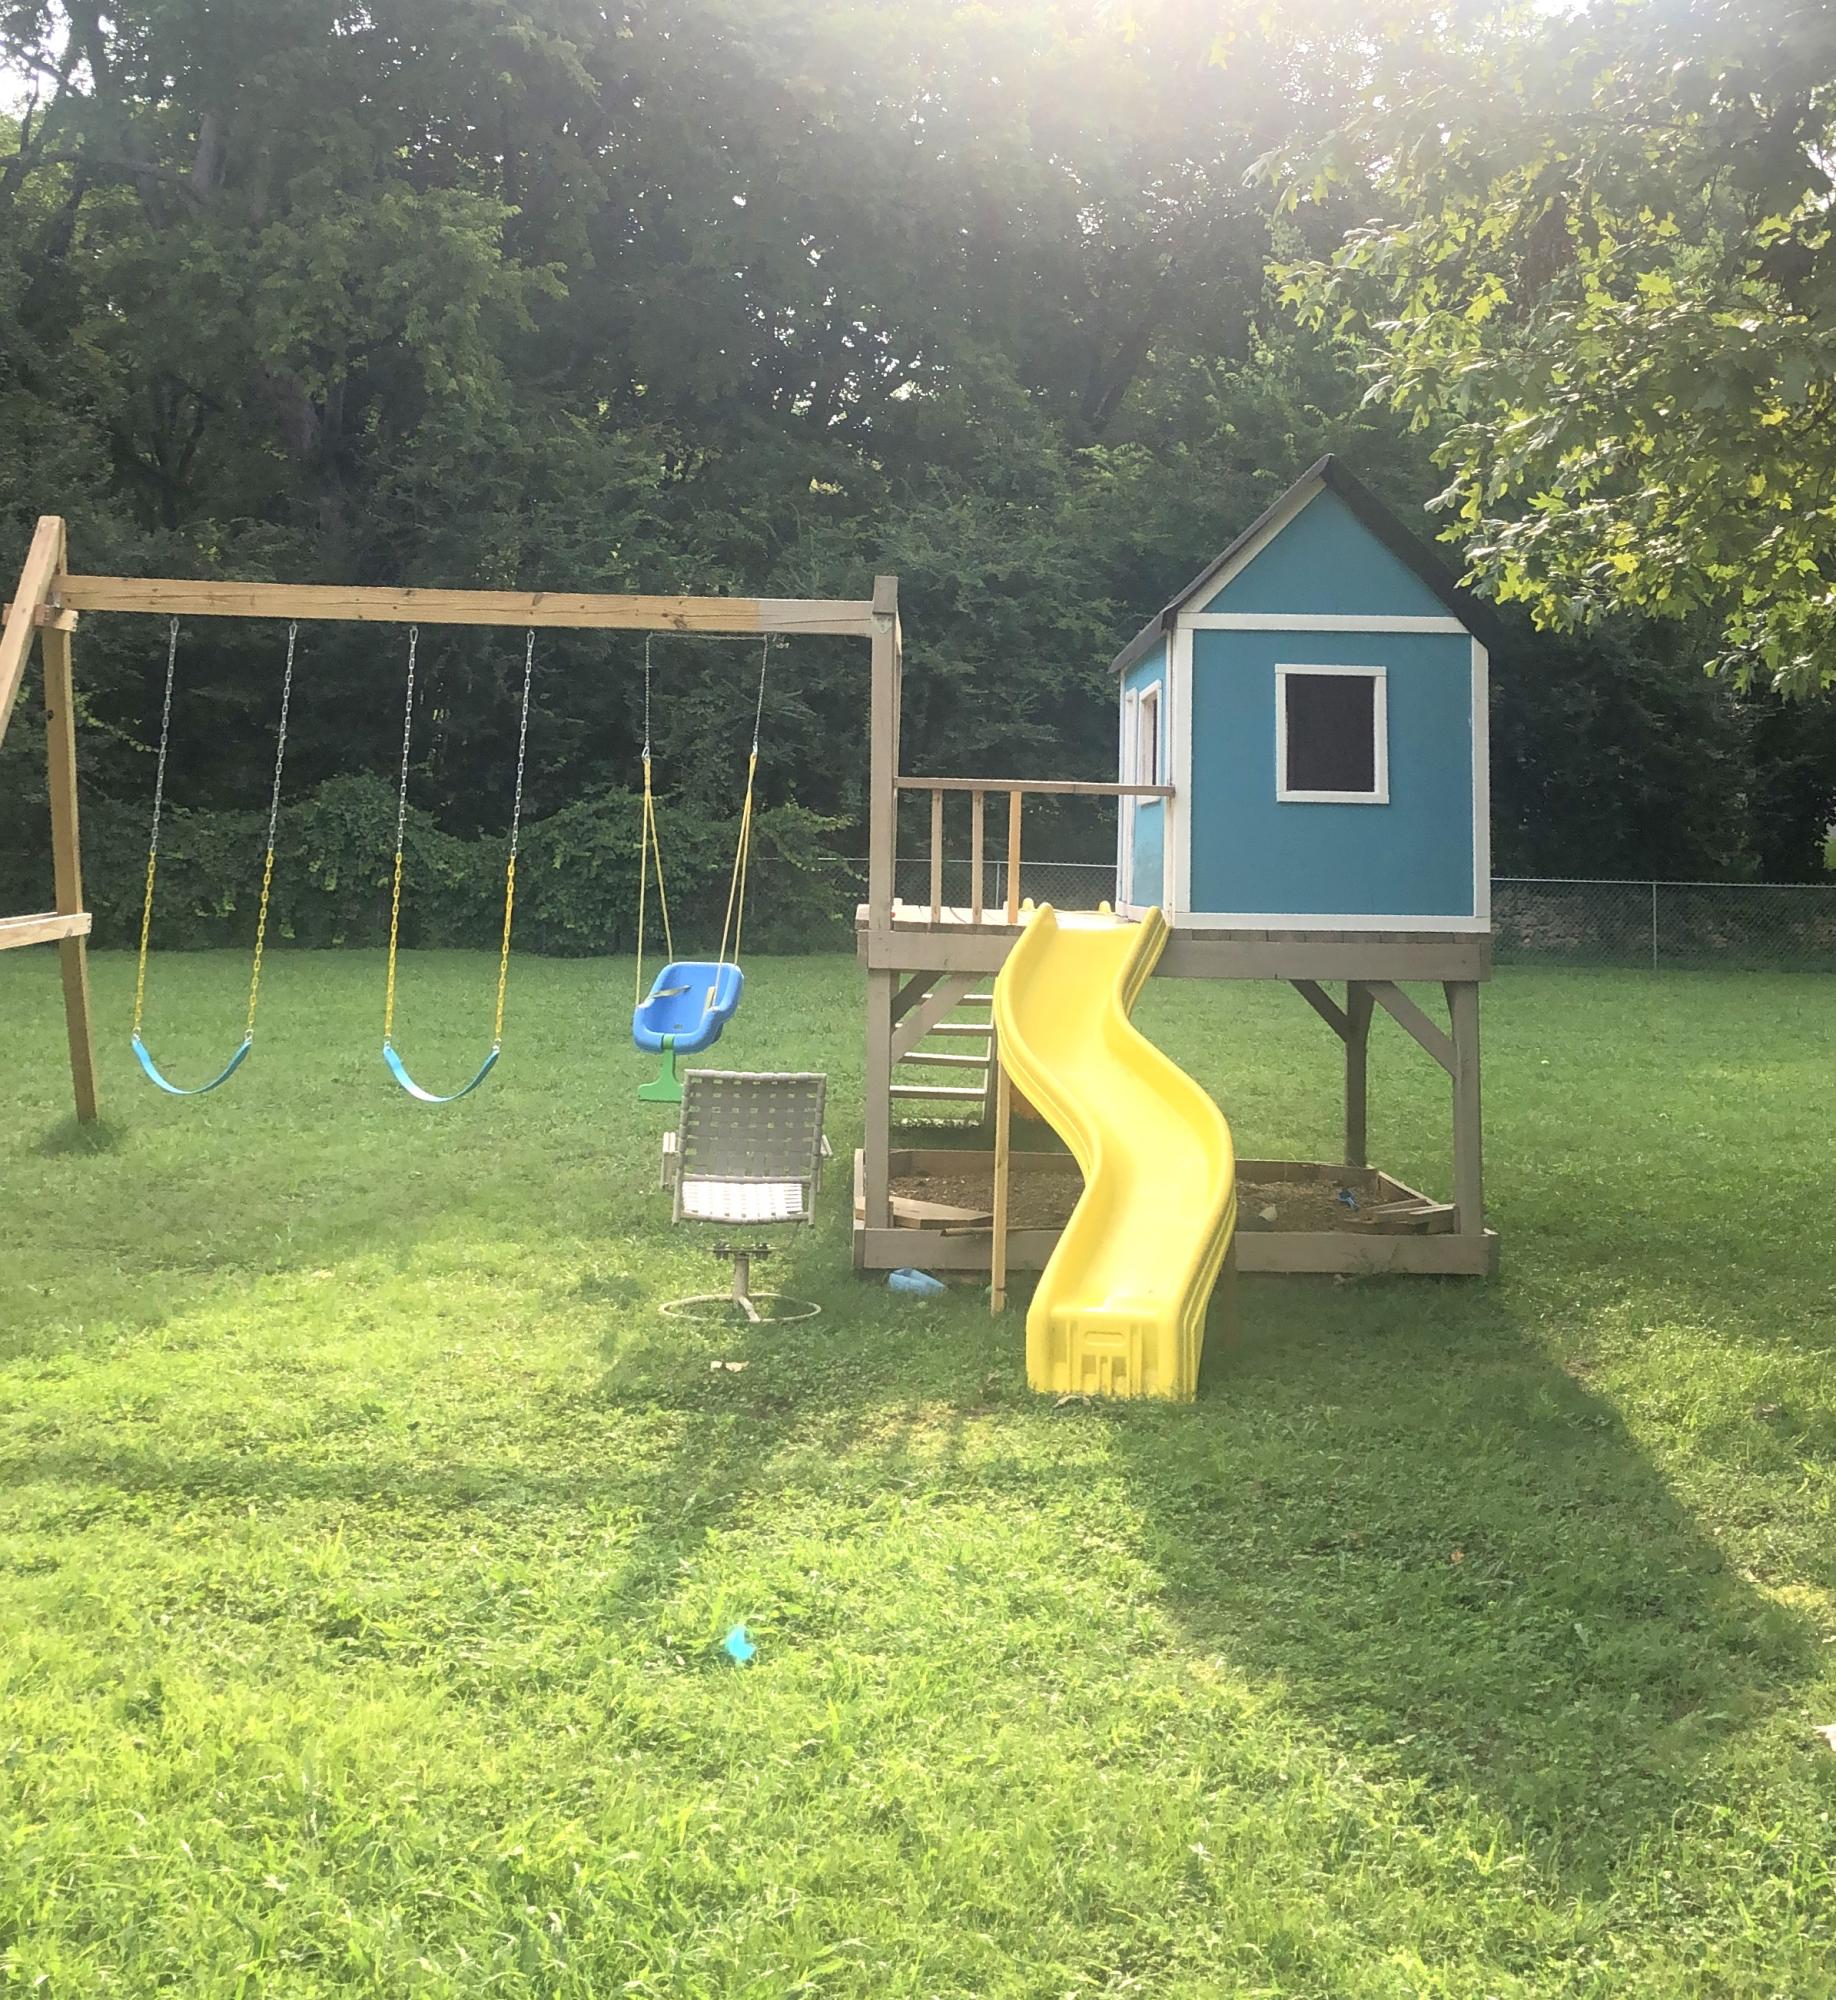
The one toy that we could not live without! Started this as a 2020 covid project and play on it everyday.

I reduced the size of the 2x4 coffee table to make 2 end tables. They can be used as additional seating when needed.


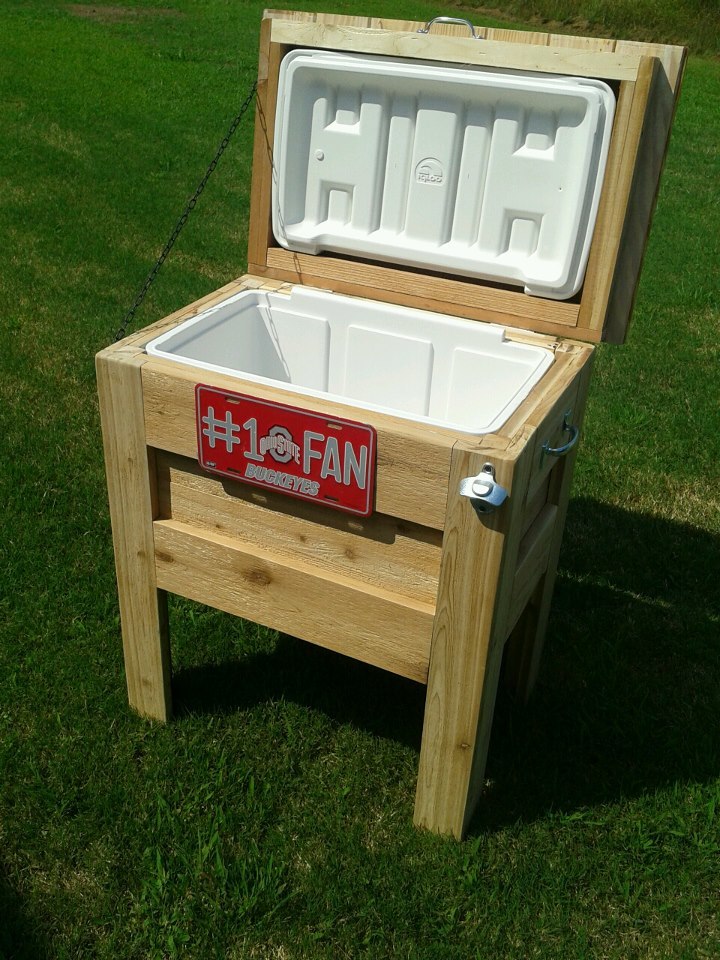
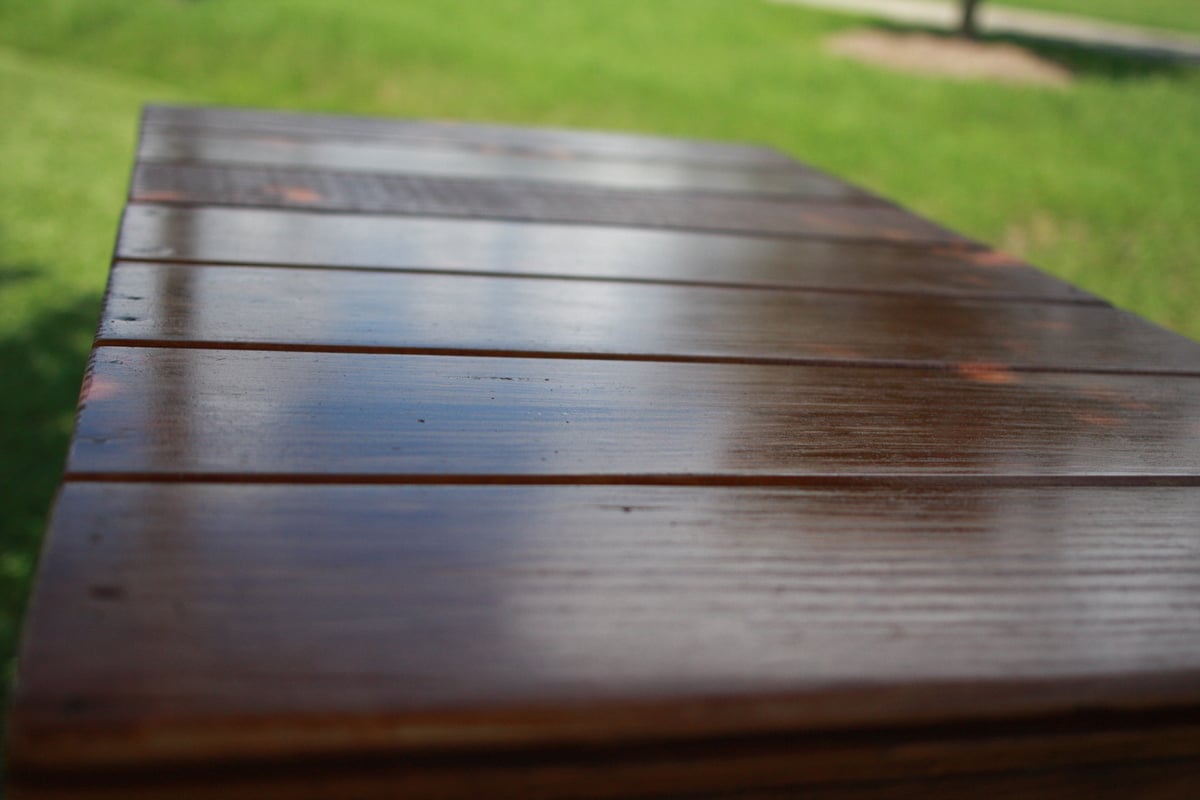
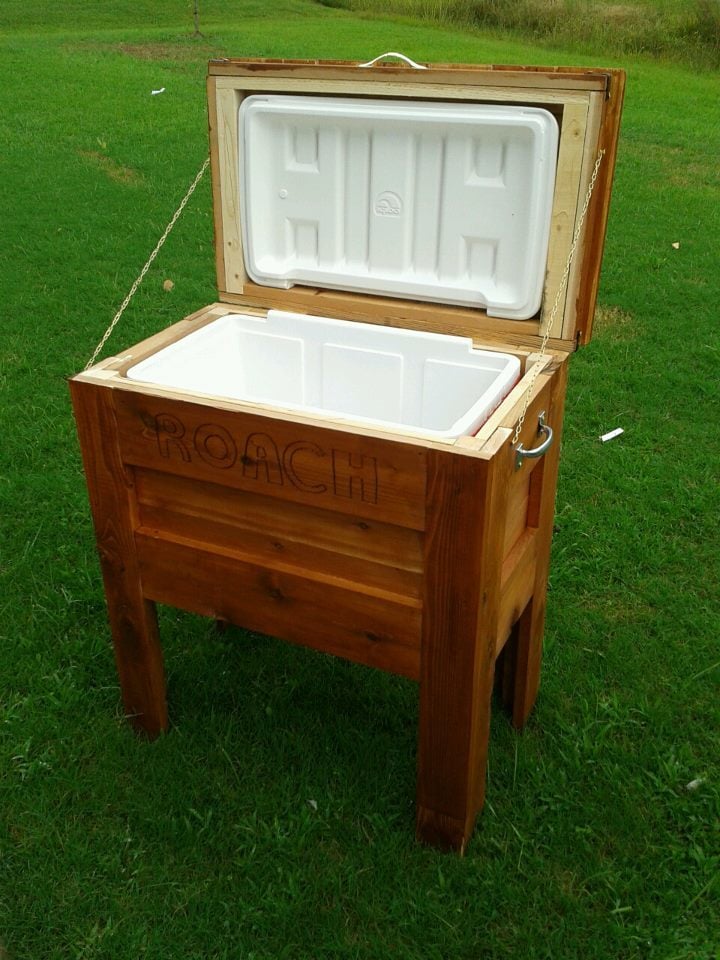
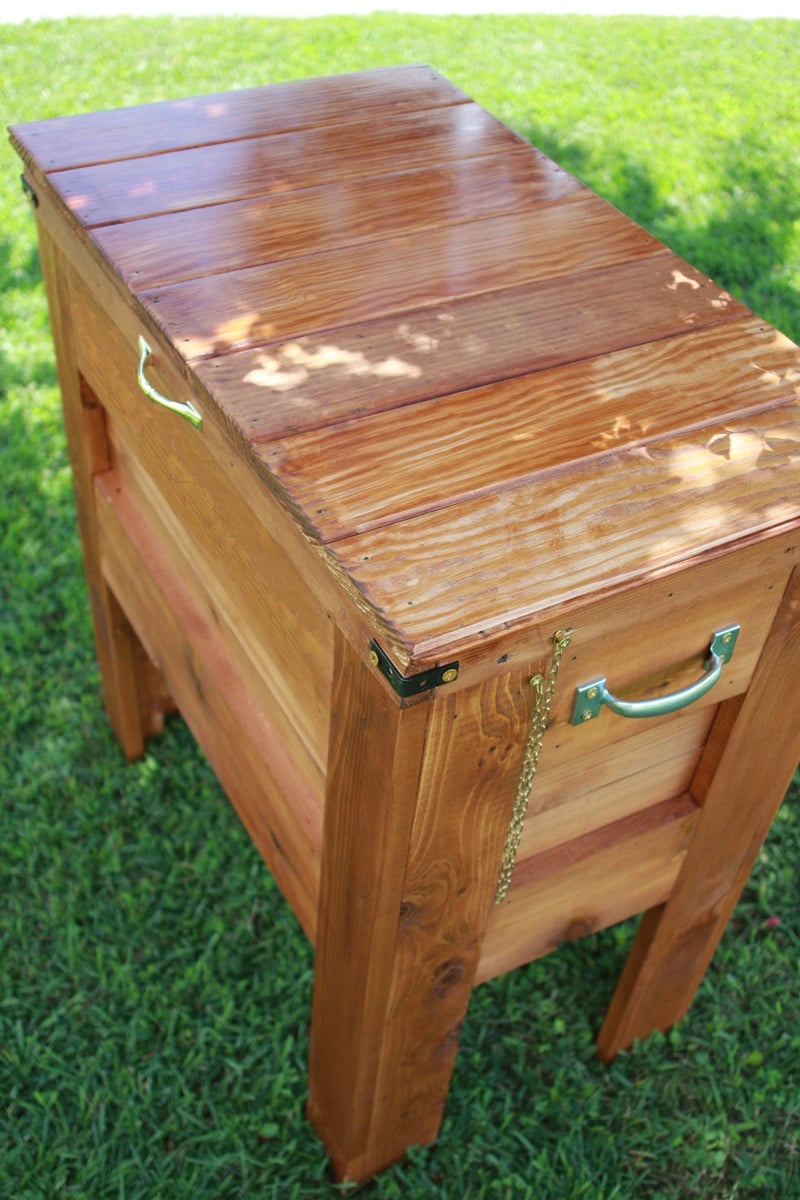
An Outdoor Wooden Cooler is the perfect way to accent any deck, patio, or garage. Can be made from Cedar, Pressure Treated, Cyprus, etc. Sizes can vary from small 28 qt coolers to Large 120 qt coolers capable of holding hundreds of drinks. These coolers can be themed for your favorite sports team, favorite hobby, or anything of your choice. Engraving or wood burning is available.
Fri, 08/31/2012 - 09:52
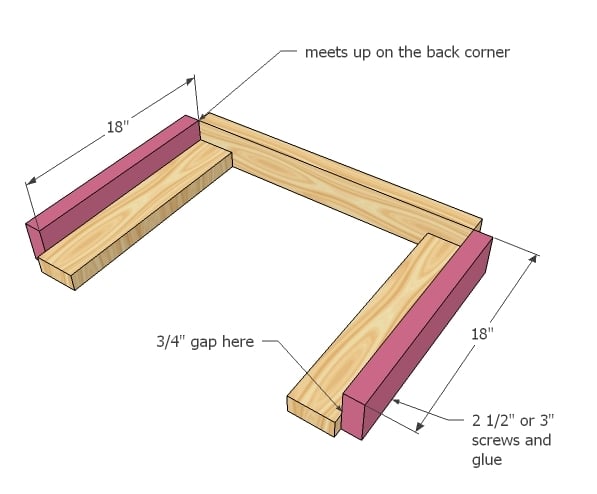
Well, actually, two. My beer loving son-in-laws would love this, and Christmas is coming! Do you happen to have any "step-by-step" directions you'd be willing to share? I can figure out the dimensions but it would be really helpful to read - or see - the components and how you put it all together.
Thanks for sharing!
In reply to I want to make one of these by sgilly
Fri, 09/28/2012 - 11:43
I had to make a new page because of some password issues. Thanks for comments. I have no plans yet, I've built so many it's sort of muscle memory now. Shoot me an email at [email protected] and perhaps I can help.

Sat, 09/01/2012 - 10:59
I want to make one too. Is the lid tricky at all?
Fri, 09/28/2012 - 11:41
I had to make a new page because of some password issues. Thanks for comments. I have no plans yet, I've built so many it's sort of muscle memory now. Shoot me an email at [email protected] and perhaps I can help.
And no, the lid style I like is nothing more than some tongue~n~groove boards cut to length, attached with pocket holes and nailed to the lid frame. Tongue~N~groove is optional of course, you could just use regular boards.

Thu, 03/14/2013 - 21:08
I don't mean to hijack Adam's great build, but I have some step-by-step plans available for a cooler I built with a similar style. It has a 2x2 frame with old fencing facing. For those of you looking for plans/tutorial http://www.killerbdesigns.com/rustic-cooler-a-how-to/

Thu, 05/07/2015 - 07:20
My husband used a similar design to Adam's but made it a double. :) He also added wheels and a bottle opener/cap catcher. Great work Adam!
http://purposefulproductions.blogspot.com/2015/04/diy-wood-drink-cooler…
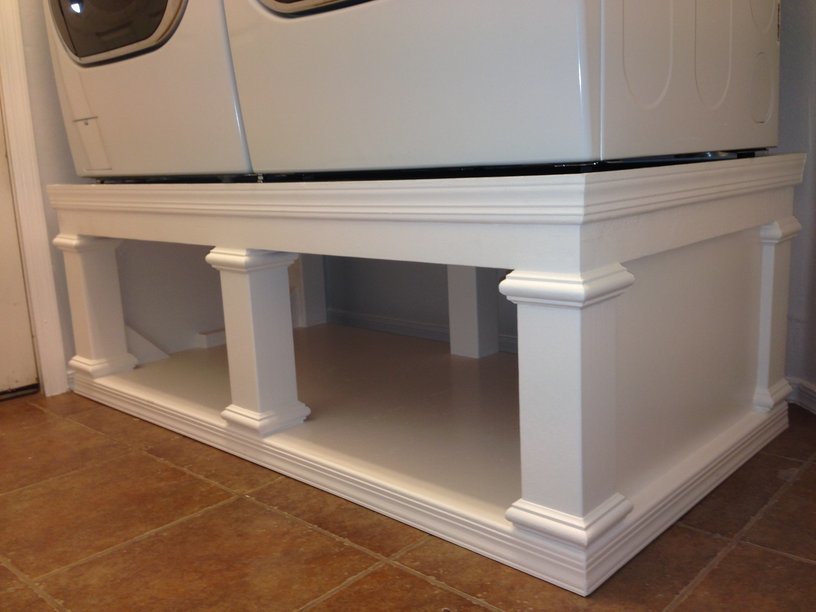
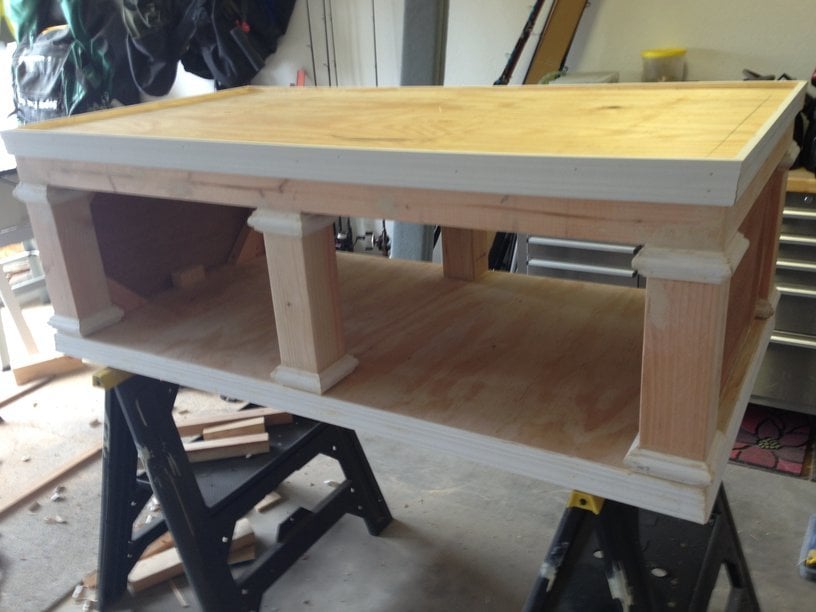
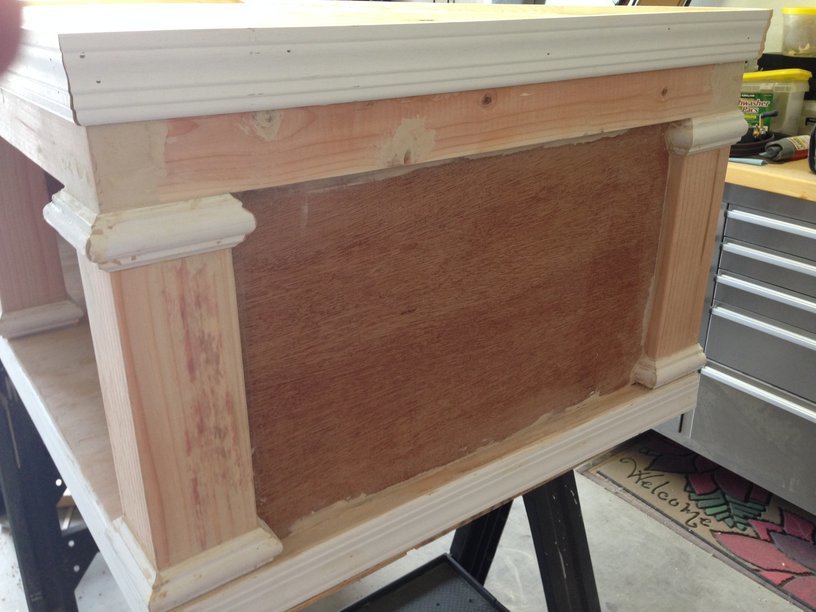
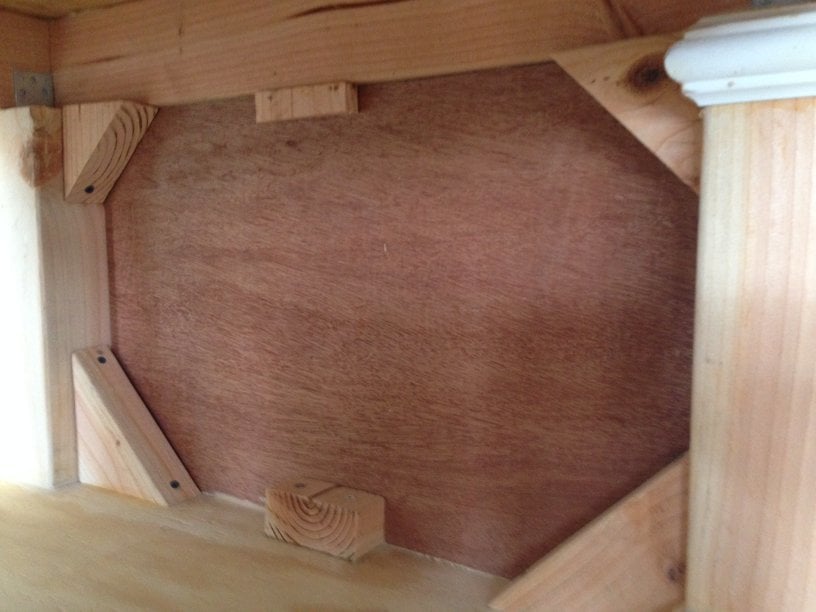
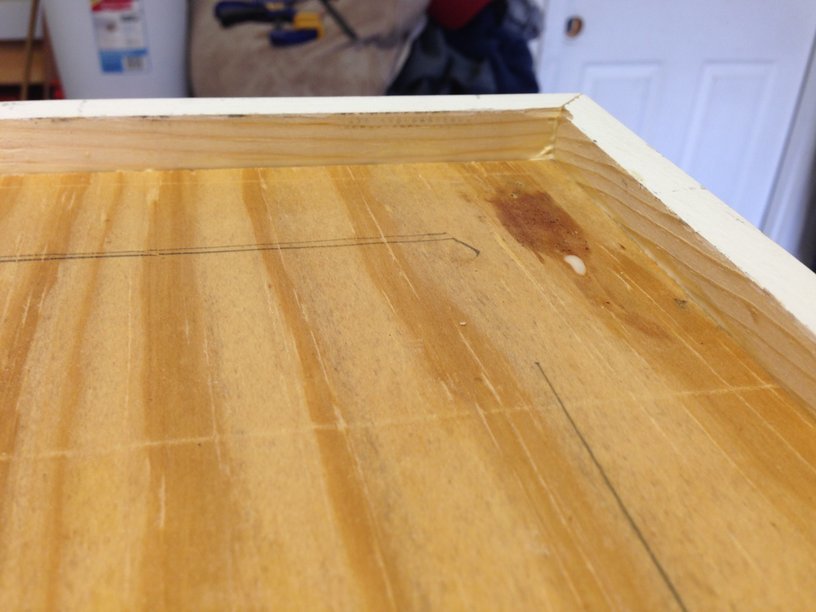
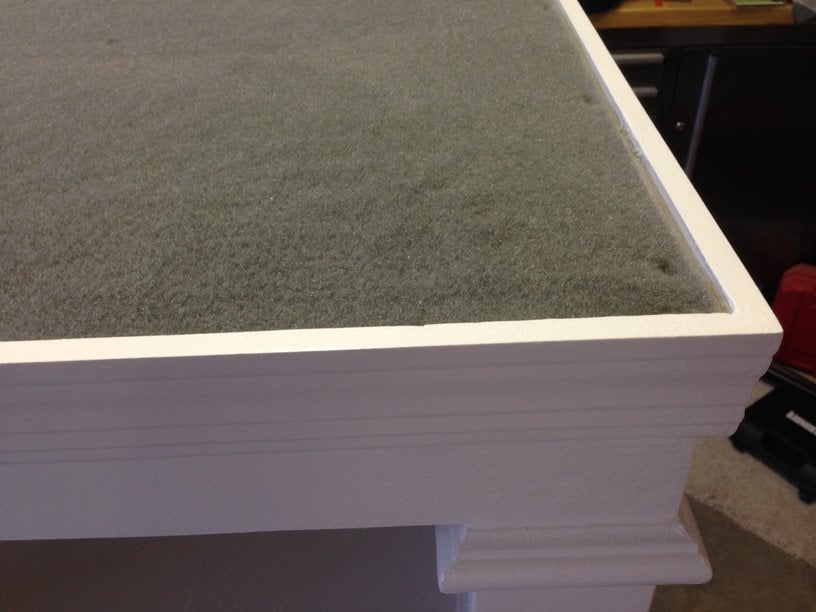
I loved this design. I couldn't believe that they wanted to charge me almost $600 for the pedestals for the washer/dryer set that I bought on black friday, so I decided to give this project a go. I basically used the same construction plans from Sausha's project, but I dressed mine up a bit. First, I chose a bit larger trim for the tops and bottoms of the posts. Then, I bought some 2" baseboards and did the top and bottom with baseboards. On the bottom, I had to use my tablesaw to trim off about 1/2" because I used 1x1" boards on the bottom so that I could have more space for baskets. Then, on the top, I inverted the baseboard and allowed it to overlap a bit so that if it were to vibrate, the washer/dryer could not fall off the edge. I also added some fabric on the top (stuff that I use to cover the bunk boards on my boat trailer...kind of like a very thick and durable felt material) to cut down on vibration and also keep the units in place. Finally, I added sides by using wedge trusses on the inside of my side posts and then I put a 1/8" piece of plywood over top and nailed/glued it to the trusses.
It turned out great. Thanks for the plans Sausha!

In reply to Nice Detail by earthbybike
Mon, 12/08/2014 - 11:42
Thanks. Yeah, I thought that it did really dress things up. I really like the way it turned out.
Mon, 12/21/2015 - 17:38
Did you use sanded plywood? Did you use any veneers for the exposed 2x4's to get a smooth finish or did you paint right on it?
lastly, what is the name of the trim you put on the 4x4s? I've hard a hard time finding it. Thank you!
Mon, 12/21/2015 - 17:44
Did you plane the 2x4s? Because they look really straight.
In reply to Question... by Zlk200
Wed, 06/29/2016 - 13:59
Sorry for the super delayed response. I didn't realize this question was here. I did not plane anything. I did sand the surfaces a bit, but I didn't get too crazy. I put 3 thick coats of paint on it which made it pretty smooth. If you look very closely in person, you can still see a bit of wood grain, but it is only noticable if you really get down and look. I did use a lot of wood putty to fill all of the gaps and crevaces and then I sanded those parts pretty well.
With regard to the trim, the top literally just standard baseboard material turned upside down, and then the little trim on the tops and bottoms of the 4x4s is just another standard strip of moulding that I got from Lowes. I think they call it "Chair Rail" moulding. Its the stuff that you put down if you are doing some sort of paint separation or wainscoting.
http://www.lowes.com/pd/1-625-in-x-12-ft-Mdf-Chair-Rail/3403018
I used woodglue on all of the moulding and tacked it on with a nail gun. Then I filled all of the nail holes with wood putty and also use the putty to fill gaps where the corners came together to make that look smooth.
I hope that helps...you are probably already done with your project by now, but I figured that I would answer anyway. :)
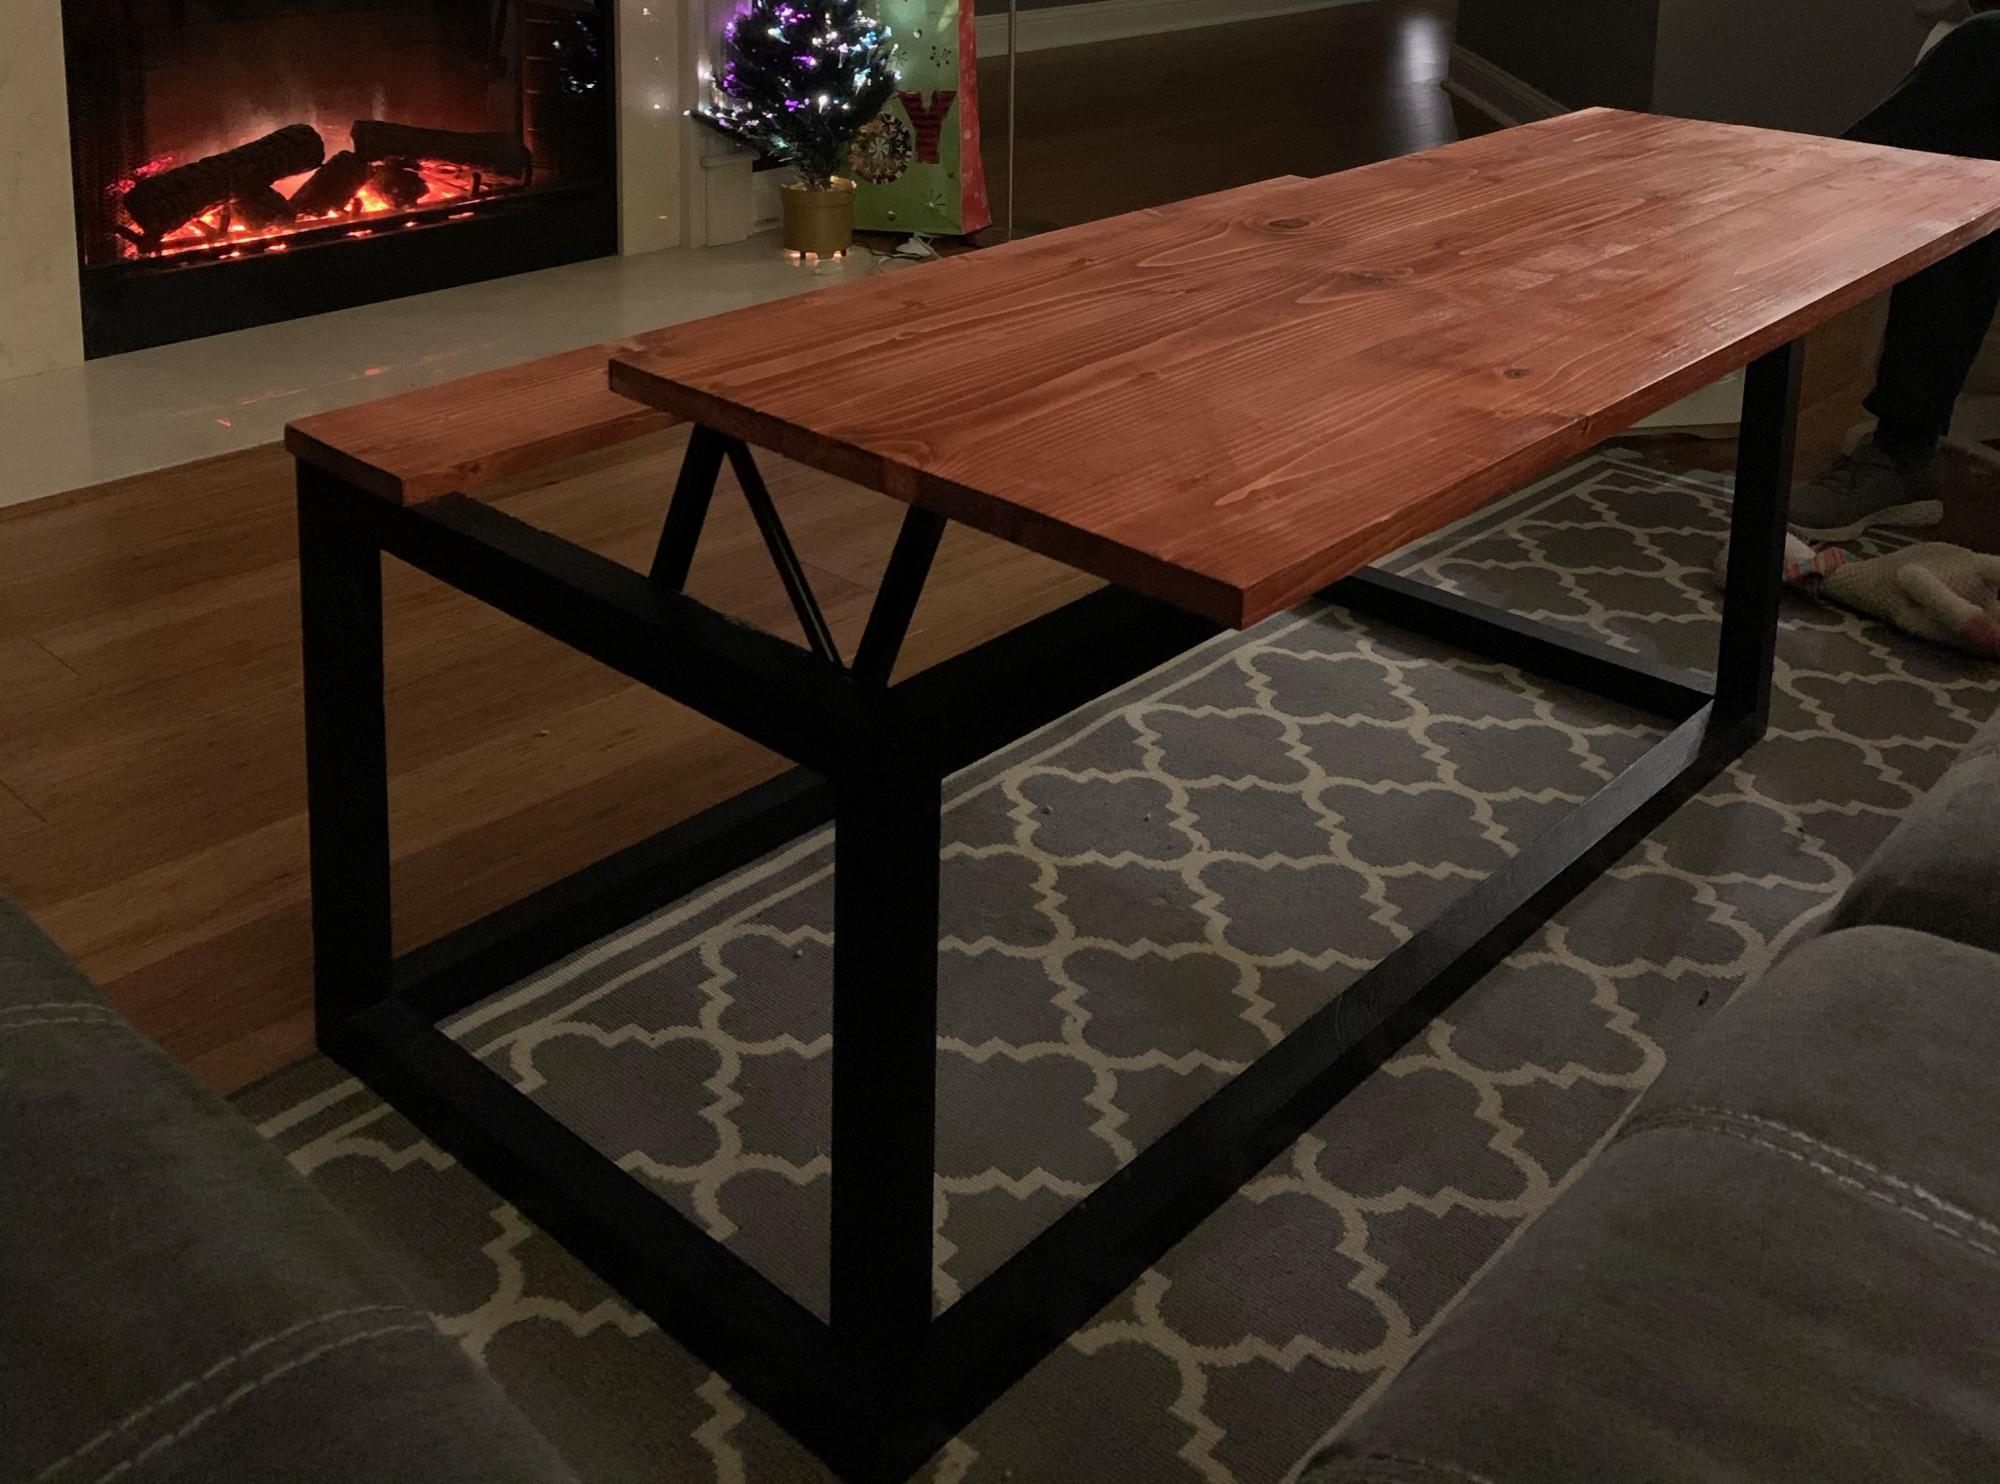
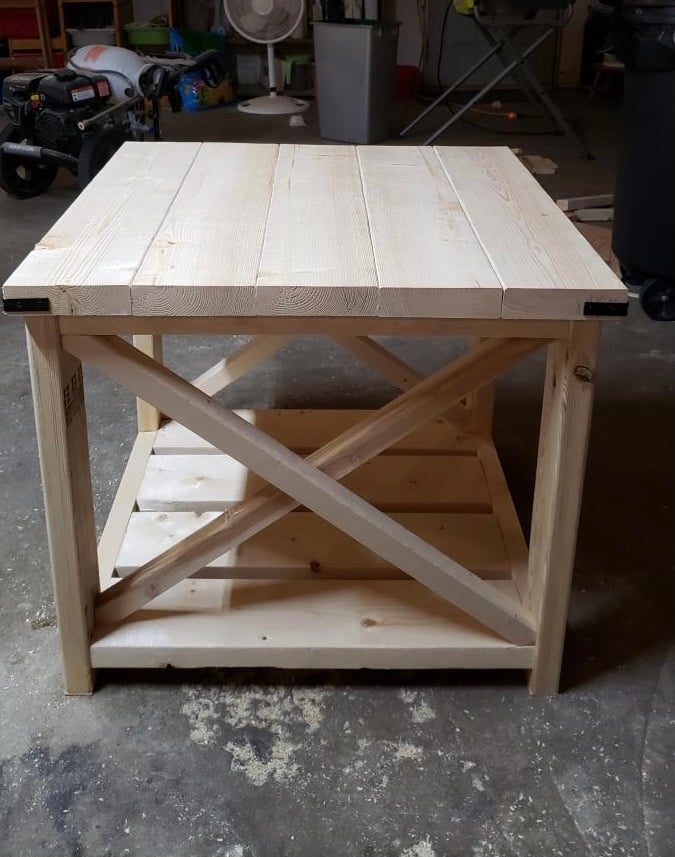
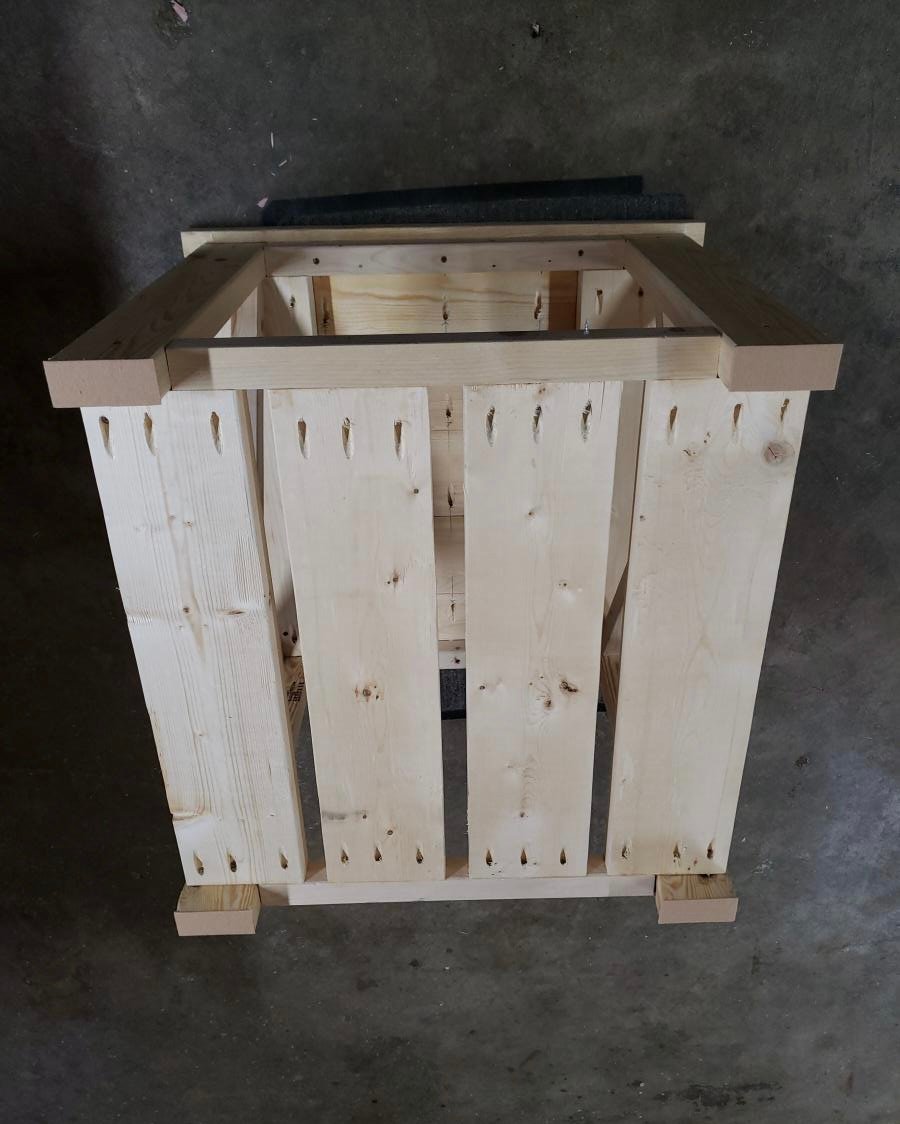
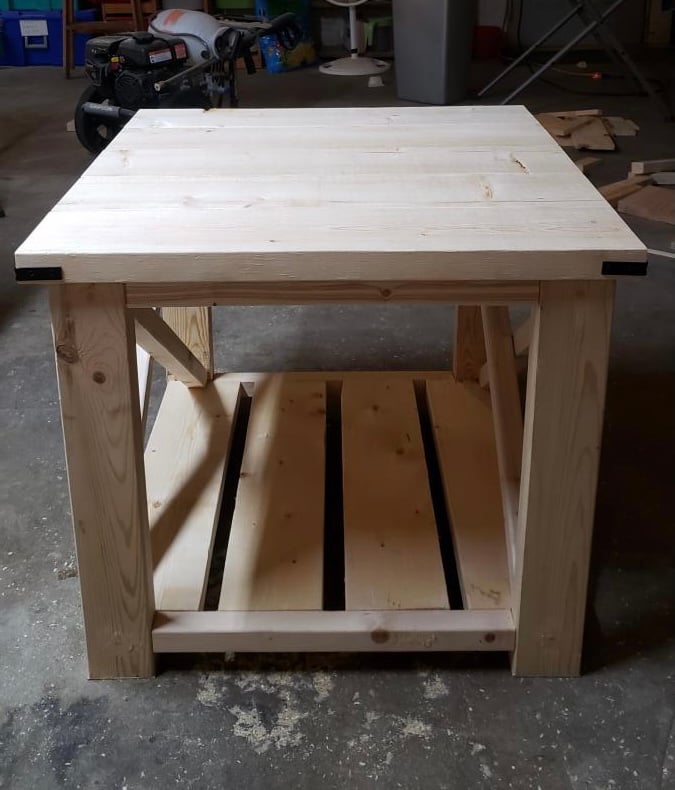
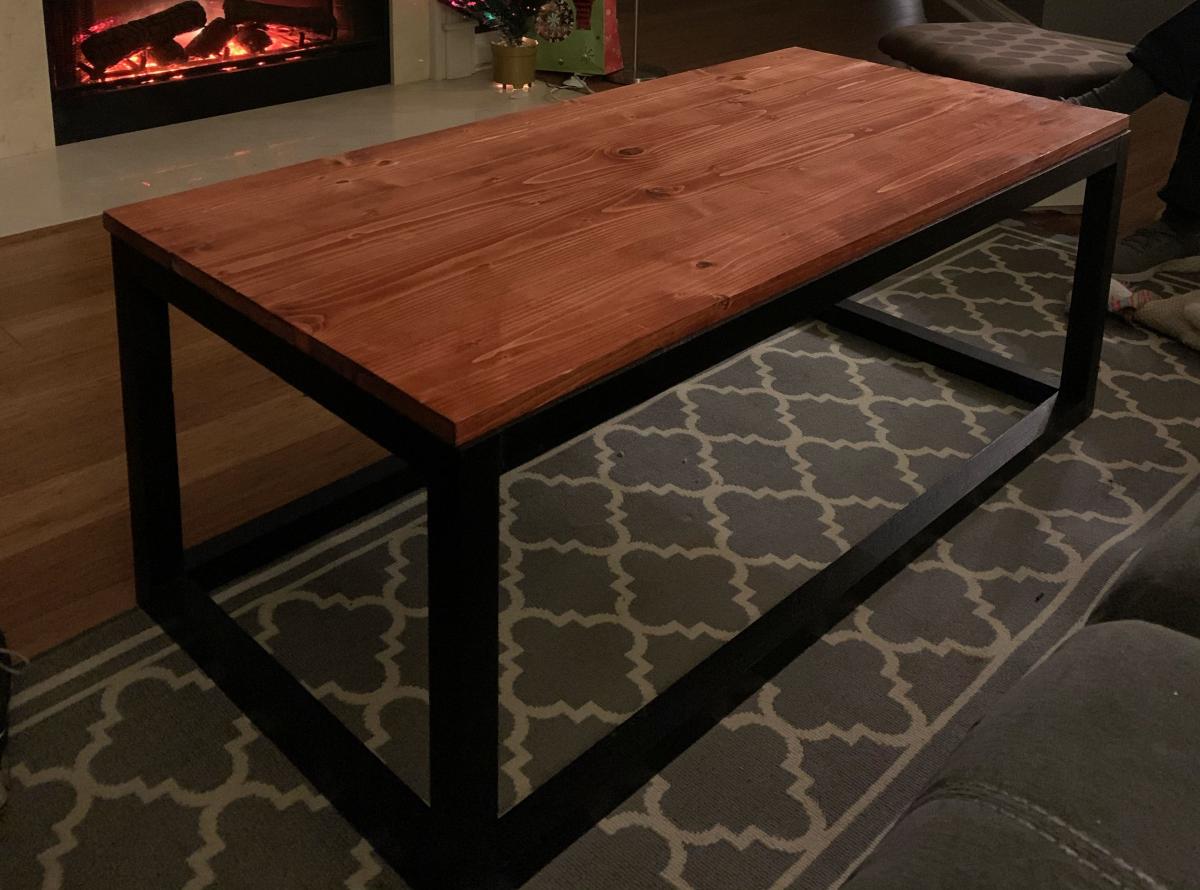
Really fun coffee table - my first foray into furniture! I think I will be adding the bottom shelf for added weight and storage to keep the table top tidy.
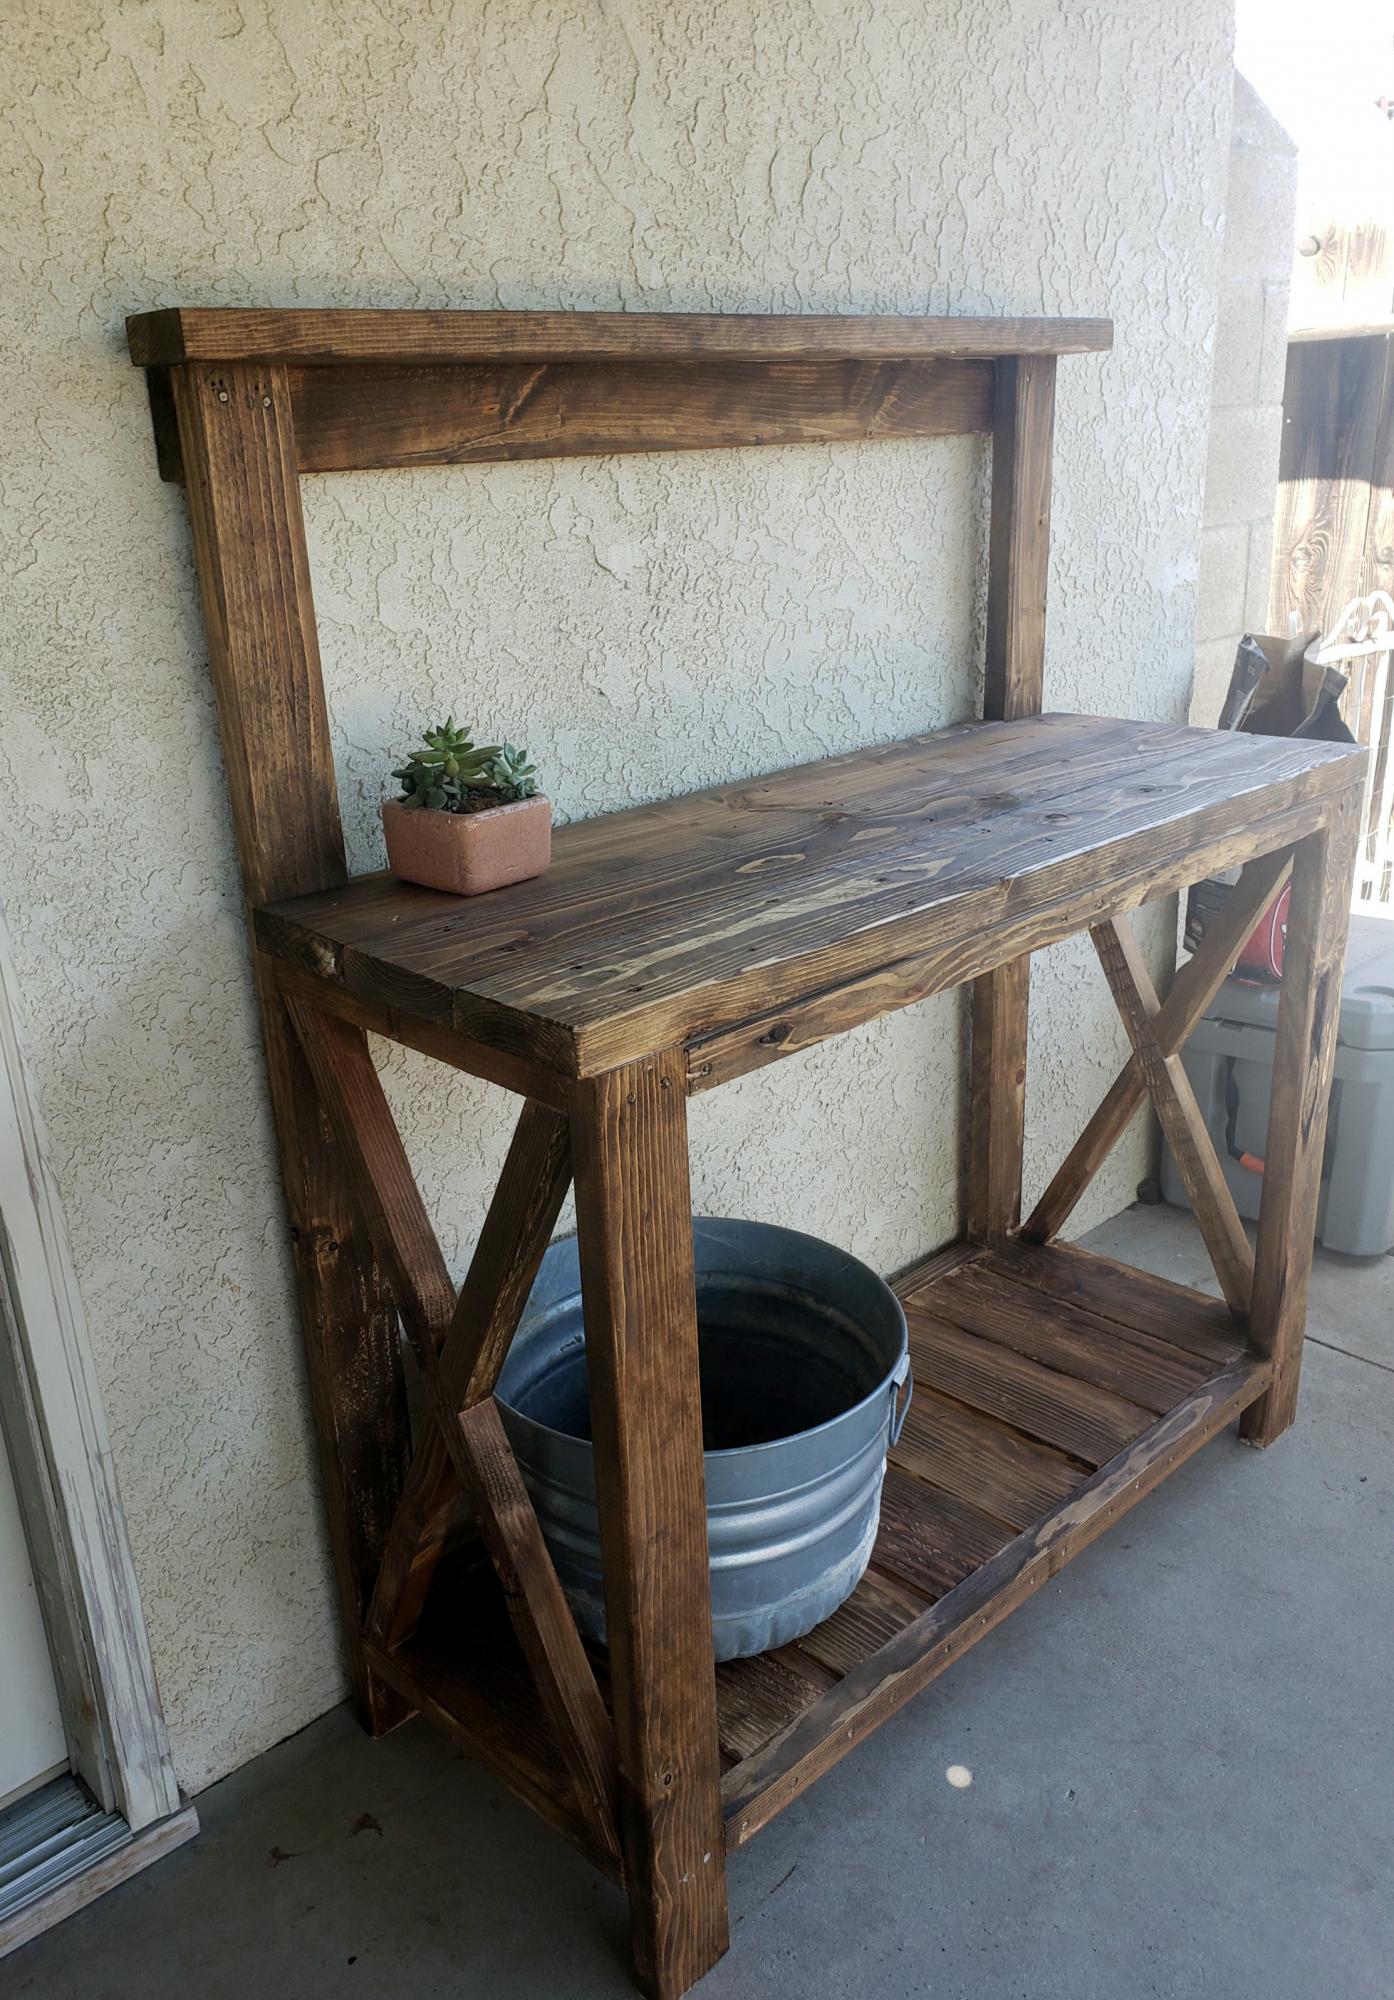
Thanks for the inspiration! This was my first full blown creation and my wife loves it. Cannot wait to do more!
