Community Brag Posts

DIY Wood Outdoor Chair with Deep Seat Cushion

Submitted by Anonymous (not verified) on Thu, 08/10/2023 - 12:27

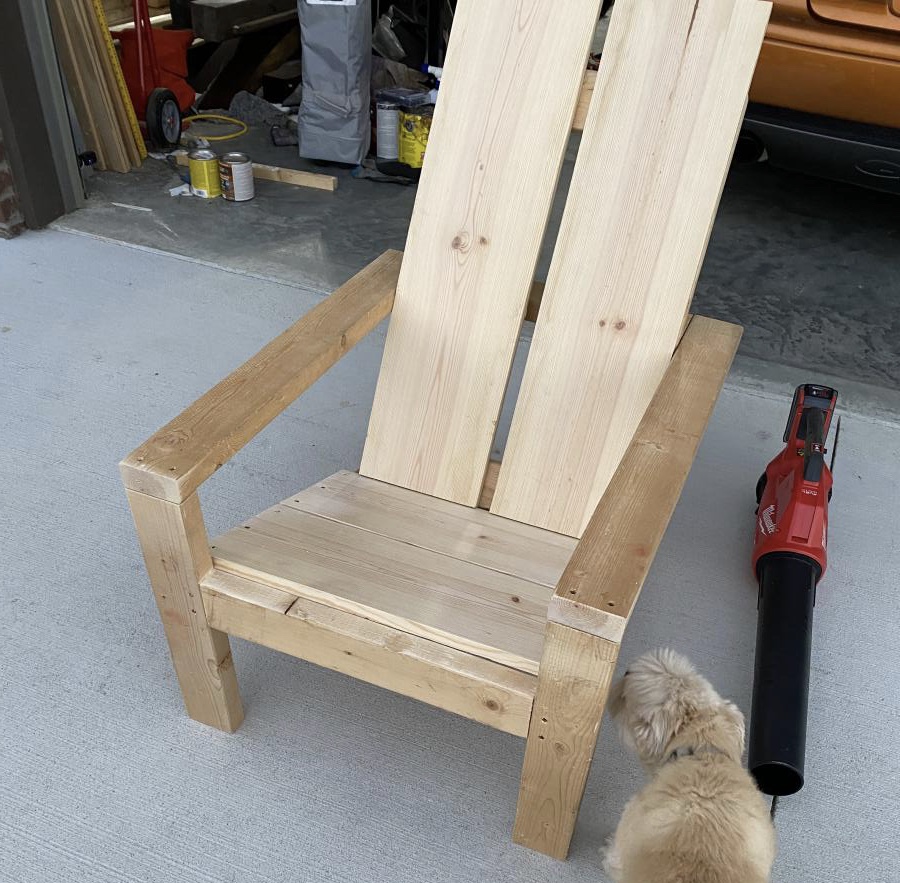
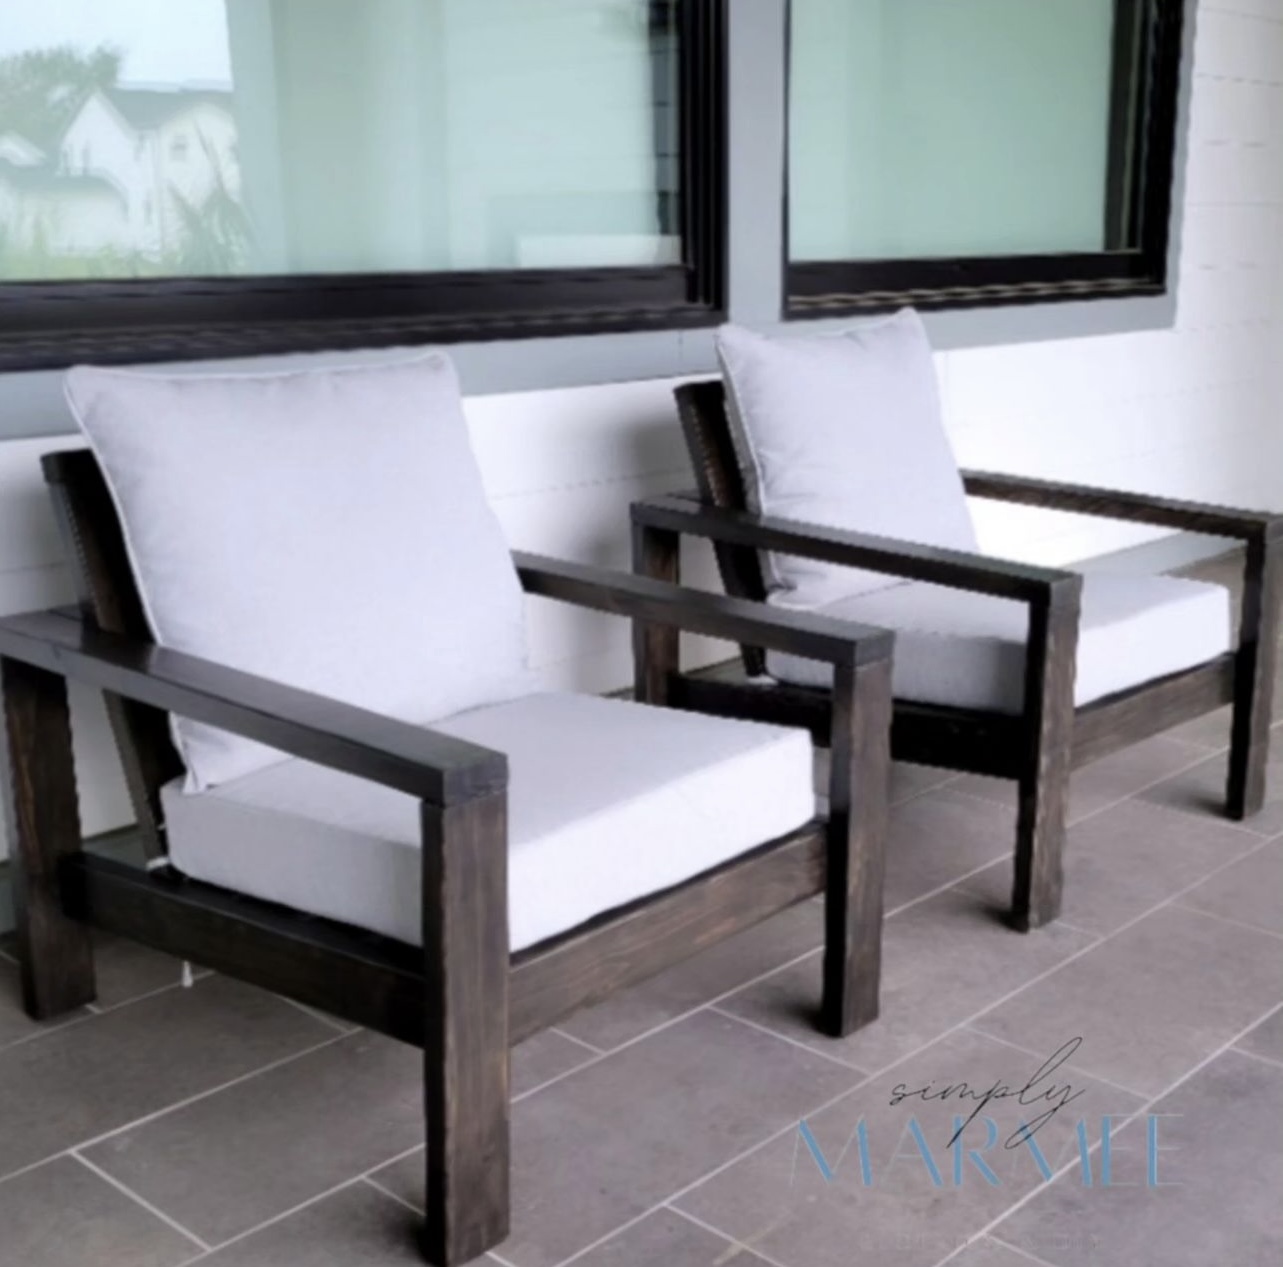
Using just basic tools, I was able to build this super comfy outdoor chair for the fraction of the cost. With a couple of modifications, Ana White's design plan made for a perfect fit for the new deep seat cushions I had found on fb marketplace.
 

Seasonal And Holiday

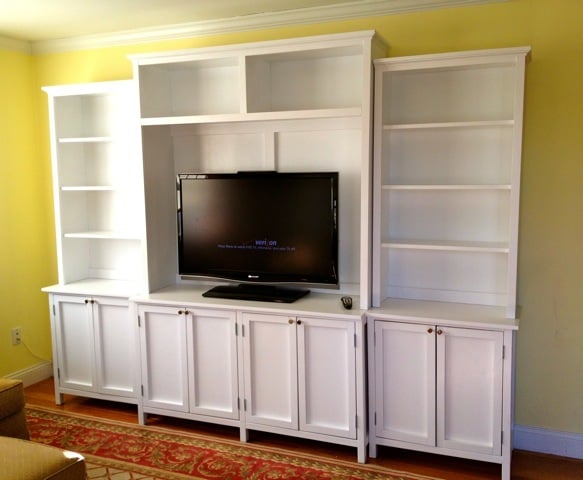
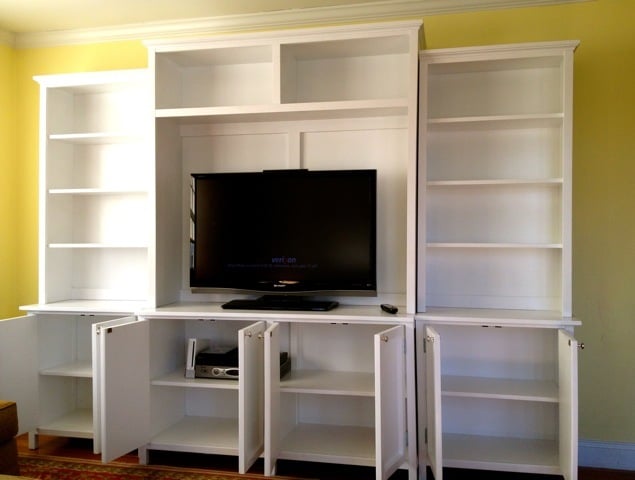
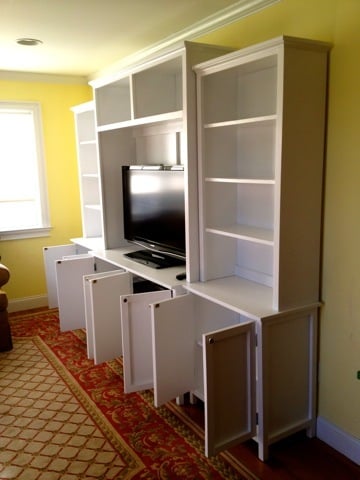
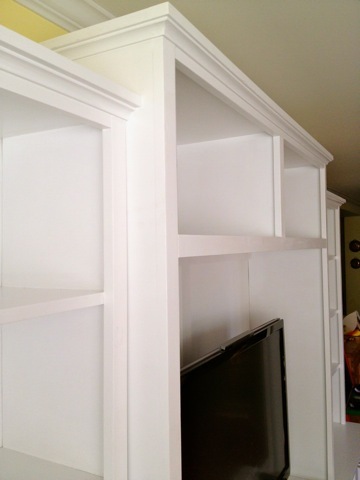
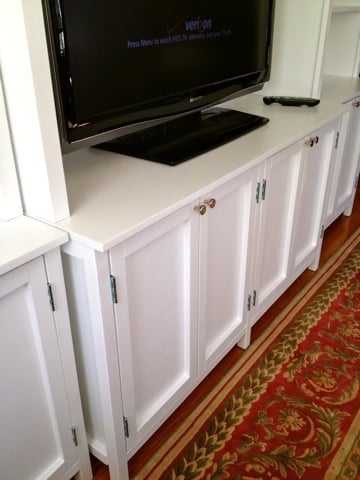
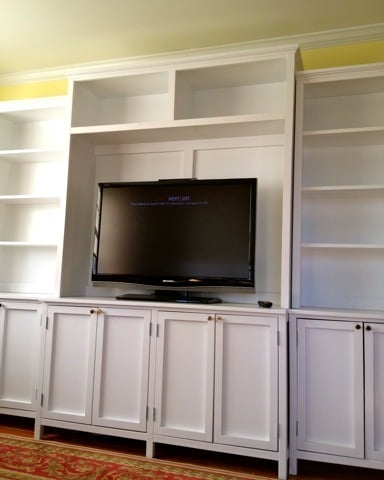
media unit

Custom size media unit using a combination of Ana's plans.

Estimated Cost
$600
Estimated Time Investment
Week Long Project (20 Hours or More)
Finish Used
1. Prime Zinsser Cover Stain
2. Two coats BM high gloss enamel white
Recommended Skill Level
Intermediate

Comments

Handygirl

Thu, 04/19/2012 - 21:56

Hey! Looks GREAT!!! I was curious how you made your doors. Did you attach thin plywood to the back, or slide it into the frame as an insert?

Joy Flake (not verified)

Tue, 12/04/2012 - 12:38

I was wondering how you attached the bookshelf unit to the base unit on the side cabinets?
Thank you!

Raised Cedar Beds

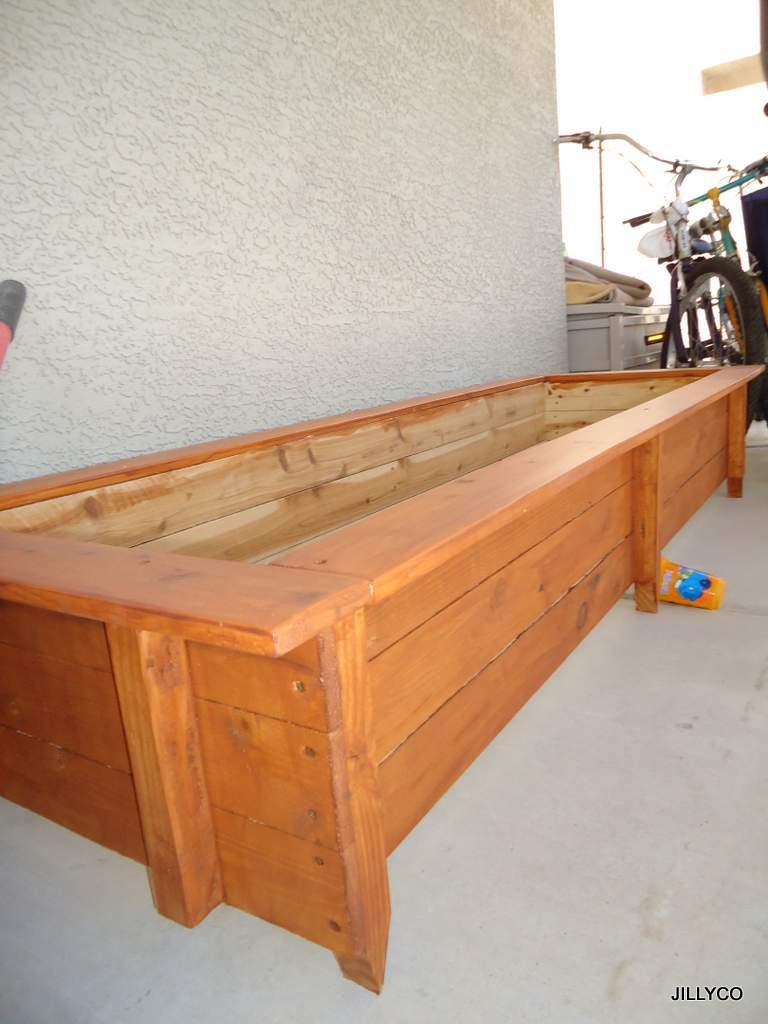
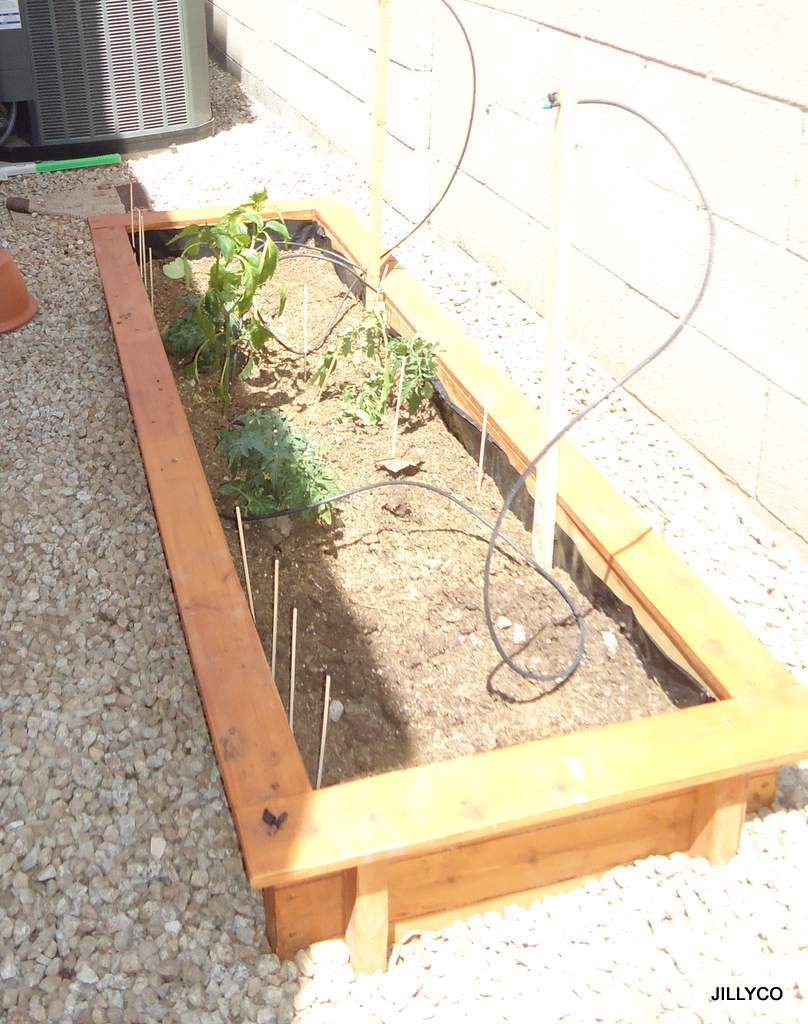
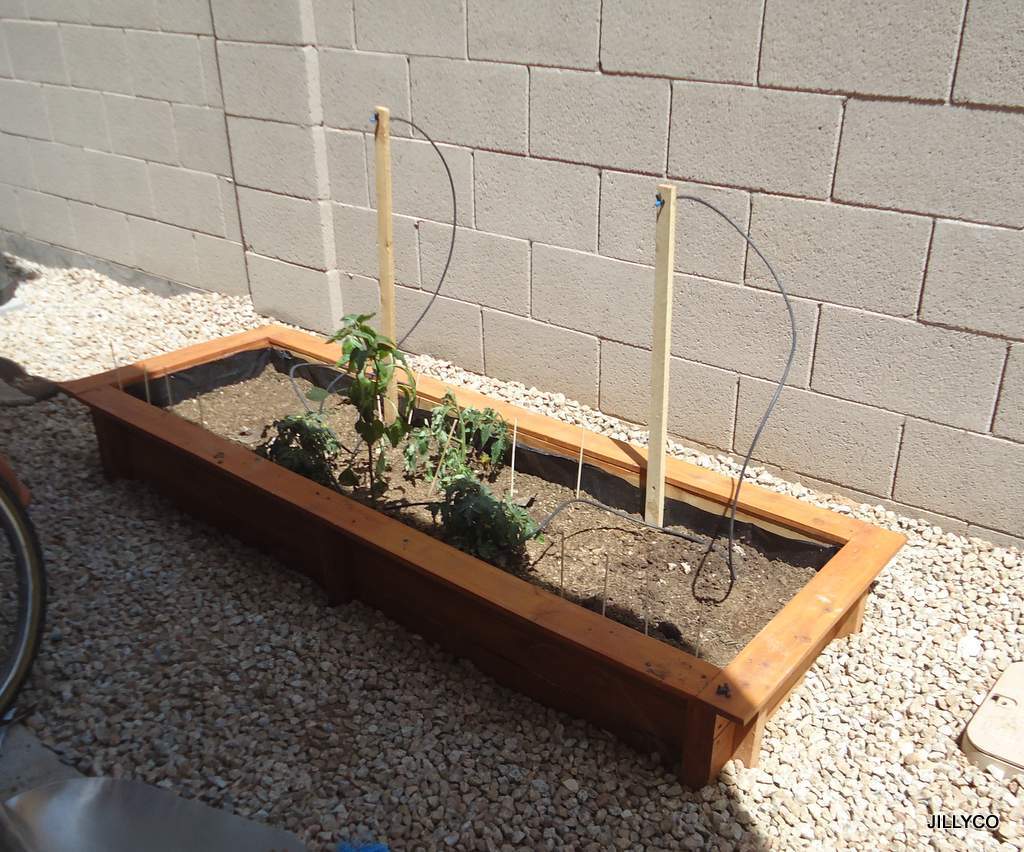
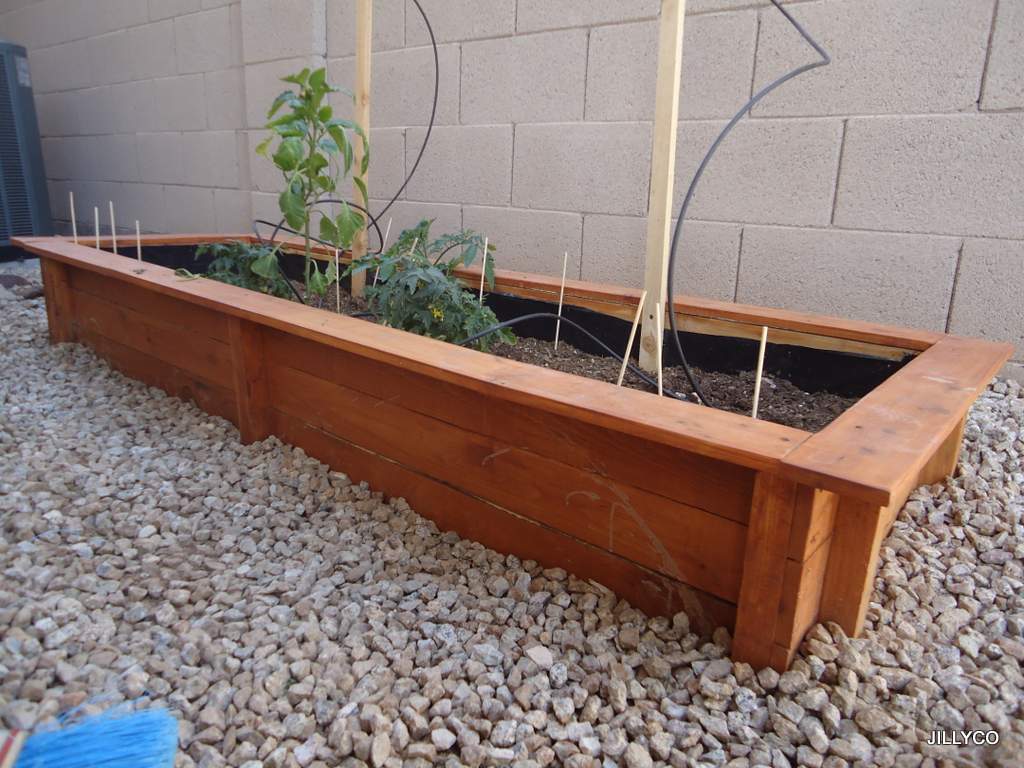
THANK YOU Ana's your plans are a life saver and pocket book saver as well. You make your plans so easy to follow and use. For my project I used the cedar fence pickets and redwood 2" x 2" stakes that where on sale at the orange box store for "6 pack bundle" for only $.50 each. All I can say is SCORE! ;') Since we live in Arizona I treated all the lumber with a outdoor weather proofing wood finish (Cedar Color), lined all the interior beds (only the Wood Sides) with 4 mil plastic to keep the cedar from absorbing all the water and wired mesh on the bottom of the garden prior to adding dirt. This keeps my local rabbits/other creatures from eating my roots from the bottom up. And I have my dog from the top side. We are already a 100 degrees here and we needed to get our seedlings in a garden asap. Thanks Again for the Plans, Ana! I will be making more of these garden boxes to come.

Estimated Cost
$15
Estimated Time Investment
An Hour or Two (0-2 Hours)
Finish Used
Behr Premium Transparent Weather Proofing Wood Finish (Cedar Color)
Recommended Skill Level
Starter Project

Comments

Mariel

Thu, 08/08/2013 - 09:39

Love this! We are new to Phoenix - originally from the Midwest - and I really would like to add some raised beds to our backyard. I appreciate your comments on how you adapted these for the desert! May I ask what side of your house they are on? I'm thinking to put mine on the east side so they get morning sun, but not the scorching afternoon rays. Thanks for your AZ advice!

Seasonal And Holiday

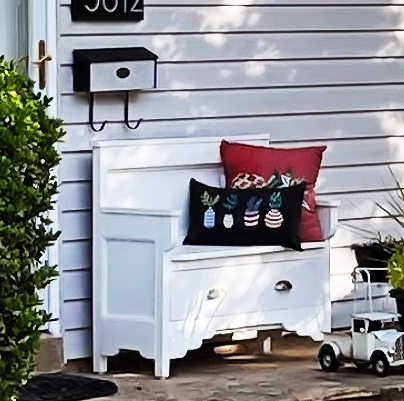
Front Door Storage Bench

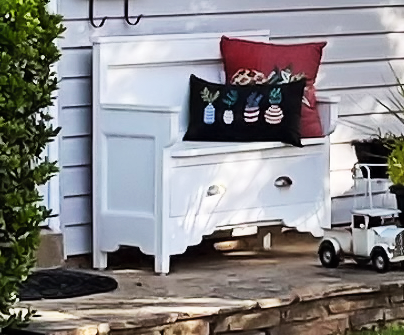
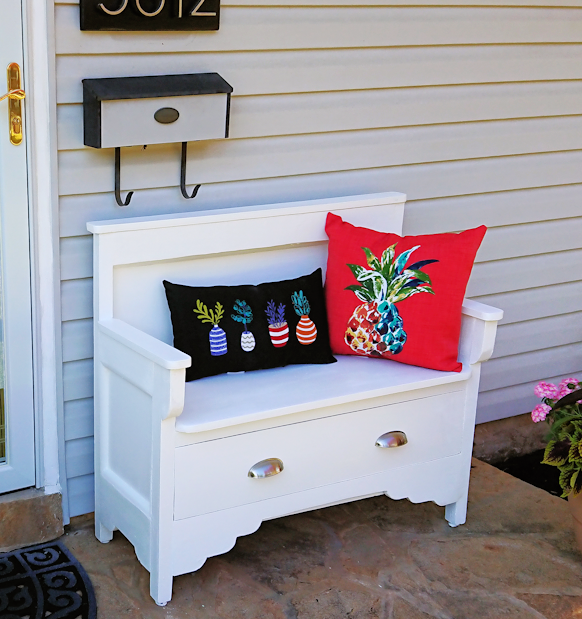
My bench sits outside my front door to welcome visitors and provide a place to set your packages while unlocking the door! I made it two years ago, and it's weathered three Baltimore winters with out repainting. I'll probably sand t and repaint it this spring. Folks are always asking where I bought it, and I give all the credit to Ana White, your site and your wonderful furniture ideas!

Jim Dupree


Built from Plan(s)
Seasonal And Holiday

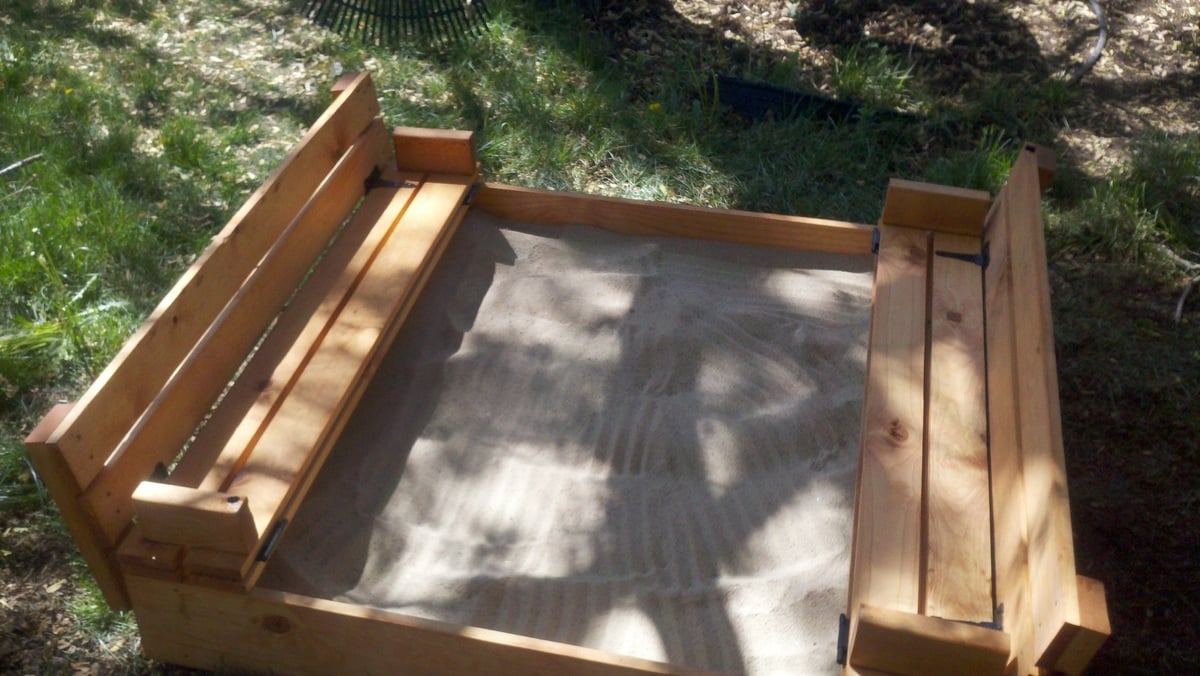
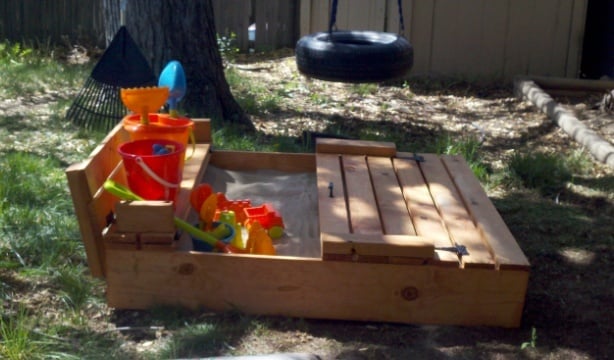
Sand box with benches

Submitted by Big Grizz on Sat, 04/28/2012 - 19:51

This sand box was very easy to build and it works great. The only thing I would change is cutting the "arm rests" at 7 1/2" instead of 6 1/2". I did that for the second set of arm rests (when I downloaded the plans many weeks ago the cut list was wrong). It made putting that section together a lot easier.

I easily spent more on the hinges (at $5 per hinge x 8 hinges) than I did on the wood itself.

My 1 and 1/2 year old loves playing in it and now I need to build a toy box for him to put all of his sand toys in!

Built from Plan(s)
Estimated Cost
$115
Estimated Time Investment
Afternoon Project (3-6 Hours)
Finish Used
Redwood colored stain
Recommended Skill Level
Starter Project

Comments

T. Holloway (not verified)

Mon, 09/17/2012 - 10:29

I just want to say that I asked for my husbands help, and his advice increased the price significantly.
He does not like to paint, and will spend the extra dollar to purchase pressure treated wood. So I sent him with my materials list and the wood he purchsed was $60.00, plus $22.00 for hinges and $10 for a box of deck screws. Actually, I am a artist and had wanted to paint the project to look like a big frog.

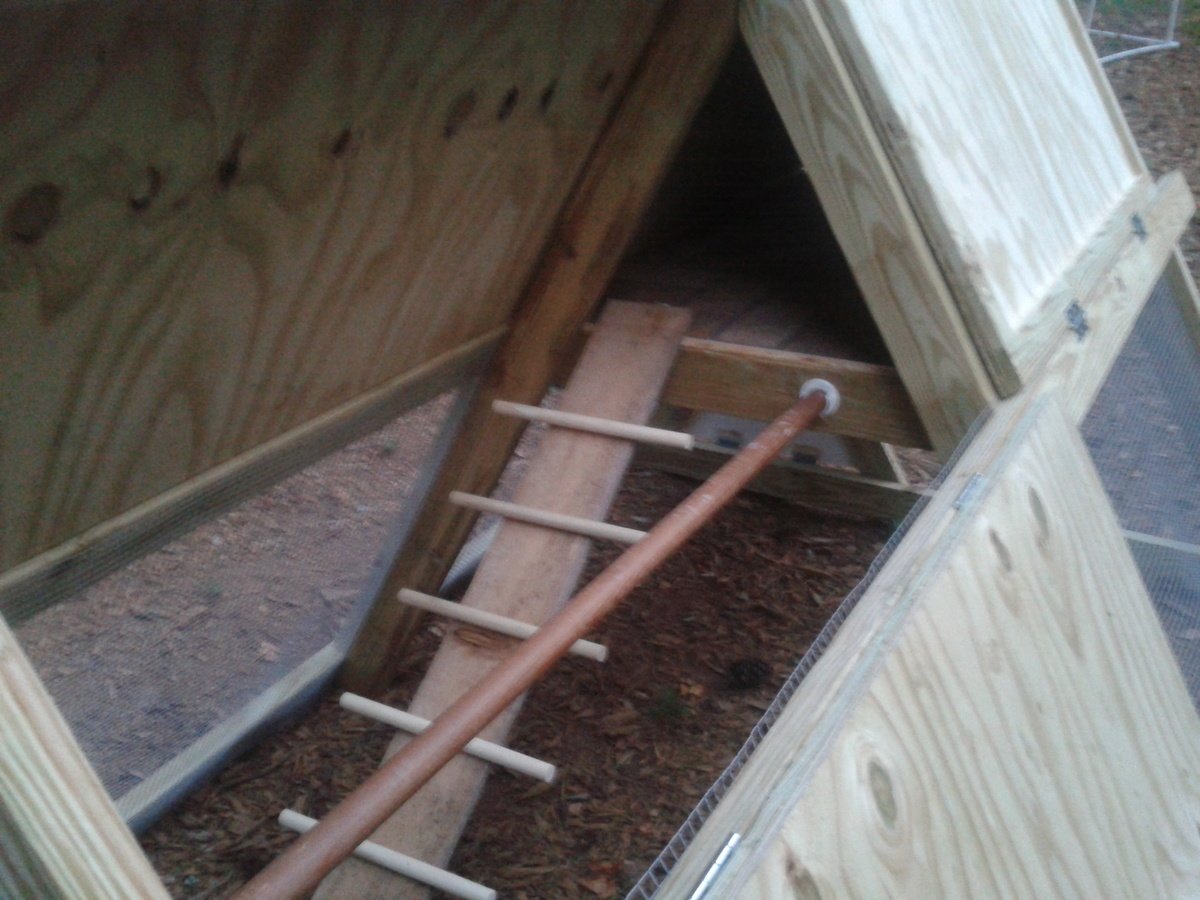
A-Frame Chicken Coop (with modifications)

Submitted by anniejw17 on Mon, 07/02/2012 - 18:39

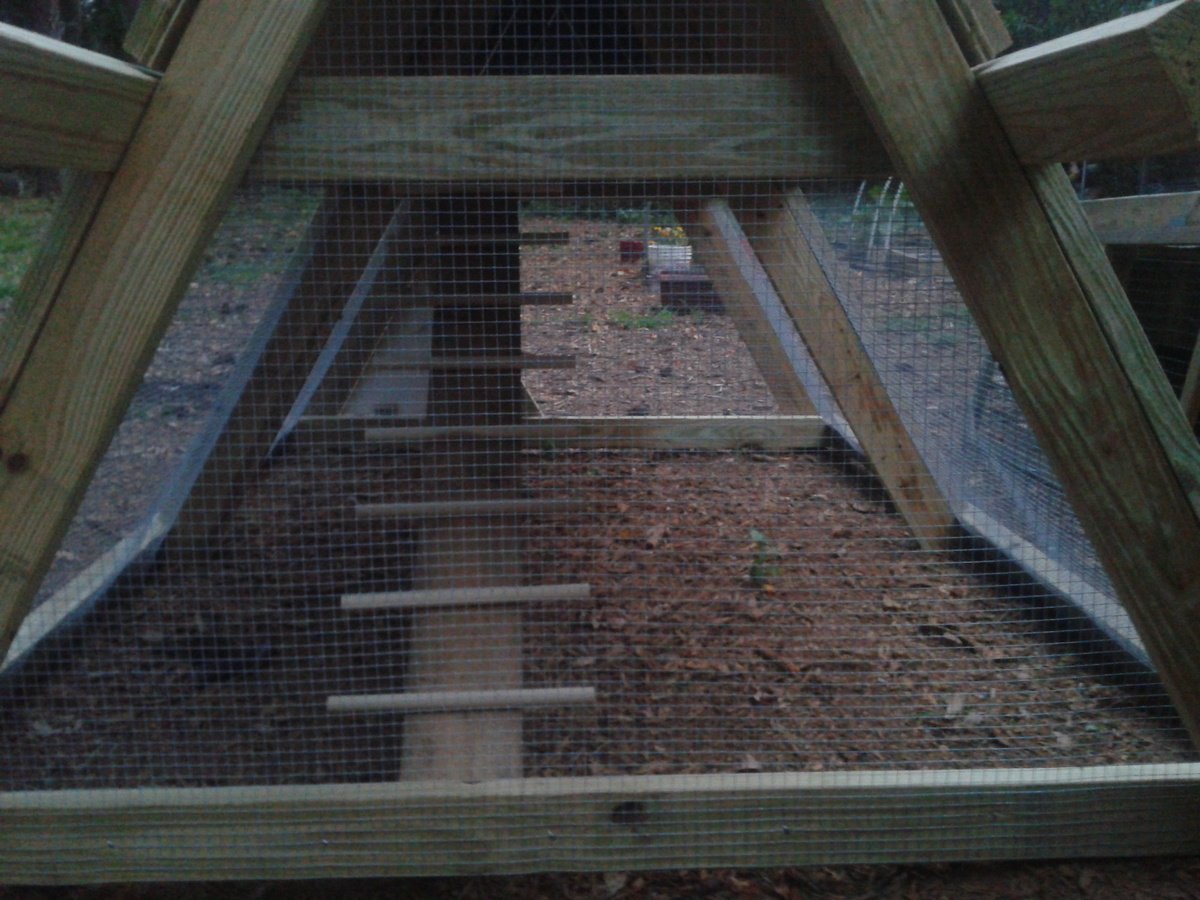
We followed the plans for the A-frame chicken coop very closely, and then modified it a bit at the end.

1. Trim was added to two doors on each side, as suggested. They are secured with latches at the top, more to keep them from falling open than to keep critters from getting in. We used 2x4x10's instead of 2x4x8's on the middle horizontal rail, giving us foot-long handles on each side. My husband and I are able to move the coop about 15 feet at a time, which is pretty good considering it is STURDY!

2. We used 1/2" galvanized hardware cloth instead of chicken wire, as suggested by one commenter (and lots of others in blogland).

3. I cut 1/4" plywood to fit the loft space and coated it with vinyl stick-on tile. This should make it easier to clean. We didn't screw down the plywood, so if we have to, we can remove it to hose it off/scrub it.

4. I cut a triangle of plywood to make an egg door at the end of the roost. It hinges at the bottom (with a 2x4 ripped into a 1x4 to cover the hardware cloth and provide a mounting spot for hinges) and latches at the top. I plan to use cotter pins or something to secure the latch. There is also a piece of untreated 1x4 held in place with tabs at the egg door to prevent bedding from falling out once it's converted to the nesting box (I'm planning to get pullets, not ready to lay yet, so they won't even have a tempting nest box)

5. There was no bottom door in the plans (to allow free-ranging), so I cut a piece of 2x4 to make a triangle against the bottom (same size as the egg door). It folds out (just like the egg door) and will allow the chickens easy access to the yard. We do have hawks in our neighborhood so free time will always be supervised. We also have a dog (who I coaxed into the coop for the main picture, haha!) who will need supervising. She's been around chickens before but you never know what will make her turn on them!

6. There was also no roost in the plans (although if you look at Ana's coop, there is a 2x4 across the middle of the side walls). I had a leftover closet rod, so I mounted that in the covered section parallel to the ladder. The ladder was shifted to the side. For the ladder, I just used a piece of cedar fencing and cut 2 48" dowels into 4 pieces each, and secured those with screws from the underside. I hope my chickens will be able to get up the ladder!

7. I also made a tube feeder from PVC and a dog bowl, and am working on a nipple waterer. Will update post when those are finished!

Now I just have to get some hens! I've been searching craigslist and can't wait!
Built from Plan(s)
Estimated Cost
200
Estimated Time Investment
Day Project (6-9 Hours)
Finish Used
Unfinished except for plywood floor (vinyl stick-on tile) and plywood doors (white exterior acrylic paint)
Recommended Skill Level
Intermediate

Comments

Tall Farmhouse Headboard

Submitted by Anonymous (not verified) on Sat, 03/02/2024 - 11:34

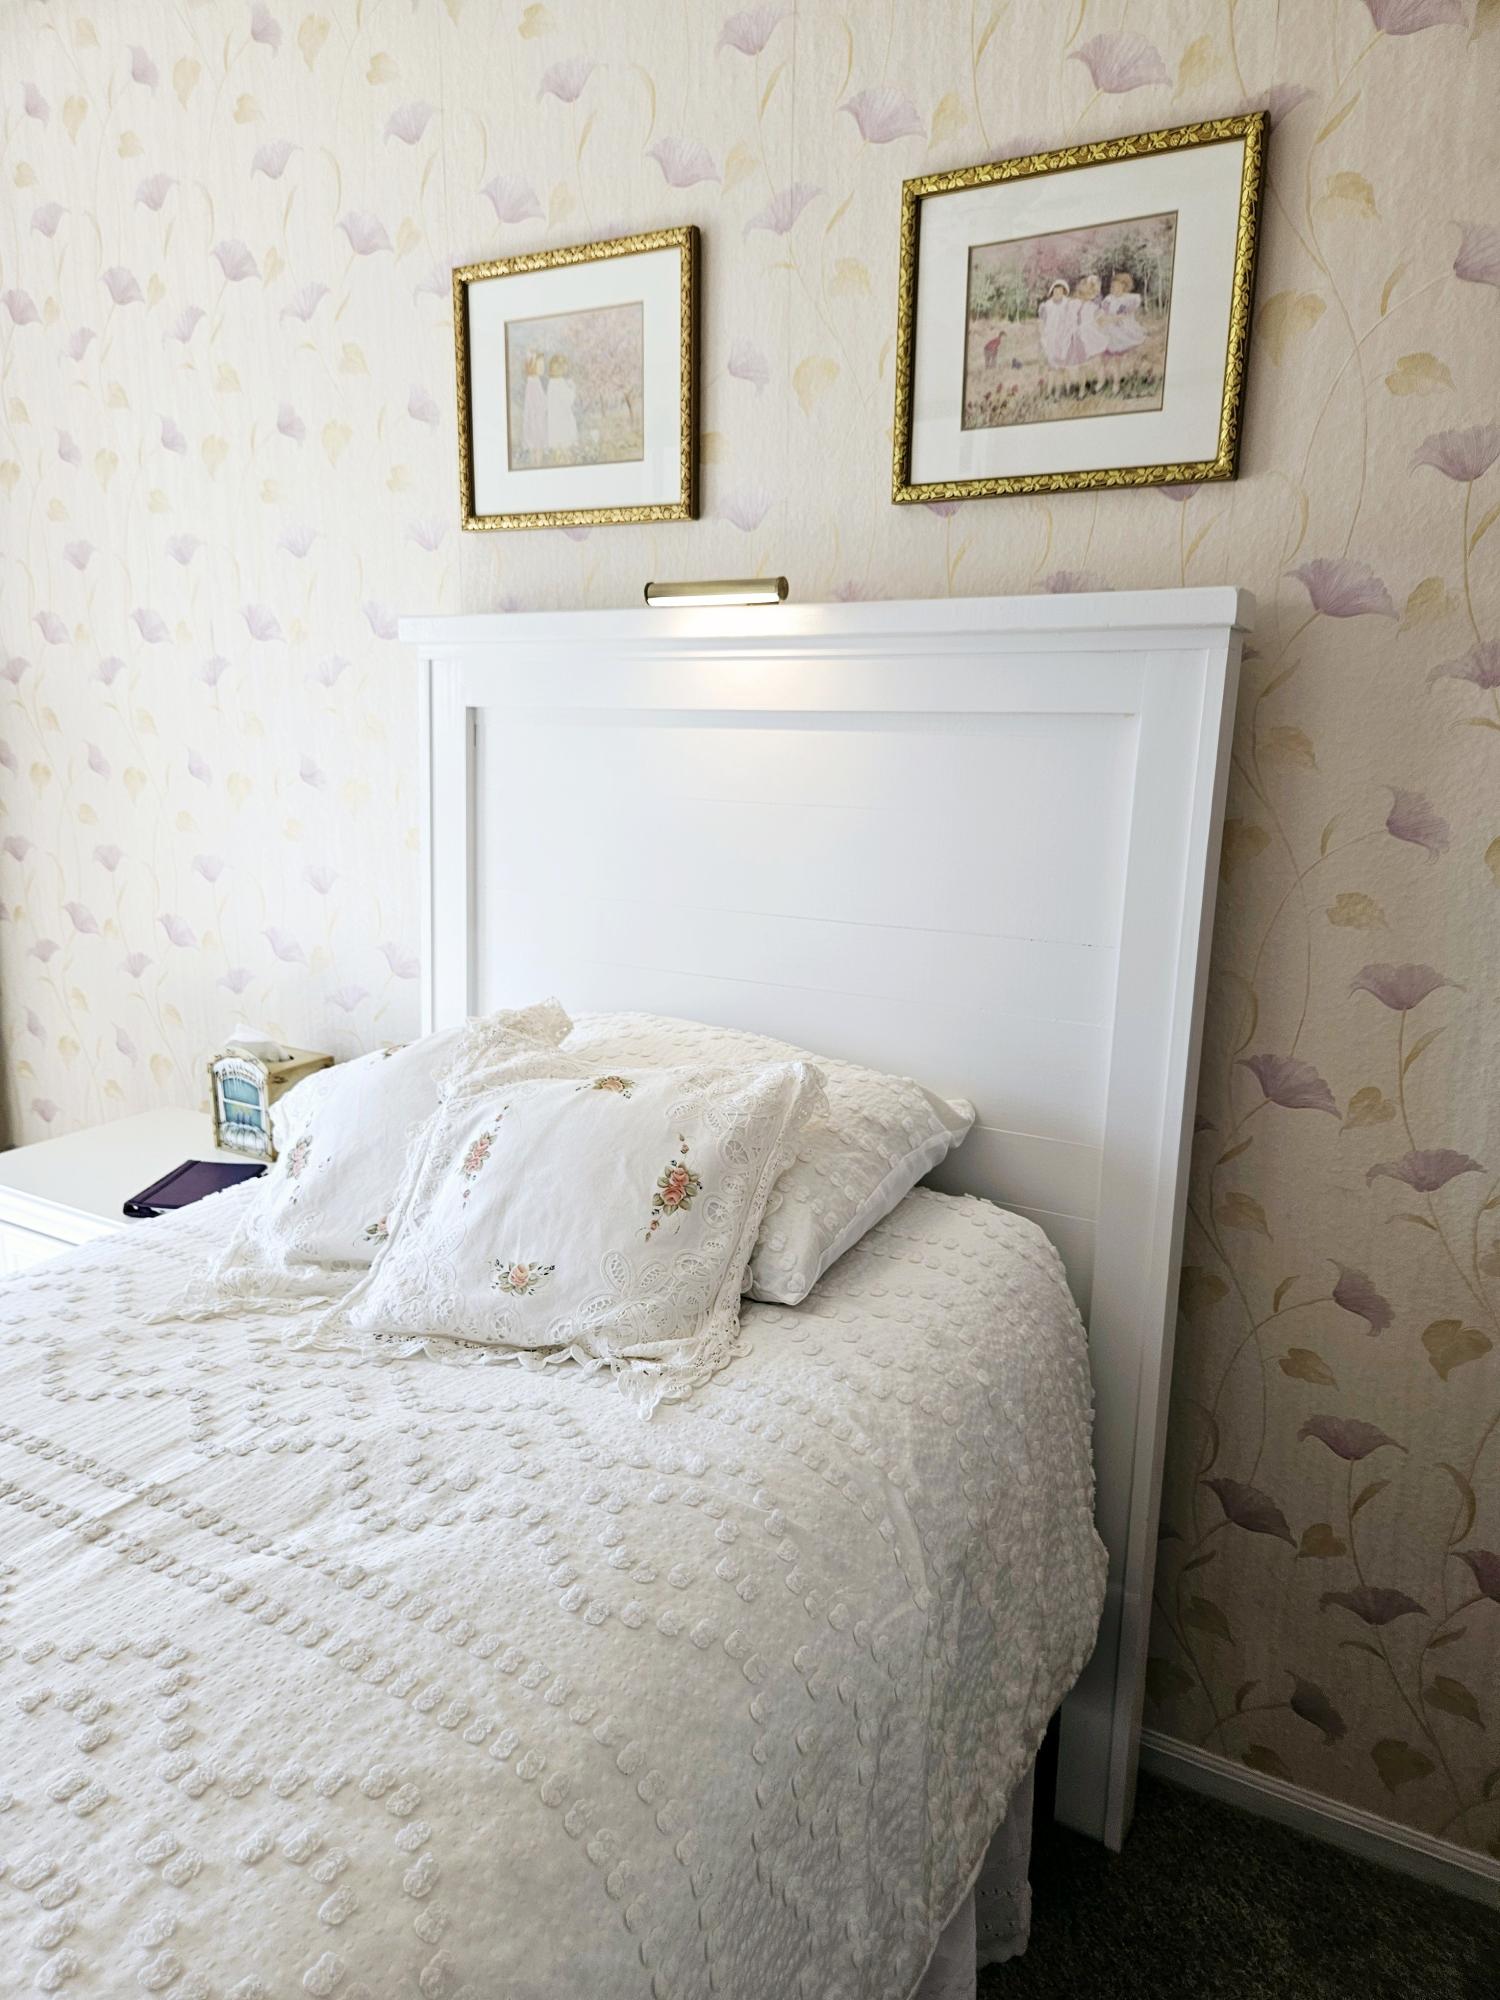
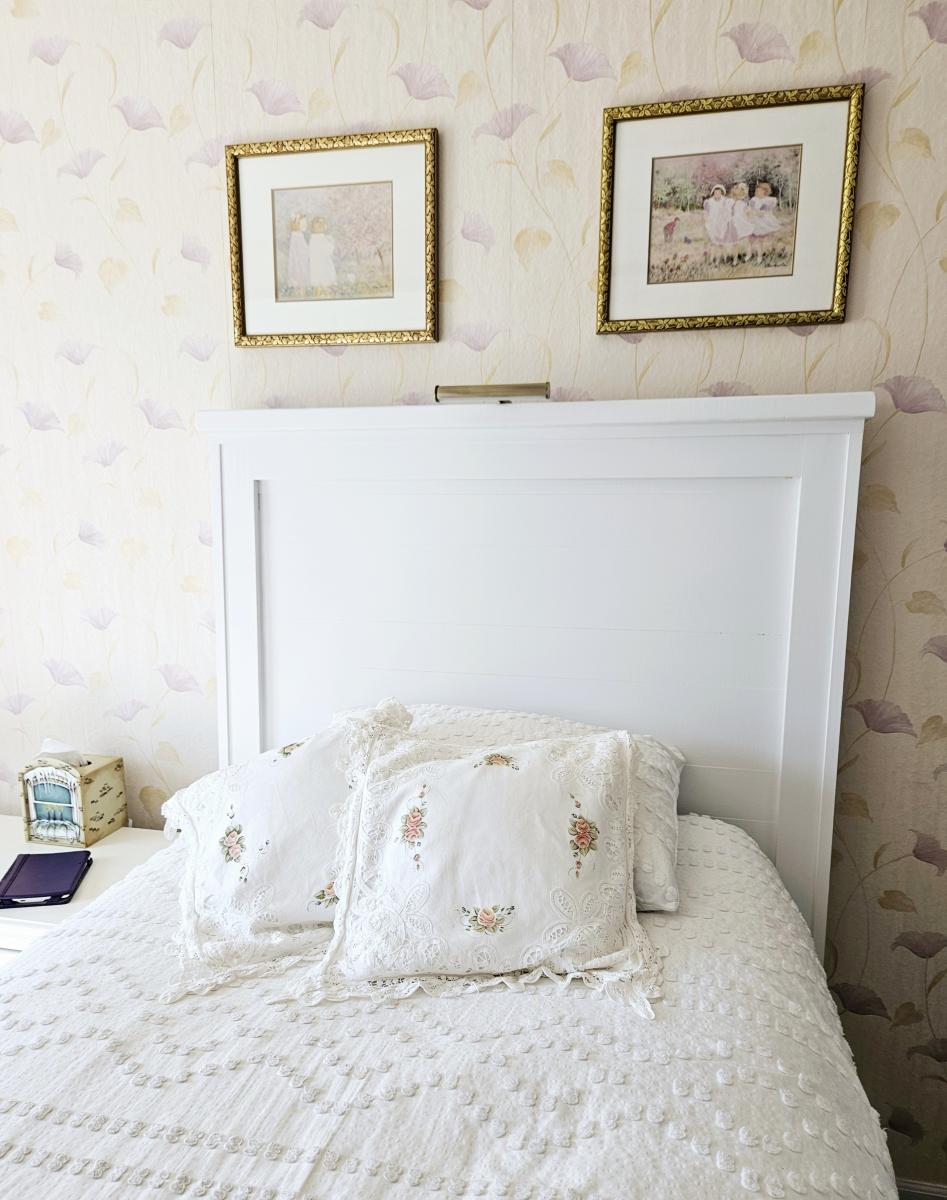
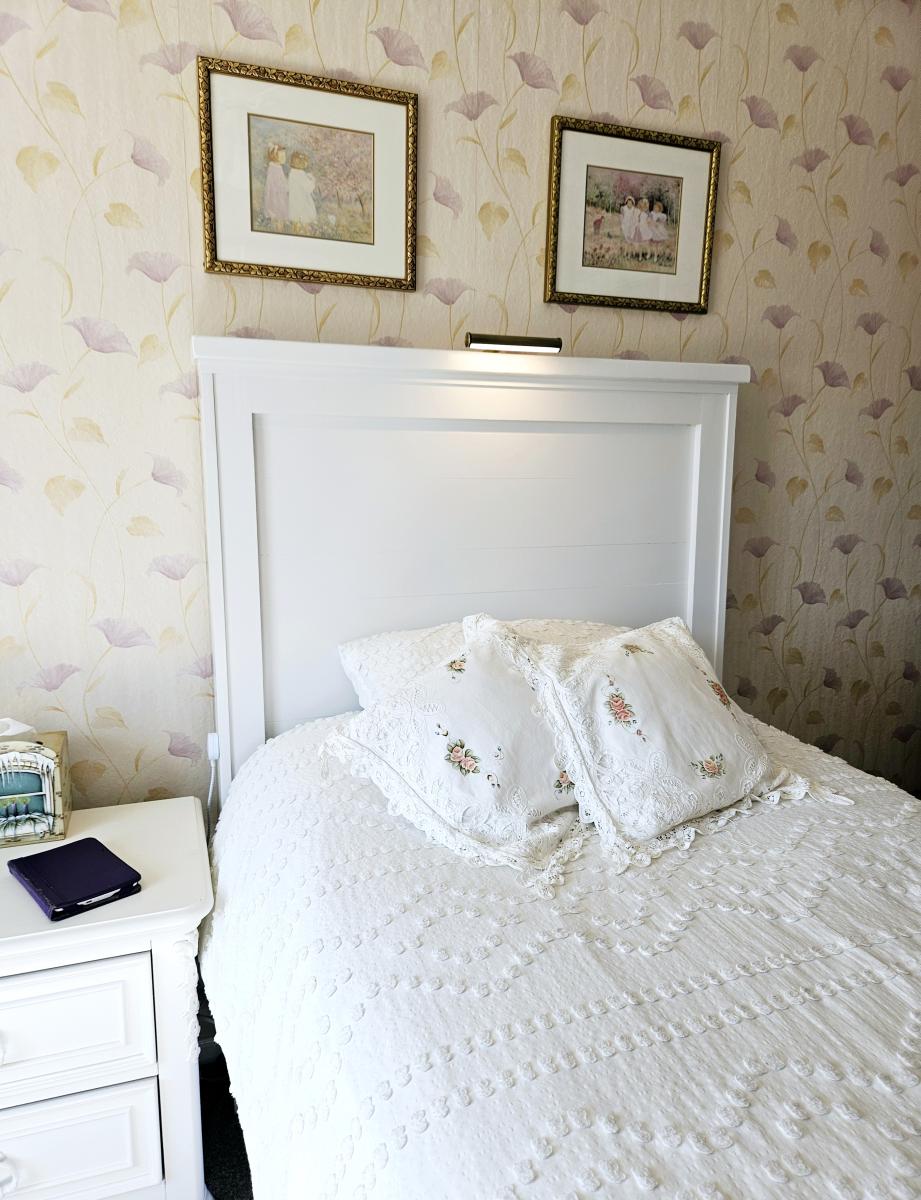
 am thrilled with my new headboard. The plans made every thing about this project FUN and DOABLE. I'm a 70 year old Granma who loves to DIY. SO fun to show my photos of what I did ALL BY MYSELF! THANK YOU FOR YOUR WONDERFUL PLANS! With out them my pretty new headboard would never have happened. WHAT FUN. I mounted an LED picture light fixture on the top for reading in bed and mounted the corded on off extension cord switch to the side of the leg for easy on off ! Again, THANK YOU!

Cheryl King

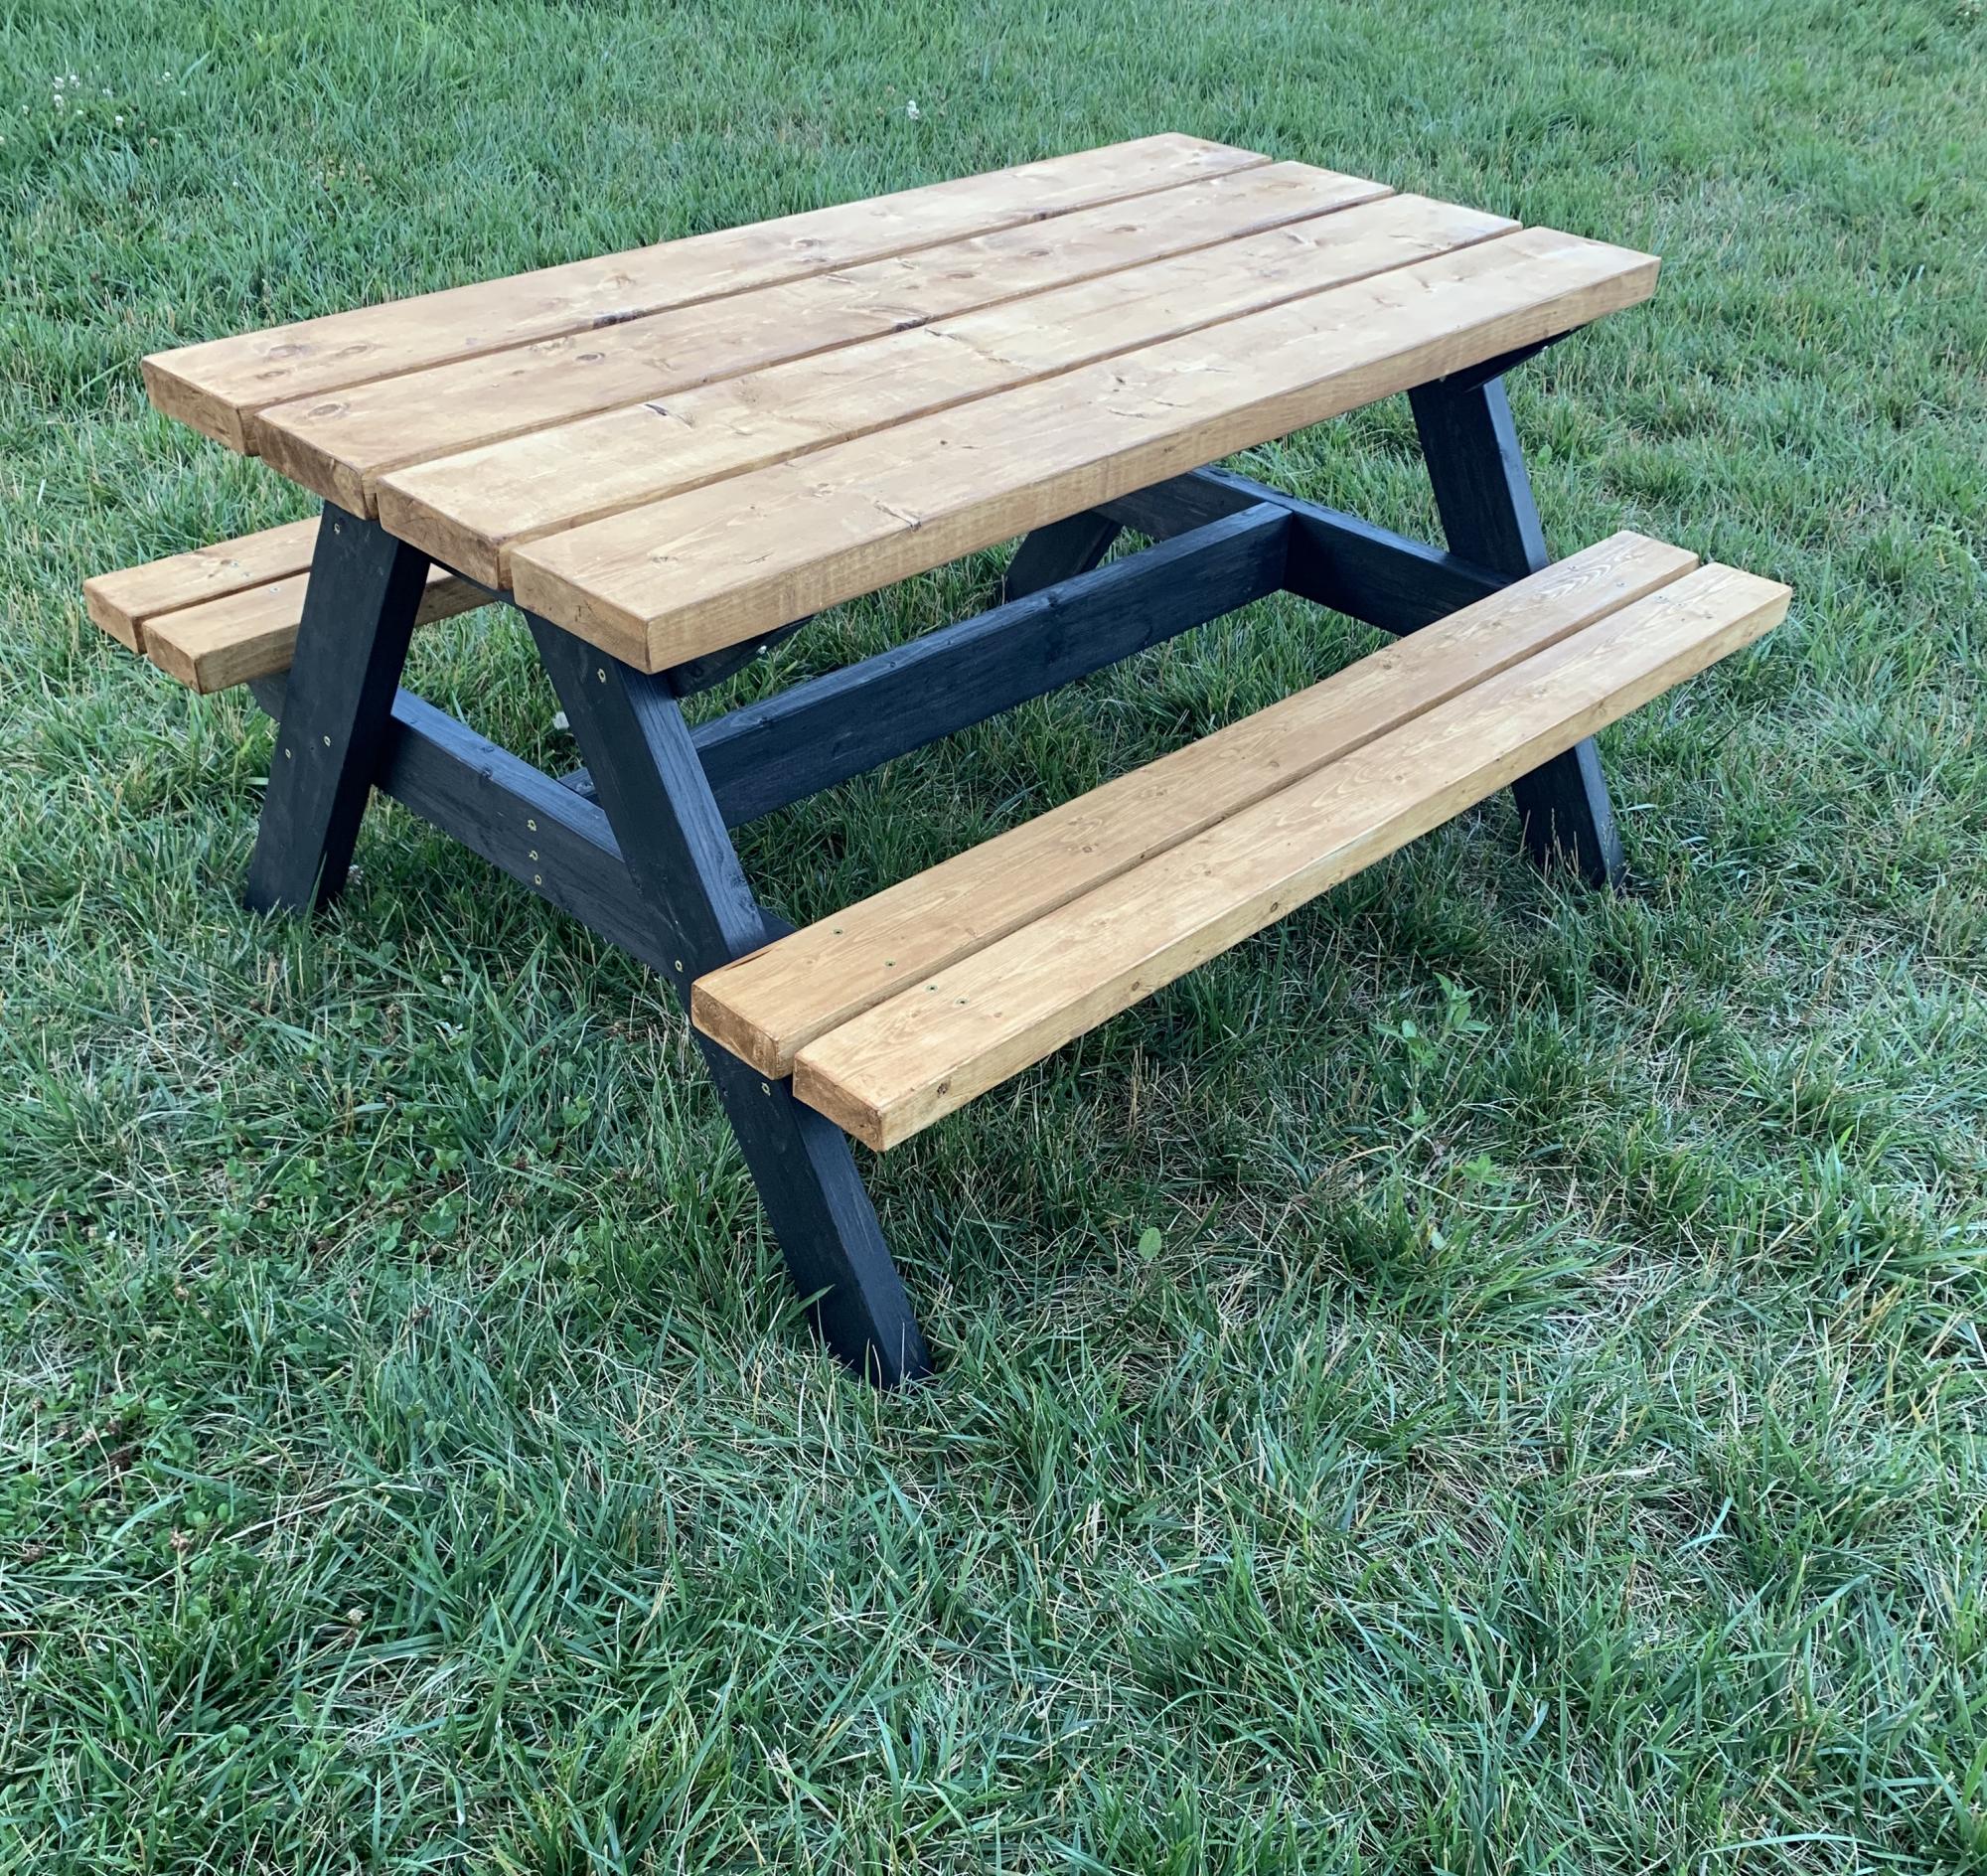
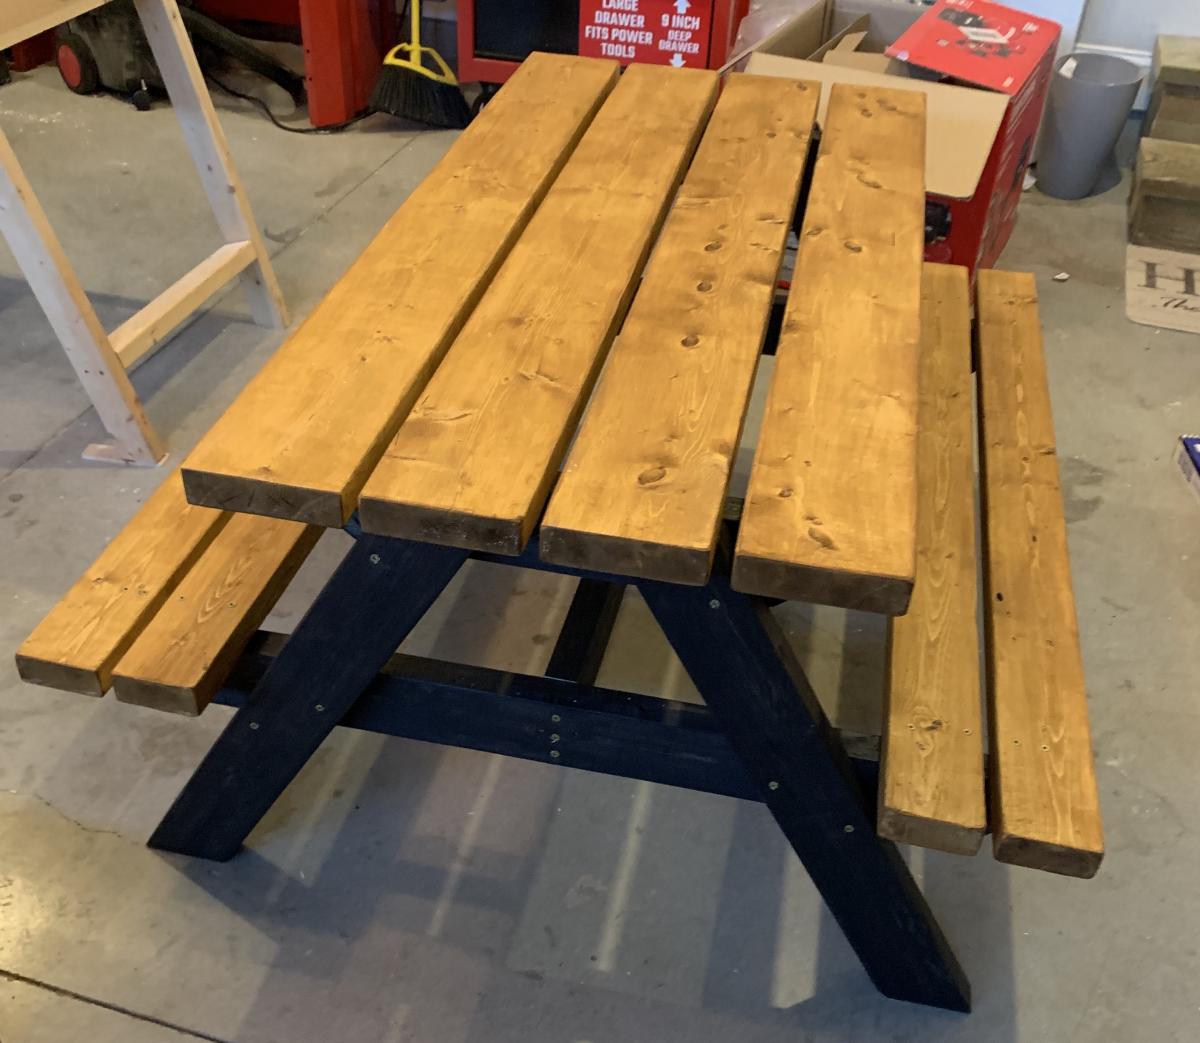
Big kids picnic table

Submitted by boneill on Wed, 07/08/2020 - 20:14

This was a easy build and is super strong . ITs built for a kid sized picnic table but I tested It with my weight to see how it holds up and (200 lbs) didn’t hurt it or even make the seat budge.

Built from Plan(s)
Estimated Cost
$55
Estimated Time Investment
Afternoon Project (3-6 Hours)
Finish Used
Valspar canyon brown transparent on seats and Table top . Black (midnight ) solid stain on the frame .
Recommended Skill Level
Intermediate

Simple White Patio Sofa

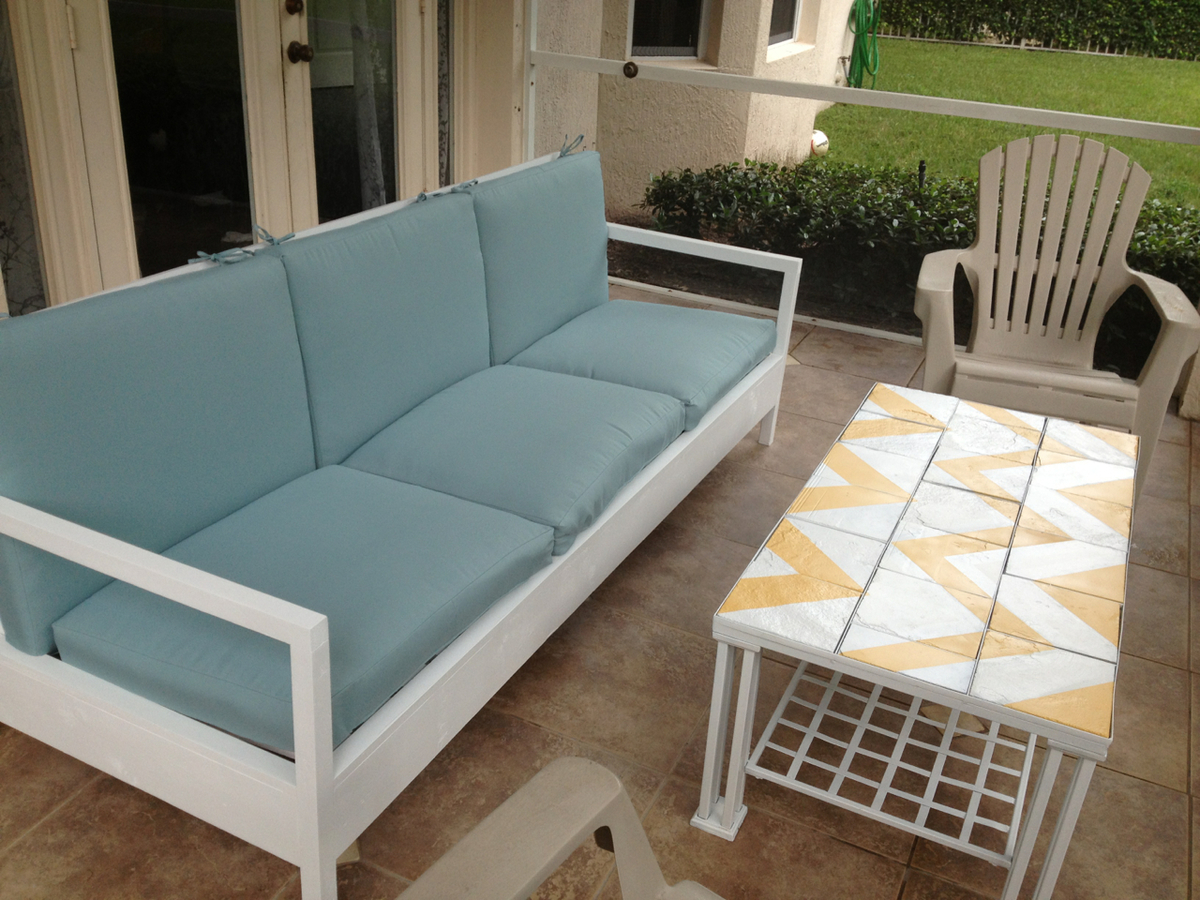
This was one of my favorite DIY projects. It's so much more affordable than buying patio furniture, and the building instructions make it sturdy as ever.

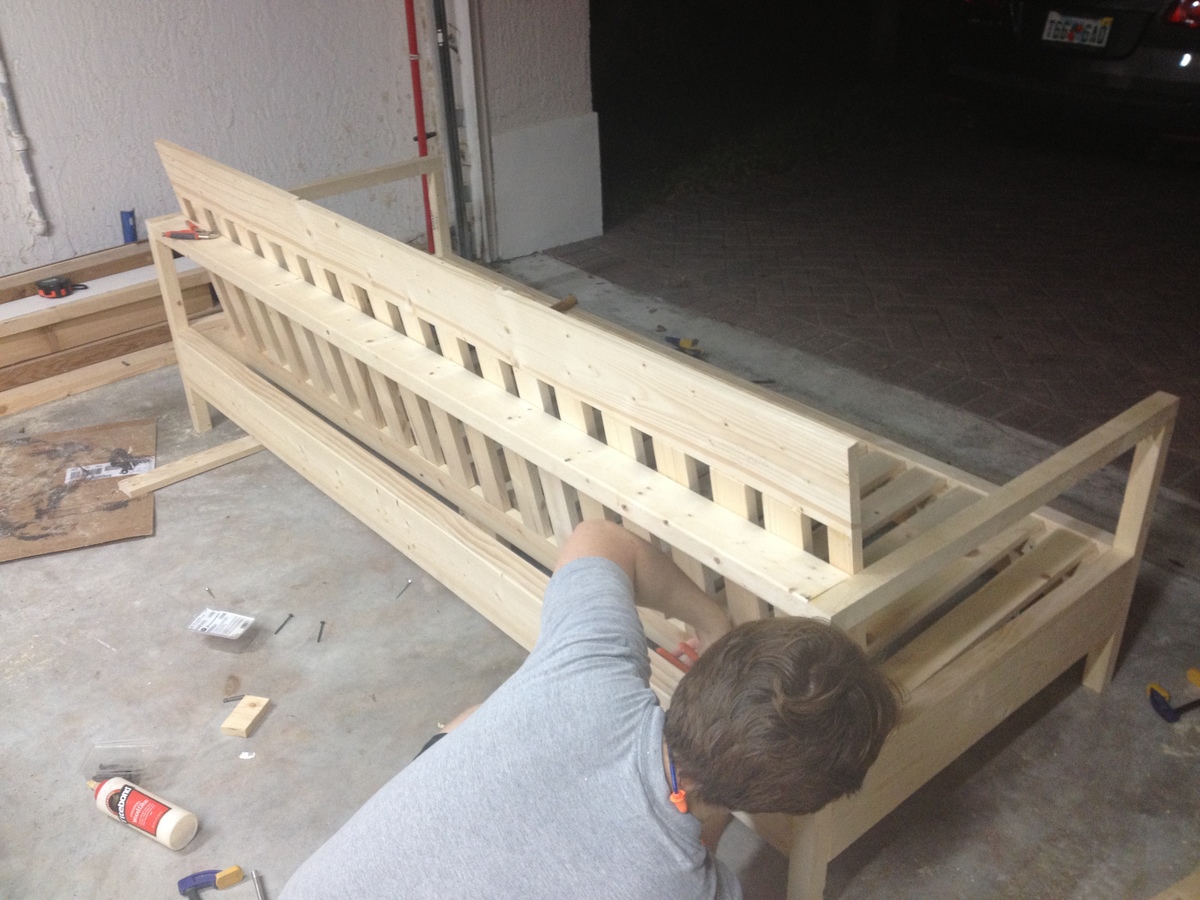
I built this with my fiance, who you'll see in the image of the in-progress bench. It was a snap for us, since we have a fair amount of experience building our own furniture. With the right tools, this project can take only two days, including wait time in between coats of paint and varnish.

We made our sofa to fit the cushions we found, and thus, the sofa is actually 84" wide, instead of 72" wide. By doing this, we also eliminated the need for a love seat, and instead are in the process of making two chairs to match this sofa. All in all, our patio will seat 6, which is what we were aiming for.

TOOLS
The most important part of making this an easy, fun project is having the right tools. I highly recommend you purchase or borrow:
- Compound miter saw
- Kreg jig
- Square head screws (stripping these is nearly impossible)

Estimated Cost
$300 (including cushions)
Estimated Time Investment
Weekend Project (10-20 Hours)
Finish Used
Exterior satin white (stay away from spray paint, since it's less efficient and more costly)
Exterior spar varnish in aerosol can for extra outdoor protection
Recommended Skill Level
Intermediate

Comments

Modern Adirondack Chair, Super Sized

Submitted by Anonymous (not verified) on Fri, 08/21/2020 - 10:39

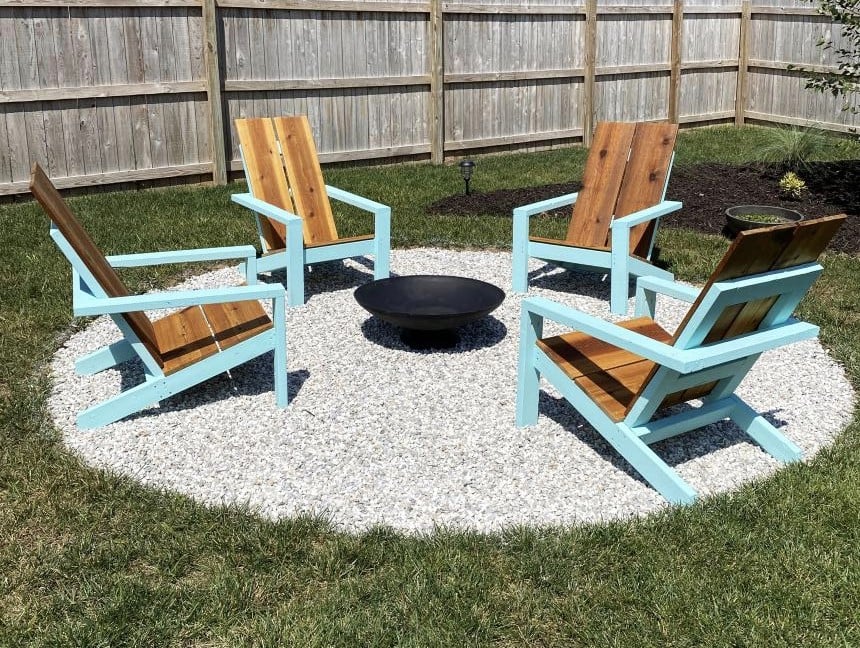
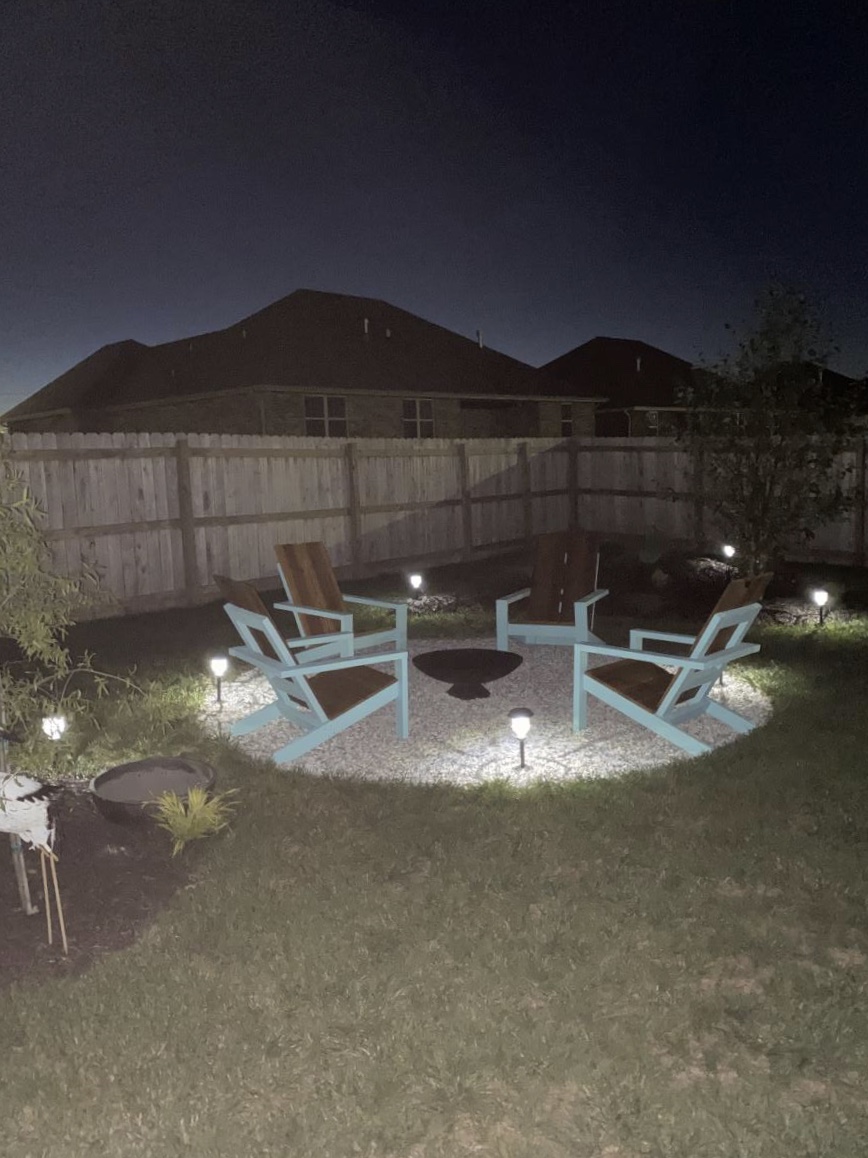
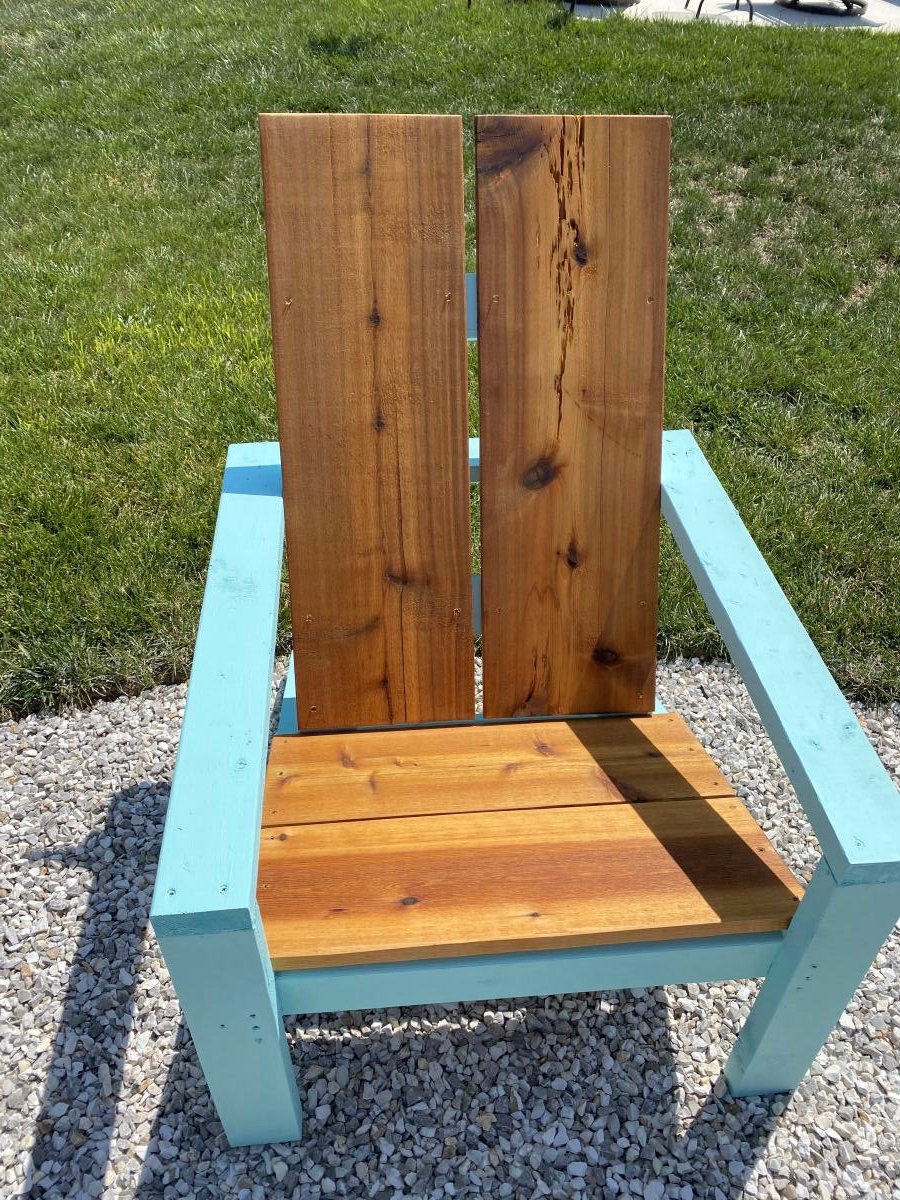
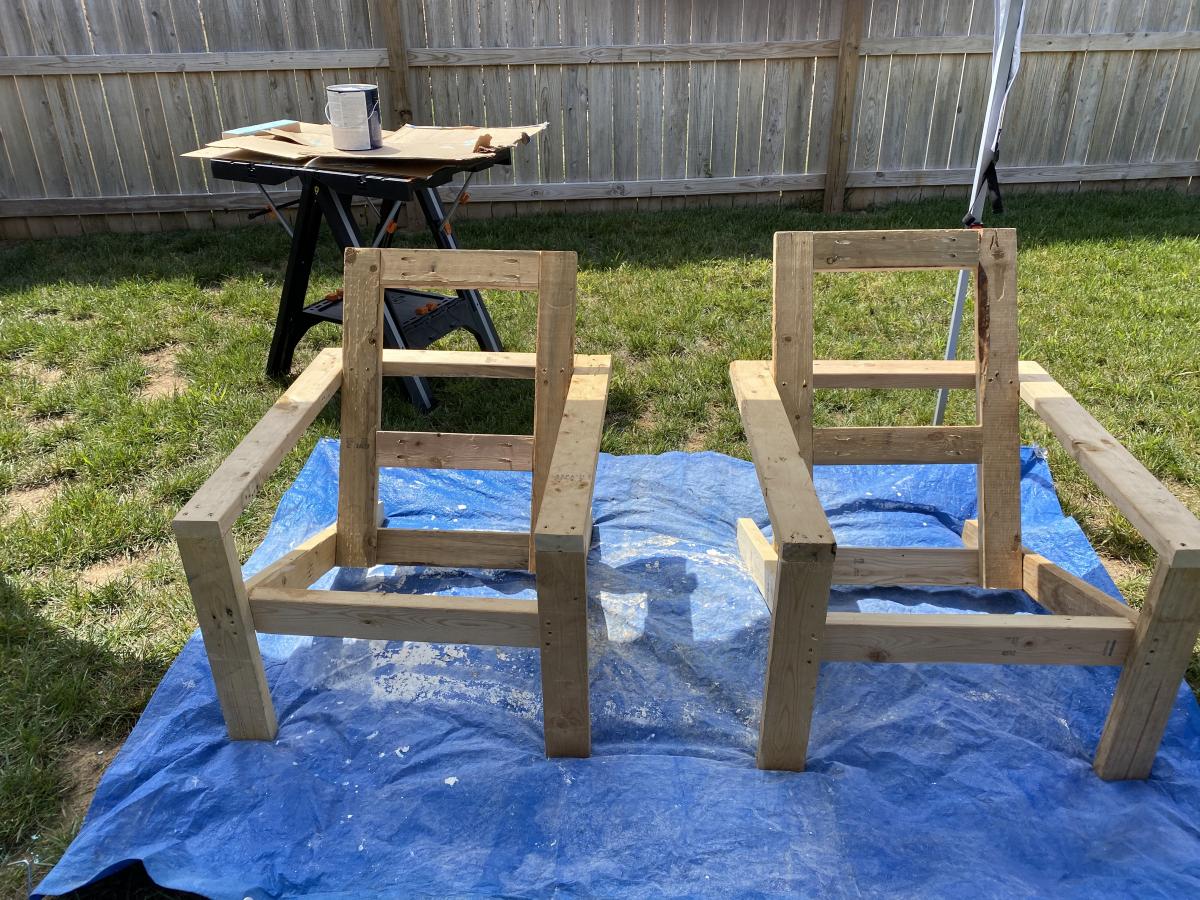
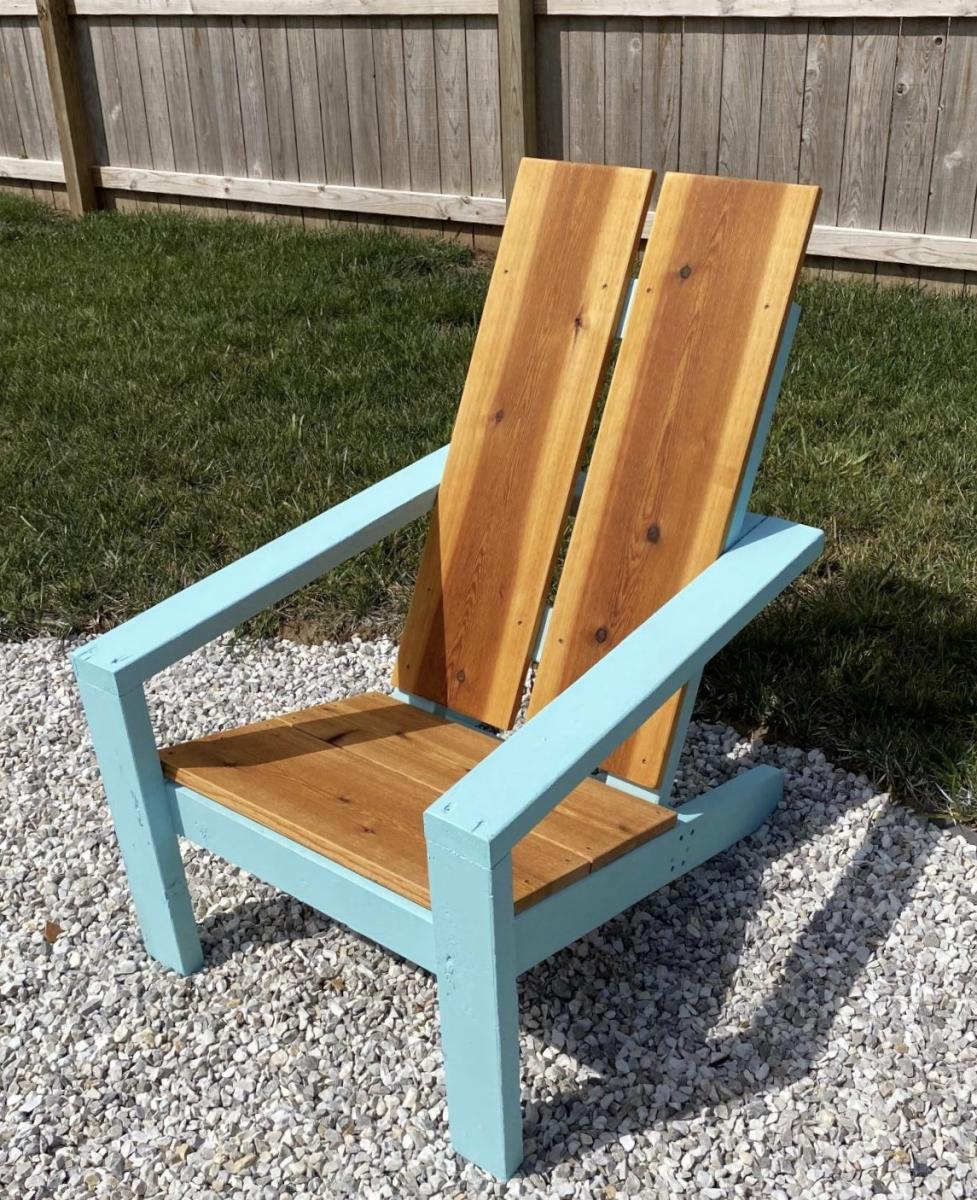
Am a big fan of Ana's work, and have used several of her plans in prior builds including the more traditional Adirondack chairs. Those stayed with my old house, and I wanted something different for my new house. Really liked her Modern Adirondack design with the floating arm rest. However, plans are like recipes to me--a guideline. I wanted the back boards to run up and down, and I am a bit more robust than the lovely and petite Ms. White, so they would need to be wider after I built the first one at 19 1/2" wide per plan. The next three I made 22" wide and that worked well without throwing off the geometry and angles of the other parts. Since I ran the backboards up and down, I needed some cross beams for stability and to give an attachment point for the middle of the boards. Cut some 2x4s at 15" wide, drilled pocket holes in both ends, and attached in between the back supports with the pockets facing up to be hidden by the back boards. All of the 2x4s were leftover cut-offs from the houses being built in my neighborhood. Since the frames were free, I splurged and went with cedar boards for the backs and bottoms. With the wider frames, I had to use 1x12s ripped down to 10 3/4" to get the right look (about a board's width in between). Needed some color, so I painted the frames Teal Seaglass from Menards. Cedar was stained with a natural deck stain from Sherwin Williams. I experimented with salt paint (mixing unsanded grout with the paint) to give a heavily textured and weathered finish but this was unecessary--the wood was distressed enough and I am a terrible painter. It also toned down the color so I skipped that step and just went with 2 coats of plain paint. It looks like outdoor furniture should up close. As always, am pleased with Ana's plans. Thank you for doing all the hard work!

Estimated Cost
about $200 for all 4 chairs due to cedar and paint
Estimated Time Investment
Weekend Project (10-20 Hours)
Finish Used
Paint - Pittsburgh matte exterior with Dutch Boy coloring Teal Seaglass
Stain - Sherwin Williams Superdeck stain, Natural finish
Recommended Skill Level
Starter Project

Comments

Seasonal And Holiday

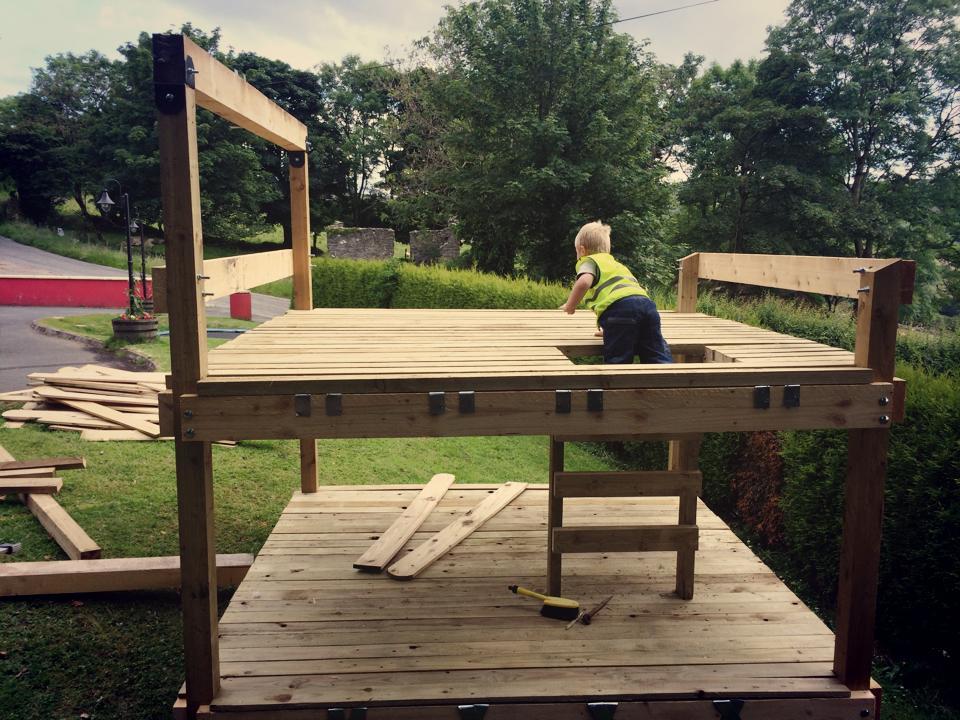
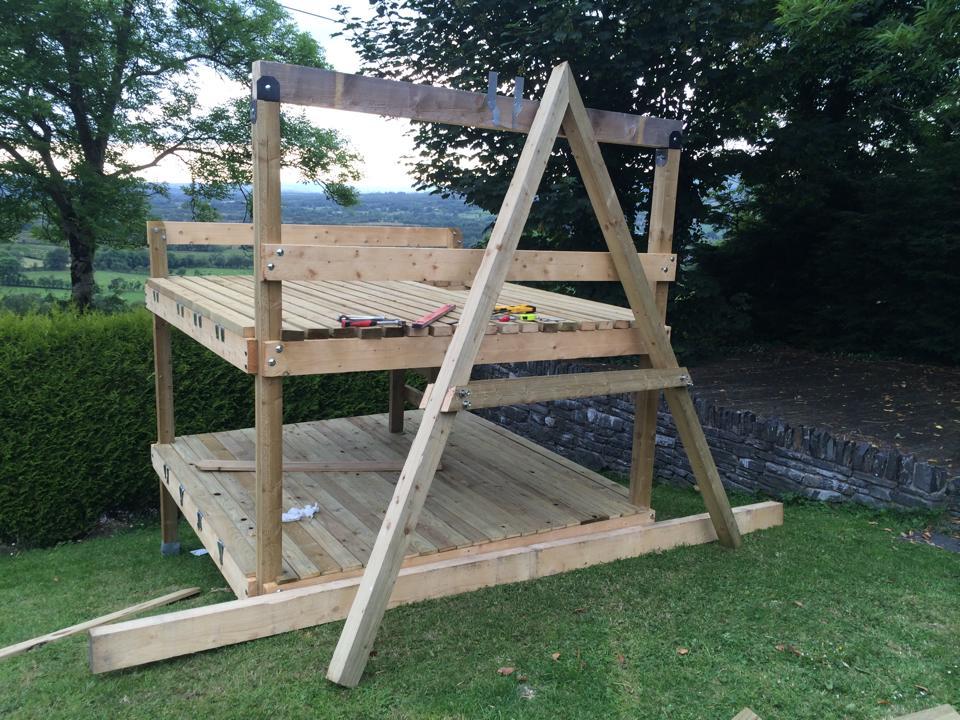
Play Deck and Swing

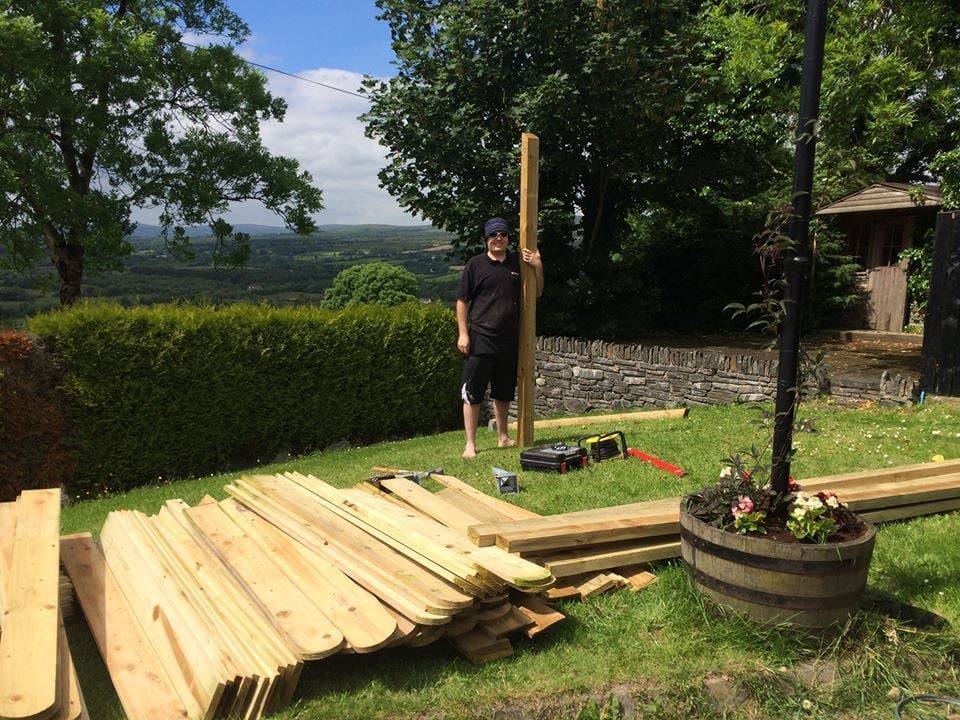
Submitted by lervy on Wed, 09/03/2014 - 02:23

Play Deck and Swing

Estimated Cost
£700
Estimated Time Investment
Week Long Project (20 Hours or More)
Finish Used
Ronseal Country Oak Fence Stain
Recommended Skill Level
Intermediate

Comments

booksnotbombs

Wed, 09/03/2014 - 07:35

You have a BEAUTIFUL view from your yard! Just curious, where do you live? I assumed somewhere in Europe due to the currency. The play area looks fantastic. What lucky kiddos!

Seasonal And Holiday

Wall Frame from page 70 of The Handbuilt Home

Submitted by solomonson on Wed, 11/21/2012 - 21:31

So I bought this print, sized 16" x 20", from an independent photographer. My husband said I could get it only if I built the frame, so I was on the hook.
I used pine boards and glued and clamped the outside part since I don't have a nail gun. I sanded the really rought parts, but probably could've sanded more. Finished with Valspar's black spray paint and used mirror clips and 1" wood screws. Blue had glass pieces in 16" x 20" for less than $6. Hung with D rings and picture hanging wire.
Time estimate includes time for paint to dry and rigging up all the hanging hardware.

Estimated Cost
$15-$20
Estimated Time Investment
Weekend Project (10-20 Hours)
Finish Used
Valspar spray paint in black semi-gloss
Recommended Skill Level
Beginner

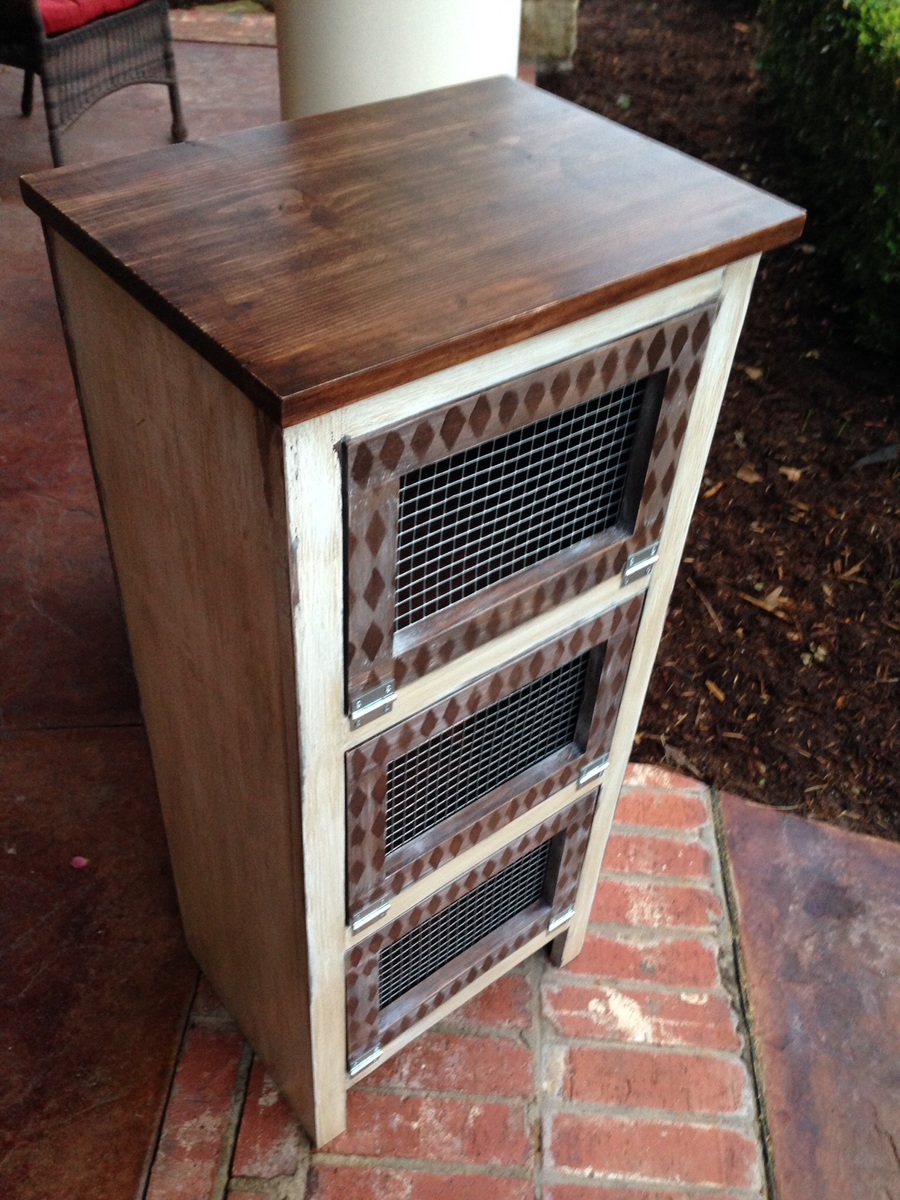
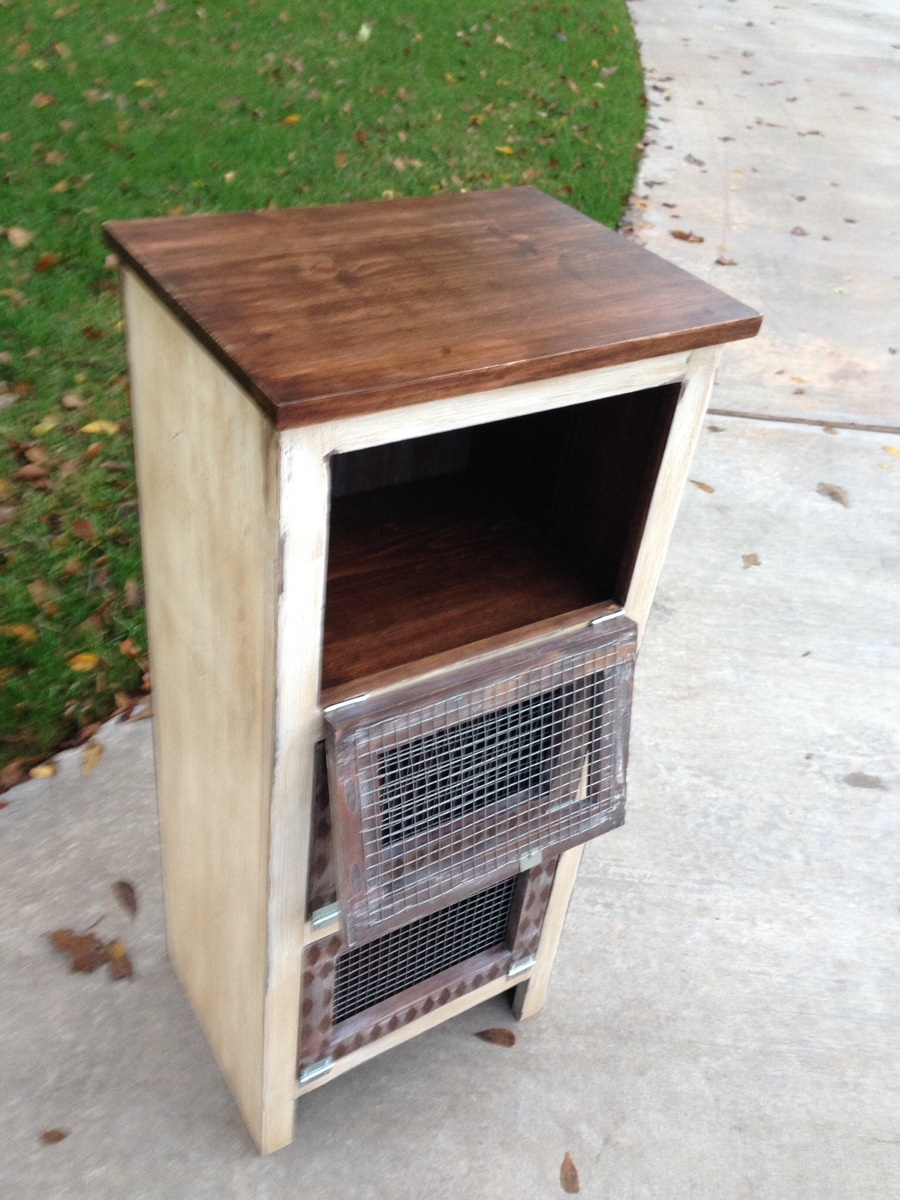
Vegetable Bin

Submitted by ctay on Tue, 10/14/2014 - 17:18

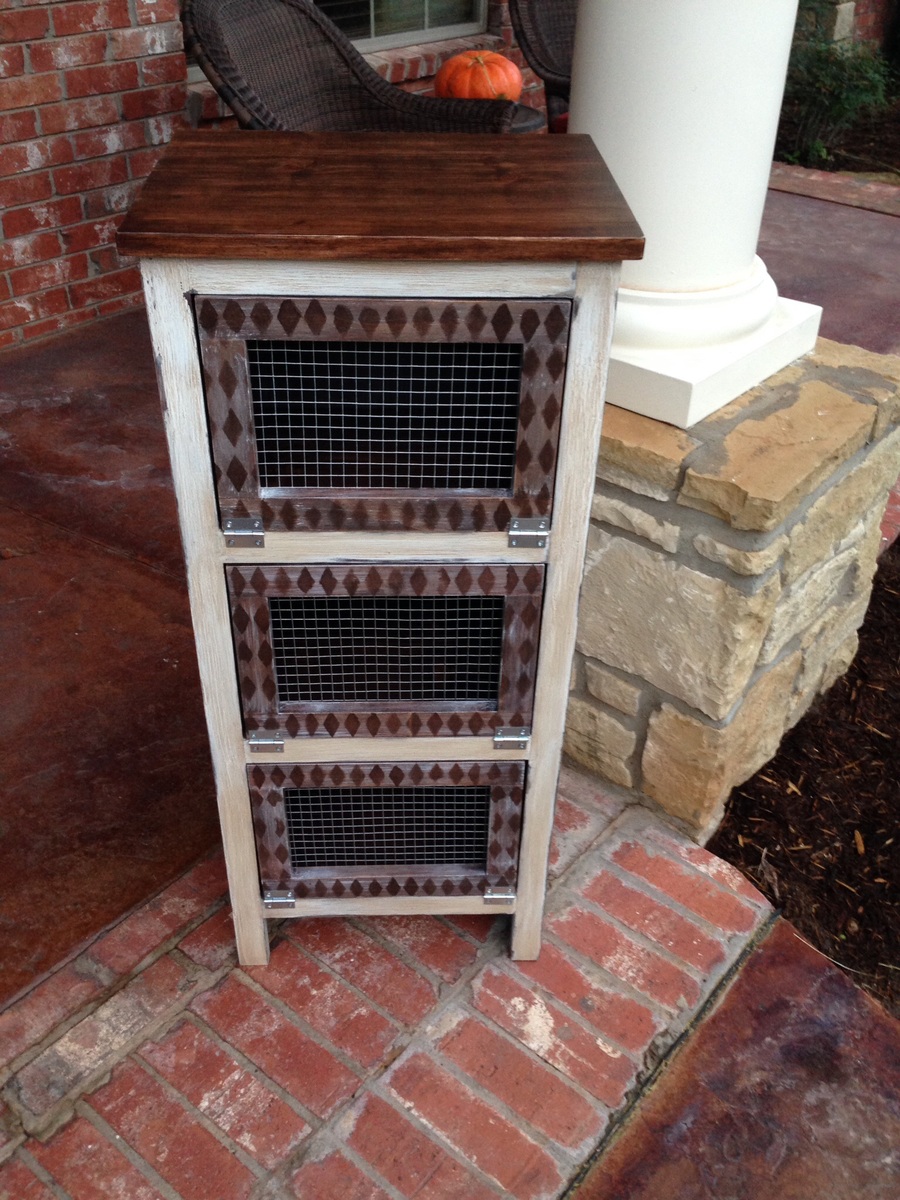
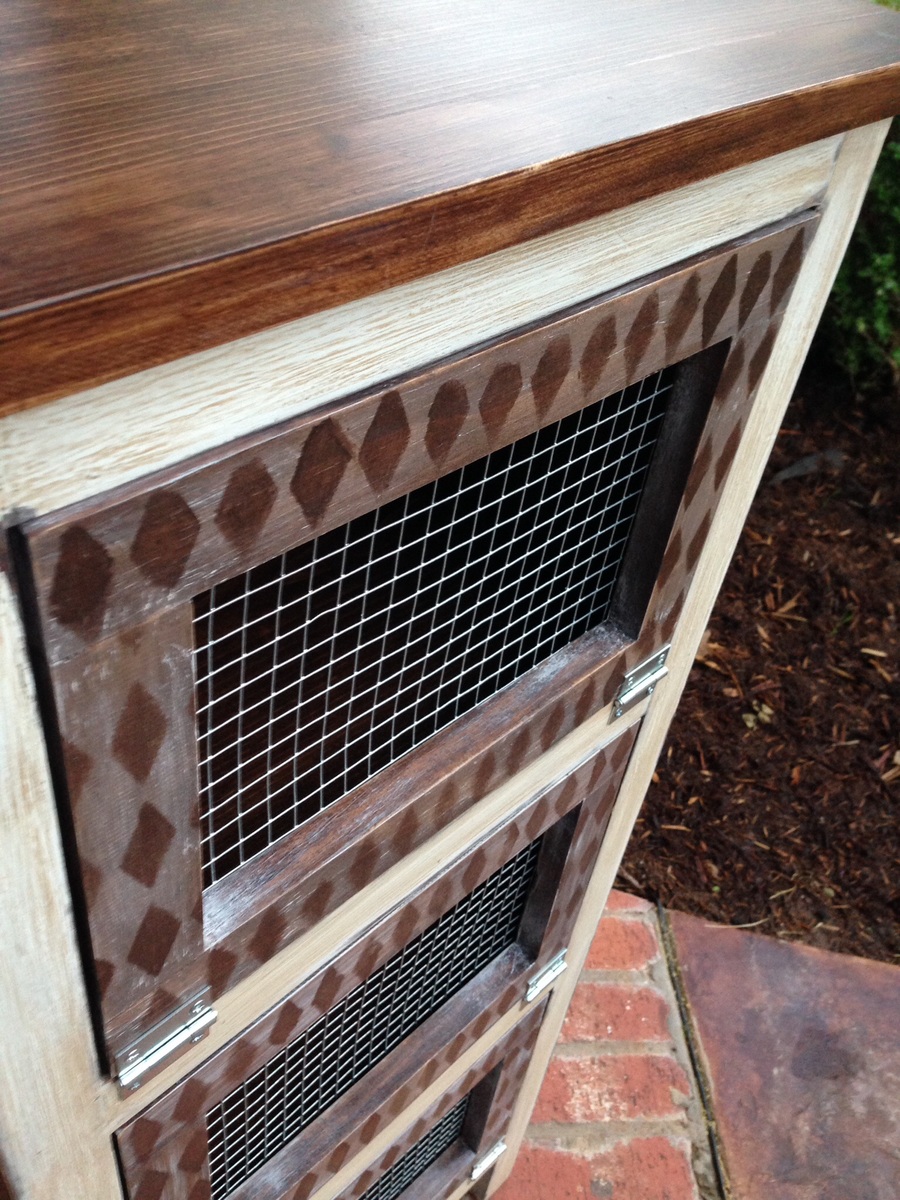
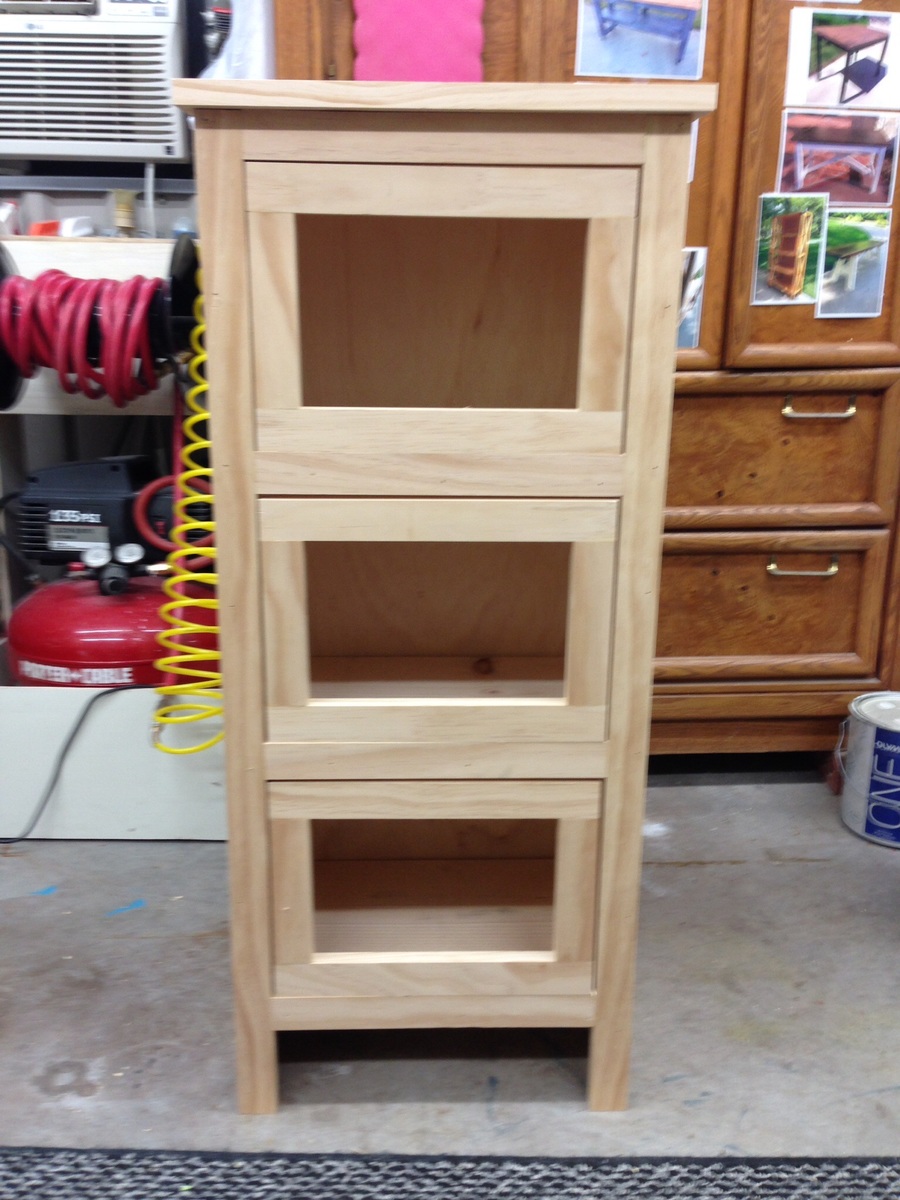
Built this vegetable bin for my sister in law. Just needs knobs, which I'm letting her pick out. Easy build finished in an afternoon. Stained and painted the next day. Could use this for other storage as well. 

Built from Plan(s)
Estimated Cost
60.00 for materials. Already had the plywood for back and paint and stain.
Estimated Time Investment
Day Project (6-9 Hours)
Finish Used
Rustoleum stain in dark walnut for top and edges. Painted in white chalk paint with brown glaze. Distressed to see the dark stain on the edges. Doors are stain with white wash over it and stenciled using stain over that.
Recommended Skill Level
Beginner

Comments

ctay

Wed, 10/15/2014 - 20:30

Thank you Joanne!  Really enjoyed building this!  This is also the first time I have shared one of my builds!  Glad I did. :)


Garage Shelves + Work Bench

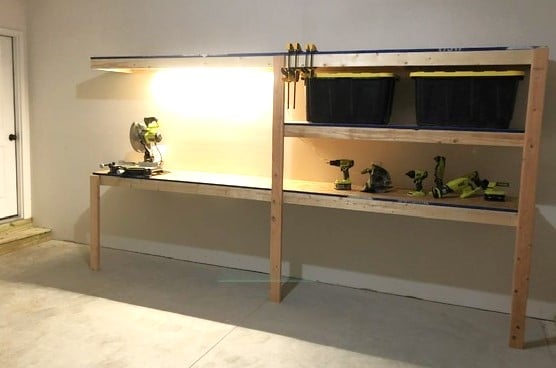
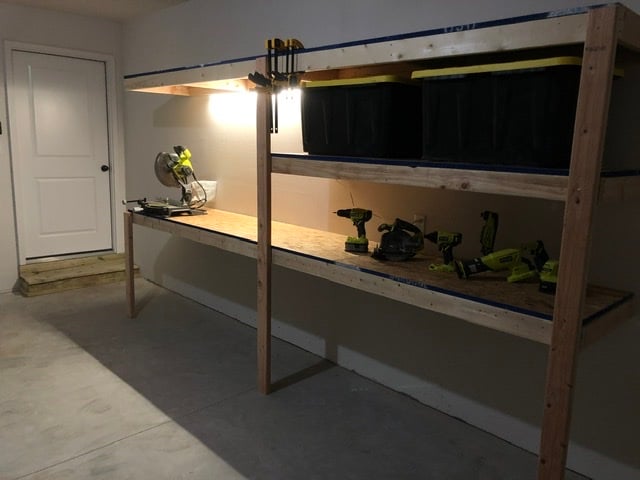
I used Ana’s plans for the garage shelves, but modified them to include a work bench. A lot of you tubers have done this, built a combination work bench and shelving, but I built nearly everything according to Ana’s plans. 12 feet long, 24 inches deep. I got some LED lights (two 1600 lumen strip lights) from menards that really brighten up my entire garage and make the work bench more useful. The one thing I really wanted was to not have a supporting pillar on the work bench to keep it open, and I loved how it turned out. I went for 3/4 plywood, mostly to have a stronger work surface, and I’m glad I did. I have since added a supporting 2x6 off of the study to support the top shelf above the bench and its strong enough to do pull-ups off of, and I have reinforced the support leg under the bench with a cross bar. Thanks for the great plans!!

Estimated Cost
~$200 (lumber prices have gone up recently due to supply issues with covid)
Estimated Time Investment
Weekend Project (10-20 Hours)
Recommended Skill Level
Starter Project

Comments

Extra tall bar stool

Submitted by Jbonacci3 on Sat, 01/26/2013 - 12:18

I built a breakfast bar into an existing wall shared between our kitchen and living room. I built it on the taller side of average since I wanted to have room to install new electrical outlets above the counter on the kitchen side. After the project was done we went to buy bar stools to use with the new bar and found that even the "tall" stools were too short to work. Research into extra tall stools showed that what we needed was going to $400-600 each! Luckily my wife found these stools on your site and we were able to make three of them for around $115. Also, they are much sturdier than anything we looked at to buy.

Built from Plan(s)
Estimated Cost
$115
Estimated Time Investment
Day Project (6-9 Hours)
Finish Used
Painted frames with Valspar paint + primer (black). Padded and covered seats with a canvas material.
Recommended Skill Level
Beginner

Comments

Breibee23

Mon, 11/11/2013 - 23:53

This is a saving grace... We didn't want to spend 600-1400 on extra tall bar stools that actually look good and this plan rocks as a stand in :)

Rustic Table and Bench

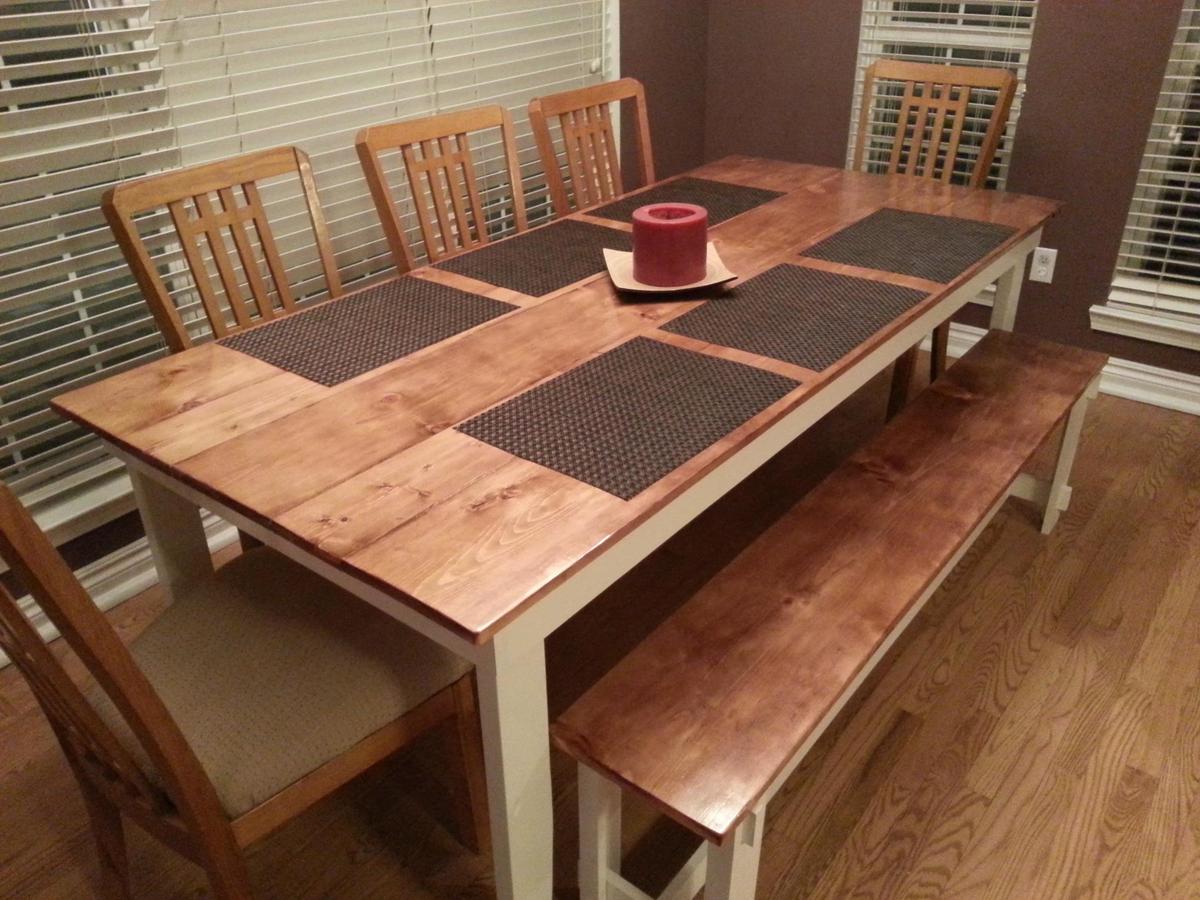
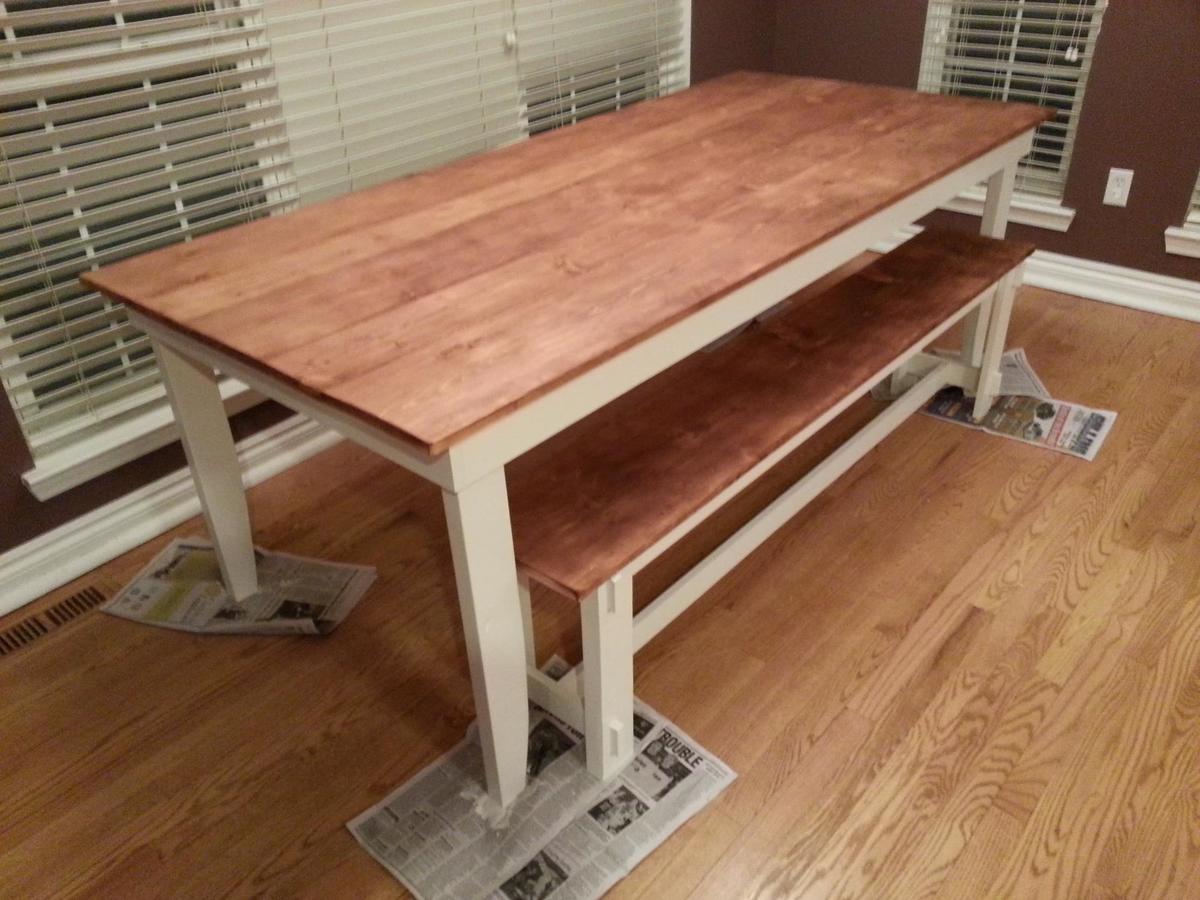
I basically stuck to the plans, but I shortened the length of the table just a touch, and lengthened the bench to fit just inside the legs. I also used 2x4s for the legs, tapered them for aesthetics (similar to some other posters), and reinforced them with "L" brackets to reduce the wobble. We finished it with Semigloss white paint, Minwax Honey stain, and Minwax Gloss Polyurethane.

If I can make this table, just about anyone can.

Estimated Cost
150.00 for lumber,
Estimated Time Investment
Afternoon Project (3-6 Hours)
Finish Used
Minwax Honey Stain, Minwax Gloss Polyurethane, and Semigloss White Paint
Recommended Skill Level
Beginner

Comments

shelbyautumn

Mon, 11/07/2016 - 11:29

Your table is beautiful!

Do you remember how you tapered your legs? I'm trying to figure out if I can do it without a table saw.

Thank you!

Kentwood Book Shelf

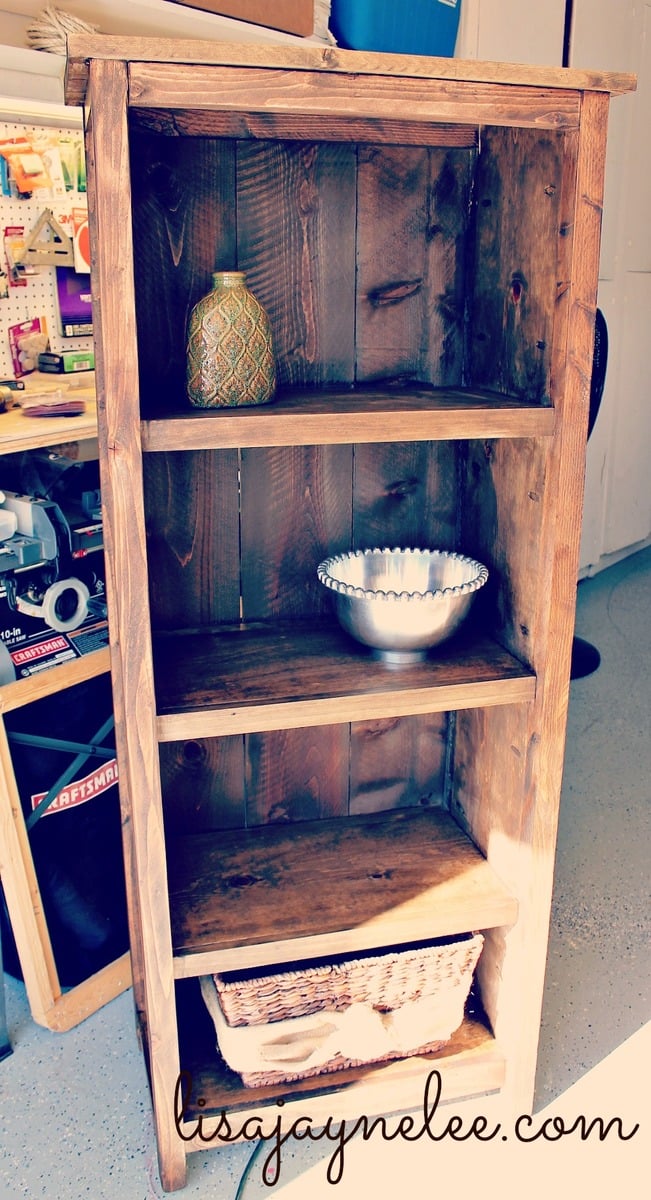
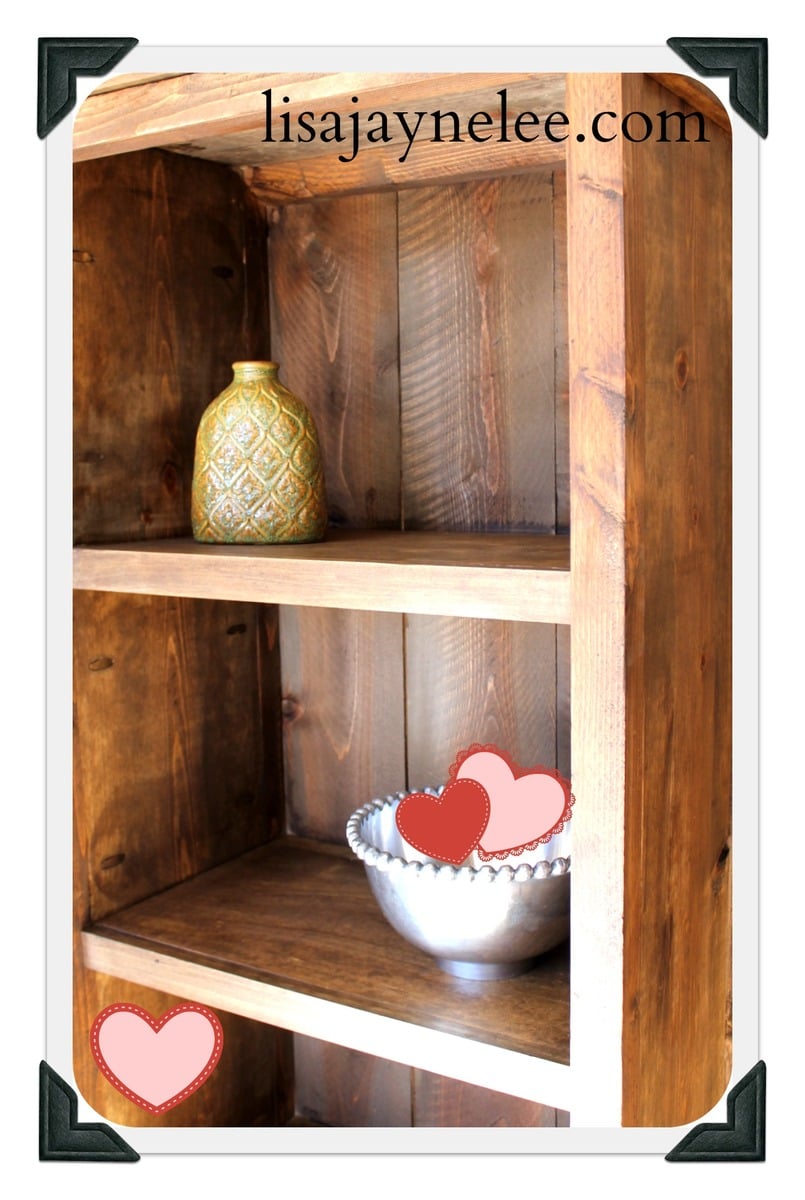
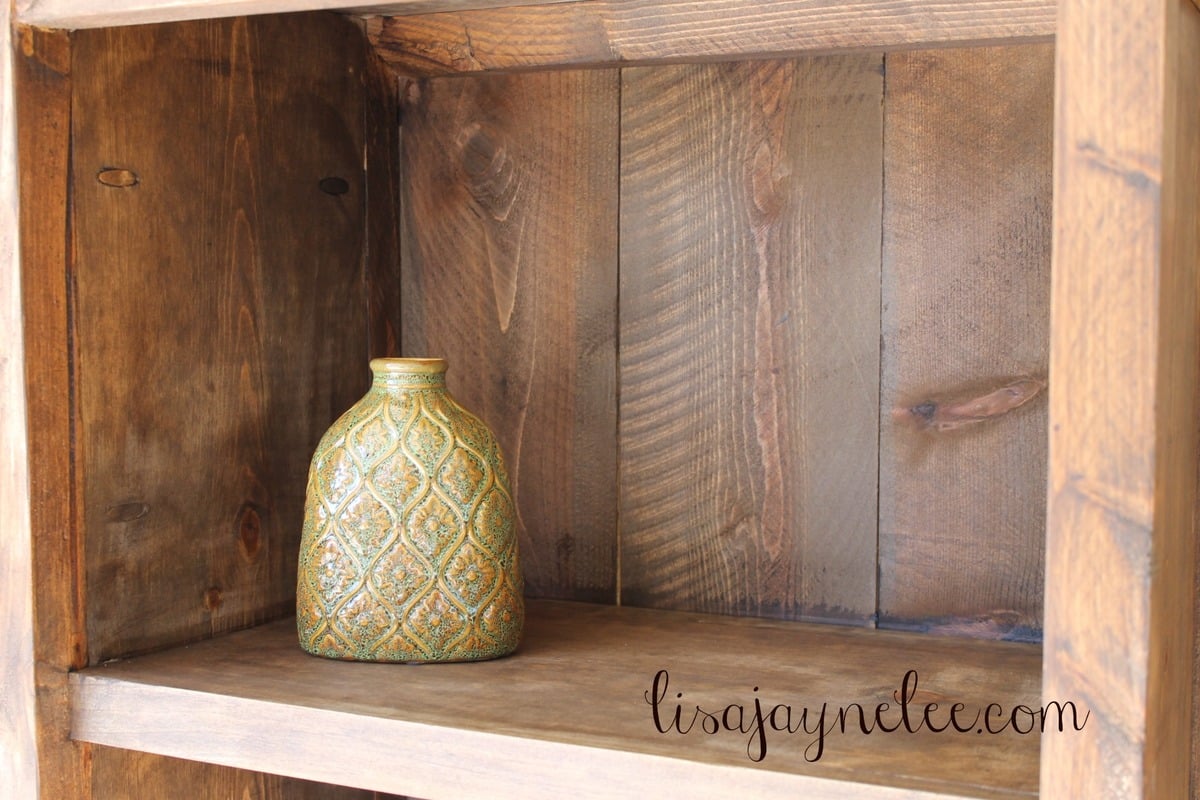
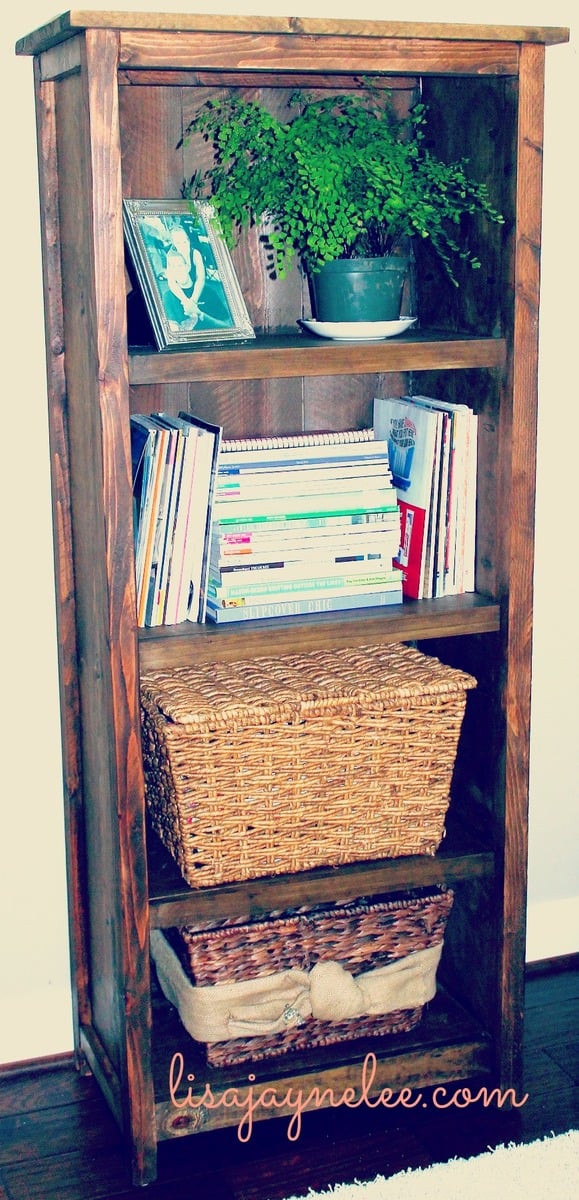
This was my first major build with plans from Ana. I actually found this bookcase via Shanty2Chic. It went smoothly and all in all took me a few evenings about an hour at a time. I have 3 kids so it did take me a little longer to finish. I am so impressed with myself and so is my husband. I used a 10" chopsaw for most of the cuts. I also used my KregJig. Thanks Ana!

Estimated Cost
$100
Estimated Time Investment
Day Project (6-9 Hours)
Finish Used
Minwax Special Walnut followed by Annie Sloan Chalk Paint Dark Wax Finish.
Recommended Skill Level
Intermediate

Comments

Double Pedestal Farmhouse Dining Table

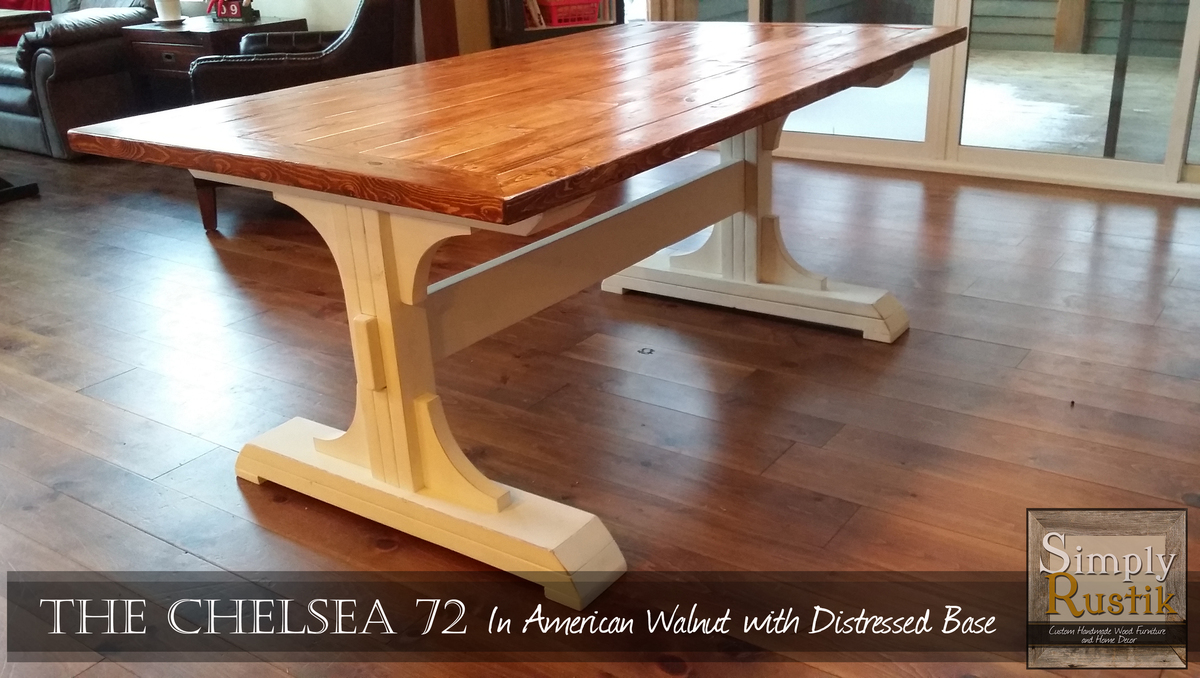
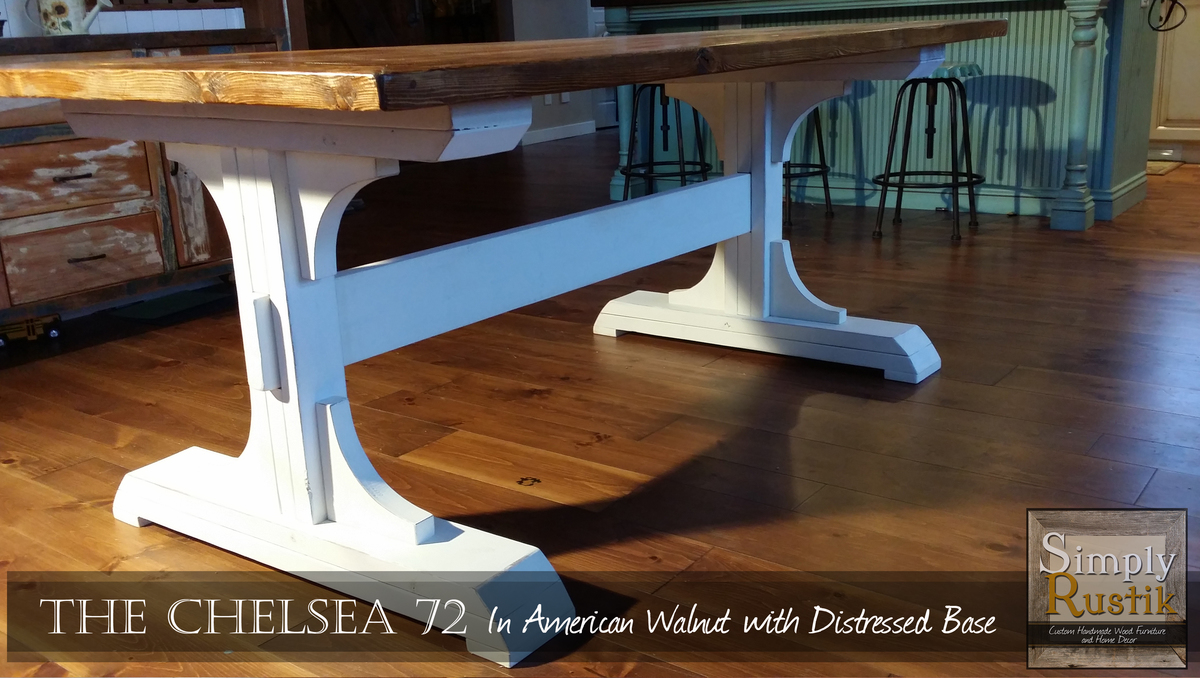
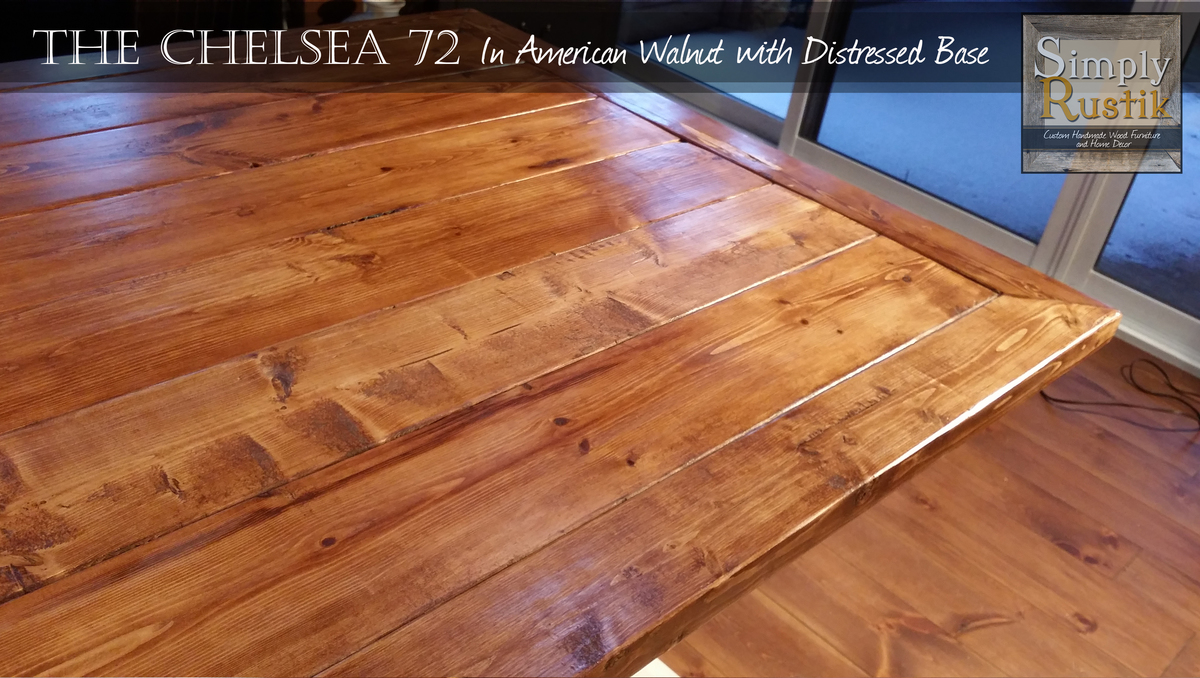
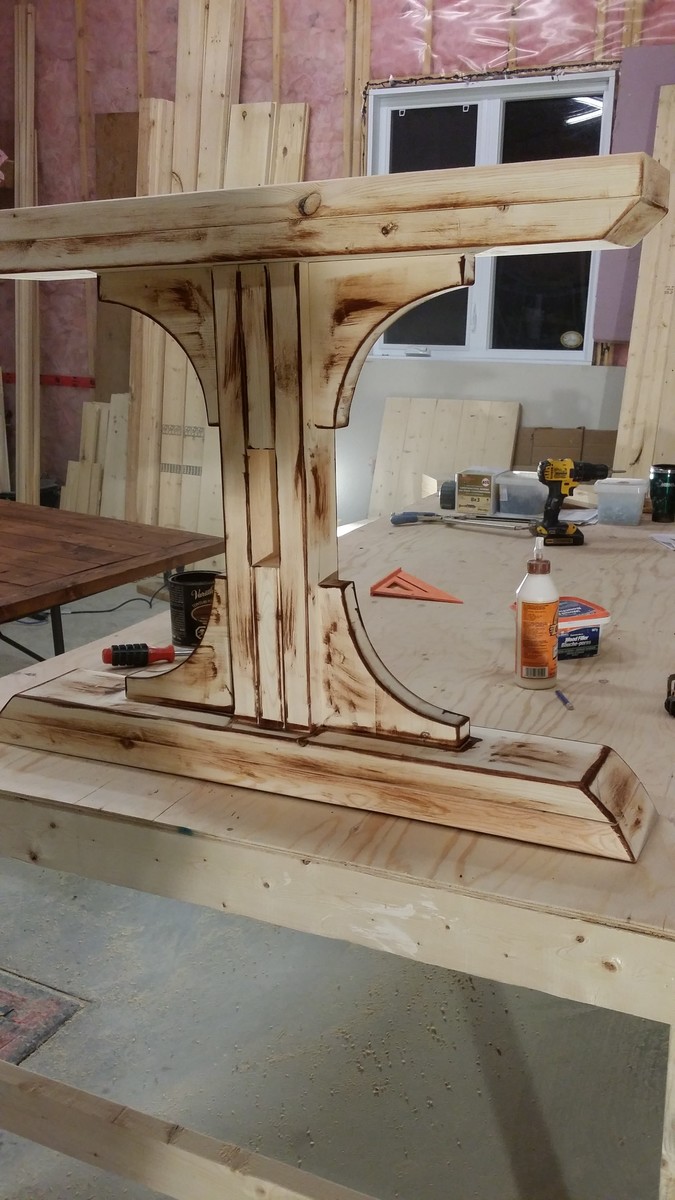
I based this build on the Triple Pedestal Farmhouse Table found on this site.  I fell in love with the table and I just had to build one!

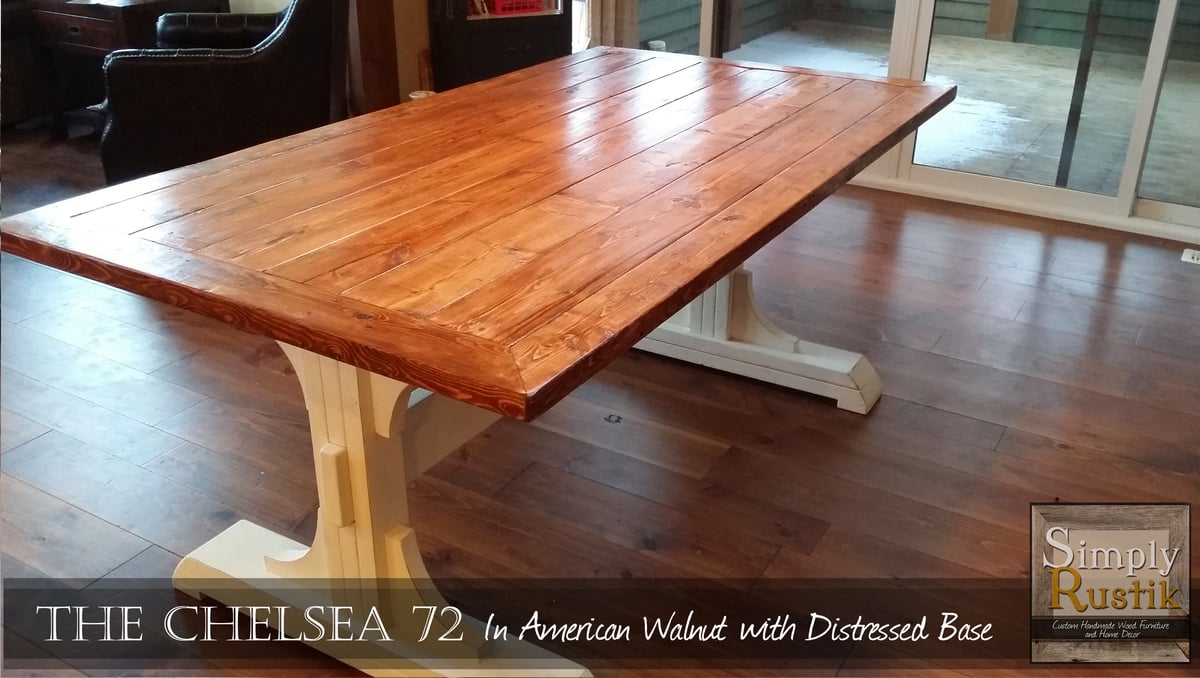
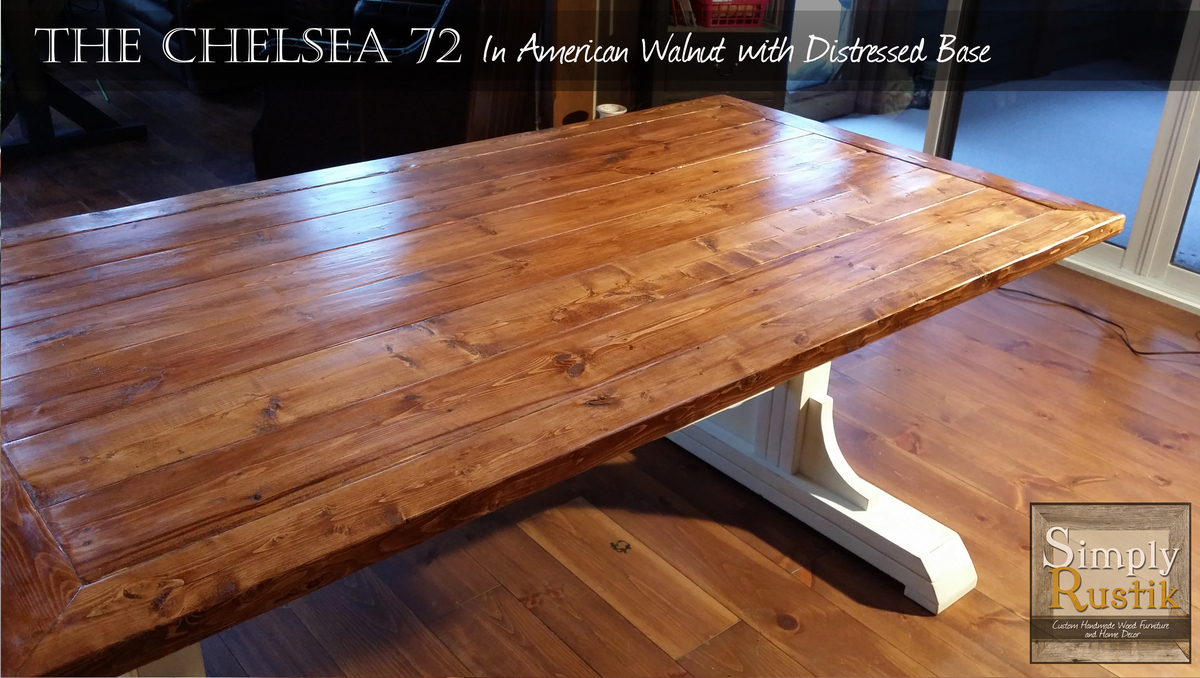
This table is only 72" long, so I ended up removing the third pedestal.  I also removed the decorative apron that is pictured in the original plan.  I also added a picture frame border using 2x4's with 45 degree angles on the corners. I think I like how this look turned out! I kept the legs the same size as the original plan called for.
This entire build took me about a day and the staining process another 2-3 days. I stained the table top using Varathane's American Walnut stain and I painted the base using an off-white milk paint. But before painting the base, I stained the corners with the same American Walnut stain so that when I was ready to add the distressed look, I could simply just sand the paint until the stain appeared through the white.

Visit my facebook page for more of my builds!
www.facebook.com/simplyrustik

Built from Plan(s)
Estimated Cost
Approx. $140
Estimated Time Investment
Weekend Project (10-20 Hours)
Finish Used
Varathane American Walnut;
Varathane Satin Oil Polyurethane;
Limestone Milk Paint (from Homestead House Paint Company);
Recommended Skill Level
Beginner

Comments

Shoe Shelf

Submitted by brittanyj on Sat, 04/22/2017 - 17:16

Husband wanted a shoe shelf for the back door entry, and I needed a quickie weekend project, so this fit the bill.  Adapted from fix this build that's plan, but modified for a smaller space and less shoe storage.  Easy project, and looks great.

Estimated Cost
$7- the project panel was on clearance at HD for the top, the rest was scrap lumber- ply, 2x2's and 1x2's.
Estimated Time Investment
Weekend Project (10-20 Hours)
Finish Used
kona stain, white paint, poly
Recommended Skill Level
Beginner

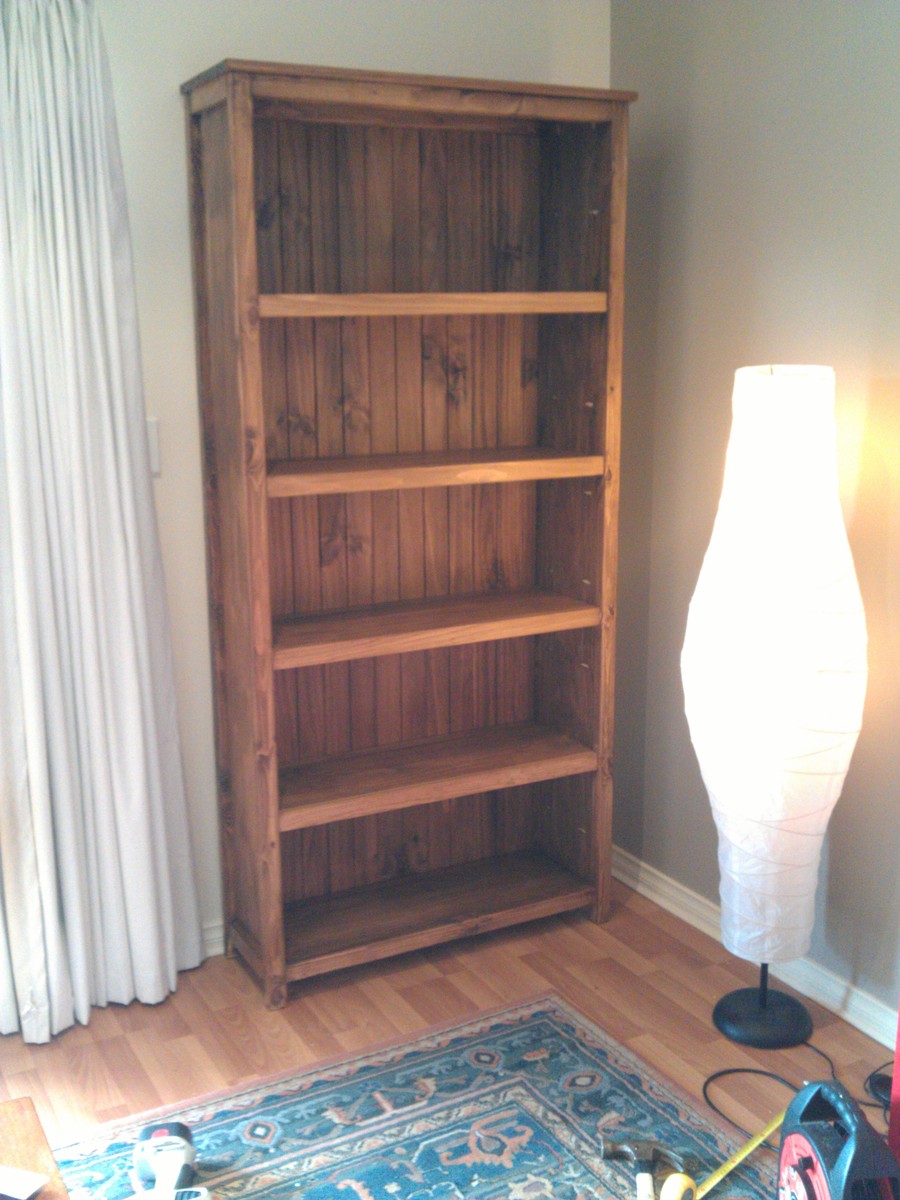
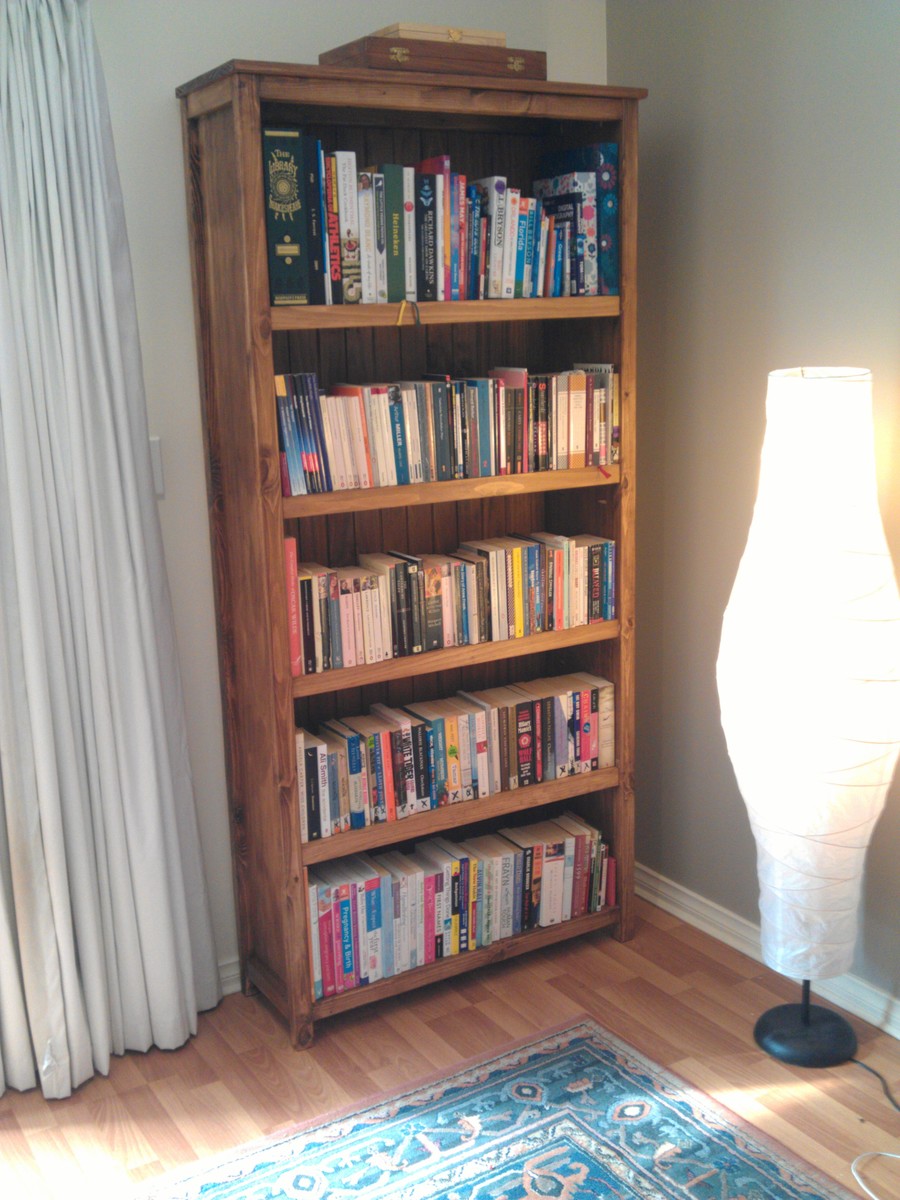
Kentwood bookcase - upsized

I made the original plan higher and wider, and added an extra shelf. Very pleased with the outcome!

Estimated Cost
AUD $200
Estimated Time Investment
Day Project (6-9 Hours)
Finish Used
Water-based stain (Walnut) & water-based satin varnish
Recommended Skill Level
Beginner

Comments

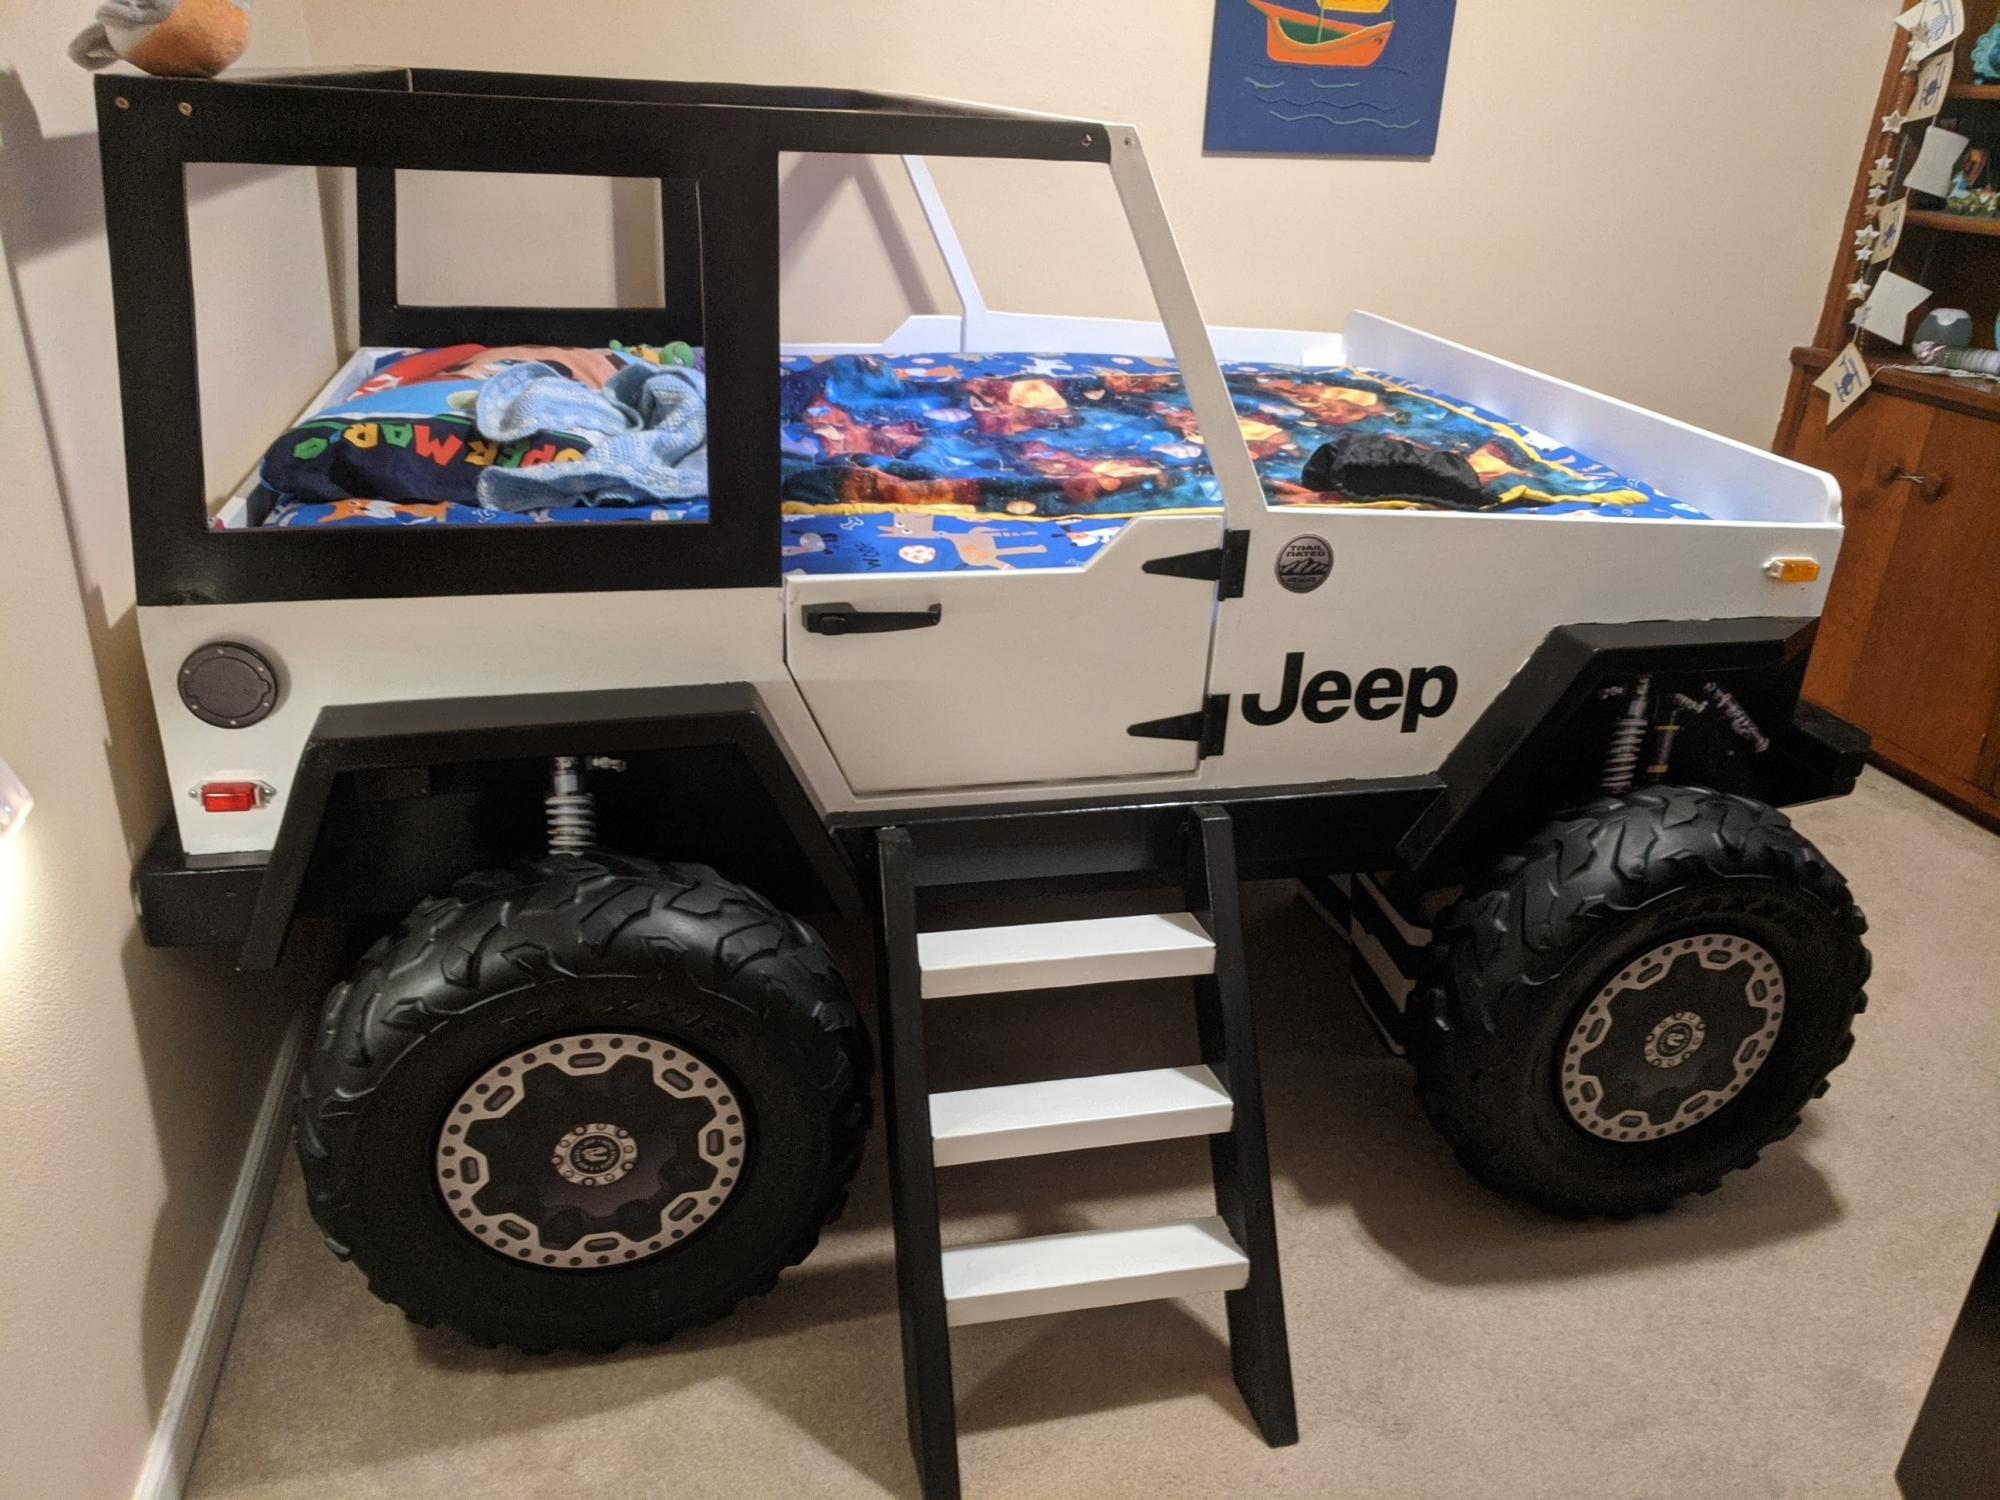
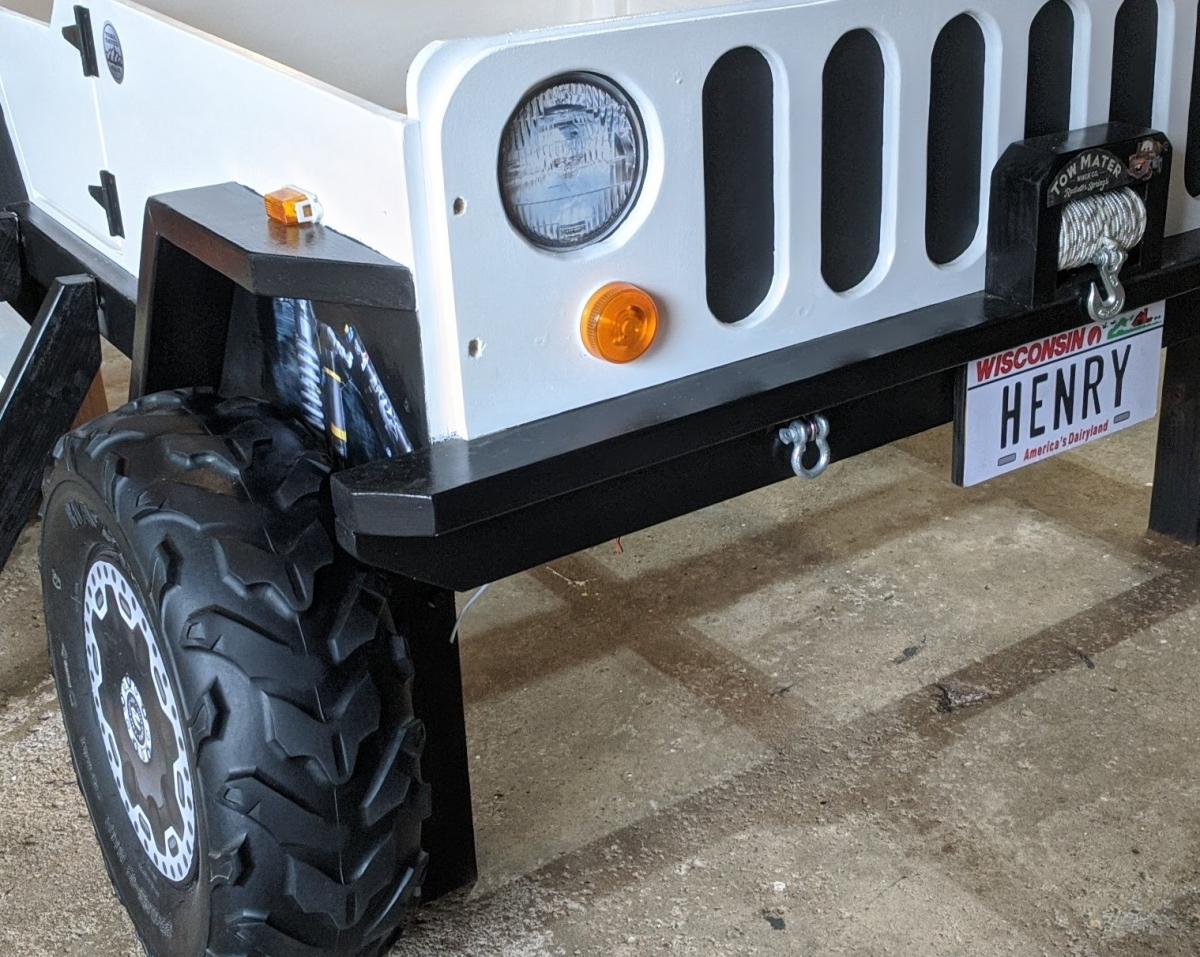
Jeep Bed

Submitted by papamike on Mon, 07/05/2021 - 17:15

I hope this is OK to add here. It's not an Ana White plan, so moderator please delete if it is not allowed. I made this bed for my grandson. I bought a plan online and modified it from a twin to a full size bed. The dome light and running lights work as night lights. A motion sensor light activates if he crosses the door to illuminate the ladder. Front tire is made as a step so his parents can climb in and read to him. The whole thing is on EZ Sliders so they can move it away from the wall to make the bed.

Estimated Cost
$150.00
Estimated Time Investment
Weekend Project (10-20 Hours)
Finish Used
Latex paint.
Recommended Skill Level
Beginner

Comments

Back