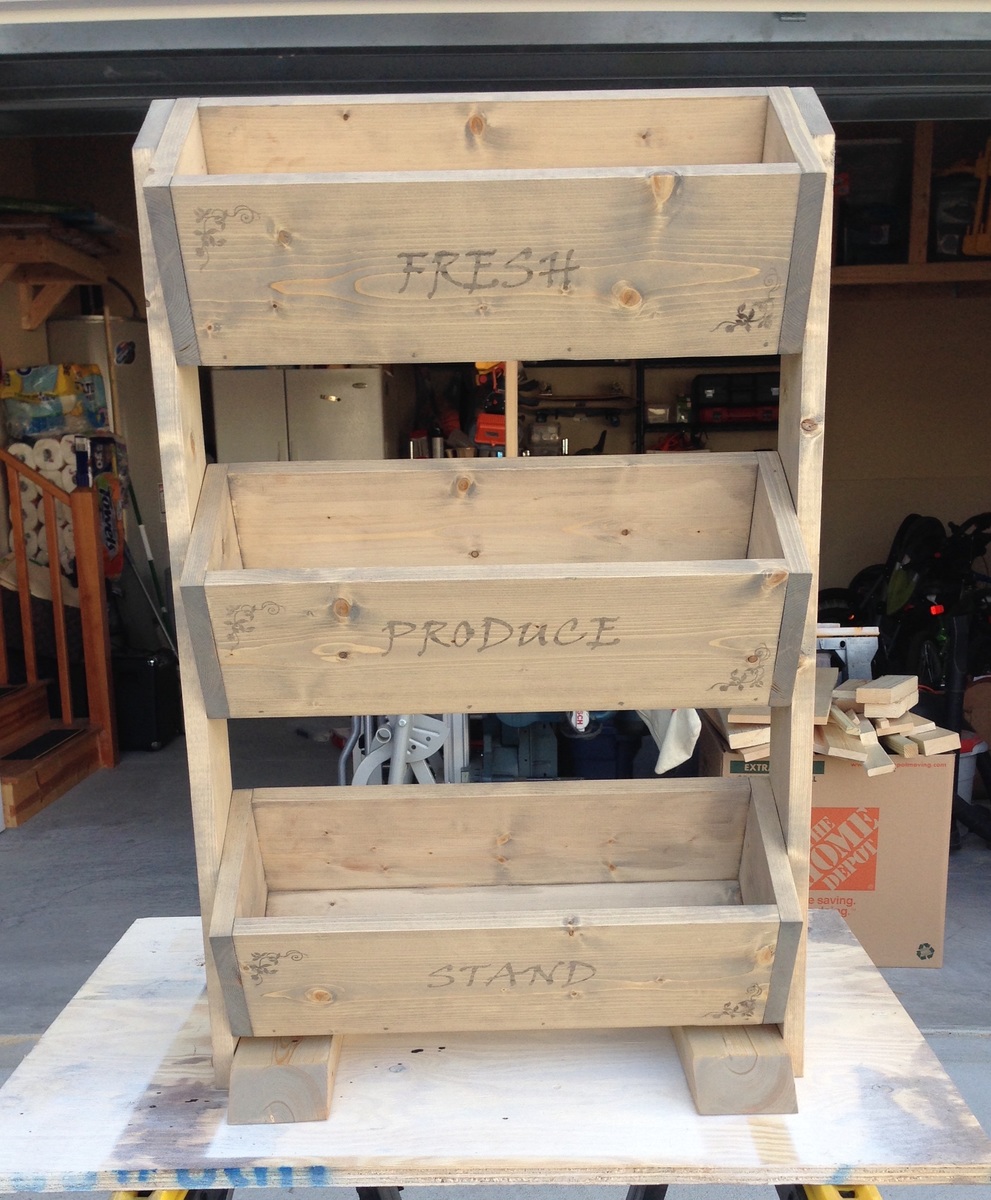
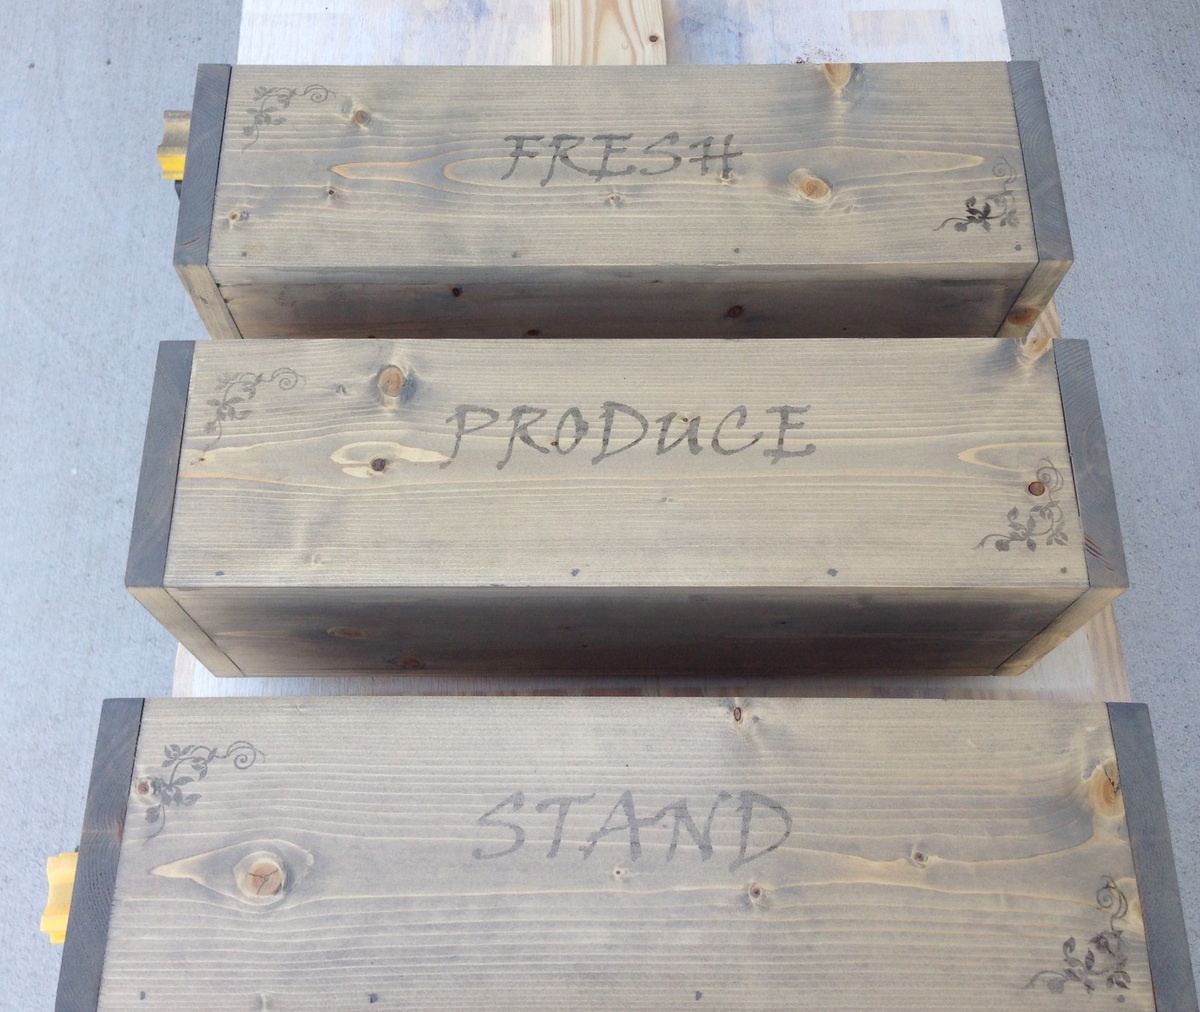
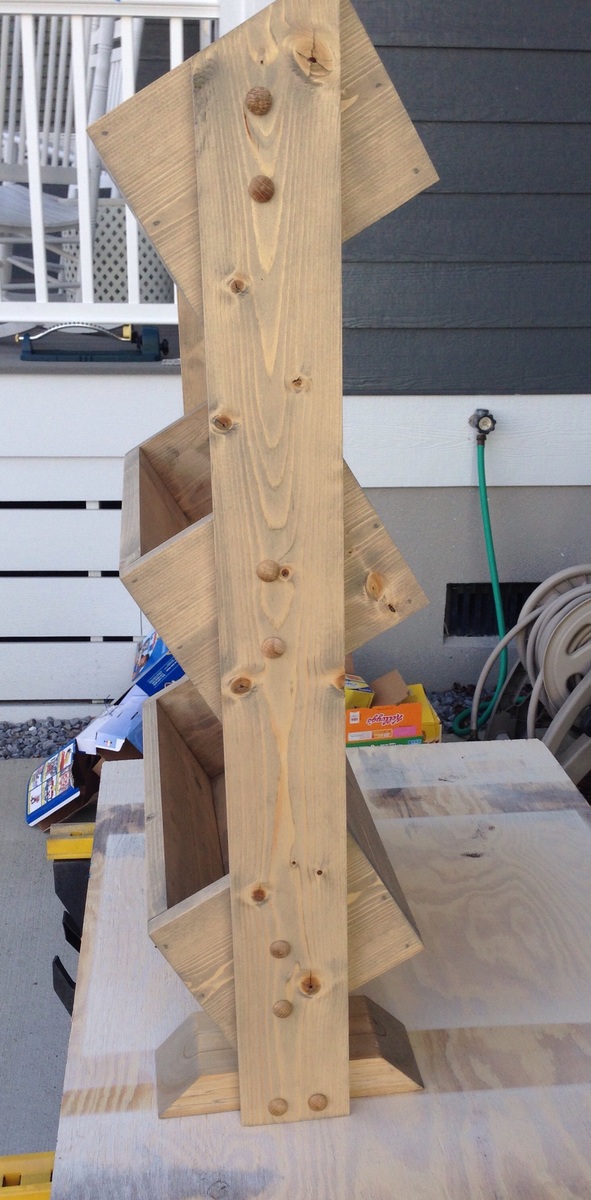
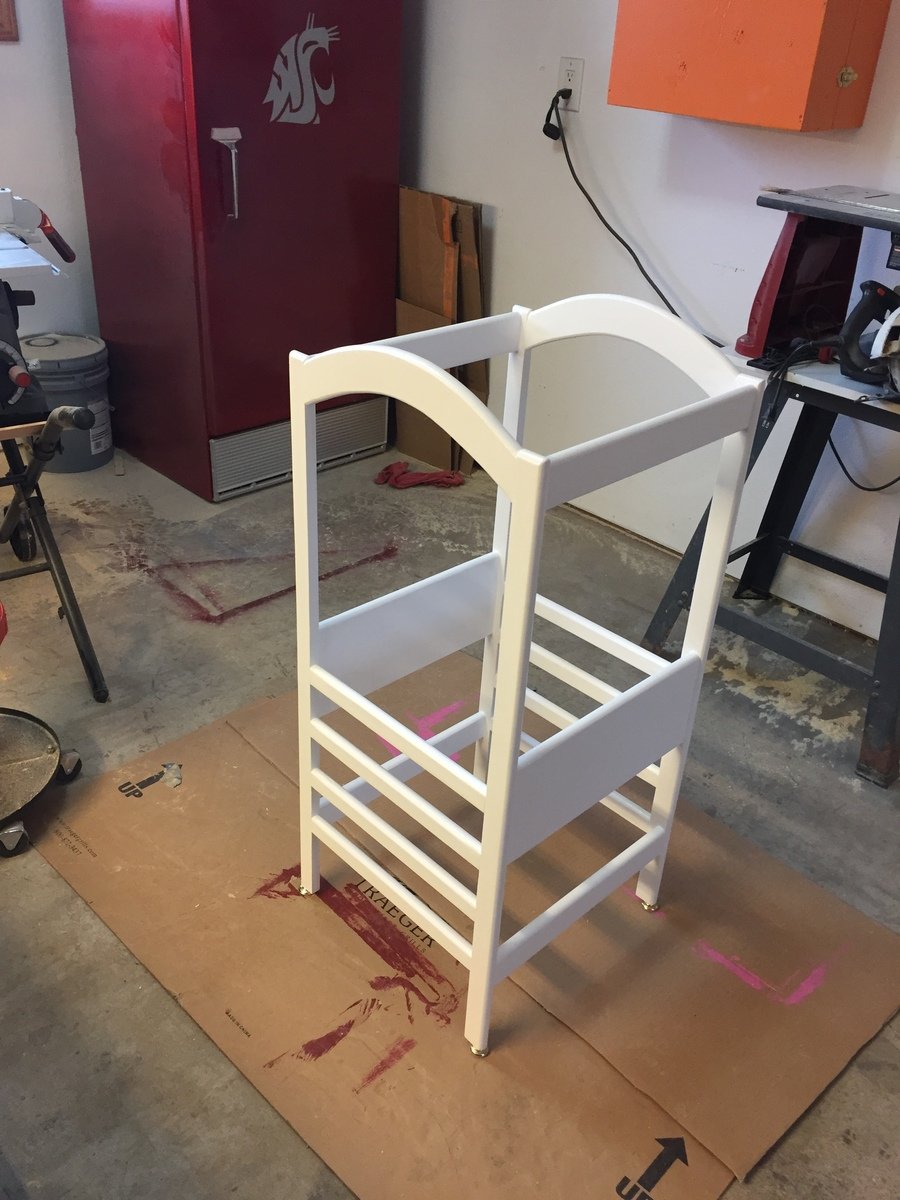
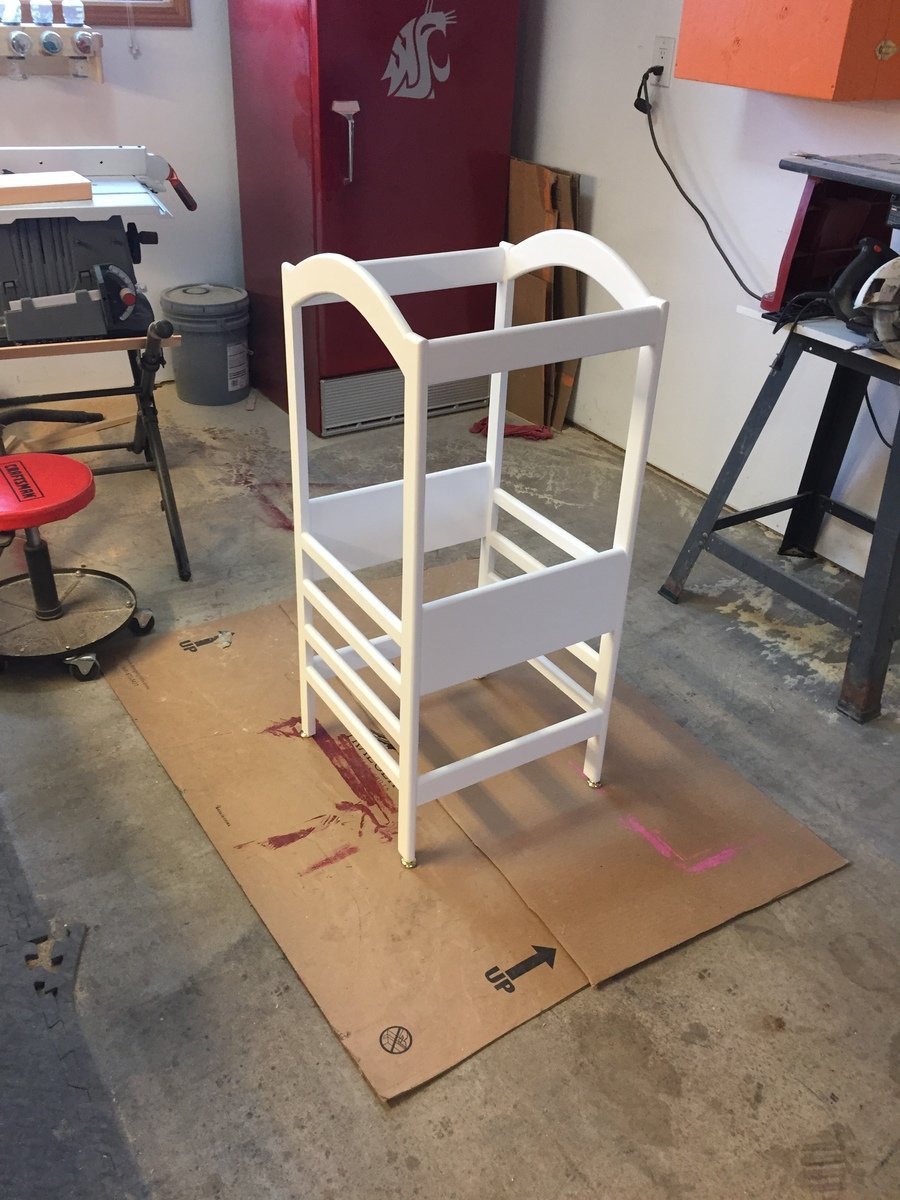
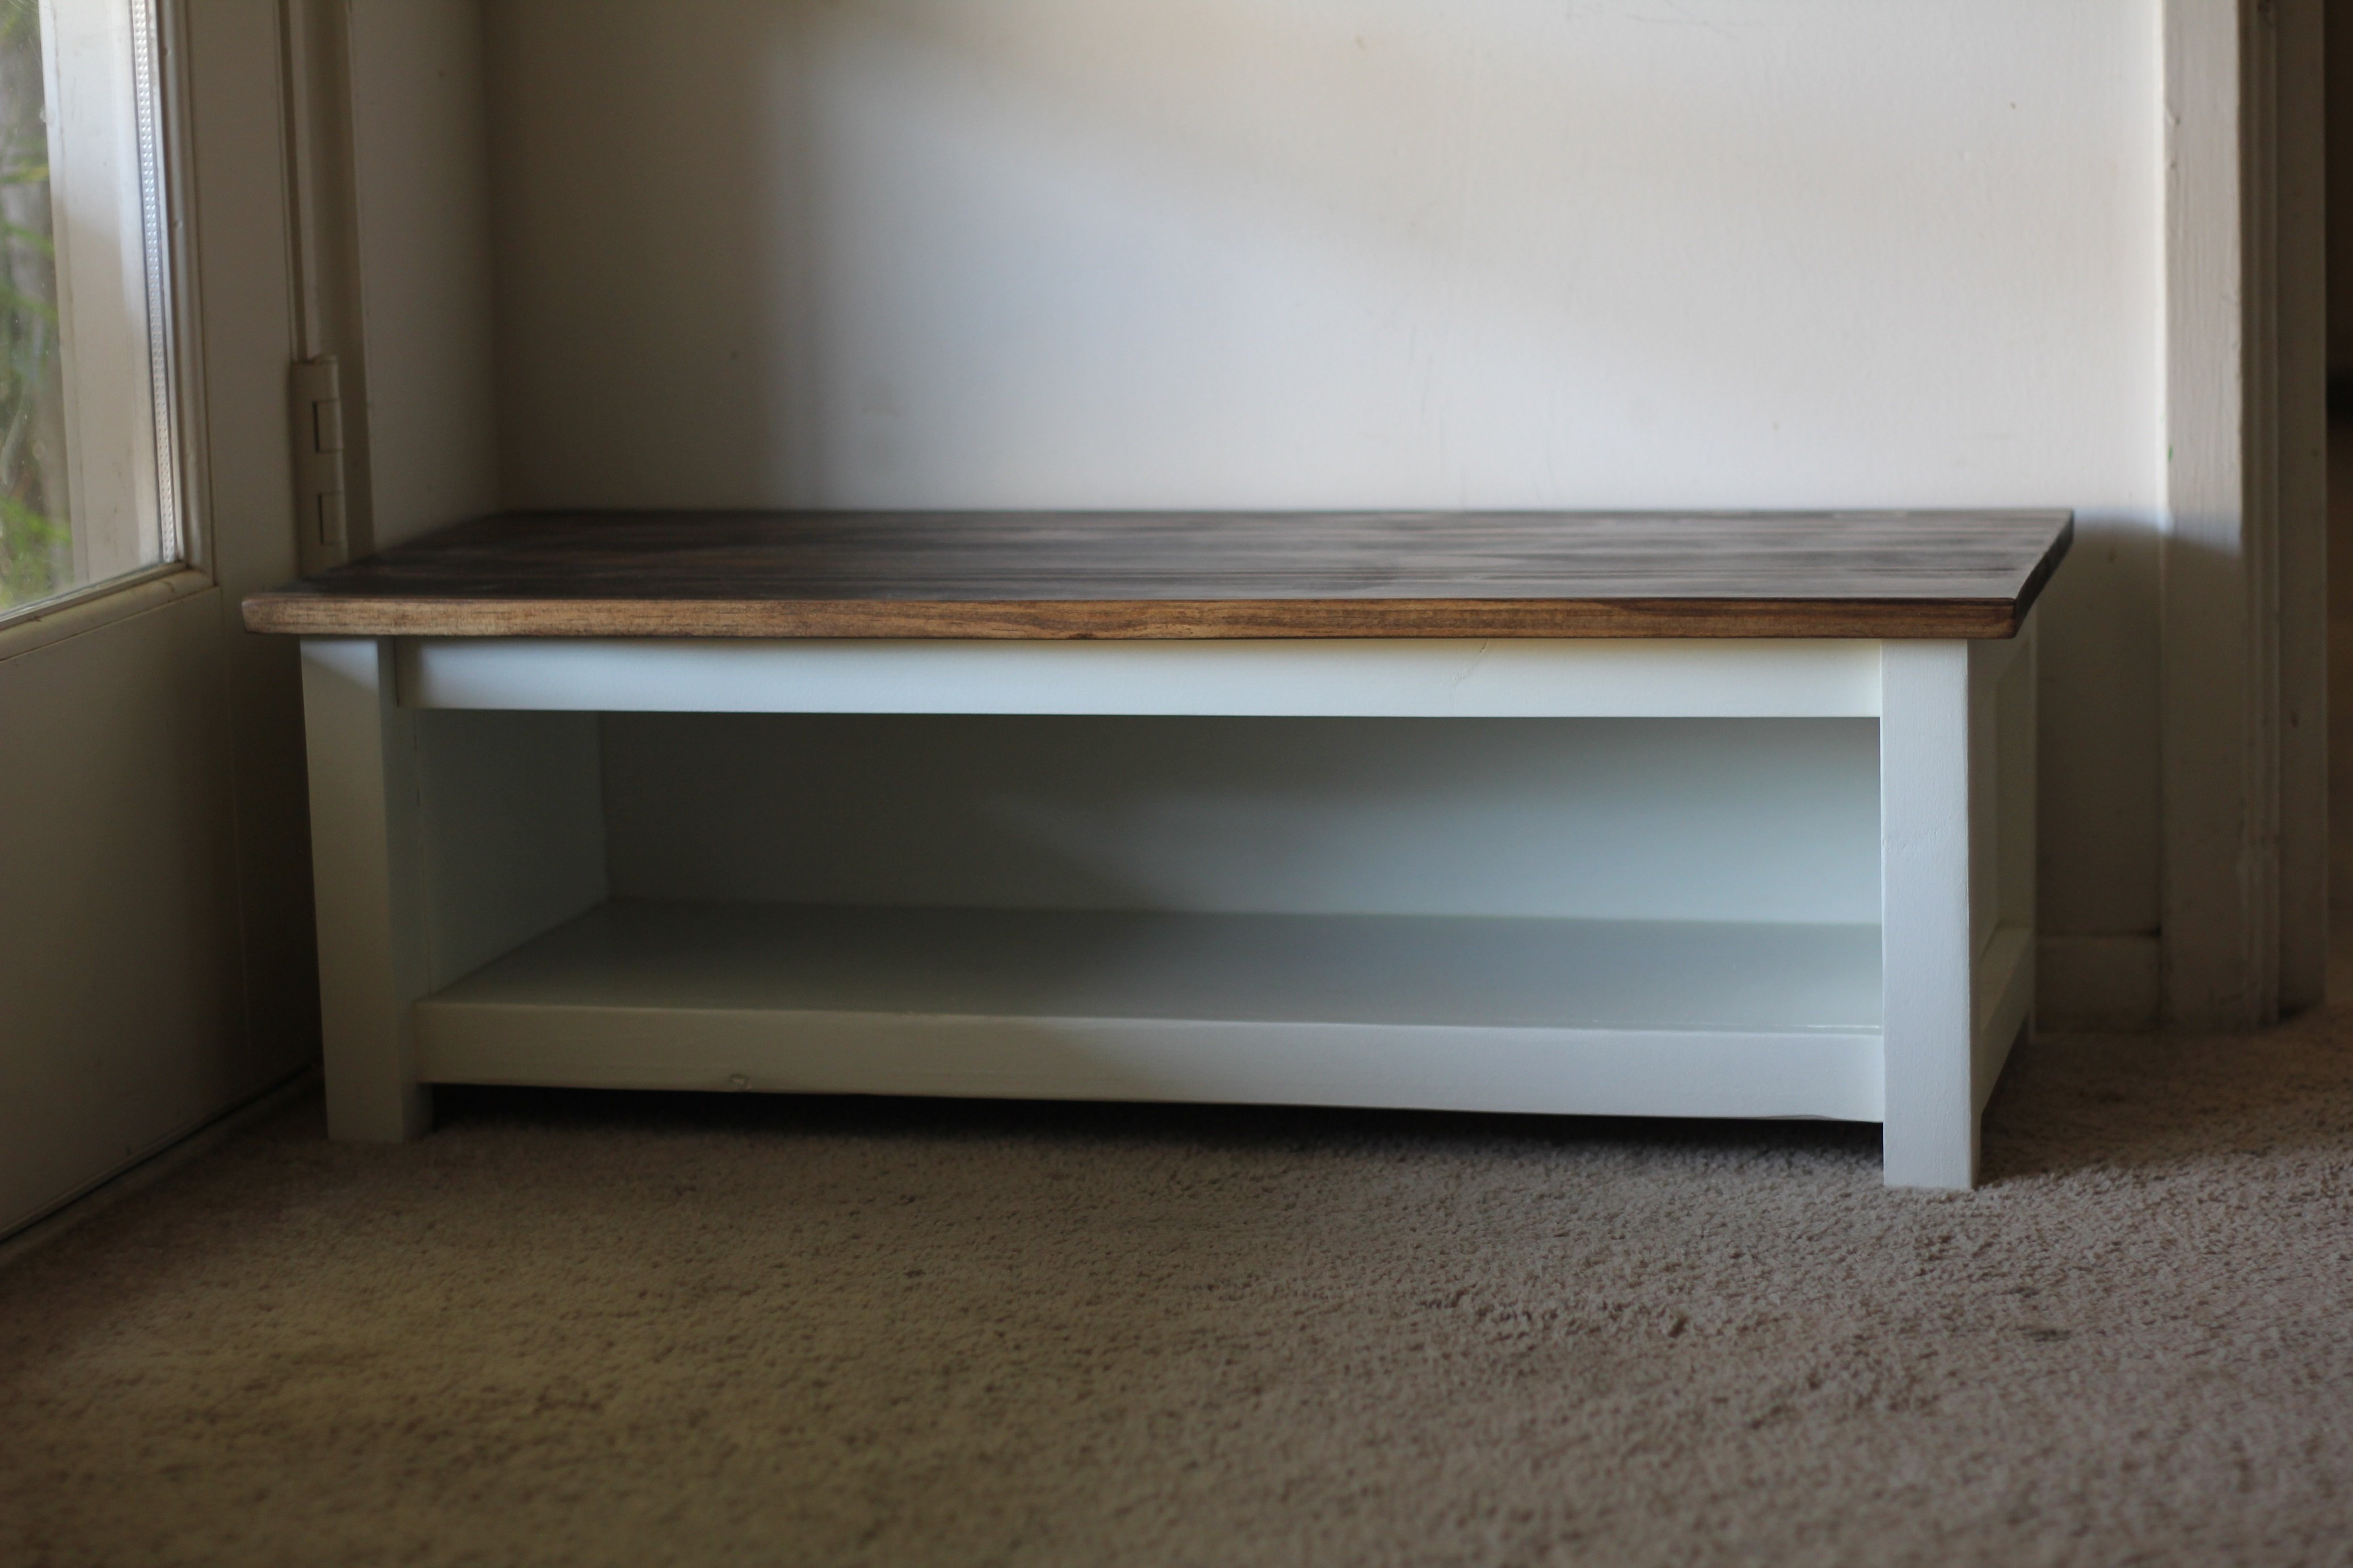
Community Brag Posts

Shoe Shelf

Submitted by brittanyj on Sat, 04/22/2017 - 17:16

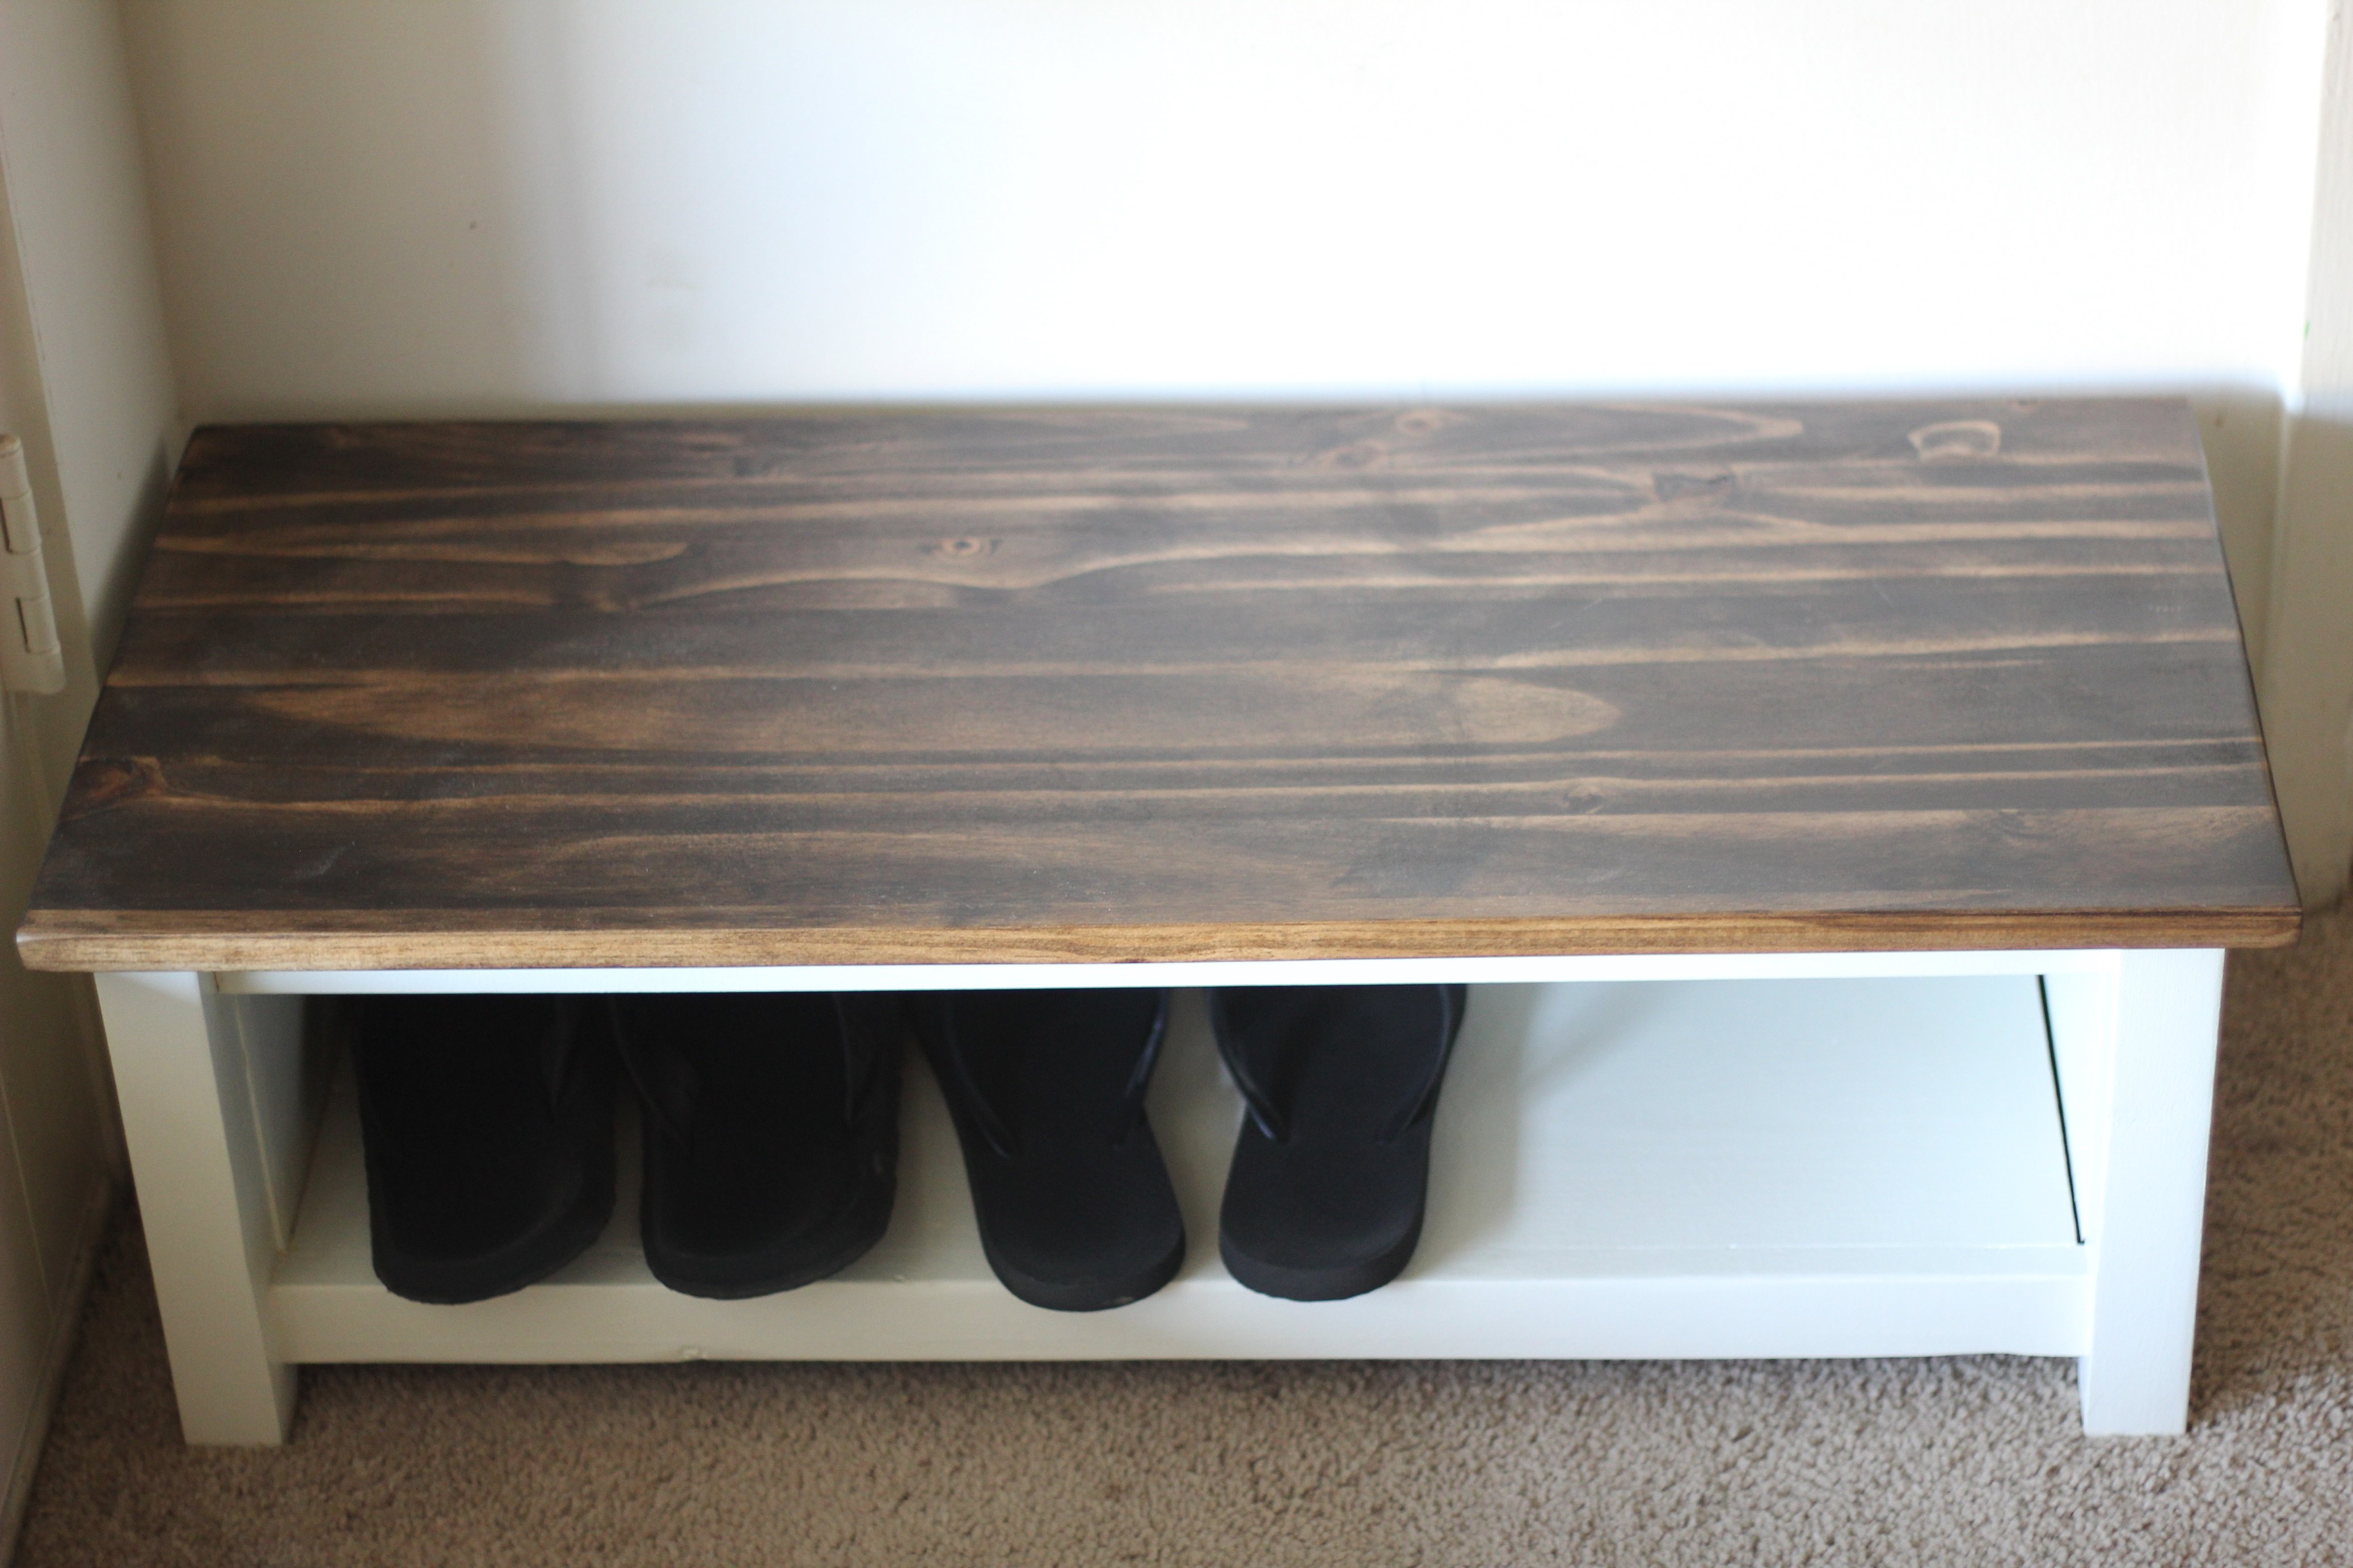
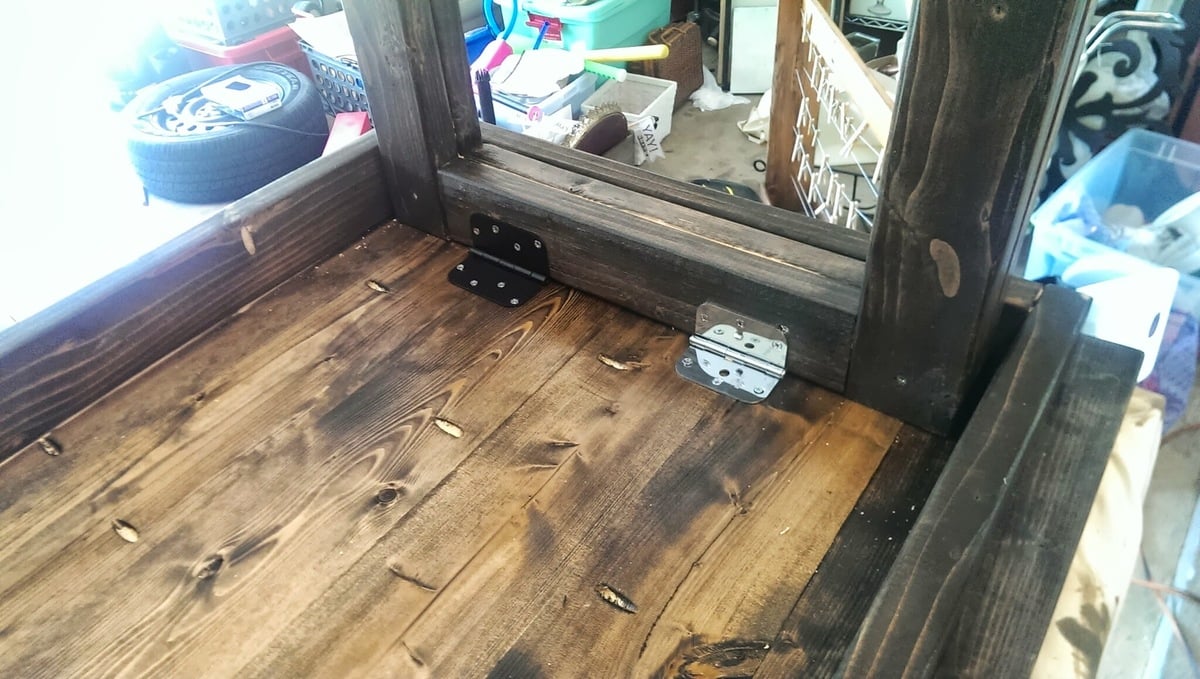
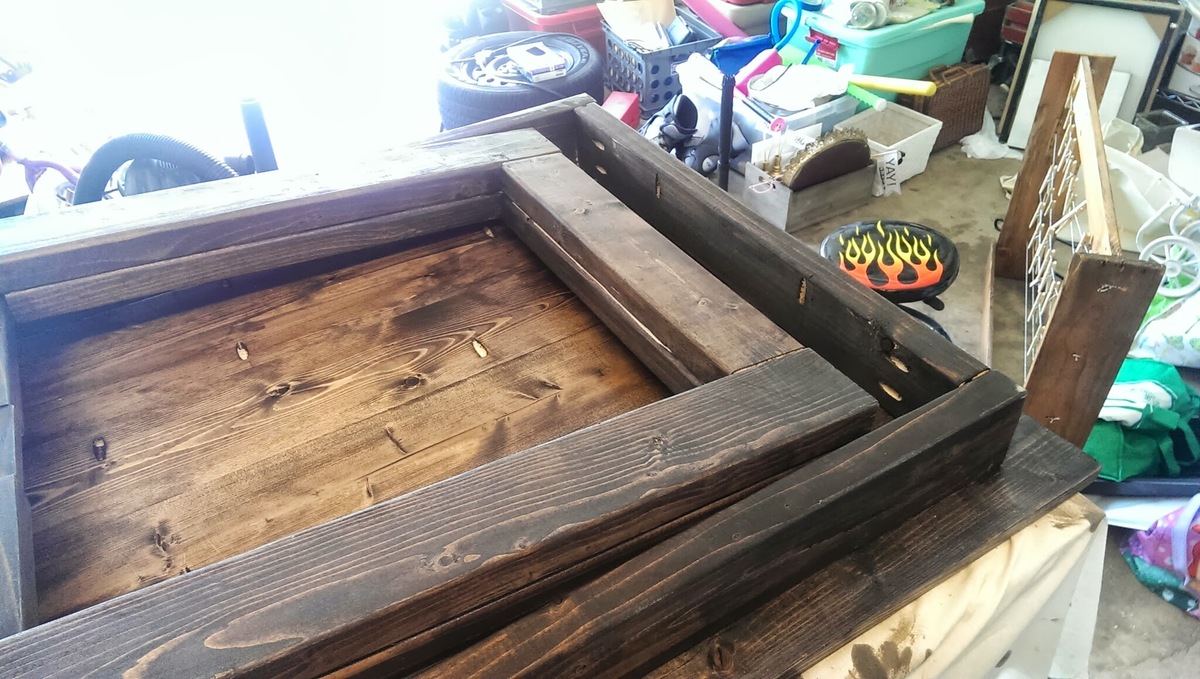
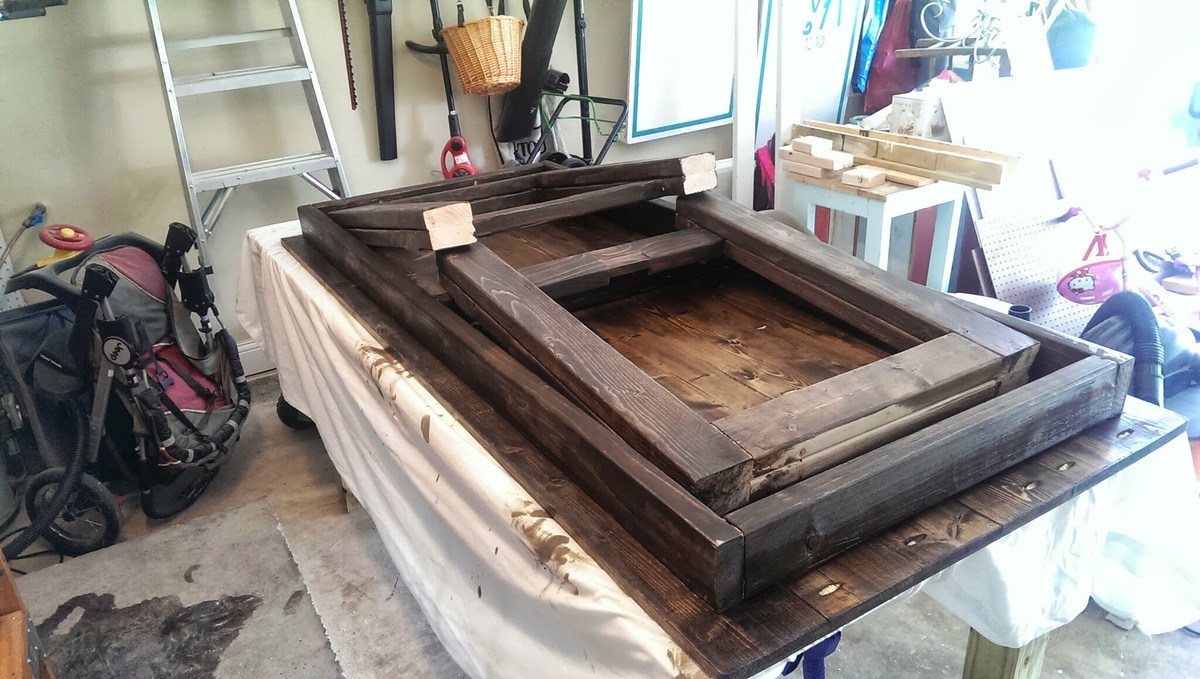
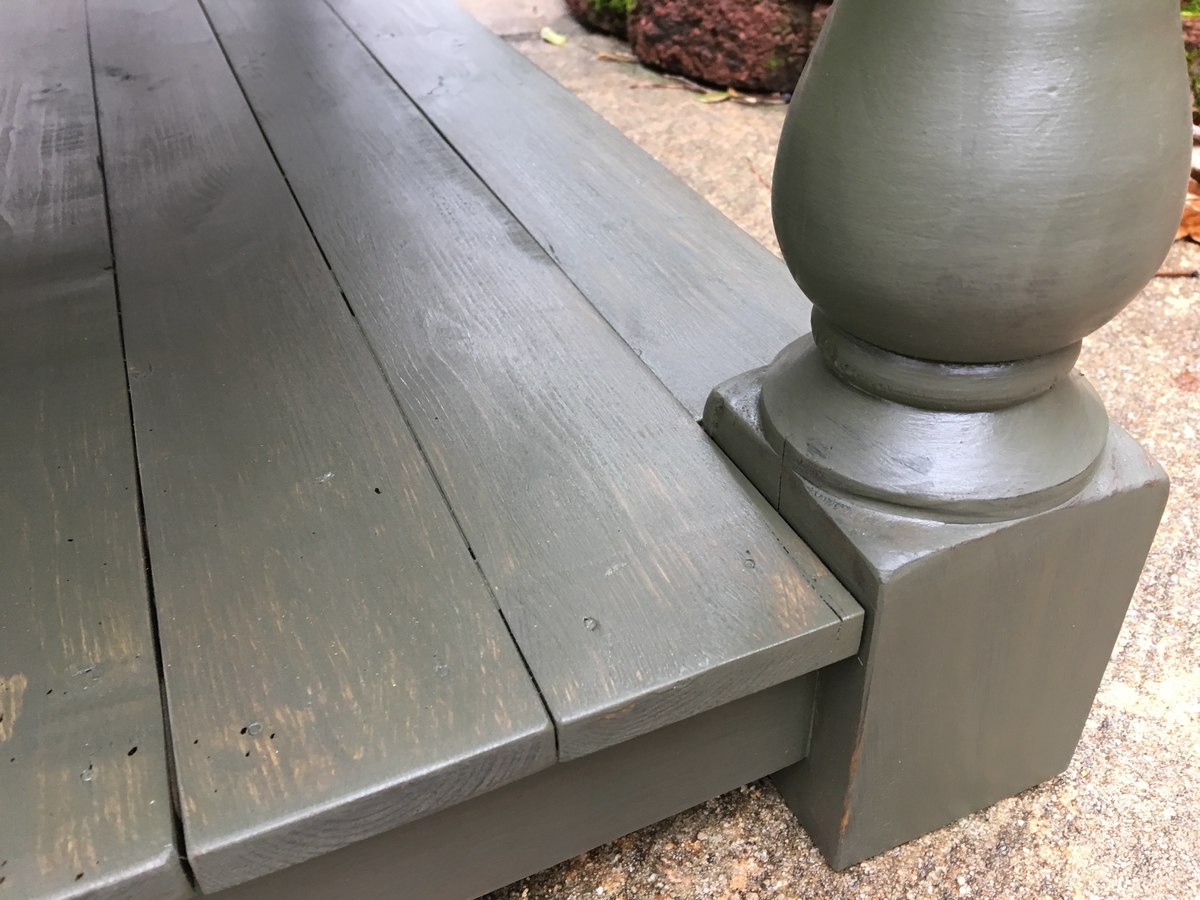
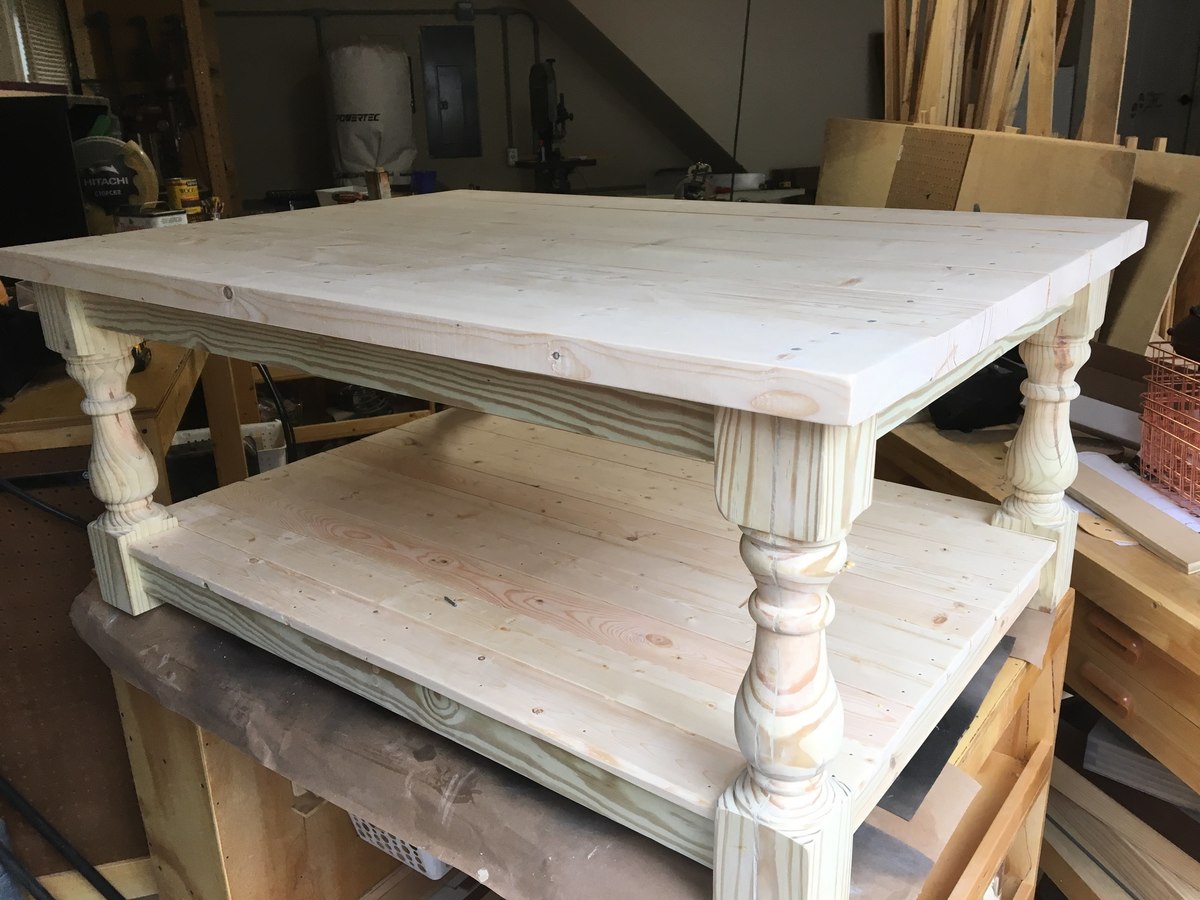
Husband wanted a shoe shelf for the back door entry, and I needed a quickie weekend project, so this fit the bill.  Adapted from fix this build that's plan, but modified for a smaller space and less shoe storage.  Easy project, and looks great.

Estimated Cost
$7- the project panel was on clearance at HD for the top, the rest was scrap lumber- ply, 2x2's and 1x2's.
Estimated Time Investment
Weekend Project (10-20 Hours)
Finish Used
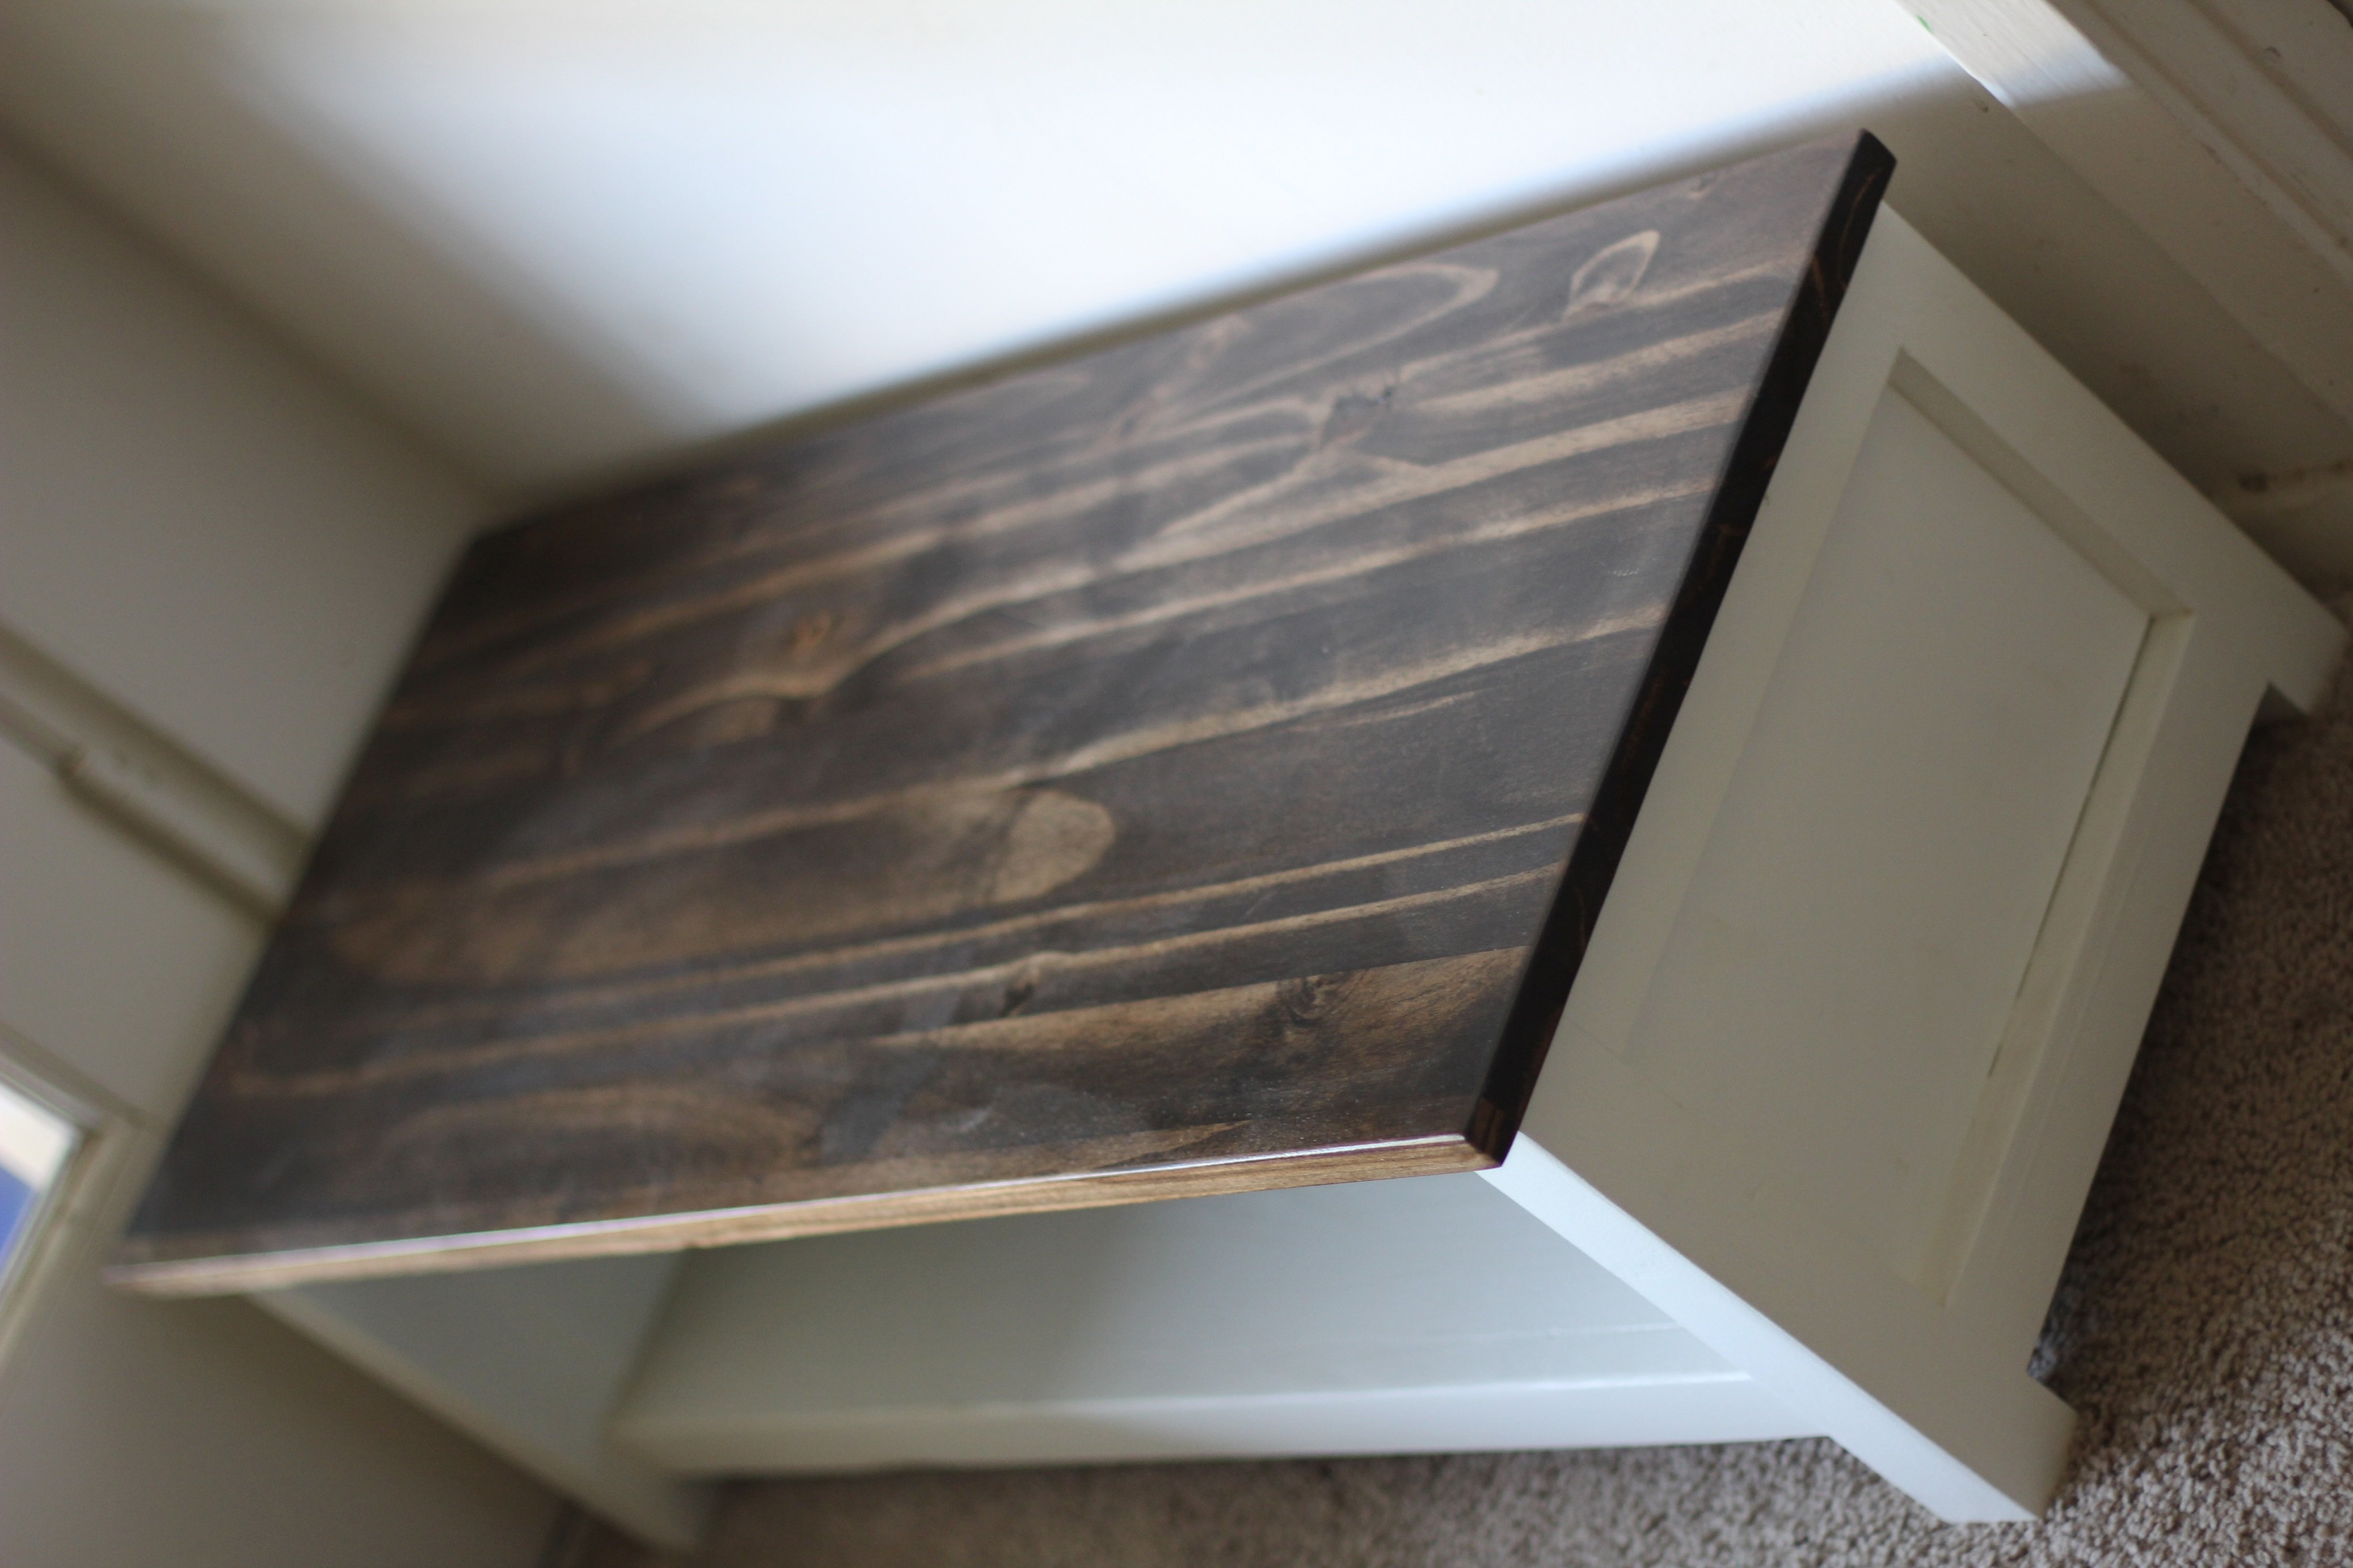
kona stain, white paint, poly
Recommended Skill Level
Beginner

Kentwood bookcase - upsized

I made the original plan higher and wider, and added an extra shelf. Very pleased with the outcome!

Estimated Cost
AUD $200
Estimated Time Investment
Day Project (6-9 Hours)
Finish Used
Water-based stain (Walnut) & water-based satin varnish
Recommended Skill Level
Beginner

Comments

Jeep Bed

Submitted by papamike on Mon, 07/05/2021 - 17:15

I hope this is OK to add here. It's not an Ana White plan, so moderator please delete if it is not allowed. I made this bed for my grandson. I bought a plan online and modified it from a twin to a full size bed. The dome light and running lights work as night lights. A motion sensor light activates if he crosses the door to illuminate the ladder. Front tire is made as a step so his parents can climb in and read to him. The whole thing is on EZ Sliders so they can move it away from the wall to make the bed.

Estimated Cost
$150.00
Estimated Time Investment
Weekend Project (10-20 Hours)
Finish Used
Latex paint.
Recommended Skill Level
Beginner

Comments

Produce Stand

I really enjoyed this project!  It was very easy and inexpensive.  I used Weathered Oak stain to make the pine look aged.  I also countersunk all of the screws and used oak button dowels to give it a finished look.  I learned how to create the wording and images through YouTube.  Search: how to transfer an inkjet photo to wood.  Cool trick.

Estimated Cost
$35
Estimated Time Investment
Afternoon Project (3-6 Hours)
Finish Used
Weathered Oak
Recommended Skill Level
Beginner

Comments

Debbie742

Tue, 12/01/2015 - 04:50

My sister in law would like one of these and I'm wondering what angle cut you used for your support boards?  I like the idea of going corner to corner vs trying to get each one centered and not making a mistake. I'm also wondering about spacing and if you kept the measurements the same as "Over The Big Moon" ?  Thanks so much!!!


Debora Cadene

Great DYI platform bed!

Submitted by Anonymous (not verified) on Wed, 06/28/2017 - 19:31

The bed in grey, also made the backboard taller (and doubled support on back) because the bed will have a box spring (photo 2).  Awesome plans, love the look already.  Excuse the background mess.  The back wall is part of the same project! Thanks again for the plans!!


Note to future builders, learn from my one fatal mistake, be really picky on your quality of wood.  I had some slight frame issues because on a bad board that resulted in about a 1/4 inch bow on one side.  My slats are all use rival but you can see some done touch both sides...that is the bow.  Still no one will likely notice but me.


Second, there was no info on spacing along the frame for attaching the 2x4 to the 2x6.  I used 12", maybe overkill.

Estimated Cost
Excluding the Kreig jig that I did not have materials cost about 200. I had the 2x4 already and I uses more 2x6 to raise the backboard higher so this is estimate.

Remember to account for time to:
Let wood acclimate (min 48 hrs), dry times between coats. I did 2 coats then a sealant with a day inbetween each. Also I was solo on this so 2 people could be even quicker.
Estimated Time Investment
Day Project (6-9 Hours)
Finish Used
Grey varnish sanded a bit to look work then sealant.
Recommended Skill Level
Beginner

Playhouse kitchen from Modern Vertical Slat Top Console

Submitted by LauraLaura on Mon, 05/27/2013 - 17:21

I've been looking for a simple design for a consol table that I could easily modify to fit in my kids' club house. This one fit the bill perfectly! I also happen to have a pile of 2x4s left over from a closet demo, so I wanted to use those up. I basically built 2 of the consol tables, letting the 2 outer-most horizontal beams extend across and 25.5 inch space and connect the two consols. Then I put in a middle beam and that created the perfect space to set some catering pans in it. Also, I only had 2x4s so I used those for all the pieces, making the gaps a little wider than the original design. And lastly, because I didn't quite have enough wood, I shortened the vertical beams. If you look at the picture, all of this will make more sense! Thanks for the inspiration and direction! ps - I have no idea how to rotate the photos. Sorry!

Estimated Time Investment
Afternoon Project (3-6 Hours)
Finish Used
none yet, but I think I need to paint it or something so it doesn't rot outside.
Recommended Skill Level
Starter Project

Farm table

Submitted by Anonymous (not verified) on Mon, 10/11/2021 - 15:33

First attempt ever at building anything! Probably took me a lot longer than it should have, but I'm very proud of the result

Comments

Foldable Farmhouse Table 2

I recently published my first foldable farmhouse table last week here: http://ana-white.com/2013/06/foldable-farmhouse-table The first one I made was very heavy because I used 2x6 tops and 4x4 legs. I decided to make another one that would be lighter and easier to transport. The plans are basically the same just instead I used 1x6 for the top and put 2x4s together for the legs. I also shorted the length by about a foot. The only issue with making the table shorter length is that the legs don't fold completely flush. You could easily make the legs short enough to fold flush, but then the table was a little too short from the ground up for us. The same as before I simply used kreg joints to join the top boards together. I then made a 2x4 frame and attached it to the bottom. I made each of the legs separately by joining 2x4s together and sanding everything down. Everything was stained before putting the legs on using Miniwax Dark walnut stain. I used 2 coats of Miniwax water based clear coat to seal it. A notch was cut out on each of the bottom 2x4 supports on the legs and I glued in a small piece of wood cut to size. These are so I can put in a 2x4 support board under the table so that the legs do not fold in on themselves when it is standing up. The legs are just attached using door hinges you can buy in packs in the hardware section. Be careful when screwing into the 1x6 top not to use too long of screws or else you will over screw and have them come through into your table top. Table design was by Amber Veatch Designs and photographed by Andi Mans Photography

Estimated Cost
120.00
Estimated Time Investment
Day Project (6-9 Hours)
Finish Used
Sand to finish and then used Miniax dark walnut stain followed by Miniwax water based clear coat.
Recommended Skill Level
Beginner

Comments

Freddyflis

Tue, 07/07/2015 - 06:41

We have built something very similar and we have a good bit of wobble at the top, even though the stretcher down the center of the table is holding solid in there and secred with clasps. Were thinking of some sort of sliding pin into the top of the leg to the apron. Anyone run into this before?

Seasonal And Holiday

OUTDOOR SOFA

Decided to build Ana's outdoor sofa for our Master Balcony and love the results. I was a bit impatient to finish the build and therefore did not take the time to use pocket screws for a more finished result, (which I will do next time). Regardless, I love how the sofa turned out and would reccomend for anybody to build. The cheapest outdoor cushions I could find were from Ikea and we spent around $160.

Built from Plan(s)
Estimated Cost
$100 BUILD, $160 CUSHIONS
Estimated Time Investment
Afternoon Project (3-6 Hours)
Finish Used
OUTDOOR STAIN
Recommended Skill Level
Beginner

My take on the chicken coop design

Submitted by Anonymous (not verified) on Thu, 12/30/2021 - 13:01

When we became accidental chicken owners, we had to build a coop fast. I found the plans for Ana’s replica of the Williams Sonoma chicken coop and got to work. They were very easy to follow and easy to modify to fit our own needs and aesthetic. We decided to enlarge the coop and remove the planter in the original plans do we could accommodate more chickens while keeping the original footprint. Instead of plywood, we used cedar reclaimed from an old fence we had recently replaced. We also enlarged the rear door to make clean out as easy as possible. I cut pieces of corrugated plastic that fit inside the door and windows to winterize the coop when temps drop below freezing. The run is designed to follow the shape of the coop and is large enough to give our 5 chickens plenty of space. The planter box runs the length of the chicken run, providing some plants to munch on inside and shady vines that will eventually cover the outside. Thanks for the awesome plans!

Comments

Modified Miter Saw Cart

Submitted by DavidH on Fri, 01/19/2018 - 20:56

I started with the basic plans and dimensions, then made it my own from there. I added a center shelf, used regular (cheap) hinges and a removable brace instead of the shelf brackets, with stop blocks on the brace cleats to help easily center them. Added 2x4s on the sides to mount the hinges and let the wings fall flush, 2x4s on the bottom to mount 4” casters, 1/4” plywood backing, and 1x3 trim on the front for aesthetics and as a lip to hold items in place. The backing completely covers the lower shelf, and I left a gap to run cables through in the upper shelf backing. Velcro strips on the back hold the wing braces when they’re not in use.  Even though it’s plywood, I sanded everything thoroughly to reduce splinters and snags. 


Built from Plan(s)
Estimated Cost
$100-$125
Estimated Time Investment
Weekend Project (10-20 Hours)
Finish Used
Unfinished
Recommended Skill Level
Beginner

Comments

nzmitchell11

Sat, 02/03/2018 - 08:22

Hi there. I’m planning to use Ana White’s plan to build this miter saw cart but I like some of your alterations like with adding the 2x4s to allow the leaves to fall flush and the 2x4s at the bottom to attach the casters. How did you attach the casters? I have ones similar to yours- plate casters with 4 holes. Did you use bolts or screws? 

Chunky Coffee Table with Turned Legs

Submitted by danicarby on Sun, 02/18/2018 - 06:53

I turned my legs (woot woot!) but you could buy legs that are 3x3" @ 18".  This was a simple build using pocketholes + glue joinery and using glue + nails for the shelf and tops.  To allow for seasonal expansion of wood I spaced the wood on shelf and top slightly because I built it in the dry winter.


I used a Dark Walnut stain first and went back over with a light coat ("dry brushing") of a sage green paint.  Lightly distressed edges.


I have more pictures and details on my website: http://www.theprojectlady.com/2018/02/diy-tutorial-chunky-coffee-table-…


Happy building everyone!  It's so rewarding, right!??

Estimated Cost
$50 for wood
$20 for finish
$5 for screws/nails
Estimated Time Investment
Day Project (6-9 Hours)
Finish Used
Dark Walnut Stain
Behr Premium Plus Indoor Paint
Recommended Skill Level
Beginner

Art Table!

Submitted by Jess1221 on Sat, 06/04/2011 - 09:50

I used the plans for the craft desk and modified it a little. I made the top like a lid that just sits on top so I can take it apart easier. I also put on full extension drawer glides and made the drawer larger. This took me quite a long time because I was working on it and studying for finals! Well worth it though!

Estimated Time Investment
Week Long Project (20 Hours or More)
Finish Used
High Gloss black paint with Jamaican Aqua accent color
Recommended Skill Level
Beginner

Tall Bedroom Dresser

Had a blast with this project and am getting more confident with drawer slides. I built a matching dresser that is much shorter and wider. It can be found here: http://www.ana-white.com/2018/08/DIY_furniture/bedroom-dresser

Estimated Cost
$150-$200
Estimated Time Investment
Weekend Project (10-20 Hours)
Finish Used
Varathane Weathered Wood Accelerator, Varathane Poly
Recommended Skill Level
Advanced

Comments

hutchingslv

Thu, 08/12/2021 - 15:35

Any way to get a copy of these plans? I really like the look and want to give it a shot. Have to make a few of these if all goes well for all my boys.
Thanks

Lumber Storage

Submitted by Anonymous (not verified) on Sat, 08/20/2022 - 15:44

We are so excited about have an organized way to store our lumber and scraps. We only had to purchase 4 2x4’s for this project and were able to use a lot of on-hand scrap pieces. The plans were so clear and easy to follow. Thank you for sharing!!

Comments

Essential Wood Outdoor Chair Frame for Standard Chair Cushion

Submitted by Anonymous (not verified) on Sat, 11/05/2022 - 14:11

Beginner here and I enjoyed this one quite a bit. I played with the angle of the back and finally perfected it on chair three and four. I put the last bottom slat a little closer to the front to create more of a back angle. I also added a third back support position of the bottom slats are essential for comfort so you’re not sitting on a slat. My cushions need to be a bit thicker because you can definitely feel it. Overall, I enjoyed this project. Longest part was making all the cuts, and then painting because I use the sprayer and had to clean it. Thanks Anna!

Comments

Fireplace with hidden Mantle storage and side bookshelves

Submitted by ibseenu on Thu, 12/01/2022 - 14:30

Thank you Ana for you Fireplace design as it was exactly what I needed! We’ve lived in our house for 3 years now and I’ve wanted a fireplace ever since. Your plan was perfect and with a few modifications I made it come to life. My 9yr daughter as I was almost done building thought there should be a shelf for books and movies below the fire place. It gave me the idea of adding storage on the sides. I had already had the idea of the mantle storage and just used a floating shelf idea and made that. This was a lot of fun!! It took me a little over a week to build. But can’t wait to build something else for our house… like the mudroom!

Amy

Comments

jtemperley

Sun, 01/08/2023 - 19:02

That looks awesome! My husband and I are planning on doing this as well. I do have a question, as I see you have carpet just like us. Did you cut out the carpet where you built out, and if so how did you go about that, or did you just build on top of it?

Oh Christmas Tree

Submitted by Rentzm on Sat, 12/17/2022 - 04:13

What a merry addition to my Christmas decor. I was drawn to this project because I wanted to use my new miter saw and to practice cutting angles & piecing together with great precision. It’s a bonus that I needed a place to hang stockings.

The directions were clear and helpful. It is forgiving if you don’t get boards aligned perfectly. That provided a great confidence boost for this newbie.

The stain is Minwax Austin Field solid. It was my first stain experience and it took me a while to get a smooth and consistent finish. But I love the tone.

Built from Plan(s)

Comments