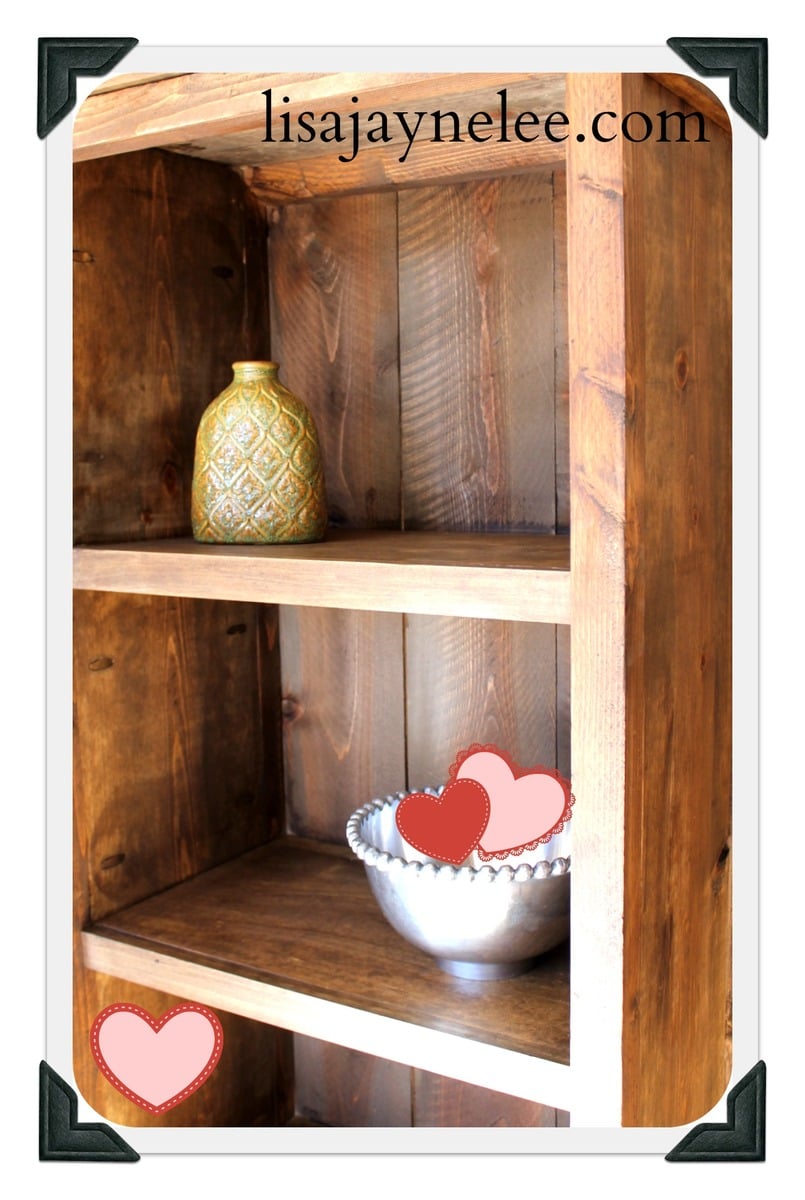
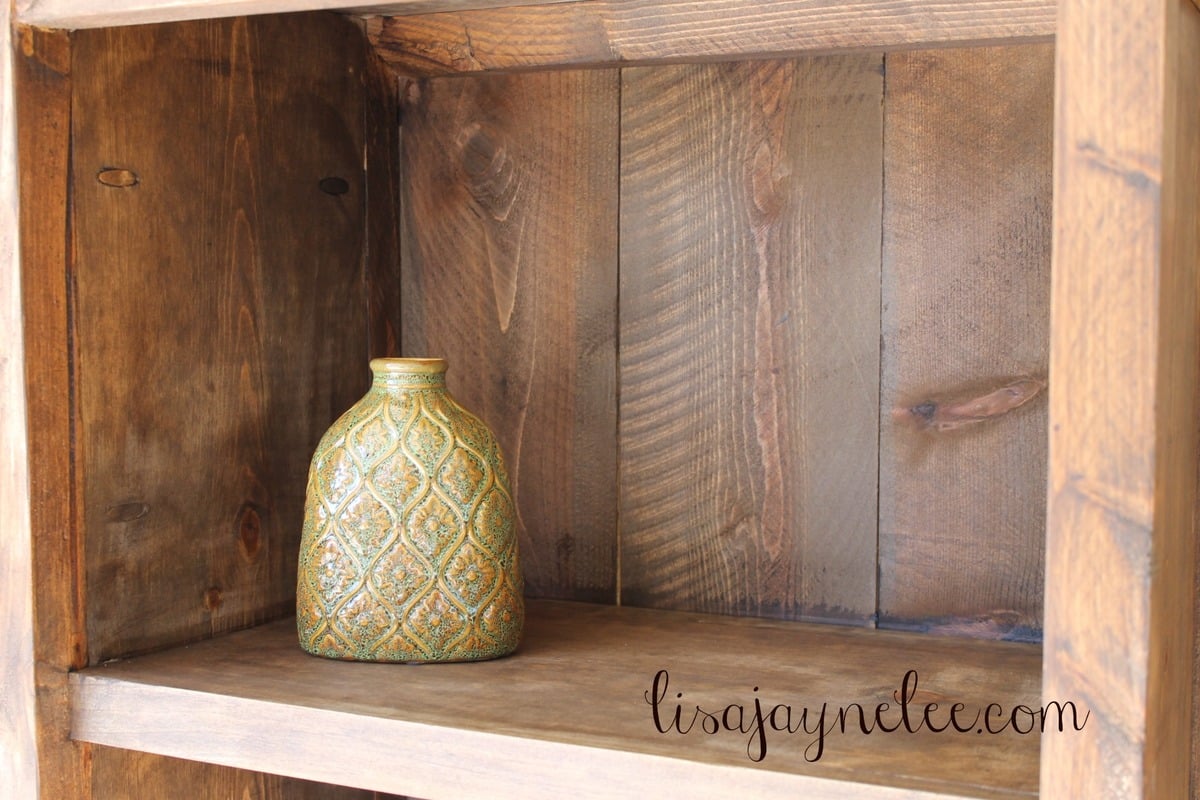
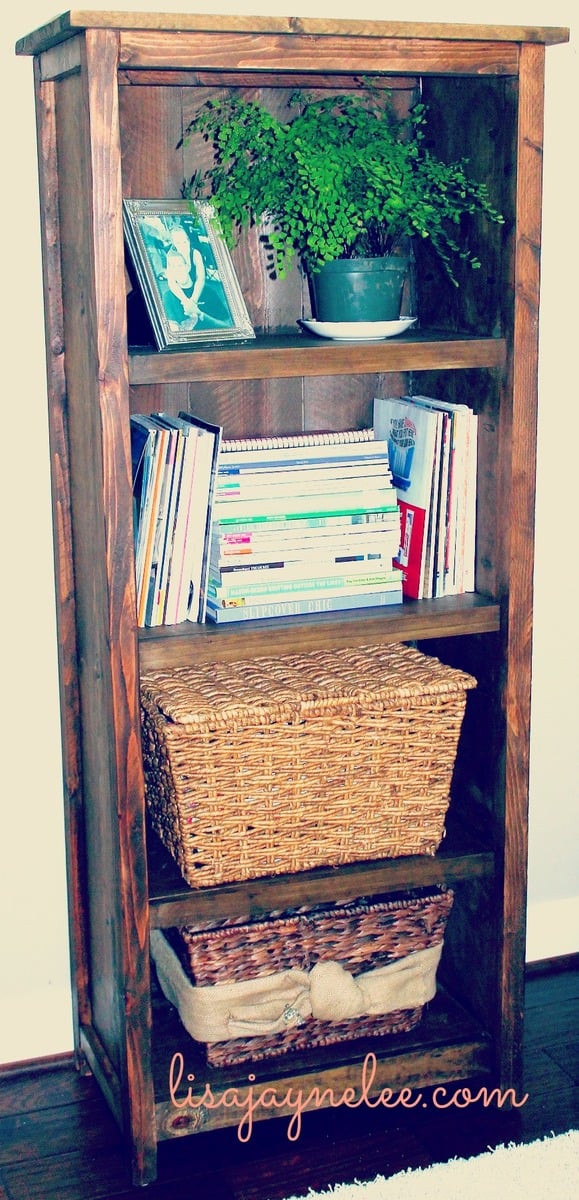
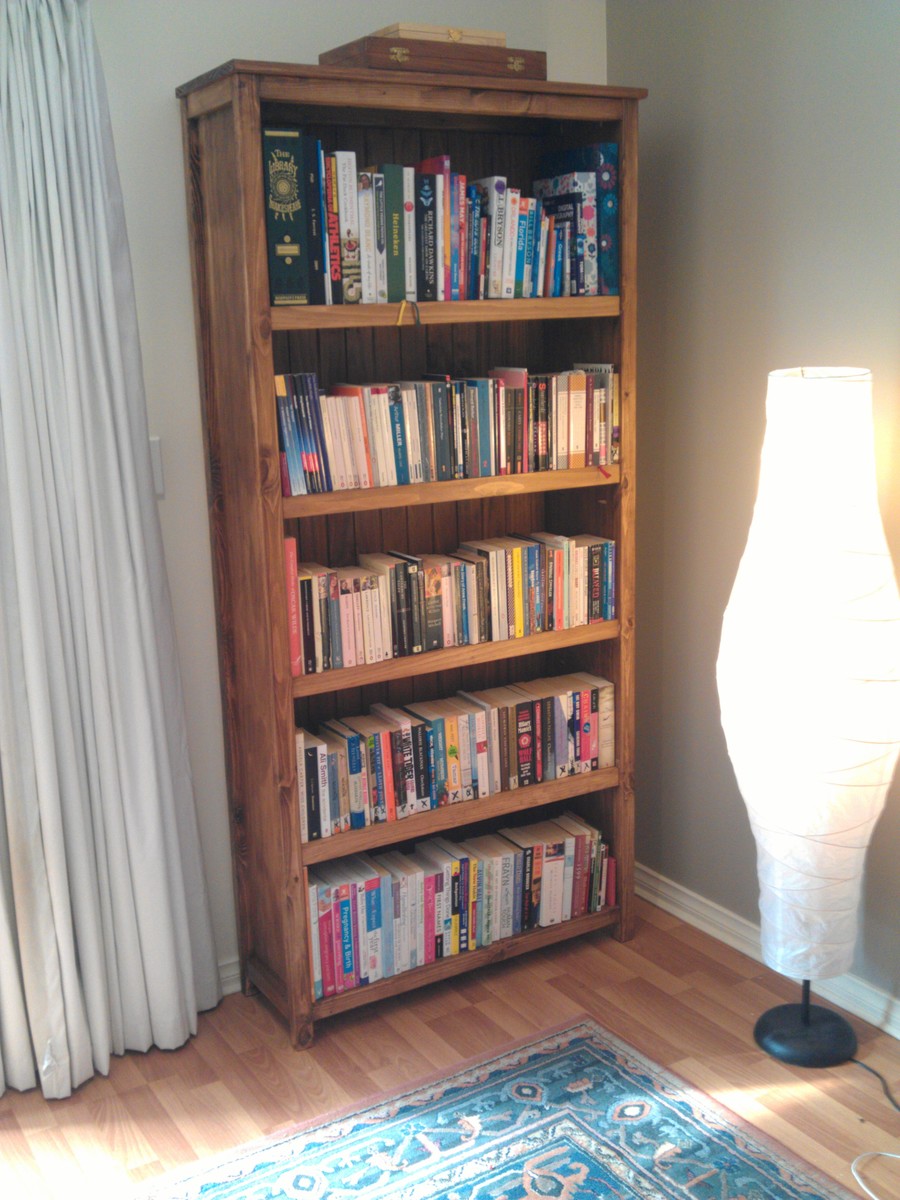
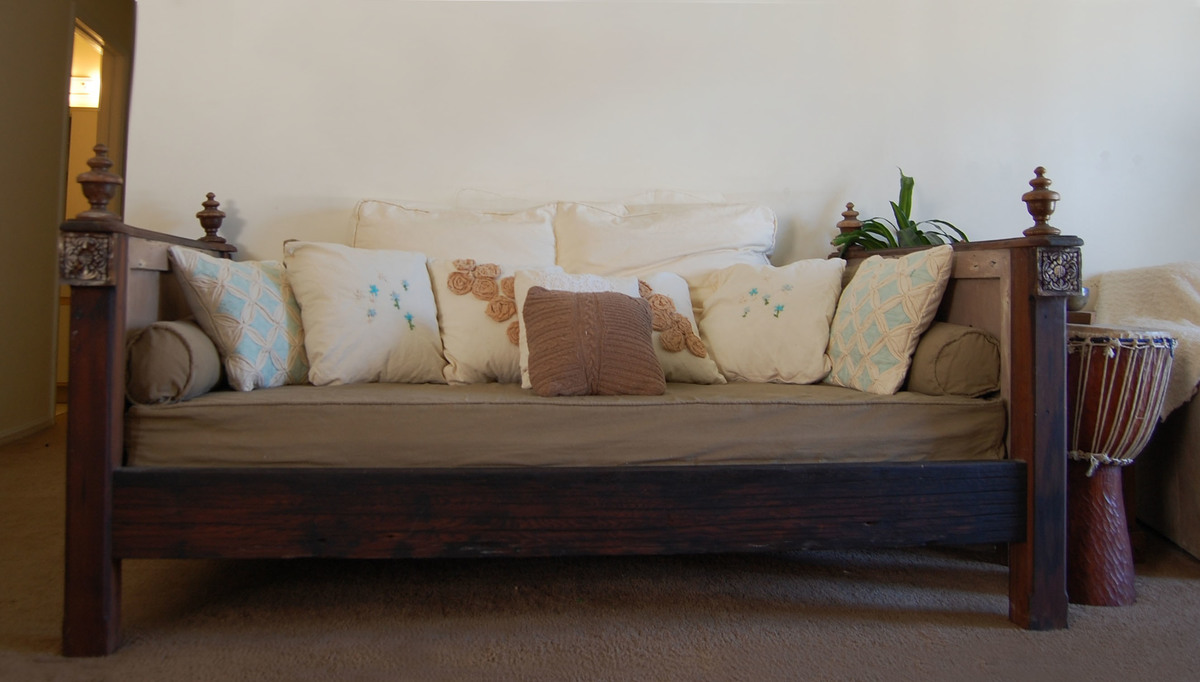
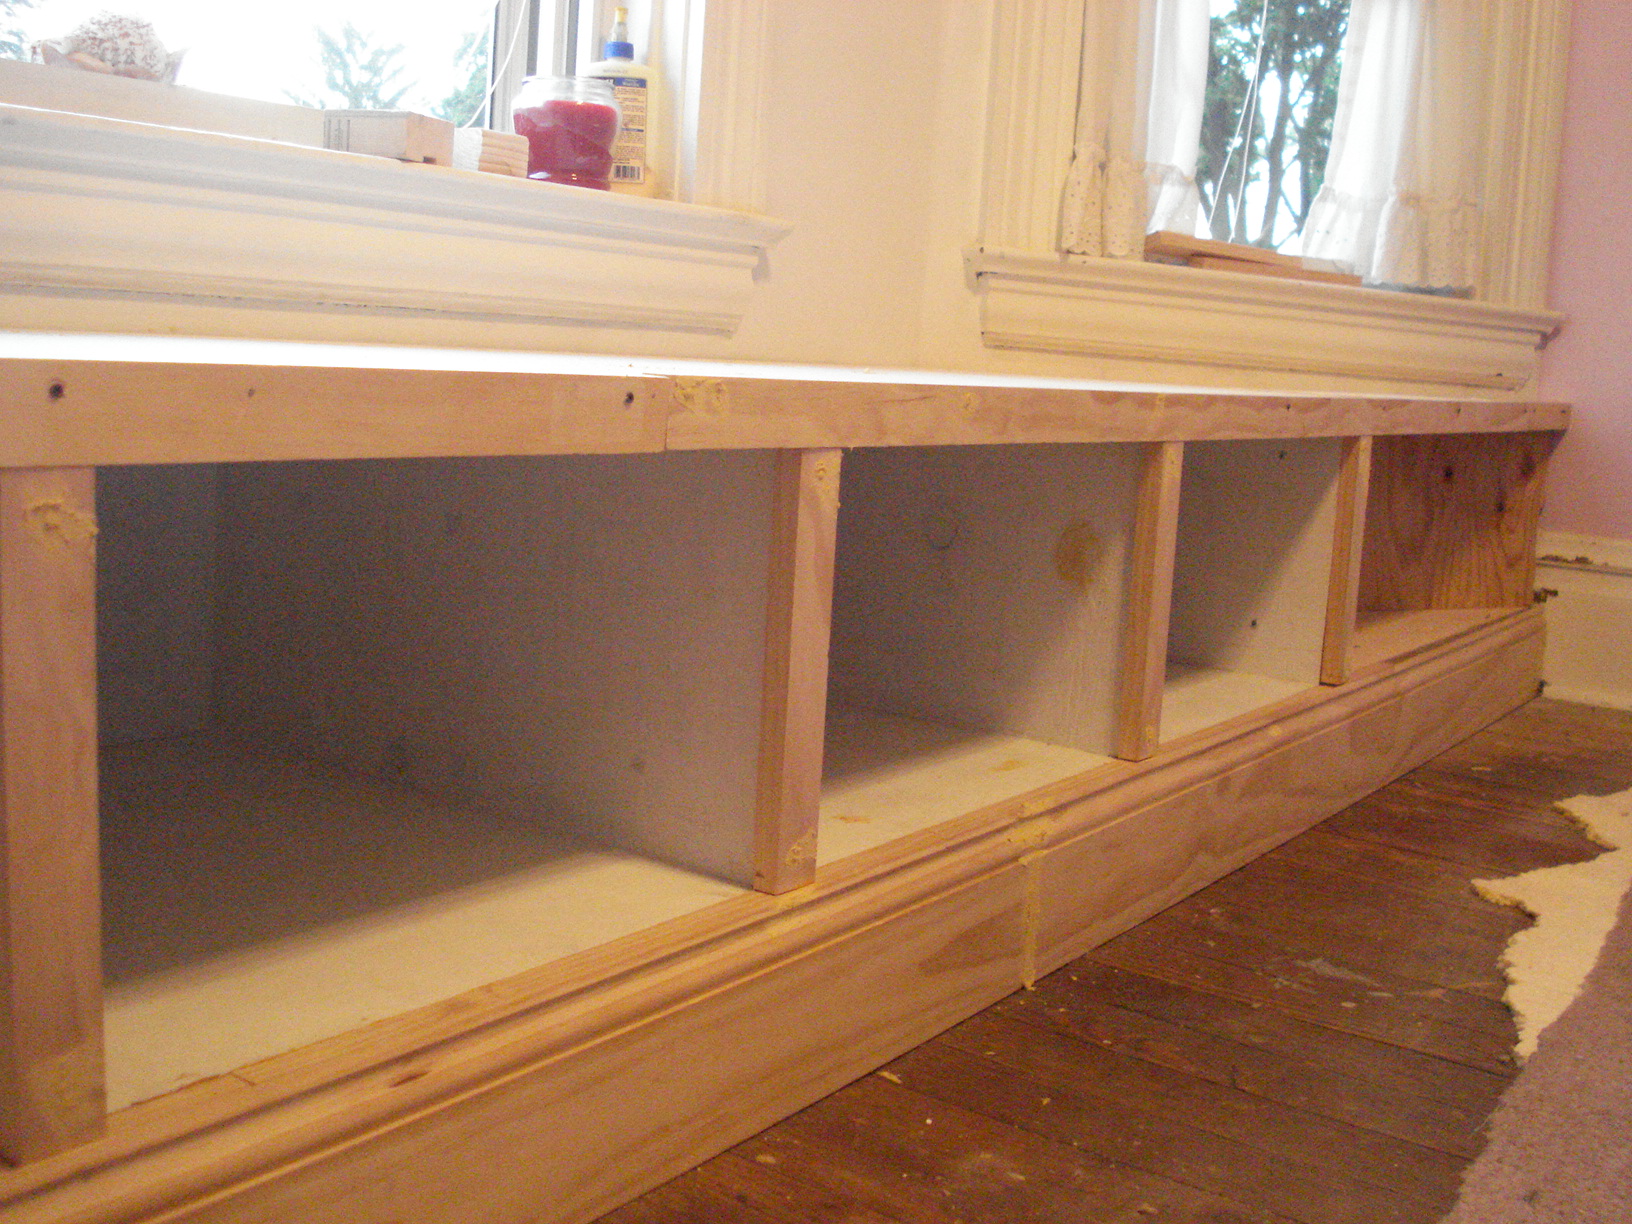
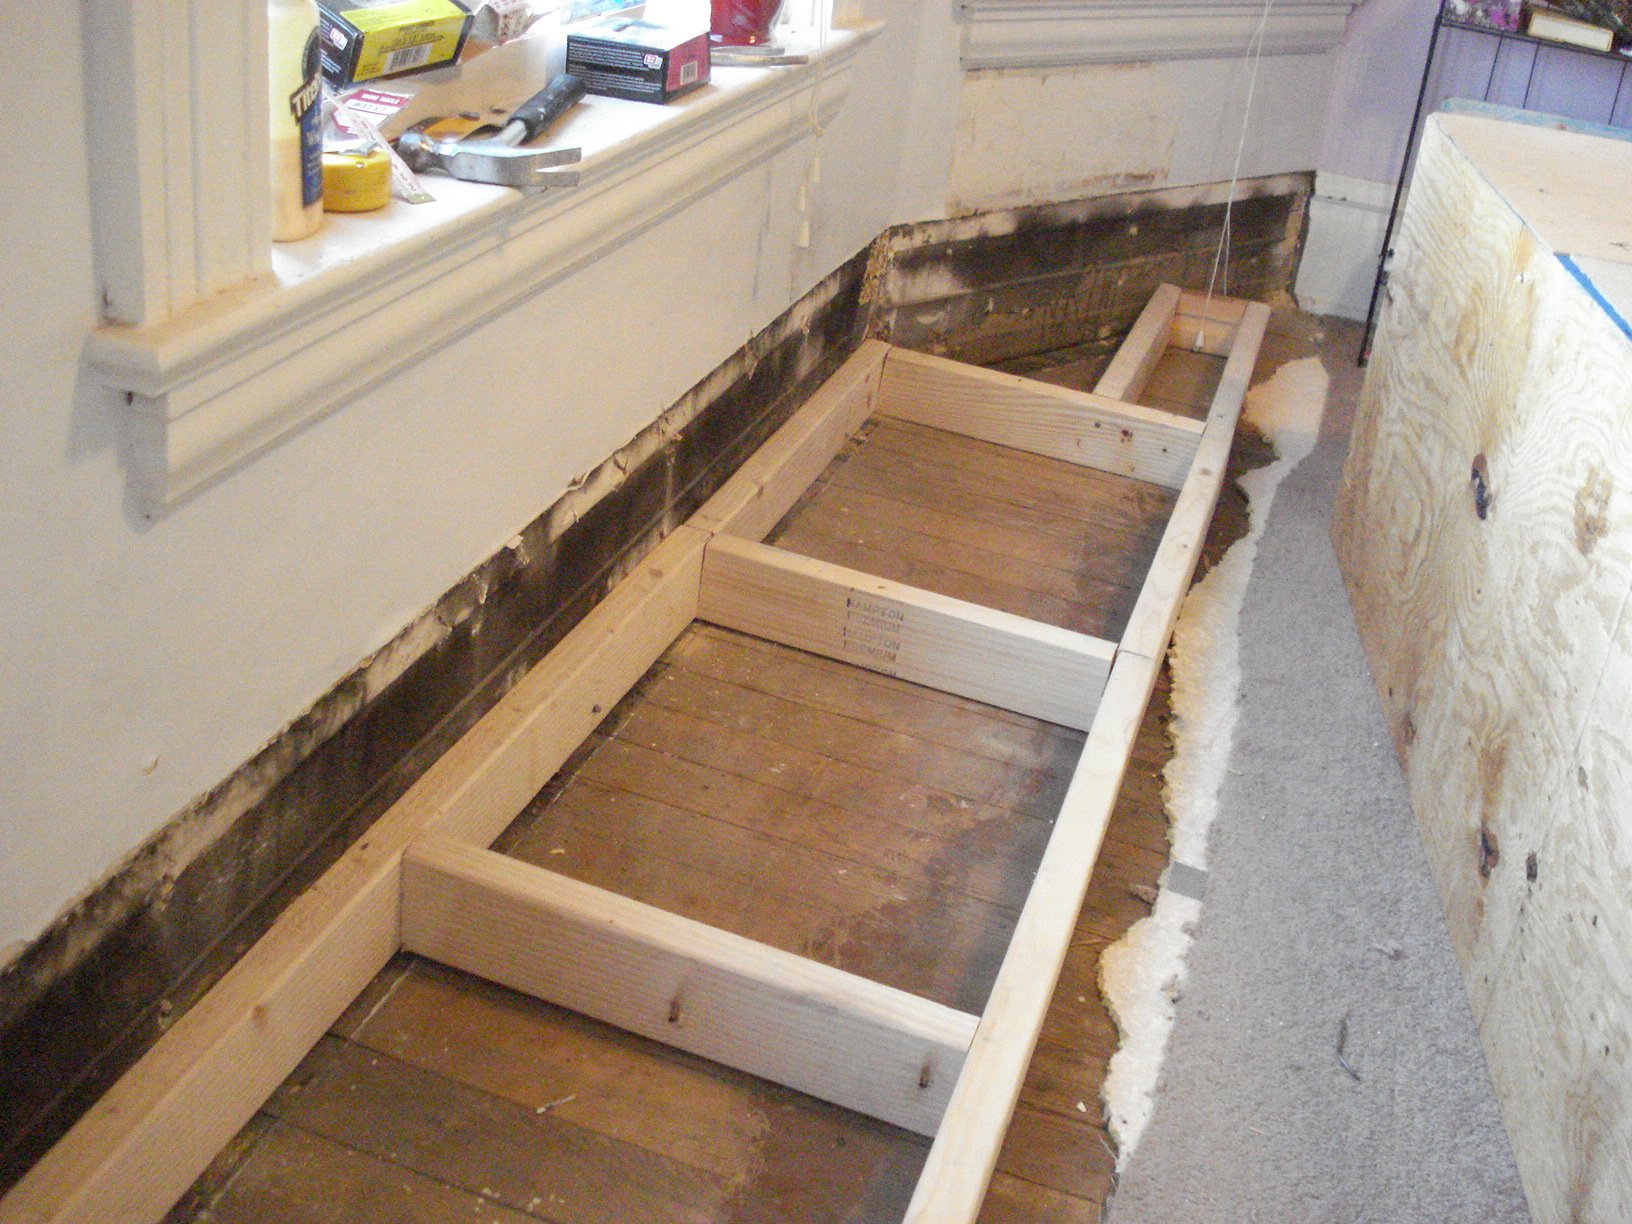
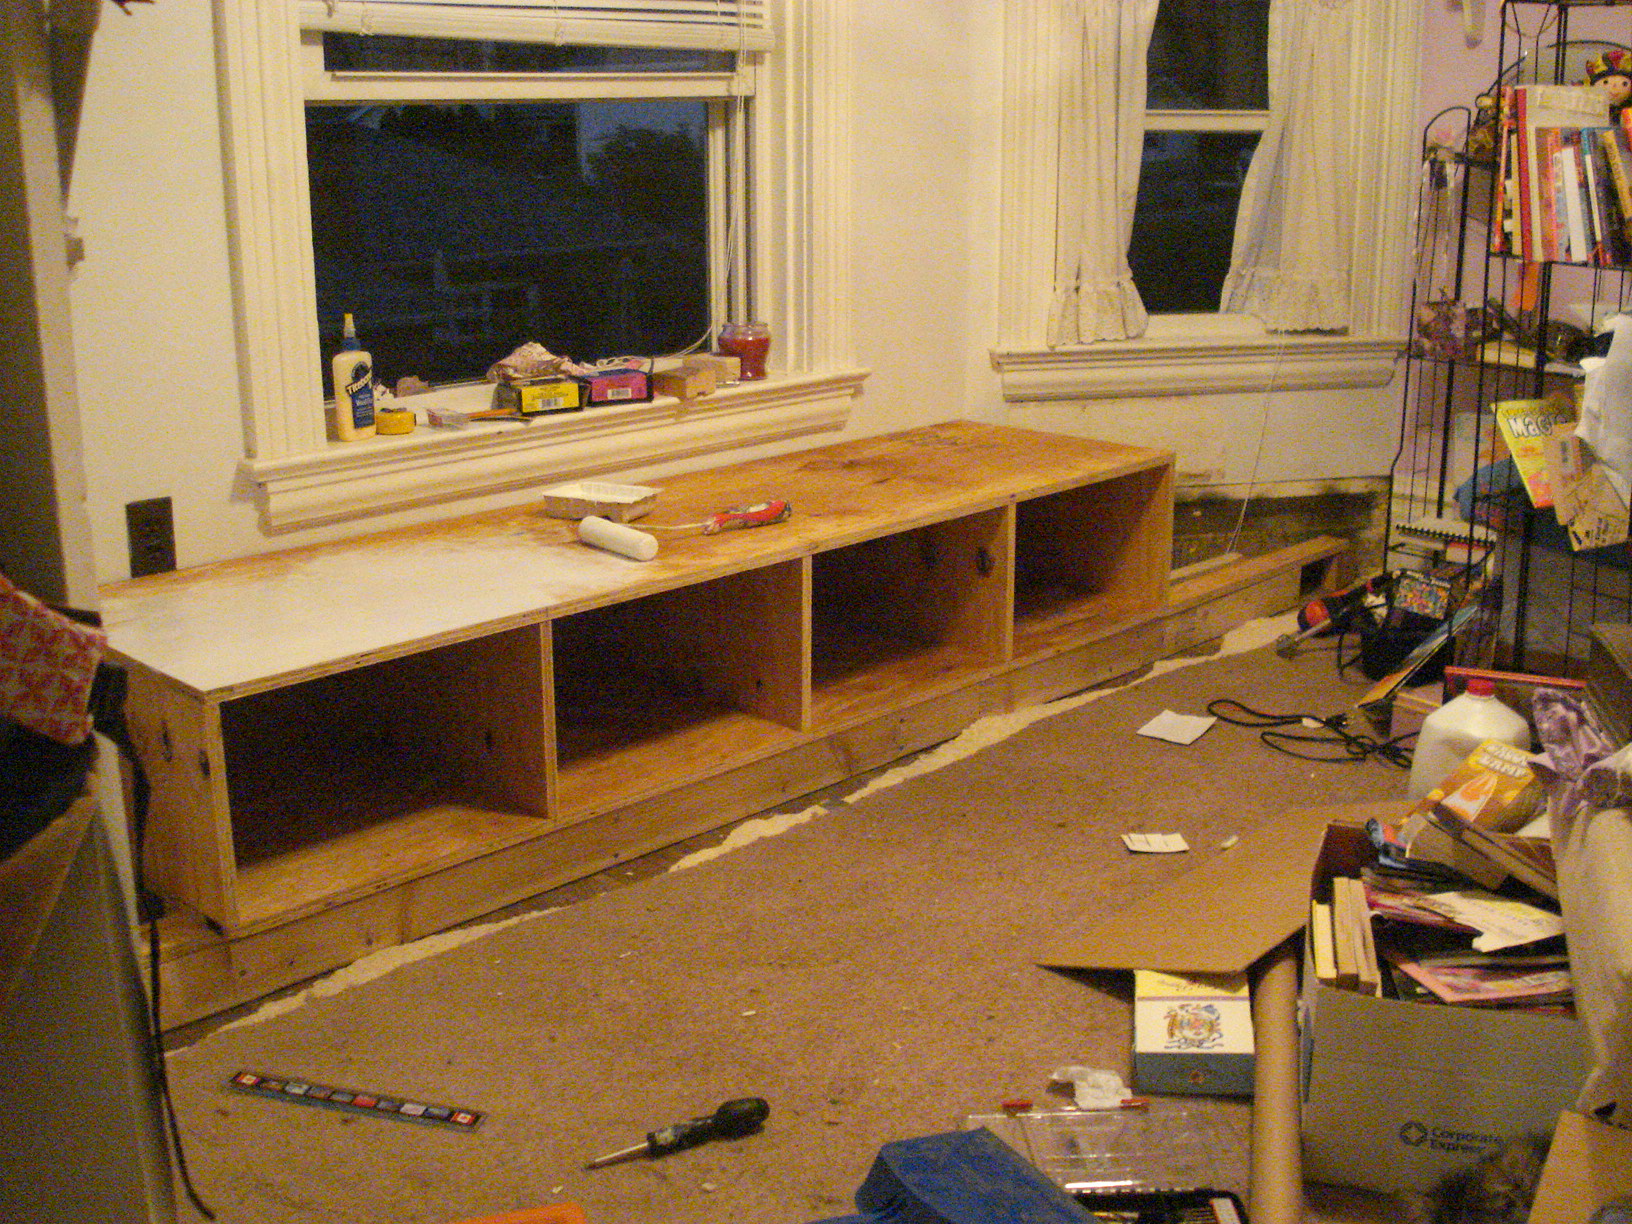
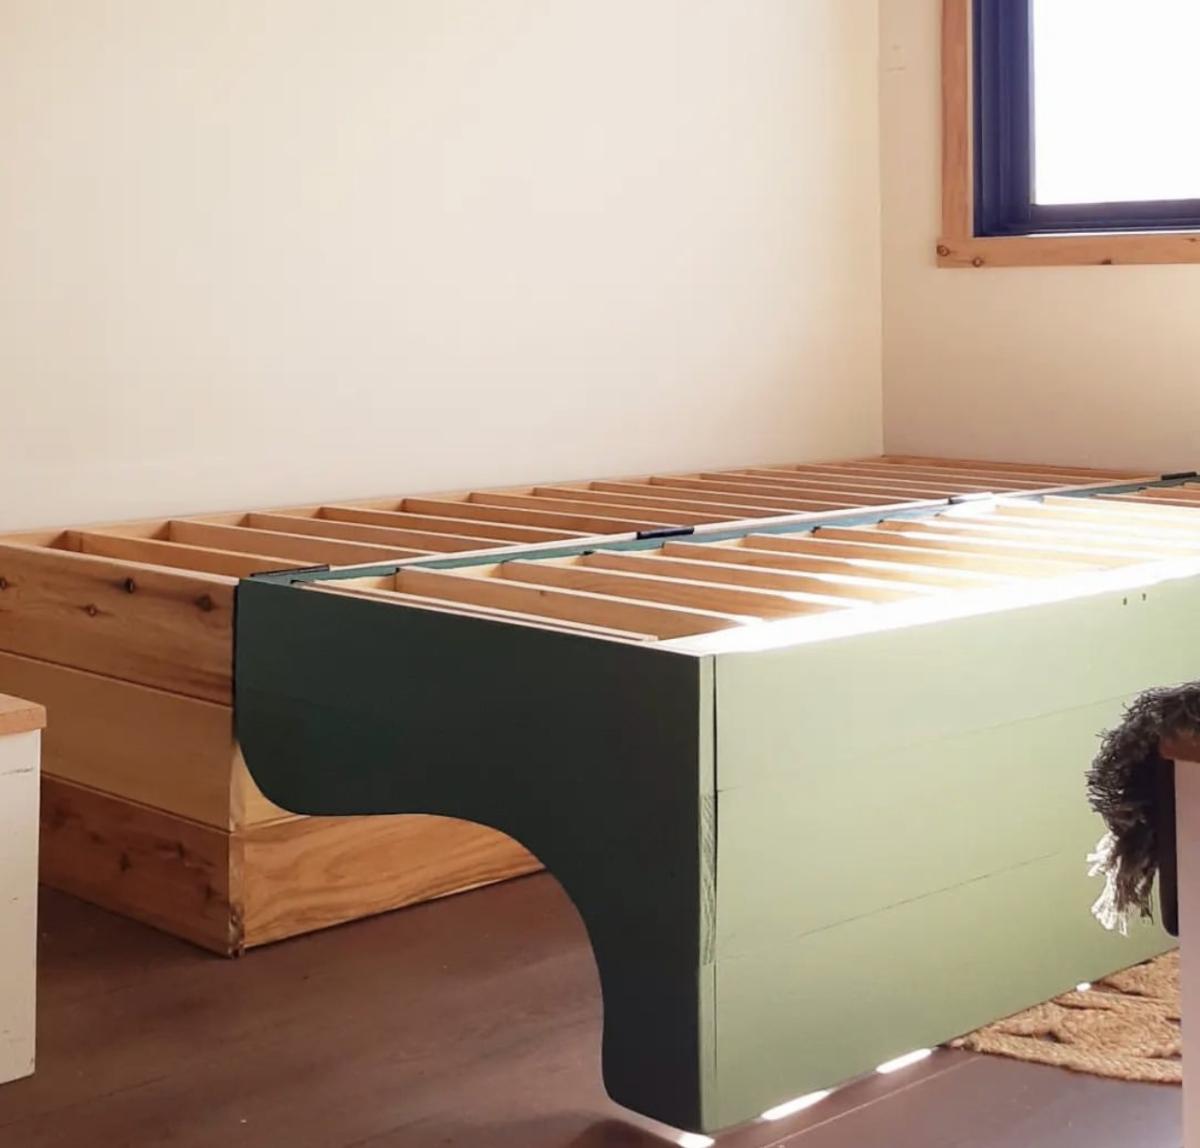
Community Brag Posts

Kentwood Book Shelf

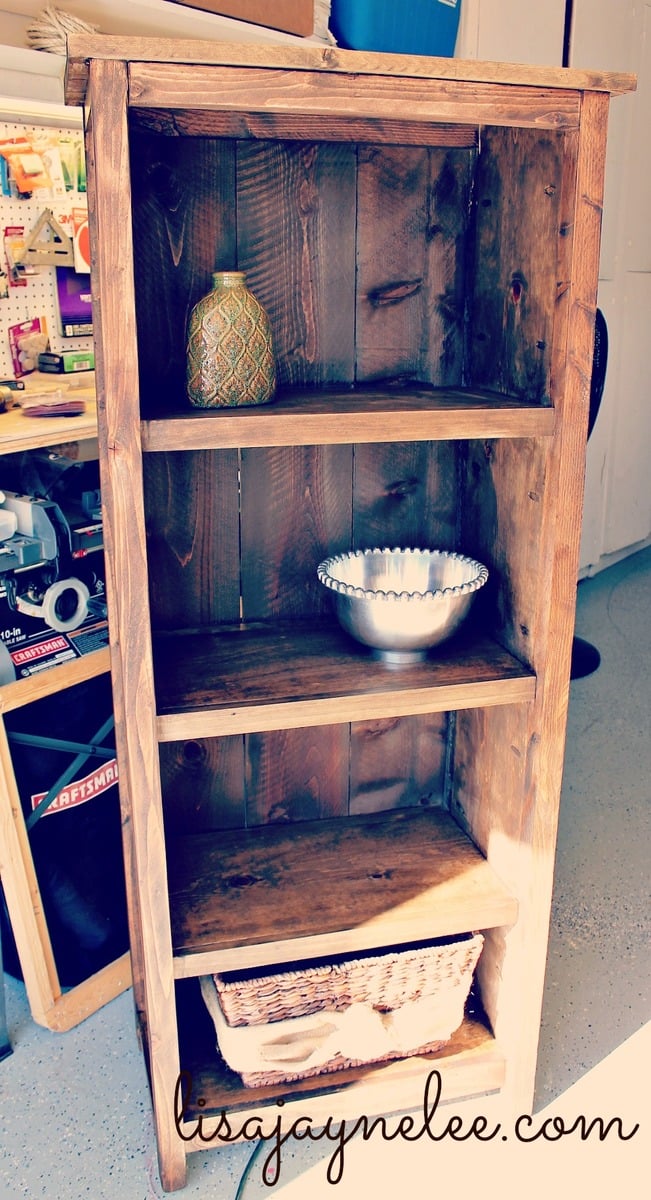
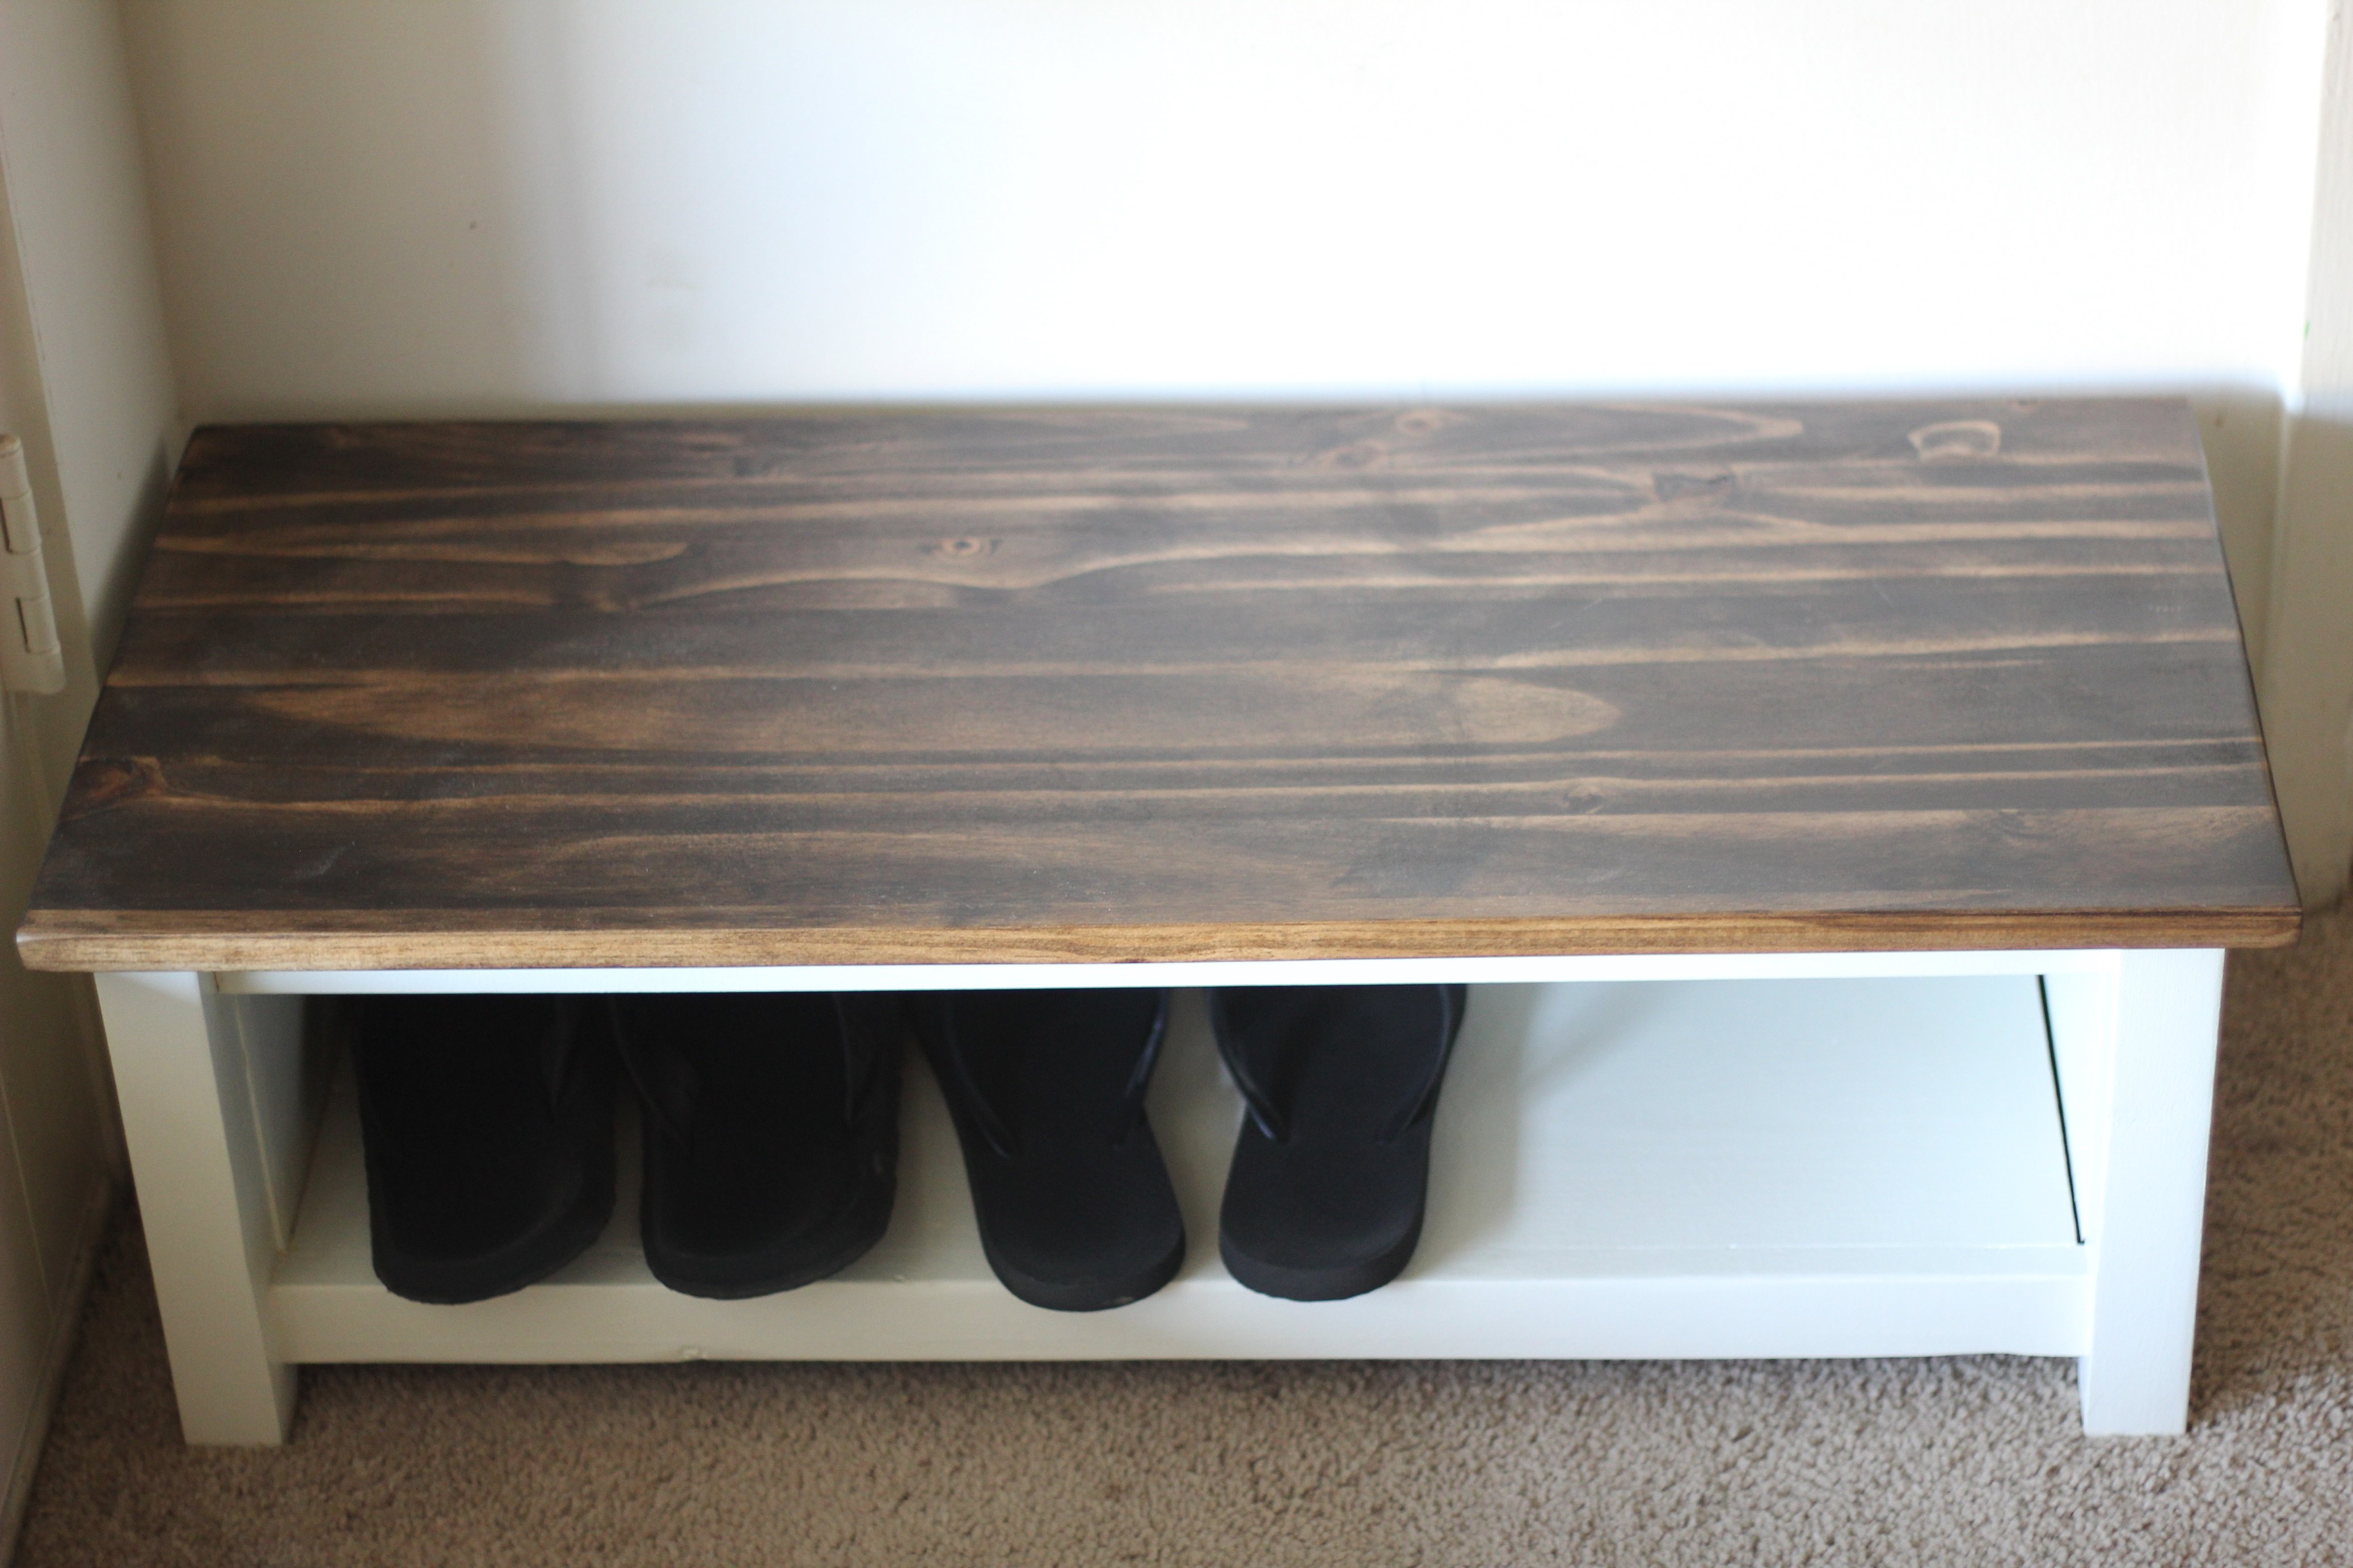
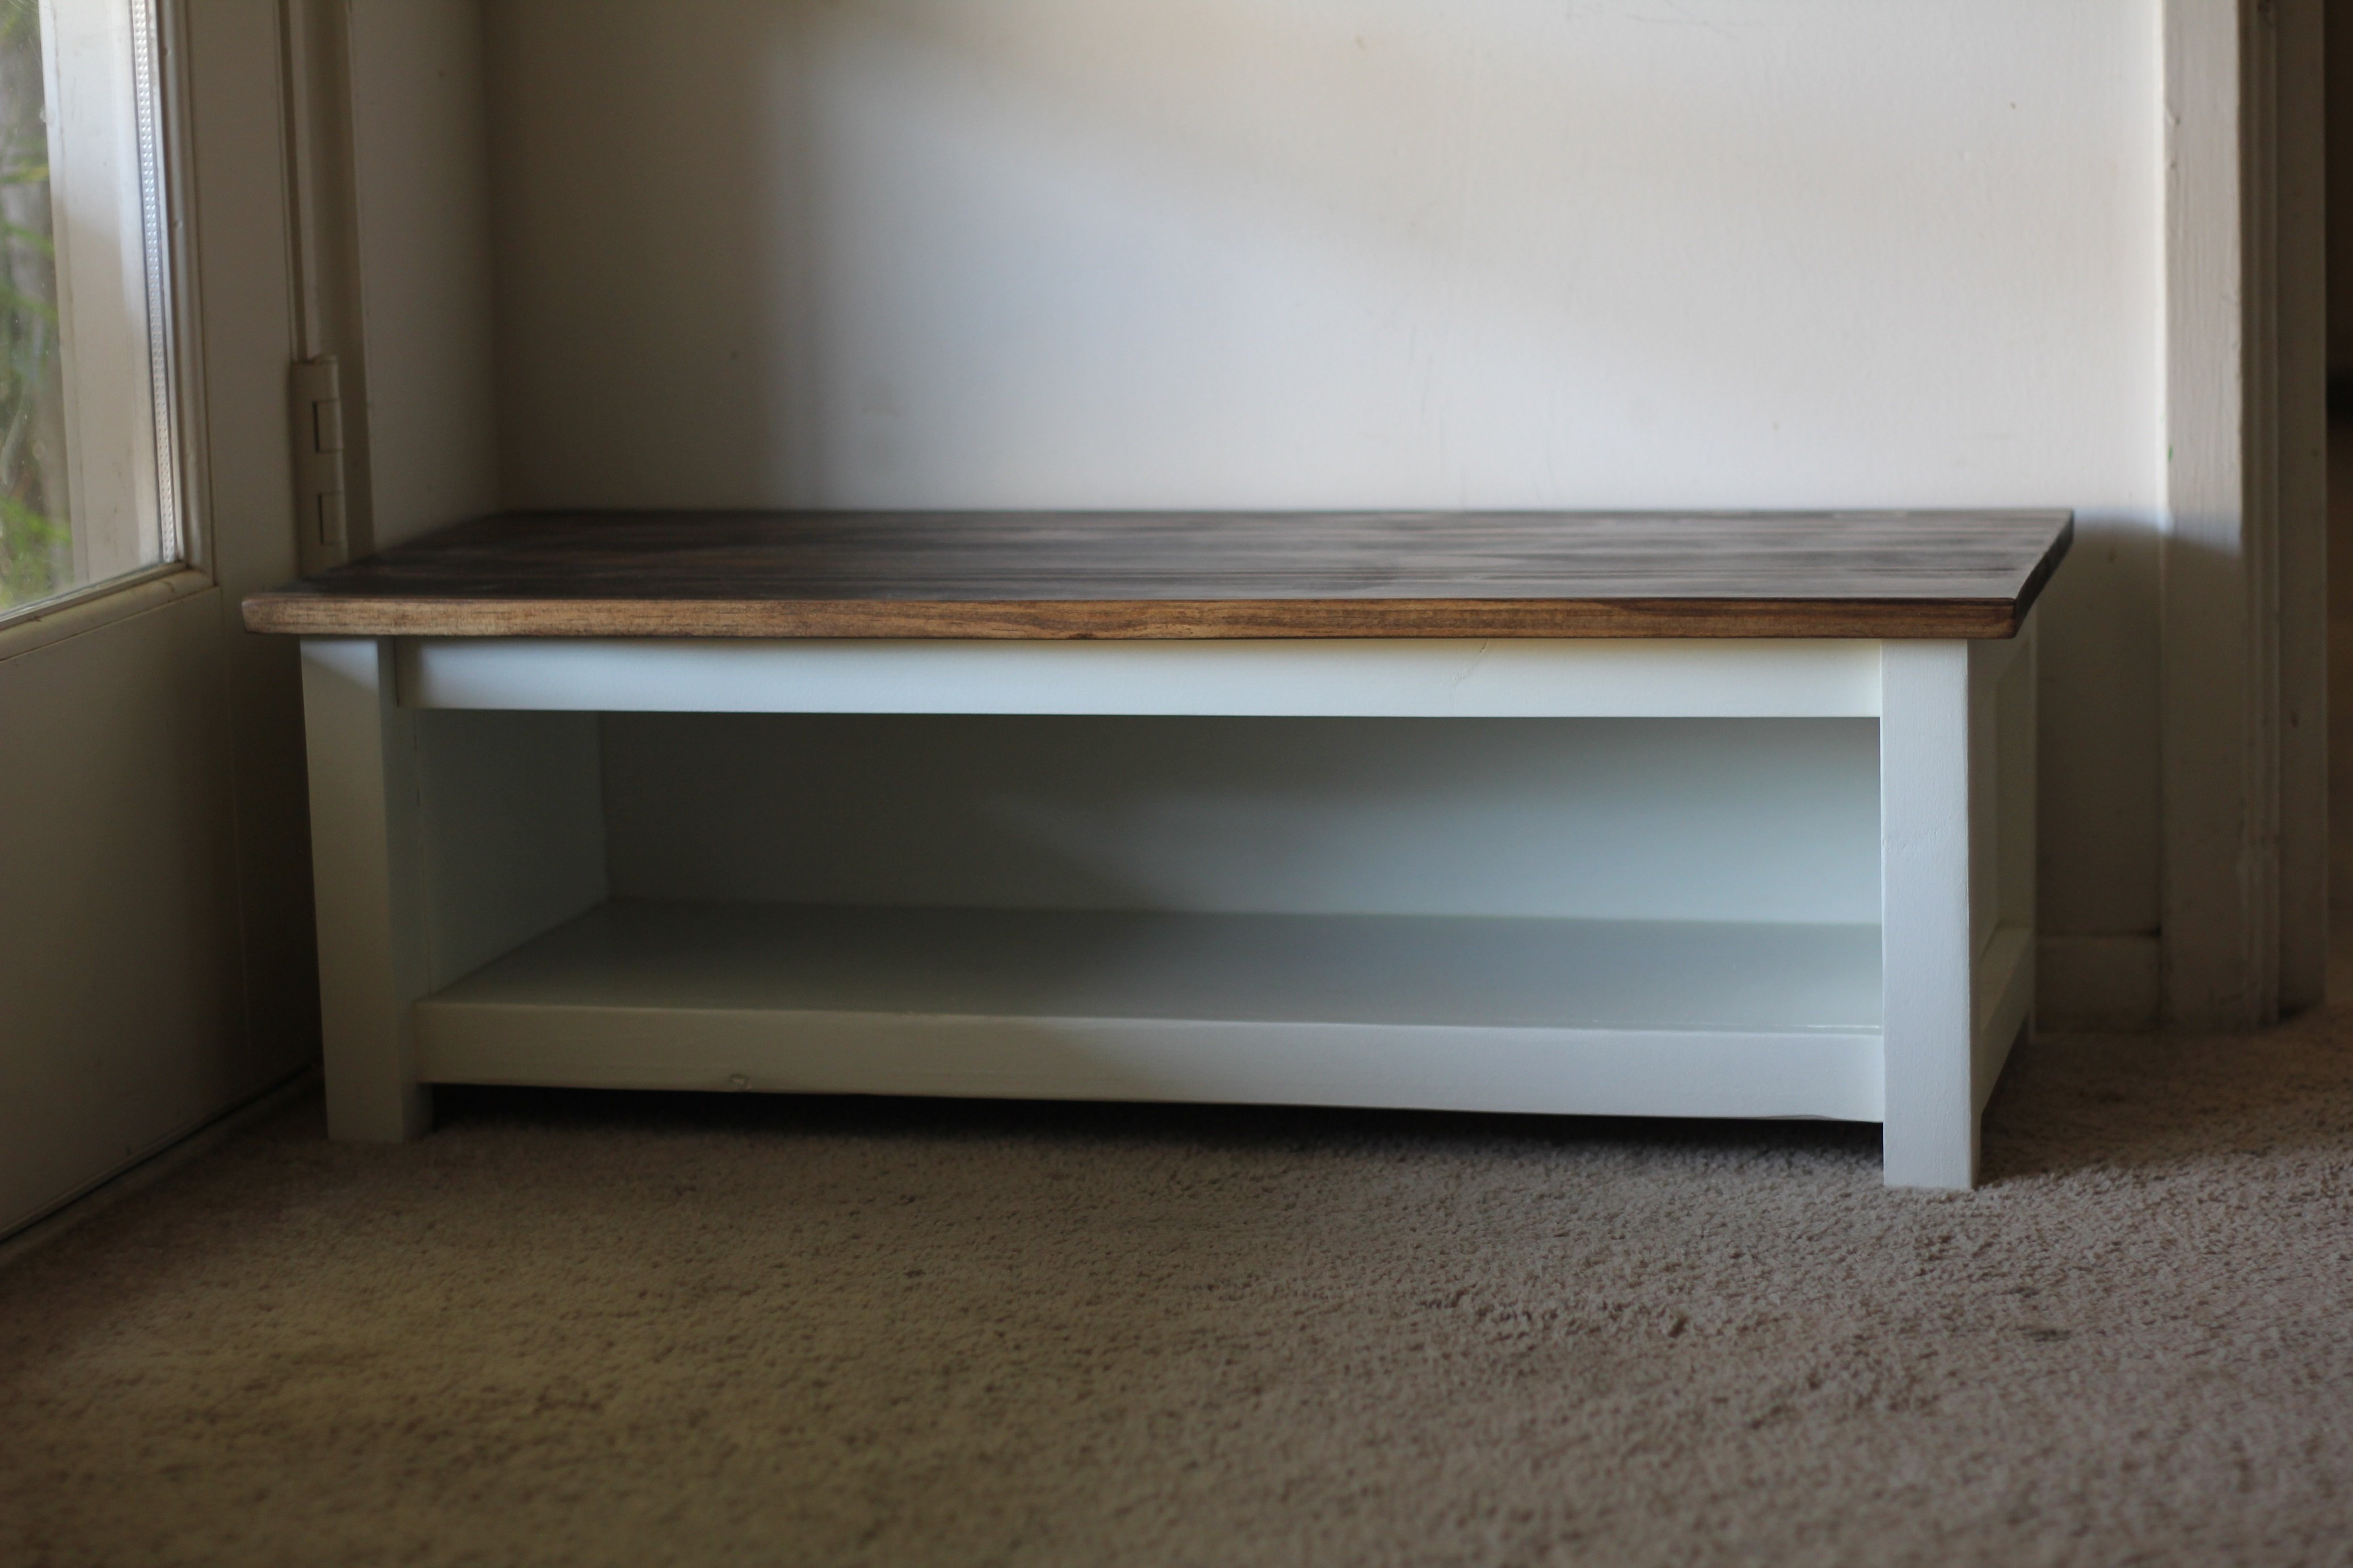
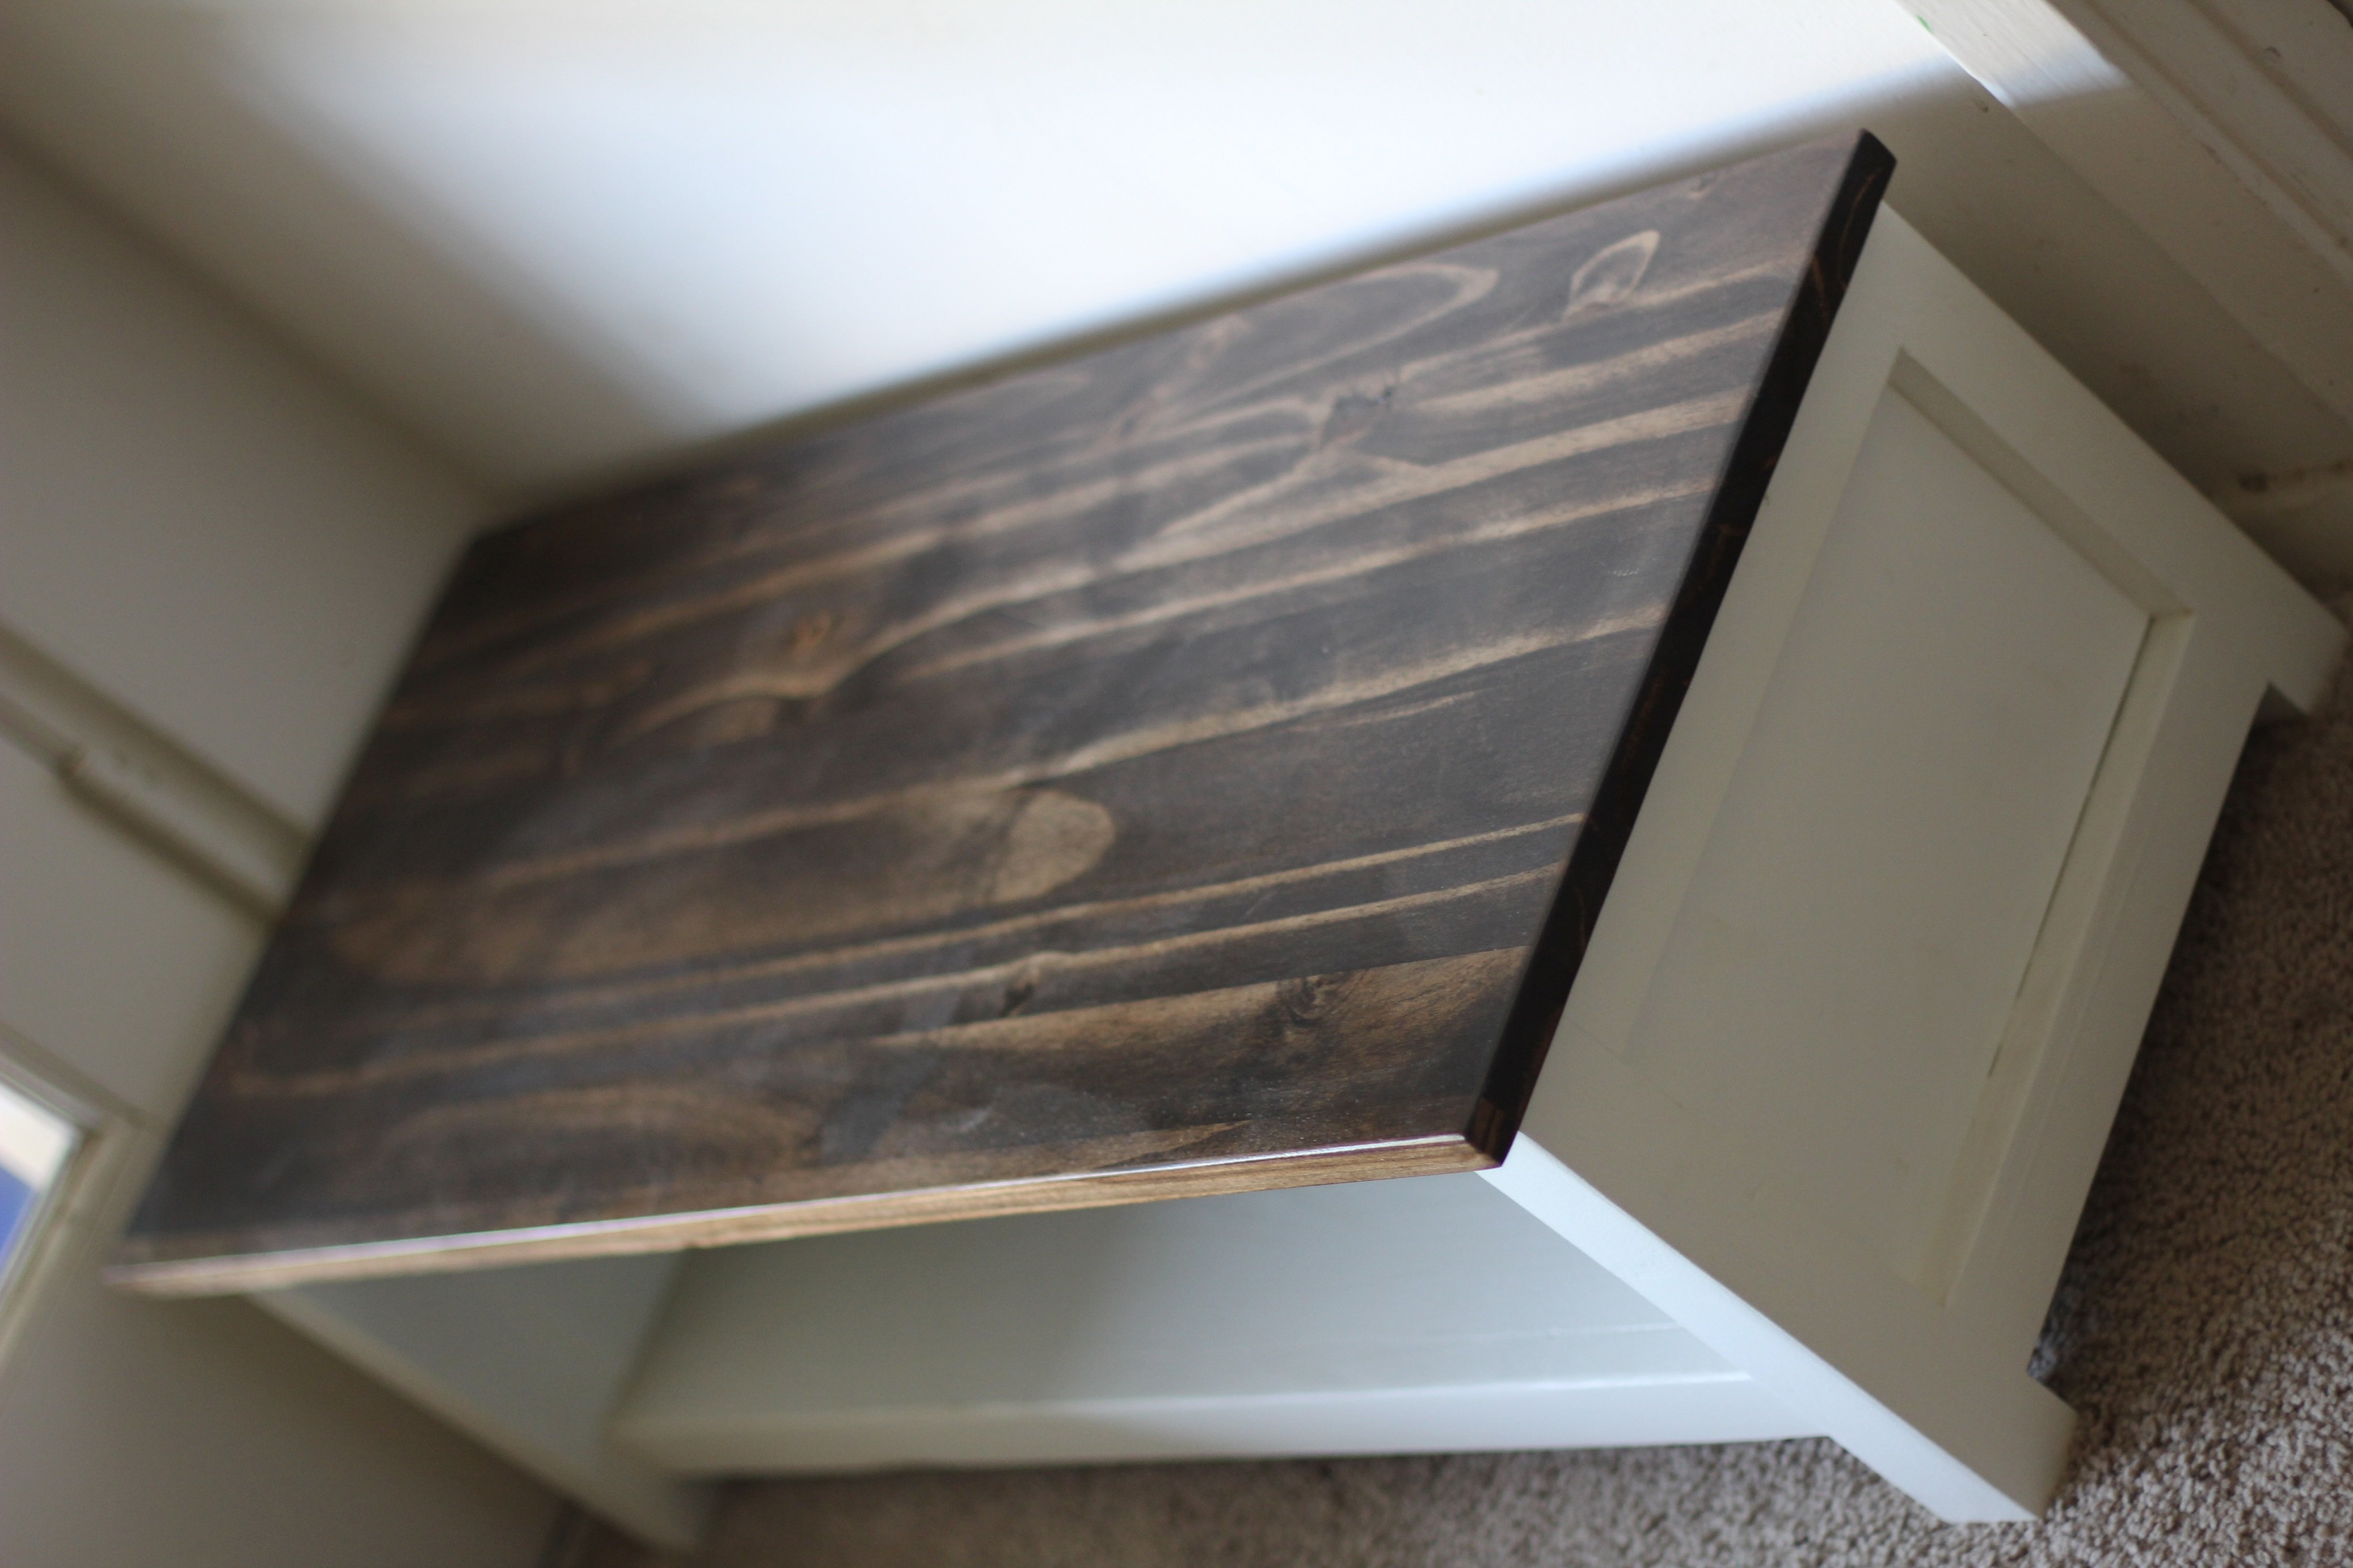
This was my first major build with plans from Ana. I actually found this bookcase via Shanty2Chic. It went smoothly and all in all took me a few evenings about an hour at a time. I have 3 kids so it did take me a little longer to finish. I am so impressed with myself and so is my husband. I used a 10" chopsaw for most of the cuts. I also used my KregJig. Thanks Ana!

Estimated Cost
$100
Estimated Time Investment
Day Project (6-9 Hours)
Finish Used
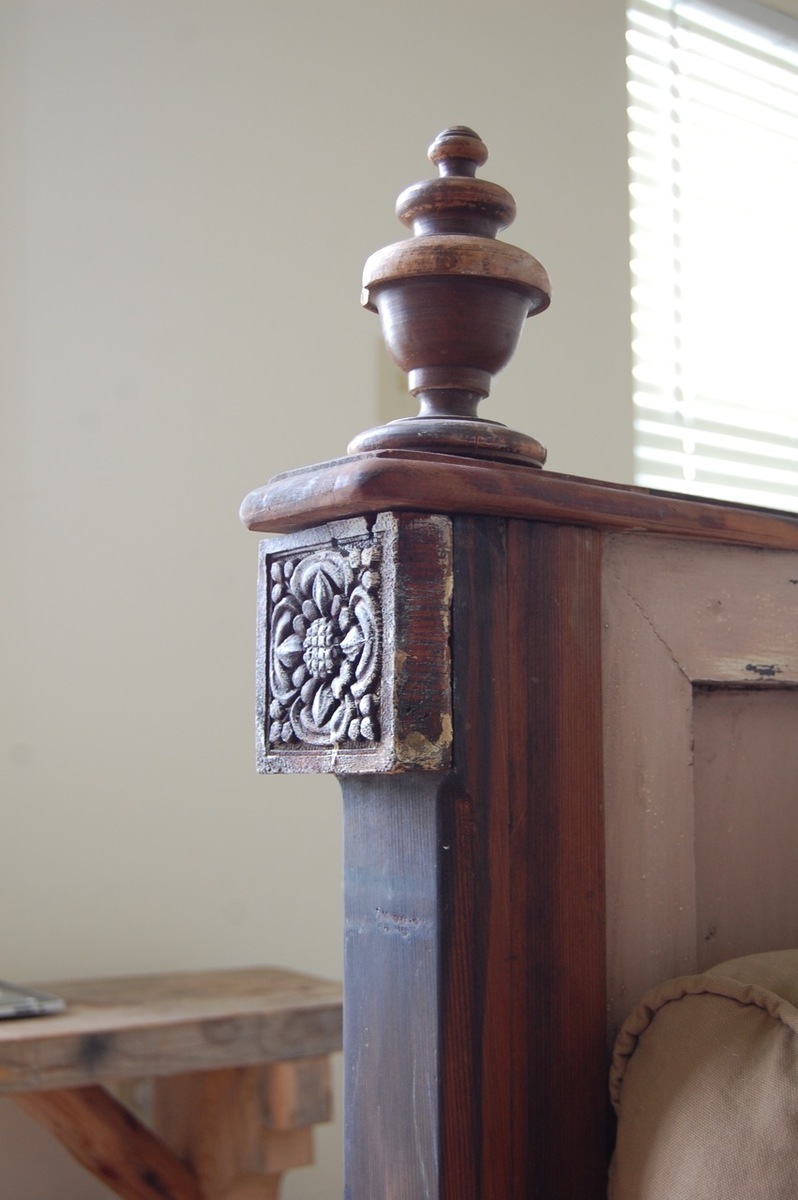
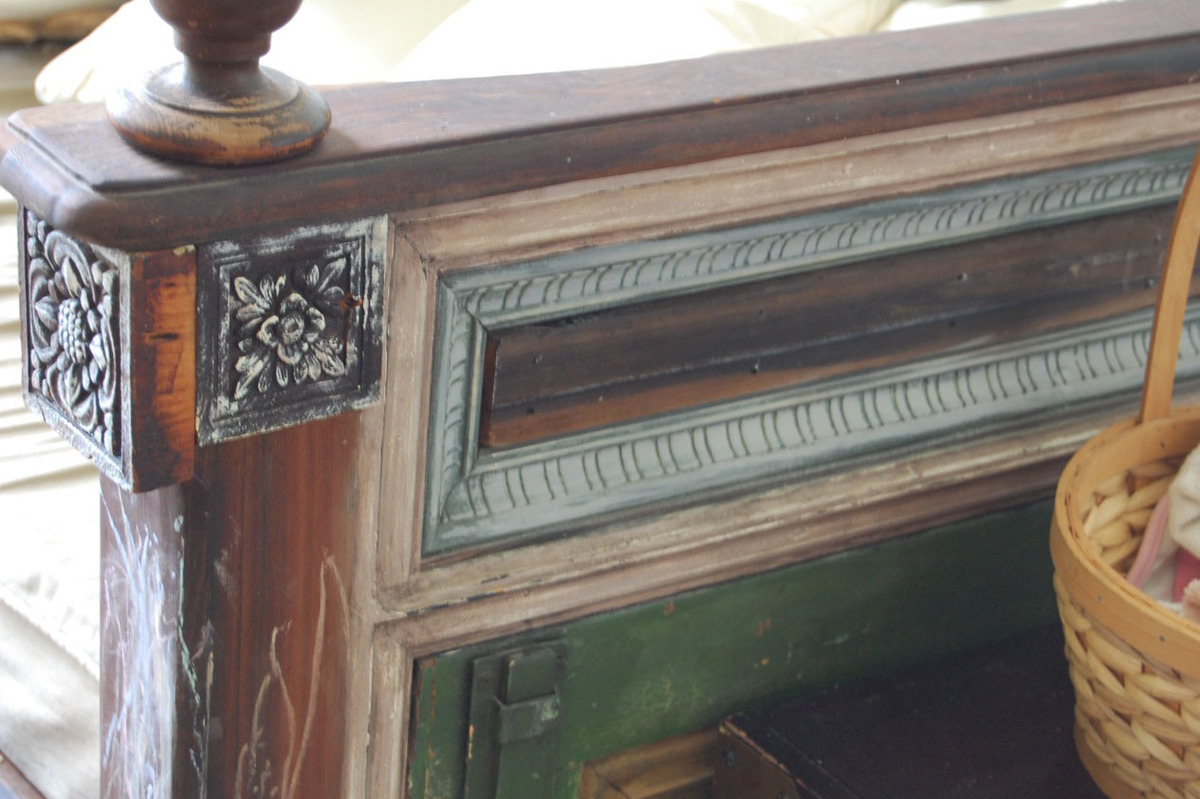
Minwax Special Walnut followed by Annie Sloan Chalk Paint Dark Wax Finish.
Recommended Skill Level
Intermediate

Comments

Adirondack chair from Pallets

Submitted by Anonymous (not verified) on Fri, 03/24/2017 - 19:42

I decided to try and use the plans on Ana's site but with a twist. I wanted to limit myself to using only pallets. I think it turned out great! I can't upload all the photos because they exceed the maximum size limit. If I was able to you could see how each chair is slightly different and has a lot of character. I finished them with a waterproofing oil which I highly recommend over other finishes. 

Estimated Cost
$10 for screws.
Estimated Time Investment
Afternoon Project (3-6 Hours)
Finish Used
Cabot oil
Recommended Skill Level
Beginner

Comments

Double Pedestal Farmhouse Dining Table

I based this build on the Triple Pedestal Farmhouse Table found on this site.  I fell in love with the table and I just had to build one!

This table is only 72" long, so I ended up removing the third pedestal.  I also removed the decorative apron that is pictured in the original plan.  I also added a picture frame border using 2x4's with 45 degree angles on the corners. I think I like how this look turned out! I kept the legs the same size as the original plan called for.

This entire build took me about a day and the staining process another 2-3 days. I stained the table top using Varathane's American Walnut stain and I painted the base using an off-white milk paint. But before painting the base, I stained the corners with the same American Walnut stain so that when I was ready to add the distressed look, I could simply just sand the paint until the stain appeared through the white.

Visit my facebook page for more of my builds!
www.facebook.com/simplyrustik

Built from Plan(s)
Estimated Cost
Approx. $140
Estimated Time Investment
Weekend Project (10-20 Hours)
Finish Used
Varathane American Walnut;
Varathane Satin Oil Polyurethane;
Limestone Milk Paint (from Homestead House Paint Company);
Recommended Skill Level
Beginner

Comments

Shoe Shelf

Submitted by brittanyj on Sat, 04/22/2017 - 17:16

Husband wanted a shoe shelf for the back door entry, and I needed a quickie weekend project, so this fit the bill.  Adapted from fix this build that's plan, but modified for a smaller space and less shoe storage.  Easy project, and looks great.

Estimated Cost
$7- the project panel was on clearance at HD for the top, the rest was scrap lumber- ply, 2x2's and 1x2's.
Estimated Time Investment
Weekend Project (10-20 Hours)
Finish Used
kona stain, white paint, poly
Recommended Skill Level
Beginner

Kentwood bookcase - upsized

I made the original plan higher and wider, and added an extra shelf. Very pleased with the outcome!

Estimated Cost
AUD $200
Estimated Time Investment
Day Project (6-9 Hours)
Finish Used
Water-based stain (Walnut) & water-based satin varnish
Recommended Skill Level
Beginner

Comments

Jeep Bed

Submitted by papamike on Mon, 07/05/2021 - 17:15

I hope this is OK to add here. It's not an Ana White plan, so moderator please delete if it is not allowed. I made this bed for my grandson. I bought a plan online and modified it from a twin to a full size bed. The dome light and running lights work as night lights. A motion sensor light activates if he crosses the door to illuminate the ladder. Front tire is made as a step so his parents can climb in and read to him. The whole thing is on EZ Sliders so they can move it away from the wall to make the bed.

Estimated Cost
$150.00
Estimated Time Investment
Weekend Project (10-20 Hours)
Finish Used
Latex paint.
Recommended Skill Level
Beginner

Comments

Produce Stand

I really enjoyed this project!  It was very easy and inexpensive.  I used Weathered Oak stain to make the pine look aged.  I also countersunk all of the screws and used oak button dowels to give it a finished look.  I learned how to create the wording and images through YouTube.  Search: how to transfer an inkjet photo to wood.  Cool trick.

Estimated Cost
$35
Estimated Time Investment
Afternoon Project (3-6 Hours)
Finish Used
Weathered Oak
Recommended Skill Level
Beginner

Comments

Debbie742

Tue, 12/01/2015 - 04:50

My sister in law would like one of these and I'm wondering what angle cut you used for your support boards?  I like the idea of going corner to corner vs trying to get each one centered and not making a mistake. I'm also wondering about spacing and if you kept the measurements the same as "Over The Big Moon" ?  Thanks so much!!!


Debora Cadene

Wedding Arbour

Submitted by Anonymous (not verified) on Mon, 10/04/2021 - 13:43

Hi, I built this wedding Arbour for my daughters wedding a while ago and unfortunately, I have no plans as I built from my head. It now sits in pride of place within thier garden as arch for thier garden.
I built this with a drop saw, hand saw, router, drill and hammer only.
I follow Ana's plans every release and save her plans for when I retire in two years to build for our house as well as try to run a small business from my shed.
Thank you Ana for you continued plans and wonderful advice.

Built from Plan(s)

Comments

Kids Adirondack chairs

Submitted by Anonymous (not verified) on Tue, 10/05/2021 - 04:46

This was my first time building a chair. The plans were so easy to follow. The kids size fits an average child up to about age 5 or 6. If I were to build again I would add a bit of height to the backs so they could fit them even longer. My granddaughters aged 3 & 5 just loved them.

Built from Plan(s)

Texas size wooden cooler

I have used one of your cooler plans to create this one of a kind piece. Love your website - Thank you !

Built from Plan(s)
Estimated Cost
$60
Estimated Time Investment
Weekend Project (10-20 Hours)
Finish Used
orange/red solid stain
Recommended Skill Level
Beginner

Comments

Jody Knowles

Mon, 06/01/2015 - 12:20

Been thinking about making one of these. As a Texan this one definitely appeals to me !

Great job, it looks really nice.

Play kitchen

Submitted by SoCalMom on Fri, 12/22/2017 - 15:32

This was my first major build and while not perfect and I was little clunky building along the way, I’m happy with how it turned out and I think the girls will love it for Christmas. We are beach dwellers and surfers, but I’m also a former (always) a farm girl as well, so we put a surfing pig on it too. I wanted to keep it whimsical a bit so put starfish knobs for the burners. Took me a long time and more money than average probably because of learning curve as well as having to sneak work on it between working, toddler and infant. I got a Kreg and more tools for Christmas, so I am looking forward to more building! 

update: My little destroyer broke the door within 10 minutes because it was too big for her to work around. So I “remodeled” it and made the door just the top half so that is her oven. MUCH BETTER. Now she can use it far easier and it isn’t dropping to the floor. 

Estimated Cost
for actual used materials, somewhere around 125
Estimated Time Investment
Weekend Project (10-20 Hours)
Finish Used
Paint and contact paper
Recommended Skill Level
Beginner

Salvaged Wood Daybed

Submitted by kristah on Mon, 06/29/2015 - 18:44

I originally planned to make the Lydia daybed as is, but we decided to make it with reclaimed materials after being inspired by redwood we found that had been salvaged from old pickle barrels. We ended up with chunkier posts for the legs (3 1/4" by 3"), and used a thick solid piece of wood for the front (2"x 7 1/2") , which did change the dimensions of our project a bit. We attached an old shutter to the plywood for the sides, and found salvaged bed post tops for the tops. We left off the scalloped edges because they seemed too delicate for the look we had going. Also, my husband had fun with his new router on the edges. We decided to use 1x8's for the slats under the bed b/c we thought it would give more support to the latex foam we had used instead of a traditional mattress. Because we move a lot, we wanted to be able to take the daybed apart if necessary. We attached the sides to the daybed with bed rail brackets. I posted more about the daybed on my blog. Sewing the cushions/pillows took much longer than making the actual daybed!

Built from Plan(s)
Estimated Time Investment
Weekend Project (10-20 Hours)
Finish Used
Tung oil on the redwood- Milk paint on everything else
Recommended Skill Level
Intermediate

Outdoor Sofa

Submitted by Richm7 on Sun, 04/24/2022 - 11:05

Two seater couch inspired by your web site . I have altered the design a little and added an ottoman . Built from Australian Eucalypt . Nicknamed Blackbutt Gum . It’s a hardwood but finishes very nice , sanded with 240 grit , varnished with marine grade diluted 10% with turps . Look forward to your weekly plans they inspire me to build projects and give me lots of ideas . 
 

by Richard
Northland
New Zealand

Built from Plan(s)

Rustic X beach beverage center

Submitted by one wolf on Tue, 09/08/2015 - 06:52

We used old dock wood for the surface of our X table for a nice beach house beverage center (sand bar!).  We adjusted the size to fit our space (a little longer and wider) and used additional studs for the shelves instead of 1" shelving, glued and PH/PS together.  To cut the X pieces I just held the 1x1 on the end of the table where it goes and marked the lines. Then I clamped a guide board at the correct angle on the table saw to make all the cuts, starting a bit long and shaving off until it just fit.  


With all the pocket holes and screws I wouldn't consider this a beginner project. Some additional steps and pictures in your description would help also.  End result is really nice.


Built from Plan(s)
Estimated Cost
$50
Estimated Time Investment
Weekend Project (10-20 Hours)
Finish Used
Patina wood from an old dock for the surface and the base is painted flat gray.
Recommended Skill Level
Intermediate

Comments

Arbor bench from leftover trellis

Submitted by Anonymous (not verified) on Sat, 07/16/2022 - 17:57

The previous owners planned to built a rose Arbor, and left the pieces in our barn. Using the Arbor bench plan I was able to use all the pieces to build this version. Great summer hangout!

Built from Plan(s)

Comments

Modern Adirondack Chair

Submitted by Anonymous (not verified) on Sat, 11/19/2022 - 03:24

Easy build, turned out great. Our first project like this. We built 4!

Comments

Window seat built in

Submitted by daliae on Sat, 09/17/2011 - 20:19

I made this two years ago in my daughter's room, before I got to know Ana's site. This was my ever first carpentry project. It took me 4 whole days to finish. The whole wall is like a bay wall so I had to custom make the built in. Also – I did that when my husband was out of town so in order for me to be able to lift all the pieces from the basement to the second floor, I made it of 4 pieces. When my husband came back home he thought I paid someone to built it.

I made it out of 2x4’s and plywood. I trimmed the bottom with a trim.

One day I will add drawers and the cushions are in the making.

Estimated Cost
100 $
Estimated Time Investment
Week Long Project (20 Hours or More)
Finish Used
Primer and two coats of Valspar high gloos White Dove from Lowe's.
Recommended Skill Level
Beginner

Comments

nhoffer

Thu, 06/11/2015 - 20:20

Do you have more pics of the finished product...especially where it meets the angled wall? I don't have a table saw (yet) so I'm trying to figure out if I can handle this without one. :(

Entry Mirror (from The Handbuilt Home)

Submitted by Linda7 on Tue, 10/01/2013 - 14:48

My sister and brother-in-law recently moved to Albuquerque and purchased a home with a wonderful view of the Sandia Mountains. I built them the mirror from The Handbuilt Home (p. 36), and they hung it in the entry hall. The reflection in the mirror is a gorgeous view of the mountain range out of their large living room windows. Because this was not a rustic build, I used better pine boards, sanded very smooth.
Thank you to ANA for the great plan (and book!). Also a great big hug to JOANNE and TRACY for responding so quickly to my query regarding attaching the mirror to the frame. I ended up having the mirror company attach the mirror with silicone because I was afraid mirror clips would mar the smooth, shiny surface of the wall. We also covered the back of the mirror with craft paper, contact cemented to the frame to protect the mirror silvering.
This was a fun build, and my sister and b-in-law are very pleased with it.

Built from Plan(s)
Estimated Cost
Around $75.00
Estimated Time Investment
Weekend Project (10-20 Hours)
Finish Used
Minwax Express Color "Crimson", two coats, followed by four thin coats of gloss poly, sanding between coats with fine grit.
Recommended Skill Level
Beginner

Comments

JoanneS

Tue, 10/01/2013 - 18:11

Linda, your mirror looks fabulous! The finish is just gorgeous, and I love the hardware you used. Beautiful build! :)

Linda7

Tue, 10/01/2013 - 18:20

Thanks for the nice complement, Joanne. I really do appreciate your help!

Garage shelving unit

We made this peace 12 feet long, the hardest part was to find straight boards at home depot and adjust the feet because of an uneven garage floor. It was my first big project and hubby helped so I can't take all the credits :)

Estimated Cost
$126
Estimated Time Investment
Afternoon Project (3-6 Hours)
Finish Used
Unfinished
Recommended Skill Level
Beginner