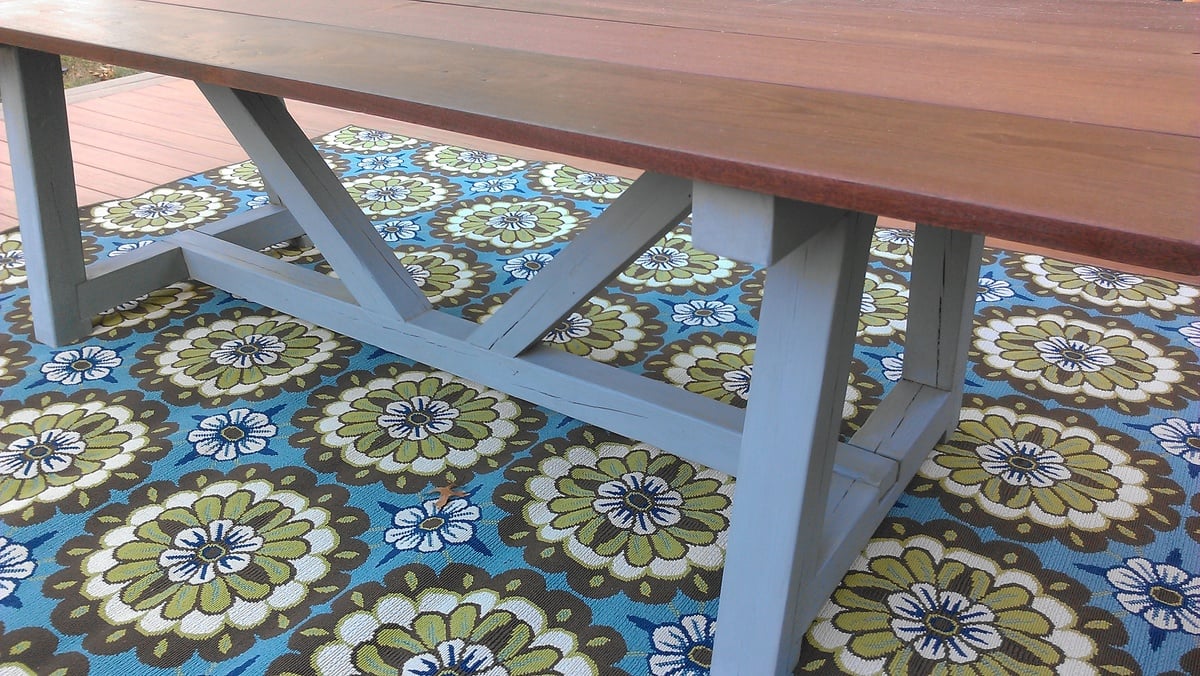
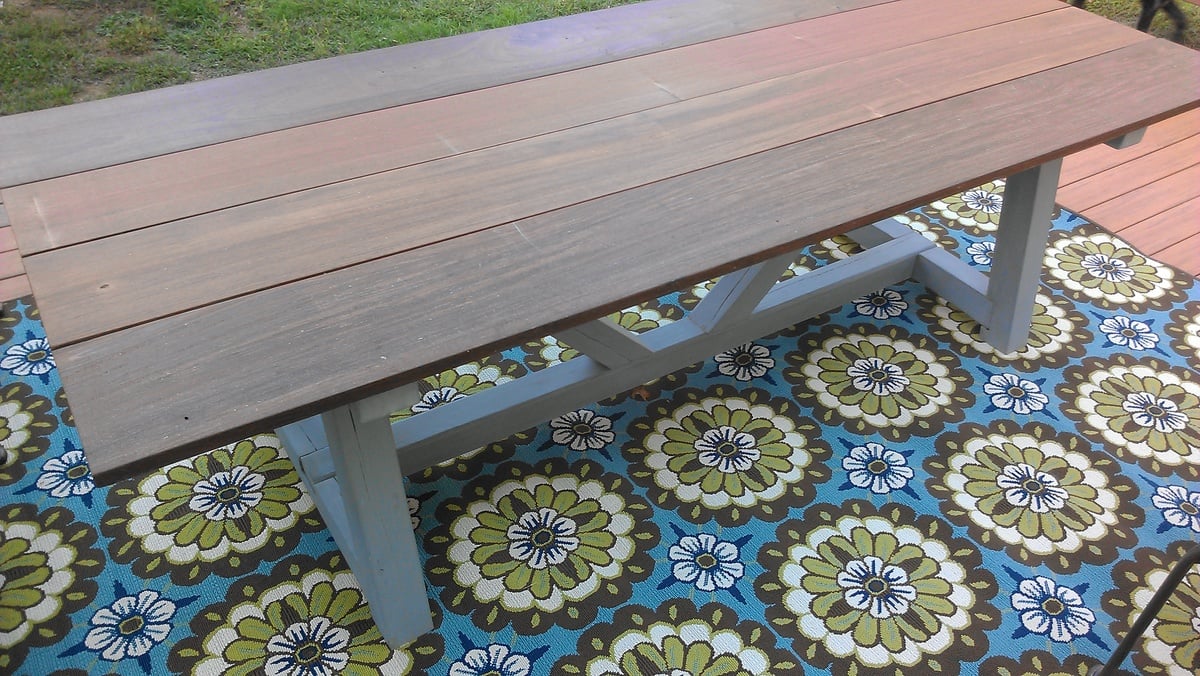
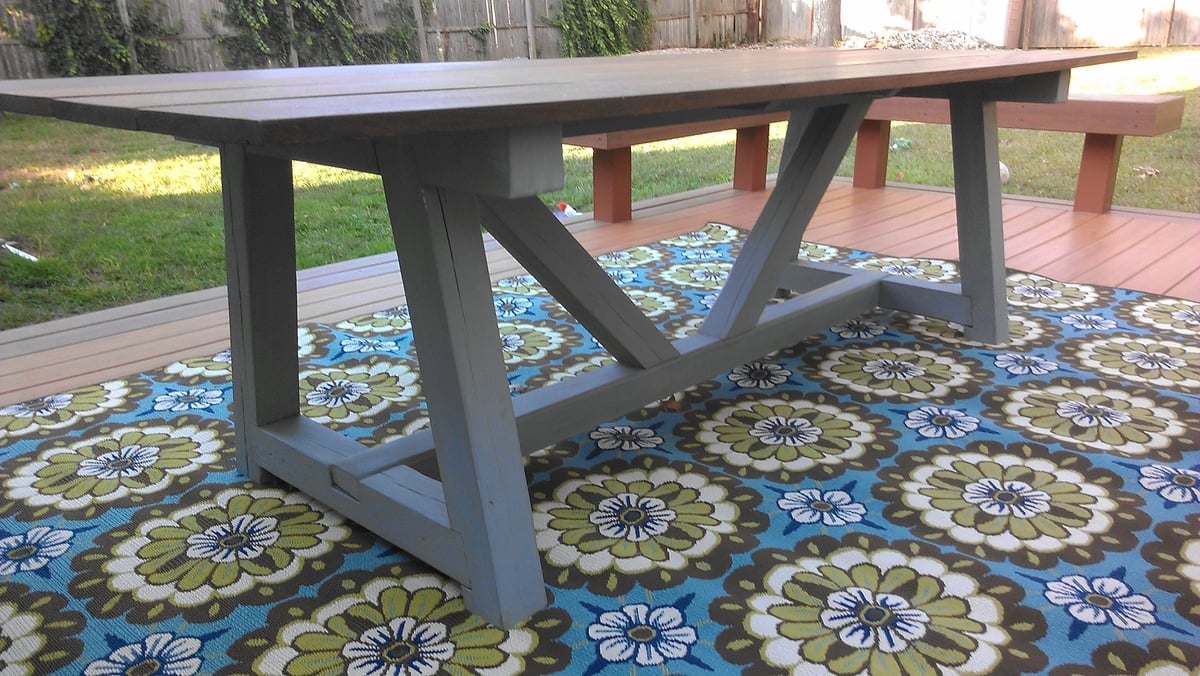
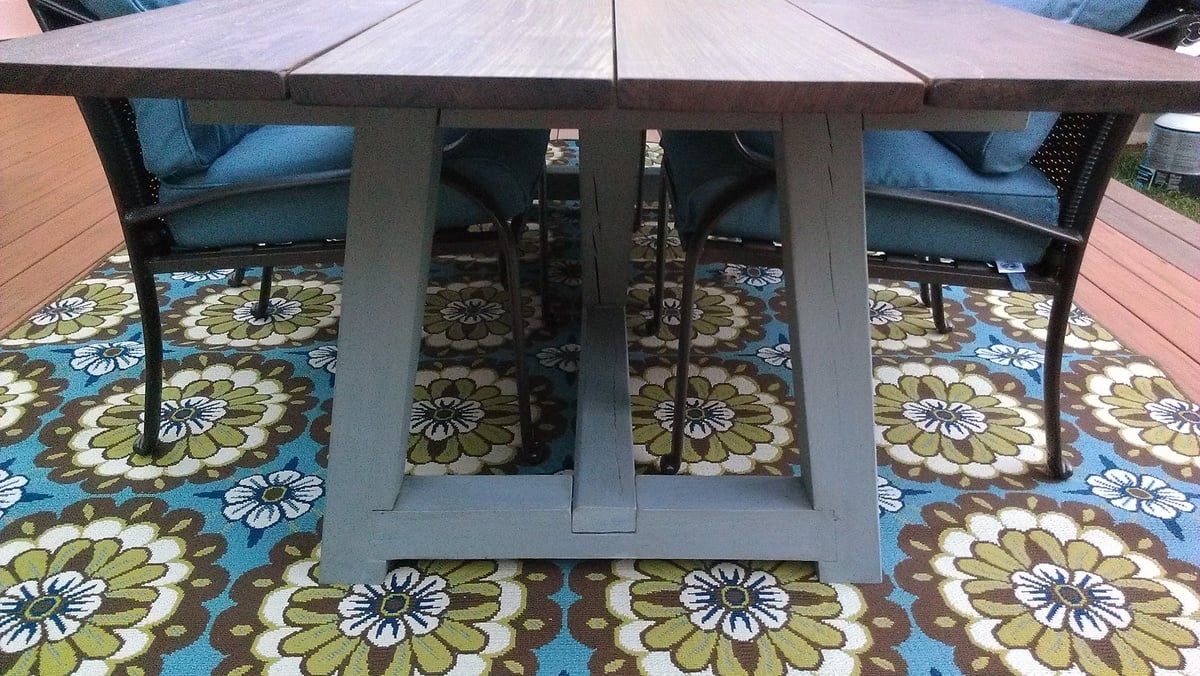
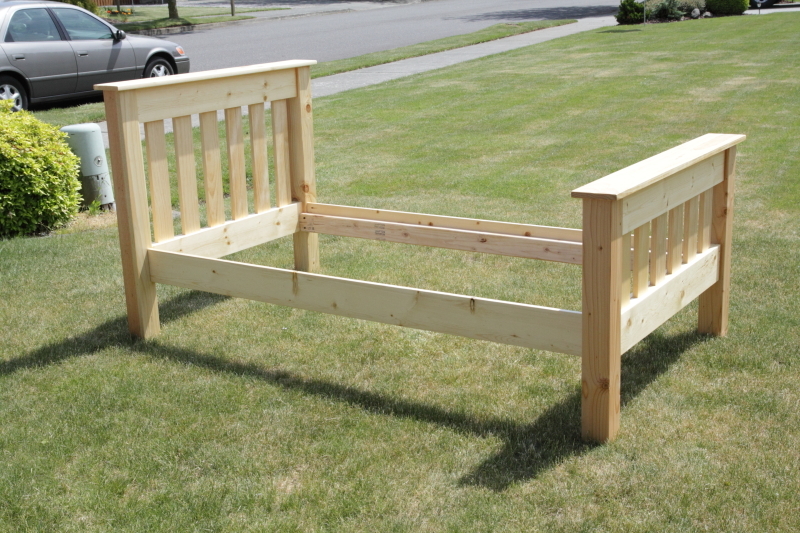
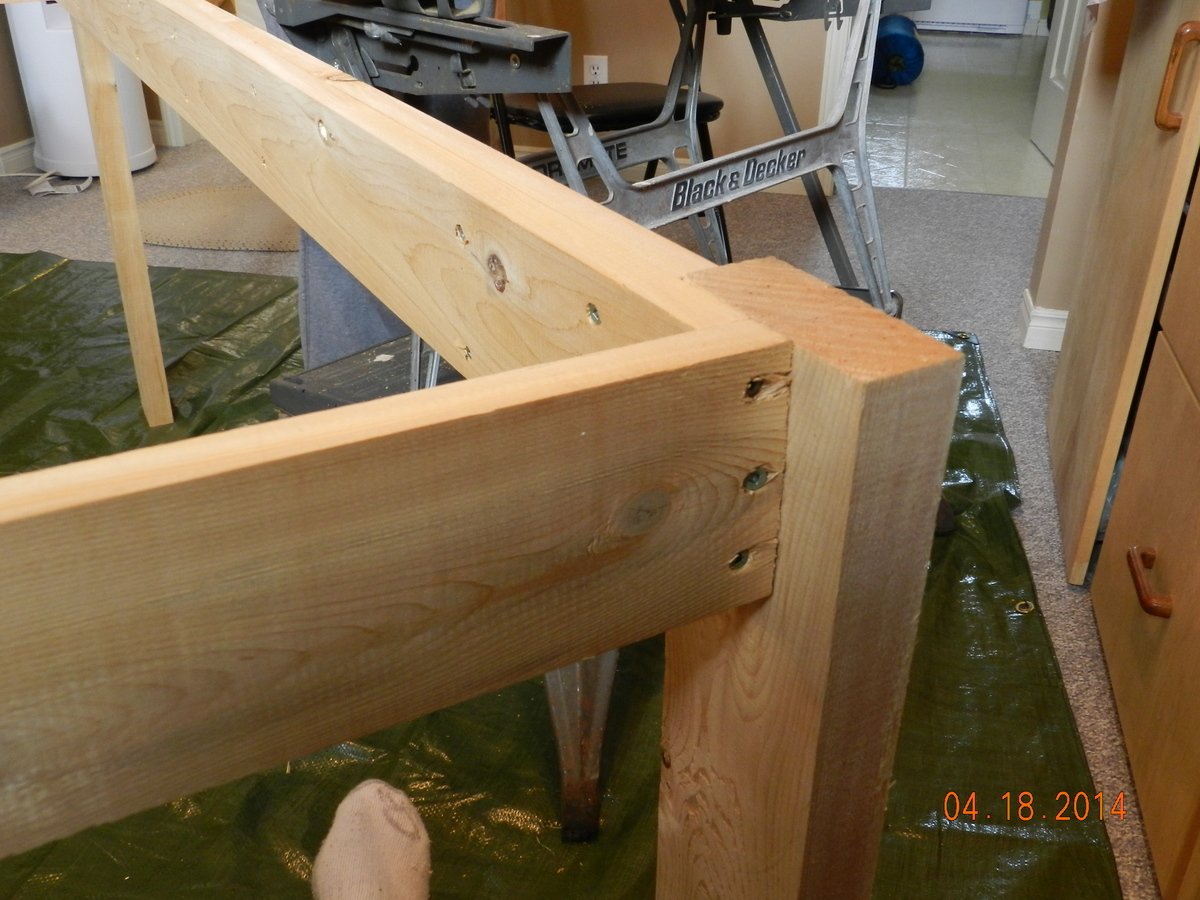
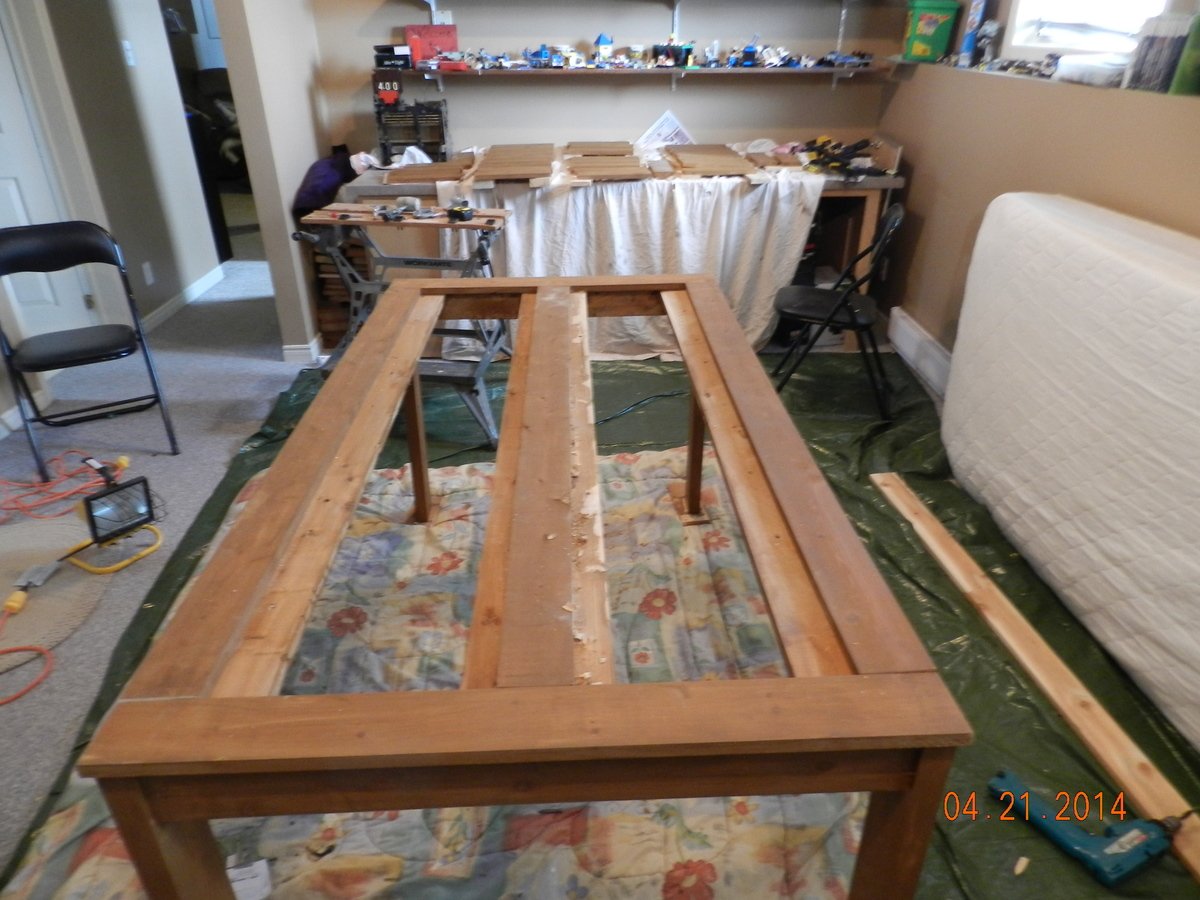
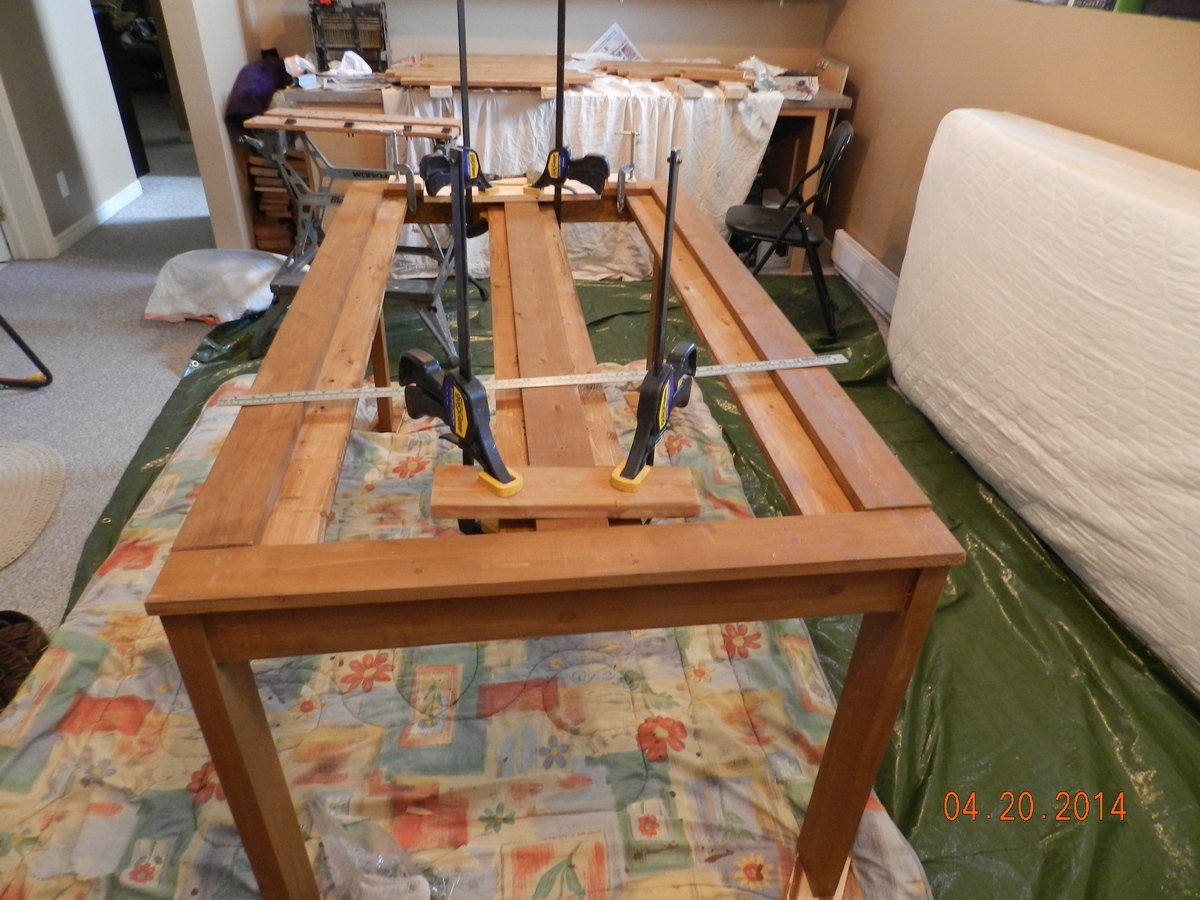
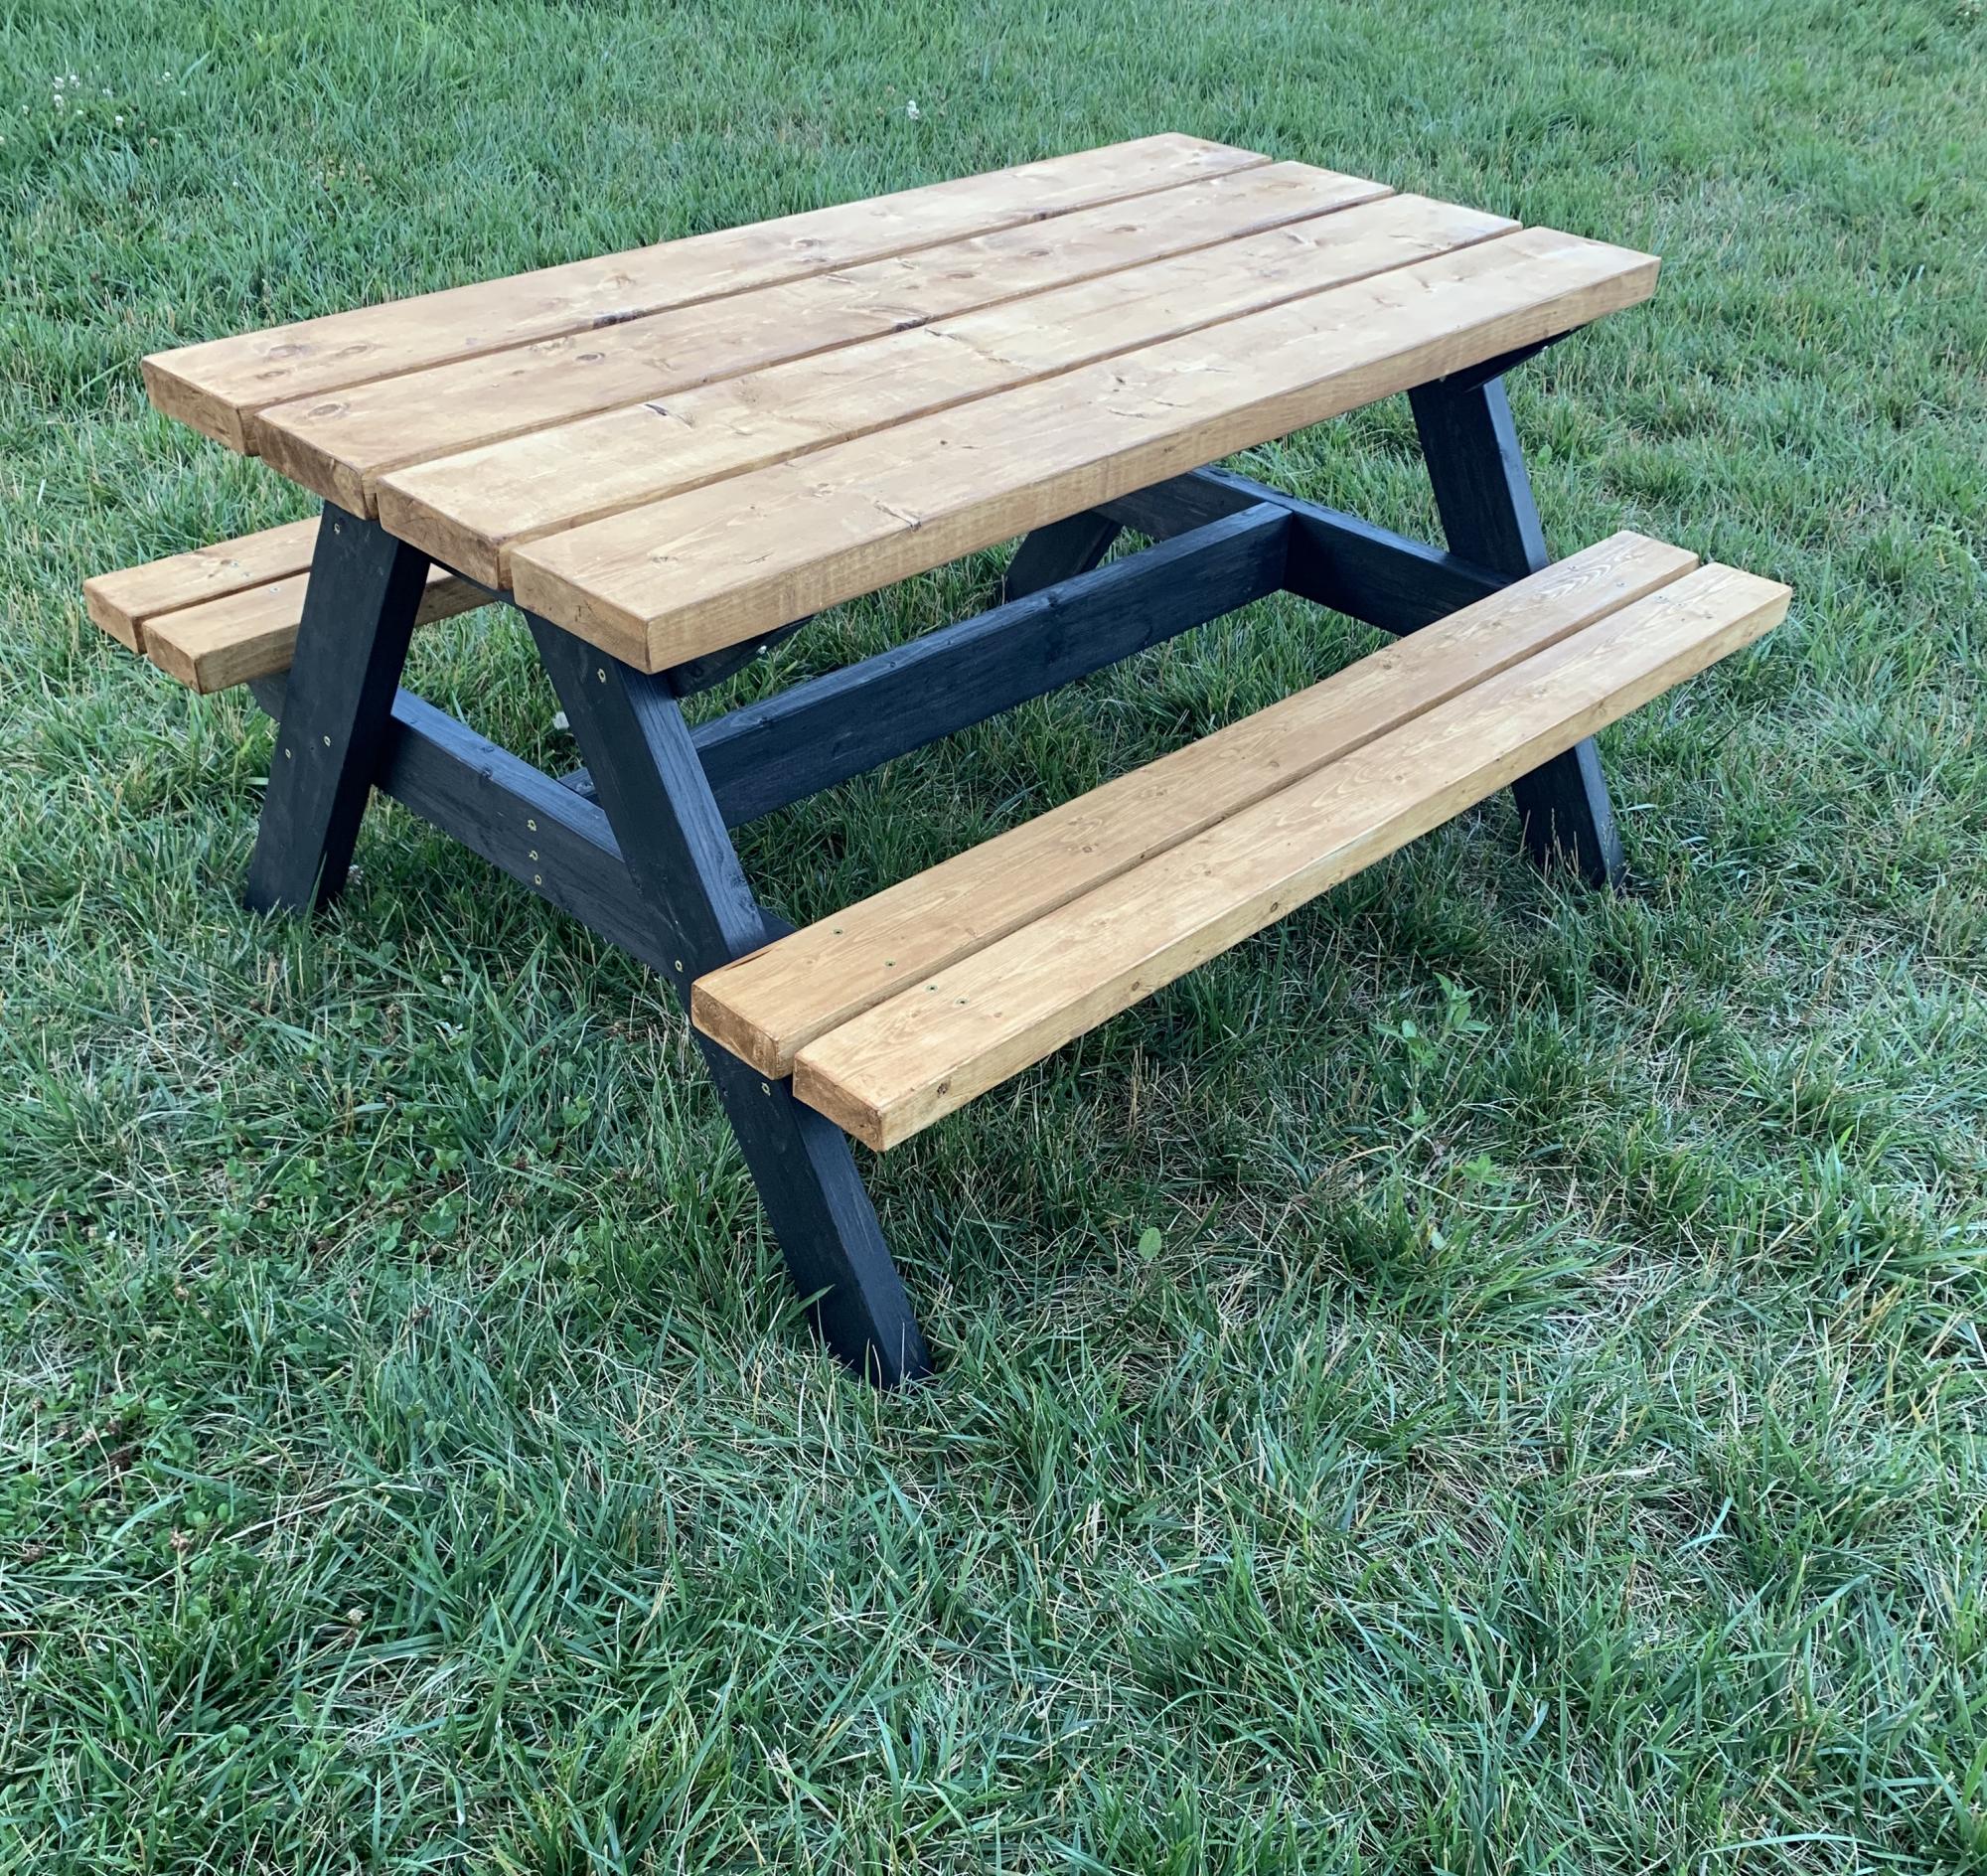
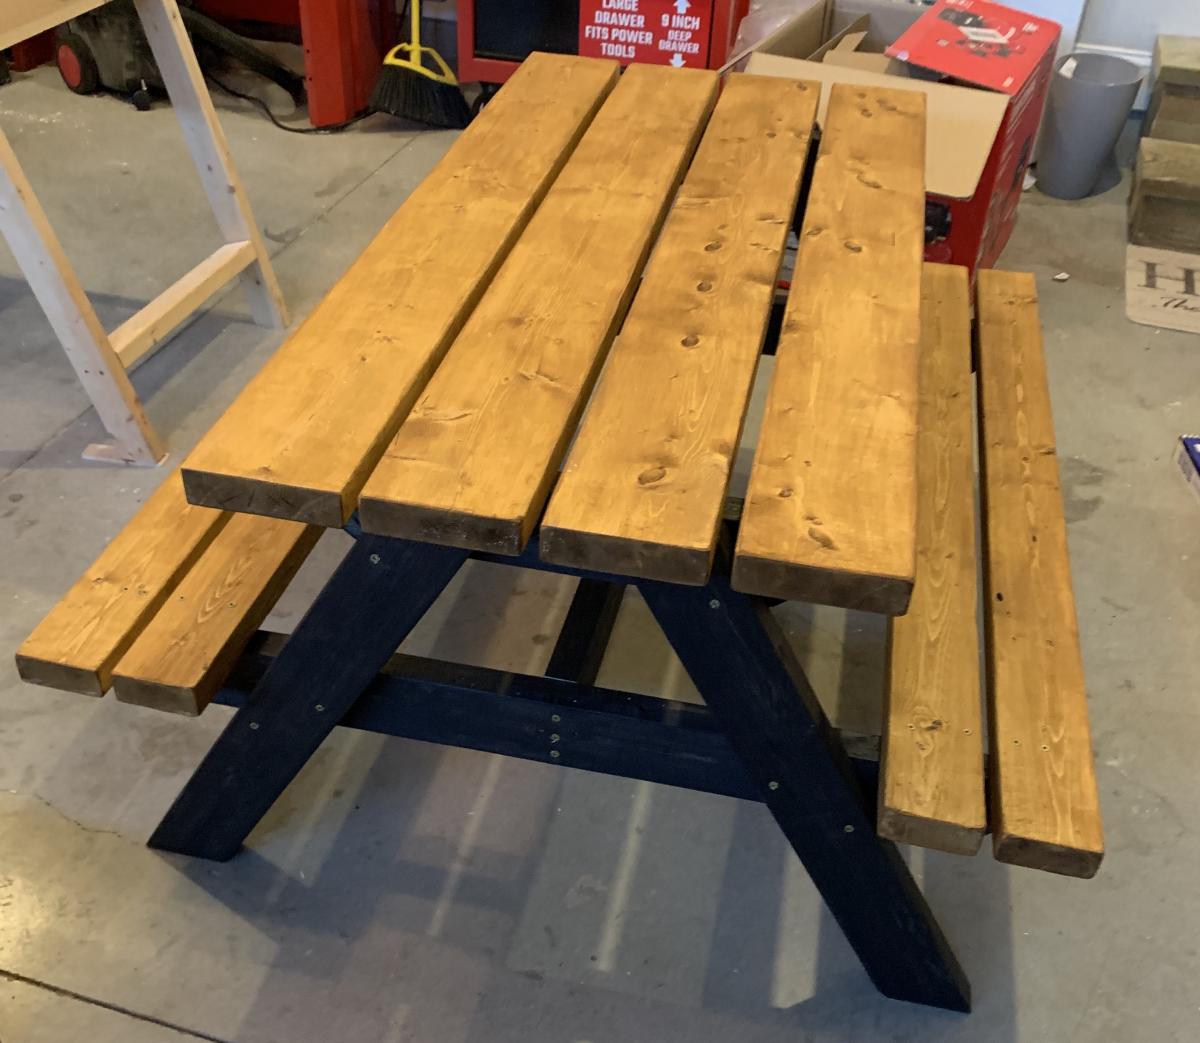
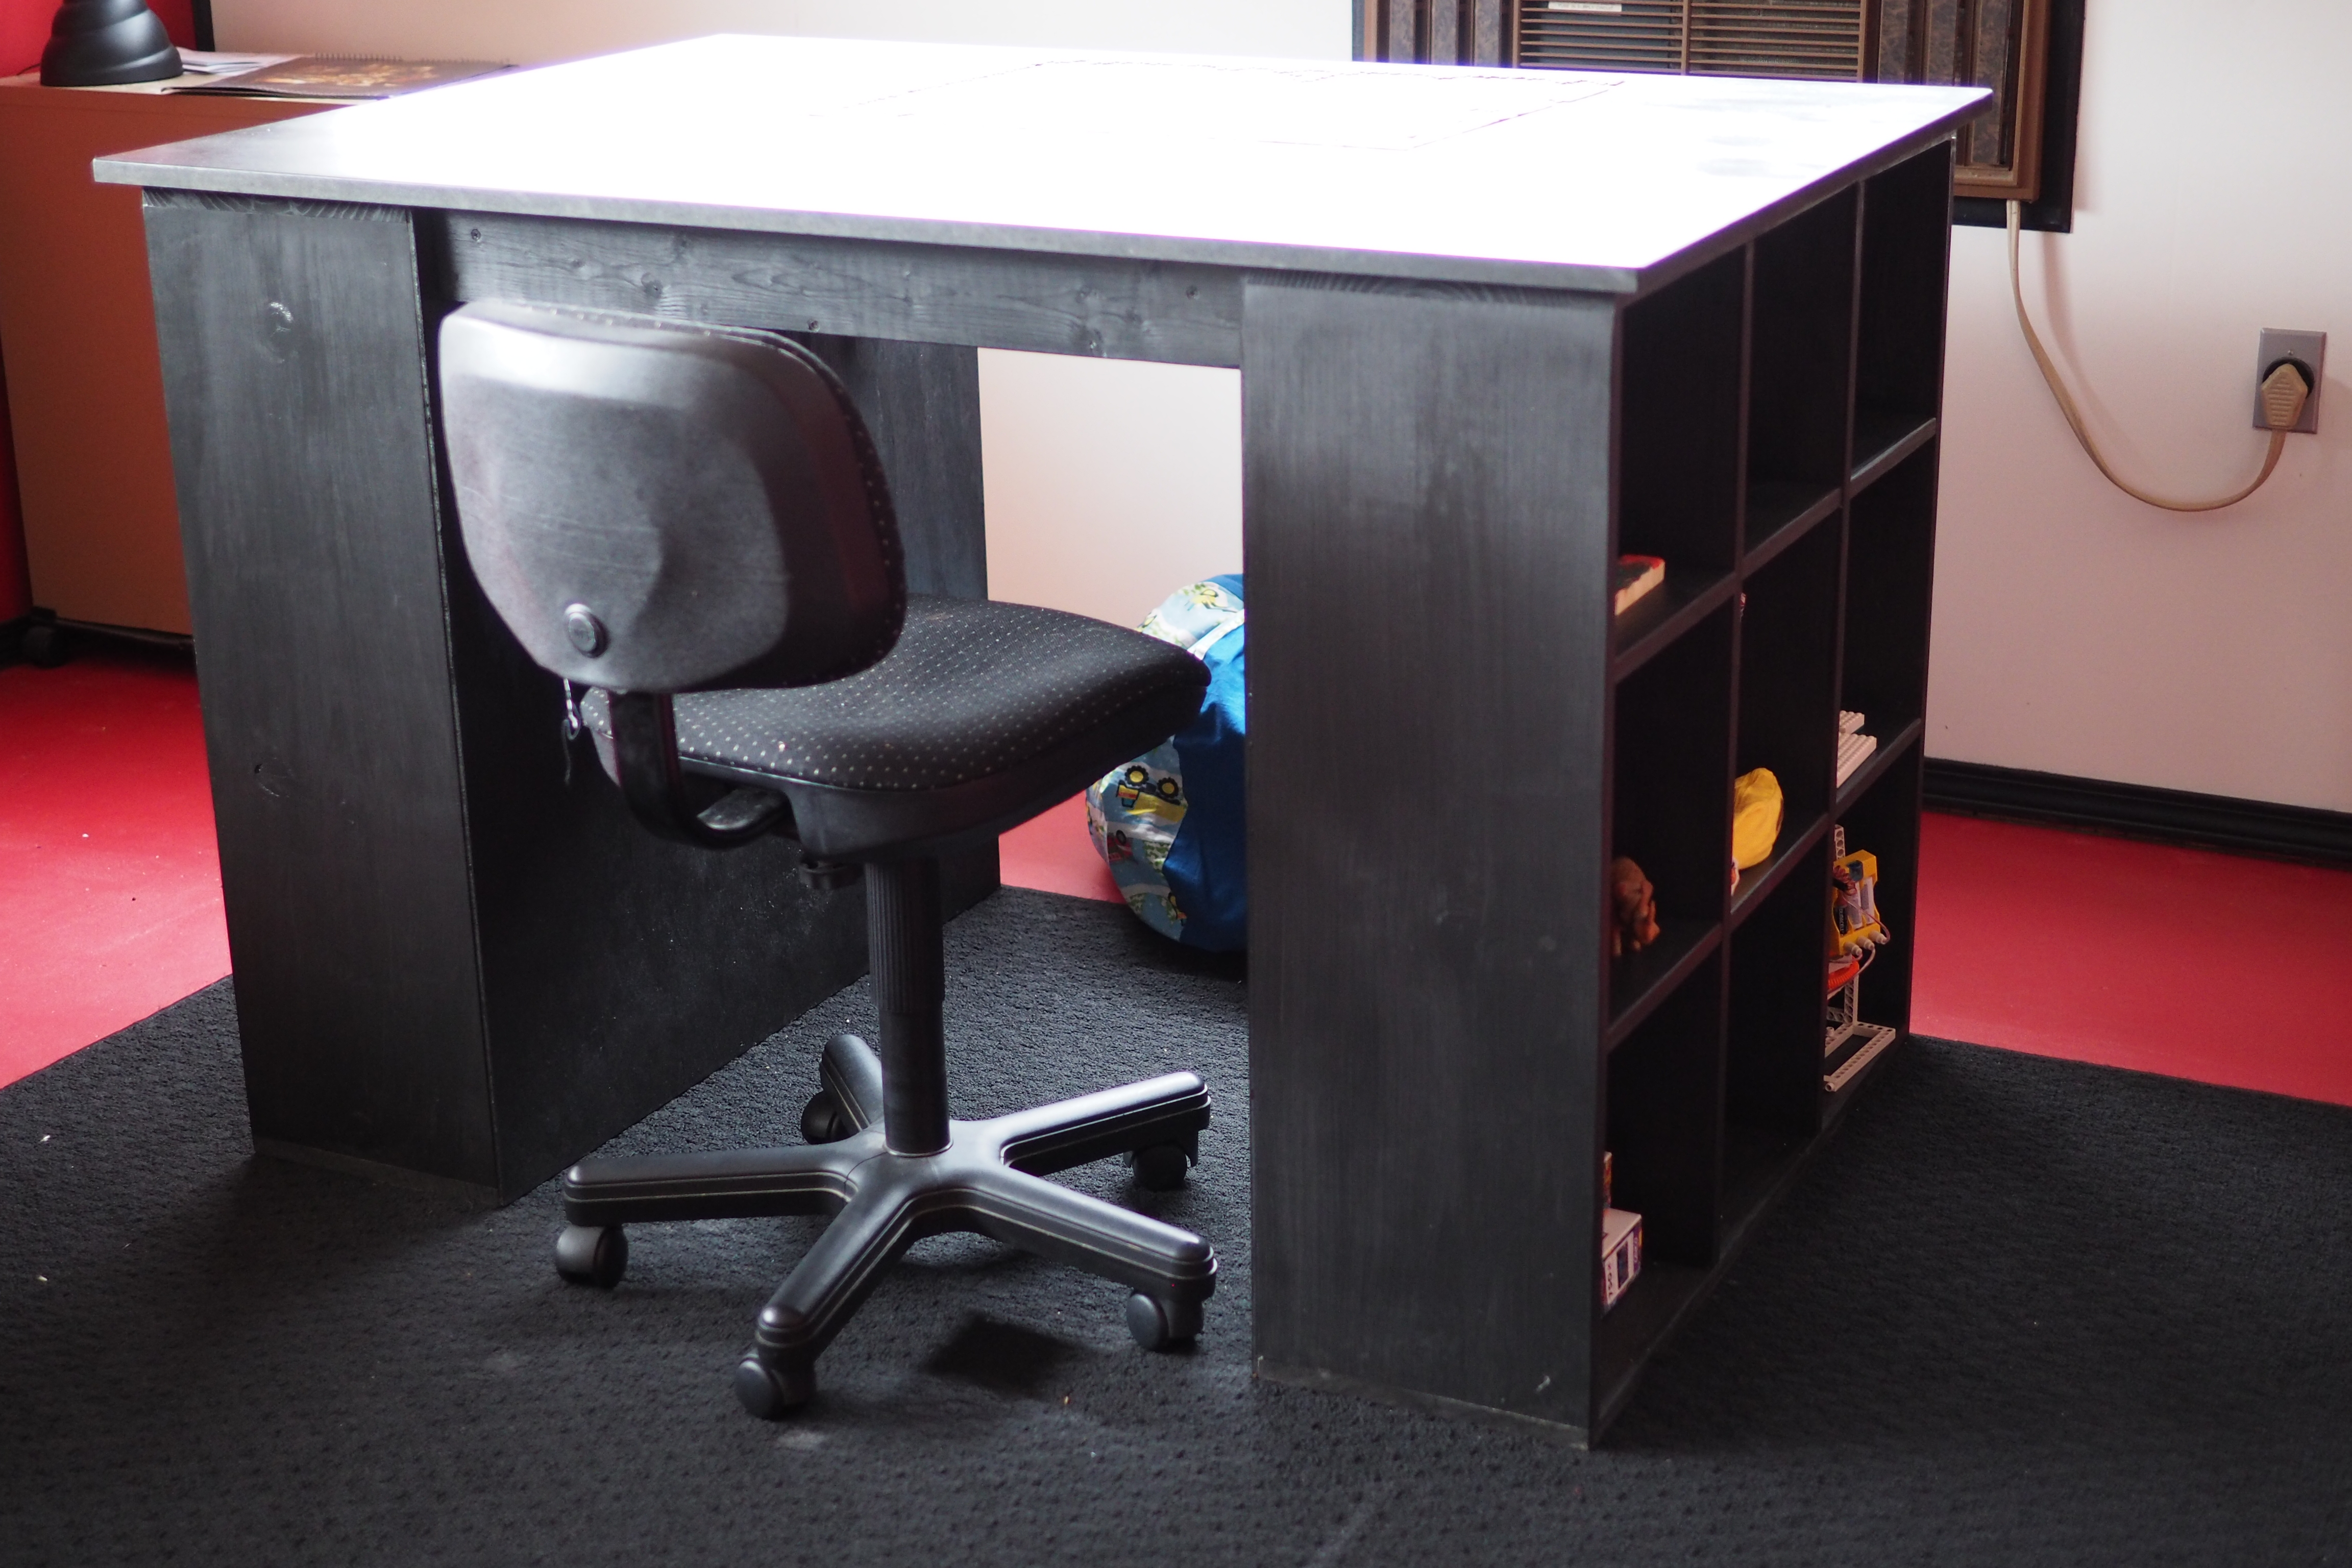
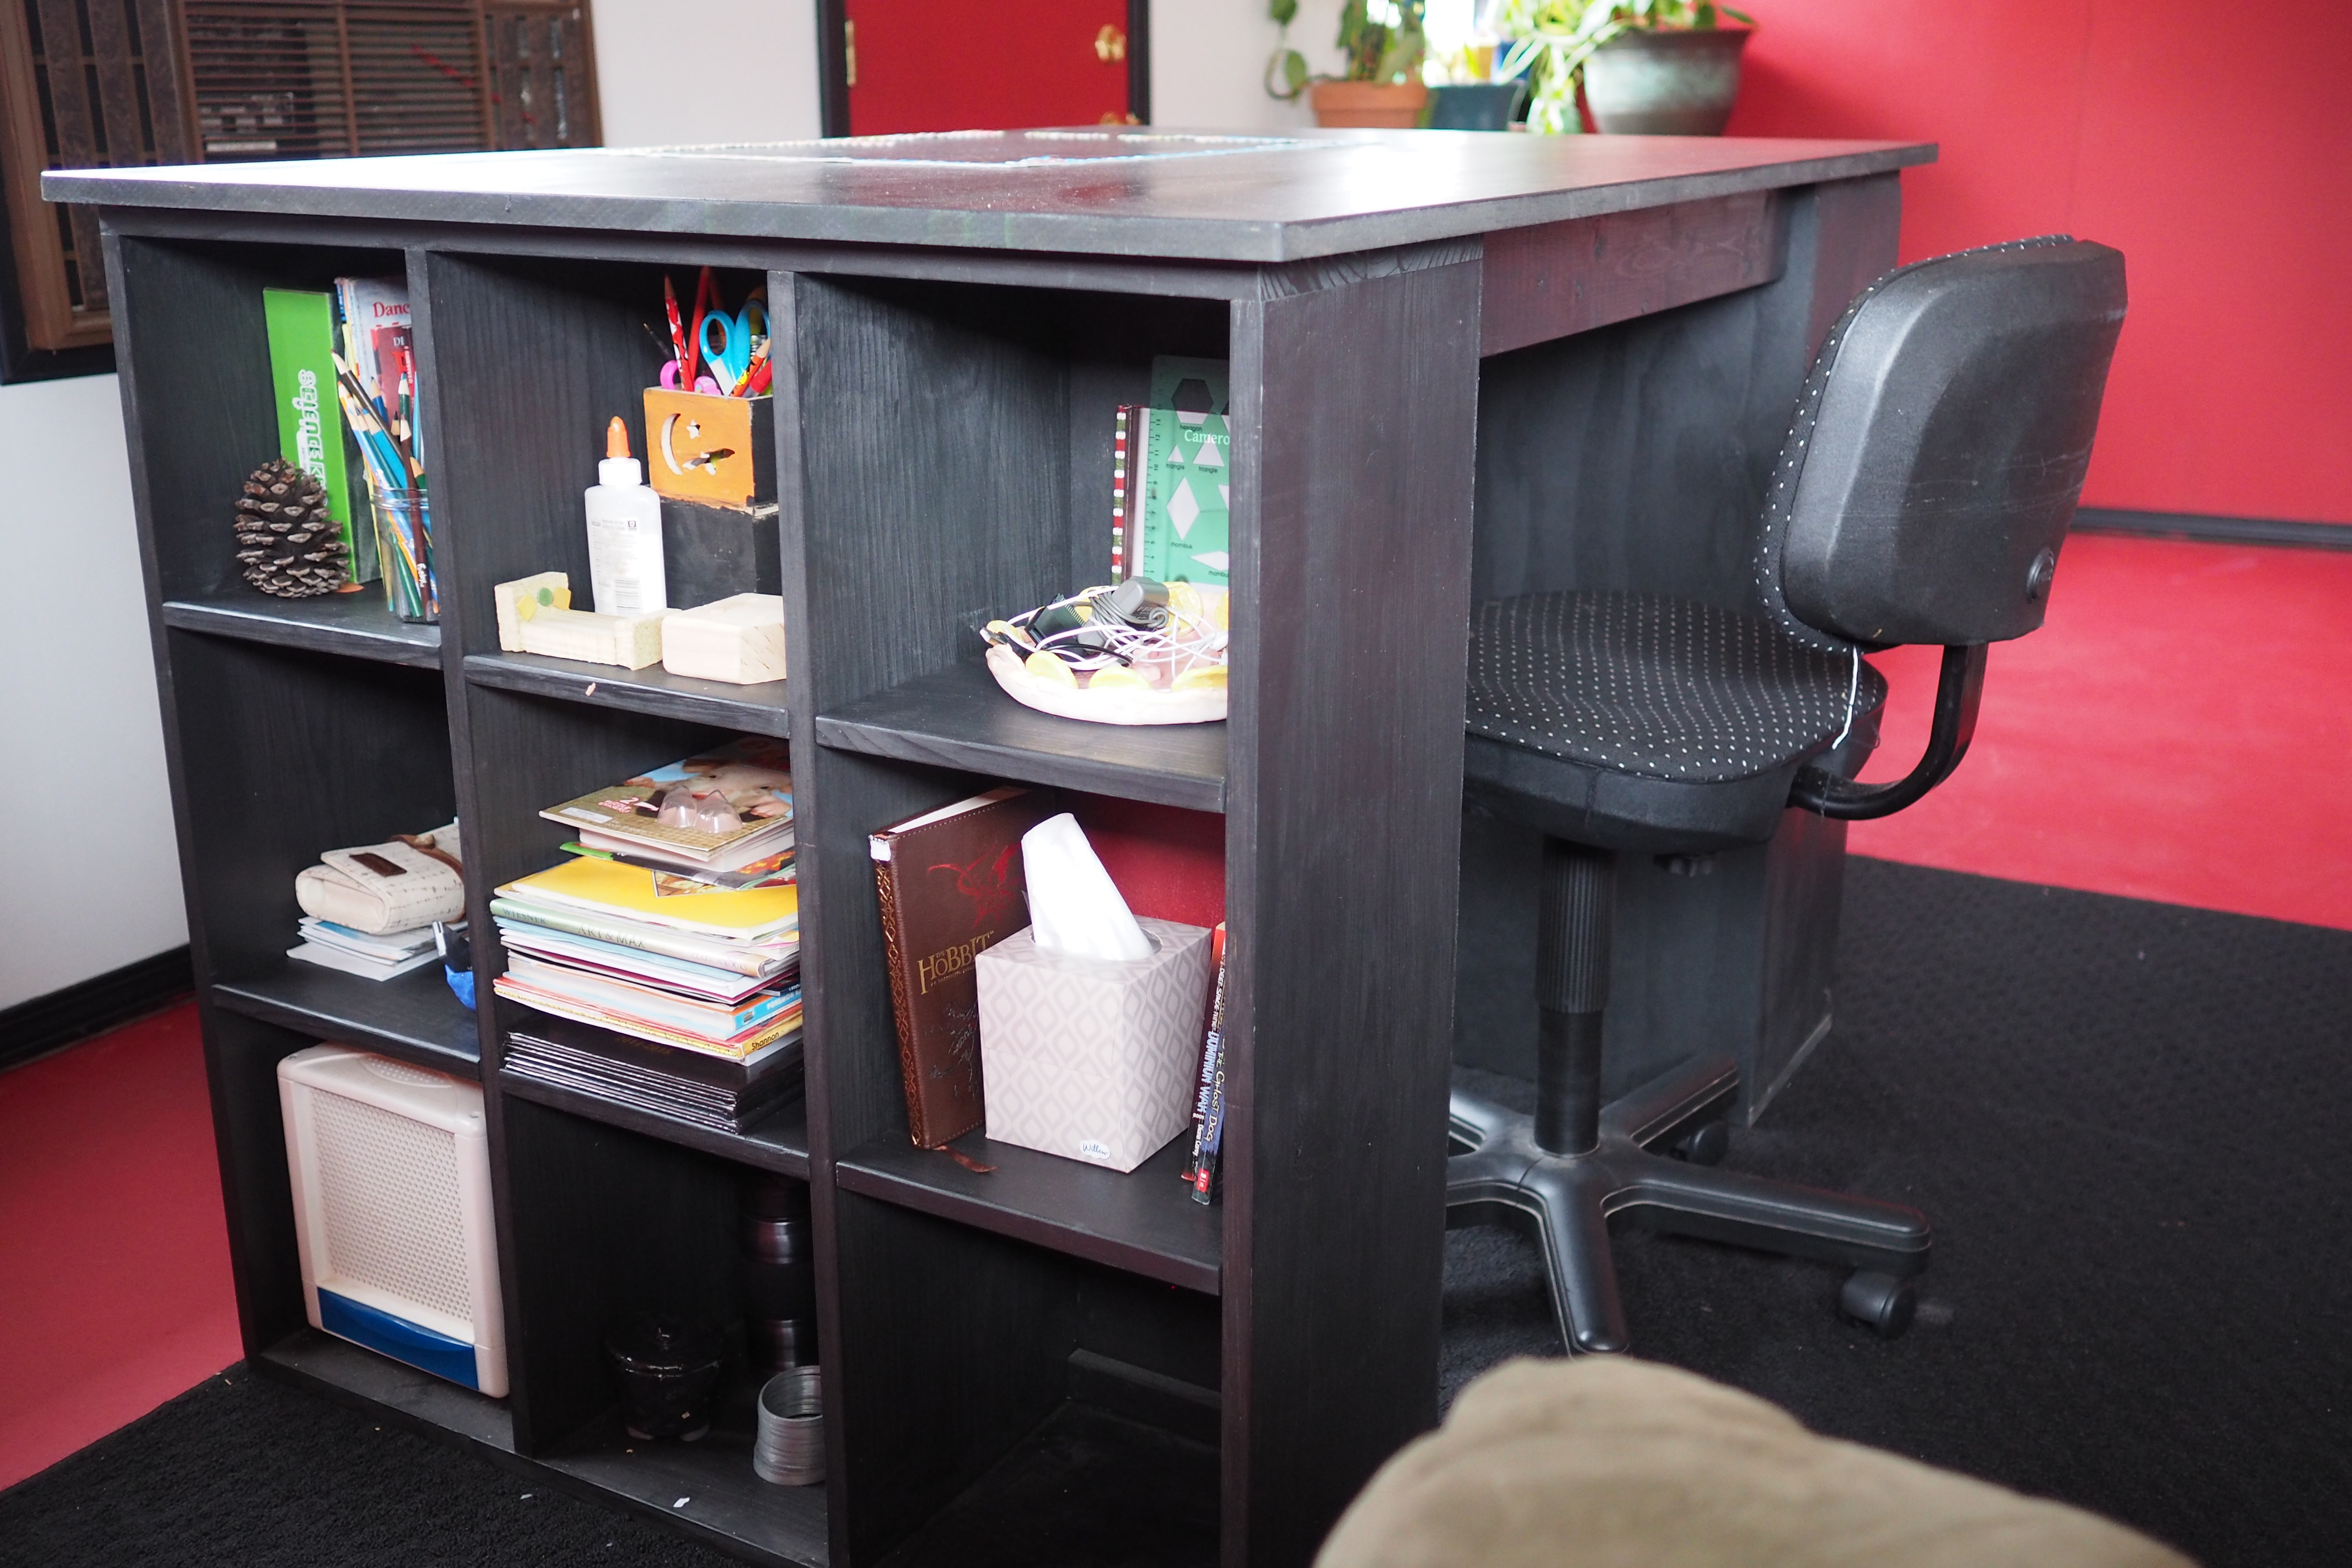
Craft/Lego/Puzzle Table
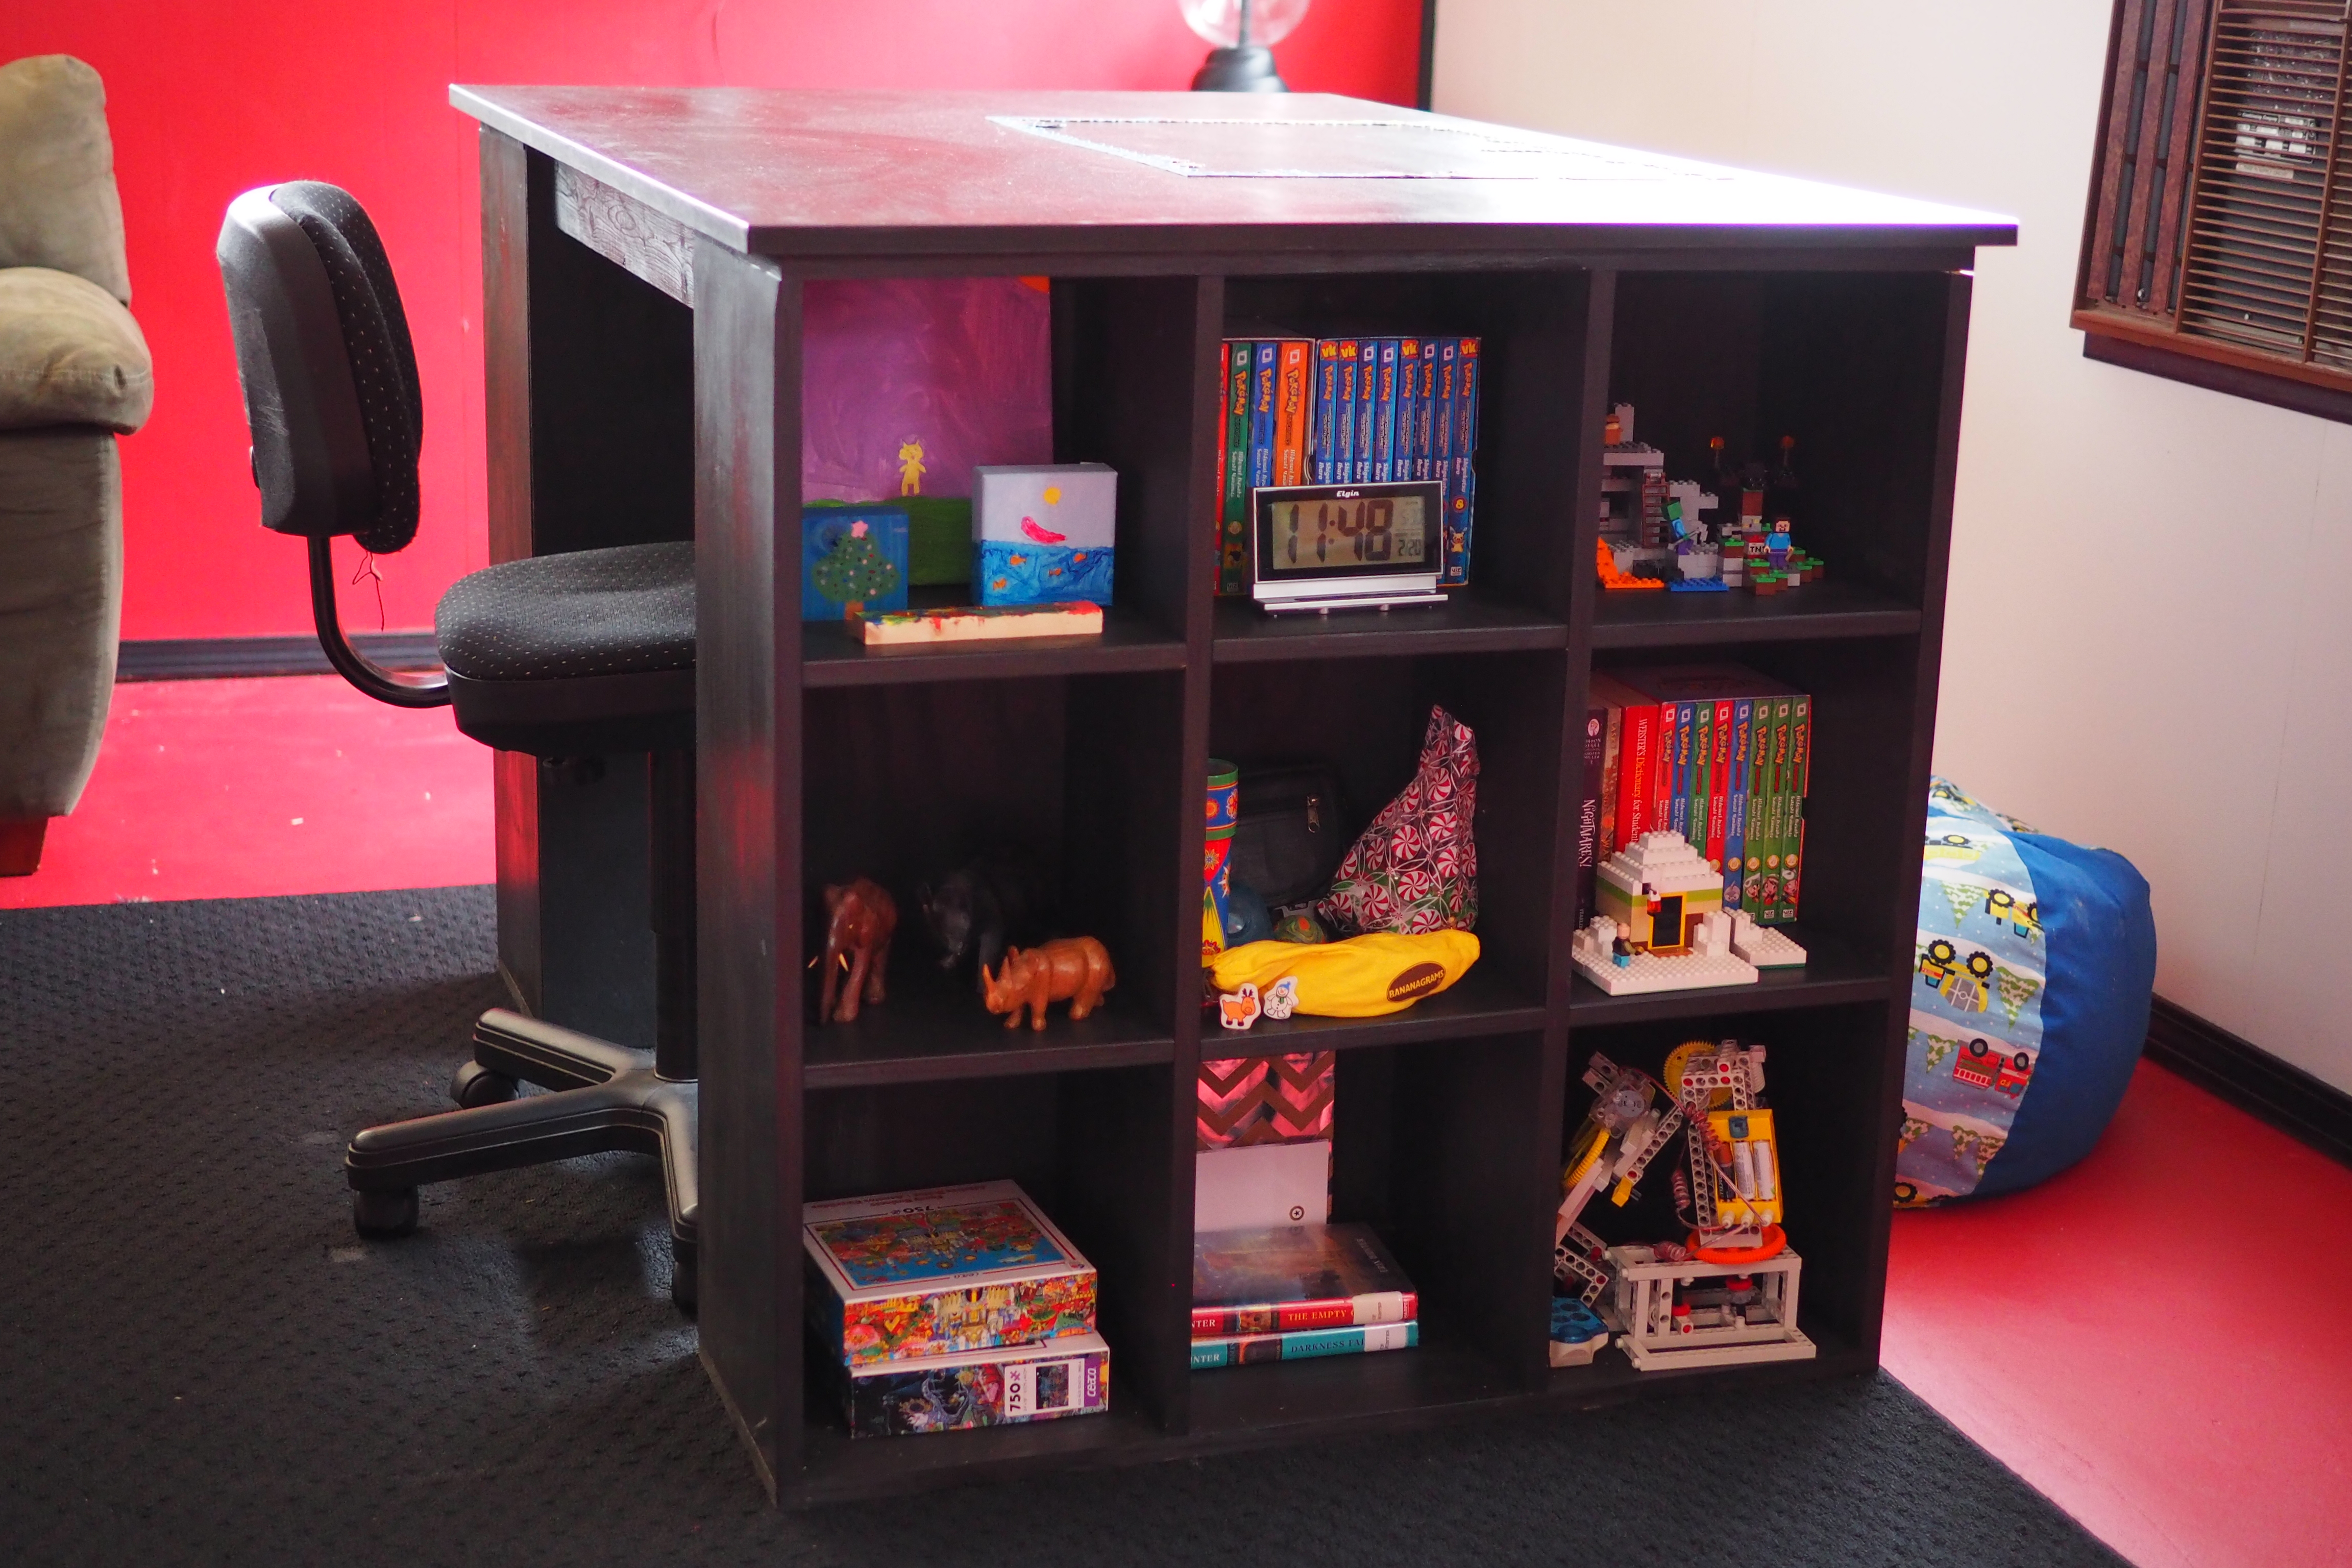
I built this for my son for Christmas. I followed the plans exactly.
Built from Plan(s)
Estimated Cost
$250
Estimated Time Investment
Weekend Project (10-20 Hours)
Finish Used
Glidden - Onyx Black, Semi-Gloss, Interior, Two Coats
Recommended Skill Level
Intermediate