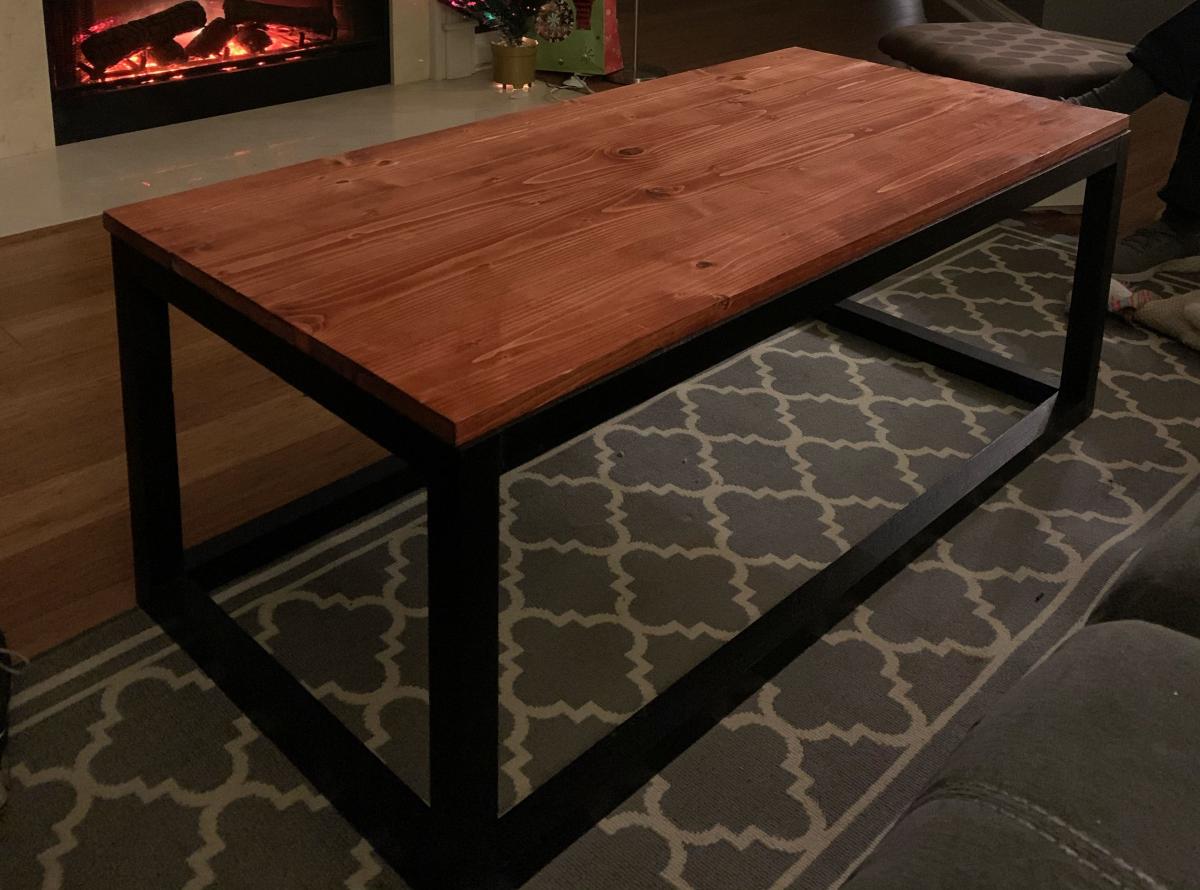
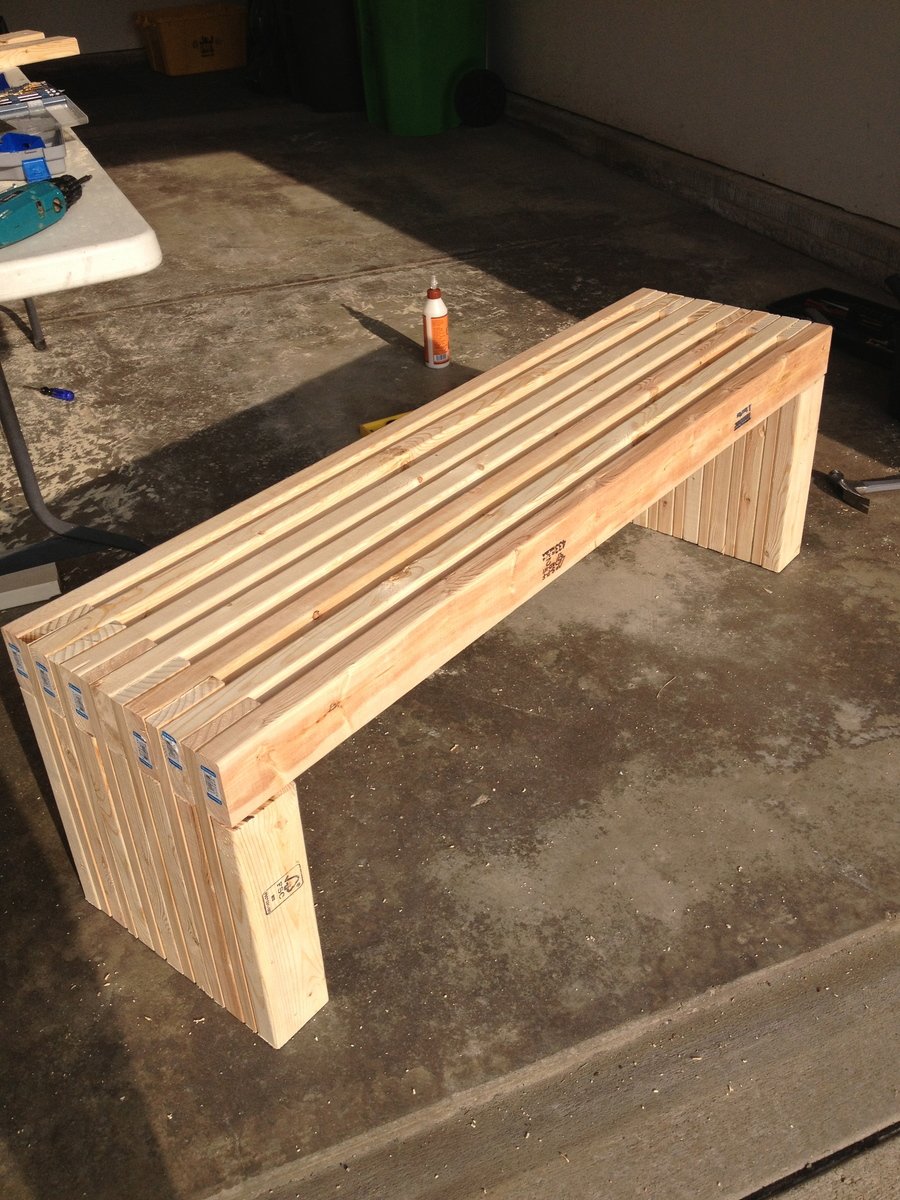
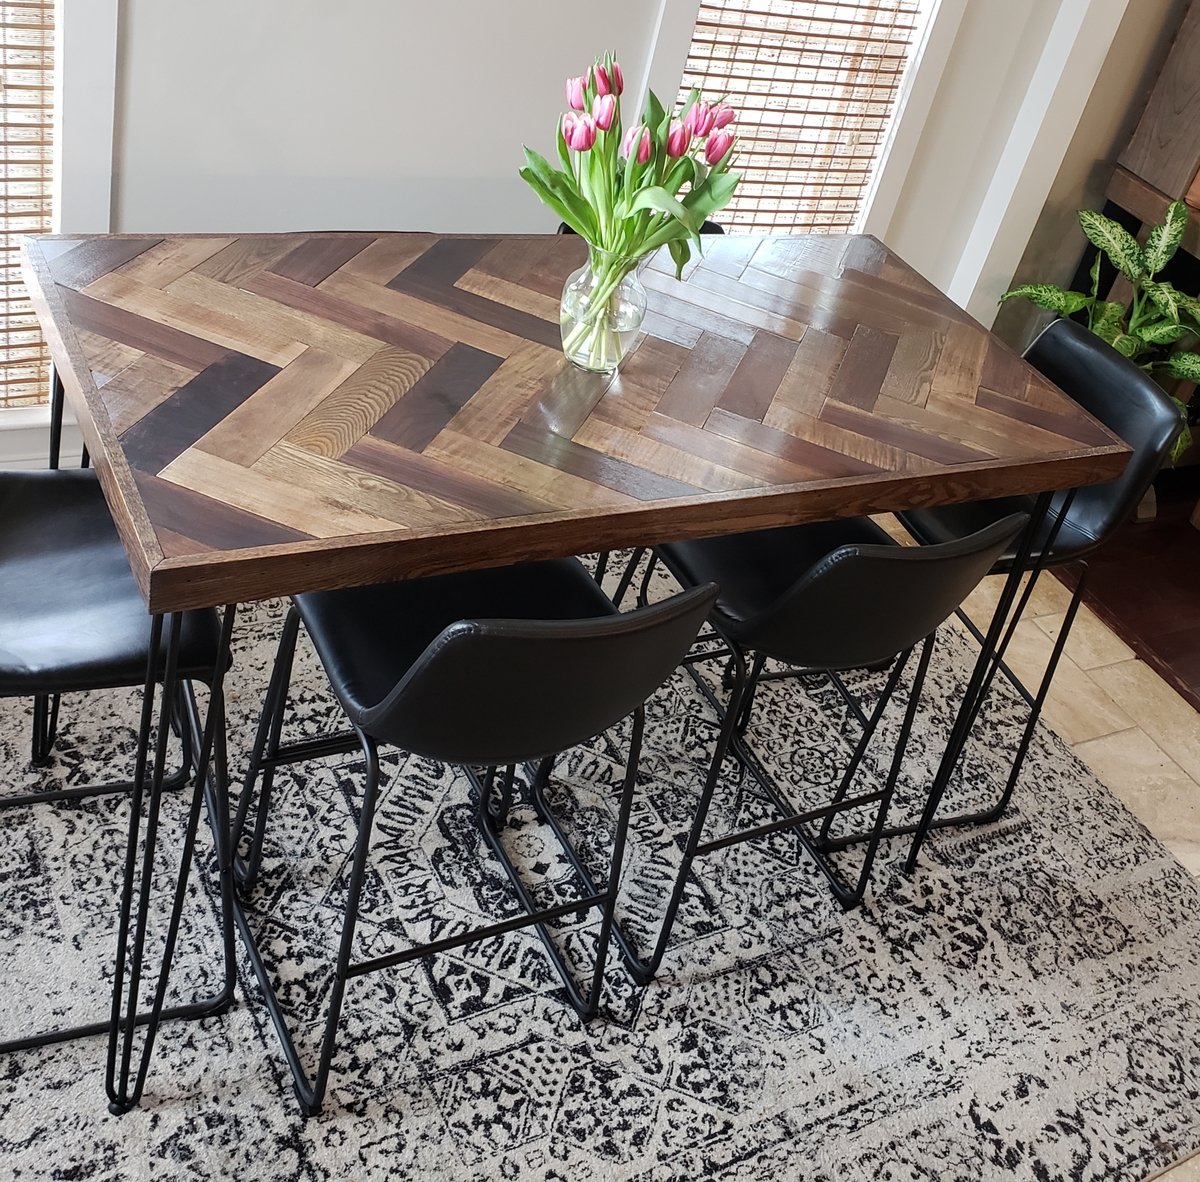
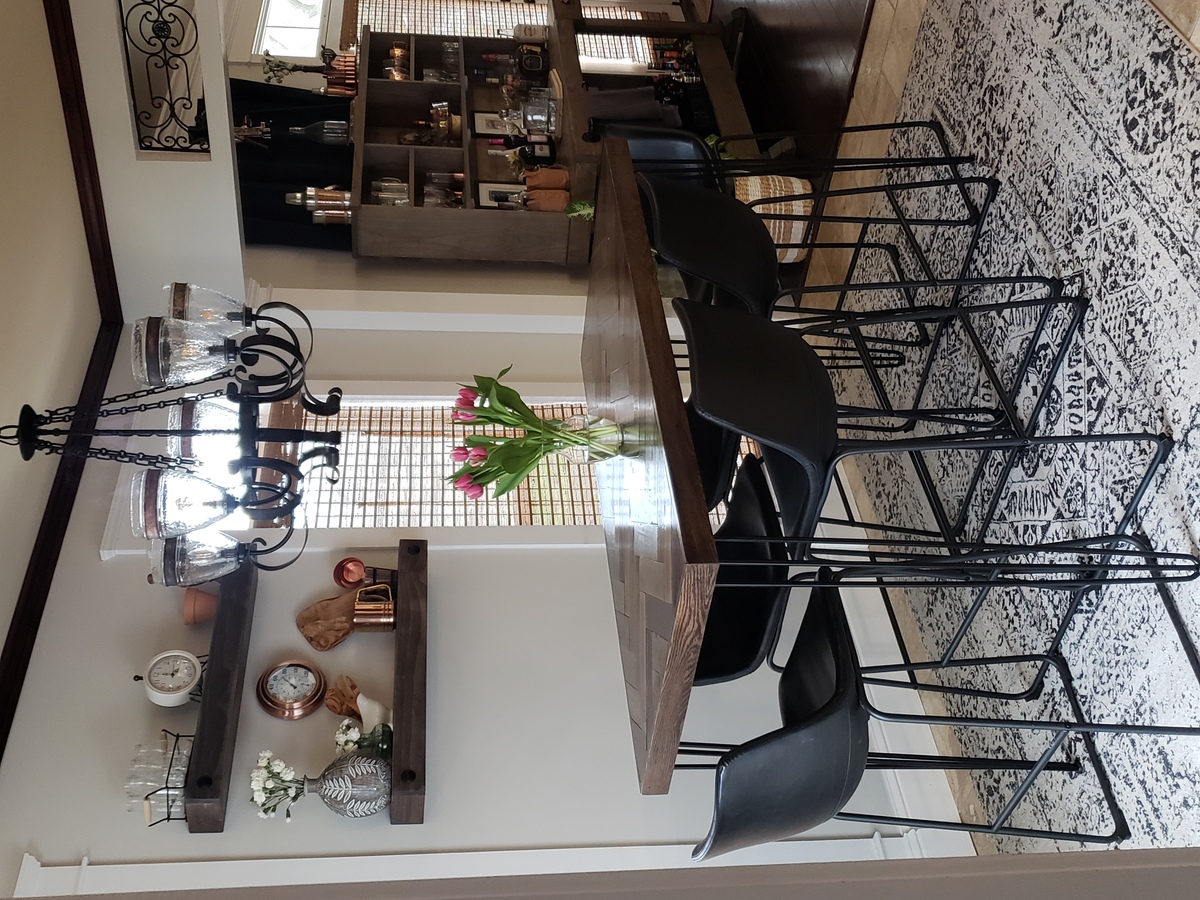
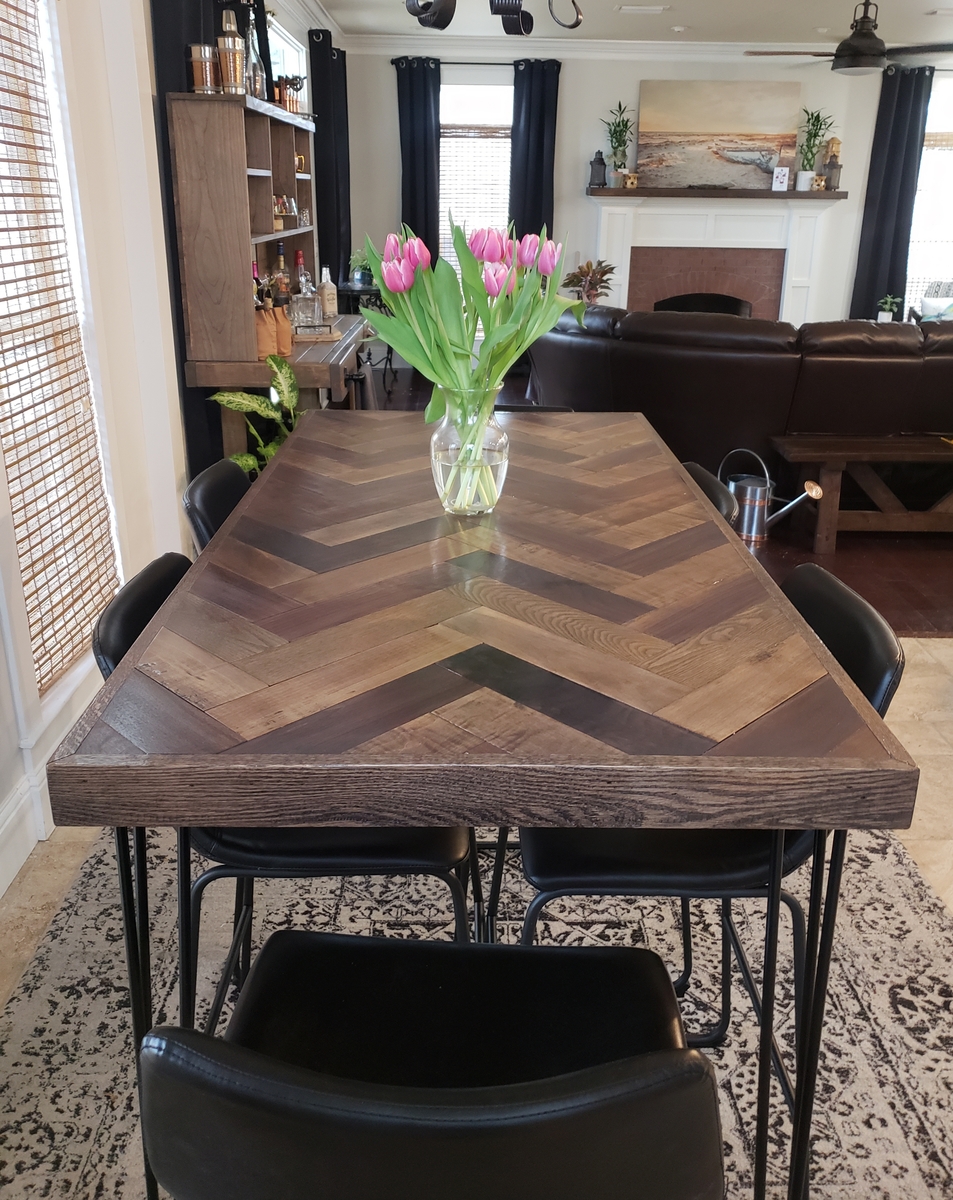
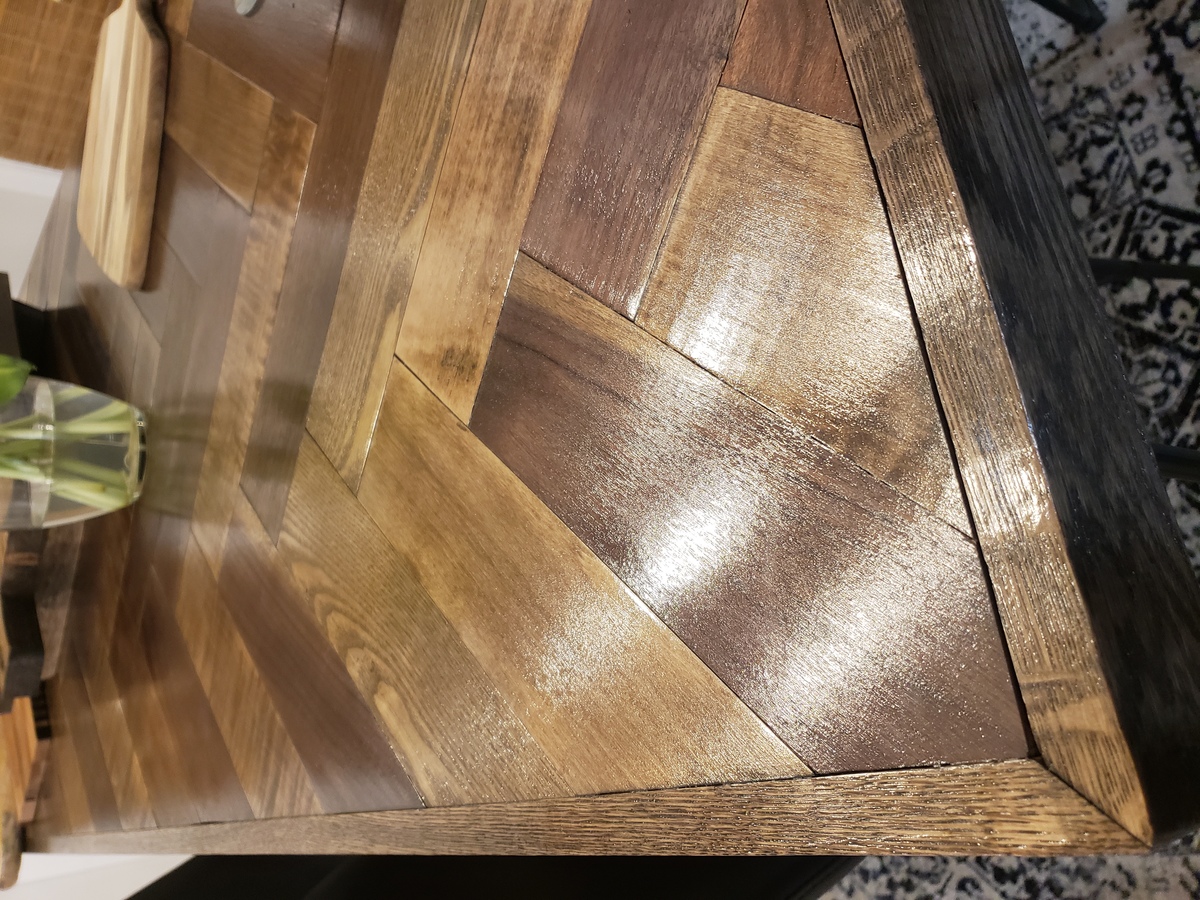
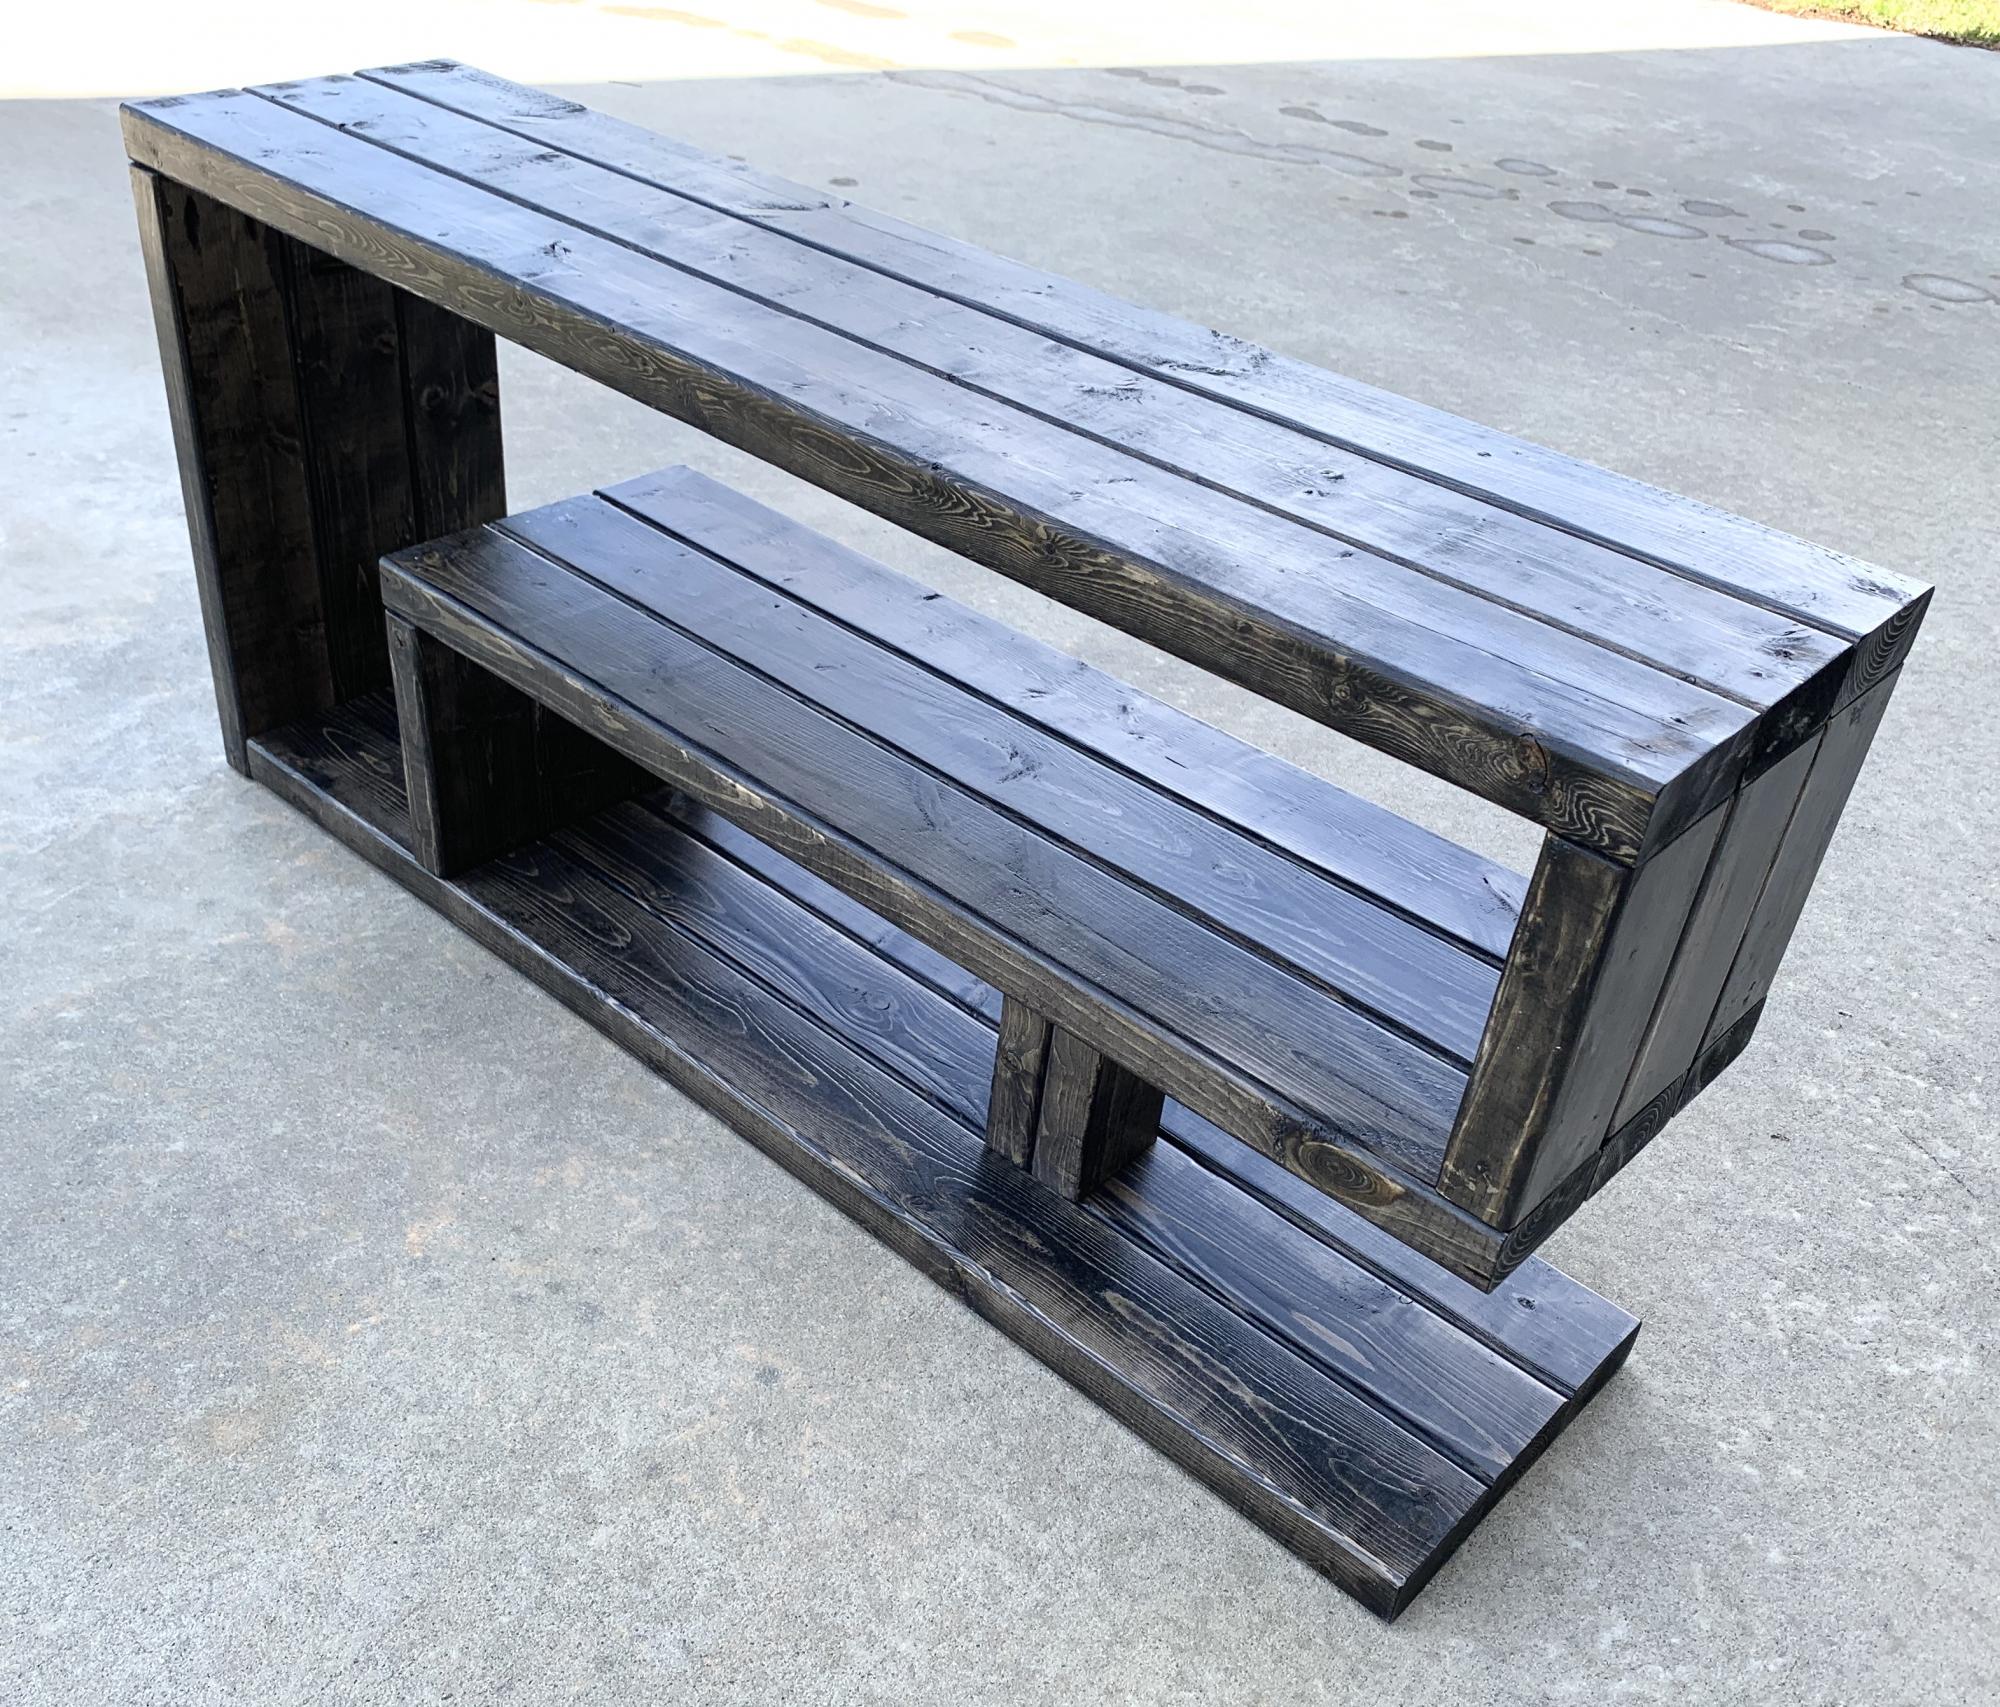
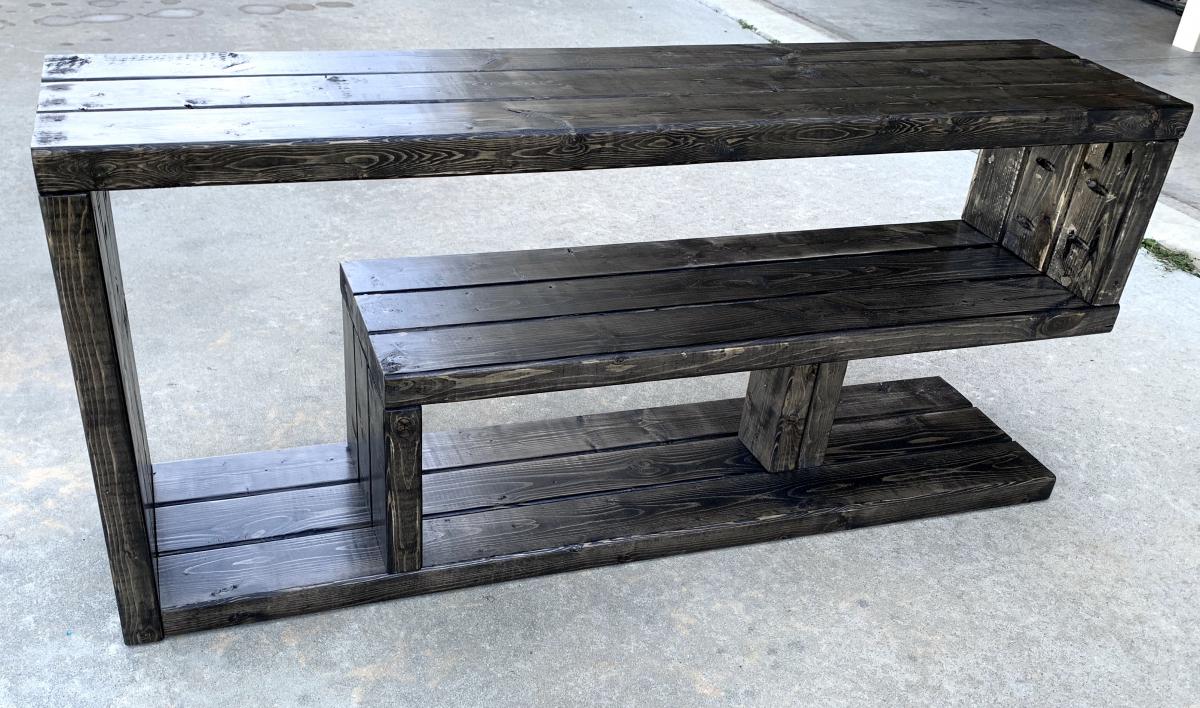
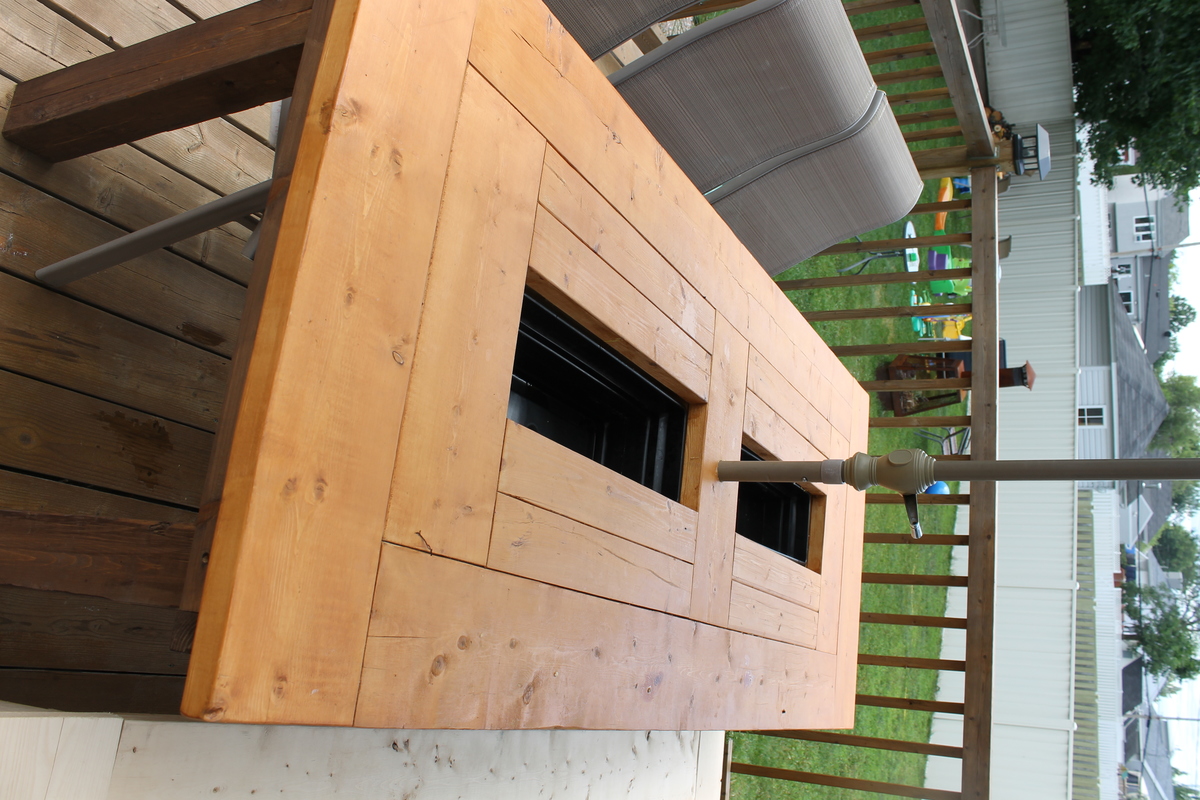
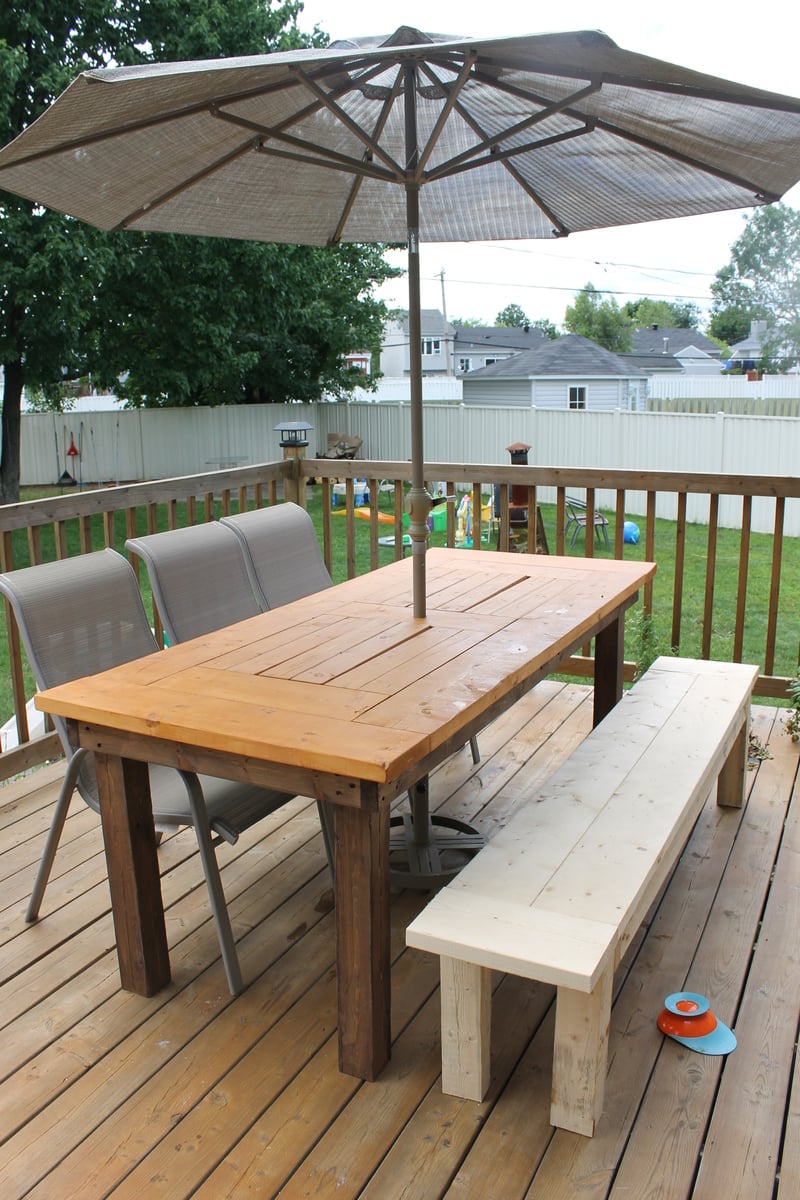
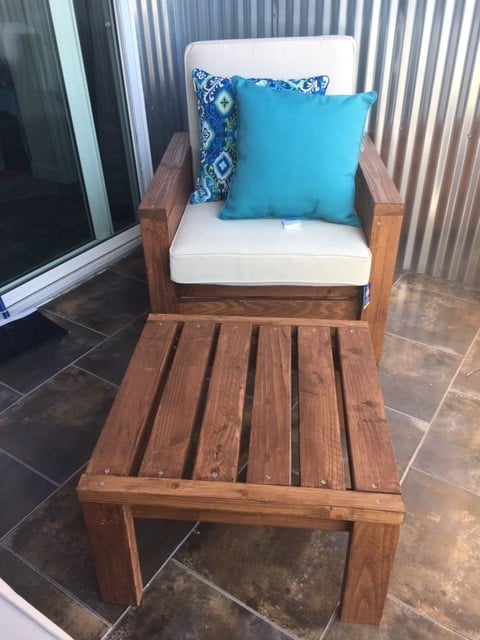
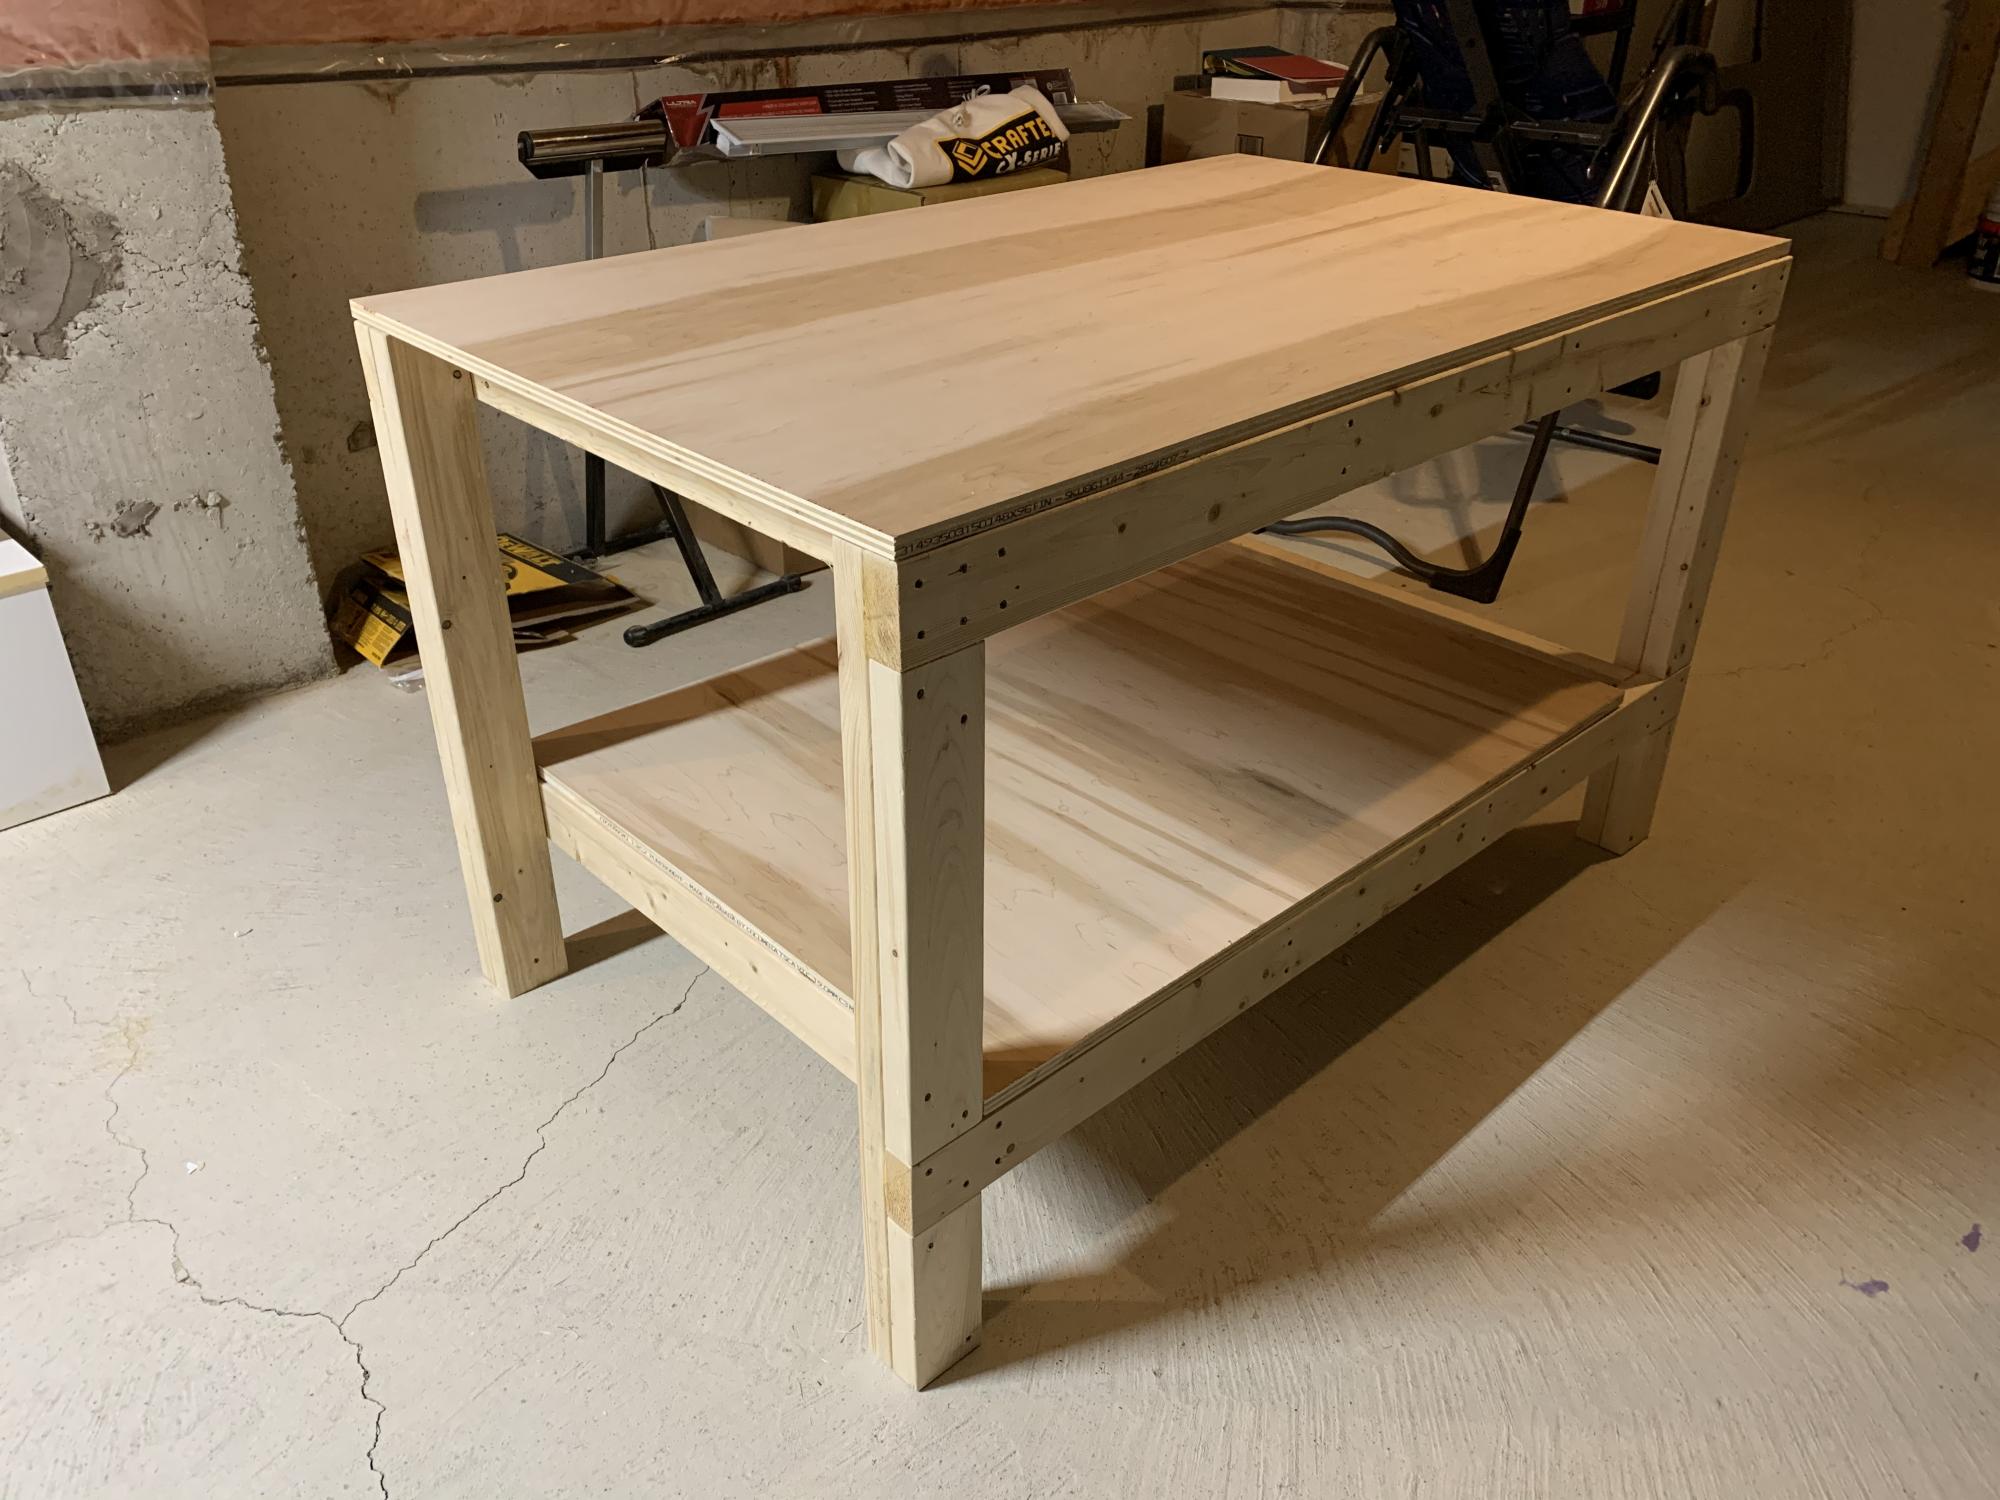
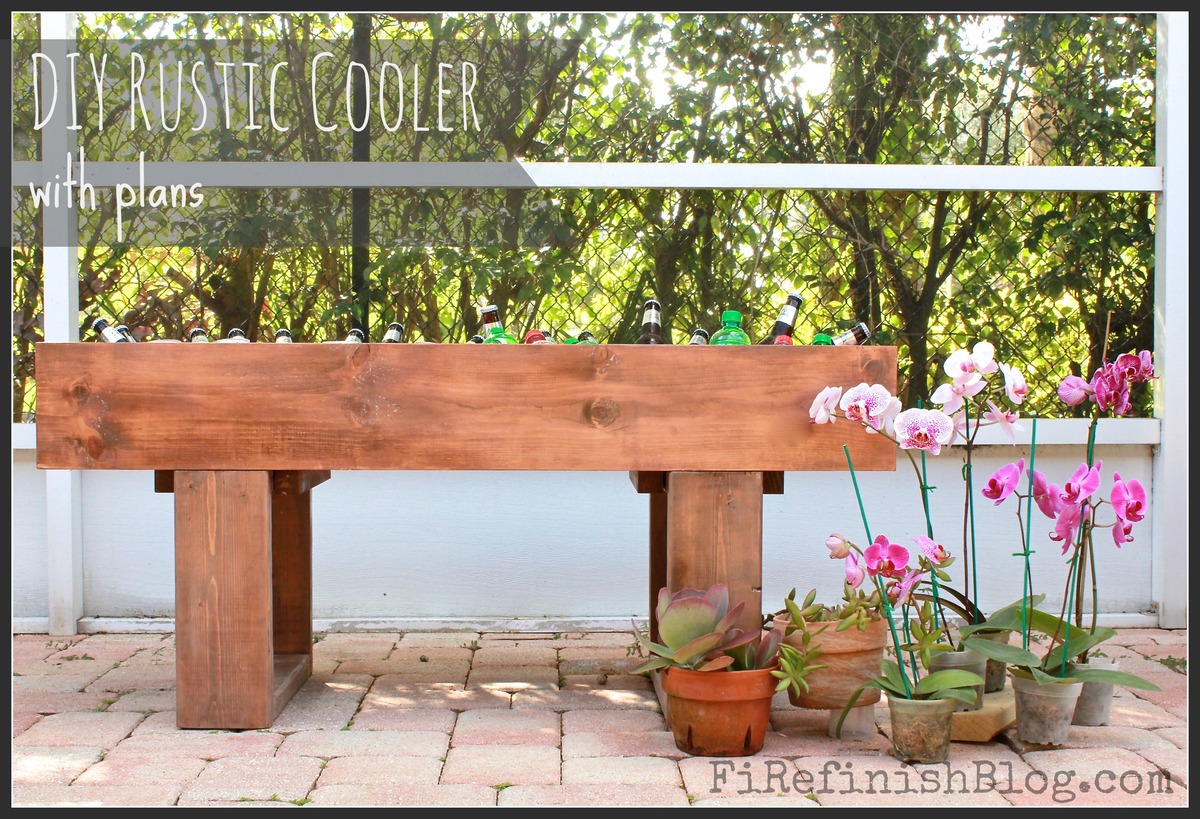
Box Frame Coffee Table with Lift Top
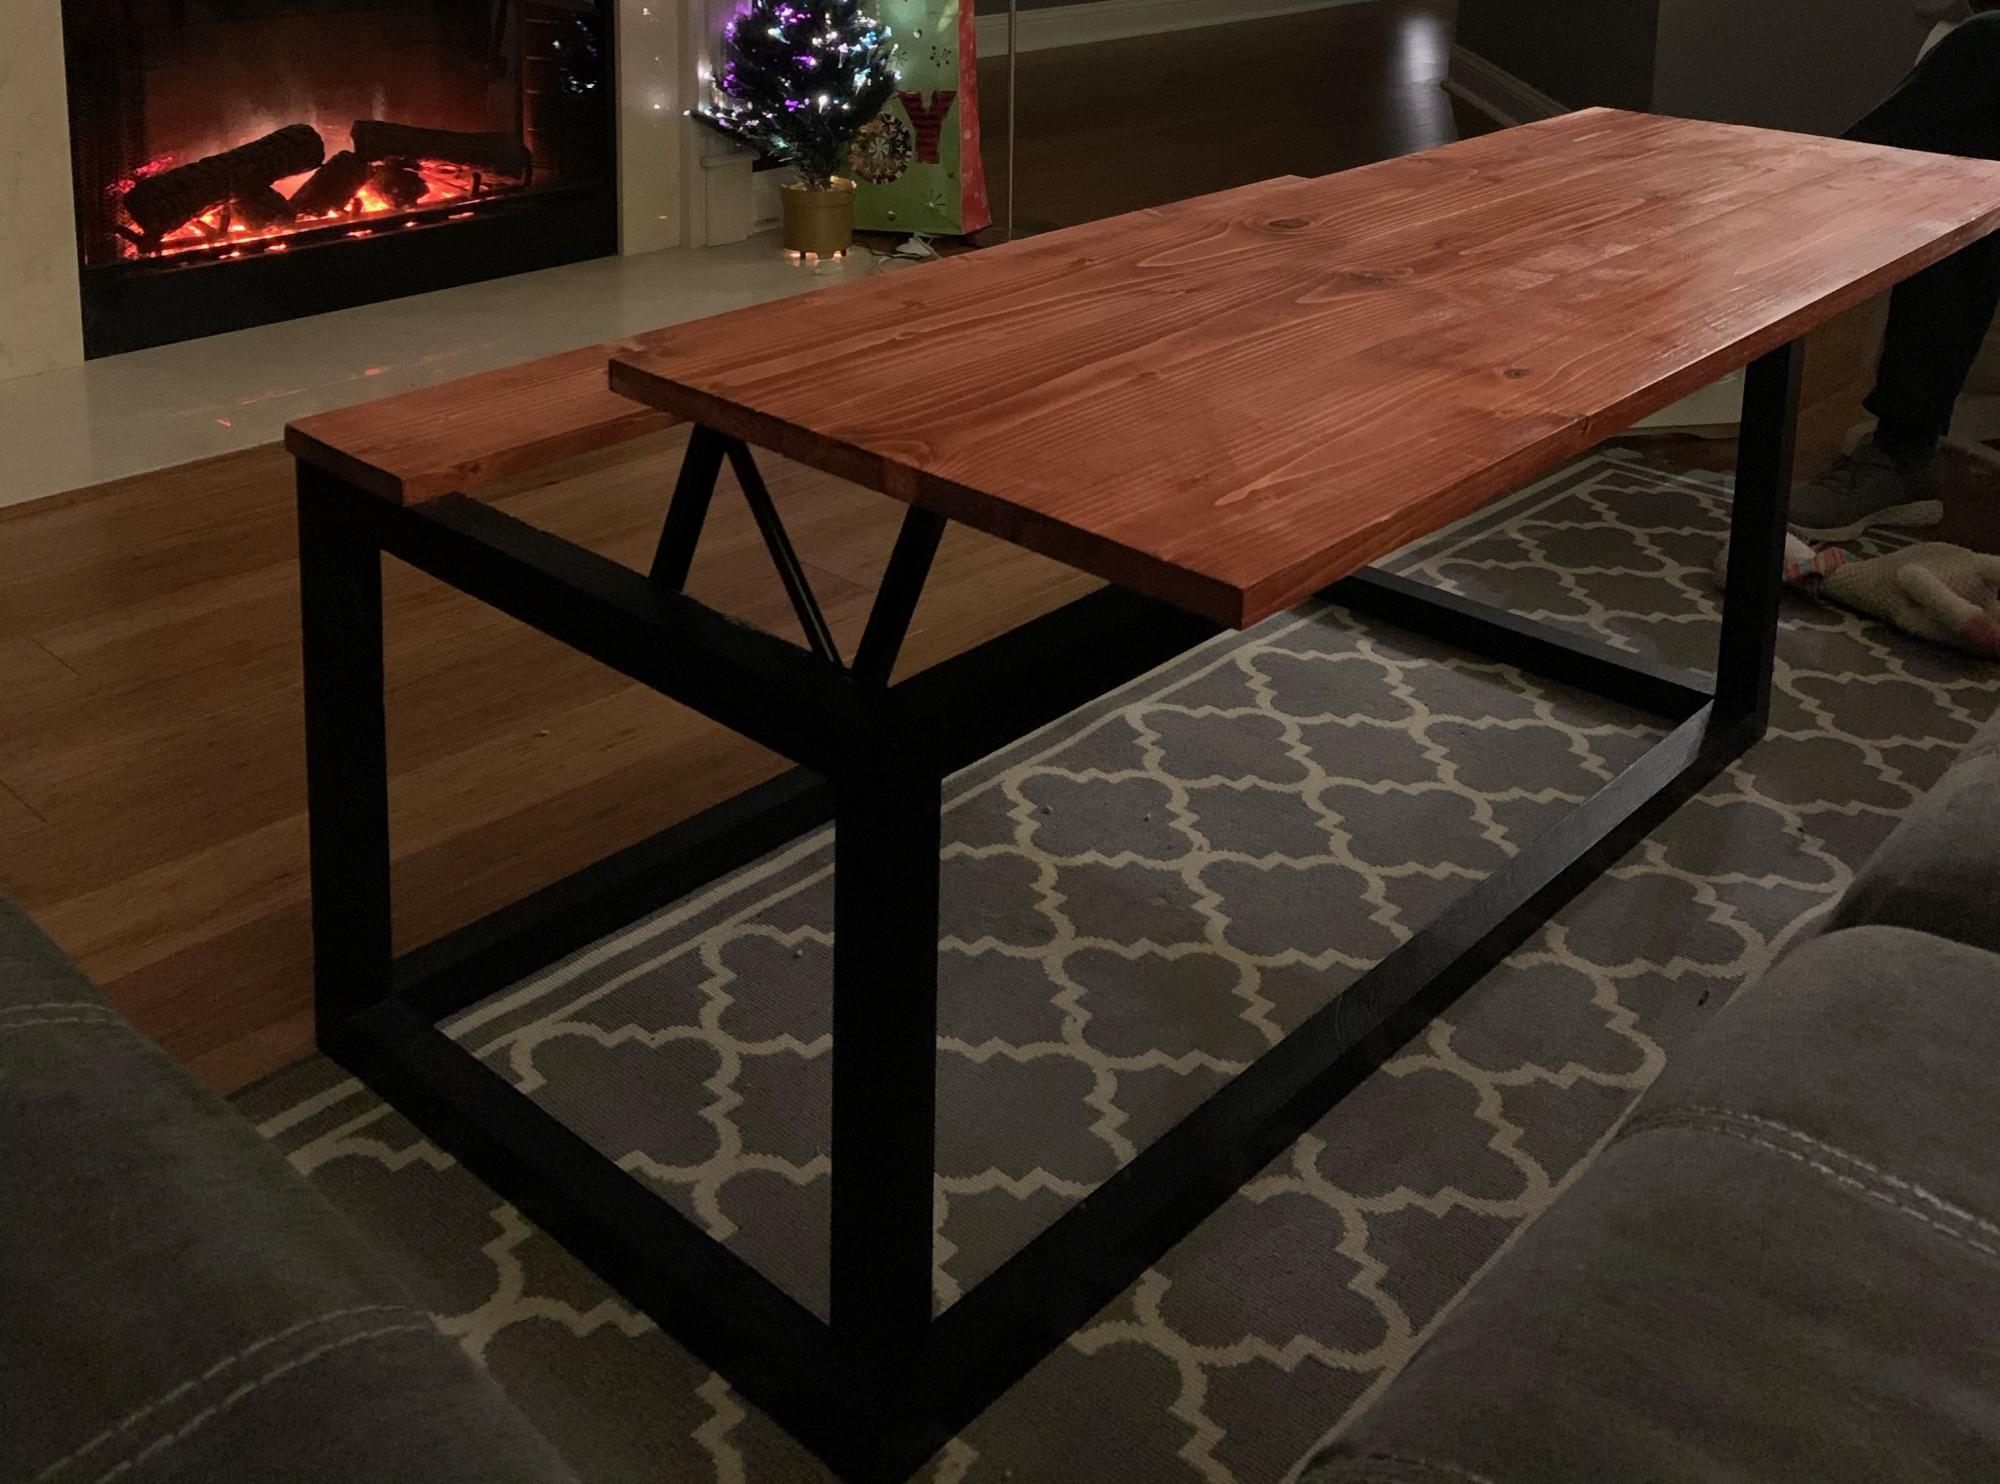
Really fun coffee table - my first foray into furniture! I think I will be adding the bottom shelf for added weight and storage to keep the table top tidy.
Built from Plan(s)
Estimated Cost
$80
Estimated Time Investment
Weekend Project (10-20 Hours)
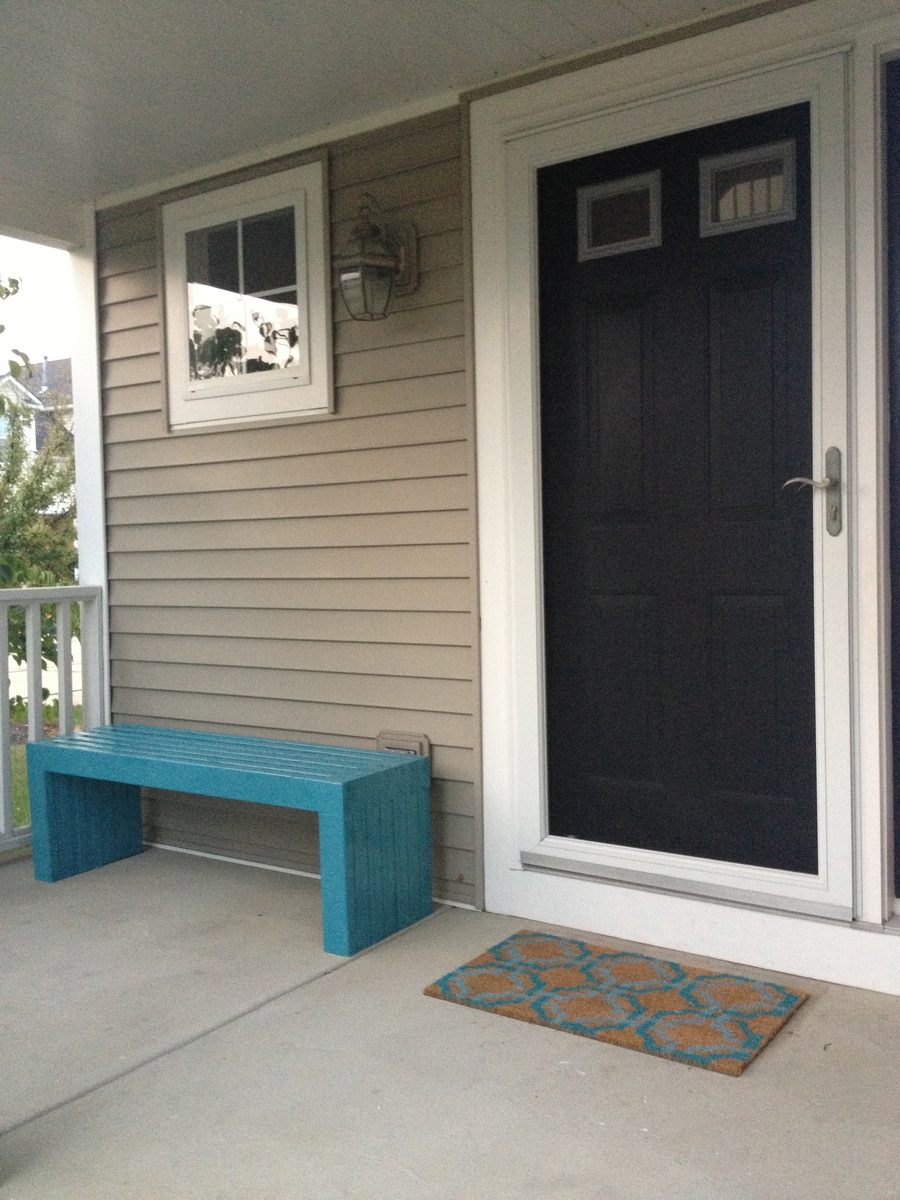
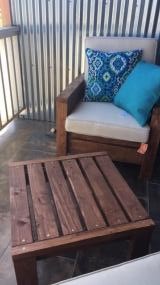
Finish Used
black matte paint and cherry stain
Recommended Skill Level
Intermediate


Comments
Ana White Admin
Sat, 01/02/2021 - 13:21
Love the finish!
It looks amazing, thank you for sharing!