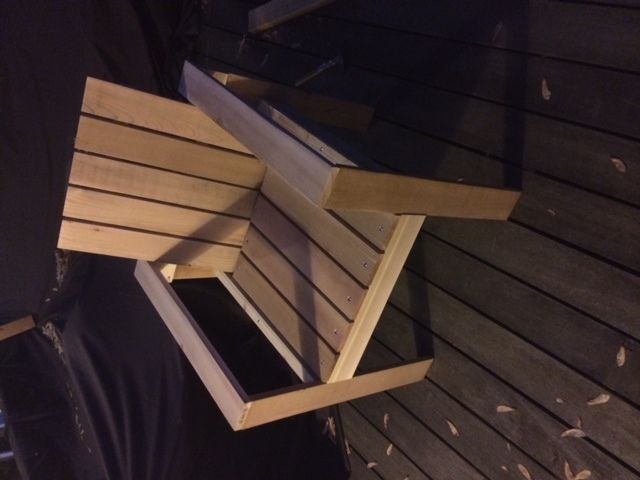
Modern Adirondack Chair
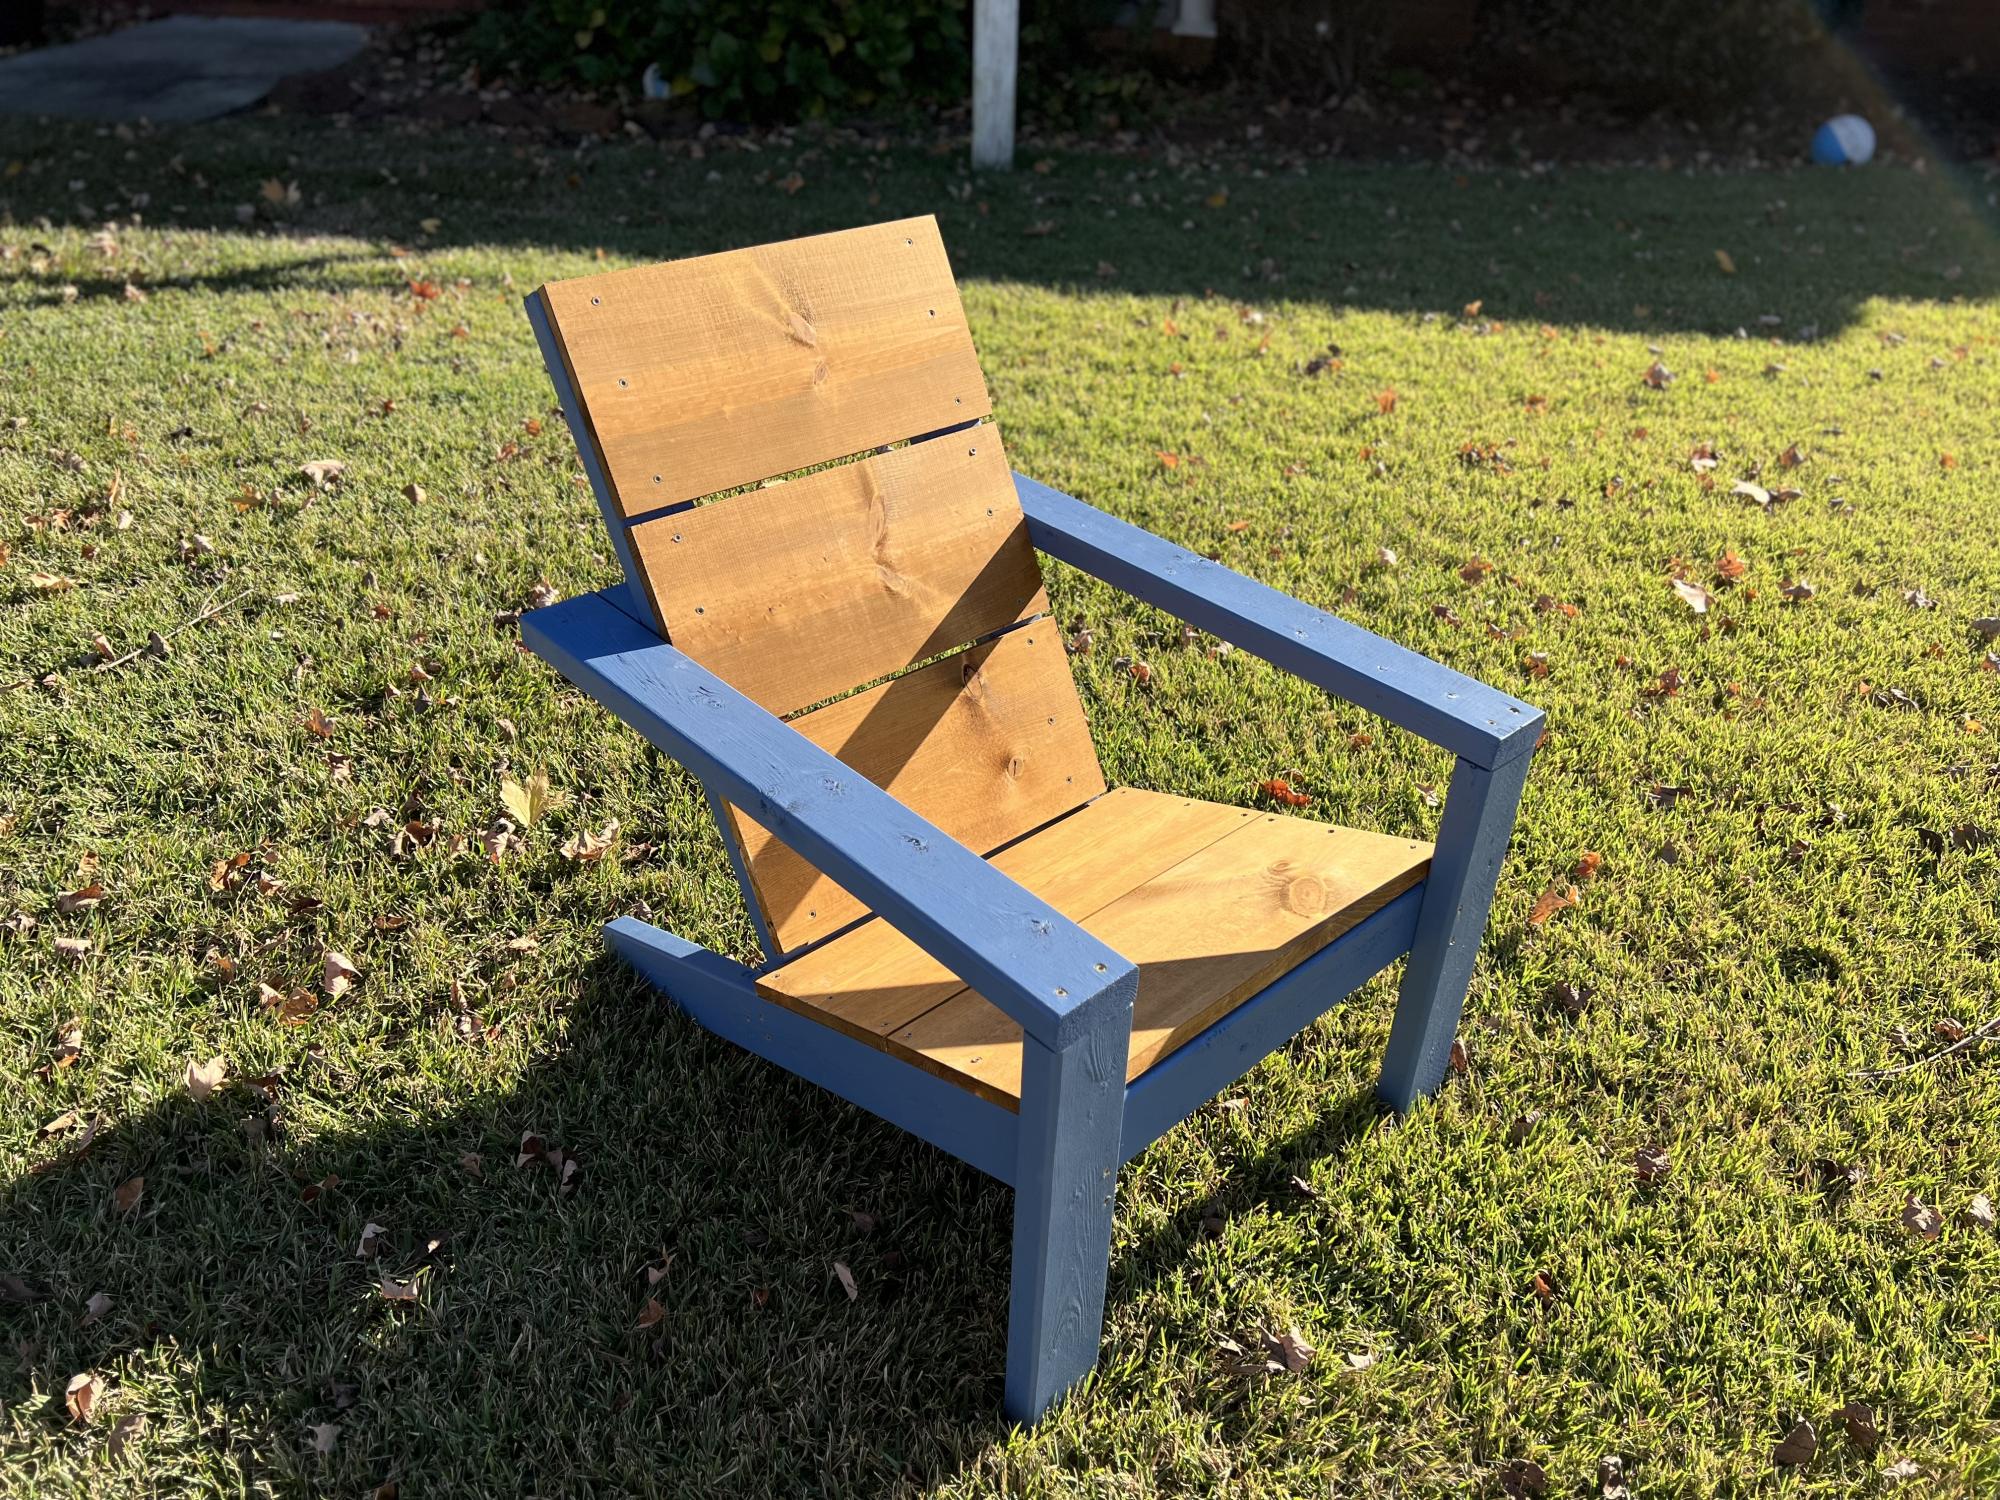
Easy build, turned out great. Our first project like this. We built 4!
Built from Plan(s)
Easy build, turned out great. Our first project like this. We built 4!
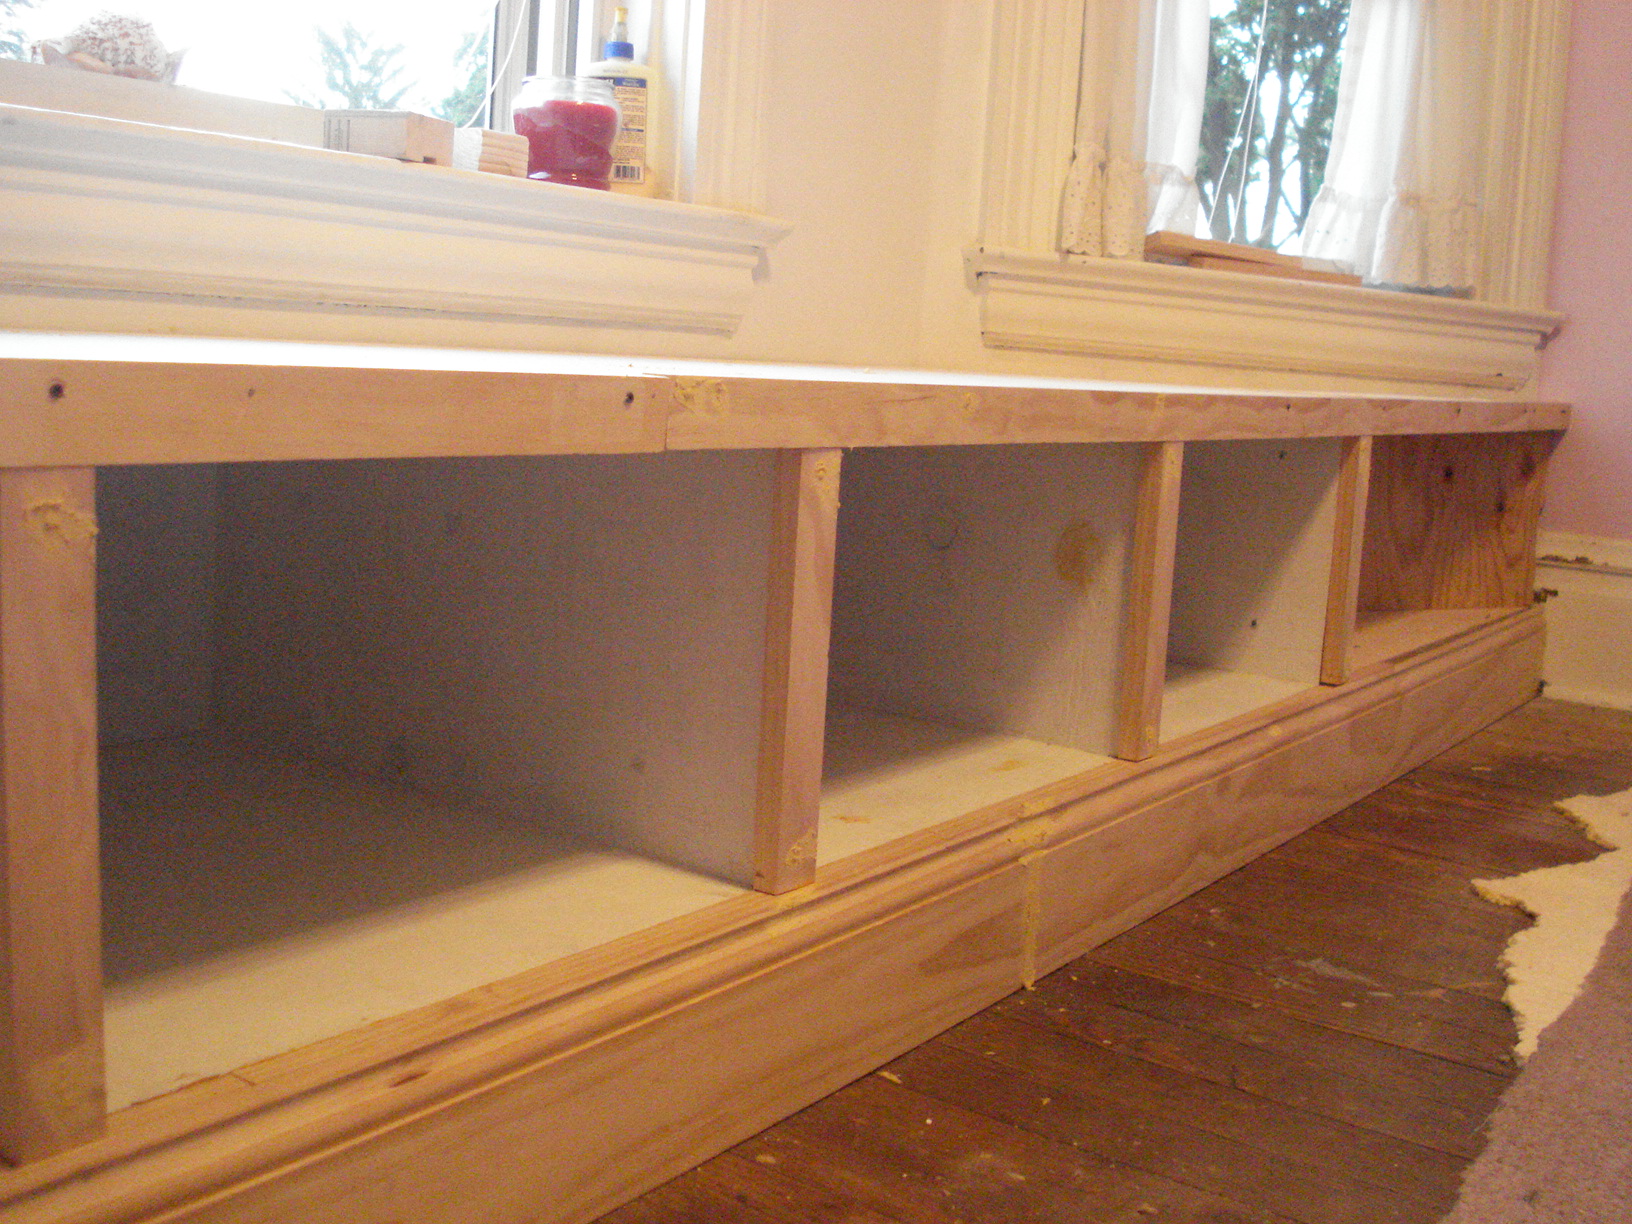
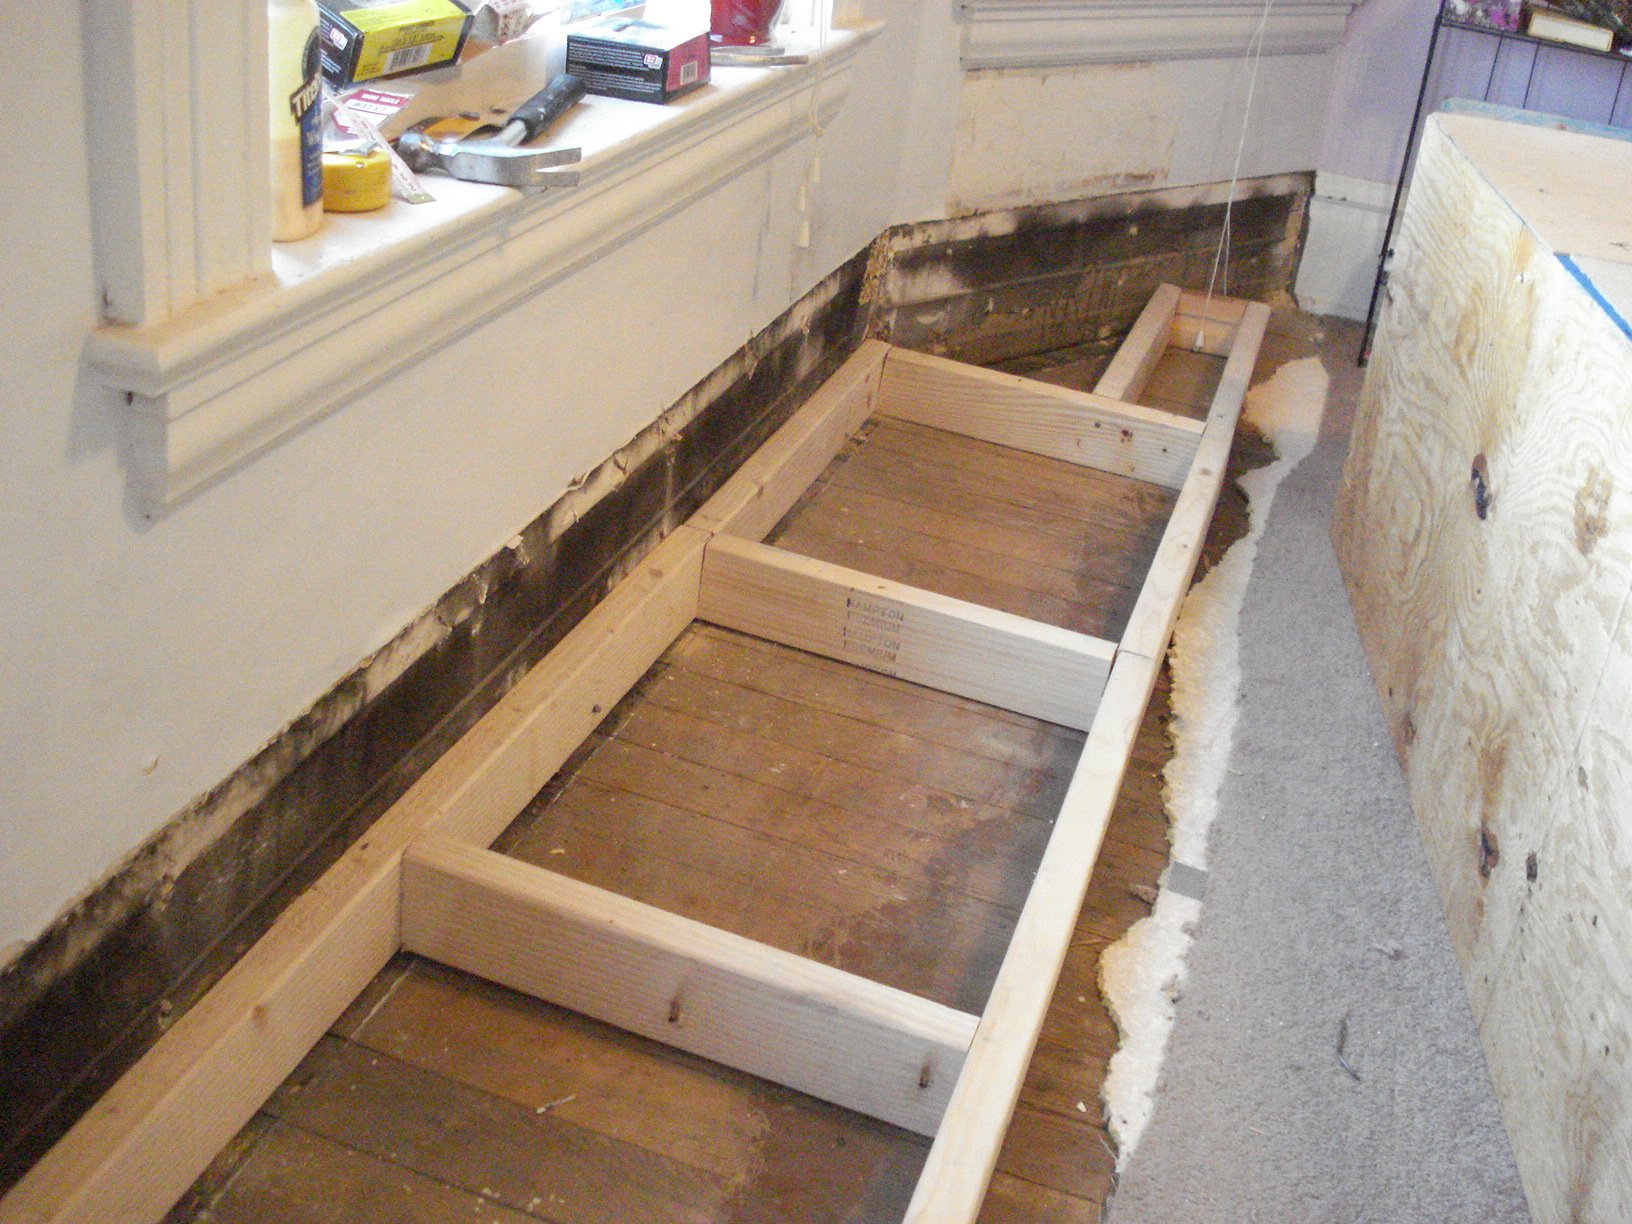
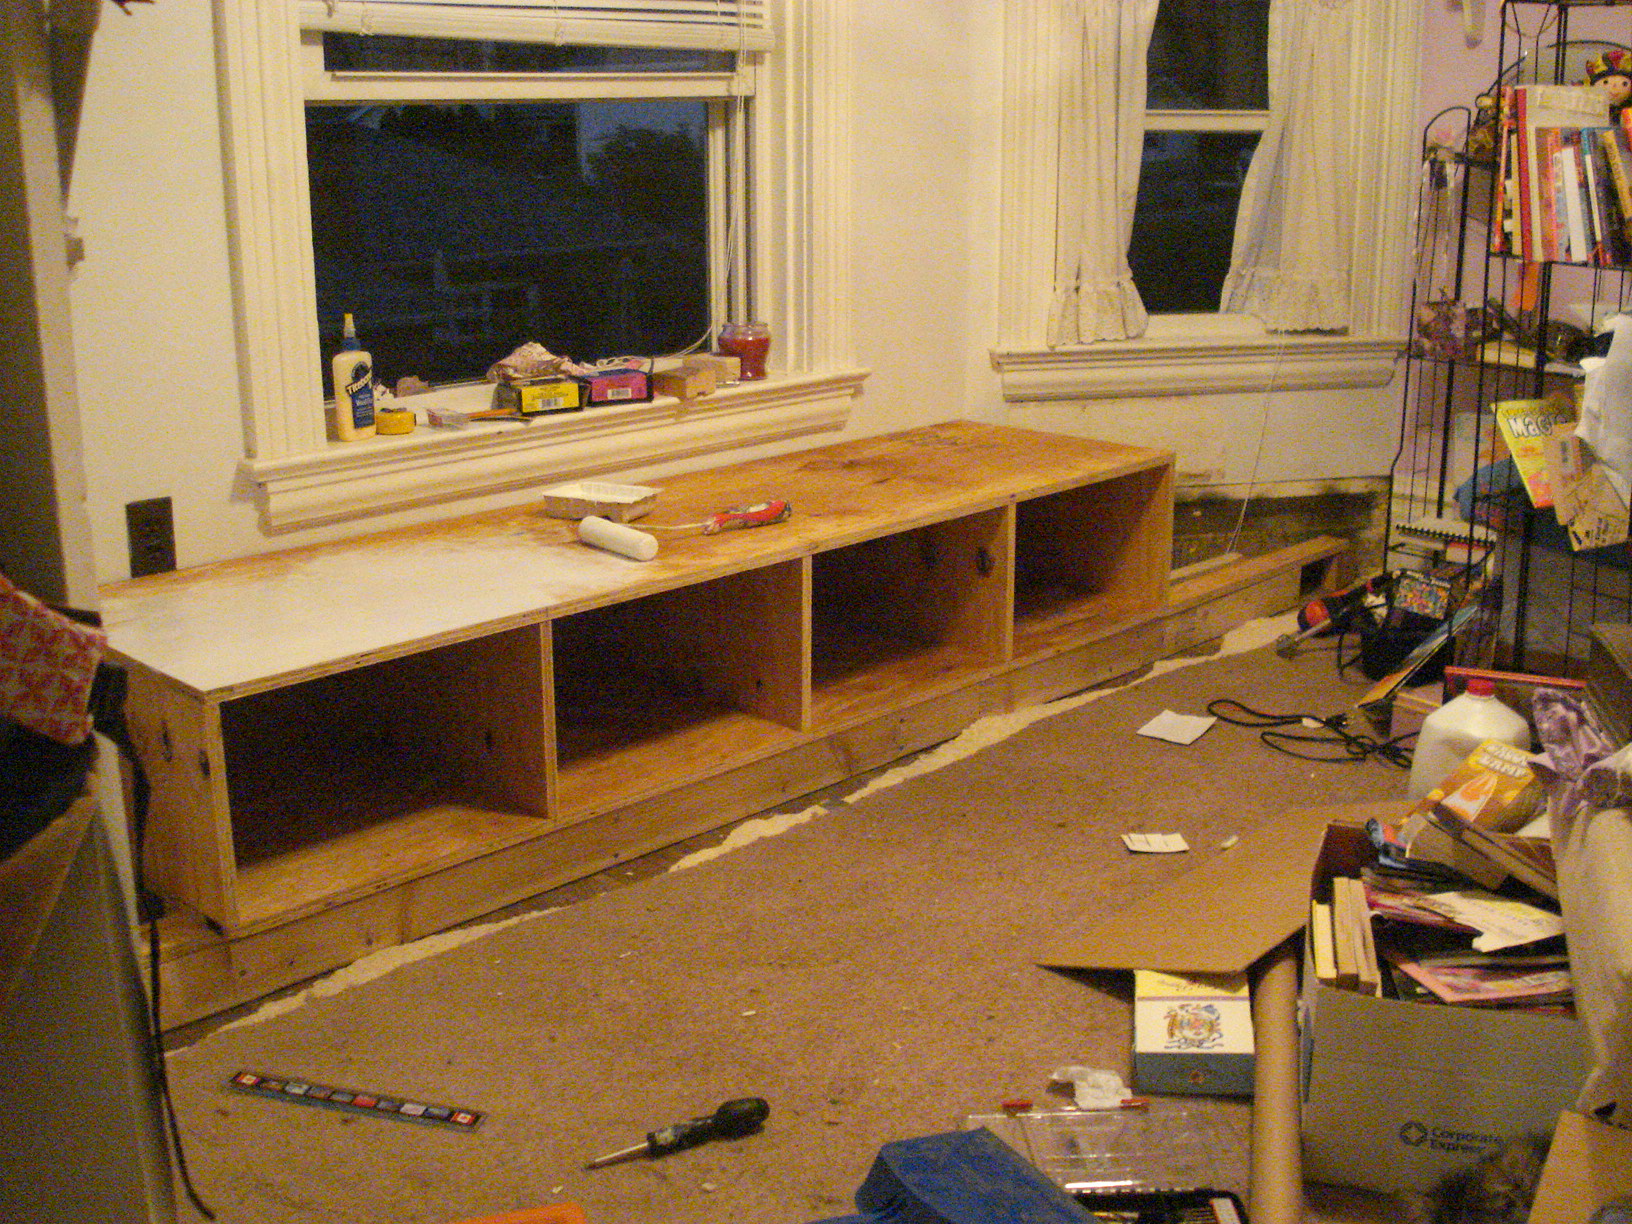
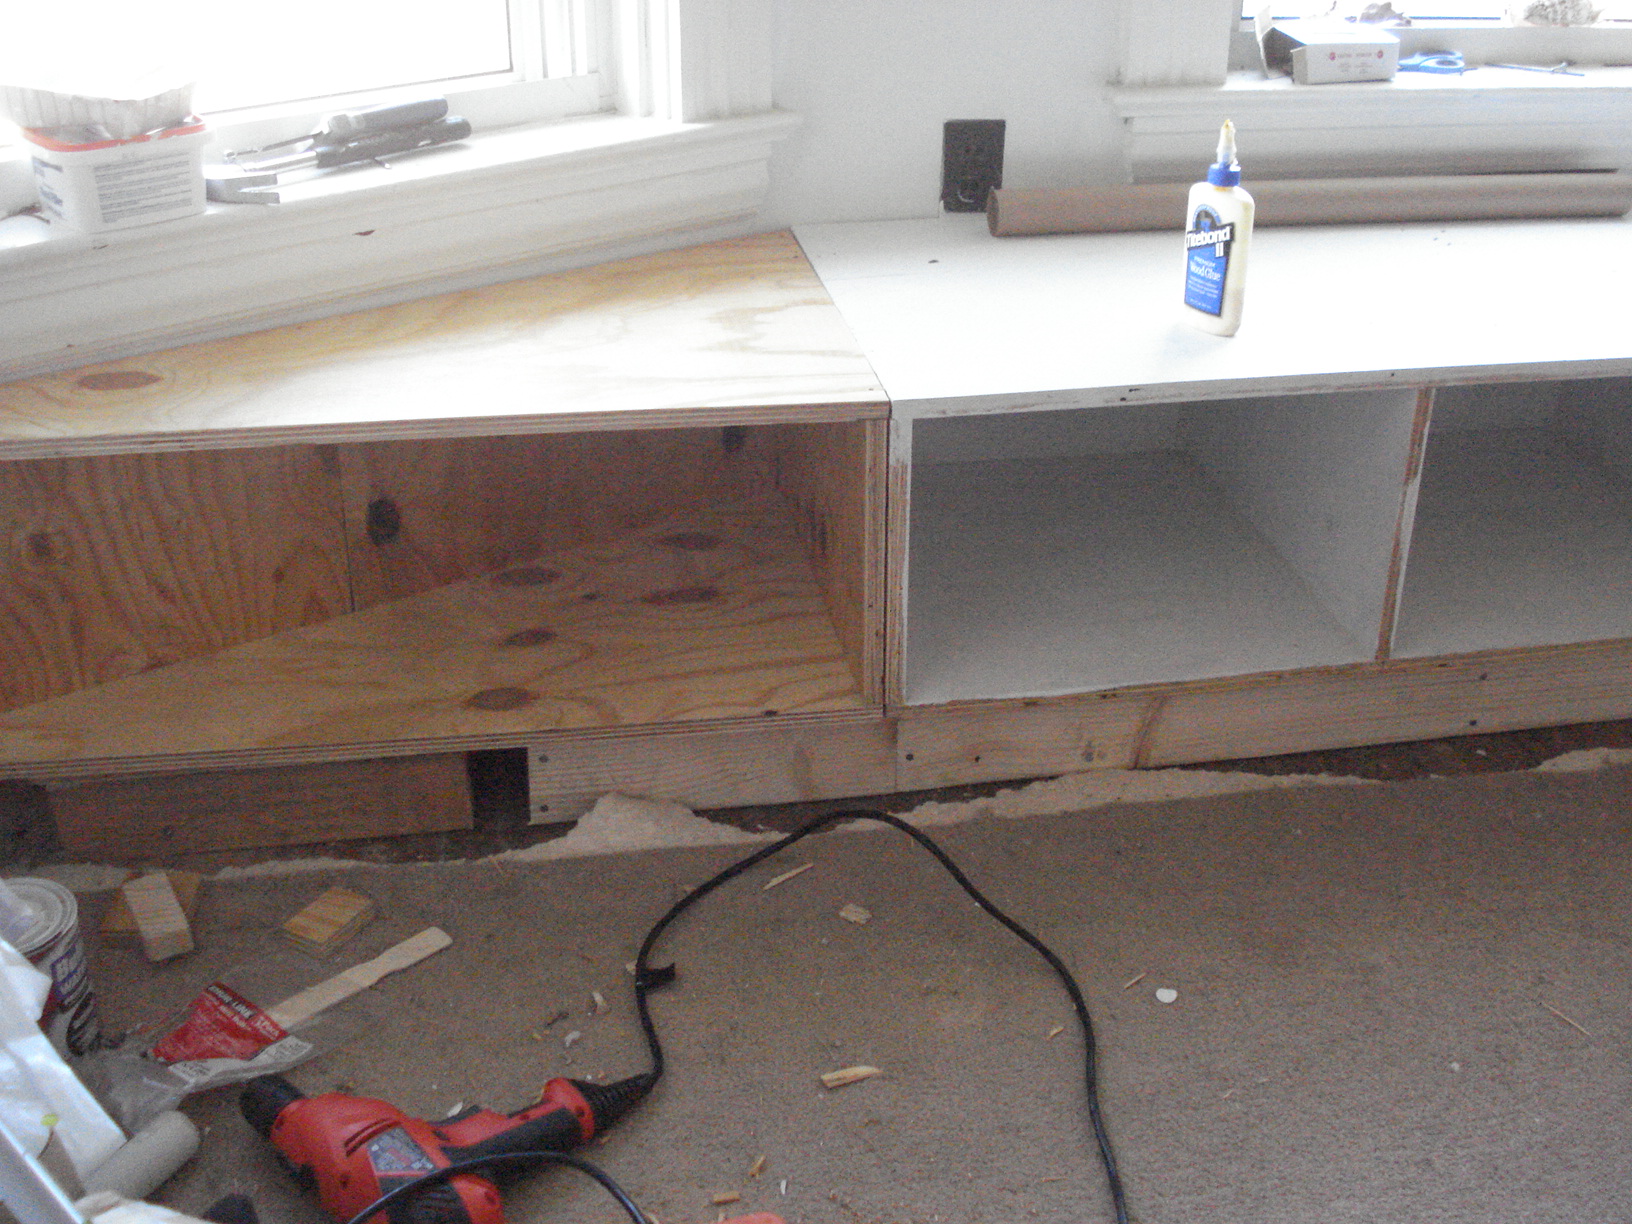
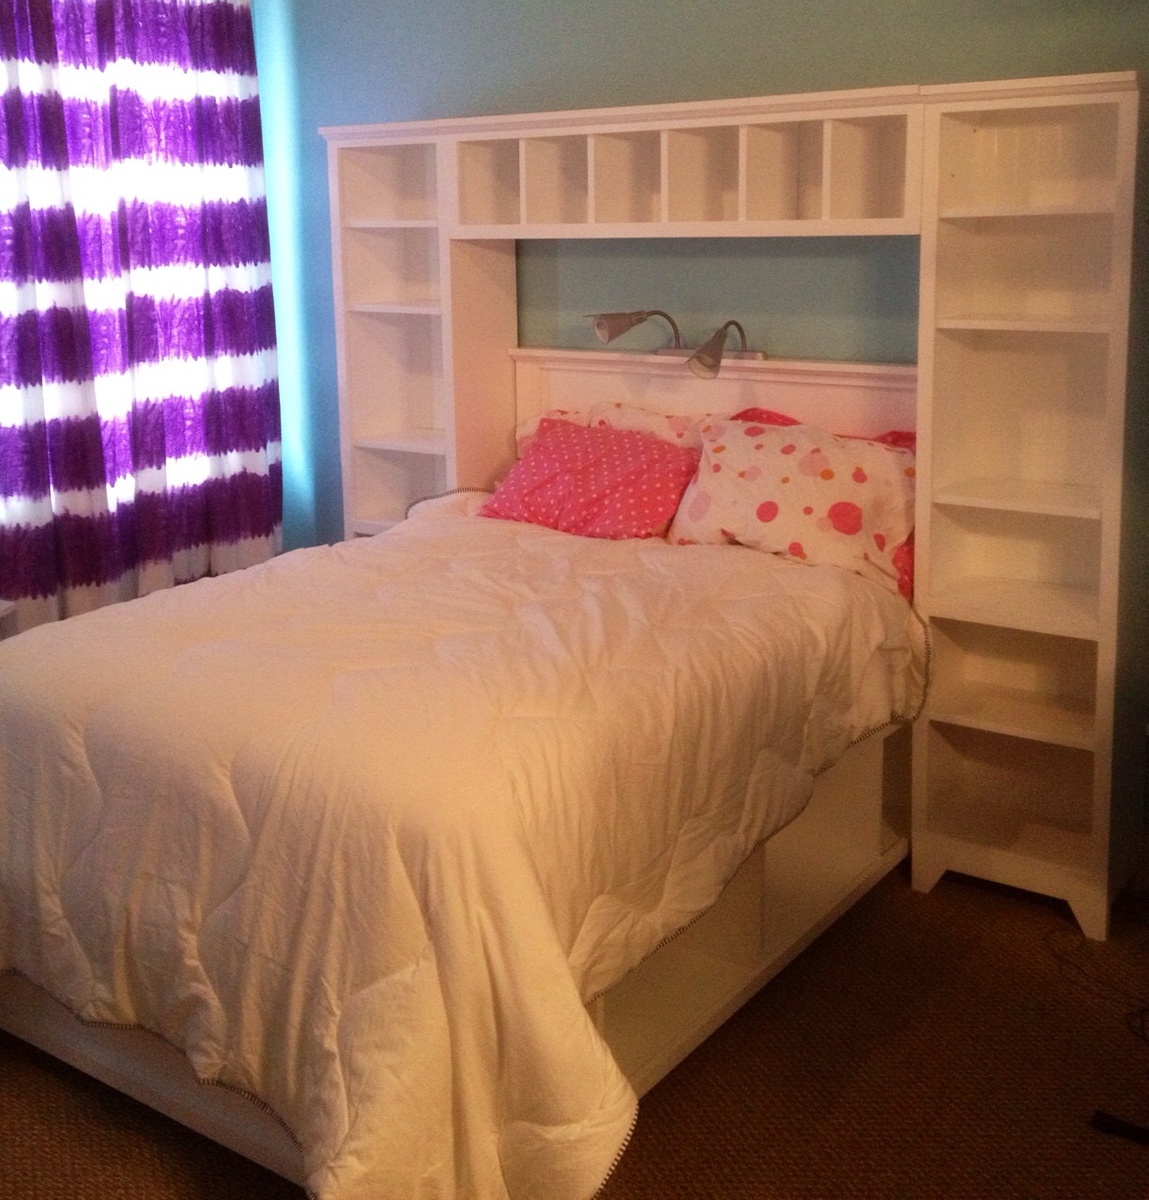
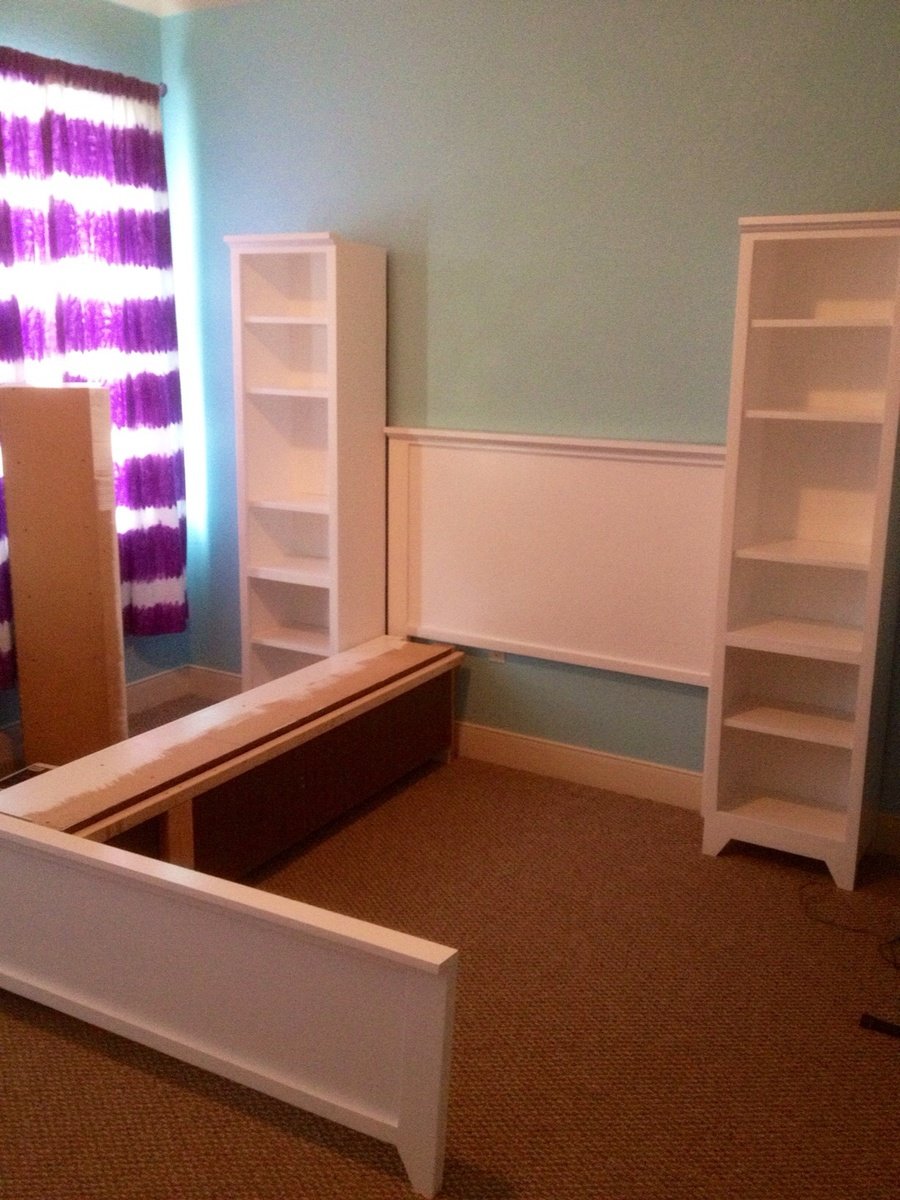
I made this two years ago in my daughter's room, before I got to know Ana's site. This was my ever first carpentry project. It took me 4 whole days to finish. The whole wall is like a bay wall so I had to custom make the built in. Also – I did that when my husband was out of town so in order for me to be able to lift all the pieces from the basement to the second floor, I made it of 4 pieces. When my husband came back home he thought I paid someone to built it.
I made it out of 2x4’s and plywood. I trimmed the bottom with a trim.
One day I will add drawers and the cushions are in the making.
Mon, 09/19/2011 - 06:52
Looks great. I'm getting ready to build one for my room. You did a wonderful job on yours.
Mon, 01/23/2012 - 16:43
I have an area in my bedroom that screams for a window seat and something to accommodate the stacks of books I'm reading. I love this.
Thu, 06/11/2015 - 20:20
Do you have more pics of the finished product...especially where it meets the angled wall? I don't have a table saw (yet) so I'm trying to figure out if I can handle this without one. :(

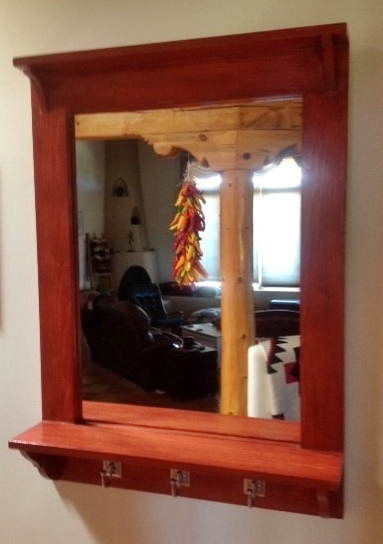
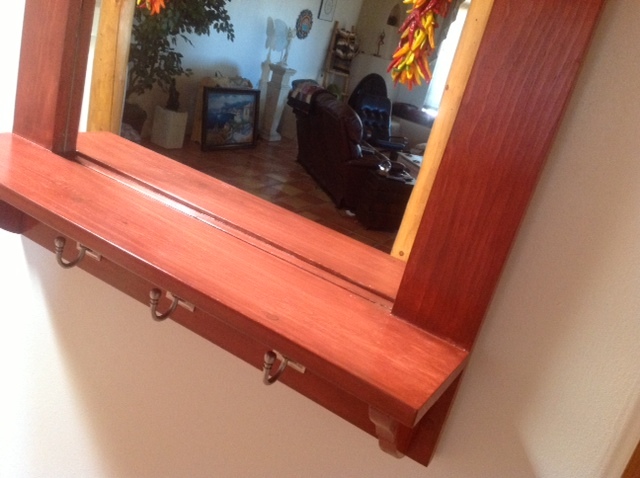
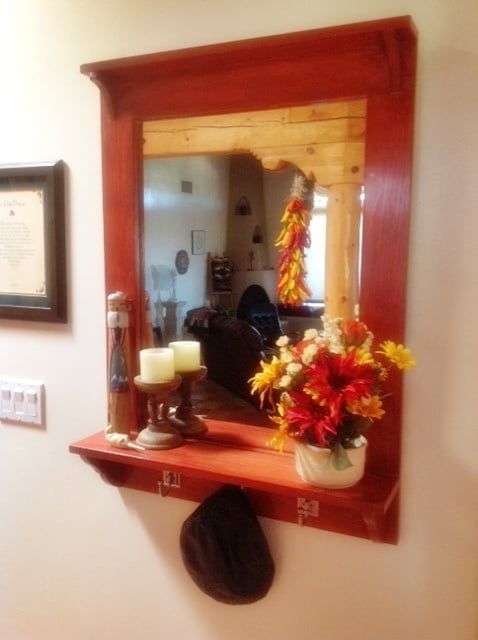
My sister and brother-in-law recently moved to Albuquerque and purchased a home with a wonderful view of the Sandia Mountains. I built them the mirror from The Handbuilt Home (p. 36), and they hung it in the entry hall. The reflection in the mirror is a gorgeous view of the mountain range out of their large living room windows. Because this was not a rustic build, I used better pine boards, sanded very smooth.
Thank you to ANA for the great plan (and book!). Also a great big hug to JOANNE and TRACY for responding so quickly to my query regarding attaching the mirror to the frame. I ended up having the mirror company attach the mirror with silicone because I was afraid mirror clips would mar the smooth, shiny surface of the wall. We also covered the back of the mirror with craft paper, contact cemented to the frame to protect the mirror silvering.
This was a fun build, and my sister and b-in-law are very pleased with it.

Tue, 10/01/2013 - 18:11
Linda, your mirror looks fabulous! The finish is just gorgeous, and I love the hardware you used. Beautiful build! :)
Tue, 10/01/2013 - 18:20
Thanks for the nice complement, Joanne. I really do appreciate your help!
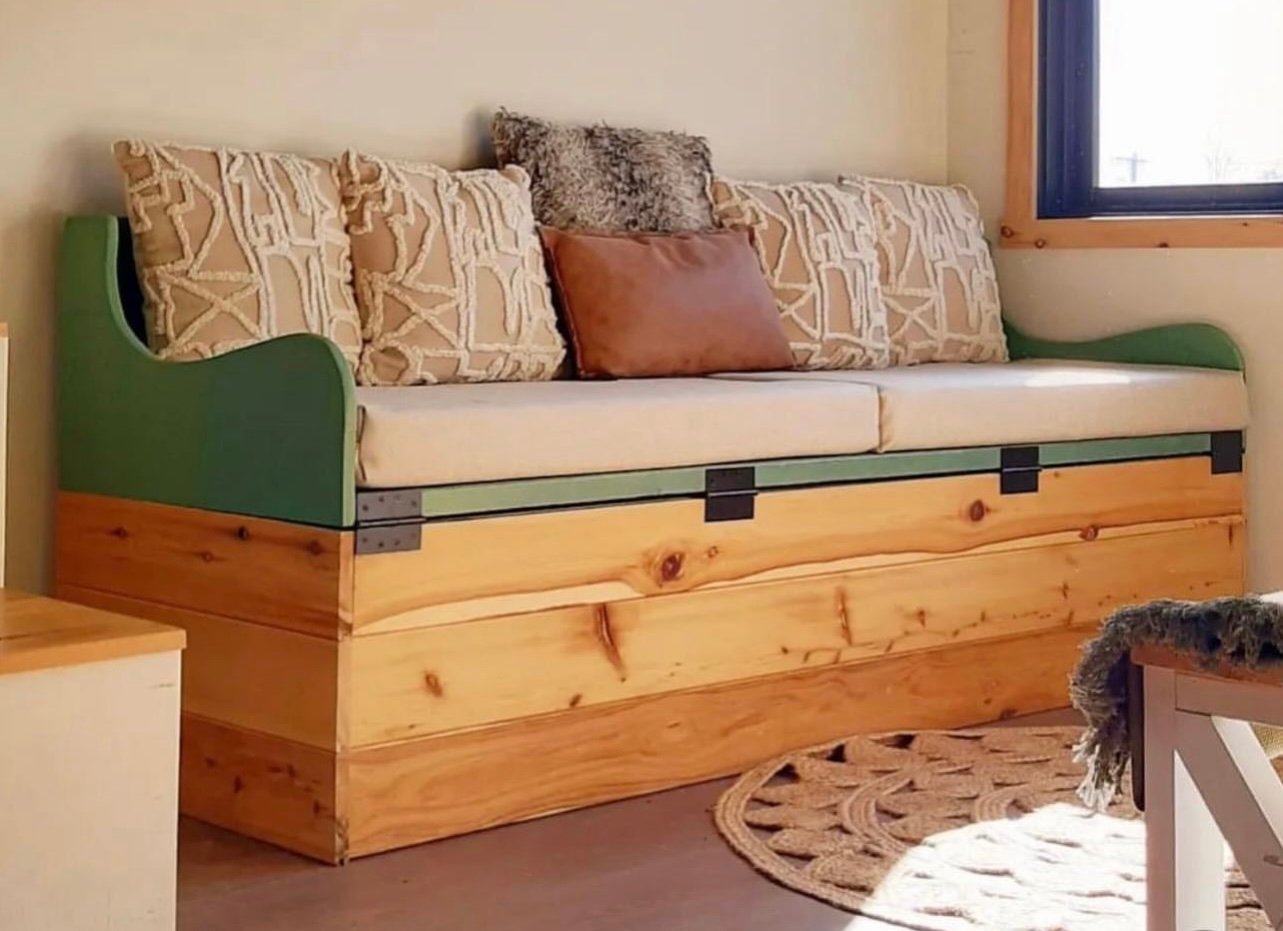
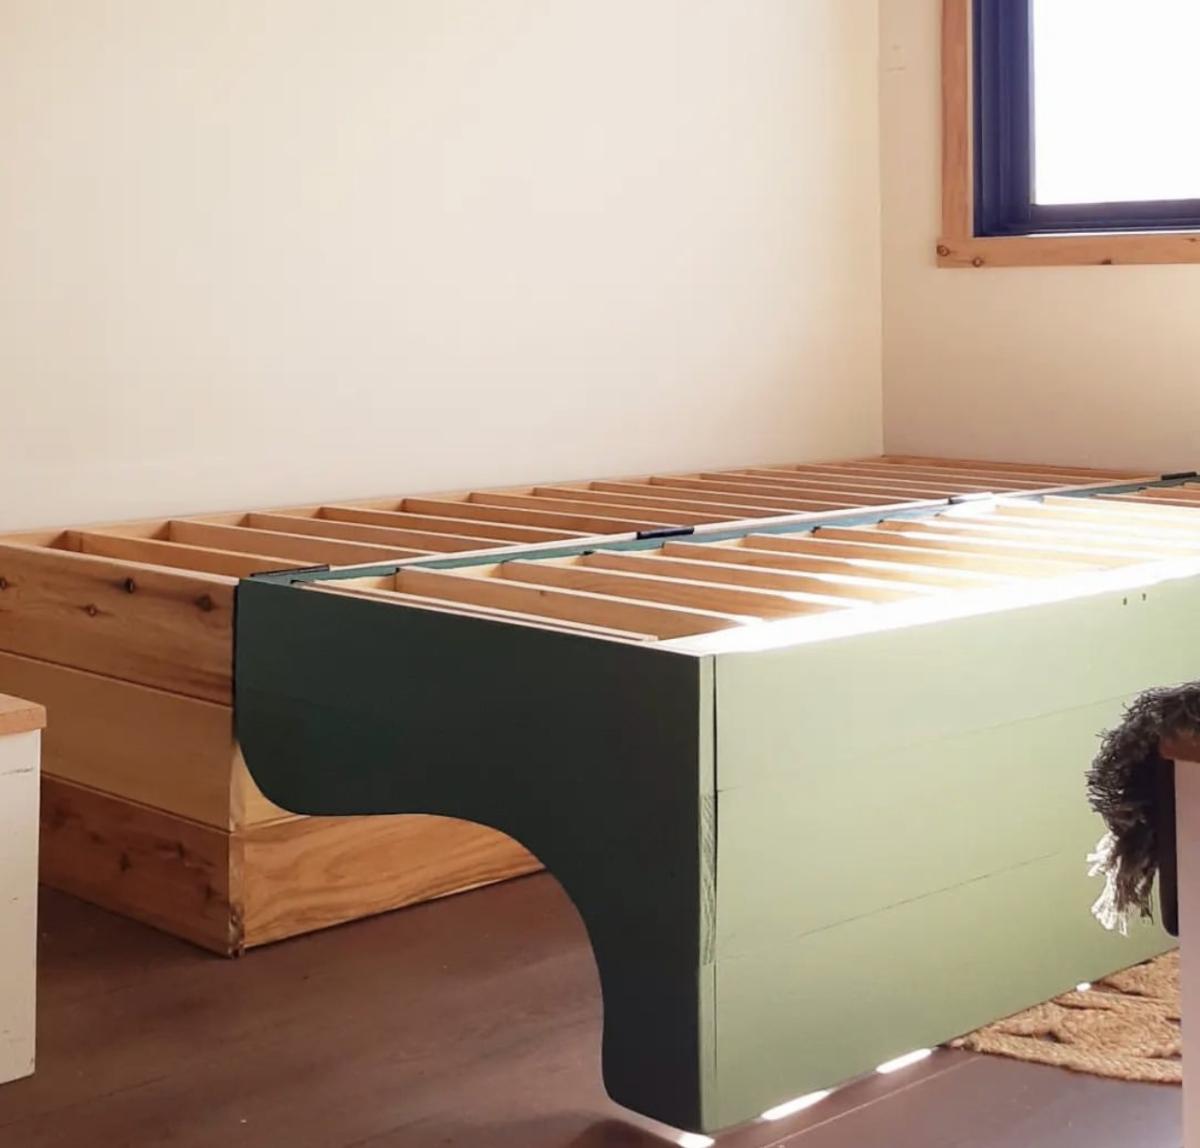
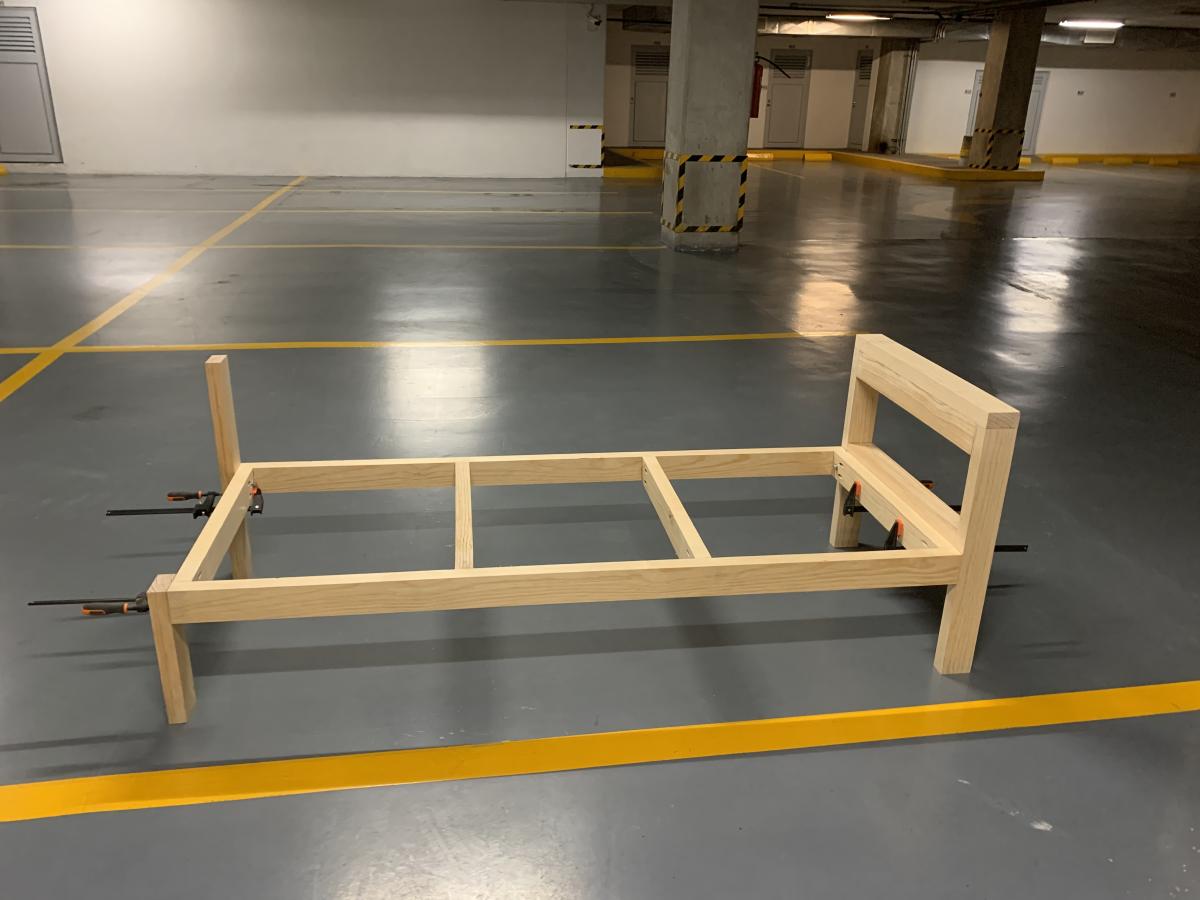
Modified from our twin sleeper chair plan, this amazing hinged sofa bed was built and shared by #tinybuilderau
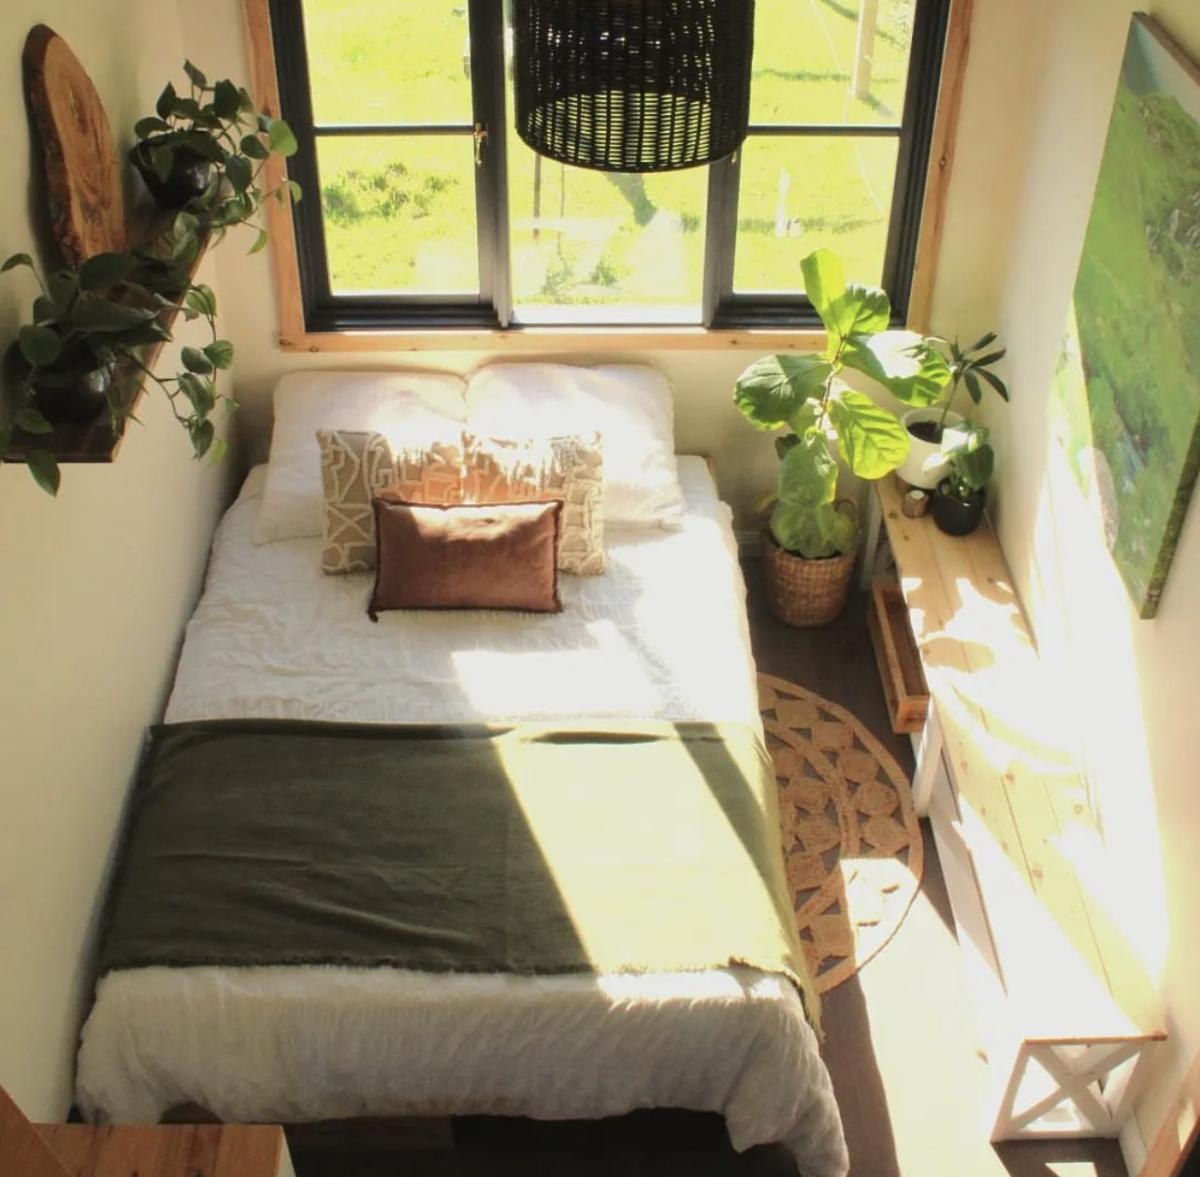
We made this peace 12 feet long, the hardest part was to find straight boards at home depot and adjust the feet because of an uneven garage floor. It was my first big project and hubby helped so I can't take all the credits :)
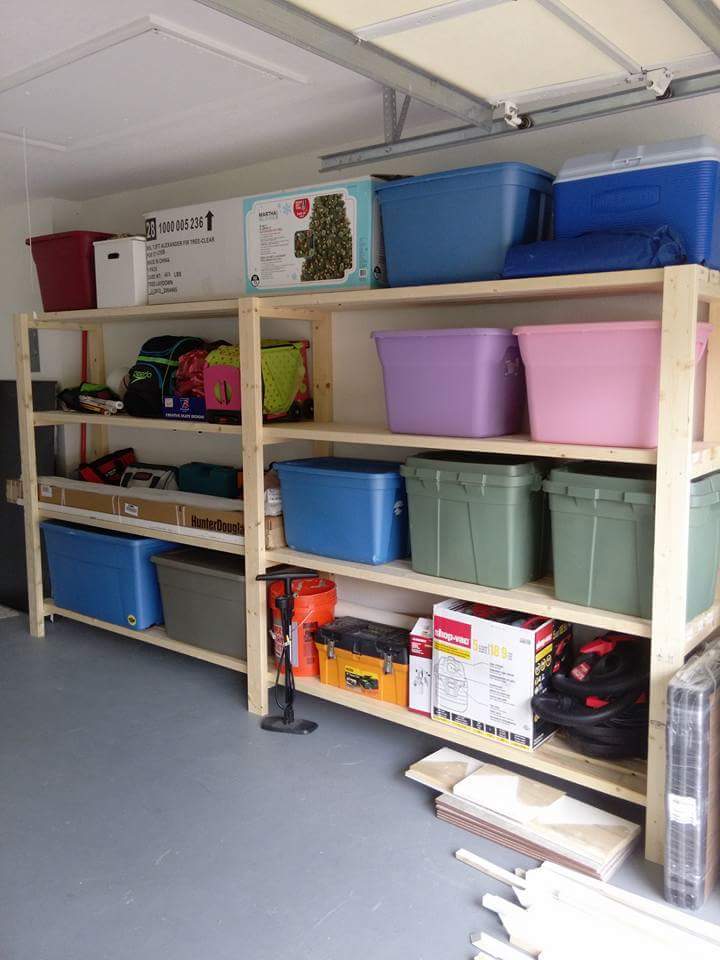
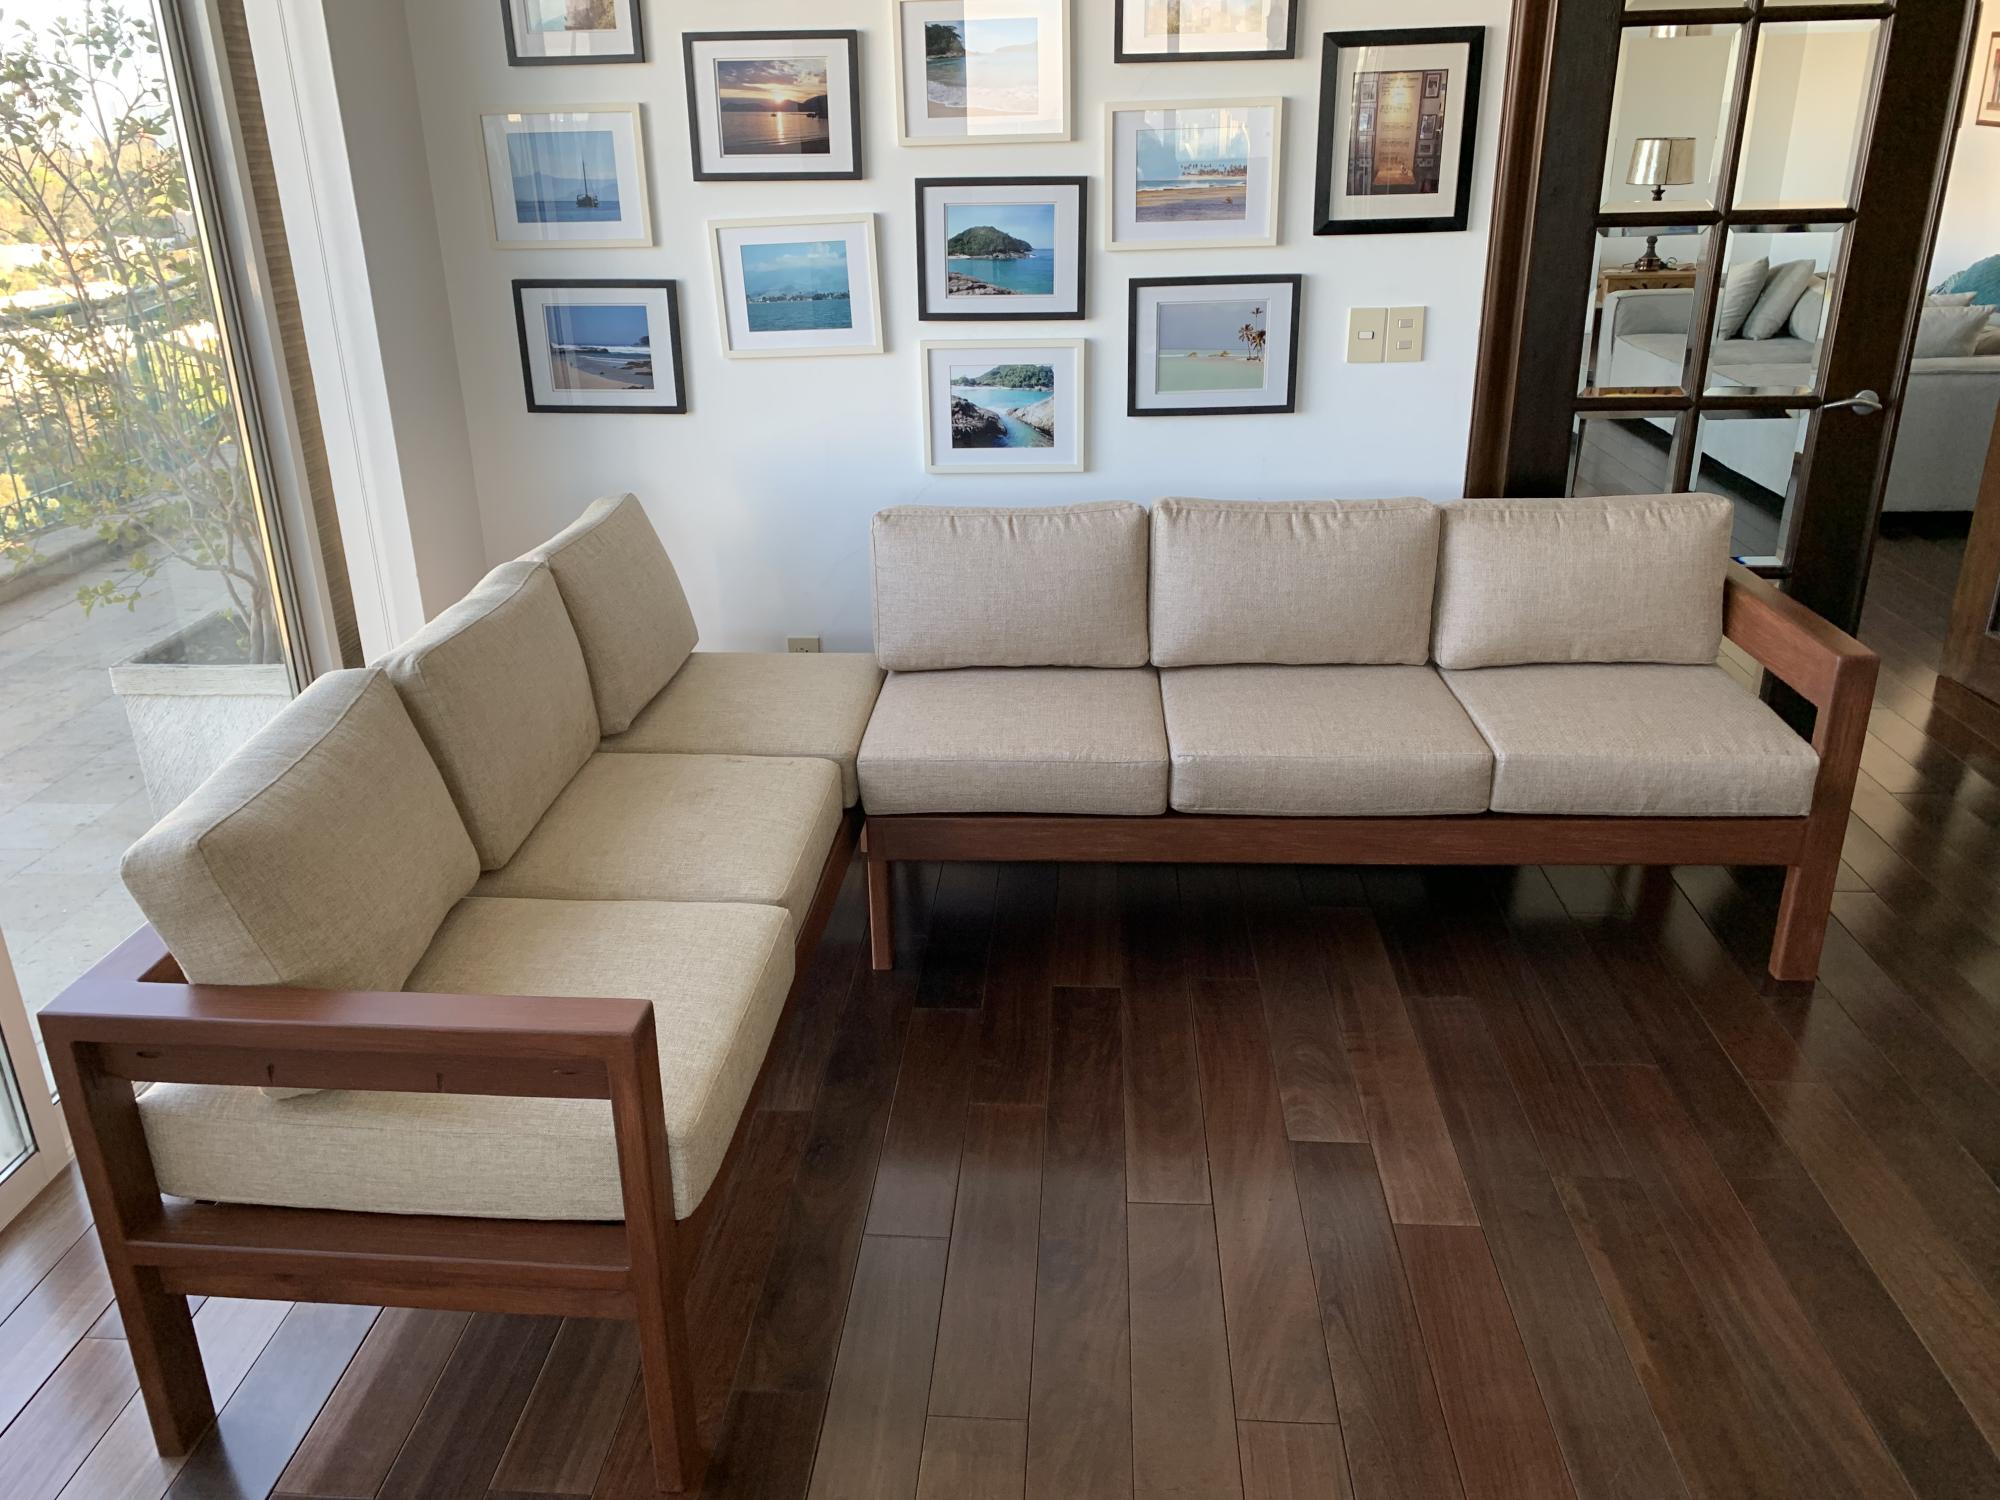
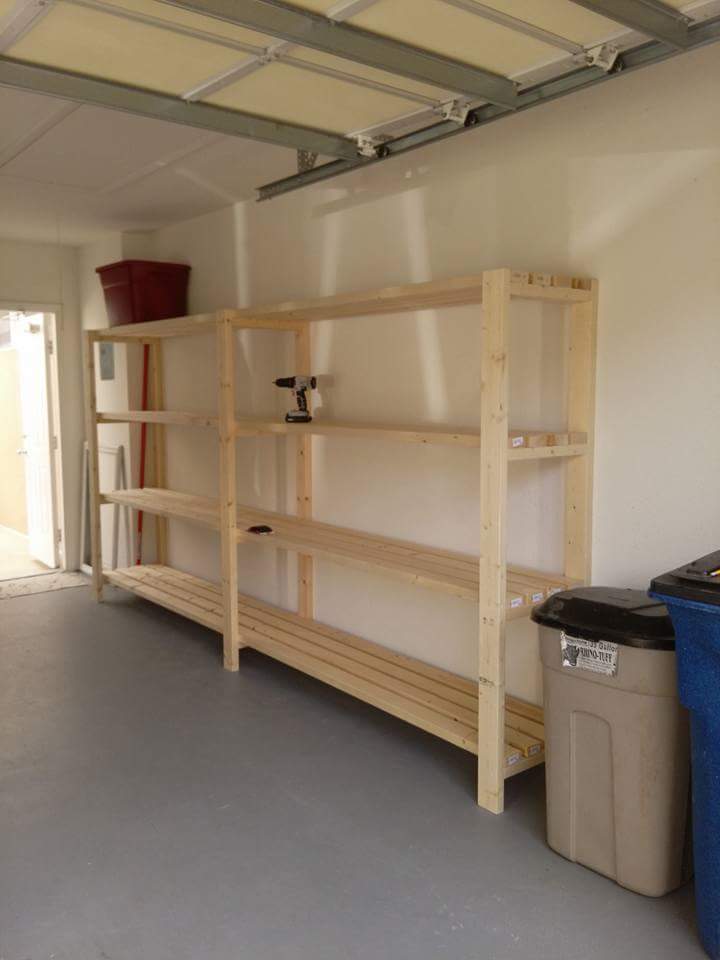
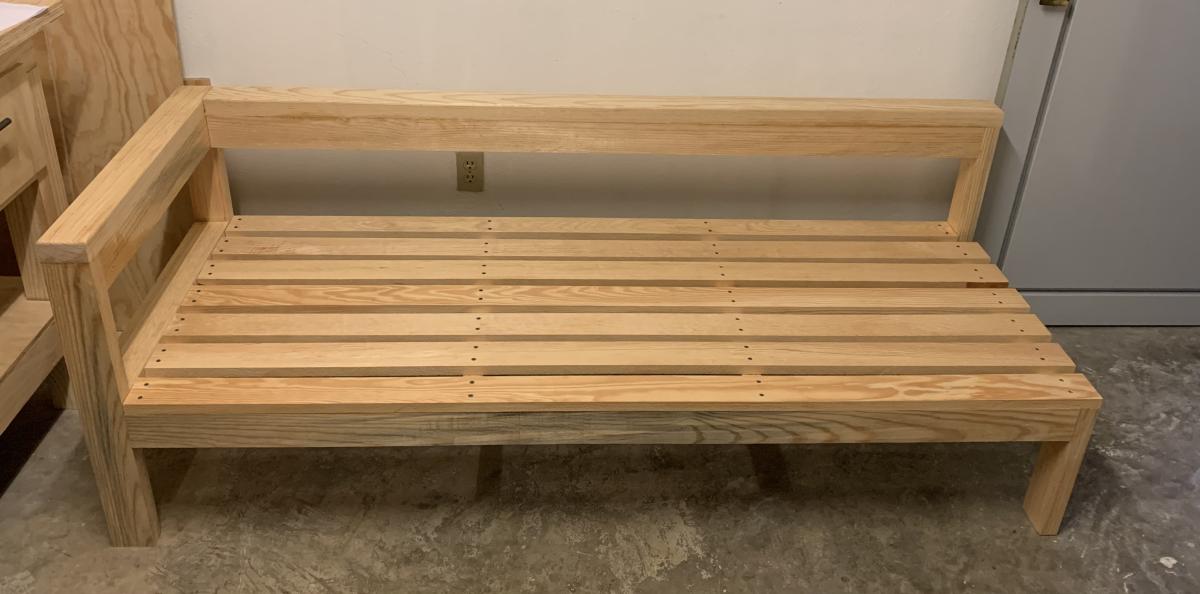
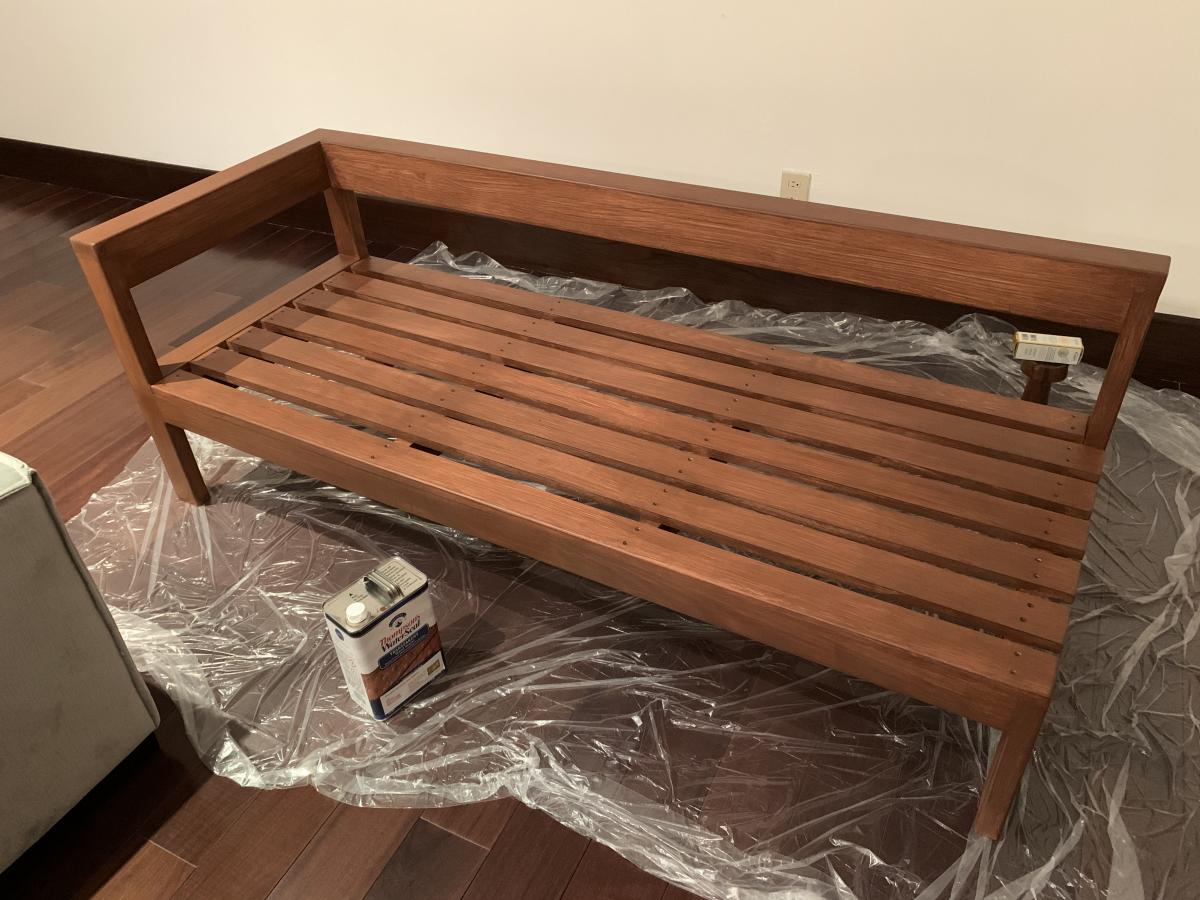
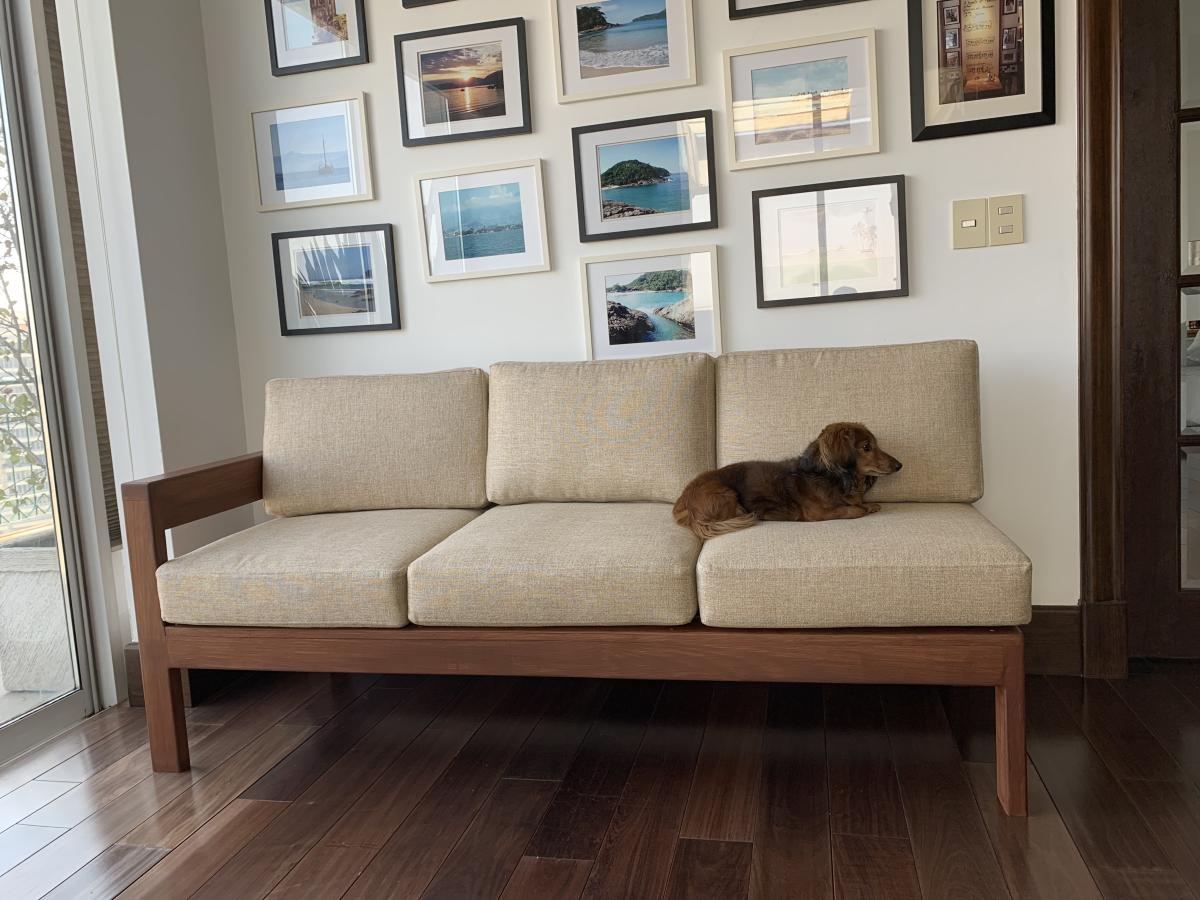
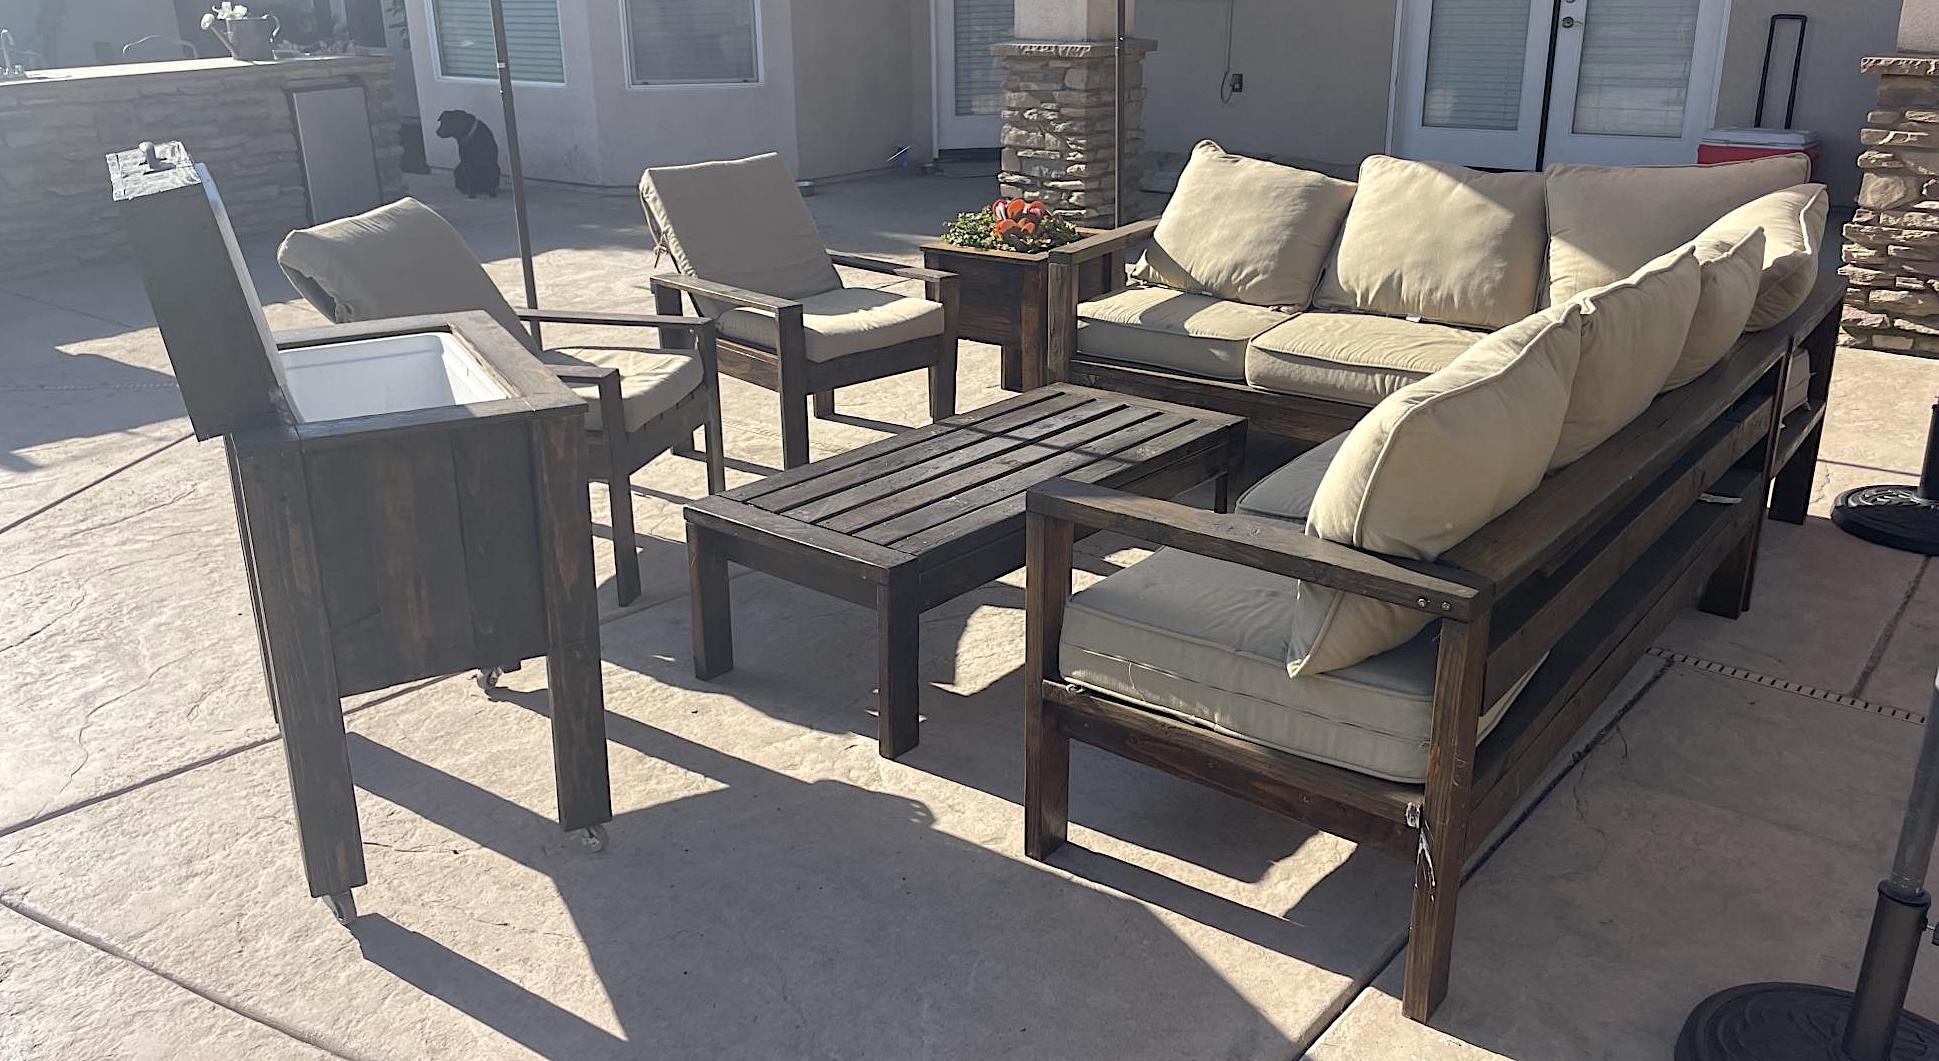
After building my workbench and some shelves to organize my makeshift wood shop, I went online to find practical first projects. Stumbled upon the Ana White site and really liked the simplicity of the pieces and the thoroughness of the plans (cut list, pictures, etc). Had the wood dimensioned at a local lumber yard and started building. Upon completing the first bench - sealed with a tinted Thompson’s water seal - found a local upholster to make the cushions. Now to find a place to put them that the wife approves. Build already approved by the pup (see last photo).
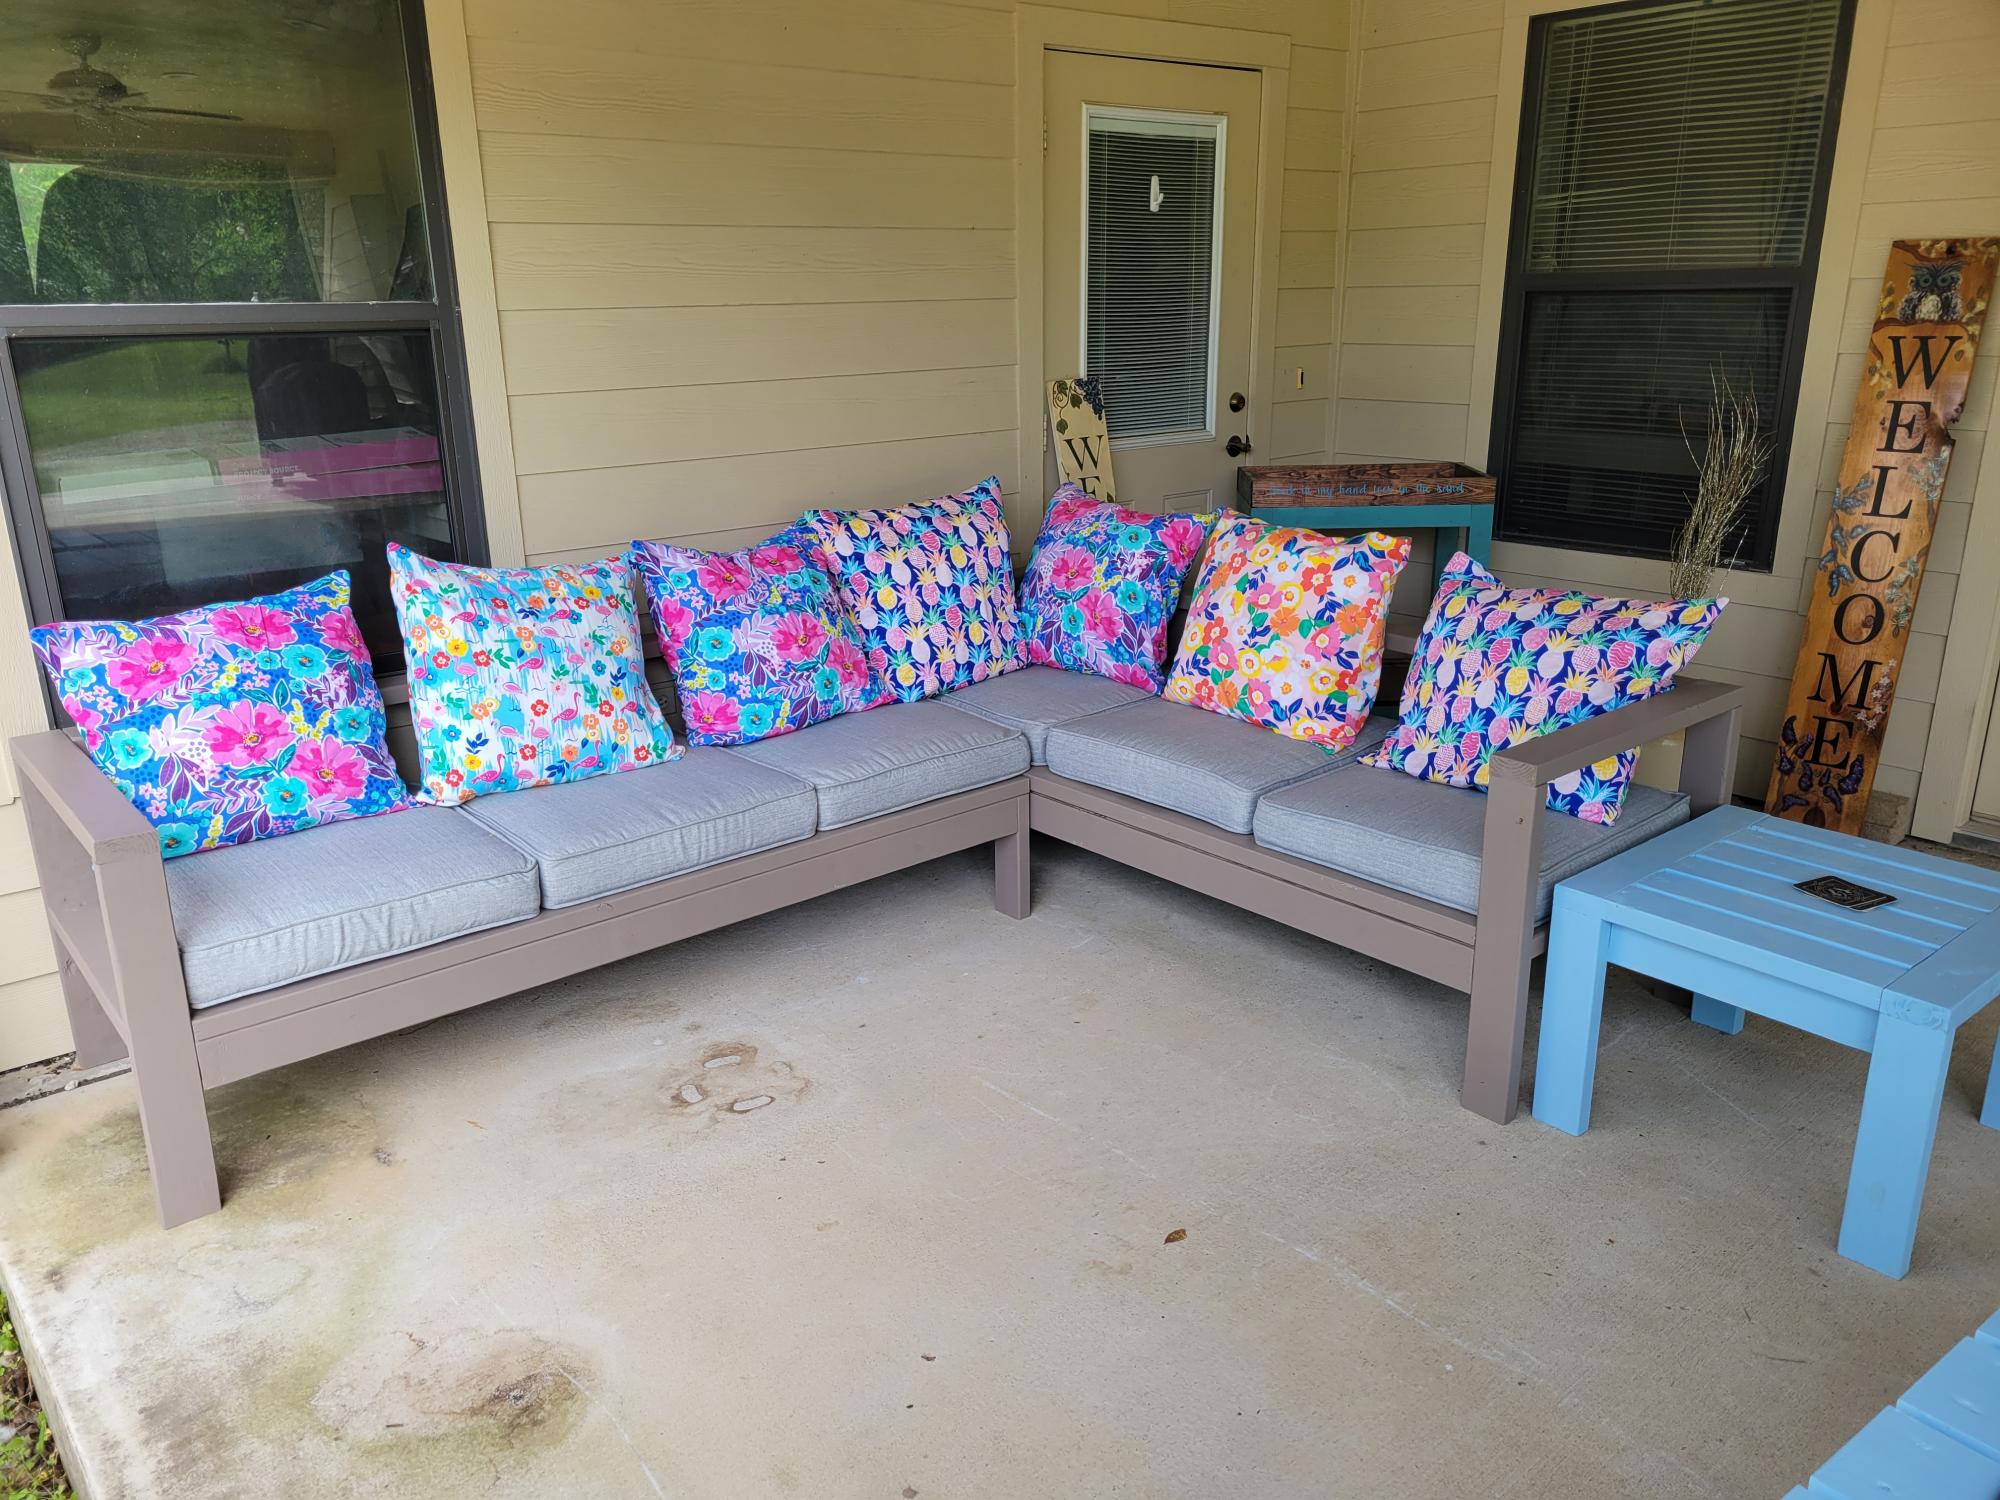
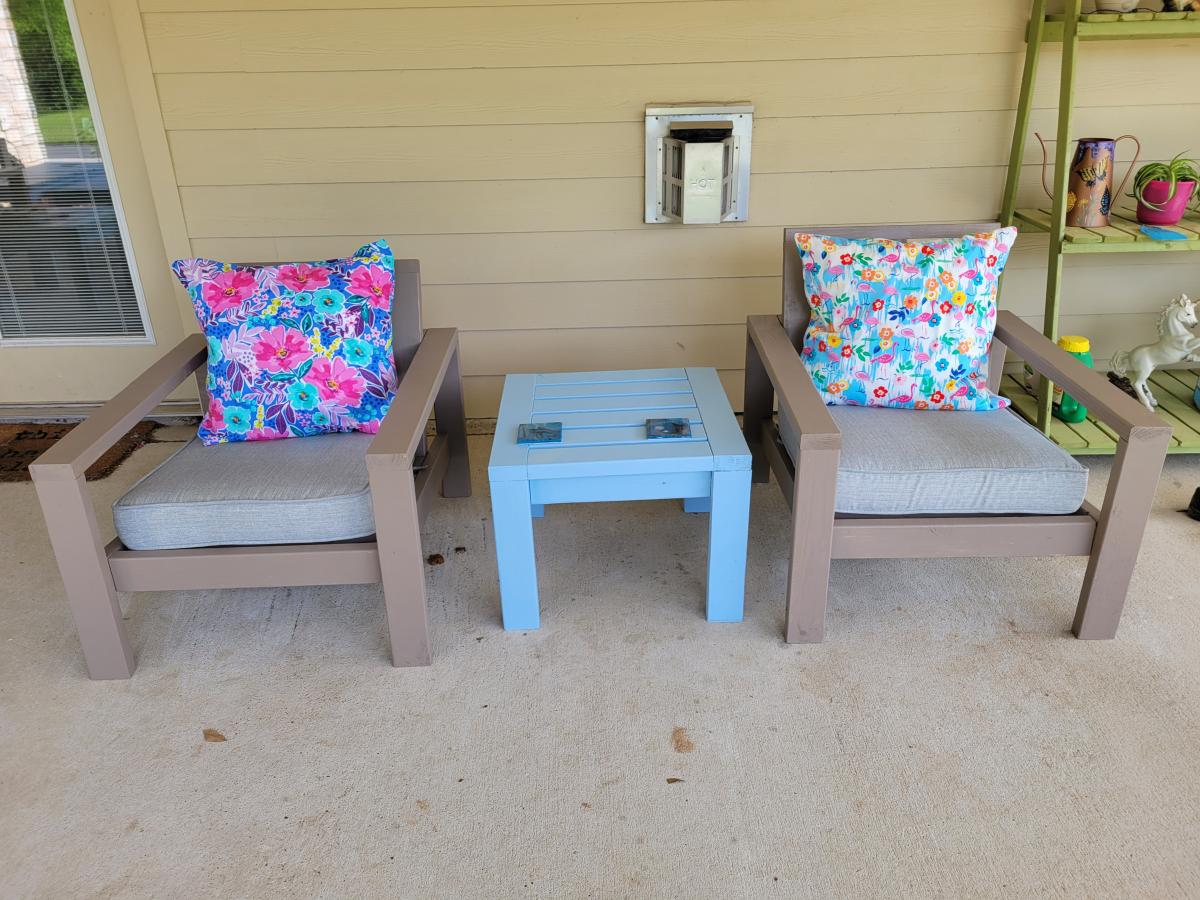
my husband and I used your plans for the sectional, end tables and chairs I made the pillows thanks so much for the designs we love them
Mon, 04/03/2023 - 20:12
Fantasic job, thank you so much for sharing your lovely space!
This is my homemade backyard inspired by plans from Ana. Used Ana's previous post to build all pieces. Stained in Mission Oak and bought pillows from Lowe's. Succulents from a local nursery.
Coffee Table
2 piece lounge
2 chairs
Ice chest
Planter Box
Mon, 05/15/2023 - 10:51
Your backyard looks amazing, well done! Thank you so much for sharing.
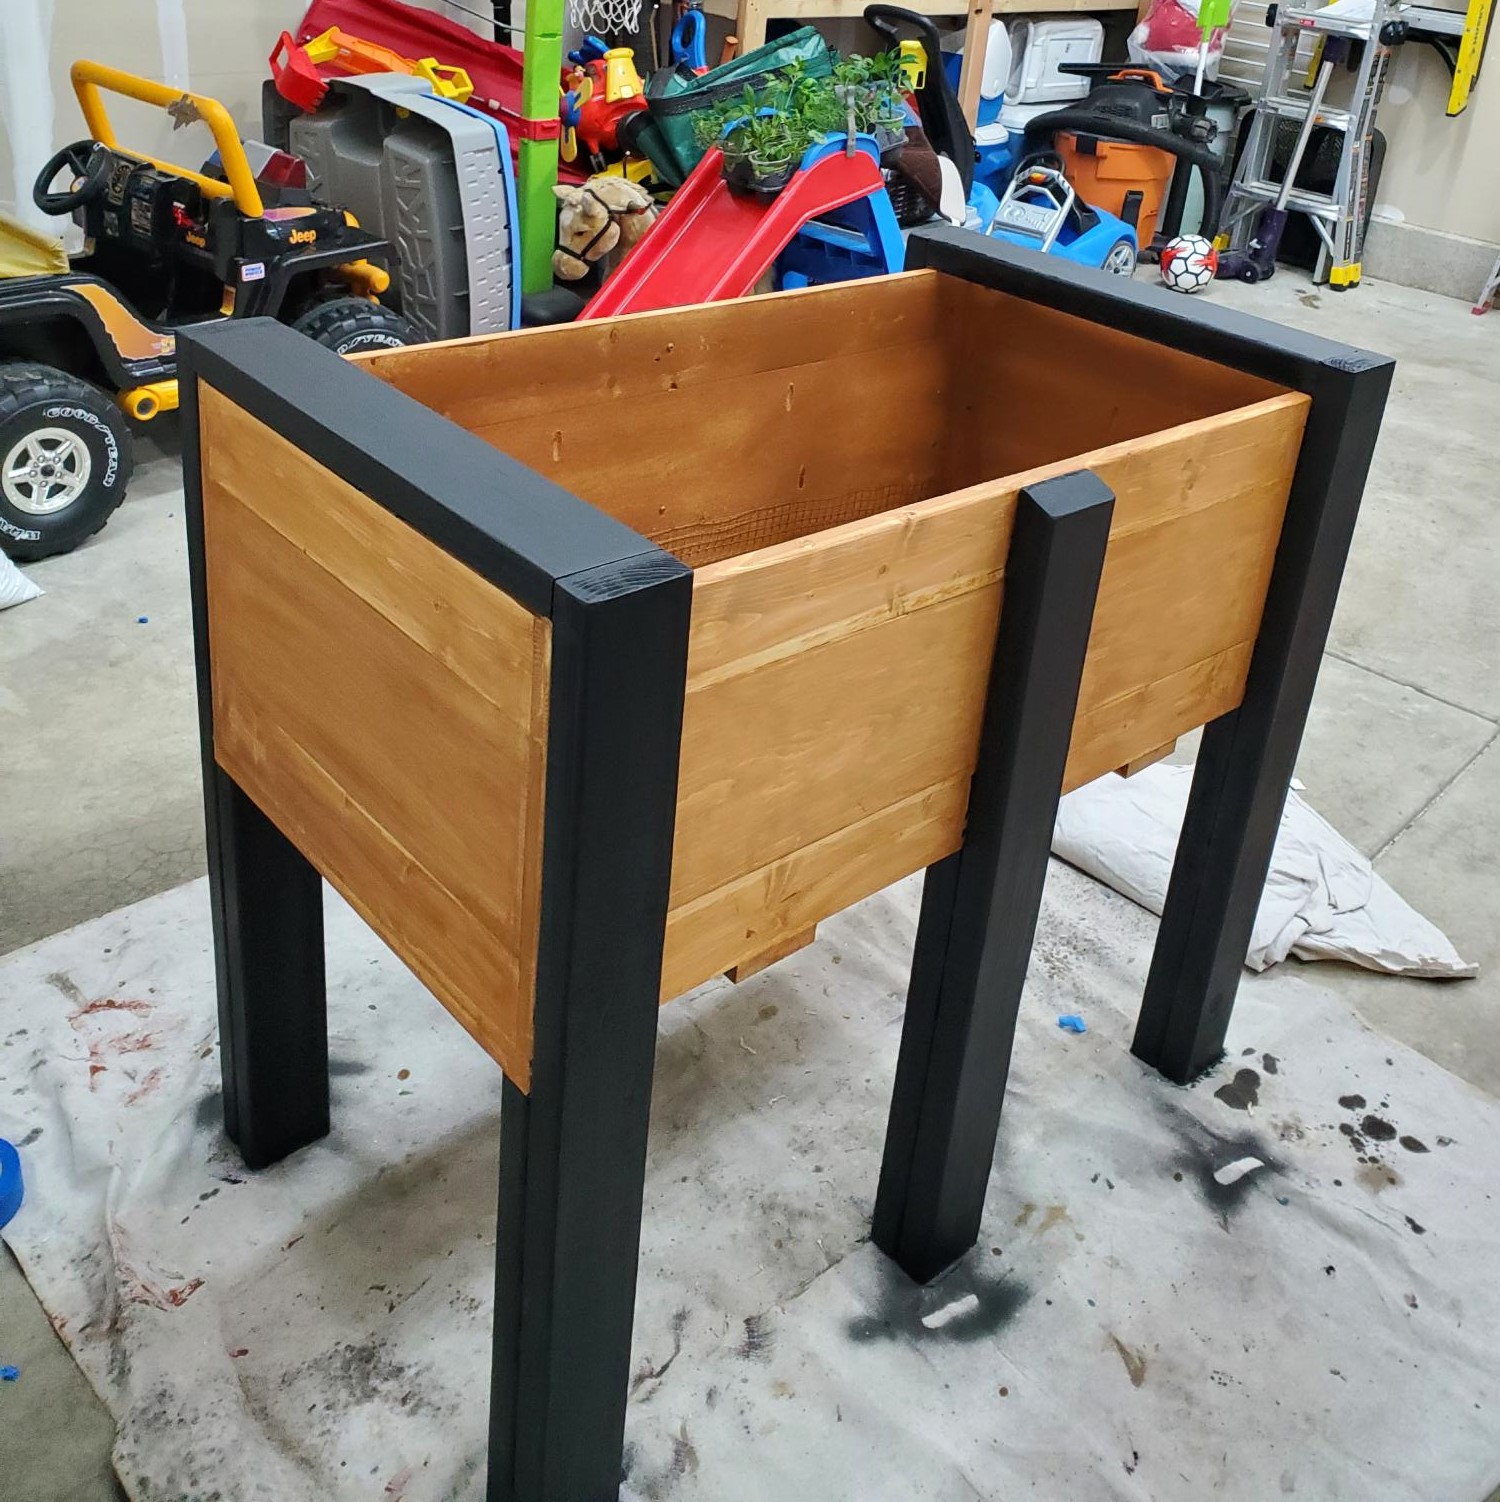
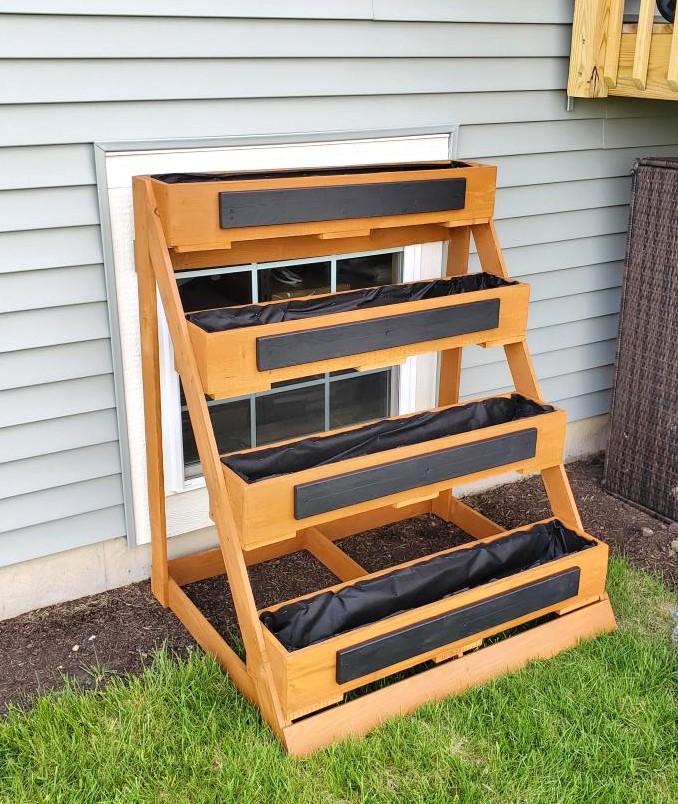
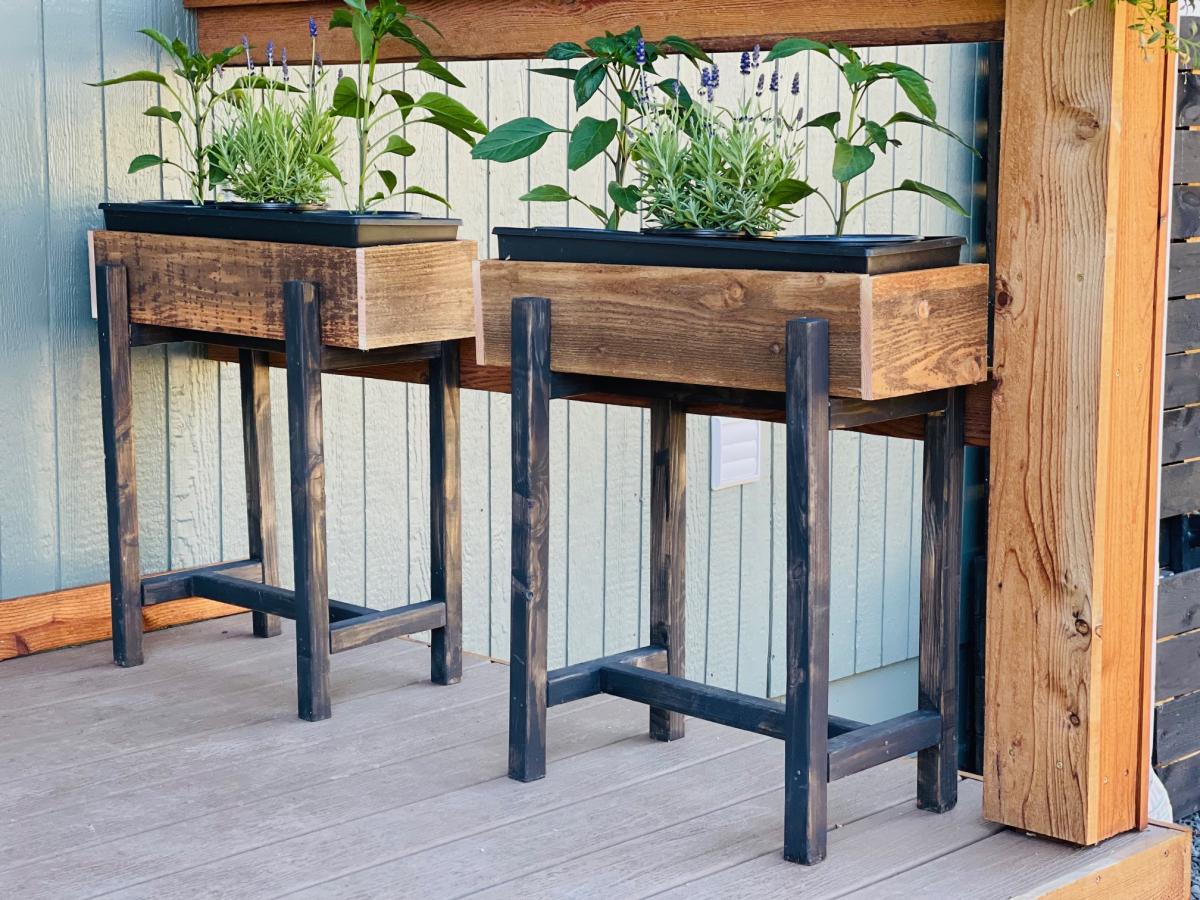
Hi Ana. Been a fan of yours. My name is Ed. Wood working is my hobby. And its always nice to look at your plans, and put my own spin on it. My wife wanted a planter for our deck. So I tweaked your plans and made them a little bigger. I Also built her a herb garden too. With these new planters; it should put a stop to the rabbits eating everything.
Thanks for your inspiration.
Fri, 05/26/2023 - 19:41
Thanks for taking the time to share Ed, these look fantastic!
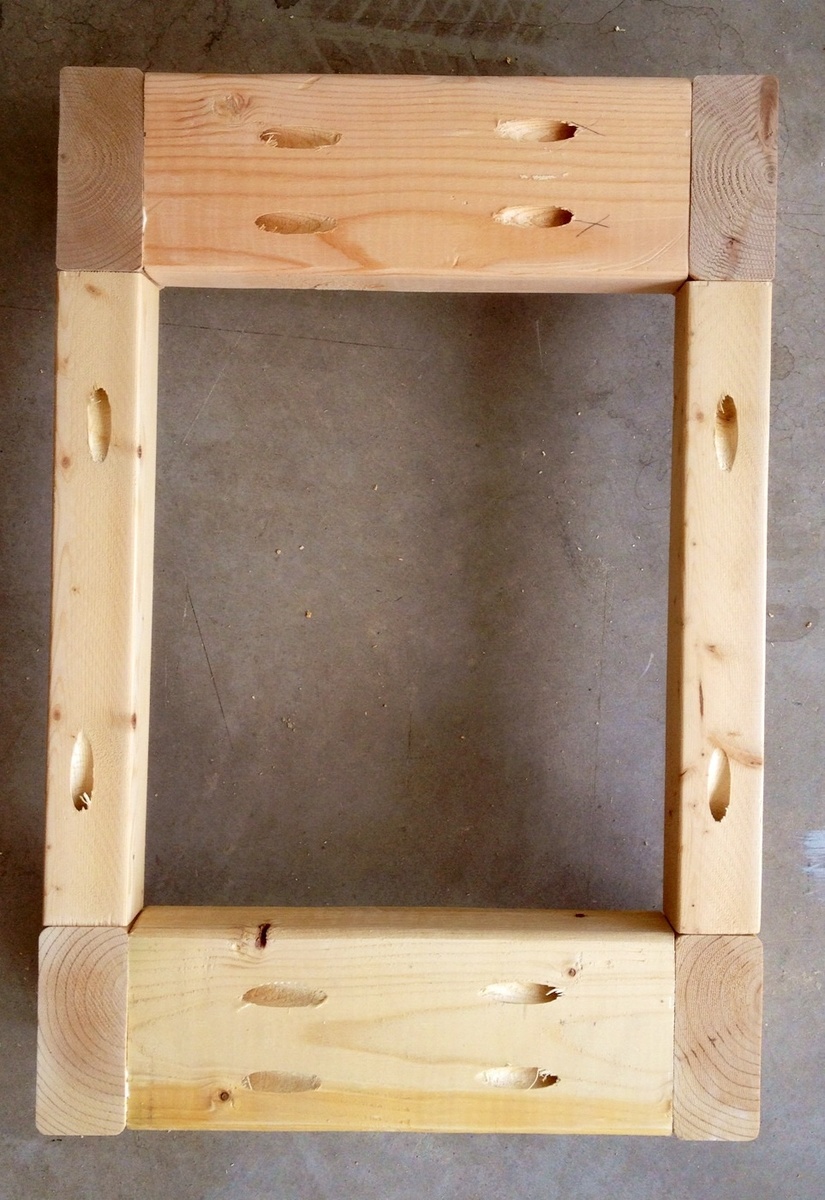
This project was our largest build to date, but the outcome was definitely worth the sweat! The build went relatively fast between my mom and I. I had a little problem assembling the tower bases, but we'll blame the 108 degree heat on my inability to figure out where to place my Kreg holes! I included a picture of how I did the tower base, in case anyone else runs into the same issue.
To accommodate for our base boards we added furring strips to the wall to bring all of the pieces flush. The hutch is secured into the studs with multiple L-brackets and so are the towers.
Finishing was very time consuming, but we'll worth the end result and look on my daughter's face! This system provides an incredible amount of storage. Thank you so much for the plans Ana!
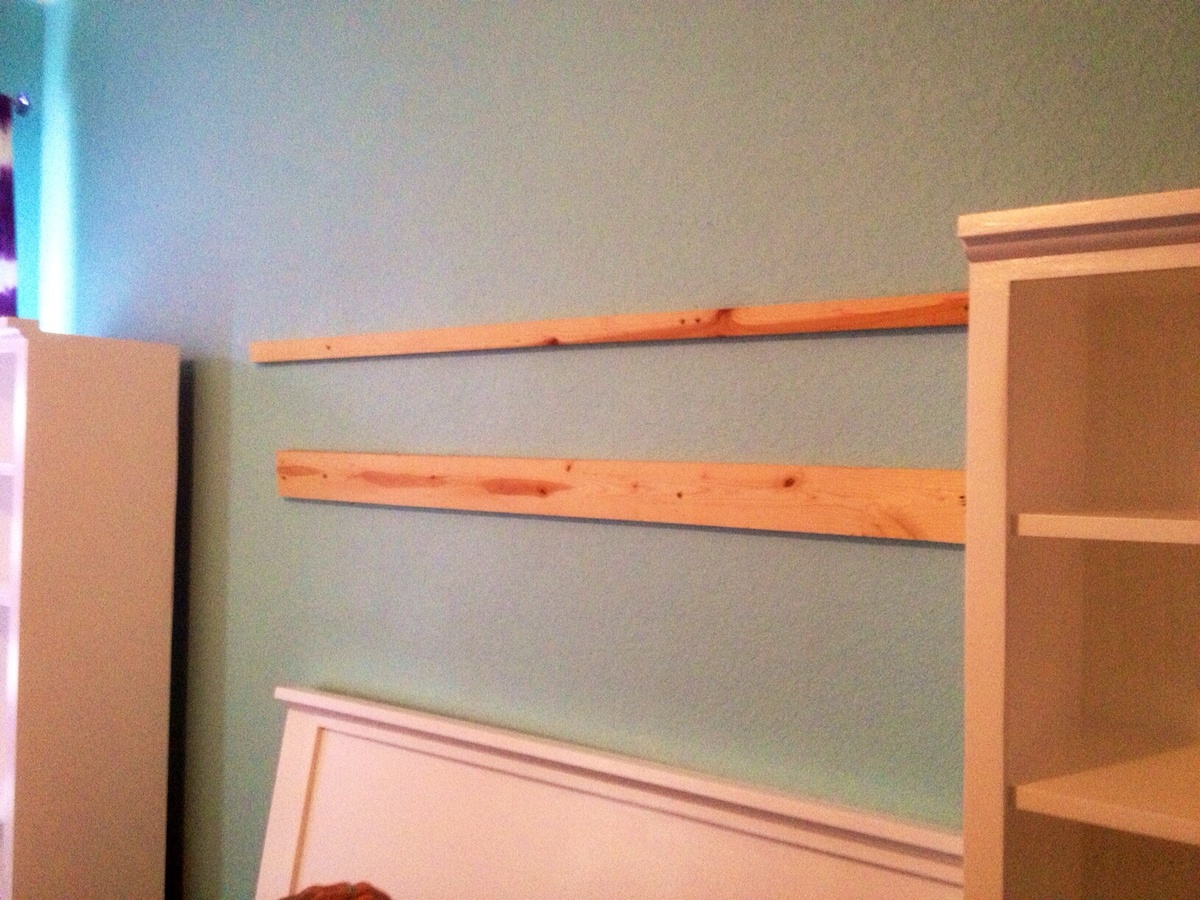
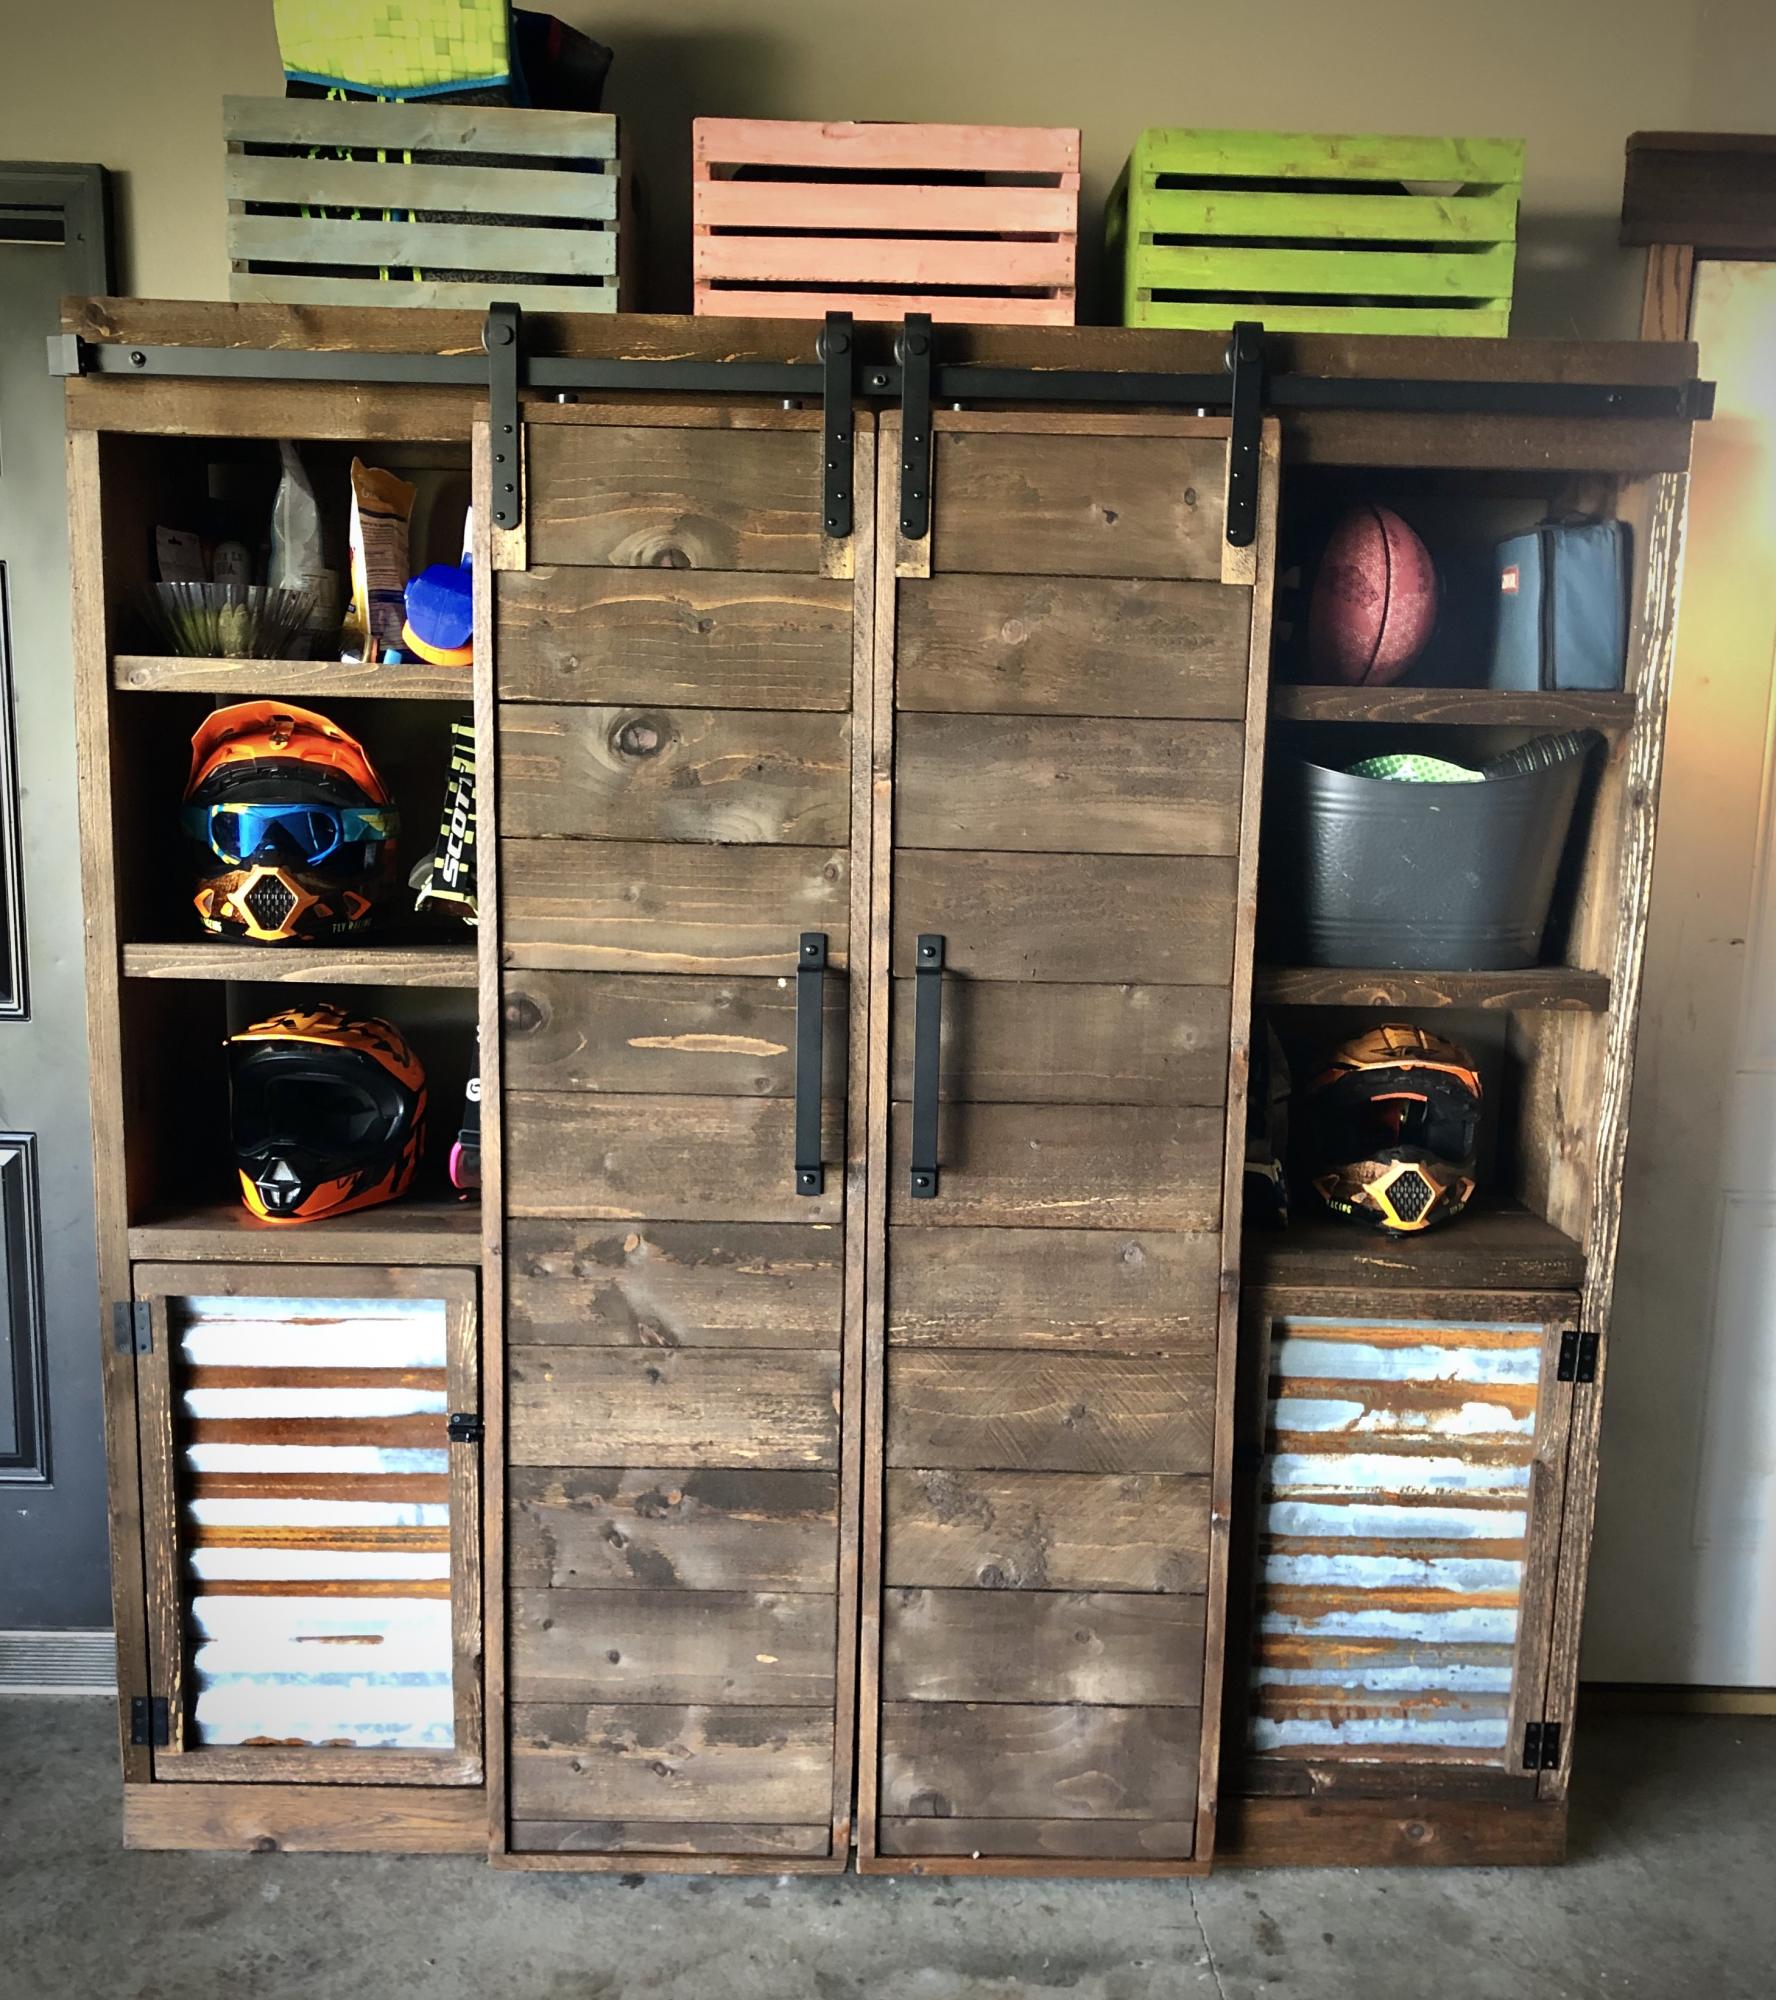
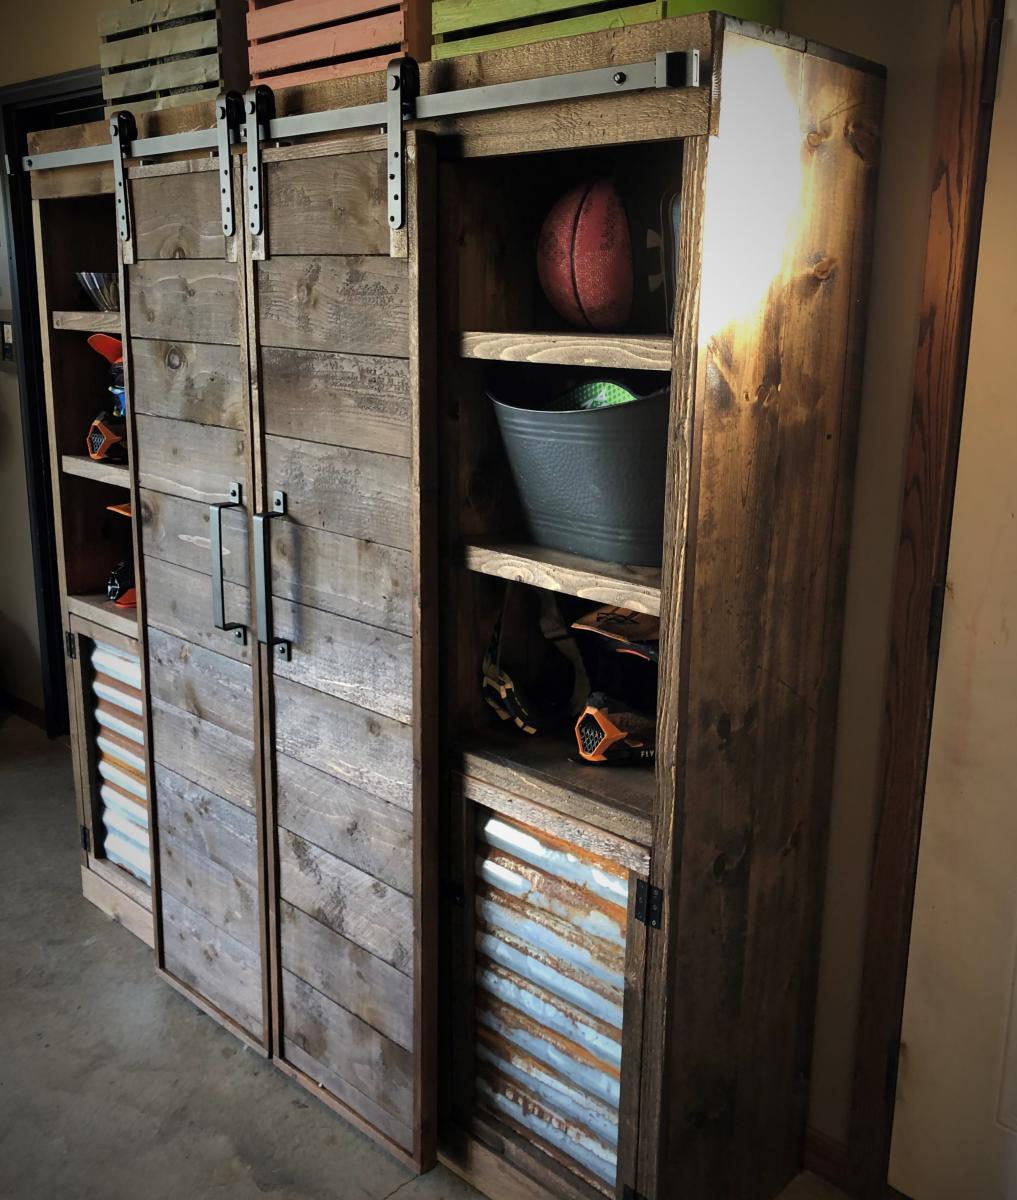
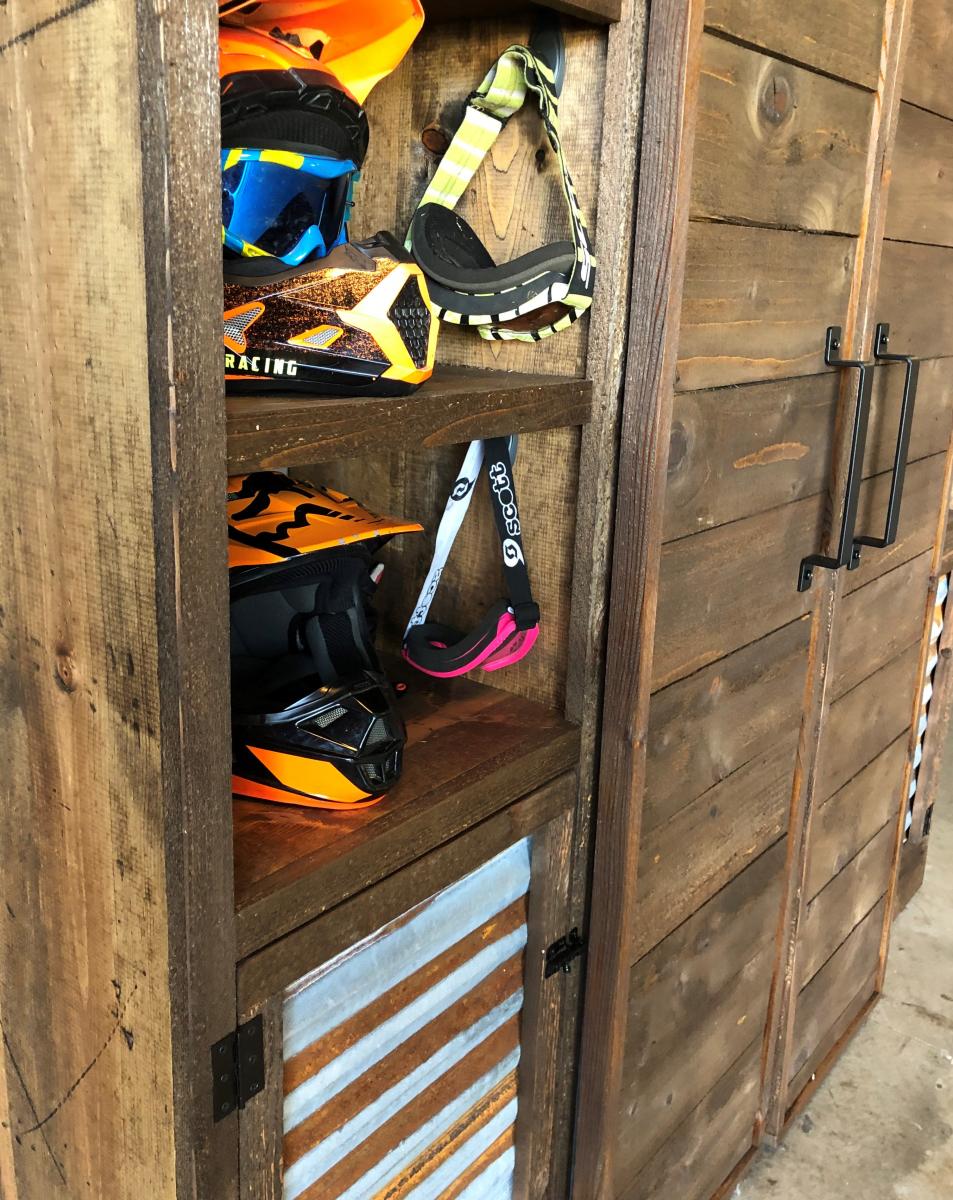
I adapted this build from the Barn Door Entertainment Center plan. Like most families, our storage space needed some major help! We had minimal space to work with and all sorts of awkward things to store (rollerblades, helmets, etc). I measured how deep I needed the shelves to be to fit our helmets and pretty much built around that!
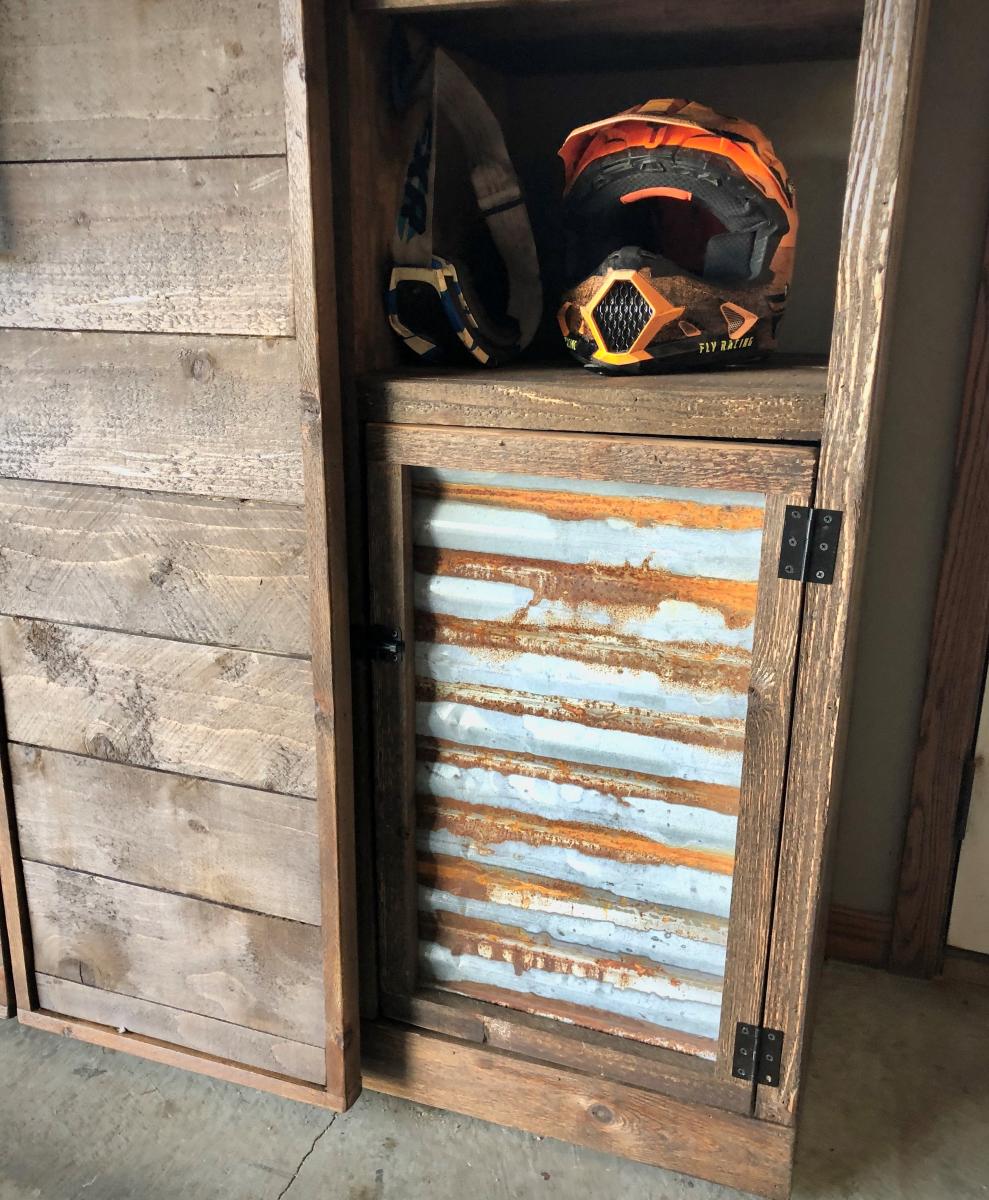
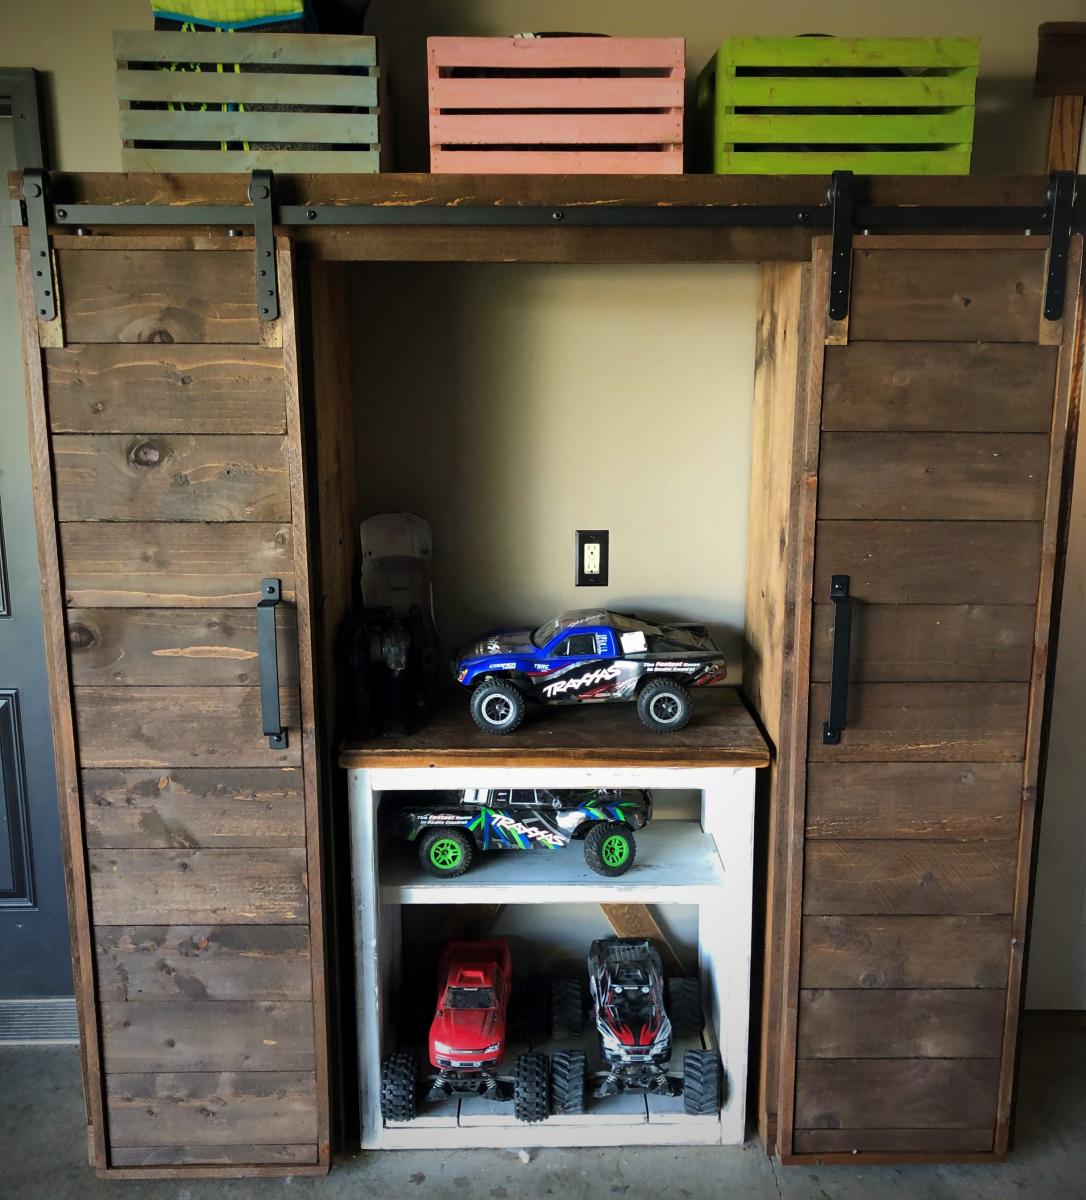
The open shelves are great as they allow easy storage spots for the kids to reach - the doors are great because they allow me to hide the stuff that just never seems to get organized! And the best part? The sliding barn doors! I park next to this thing so not having a swing out door was a major win for me!
I left the center of this piece open so I could fit a stand I already had in our garage, which allowed for a “charging station” for the cars! Our garage is rustic theme so on this piece I went with standard common board for the walls and shelves and built the trim and doors from cedar. The entire piece is stained with Minwax Provincial.

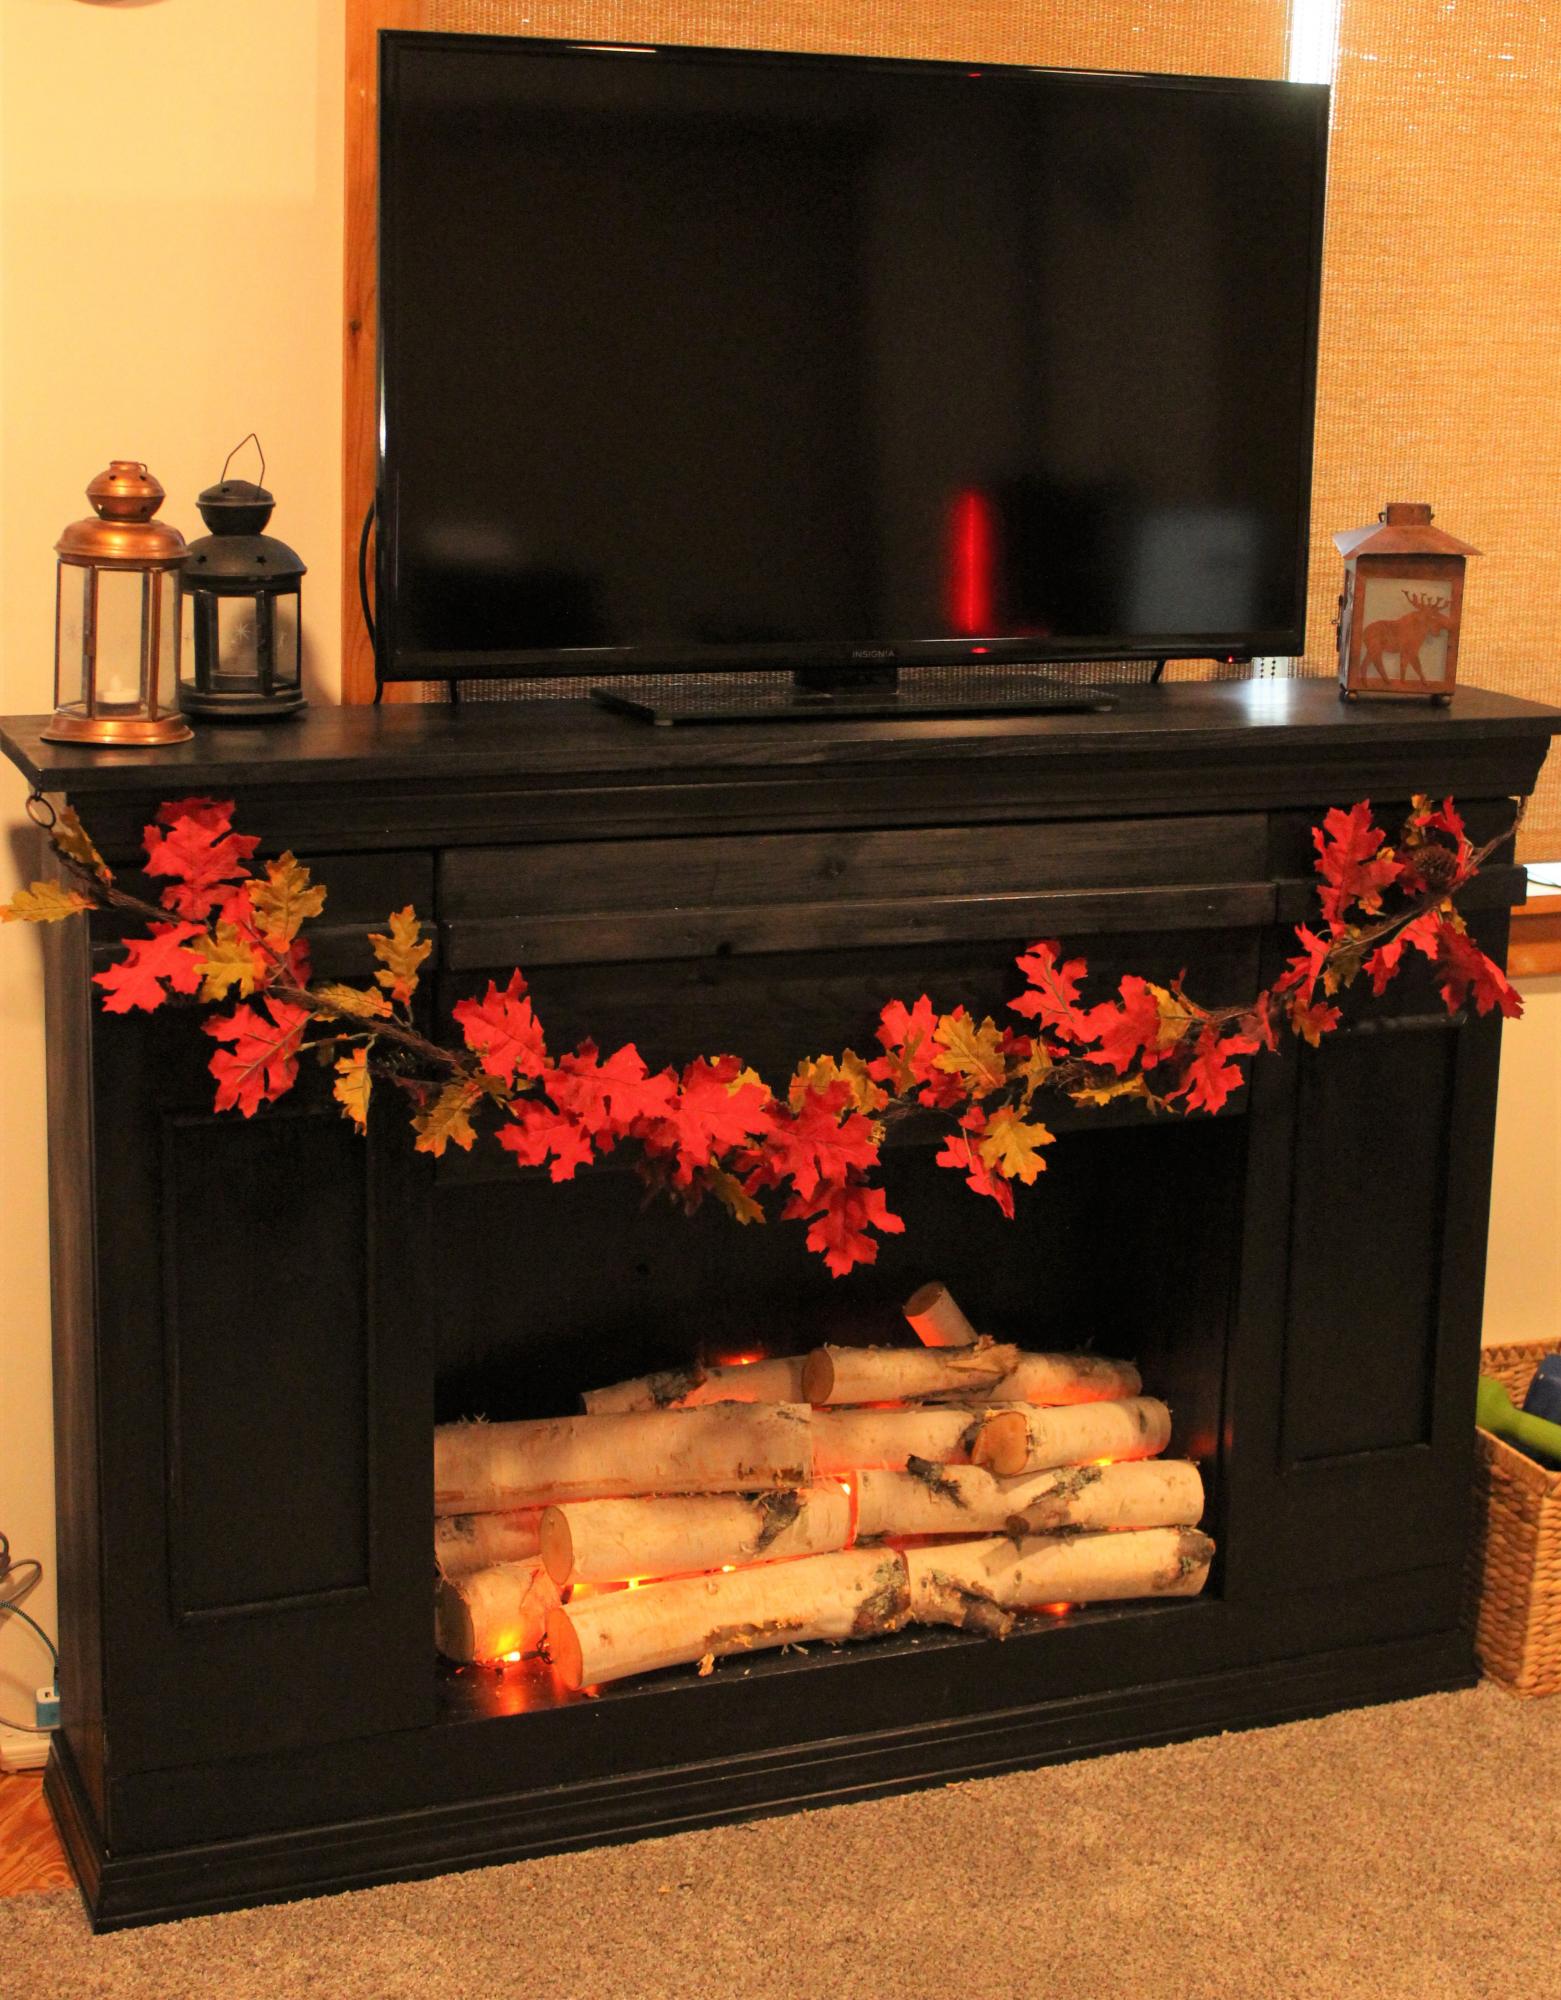
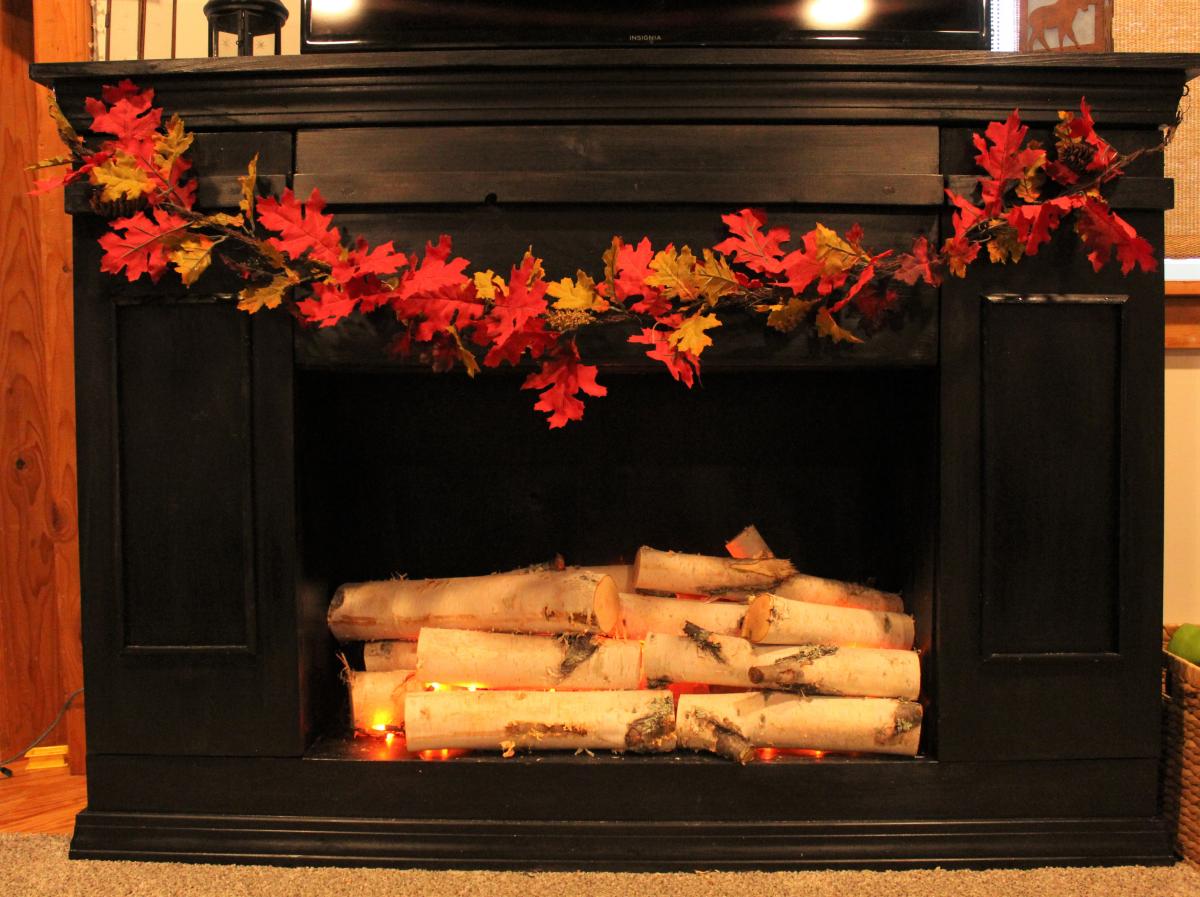
Went with a black, high gloss finish which I sanded down with 220 grit sandpaper to soften the look. Cut up a birch tree from the backyard, back-lit the logs with two strands of orange Halloween lights from the dollar store (we drilled a hole in the bottom back for the plug for the lights).
Added a remote extender so we don't have to open the front middle door in order to operate our streaming devices.
Love to be able to decorate this for the holidays--can hardly wait for Christmas!
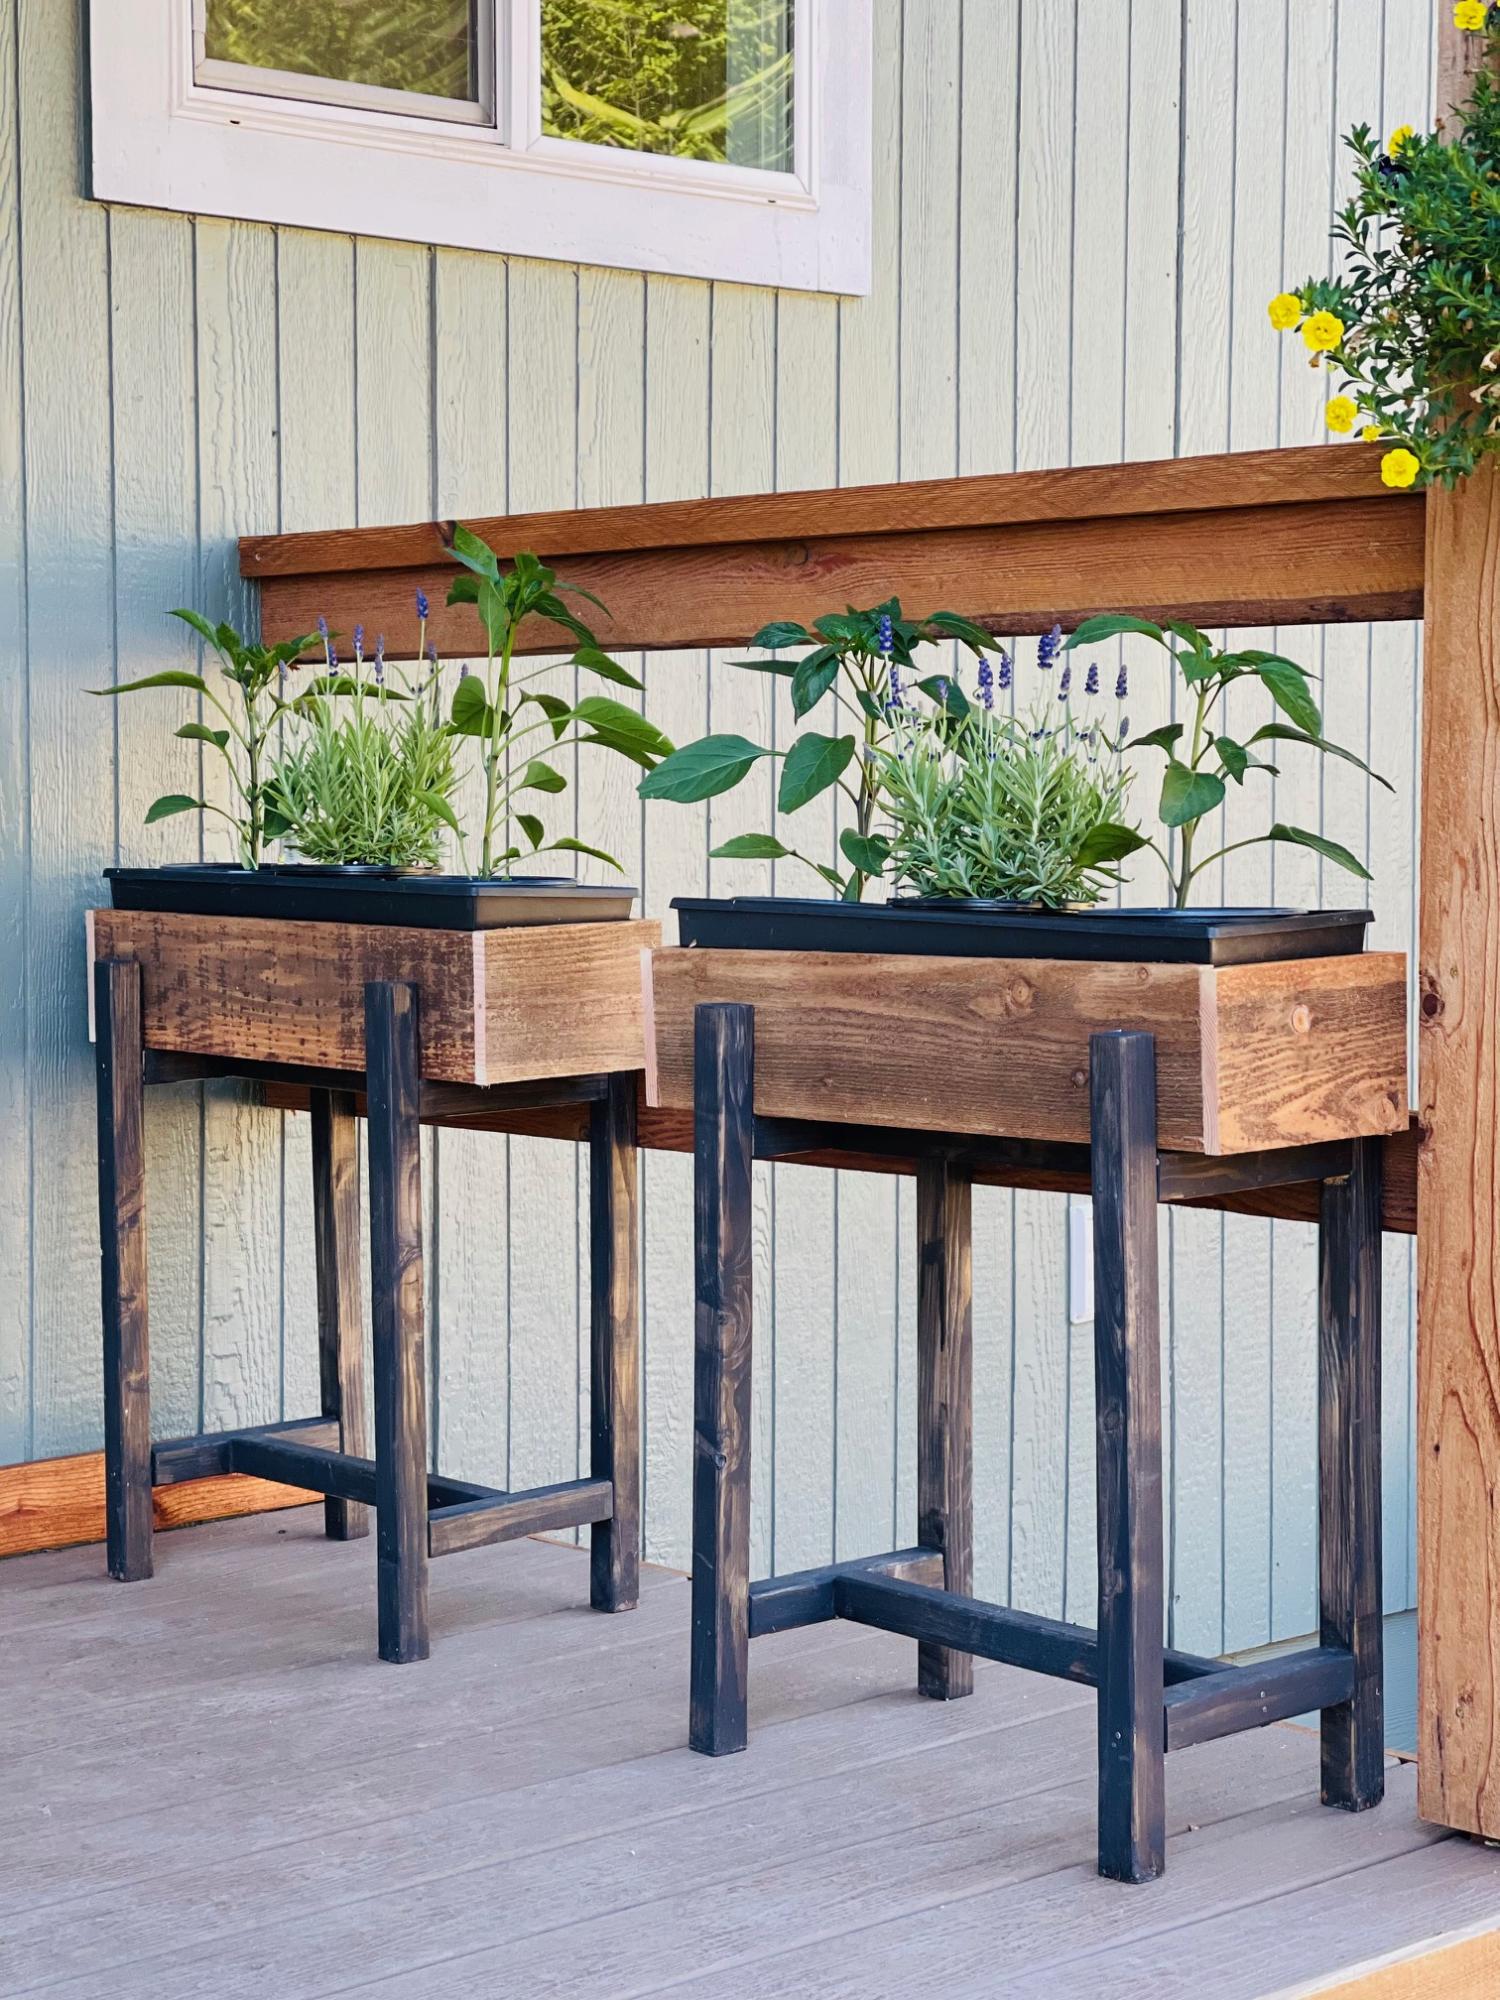
Easy build and I like how I can just set planters inside the top box and change out easily!
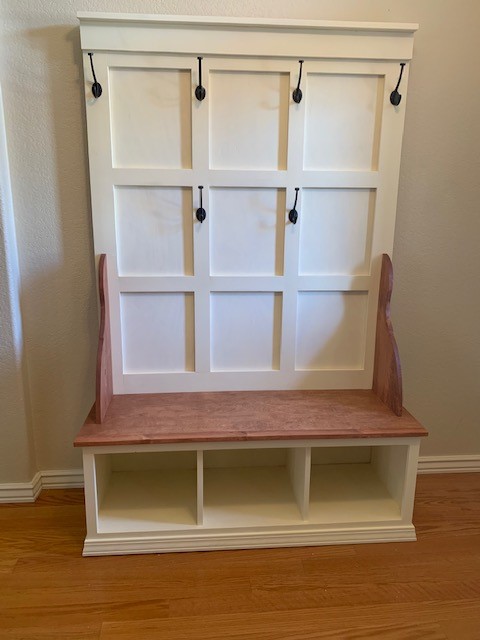
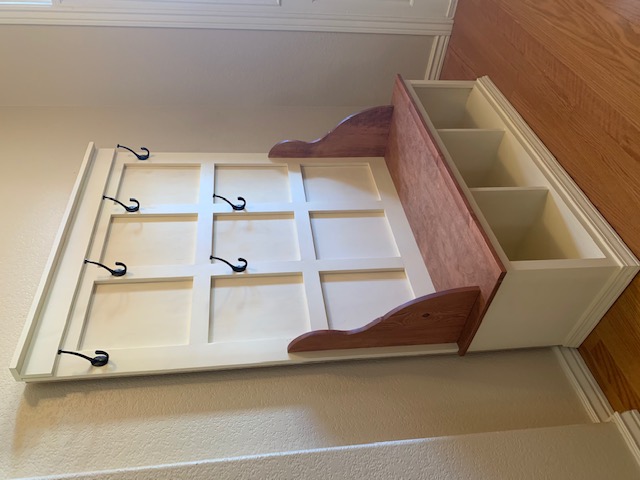
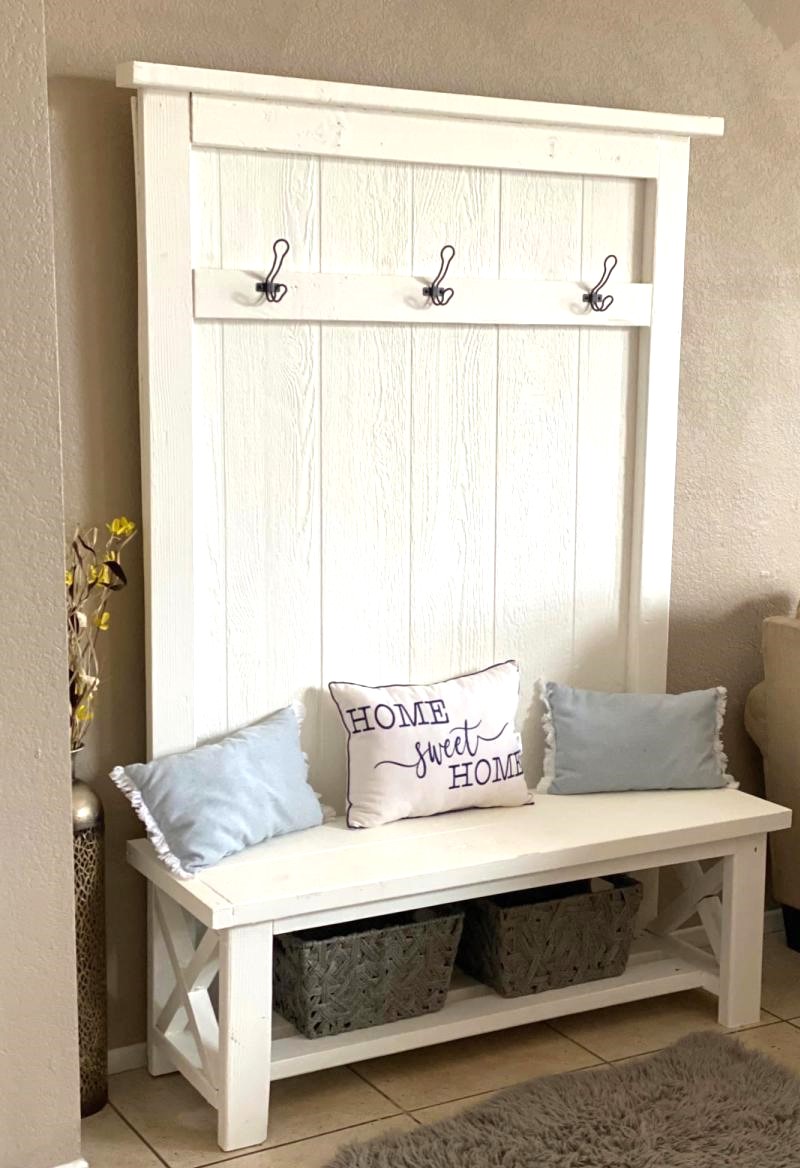
I made this hall tree for my daughter for Christmas . I am a beginner with woodworking and this is the first piece of big furniture I have made.
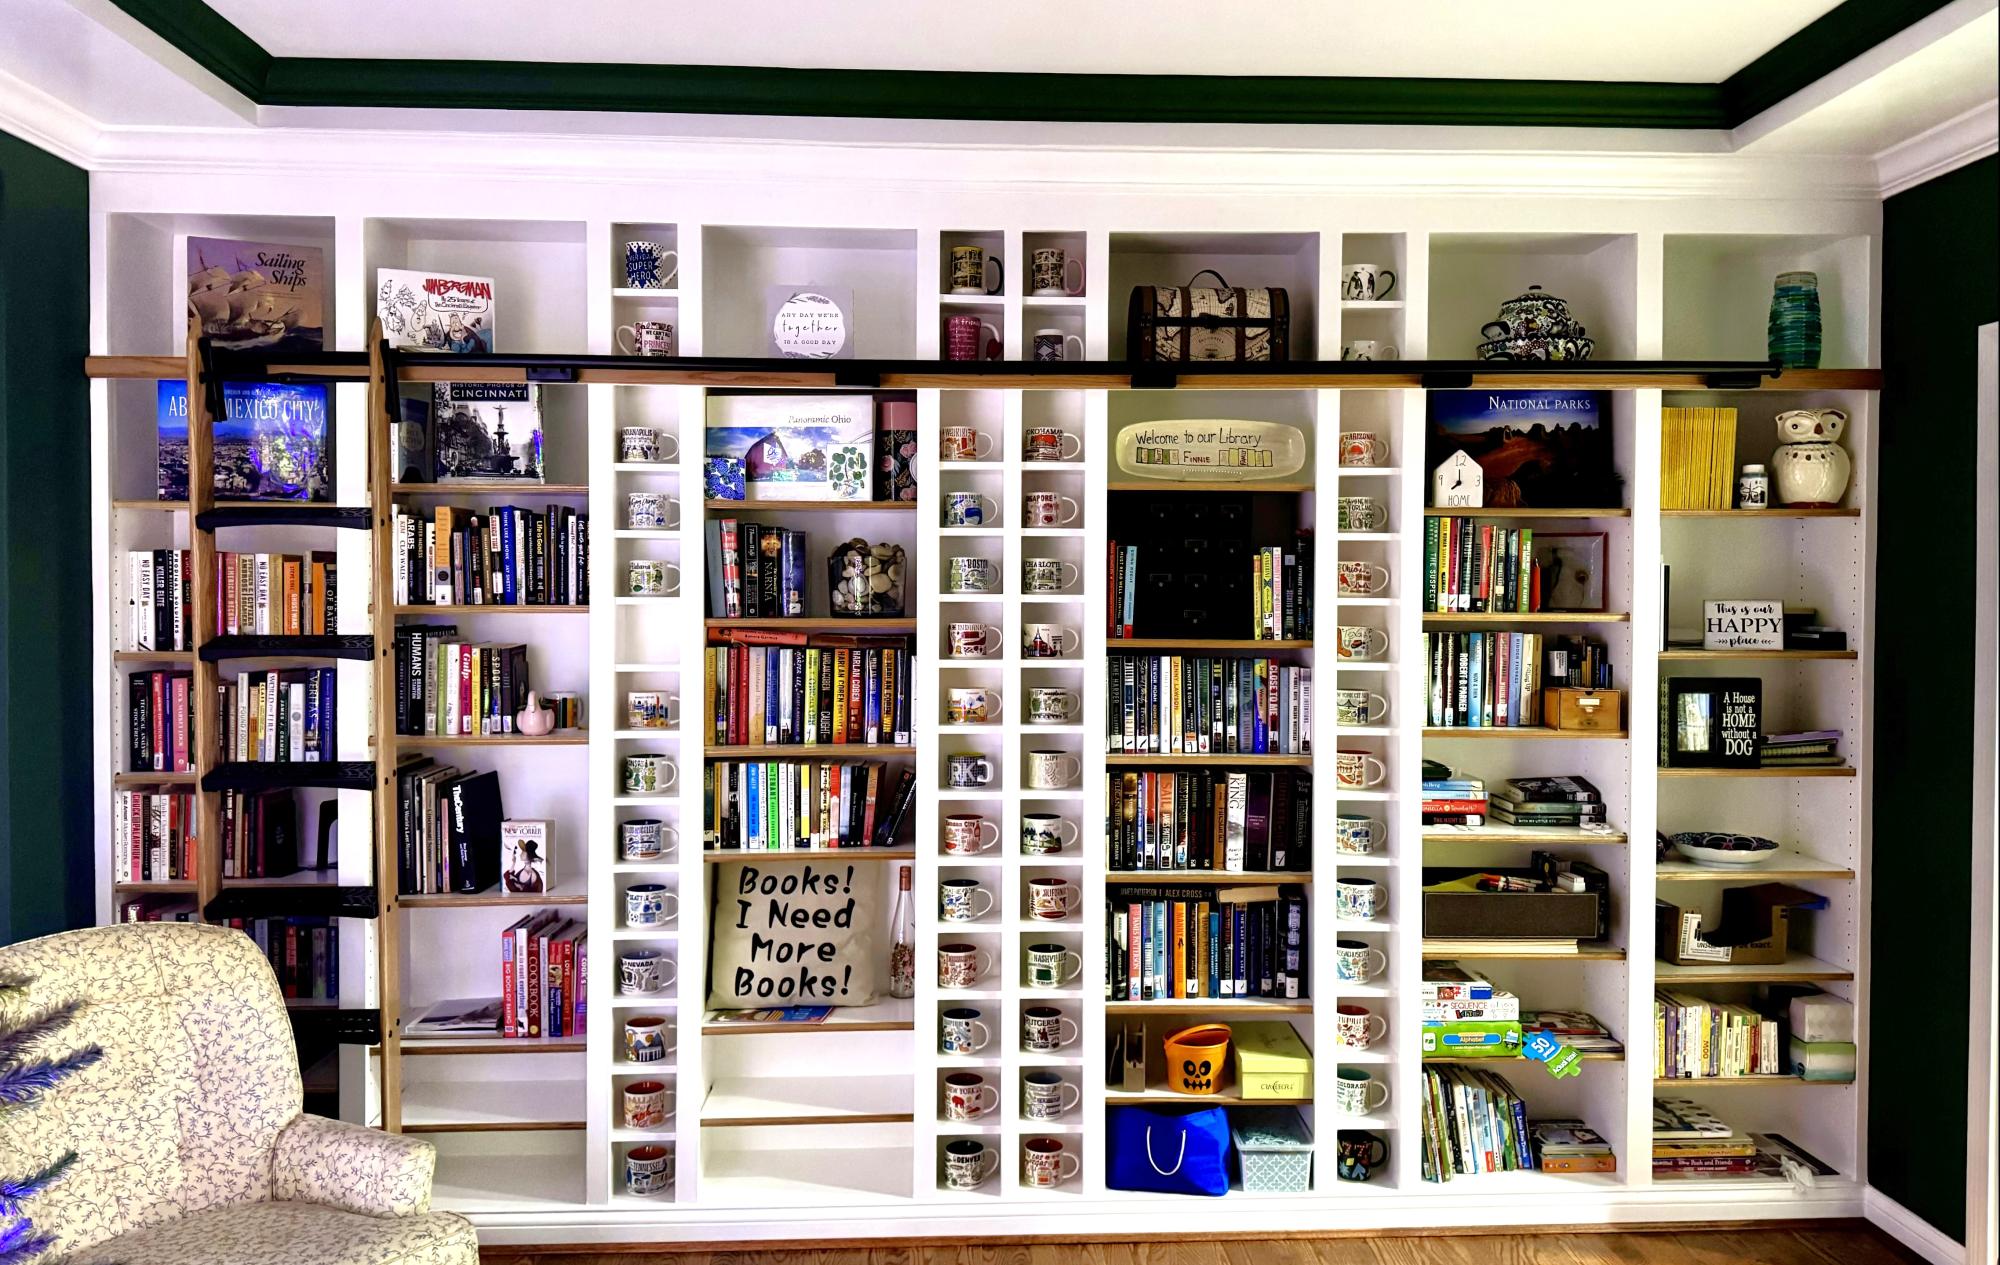
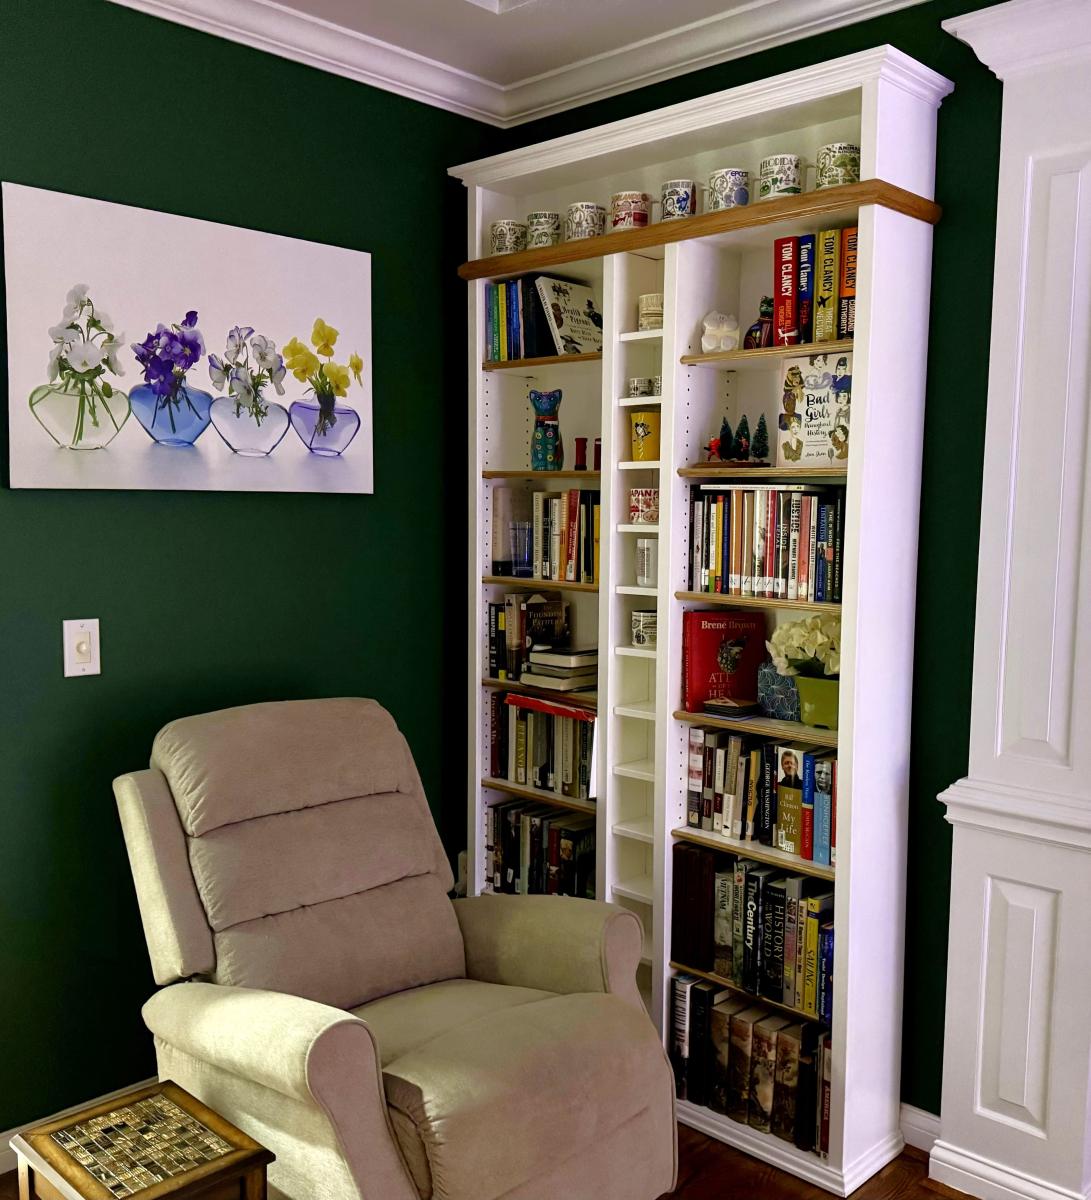
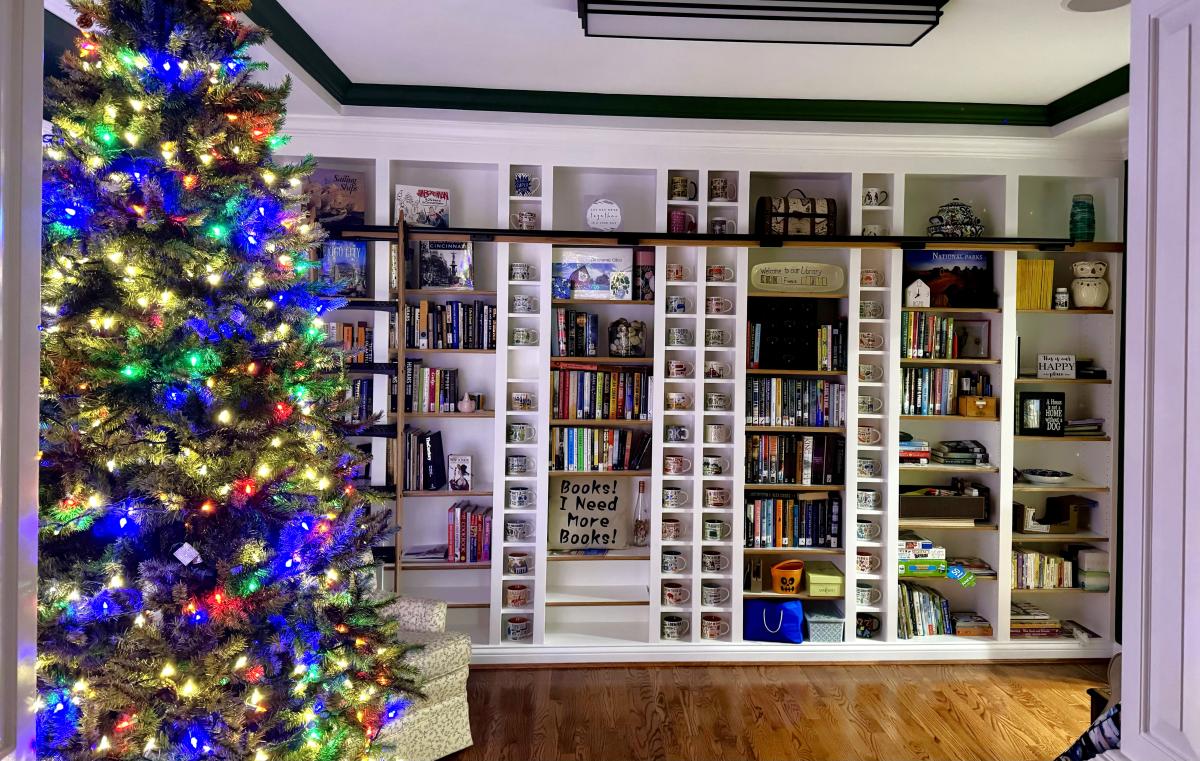
These bookshelves are modified from the Extra Wide Console Bookcase Plans from your website. They were constructed using 3/4 inch plywood for the bookcases, 6” MDF boards for the cup cubbies, and 1/2 inch plywood for the shelves. Purchased a jig from Rockler to drill the 1,000+ shelf holes and built the rolling ladder from oak using the plans and parts from Rockler. What began as a plan for a simple bookcase morphed into selling the dining room furniture and converting the room (which we had only used once in over 2years) into a library that we enjoy every day!
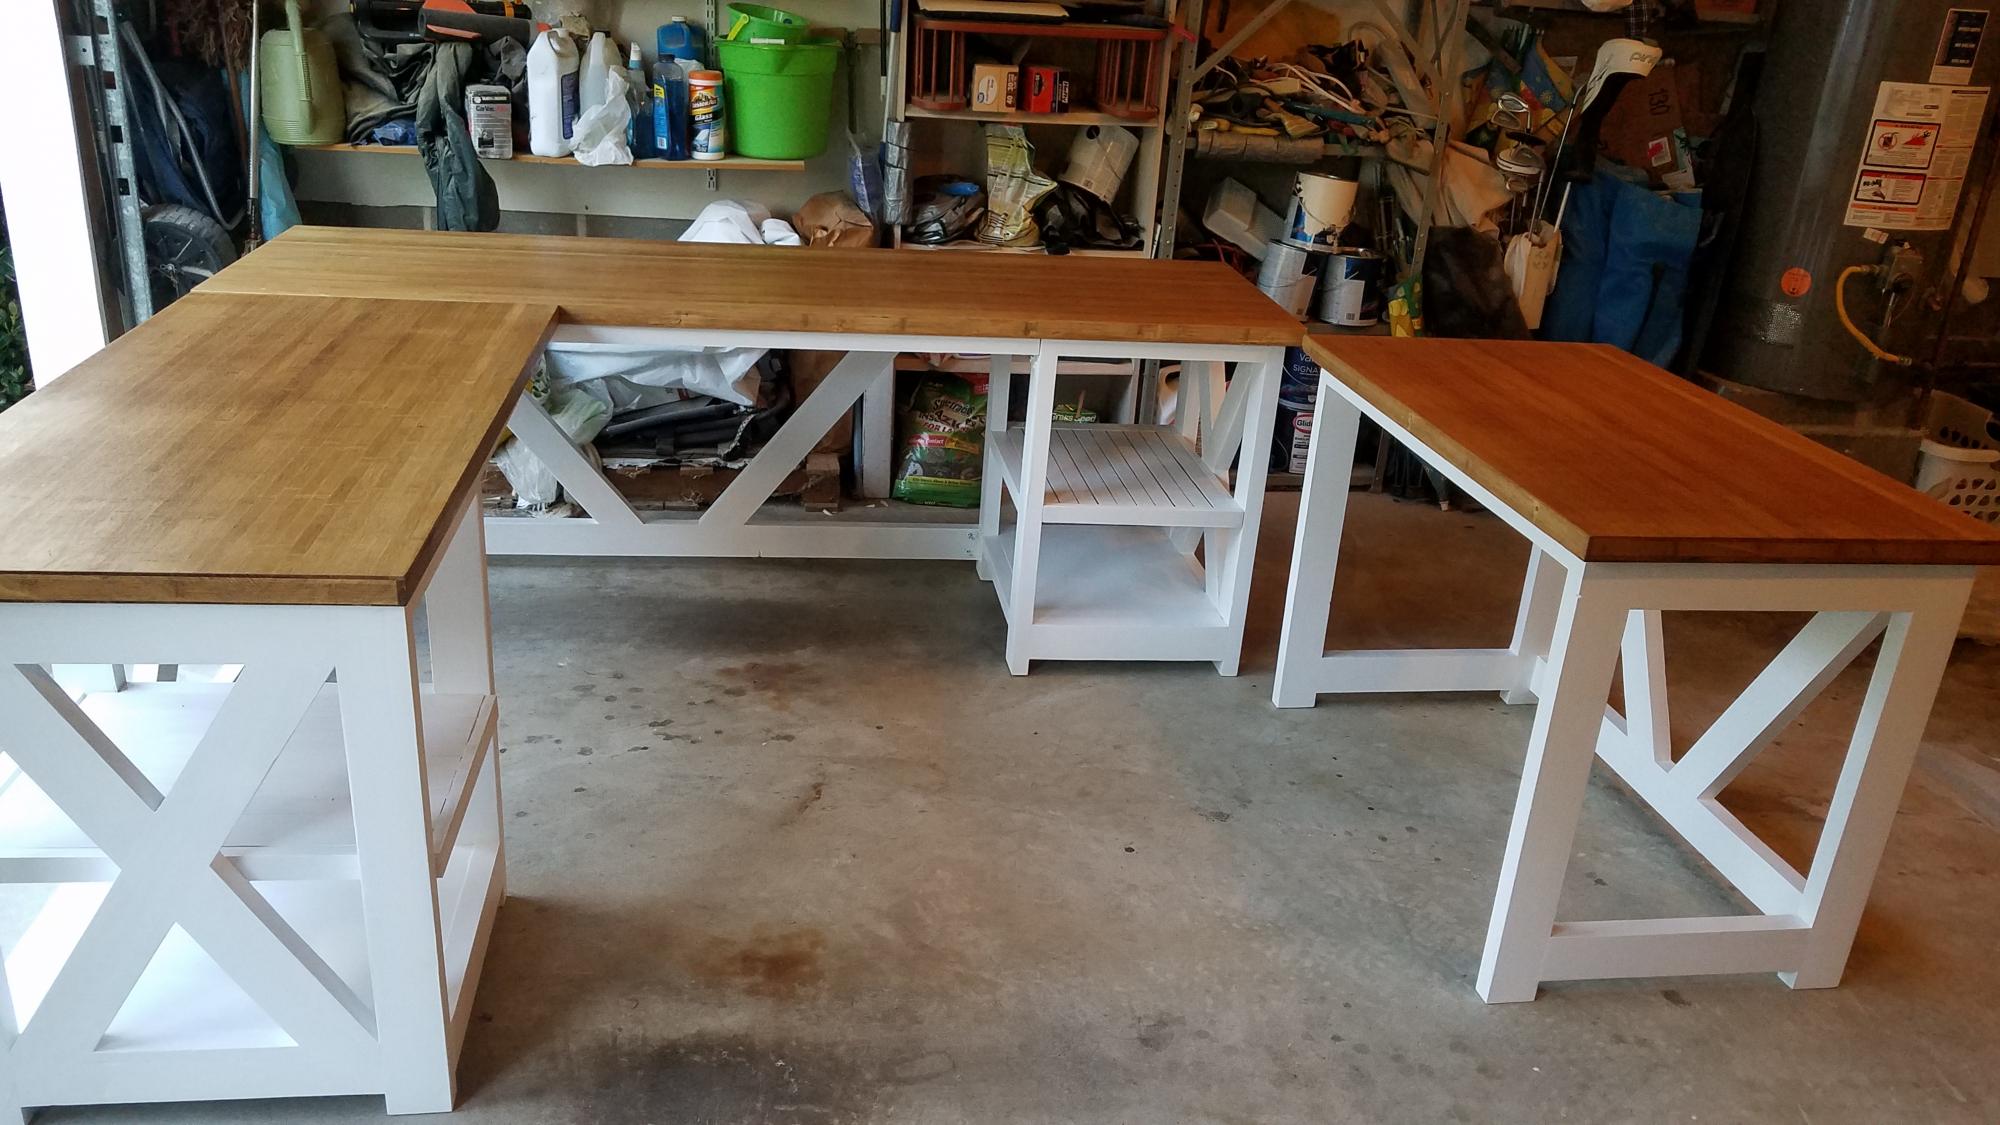
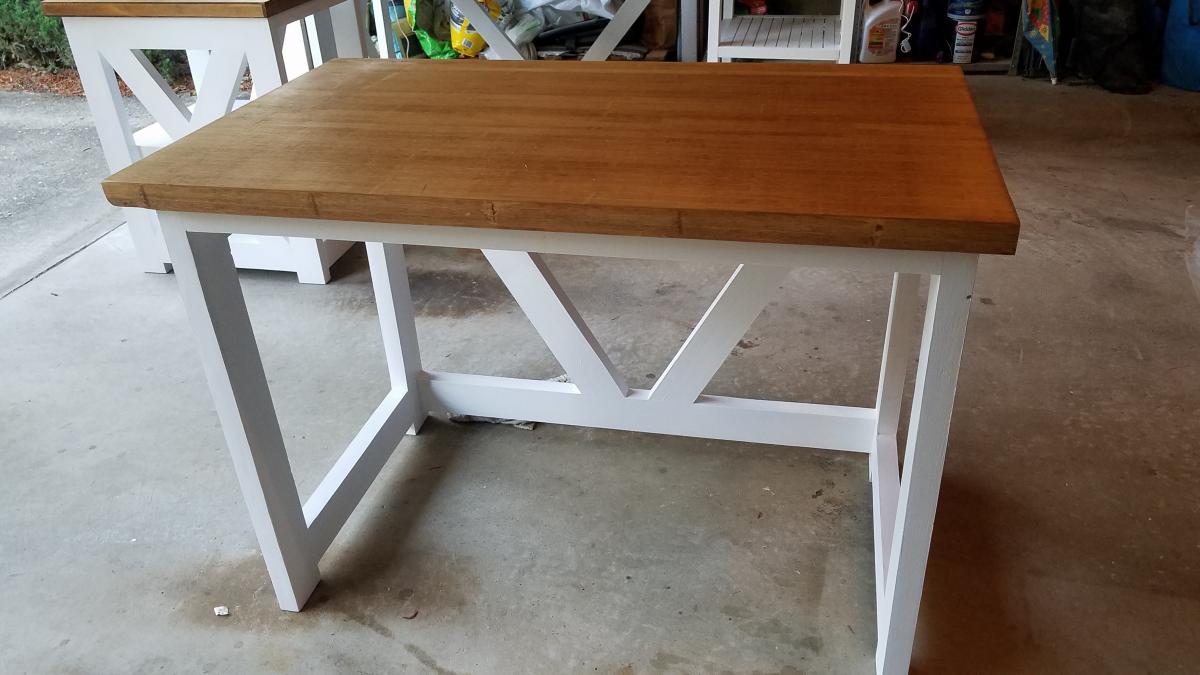
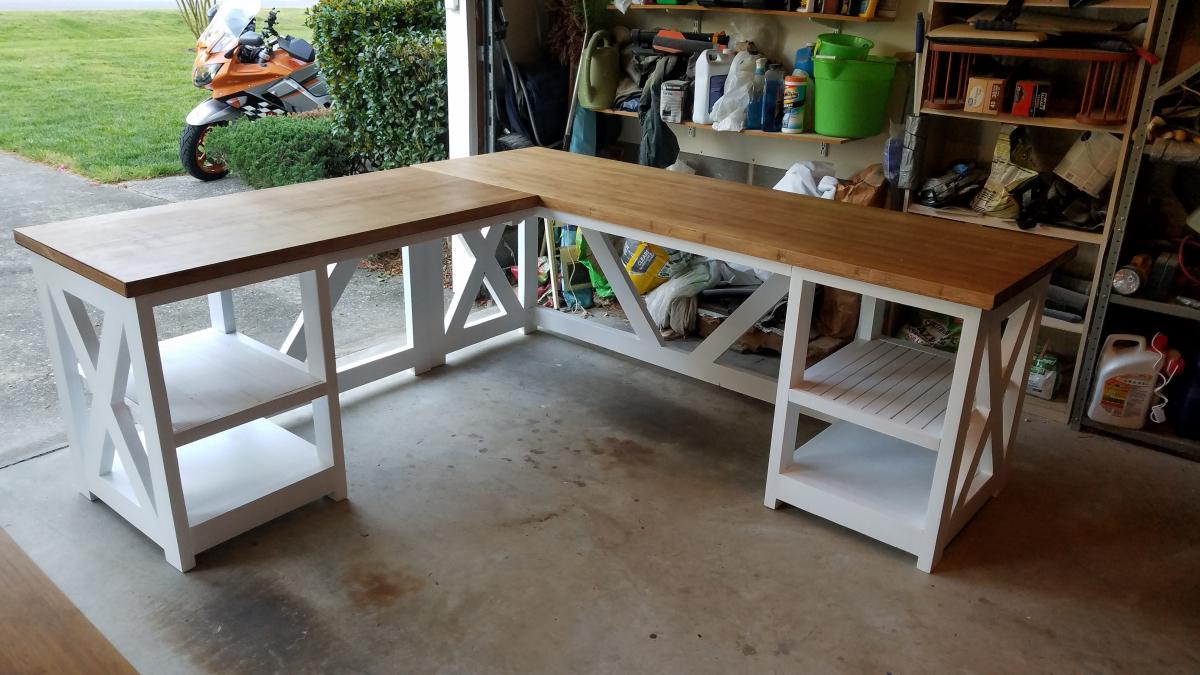
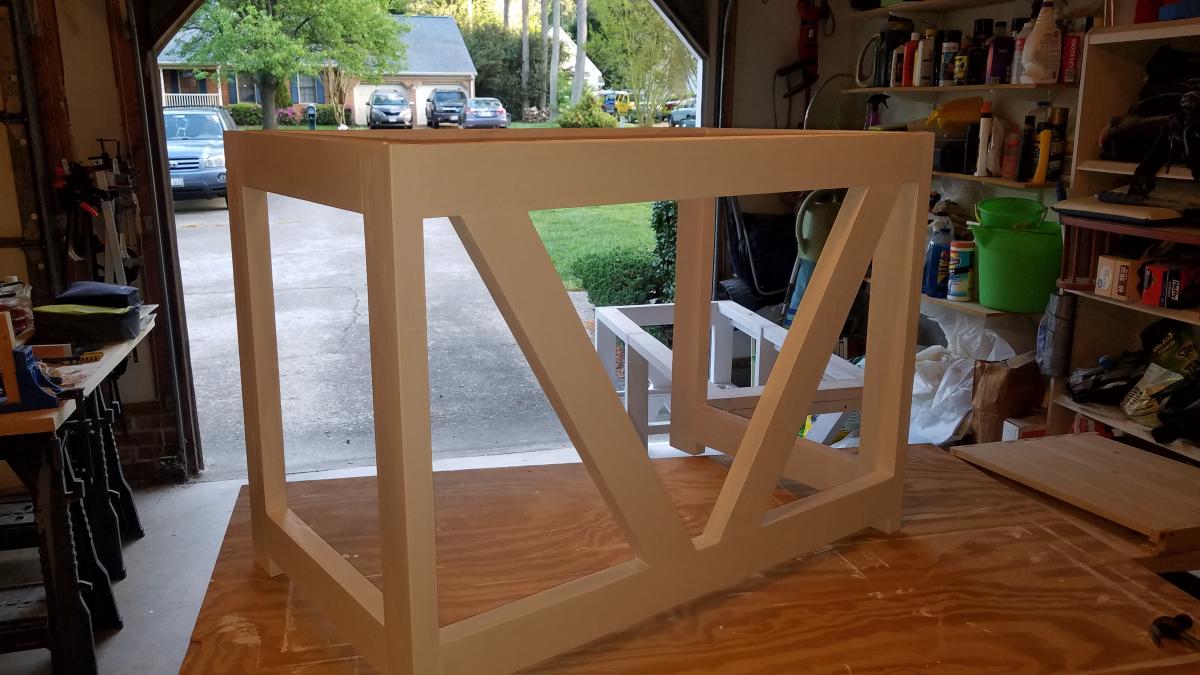
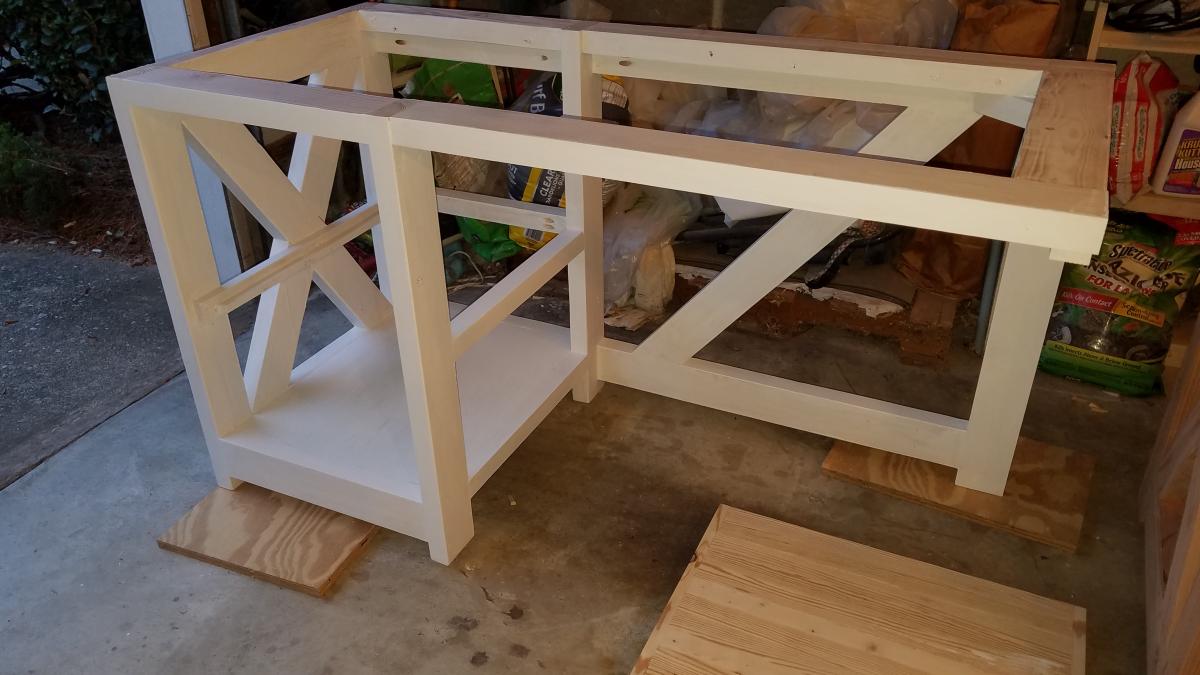
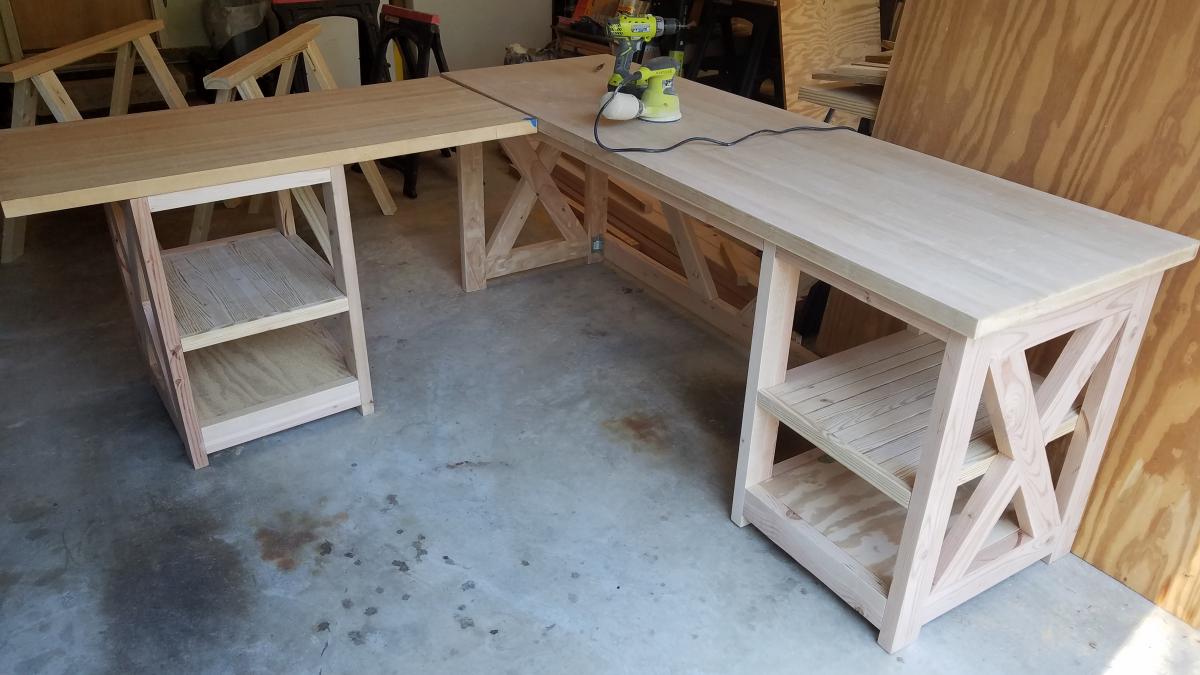
I built this L shape desk based on Ana White's rustic X desk plan. I would not have attempted this without her guidance. Love how this turned out, probably the nicest project I've ever done. Thanks Ana!
Tue, 05/26/2020 - 09:34
This is awesome! My son and I are looking to build an L shaped desk for him and this looks to be the one. Any thoughts on how I would mount a computer tray beneath? Think there is enough clearance below the 2x4 without hitting knees?
Thanks!

Built this plan and it came out amazing. I used a sheet of siding for the back to really bring out some grains!
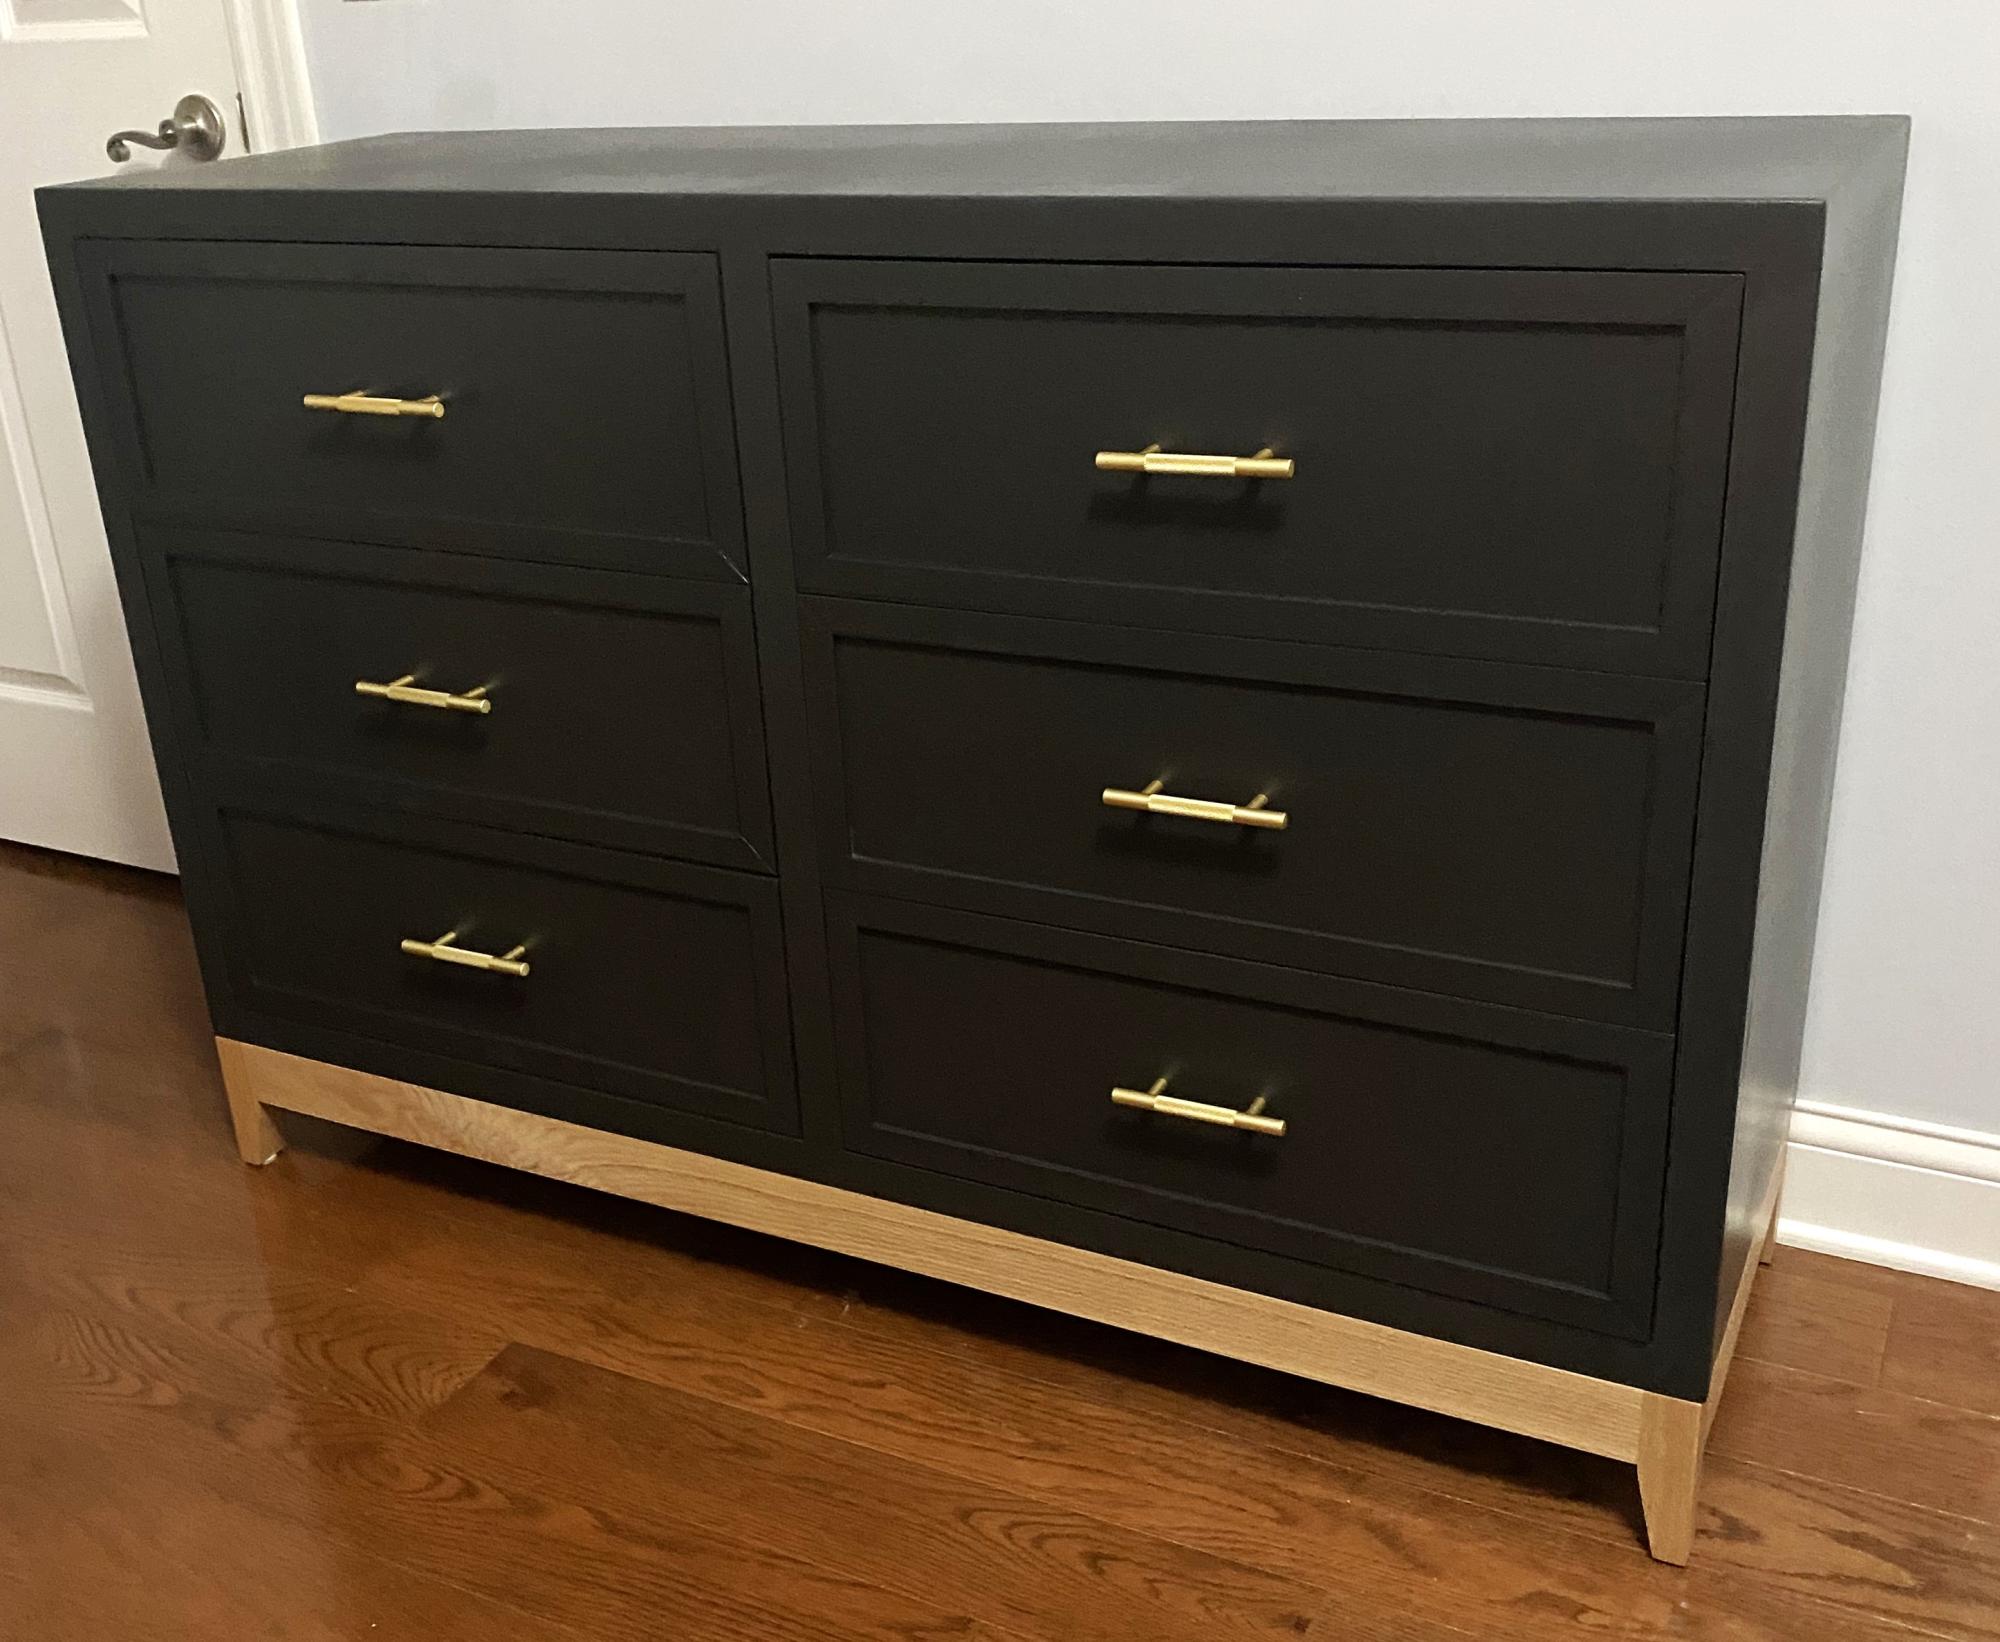
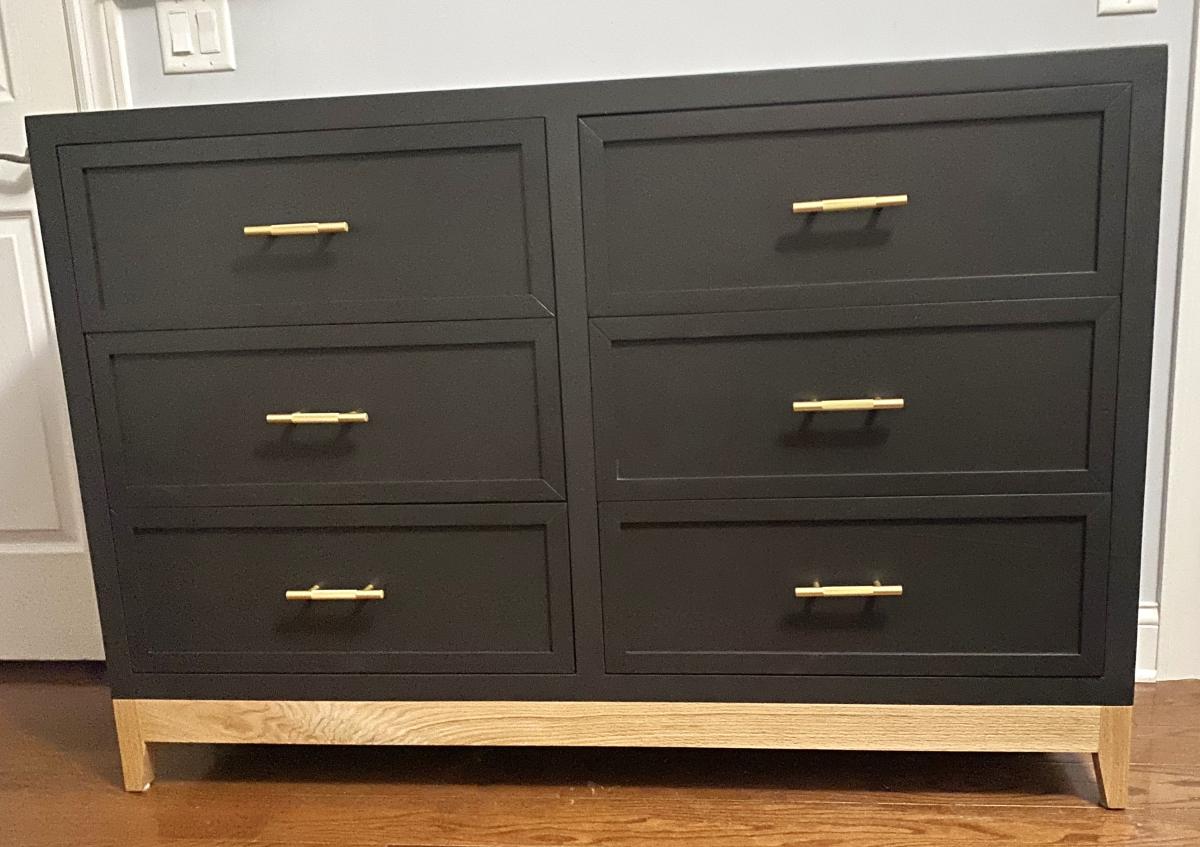
Built this dresser for my daughter’s room and added a modern base!
Kristen Kobeszko

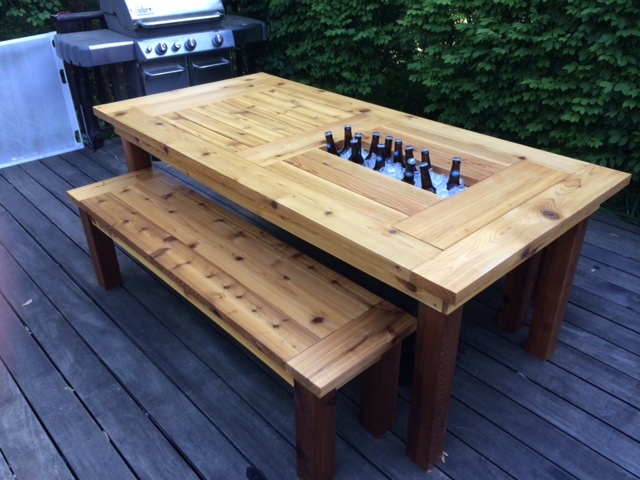
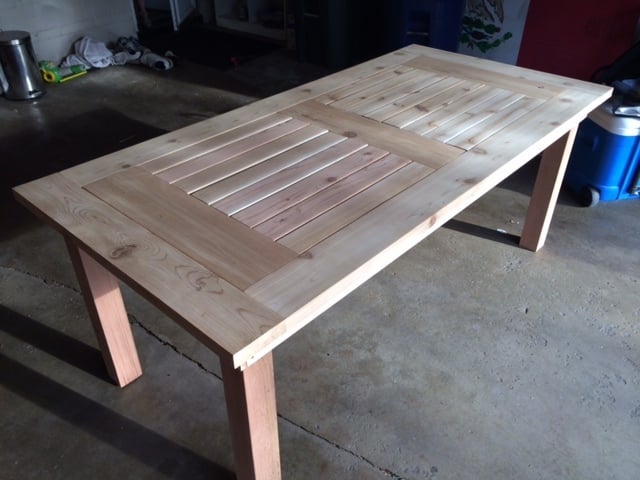
We needed a new patio table for our deck and I loved this design. I made it out of cedar which worked beautifully and made a few small tweaks:
- Needed it longer and wider so added two more 2x4's to the middle and added 2x6 end caps (as another poster had done).
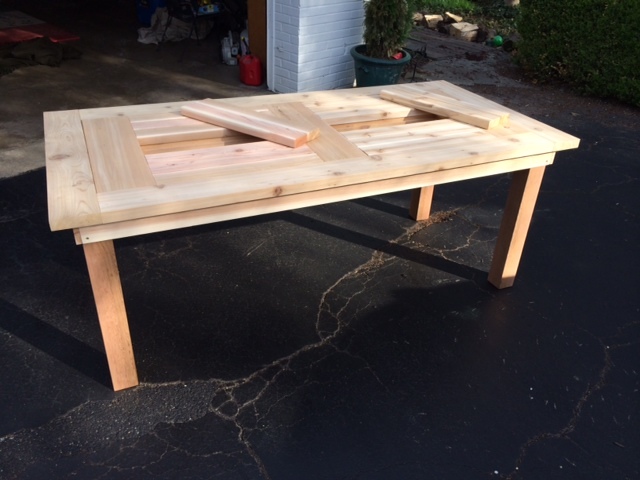
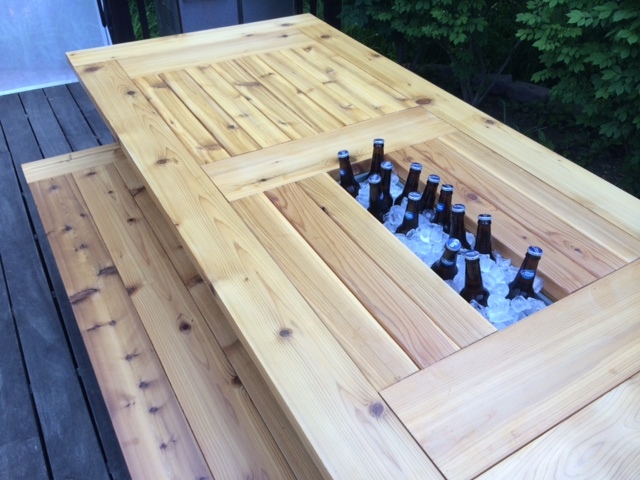
- I did not add the holes to the cooler covers for uniformity, they slide in and out very easily.
- I used 4x4's as the legs and constructed the table skirting around it. This is a very sturdy design.
Built some benches for seating and they worked out great.
Overall I loved this build and it was fairly simple. Stained with Penofin deck stain (red label) and a spar varnish for protection.
Hope you like it!
Thu, 04/24/2014 - 07:43
Thank you! Local lumber yard that had great stuff. I will say though that I had to get some additional pieces from Home Depot and their cedar is fairly nice too. Beware though, they don't have true 1x cedar (at least here in St. Louis) it's more like 1/2 inch think.
Thu, 04/24/2014 - 07:43
Thank you! Local lumber yard that had great stuff. I will say though that I had to get some additional pieces from Home Depot and their cedar is fairly nice too. Beware though, they don't have true 1x cedar (at least here in St. Louis) it's more like 1/2 inch think.
Tue, 07/08/2014 - 20:00
Really well done with the two-tone stain. What particular colors of Penofin did you use? I'm working on a similar build and would like to use your color combination.
Mon, 05/04/2015 - 10:06
Do you happen to have your lumber list? I'm not the greatest with add ons, LOL! If you happen to have a step by step that's even better.
Thanks,
Jennifer
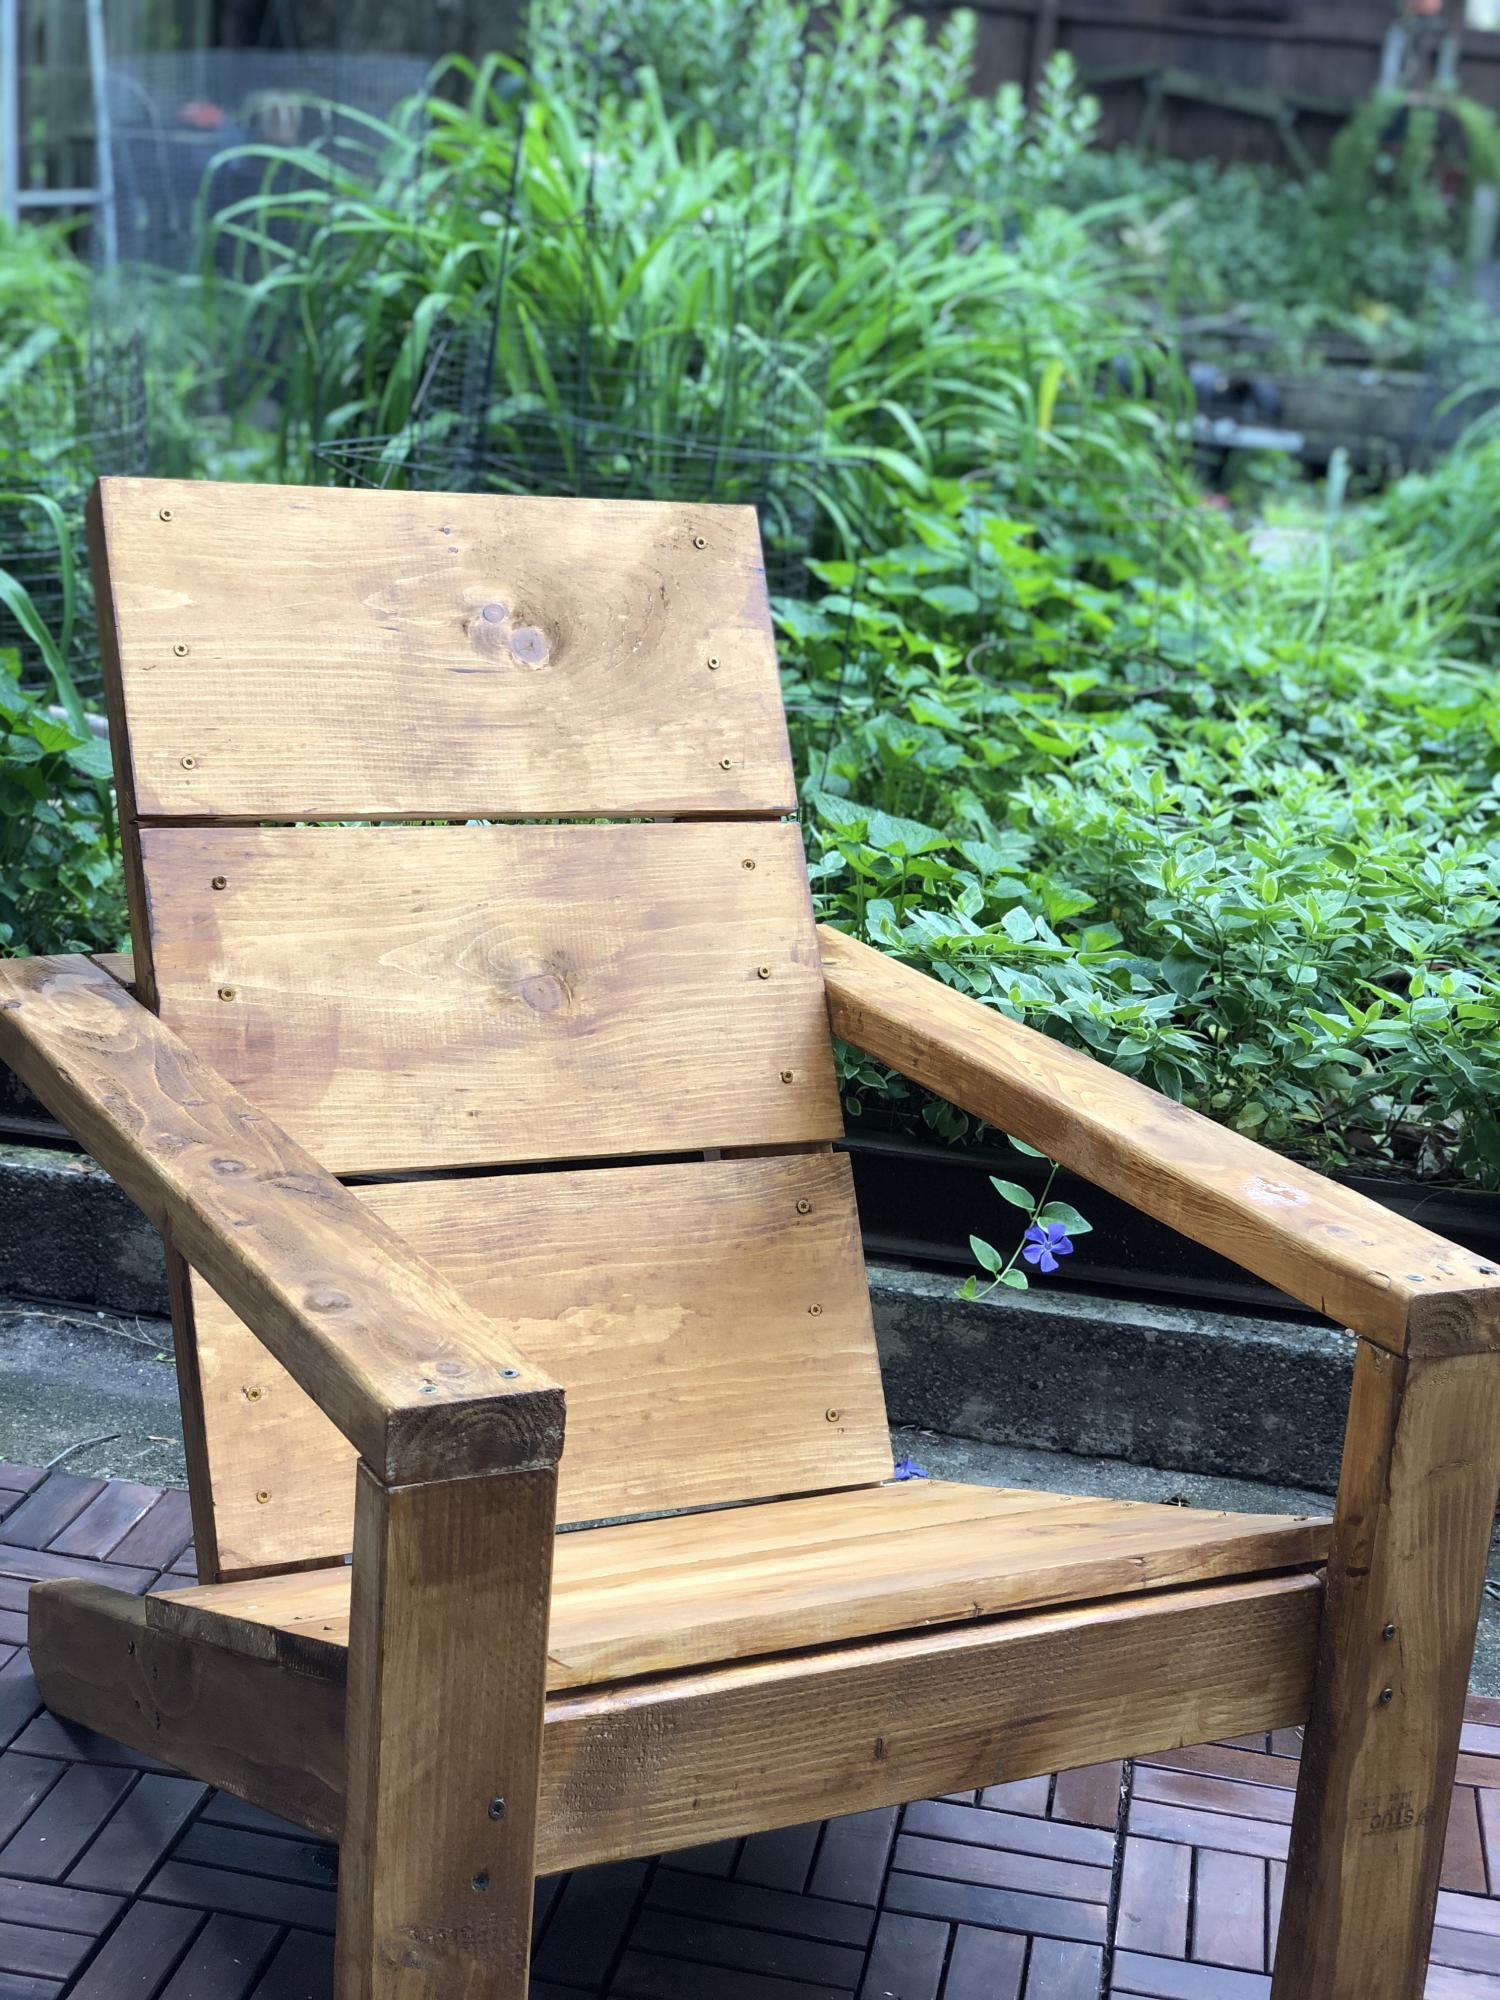
Ana thank you for these plans! My second ever woodworking project and love adirondack chairs.
Perfect for my small Brooklyn backyard :)


Mon, 05/25/2020 - 11:47
It's beautiful! I love the wood tone in your setting! Thanks so much for trusting us to build our plans!
Wed, 05/27/2020 - 05:34
You made it so clear and easy! Especially the video/
Will build another one to make it a pair soon :)

I adapted your plans for the indoor playhouse to make a bridge between my daughters’ beds with a landing for their dolls and favorite dresses. Lots of fun painting and used leftover lattice and posts to brighten it up!

Comments
Ana White Admin
Sun, 11/20/2022 - 12:37
Fantastic build!
Thanks for sharing, this look awesome!