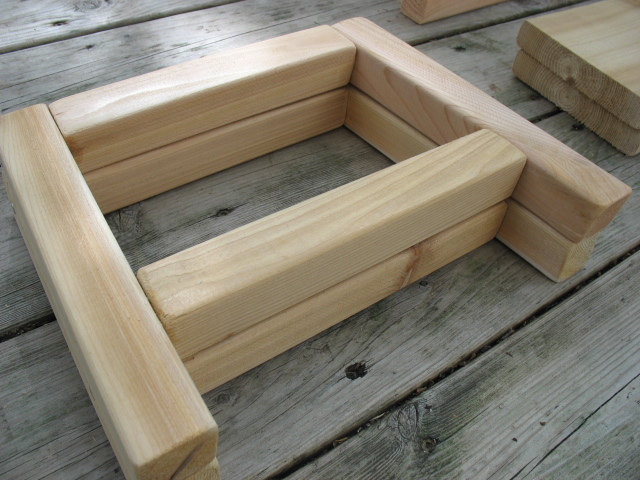
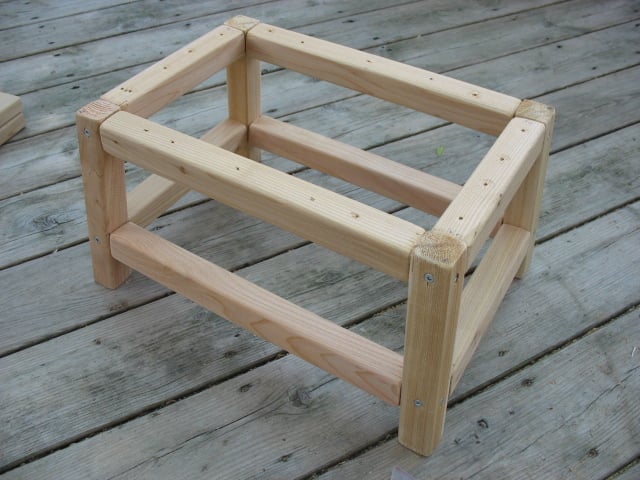
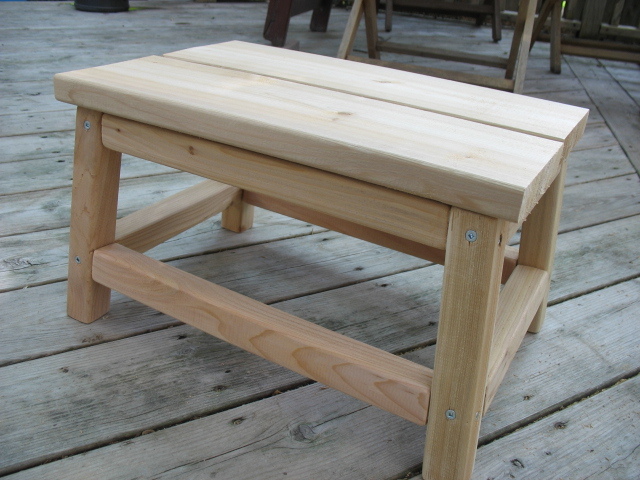
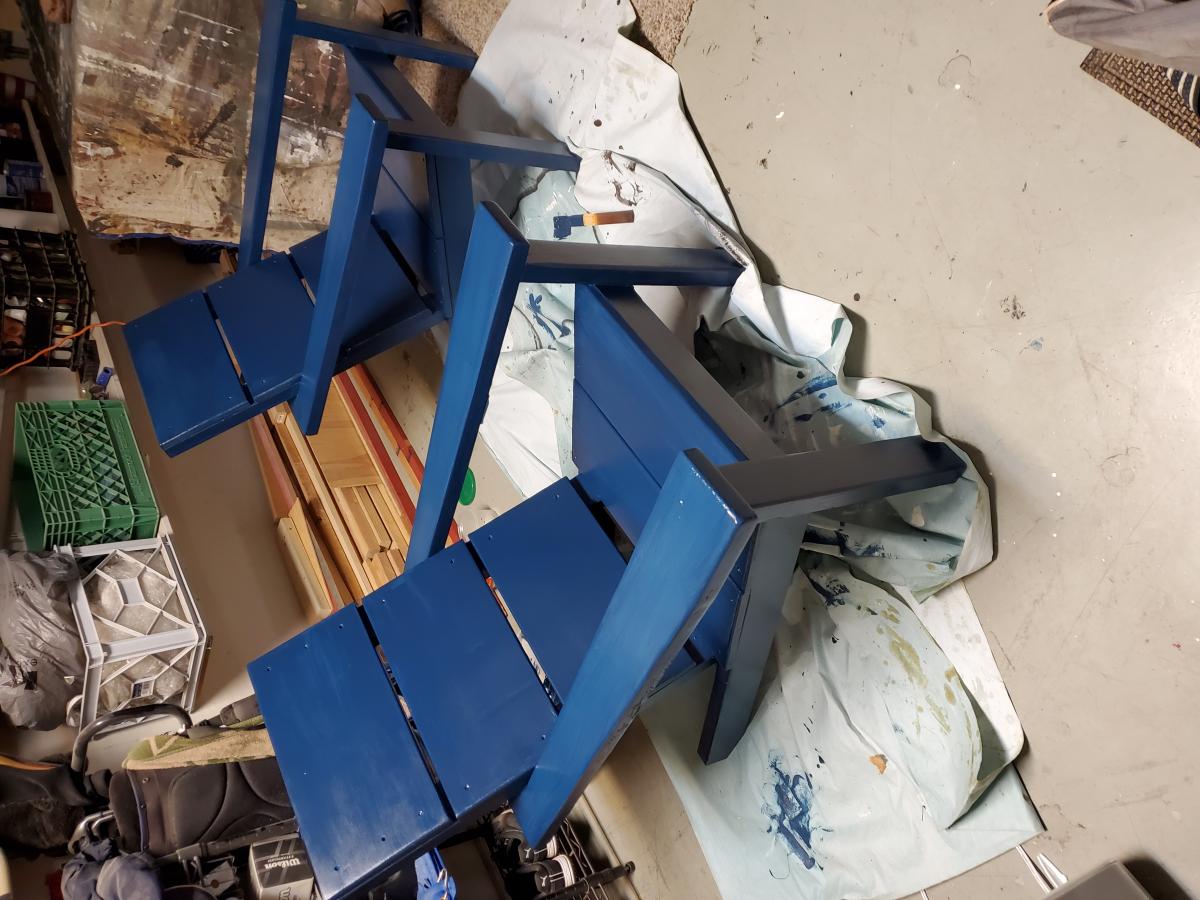
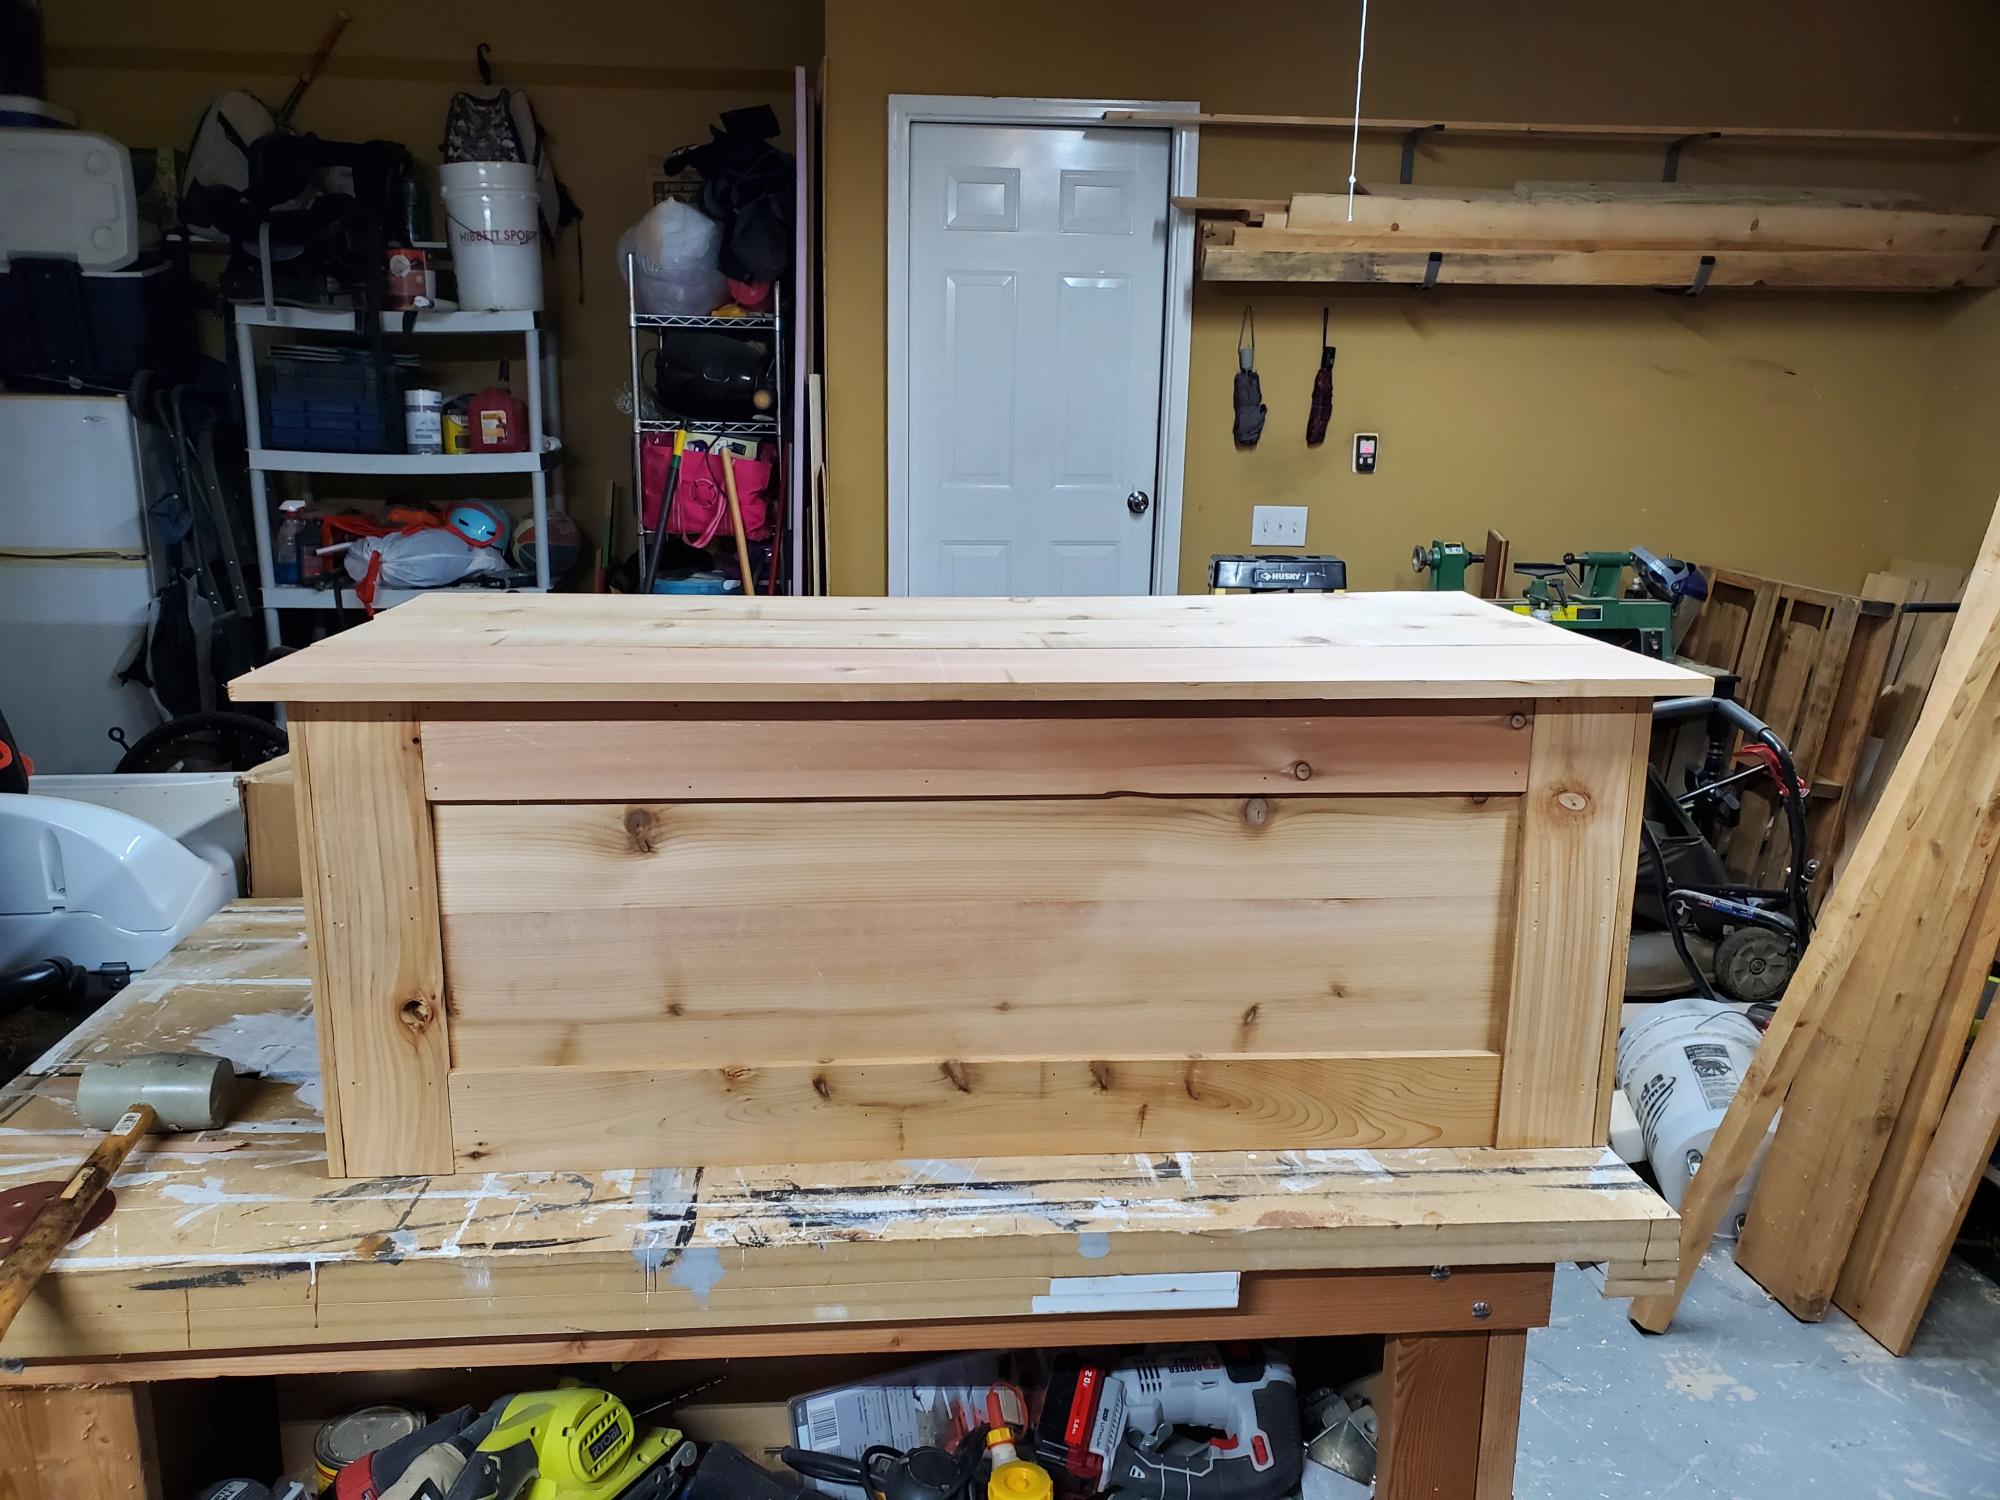
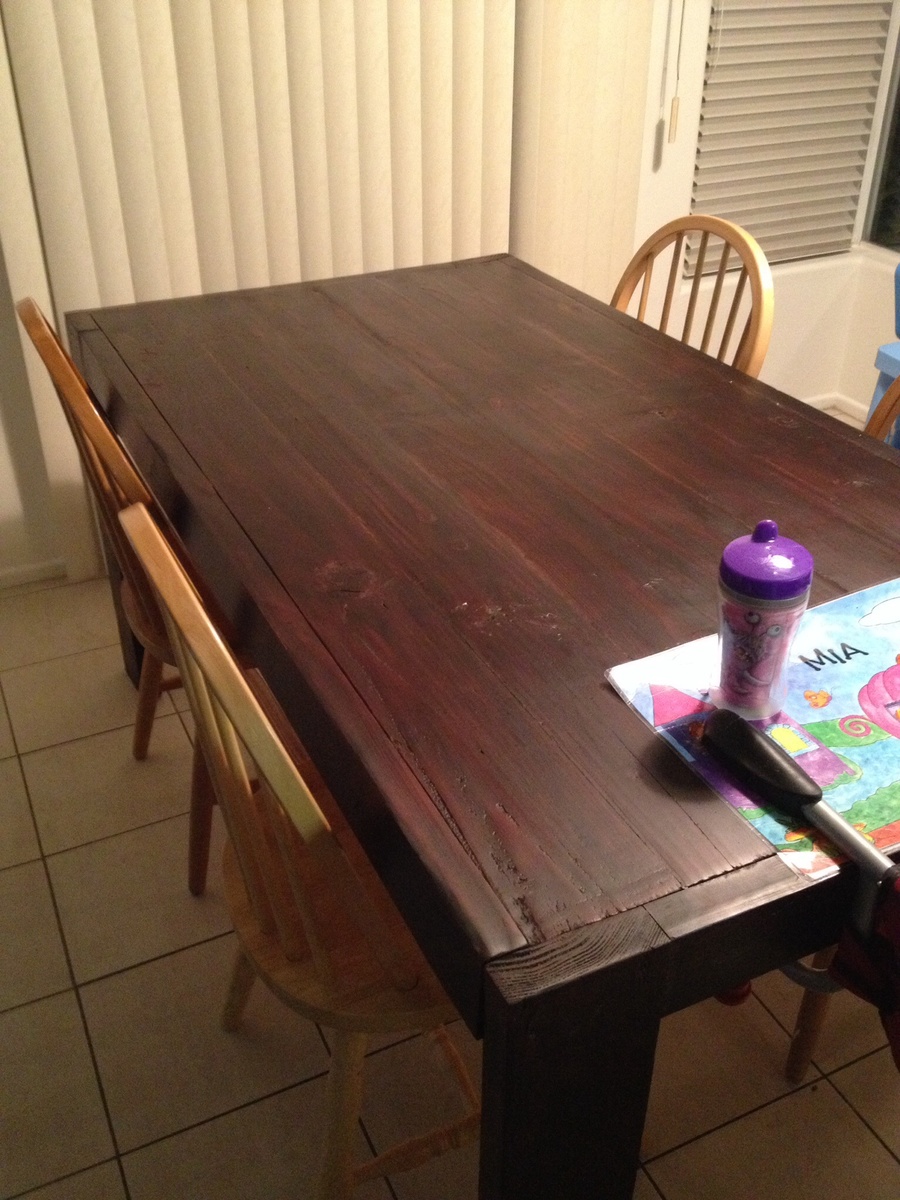
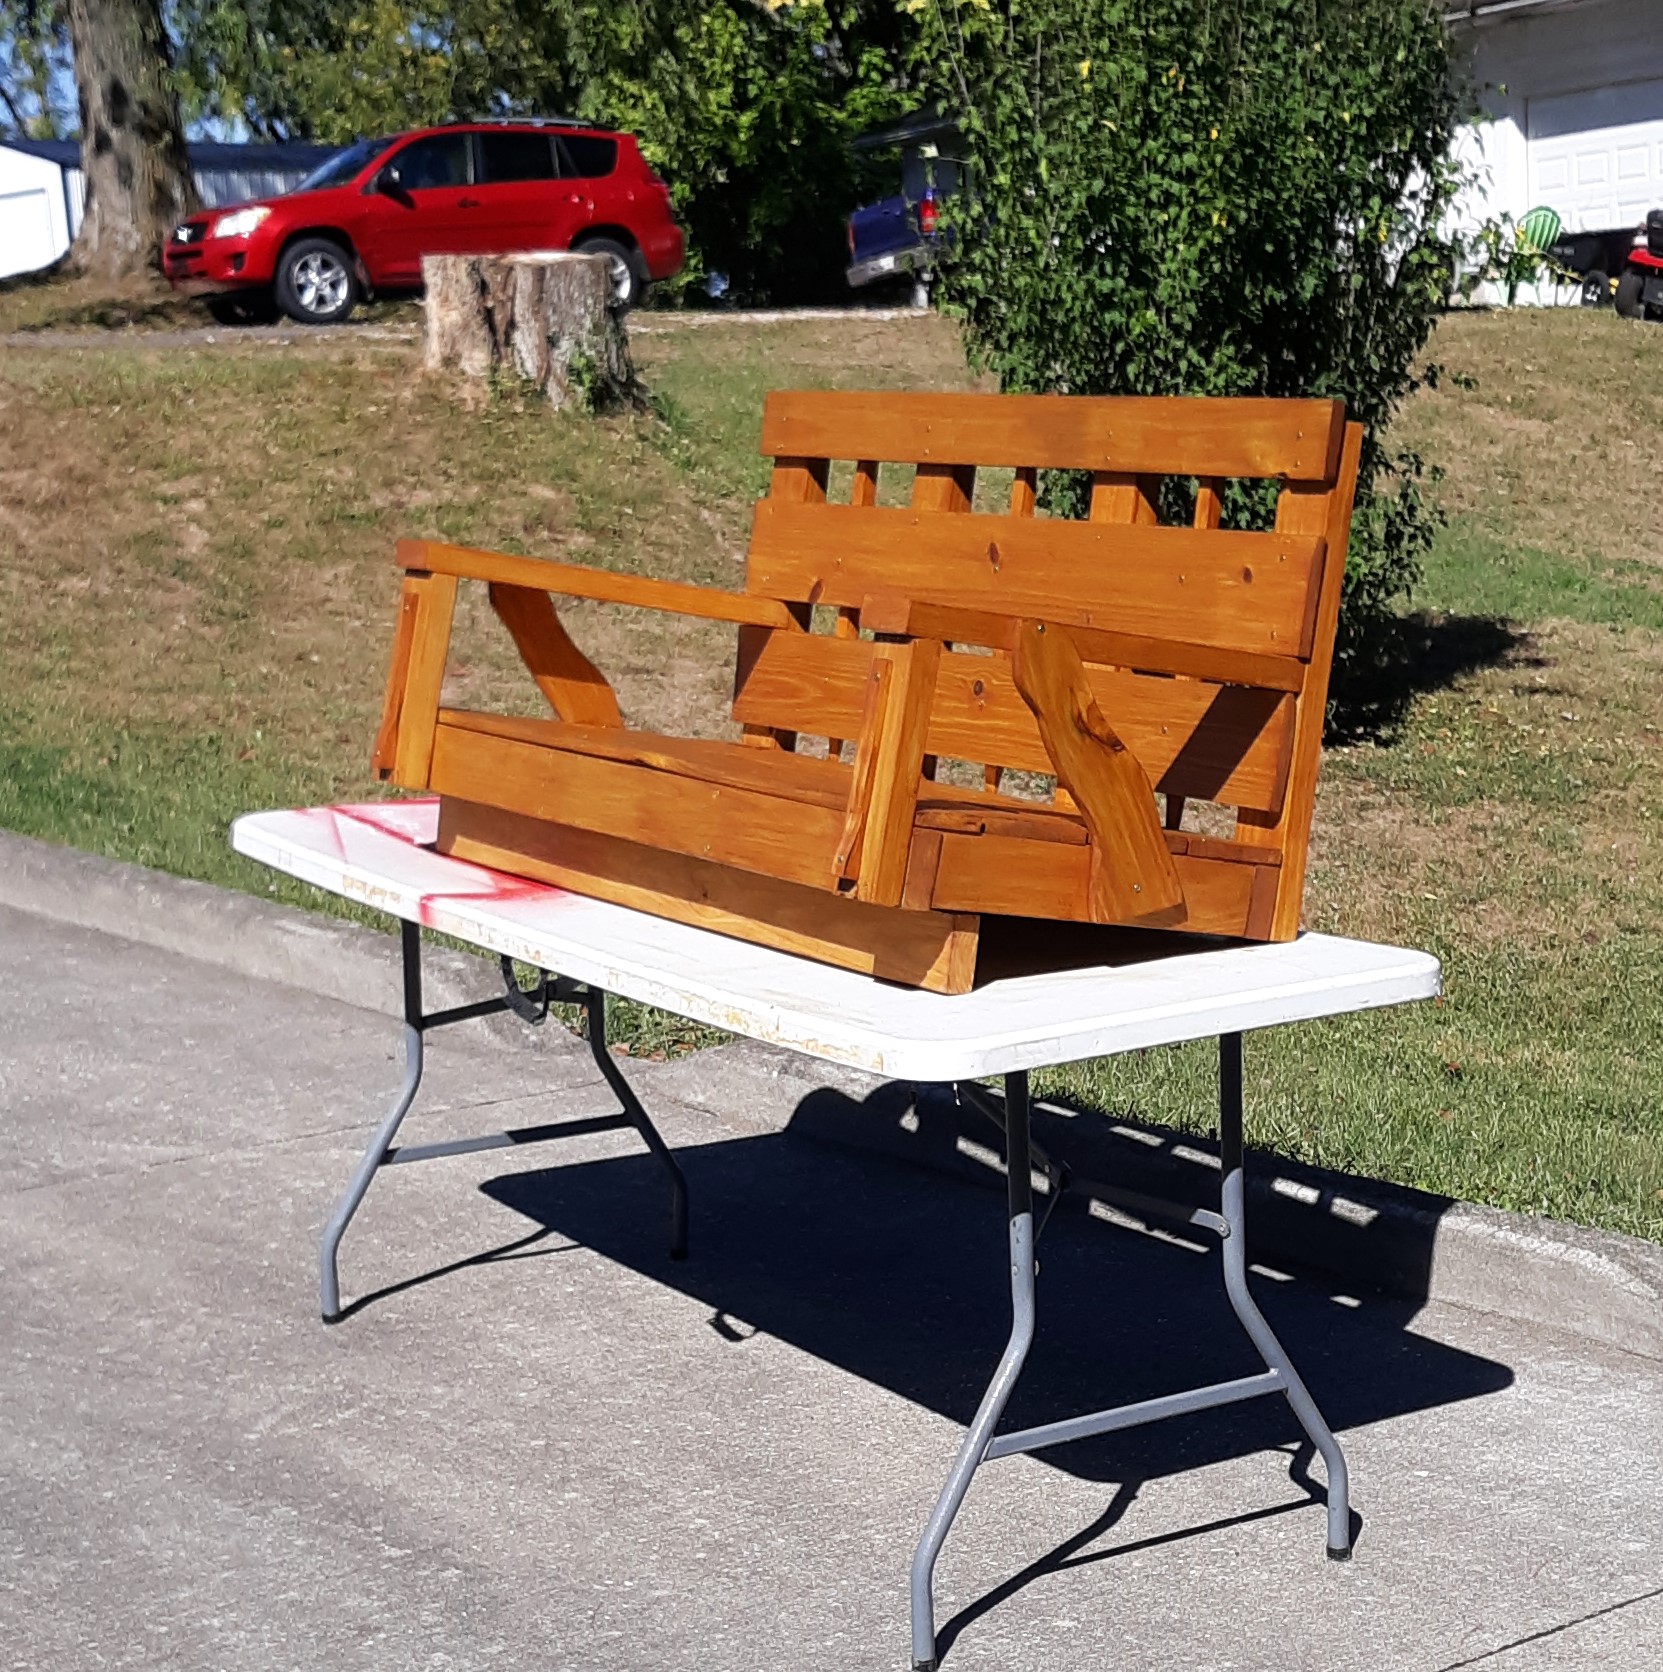
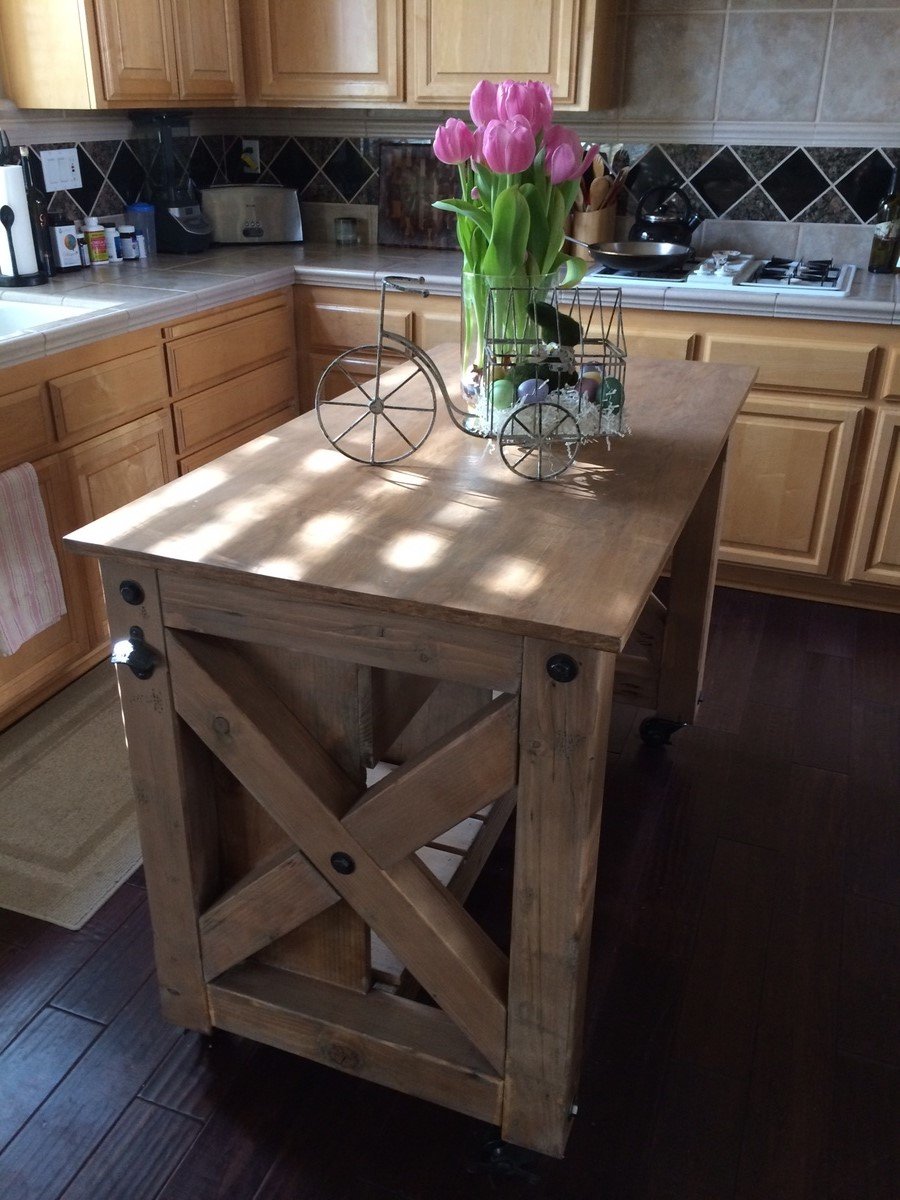
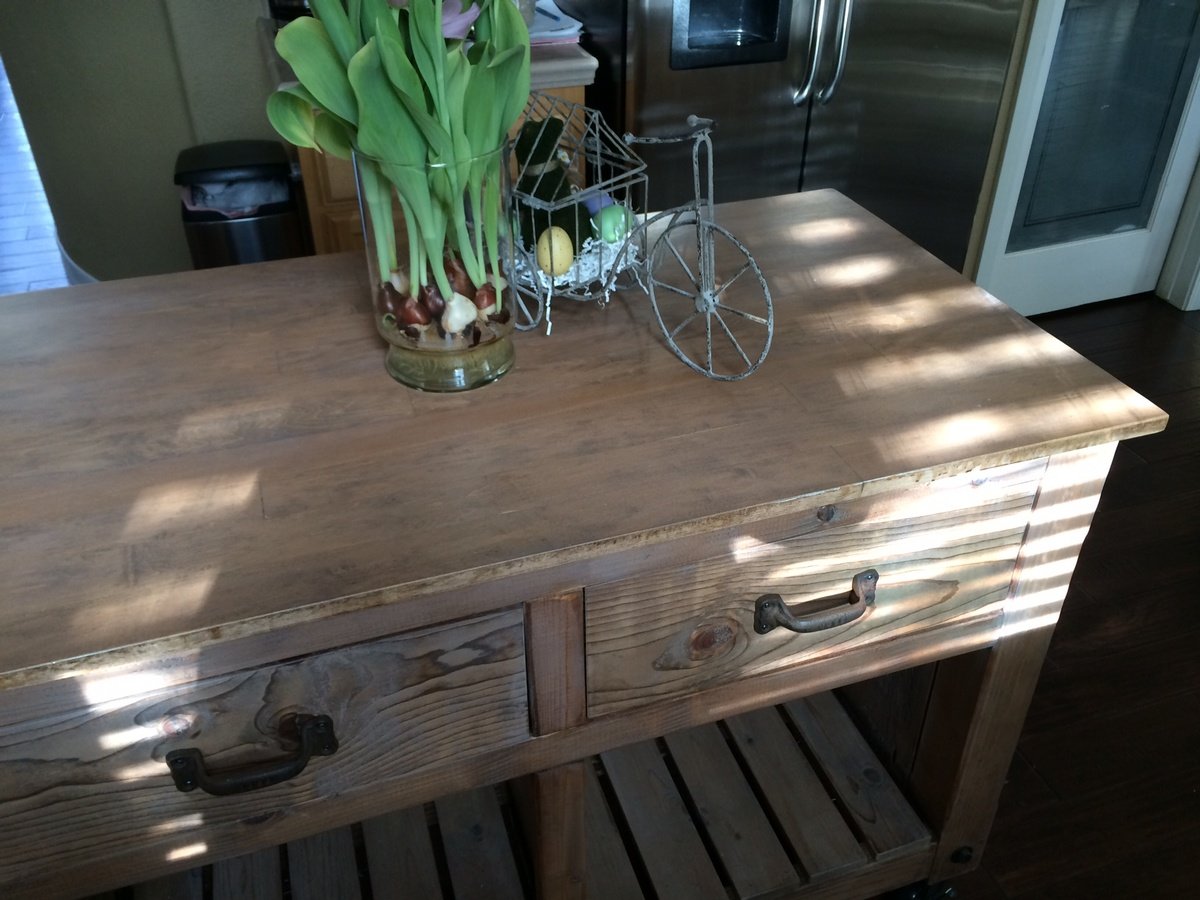
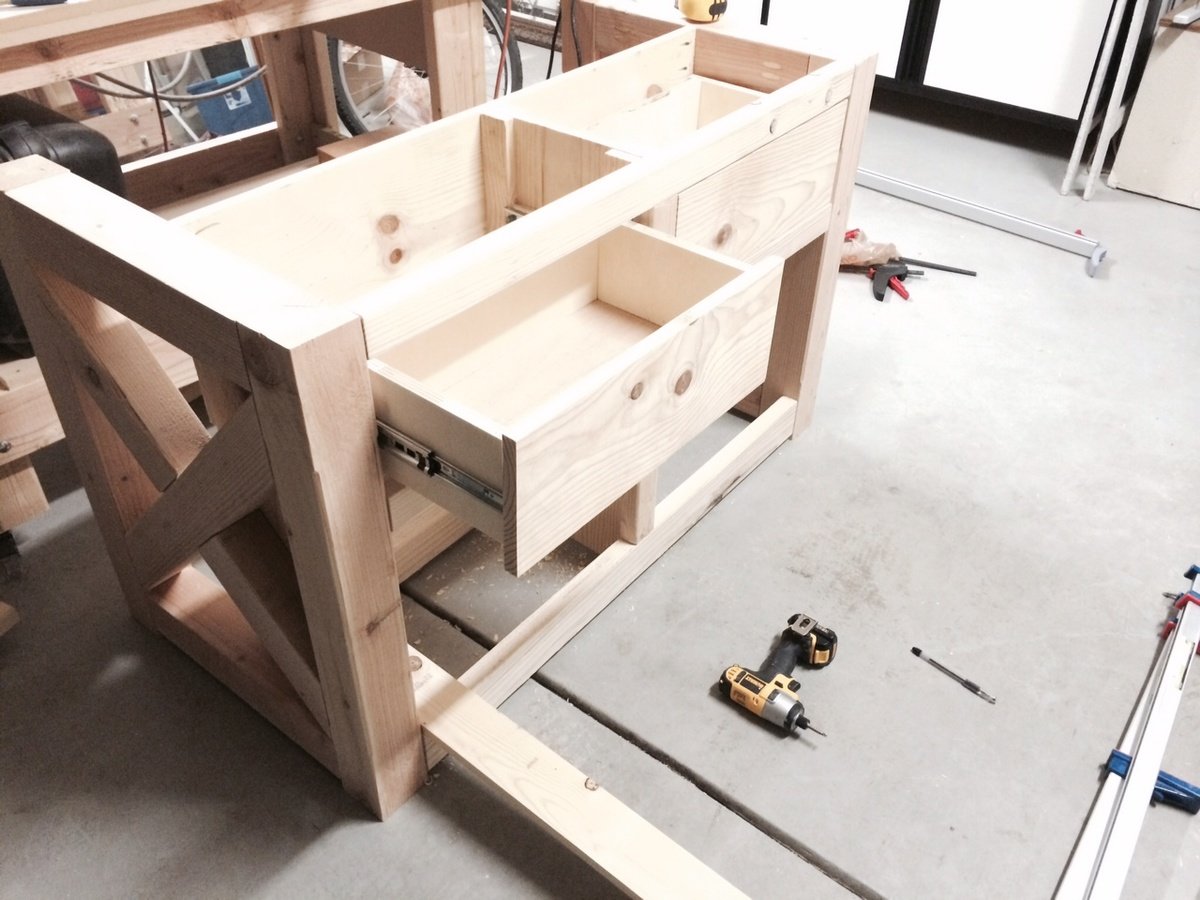
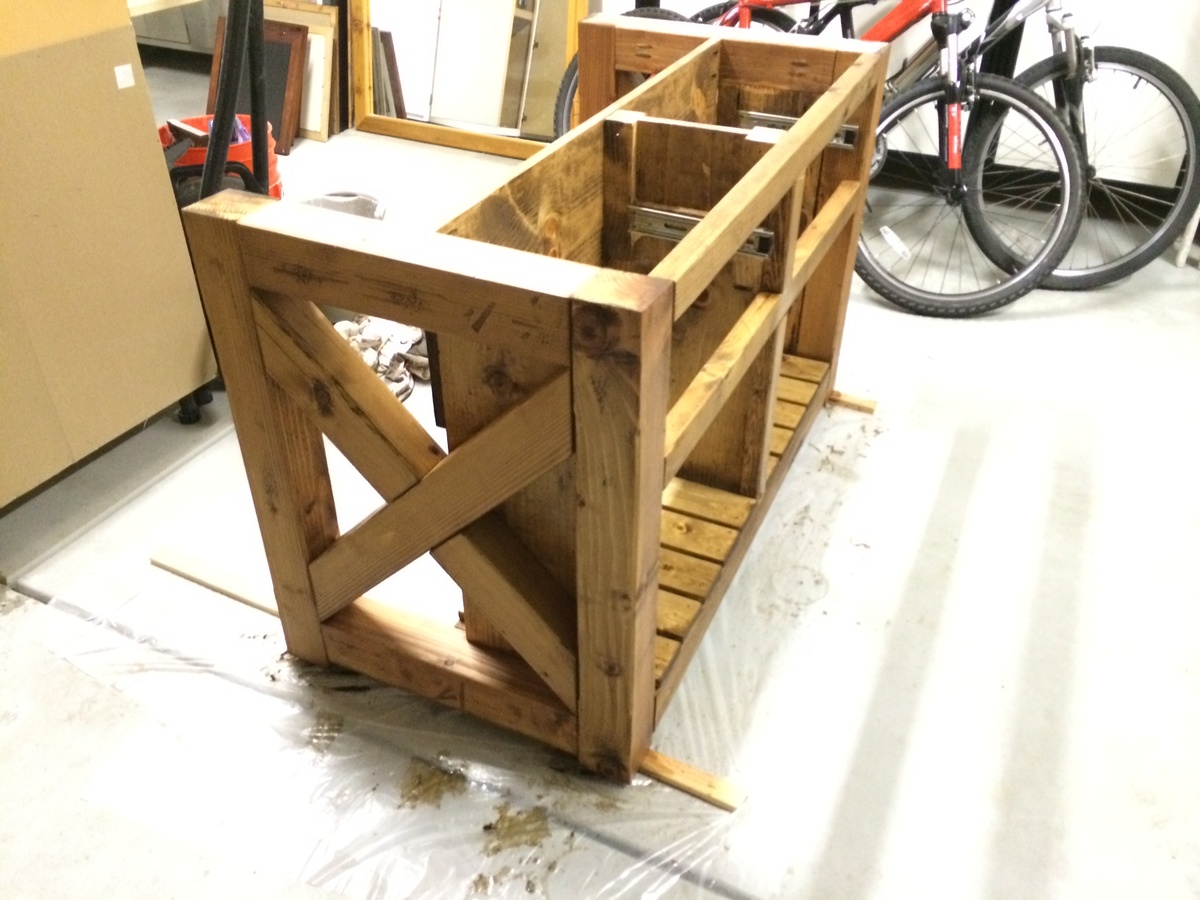
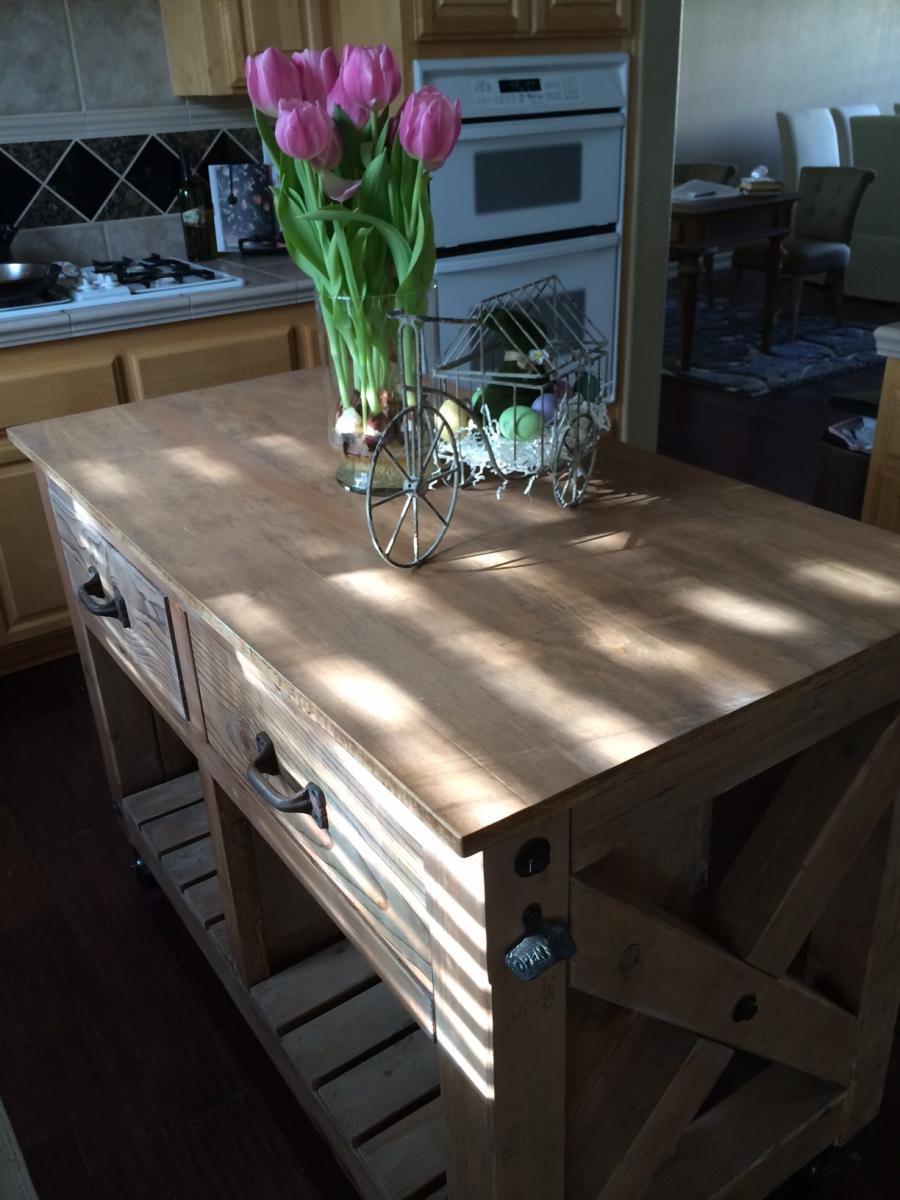
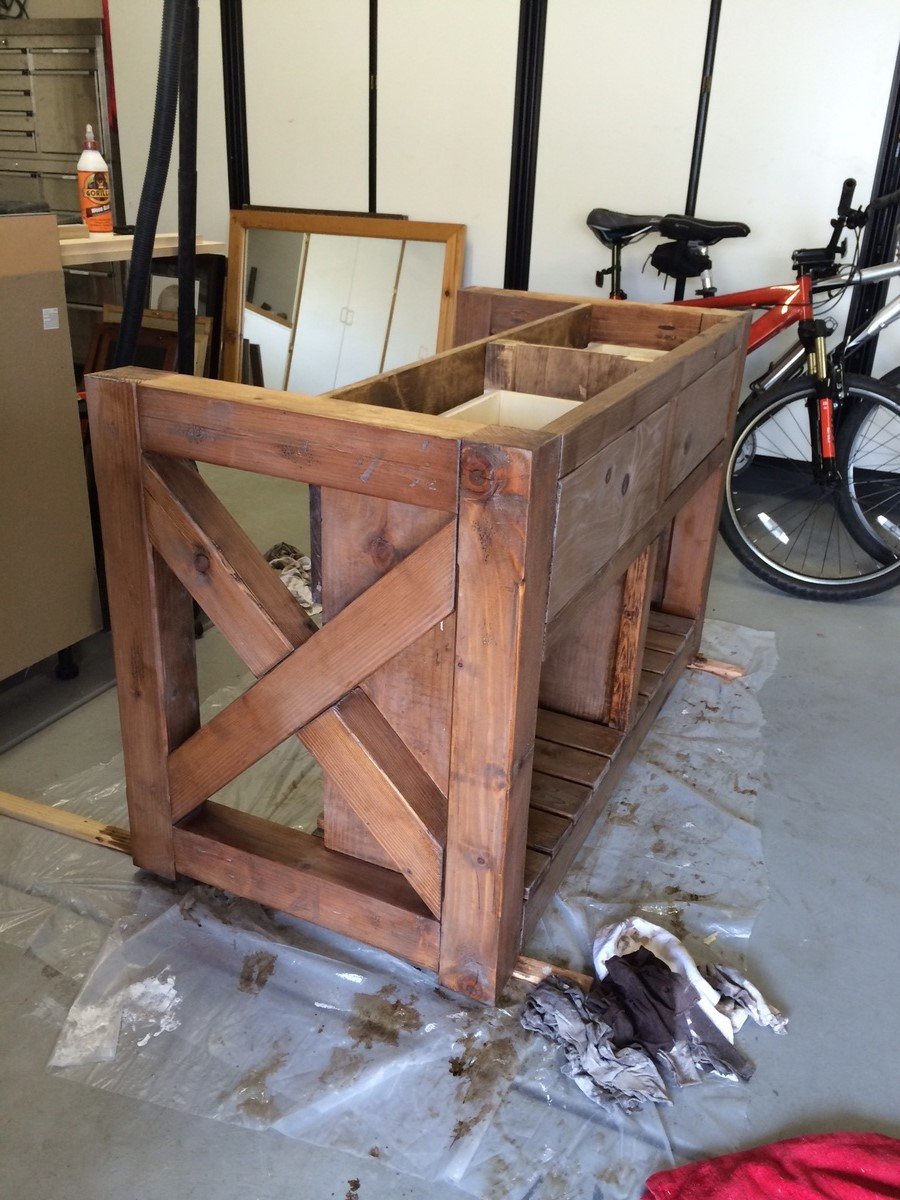
Farmhouse Bench in 1 day
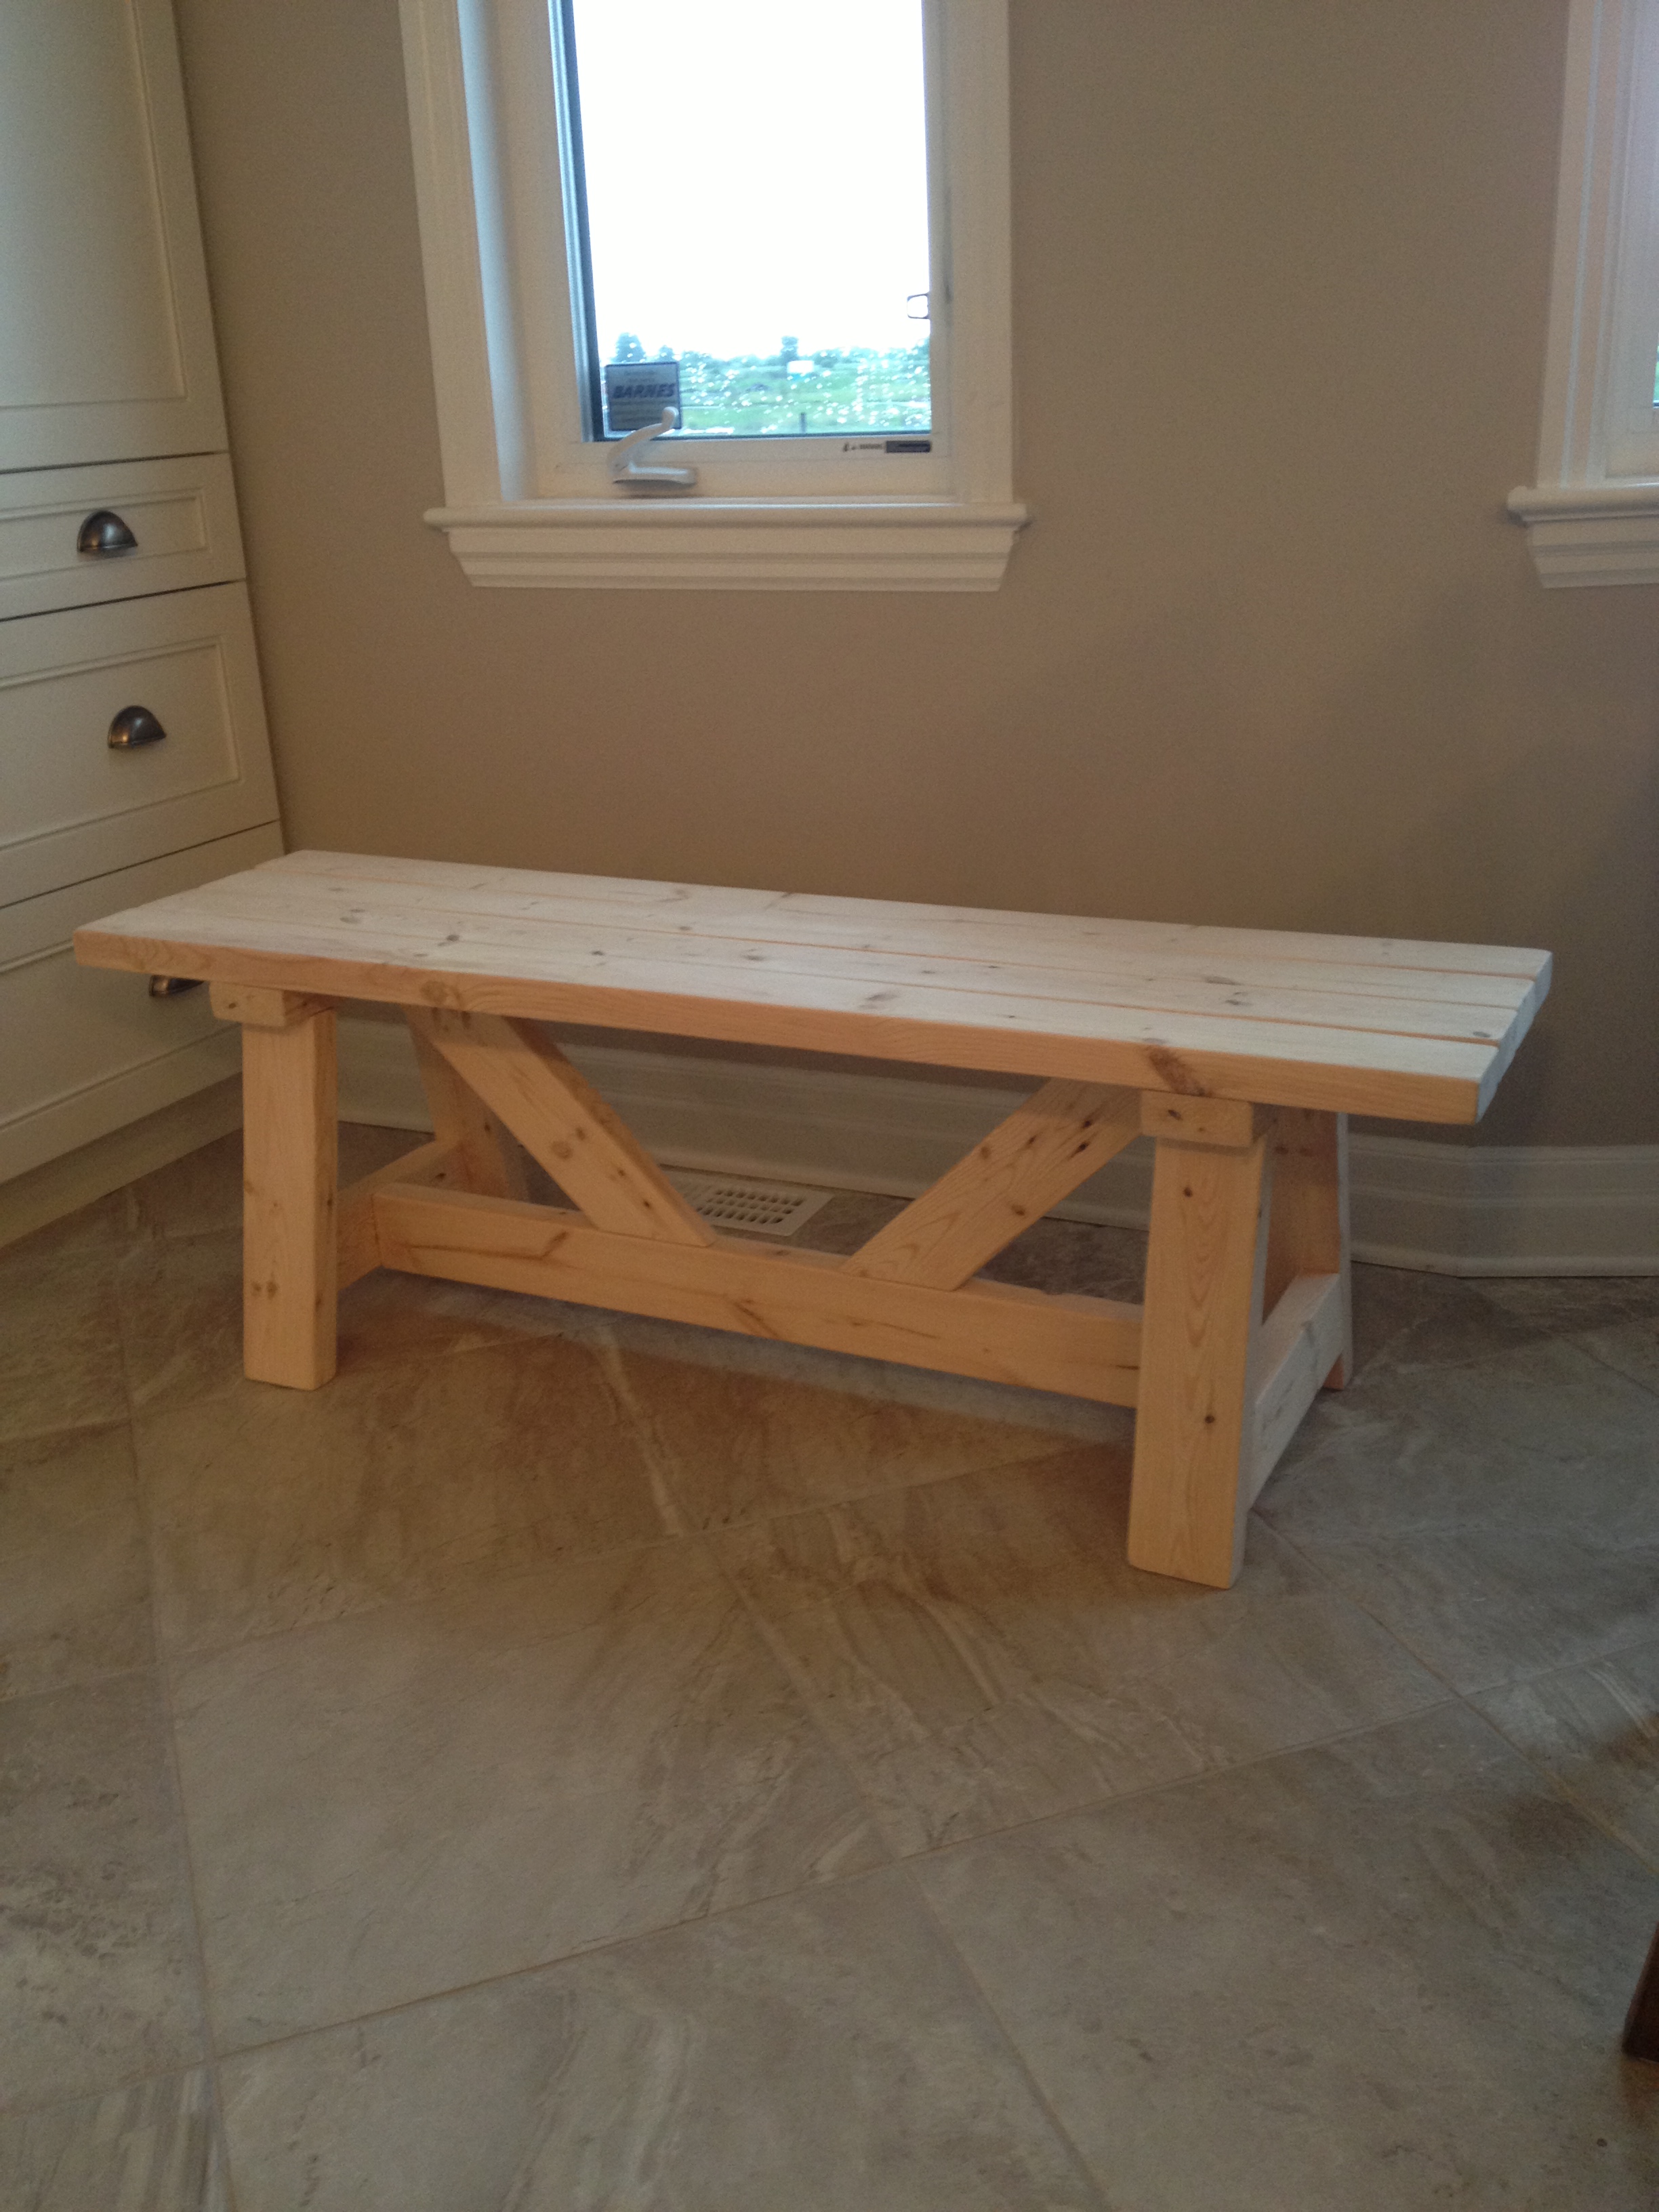
This was my first build from your site! Farmhouse bench.
I was a little confused with the miter saw instructions "bevel cut at a 10 degree angle off center". I had to google to figure out what you meant. In the end the bench looks awsome and I feel very empowered with my tools.
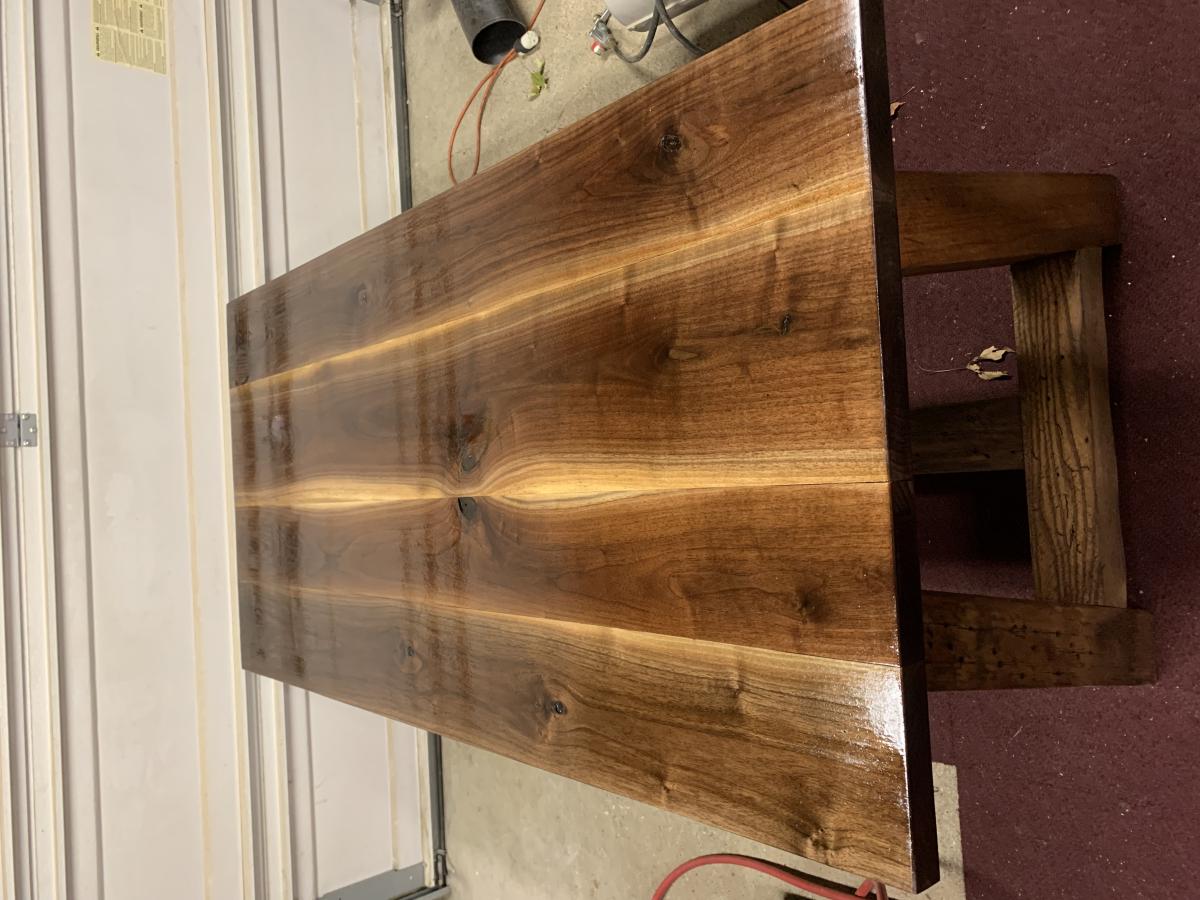
(still need to stain the finished project, bought all the wood and built in 1 day)
Thank you Ana for sharing your plans!! I love your site and I love my Kreg Jig!
Vicki
(Canada)
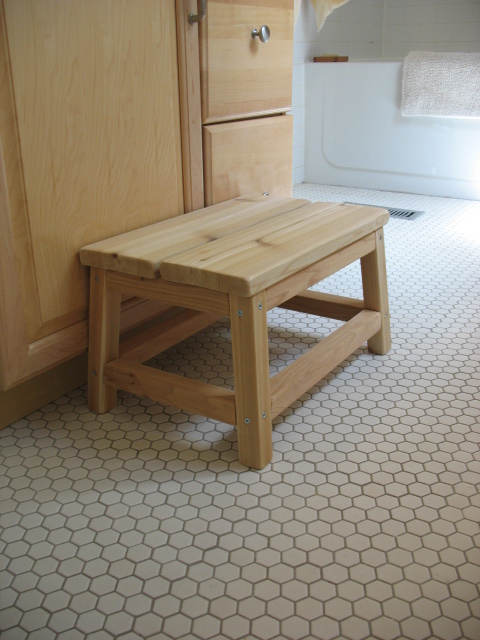
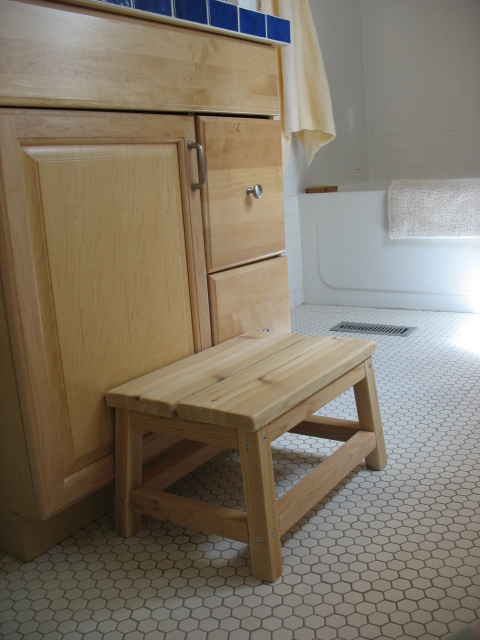
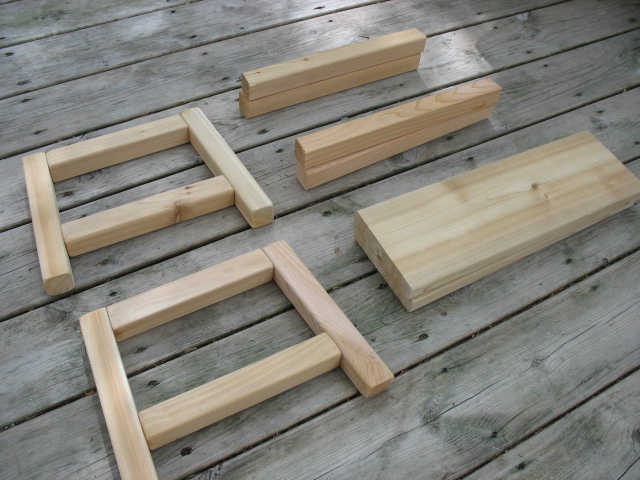
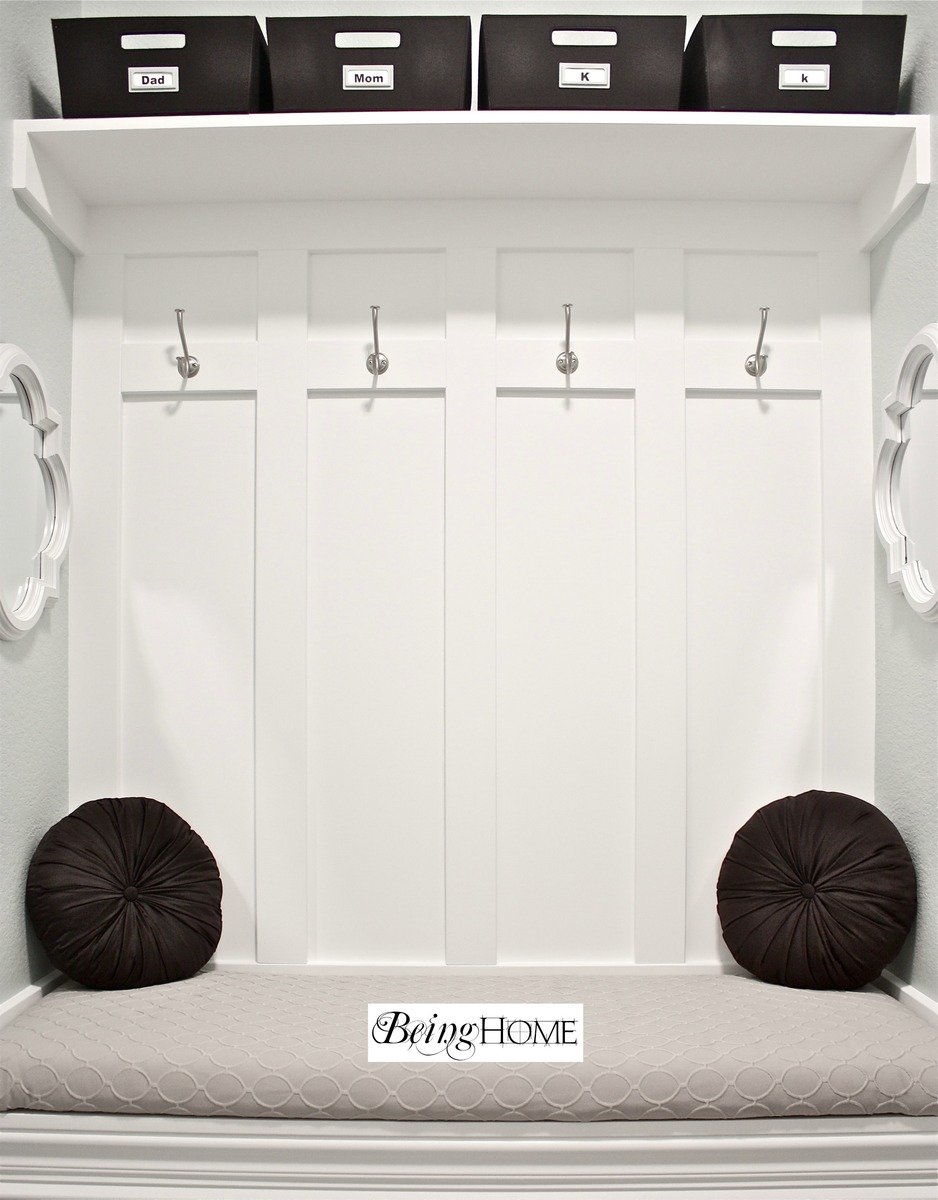
Estimated Time Investment
Day Project (6-9 Hours)
Finish Used
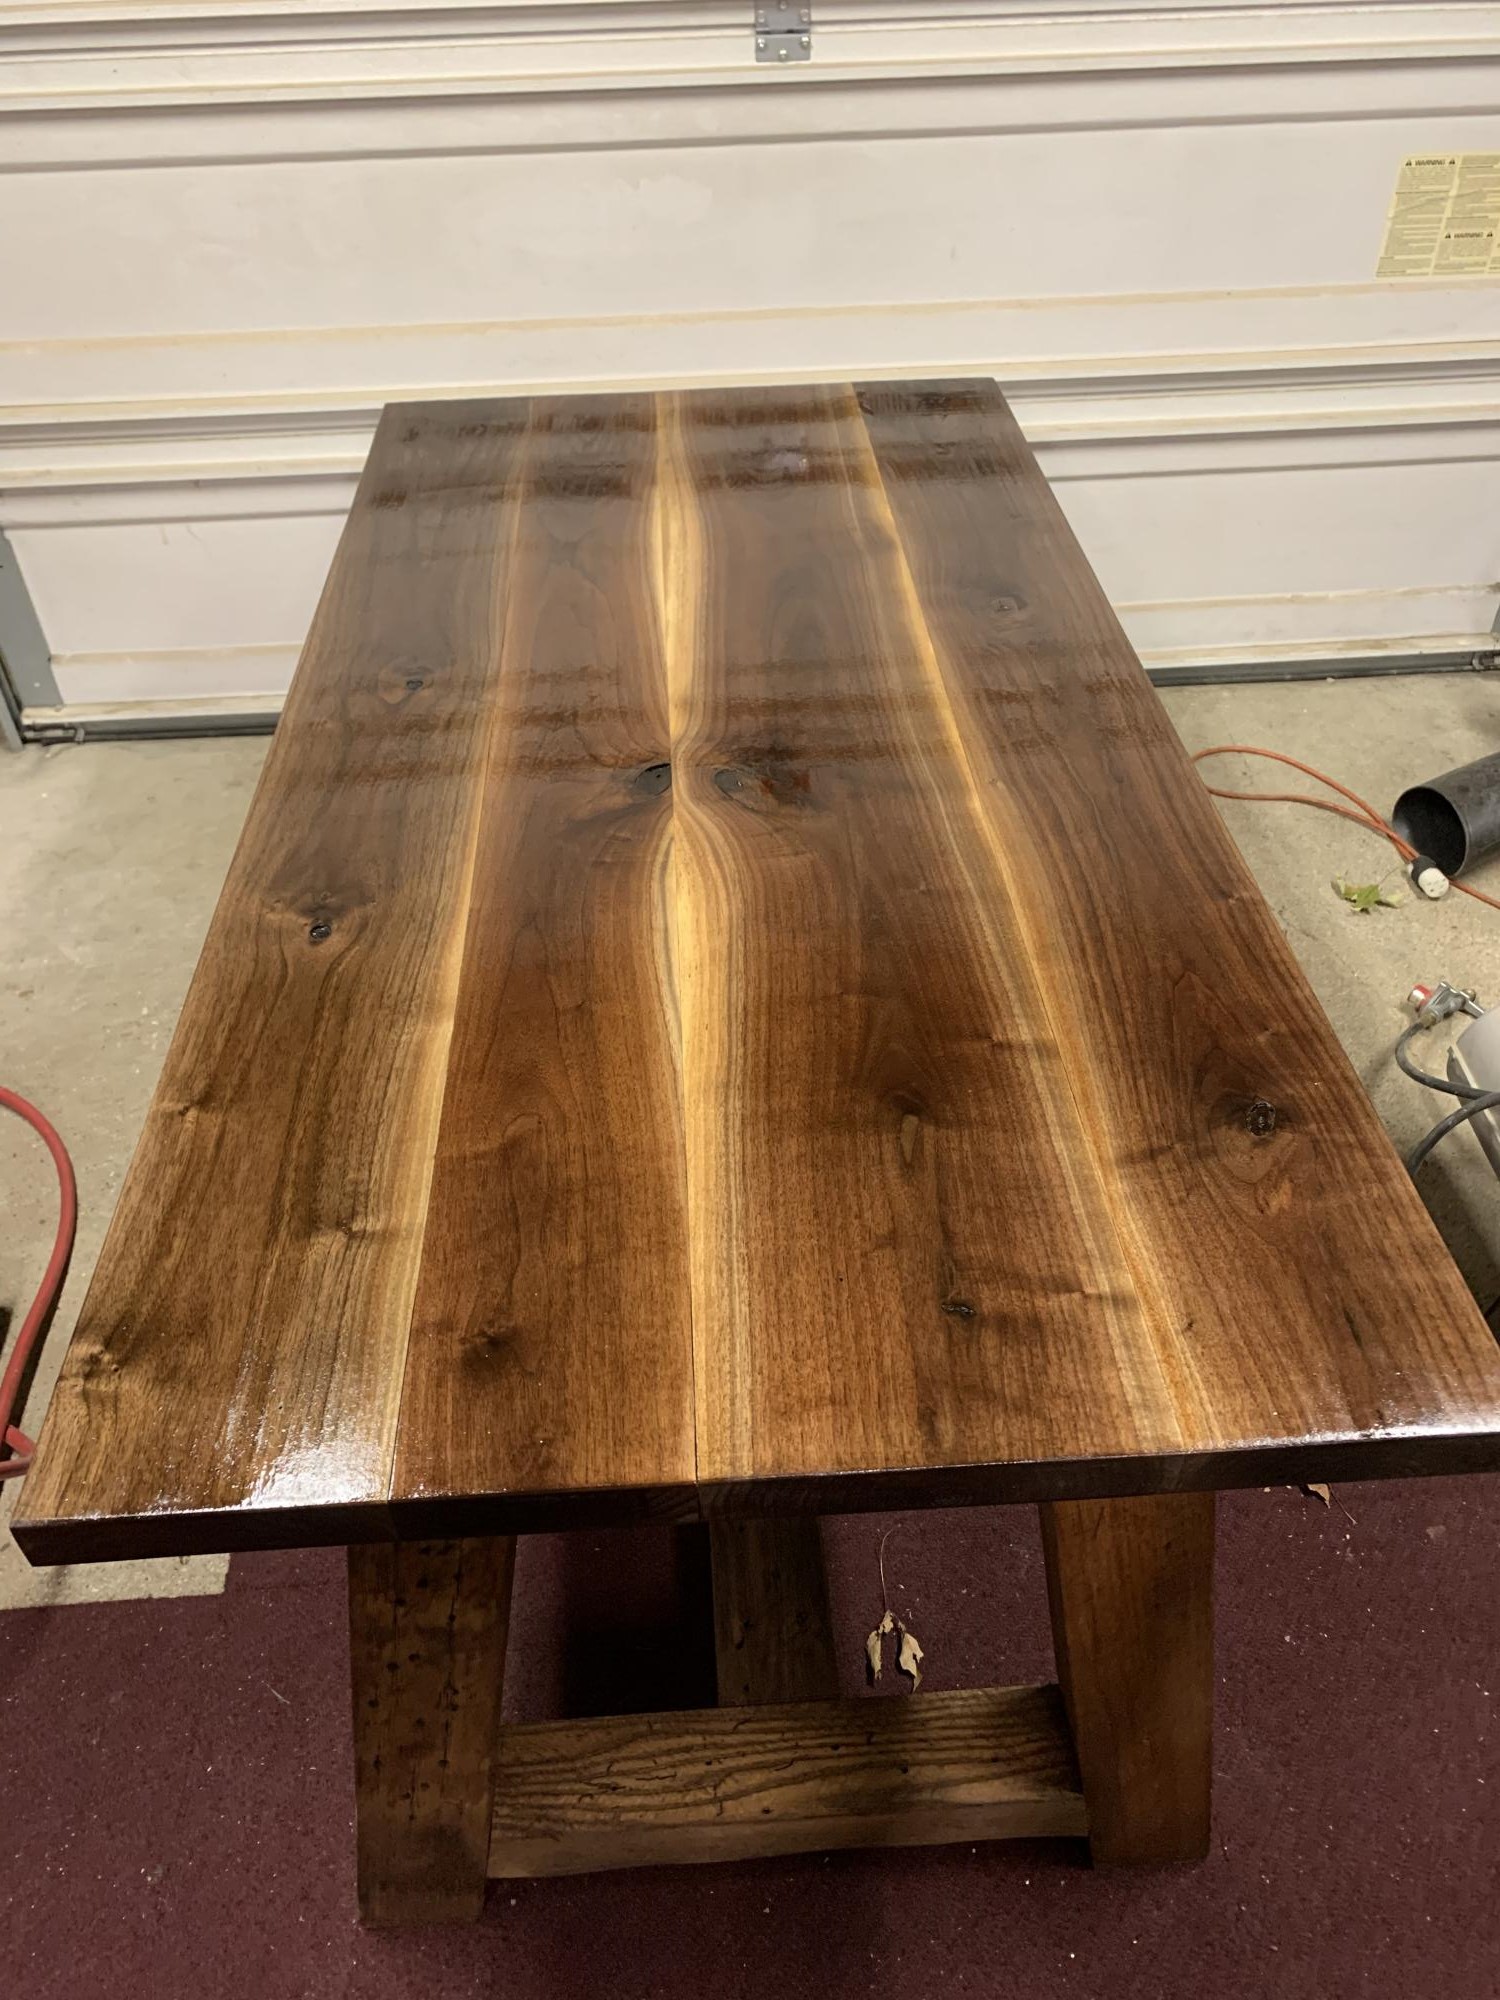
going to use walnut stain.
Recommended Skill Level
Beginner


Comments
Ana White Admin
Sat, 06/28/2014 - 16:30
Looks great!
Lovely! Thanks for sharing!
ivo.tisljar
Wed, 04/15/2020 - 11:38
It looks great and rock…
It looks great and rock solid. I can't find a plan for it. Could you please help me?
ivo.tisljar
Wed, 04/15/2020 - 11:40
Found it :-)
Found it :-)
kathleen Bright
Sat, 10/24/2020 - 04:39
Where can I find this…
Where can I find this project plan?