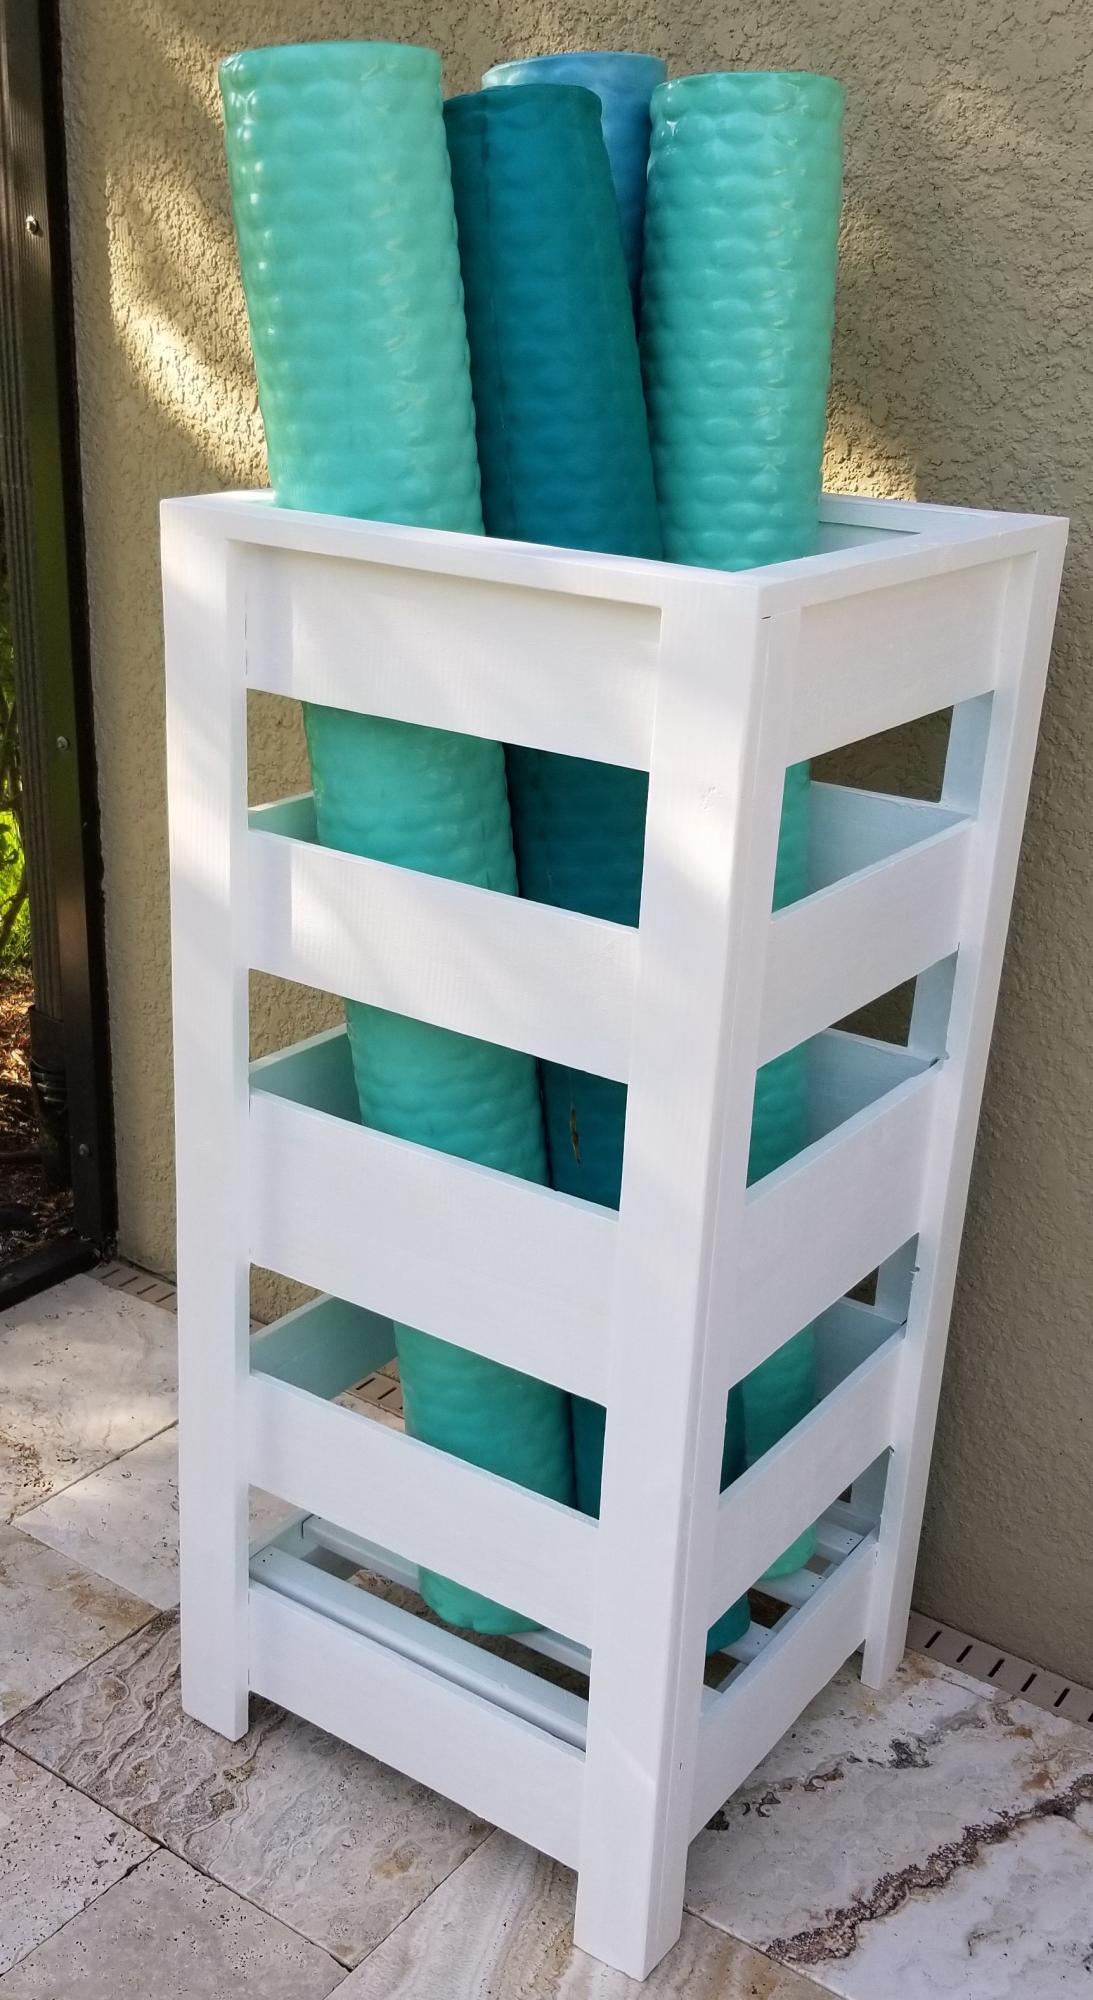
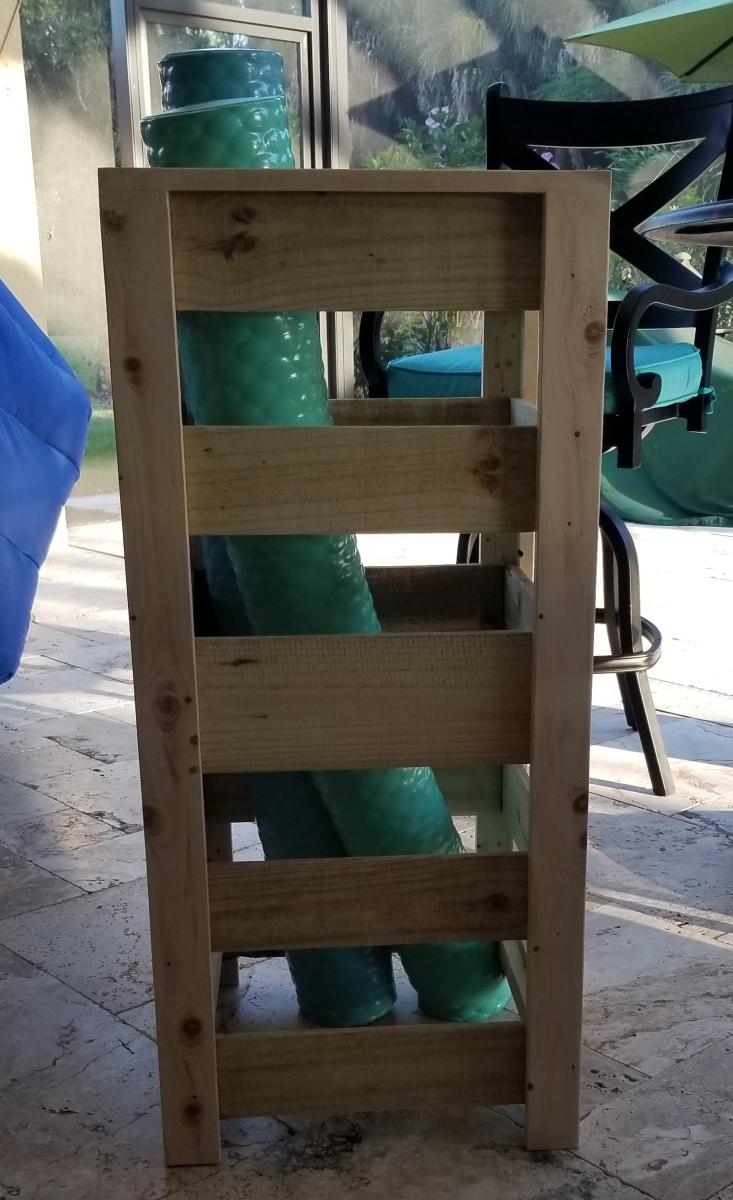
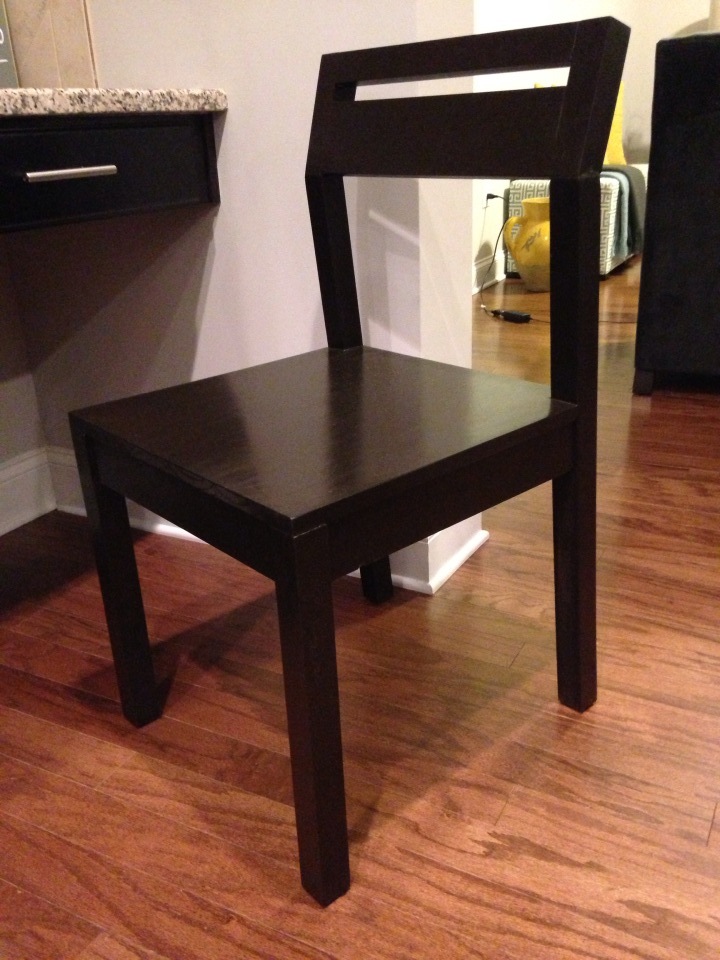
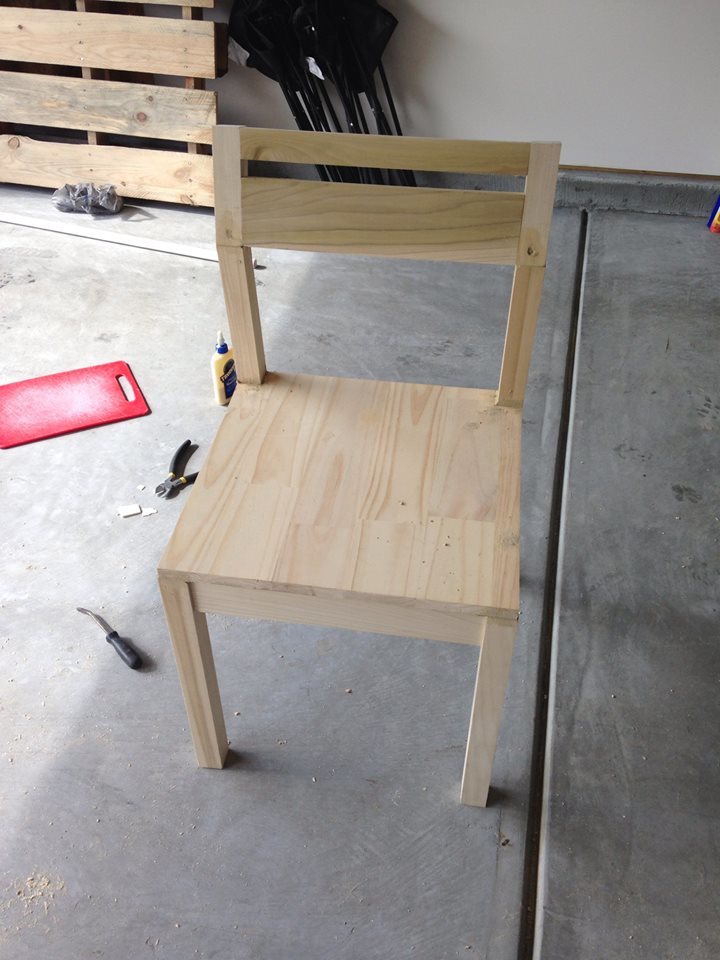
Wife's Kindergarten Classroom
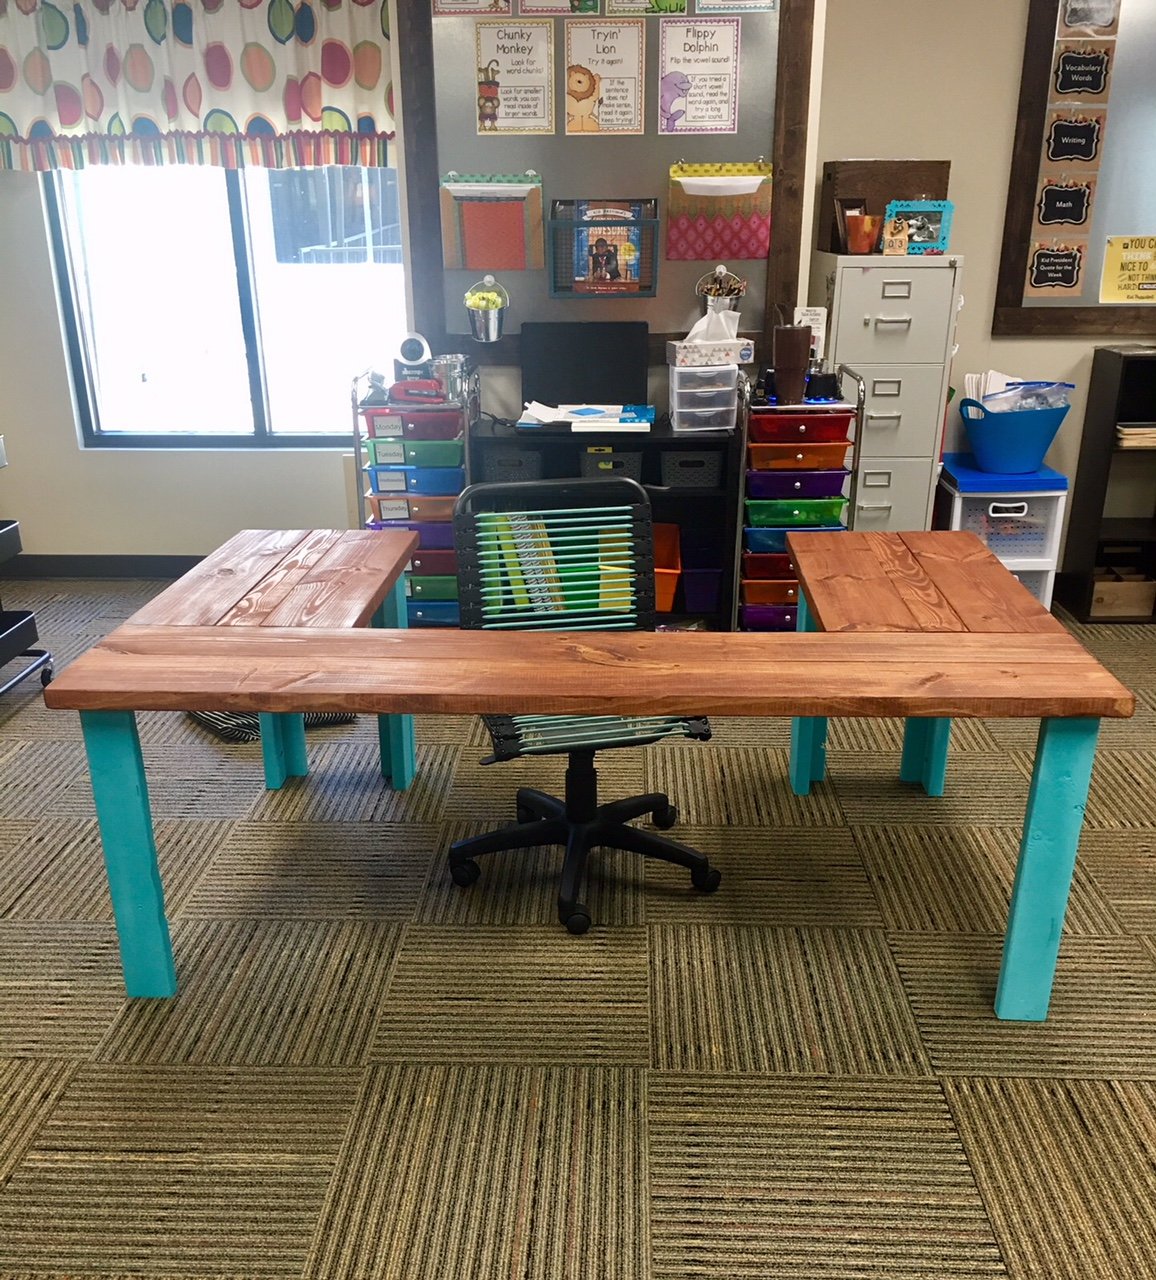
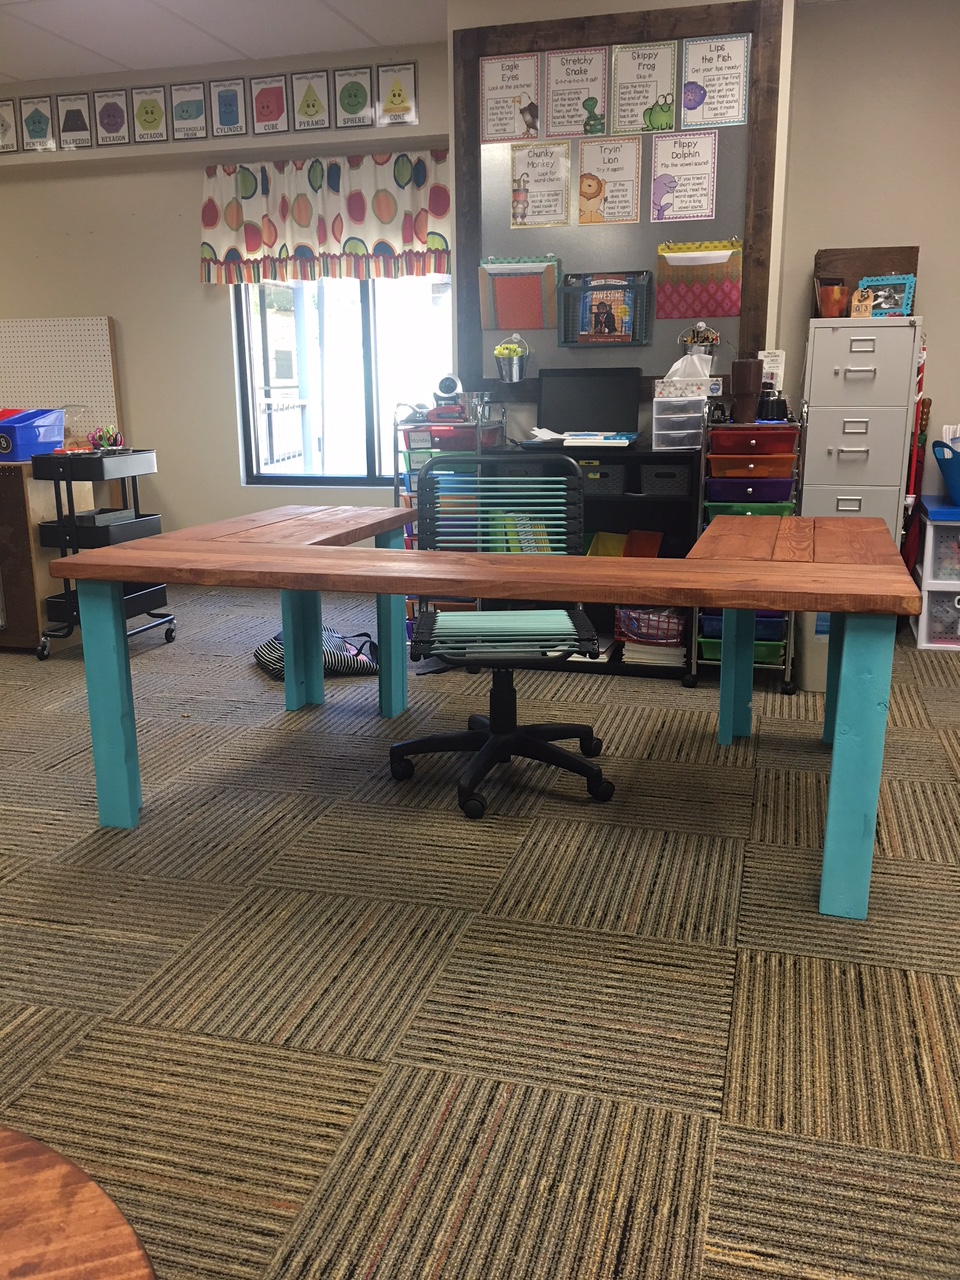
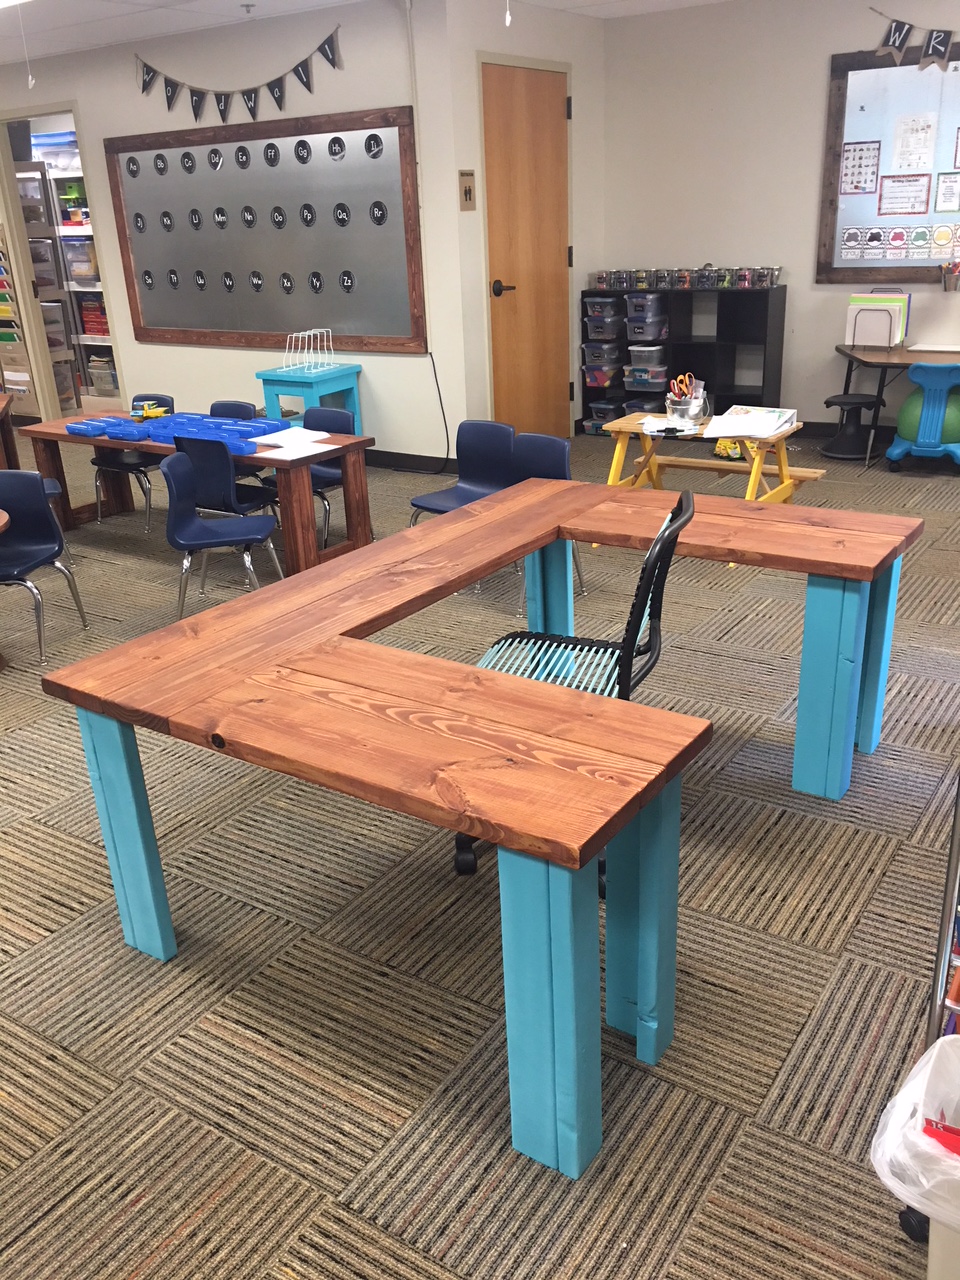
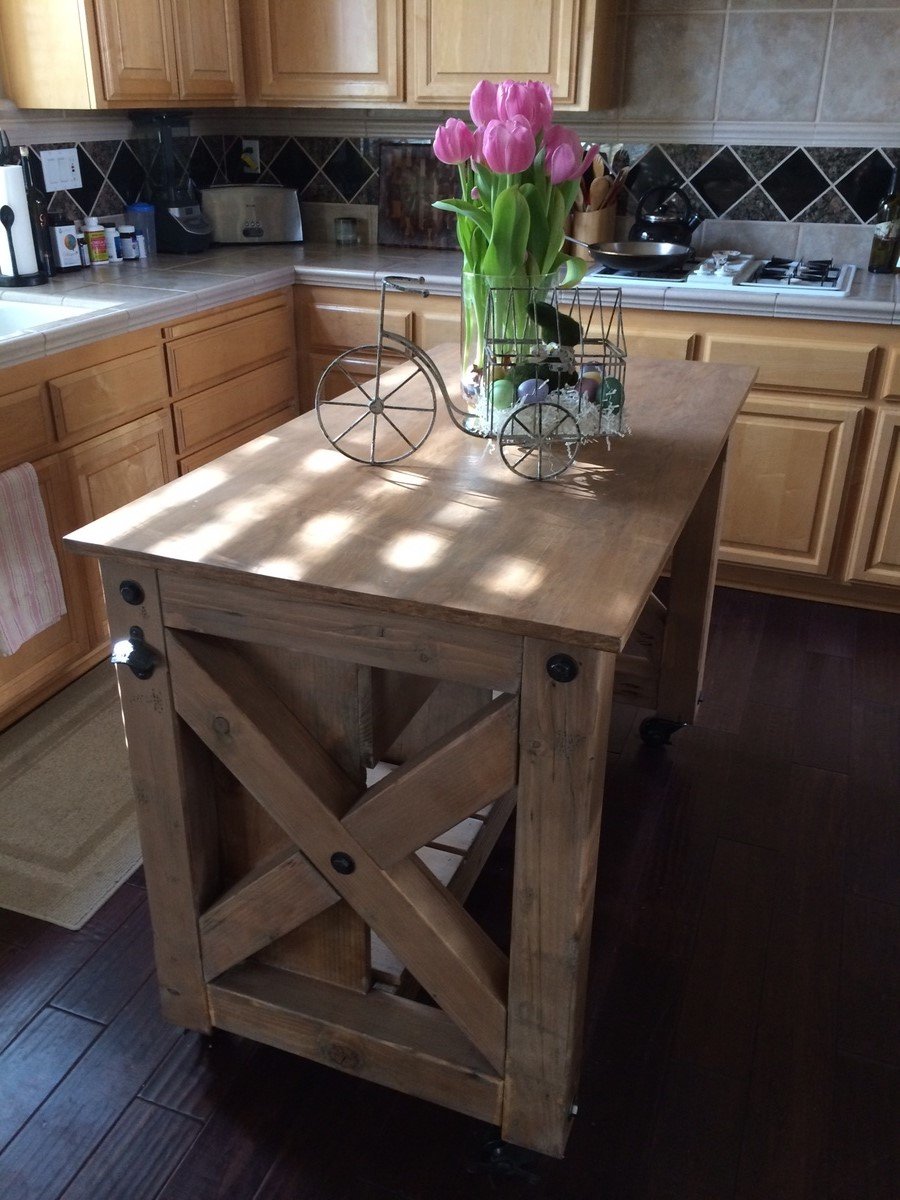
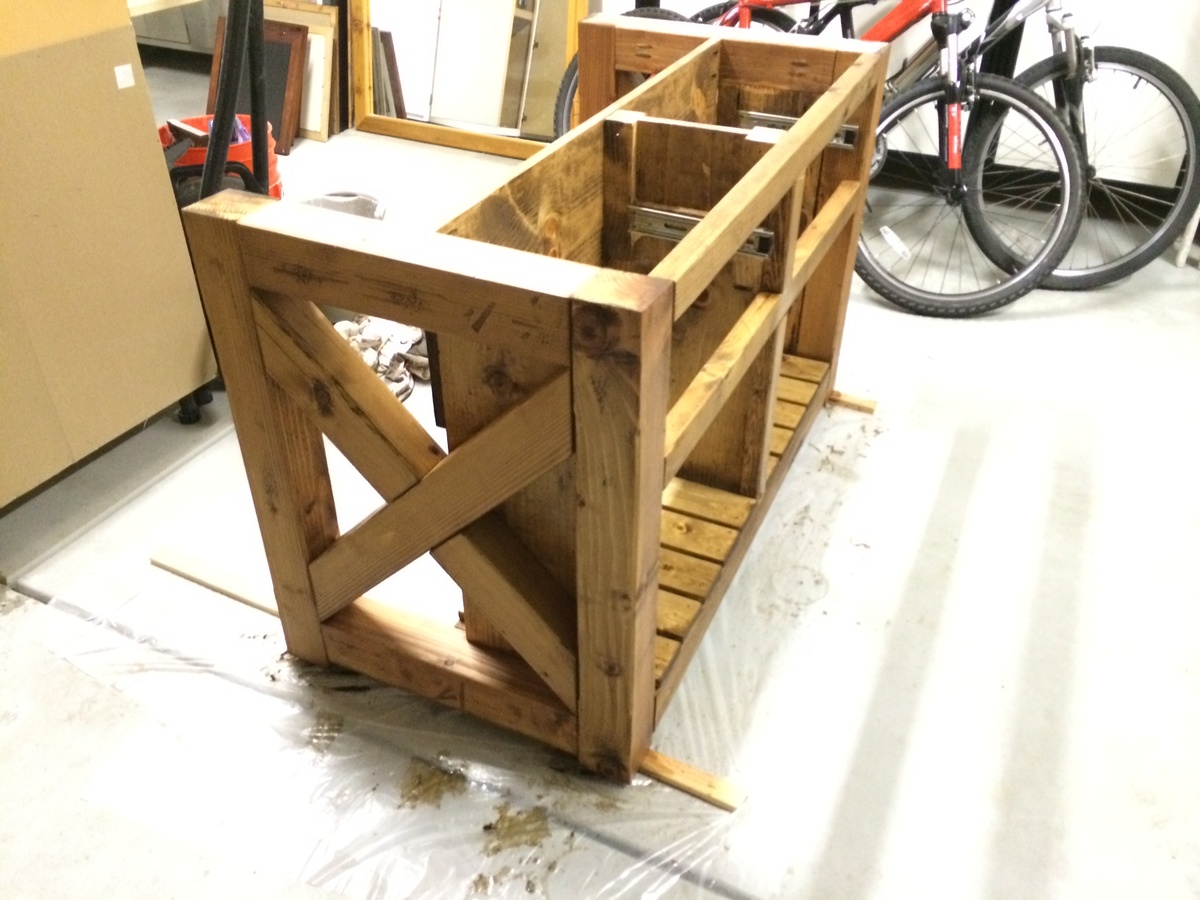
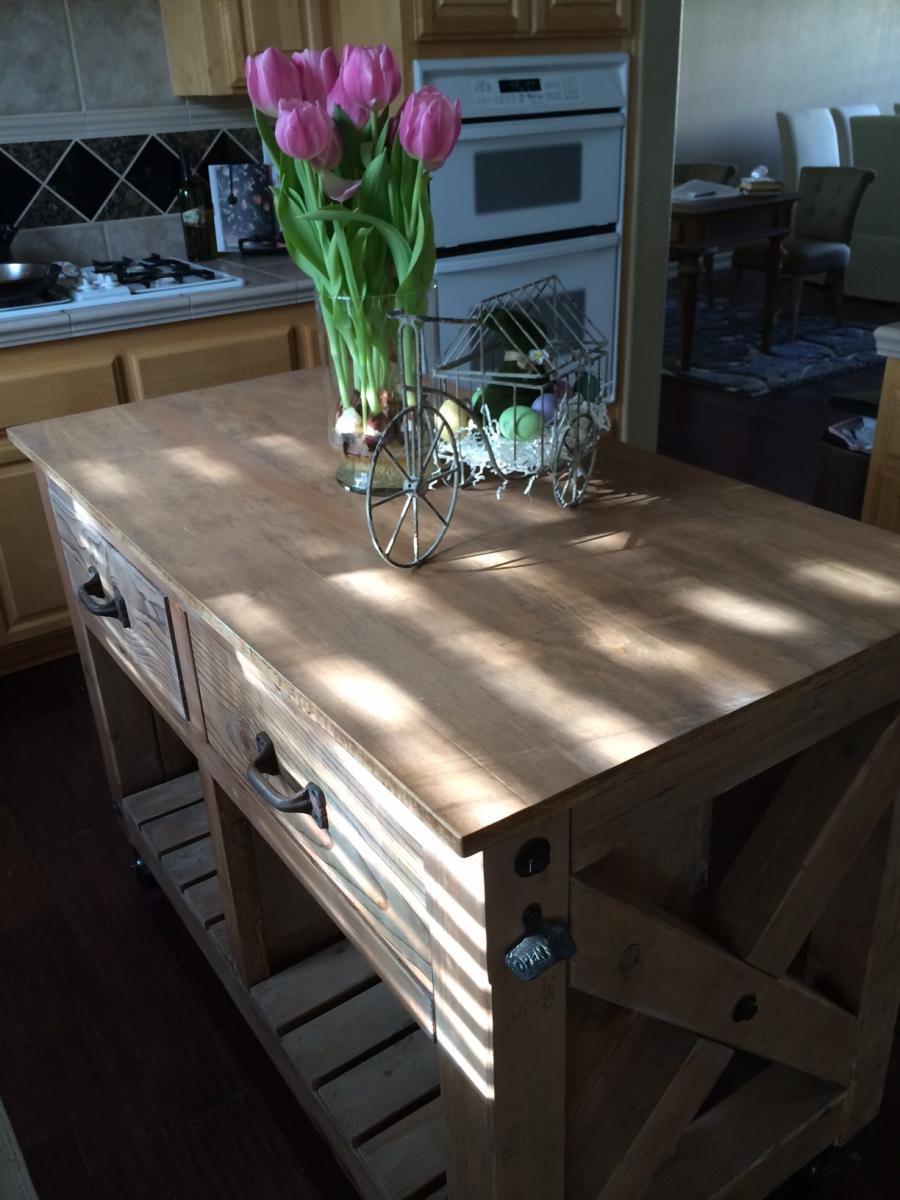
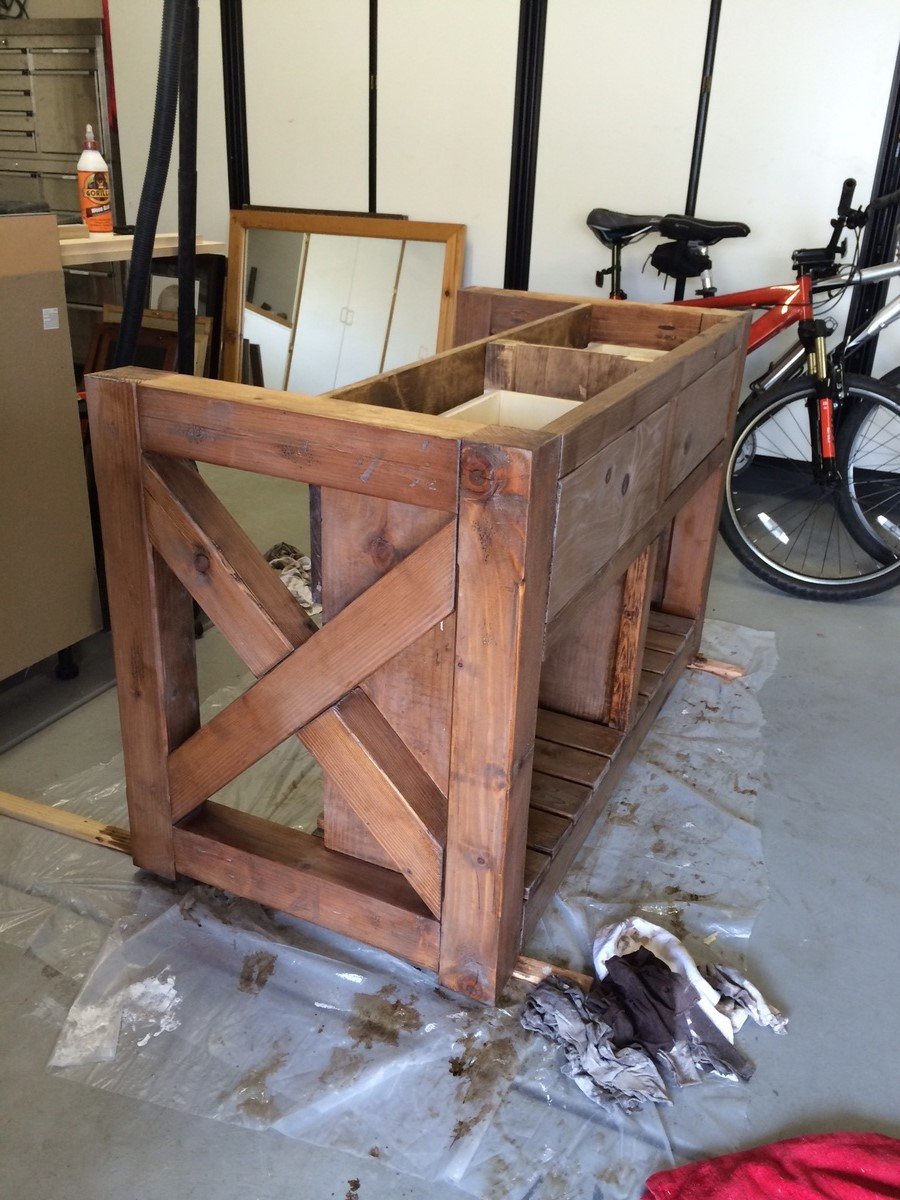
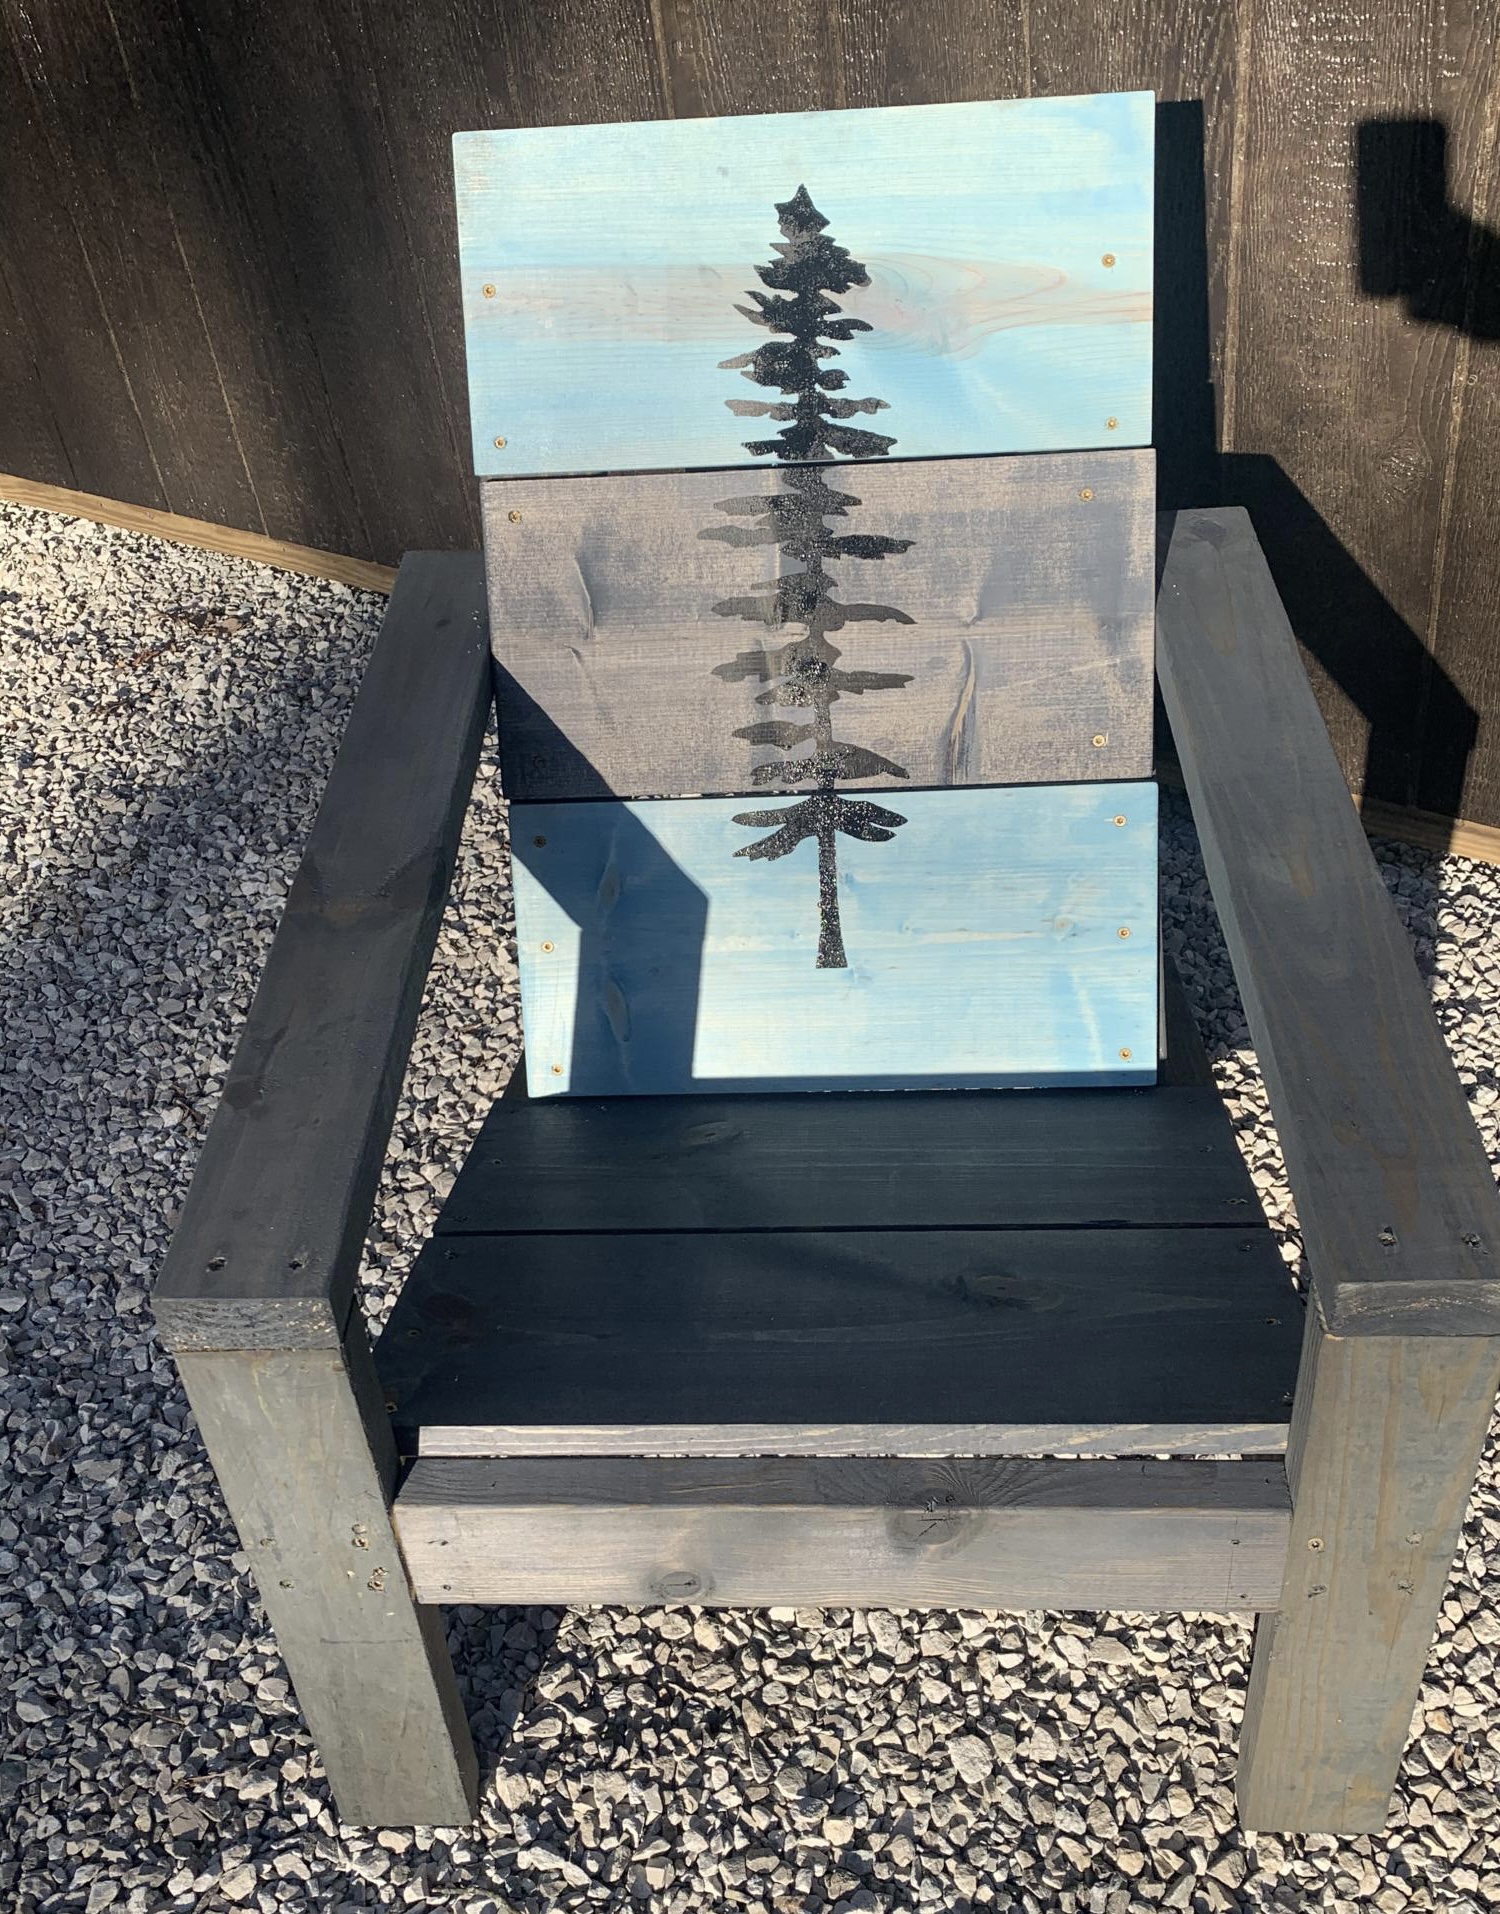
Been a while since I had time to actually build anything worth posting about! My wife wanted some items for her Kindergarten classroom this year, so built several items, most inspired by the Farmhouse family.
I modified the plans for the planter box to make a holder for Pool Noodles. I made it 40" tall and used 4-4" fence pickets and 1-5.5" fence pickets. I used a 4" spacer and the openings worked out perfect. I stained inside and out since it would show with 2 coats of the solid stain. It is perfect! Thank you so much for the inspiration and plans!
Mon, 06/06/2022 - 14:04
This is so smart and looks great too, thank you for sharing!
This was a fairly easy project that I believe had great results. The finish time includes a few nights of polyurethane and sanding to finish.
The fairly costly price is from wanting to make this chair like a real finished project. The bulk of the chair is made from poplar and the seat is made from a pine project board.
Stunning Fireplace Built in by Emily.
I love working from these plans!
I wanted to build a small shower bench. I used the Providence Bench Plans and just made it a bit smaller with a few adjustments. This bench is 35" long and 18" tall. I did not use the cross supports on the bottom because it was so short. Also, you will see that I turned the bottom stretcher and side supports flat/horizontal. I put the screws for the seat boards through the top down just because this was the easiest way for me to do it. The plans did not show in detail how to attach the seat boards from the underside. It just said "finally, the seat boards." I guess they probably used a pocket jig. I bought a pocket jig and used it in the couple of places, but this was my first time using it. I used brown, coated decking screws in the places I did not use the pocket screws. This was my first attempt at building anything and my first time to use a pocket jig. I used a natural wood stain and Behr Weather-Proofing since it will be in a wet area.
"It’s screaming creative clutter 🤣😅 but at least I got it built! Thank you so much @anawhitediy for the desk plans 🖤"
Andrea Howell
This Pergola cost around 200 to build for lumber, concrete (poured around posts) and an additional 50-60 for fabric used to create shade.
It went up in about 8 hours from start to finish with the help of a novice friend.
I omitted some of the column details to save time and money.
Fun Build and got me interested in learning more.
Tue, 03/10/2015 - 13:00
I really like this plan and put it together in about an hour yesterday. Only one problem...the measurements consider the width of the 1x12 as being 3/4 by 11 1/2. The 1 x 12 I purchased in Home Depot are 11 1/4 inches wide. I'll have to Kreg jig some 1x4's together to make the top, but it should work out fine. I am a beginner at wood working, so I've learned to pay more close attention to the actual width's of boards.
Inspired by original post in ana-white.com, created with some minor improvements.
I made this a planter as a gift to the superintendent in the building were I live. It was absolutely free for this dedicated man who keep the building clean and help all the residents by repairing their units. It was a way to say thank you and it always feels good when I or you do something positive.
John
Base is classic storage king and the headboard was custom made to fit the size of the room. Enjoyed this project and the extra storage the drawers are providing. Thanks for the sharing the design plan; worked perfectly.
Loved using the plans, had to modify them to work around my baskets and a pipe sticking out of my wall. I'd say this is somewhere between beginner and intermediate, as I had to use the pocket screw for some added support when attaching the sides. I primed then used two coats of white "door and trim" paint. So far it has held up to the baskets being slid back and forth, if I had to do it again, I would add a poly coat for durability, at least on the bottom of the cubbies. Cushions and pillow from HomeGoods. Would have been nice to design the bench to fit more standard cushion sizes, but oh well!
First furniture project, first Kreg jig use.
Heavily adapted storage sofa plans. Used existing day bed mattresses. Made all wood surfaces finished with nice cladding, and all fabric portions removable and washable.
Added arms, and a back ledge. Ledge is hinged to allow access to wall behind so I can get to the outlets.
Lots of work, but it is AWESOME. Thanks for the inspiration Ana!
Sun, 01/22/2017 - 13:37
This is almost exactly what I want to do! I have a dog who loves to rub on furniture and I don't want upholstery. Why did you make the back thicker? Is it just for added shelf space along the back? Thanks for posting the pictures. Very inspiring!
Mon, 02/20/2017 - 07:18
Sorry for the delay in seeing your question. I haven't signed on to this site for a while. You are correct thinking that I wanted to have shelf space along the back. The sectional is the entire width of the wall and I knew that I would not be able to have end tables. I wanted a way to have a lamp and a place to put drinks, etc. As it turns out the arms of the sectional are great for holding my beverage. The shelf holds my lamp and some baskets with general stuff like the remotes inside. Thank you for the compliment.
Wed, 01/18/2023 - 09:28
Hi! I know this is a very old post but I would love try to make something similar to what you did in your storage sofa modifications - especially the wider frame and armrests. Any chance you wrote down your plans or have more pictures of your build? I also would love to understand how you made your upholstery/fabric removable. Did you follow any plan for making the cushions? Thanks in advance!
Really enjoyed making this one. The plan was great but i ran into a few difficulties. The 2x2 trim was the hardest. I settled on 22.5* miter because my saw has a positive stop there and i thought it might be the angle that i needed. Careful as the plan doesn't have much room to experiment unless you want to buy an extra 2x2. If your selection of 2x2 is anything like mine, that could be a huge endeavor. Hard to find a straight board in texas.
In order to make this island a little beafier I used 4x4 wood for the X as well as the the top and bottom braces. Top is made up of glued up 1x3 maple wood. It looked really good raw, but decided to stain it to give a more uniform look. I bought the rustic handles and the bottle opener on Amazon.com. I used lag bolts and washers for the finishing accents...similar to the pottery barn island. Painted them with Rustoleum oil bronzed paint and then dabbed it with a paper towel to give it a rougher finish to it and then sprayed the casters as well. This was a fun project and are getting a lot of use out of it. Thanks goes to Anna for the plans and inspiration for this island. Rich
Fri, 06/20/2014 - 11:44
i keep debating if i should do this, you did a great job. i like the 4x4 sides.
Sun, 06/22/2014 - 08:25
Rich, I love the changes you made with the 4x4's. You made a gorgeous piece of furniture! Can you share with me where/how you attached the drawer/shelf sides? I'd like to follow how you made this, but can't tell from the pictures. On the original they look inset from the 2x4's, but your space is taken up by 4x4's. Would you mind sharing??? Thanks!
Mon, 06/23/2014 - 16:36
So, I ripped the 4x4 cross pieces down by 1/2" so that the side panels would rest inside the rectangle and flush with the 4x4 frame and up against the X.
Did that make sense?
DIY Outdoor Wood Chairs
by Tara
I showed my wife the Laundry Dresser featured on Ana White's website and she asked if I could make one for her, but not quite so tall. I also turned the orientation to fit our laundry room space. I used primarily oak from recycled pallets to build the Laundry Basket Dresser. She wanted a work space on top, so folded laundry, empty baskets, etc. all have a temporary resting place depending on the day. From start to finish, it took me about 6 hours. She plans to stain the piece at some point, but its already in use, so I'm not 100% sure that will ever happen until we move or something. ;-) Great idea and laundry room organization!
Sat, 09/08/2012 - 17:39
Great job on this!! I love the open sides!! Thanks for sharing. :-)
Mon, 09/10/2012 - 10:22
I love the open sides, plus it makes it much more feasible to build with scraps repurposed wood, which I love. Thanks for the inspriation
Sun, 10/19/2014 - 06:16
I have a pallet sitting against the garage that would be perfect for this
Looks fab, great job.
Fri, 01/09/2015 - 12:27
Hi, I really like this project but was curious what size laundry basket you are using in the project?
Sun, 06/14/2015 - 20:16
Soooo I made this according to the measurements and no laundry basket I find fit. Kind of dissapointed in the fact that this cool thing I just built doesn't have any baskets that will fit it. Any advice on finding a basket that fits?
Fri, 07/10/2015 - 20:14
Same here. No basket fits. Did you ever find one?
Fri, 07/10/2015 - 20:56
I think the idea is to build it to fit the baskets you have or buy some and build around them.
This is my second chair I’ve built. The first was proof of concept. This chair (and the subsequent 7 that will follow) are for the rental cabin in the Red River Gorge. Loving this chair! I have no idea why pic is turned sideways, it’s not that way on my phone.
Comments
jkeyros
Sat, 06/29/2019 - 05:47
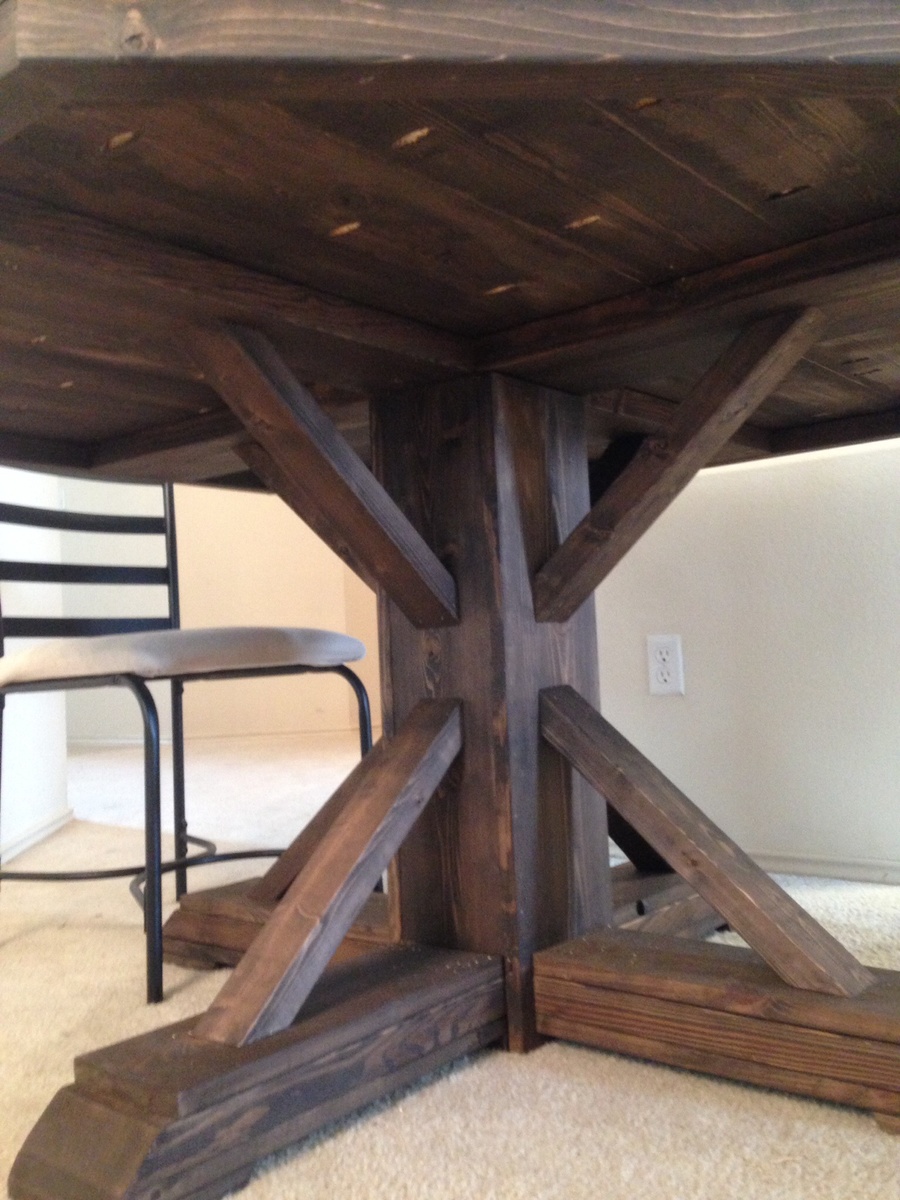
U-shaped table
I love this! Can you give me the plans and list of materials for constructing it?
morganbrittiany87
Sun, 06/30/2019 - 12:33
I am also a teacher and…
I am also a teacher and would love to build this desk for my reading class. Do you have plans?
swarner76
Mon, 07/01/2019 - 18:05
Classroom Table ❤️
I love this table for my classroom. Can you share the plans or the dimensions?
-Stephanie
heatheraddison
Sun, 07/07/2019 - 08:08
u shaped table
I would love the dimensions for this table as well!
buzzydoherty
Sun, 07/07/2019 - 09:46
Classroom Reading Table
I would love plans/dimensions for this! I was thinking I could also paint the top with wipe off board paint.
amandaforet
Sun, 07/07/2019 - 14:59
I would love to make one for…
I would love to make one for my classroom. Can you share the plans and materials list for this table?? Thanks!!
appstatekatie
Mon, 07/08/2019 - 19:11
Dimensions? Love the table
I am looking to make this for my fourth grade classroom - can you provide the dimensions you used? Thank you so much.
Ahwood17
Wed, 07/10/2019 - 11:59
Love this! I would love…
Love this!
I would love this for my classroom! Can you share the plans and materials.
Thank You!
sido17
Thu, 07/18/2019 - 15:27
Plans
I would love the dimensions or plans for this. Would love to make it for my classroom.
sarahmariehart…
Mon, 07/22/2019 - 18:25
Anyone have any luck with…
Anyone have any luck with figuring out the dimensions??
teriteach1
Thu, 07/25/2019 - 17:21
No. Have you? Please share.
sarahmariehart…
Thu, 07/25/2019 - 18:26
No luck over here.
No luck over here.
teriteach1
Thu, 07/25/2019 - 17:20
Has anyone gotten the plans…
Has anyone gotten the plans for this table? I have contacted Ana White and tried other ways also. I would love for someone to share.
Thank you
Teri
dlee69
Tue, 07/30/2019 - 12:07
plans
Hello
Can I please get the plans to the u shape table?
Thanks
Linguine
Mon, 08/19/2019 - 12:09
kindergarten classroom desk
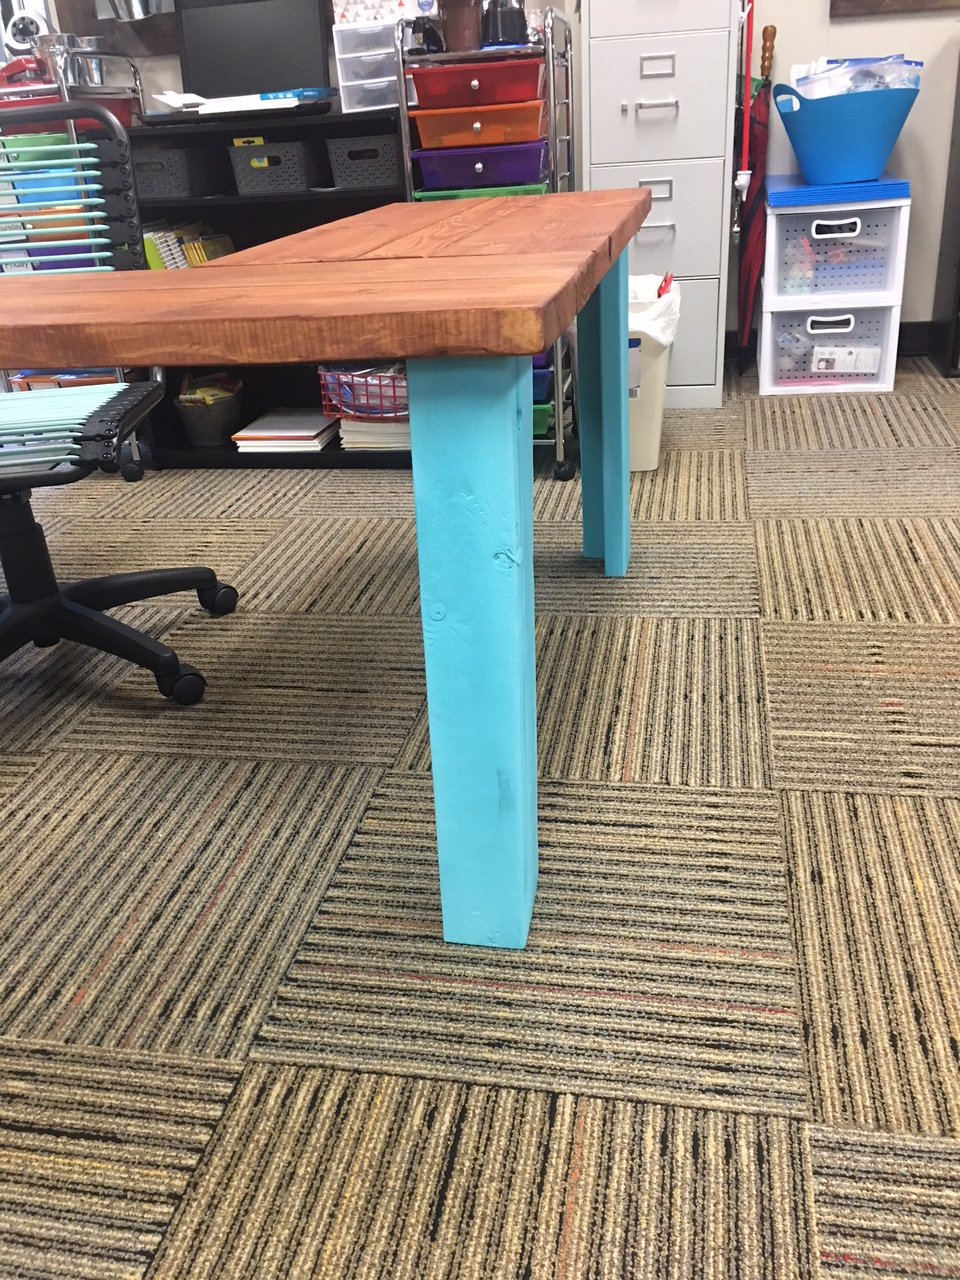
I am guessing the corner posts are 2 x 4s, the top is 2 x 10s. It looks like the width is 6’ (looking at the floor carpet tiles being 24” square). So 2 - 2 x 10s side by side for the main part of the desk top and 2 - 2 x10s perpendicular on each side of the chair. I guess the height is subject to choice and the length of each side would also be subject to choice or to the length of the 2 x 10s to be economical.
an educated guess would be 4 - 8’ 2x10s for the top and 6 - 6’ 2 x 4s for the legs?
Anyone else have any input here? Open to suggestions.....