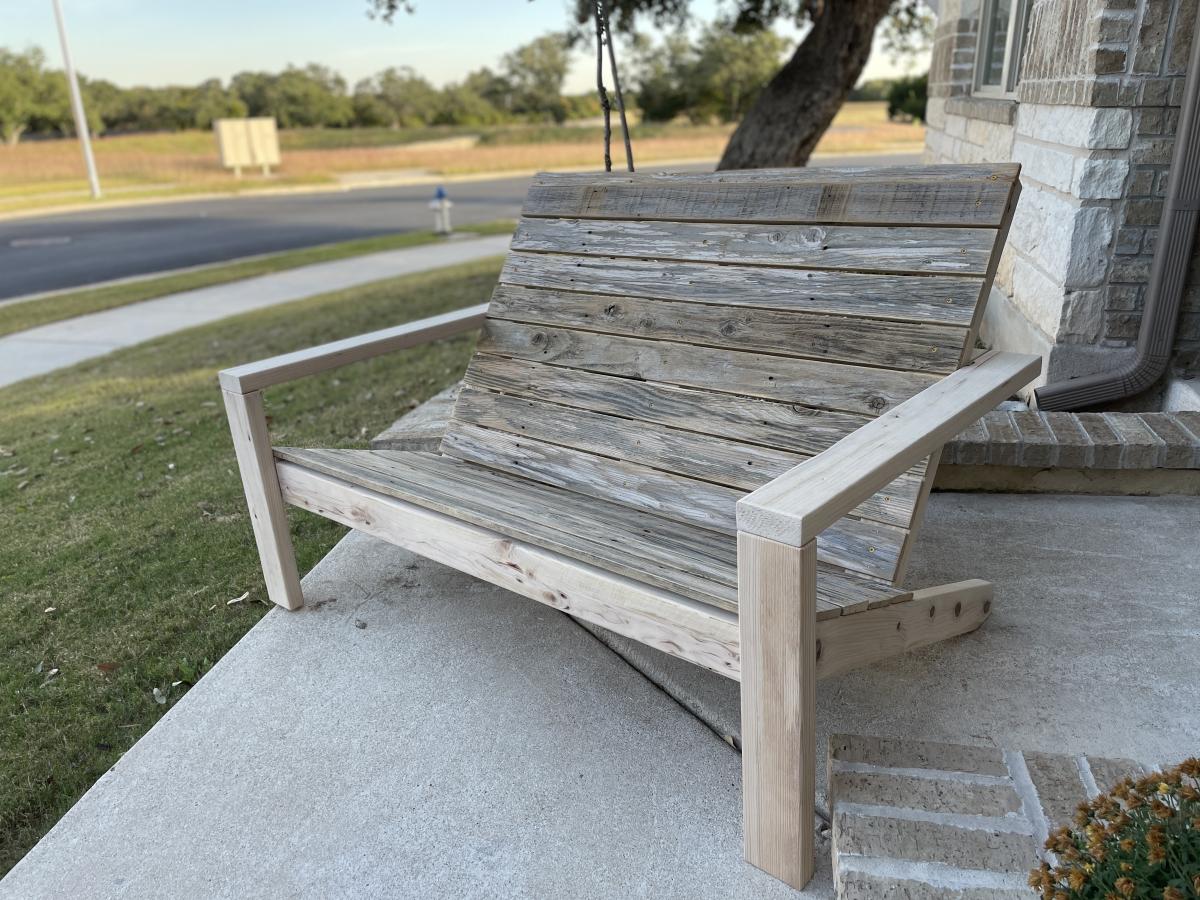
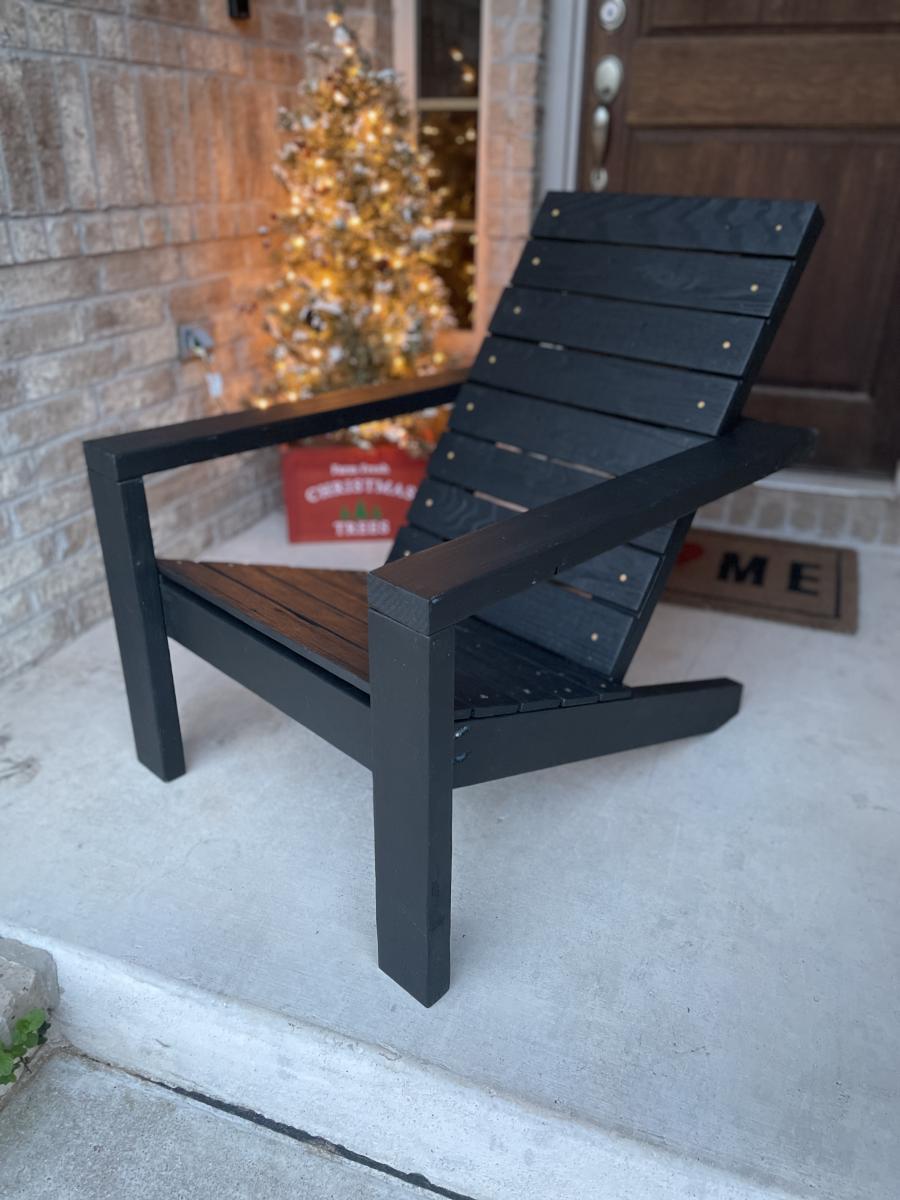
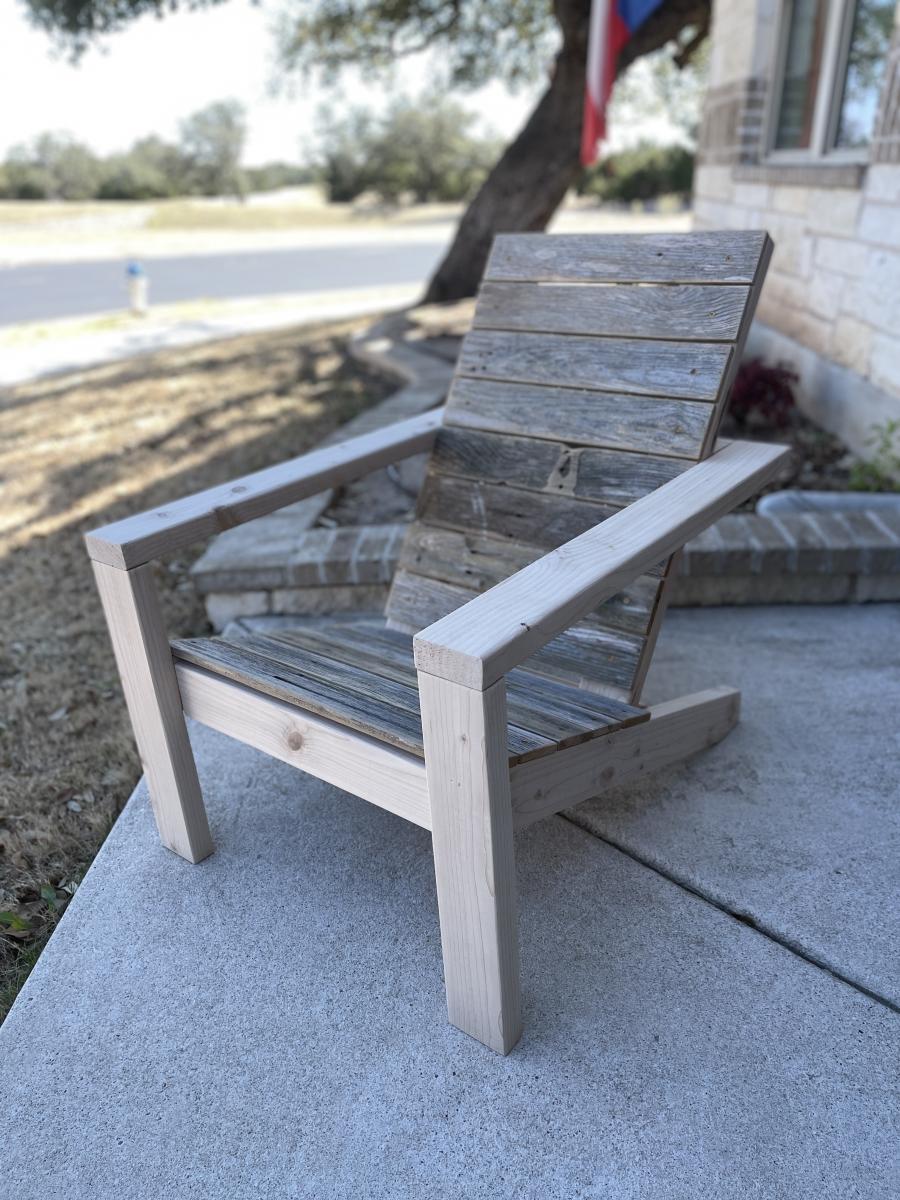
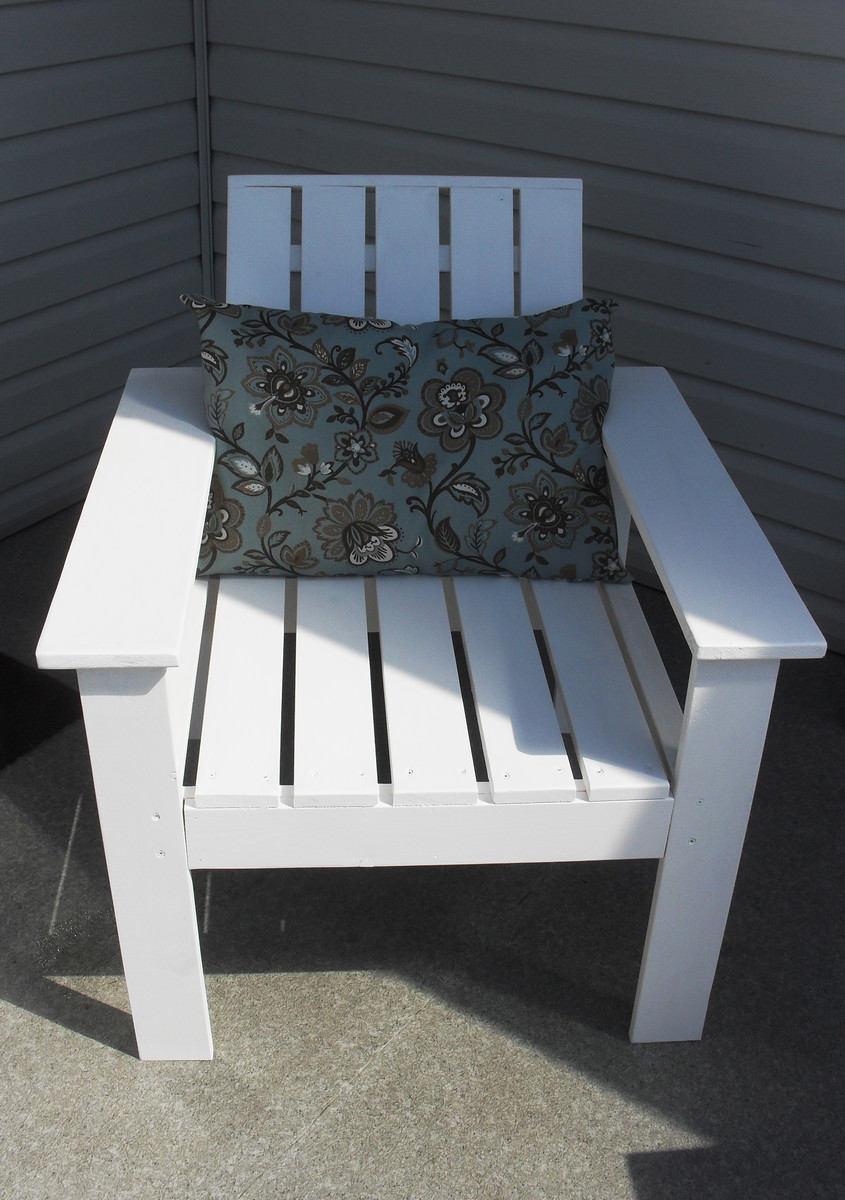
Adirondack Delight
Great adaptations to the adirondack chair plan!
by Kevin
Built from Plan(s)
Great adaptations to the adirondack chair plan!
by Kevin
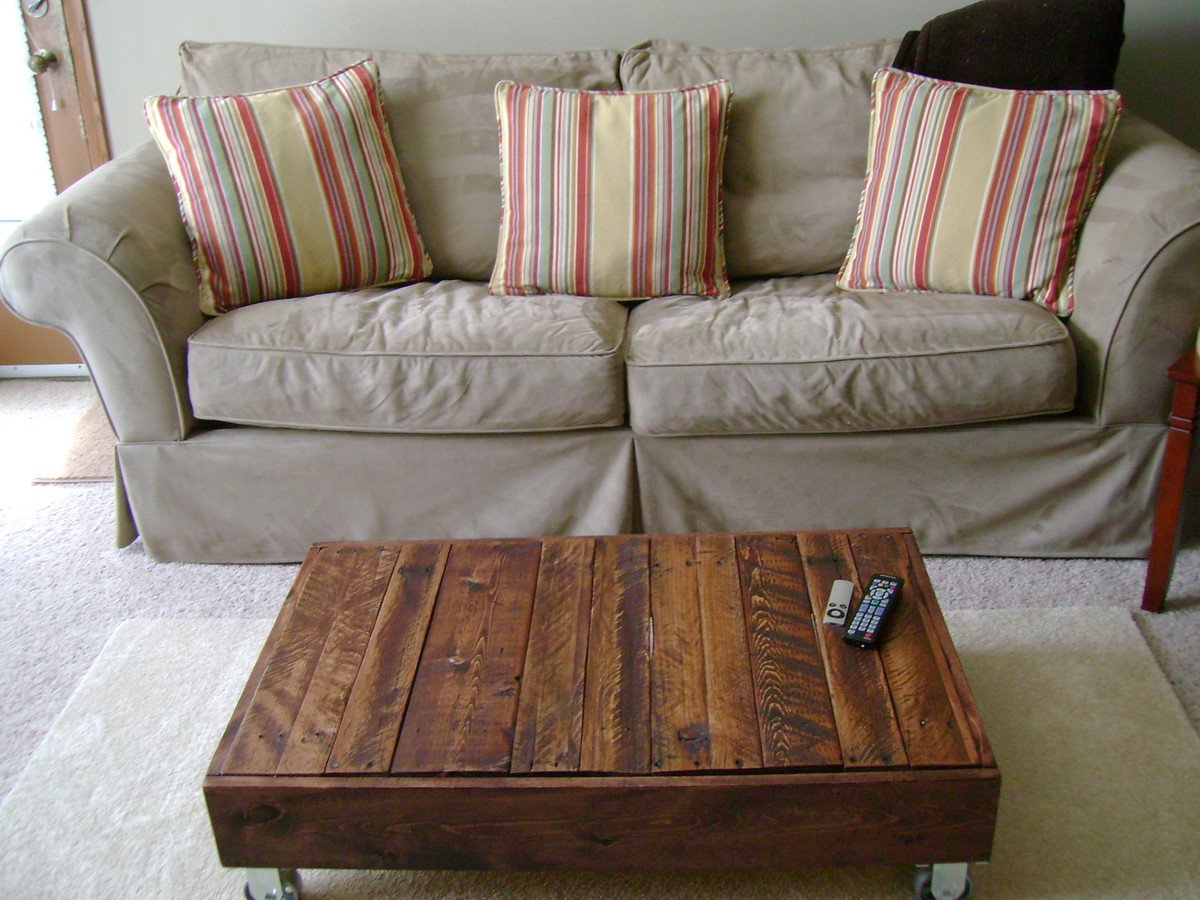
My first build! I tore apart two old pallets to get the surface boards for the table. The skirting is 1 x 6's from the hardware store. I need larger casters but am saving up for the real vintage ones.
Tue, 06/28/2011 - 02:26
You need to post what you come up with. Plus how did you get you photo on my comment posts?
Tue, 08/07/2012 - 00:05
My daughter cleaned her room so instead of renting a dumpster I hauled it to the dump i mean"land fill". Anyway instead of coming back the normal route they detoured us around the dump and I found the mother load of pallets. You could ask and they will be free if your "land fill" is like mine...
Tue, 06/28/2011 - 01:32
I worked at a candy factory that received several pallets all day long and I loved the ones that had writing on them, like Ghirardelli (a chocolate company), Blommer (chocolate manufacturer) and a few others! I've picked up a few and have made picture frames and shelving from some.
Tue, 11/01/2011 - 10:24
I took some pallets from the pumpkin patch last week, with the dream of making something similar!! I want mine a little taller so I am going to attempt a shelf or something, I have had my casters for weeks and was psyched to find the free pallets! Great Job!
Tue, 11/01/2011 - 10:24
I took some pallets from the pumpkin patch last week, with the dream of making something similar!! I want mine a little taller so I am going to attempt a shelf or something, I have had my casters for weeks and was psyched to find the free pallets! Great Job!
Thu, 04/05/2012 - 06:49
Love your site and the fact that you share so much info for Diy's. Where is the best place to get the caster wheels? Vintage are sooo expensive so I got to believe that they are out there new with the idea in mind to antique them..
Thanks for all that you posted and shared..

In reply to Caster Wheels? by Queenie (not verified)
Sun, 04/15/2012 - 12:03
The two best sources I've found for cart wheels are Menards and Harbor Freight. I think you can order them from Rockler or Lee Valley too, but I know that the two physical stores have a good selection and the prices are reasonable.
Mon, 04/23/2012 - 13:38
I love it! I've been searching for one to buy but might try to make my own now I've seen yours....and definitely more satisfying when you've build something yourself from scratch. Fab job.
Fri, 05/25/2012 - 23:21
With lots of wonderful options of North Experience Jakcets Outlet, you will be ready for all seasons and all sorts of climate conditions.Obtainable in only about every single shade from pink to orange, sky blue to lime green, this slim coat undoubtedly delivers a bit a thing for everyone.Hat, the particular size can influence the actual degree involving in shape.Karen Millen Dresses Neck marriage ceremony this year set off the rate of growth in retro type with the appeal of asymmetric solitary glenohumeral joint wedding ceremony attracts everybody's consideration, once again going back to fashion trends.Within the cold of winter,it truly is essential to have the protection from North Encounter Jackets.They even touched the actual He Damon the particular Hollywood celebrity.
Thu, 07/19/2012 - 22:23
"That’s is so impressive; I am very pleased by this post. Complete information on this post!!! I really like it"
Thu, 07/19/2012 - 22:25
"That’s is so impressive; I am very pleased by this post. Complete information on this post!!! I really like it"
Fri, 08/31/2012 - 12:15
I want something like this only I might make it taller. Also you can search Goodwill for antiquish castor wheels! Good job!
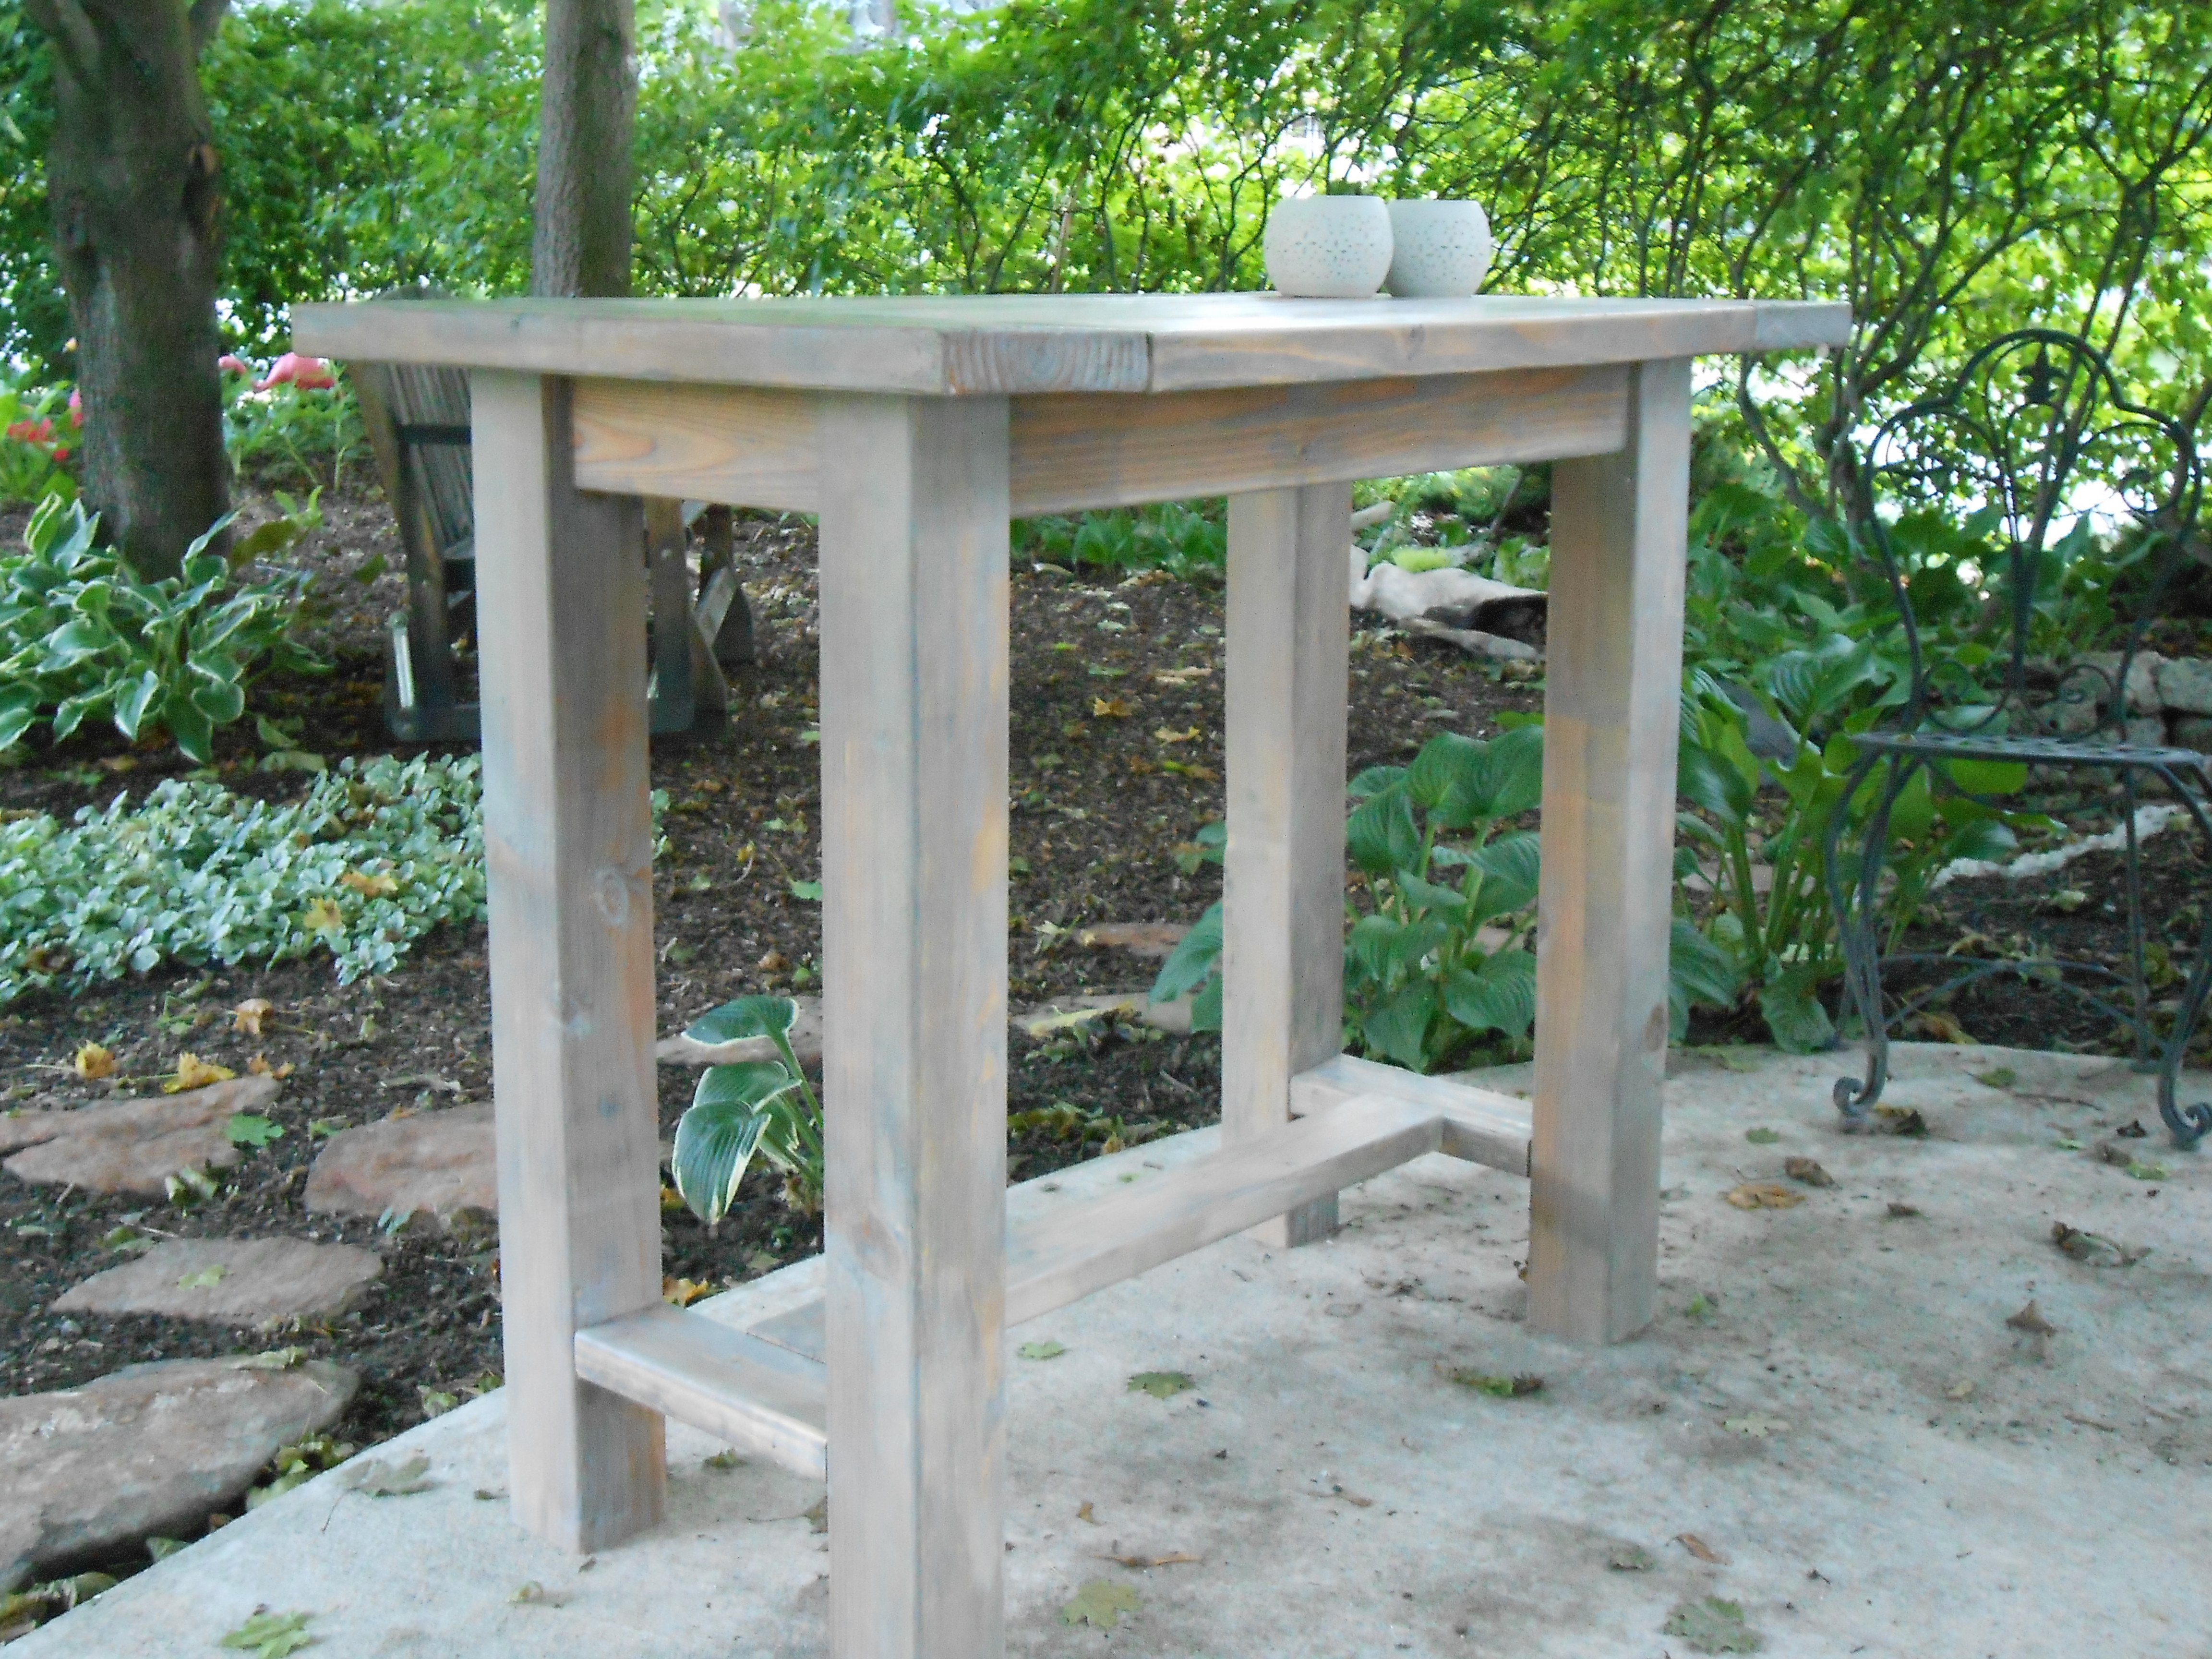
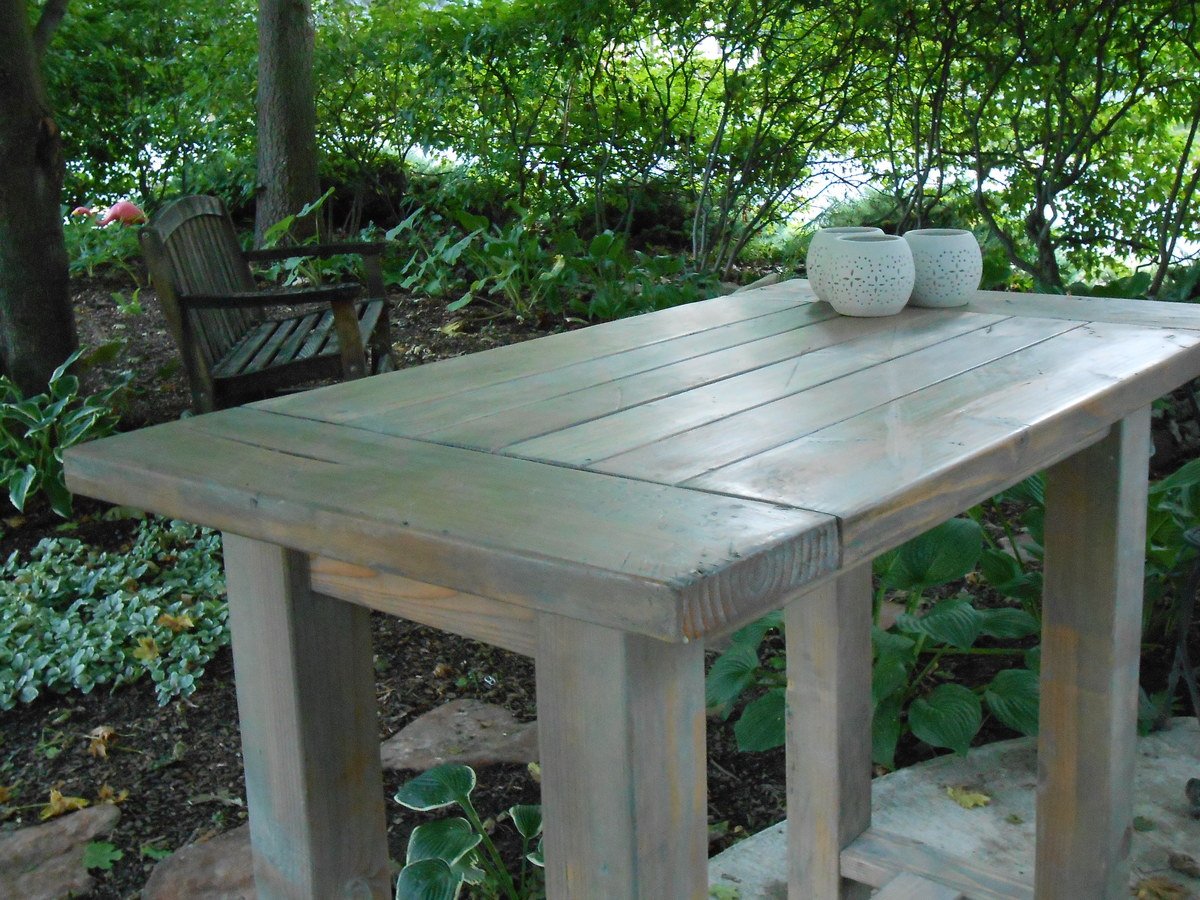
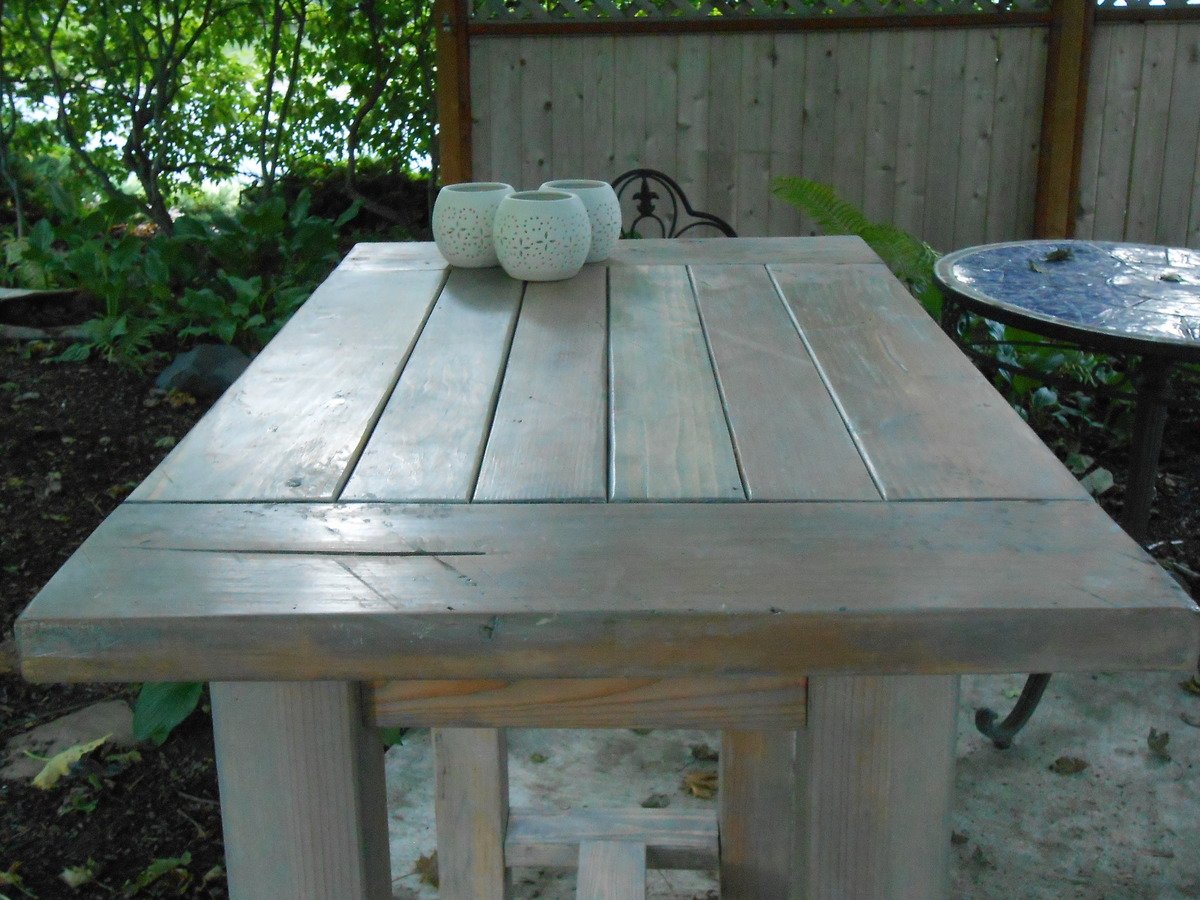
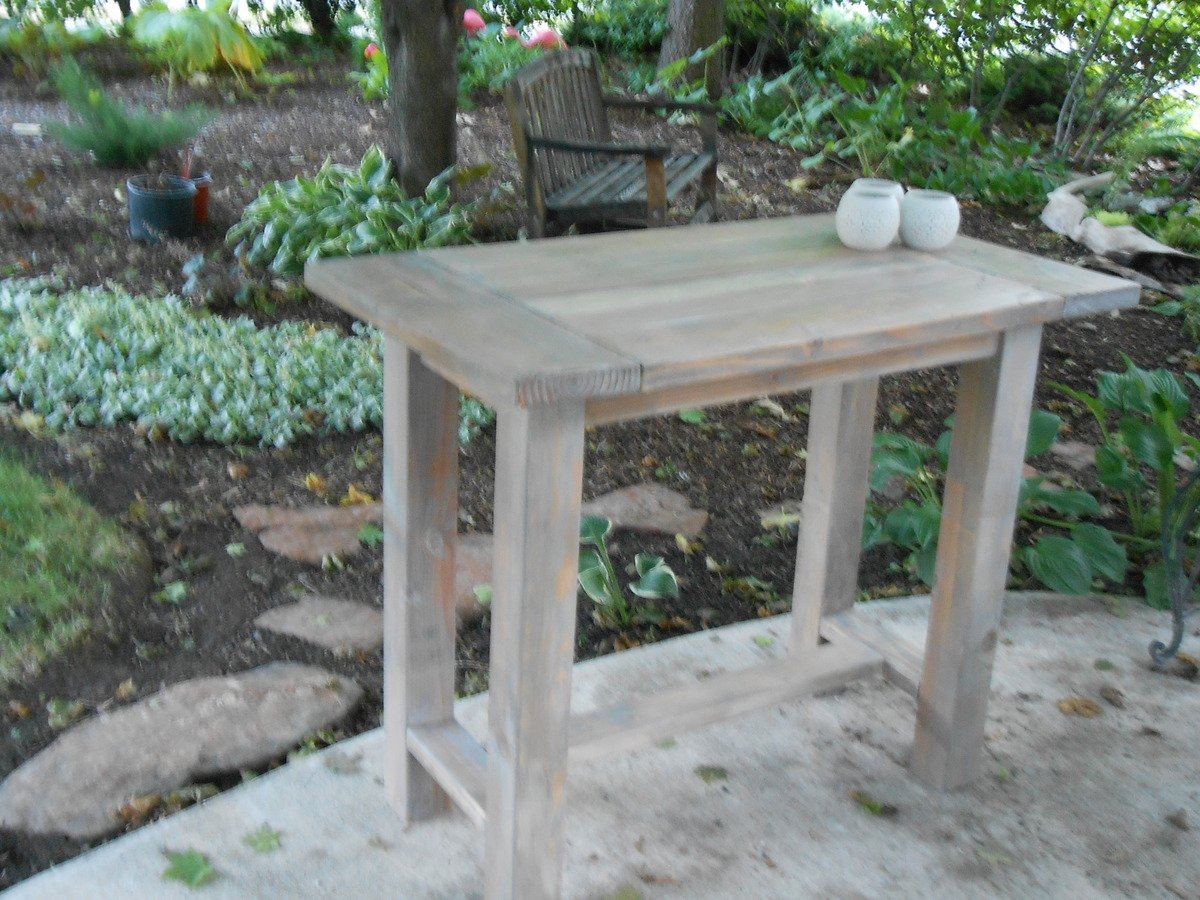
This is the second farmhouse table that we have built but we modified it to fit the needs of our "clients" (my parents). This was a gift for my dad made to be an outdoor prep table/kitchen island. This was the project that would NEVER END! We built it originally and decided that it was just too tall. So, we shortened the legs, put it back together, finished it, loaded it and then SMASH! the darn thing flew out of the back of our truck! So we re-pocket holed, did our best to fix the table top and put it back together once again. We built this thing 3 times! But now it is happily home on my parent's patio and enjoying its new life.
Finish: Driftwood stain, lime wax, miniwax finishing paste wax.
Cost: $15 Most everything was scrap we only had to buy a 2x4 and a 4x4 for the legs.


Hi Ana,
Here are a few more pics of some tables I've built! I would love to know what people think!
Thanks!


This table was made for large gatherings. It will seat 12 and is 9' X 4' I had to add another let in the middle and I couldn't find 4X4 so I paired 2 2'X4's. The friend I made it for is very happy with it, and so am I.

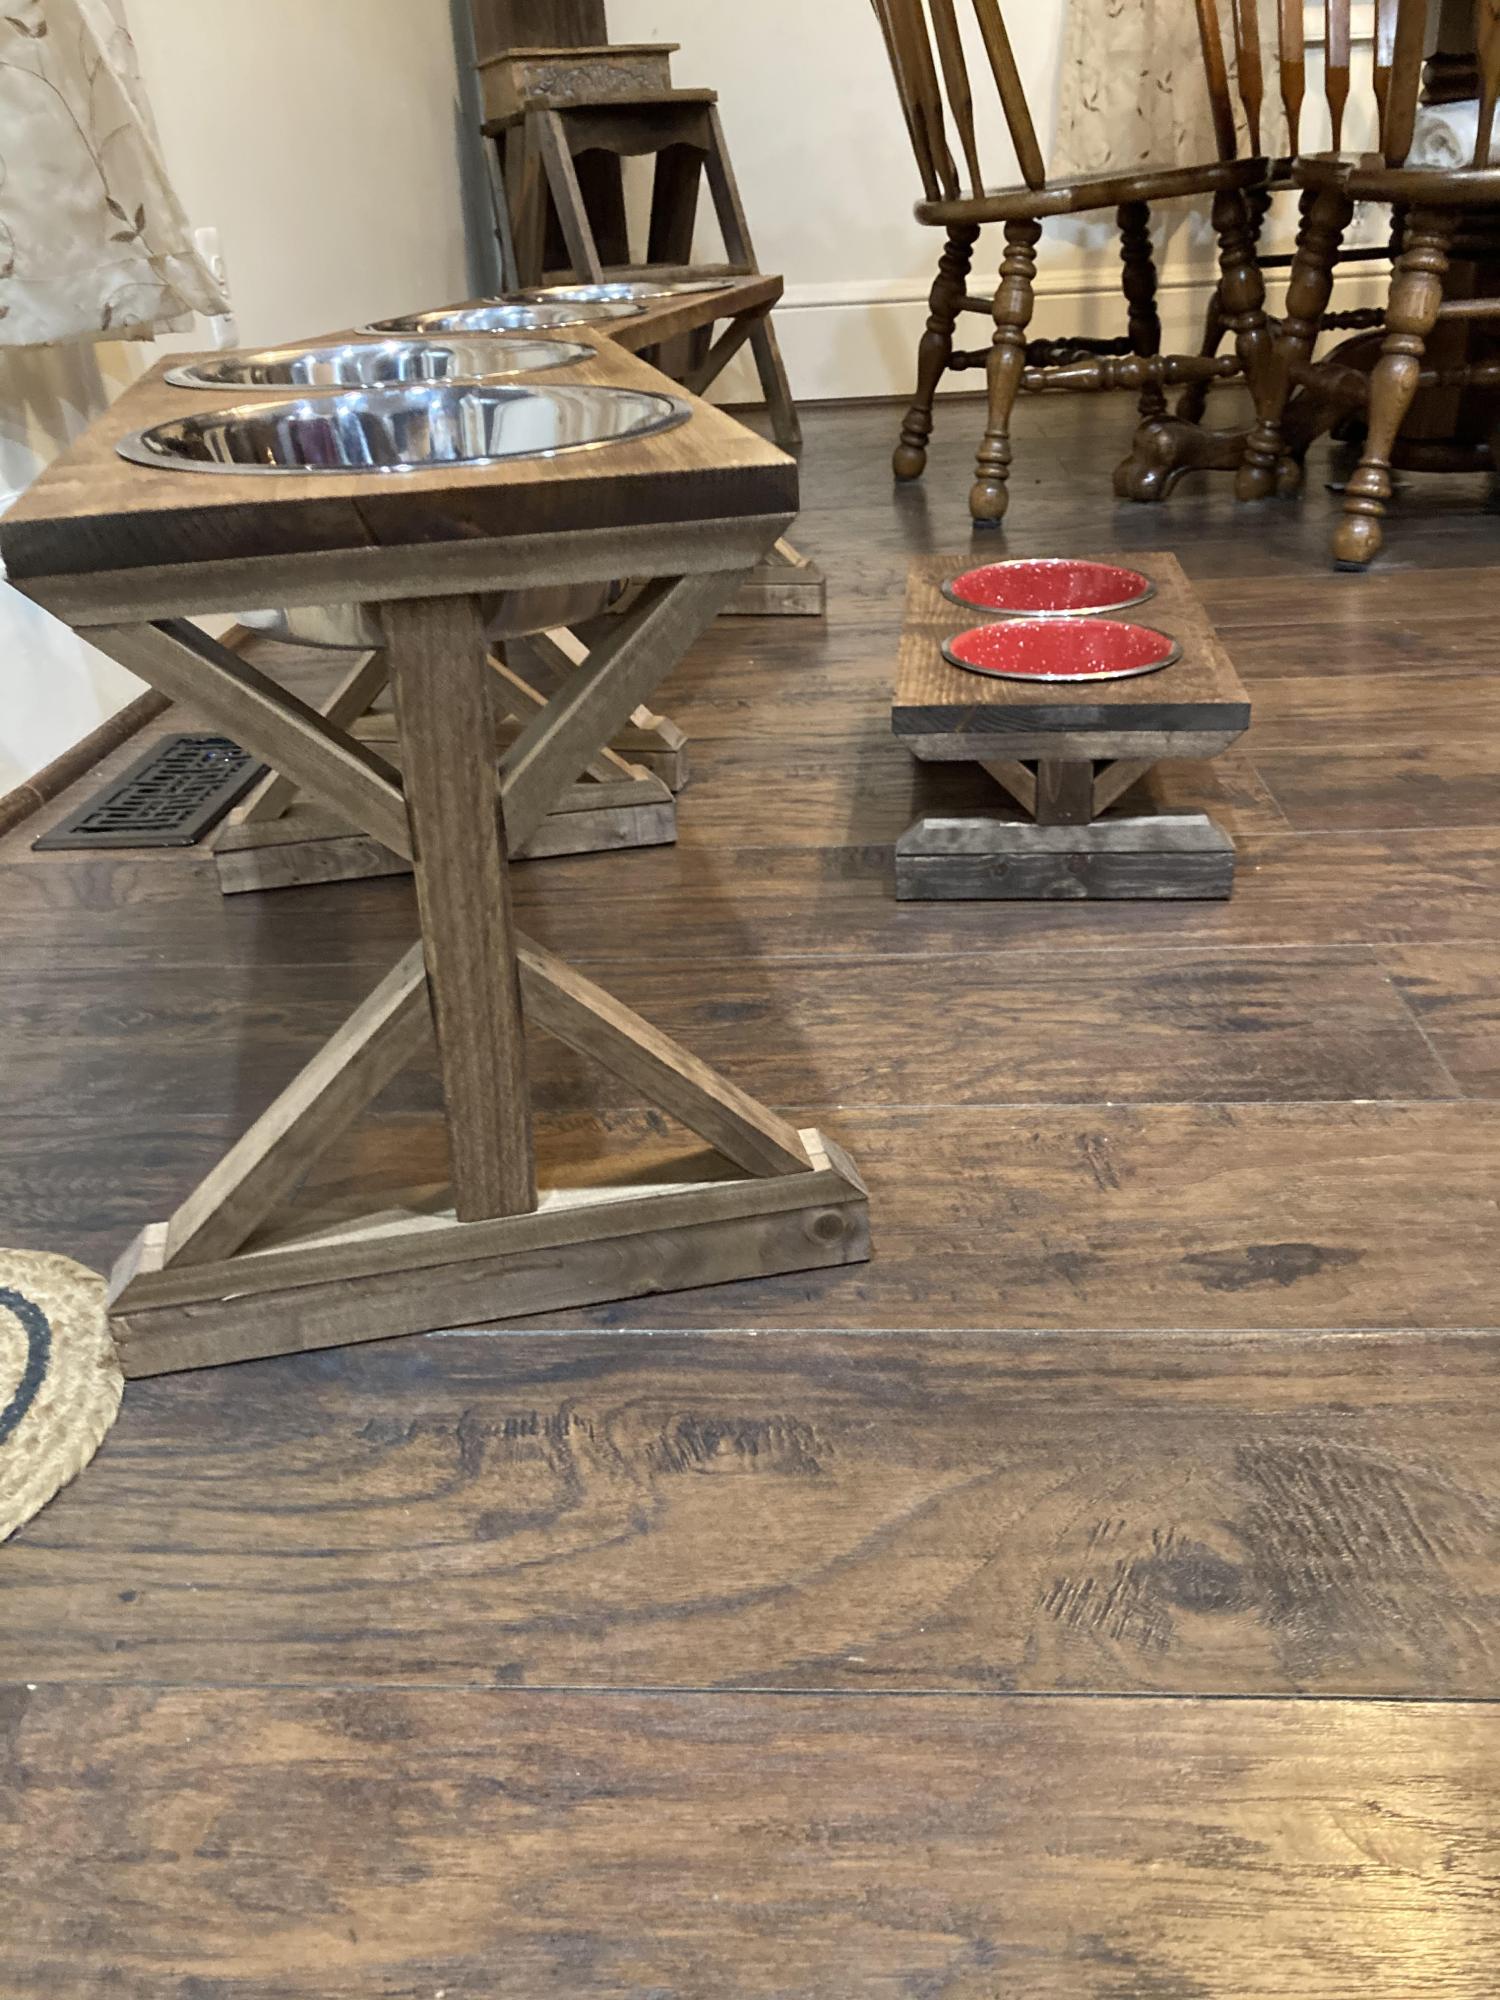
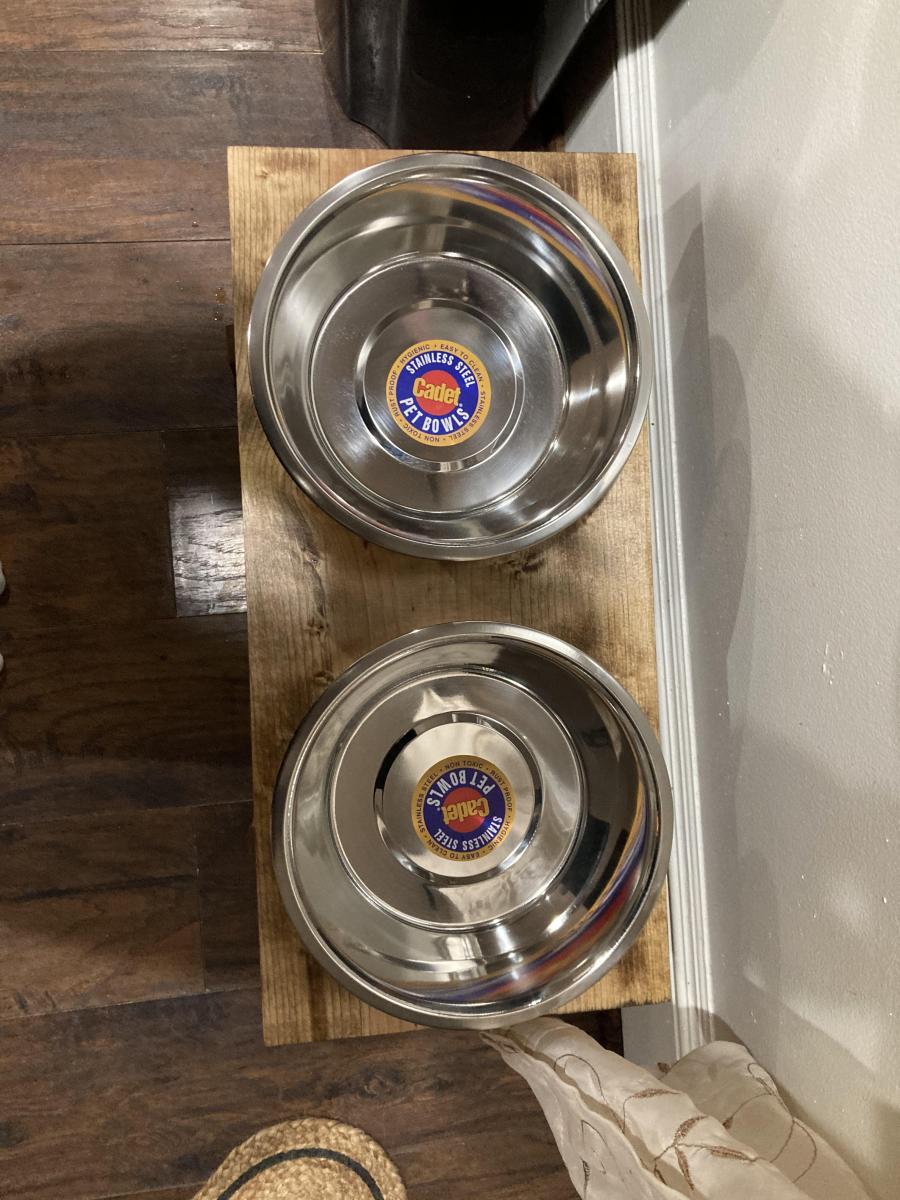
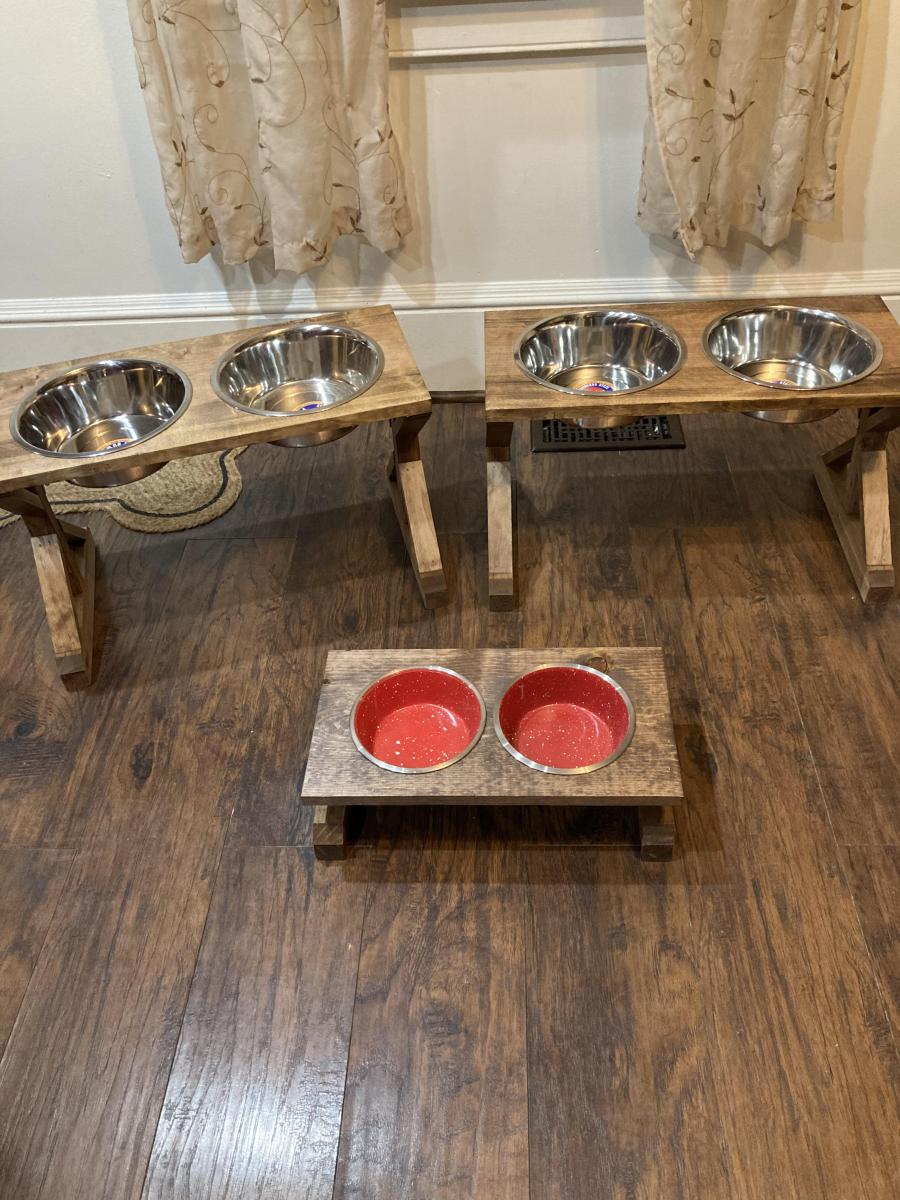
I took the farmhouse desks and turned it into dog dishes.
by Katherine
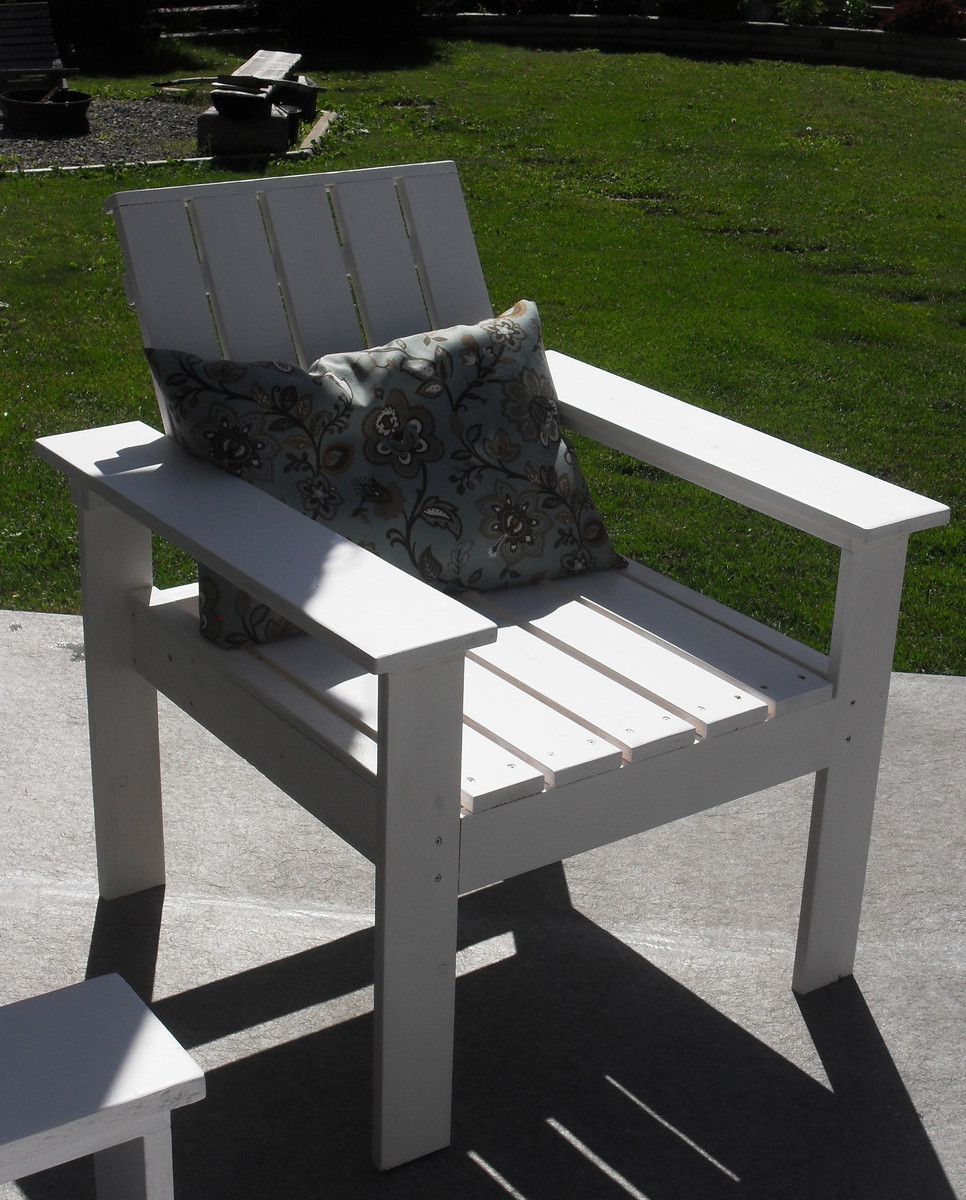
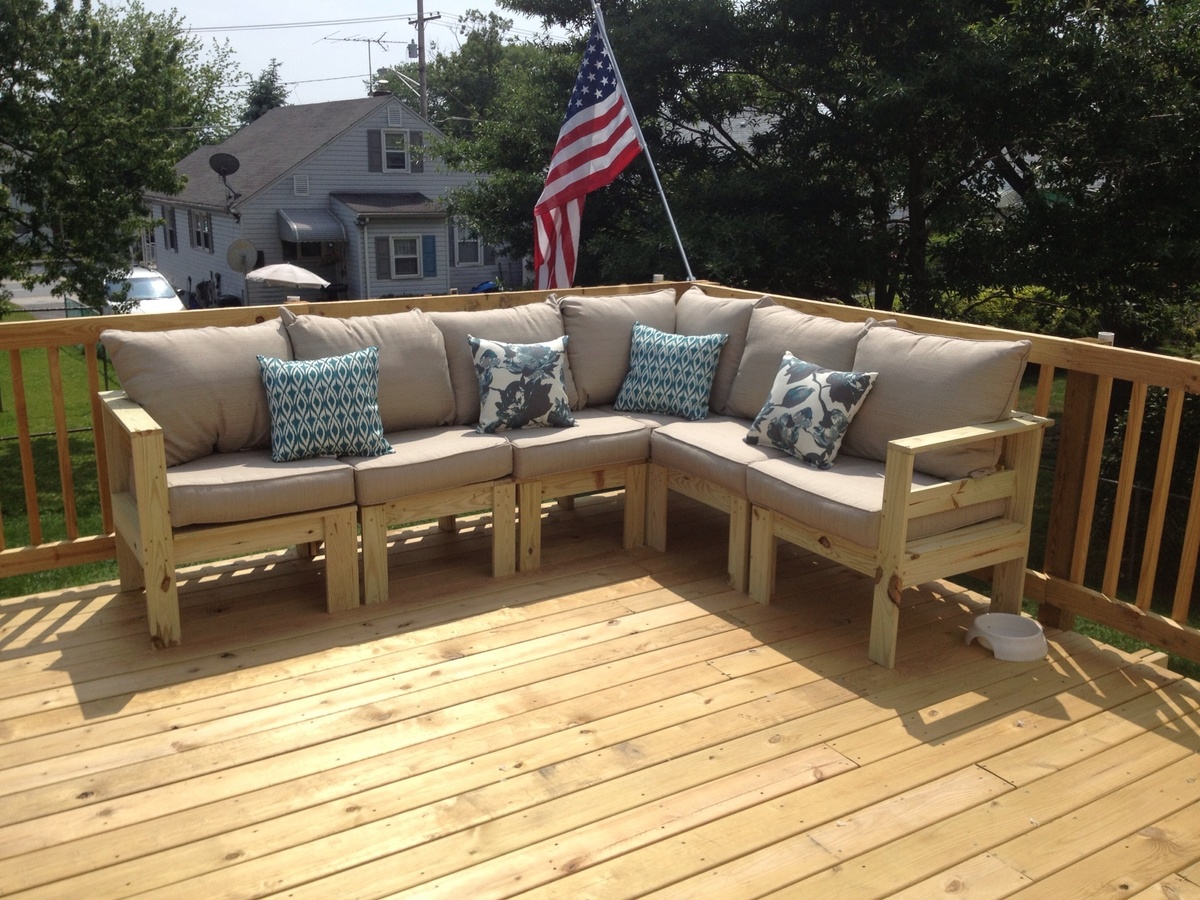
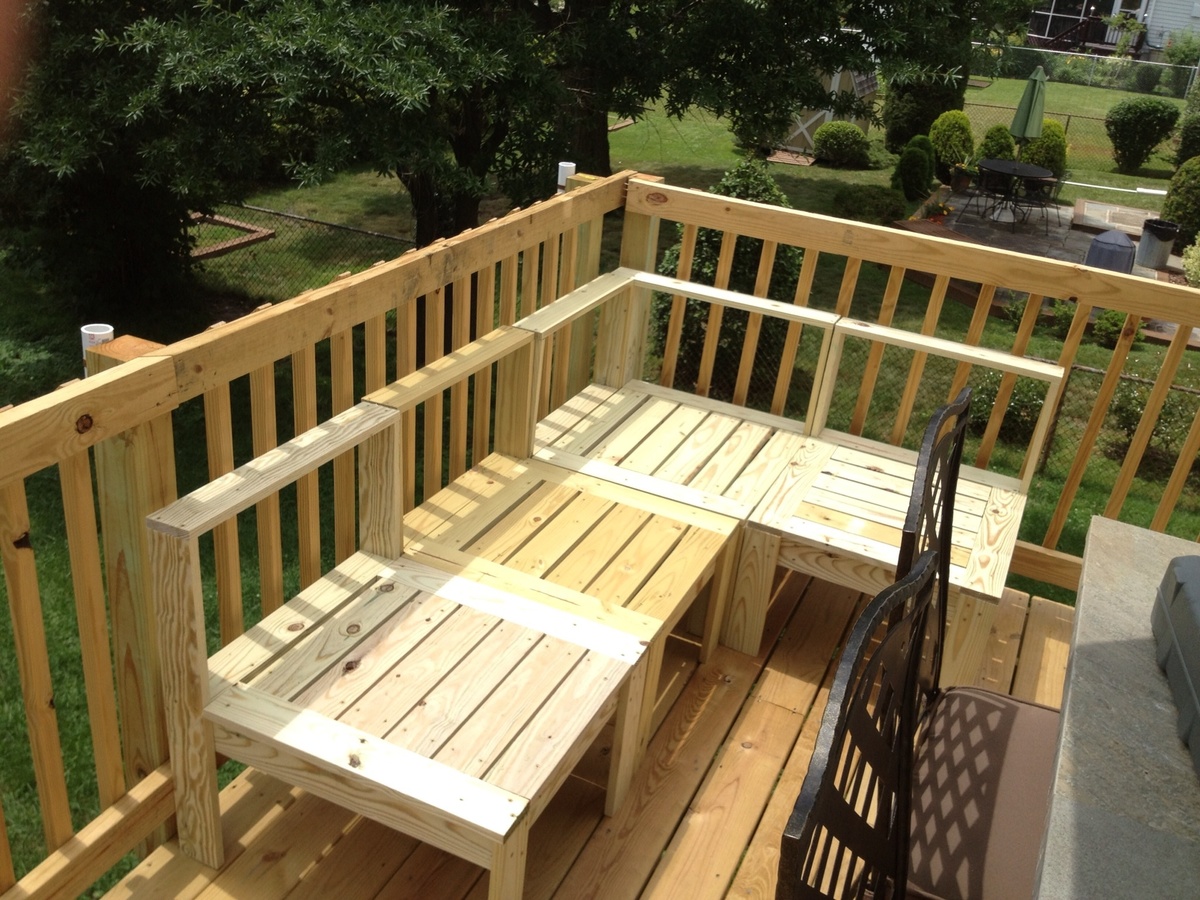
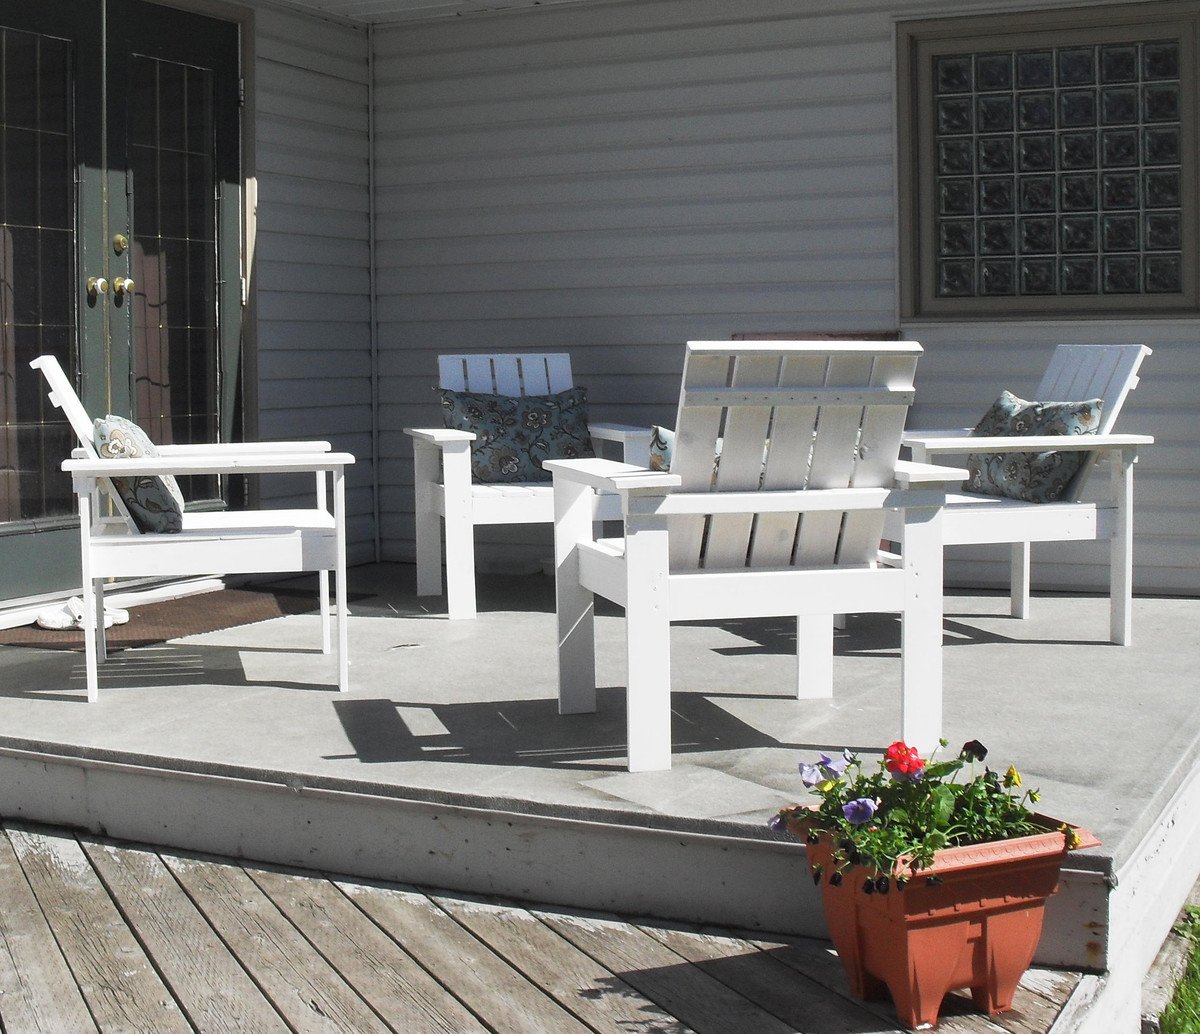
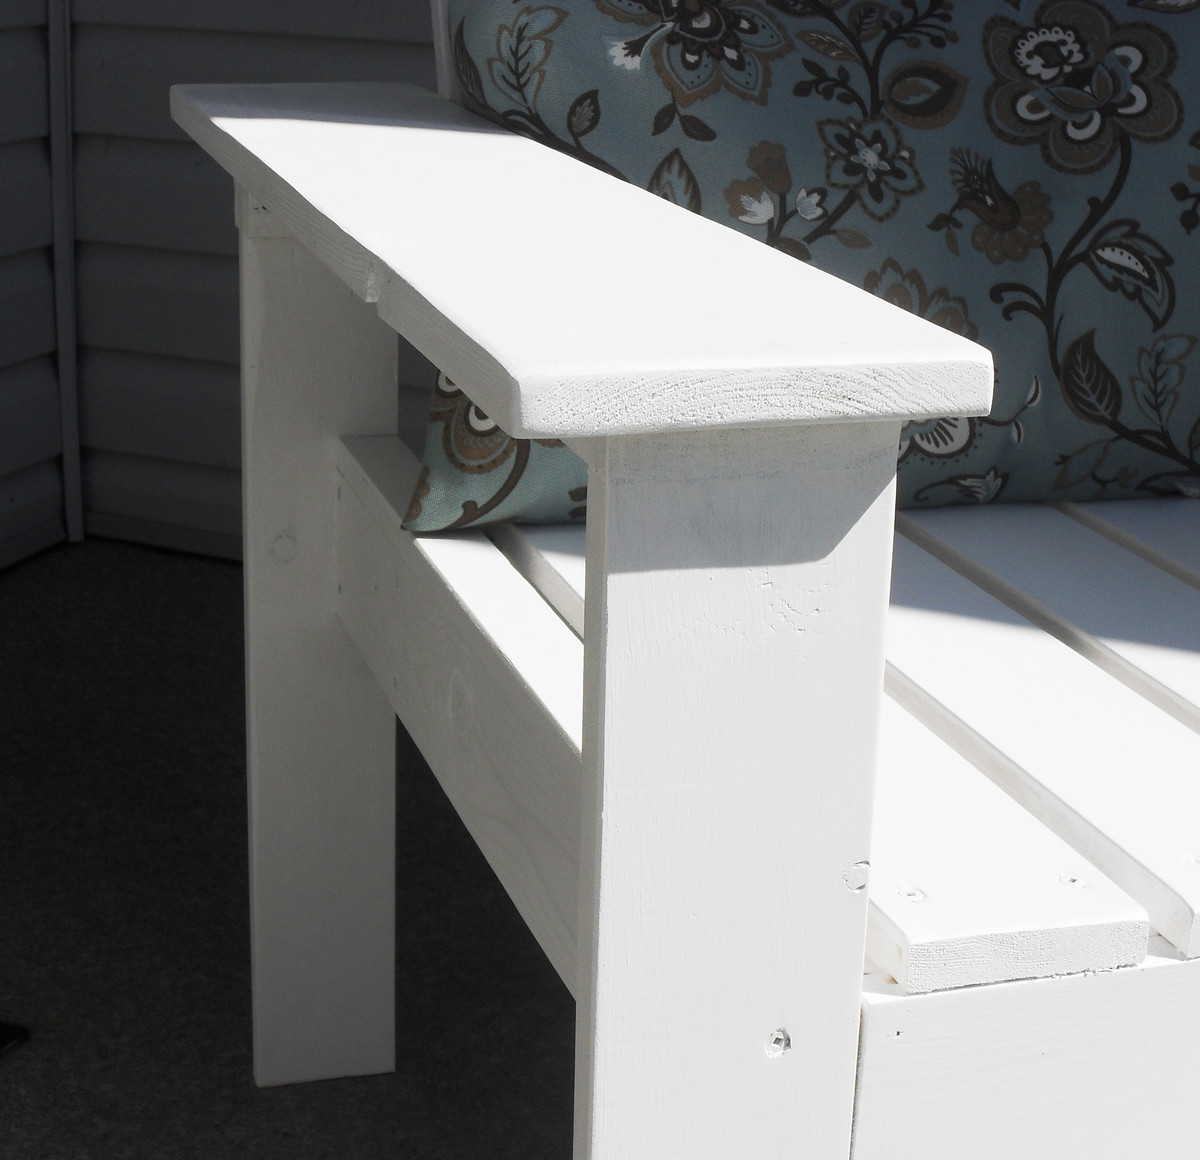
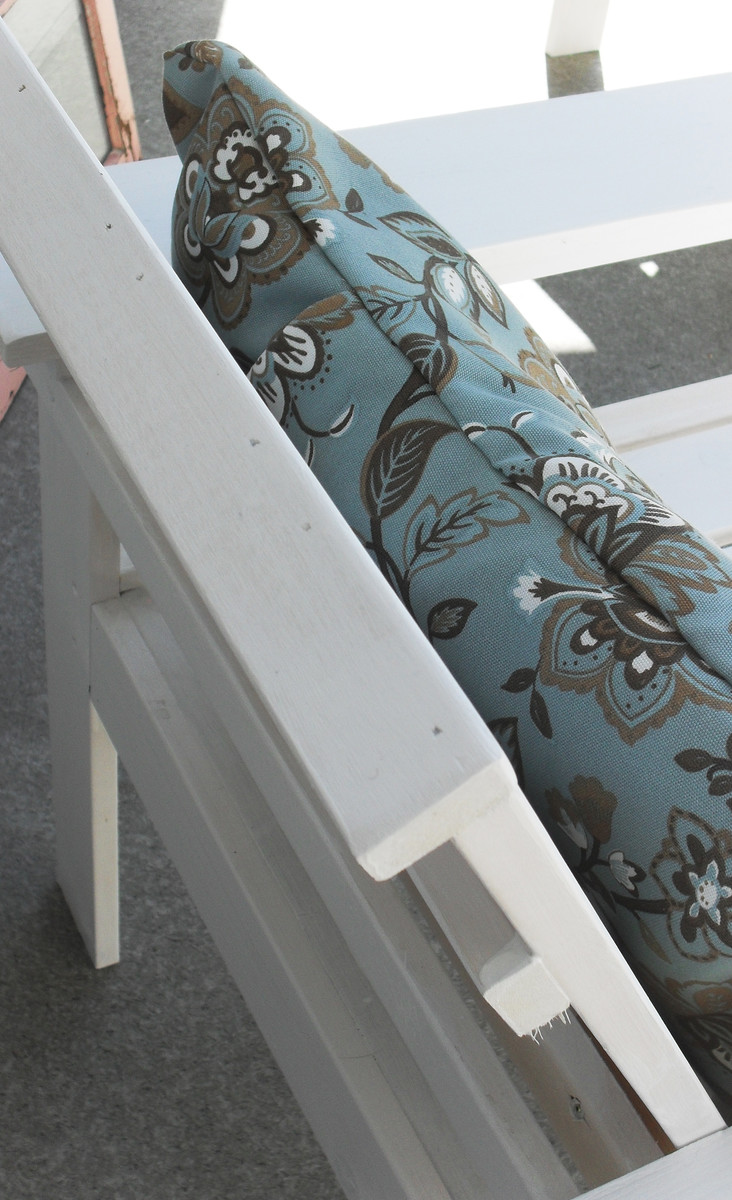
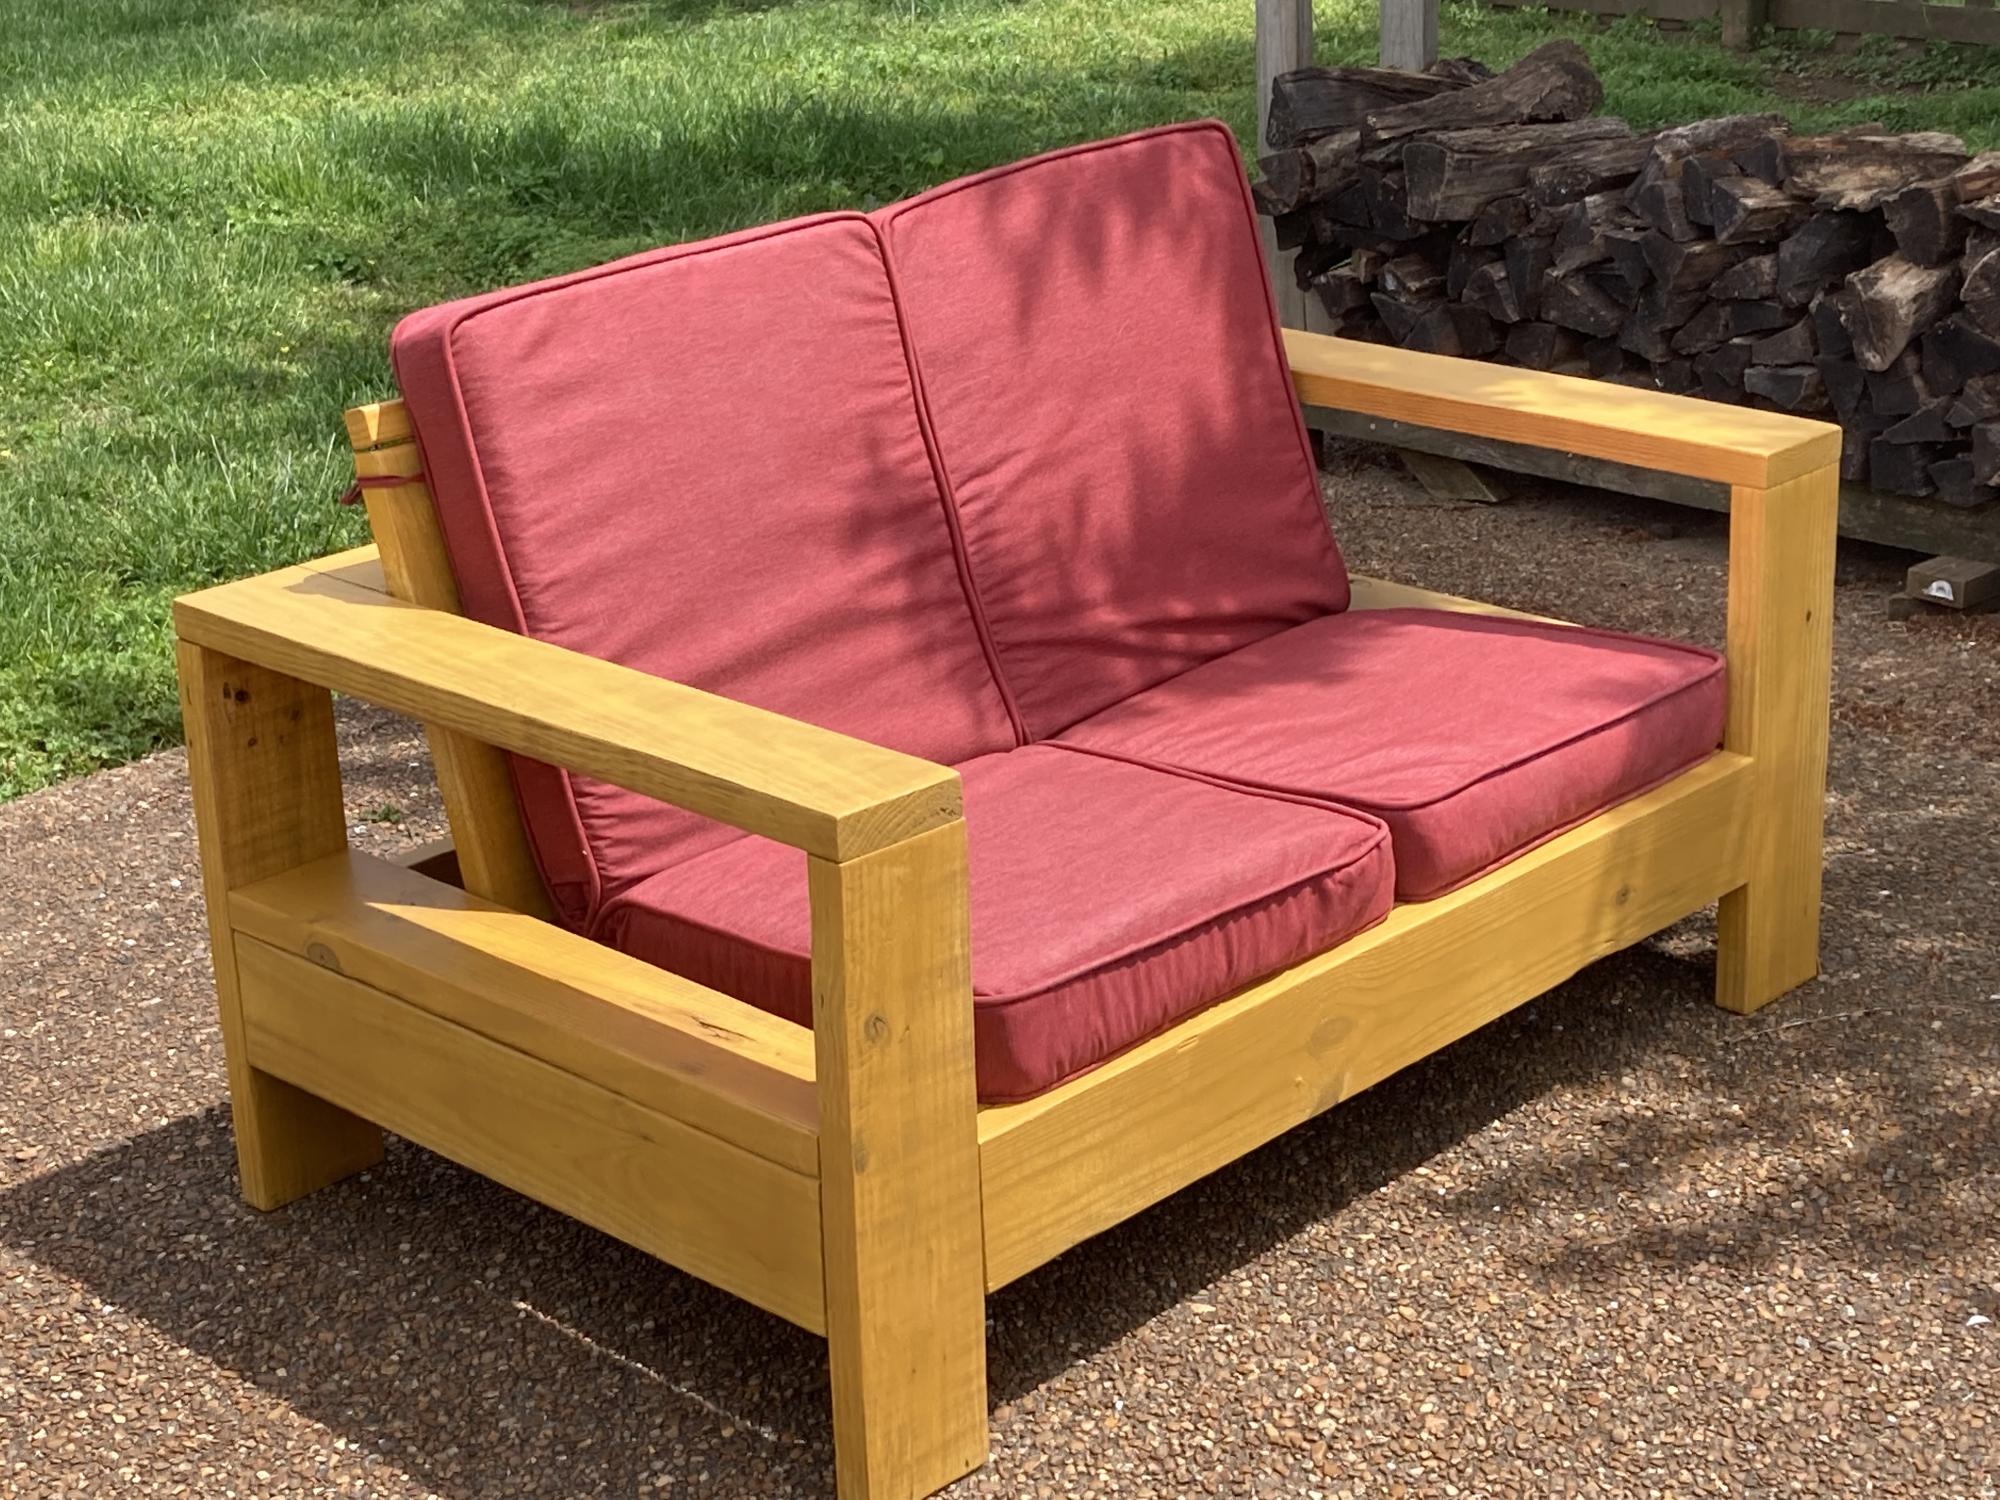
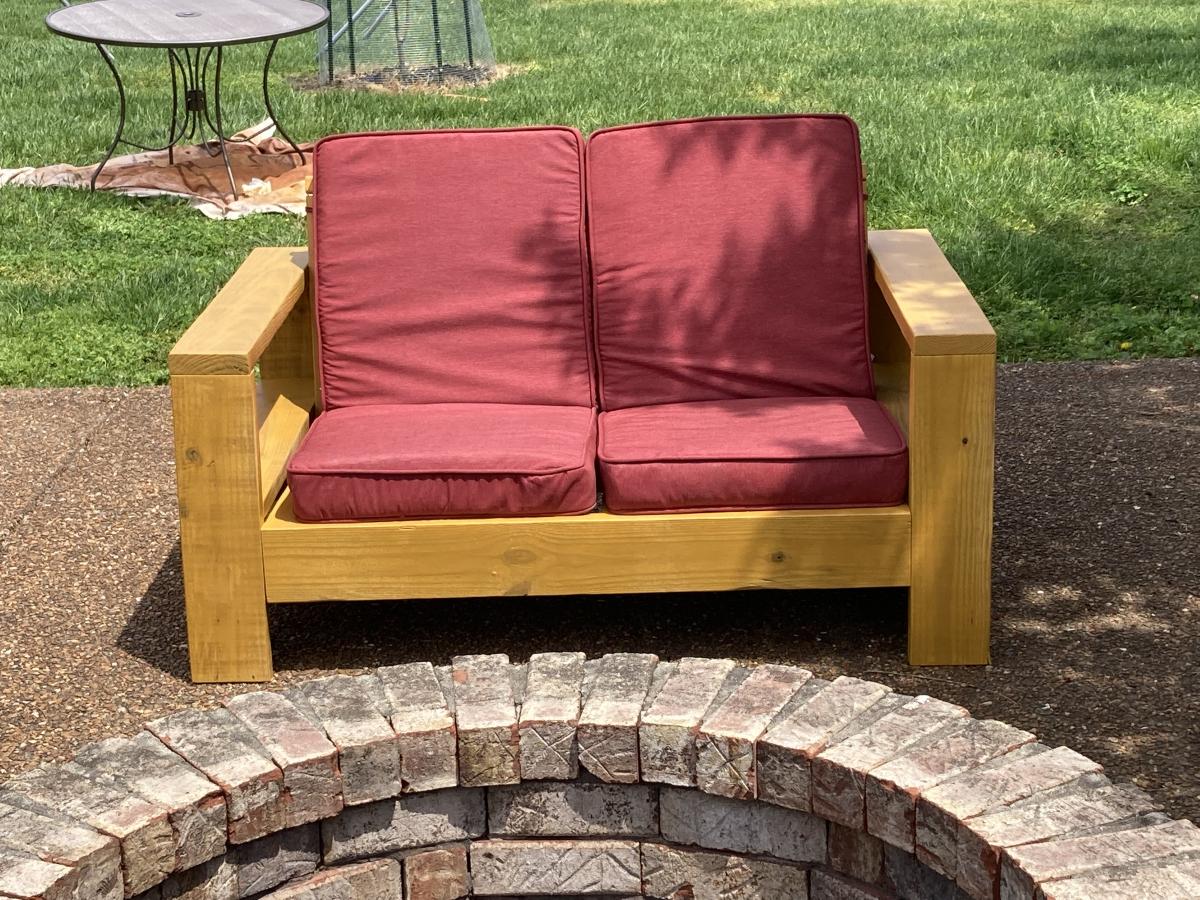
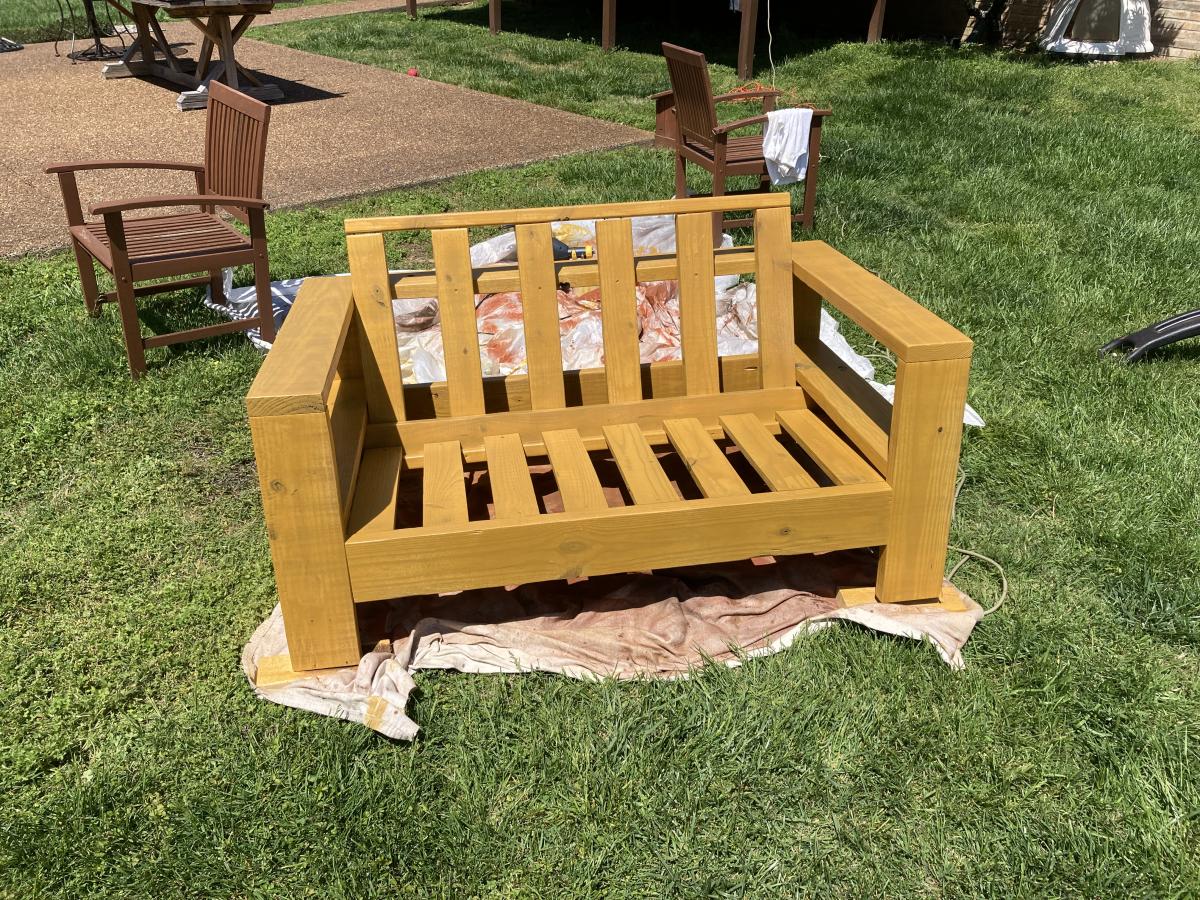
This was a fun, easy and inexpensive project. Ana's instructions are very easy to follow. I modified her plan, only slightly, by adding 1X6 to the arms of the chairs, as well, I added a 1X2 cap to the top back of the chair. I also built four (4) accent tables (not stained yet) and a bench. Now I have a great set of outdoor furniture for my deck!

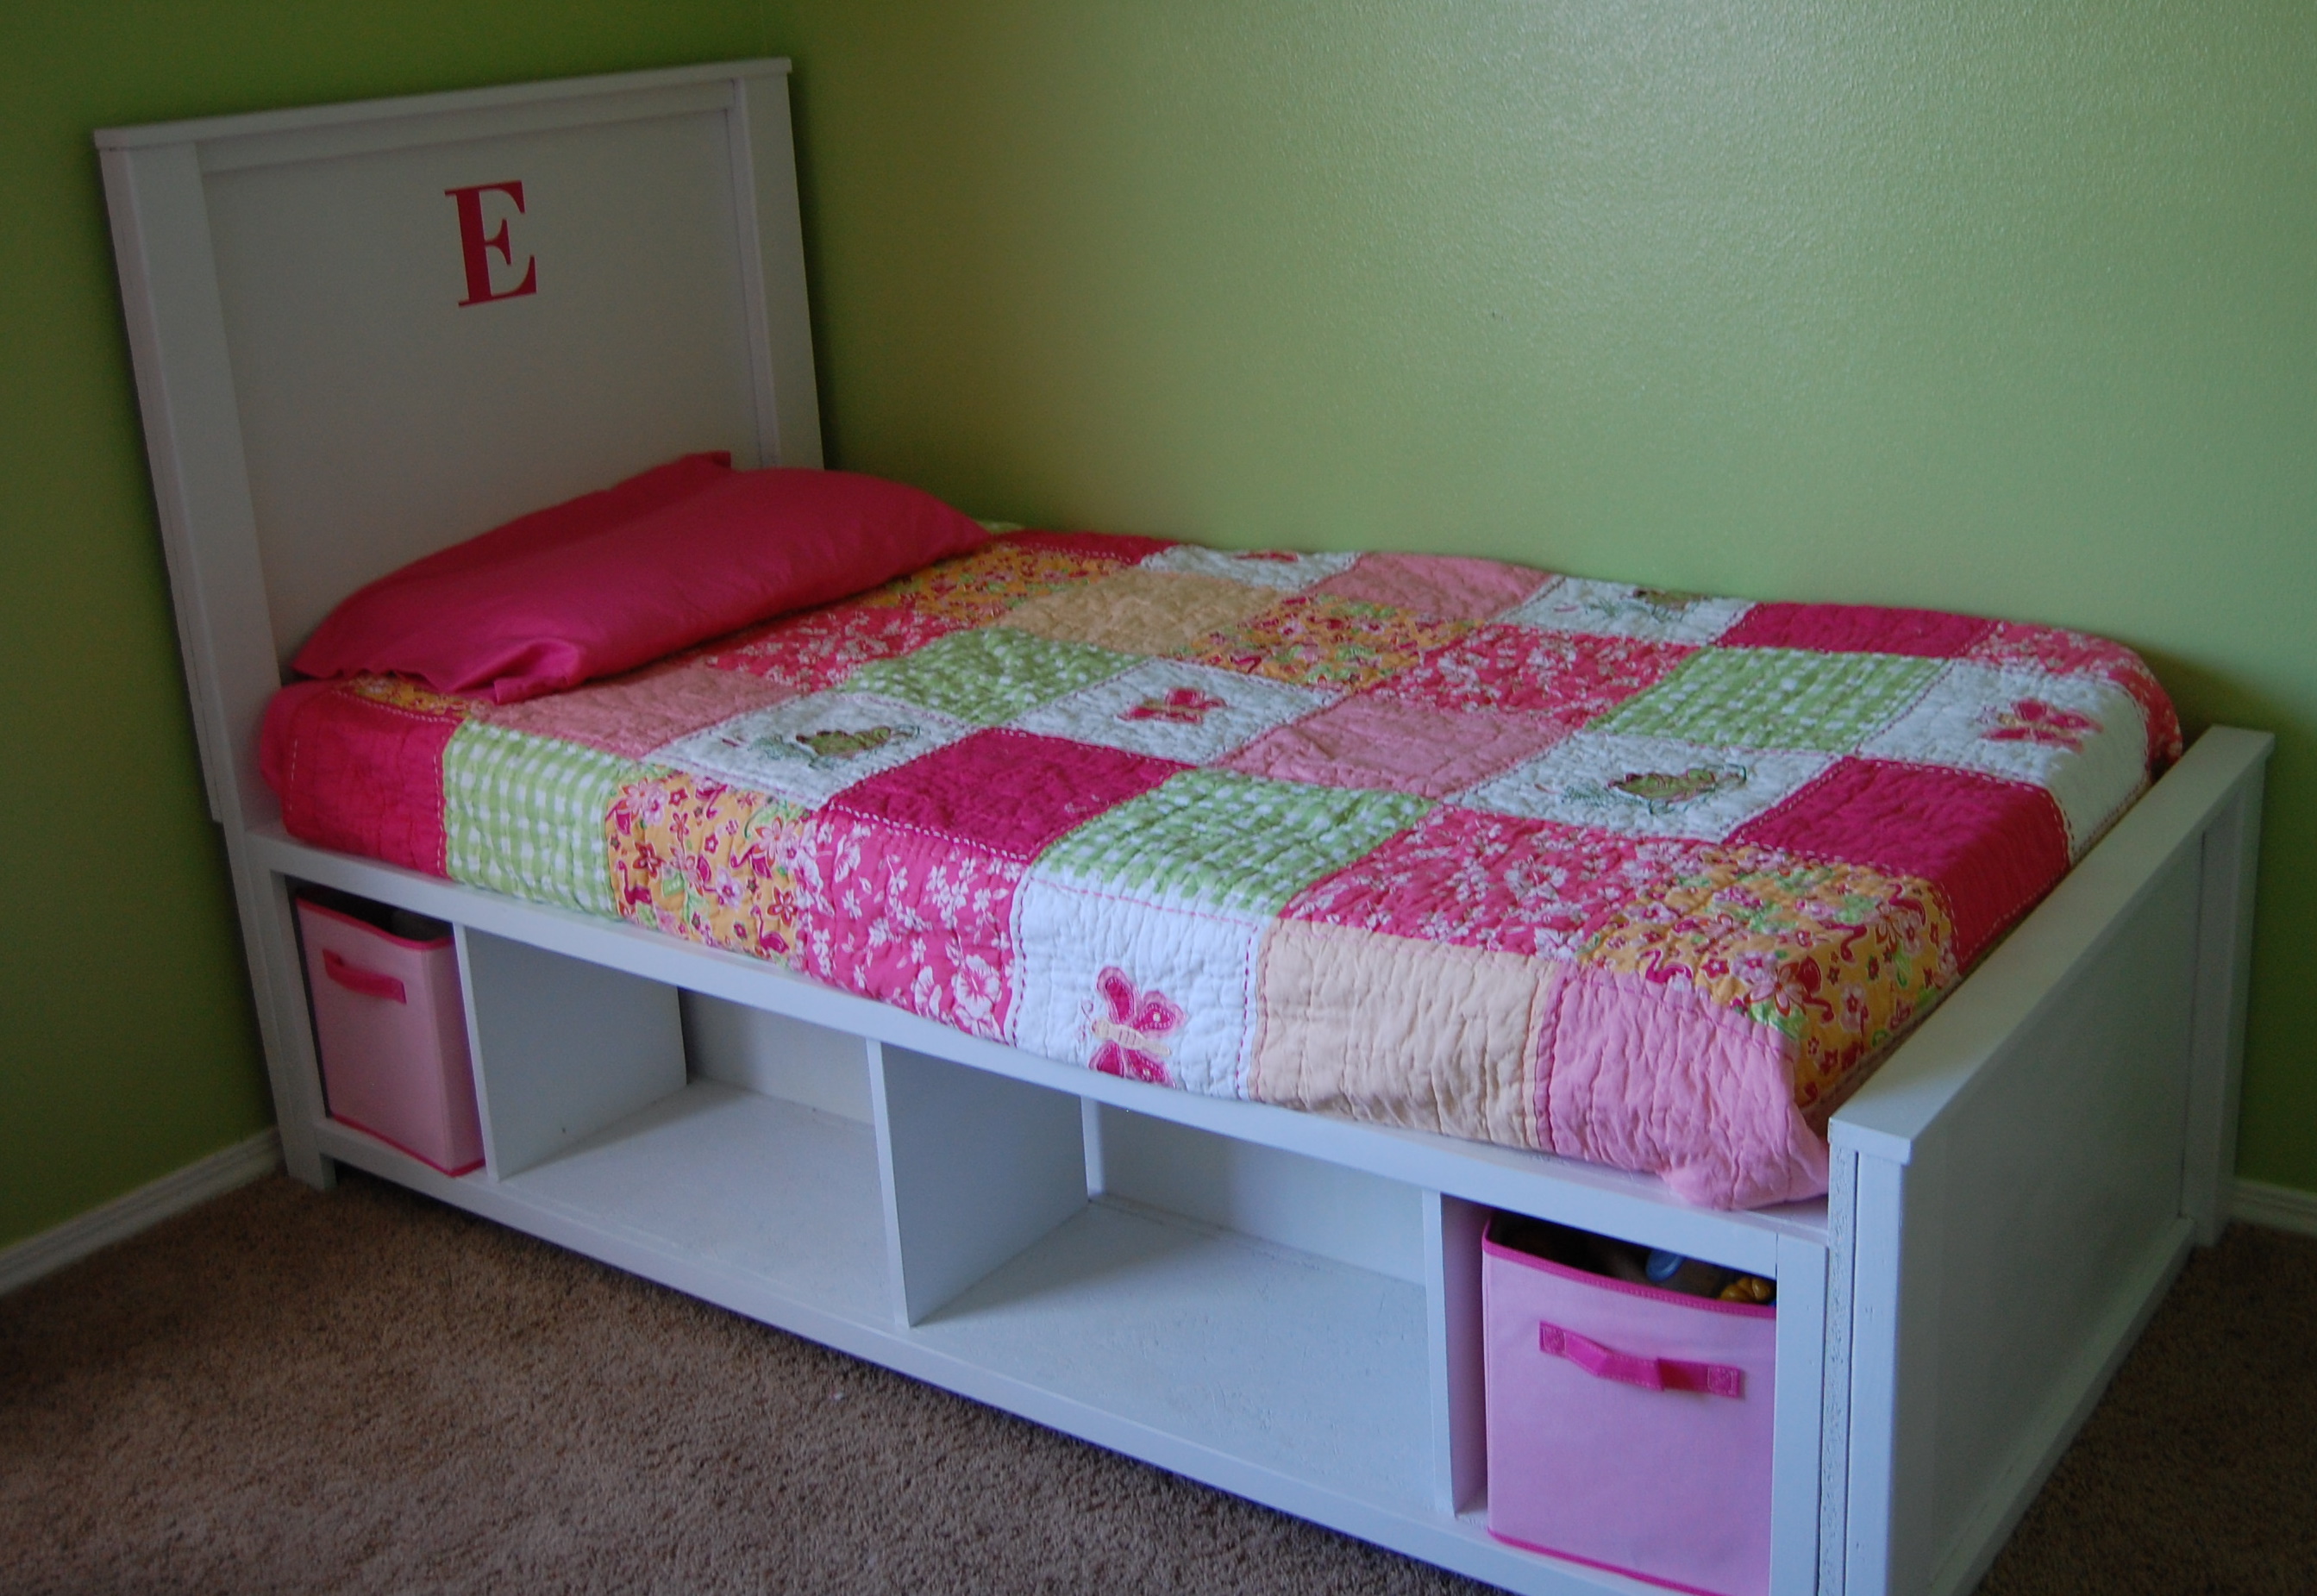
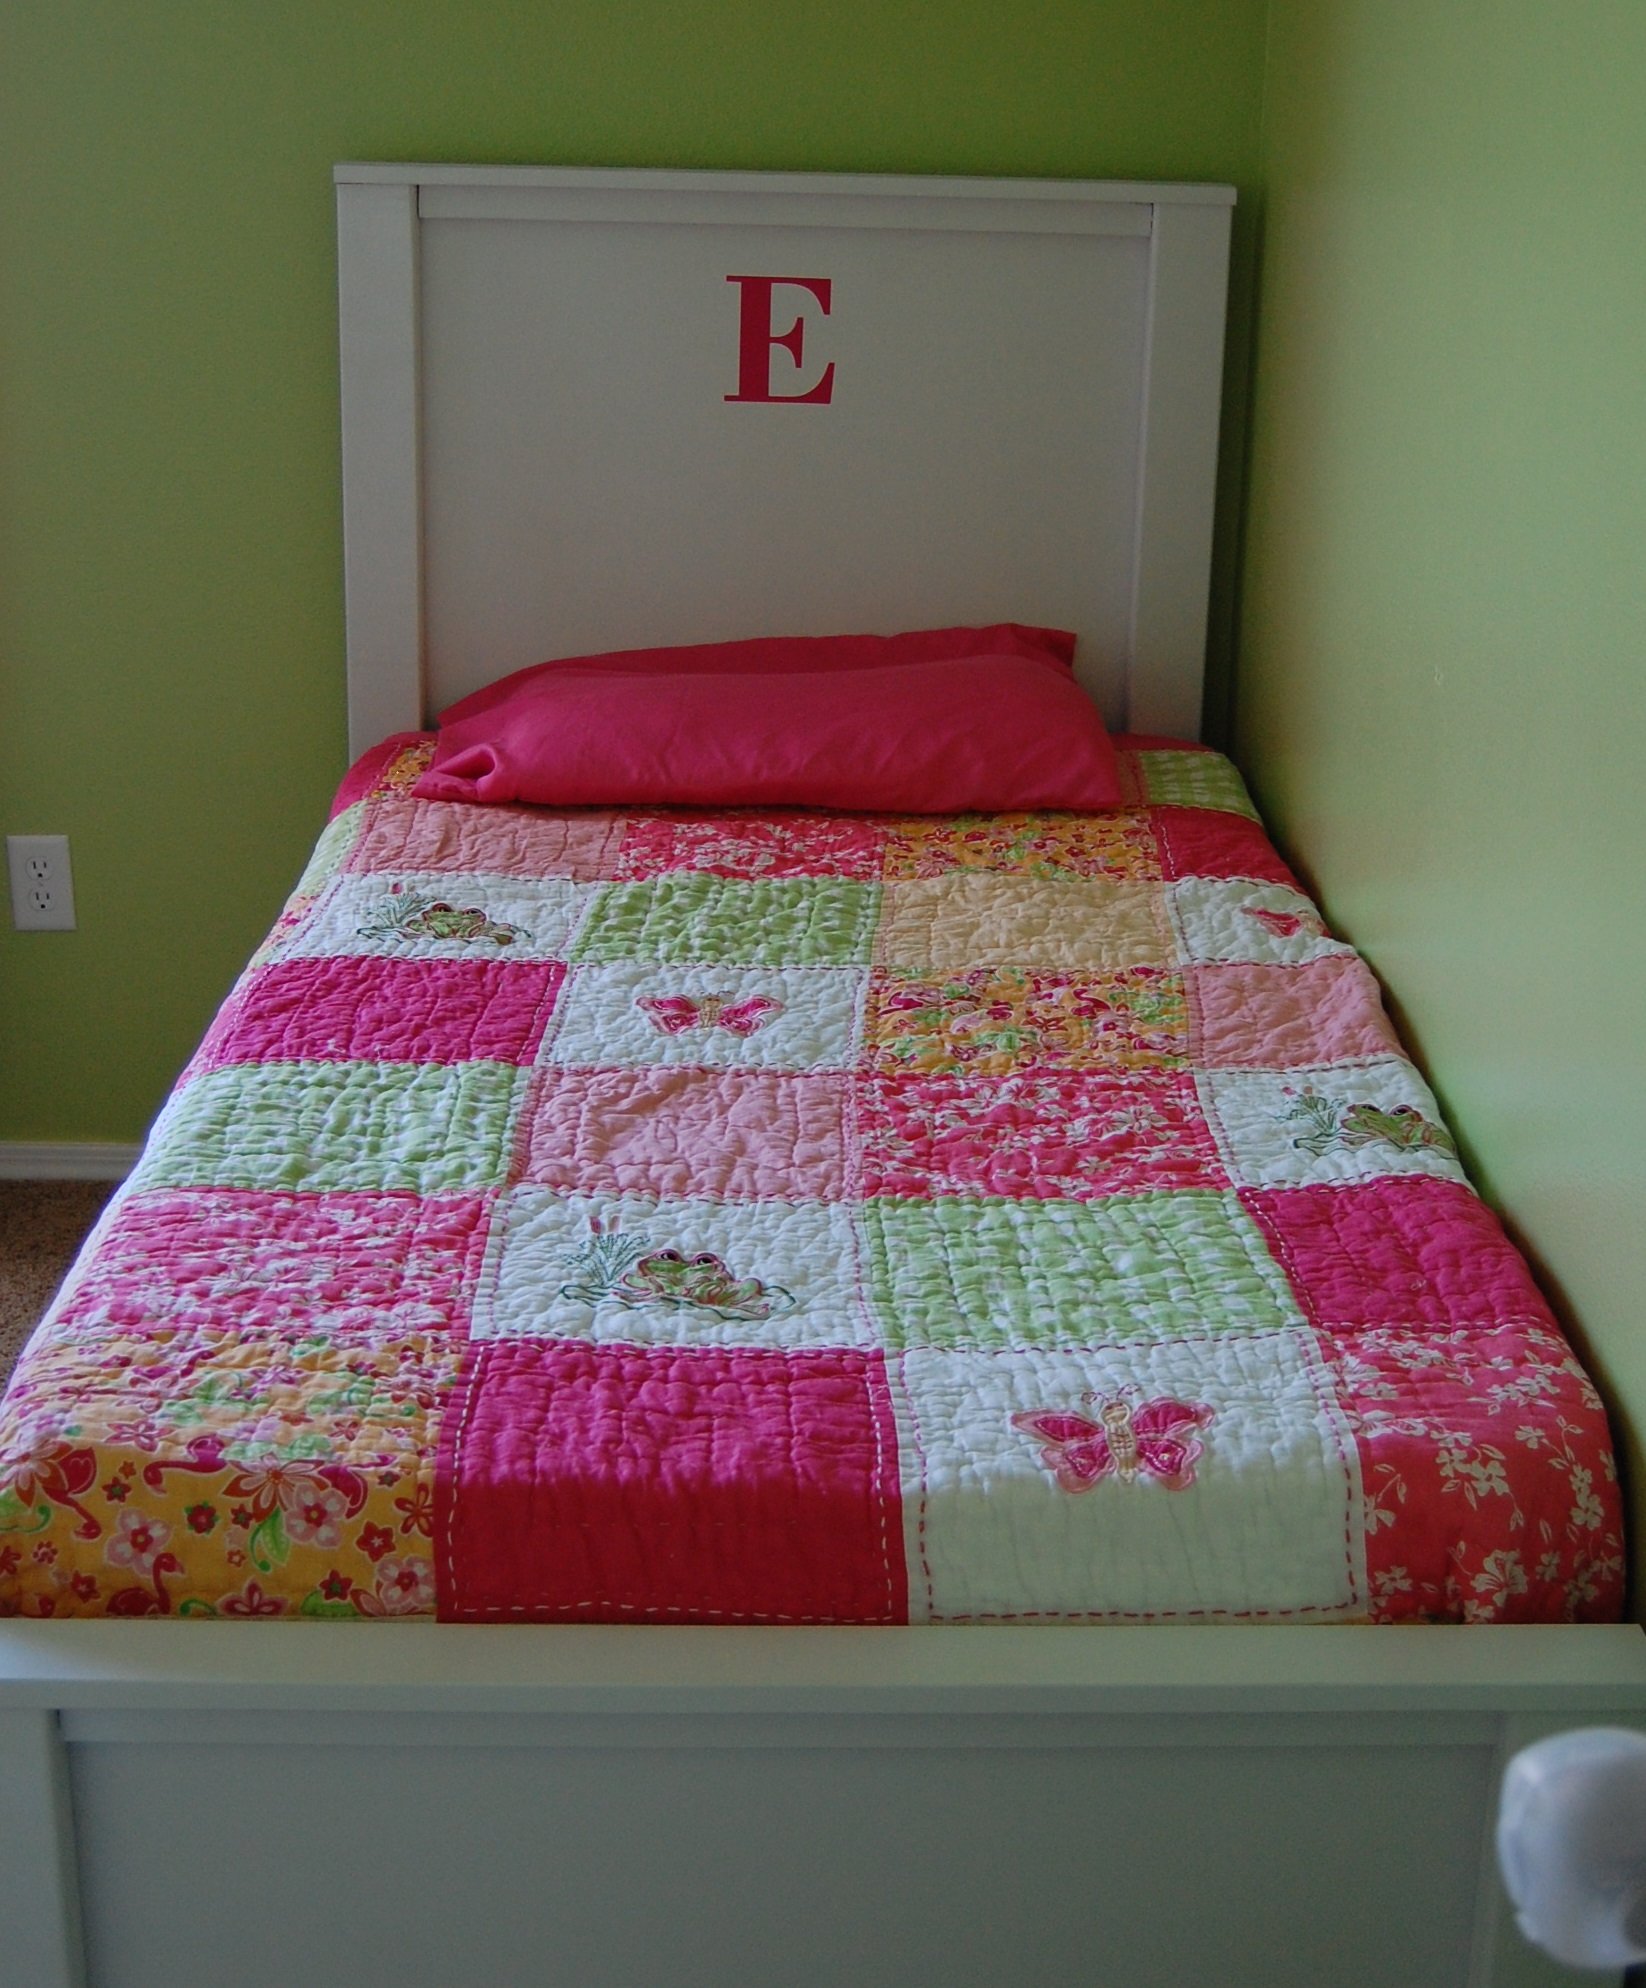
I built this for my daughters 3rd birthday. Because my wife works weekends i was only able to spare a few hours a day Monday-Friday. And because i did it in summer under the Texas heat it took longer than i would have liked. The flowers and birds came from Hobby Lobby. My daughter flipped out when she opened her room and saw it, as a father I've never felt prouder than to build this with my own 2 hands just for her.


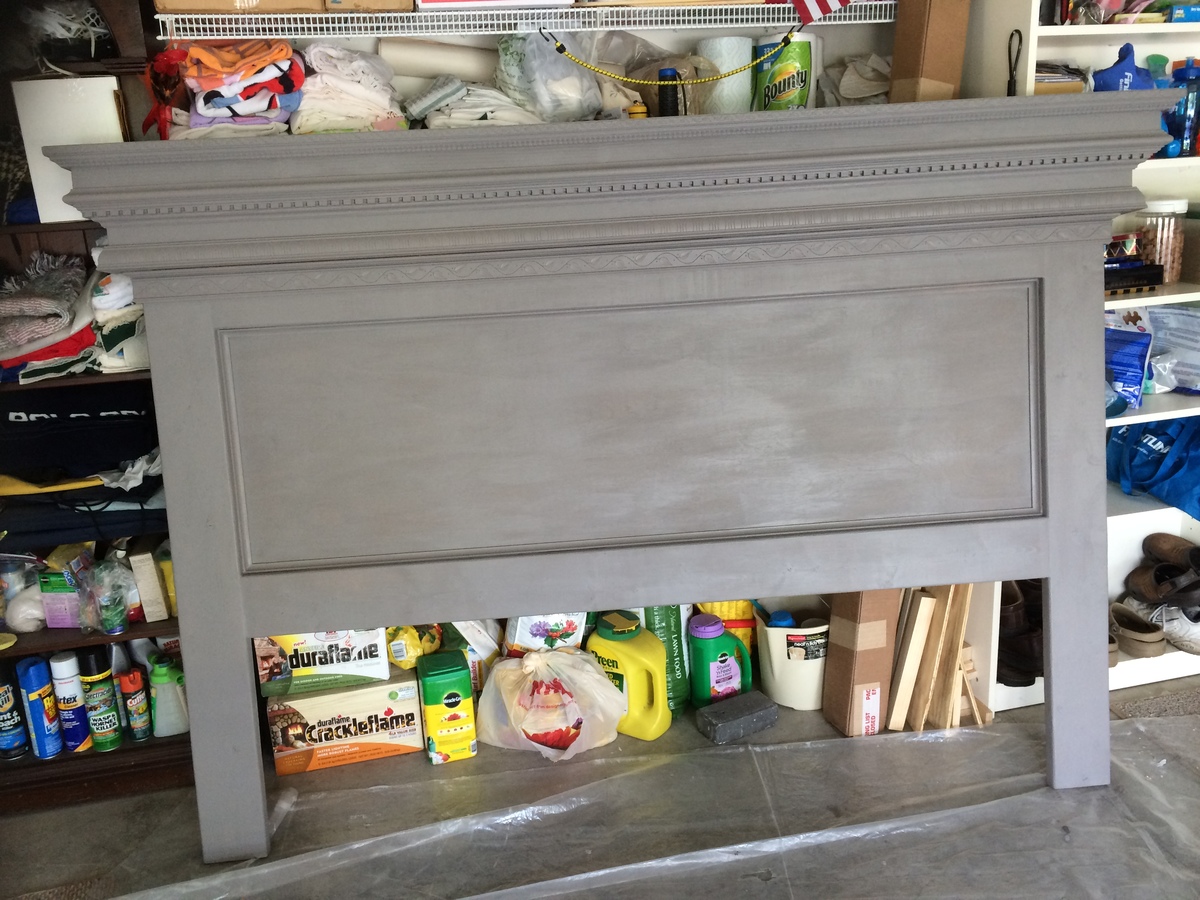
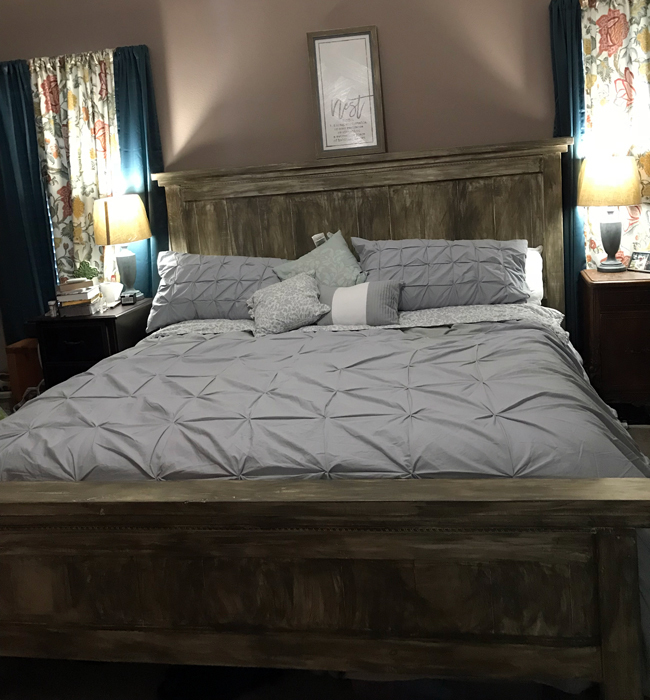
This was produced from the Queen version by adding 16 inches to the width of several of the pieces of wood.
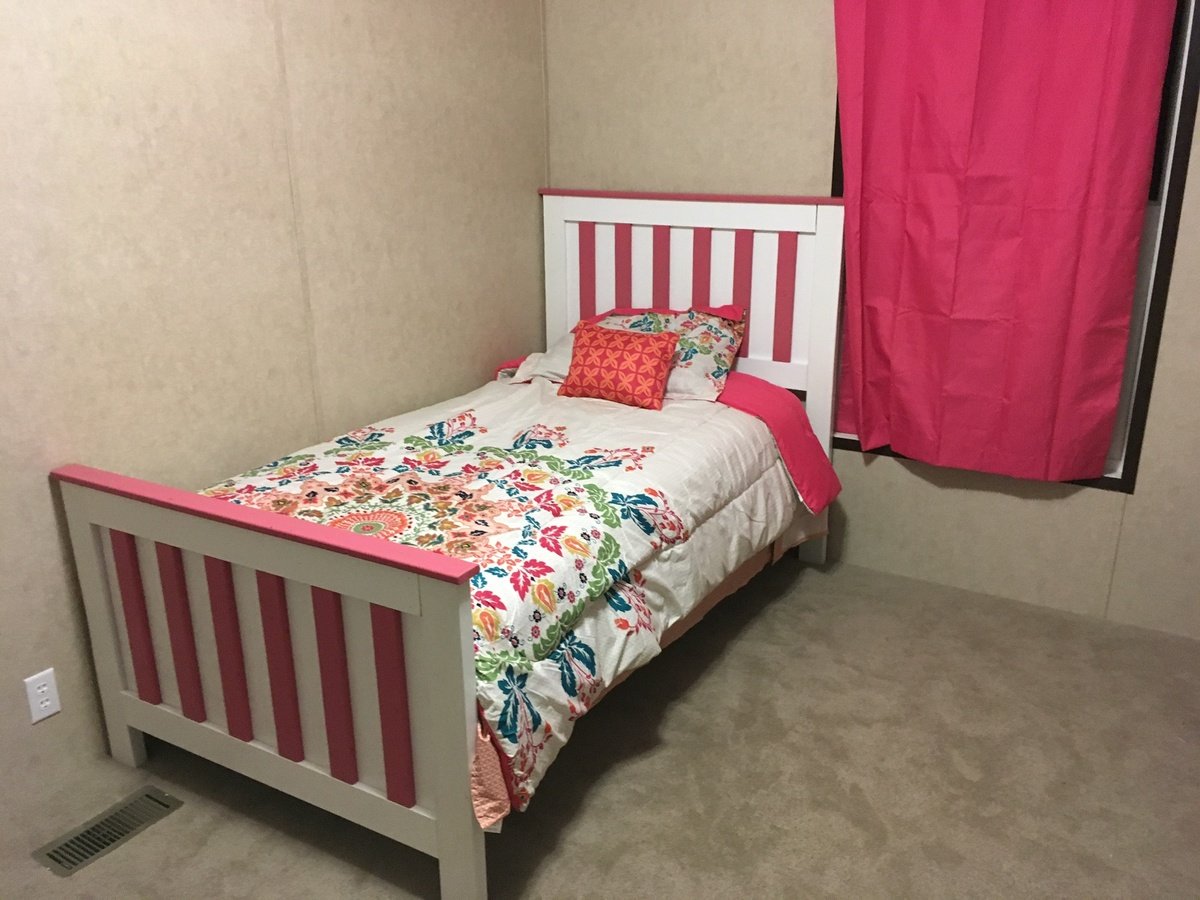
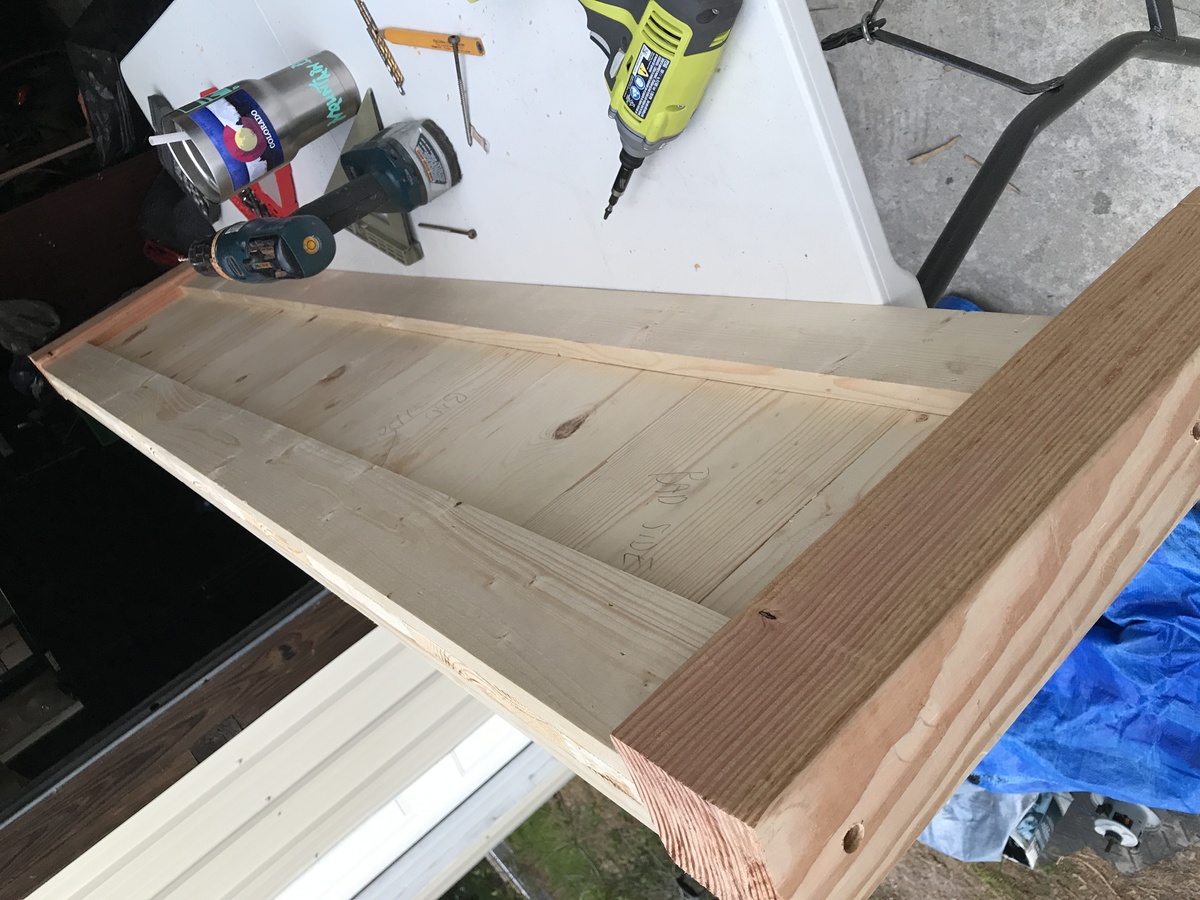
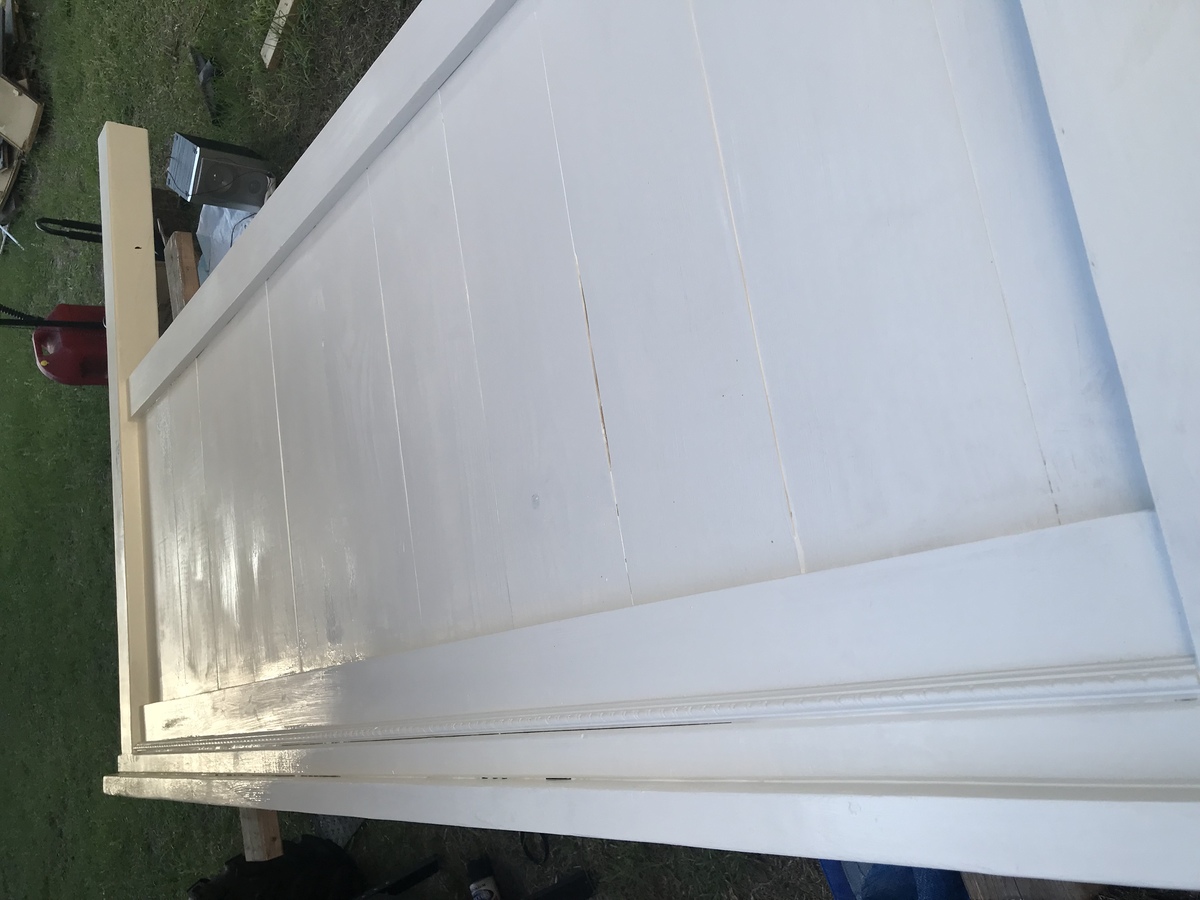
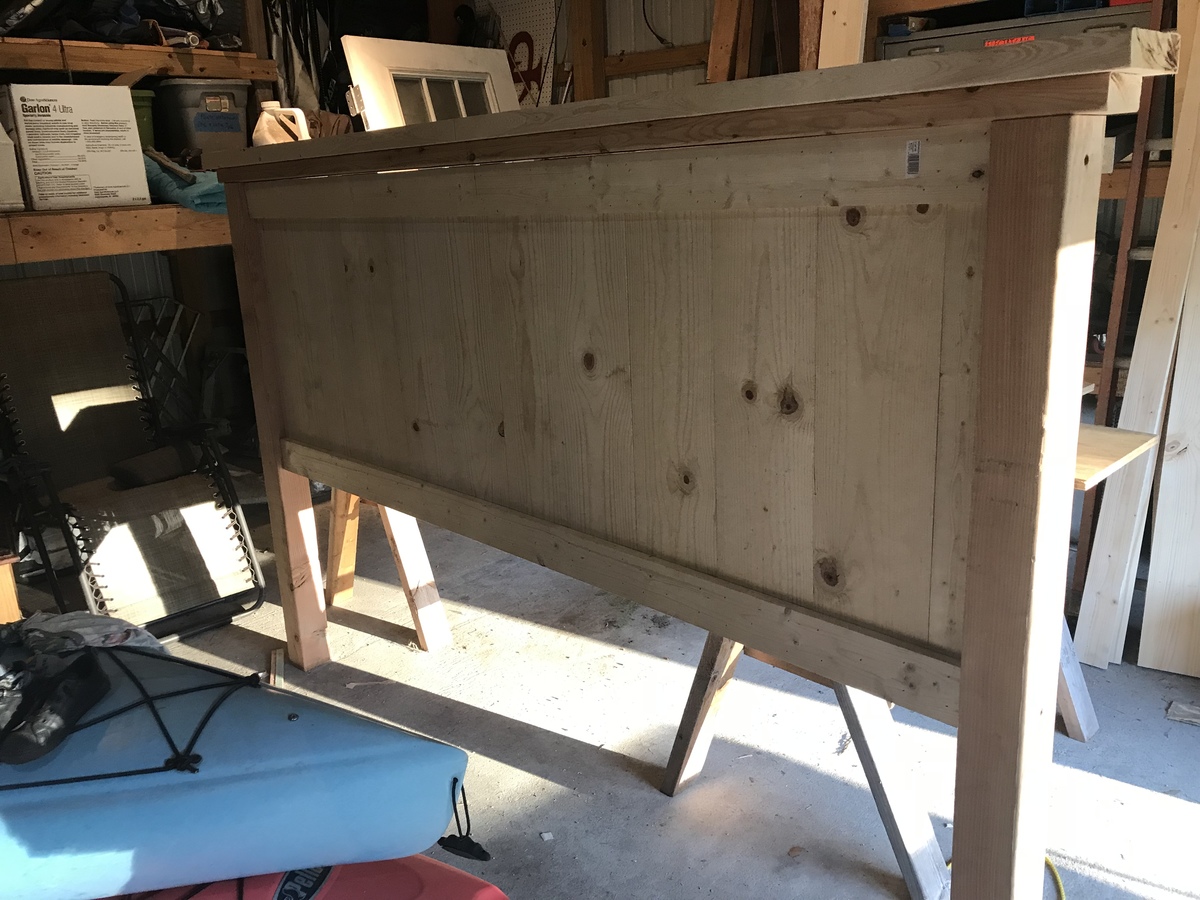
Built the kentwood twin for my daughter from Ana’s free downloadeable plans. Build was very easy and had a blast. Total cost was between $60-$70. Can’t wait to start my next project!

Wed, 04/18/2018 - 17:31
You did a great job on this bed! It looks adorable all decked out in pink! Congrats on a great first build!
Thank you for sharing your plan!
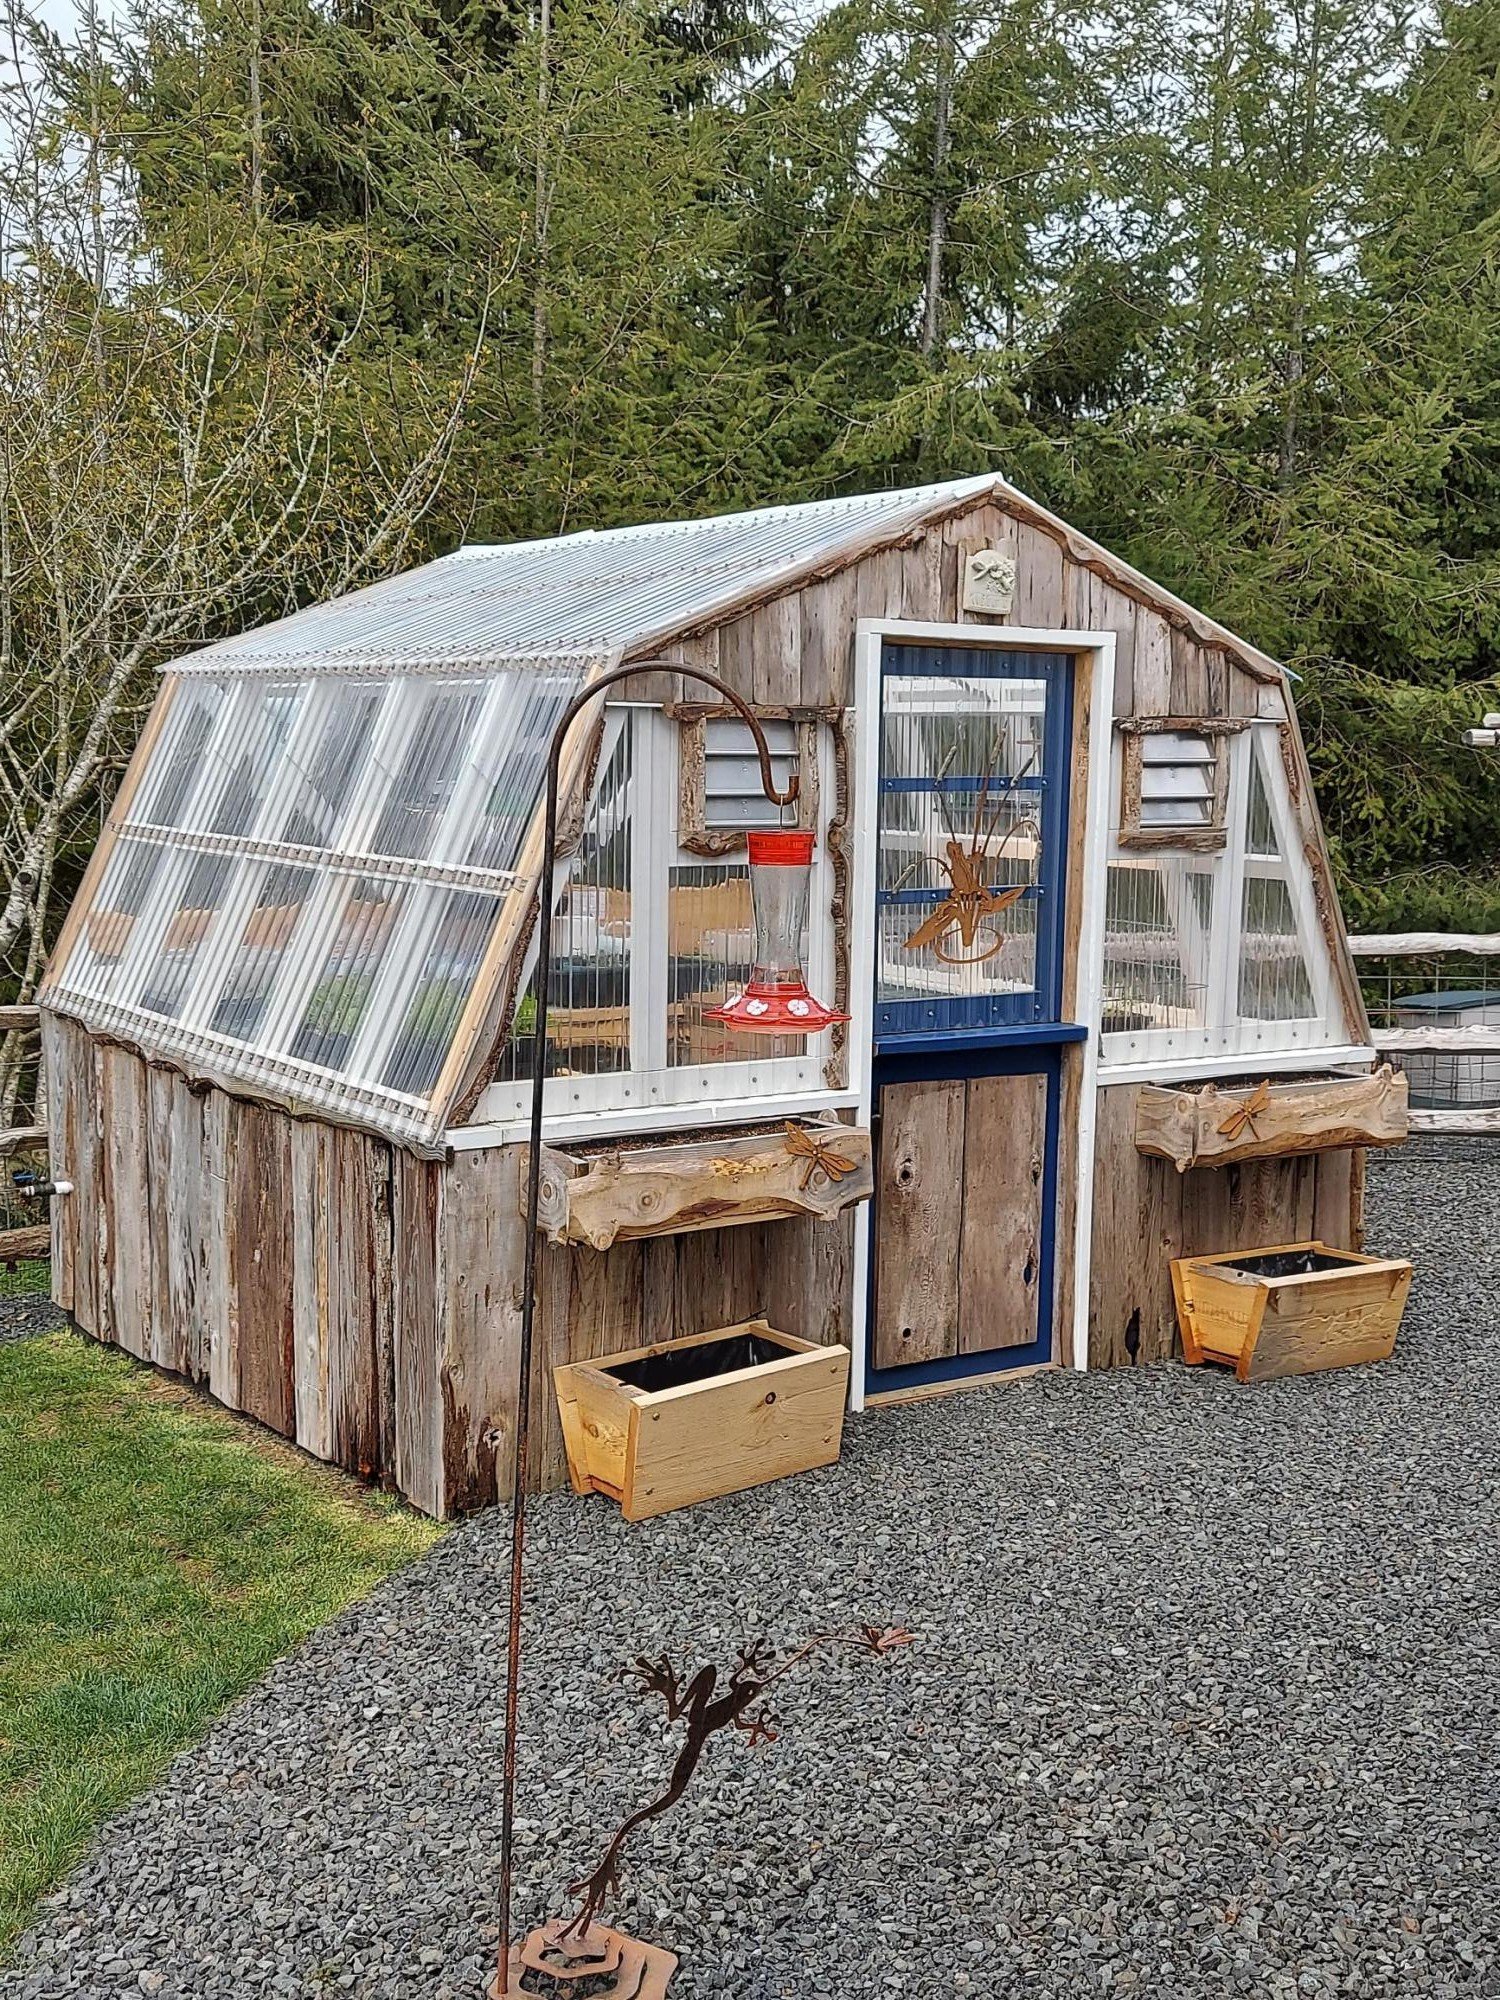
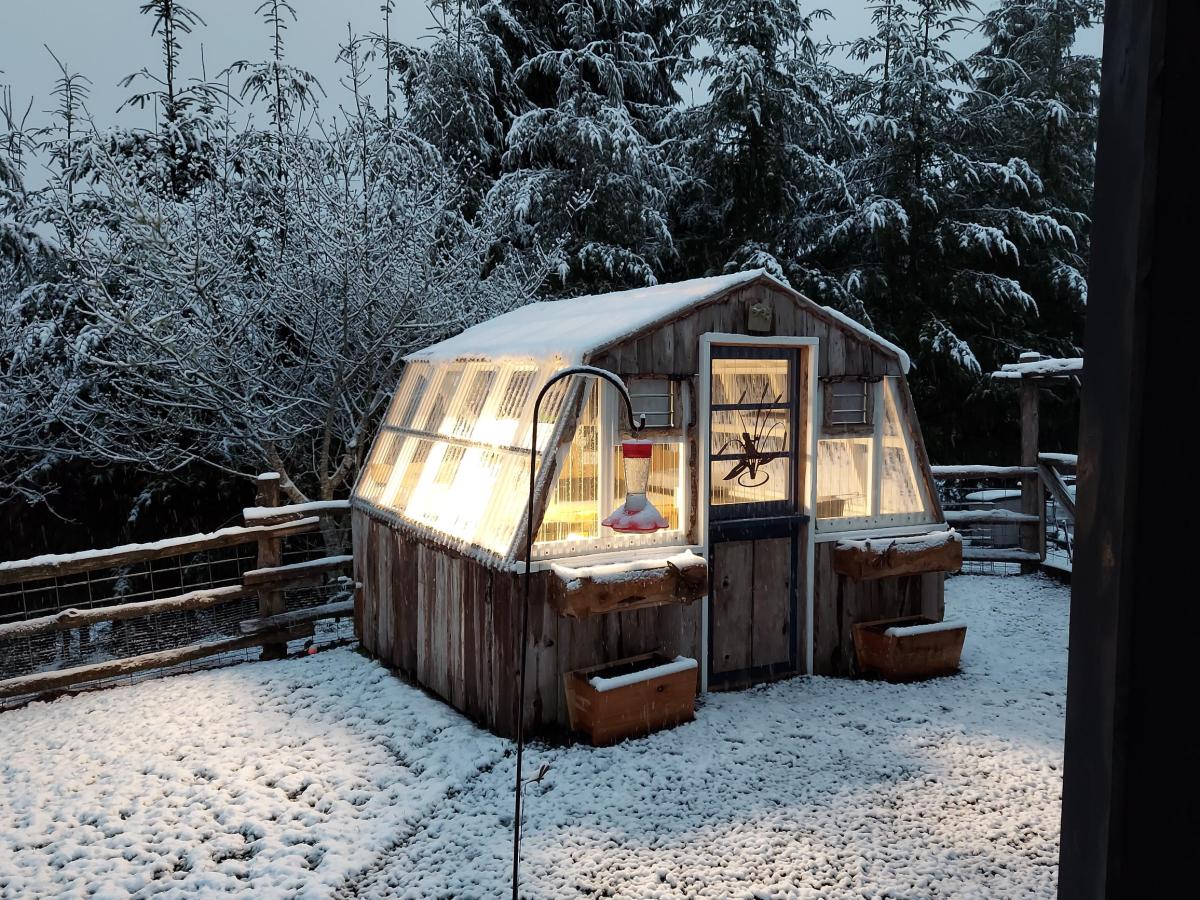
10×10 greenhouse made with re-claimed cedar boards from old barn on Menlo, WA

Wed, 06/08/2022 - 05:52
Beautiful! I like the fact that you bucked the trend and turned your clear panels for Washington rainwater runoff. There are good and bad with both directions, vertical makes the most sense. I can see myself re-doing ours at some point to change the panel direction. At least they're pointing the right direction on my skylights.
Great design, and of course, I love the 'live edge' details you added throughout!
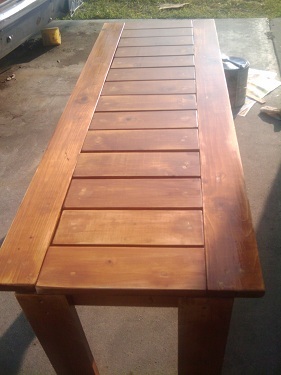
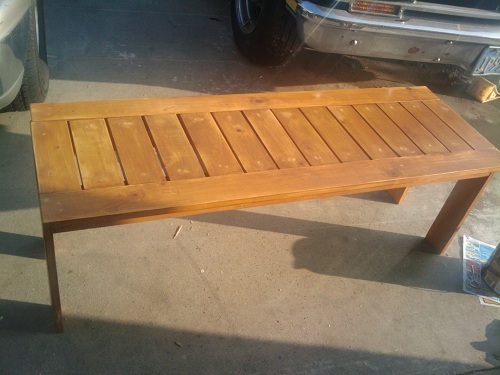
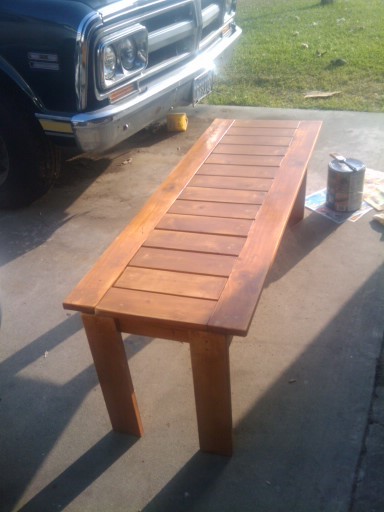
First Anna project, I needed a bench by the pool, so I did waterproof it, which is holding up well, and it's extremely nice even with my limited skills. Definately worth the time and sanding.
Things I learned, need to measure each cut out. I didn't, so my slats are not all the same length. Still works really good, but I should've measure, cut, measure, cut, because I didn't take into account the width of the blade. I wouldn't use so much wood filler. I really glopped it on there. The sanding and staining pre, good call.
I would've used 2 pieces of wood for each leg.
Well, next one. I've already learned so much from making it and had a great time making it. Can't wait to get started on the table to match!

Mon, 02/20/2012 - 11:11
Love this beginners bench! Saw this on pinterest...will be repinning for future reference! Amazing stuff on your blog!
Mon, 02/20/2012 - 11:12
Love this beginners bench! Saw this on pinterest...will be repinning for future reference! Amazing stuff on your blog!
Wed, 02/22/2012 - 23:37
Thanks! First thing I ever did. Teaches you a lot
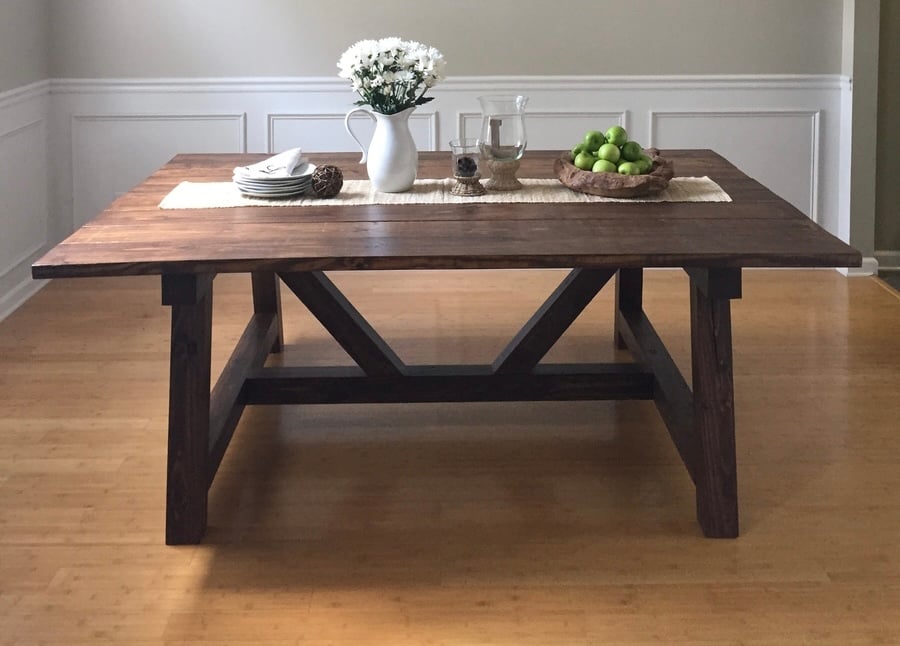
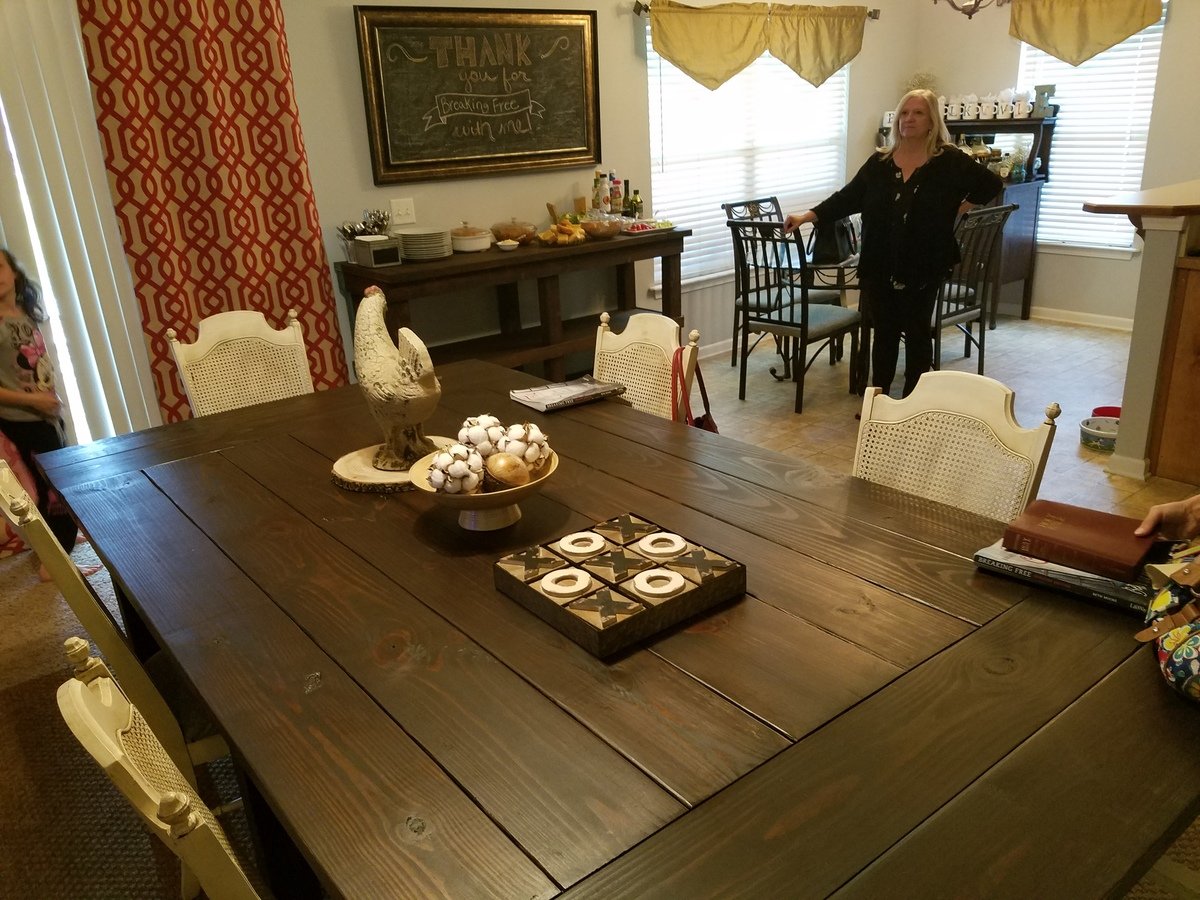
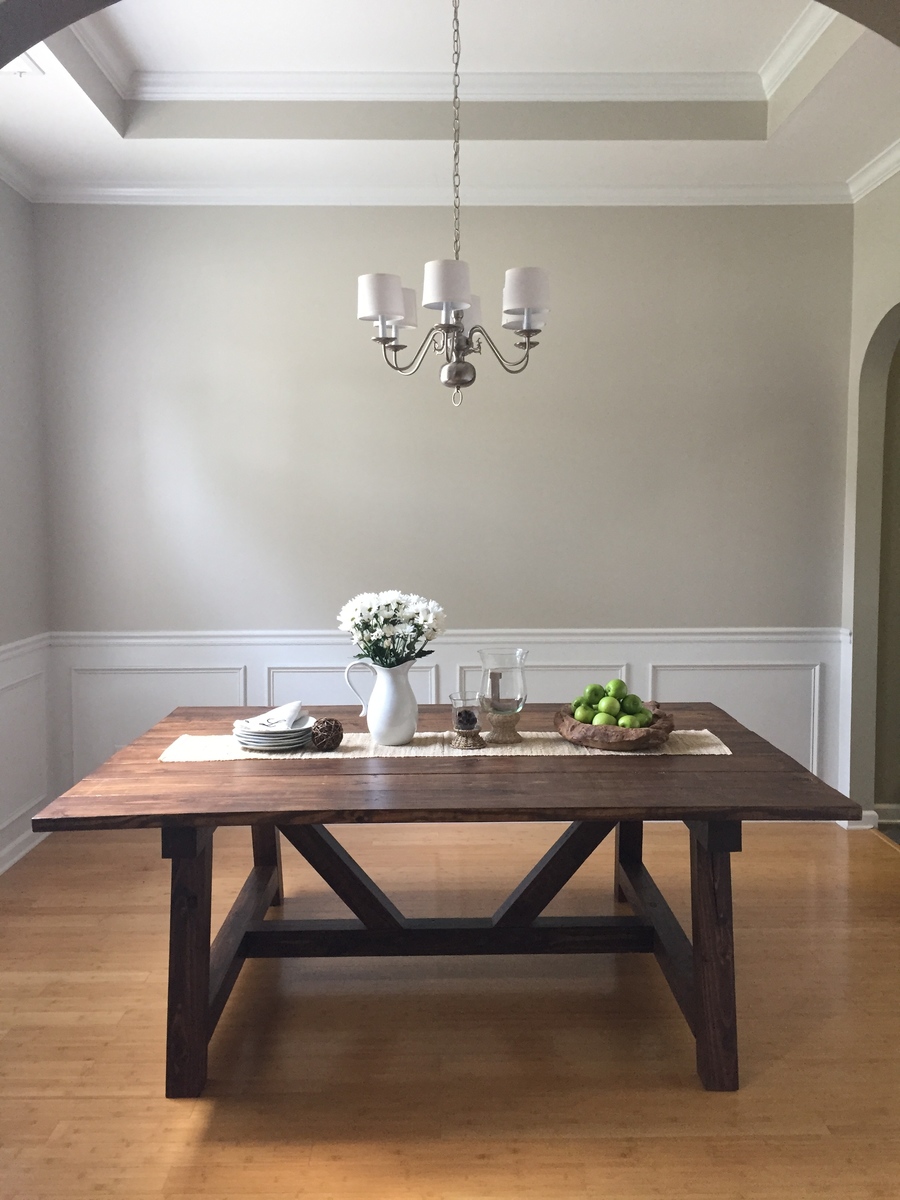
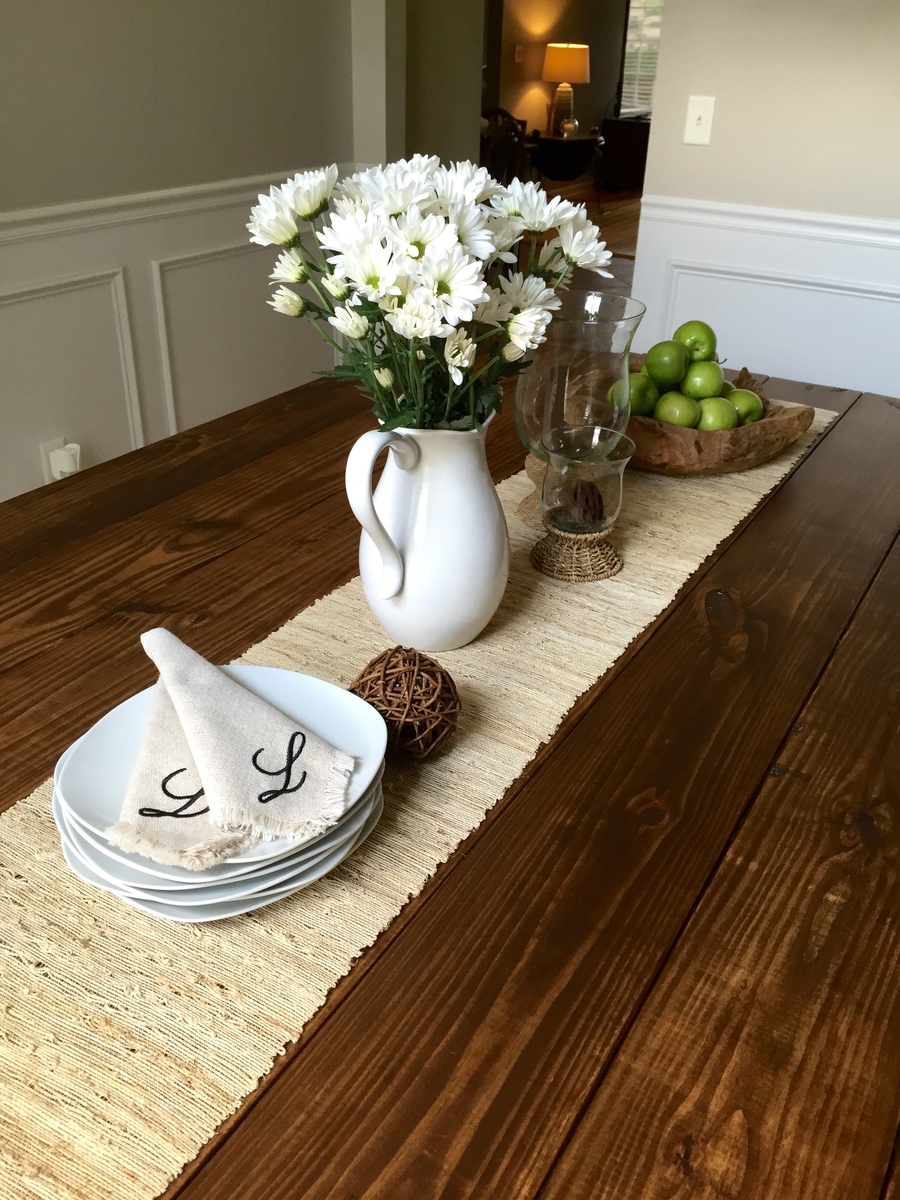
My husband and I moved in to our new house last fall and we needed a dining table that would seat at least 8. We picked this plan from Ana's site because I love the look of the 4x4 beams. I used Adobe Illustrator and my math skills to modify the size and scale to fit our dining room with exact spacing all the way around. We had difficulty finding untreated 4x4 beams but were able to special order some for a reasonable price from a local lumber company. It is more expensive than combing 2x4s but I did not like the pieced together look of the 2x4s. We stained with Rustoleum Dark Walnut and Matte Poly just like the blog post from Ana's site. We also used the Kreg Jig HD which is SO AWESOME! We love the table. Now we just need to decide: chairs vs. benches. I hate to block the beautiful truss design of the base. Its so gorgeous!

Mon, 08/31/2015 - 14:18
I love this table. The finish came out great by the looks. My wife and I are moving into a house soon and I think this is going to be the design for our table as well.
Mon, 09/07/2015 - 06:21
What a beautiful table! Is this table square? We are also looking to build a table to sit 8 and love the look of yours. Could you share your cut list or dimensions?
Mon, 08/29/2016 - 06:08
Thank you for all the kind comments! I did not know that I had gotten any and had not checked back over the past year. The jump drive with my dimensions on it got damaged last year shortly after the build and I lost all of my home decor files including the AI with my cut list and dimensions. I know it had been a while since several of your comments but I will see if my husband can help me measure the table and figure out what the dimensions are and post them on here for you. Happy Woodworking!
Tue, 11/15/2016 - 18:01
This table really looks great! I'm about to start making one and would love to know the dimensions you used. I also noticed that you didnt use the bread boards on either end. How many people does this table fit?
Thanks!
Mon, 02/27/2017 - 08:51
No, we did not use bread boards. It seats 8 with plenty of room.
This was my first Ana White project and it turned out beautifully if I do say so myself!

Built using 2x6 lumber leftover from repairing my deck. Definitely a sturdy build. Finished with honey gold Valspar stain.
My husband and I were able to put this together over the course of two weekend days. Then it took me an eternity to paint/finish it. But we love it now and so does our little girl!
Wed, 12/28/2016 - 15:12
This was an easy two day project that turned out great. My daughter loves it. I made the foot board taller to keep the mattress from sliding off. Thank you for the plans.
This was a fun and very rewarding project. Thank you Ana for sharing your talent with us. I got tired of stores wanting too much money for cheaply built bar stools, so I turned to the internet and found Ana. These stools are quality built, and at a fraction of the cost. The only thing I altered in Ana's original plan was the backrest. I tried to build the horizontal braces but kept damaging the wood. So I just built them vertically.
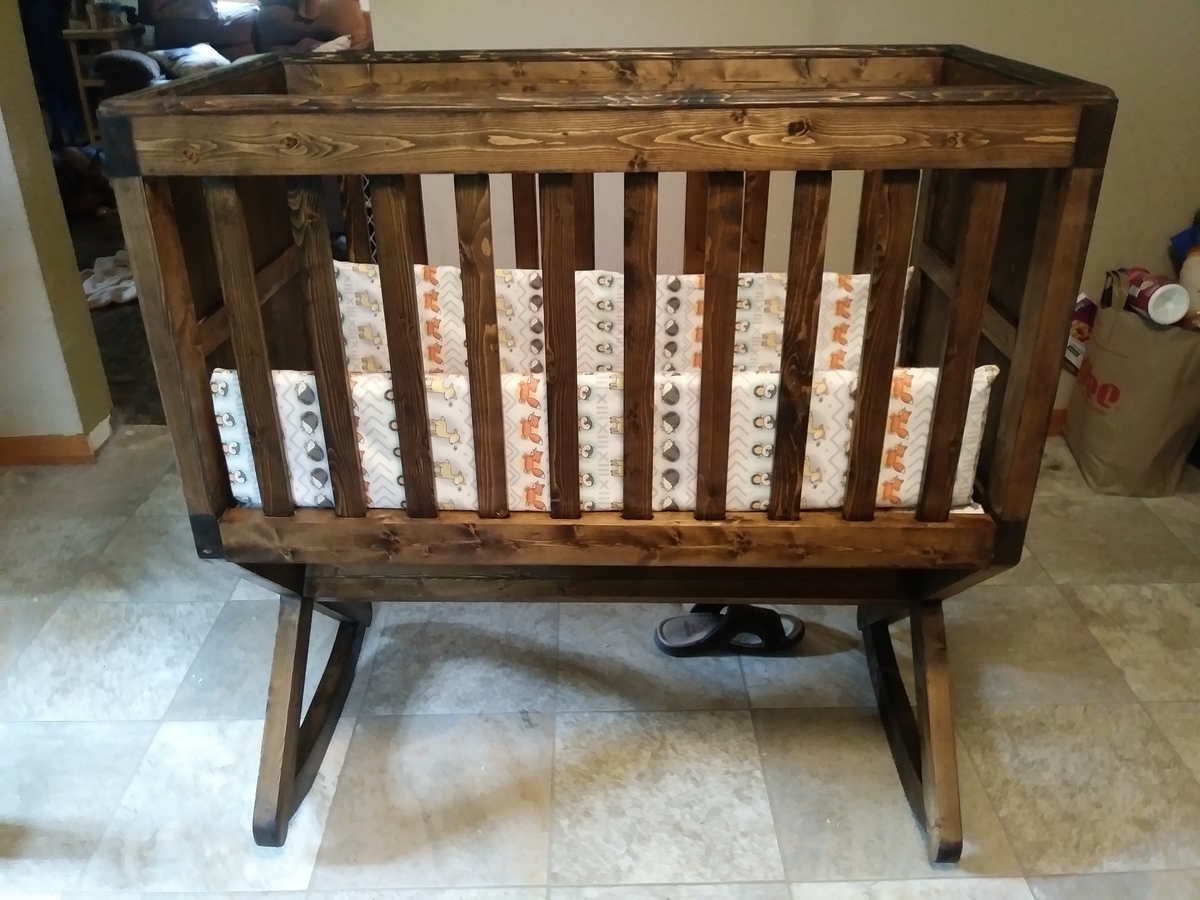
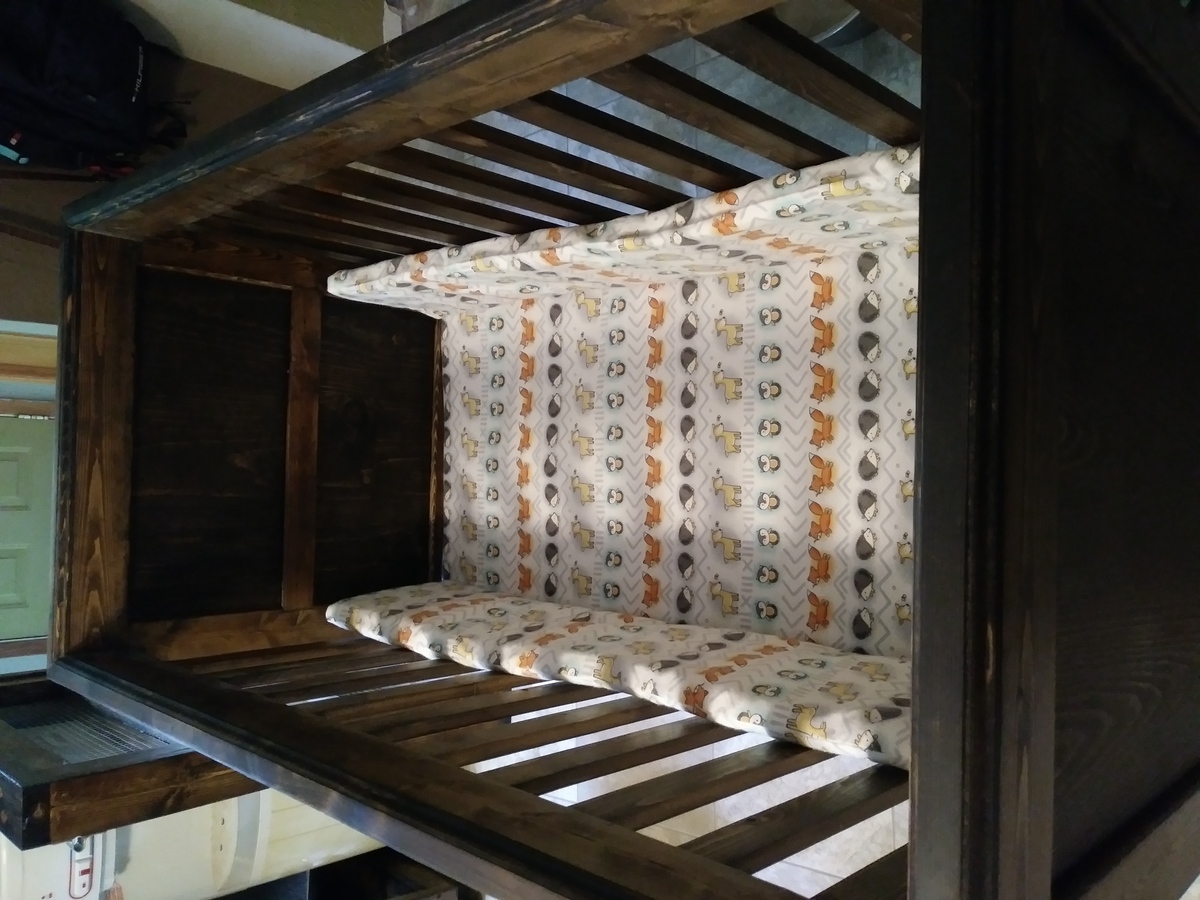
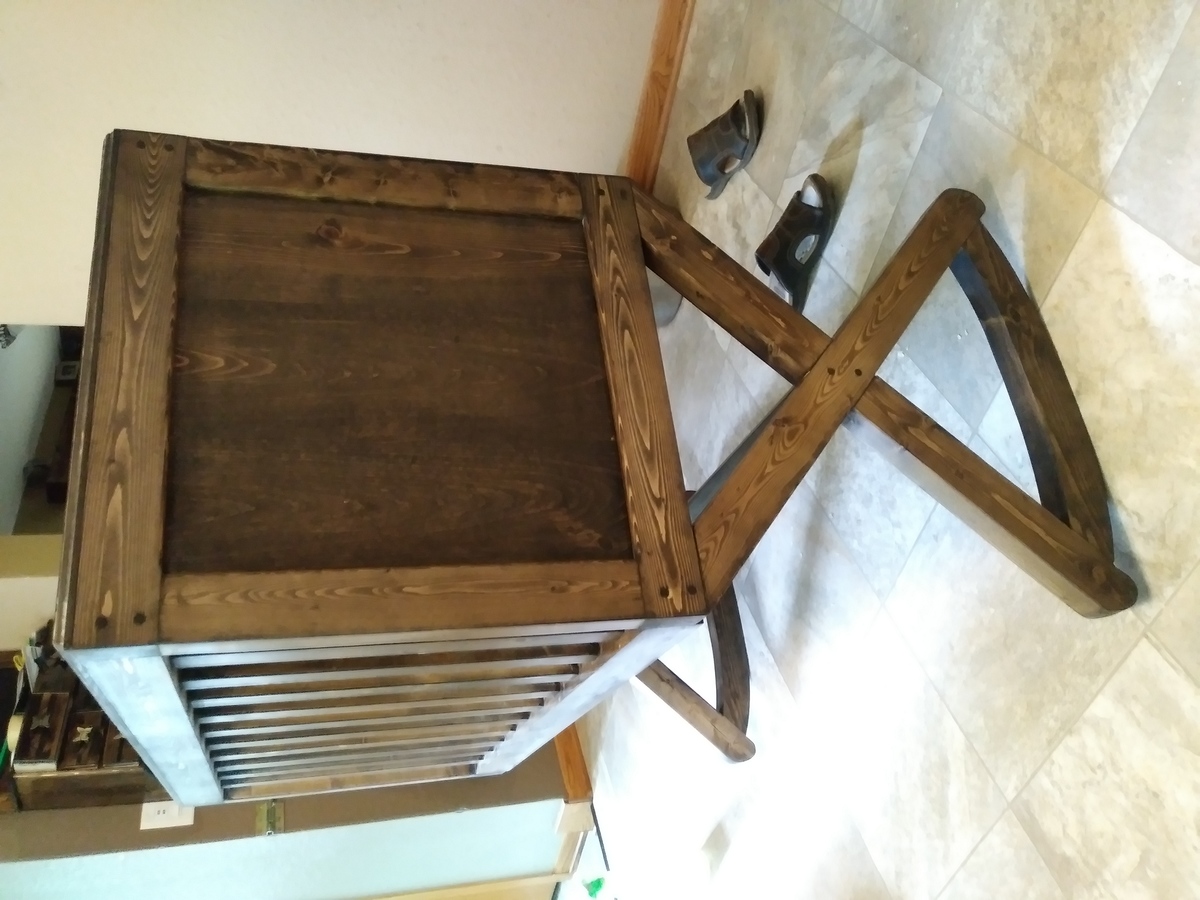
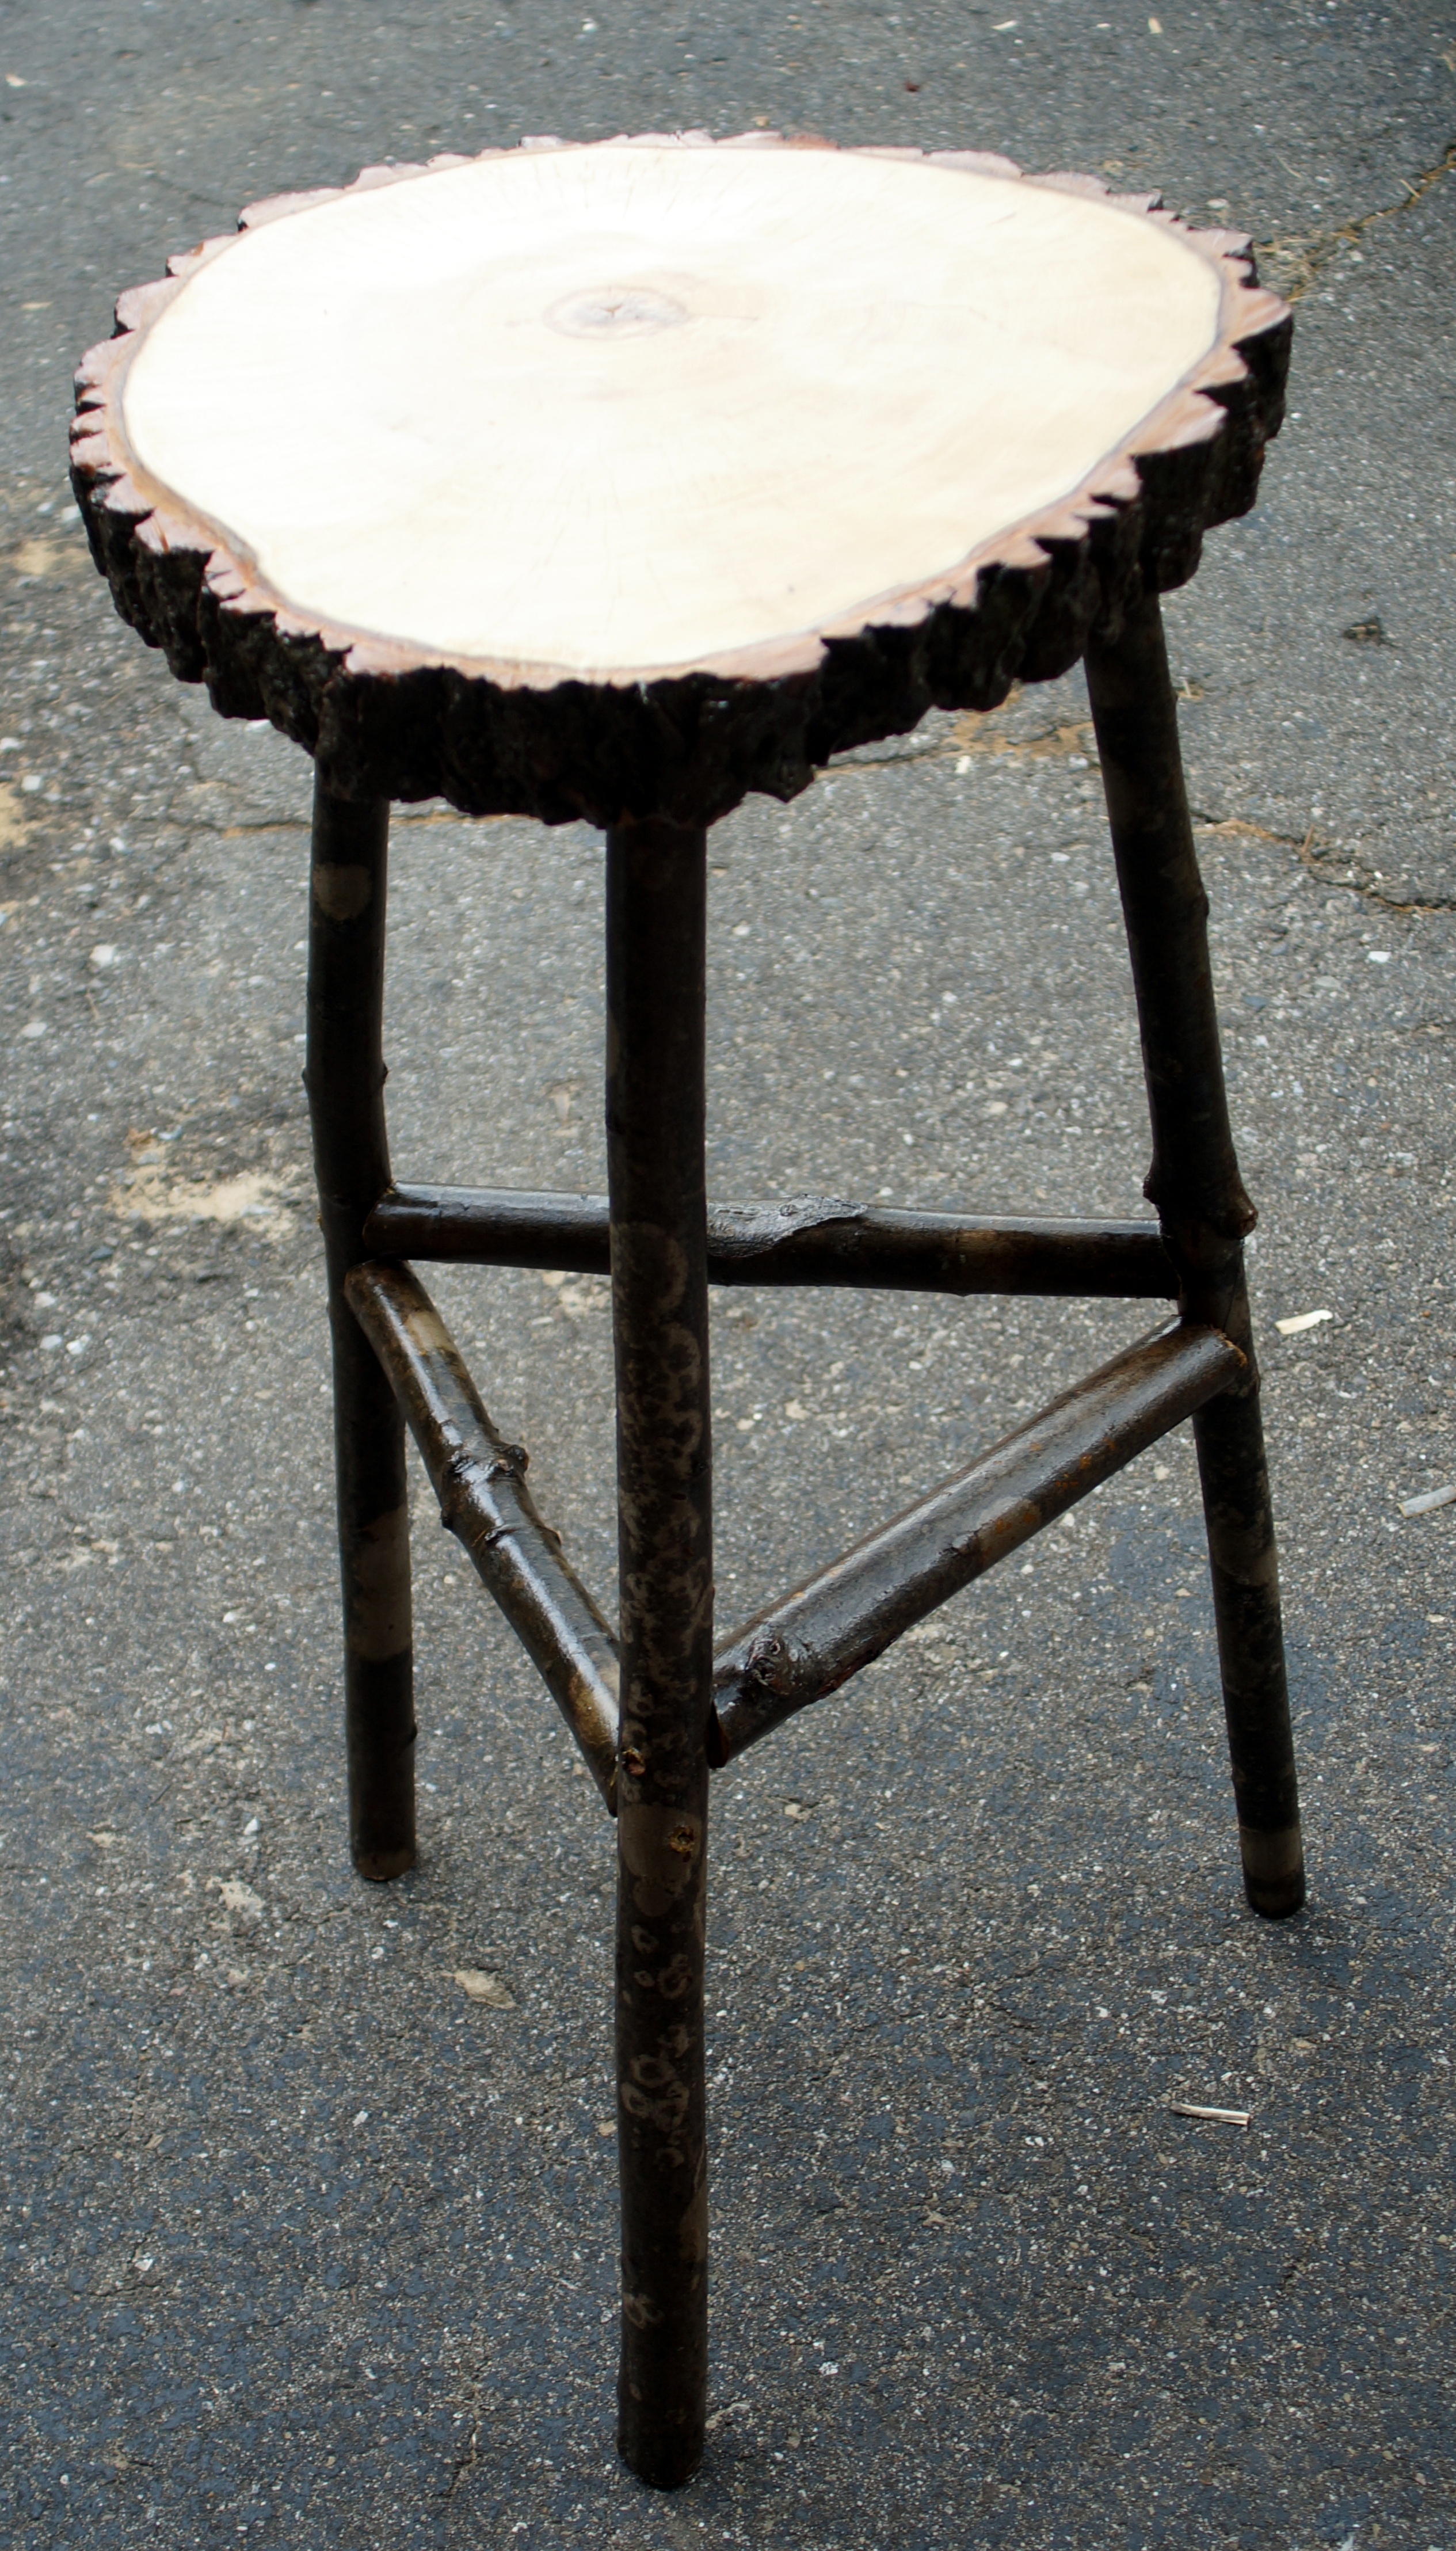
My nephew and his wife are expecting a new baby. This is my e-husband's nephew and we wanted to do something different than I have ever done so the former in-laws wouldn't recognize the work. I sent them several pictures and this is the one that they choose. I drew up simple plans and put one together. I didn't like the first one so I built this and I absolutely love it. It took me 1 full Saturday, a week of breaks (I come home at breaks from work to work in my garage), an hour each night and a few hours the second Saturday. The hardest part was making the holes for the slats. I used a 1/2" auger bit to make 3 holes and then used a carving tool to make them the right size. It felt like it took forever. Lots of router work but I think this is the best thing I have made thus far.