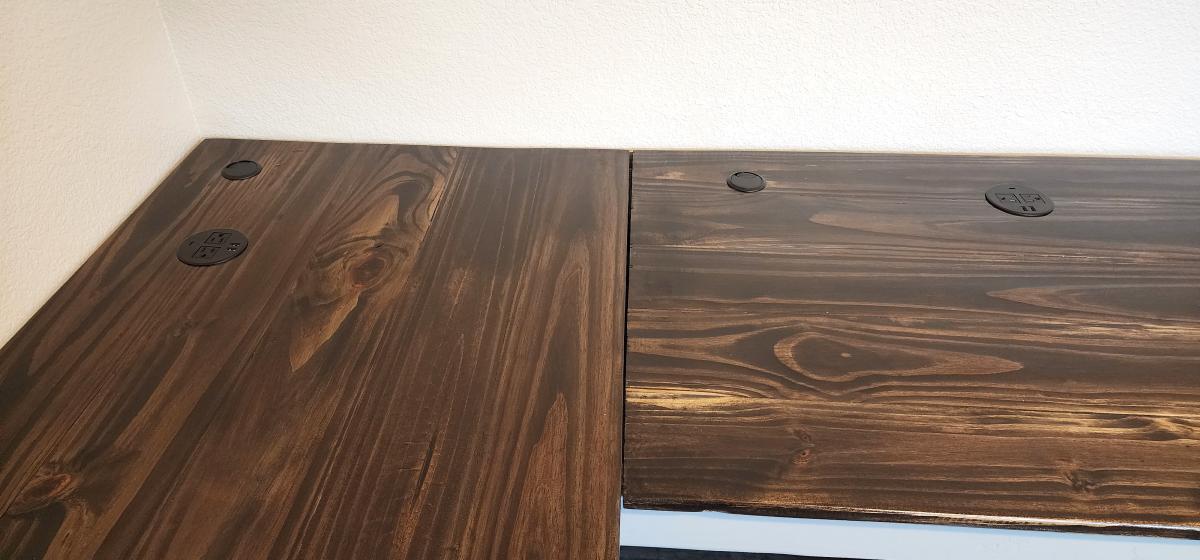
Community Brag Posts

Kids Sofa (half of the sectional plan)

Submitted by Fitz3636 on Tue, 02/18/2020 - 08:27

I had some wood laying around with all the new home construction around us and needed a reading seat for my 3 & 7 year old. I took the sectional plans and whipped this together pretty quick (as you can tell as I still need to put in wood filler for the screws...). It's perfect and we all can sit on there while reading books for night time (and he can keep all his little shoes under there for easy storing). Takes a few hours to come together for s novice like me. Paining took the longest. I need to remember to paint first but tend to get so excited to build, painting comes after. Thank you for the plans!

Estimated Cost
20
Estimated Time Investment
Afternoon Project (3-6 Hours)
Recommended Skill Level
Beginner

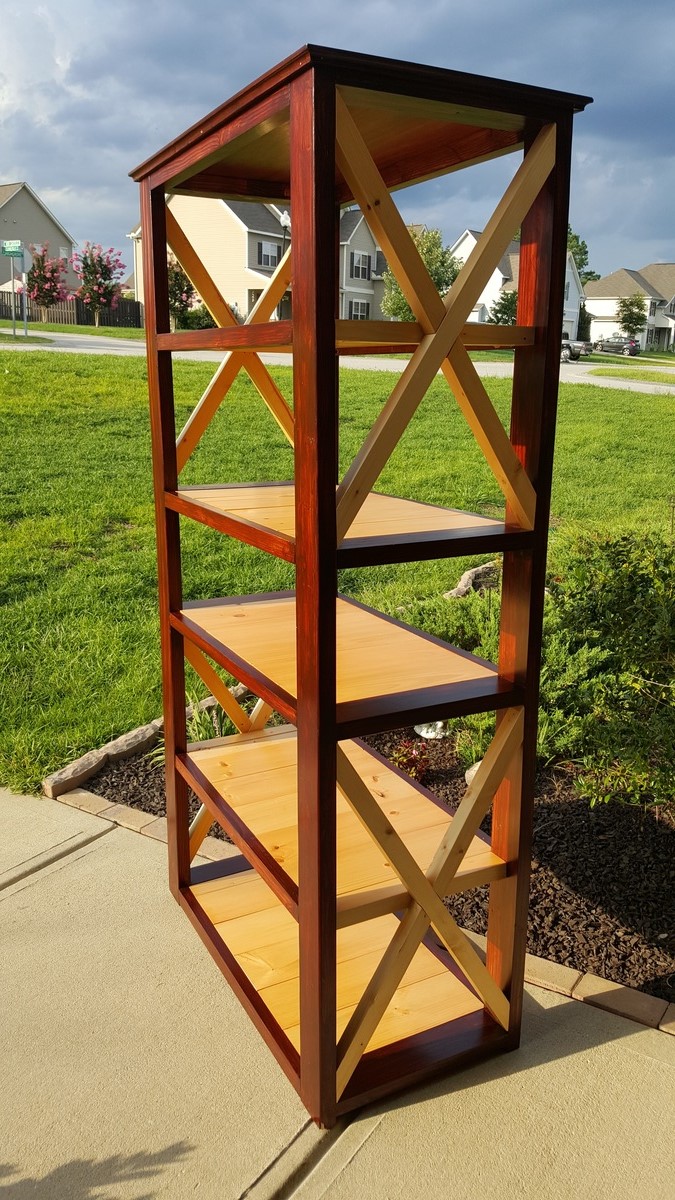
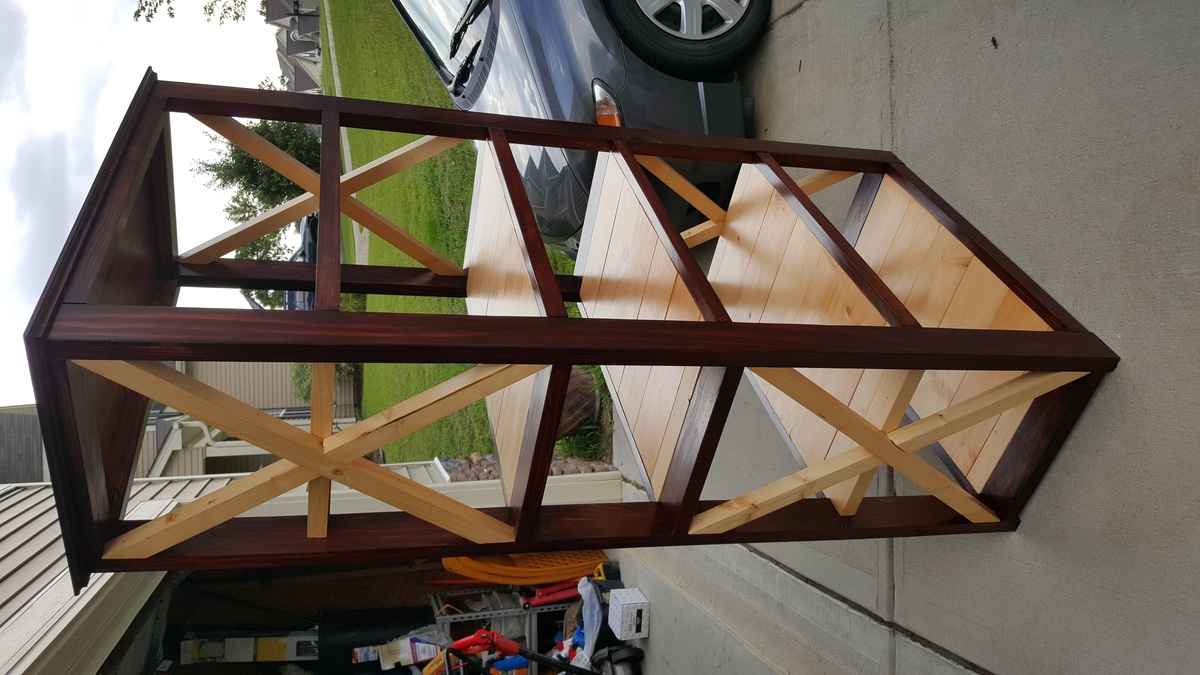
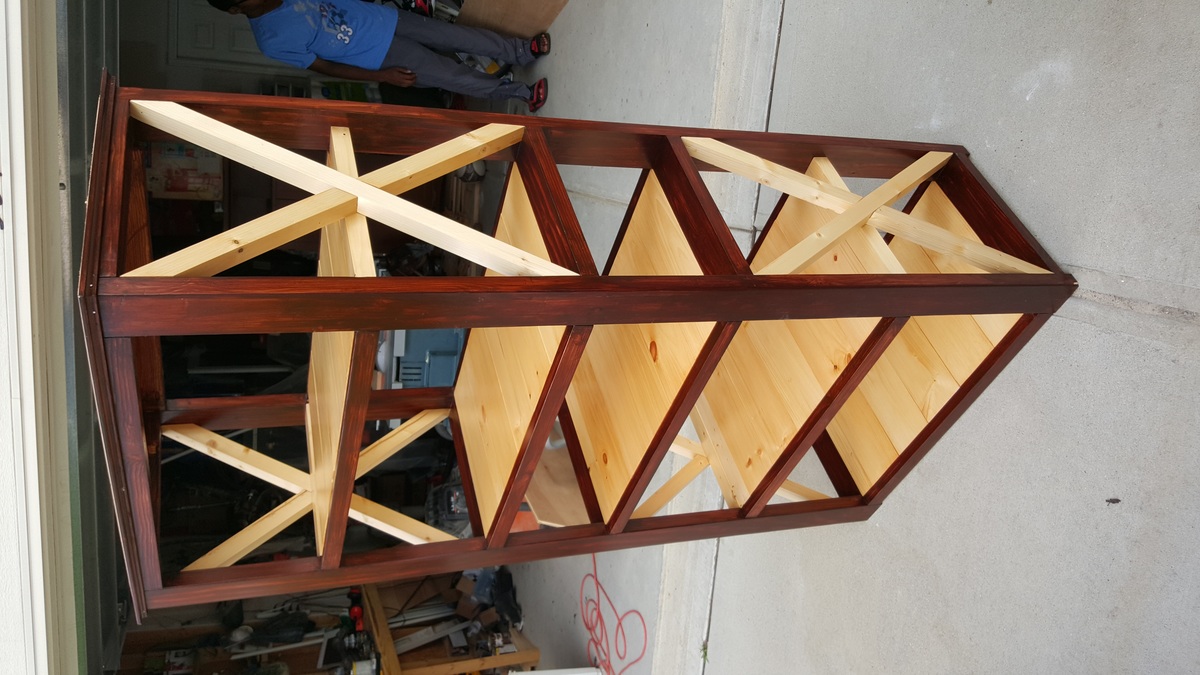
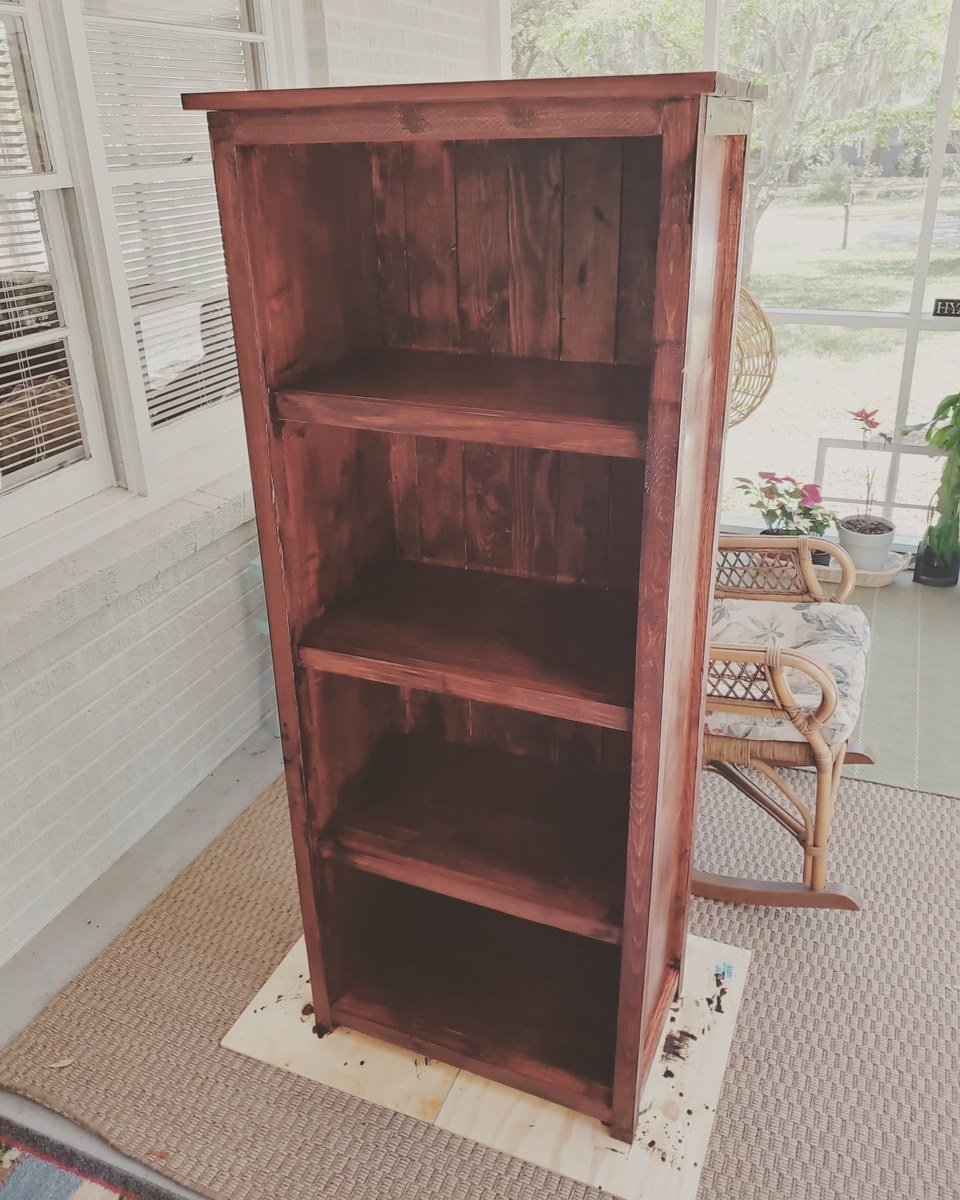
X-Book Case

Submitted by veiglcc on Sun, 07/24/2016 - 14:09

I made this book case  for my daughter to replace an existing book case.  I the design is a little different from what I found. 

Estimated Cost
Estimated Cost includes wood stain and lacquer $120. It could be a little cheaper ($30) it you use ply wood for the shelf.
Estimated Time Investment
Weekend Project (10-20 Hours)
Finish Used
Wood stain (gel) and lacquer as the protective finish.
Recommended Skill Level
Intermediate

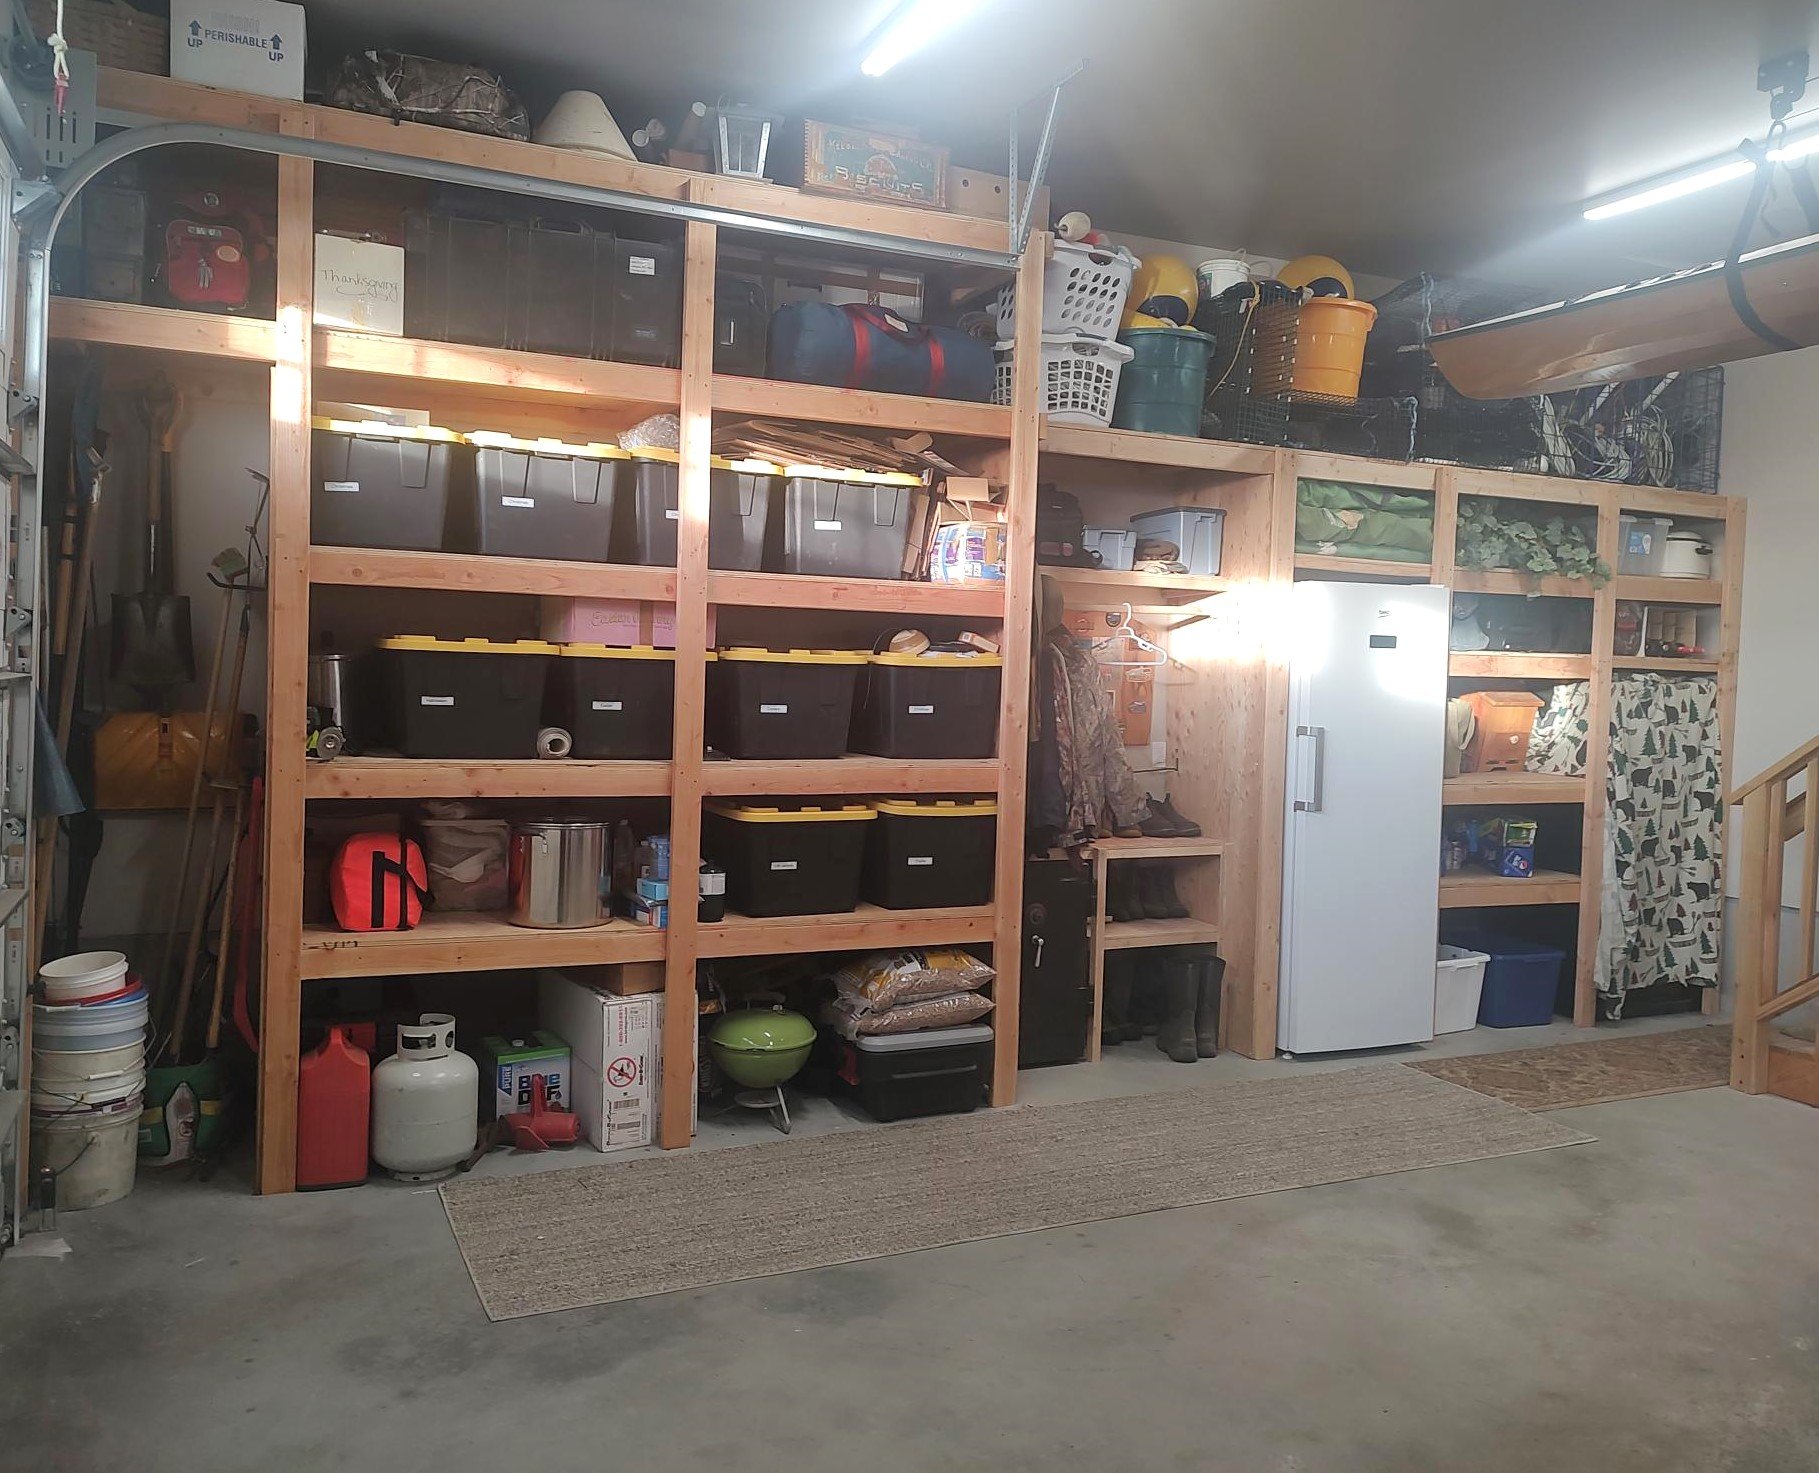
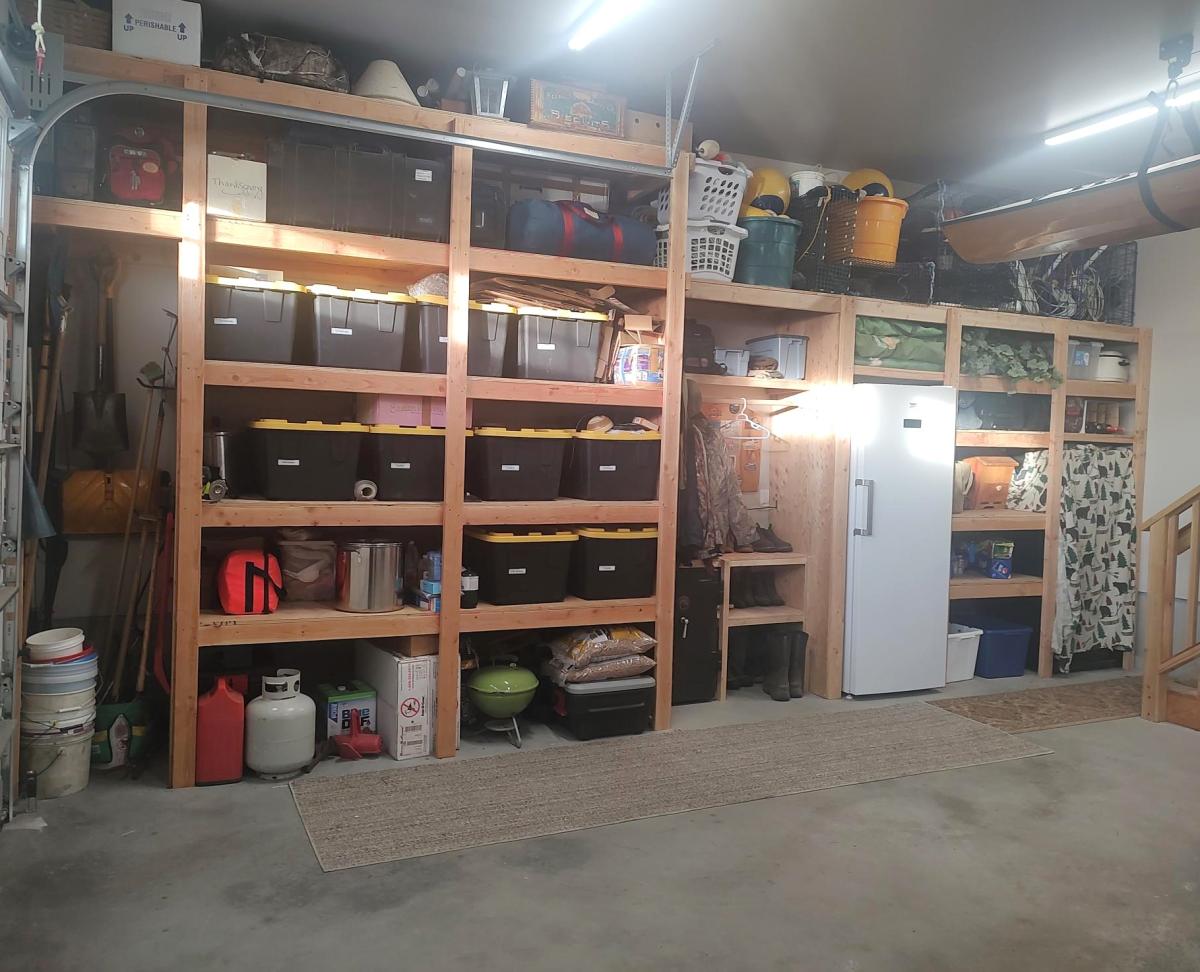
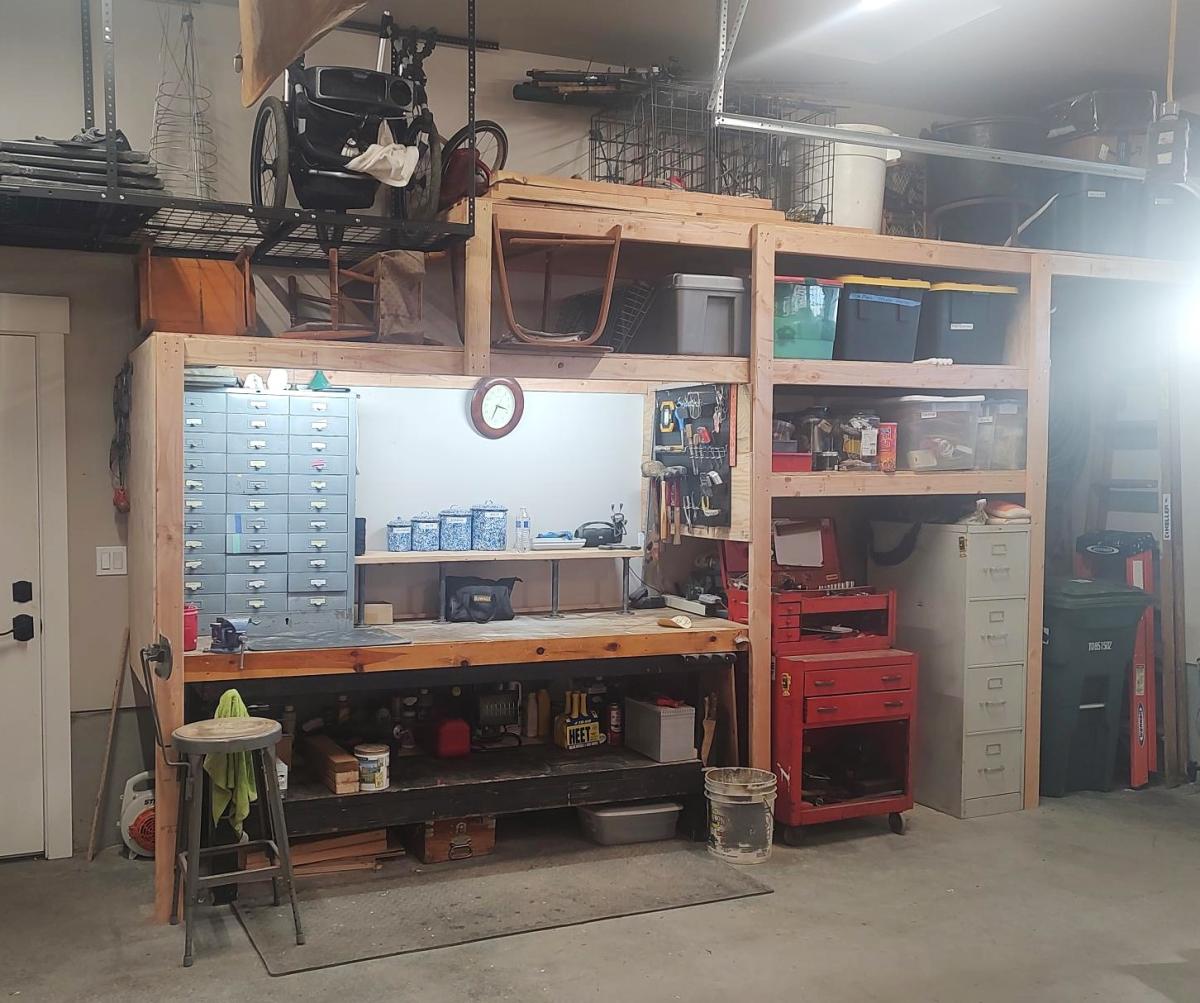
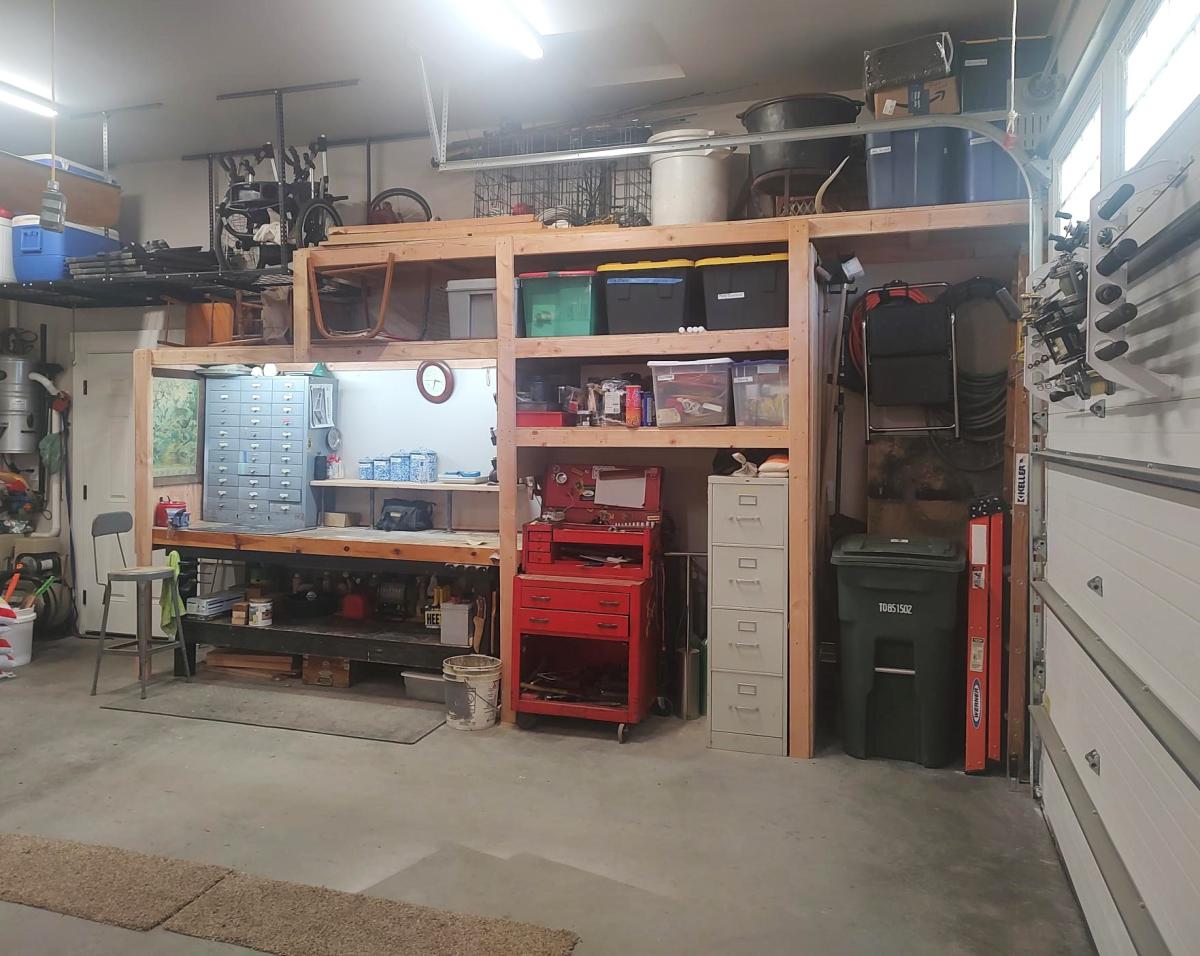
Custom Garage Shelves

Submitted by Anonymous (not verified) on Tue, 01/16/2024 - 17:19

I just finished shelves on both sides of my garage using your video.  I built a coat rack and boot rack.  I also made space for tall items like tools and ladders near the garage door.  I had to also build in a gun safe, freezer and my work bench.  Everything came together and now I have everything in bins on shelves. 

Gary Hoffman

Cabana turned Galmper

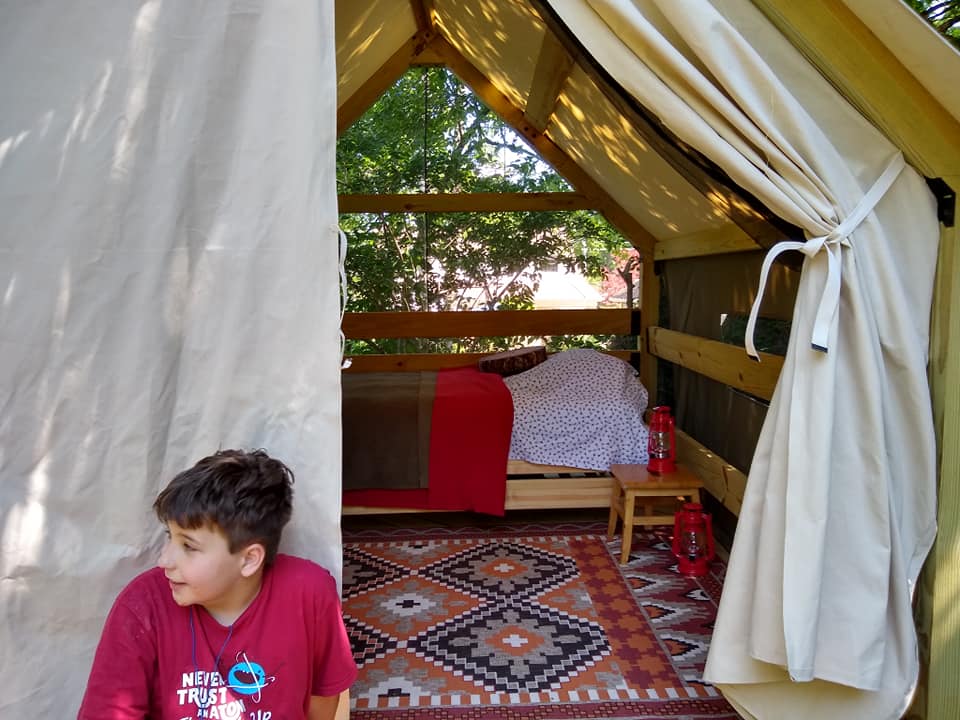
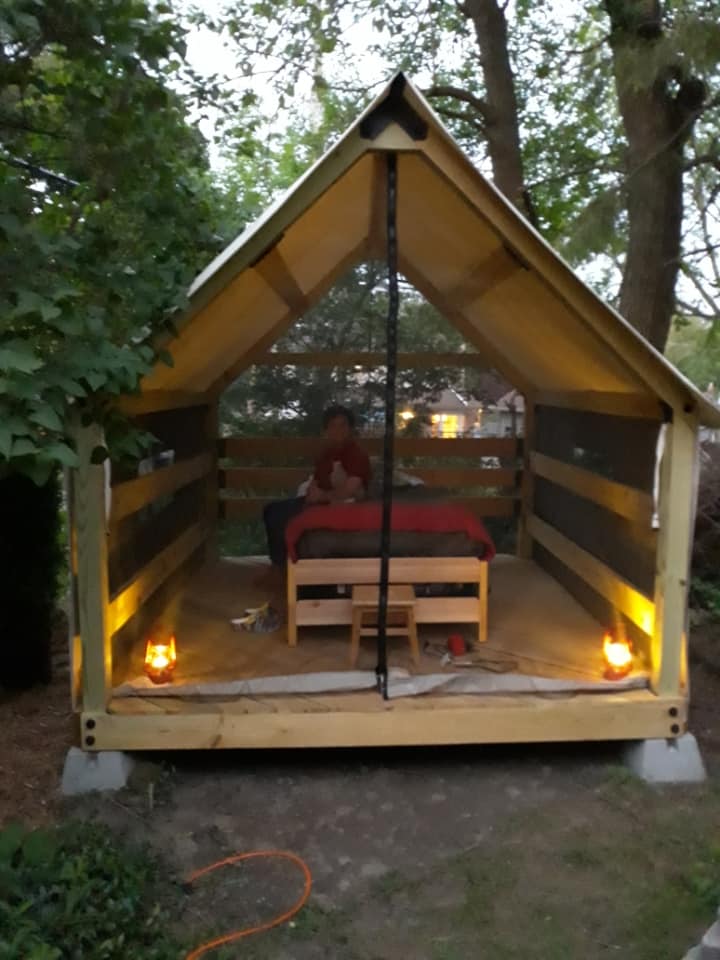
Submitted by JeannaF on Wed, 06/17/2020 - 19:16

I stumbled across the Cabana design and just fell in love.
Once I decided I was making in tough, I needed to customize it a bit to meet our needs.
1. Needed to be able to sleep in it (so Mosquito proof)
2. If I am sleeping in it I want
a. Privacy
b. Possible rain protection ( I like a dry bed)
3.Need to be able to have a guest

So, We made it a bit larger 9x10
Added screens all around and under floor boards, Zipper entrance in front.
Made Canvas side panels (attach with velcro)
Made front and back canvas panels/doorways.
Chose two stacking twin beds that can be snapped together for a couple or left apart for two guests.

Just for fun, we used timber framing ties (Simpson Strong) instead of the joist hangers and end caps...this gives is big beefy bolt heads and black metal straps across the beams. They do the same thing but give it a more rugged look.

My 12 year old has slept in it for two weeks already and plans to not come in until the snows come this winter!

Thanks so much for the great inspiration and general plan to get us started.

Built from Plan(s)
Estimated Cost
$300 for all the Tent Canvas and about $500 in other materials.
Estimated Time Investment
Week Long Project (20 Hours or More)
Finish Used
Canvas
Recommended Skill Level
Advanced

Laundry Pedestal

Submitted by Kamoanui on Tue, 06/30/2020 - 09:42

This was quick build. First time for us using trim, so we wasted a few feet getting the angles right. We attached the legs directly to the frame, and did not use the metal brackets. We also did not build the floor frame. We measured how high/wide the laundry baskets ($3/piece at Target!) were, and made it to fit them. We added a piece of rubber mat to the top (bought at Lowe's). A few weeks later we helped our daughter and son in law build one for their new house!

Estimated Cost
$40
Estimated Time Investment
Afternoon Project (3-6 Hours)
Finish Used
White satin paint
Recommended Skill Level
Beginner

Pottery Barn Wide Camp Dresser

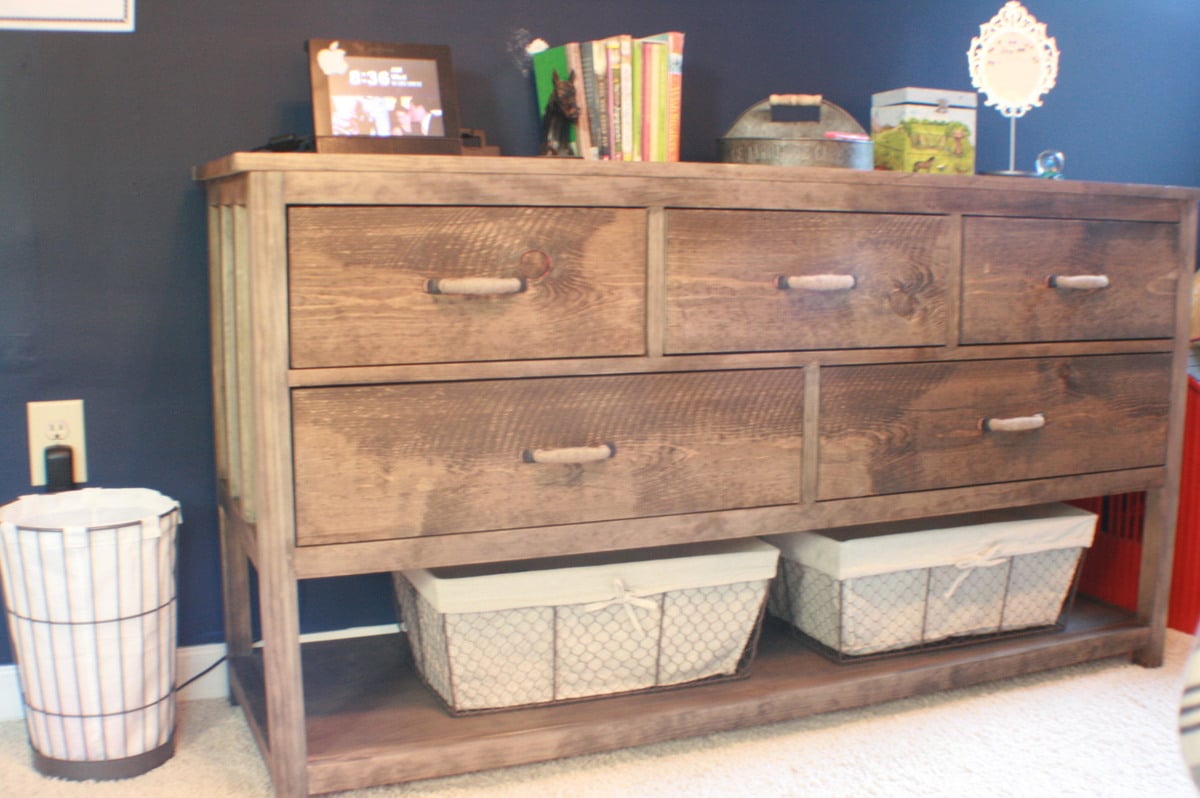
My husband and I did this together. It took him about 4 days to get the dresser built and then I did the finish. It is SOLID and we absolutely love it. It's in our 10-year old daughter's "horse" room and goes really well with the barn wood on her back wall and her barn door (closet).

Estimated Time Investment
Week Long Project (20 Hours or More)
Finish Used
steel wool/vinegar
Recommended Skill Level
Beginner

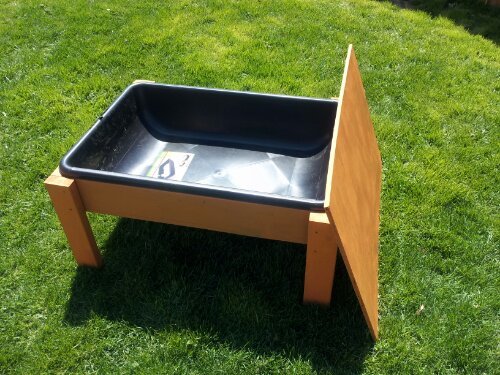
Sand or Water Table

Submitted by lehcar01 on Wed, 04/24/2013 - 21:08

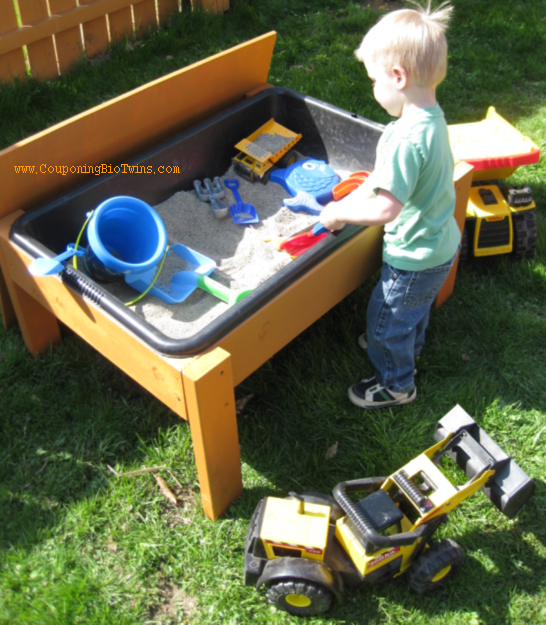
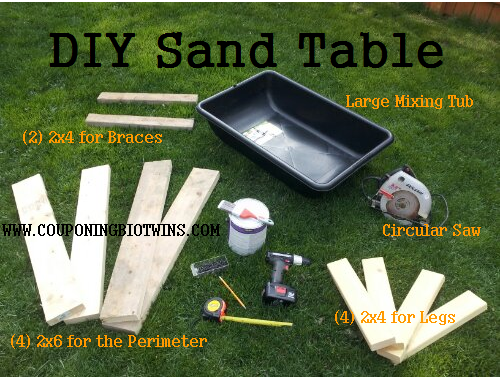
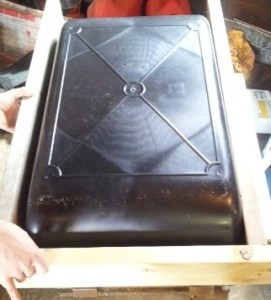
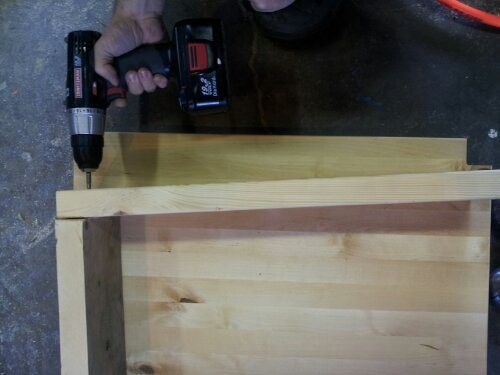
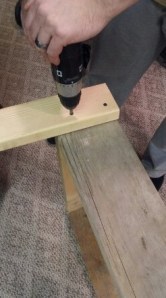
This is a very easy way to create a sand or water table for your kids and it only takes a few hours from start to finish. A few pieces of wood, some screws and tub to hold the sand or water and your set. Enjoy!

Estimated Cost
$25-$30
Estimated Time Investment
An Hour or Two (0-2 Hours)
Finish Used
Behr wood stain
Recommended Skill Level
Starter Project

Comments

Calico Critter house

Submitted by bobaina on Sun, 05/10/2015 - 12:21

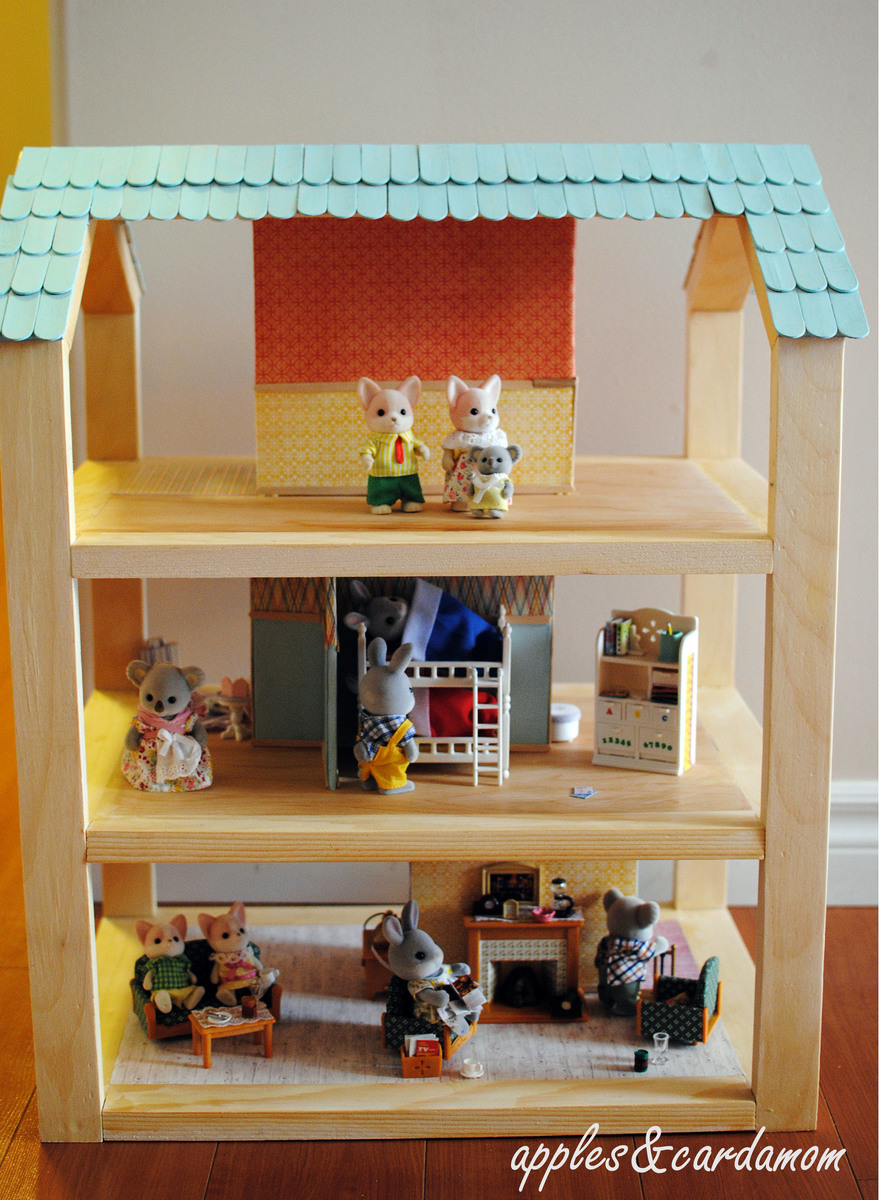
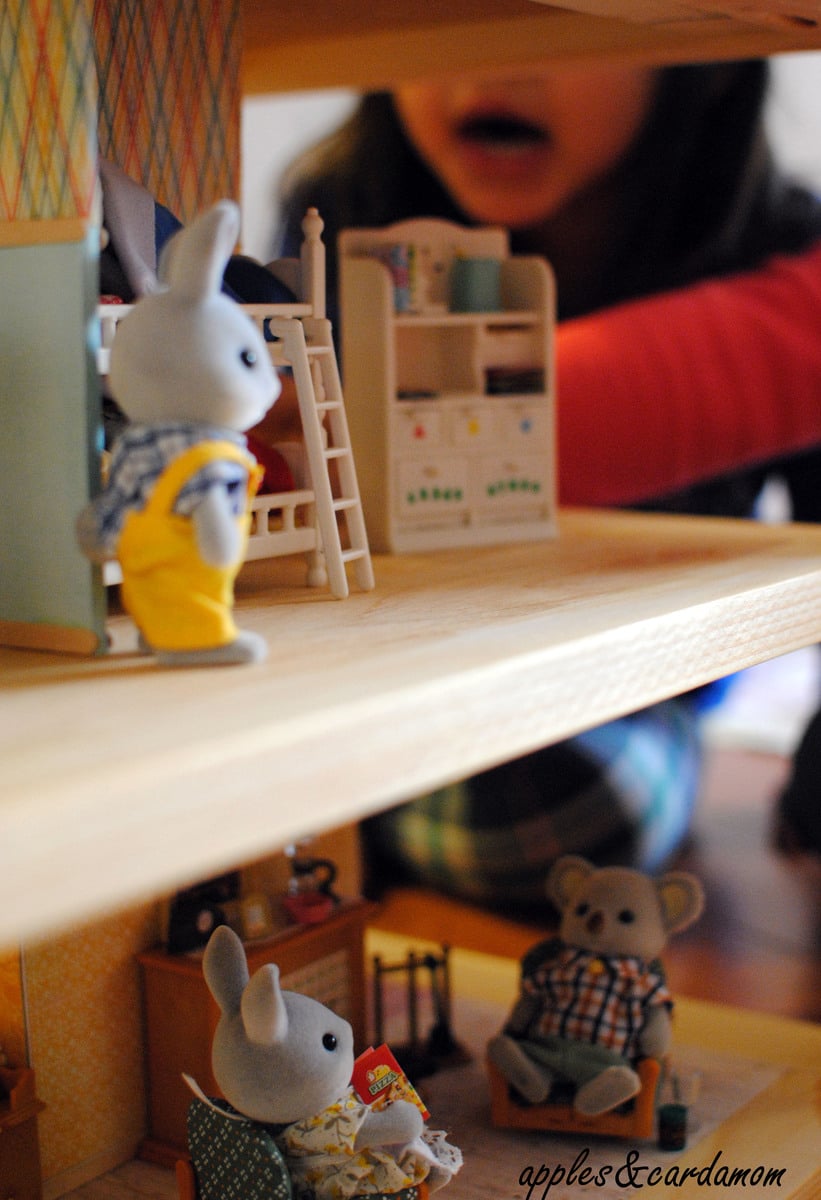
My husband and I made this for our daughters' calico critters, which they received for Christmas. We wanted a house with few walls, so that all 3 girls could play simultaneously. We used Ana's dream dollhouse plan, but scaled it down to half the size. We also modified it slightly to fit what we needed.

This is just the perfect size for smaller toys like Littlest Pet Shop or other 3 to 4" tall toys.

This was our first build together and so it took us a while to do. For someone with a bit more experience, who also has all their materials and tools ready, this could be finished in 1 day or a weekend.

Estimated Cost
Aproximately $30 for the pine. This is for Canadian lumber. It may be less in the USA.
Estimated Time Investment
Day Project (6-9 Hours)
Finish Used
We used clear poly urethane for varnish. We painted the roof shingles (jumbo craft sticks) with acrylic craft paint.
Recommended Skill Level
Beginner

Comments

bobaina

Sun, 05/10/2015 - 13:06

Ana's roof shingles, which are cut scalloped strips, are a better way of doing the roof. I didn't realize how difficult it would be to fix each craft stick 'shingle' to the roof, and manage to keep each line straight. For a beginner, it's not easy. My advice is try Ana's method or you could also just make the roof from 2 solid pieces.

bobaina

Tue, 05/12/2015 - 03:17

thank you for this plan Ana. My girls love their critter house. It's getting lots of use and I'm determined to build more stuff for my girls. I'm so tired of spending money on flimsy plastic junk!

nrc261

Wed, 10/07/2015 - 14:07

This was the plan I was going to use for the Critter's line at Target. I didn't want to buy the plastic houses that they sale so decided to try and build one. How did you scale the dimension? Just by half all the way around? I am a confident beginner so I am not sure how to scale down dimensions. 

Tote Storage Bed

Submitted by Ana White on Wed, 11/03/2021 - 17:12

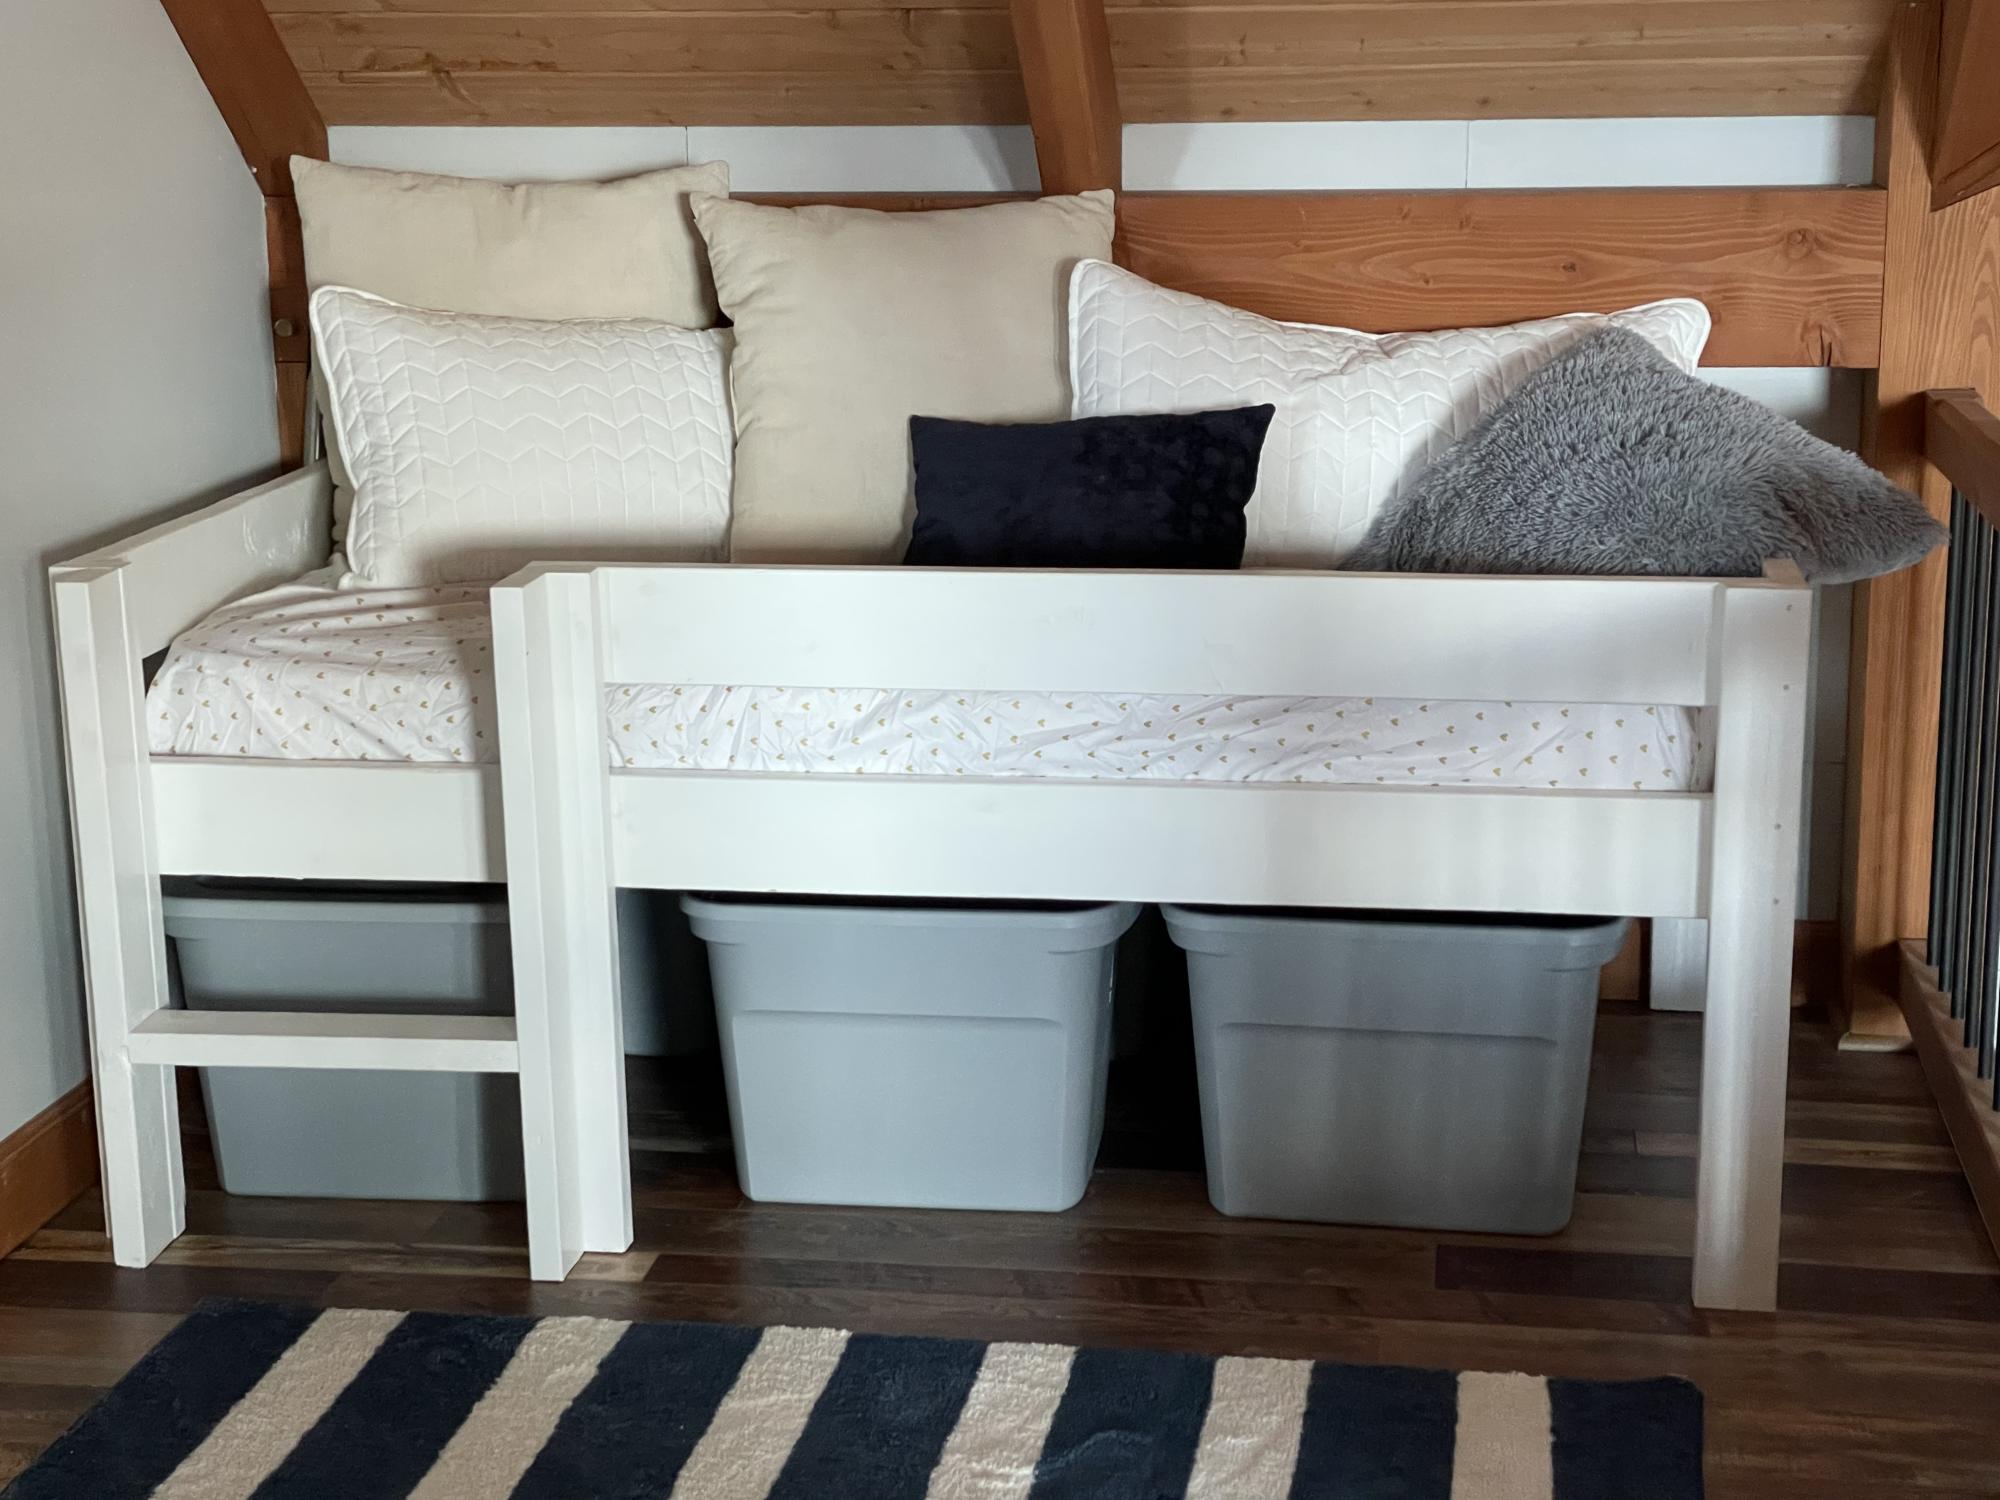
Shortened the essential loft bed up so legs are 32” long. This is the perfect height for putting totes underneath. I fit six totes easily. 
 

The back row of totes is out of season/size/etc stuff. The front totes don’t have lids on them and the kids use them for toy boxes.

The bed itself is at a nice height.  It’s easy to put kids in bed and make the bed.  The guardrail is great for keeping pillows blankets and kids on the bed.  Kids also love the ladder and bunk feel!

This is a great bed that I couldn’t recommend enough.  It could easily last from toddler to teen.   Very sturdy and comfortable.  
 

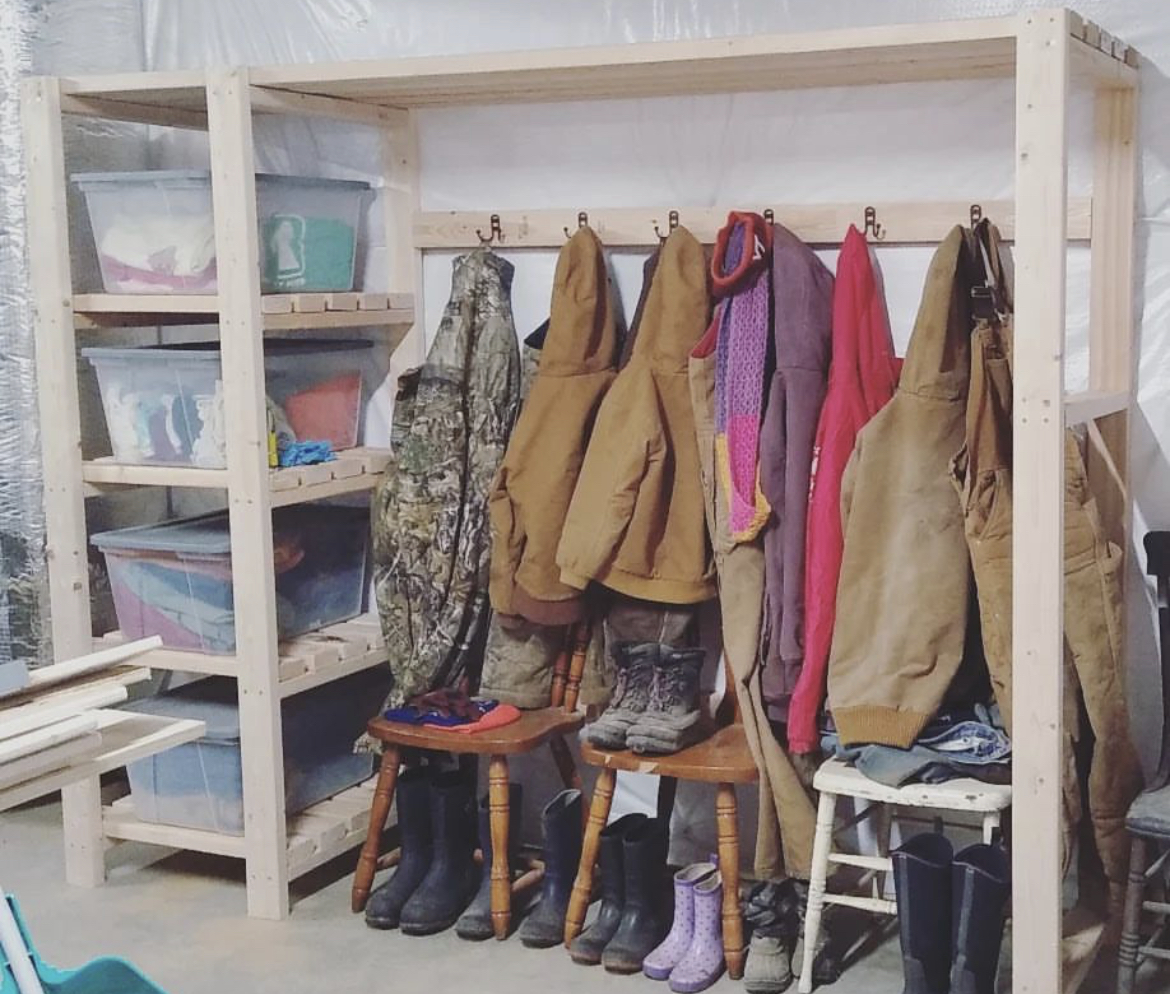
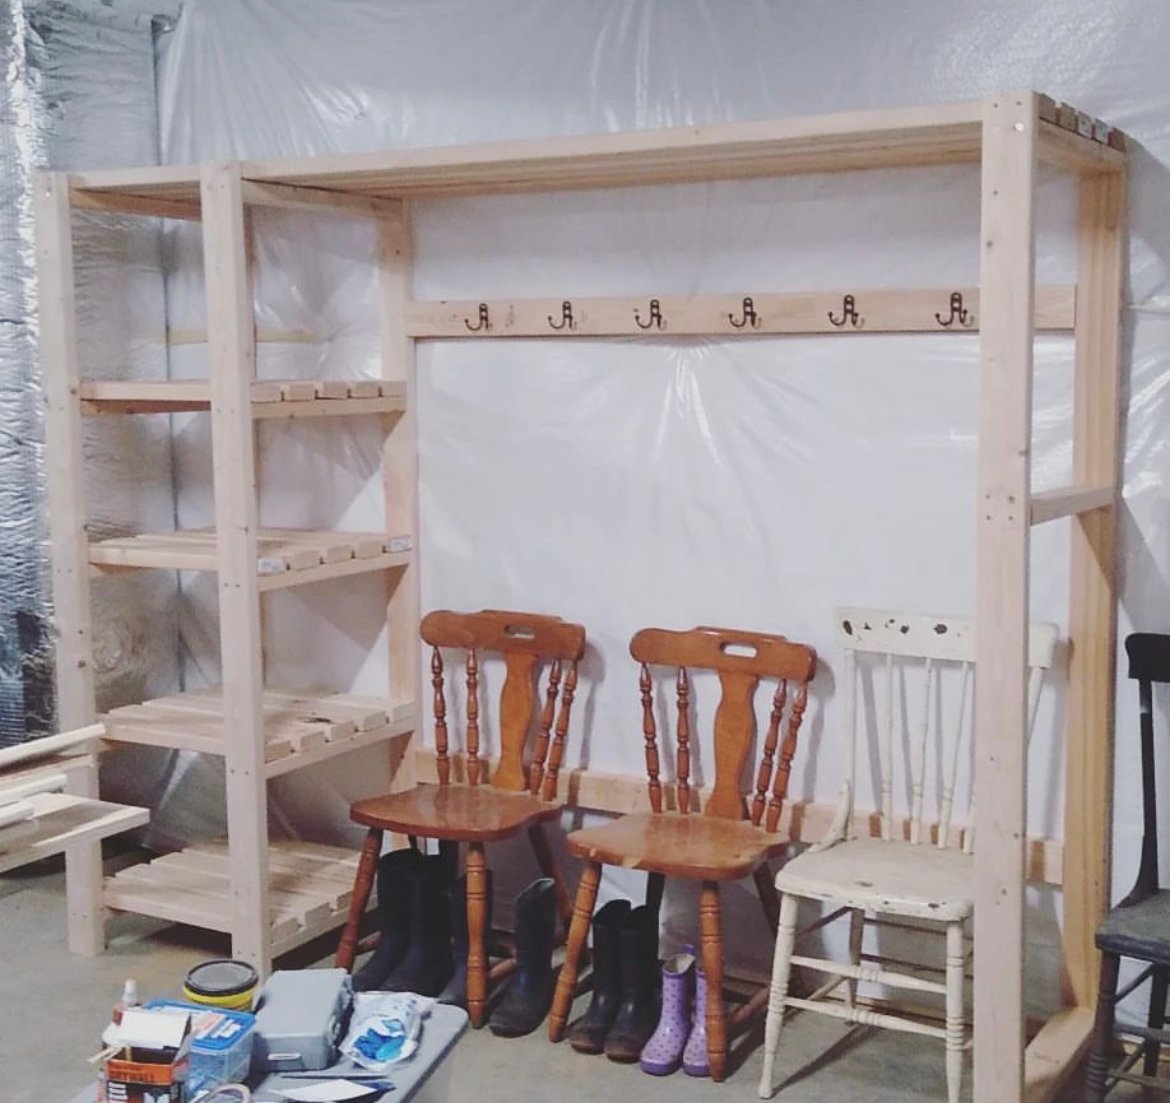
2x4 Entryway System

Submitted by Anonymous (not verified) on Tue, 01/25/2022 - 14:31

Freestanding closet shelving modified to make a mudroom!! More details in link below. 

Comments

Play Kitchen

Submitted by carlynoel on Tue, 08/20/2013 - 16:50

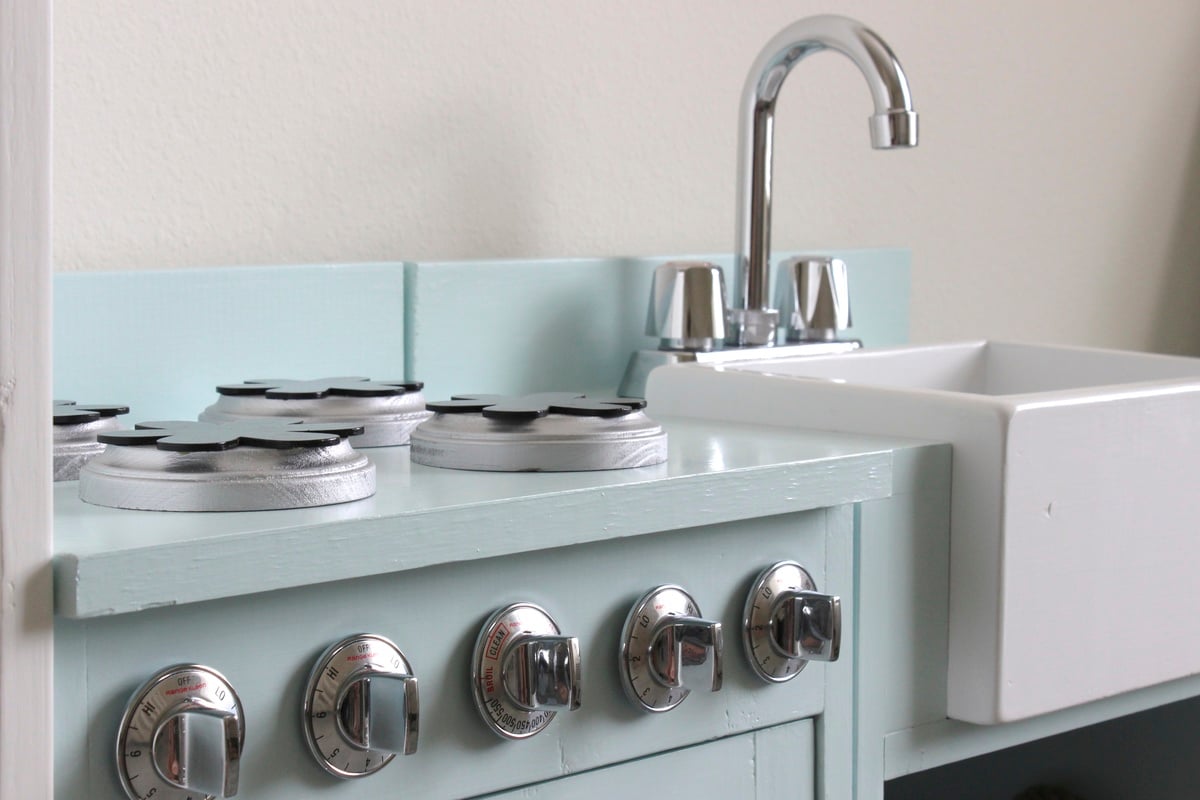
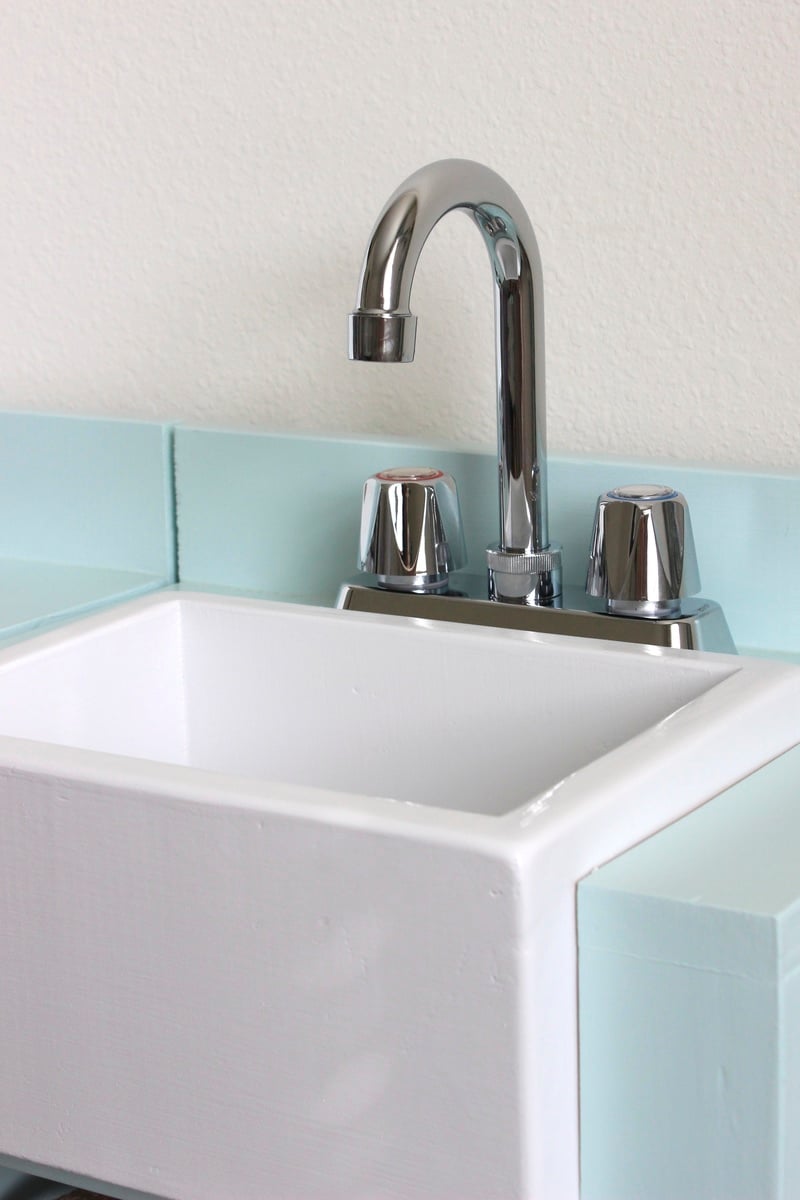
This was so fun. My little girl loves it and we have another on the way, so I am thrilled with how it turned out. The assembly wasn't hard, but it took FOUR coats of paint and three coats of finish. That was the most tedious part. I made a box for the apron sink, rounded off the edges, sprayed it with a white lacquer, and modified the countertop so it fit in nice and snug. It's my favorite part. I love that it tied in the white fridge. It ended up costing me 130 bucks. 50 in wood, 35 in paint/supplies, 45 in handles, knobs, faucet, hinges, stovetop etc.

COUNTERTOP AND SINK MODIFICATION:
I hope this isn't too confusing. It's hard when you can't see it, so don't hesitate to email for clarifications.

Countertop
(2) 1x3 @ 10 ½” (these boards go on either side of the sink when looking from above)

(1) 1x4 @ 11“ (this is the board the faucet sits on)

Put the backsplash on the same way the original plans say.

Sink box
11” wide, 8” deep, 5.5“ high (Using all 1x6 boards)

(2) 1x6 @ 11” (front and back)

(2) 1x6 @ 6.5” (left and right sides, on the inside of the 11" boards)

6.5x9.5 inside bottom (cut down whatever board you need to to get this size. This should fit snuggly inside the walls of the box)

Because a 1x6 is really 5.5 inches wide, and the countertop is 3/4" thick, and 3/4" of the sink sits above the countertop, that means 4” of the sink will be under the countertop. So looking at the sink from the front, you need (2) 1 ¾” wide x 4” long blocks of wood on either side of the front part of the sink. Then I just put a 1x12x14 1/2" shelf under the whole thing to hold it up. I built the sink box first and spray-painted it with a white lacquer, then I built the entire sink countertop and base, and then shoved the sink in last. It was a very tight squeeze so I didn't have to nail or glue it in or anything. About an inch of the sink should be sticking out of the front, and 3/4" should be sticking out the top.

Good luck!
Email me for questions!
[email protected]

Or visit my blog for details where I got all the accessories
carlyandjordan.blogspot.com/2013/08/play-kitchen.html

Estimated Time Investment
Week Long Project (20 Hours or More)
Finish Used
Behr Paint/Primer (color: Dreamy Cloud by Valspar) Minwax Satin Finish
Recommended Skill Level
Beginner

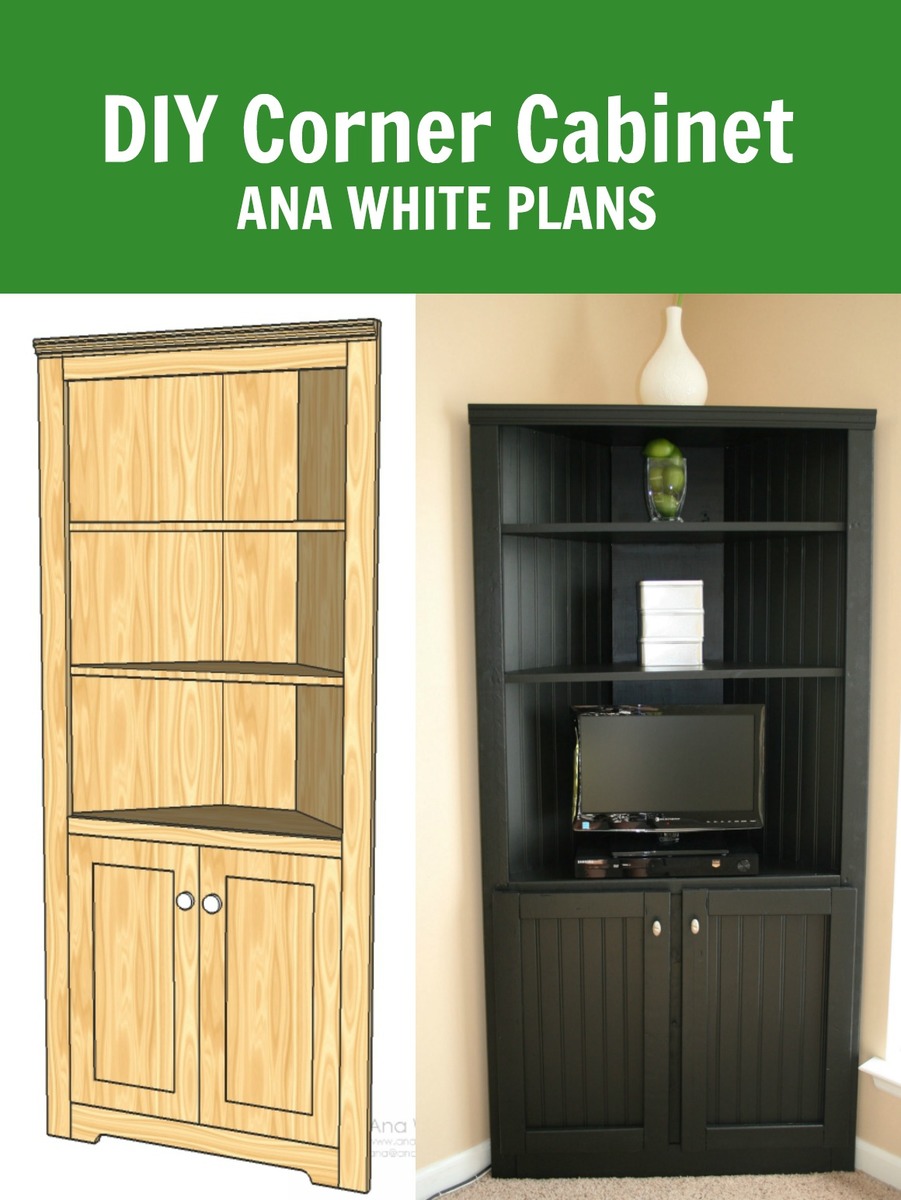
Corner Cabinet Storage Shelf

Submitted by sssmile14 on Sun, 07/24/2011 - 19:32

We built this corner cabinet shelf in three days (only because it is over 100 degrees here, so we had to wait until 9:00 at night to work on it) for our office space. We love, love, love it and can't believe how nice my corner cabinet turned out. Only our second building project ever. :)


Built from Plan(s)
Estimated Cost
80.00
Estimated Time Investment
Afternoon Project (3-6 Hours)
Finish Used
Kilz Satin Paint- Black
Recommended Skill Level
Starter Project

Comments

kellerkb

Mon, 06/03/2013 - 21:20

Hello, I would appreciate help finding the plans for this project! Thanks!

cerberus456

Tue, 08/02/2016 - 14:54

I do cedar. Thank you very much for the drawings. This site is to become one of my favorites.

Greetings from Xalapa Veracruz Mexico


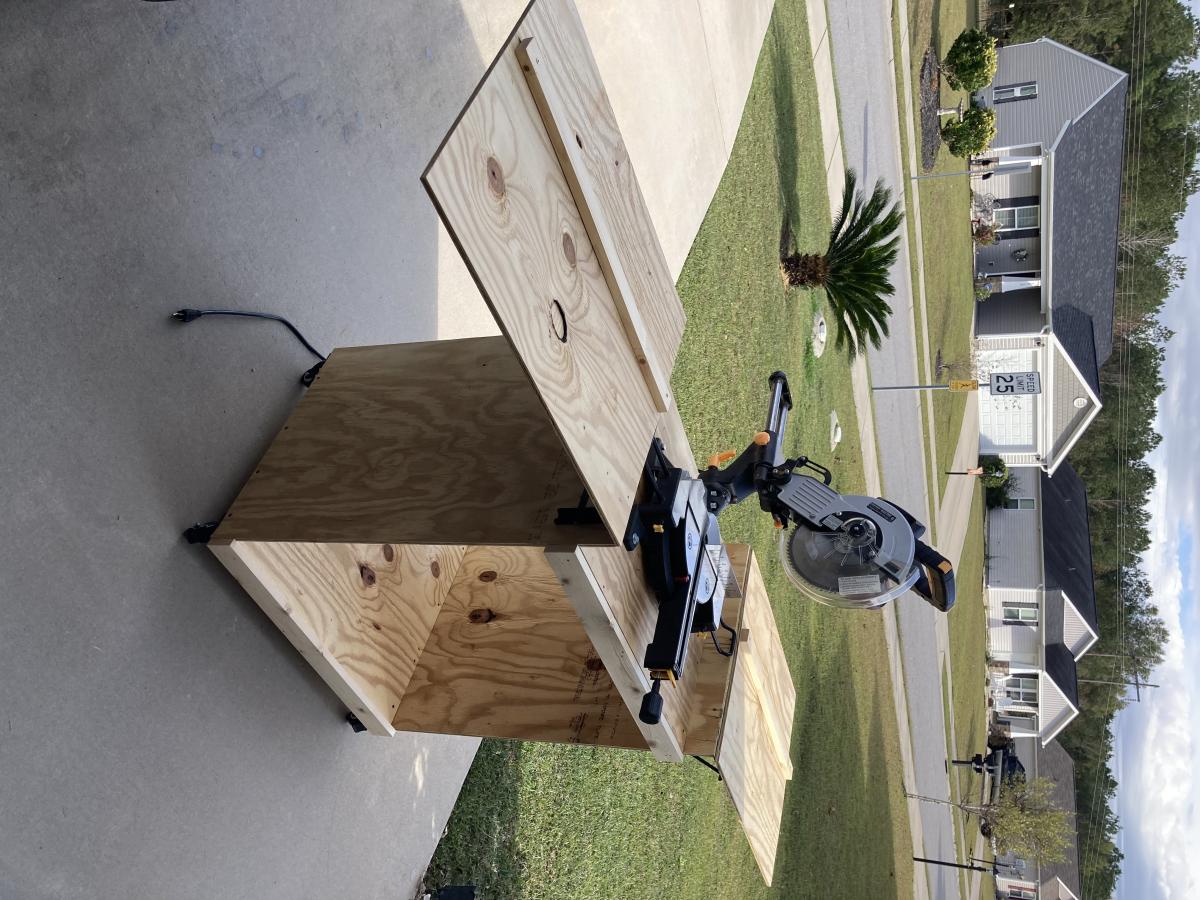
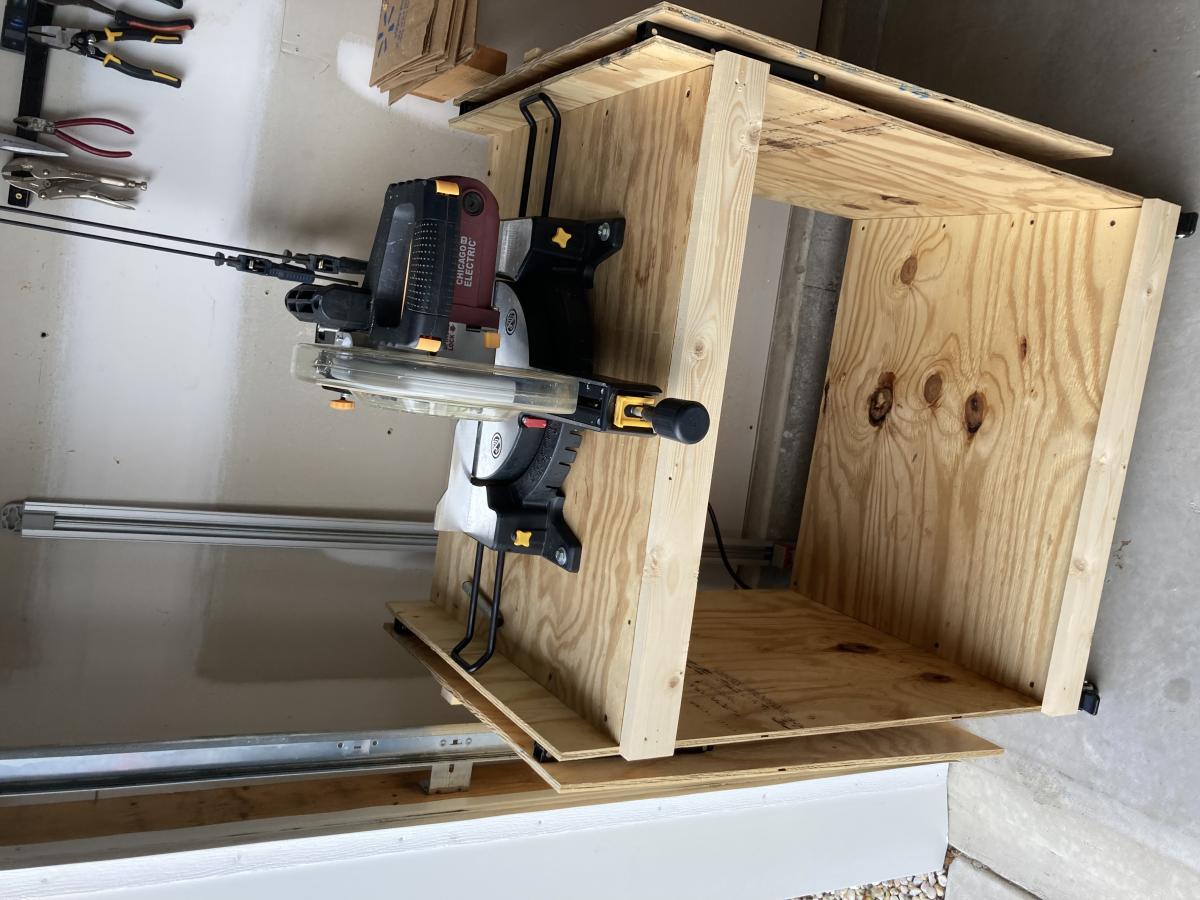
Miter Saw Cart

Submitted by Anonymous (not verified) on Wed, 11/16/2022 - 07:16

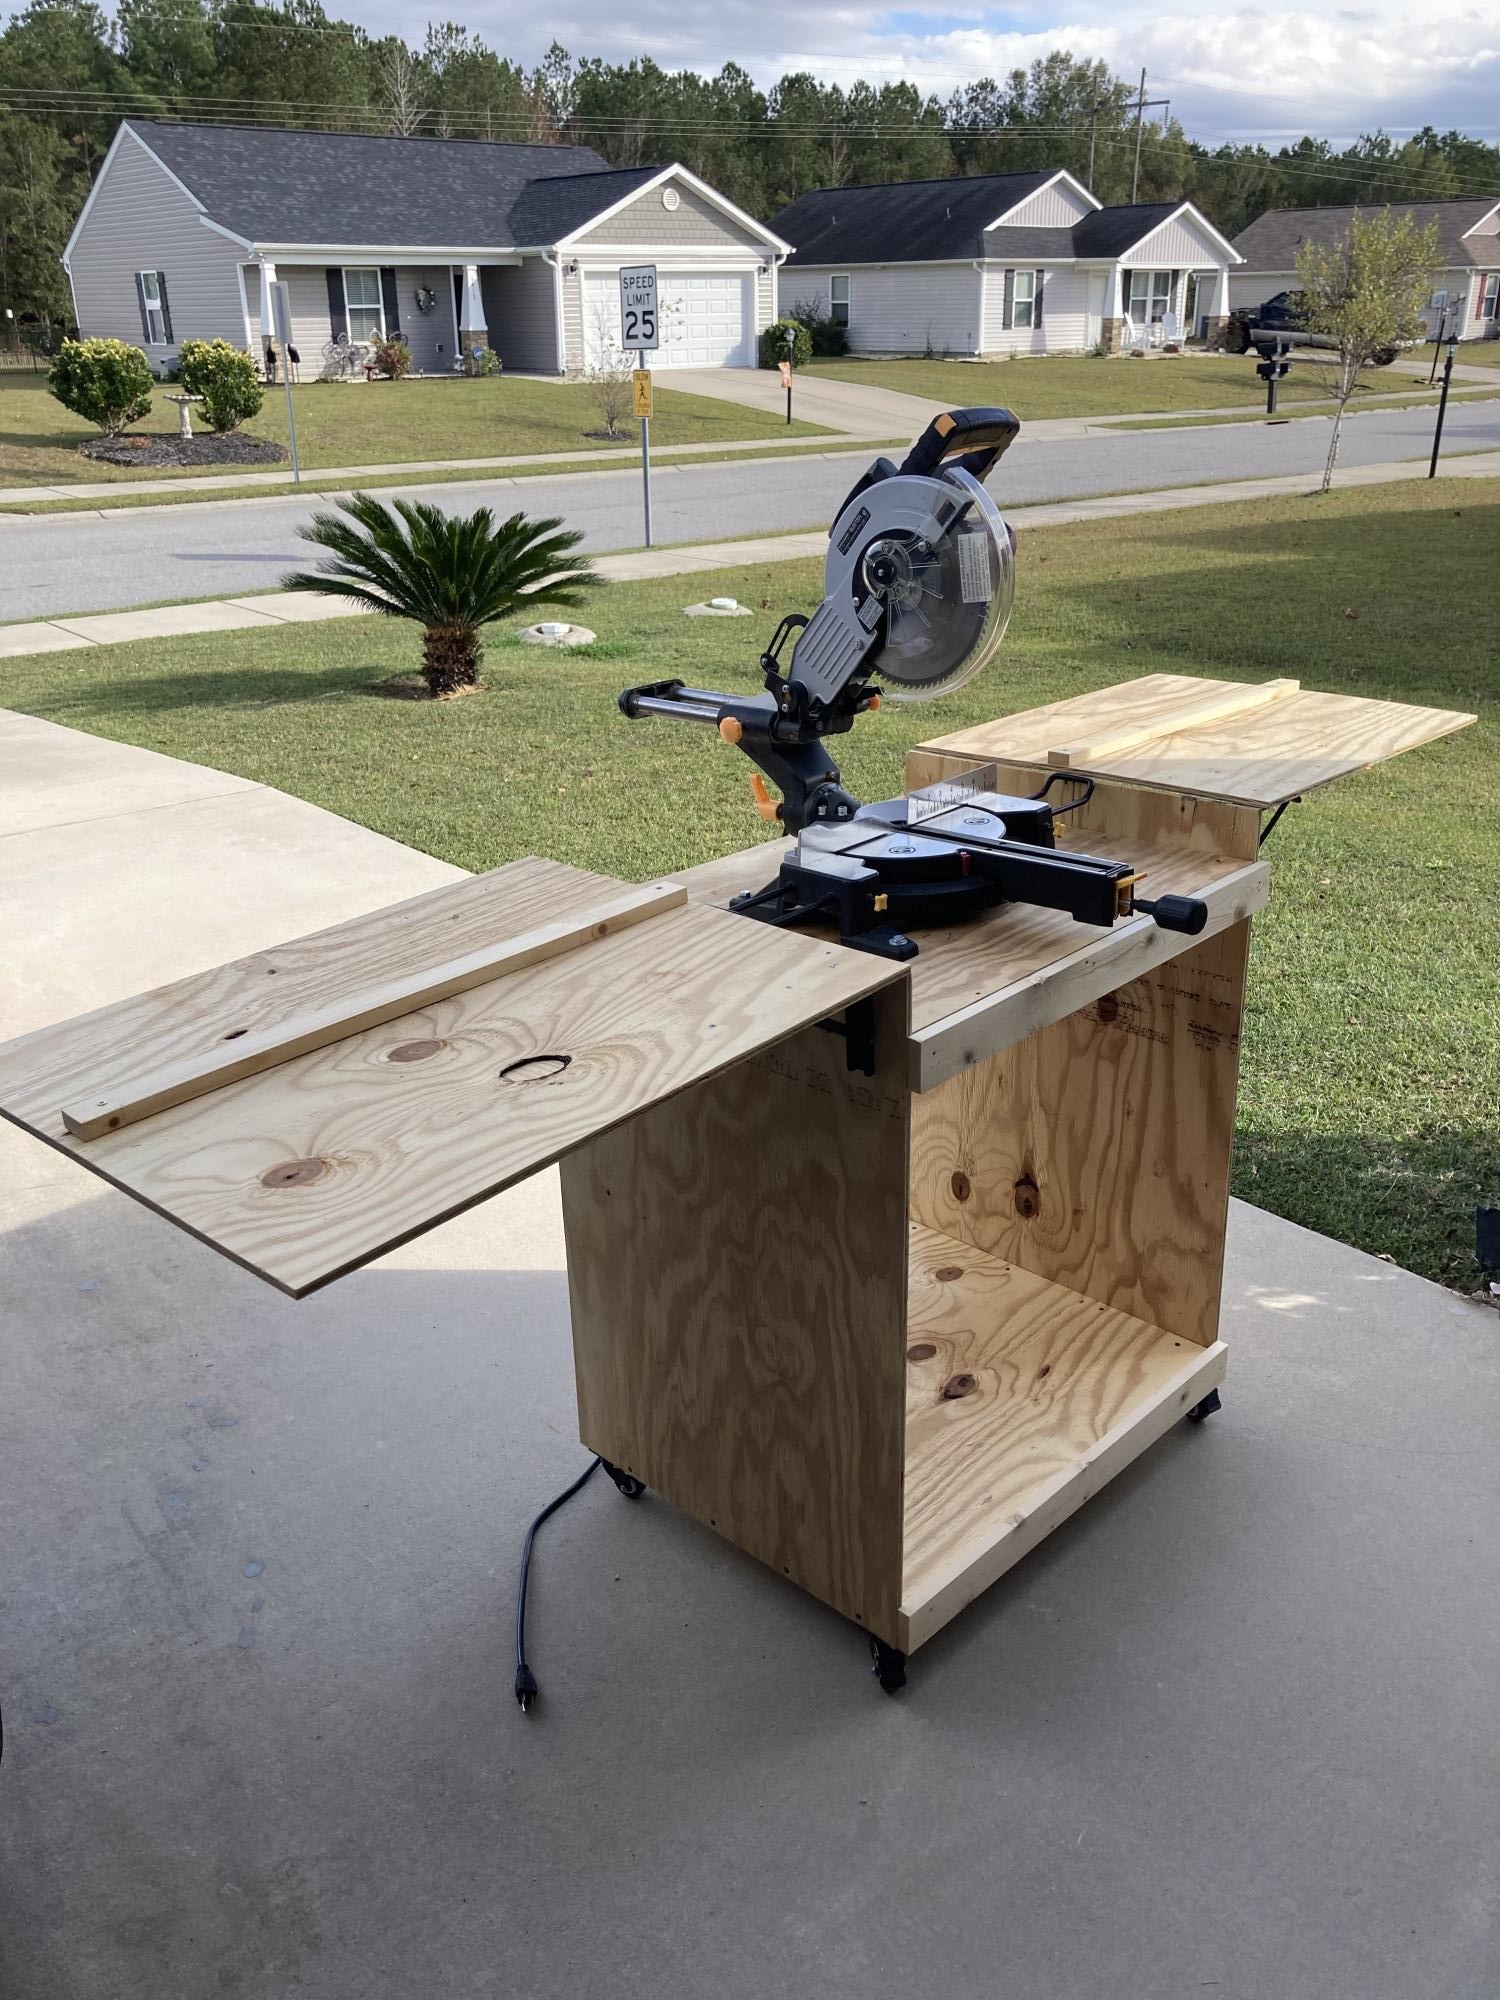
I had my mitre saw on a stand I had purchased and it was ok. Hard to move around, but it supported the saw ok. Frustrated over having to drag it around every time I was using it. This cart is smaller than the old stand and easier to move around.

Built from Plan(s)

Comments

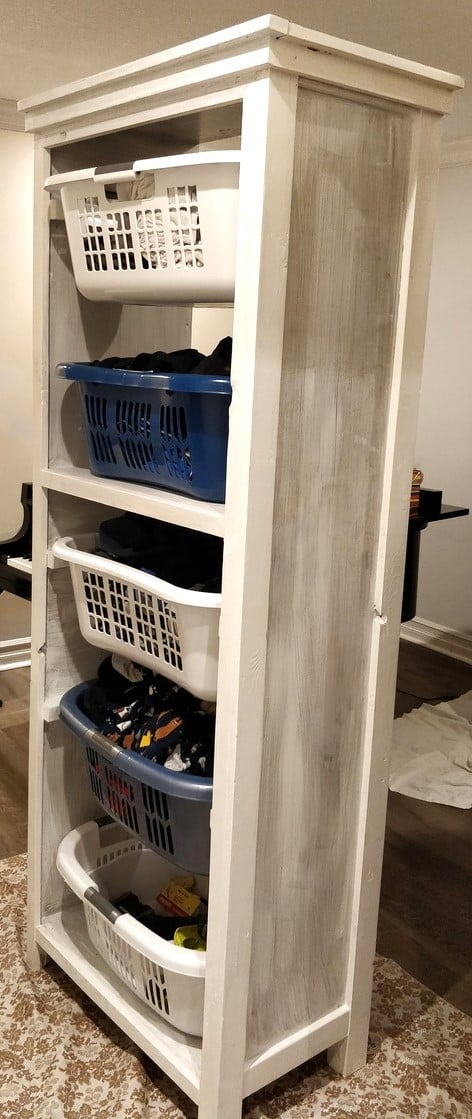
Laundry Tower

Submitted by Anonymous (not verified) on Thu, 02/07/2019 - 17:13

I modified the plans from the favorite Bookshelf to fit my laundry baskets. Once I'm done painting, this will be installed in my master closet. (Finally all the dirty laundry off the floor!)

Built from Plan(s)
Estimated Time Investment
Afternoon Project (3-6 Hours)
Recommended Skill Level
Beginner

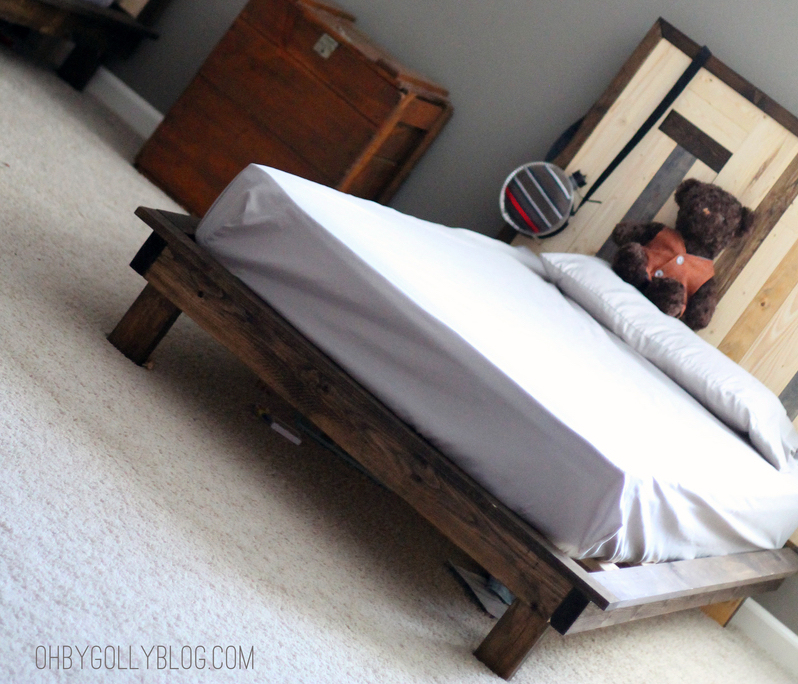
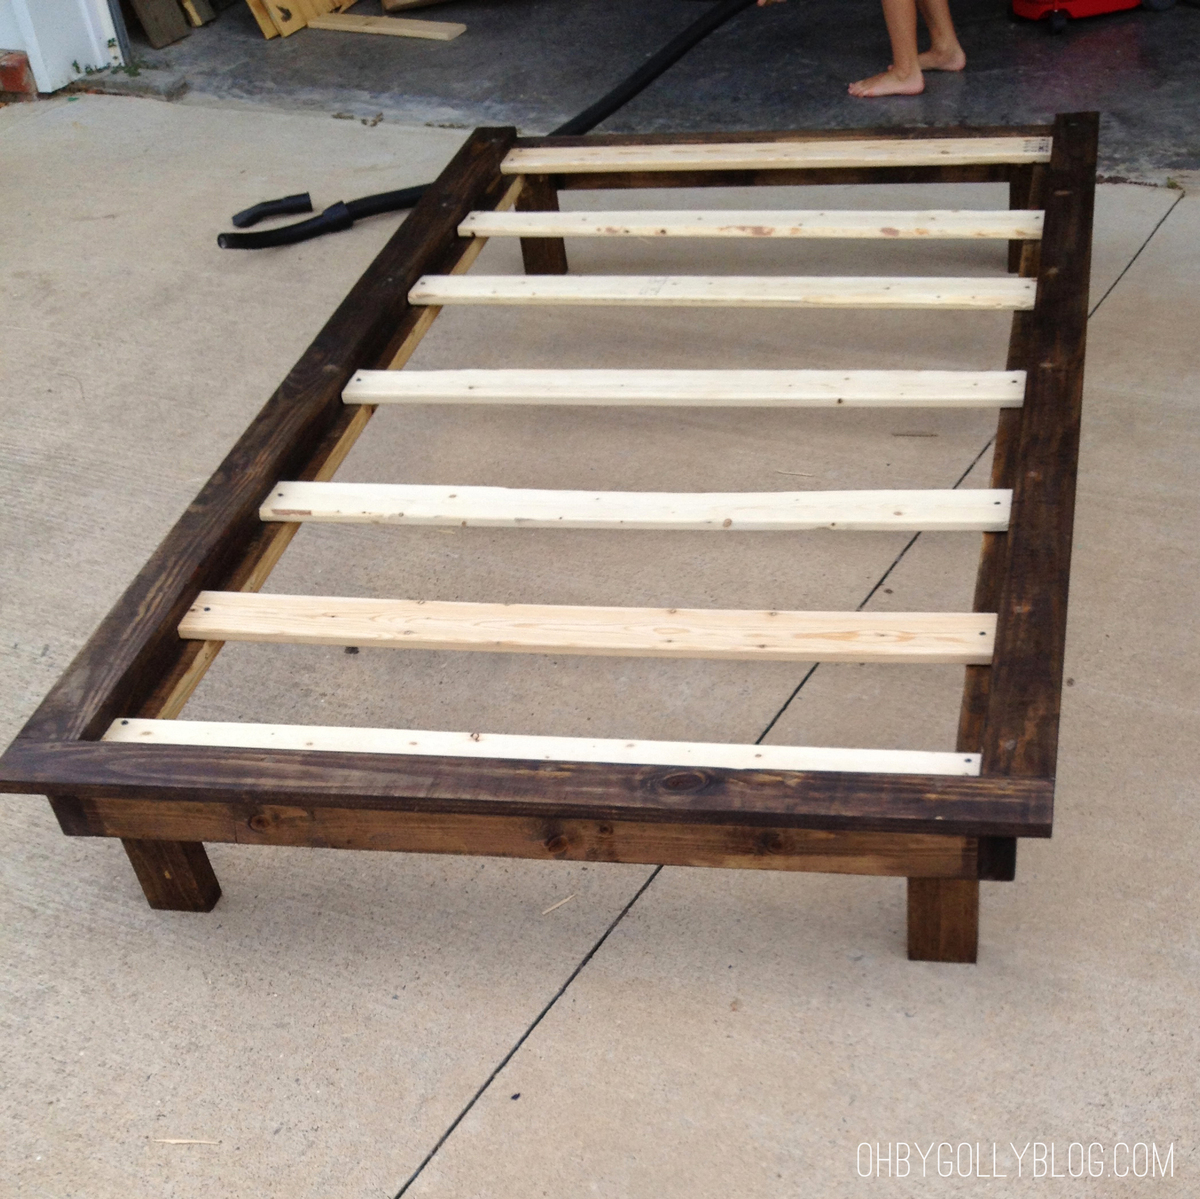
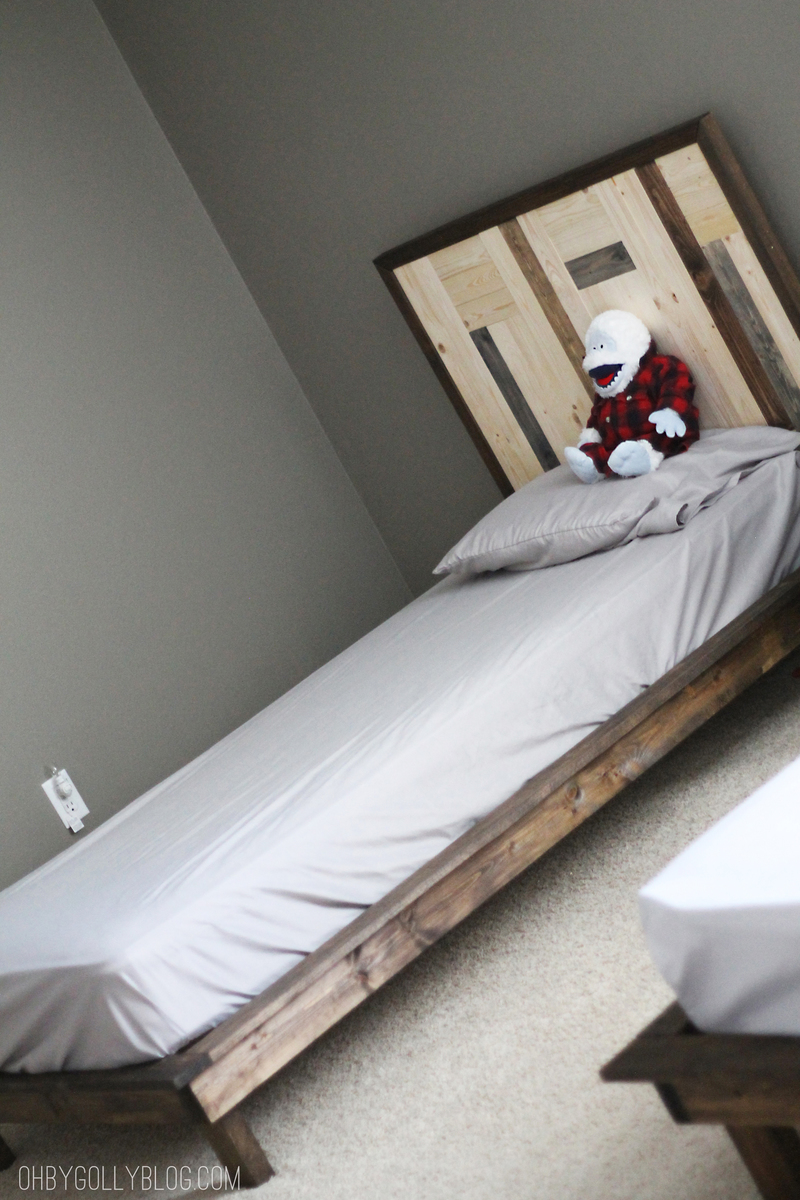
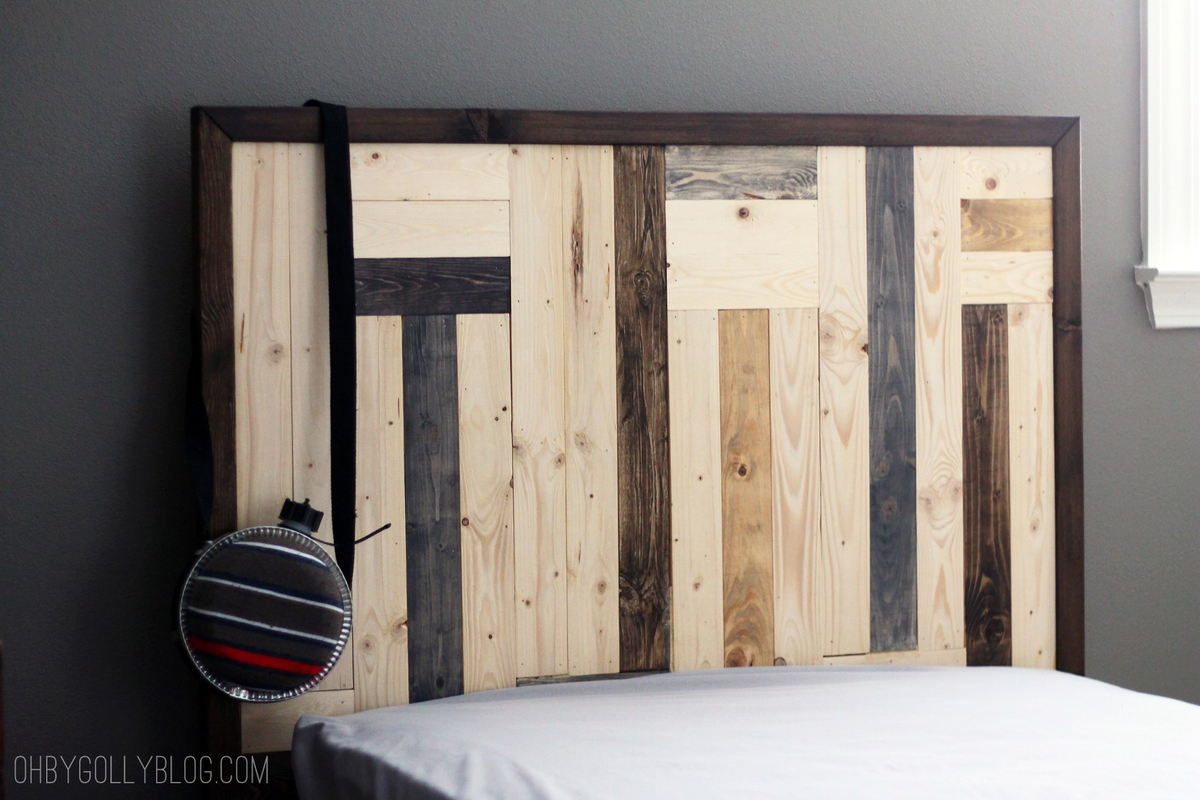
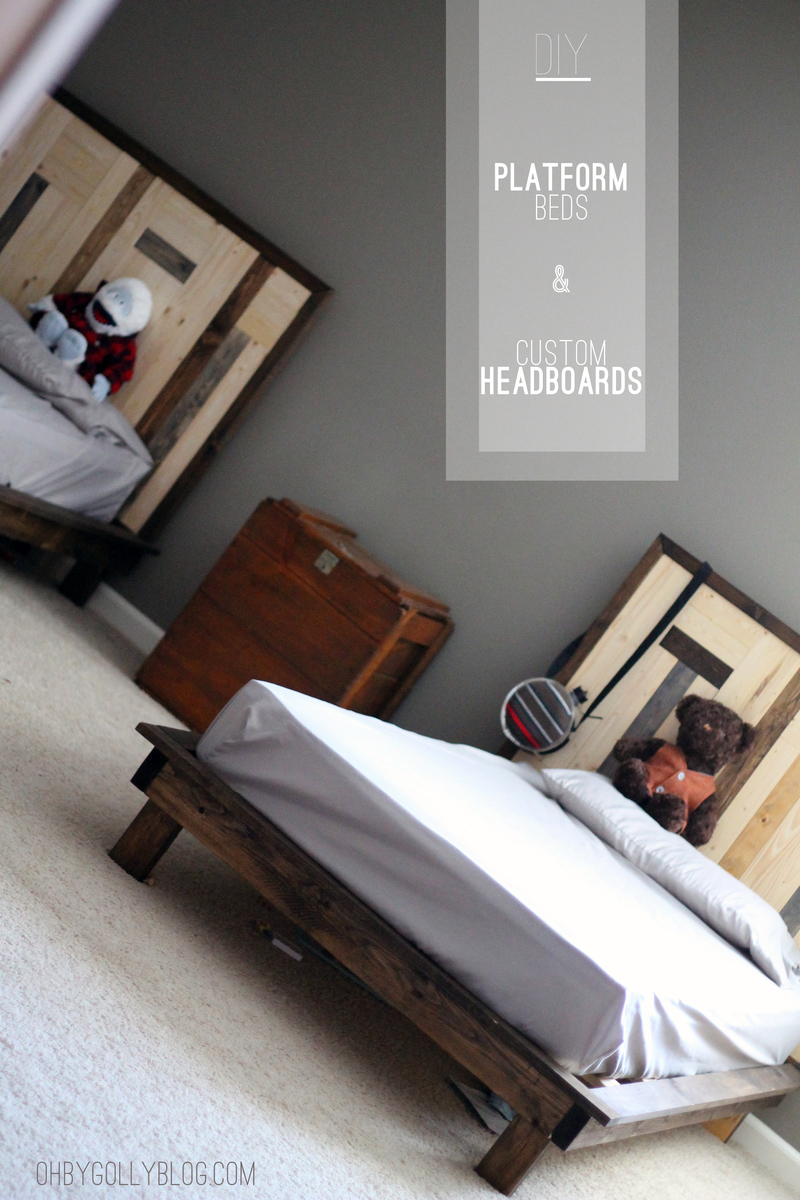
Custom Headboard and Filman Platform Bed

Submitted by ohbygolly on Mon, 10/07/2013 - 19:50

More images and details can be found at http://ohbygollyblog.com/?p=4029 Come visit me!

Estimated Cost
1 bed= $120
Estimated Time Investment
Weekend Project (10-20 Hours)
Finish Used
Minwax wood stains
Recommended Skill Level
Beginner

Comments

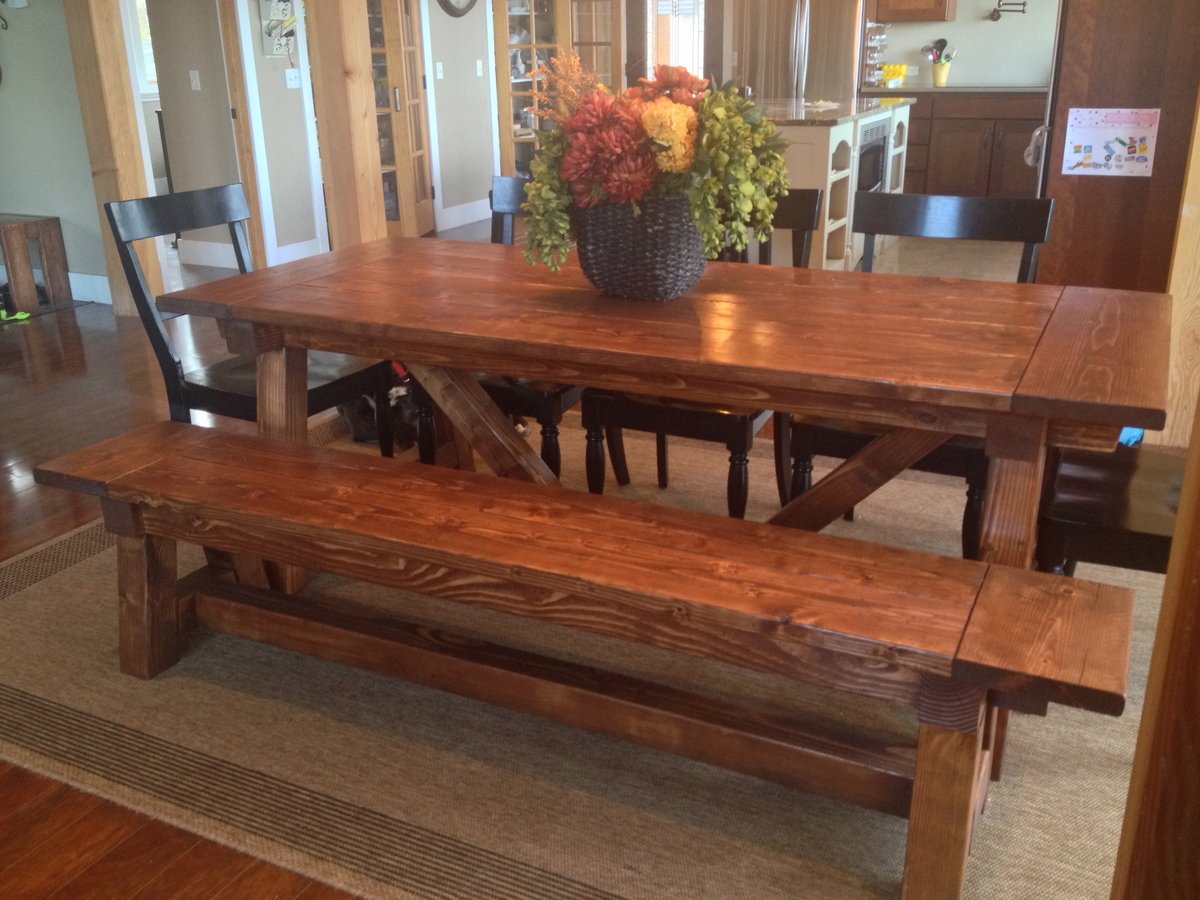
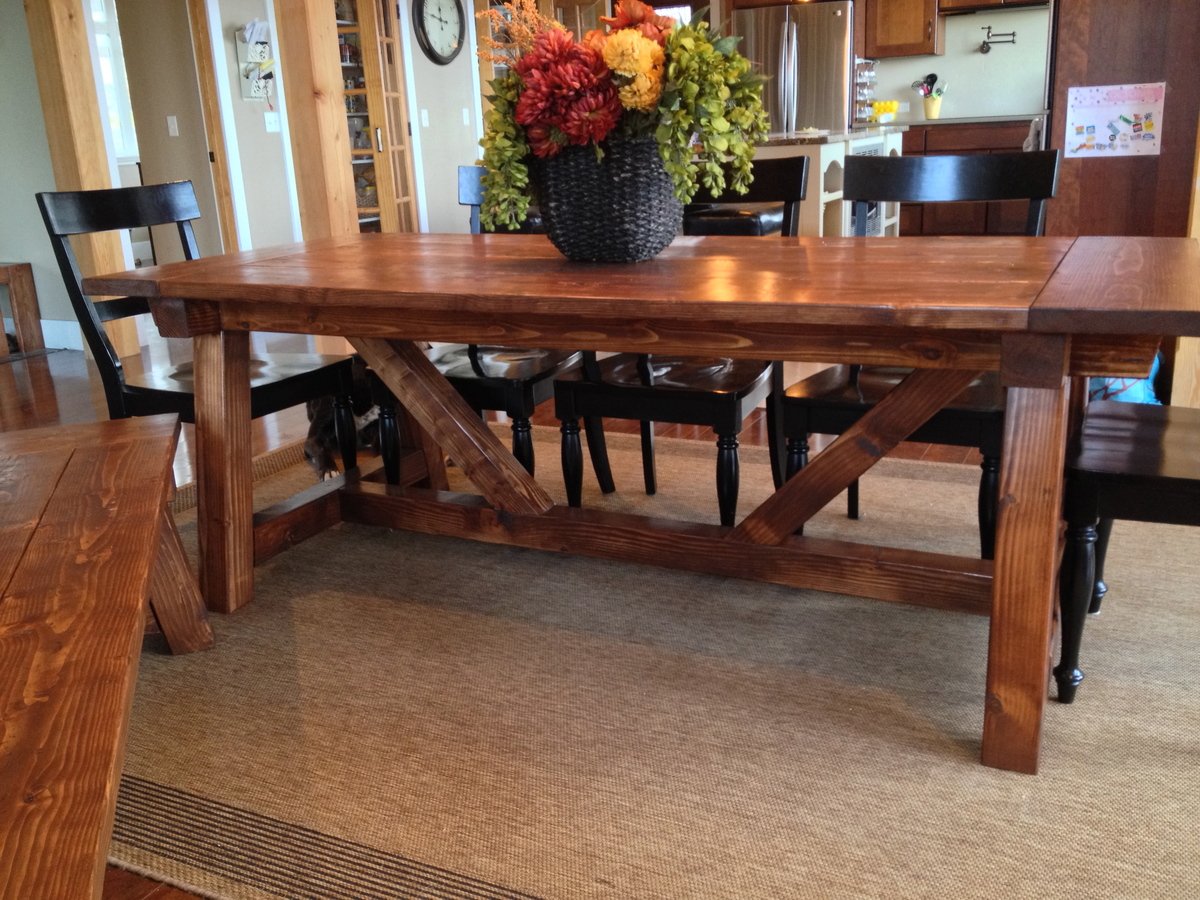
4X4 Truss Beam Table and Bench

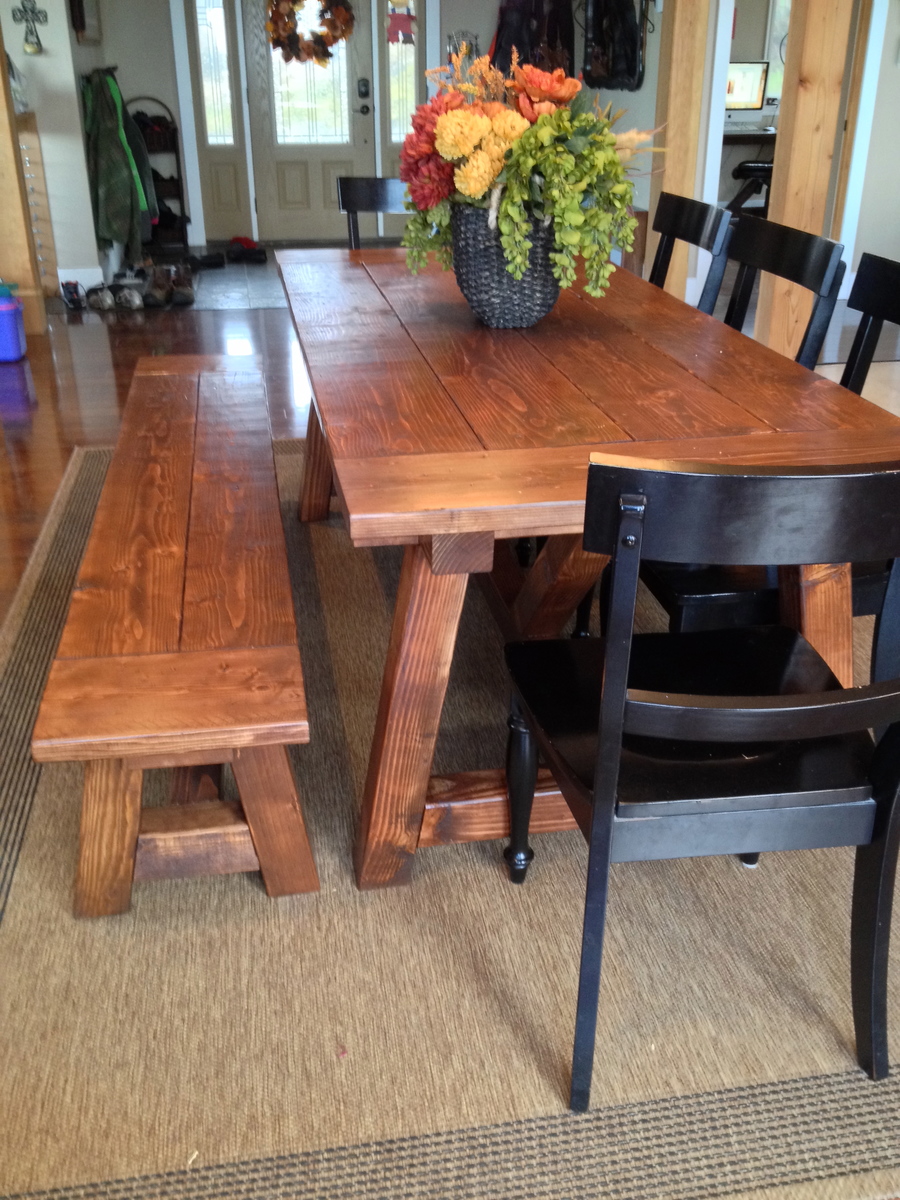
I have been eyeing many tables on Ana's website for some time now. When she posted the plans for this 4x4 Truss Beam Table, I knew that it was the one that I wanted to build.
The hardest part of the project was actually picking out super straight boards for the table top and bench top. The construction of the table was really easy!
I finished it with Rustoleum American Walnut stain and 3 coats of Rustoleum Semi-gloss polyurethane.
My family loves the table! I am super happy with how it turned out!!

Estimated Time Investment
Weekend Project (10-20 Hours)
Recommended Skill Level
Intermediate

Comments

bclute

Mon, 11/04/2013 - 17:46

Table looks great, I am braving this project at some point, but have procrastinated trying to find the right look and plan. Yours looks great. What grade pine did you use? Did you use the douglas fir for the 4x4's?

brentlbg

Mon, 01/19/2015 - 18:52

did you use the finish Ana recommended or did you do your own version? I like the color of the finish.

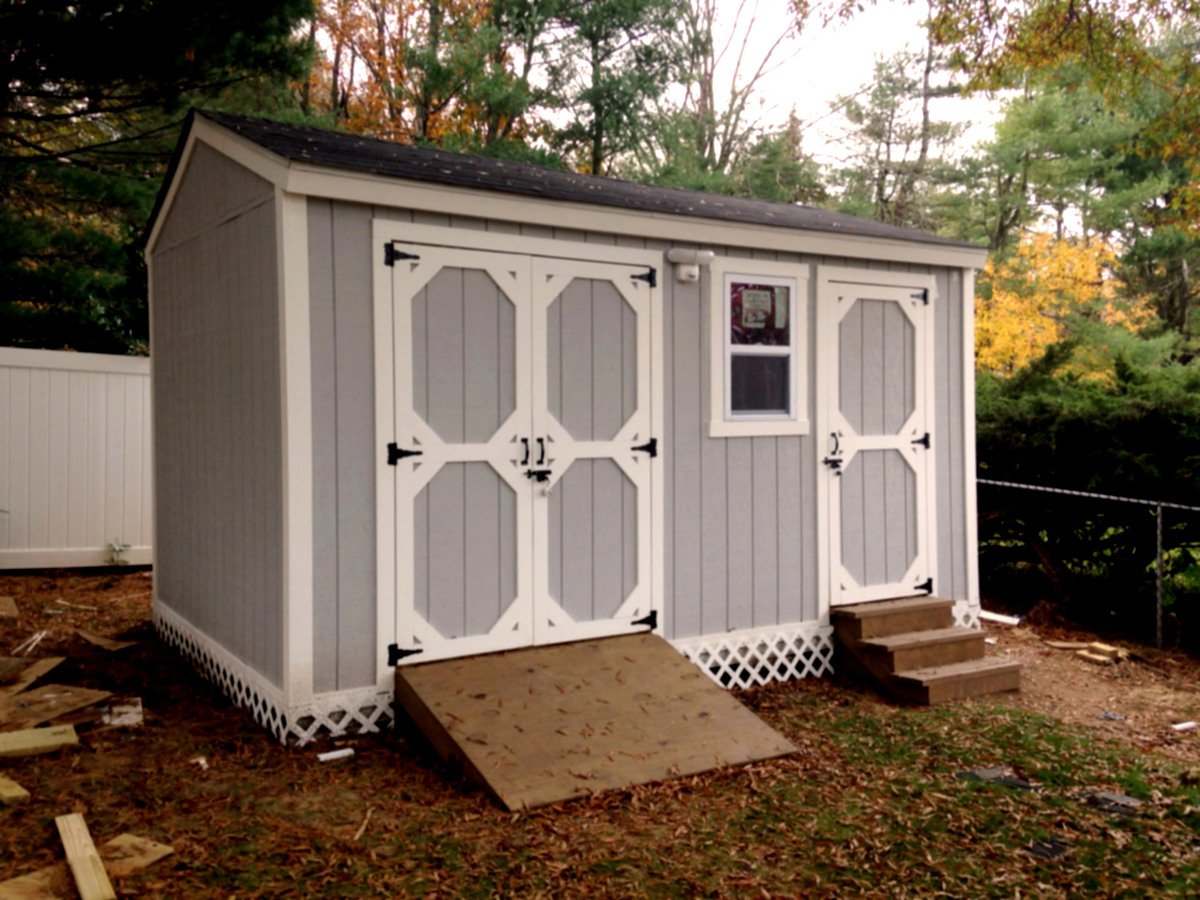
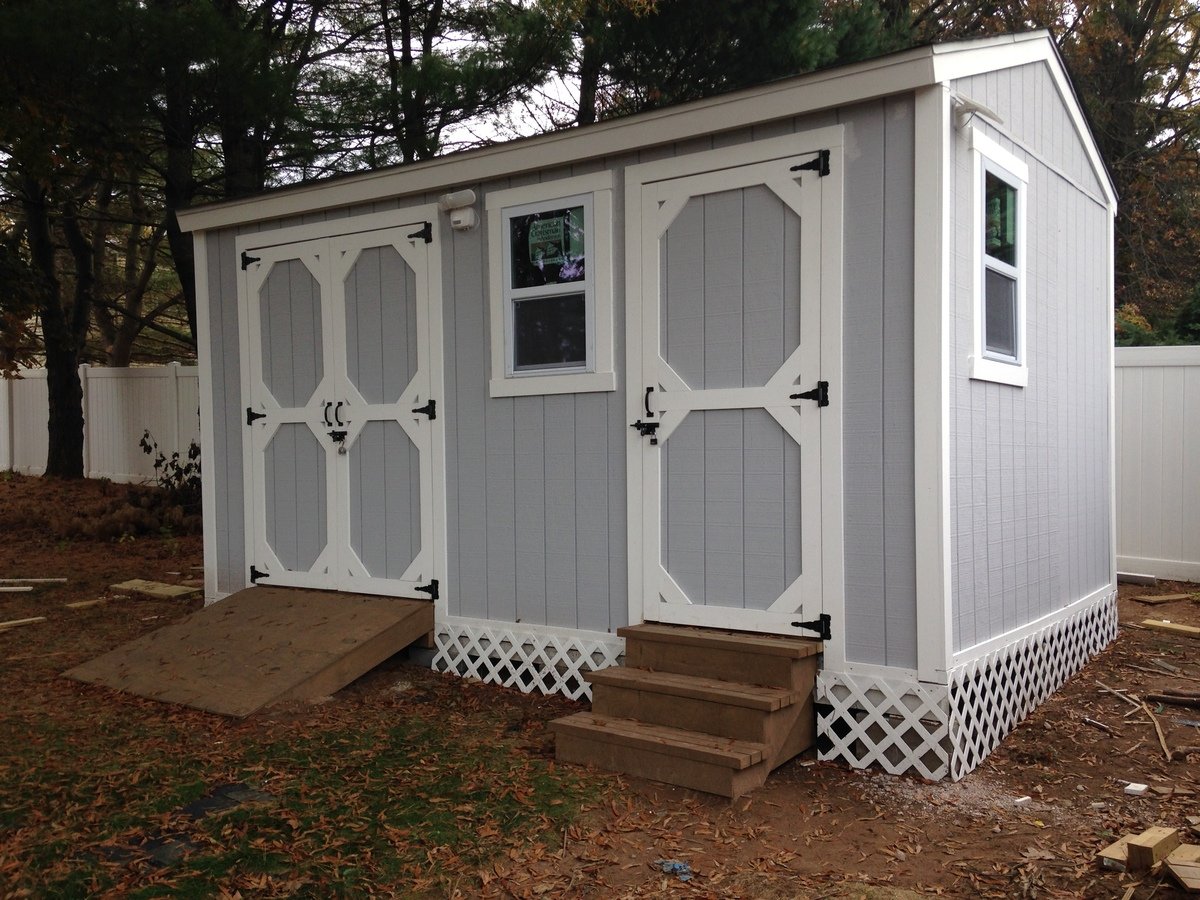
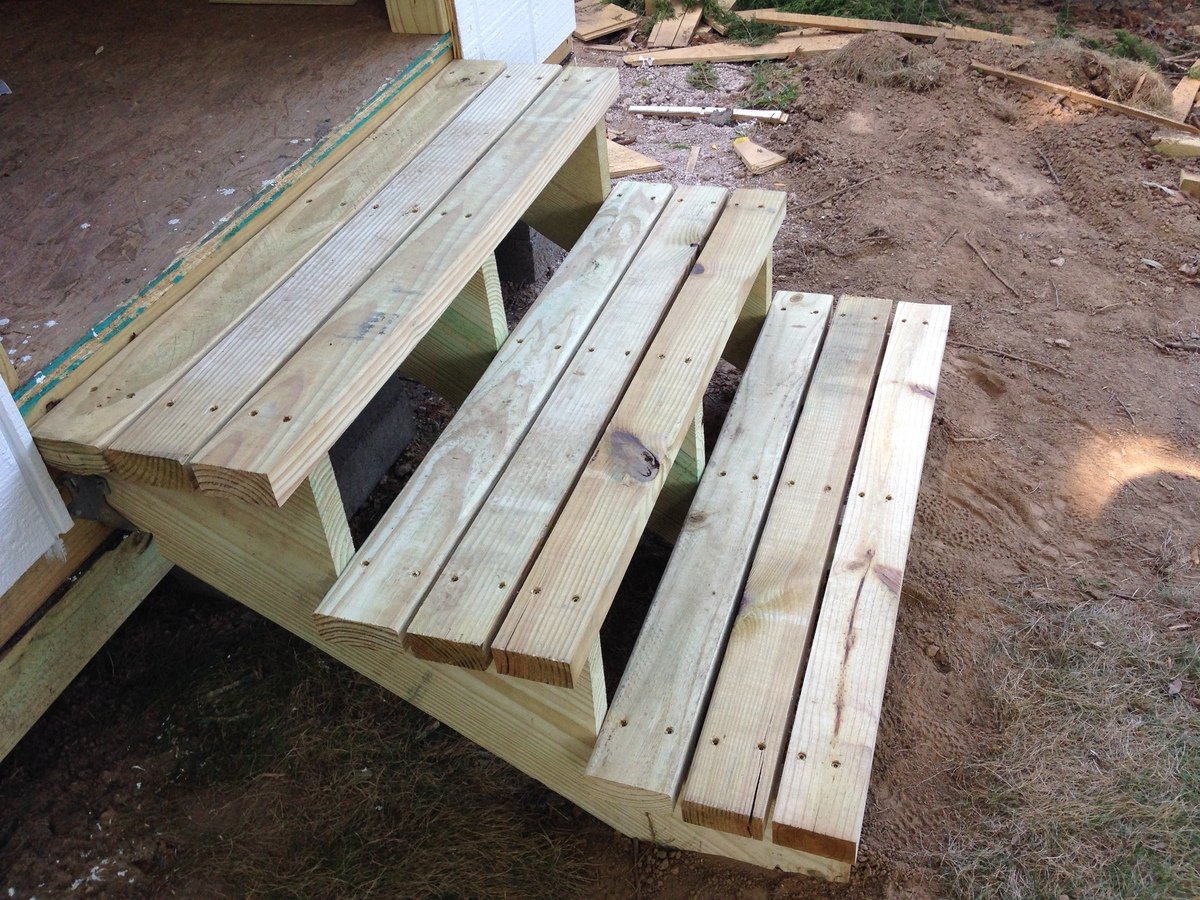
DIY storage shed with mower ramp and steps

Submitted by lookitsash on Thu, 07/28/2016 - 15:29

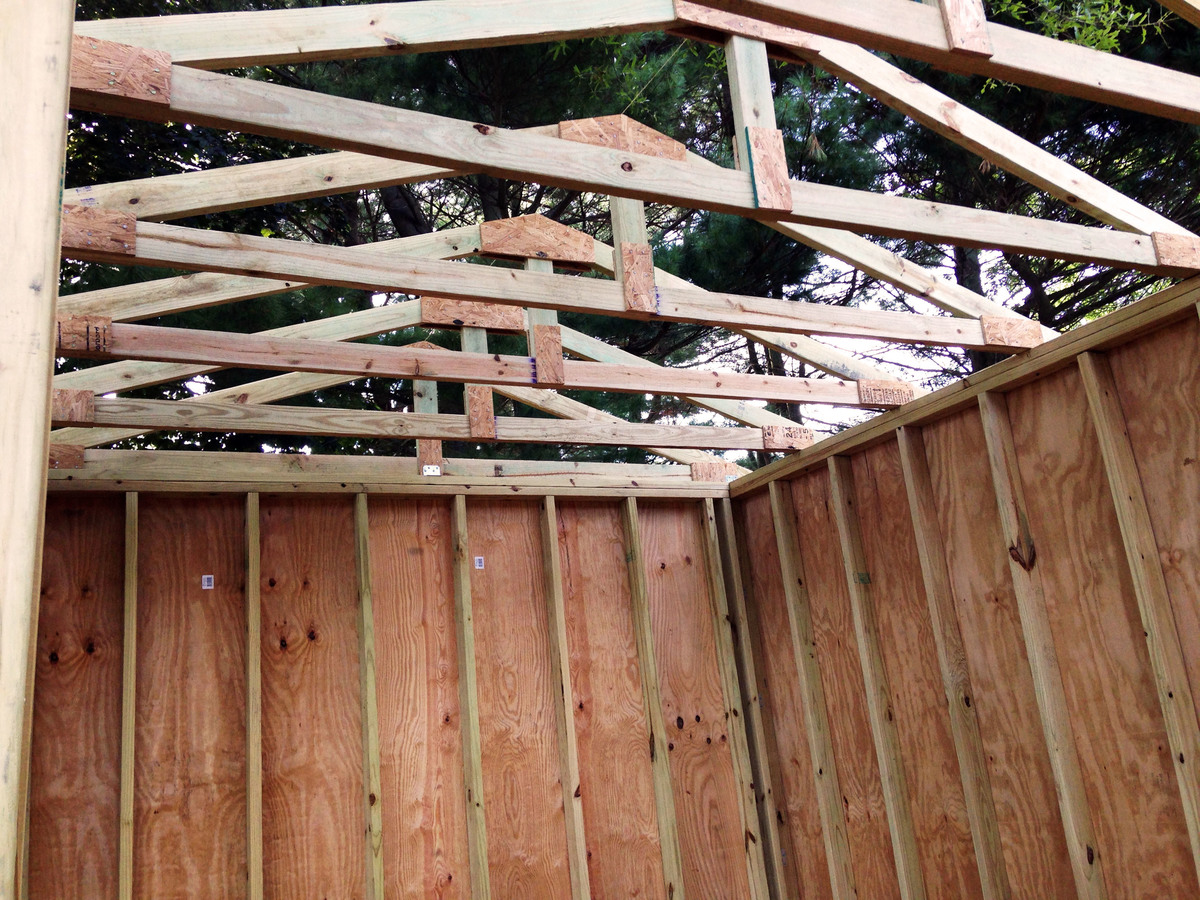
I used ideas on your site for inspiration for my current back yard shed.  I did a lot of research before choosing one.  If you've never built a shed before from scratch, it can be a little daunting, especially if its a larger shed.  I also documented my whole process from the laying the foundation to putting the last nail on the shingles.  Here's the link for you to my blog post:

http://www.justmeasuringup.com/blog/the-shed-project-phase-1

It was a lot of fun for me, and a huge wow factor to impress my friends ;)  I store everything in there from my riding mower to all my patio furniture in the wintertime.  It's such a useful thing to have.

I spent around $1500 and it took about 2 months to complete (working on it while having a full time job - otherwise would have finished a lot faster)

Estimated Cost
$1500
Estimated Time Investment
Week Long Project (20 Hours or More)
Finish Used
Used T-11 siding with several coats of exterior primer and paint
Recommended Skill Level
Intermediate

Comments

lookitsash

Sun, 07/31/2016 - 17:44

Thanks!   I looked at a bunch of different door trims online and found this pattern that I liked.  The mitre saw made quick work out of it, and it only took about 10 minutes to cut and install.

Back