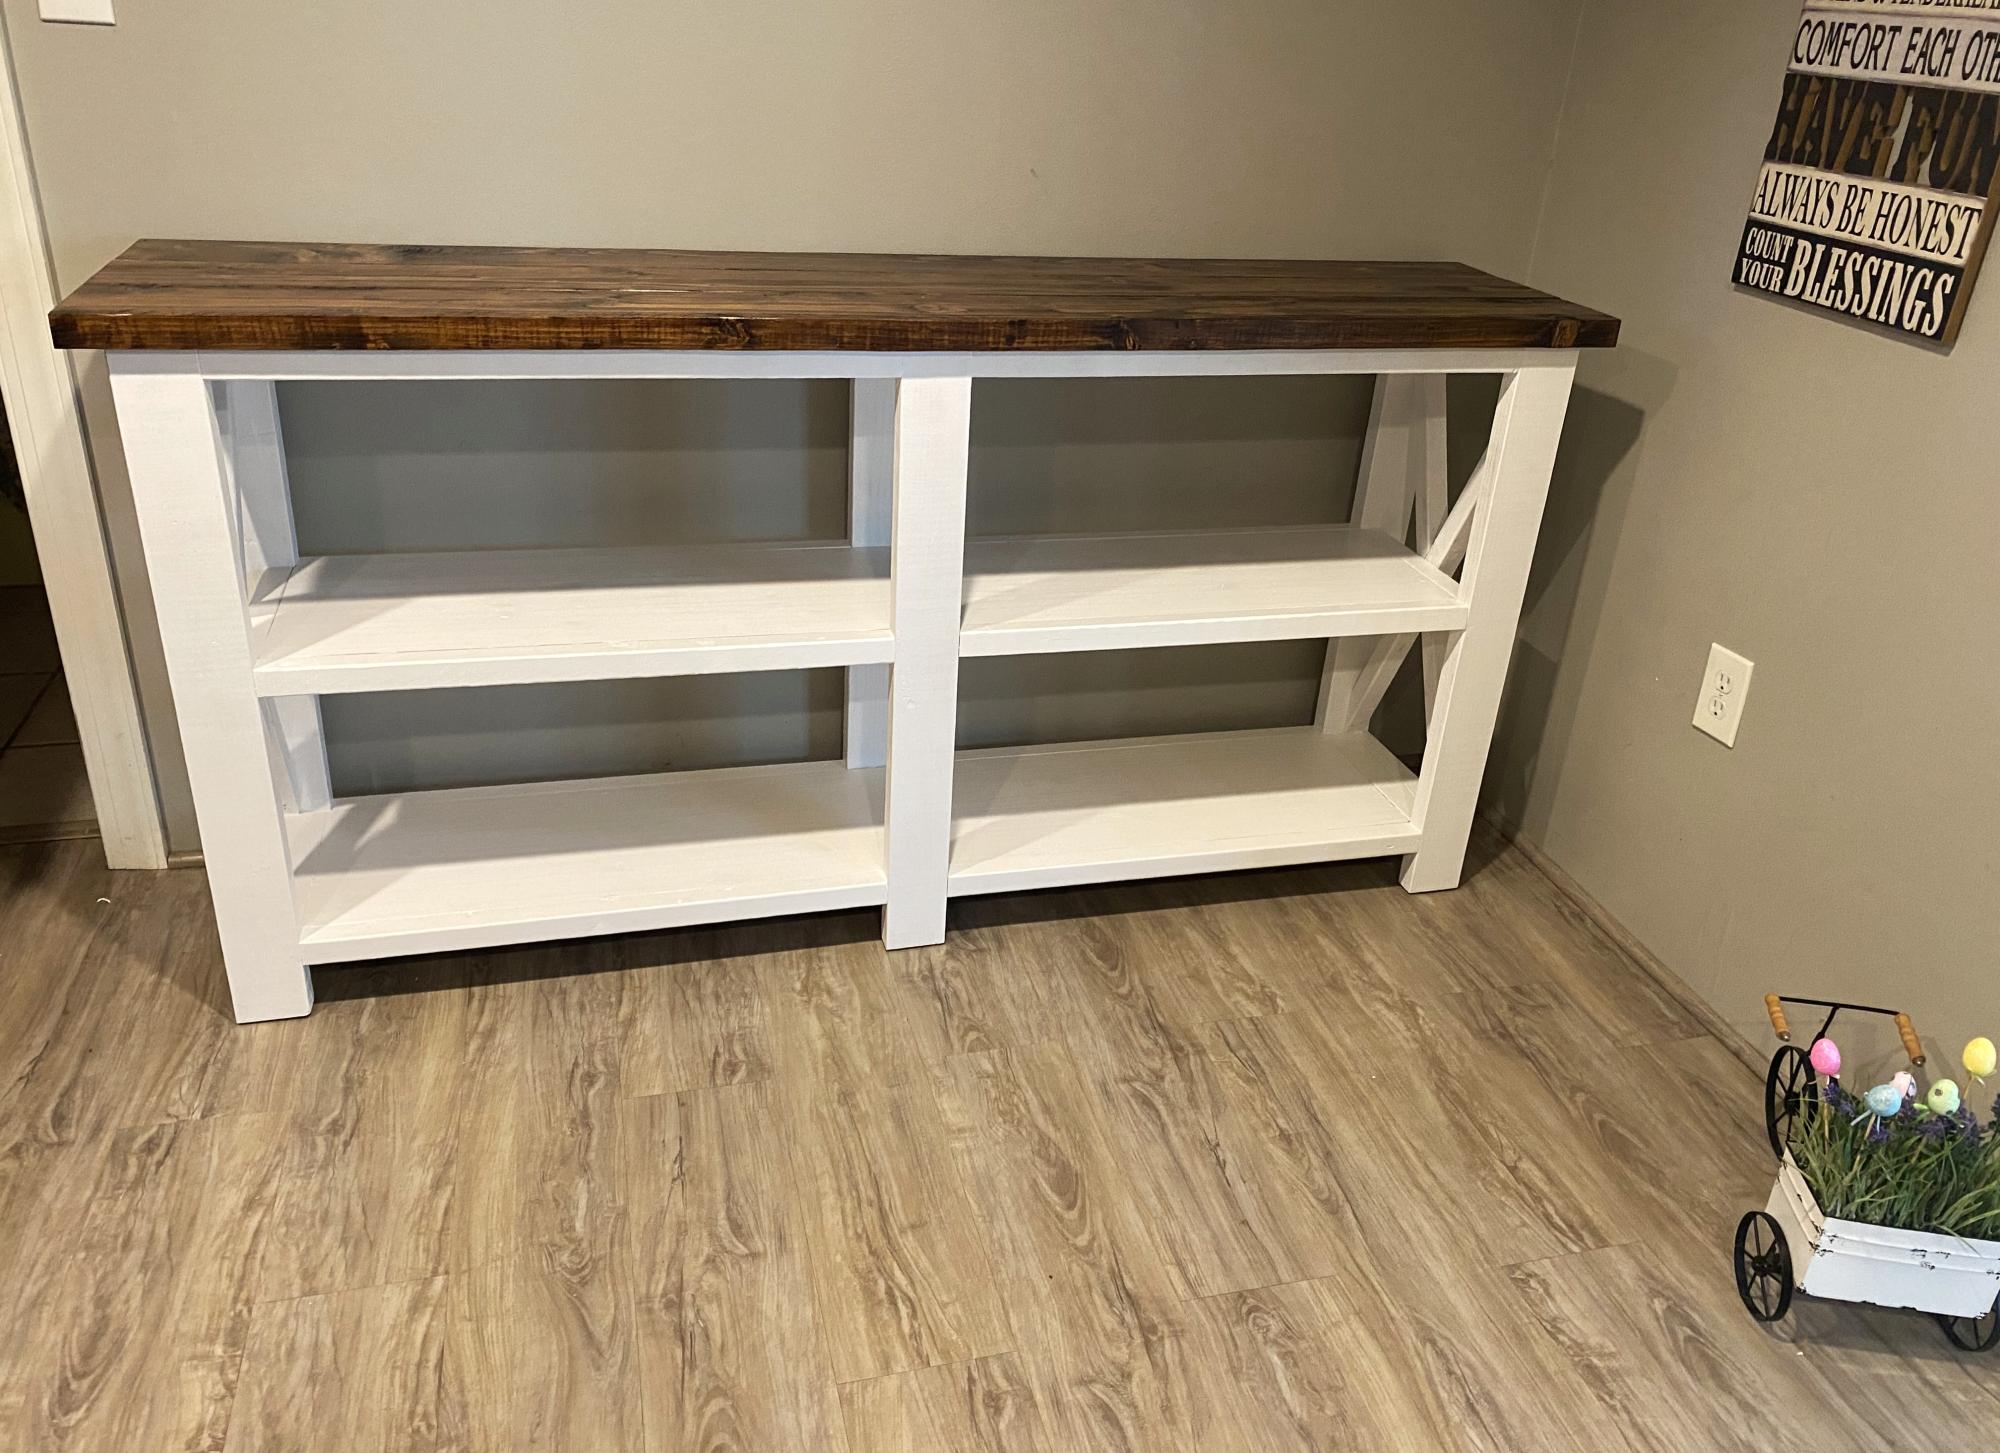
Two Tone Console Table
This is the 3rd table I built. Love all of your work. Ross
Built from Plan(s)
This is the 3rd table I built. Love all of your work. Ross

First time building for re-sell. I sanded everything before assembly and used pocket hole contruction so I wouldn't need to fill holes. Each one will be finished per customer request. Each unit takes about 2 hours to build start to finish.

I used the basic framing plan for the project, but extended roof overhangs, added engineered siding / trim and cedar shake roofing. I put 2x4 bracing on for the platform.


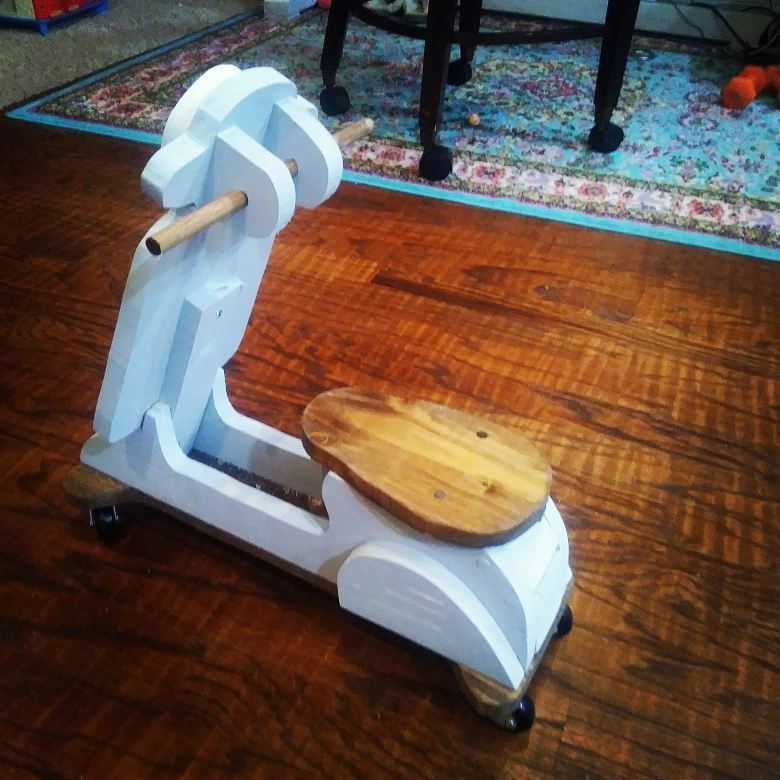
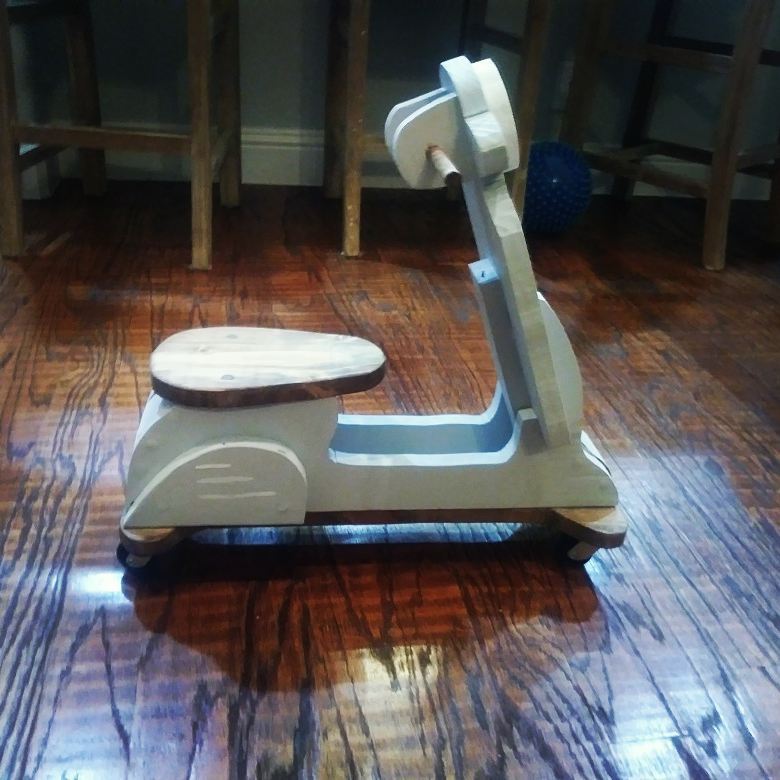
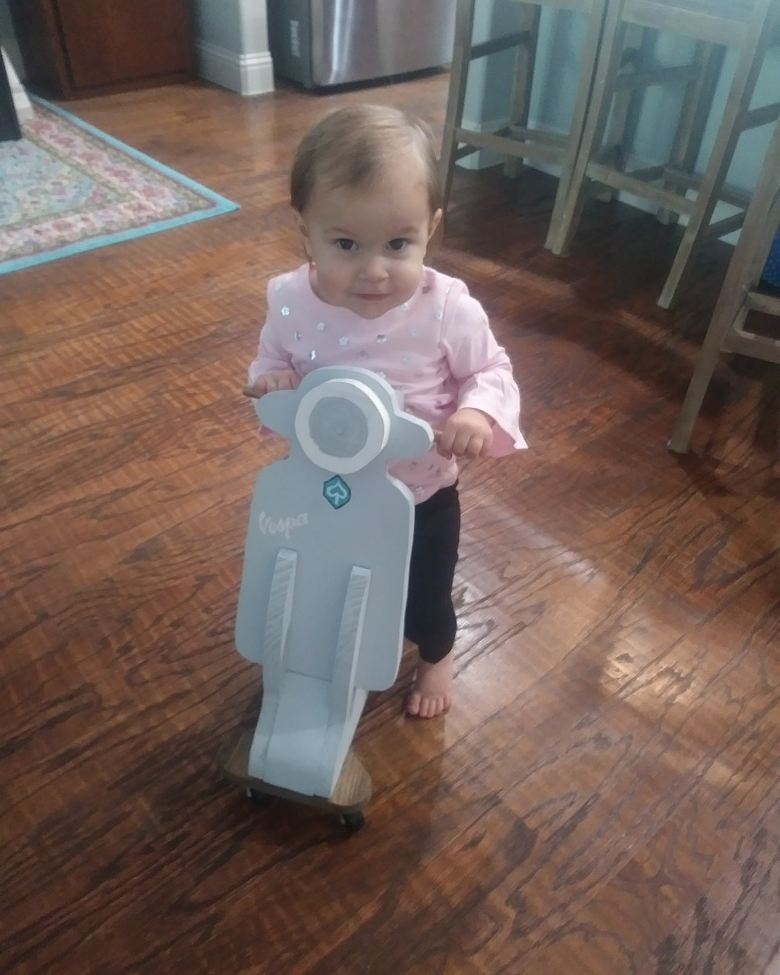
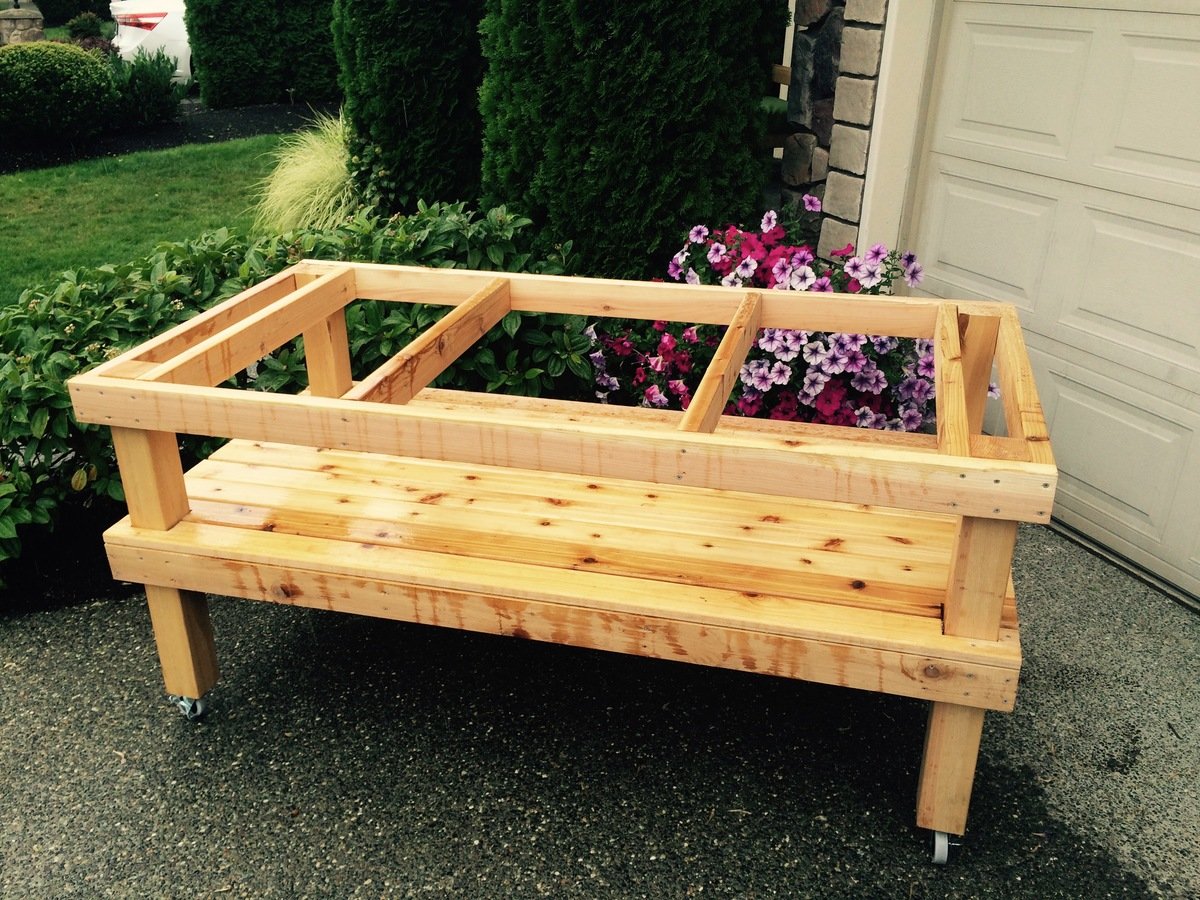
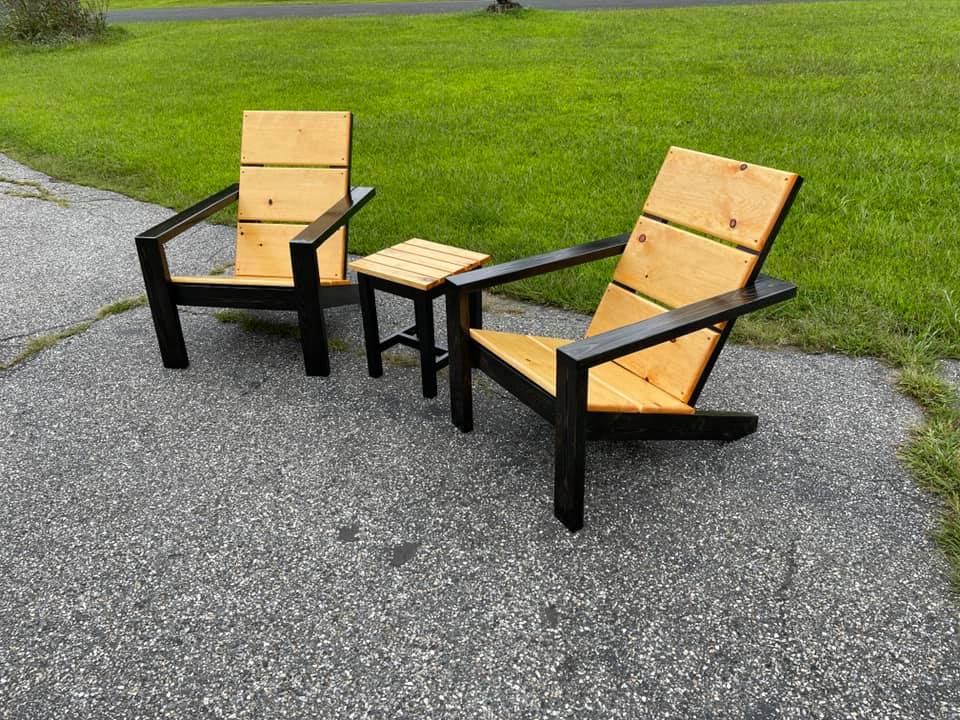
I made the plans a little different. I had more support to the front, made the base wider, and added swivel wheels instead of rockers.
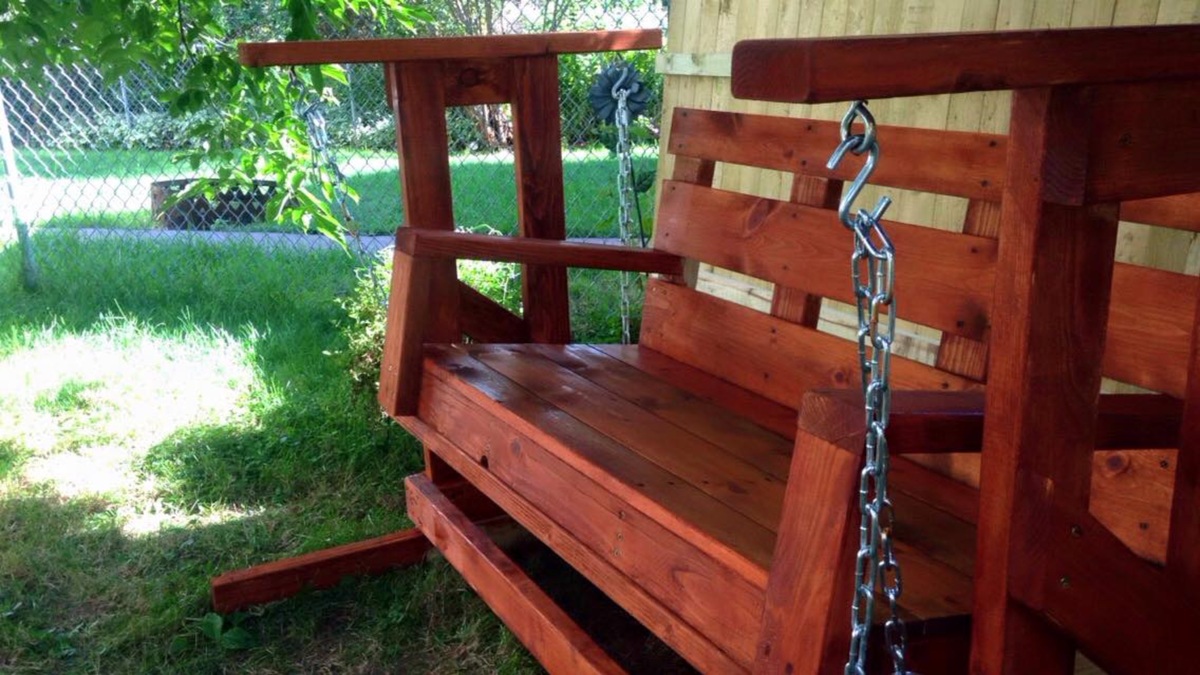
The bench was easy to build with great instructions. I had Home Depot make my cuts for this first project and then I went and bought a miter saw and other power tools for future ones. So much fun.
Mon, 03/14/2016 - 08:35
Great work. DId you do anything different to the swing itself? How did you build the frame. I'm looking to do this exact thing for my patio. I don't have anywhere to hang the swing.
Thanks for sharing any info.
Sat, 06/13/2020 - 16:54
Made the chair and then built the glider frame for it just eyeballing the picture. I can't figure out how to upload a photo of my design, but can try to describe it.
I made mine with a 4x4 on the base of each leg, but a 2x4 would work as well, it was just what I had on hand. The base board on each leg I made 48". From there I put two 48" vertical boards. The vertical boards were centered and from the front edge of the first board to the back edge of the second board. Two 16" boards were then used at the top and bottom of the vertical boards to hold them in place. Cap it off with a 30" board on top of the verticals. This is where you'll attach your eye bolts. I put both eye bolts 3 1/2" back from the front (a scrap of 2x4 works well as a guide). To join the two legs, I used two 52" boards on top of the base 4X4 of the verticals (one in front of the legs and one behind).
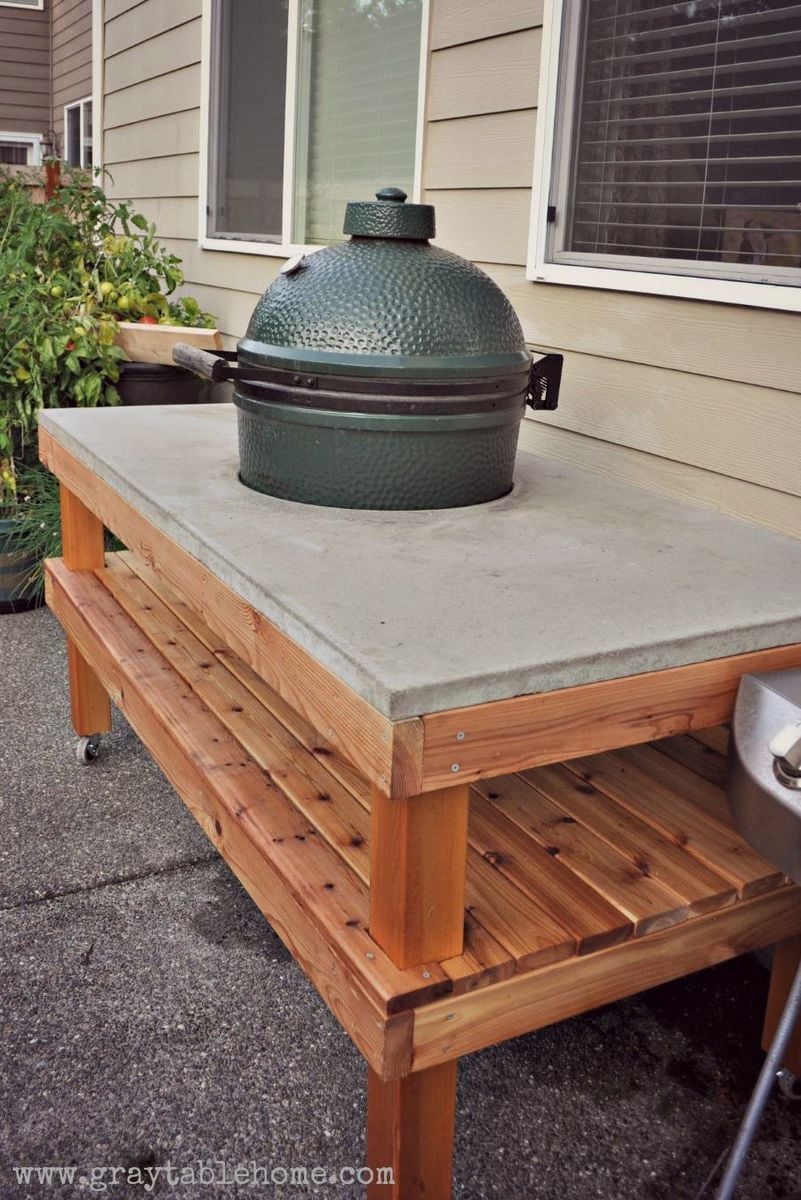
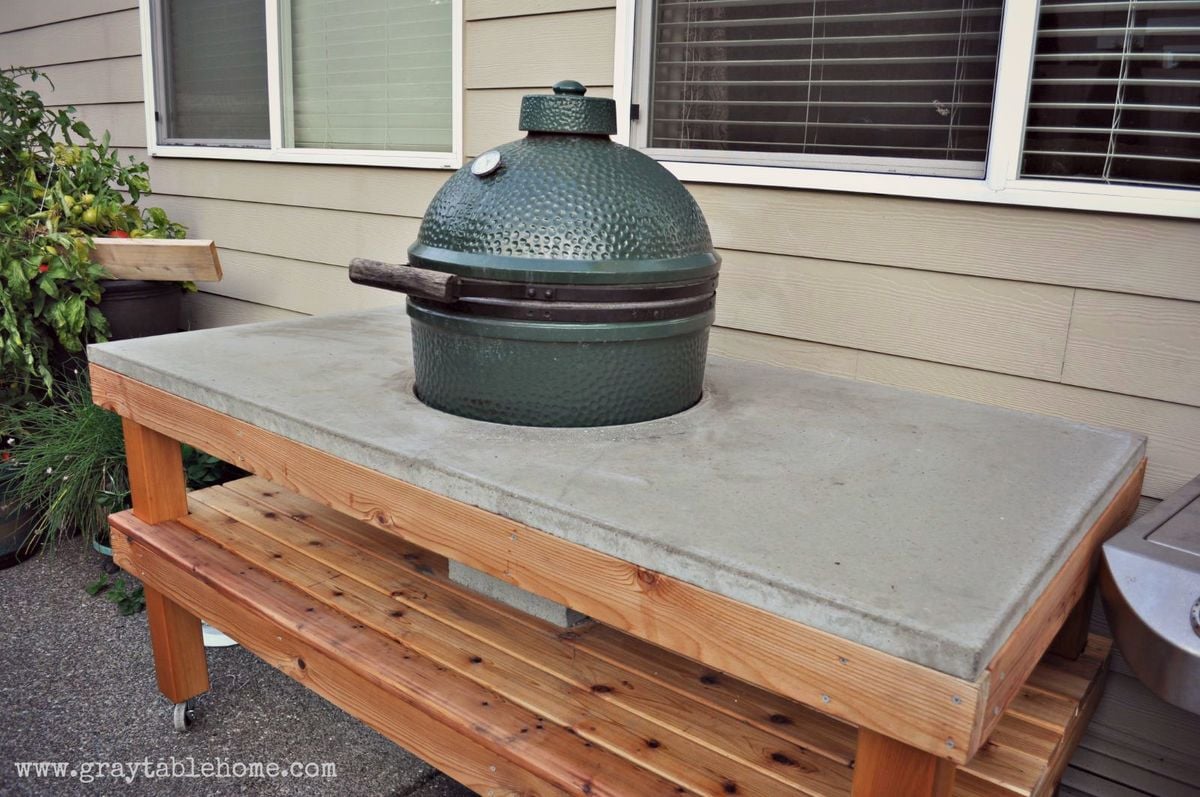
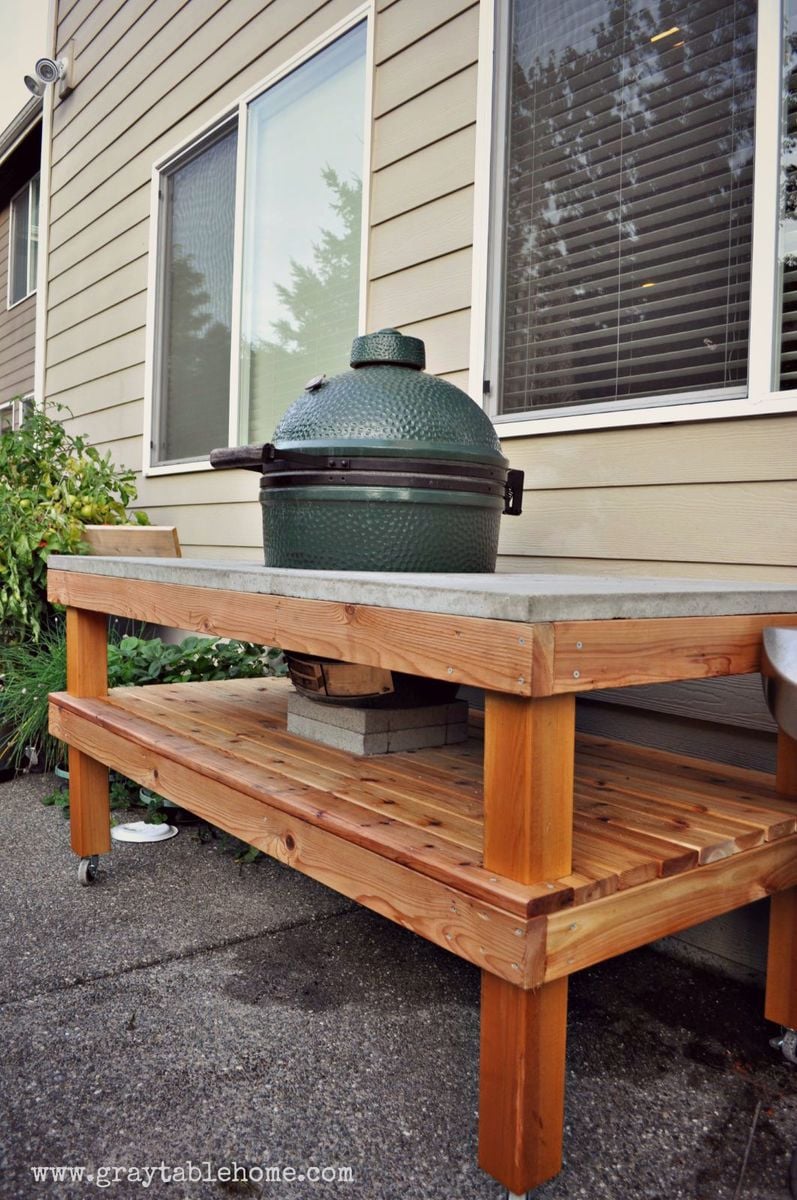
This grill table took a weekend to build. The base is made of cedar and top is concrete. More information on how to build this table is available on my blog.

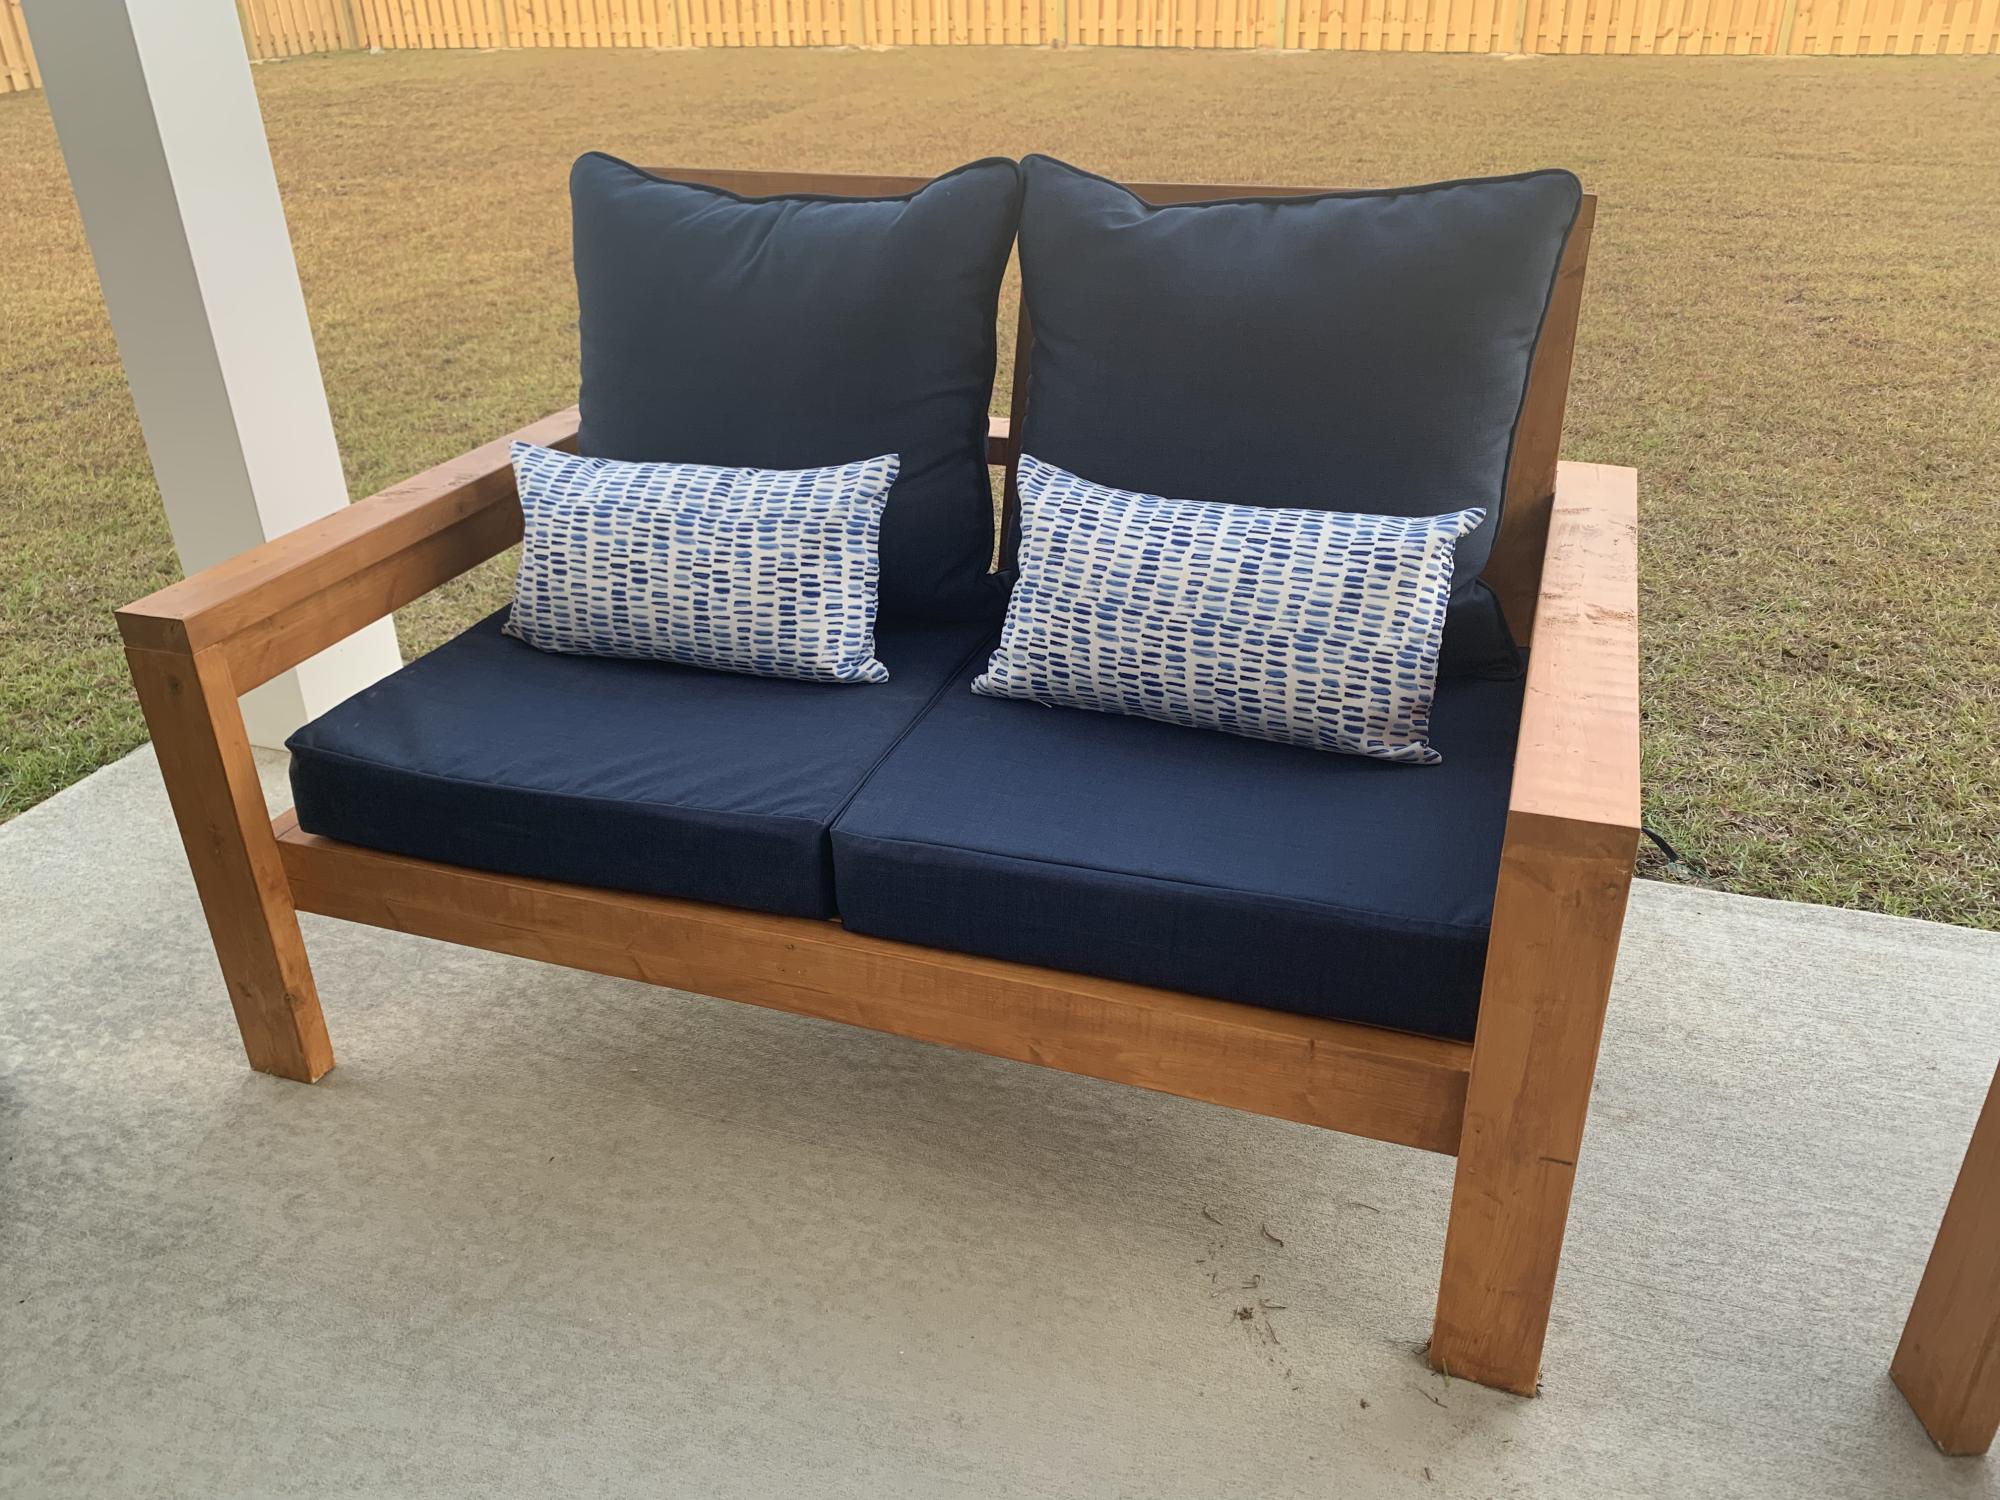
Super easy and fun project! We altered the original plans to build a loveseat and had zero issues. We did add some extra support below.
I did not find 25”x25” cushions within our price range so I settled for 25”x22.5” and they work but ultimately 25x25 works best.
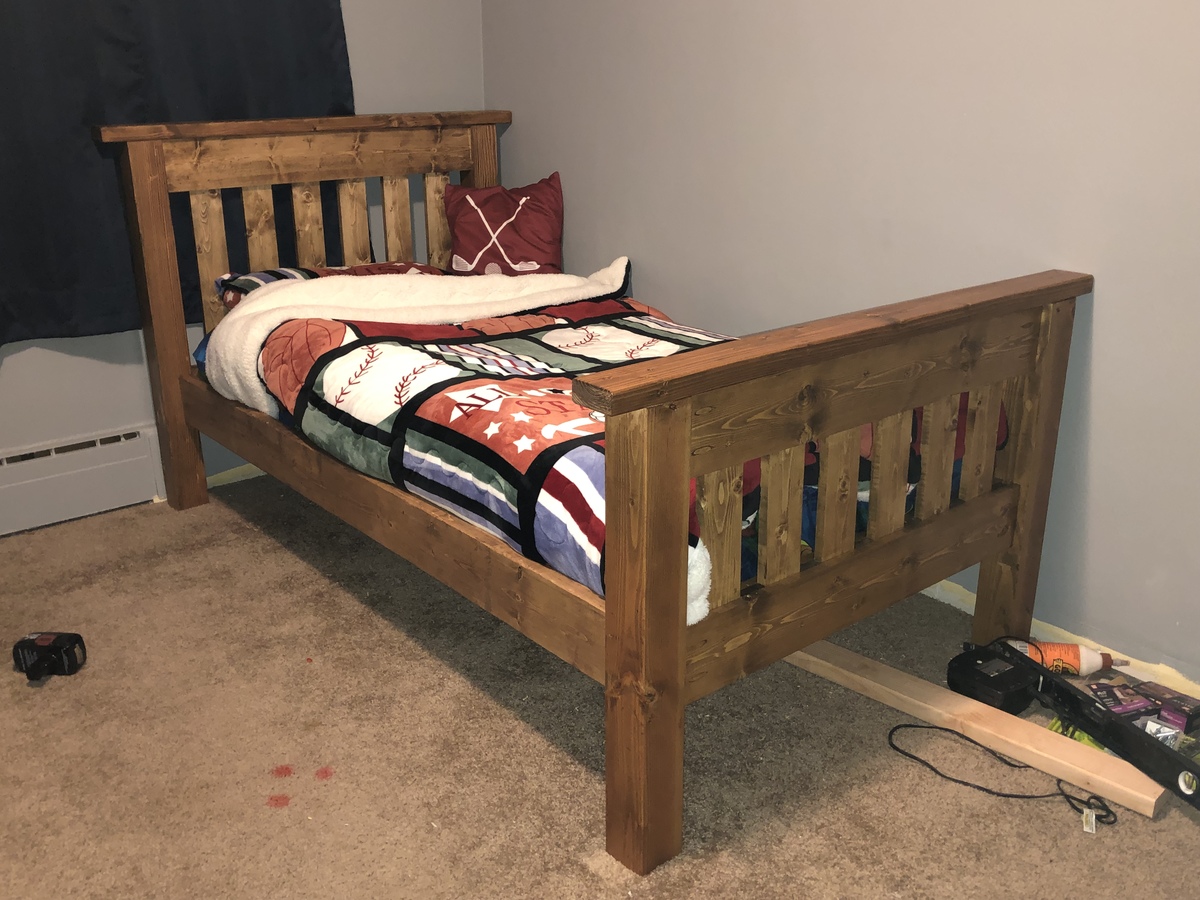
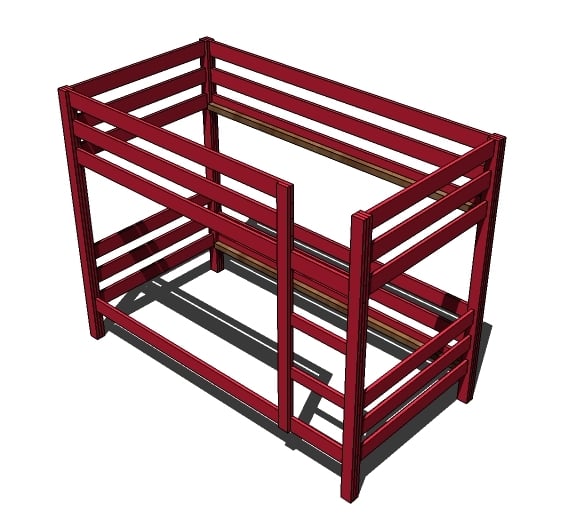
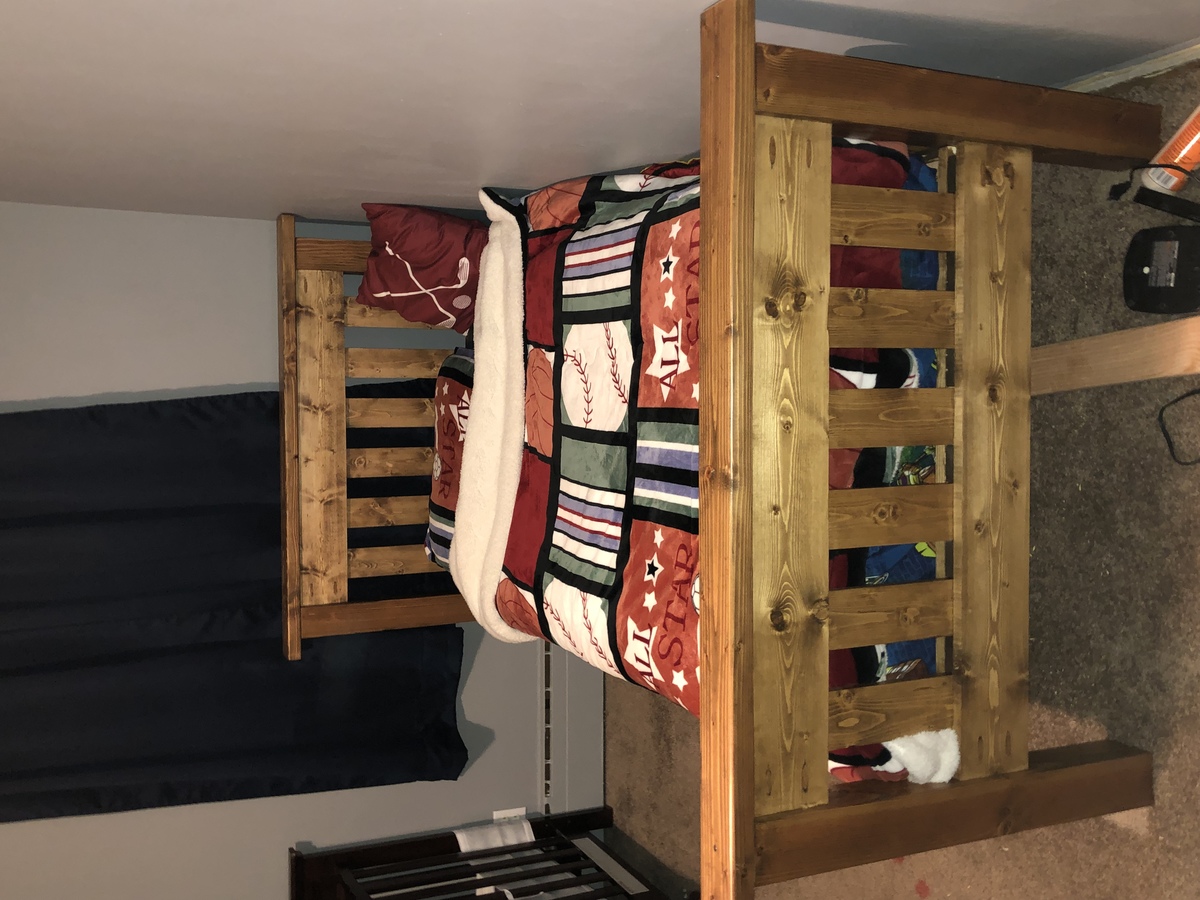
Fun and easy. Bed is extremely sturdy. I used pocket screws for all four corner connections.
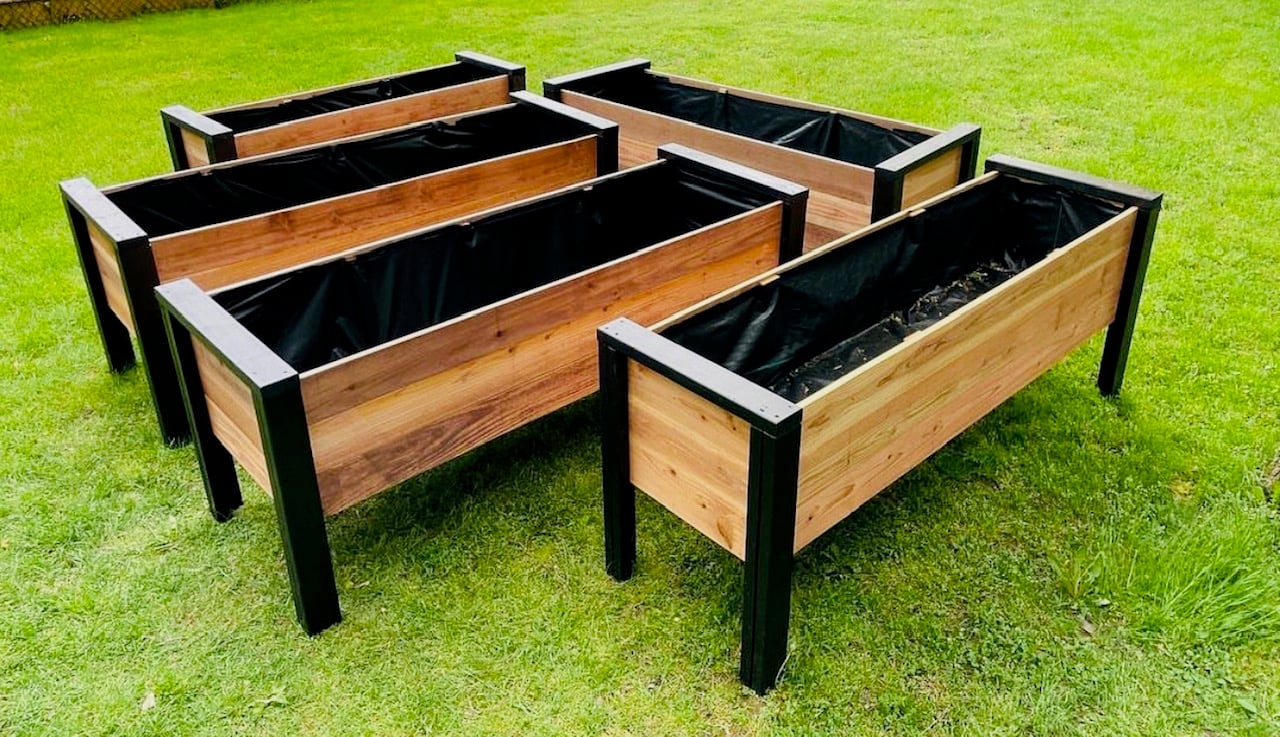
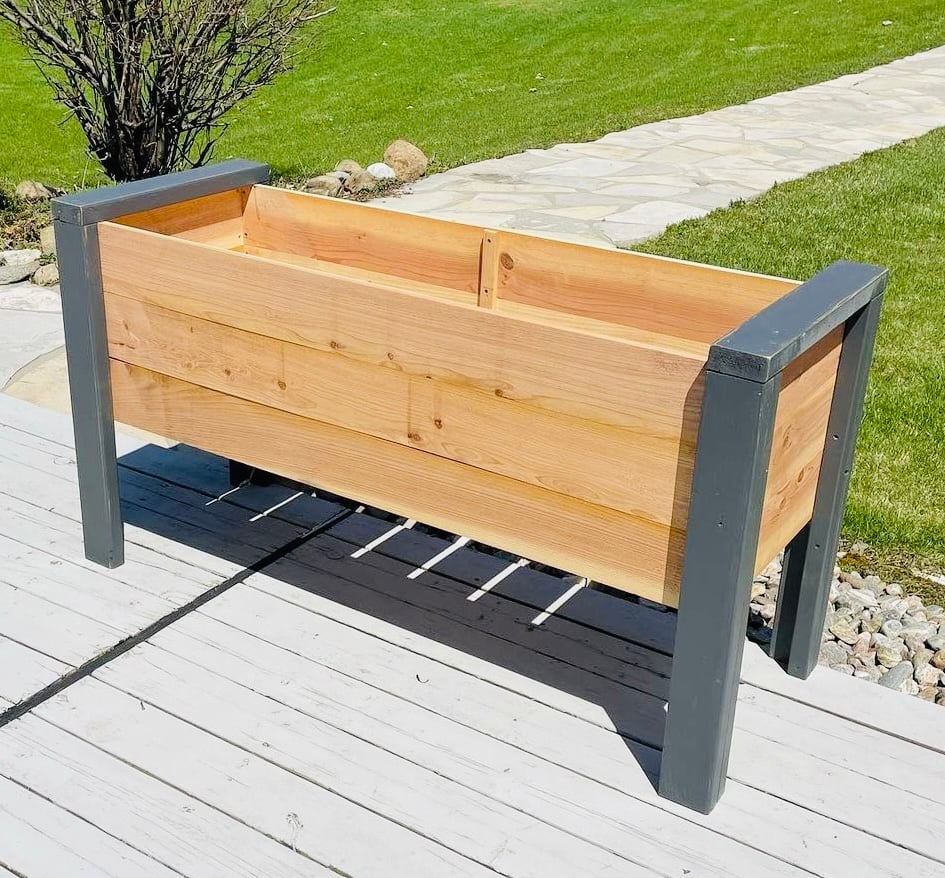
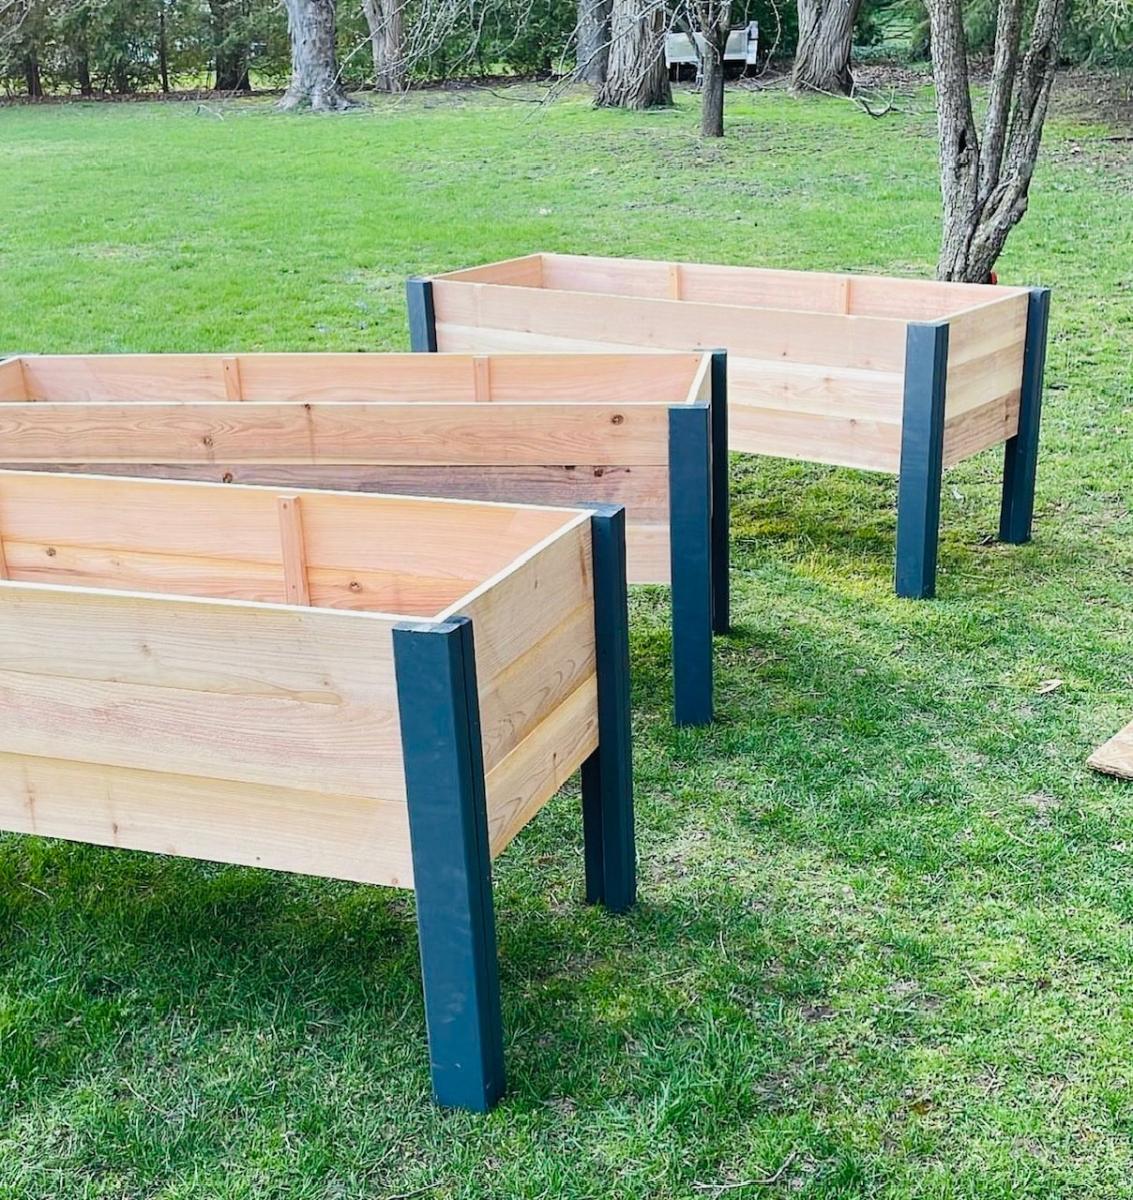
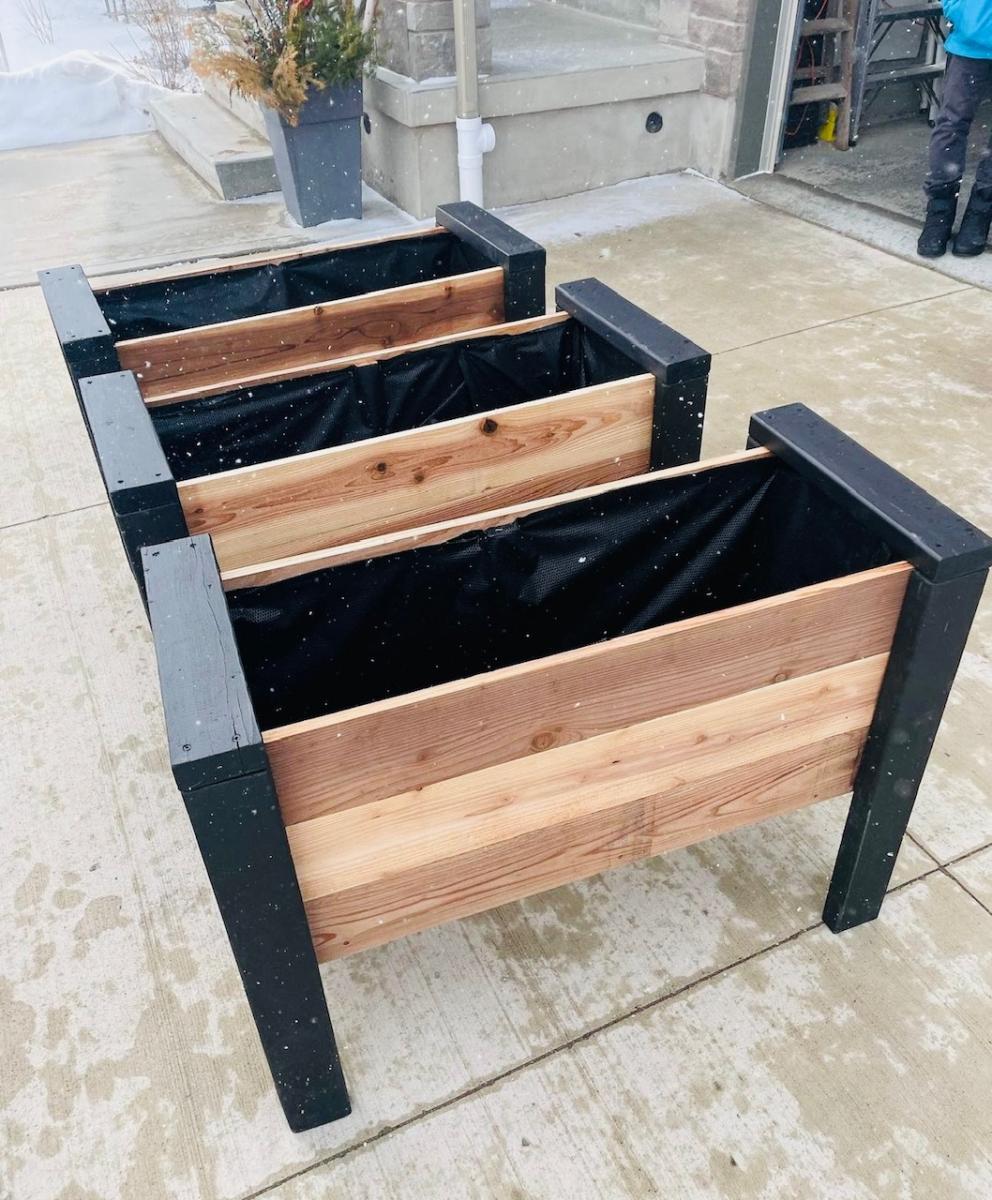
Planters build by Urban Wood Solutions

Fri, 03/31/2023 - 04:23
These are incredible. They look a little deeper, and would be good for vegetables. How deep are they?
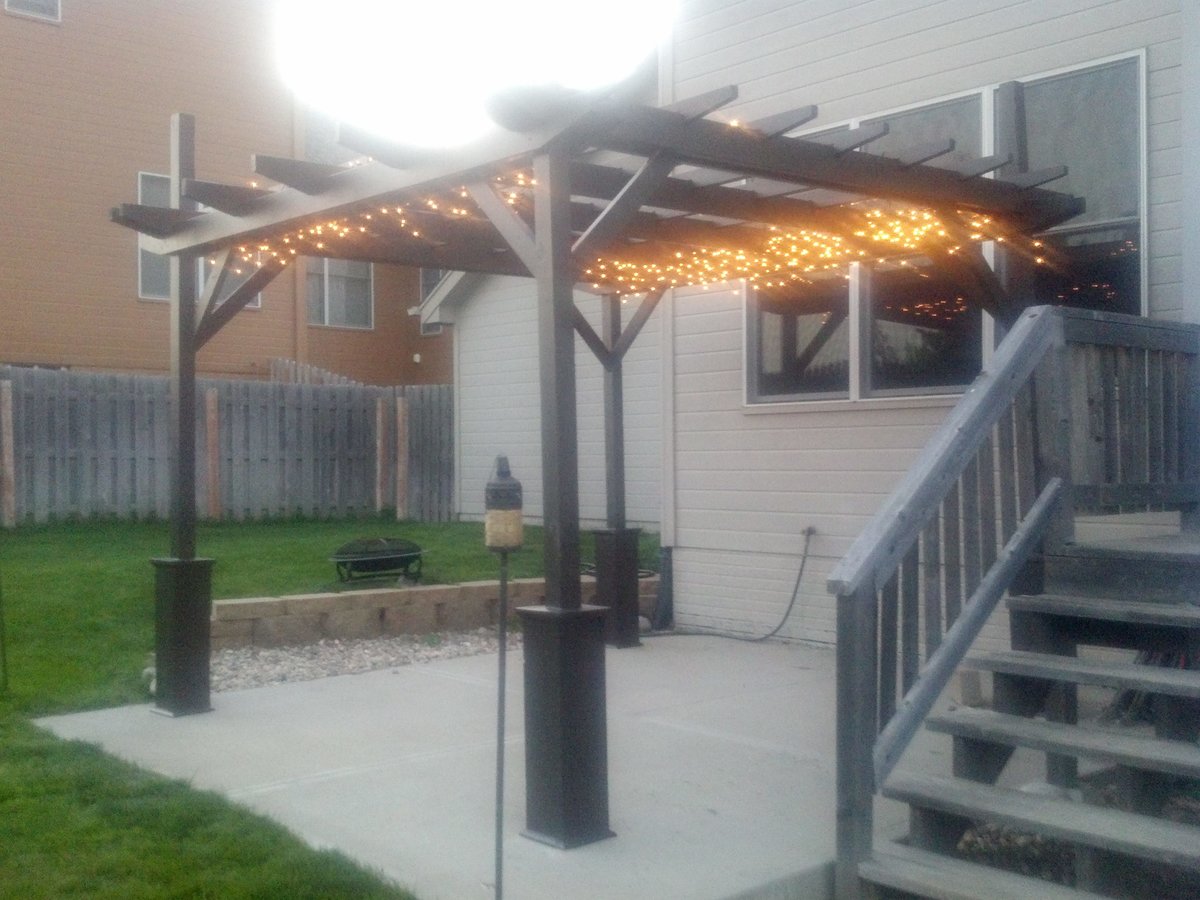
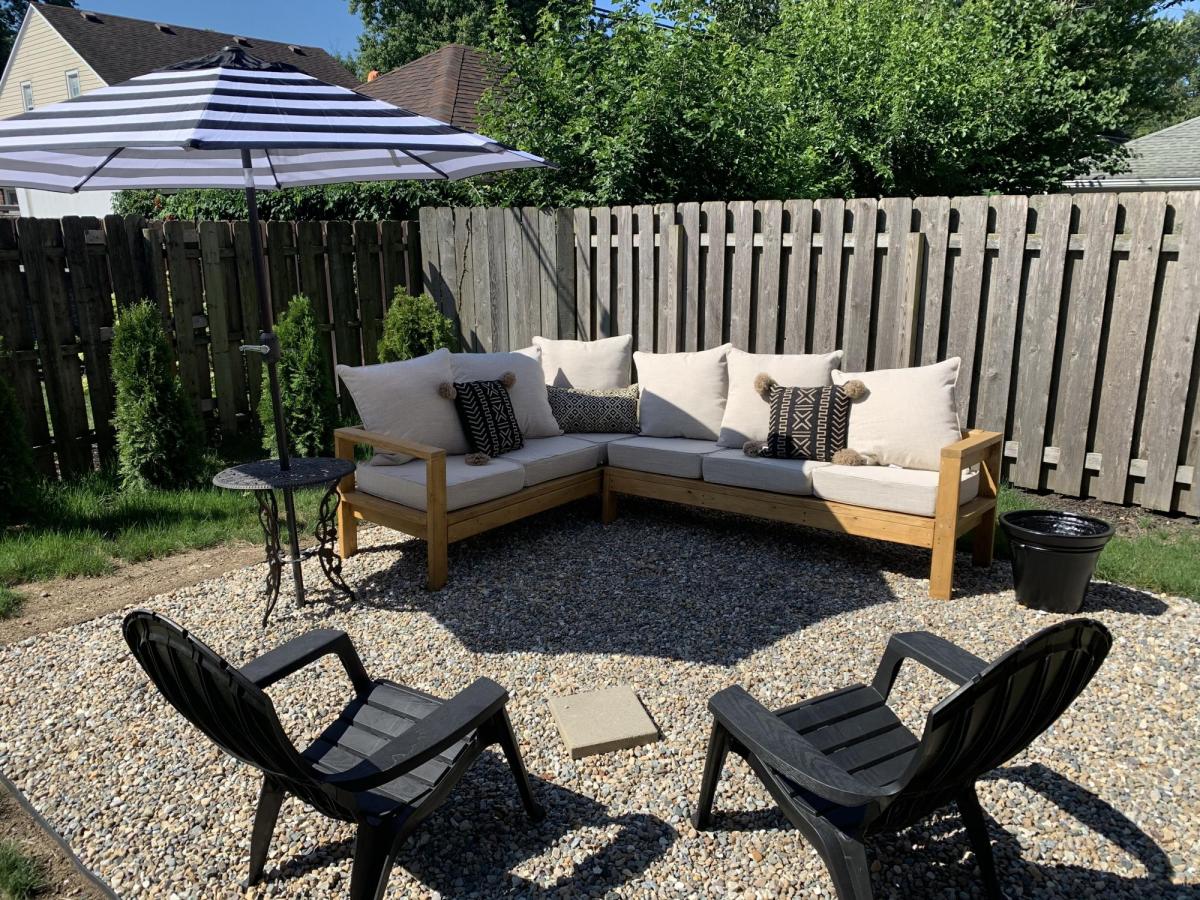
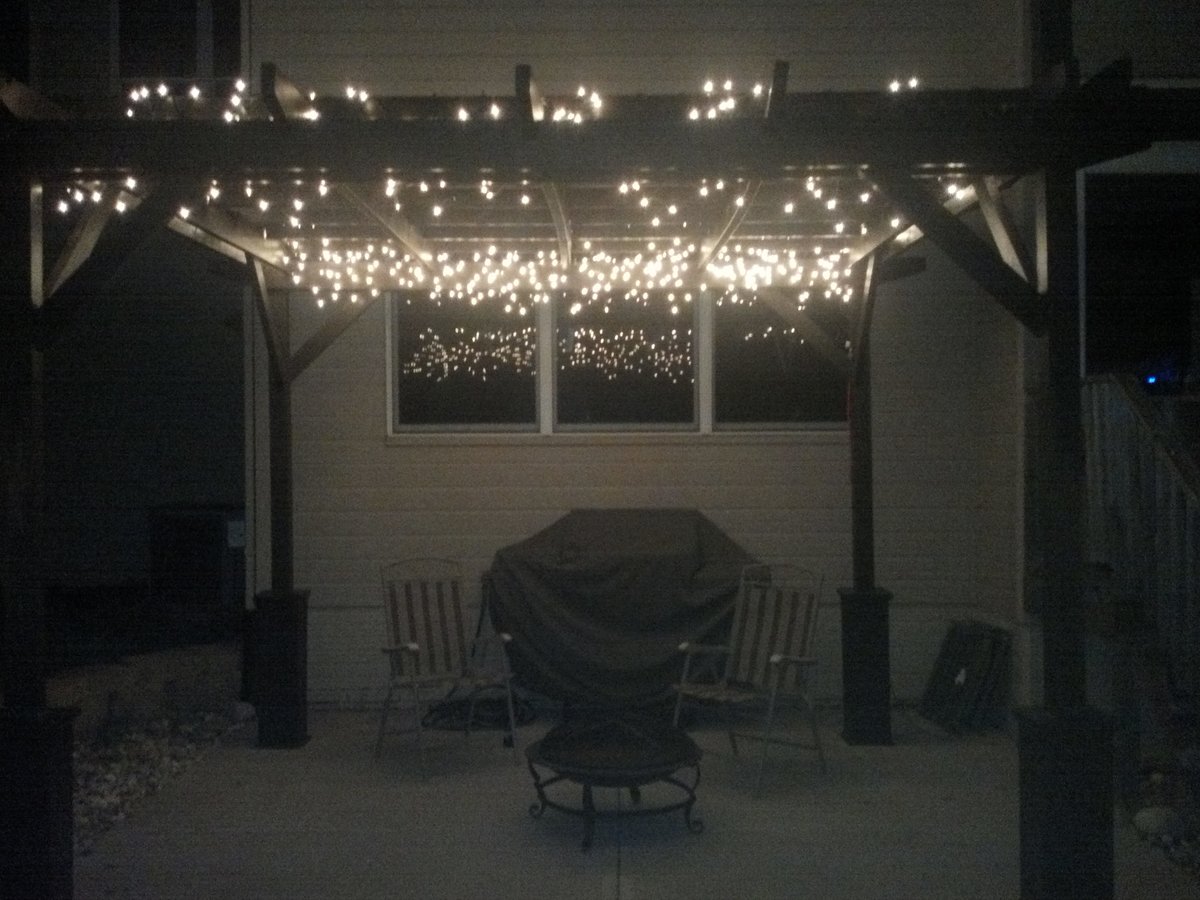
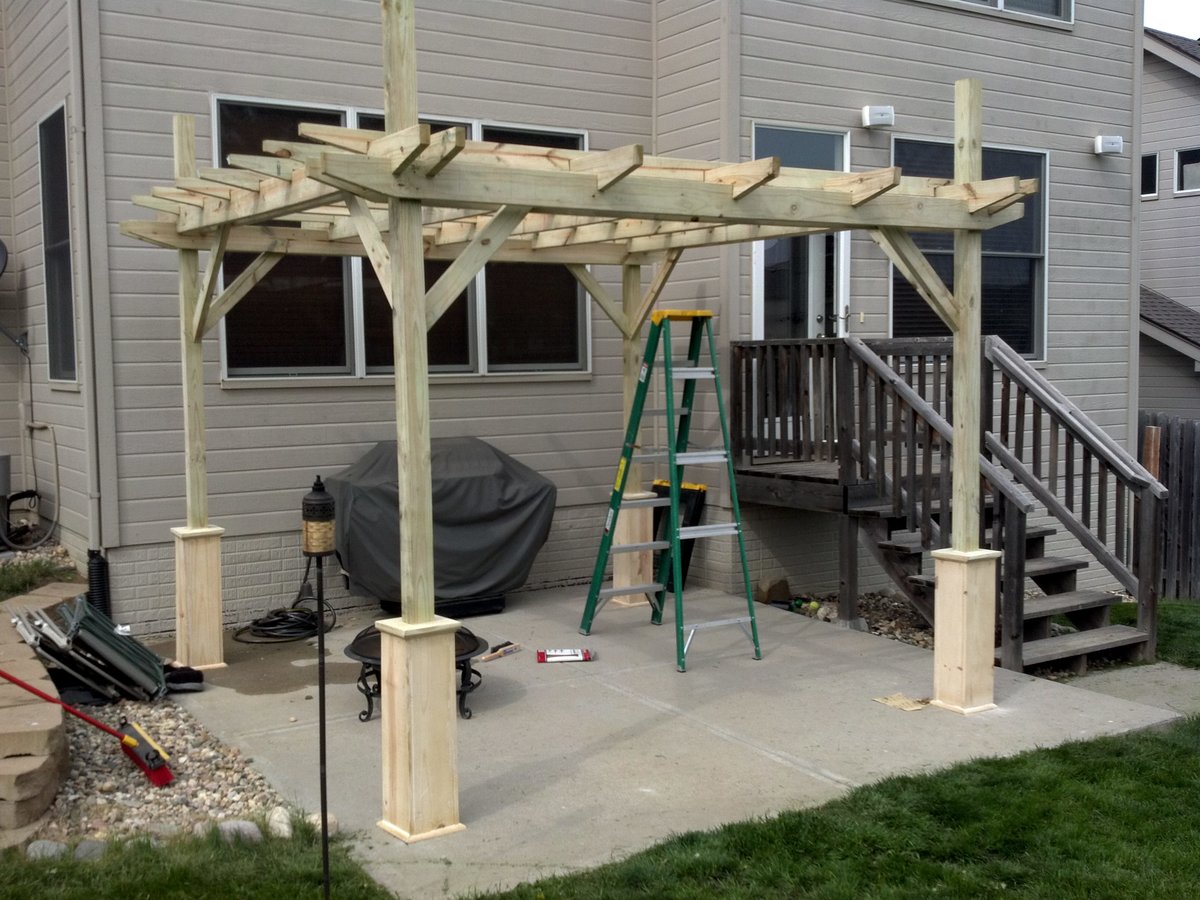
Thank you for the plans! They were easy to follow and my girlfriend and I are very happy how the pergola turned out. I used the 2x6's and 2x4's due to being in Nebraska with heavy snow and high winds often to give it more durability. I can't wait to start on the sectional. Total cost was about 350 dollars...so cheap in comparison to what they sell for.

Fri, 05/11/2012 - 10:16
Beautiful, I love the color you choose too!
PS - for a second, I thought the pergola was on fire! haha! Glad it's just beautiful lights!

Sat, 05/12/2012 - 05:22
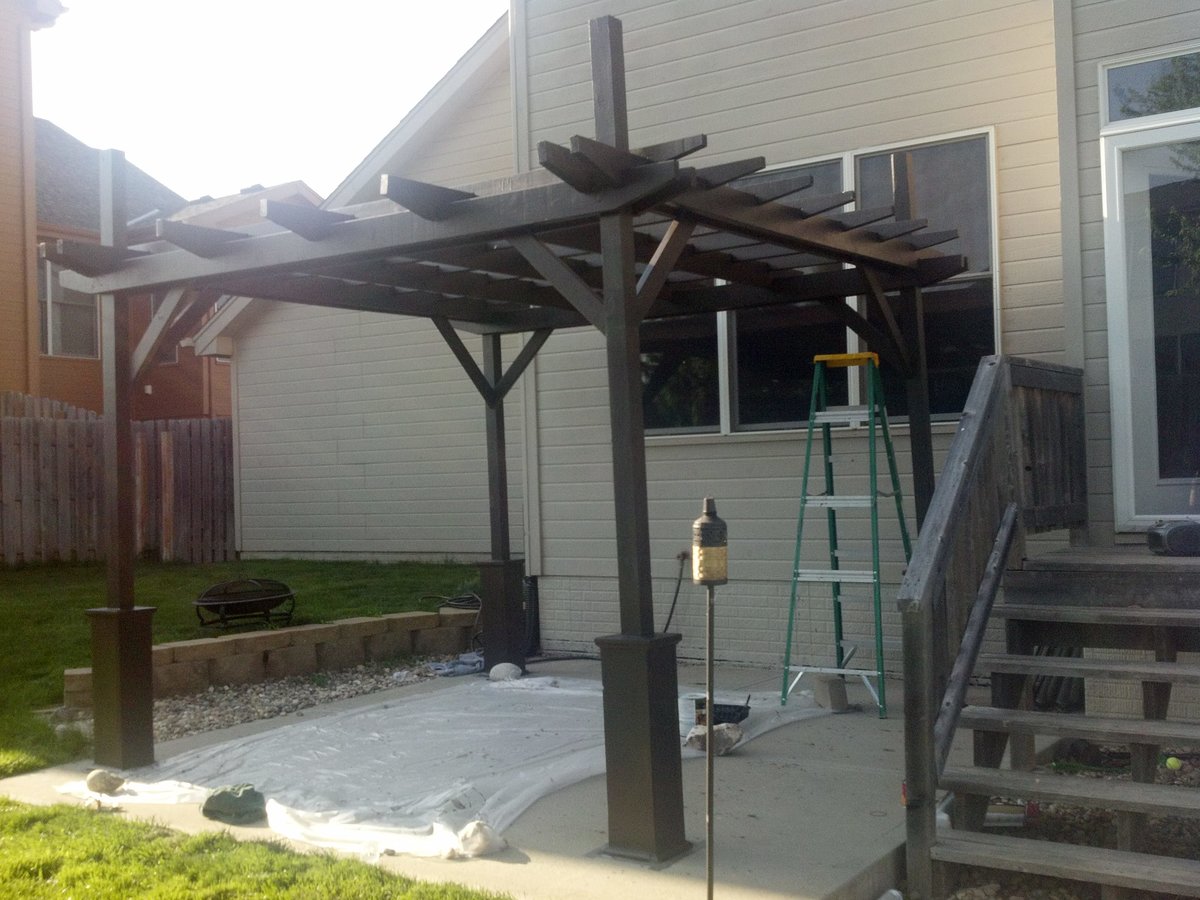
Thank you Ana, I have had multiple people say it looks like it is on fire...hilarious :) We will be adding outdoor fabric over the top for shade and gathering outdoor curtains on the posts. Will take another pic when that is complete. This site is awesome and I will continue to support you as much as I am able.
Thanks for the comment Jade!
Thu, 05/17/2012 - 11:45
My husband is DYING to have a pergola. I showed him the plans and he is down to build and is really excited for it! That's our next project as soon as I finish our bed (haha!). Did you paint or stain this?

Fri, 05/25/2012 - 18:54
Great job! I want to build one too! The original plans say advanced, but on this post it says beginner.....watcha think? Can I do it? (so far I've made a picture frame and framed out some trimwork). Thanks for posting....btw, I love the twinkle lights!
Wed, 06/27/2012 - 17:00
You did an awesome job! I'll be showing my husband these pics and hopefully they will inspire him to make us one too! I'd love your modifications to the plans also since we have heavy snow etc.. up here in Quebec too. Thanks for sharing!
Thu, 09/20/2012 - 06:47
Im trying to build a 10x10 just like this but im trying to figure out exactly what wood dimensions I should order before i do. Im going to use cedar and I know i want to use 6x6 posts and I want to use 2x6 on top like yours but i cant figure out what exactgly I need to order. My wife wants me to do the decorative around the posts as well.
Please help!
Sun, 04/28/2013 - 11:27
Hi I was hoping you would share your plans with me I live in oregon I wanna make one of these but I plan on using 12 ft 4x4 posts putting them 3 ft in the ground and I like the way you used 2x4's and 2x6's id like to know the dimensions you used if you modified anas plan what was your spacing and what degree did you cut the outside piece's on the 2x4's and 2x6's I love the design you created from anas plan
Sun, 04/28/2013 - 11:29
oh I would also like to know how you did the cut out notches if you dont mind

My first Ana White project. My friend Shelley and I are RN's, and she got me hooked on woodworking. I started with cushions from Lowes ( in the sizes that you recommended)to see if I loved the sectional for a few years. I loved it so much I decided to have custom Sunbrella fabric ones made. Even though the custom ones were more expensive, it has been worth it. They go perfect with my California Mission style home. Now I want to add the armless one and make it a U-shape. I did add a piece at the bottom back of each sofa to hold the cushions in. The seat cushions would slide out the back when sitting on the sofa. I made the coffee table to match. Our family loves it!

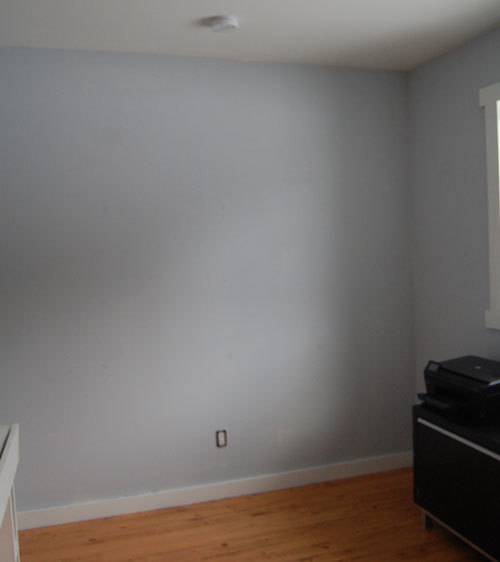
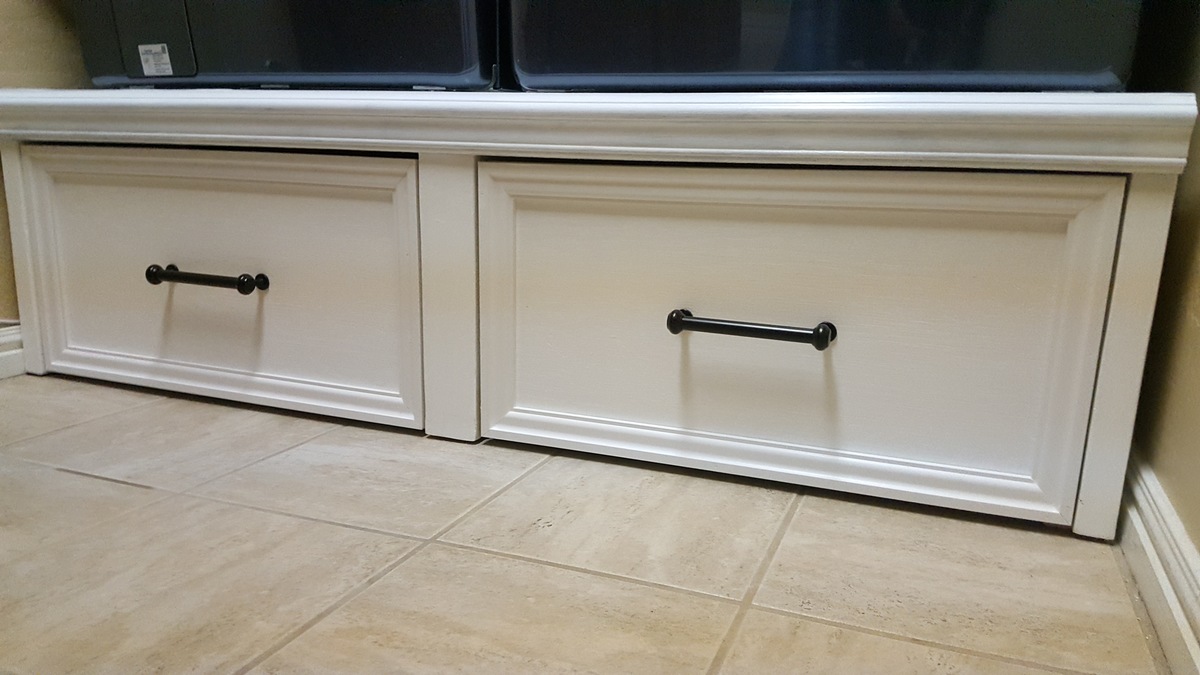
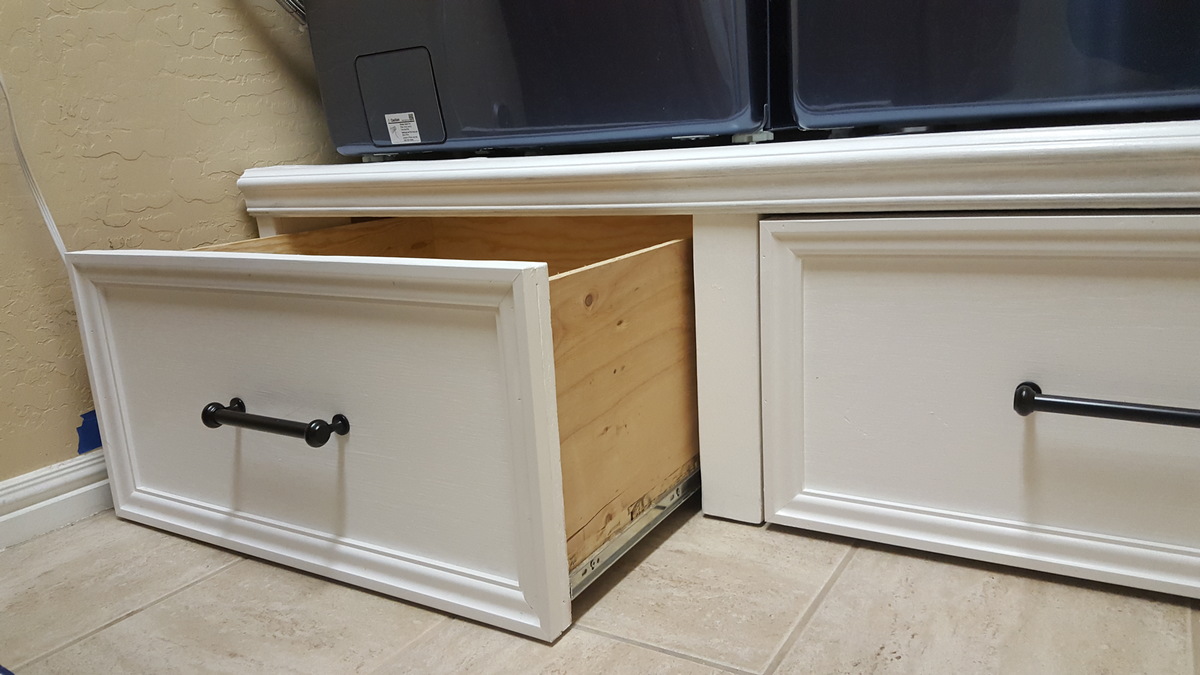
Our cottage bedroom doesn't have a closet. This is the perfect solution. We hung curtains over the front also to look more finished.
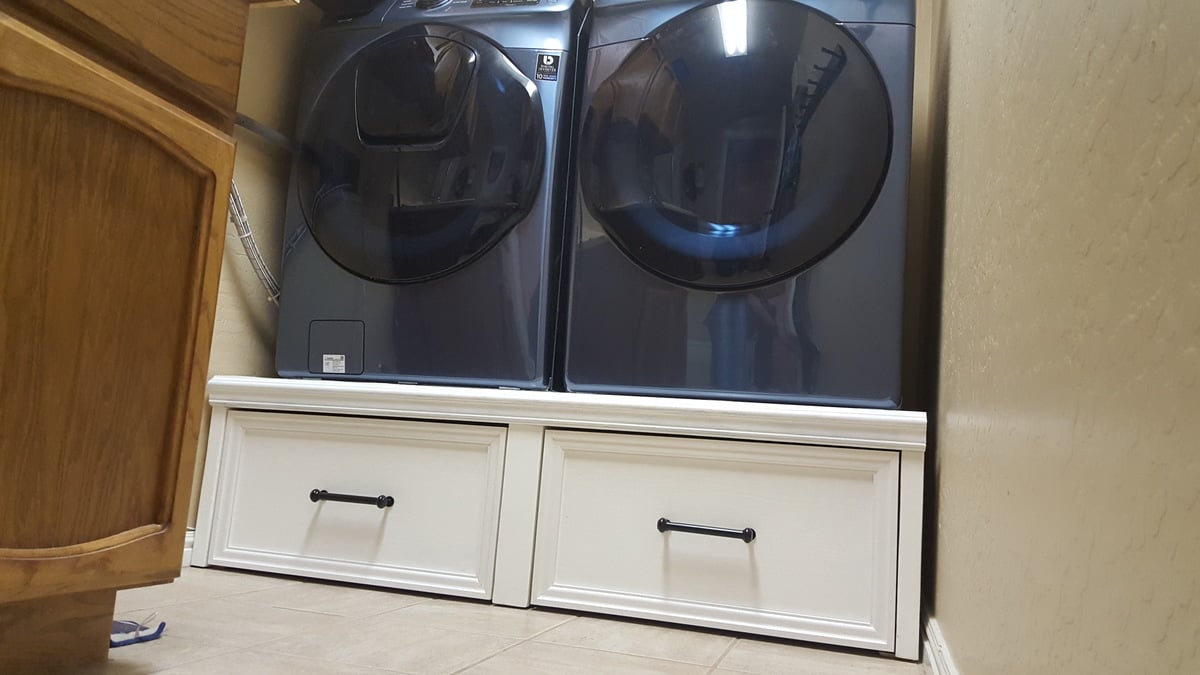
Thank You Dmccoy for the plans used for this project. Great idea using the 2×6s for strength and stability! I built this Pedestal and placed furniture slides underneath to allow for sliding out for cleaning and access.
This is one of my first wood working projects I have accomplished and these two plans were some that I really enjoyed making.
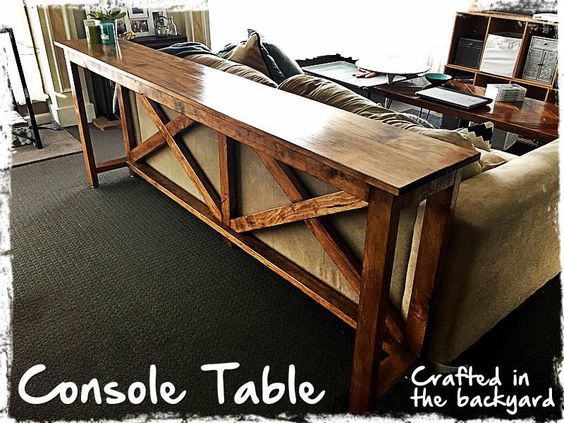
Made from the modified Ana White Rustic X-Console Table.
I made this console table to fit the length of my sons couch. It's about 6 foot long.
It was really easy to make. My only tip is to sand all your timber before assembling. Getting into the tight spots with a sander is quite difficult. I hae now made 4 of these tables and sanding first saves so much time and headaches. The other 3 I have made were painted white and had stained tops.
Wed, 09/09/2020 - 09:03
Plans
do you have the plans for this? i've been looking and looking for what i needed and this is it!!

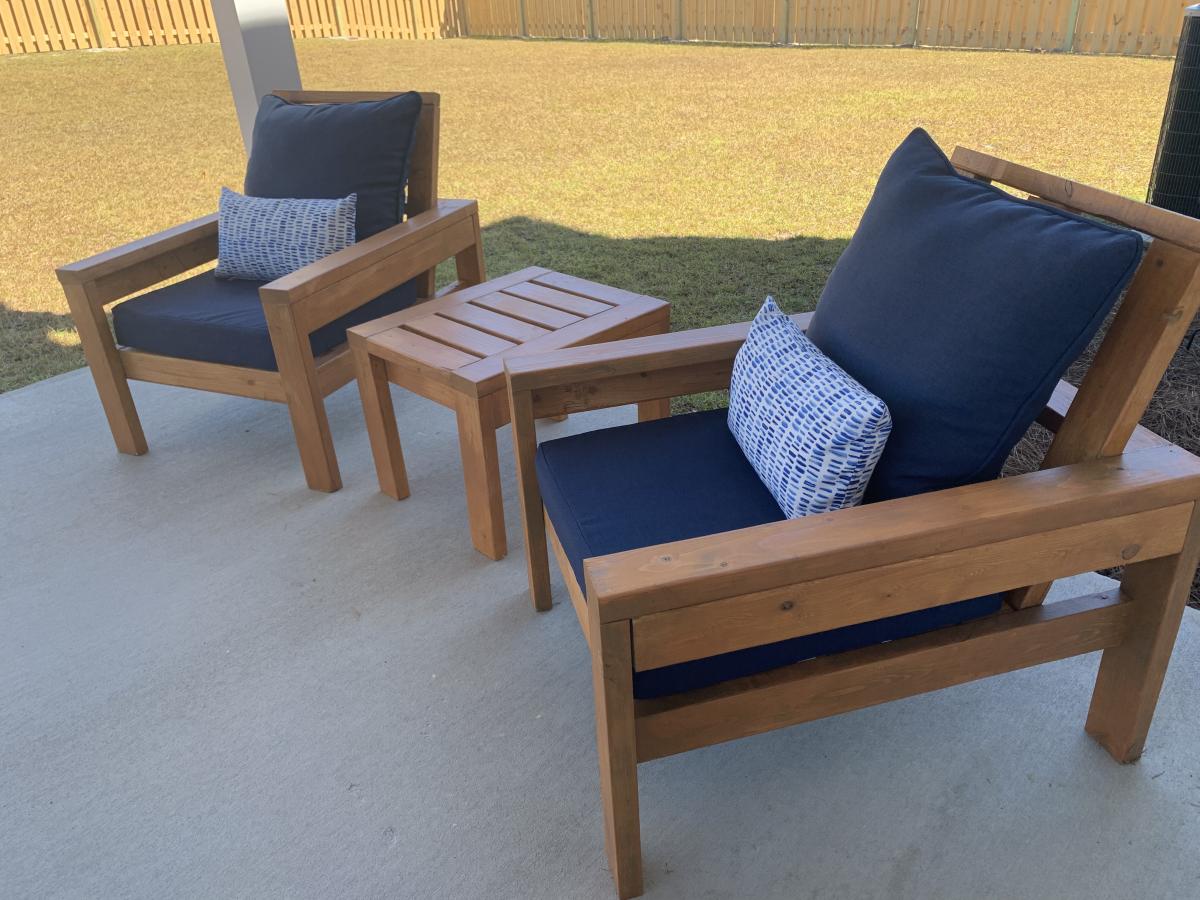
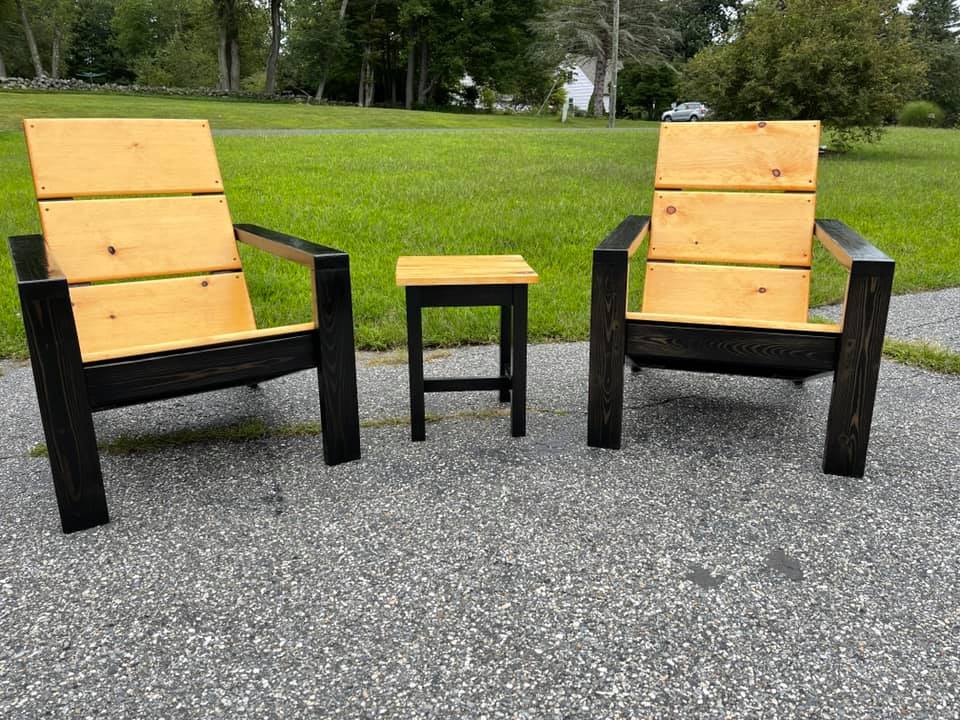
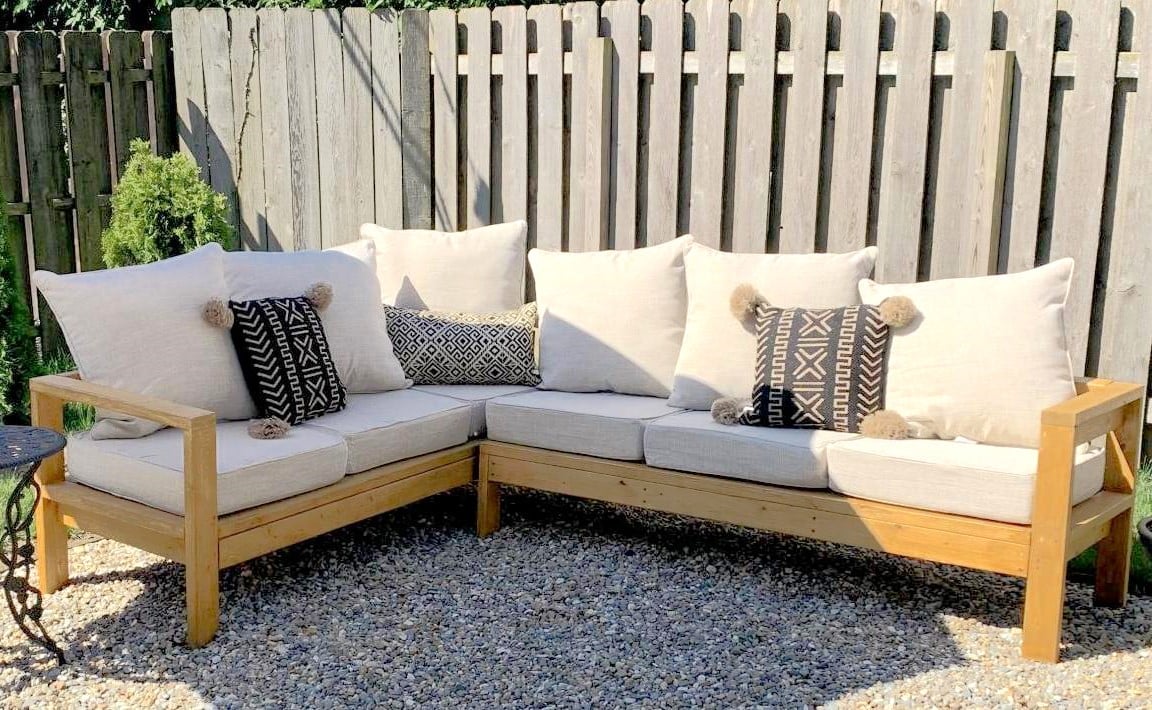
One day project with hubby! Wanted a wood set, but couldn’t find a reasonable price. Bought tools, wood, supplies, and cushions for under the cost of one online!

Submitted on FB
DIY small shed for trash and recycling.
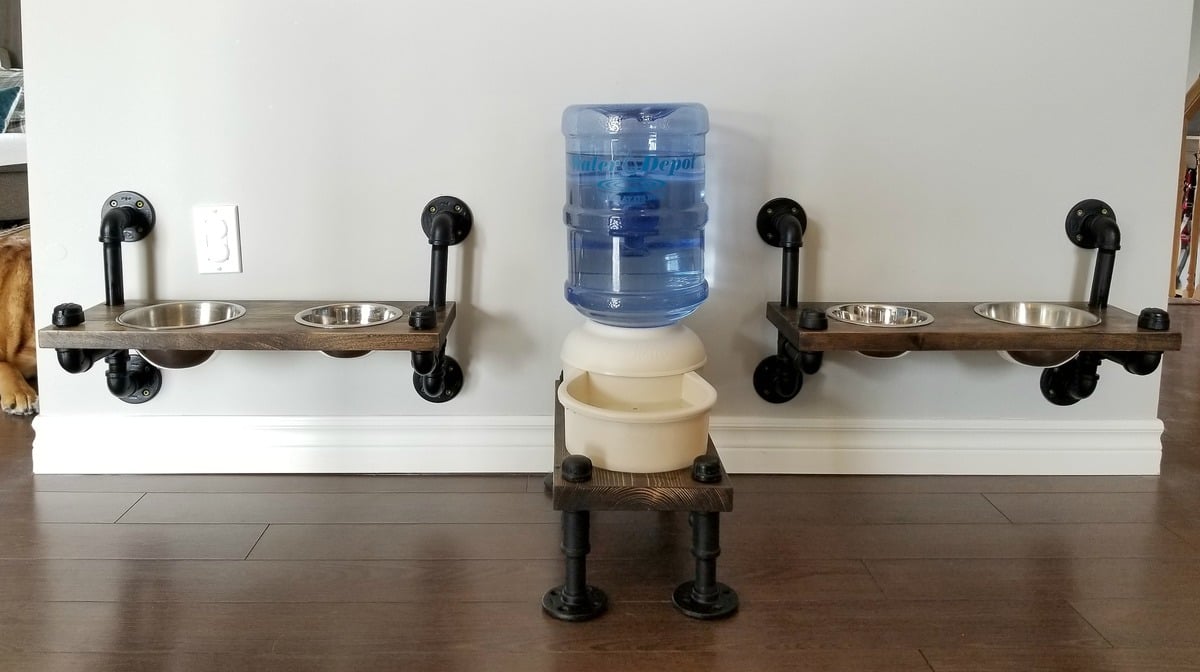
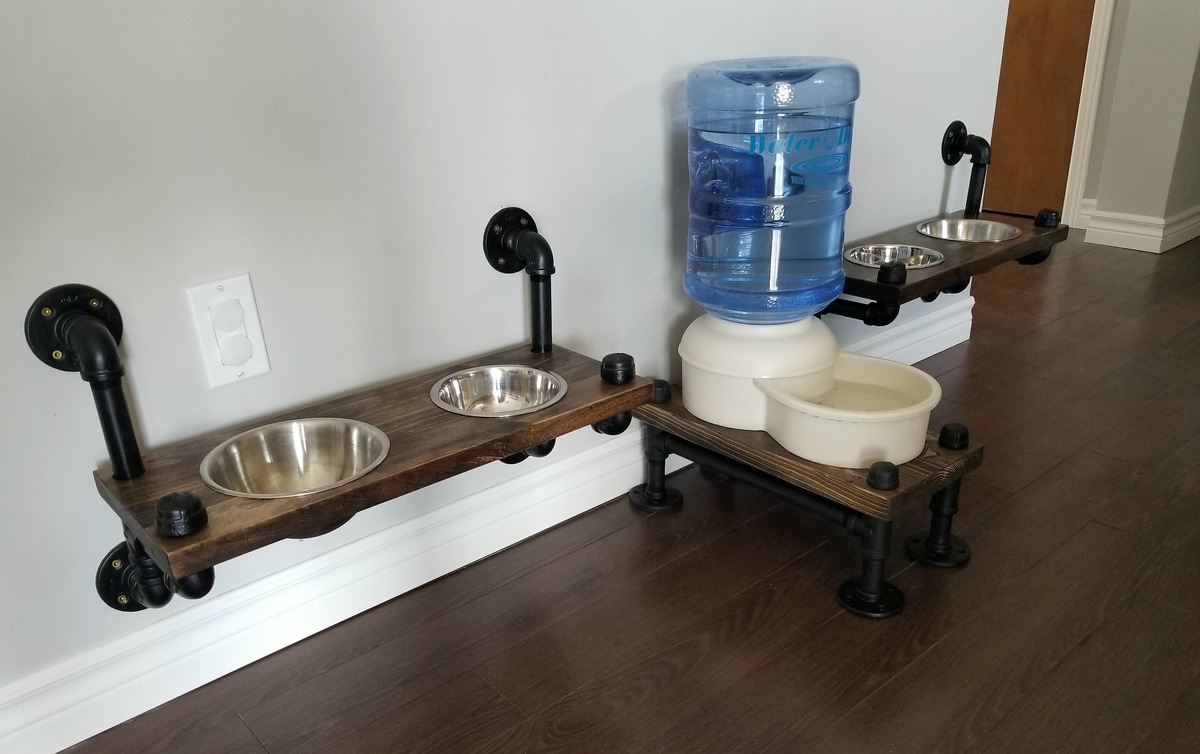
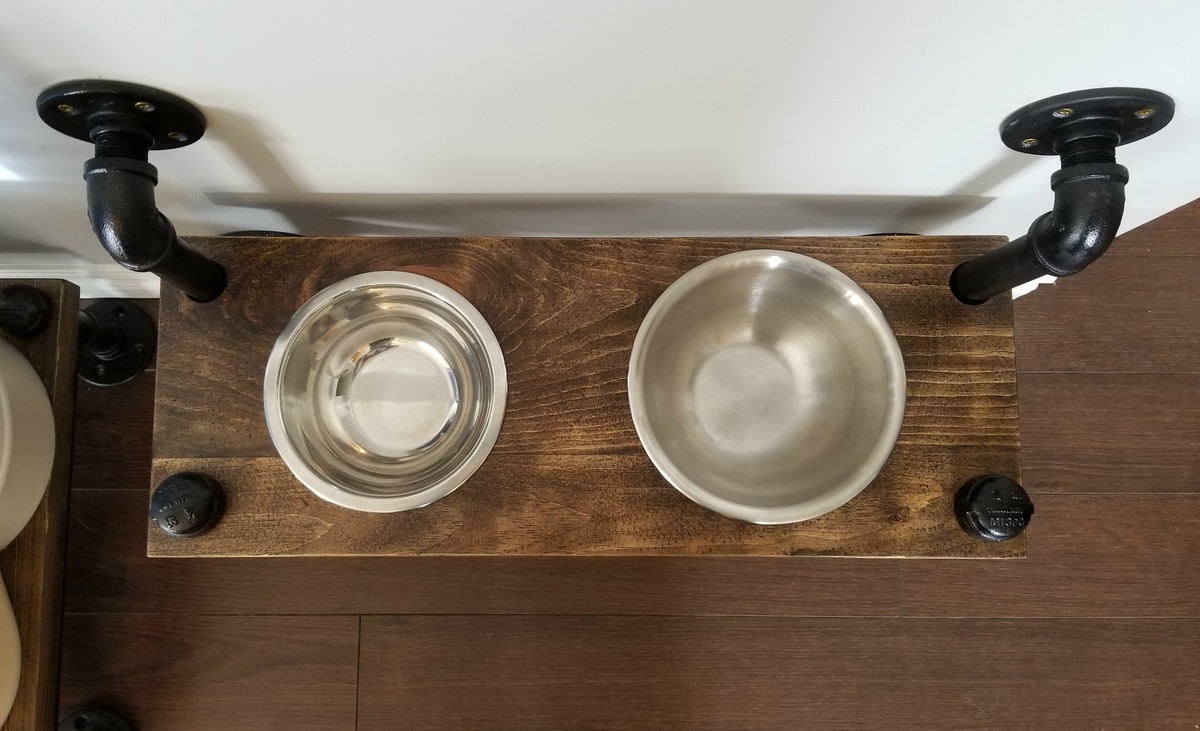
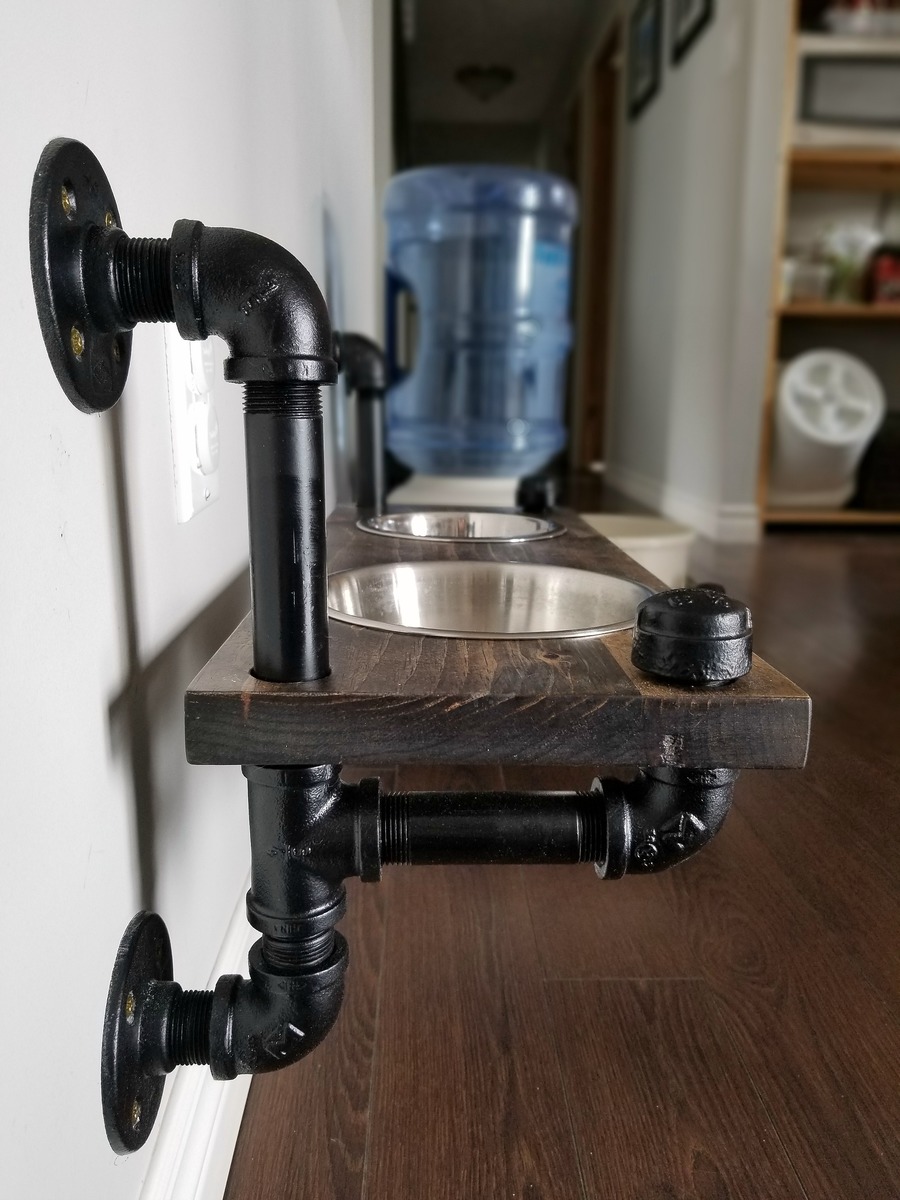
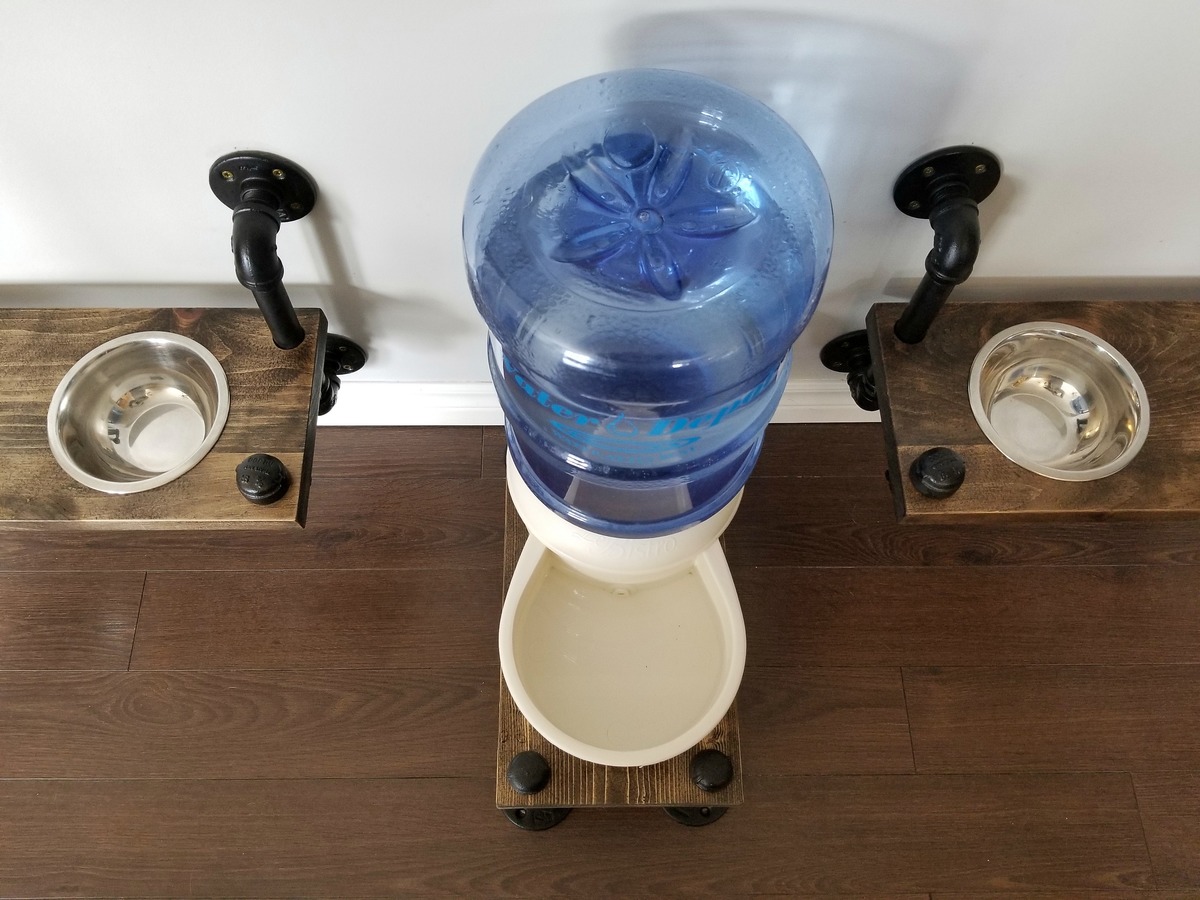
We built this feeding area to complement the plumbing pipe open shelving we installed in our dining room. The shelves for the bowls are mounted to the wall (use anchors or screw into the studs) and the water bowl stand is free-standing. This new setup takes up much less space and is easier to clean around than the usual mat and bowls on the floor.
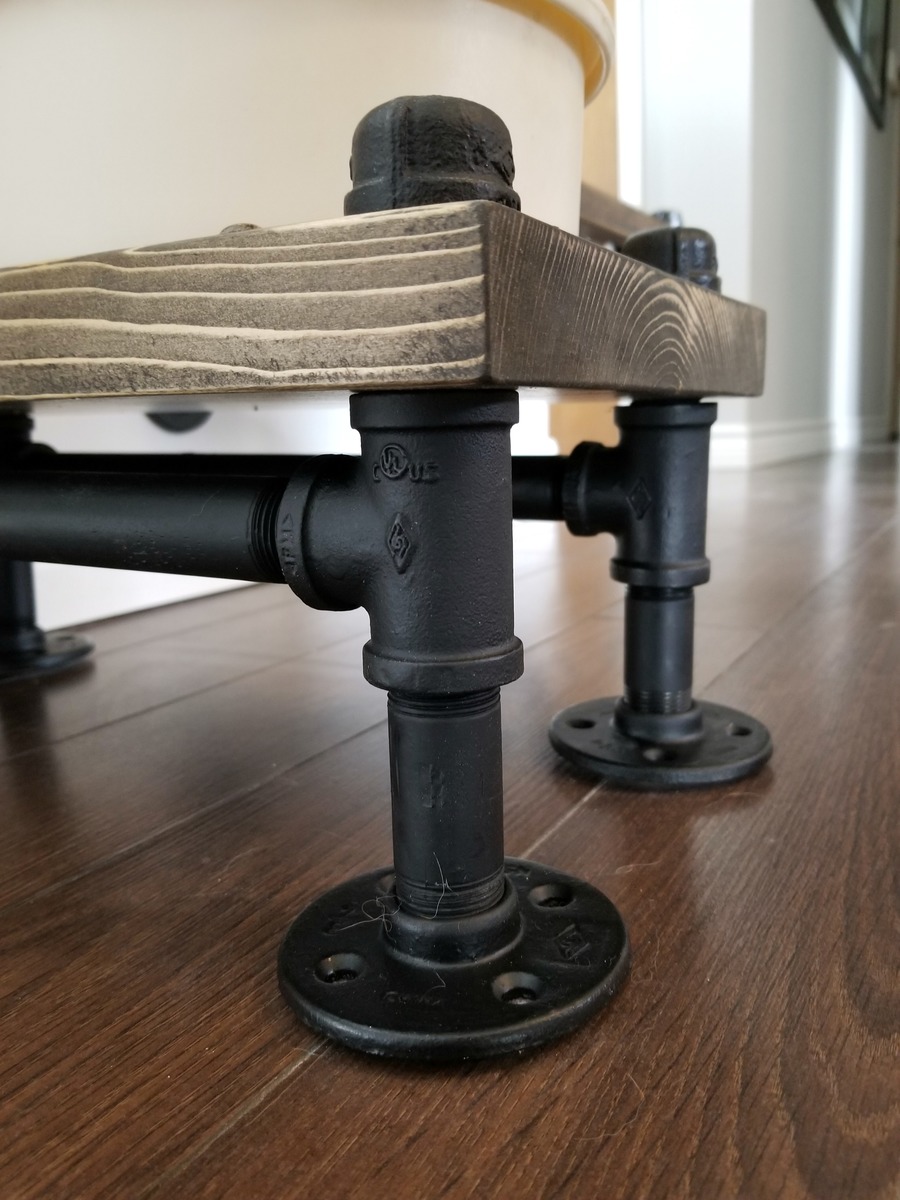
We built the shelves and water stand from reclaimed wood - each shelf is 8.5" x 22.5". The pipes are spray-painted in flat black.
Tips:
- trace around your bowls on your piece of wood and then cut the holes out smaller than the circles you drew so that the bowl edges rest on the wood and hold the bowl in place.
- to get a silky-smooth surface on the wood, after waxing and buffing, do a final buffing with extra fine steel wool.
See link to blog for details on the build and more photos.
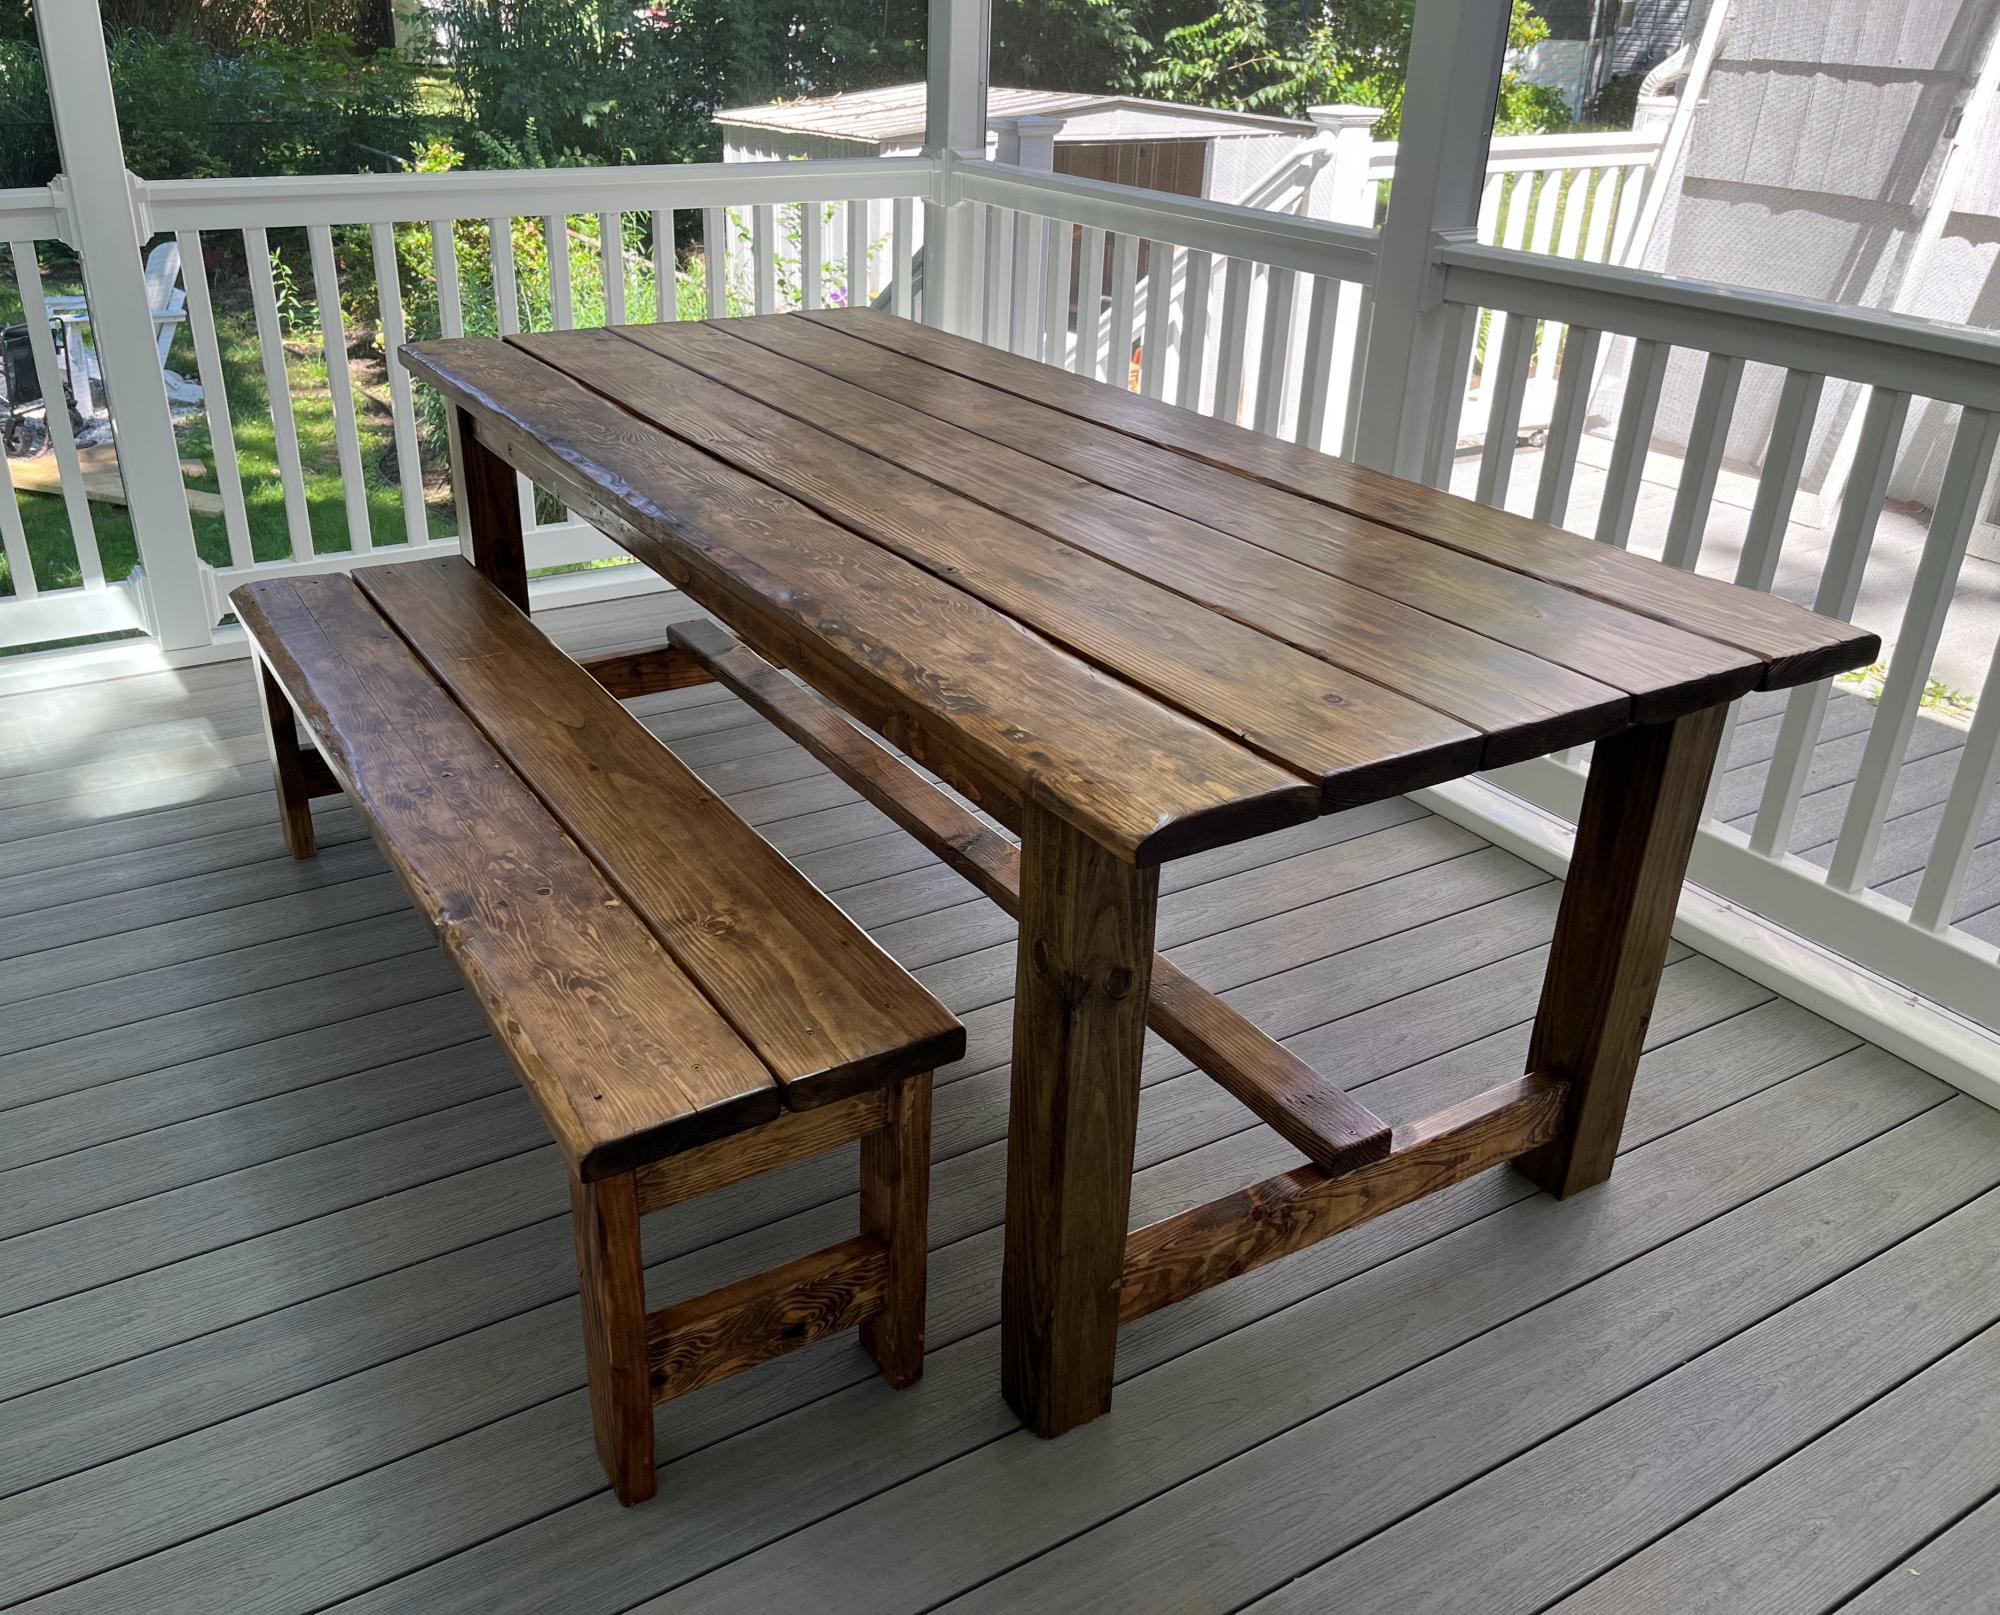
Altered the Beginner Farm Table plans to use 2x8s for the top and 4x4s for the legs. I used pocket holes for the table. I followed the bench plans almost exactly, adjusting slightly for the 2x8 tops. I am a beginner and I did it myself! The table and bench are beautiful and sturdy! Thanks Ana!

I had such a fun time on this shed coop/run build! My wife and I have 5 children and it was fun involving them in building everything about this coop and run. They have a wonderful sense of accomplishment in looking at what they helped build.
A few notes, while this what a fairly straightforward build, there are a lot of little intricacies to be aware of. Such as:
• Make sure your chicken coop is about a foot off the ground. It's best to do that so critters such as rats and snakes don't make their home under the shed and potentially eat their way through the floor.
• It is highly advisable to dig a trench about a foot to a foot and a half deep around the coop and the run and attach chicken cage fencing from the bottom of the coop/run into the trench, and then taper the cage fencing outward. This will prohibit critters such as raccoons from trying to dig under the coop.
• When you attach the poultry netting to the outside of the chicken run, staple one side really well, then move to the other side and pull the netting fairly hard to make the netting as tight as possible. (Also, be careful when putting the netting across the top of the run to not fall off the ladder as I did and dangle there until one of your kids comes to help you! Ha! :D )
Thank you, Ana, for posting these plans! We are so excited to get our little chickies out into their new home as soon as their feathers come in!

Loved these easy to follow plans and love our outdoor living room!