Faux Fireplace
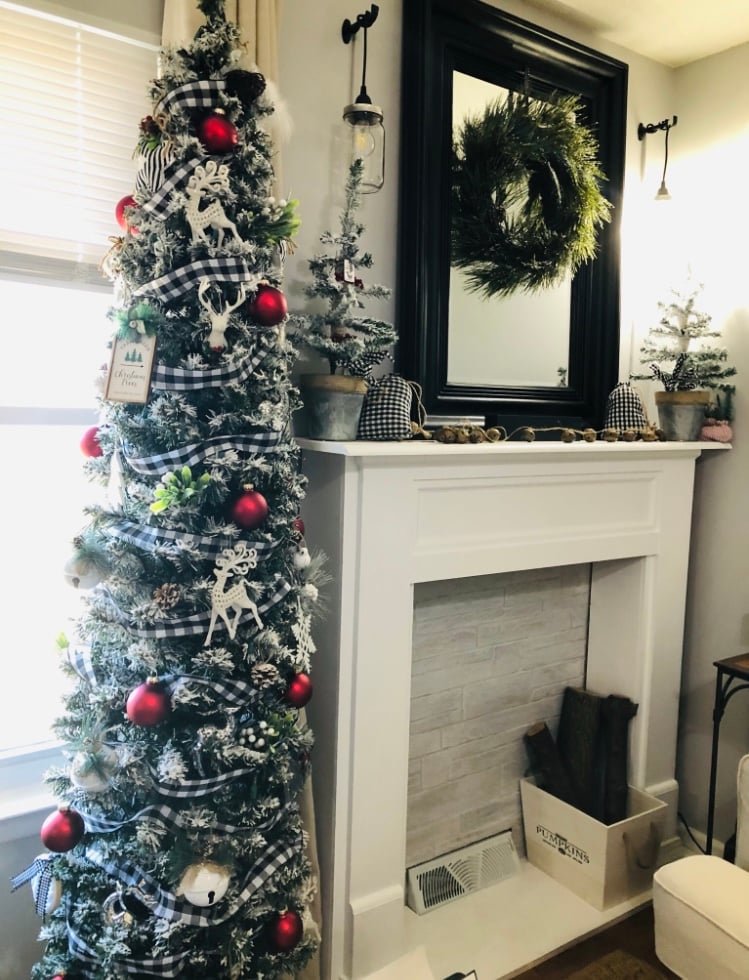
Small space faux fireplace. Thank you for the plans for the faux fireplace. Easy to make and has been used for every holiday.
Built from Plan(s)
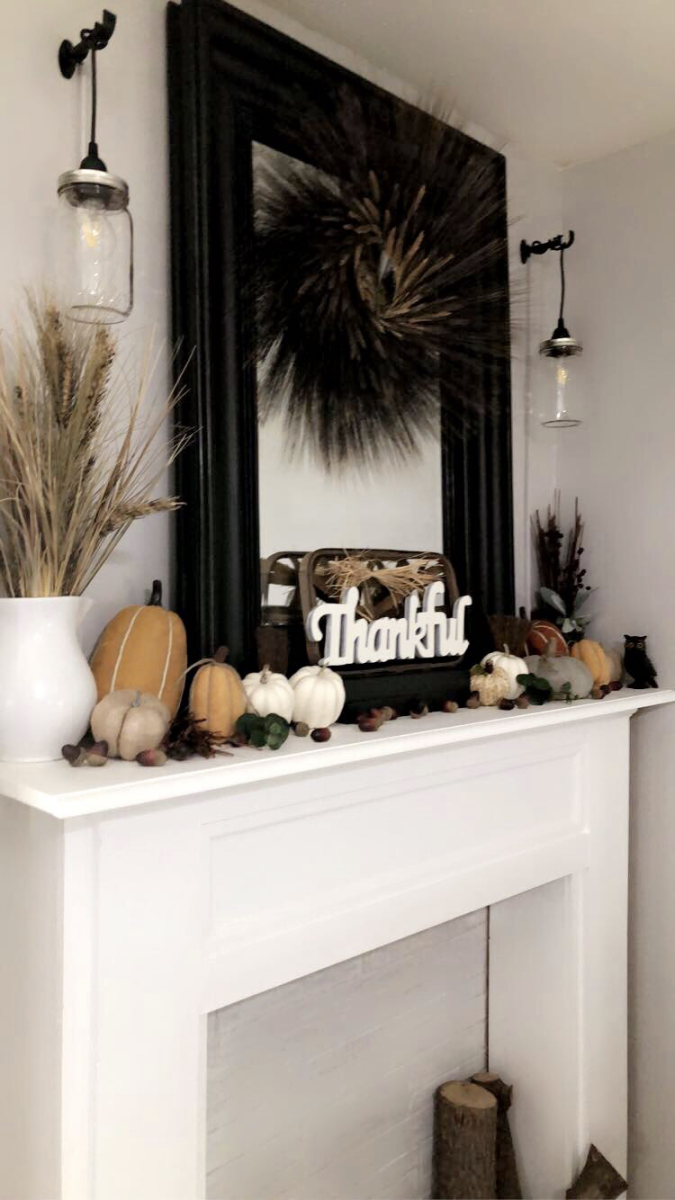
Small space faux fireplace. Thank you for the plans for the faux fireplace. Easy to make and has been used for every holiday.
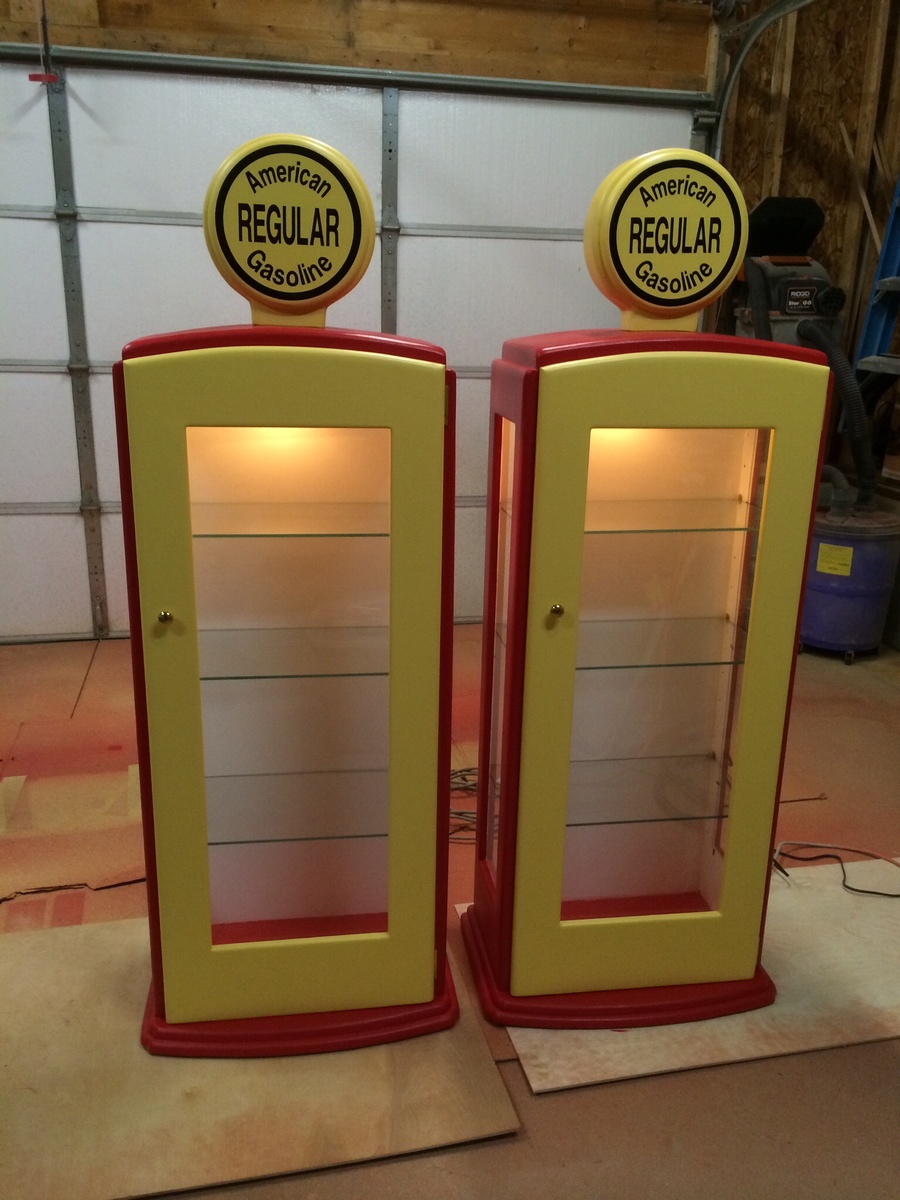
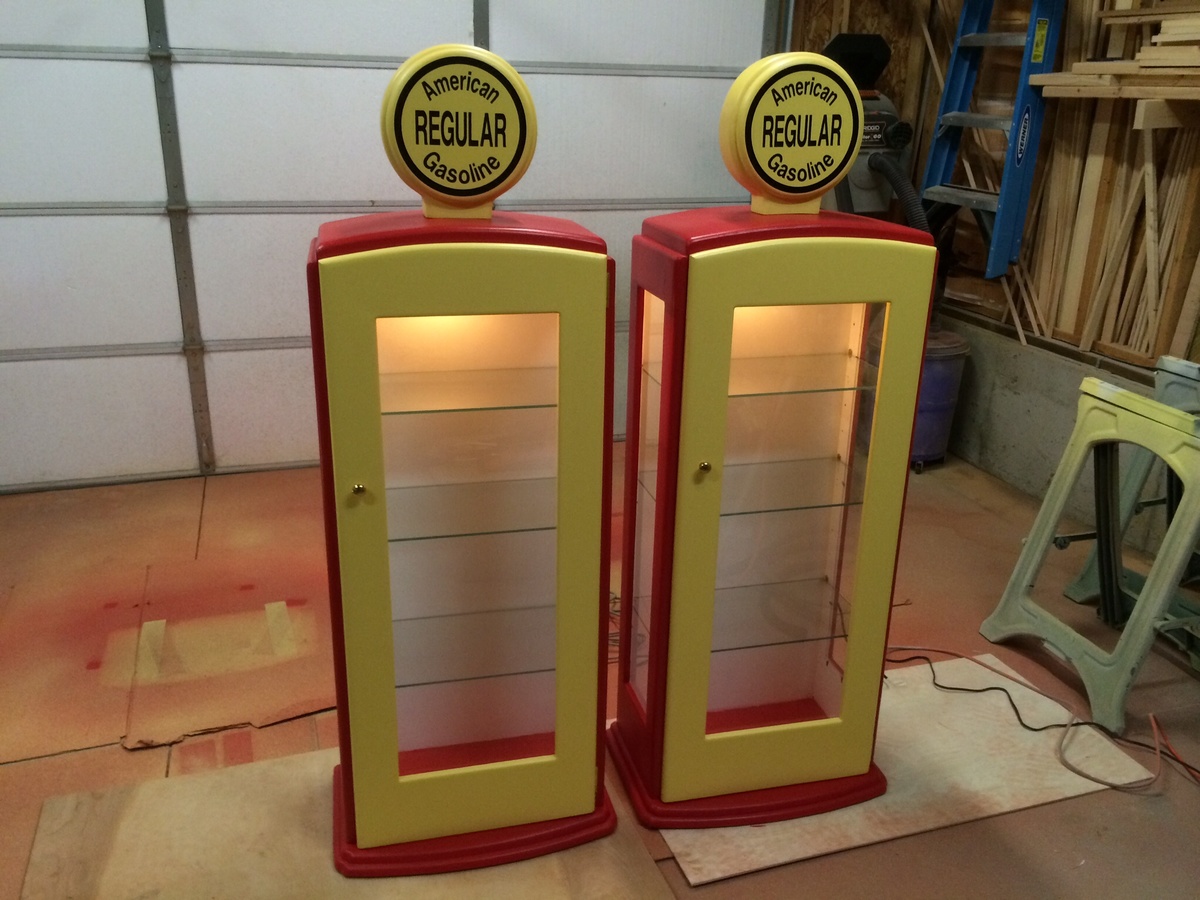
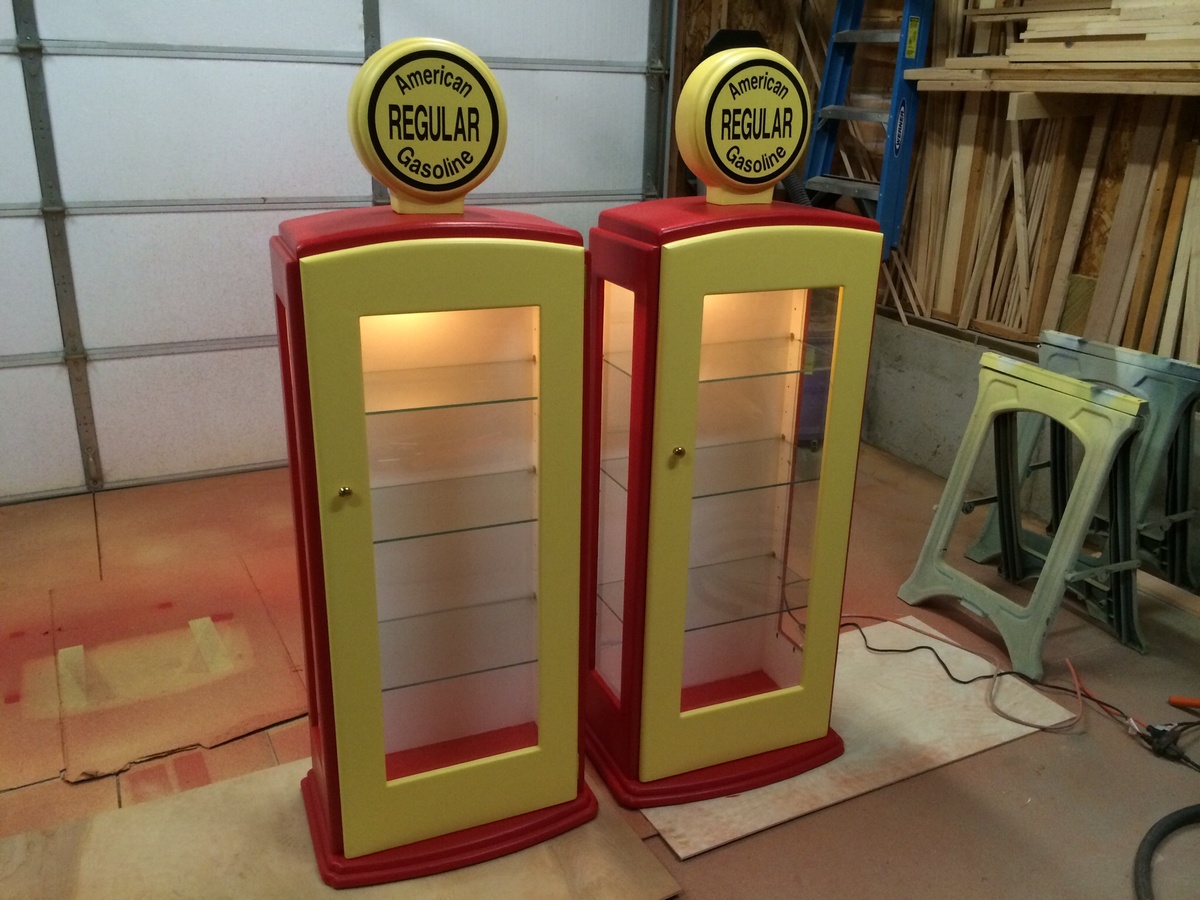
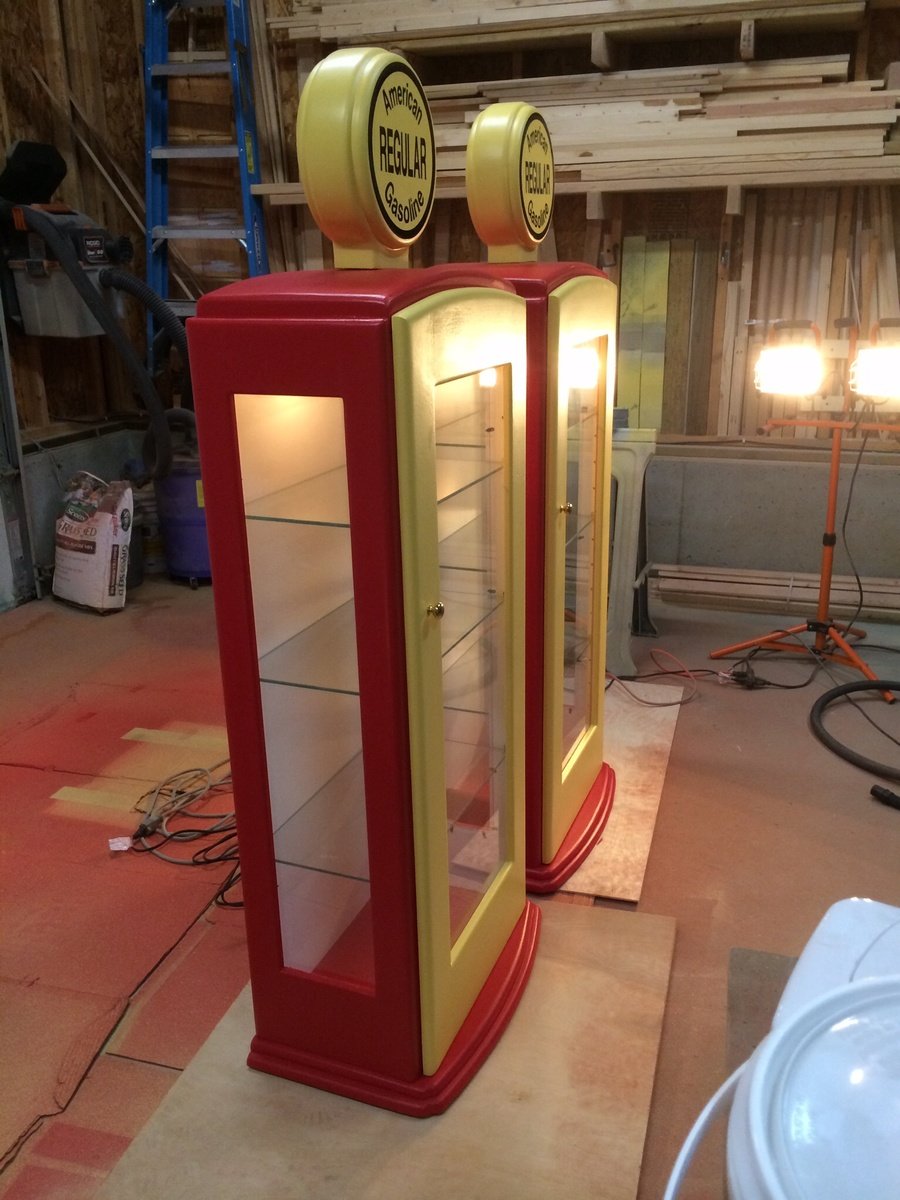
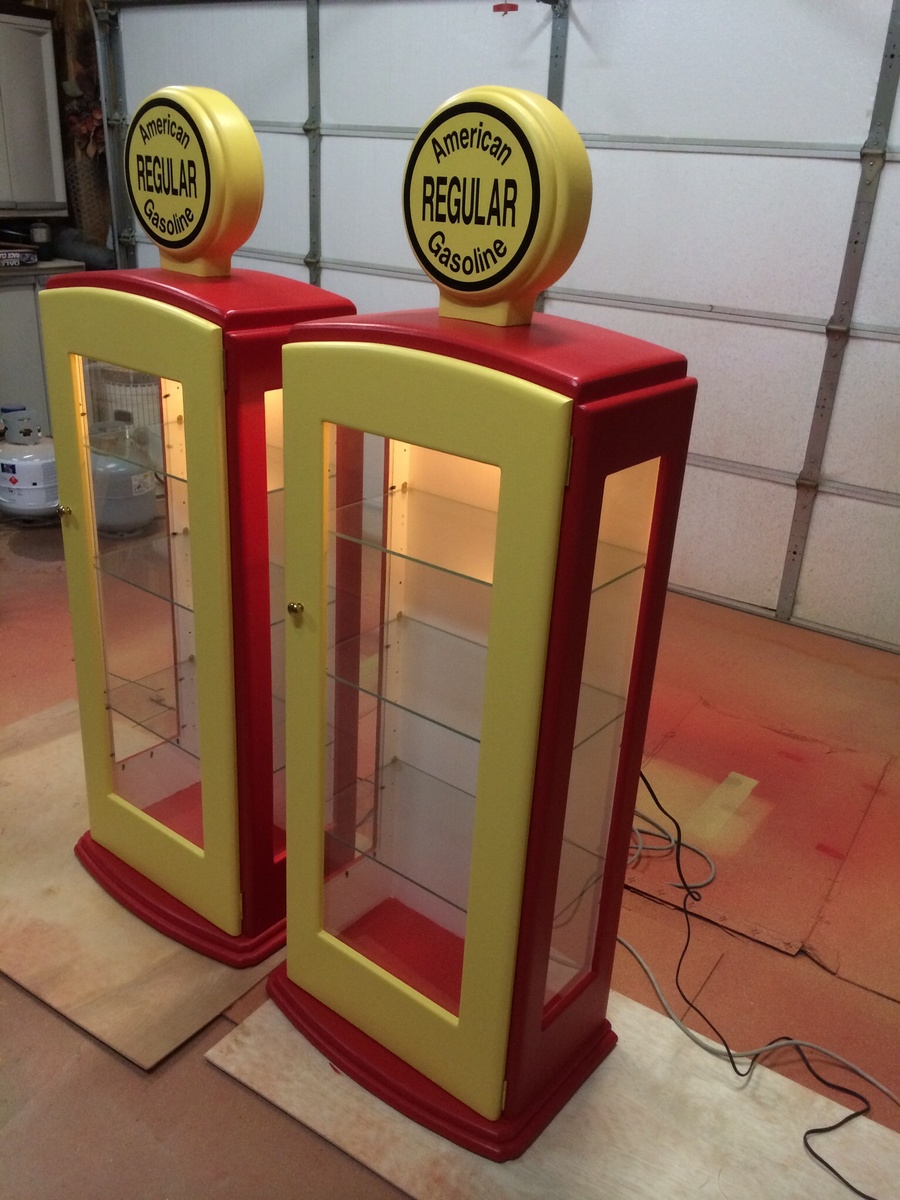
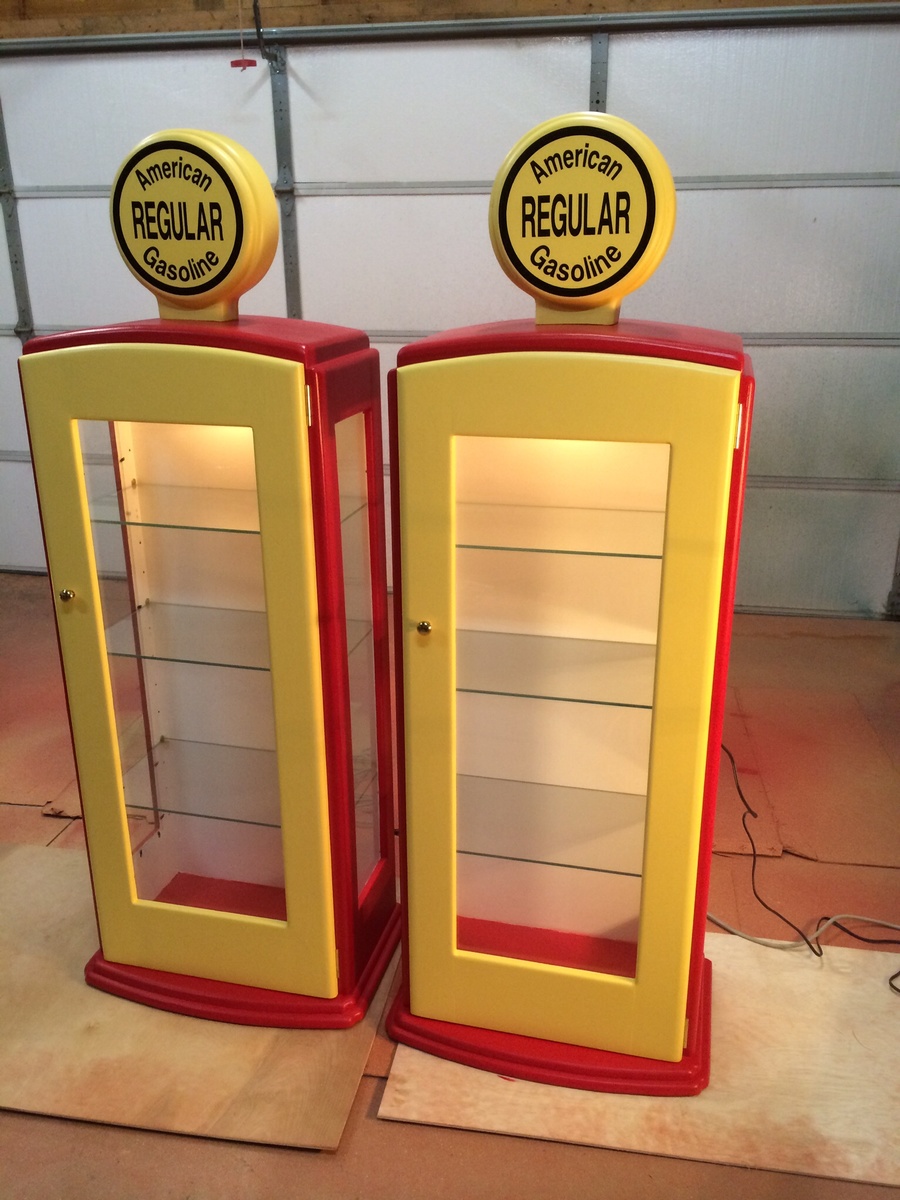
Theses cabinets were built for a customer from plans they had found online. The hardware was ordered with the plans for an extra expense and the glass was made to order. Hope you enjoy them thanks for looking.
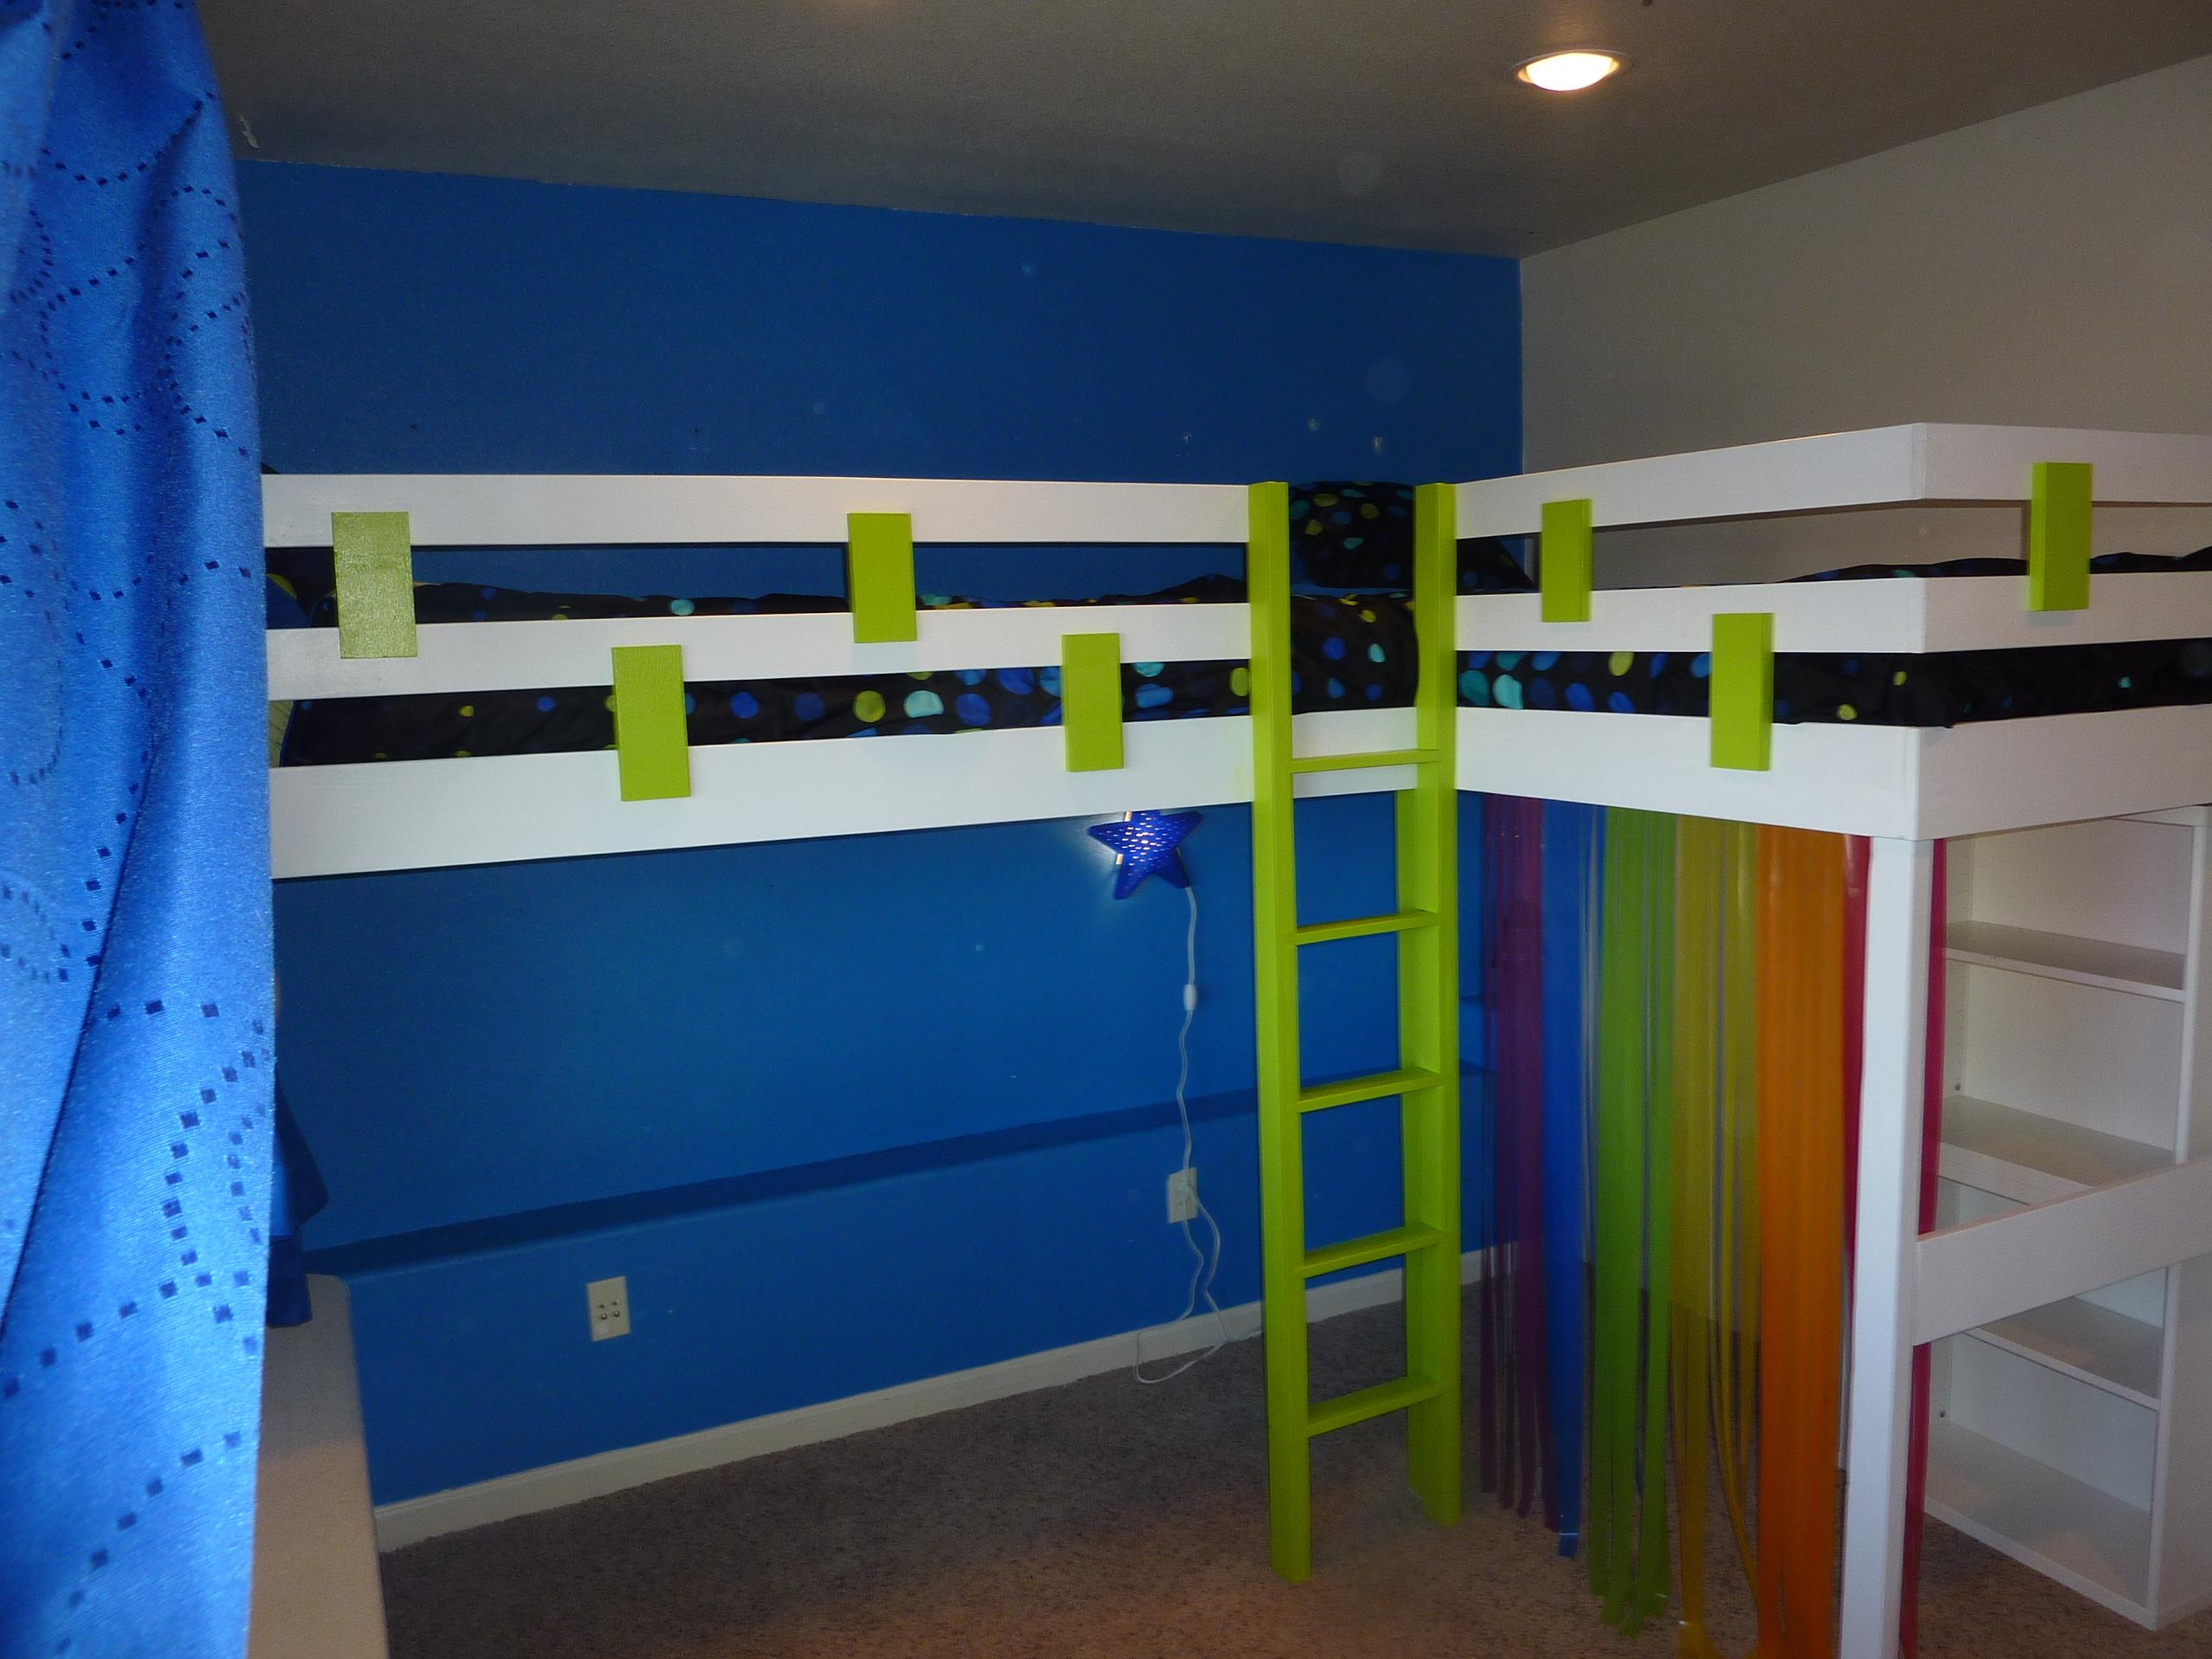
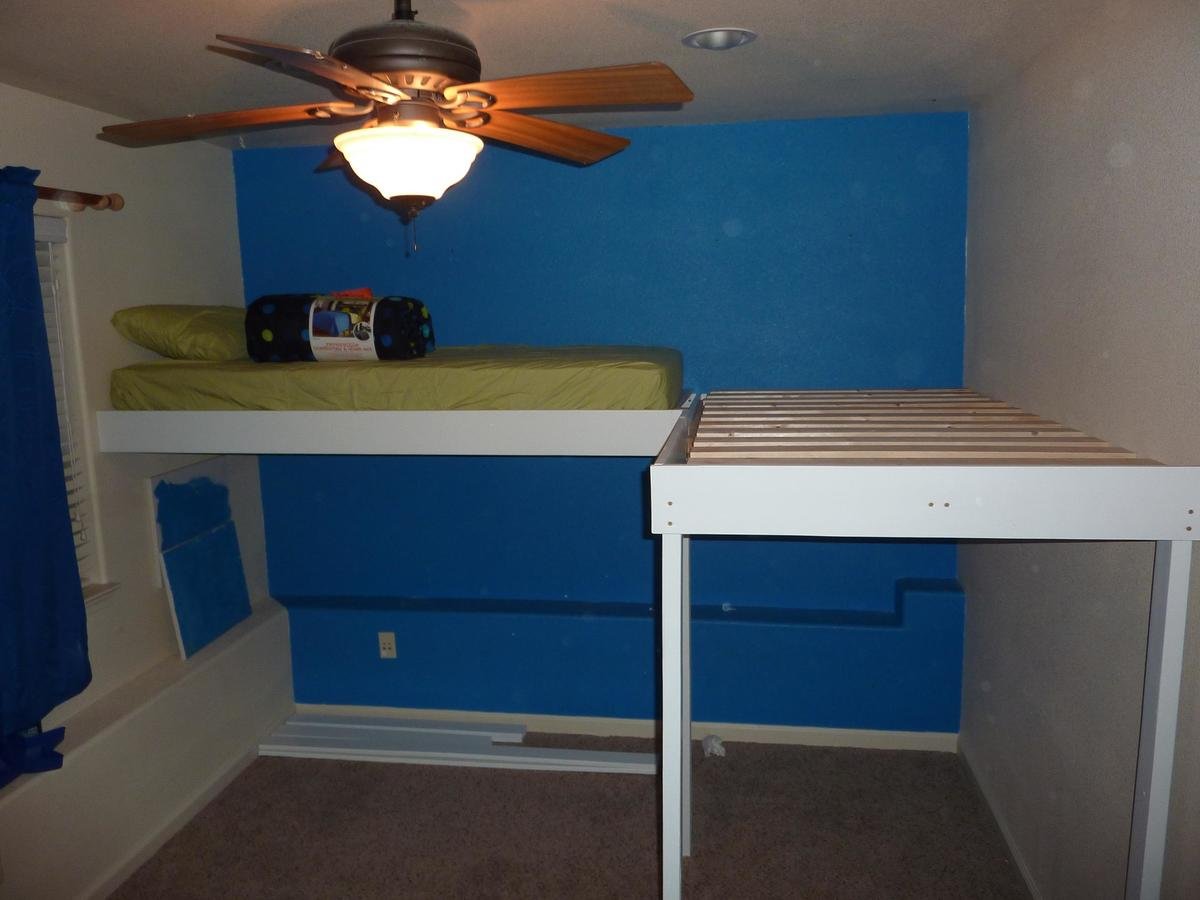
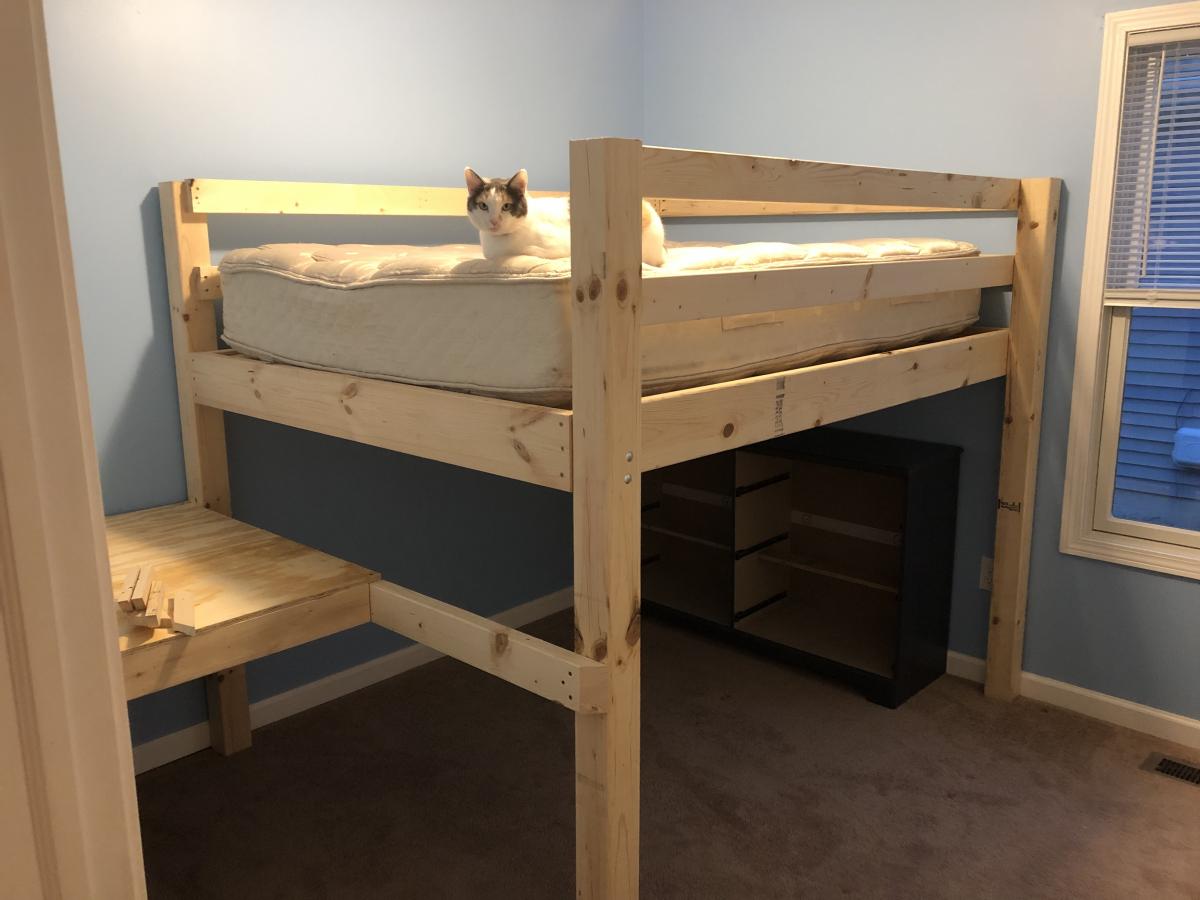
This is my extremely altered double loft bed. My sister needed a custom sized double loft bed, I figured I could use this plan and make two beds in an L shape, but the space I had to work with was smaller than these plans so I had to re-design most of the bed all together, I ended up attaching two sides of each bed to the wall with legs only on the outer pieces. She wanted a "fun" looking bed so I added a splash of color, just simple enough for me to make.

Sun, 05/31/2020 - 22:56
would love to see these plans. My twins room is small and this would be perfect.
Thank you

Wed, 07/29/2020 - 12:27
Is there a link to printable Instructions for this? Or a PDF you can possibly send me? [email protected] :) I have to make this for my girls! Lol the covid life now has them all doing school from home so... We need space 😁💪
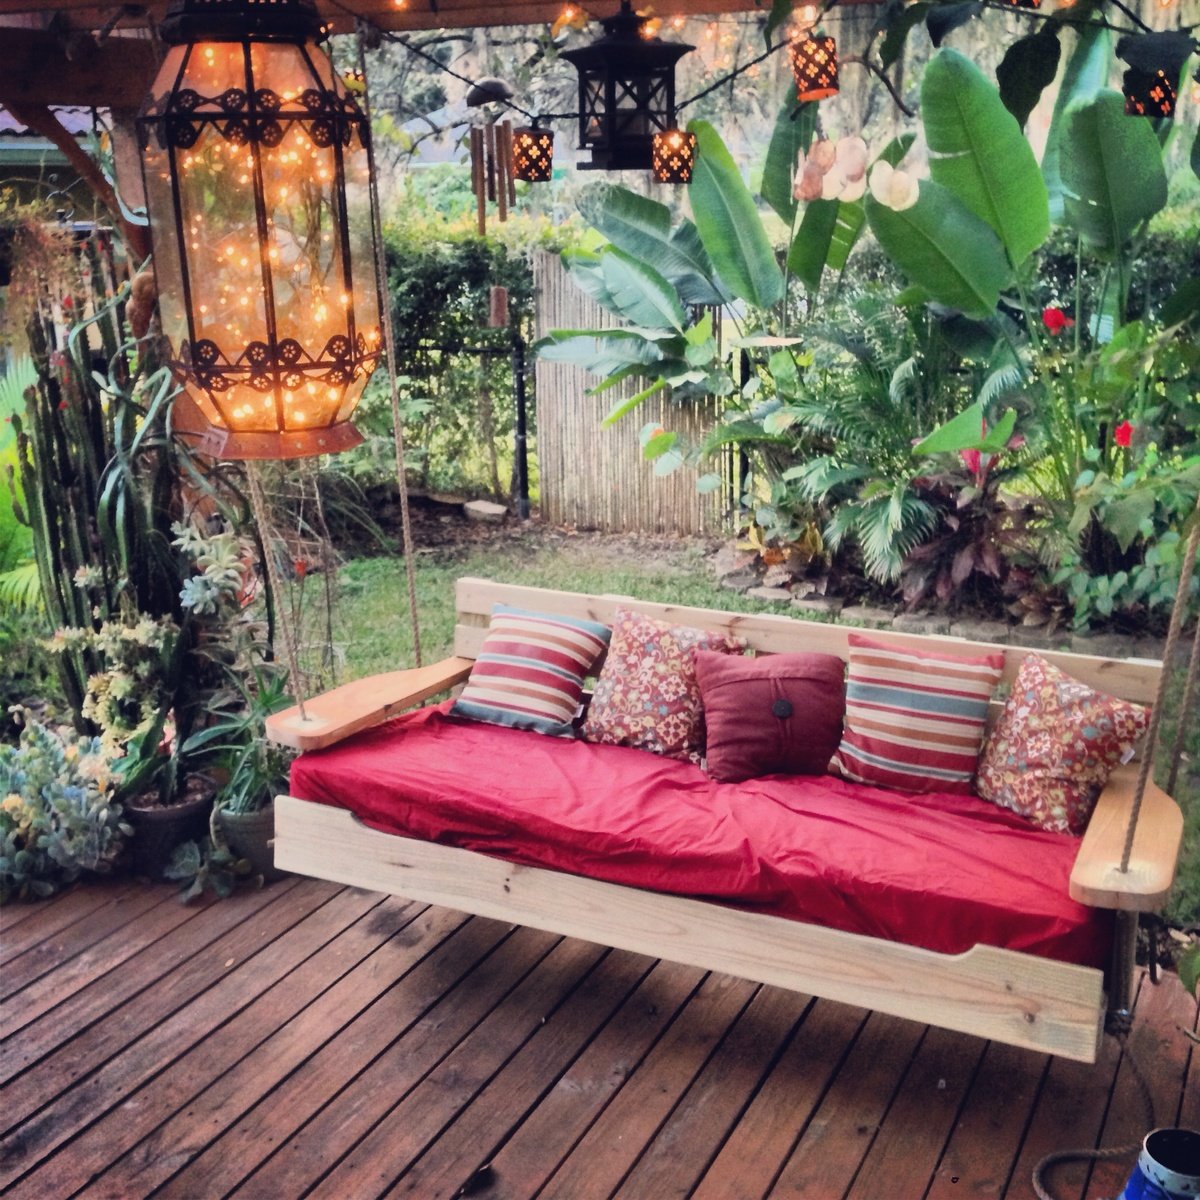
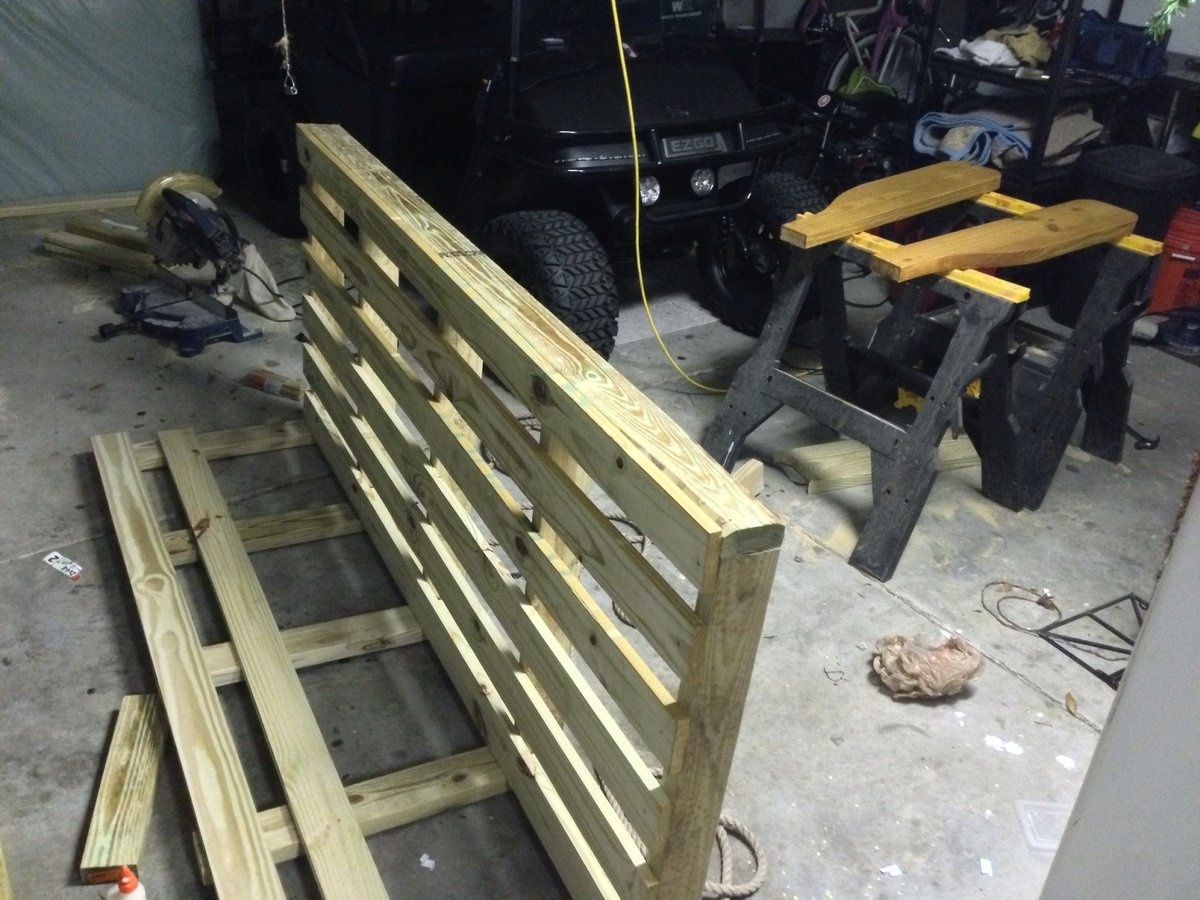
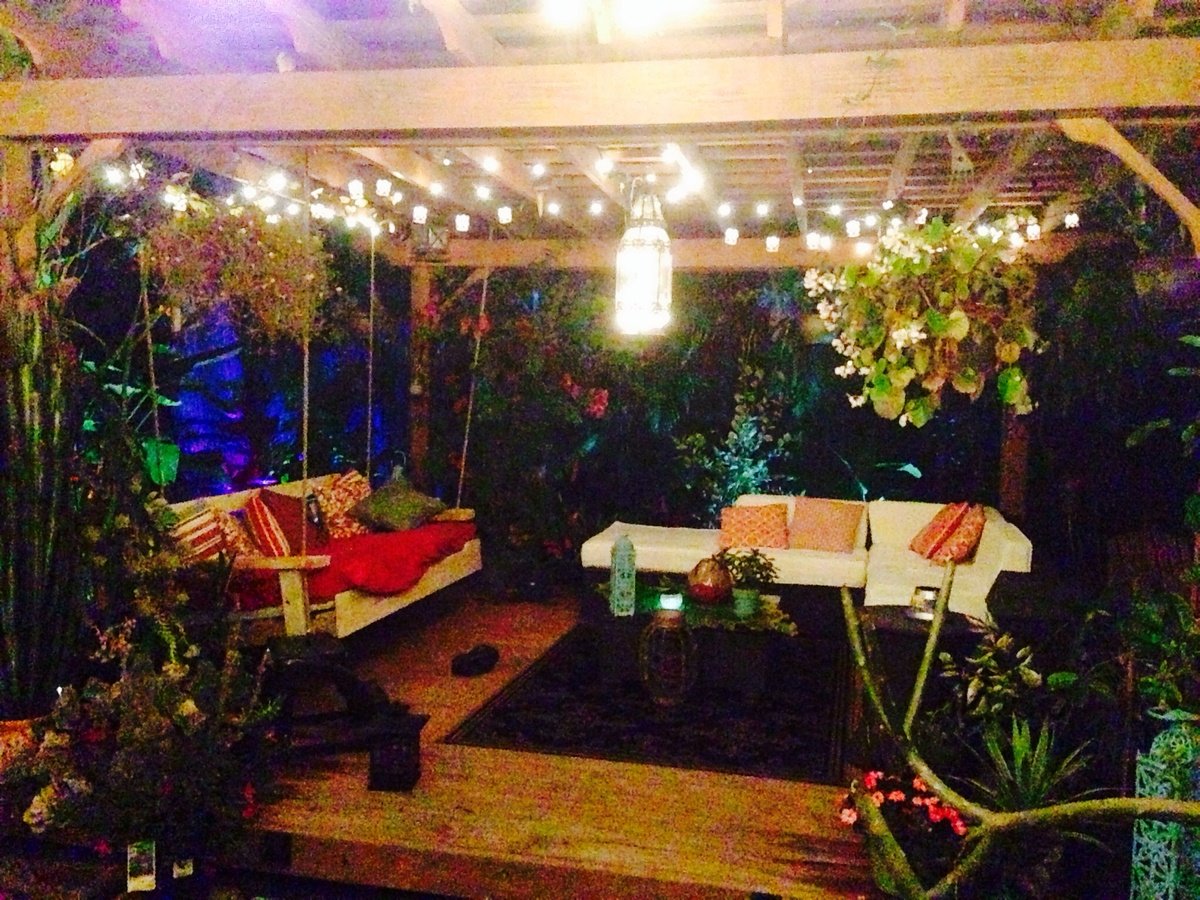
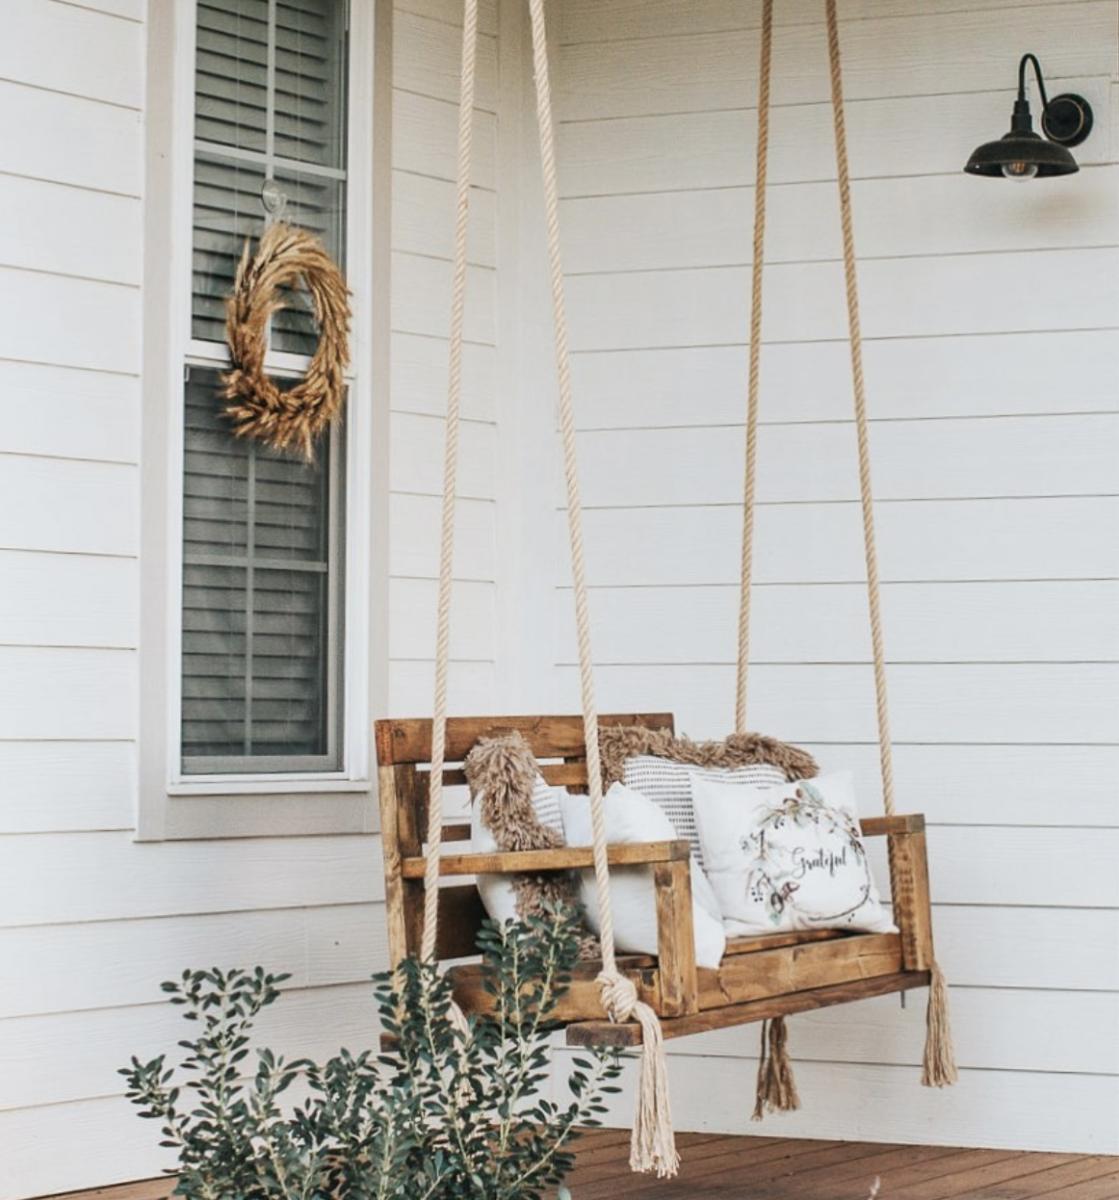
Started off with the original design but enlarged it to fit an oversize single mattress. The mattress cost me $35 from a local faith farm, while the materials came in around $200. I decided to hang under my backyard pergola. Fun and easy project.


Tue, 01/28/2014 - 21:10
Wow this looks so inviting I might just have to make one too! Nice work-- it looks great!
Mon, 04/07/2014 - 22:49
Really lovely! Great job! This will be one of your favorites spots all summer long.
Mon, 07/27/2015 - 22:45
I want this! I just made a couple of plant stands for my front porch. My husband asked me what my next project was, why, a swing bed. (This was only my second project!) I want to put cup holders in those big ole arms! We have a house at the beach in South Alabama, so, you gotta "hydrate." This is an awesome swing. I can't wait to do mine...pillows to rest on, one foot on the concrete pushing me in a slow swing. Cold beverage in my hand or in my cup holder. Yep, southern girl has a new project. Love it!
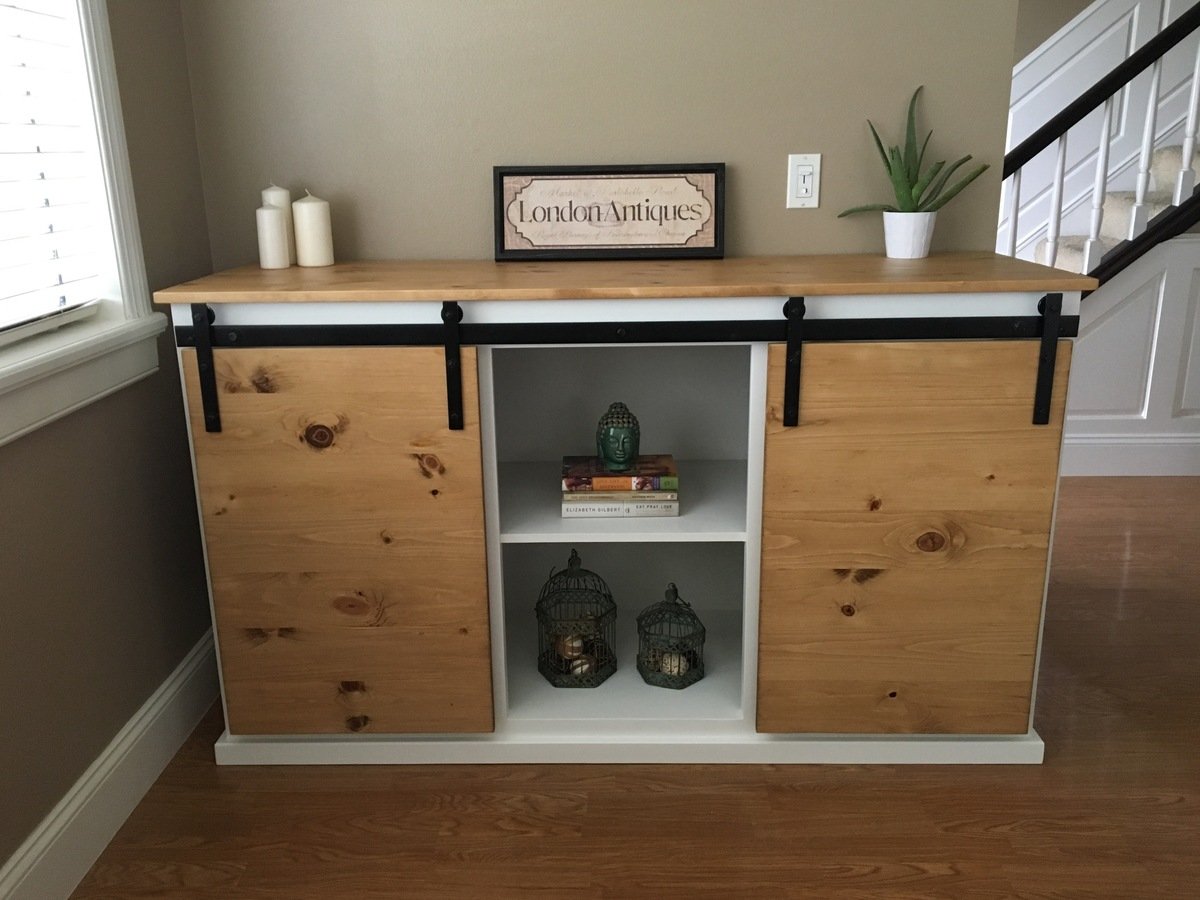
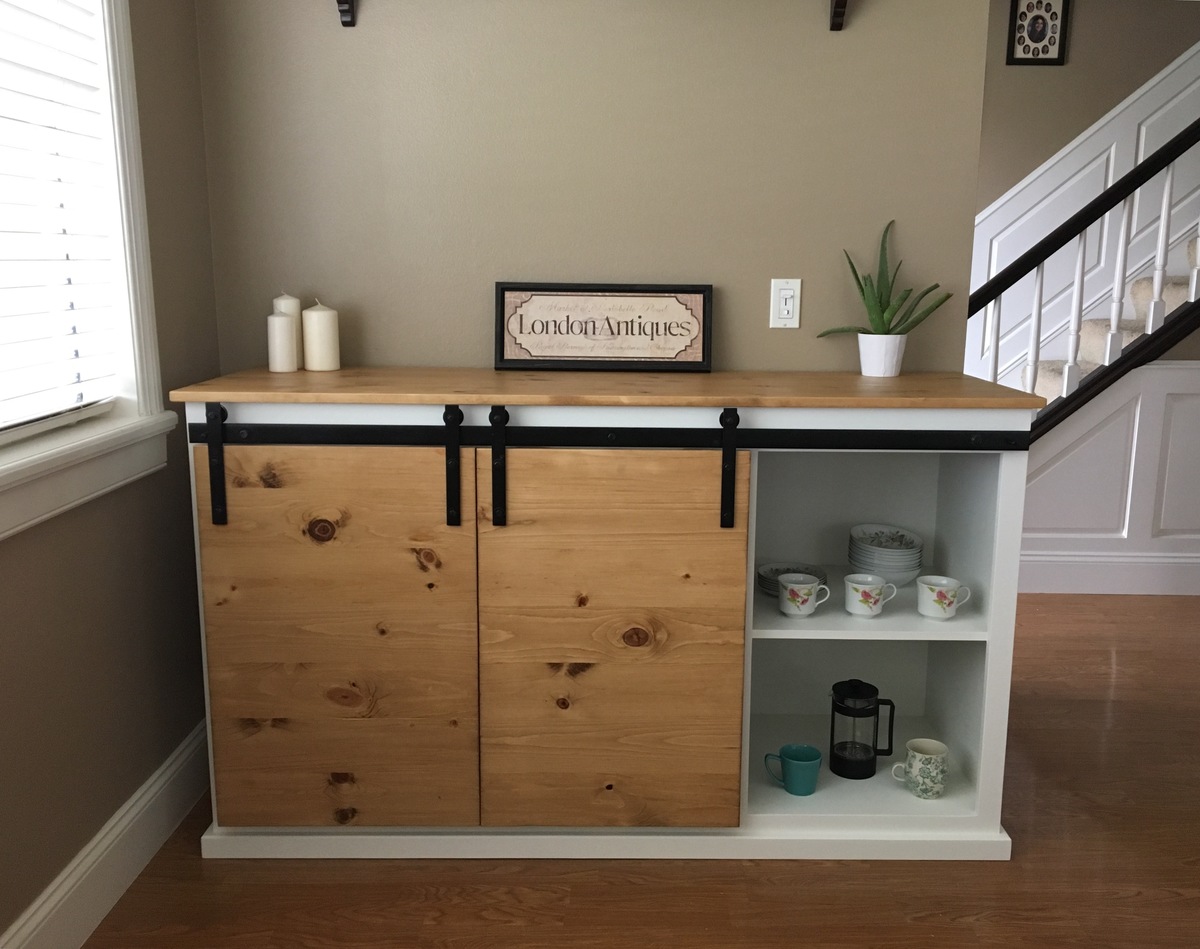
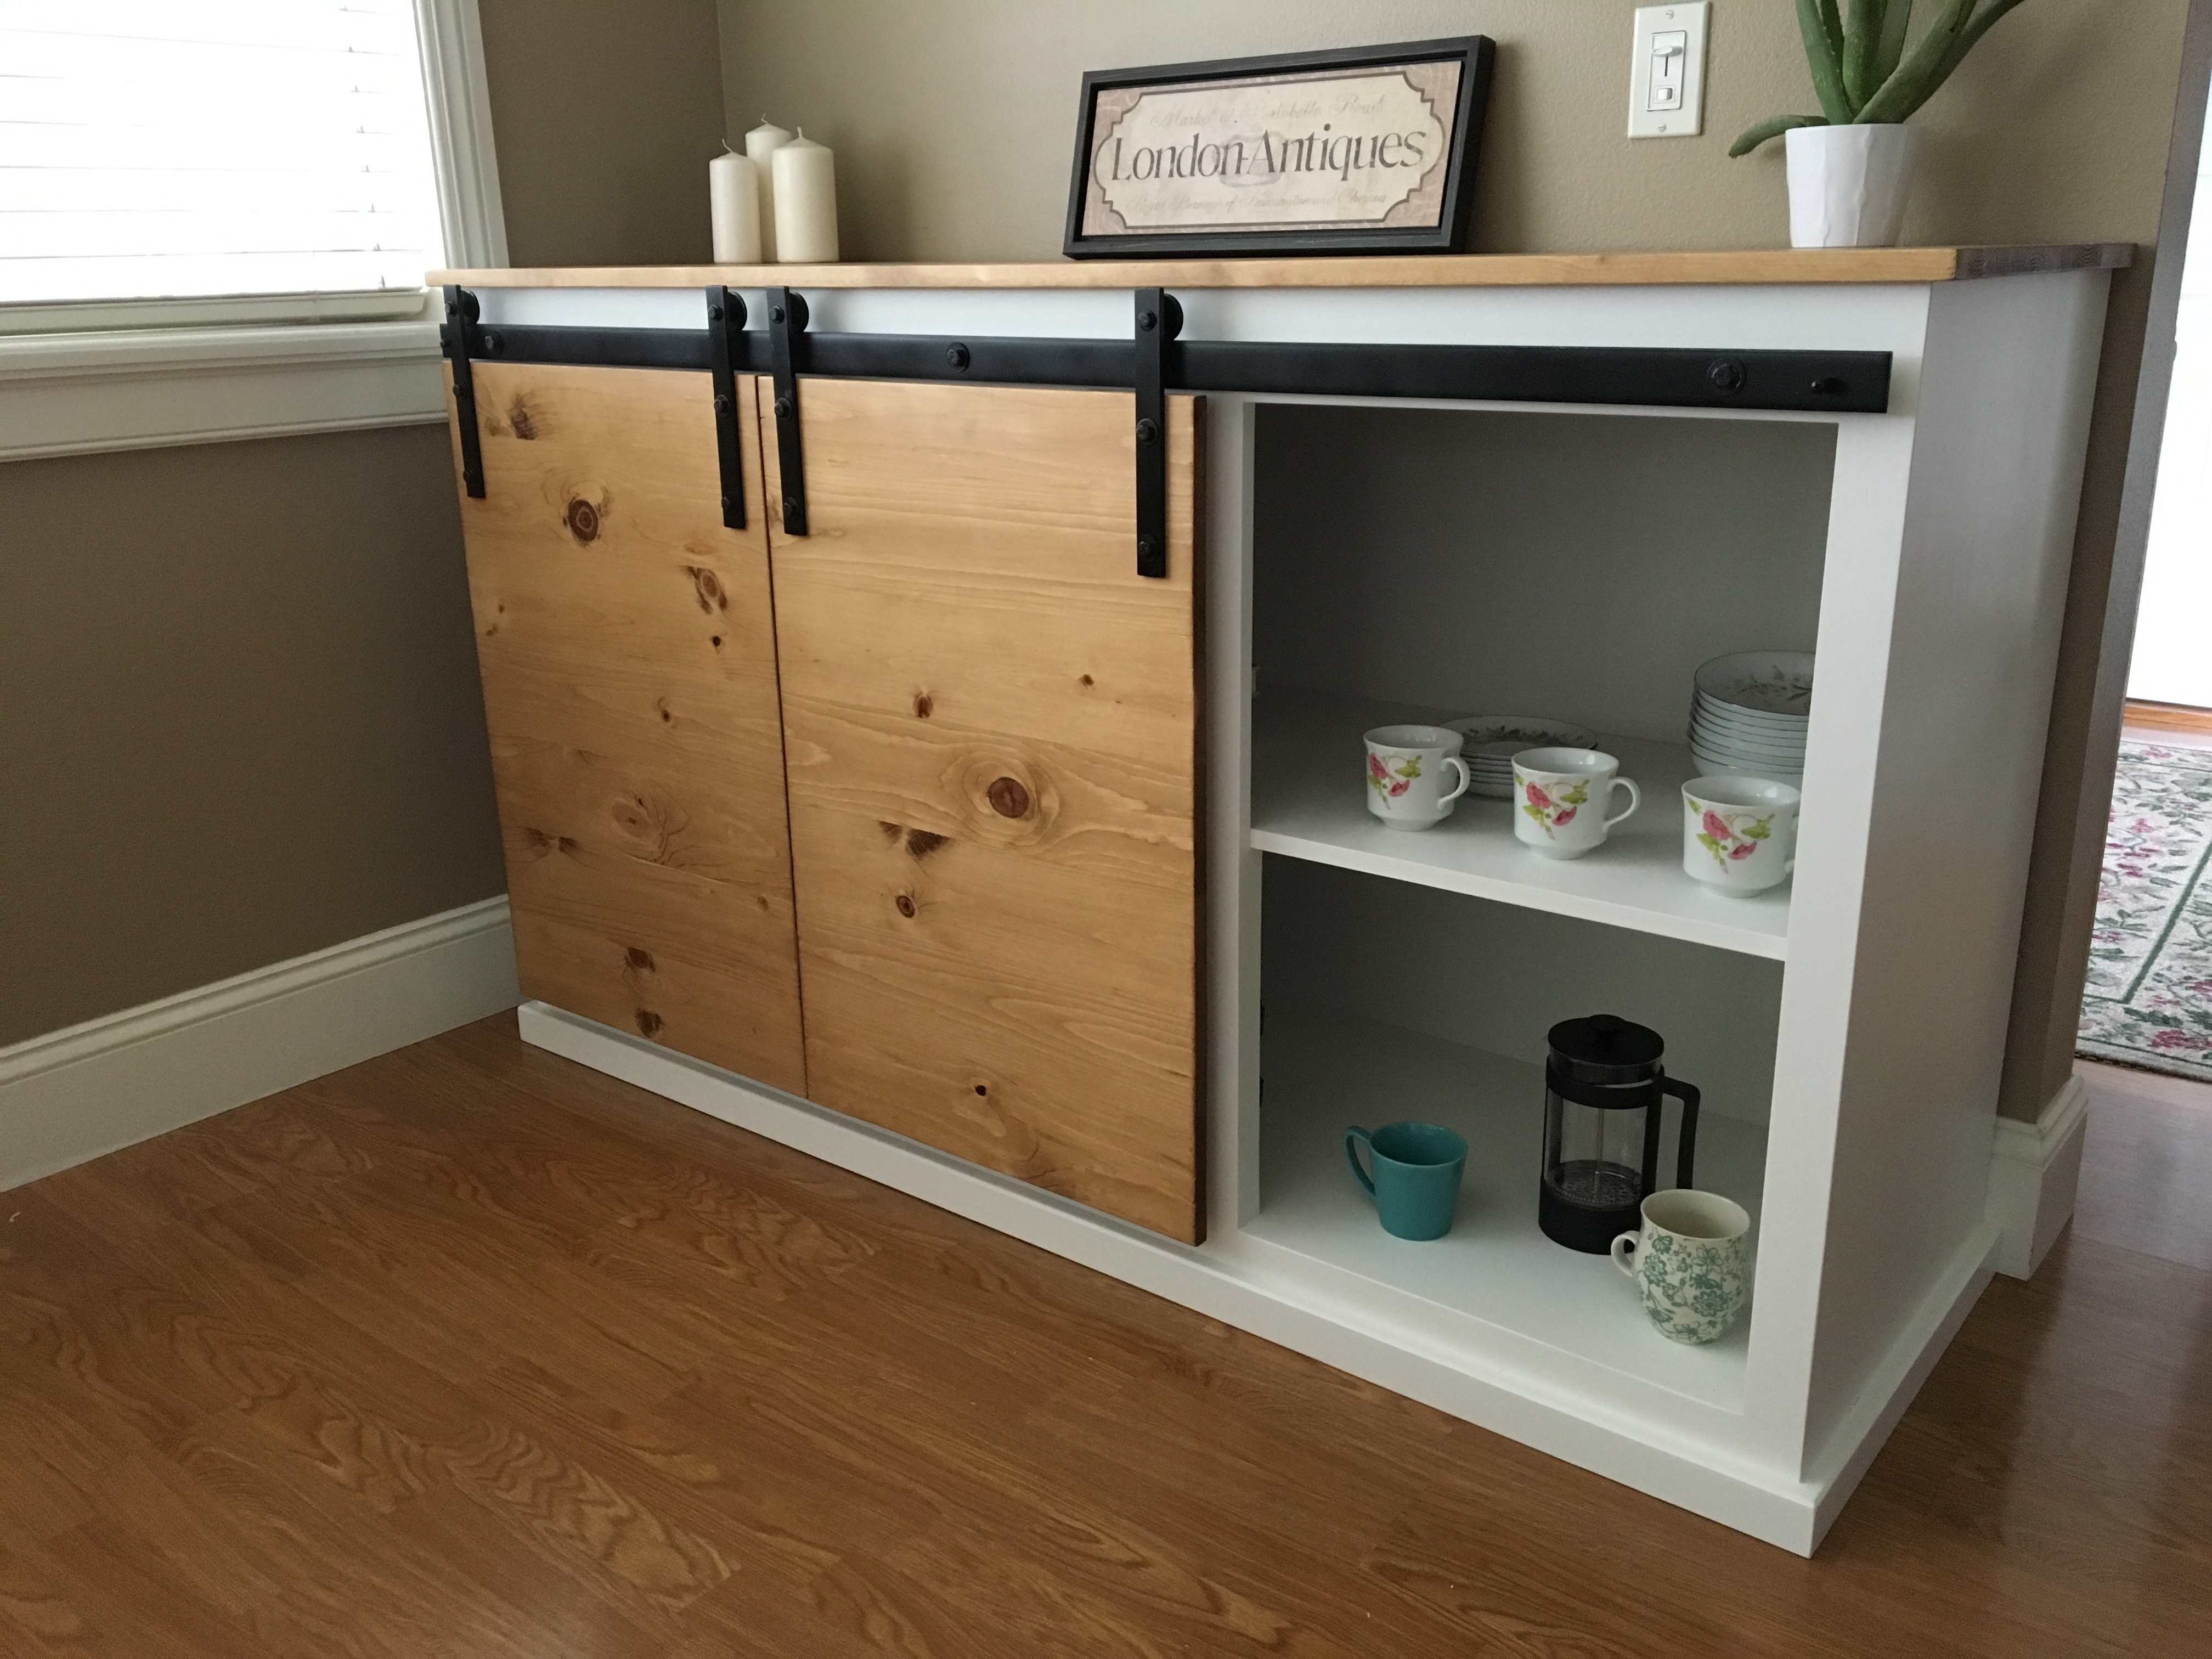
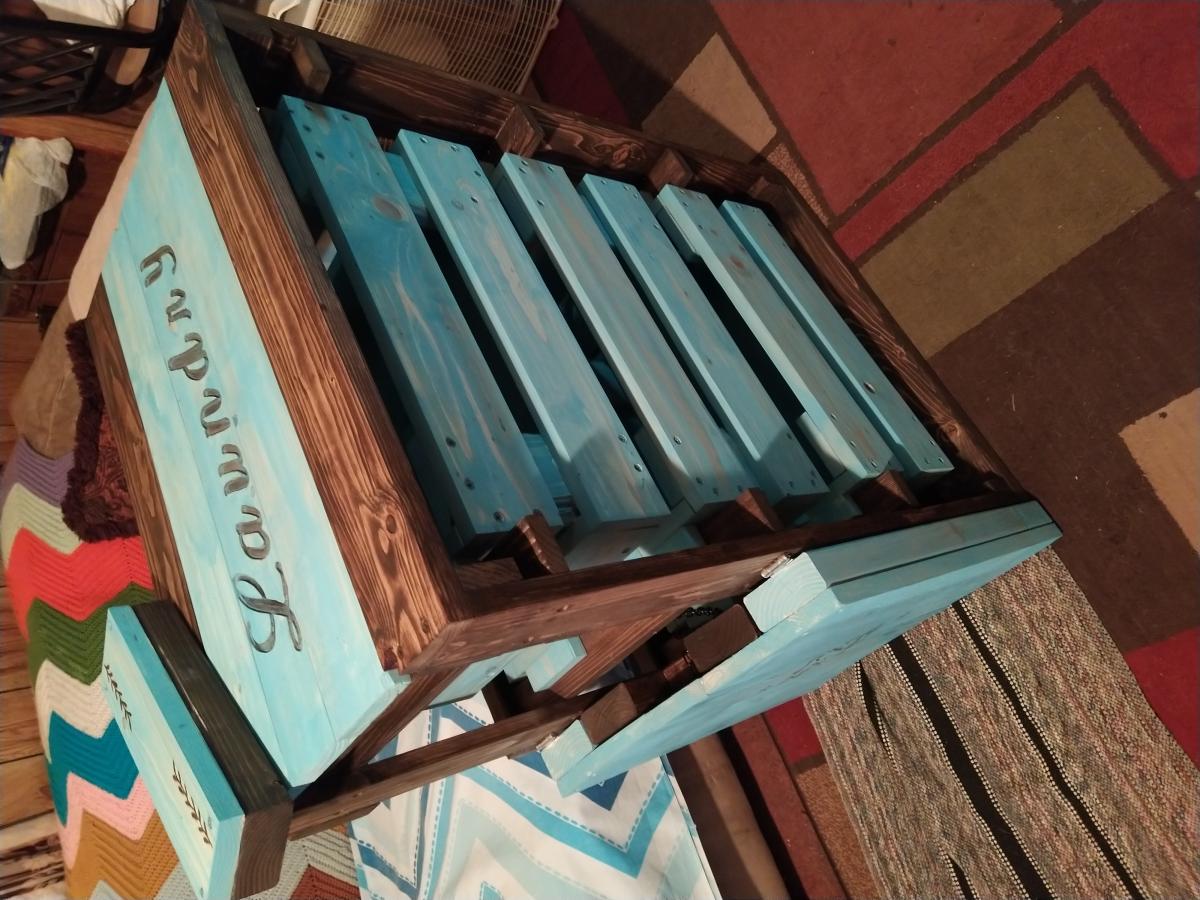
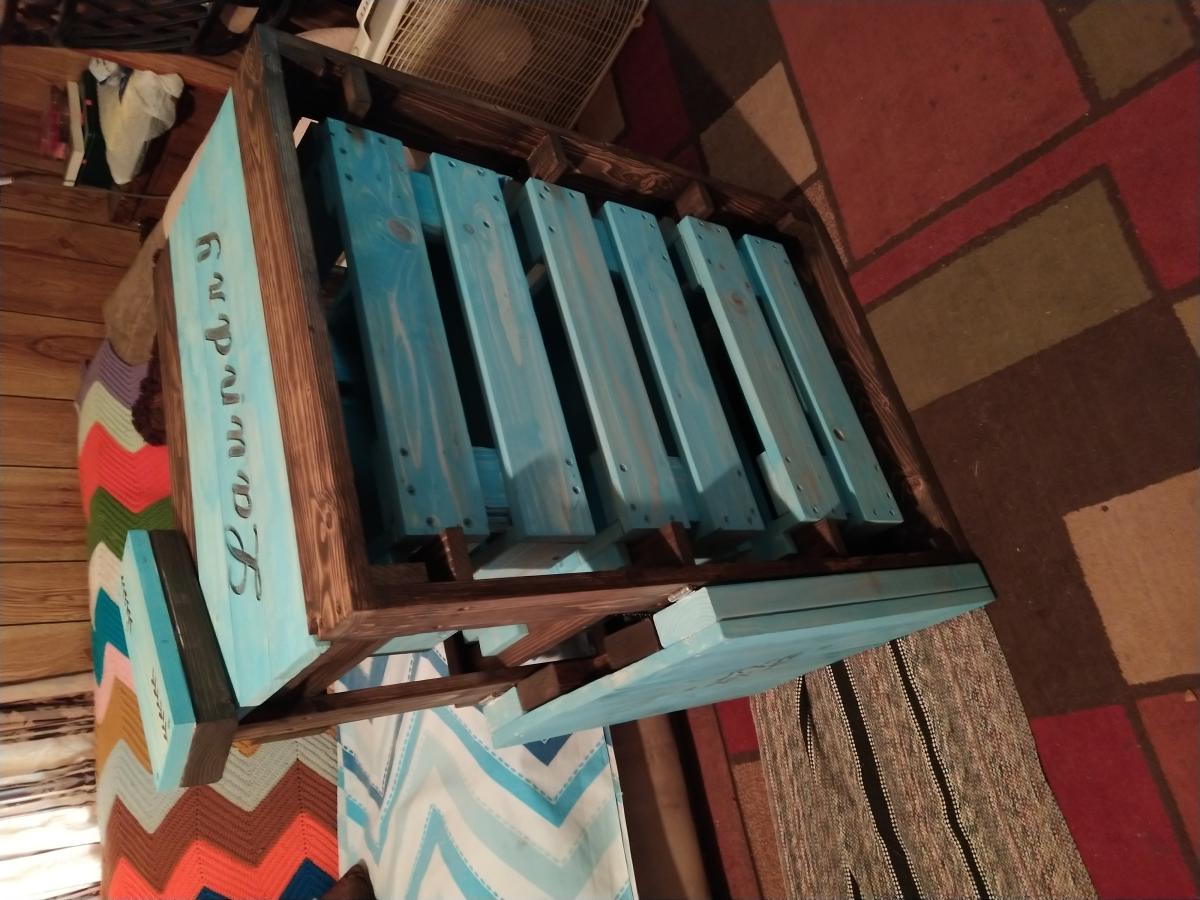
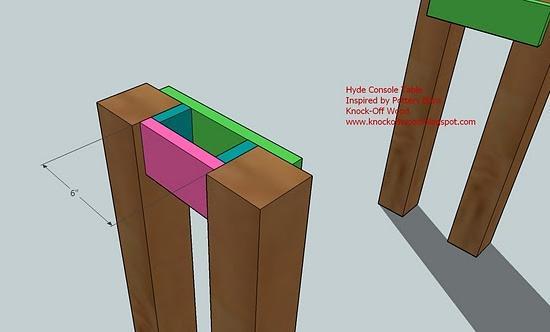
I modified the plans to have three compartments instead of four. Also, the hardware was a challenge. Tip: use a wheel that has an internal bearing.
I told the love of my life about how Ana had a really cool laundry basket shelf, and asked her if she wanted one. Of course she said yes, so I made her one! I added a few twists to mine as you can tell, but the actual shelf itself is completely from her design!
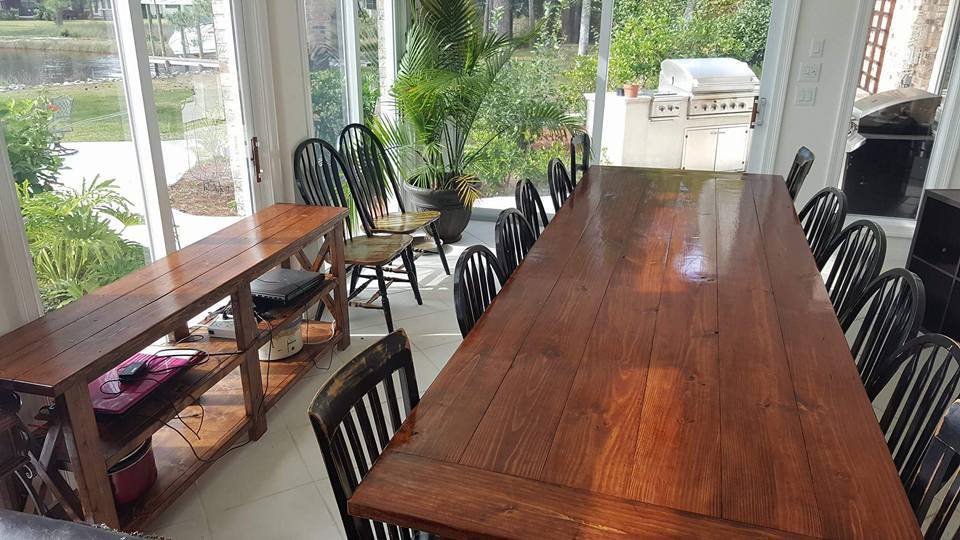
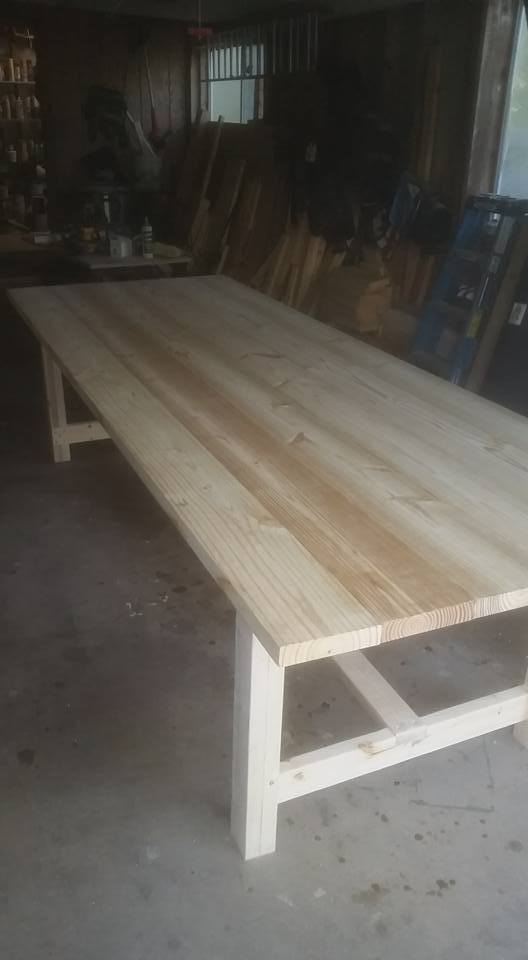
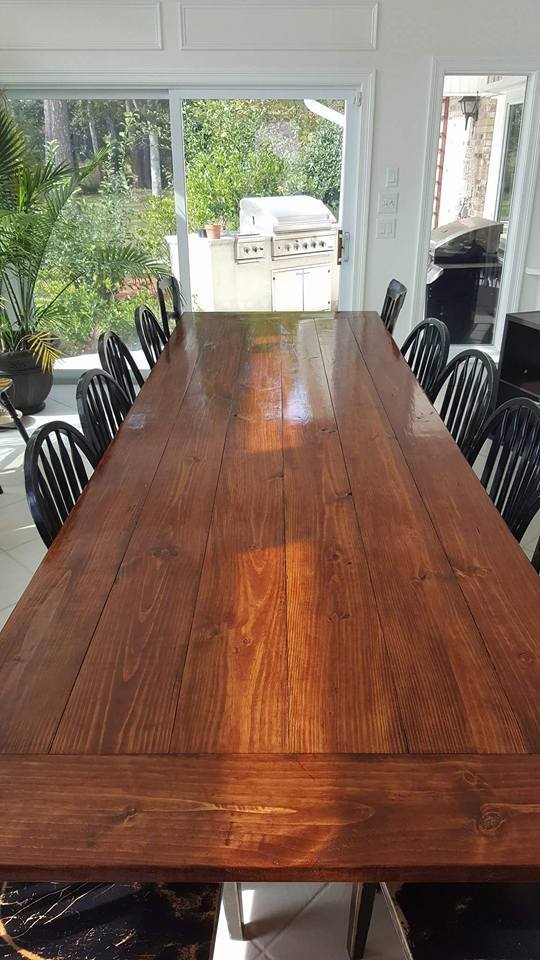
I used Ana's plans for this project, but had to deviate since I built it for a friend who needed a table for 14!! This thing is huge, 12 feet long, and about 44 inches wide. I made it out of pine, 2x8s for the top but stuck to the plans for the frame. It weighs about 200lbs or more, and had to move it with 4 guys...used an enclosed trailer to move it from my house to theirs. They love it so that's all that counts! Oh ya, in the picture, you will see Ana's rustic X console table too!

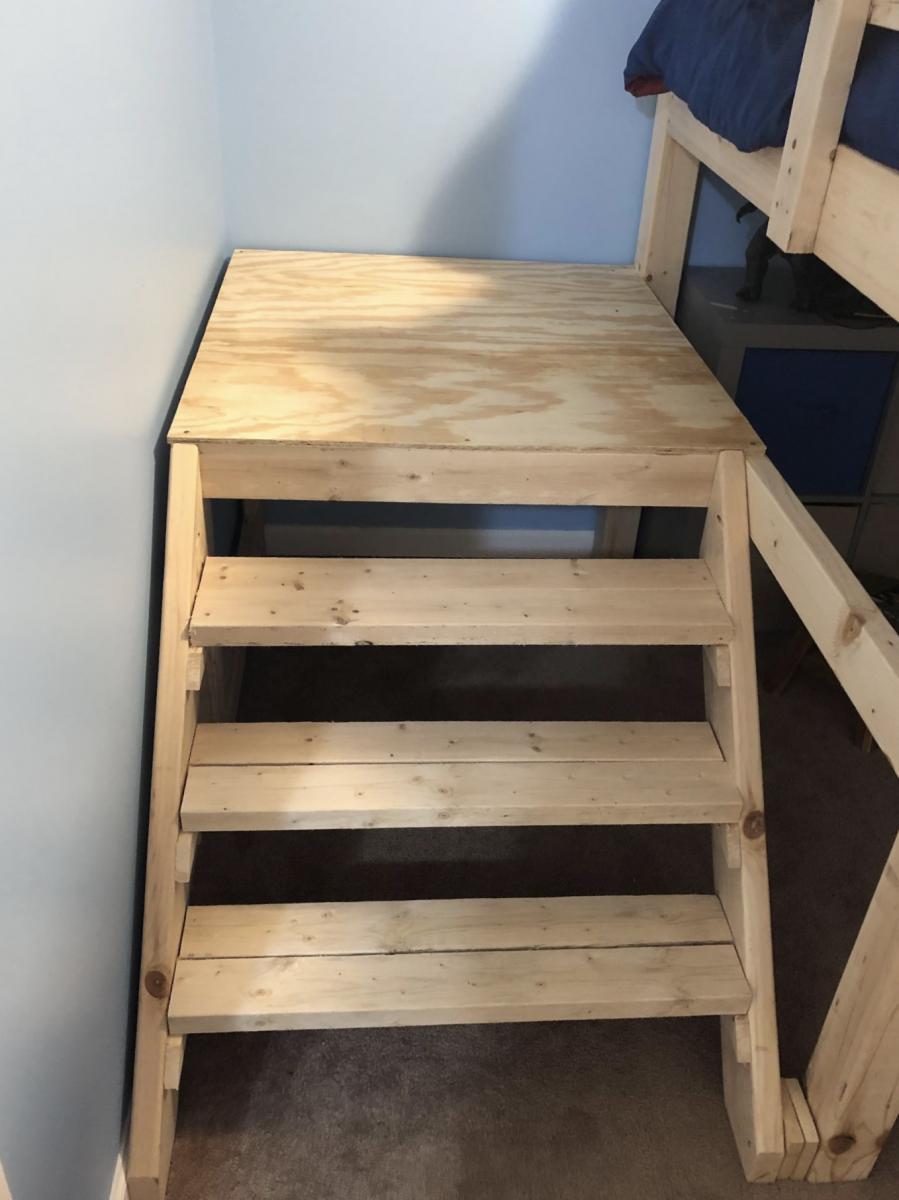
Built a full size loft bed for my kids but wanted something safer than having them climb up and down a ladder so used the Camp Loft Bed plans to add the platform and stairs. It is much easier for the kids. Going to finish by covering the platform and stairs with carpet.

Wed, 10/02/2019 - 09:51
I really like how the platform is only half way so the stairs are inset, this is very smart and good use of space.

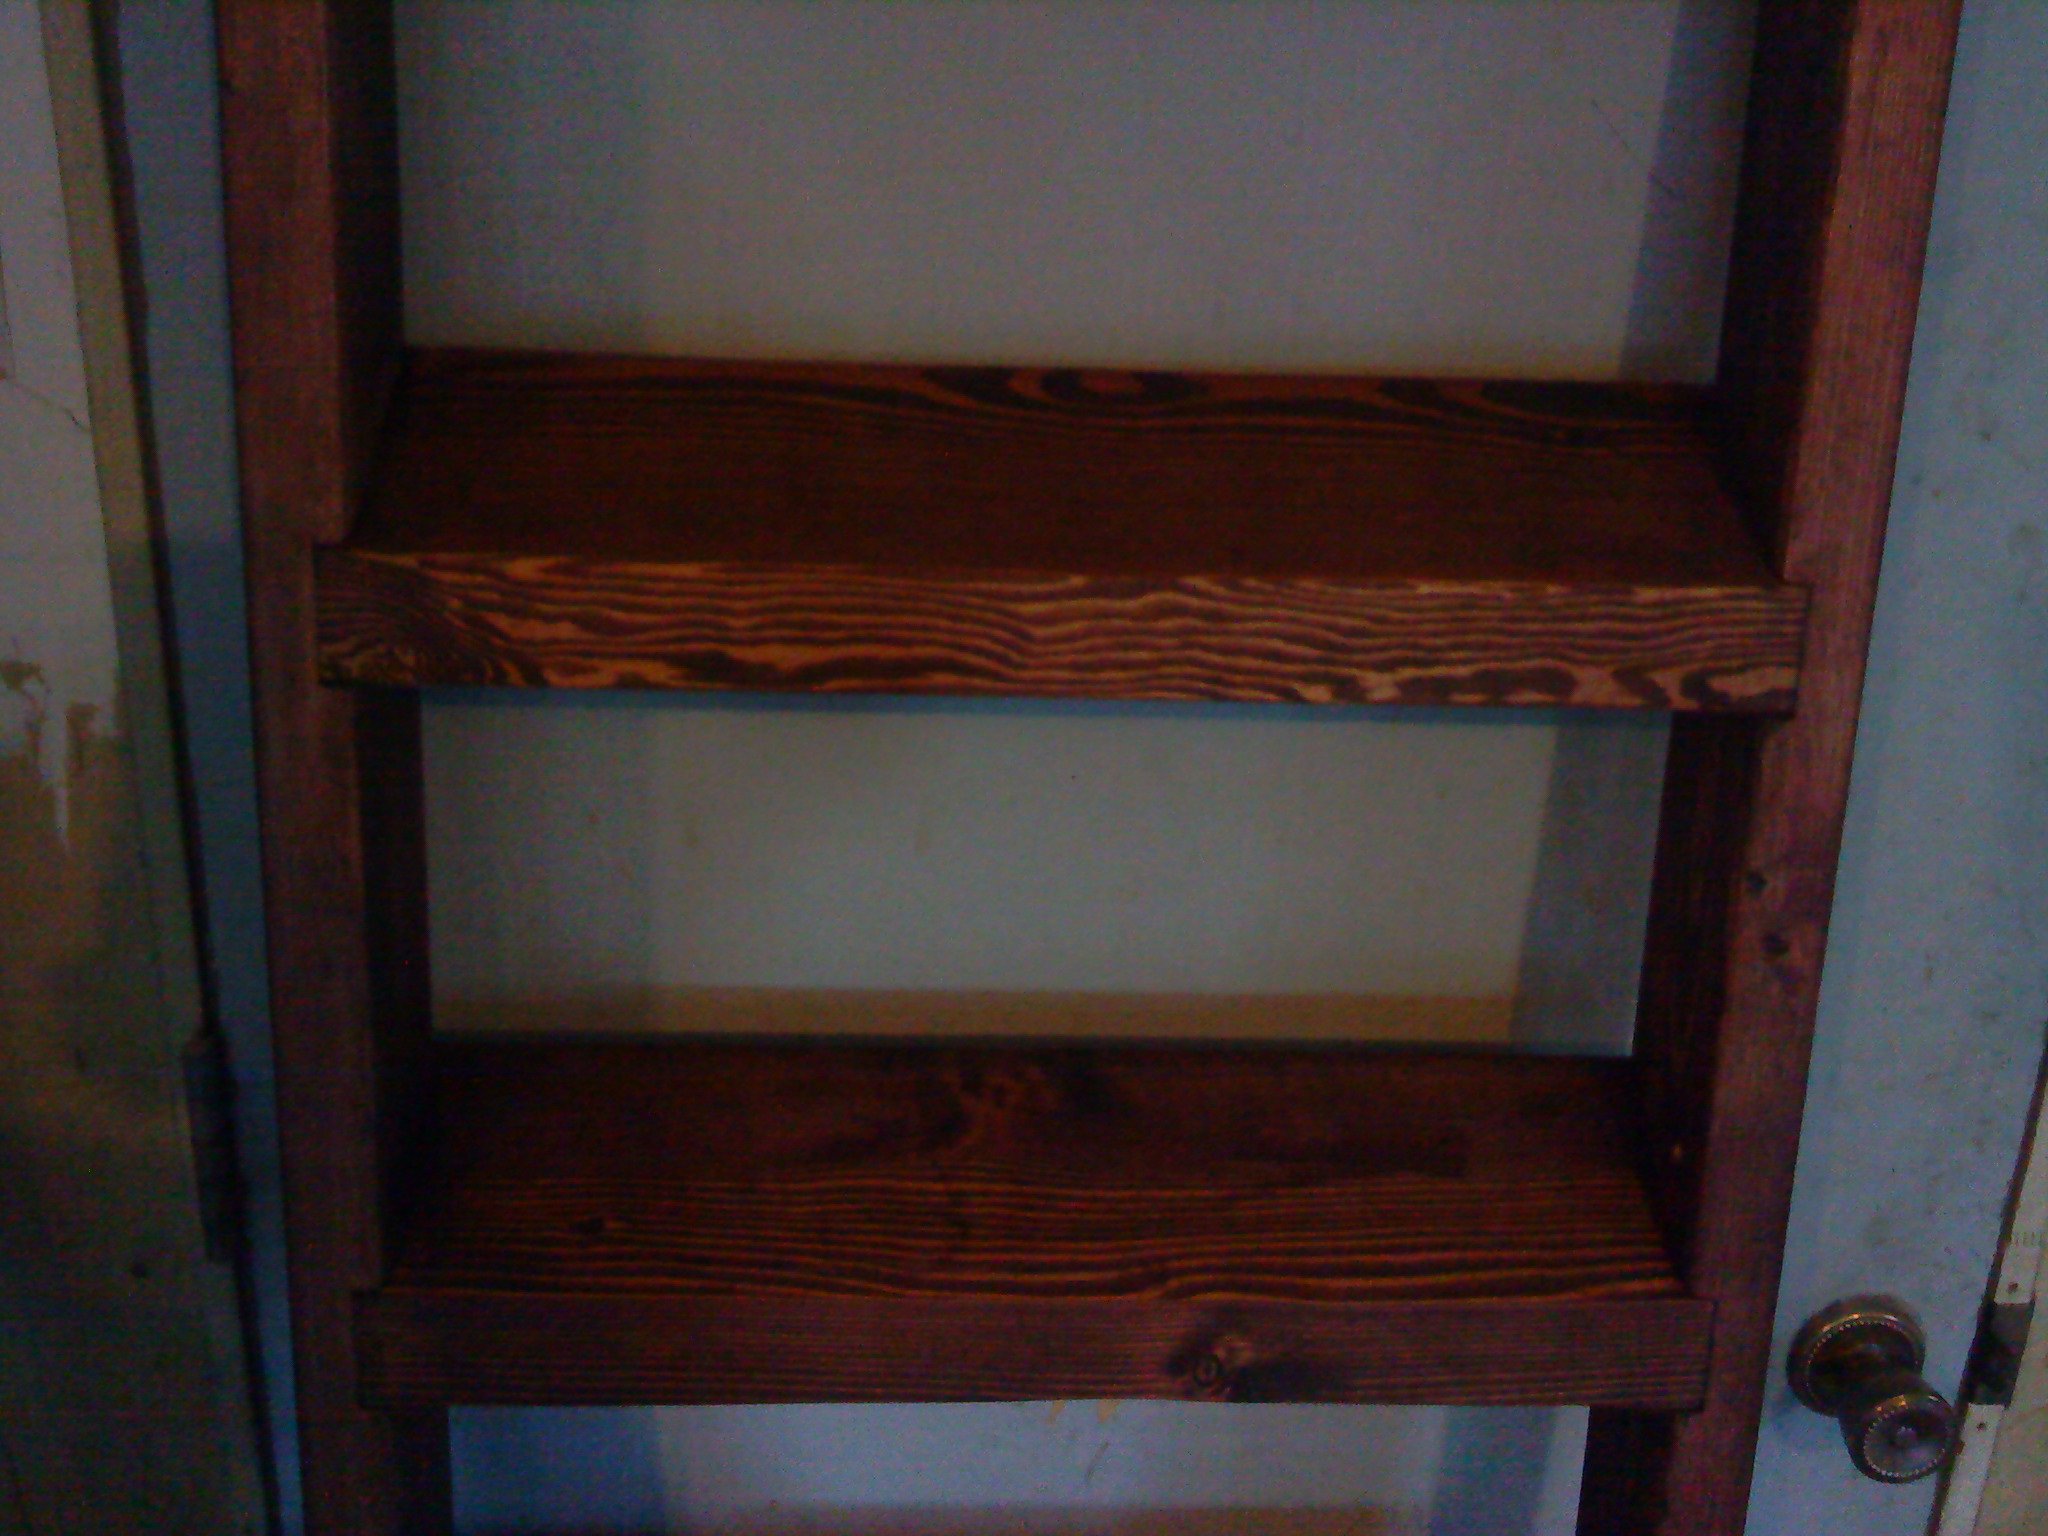
This project was so much easier than I thought it would be when we started. If you follow ana's plans your bunkbed will be much stronger than anything you can buy for a fraction of the price. I would never do it but I honestly think I could park my truck on these beds. The finish is red mahogany stain with a couple coats of polyurethane over it. They say not to use dark stain over pine because of the uneven coat but i like the way it striped the grain. Not everyone's cup of tea but we love it.
We've all heard the saying "give a man a fish and you feed him for a day, teach a man to fish and you feed him for life. Thank You Ana for teaching me to fish. This was the first, but will not be the last project i do from your site.


Mon, 10/27/2014 - 12:43
What materials did you use for your matress supports (size, spacing, attaching)?

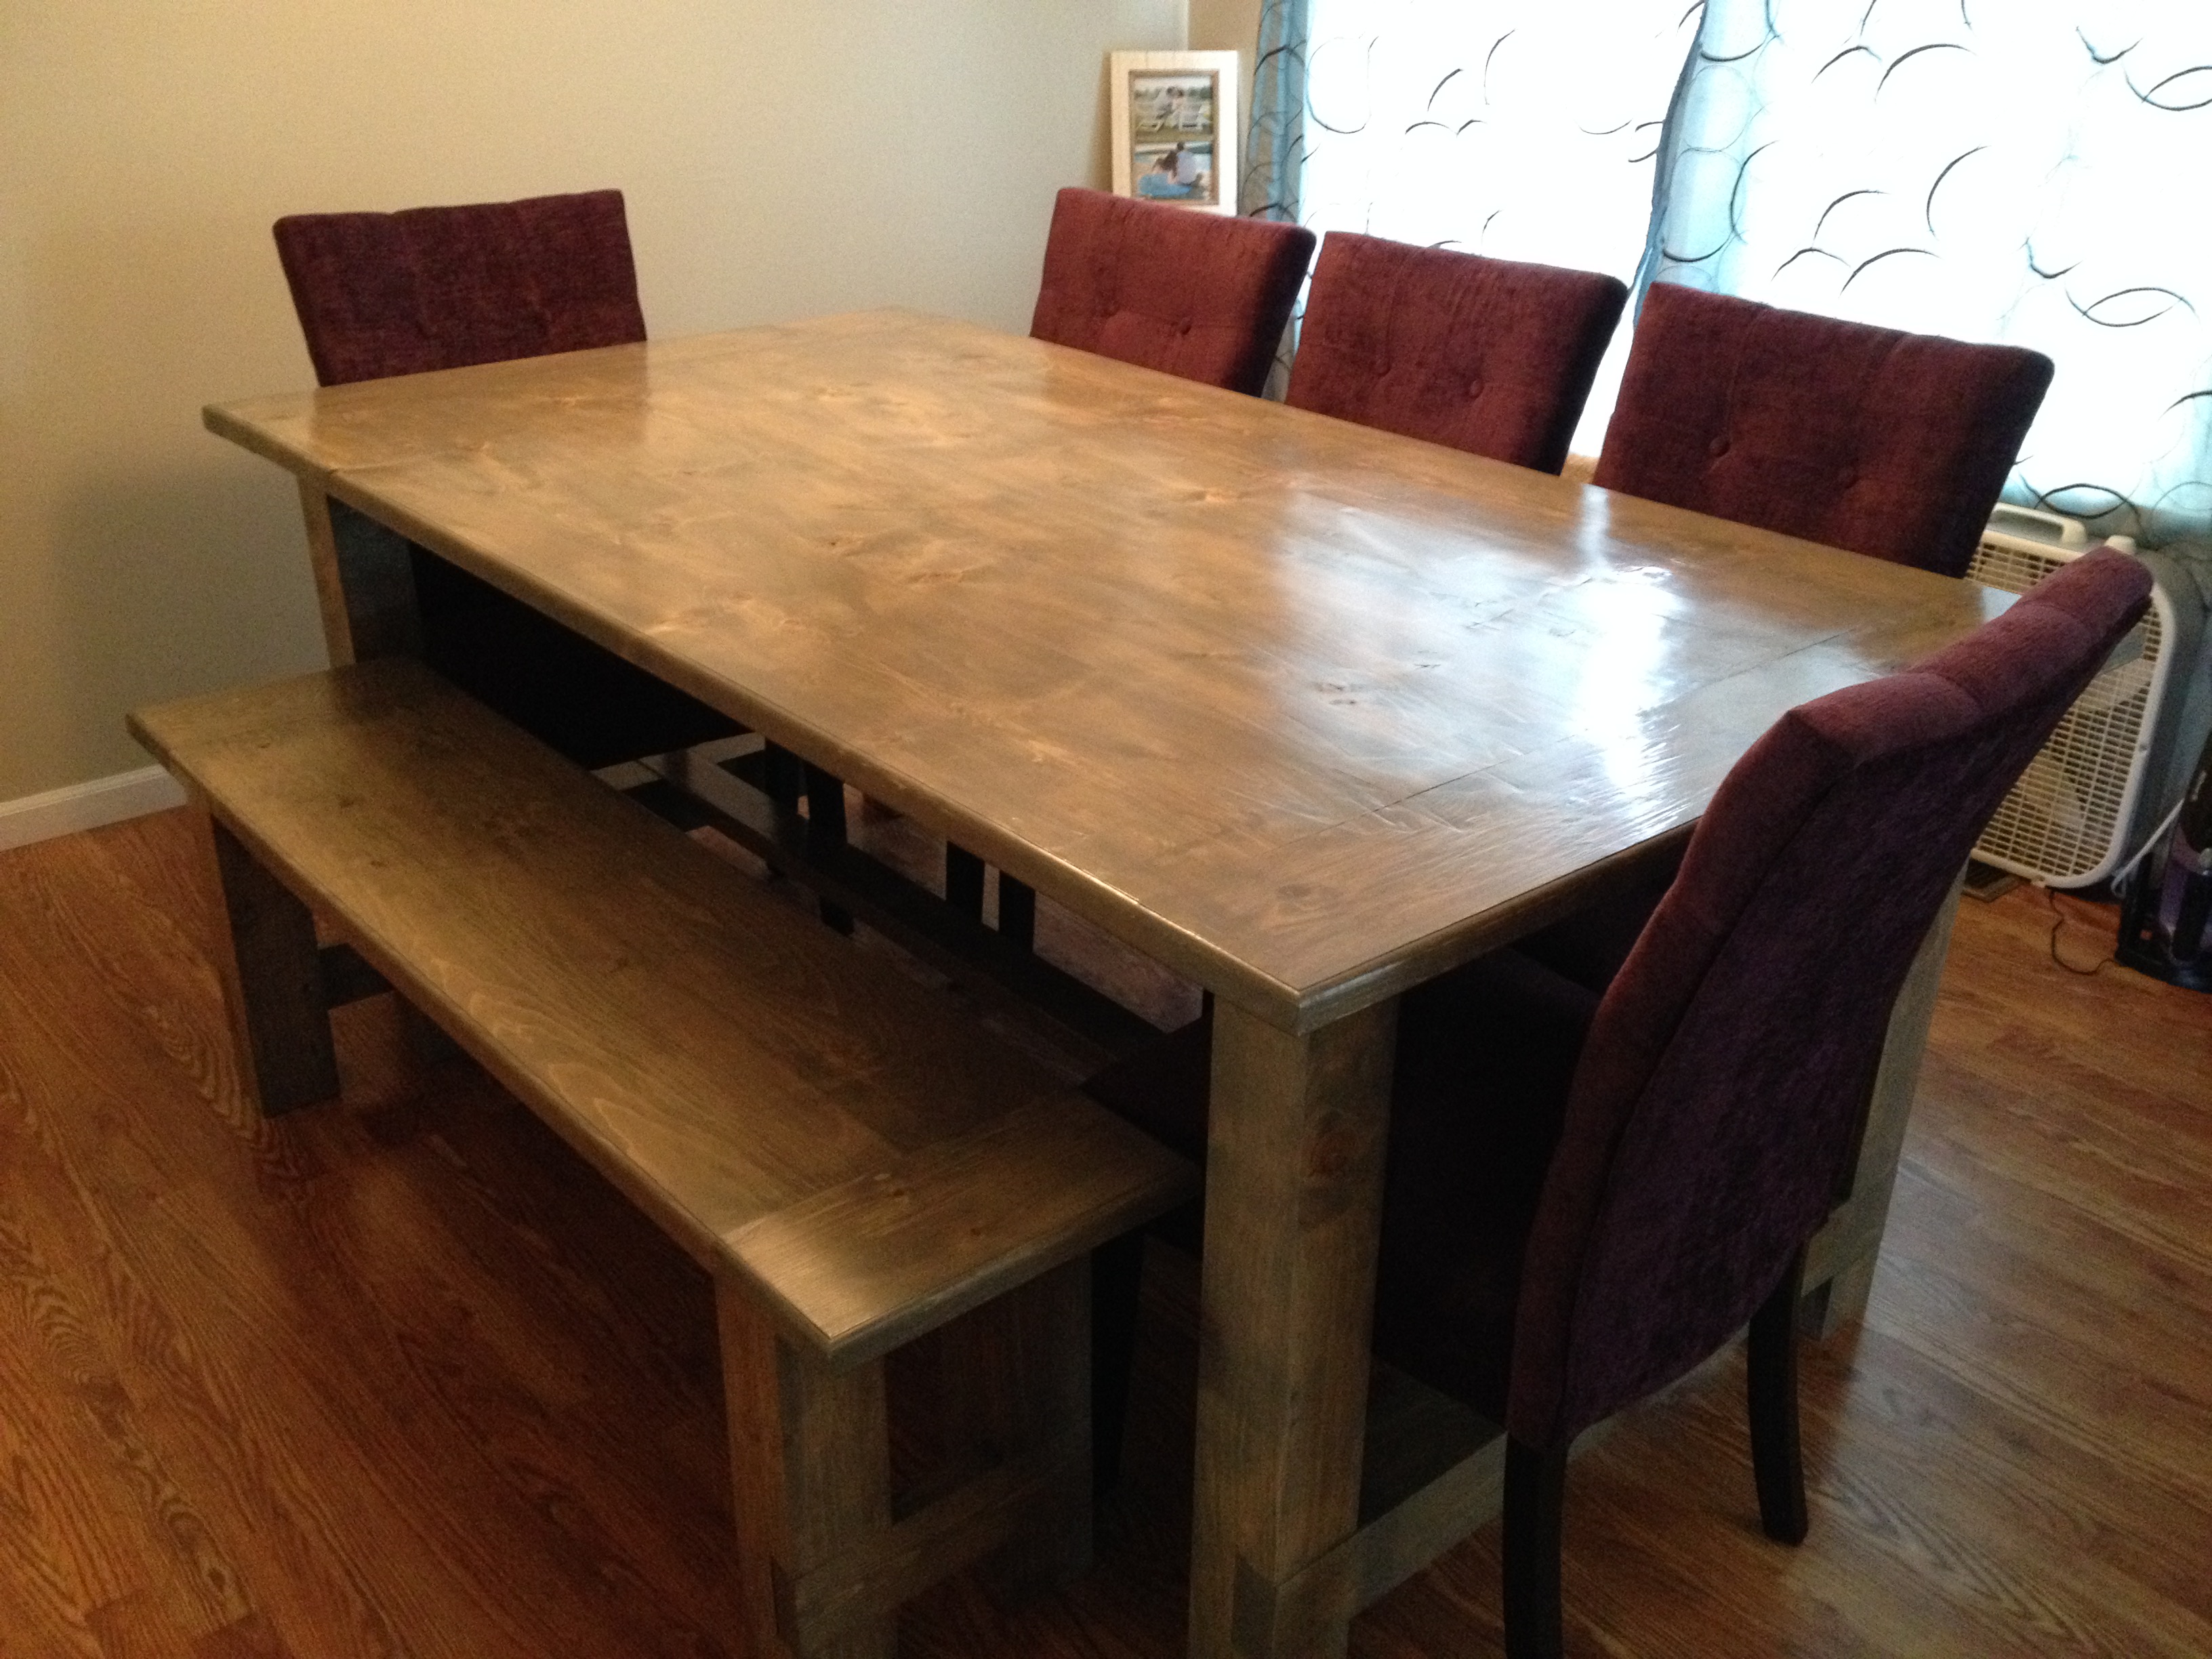
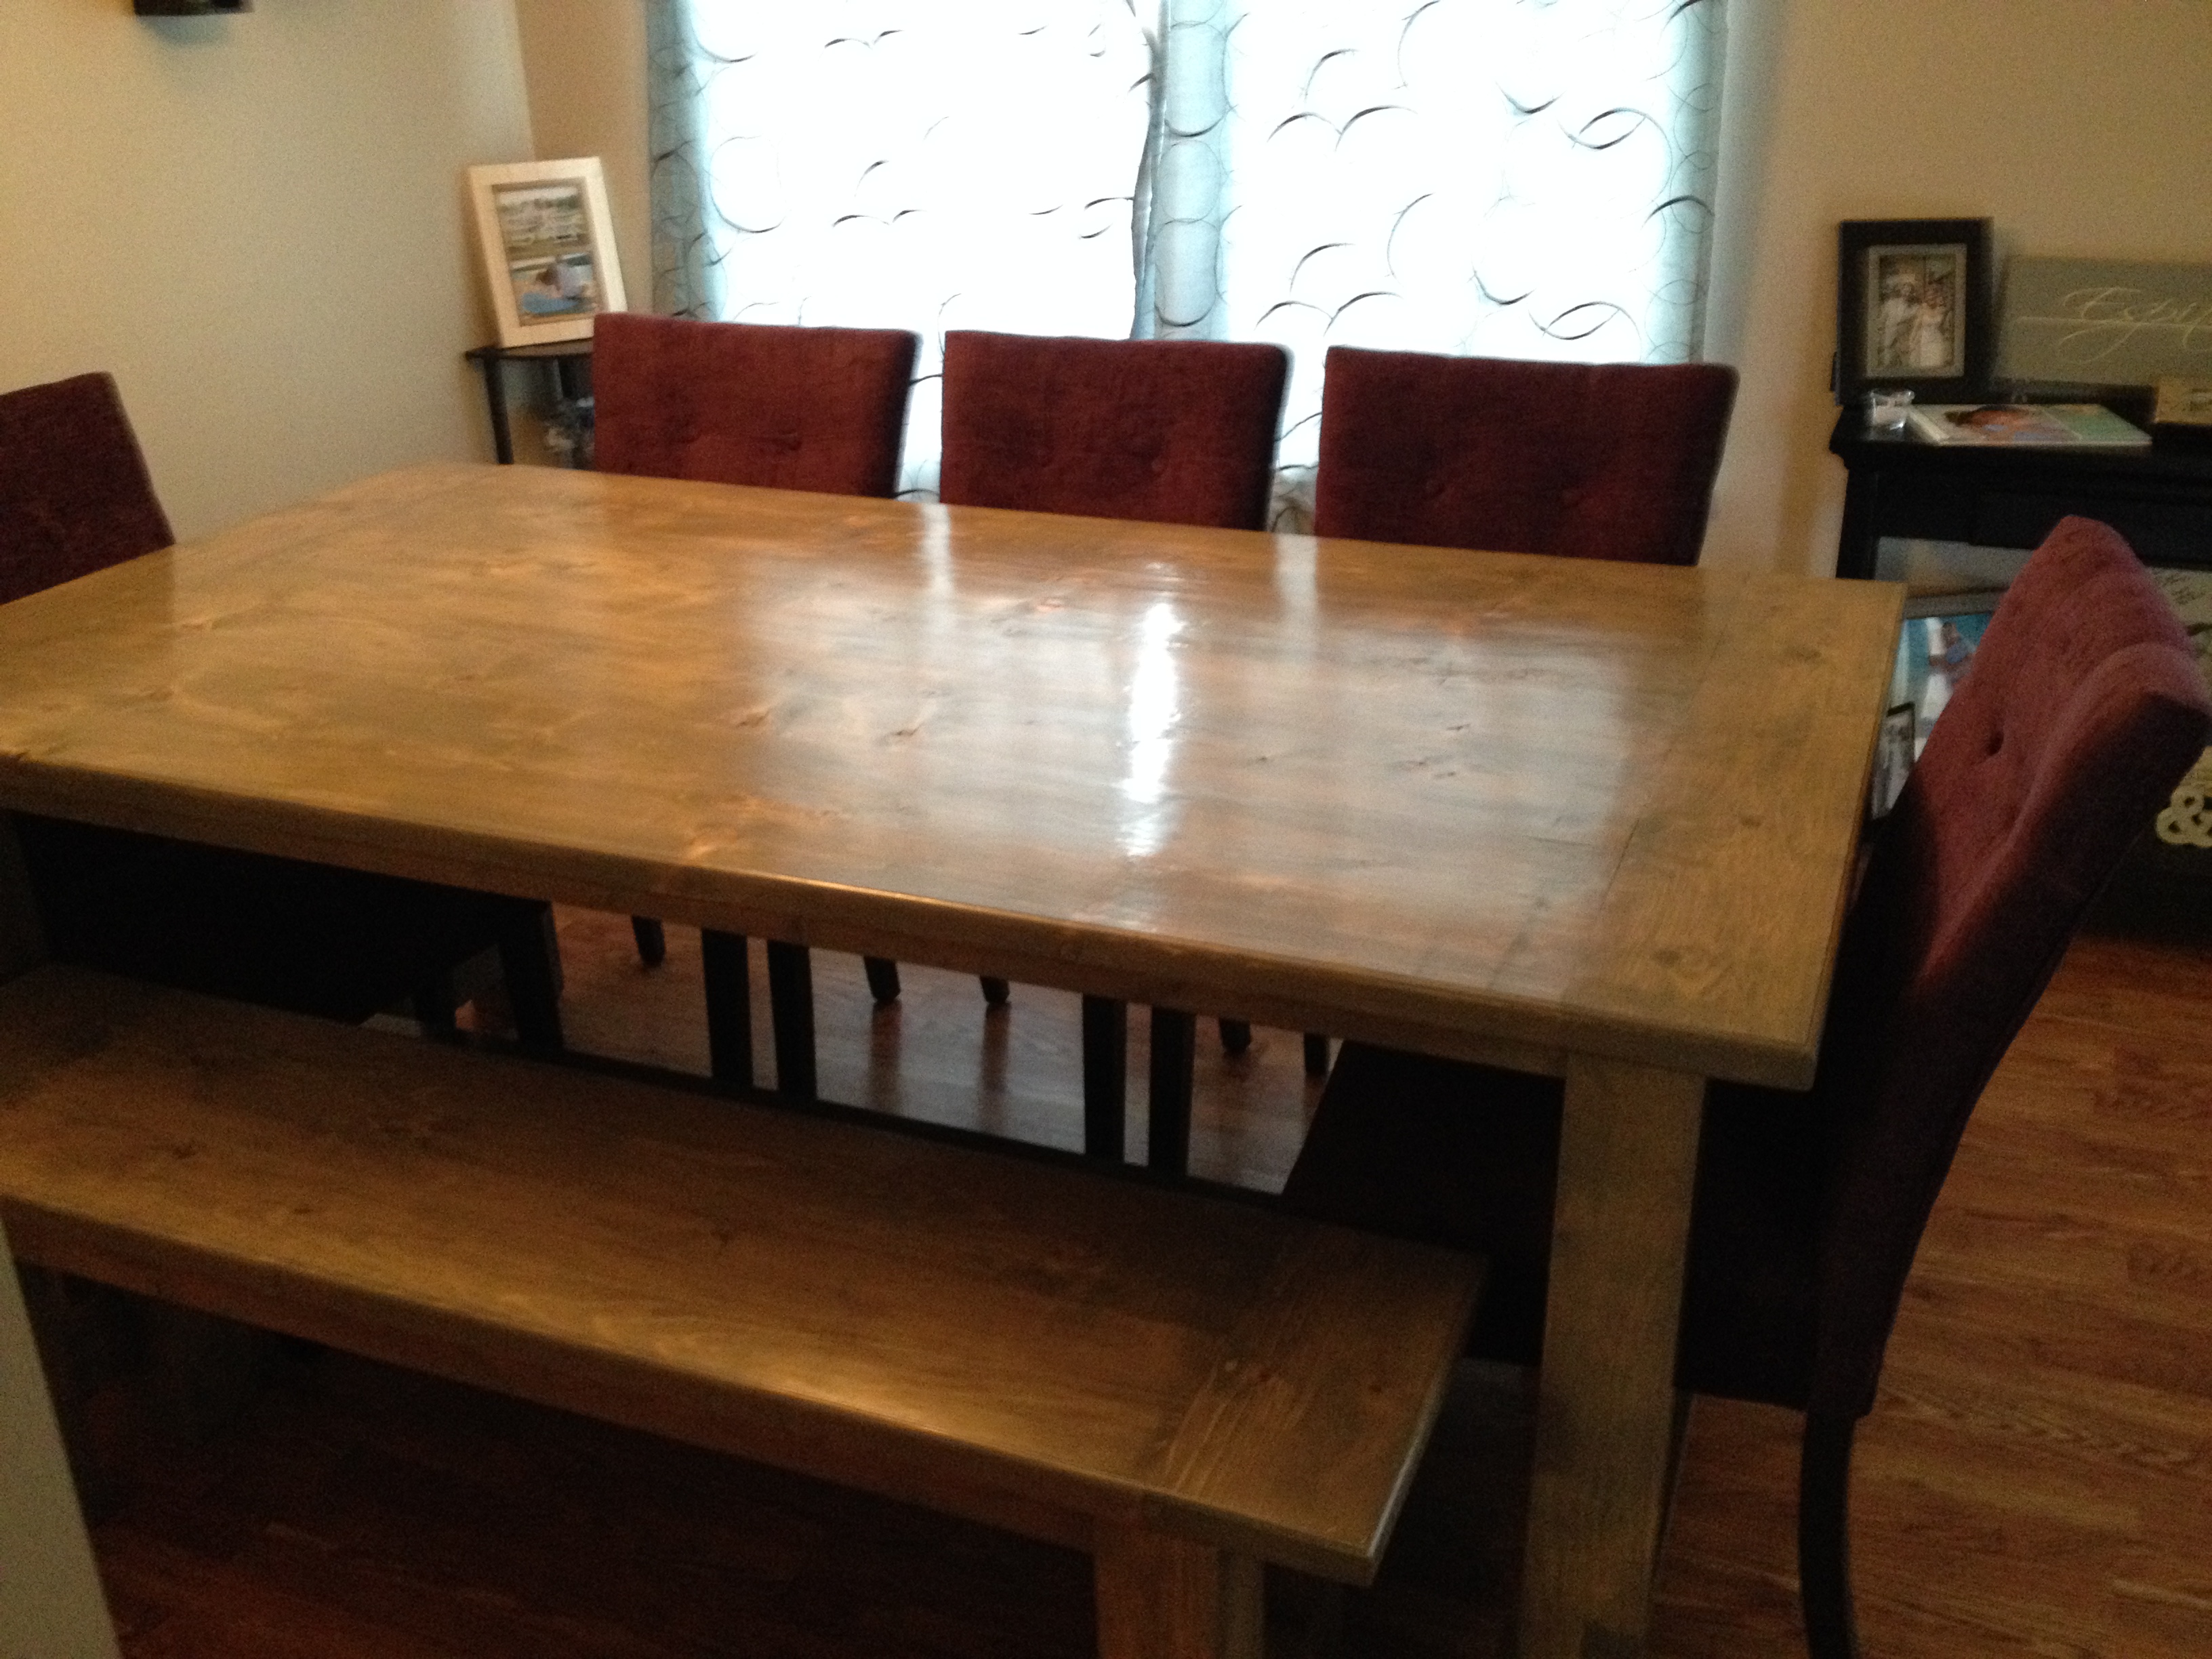
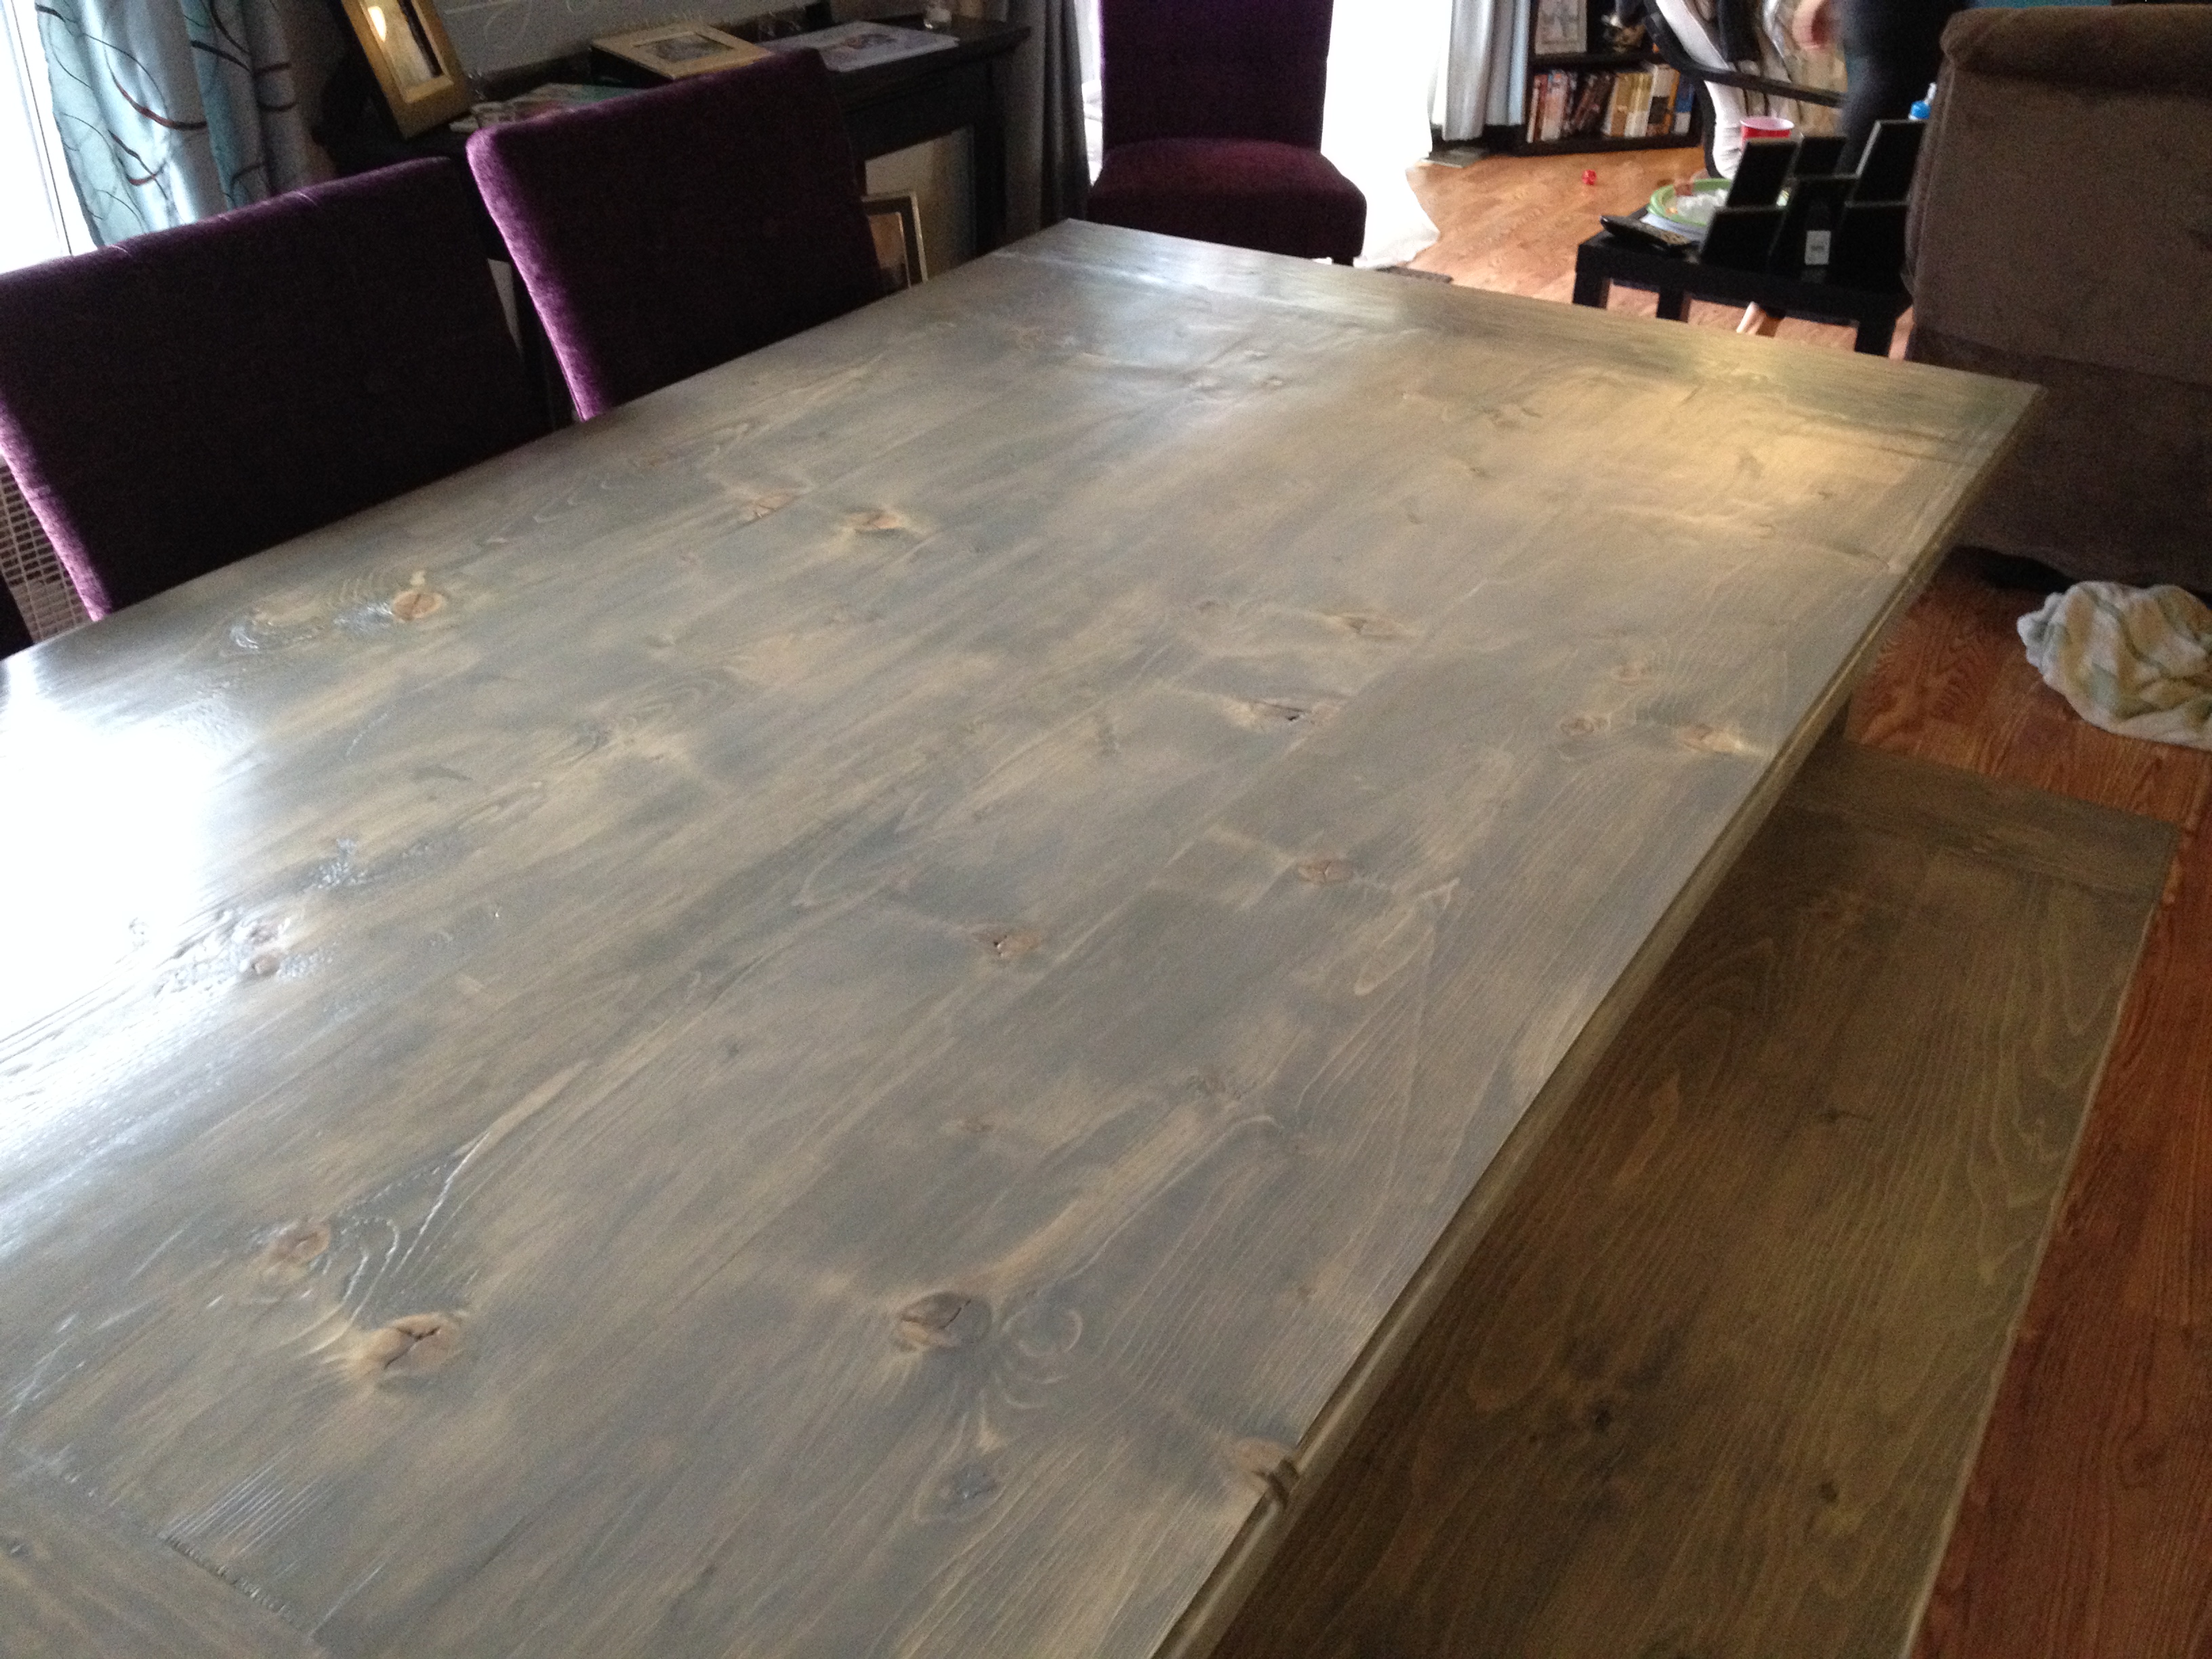
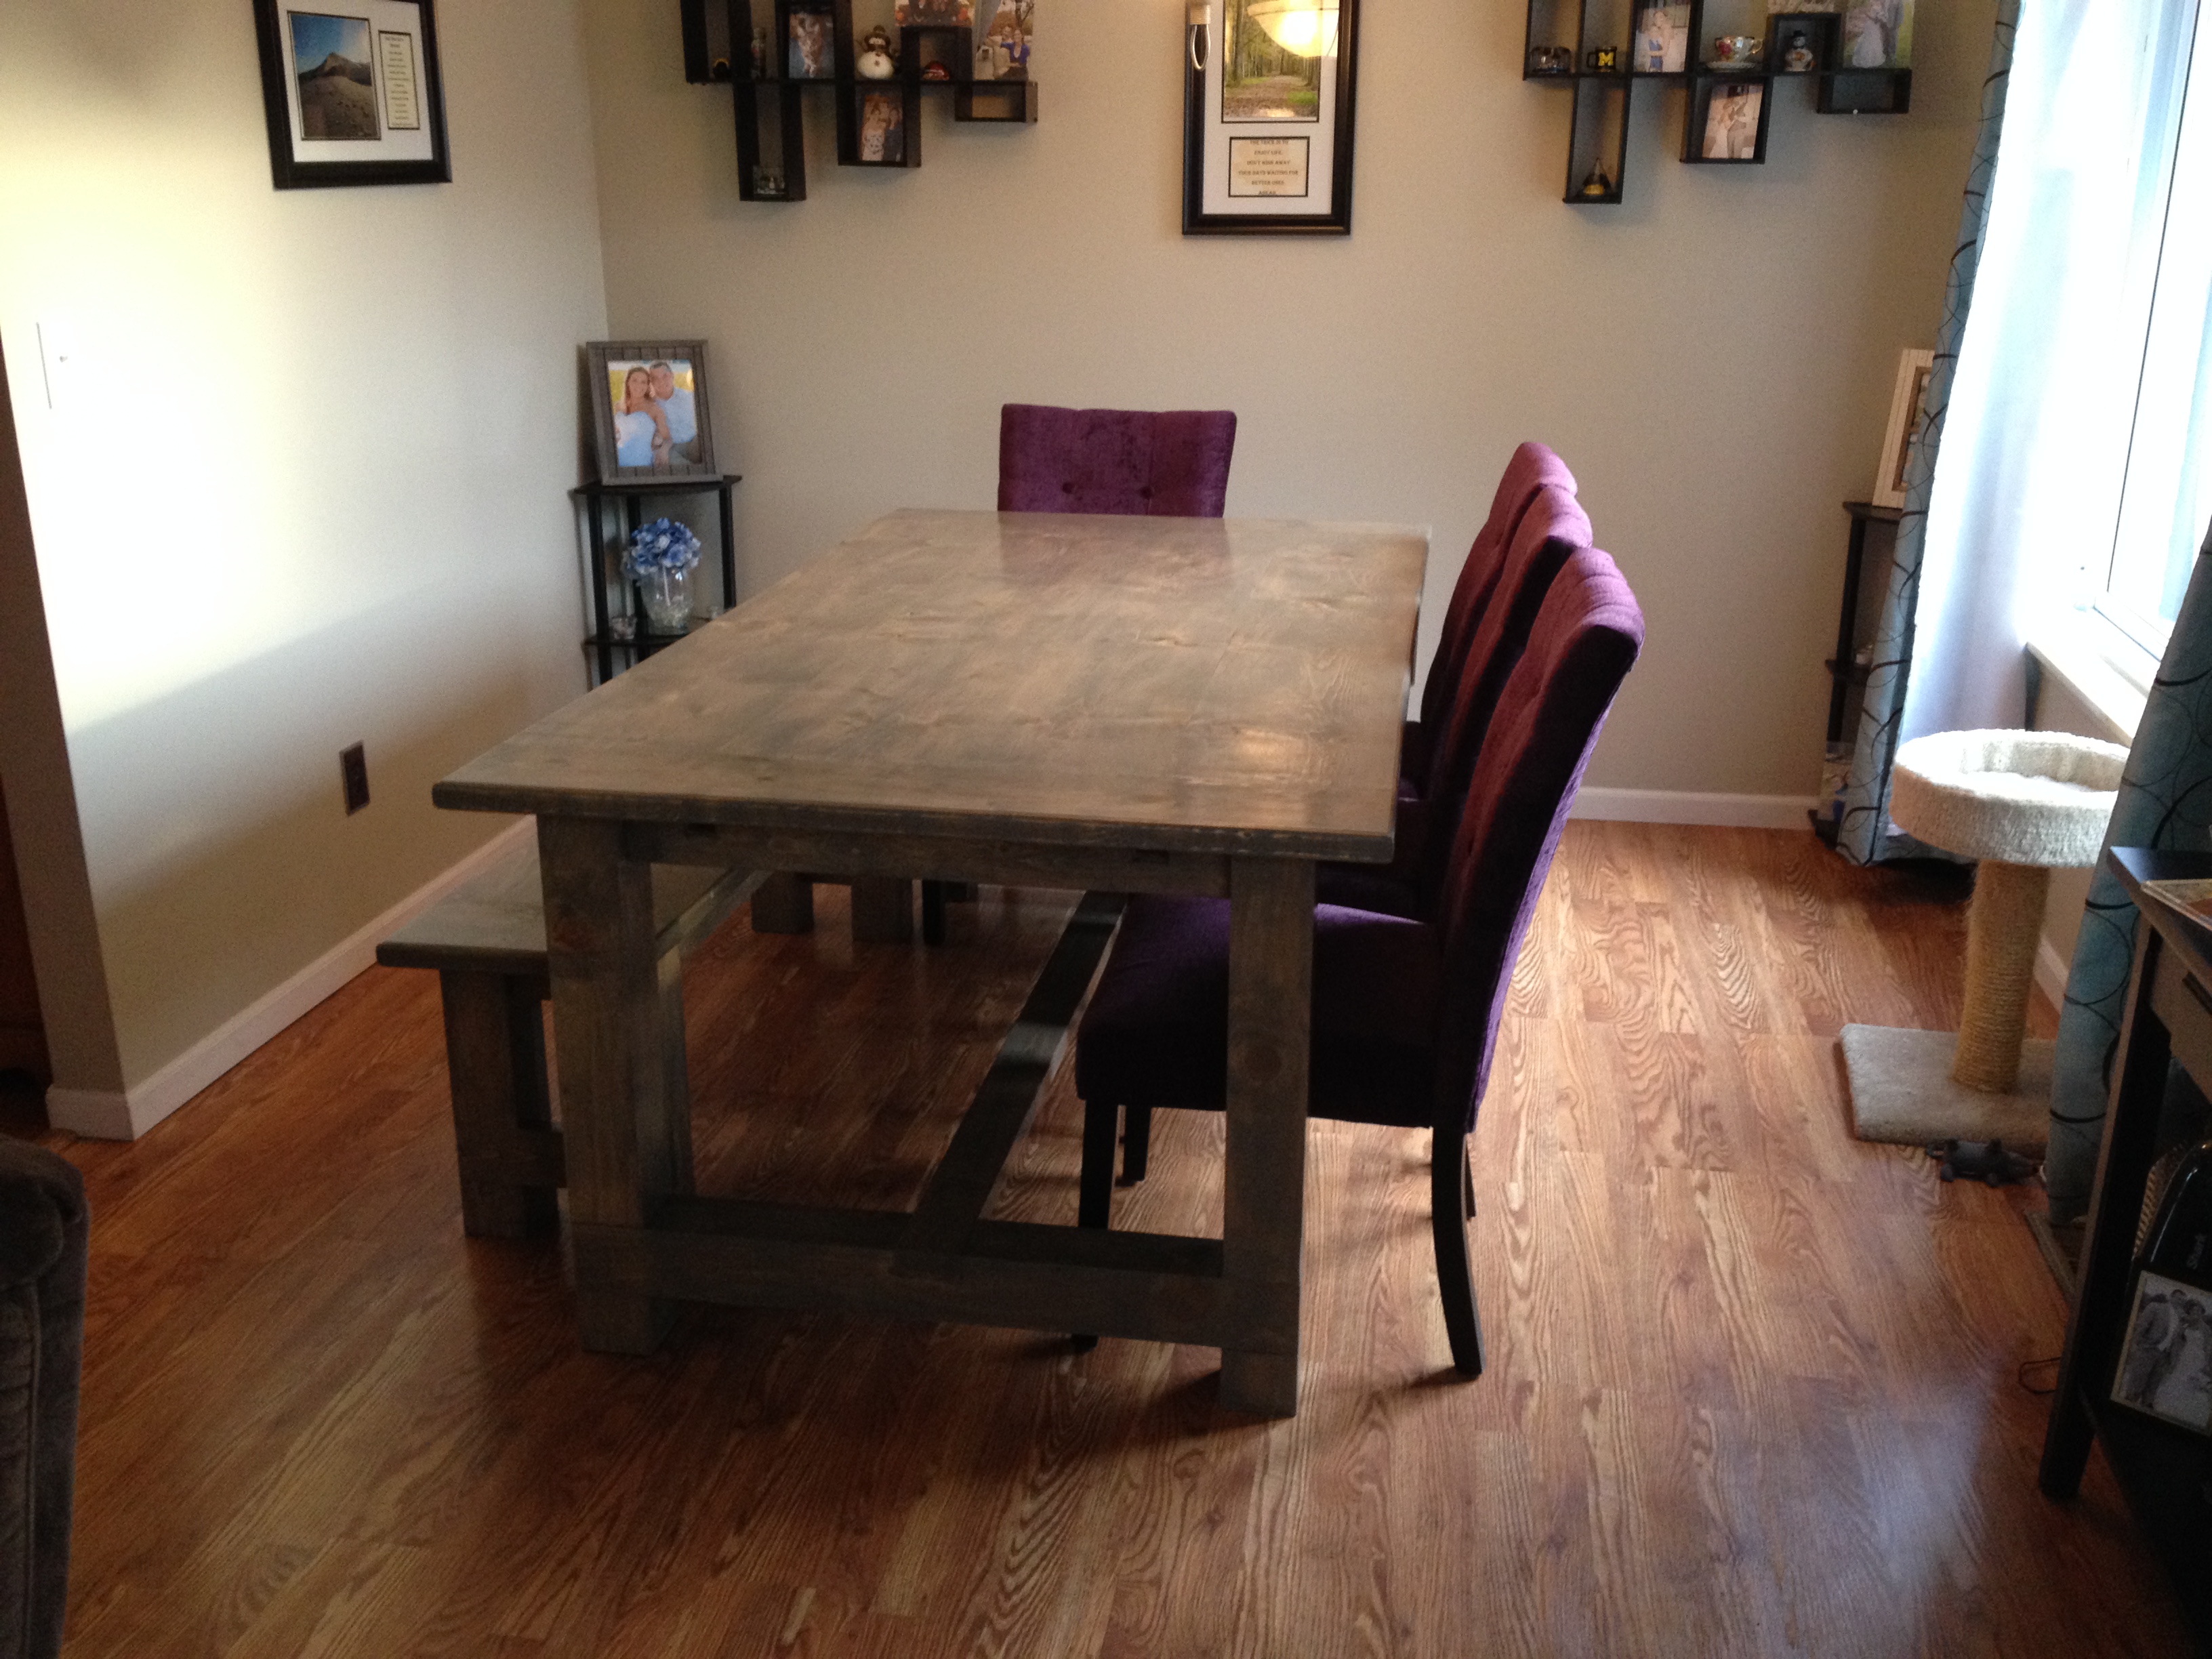
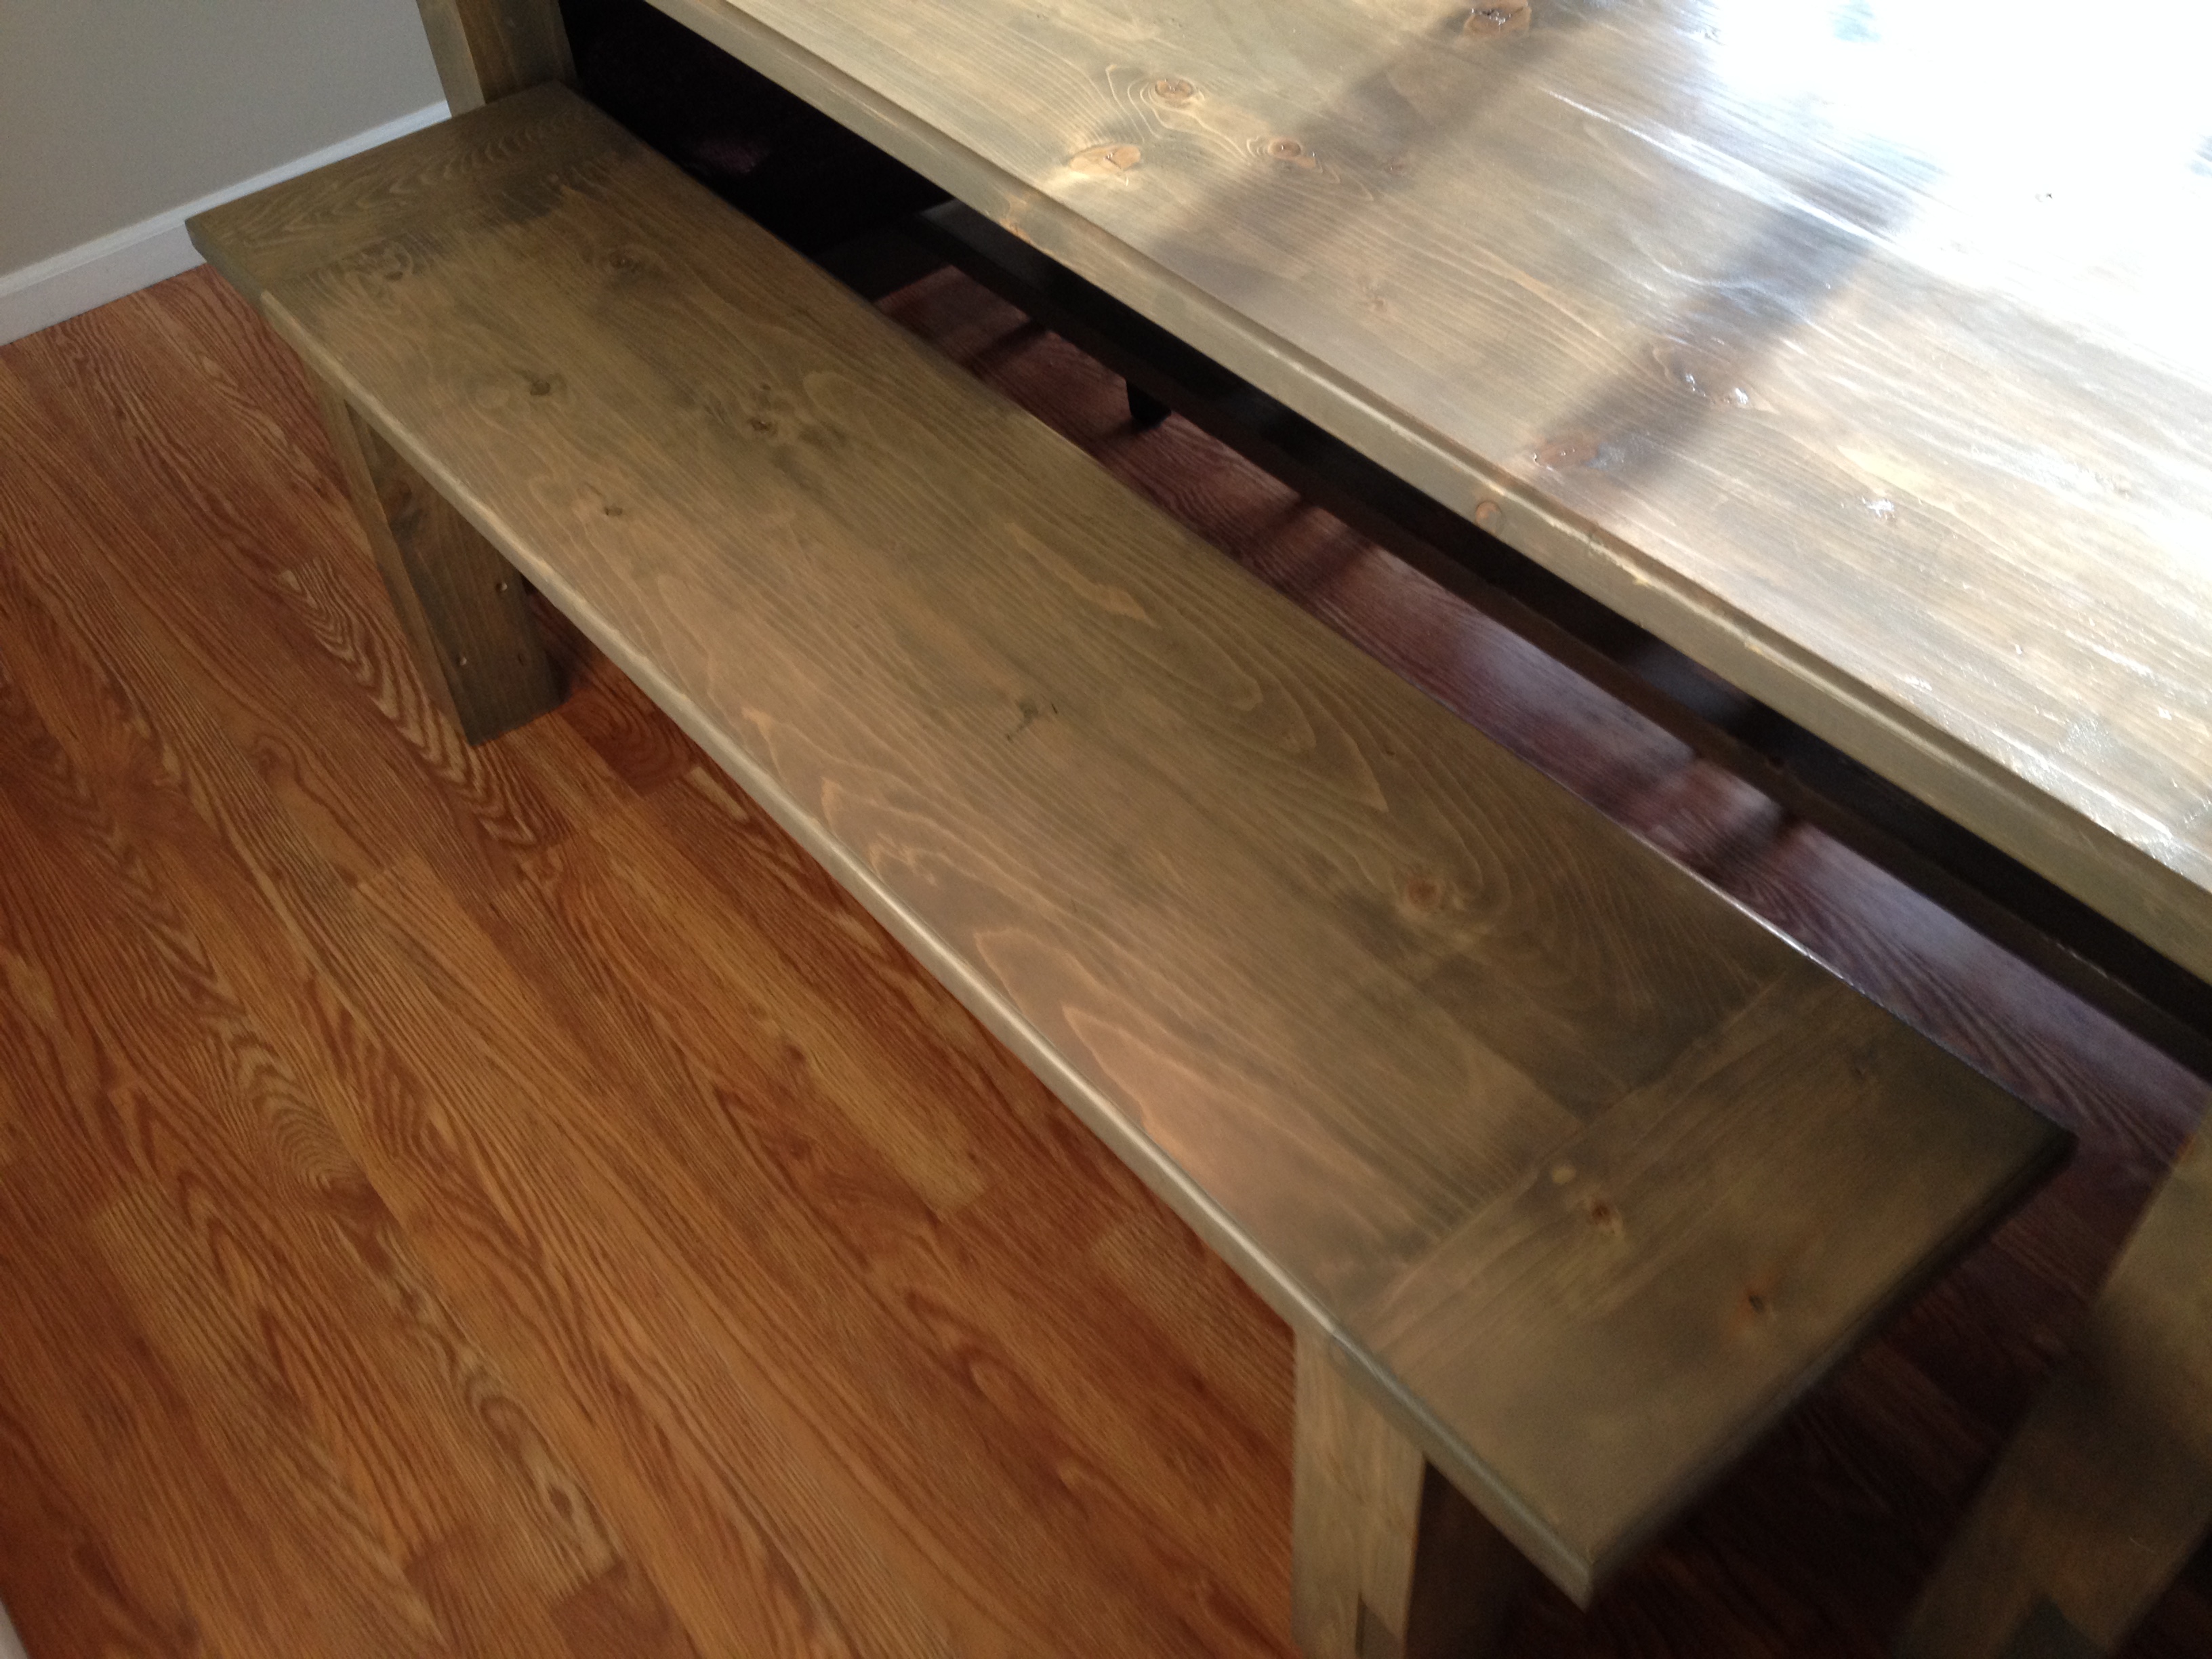
My wife and I recently built this farmhouse table with her grandpa. It was a lot of fun and we are really happy with how it turned out. The table is 80 inches long, 43 1/2 inches wide, and 31 inches tall. The extensions are 15 inches long and 43/1/2 inches wide, and the bench is 61 inches long, 15 inches wide, and 19 1/2 inches tall.
It tooks us about 4 weekends (around 32 hours) to finish the project and the included rebuilding the base of the table after our first one cracked.
We modified the plans a bit. We used 4x4s instead of glued together 2x4s for the legs on the table and bench.
We also used the plans on this blog (http://tommyandellie.com/?p=2582) as a guide.
This was the first time my wife and I have tired a DIY project and we had a ton of fun. Her grandpa had some experience with wood working and had all of the tools we needed but you can certainly do this without any extensive wood working experience.
Sorry for the duplicate post. This is my first time on the website and the first time I posted it came across as 'guest'
Tue, 08/16/2016 - 13:34
I forgot to mention that with the extensions the table expands to 110 inches.

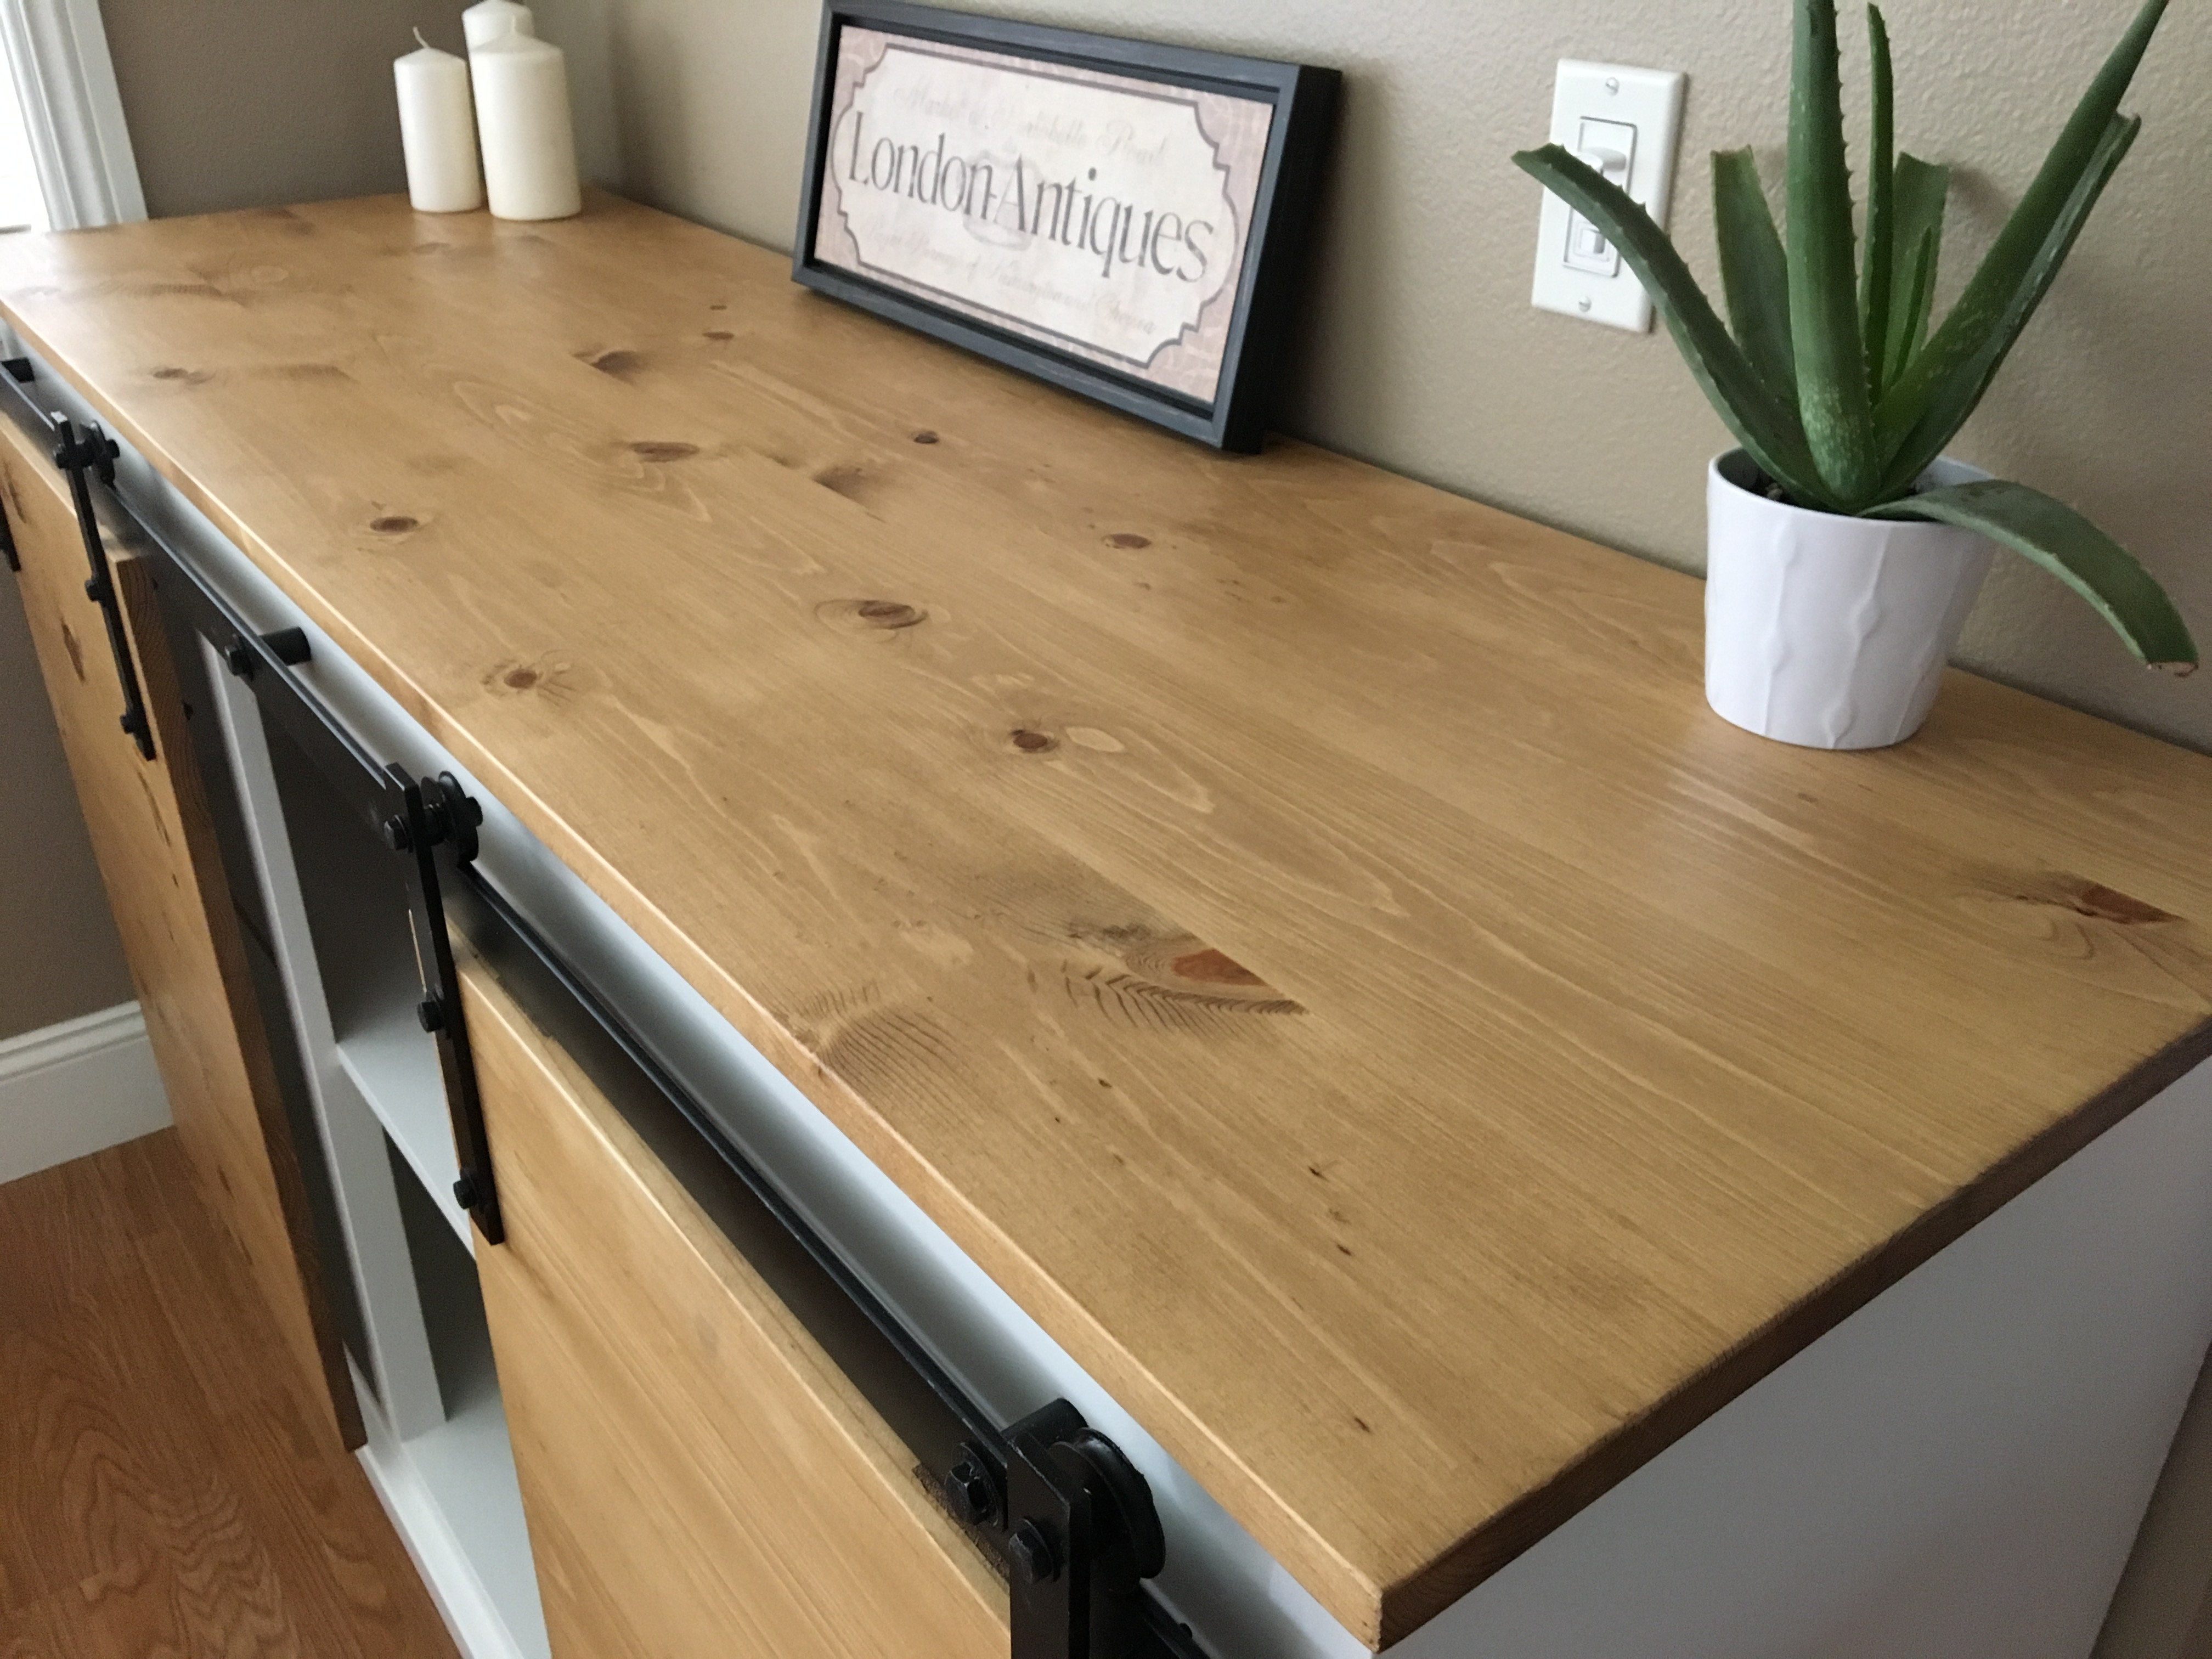
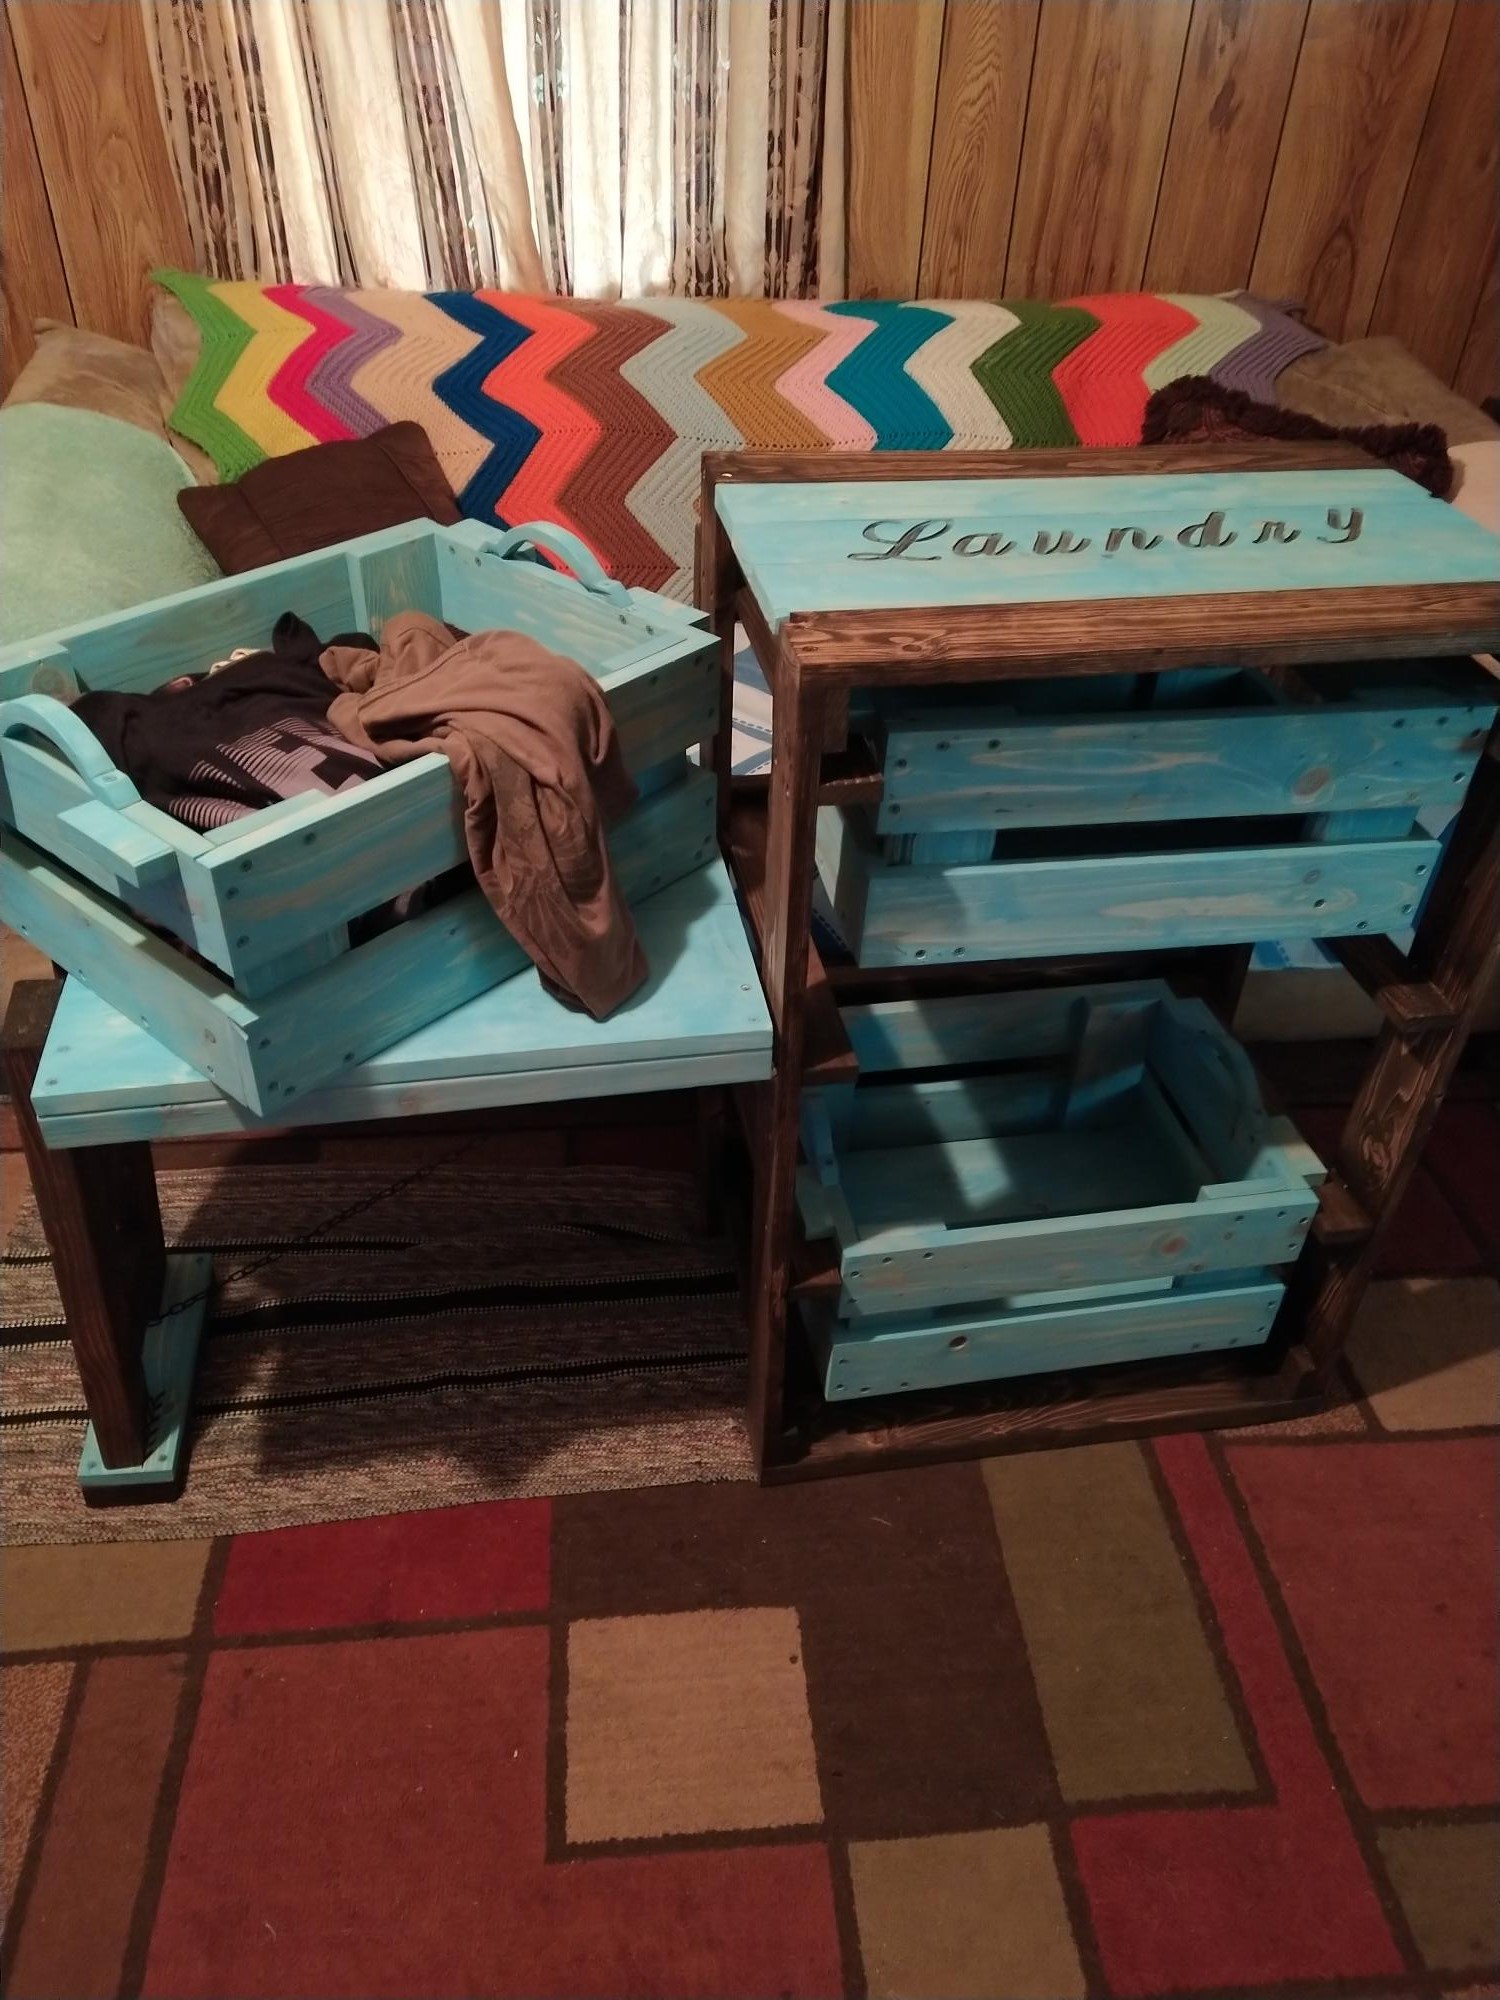
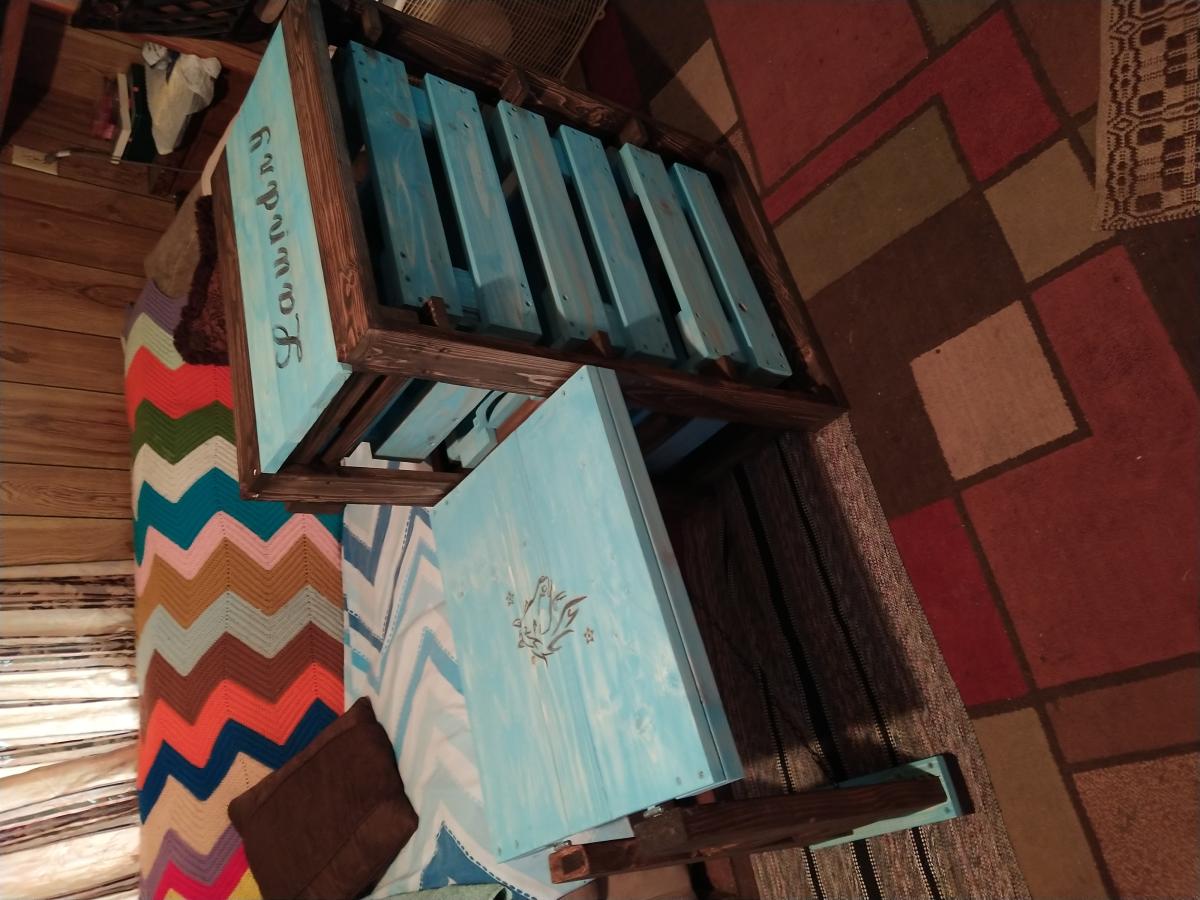
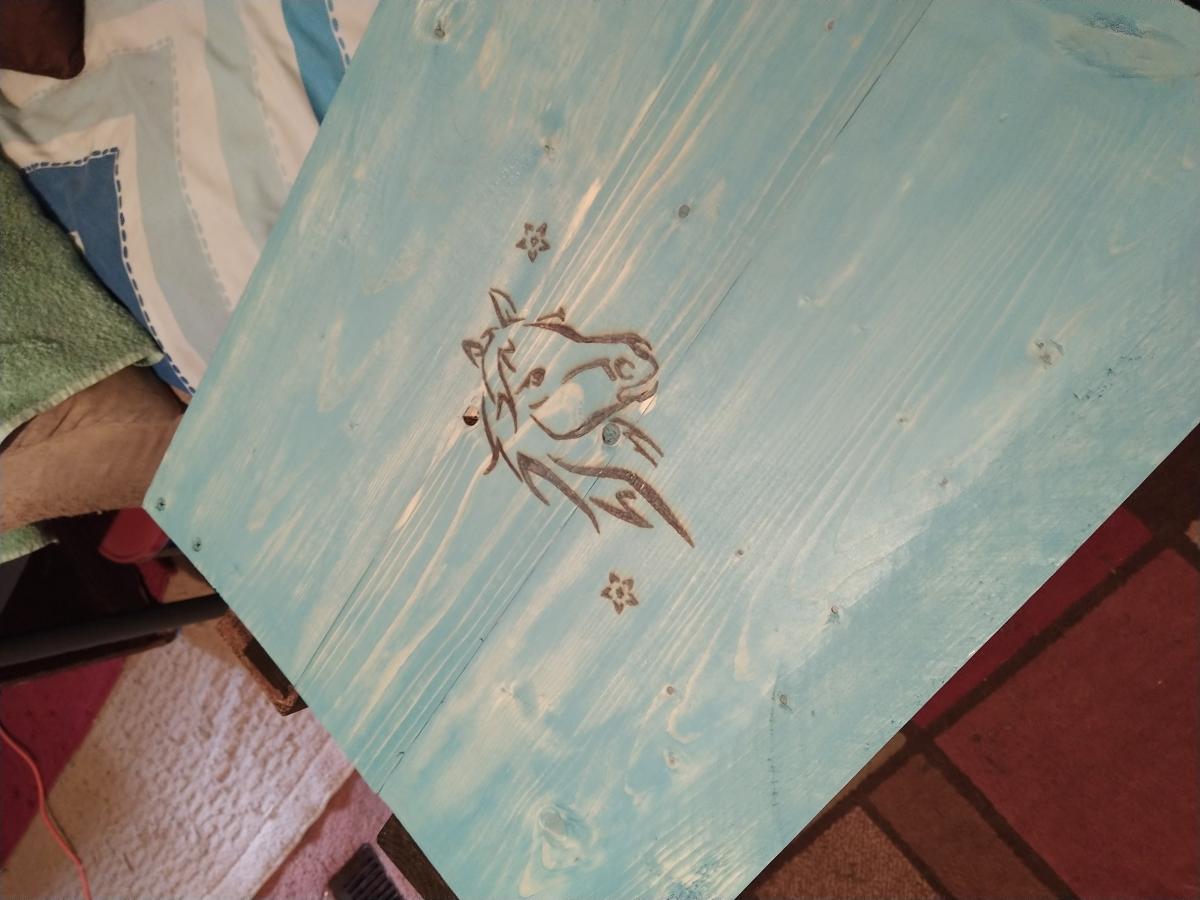
I showed my wife the Laundry Dresser featured on Ana White's website and she asked if I could make one for her, but not quite so tall. I also turned the orientation to fit our laundry room space. I used primarily oak from recycled pallets to build the Laundry Basket Dresser. She wanted a work space on top, so folded laundry, empty baskets, etc. all have a temporary resting place depending on the day. From start to finish, it took me about 6 hours. She plans to stain the piece at some point, but its already in use, so I'm not 100% sure that will ever happen until we move or something. ;-) Great idea and laundry room organization!


Sat, 09/08/2012 - 17:39
Great job on this!! I love the open sides!! Thanks for sharing. :-)
Mon, 09/10/2012 - 10:22
I love the open sides, plus it makes it much more feasible to build with scraps repurposed wood, which I love. Thanks for the inspriation
Sun, 10/19/2014 - 06:16
I have a pallet sitting against the garage that would be perfect for this
Looks fab, great job.
Fri, 01/09/2015 - 12:27
Hi, I really like this project but was curious what size laundry basket you are using in the project?
Sun, 06/14/2015 - 20:16
Soooo I made this according to the measurements and no laundry basket I find fit. Kind of dissapointed in the fact that this cool thing I just built doesn't have any baskets that will fit it. Any advice on finding a basket that fits?
Fri, 07/10/2015 - 20:14
Same here. No basket fits. Did you ever find one?
Fri, 07/10/2015 - 20:56
I think the idea is to build it to fit the baskets you have or buy some and build around them.
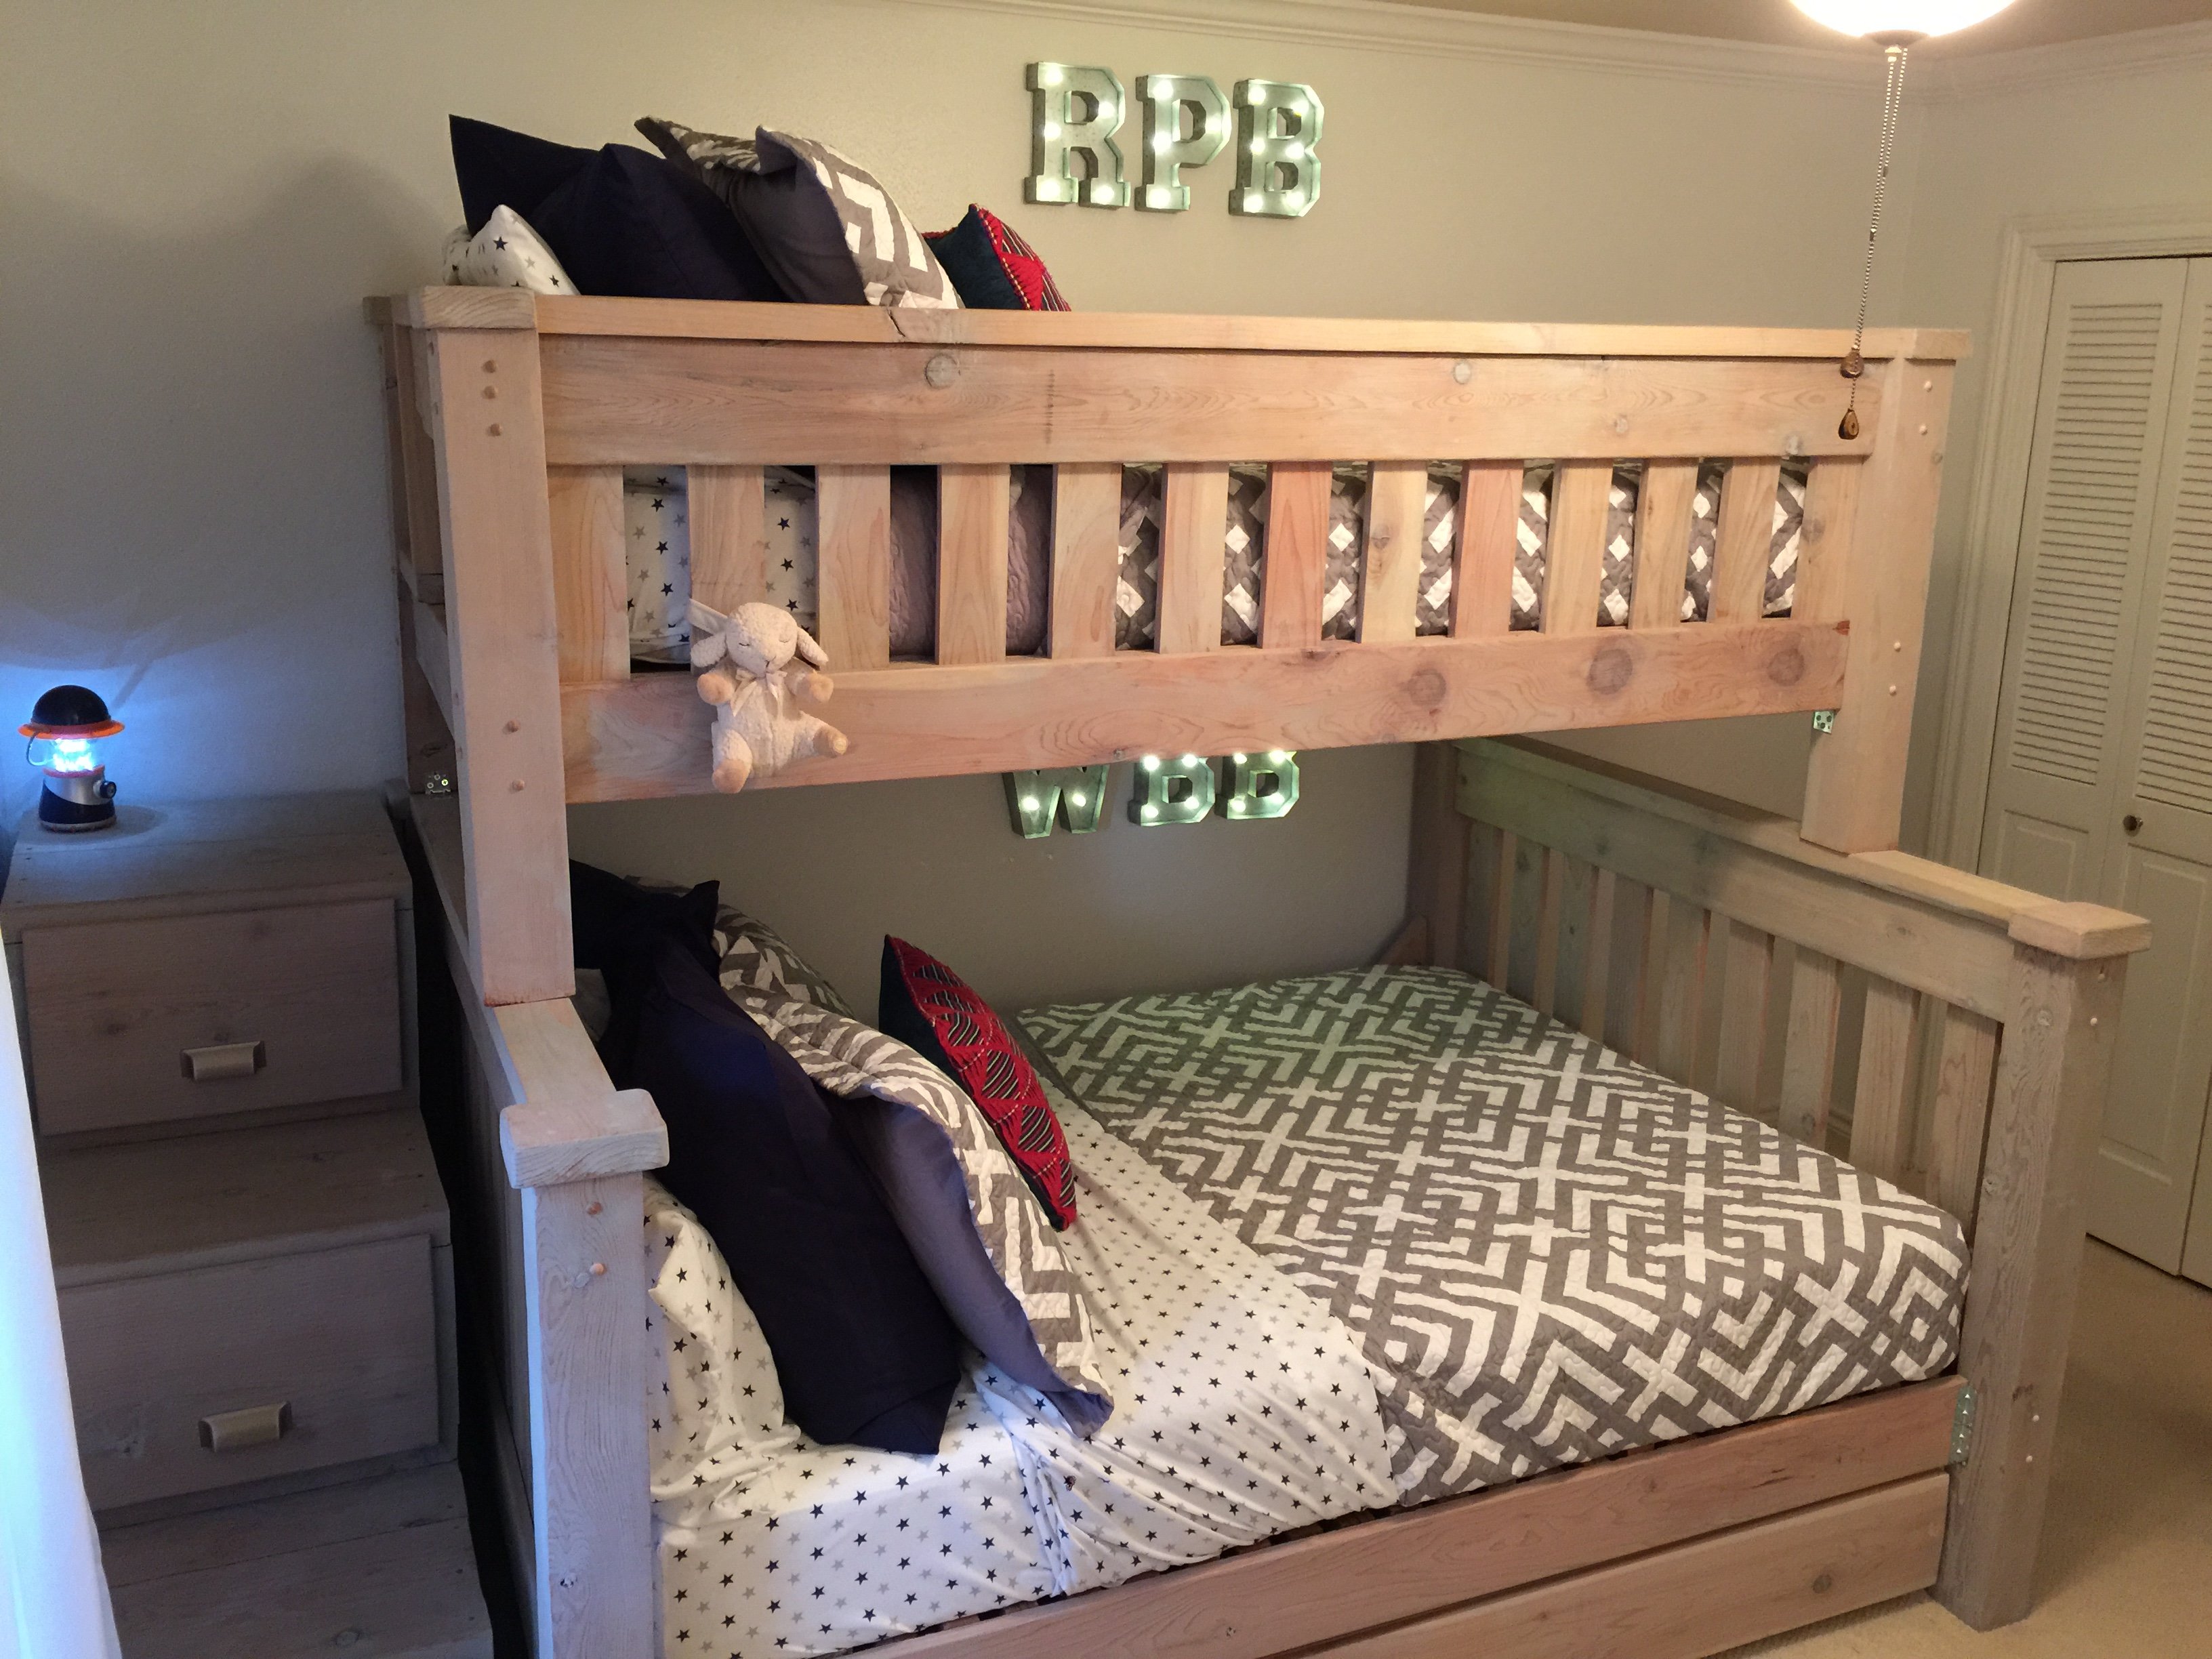
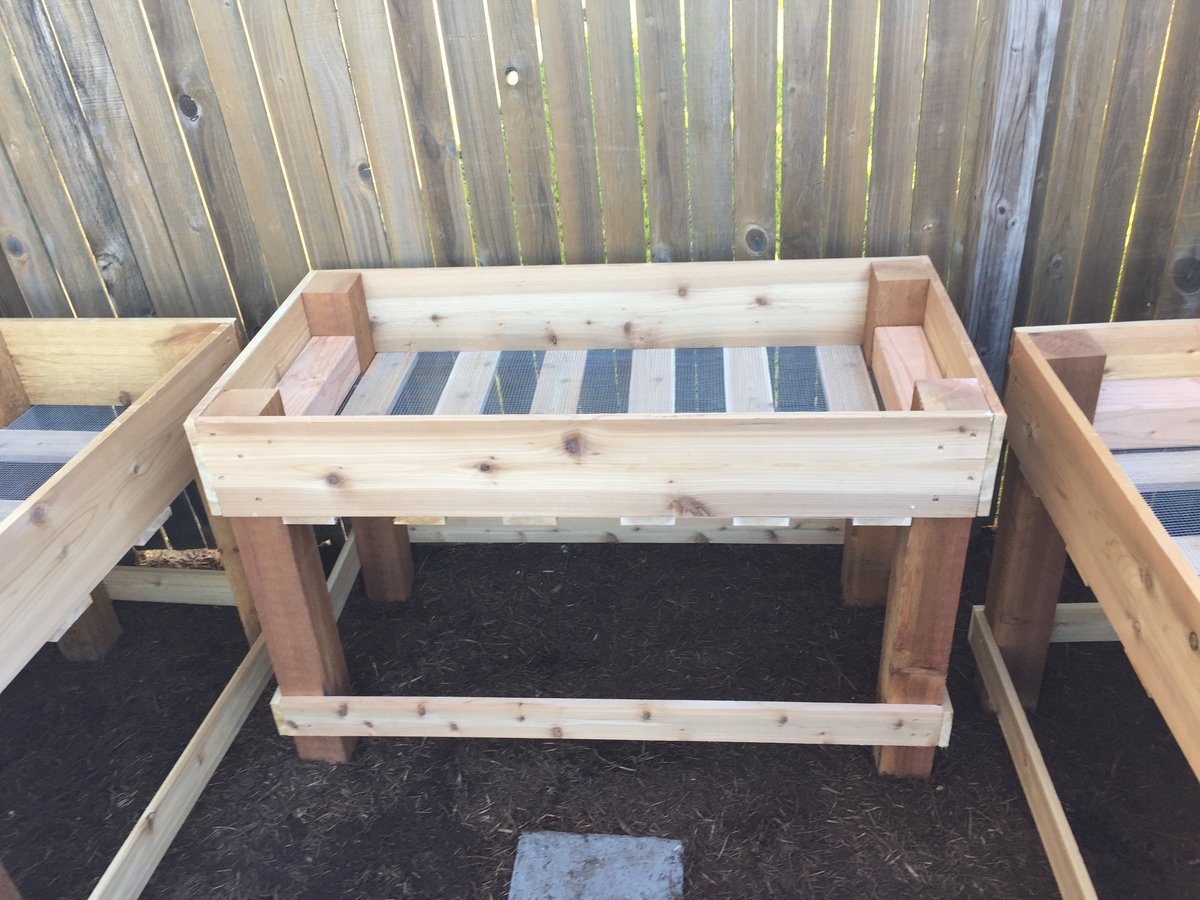
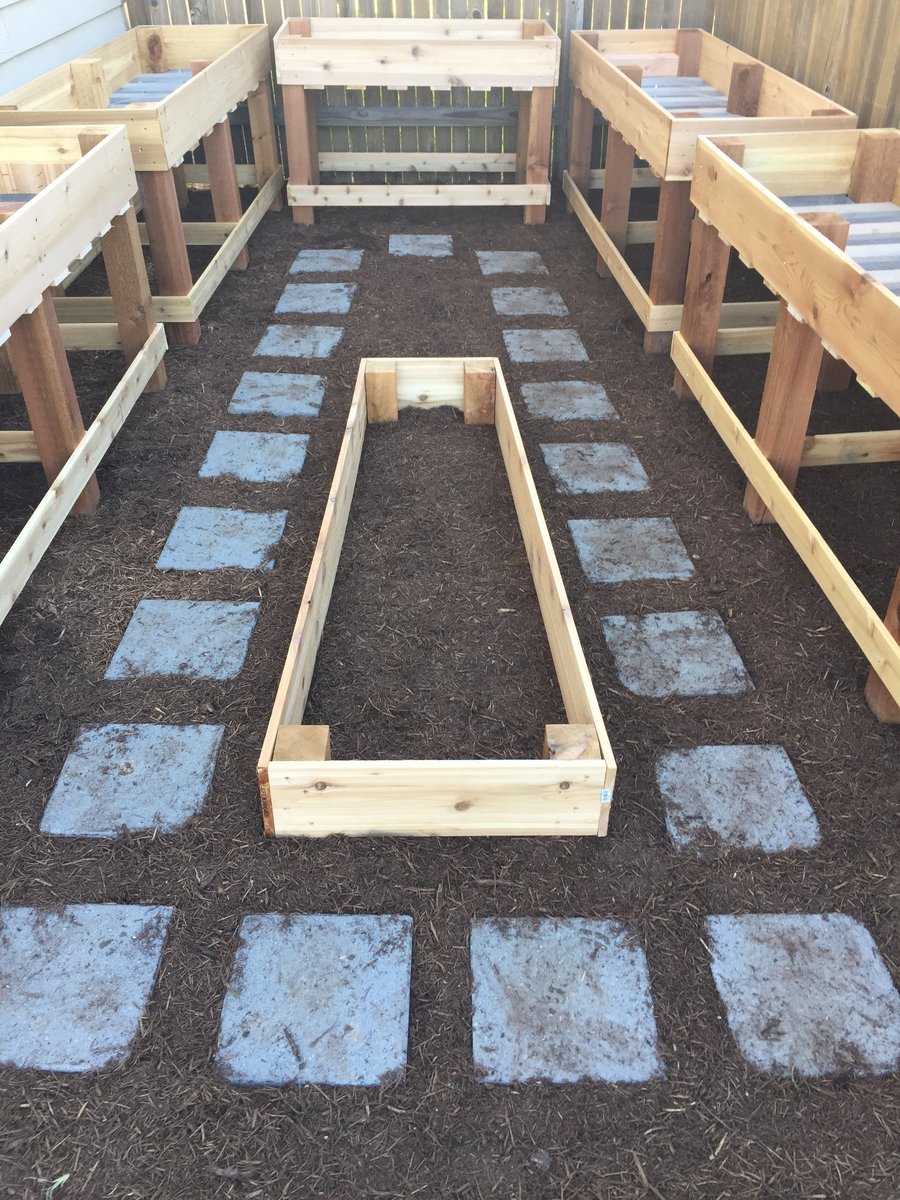
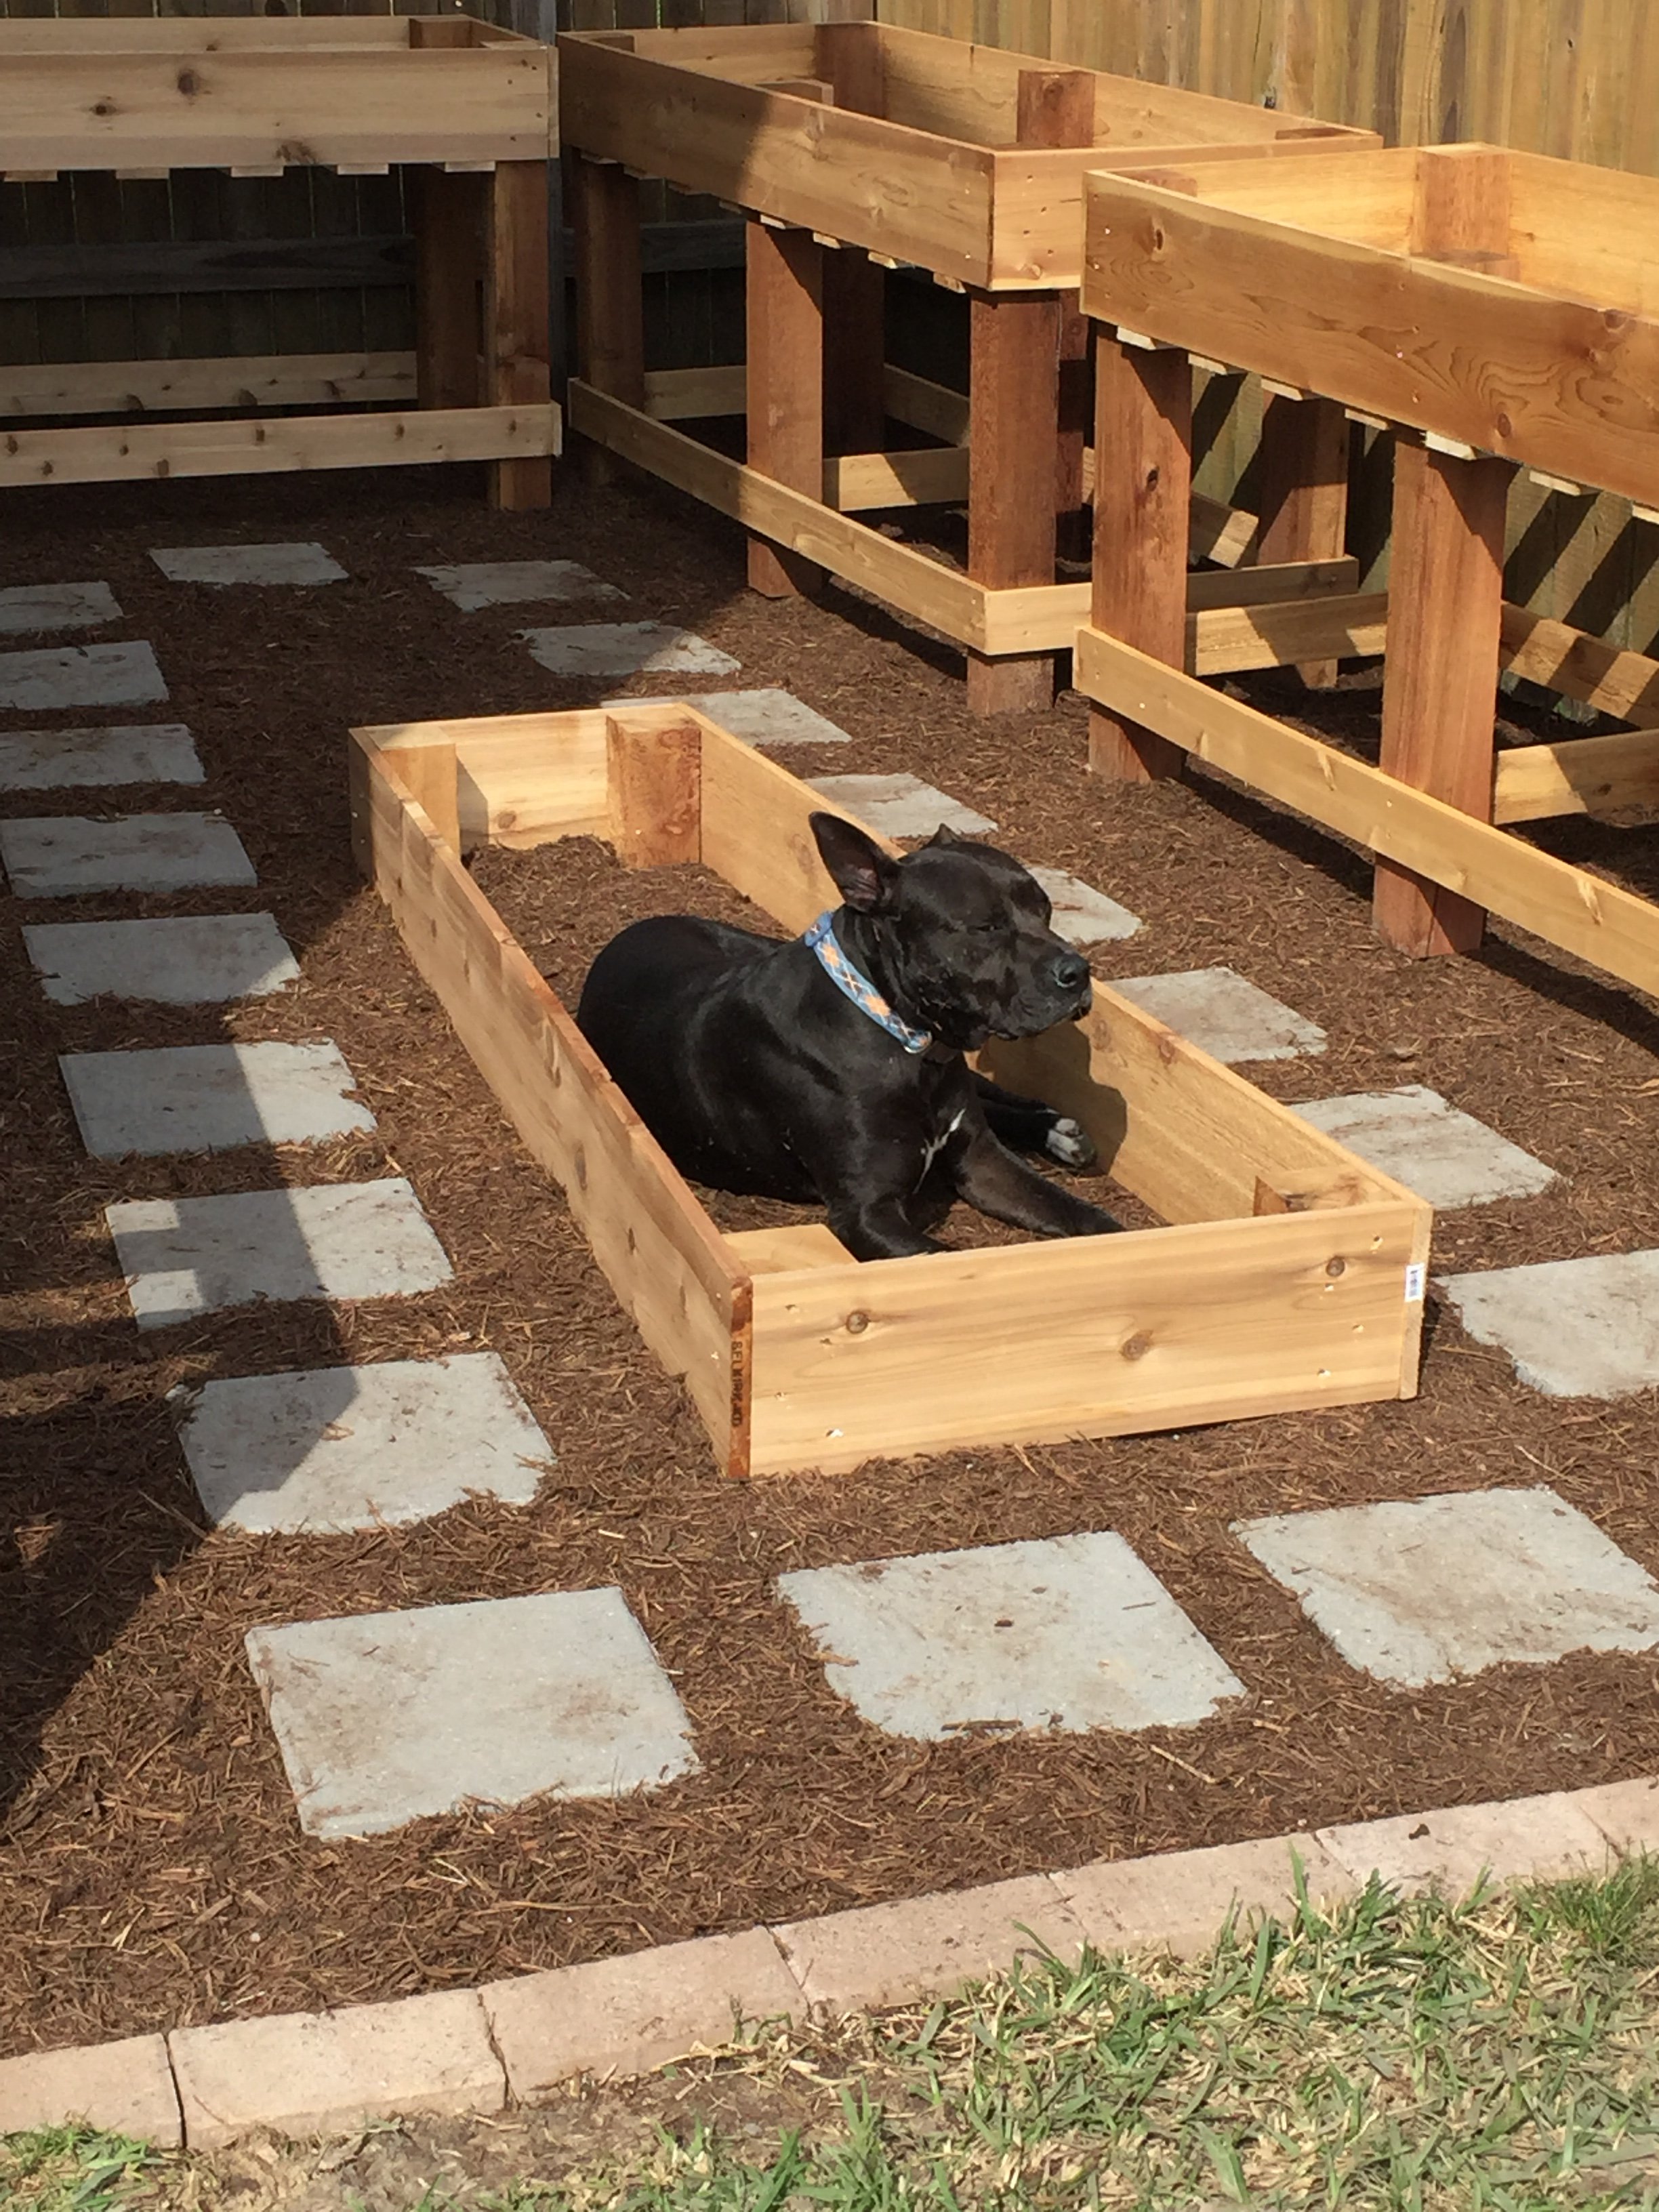
This project took a week to build. Working during my boys' nap time and late nights, I was able to complete everything in about 7 days. I used cedar, and sealed with Cabots Bleaching Oil. The cost of wood for the beds and stairs and drawers came to about $700. The extra cost came from the additional side rails on the top bunk and the stairs and drawers. Still comes in about $500 less than if bought commercially. The famiy loves the bed and as my kids are 2 and 3, I expect to get many years out of the bunk bed. Side note: I had to add quite a few brackets and angle joists to secure and minimize wobble due to the additional weight of the top bunk. (2 2x4s from the 4x4 to the side of the cleat and side rail of the bottom bunk, on the back side only, made a world of difference)
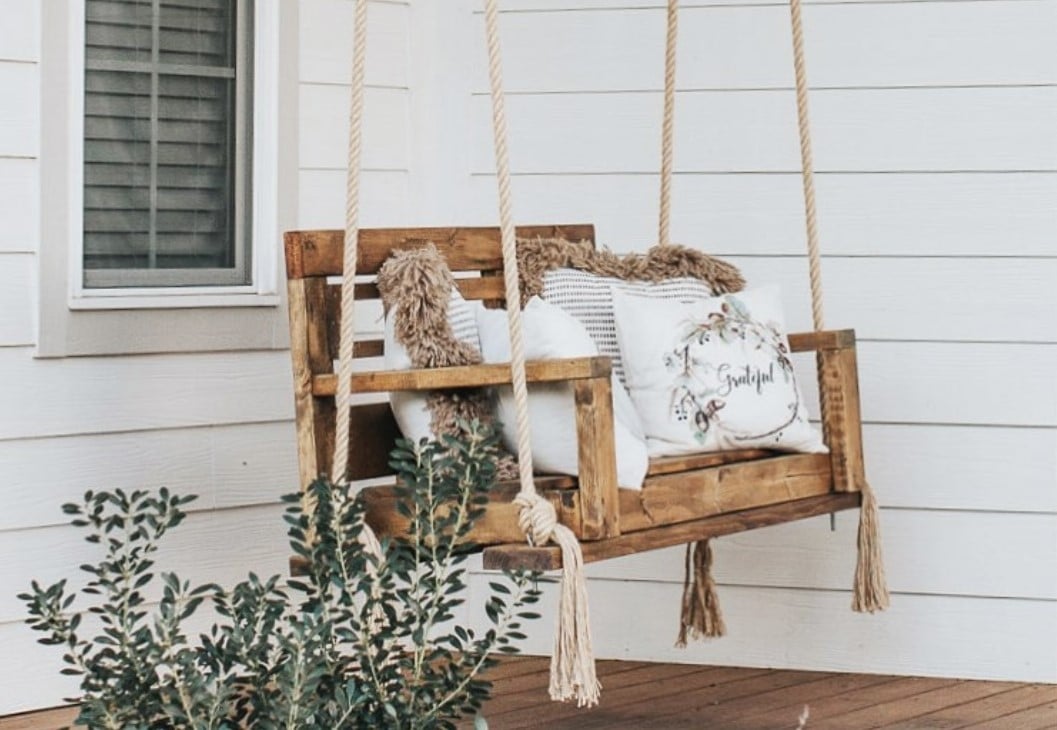
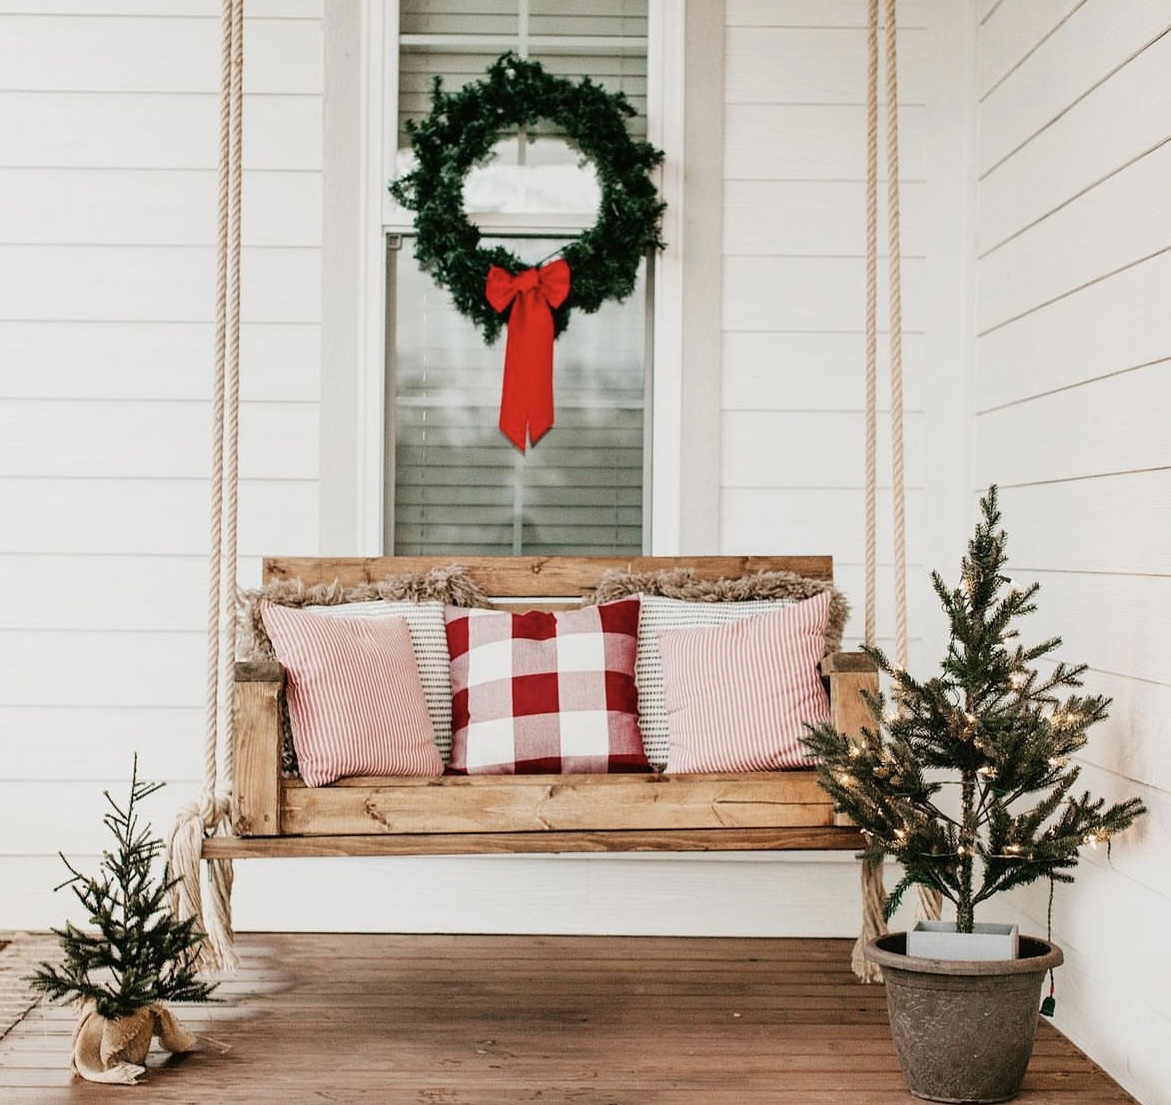
DIY Porch Swing - Perfect for any season!
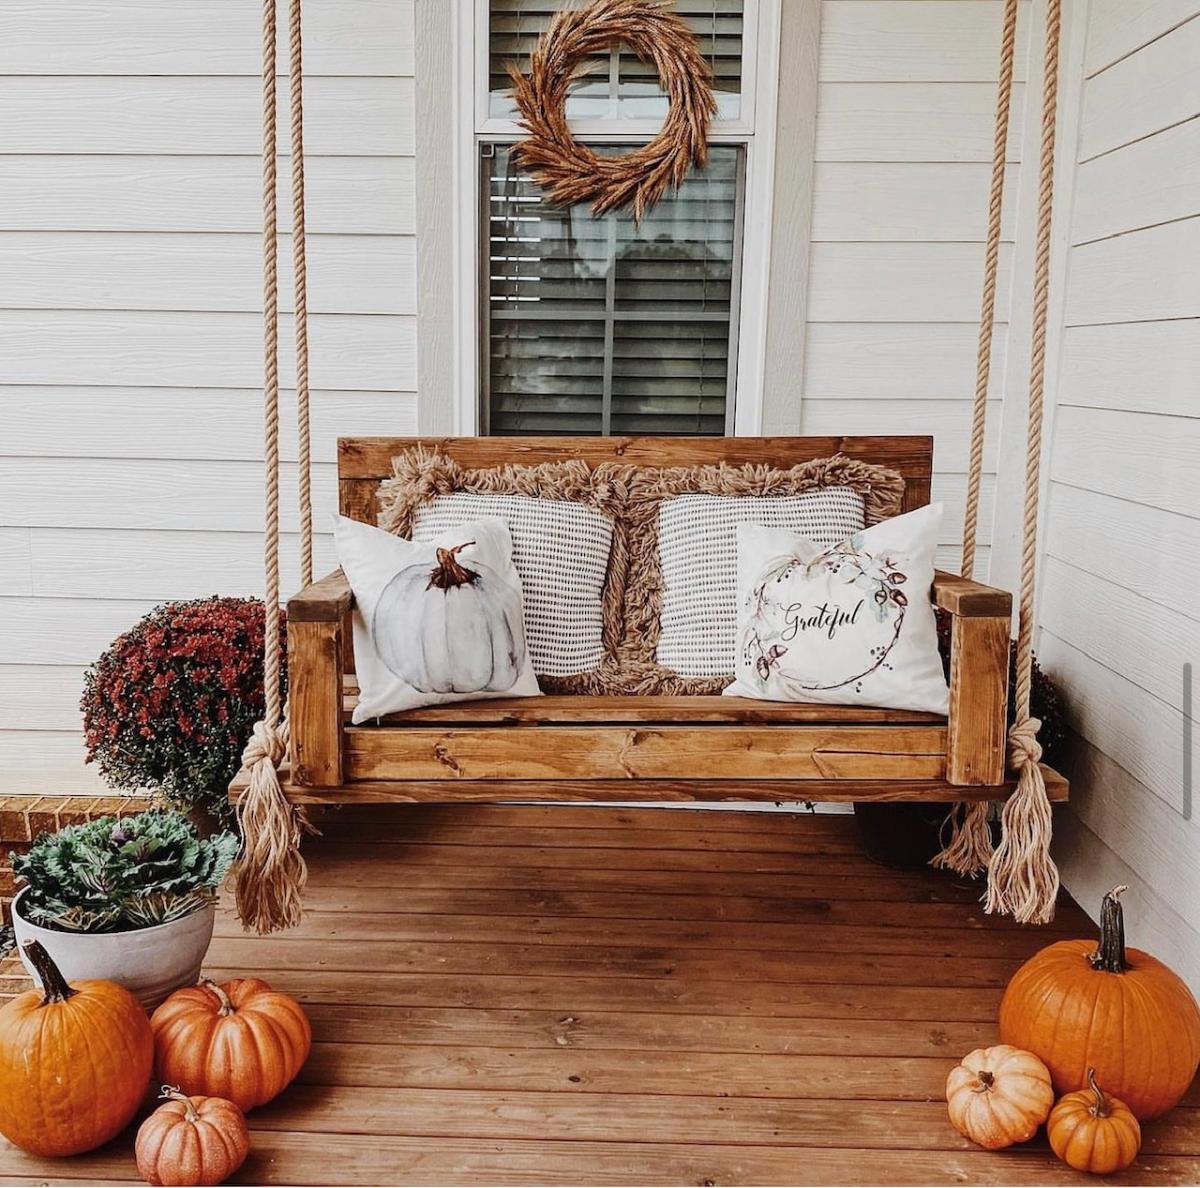
Used a clear cedar stain and mostly used jig holes
On the chairs added a 6 inch screw to hold the chair arms securely to the back in case someone sat on the arms.
Matt
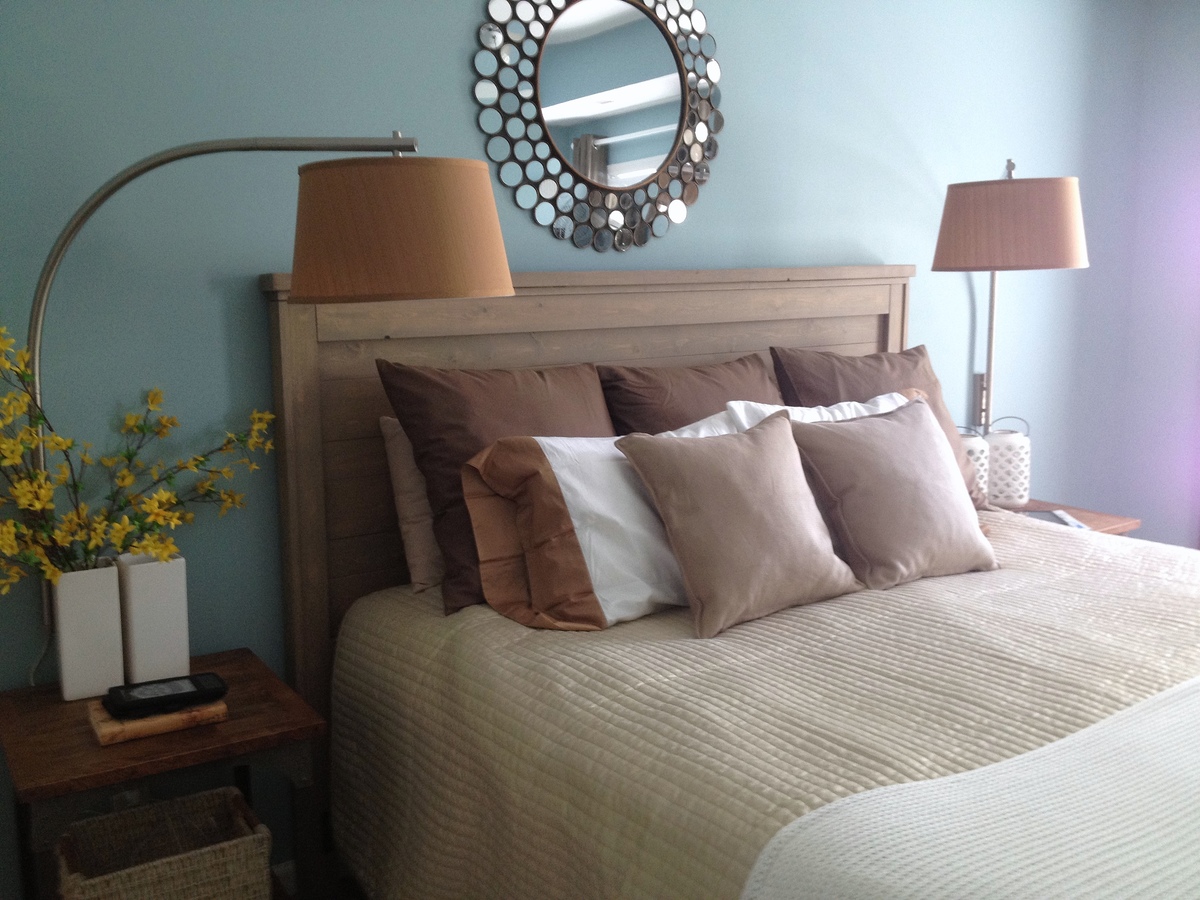
My Awesome husband made this great bed from one of Ana's plan and I stained it!!

I built this for my daughter after Christmas sinse she had the living room covered in toys. The dimensions are 37" x 18" x 20"
Tue, 01/09/2018 - 05:51
HI Anna,
Can you provide more pictures or instructions on how you assembled this toy box? i want to make one just like it!
Thanks!
Wed, 03/10/2021 - 16:31
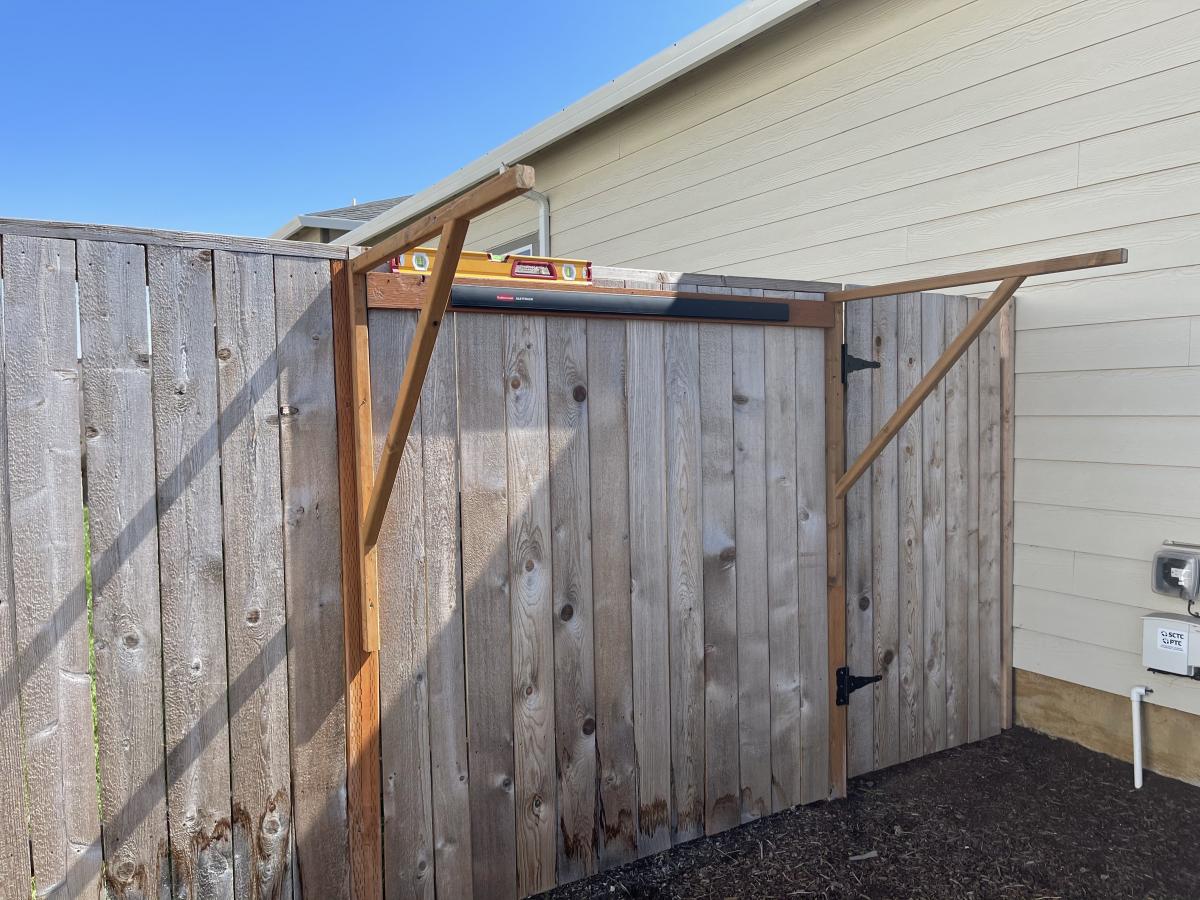
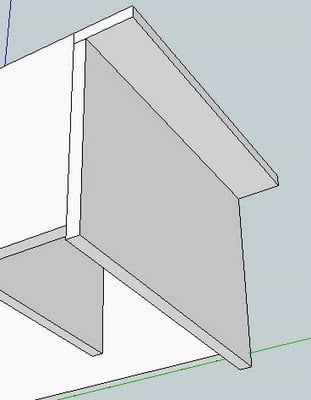
Looking at the wall panels they look like the long edge of each panel has a small bevel cut on it. This gives each panel edge a more pronounced or well-defined edge? Is this true? Was it done with a router?
Click the blog link for a full description of this project. Thanks for looking! - Clint


We went off the Farmhouse table and bench design but had to customize the length of the table and bench so that it fit in our kitchen space. The table was our first ever project and we made a few mistakes but learned from them and built the bench and are hoping to move up to the Farmhouse bed and then the fullstorage bed.

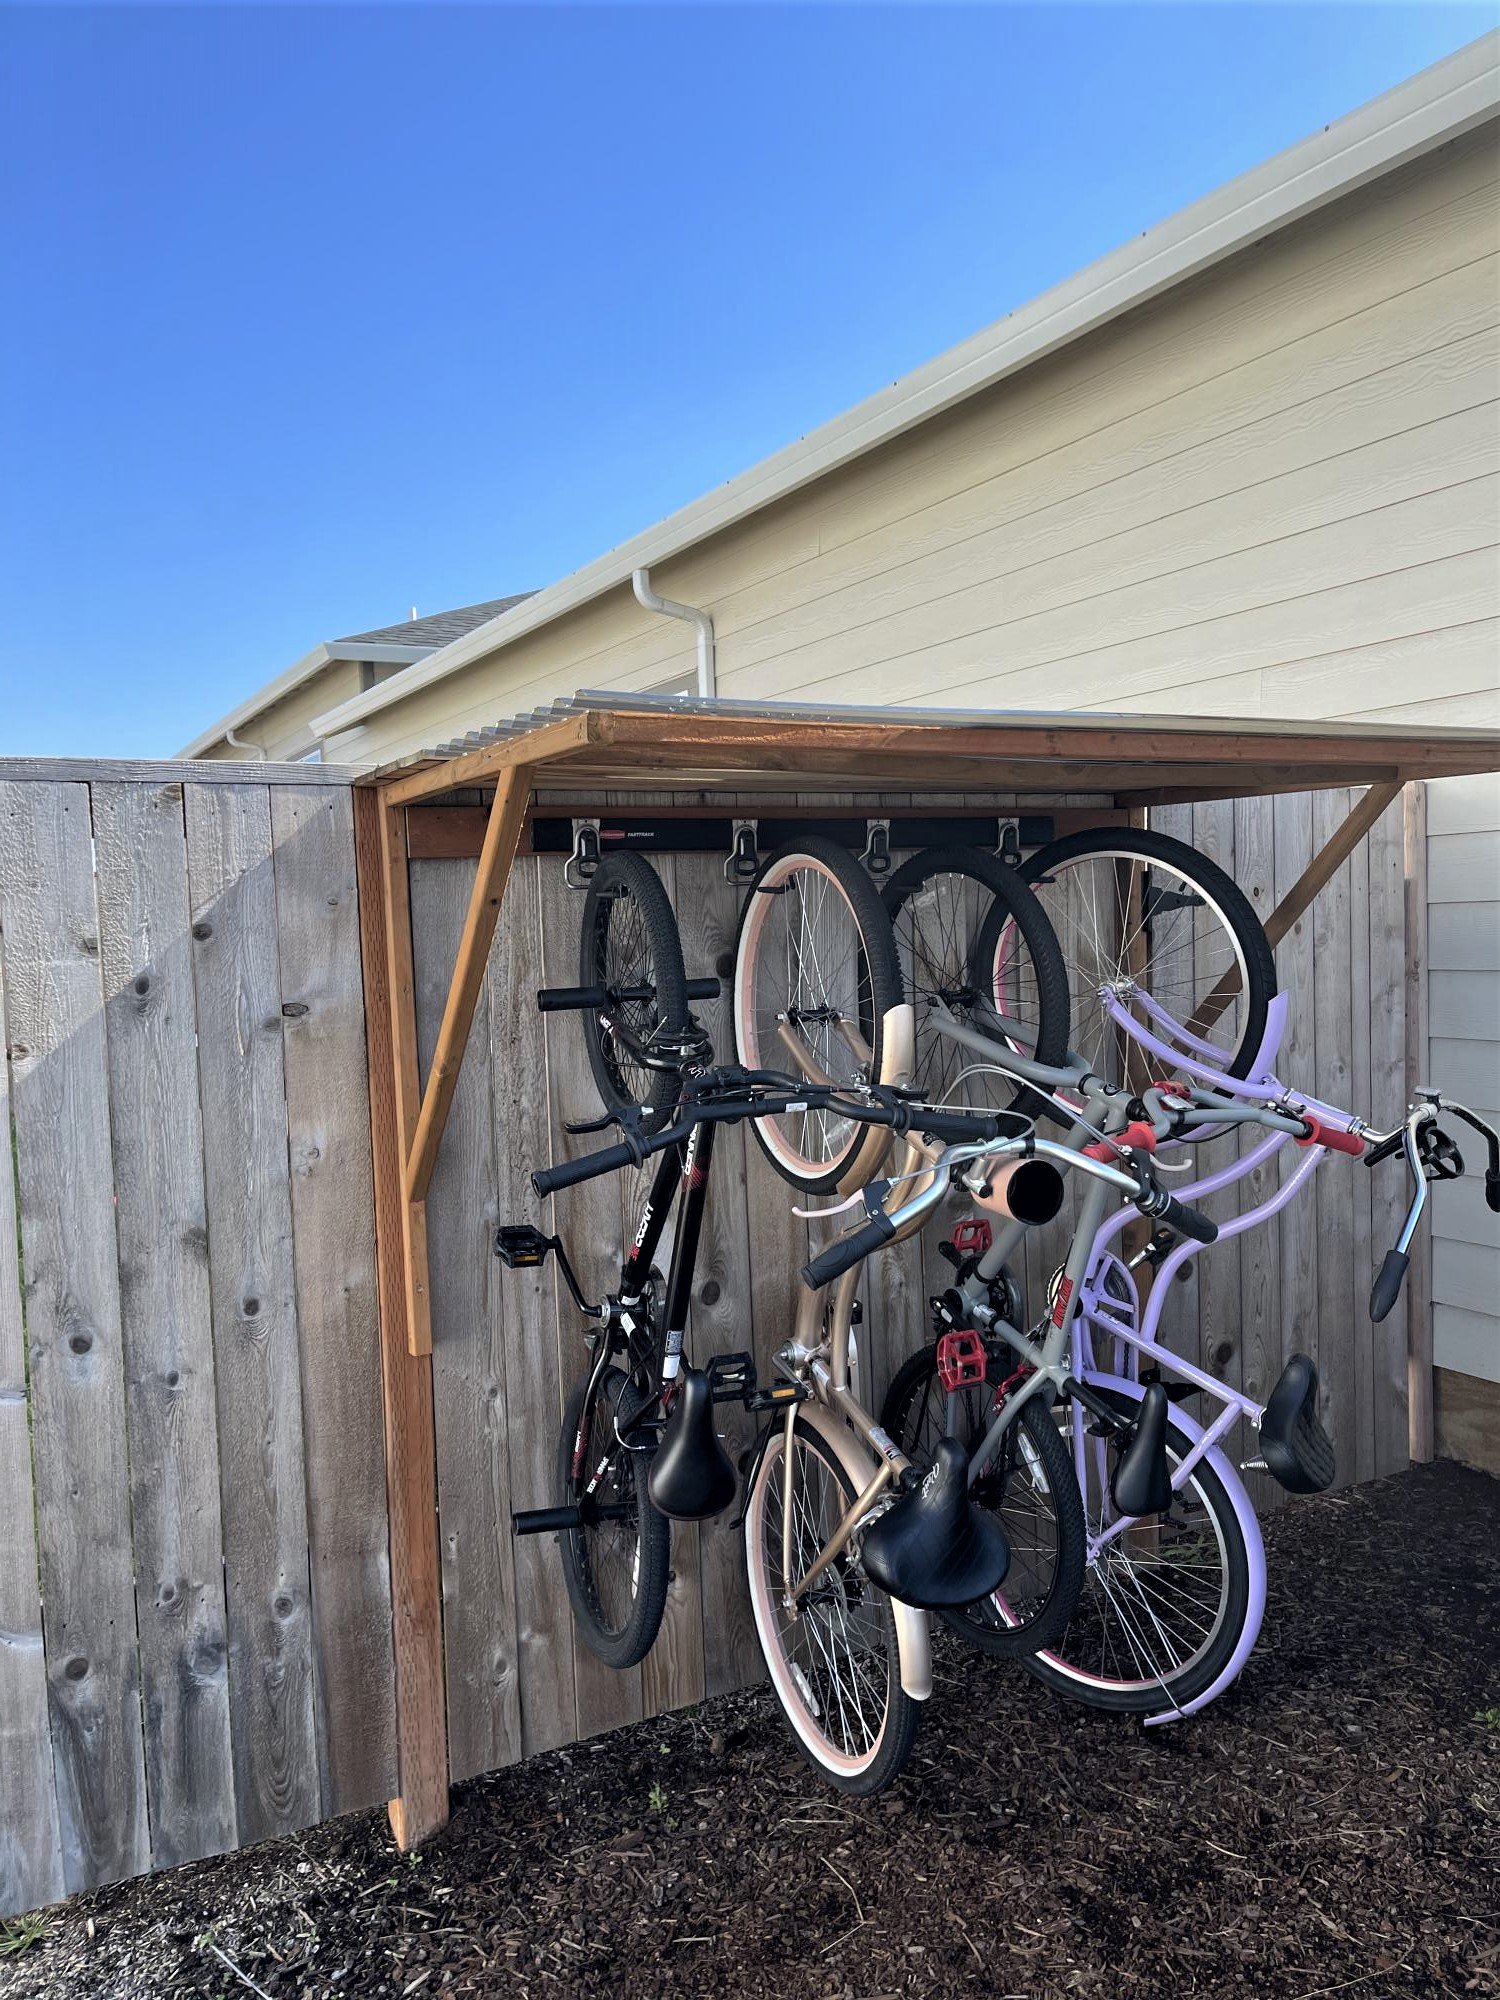
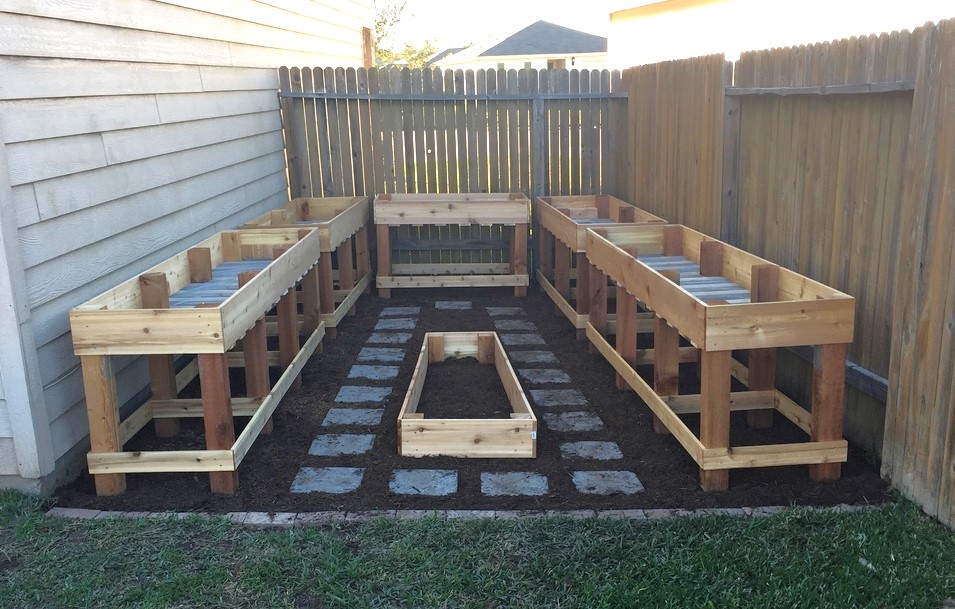
I live in a smaller rental with limited garage space, so I needed a place for my kids bikes. This is what I came up with. It required minimal screw holes in the treated fence posts and I attached a rail system(rubbermaid fasttrak) for the bikes to hang from. I used Ana's easy shelves plan for the upright supports and then just added some corrugated roofing and cedar fence pickets (which I had on hand) to finish off the top.
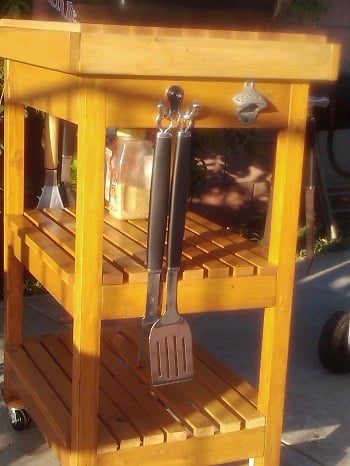
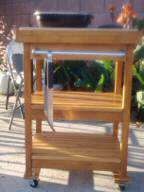
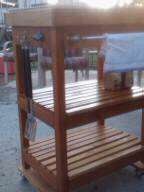
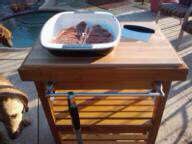
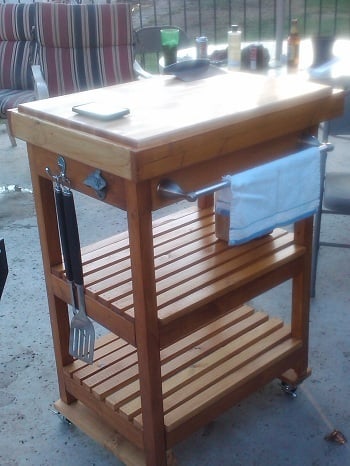
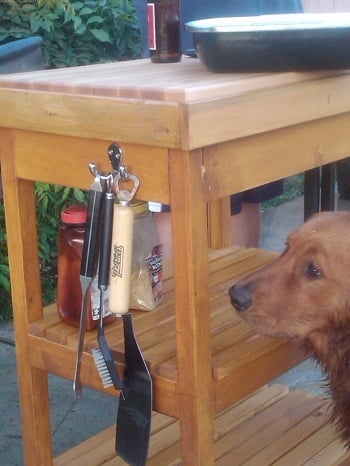
This started out as the Outdoor Multipurpose Cart....and after my hubbies evergrowing wishlist, it quickly become THE GRILL TROLLEY EXTRAVAGANZA!!!! I added the bulk and the height which he wanted, a John Boos butcher block 24x18, which is removable. Funny thing is, I also sampled Ana's Farmhouse frame to cradle the butcher block! I didn't want to put any holes in the 100 clam butcher block so it has it's own little bedframe. It's totally waterproofed and stained since it's new home will be beside the pool. I used all Kreg joints, so you could sit on this it's so sturdy. I also added 2.5 inch locking casters for the bottom. There's a stainless steel bathroom towel rack which doubles as a handle, lots of hooks for his BBQ paraphenelia, and the most important addition...The Guinness bottle opener. Totally hubby customized. And the best thing> I did it myself, setting it aside whenever a problem arose, but always coming back to it. This was originally a Papa's day present
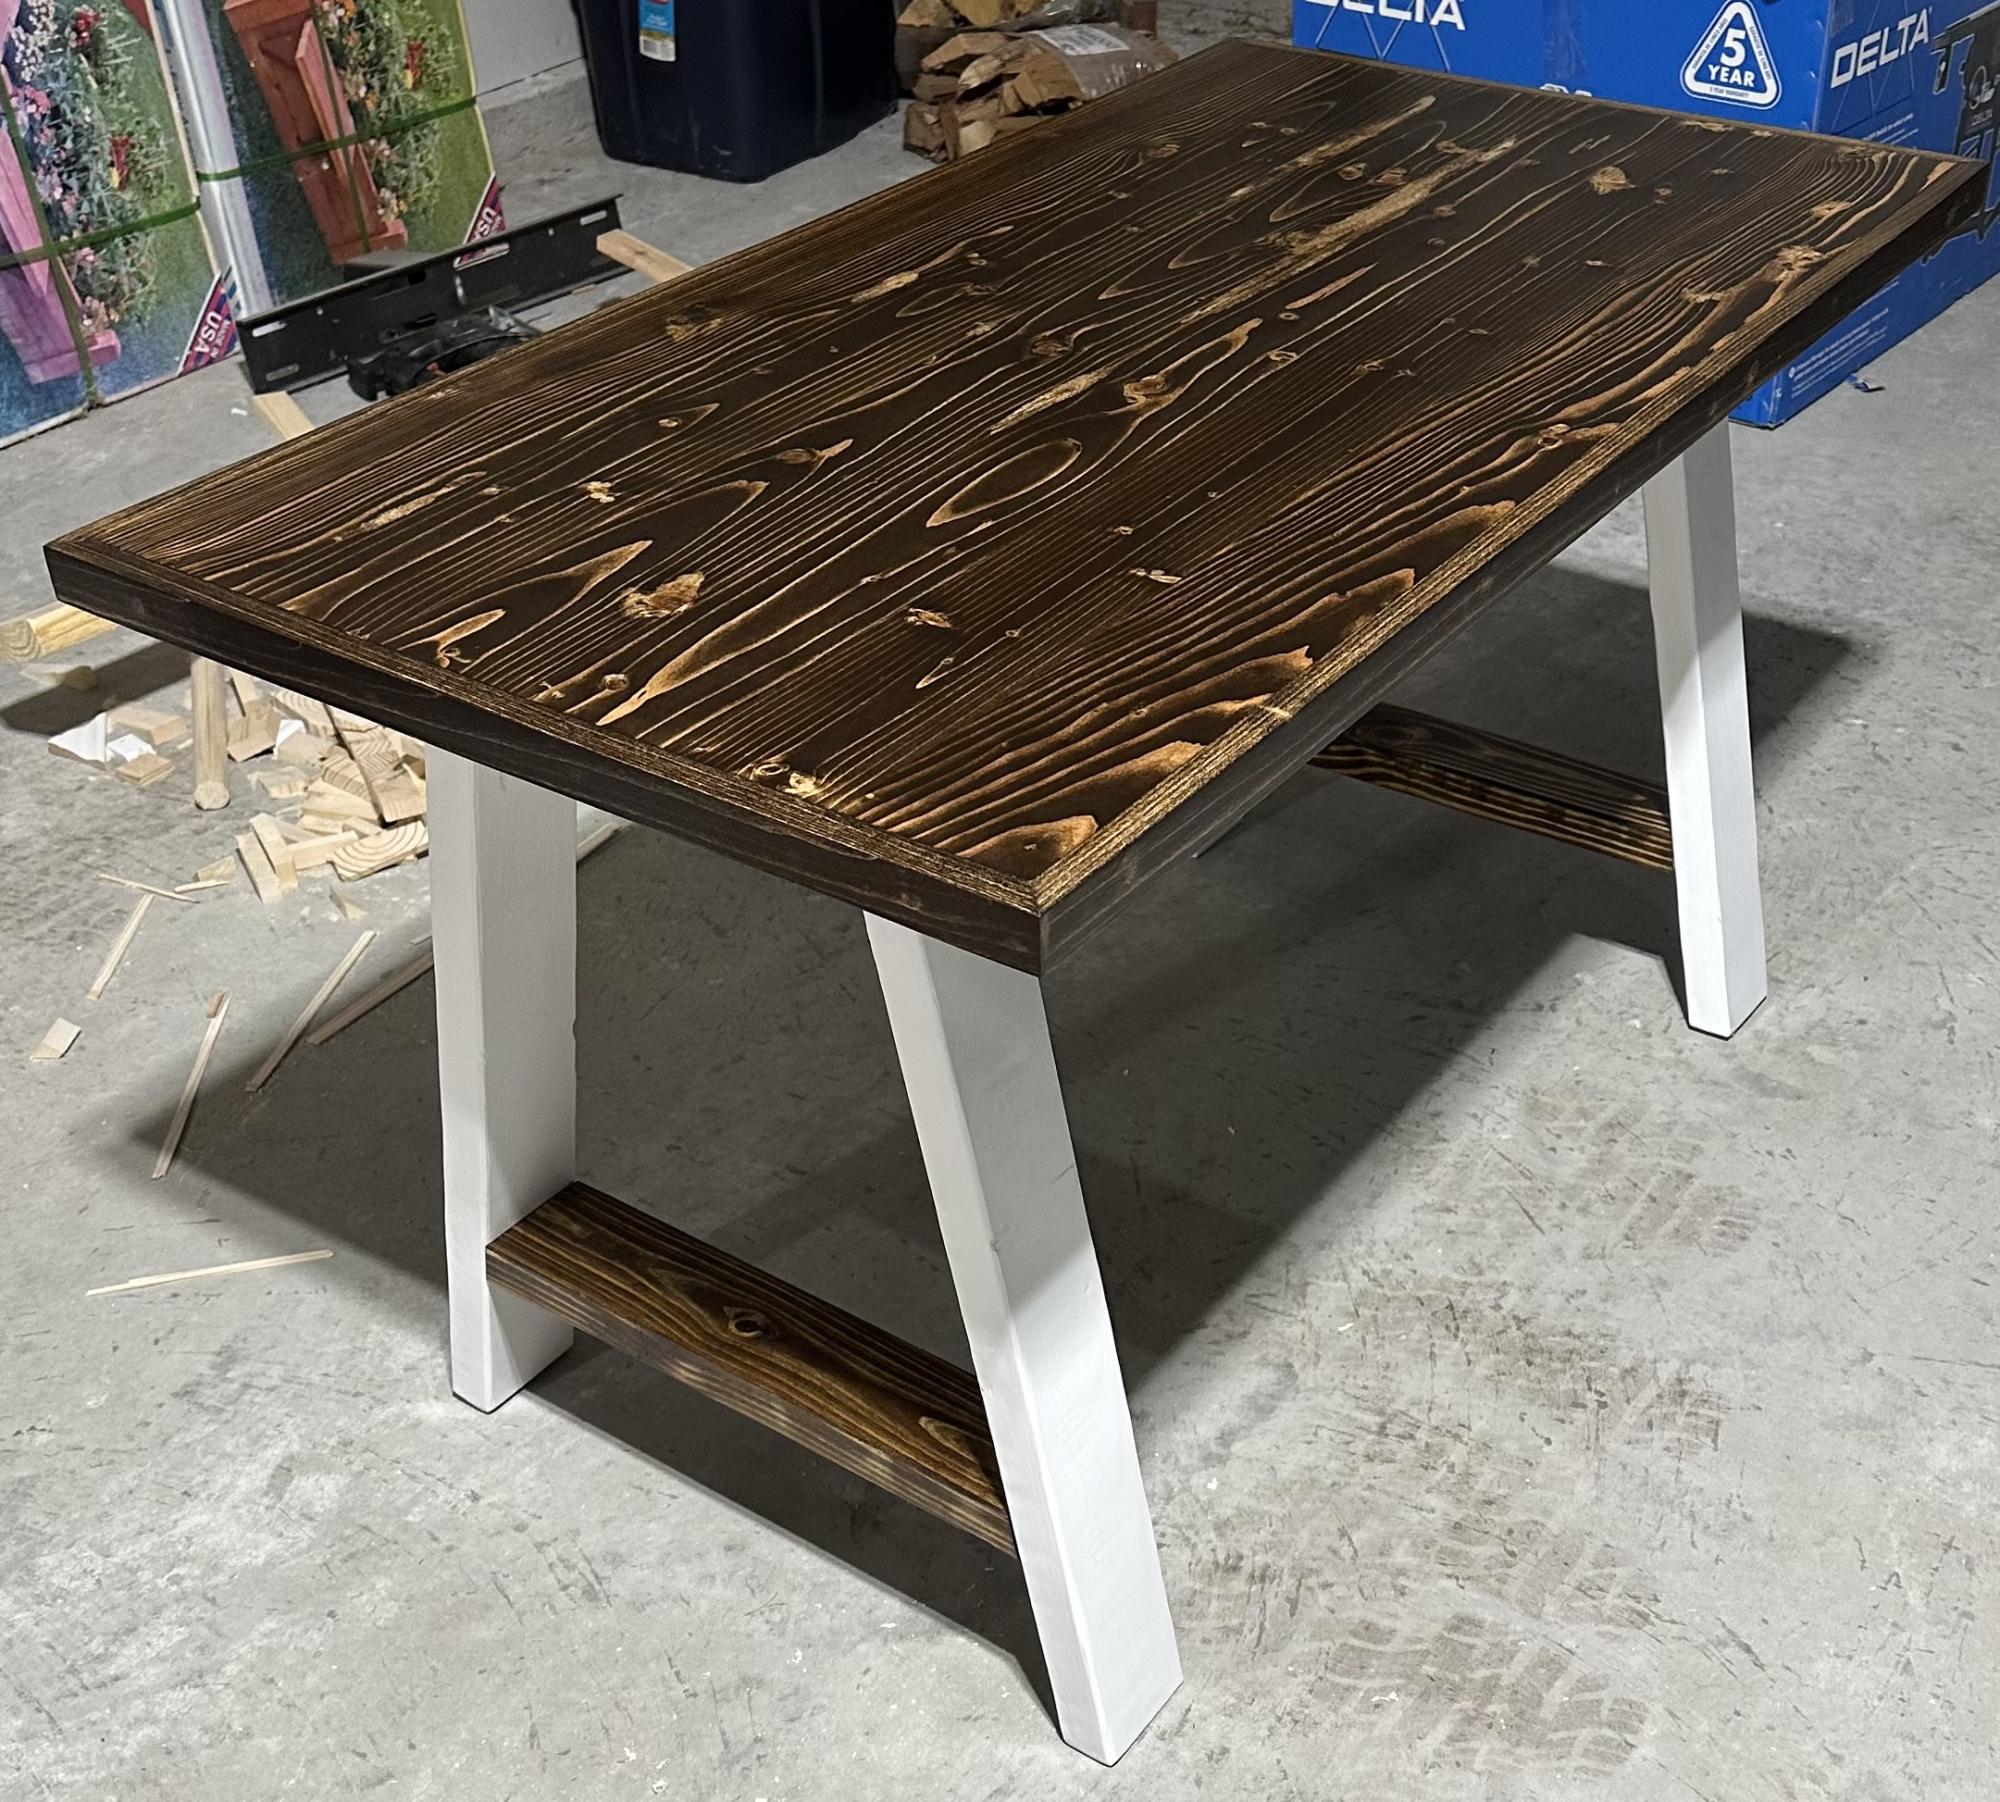
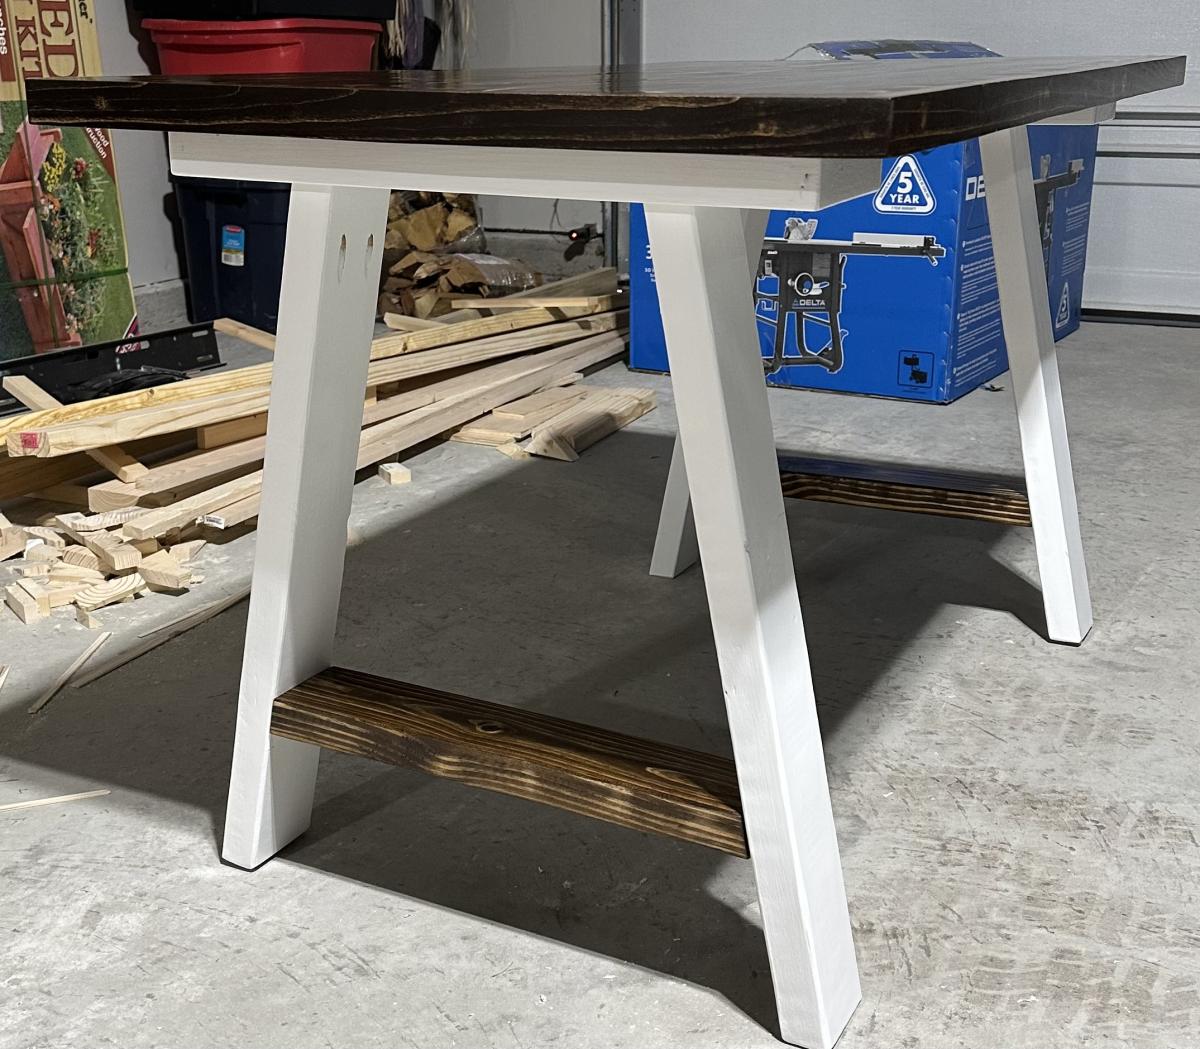
Started with simple small trestle desk idea. Decided to edge glue the top. Finished with poly and paste wax. Didn’t turn out too bad for the first project.
Mon, 05/08/2023 - 09:47
The two tone finish looks awesome, can't wait to see what you build next! Way to go:)


Comments
Ana White Admin
Thu, 12/29/2022 - 11:17
Love it!
So pretty and fits so nice in the space! Thank you for uploading a brag post.:)