Community Brag Posts

Sandbox with Benches

Submitted by cscottrun on Mon, 04/13/2015 - 10:33

We altered the original plan by enlarging the sandbox (approx 5' x 6') which made for wider benches that can comfortably seat an adult.  The benches and back rests are three boards deep instead of two.  We added 2x12 supports under the benches for additional support, as well as another 2x4 support in the middle of the backrest.

Built from Plan(s)
Estimated Time Investment
Day Project (6-9 Hours)
Finish Used
None
Recommended Skill Level
Beginner

Comments

Seasonal And Holiday

DIY Wood Framed Console Table

Submitted by schup21 on Mon, 09/09/2024 - 09:35

I was looking for a console table and saw your website while searching various stores online and decided to go ahead and build one myself. Followed your plans for the waterfall console table and I think it turned out great and for a fraction of the cost! Thank you and you definitely gained a new follower!

Built from Plan(s)
Seasonal And Holiday

DIY Breakfast Nook with Storage

Submitted by jfelker on Wed, 10/23/2013 - 08:54

DIY Breakfast Nook

I completed this project in a weekend, over 2 days. The space was an empty void in the corner of our kitchen, so I decided to fill with a functional seating and eating space.

I first removed the trim from the wall, so I could reuse it on the front of the box later, to make the bench match the rest of the kitchen. One challenge I came across was rerouting the a/c vent through the front of the box so we didn't lose that circulation.

My sister-in-law chipped in to make the cushions and pillows to soften it up. I added the DIY table, and further defined the space with wainscoting and trim.

Estimated Cost
$500
Estimated Time Investment
Weekend Project (10-20 Hours)
Finish Used
Semi-gloss trim paint was use, to have the ability to clean later after meals, etc.
Recommended Skill Level
Intermediate

Comments

homeideas5099

Wed, 10/23/2013 - 10:10

Looks fantastic. Love how you reused the trim to have the whole unit blend in with the rest of the kitchen. Well done.

PDubs74

Sun, 01/09/2022 - 16:45

Hey there,
Absolutely love your DIY breakfast nook. Unfortunately the additional blog/info link is no longer working as I'm trying to gather more information. Would anyone be able to send the instructions and/or new link?
Thank you

Custom Outdoor Sectional Seating with Table Built-in

Submitted by Anonymous (not verified) on Thu, 07/18/2024 - 12:20

custom outdoor sofa

It is a merge of different ideas based on your plans. Thank you. Greetings from The Netherlands.

Irina Jacoub

Comments

jbruhn

Wed, 04/23/2025 - 15:13

Hi - does anyone have an idea on what stain was used for this iteration of the project? Or what stain could get me close to that color? I’m using cedar wood. Thanks!

Seasonal And Holiday

Upholstered bed frame (King size)

I used the plans from Ana excepted converted the measurements to fit a King. Our mattress comes in on July 3 so I'm praying that it fits! This was our first project and we cannot wait to do more!!

Estimated Cost
$200
Estimated Time Investment
Weekend Project (10-20 Hours)
Finish Used
fabric from fabric.com
Recommended Skill Level
Starter Project

Comments

bso_71

Tue, 08/04/2015 - 14:48

Does anyone have the plans to make this bed? I really loved it!

bso_71

Tue, 08/04/2015 - 14:48

Does anyone have the plans to make this bed? I really loved it!

Bar

Submitted by Anonymous (not verified) on Mon, 03/14/2022 - 10:09

Built this exactly from your plans. Used aged barrel for stain. I love it!!!!

Comments

DIY PLANTER BOXES WITH PALLET WOOD

We picked up a couple 14.9" square plastic garden planters from Home Depot and ended up creating some wood planter boxes from pallet wood for them to sit in. 

I didn't add up the cost of these boxes, because we had most of the wood and only needed a few pieces, but I'd say they were definitely less than $10 a box. 

We altered our dimensions to fit our HD planters so they would slip in for a snug fit and made the legs flush with the top of our sides. We build a simple frame for the top, which allowed the lip of our HD planters to sit firmly on top. 

Something I didn't do, but wish I did: fill in the cracks with wood filler.  There were a couple places that really could have used it, but I was in a rush and decided to skip it.  They turned out great, but could have been even better had I taken an extra 30 minutes.  On an off weekend, we are going to use wood filler in the seams, sand them down, and do a second coat of white paint. 

Can't wait to plant these with some mums for Fall! :)

Built from Plan(s)
Estimated Cost
$20 total for 2 boxes.
Estimated Time Investment
Day Project (6-9 Hours)
Finish Used
White Semi-Gloss outdoor paint
Recommended Skill Level
Beginner

Kid Table & Stools

My wife and I did this table and stools for our son’s class art project. We did something similar last year and they auction the items off in a fund raiser in March. More details and information on the blog – www.atouchofarkansas.com.

Estimated Cost
$100.00
Estimated Time Investment
Weekend Project (10-20 Hours)
Finish Used
Extra paint we had from other projects, so the estimated cost includes buying paint, but if you have some already, obviously you can take that off the total costs.
Recommended Skill Level
Beginner

Comments

Storage Dining Bench

Submitted by Anonymous (not verified) on Fri, 03/22/2024 - 07:34

Kitchen dining bench with storage. Due to the plugs being in an awkward position, I opted to build this bench with a facade as opposed to adding a back and sides. This also meant it had to be panelled in situ which was a fun challenge! It has piano hinges as well as soft close pistons making for a great storage bench that is in keeping with the rest of our kitchen.

Curved Bench

Submitted by stevez8420 on Sat, 08/08/2015 - 13:41

I followed your idea but i think my bench is a touch smaller. I decided to add arm rests on each end, I kept the top beverage ledge or "Bever-ledge" as I call it and ofcourse I added rope lighting along the underside. This was my first ever DIY project.

Estimated Cost
150
Estimated Time Investment
Weekend Project (10-20 Hours)
Finish Used
I used a Cedar Tone semi-transparent finish which turned out a little more orange than i though but it still looks good!
Recommended Skill Level
Intermediate

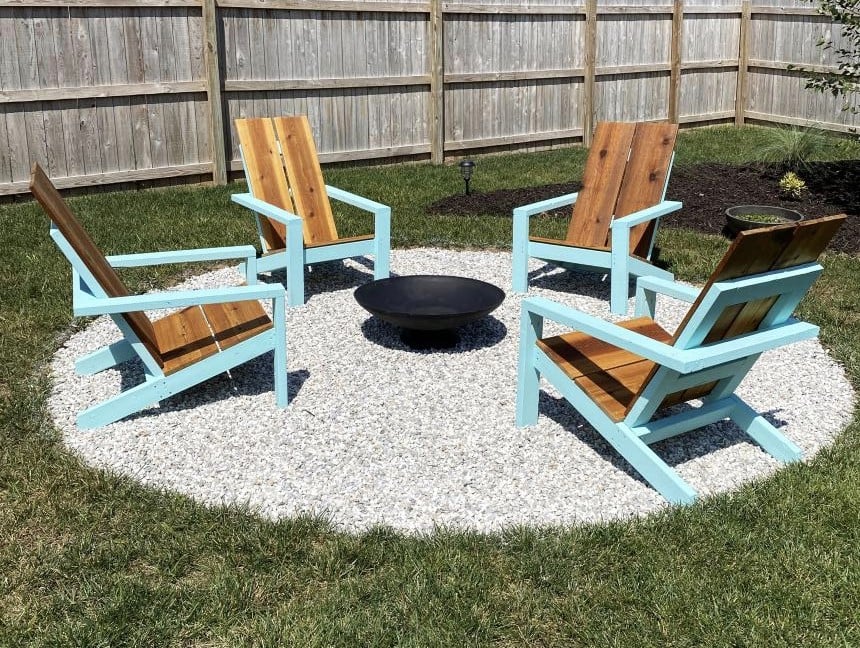
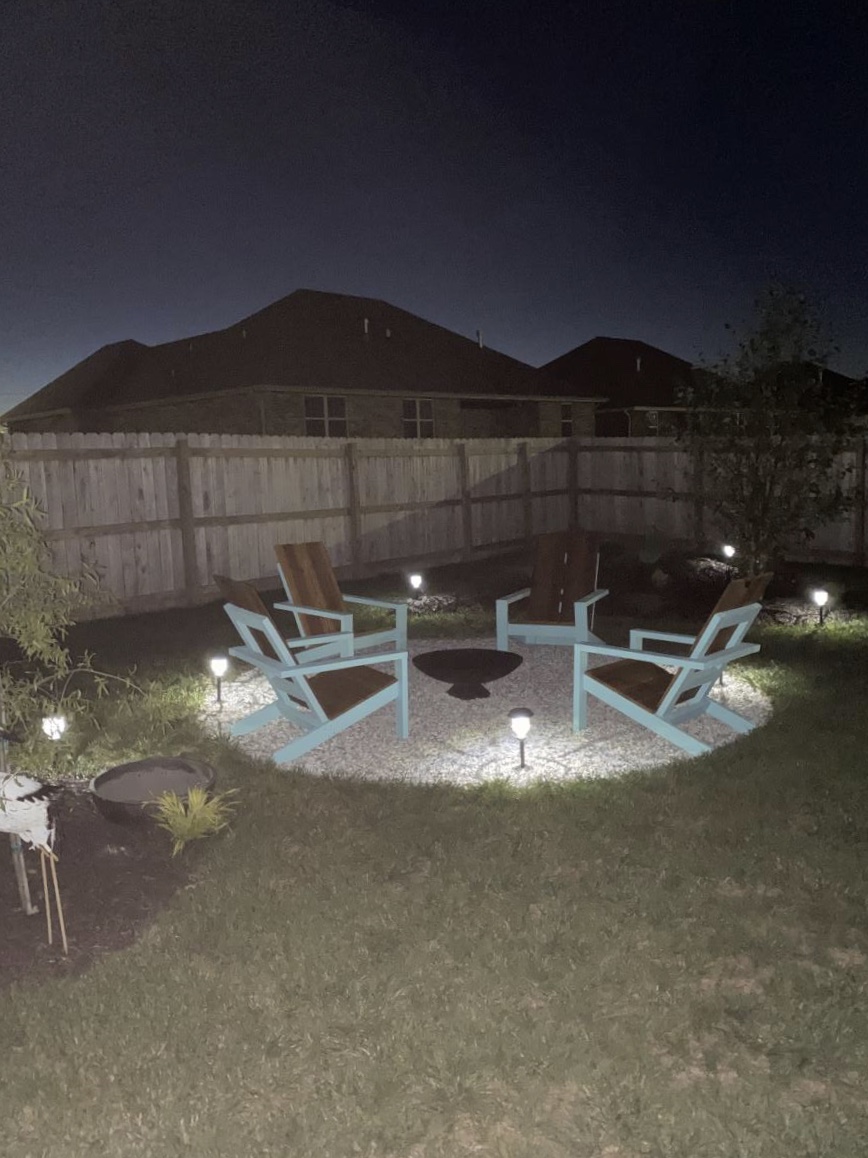
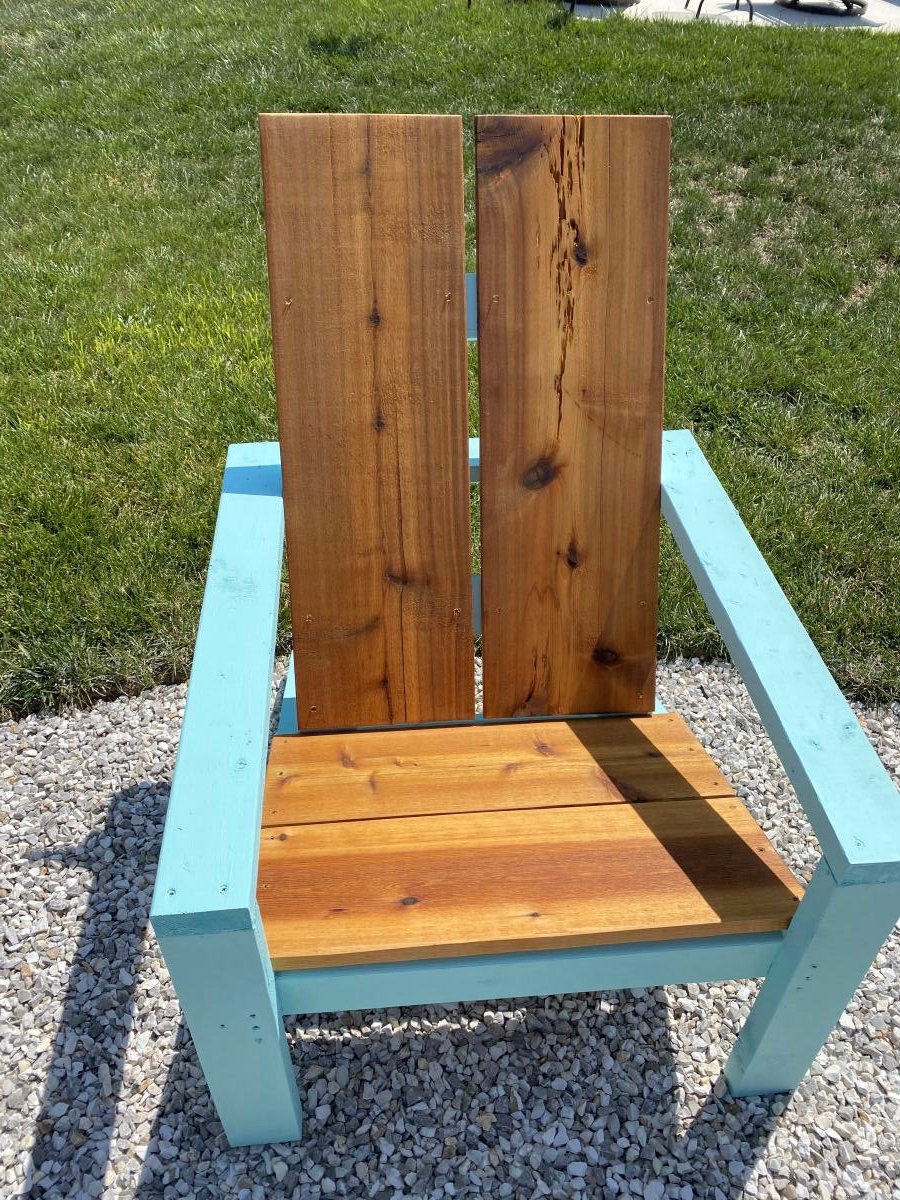
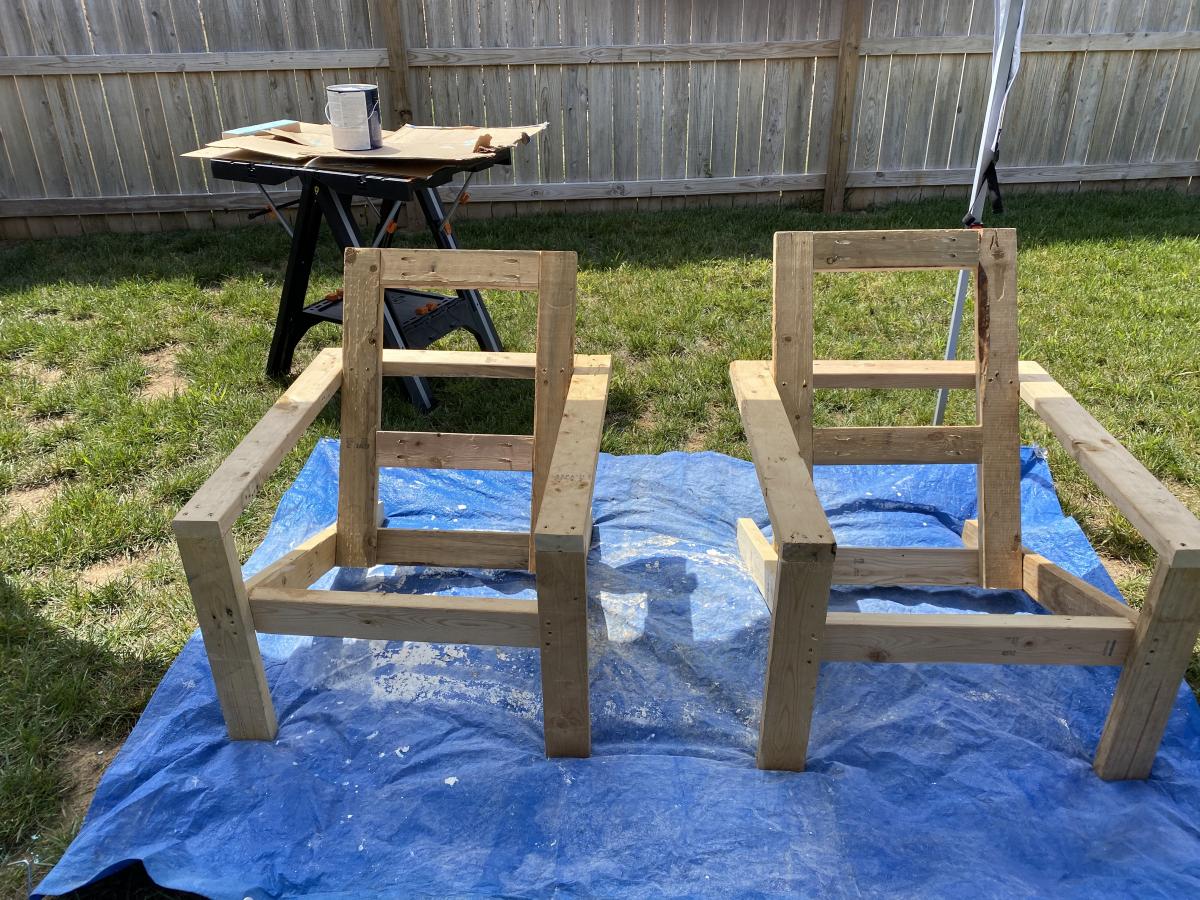
Modern Adirondack chairs

Submitted by Anonymous (not verified) on Mon, 05/08/2023 - 09:20

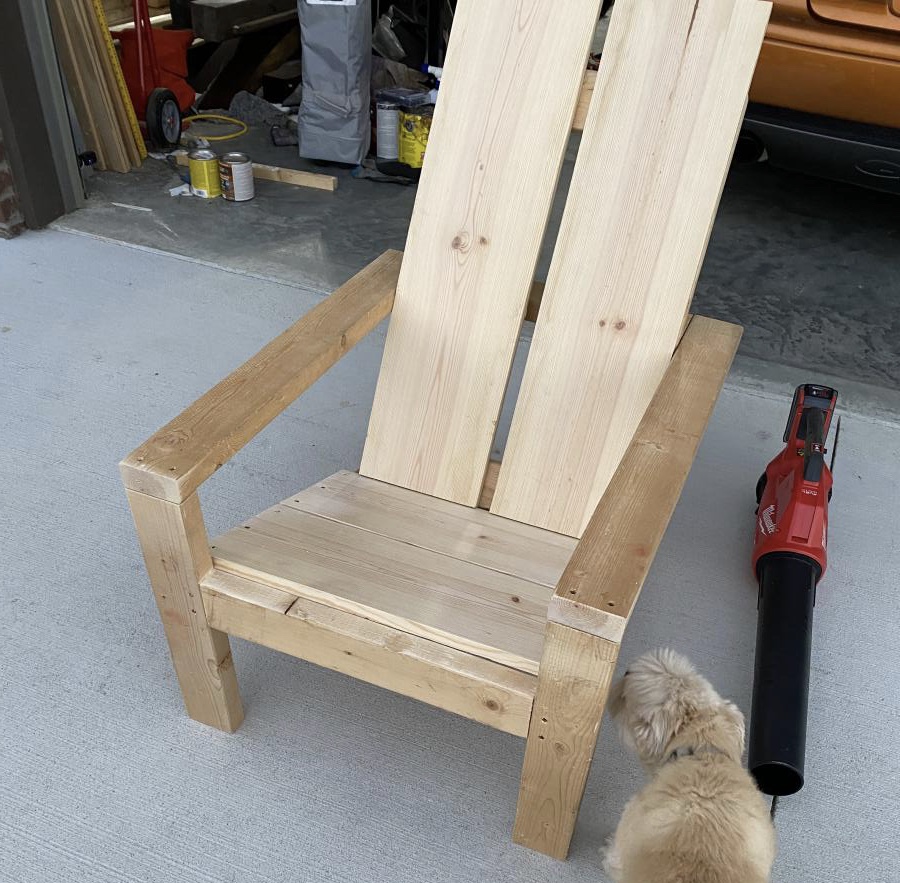
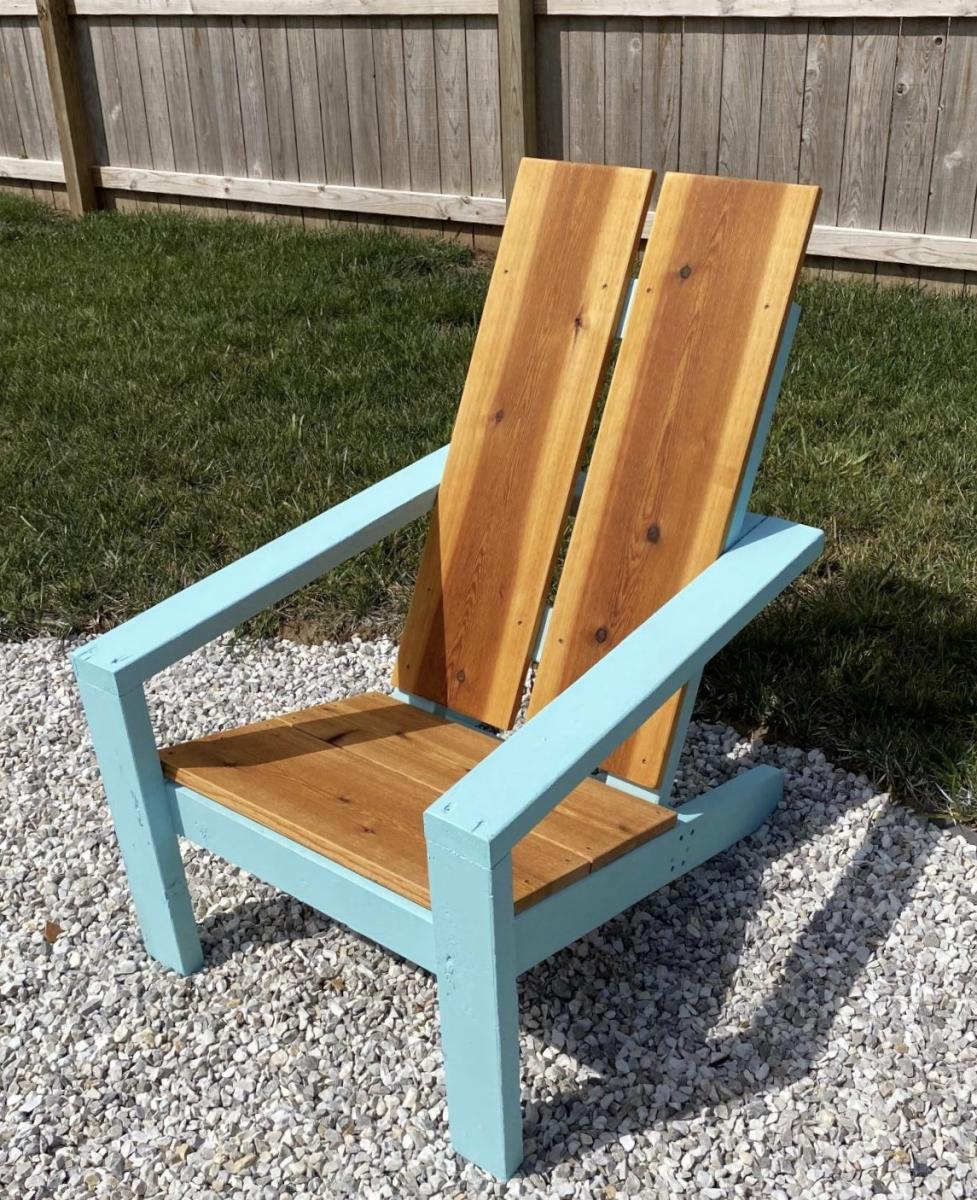
Finished the second chair using Kreg holes fir the arms
Cedar looks good I think

Comments

Board & Batten Banquette

My family needed a seating area for our tiny kitchen and a built-in banquette solved our spatial design problem perfectly! I basically built it like a short and wide freestanding wall with a board & batten design and plywood top for seating. More details on my website post...

Estimated Time Investment
Weekend Project (10-20 Hours)
Finish Used
board & batten with latex paint
Recommended Skill Level
Intermediate

Comments

Cedar planter boxes

Submitted by JavaJoe on Fri, 06/06/2014 - 20:00

I used the main plan for ideas, but opted to use 3.5 inch pickets instead, which allowed for a smaller planter that wasn't as big. Also chose to miter 1x3s for the top which I think really finishes it off. Sanded everything with a belt sander to 220 grit. Used min wax golden pecan plus three coats of poly inside and out. Finished size was about 17x17. Tile spacers work great to keep the gaps even!

Built from Plan(s)
Estimated Time Investment
Afternoon Project (3-6 Hours)
Finish Used
Min wax golden pecan
Recommended Skill Level
Intermediate

Comments

Adirondack chair

Submitted by Davis_Reed on Fri, 05/24/2019 - 07:10

These are the adirondack chairs and I took the basic model and added a wine glass holder and also a bottle/snack bag holder.

Estimated Time Investment
Weekend Project (10-20 Hours)
Finish Used
Benjamin Moore wood primer and then Benjamin Moore oil based paint.
Recommended Skill Level
Beginner

Comments

American Girl Doll Couch

Submitted by mybartmart on Thu, 12/05/2013 - 00:51

My friend's daughter's both love American Girl Dolls. I have made them the bunk beds and the Farmhouse bed. But they really wanted a couch. I made them one using some of the elements from the Farmhouse Bed. I used a blue paint with a pickling whitewash stain on top.

I did have a hard time getting a good photo of the finished project.

Estimated Time Investment
An Hour or Two (0-2 Hours)
Finish Used
Blue wall paint, left over with Pickling white wash stain on top
Recommended Skill Level
Beginner

Outhouse with Skylight

Submitted by Anonymous (not verified) on Fri, 08/04/2023 - 11:03

Our favorite throne in town.

My daughter and I built the outhouse in the snow a few years ago. Once the TwoGa was named after the Stuga, the outhouse quickly became “The PooGa” (aka “The Ash-Hole “🤣). We use ash in the winter and sawdust in the summer, to keep away the stink, which works like a charm.

This is an adaptation to an Ana White outhouse design.


Pin For Later!

Outhouse with Skylight

Built from Plan(s)

Comments

Number 1 Shelves

Submitted by Stacie on Wed, 01/15/2014 - 07:05

These two Number 1 shelves (or maybe it's one Number Eleven shelf!) were built for Christmas gifts. I left the backs off so the wall color shows from behind.

I used a 1x8 10' for each shelf, and adjusted my measurements as instructed. Also, the plans had to be adjusted slightly to make the project fit together properly. I'll put the changes I made in the comment section to help others. This was an extremely simple build and went together quickly. They were great gifts! Thank you for the plans.
Built from Plan(s)
Estimated Cost
less than $20, including finishing materials
Estimated Time Investment
An Hour or Two (0-2 Hours)
Finish Used
Minwax Early American, brushed on and wiped off, followed by two coats of polyurethane.
Recommended Skill Level
Starter Project

First Project

Submitted by dragondad on Thu, 08/06/2020 - 11:34

Well, I started with one chair and finished with a full set. Not bad for a first timer. Definitely room to improve. Little tip if you're going to make this amazing set... raise the backs as they are too low with thicker cushions. I built a casing to go on top after the fact. Pretty happy with how it all turned out. Thanks Ana for the plans... now onto the next project!

Comments

Back