Community Brag Posts

Fireplace Mantle with Milled Wood

Submitted by Anonymous (not verified) on Mon, 12/04/2023 - 11:16

Your plans were so helpful.  I used rough cut lumber from a white pine we harvested and milled ourselves, so had to do a bit of figuring, and also increased the height to 48”. I just love it and your plans made it so much easier.  

love.amandamarie on Instagram


Seasonal And Holiday

Faux Mantle by Posh Barn

Submitted by Posh Barn on Wed, 12/05/2012 - 16:30

This is such a great project. Easy and fast you still have time to make one for hanging Christmas stockings!

Estimated Cost
90.00
Estimated Time Investment
Afternoon Project (3-6 Hours)
Finish Used
Cool Grey with some distress
Recommended Skill Level
Beginner

Comments

Seasonal And Holiday

Convertable Picnic Bench

Submitted by Yumde on Sun, 12/09/2012 - 16:48

A nice summer project that is good for relaxing and eating outside.

Built with
7 - 2x4x72"
1 - 2x6x8
galvanized hardware

Started with a light base paint and taped off diagonal sections.

Next time we would lessen the gap inbetween 2x4's.

Estimated Time Investment
Afternoon Project (3-6 Hours)
Finish Used
Exterior Paint
Recommended Skill Level
Beginner

Nesting Outdoor Chair

Submitted by Anonymous (not verified) on Fri, 06/13/2025 - 22:07

Decided to build this nesting chair for setting around the camp fire. I modified several plans to get the fit I needed. The legs are built from 3/4 select pine and the slats are from cedar fence pickets. Finally got to use my new planer for this project. - Roger Clark, Minnesota

Lego Table Birthday present!

Our kids were starting to get into legos recently and they were ending up in the dogs mouths and in our toes so of course, the hubby turned to Miss Ana’s site and found this perfect sized table ! Fits both kids even on one side !

Comments

springncreations

Fri, 07/09/2021 - 15:42

Nice and sturdy , I painted it in chalk paint and sealed it up …. Added 12 gray lego plates (I had to cut 4 to size with the circular saw to fit perfectly)

My First Big Project

Submitted by avandehei on Sun, 11/22/2015 - 09:38

I kind of took this project to the next level.  I have never built anything like this before, some shelves and minor wood working projects but I wanted this piece to be really special for my wife who requested I make this for our family room.  I made it out of solid poplar and used birch plywood for the sides.  I decided to dovetail the drawers and recess the drawer bottoms.  The entire frame was assembled using biscuits, dowels and glue rather than screws or nails and it took me 6 weeks to complete but I didn't work on it daily.  The project cost me about $450 in materials but it was worth it.  

I wish I had used joined wood for the sides rather than plywood because it did not take stain well (blotchy).  I upgraded the drawer slides to side mounted ball bearing made by Amerock that I got on Amazon for a great price.  The stain was custom mixed from two standard Minwax stain colors I used oil based semi-gloss on the top and water-based semi-gloss on the remainder.  I had some experience with doweling and biscuits but had never dovetailed before.  I purchased the Porter-Cable 4212 kit and opted for the through dovetails for added strength.  The drawers barely needed glue, and it was very easy to use!   I mounted the top using figure 8 fasteners which was another first for me but I highly recommend them.  The hardware I found on Amazon at very reasonable prices compared to big box stores but couldn’t find a silver colored label holder so I purchased brass and used Rust-Oleum Flat Antique Nickle to get them to match the pulls. 

I am a beginner at this but feel that this was a great project there was only one error in the list of materials to cut but other users have already identified that.  I anyone has questions on this project I will be happy to help! 

Estimated Cost
$450
Estimated Time Investment
Week Long Project (20 Hours or More)
Finish Used
Minwax Ebony & Classic Gray Stain & Semi-Gloss Polyurethane
Recommended Skill Level
Beginner

Comments

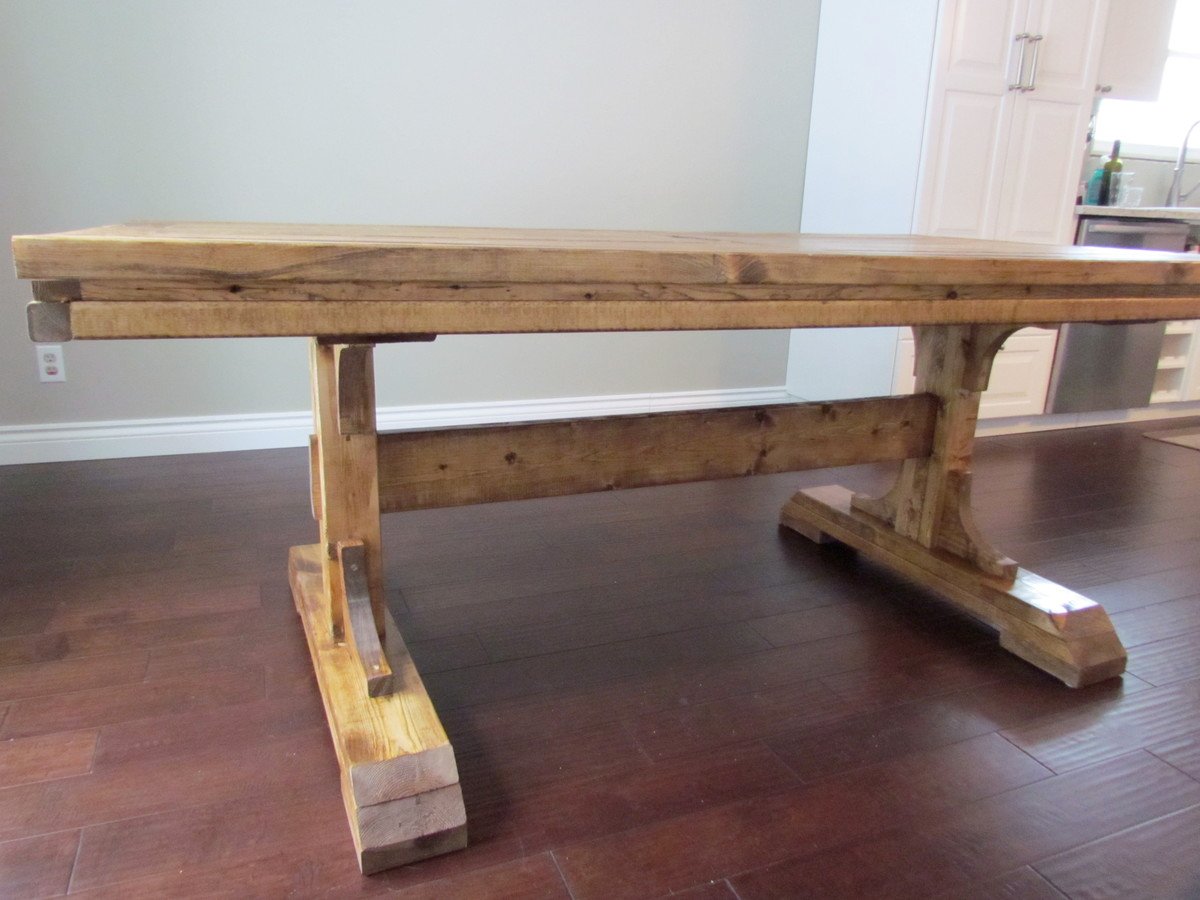
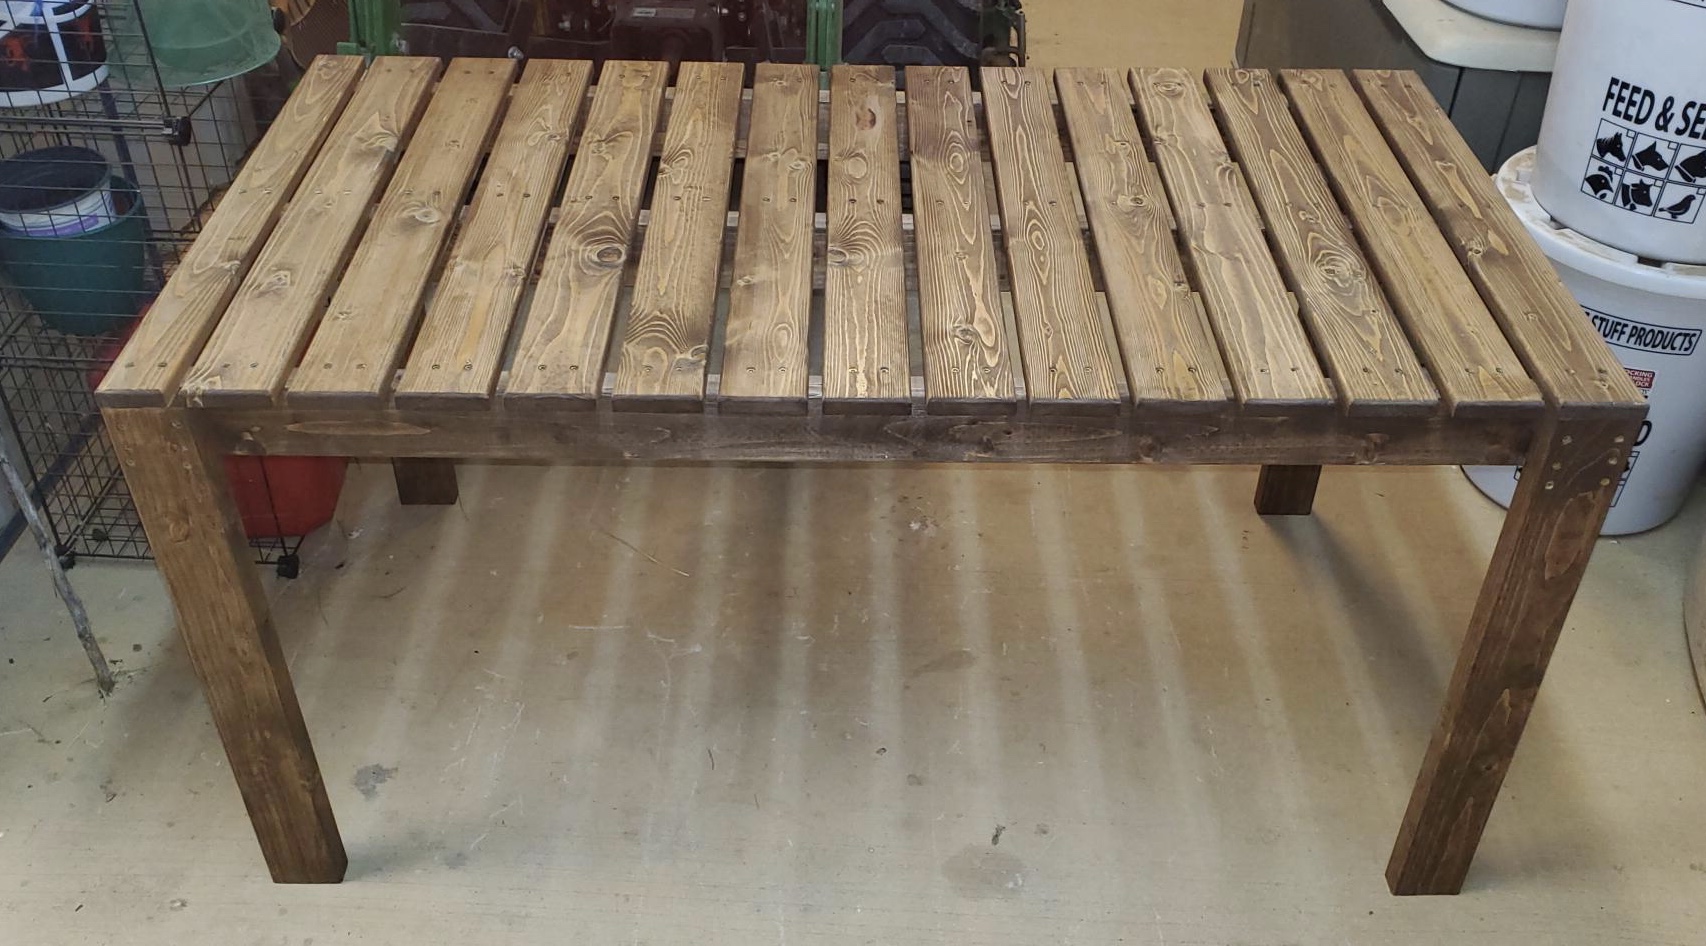
Farmhouse dining table

Submitted by Anonymous (not verified) on Wed, 04/24/2019 - 23:11

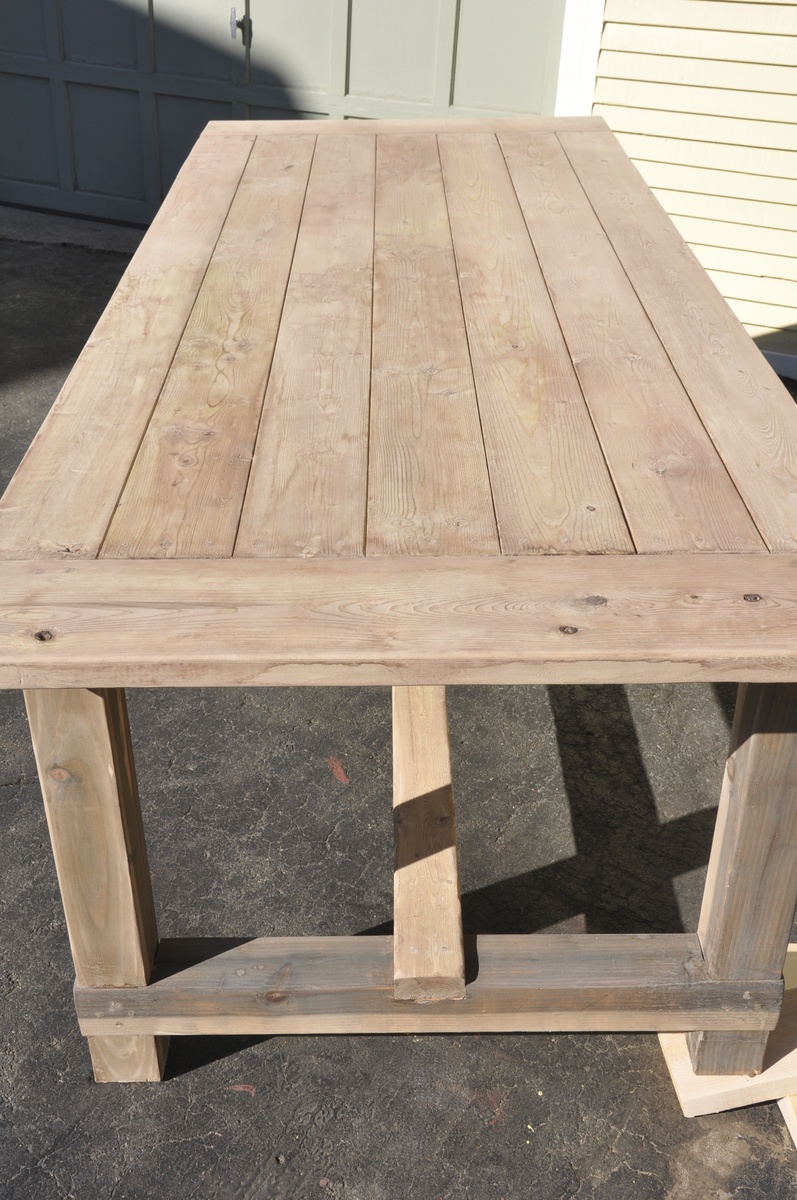
This was our first build together and first furniture piece from woodworking. The kreg jig really helped out and we didn’t have any major issues while building except for some board being warped but we fixed it with a planer.

Finished building the entire table in one day and staining and coats of poly took 2 extra days. It was a very easy build. When we move to a new area that has better access to lumber I’d like to remake this using oak/maple.

Estimated Cost
$125
Estimated Time Investment
Weekend Project (10-20 Hours)
Finish Used
Minwax Jacobean
Recommended Skill Level
Beginner

2x4 and 2x6 Chairs and Couch

Submitted by clintusaf on Mon, 05/11/2020 - 16:43

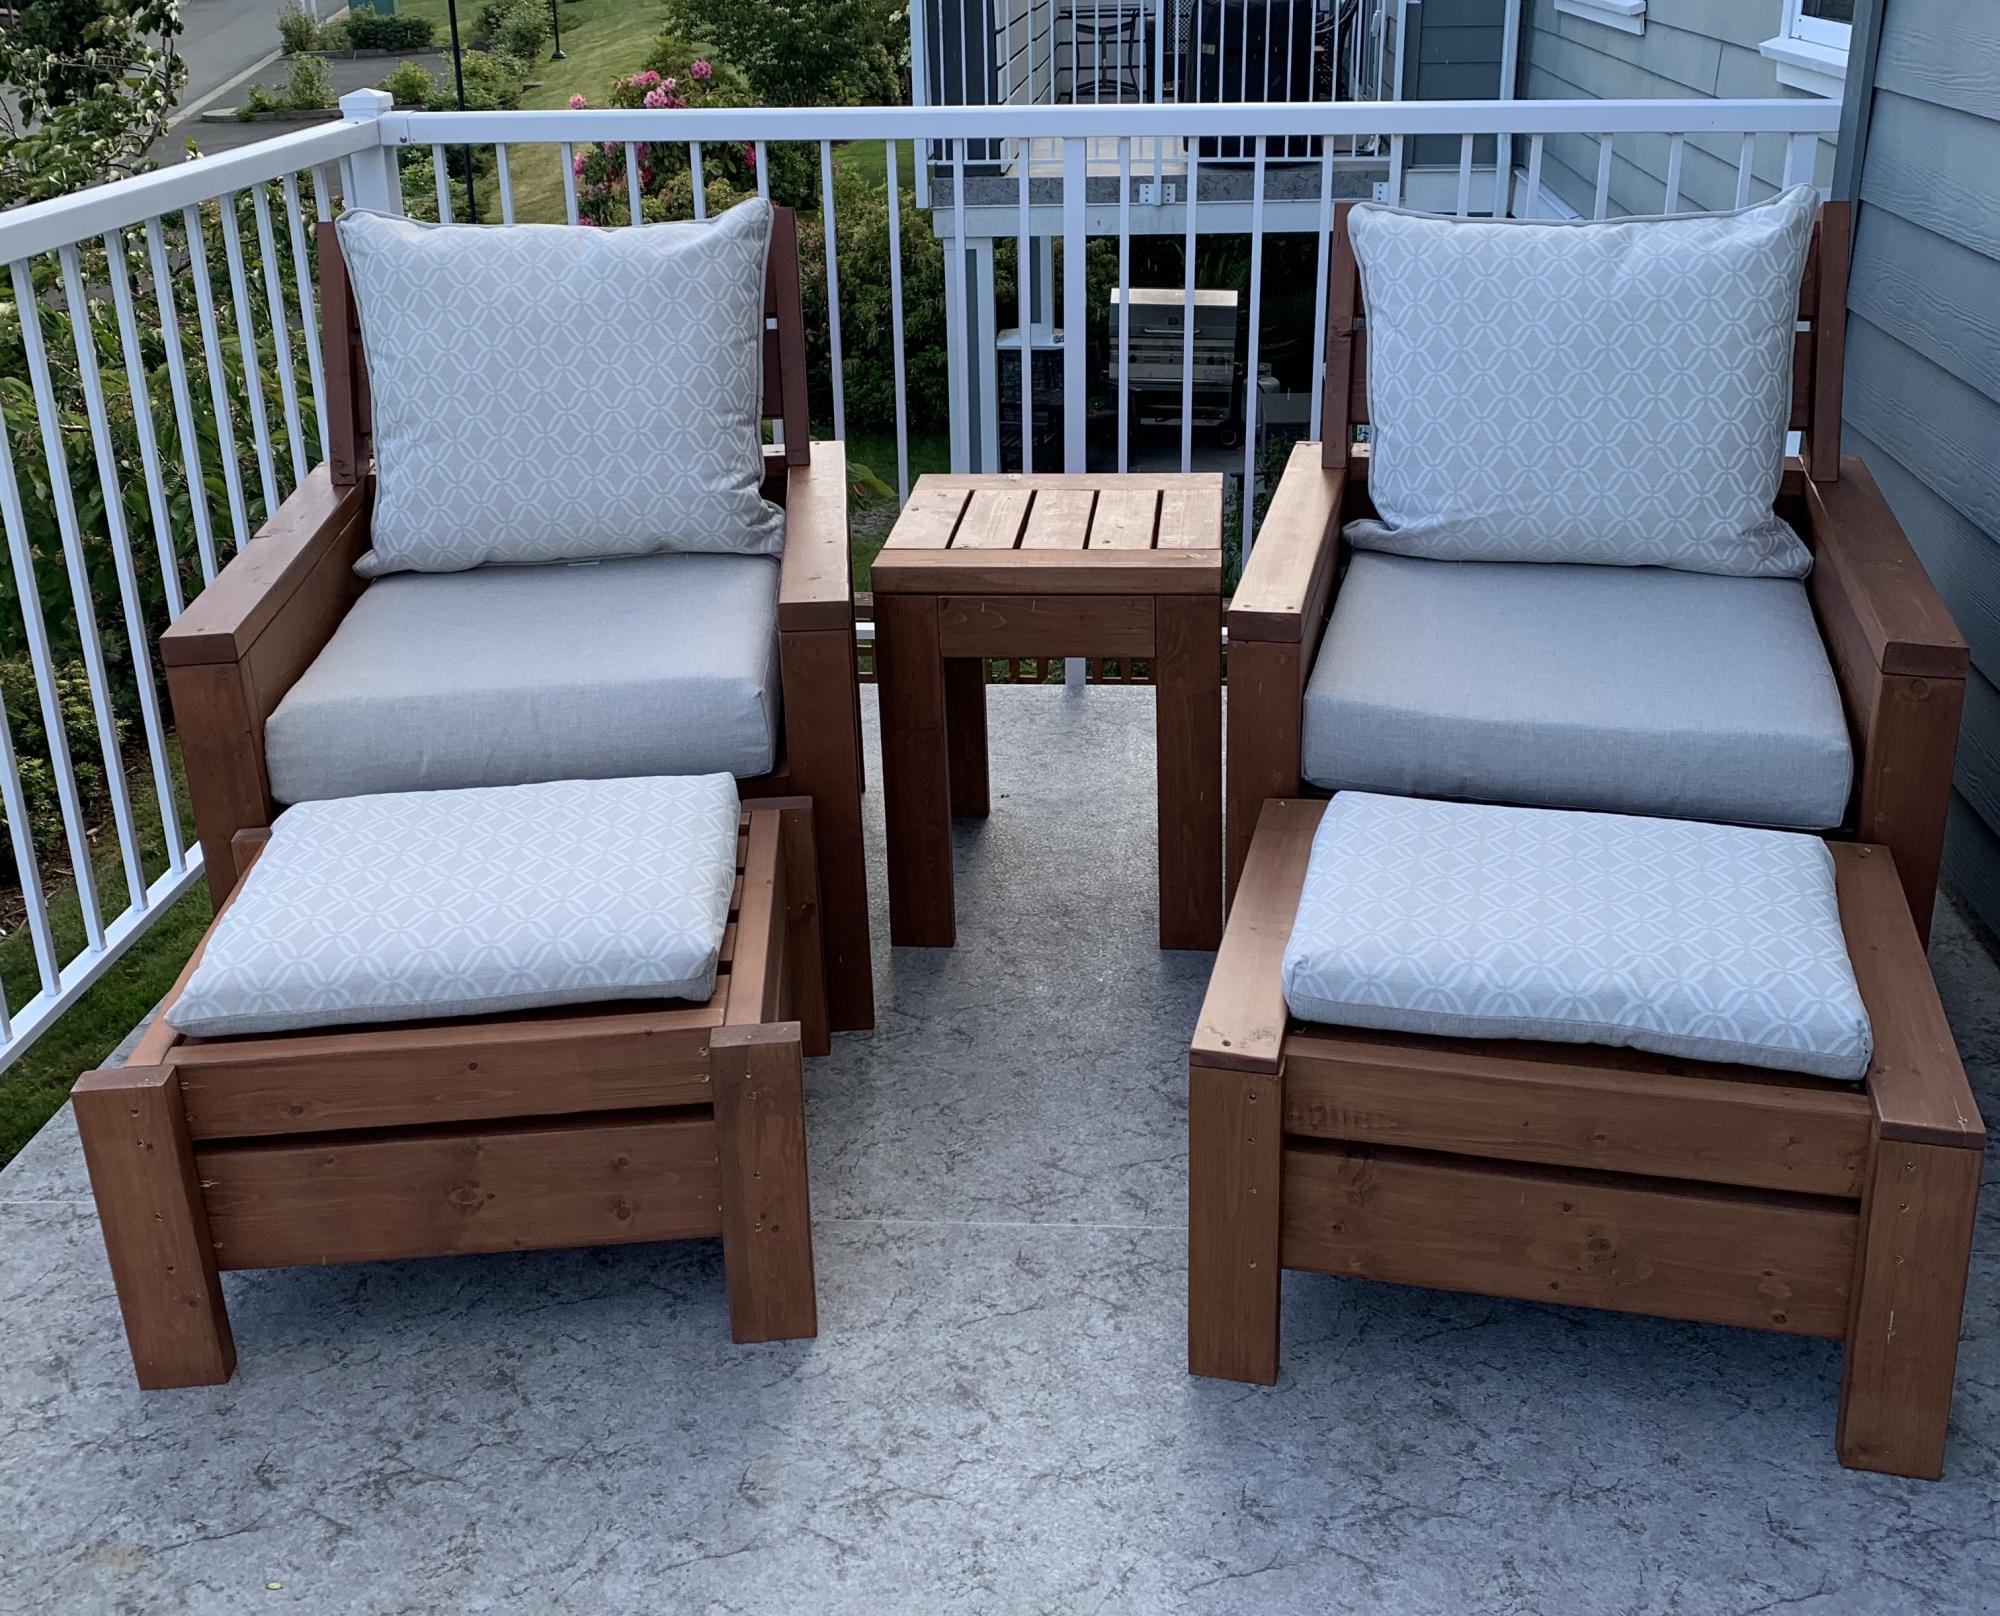
I used the Modern Outdoor Chair from 2x4s and 2x6s plans and slightly modified then to make a 3 seater couch. My cushions(most expensive part) were 24 in x 24 in and purchased from Lowes for $40 per seat. The couch is 79 inches in total length. I also dropped the seat down to the lower level to allow more room for my cushion backs to sit further down into the seat.

Estimated Cost
$400
Estimated Time Investment
Weekend Project (10-20 Hours)
Finish Used
Thompsons Waterseal Teak Oil Walnut Semi-Transparent
Recommended Skill Level
Beginner

2x4 DIY Pantry

Submitted by Michael K on Thu, 08/15/2019 - 11:50

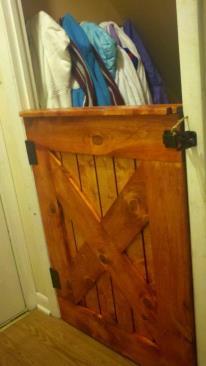
Anything is possible when you put your mind to it. This is my 4th DIY furniture project. First time working on cabinet/doors. Installing them straight was the biggest challenge. The side of the pantry is actually four 2x4's. I measured the frame so tightly that I had to use a hammer to bang in the fourth 2x4 on each wall, also adding a distressed look in the process. The pantry is very large, 48in wide and about 17 inches deep. Our kitchen lacks storage space and we could use a little more space for food and also pots, pans etc. The staircase to our basement is off our kitchen, so I placed the pantry right at the bottom of the staircase for easy access. I am thrilled with how this came out considering the time and effort it took. Very gratifying. Build on!

diy pantry made from 2x4s

Estimated Cost
$180-$200
Estimated Time Investment
Week Long Project (20 Hours or More)
Finish Used
Miniwax English Chestnut
Miniwax Semi Gloss Poly
Recommended Skill Level
Intermediate

Comments

Michael K

Thu, 03/05/2015 - 07:51

Thanks, to the both of you! Possibly the most fun part of this project was buying a Ryobi Airstrike Brad Nailer. That thing is fun to use! Used it for the back of the doors, back of the pantry and also for the door stops.
denverdave66

Sat, 07/23/2016 - 18:21

I am thinking about building one but I am not sure if my skill level is up to this yet. I am going to attempt to build the Kentwood Bookshelf and see how that goes. I am remodeling my office and want real wood shelves instead of that pressed wood junk. Great job on your build.  I love this website!

langgin26

Sat, 01/13/2018 - 18:09

Hey Michael I really love the pantry and would love to make this exact one but there is not enough info on the sizes and what all you used for all the wood. If you have  time I would greatly appreciate it if you could give us some more info thank you 

Steve Phil

Fri, 12/25/2020 - 10:42

Haha. Nice. But ya did not pound it in ... You persuaded it in as old timber framers would say using an old mallet called a Commander. 😉

My first project!

Submitted by J_Weeks13 on Sat, 03/07/2015 - 10:26

Thanks for the awesome, easy to follow plans!! All that's left to do is stain it and build another one- I'm going to have 2 on my back patio! A successful first project! Thanks!!

Estimated Cost
$130.00
Estimated Time Investment
Day Project (6-9 Hours)
Recommended Skill Level
Beginner

Comments

thecityalaskan

Sat, 03/07/2015 - 12:27

So awesome!!! Especially for your first project! Super inspiring for those of us who would like to attempt a project like this! Thank you for sharing!

modern outdoor lounge chair

Just finished this beauty, entirely made with 2x4, plans were modify to match our outdoor sofa and coffee table. I think our best looking project so far ;) Thank you for inspiring me to build !!!

Estimated Time Investment
Week Long Project (20 Hours or More)
Recommended Skill Level
Beginner

Comments

spiceylg

Thu, 05/01/2025 - 05:56

Love your version so much. Would you have happened to have the modified dimensions?

Seasonal And Holiday

Garden Shed

Submitted by Deborah on Sat, 08/18/2012 - 23:01

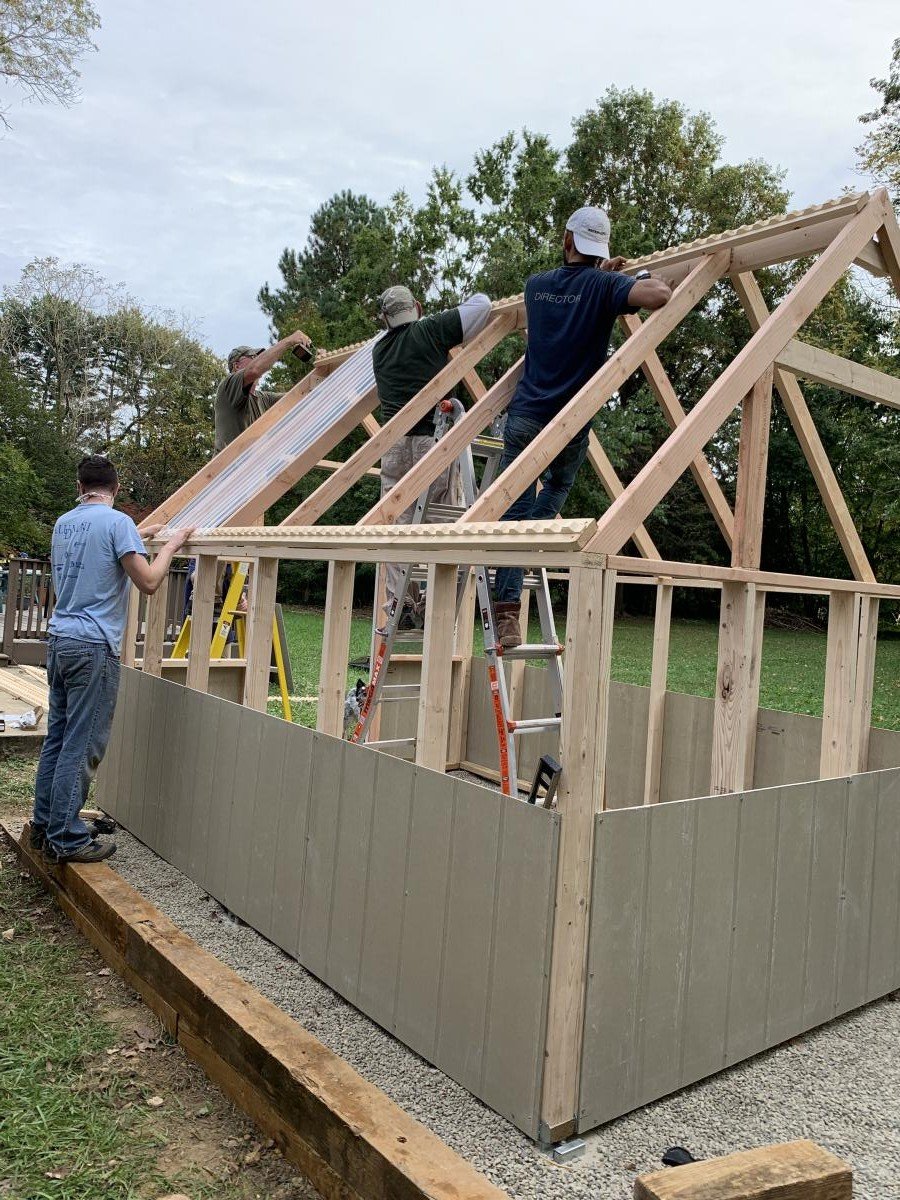
I have been dreaming about building so many things featured on this website, and I finally buckled down and built something. I figured that an outside garden shed would be a bit more forgiving than a project requiring a bit more precision, and from the picture, you can see that it's not perfect! I'm still working on trimming the shingles and I still have to stain/seal it. I've got to admit, when I first picked up the wood for the project at the store, I wondered what I had gotten myself into. But I just jumped in, and here it is.

Built from Plan(s)
Estimated Cost
$300
Estimated Time Investment
Weekend Project (10-20 Hours)
Finish Used
Plan to stain it with some sort of deck stain.
Recommended Skill Level
Beginner

Comments

Home is Where the Shelves Are

I built five of these bookshelves for my living room. I wanted them to fill the one wall, so I just divided the length of the wall by five to determine how wide to make each shelf. Also, because I was building several to be pushed together, I didn't want the bulk of 2 by SPF, so I used laminated pine shelving. Two eight foot boards were needed for each shelf, and that left very little waste. I love how they turned out. I blogged more about them (including dimensions) here http://skonkers.blogspot.ca/2014/07/home-is-where-shelves-are.html

Built from Plan(s)
Estimated Time Investment
Afternoon Project (3-6 Hours)
Finish Used
I primed, then painted with CIL Artesian White
Recommended Skill Level
Beginner

Wedding Bench Guestbook

Submitted by MrsGig on Fri, 09/07/2012 - 14:53

I really loved what brookifer86 did with the Rustic Bench plans here: http://ana-white.com/2011/03/rustic-bench-wedding-guestbook. When my daughter got engaged last fall, I knew that this would be a great wedding gift for the new couple.

It was helpful to read several times through her posts and followups. It took longer to come up with the name design than it did to build the bench, so give yourself plenty of lead time on this part. I was able to create the graphic in PowerPoint and enlarge it on my computer screen so that I could tape paper on the monitor and lightly trace the design for transfer to the bench. My husband suggested the addition of a princess crown over our daughter's name just for fun.

Thanks for the tip to use paint pens instead of markers. I made a sign at the reception with spare paper to alert people to shake the pens and give them a spot to test before writing on the bench.

I am doing a test with a spare painted board and the pens to make sure the application of the poly finish does not smear the signatures before sealing the signed bench.

Many thanks for the idea, Brooke, and thanks to Ana for the great bench plan!

Estimated Cost
$50 including wood, paint, and paint pens
Estimated Time Investment
Afternoon Project (3-6 Hours)
Finish Used
White exterior paint - satin finish
Recommended Skill Level
Starter Project

Comments

brookifer86

Sat, 09/08/2012 - 14:26

Oh my goodness, it looks so good! I'm so happy that someone else gets this awesome bench to look at forever ;) I know we totally love ours and it's one of my favorite builds in the house. Definitely test your finish, though, because I used ModPodge (horrible idea) and it's already yellowed in spots :( I'm hoping to figure out some way to salvage it and refinish the poly coat

MrsGig

Sun, 09/09/2012 - 16:32

Brooke, one of the comments on your posting from the person that used brown permanent markers and then had problems with the poly coat smearing gives me pause for caution. Too bad about the ModPodge yellowing. Everything that I have read so far does not indicate yellowing as a problem with it.

Don't feel bad, even the Minwax Polycrylic website for that product states "Because slight ambering may occur, spot test on an inconspicuous area and let dry to ensure satisfactory results." Because of that, I am leery about using it for my white painted bench.

I am testing Rust-Oleum’s Painter’s Touch Ultra Cover 2x Clear - initial results shows it going on clear and not smearing the signatures.

maharg1231

Sat, 02/16/2013 - 16:55

What a great idea! My niece is getting married in July and I think I might do this for her. I was just curious what your results were with the Rust-Oleum clear coat? Or if you found something that didn't end up yellowing?

Planter steps

These steps turned out great!!! My in-laws were using some busted up pallets as a front porch so I knocked these out in a few hours. The blue stain looks really good and matches the other blue on various out-buildings. Very easy project and the plans available were spot on. Thanks Ana!!

Estimated Cost
$175
Estimated Time Investment
Day Project (6-9 Hours)
Finish Used
Stain
Recommended Skill Level
Starter Project
Seasonal And Holiday

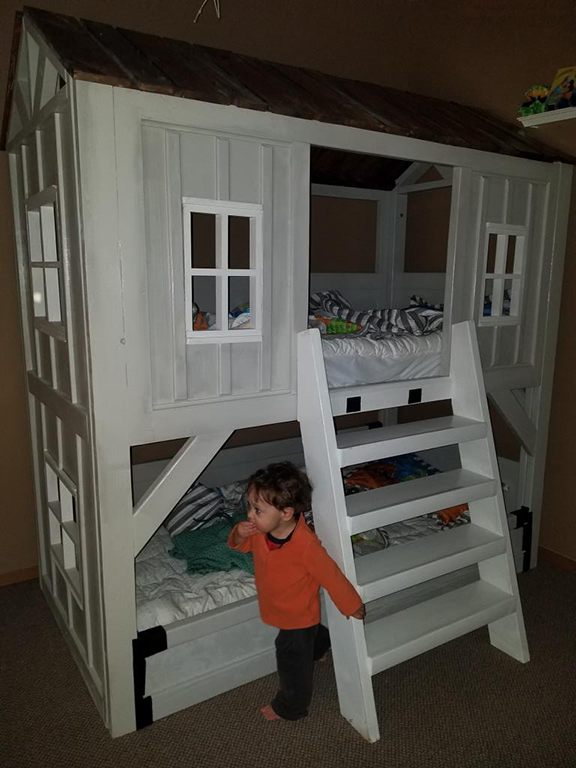
Classic Bunk Beds Re-Imagined With Stairs

Submitted by edeboode on Mon, 04/03/2017 - 07:57

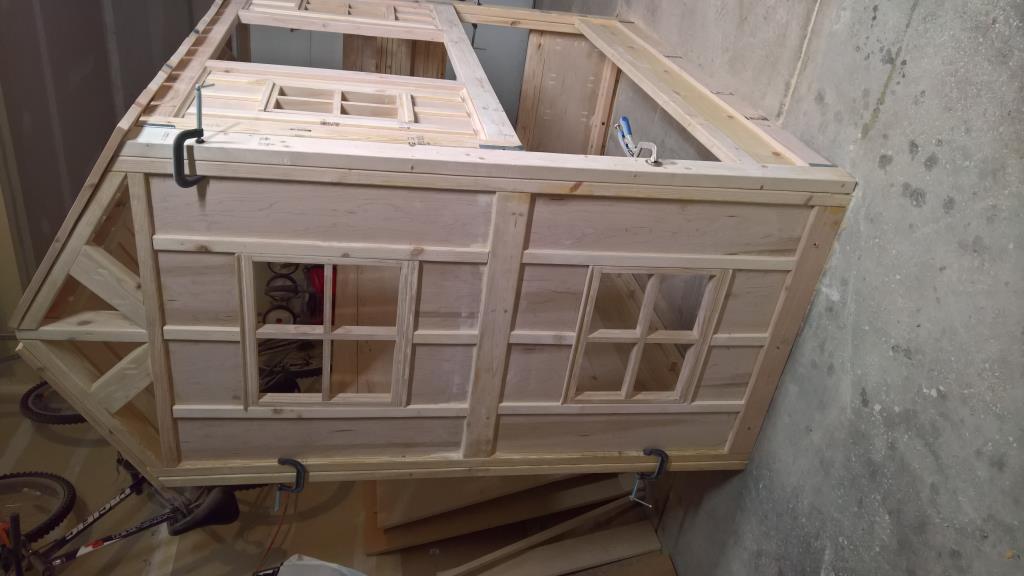
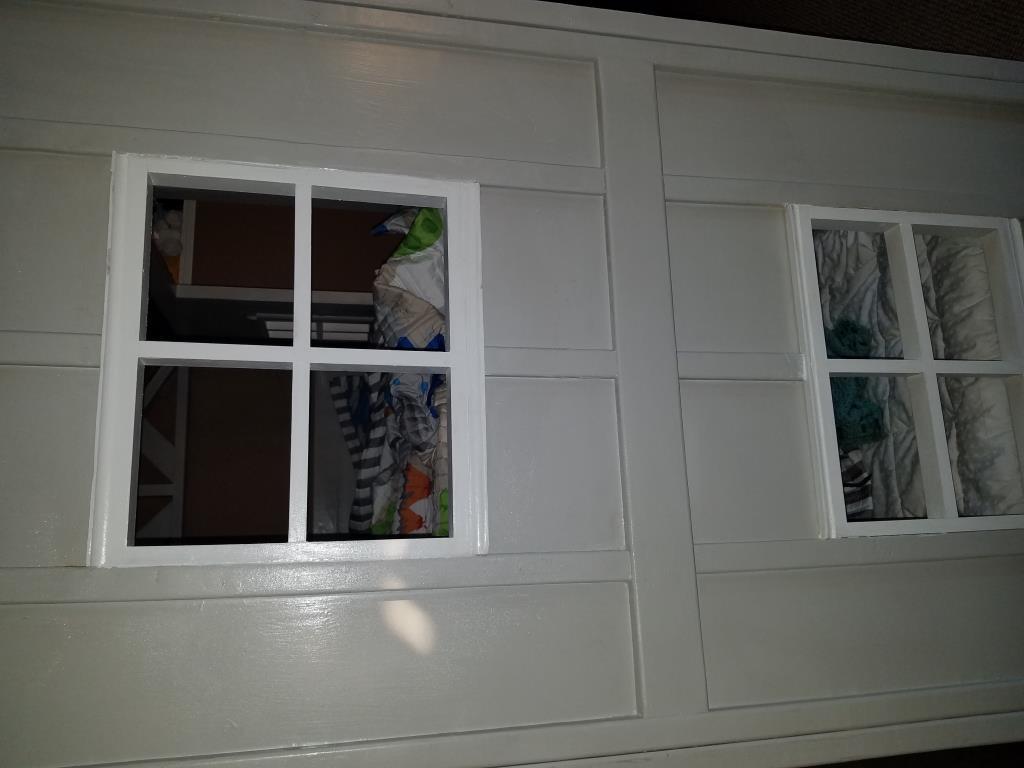
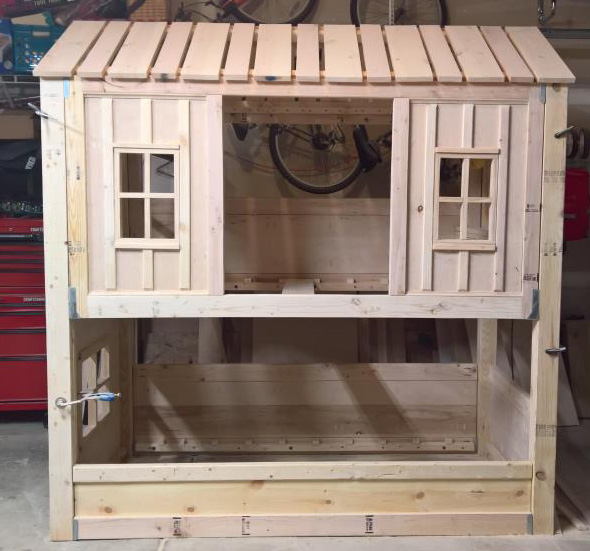
I modified the plans for the Classic Bunk beds by making them 74" tall instead of 63" and added a fourth slat all the way around to add more protection from potential falls.  I created one opening in the front for my youngest to get into the bottom bunk, and built slats about 2/3's across the front to act as a gaurd rail. I created another opening on the side for my oldest to get into the top bunk with stairs instead of ladders to again prevent falls.  I had to modify the Sweet Pea stairs to accomodate for the extra height in the bunk beds, simplified the railings, and I created each cubby to be big enough to use cloth storage totes that were 11x11x11.  Sanded the whole bed and stairs so the corners and edges were all rounded and smooth, and put two coats of white Deck and Porch paint to stand up to the the boys running up and down.  I used brackets to secure the stairs to the bed, and sixteen 3" bolts to bind the bed together.  Precut and drilled 17 slats for each bed seperated them 2" apart.  Spent a few hours every night during the week measuring, cutting, glueing, drilling and assembling the bed and stairs.  Spent an entire weekend sanding and painting.  Very happy with the way these beds turned out.  Overall cost of the project including the paint was around $400.  

Estimated Cost
$400
Estimated Time Investment
Week Long Project (20 Hours or More)
Finish Used
Porch and Deck Paint
Recommended Skill Level
Beginner

Comments

Large Raised Planter with Bottom Shelf

Submitted by Anonymous (not verified) on Mon, 06/09/2025 - 12:23

My wife loves to garden or as she puts it: "Play in the dirt." But, age is creeping up on us and it's getting more and more difficult to get up from the ground. I built this planter for her so she still gets her hands dirty but not have to get down & up from the ground. Now all we've got to do is place it, fill it with dirt, and let her get her hands dirty putting in selected flowers. - Bob Boesl