Community Brag Posts

DIY Bailey Dog Chair for Dogs with Megaesophagus

Hello everyone, today I’m sharing details on something I built recently: a Bailey Chair for dogs suffering from Megaesophagus.

Dogs with megaesophagus have an enlarged esophagus. This makes swallowing food difficult. Eating while in an upright position helps and the task of keeping the dog vertical is easier when the dog is sitting in a Bailey chair.

This blog post is less of a detailed how to and more of showing in progress photos. Adam, over at Lazy Guy DIY, has put together a great tutorial on how to build the Bailey Dog Chair. I followed his instructions with very few modifications.

CLICK HERE to read my build details and see more photos!

Estimated Time Investment
Afternoon Project (3-6 Hours)
Finish Used
clear spray
Recommended Skill Level
Beginner

Cat Scratcher Gym

Submitted by homedogas on Thu, 10/10/2019 - 03:44

This project started with the need of a cat scratcher and evolved to this! :D

Buying one was out of the question cause they are too small and too expensive.

Even the dog loves it!

I dont have any plans because it was made to fit that specific wall and its pretty basic but if you have any question about it I will gladly answer. 

Estimated Cost
90
Estimated Time Investment
Day Project (6-9 Hours)
Finish Used
Vieux Chêne
Recommended Skill Level
Beginner

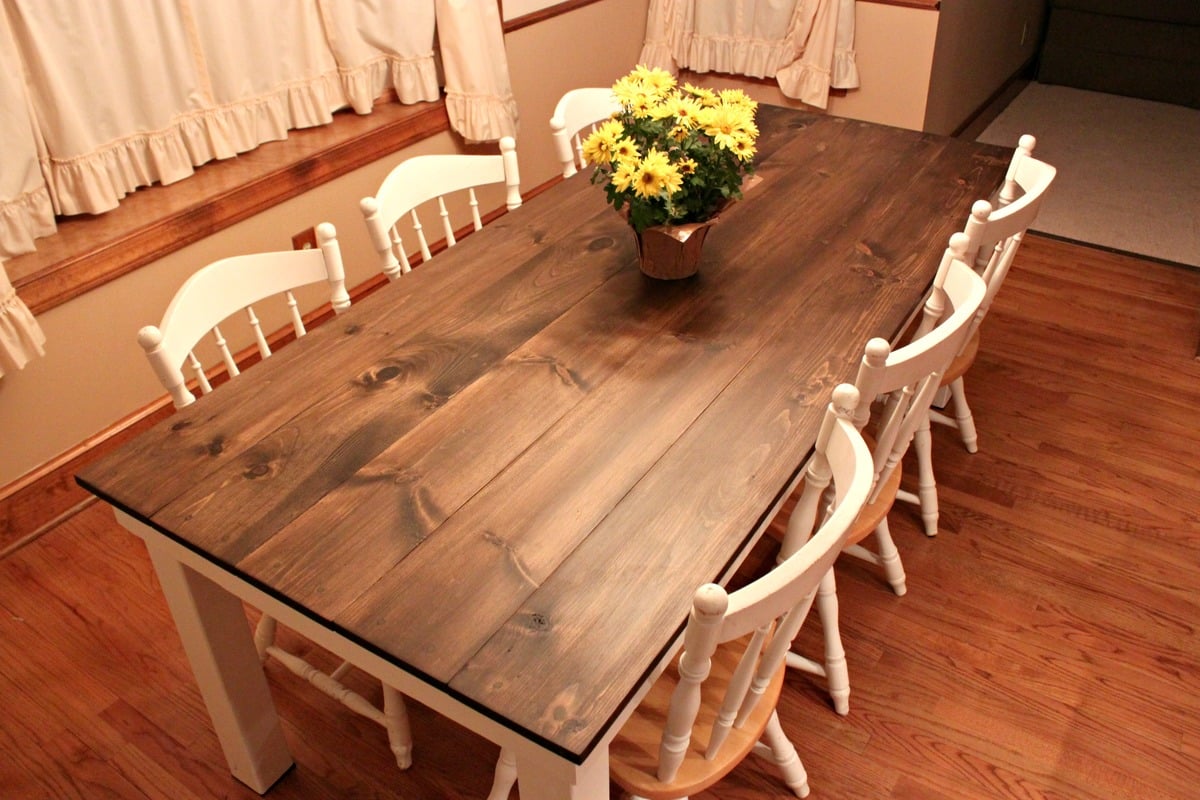
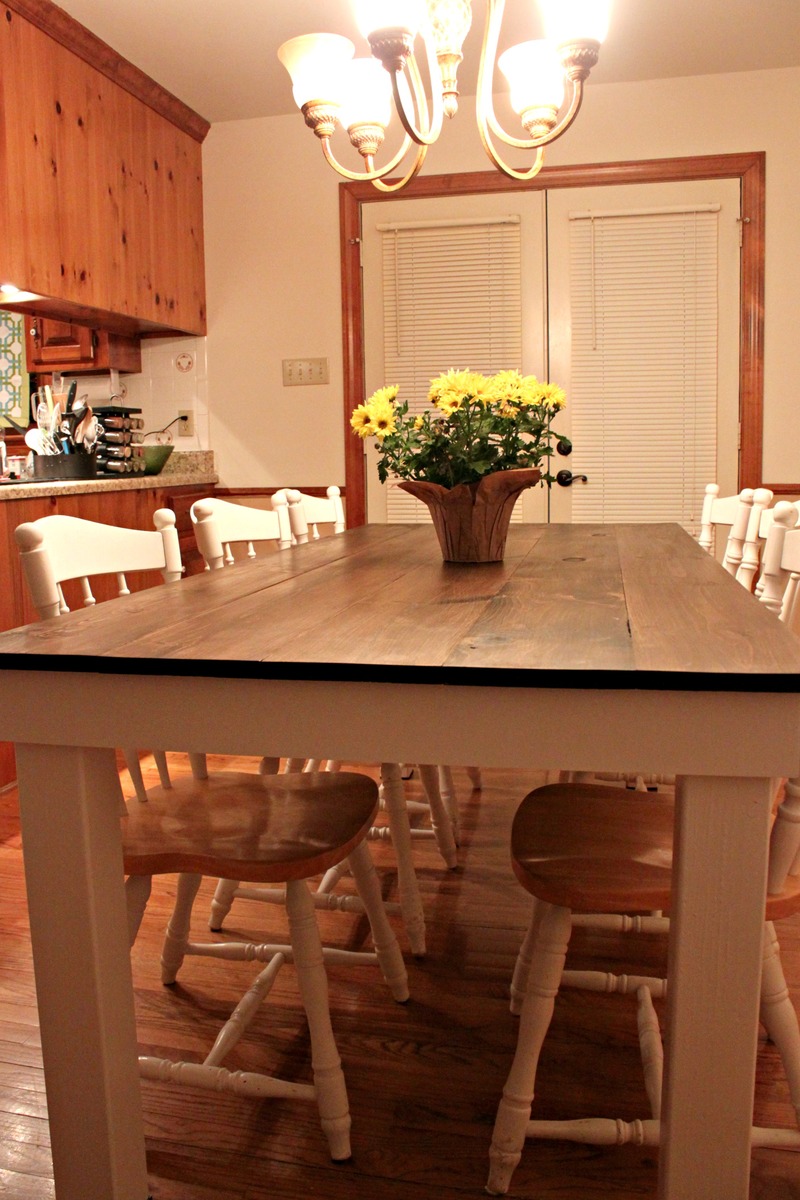
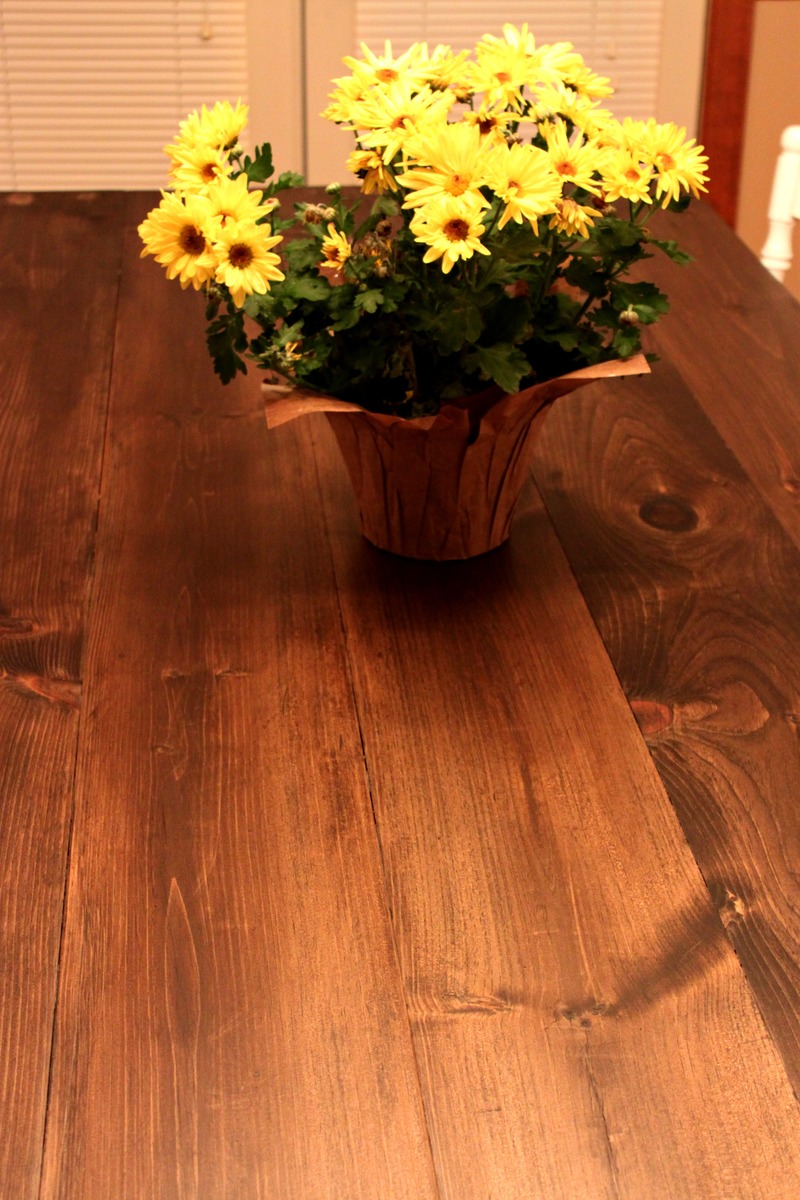
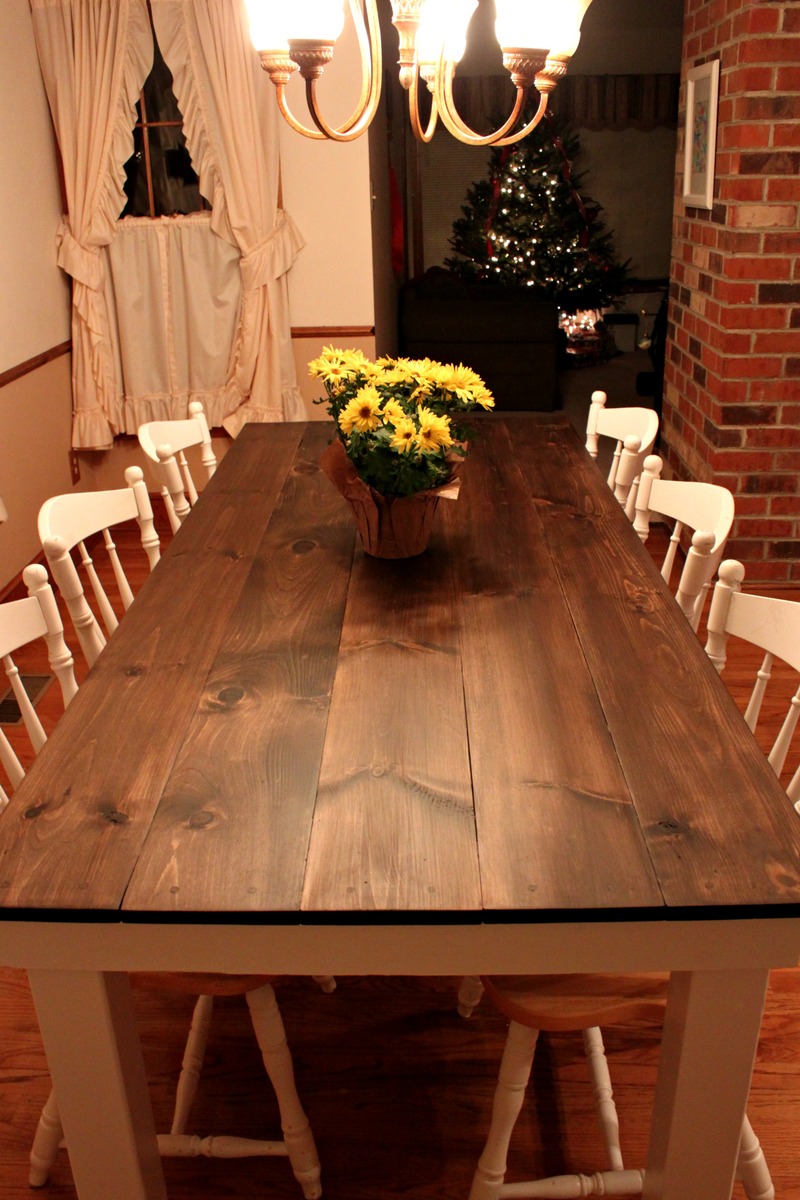
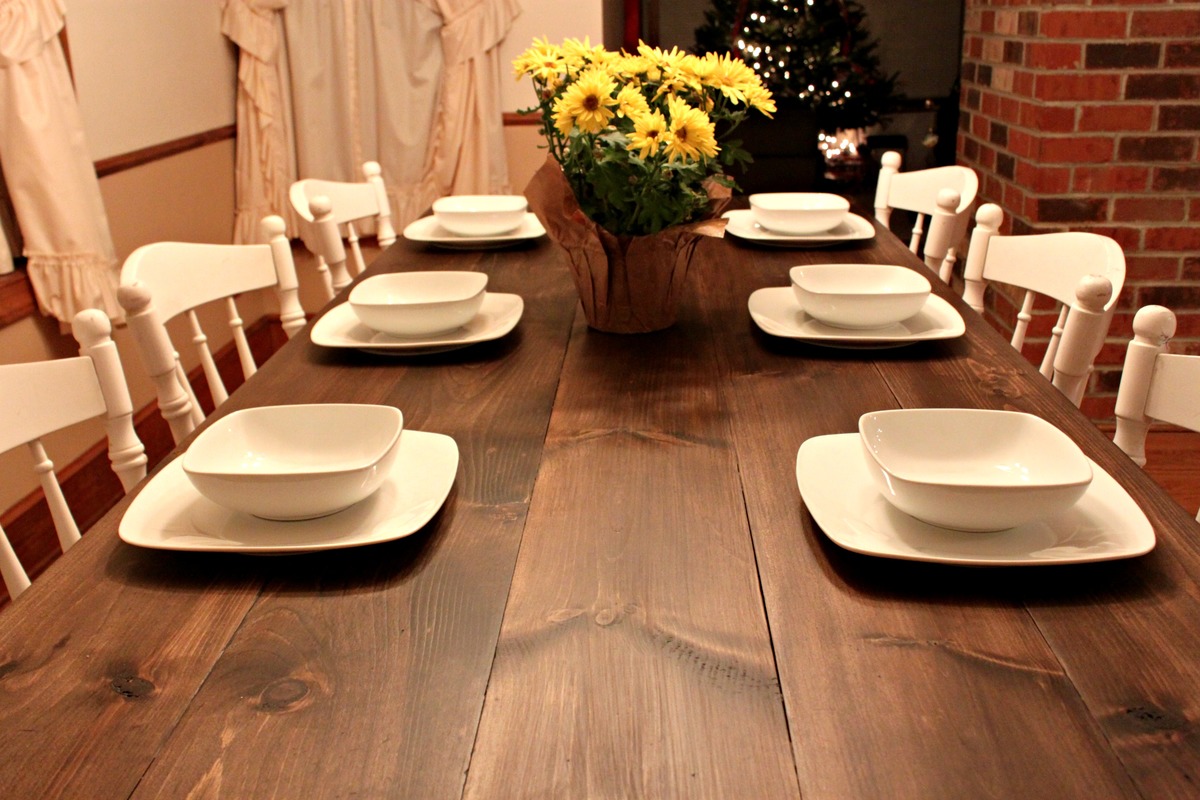
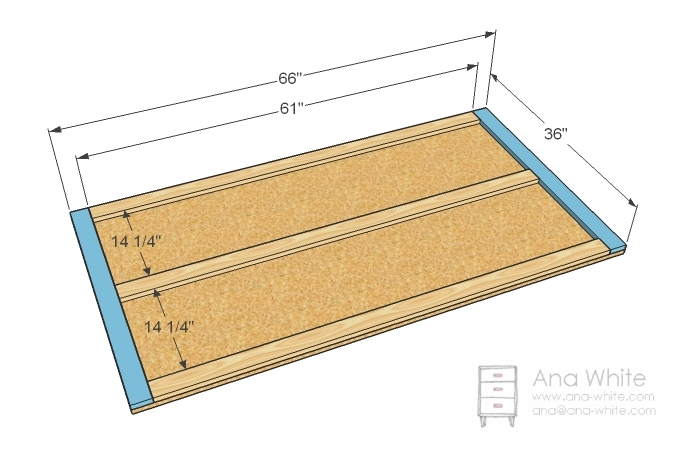
Modified Simple Outdoor Dining Table

Submitted by DD5.1 on Sat, 04/26/2014 - 20:00

I didn't make any changes , his orginal design was great. Hope these pictures help others. I tried to link to the modified-simple-outdoor-dining-table but wasn't able too.

Built from Plan(s)
Estimated Cost
120
Estimated Time Investment
Weekend Project (10-20 Hours)
Finish Used
make sure you stain as you go
Recommended Skill Level
Beginner

Comments

DD5.1

Sun, 04/27/2014 - 14:06

Found the plans "modified-simple-outdoor-dining-table" and I built it. Very nice table, I posted more pcitures to help others

DD5.1

Sun, 04/27/2014 - 14:06

Found the plans "modified-simple-outdoor-dining-table" and I built it. Very nice table, I posted more pcitures to help others

Home is Where the Shelves Are

I built five of these bookshelves for my living room. I wanted them to fill the one wall, so I just divided the length of the wall by five to determine how wide to make each shelf. Also, because I was building several to be pushed together, I didn't want the bulk of 2 by SPF, so I used laminated pine shelving. Two eight foot boards were needed for each shelf, and that left very little waste. I love how they turned out. I blogged more about them (including dimensions) here http://skonkers.blogspot.ca/2014/07/home-is-where-shelves-are.html

Built from Plan(s)
Estimated Time Investment
Afternoon Project (3-6 Hours)
Finish Used
I primed, then painted with CIL Artesian White
Recommended Skill Level
Beginner

Kaitlyn's Crib

Submitted by MCdesigns on Sun, 11/06/2016 - 10:05

So this is my first post of one of my projects, and super excited to share!   I have to say this is one of the most rewarding projects I have ever done.  First time Dad and so excited to meet her!  My wife is now 35 weeks. I have built many furniture projects in the past but I will admit this one intimidated me more than anything.  There are so many safety regulations on cribs and so many stories and blogs online about child safety it made my head spin.  I almost let the fear get the best of me and just bought a crib.....but the DIY in me said NO, and here it is!  After it is all said and done I couldn't be more happy and a proud Father at the same time!  I am still working on finishing this project, so I will add more pics as they come along.  We will be painting it a light gray color and top coating with a water based polycrylic. This is made to be convertable, and will also become a Full size bed.  Thank you Ana White and other users for inspring us all! 

Estimated Cost
Around $280. I buy all my lumber as rough stock from a local hardwood supplier, and joint/plane myself.
Estimated Time Investment
Week Long Project (20 Hours or More)
Finish Used
Behr Latex paint/ Minwax water based polycrylic
Recommended Skill Level
Intermediate

Comments

greyboarder

Tue, 02/27/2018 - 12:02

This crib is terrific and just what I am looking to build for my son and daughter in law.  Do you have any dimensions or even rough plans you could share?  I will certainly work ast sketching m own but if you have something you are willing to share it would serve as a great starting point.

Thanks so much,

Mark

greyboarder

Wed, 02/28/2018 - 06:37

My wife and I are going to be first time grandparents in the spring and have been asked by our son and daughter-in-law to build a crib - one just like the one you built.  I think it wil be a fun project.  Could you share any dimensions, drawings or other pictures rom your build?  You can reach me at my email address:  [email protected].

Thanks,

Mark

Sturdy Kitchen Island

Submitted by vendo on Thu, 06/19/2025 - 15:19

I just finished a narrow table, to use as a center island in our Kitchen. I plan on storing the stand mixer on the bottom shelf. I put Rollers on it so I can move it out of the kitchen. This is a rendition of an Ana White plan. - Kimberly Fritz Facebook Community

Built from Plan(s)

Red Hen Home's Farmhouse Storage Bed

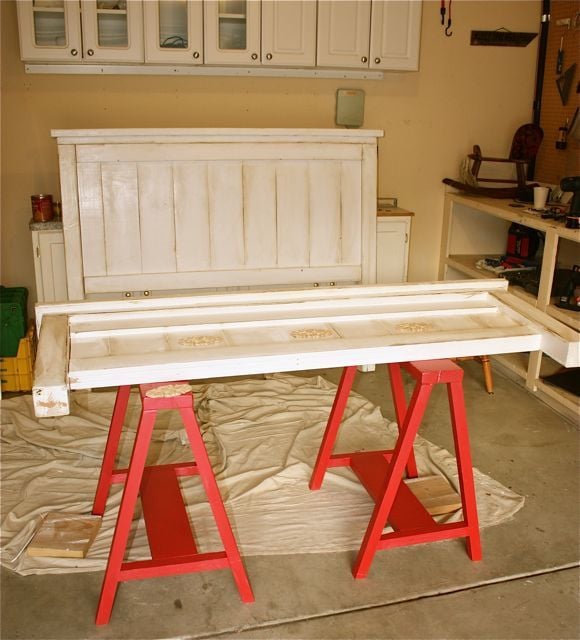
I made the Farmhouse Storage bed for my son's room, which also has to double as the guest room. It has a planked headbord and footboard. I made the slats in removable sections under the mattress to access the storage between the drawer boxes. Also modified the drawers somewhat to use less wood (basically they don't have a double-thickness front). I also used 1/2" plywood to cut down on the weight of the drawers, and they seem to work great! I used iron-on veneer to cover up the raw edges of the plywood on the drawer boxes. More information and pictures on my blog! http://redhenhome.blogspot.com/2013/06/the-handbuilt-bedroom-pt-4-bed.h… http://redhenhome.blogspot.com/2013/07/the-handbuilt-bedroom-pt-6-drawe…

Estimated Cost
$250
Estimated Time Investment
Weekend Project (10-20 Hours)
Finish Used
Custom mix of Minwax Antique Walnut/Weathered Oak stain.
Recommended Skill Level
Intermediate

Comments

Upmarket hardwood Adirondack

Submitted by Anonymous (not verified) on Tue, 05/16/2023 - 11:33

Loved design so decided on hardwood and no visible screw heads….. took a while but loved the result

Comments

Seasonal And Holiday

Guitar Stand

Submitted by Eddie K on Thu, 03/02/2017 - 13:49

Built this guitar stand basically by using on-hand materials left over from another project.  Used 1x12's; 18" tall fir for sides and back braces (cut at 5 degrees on each side).  Added felt strips to protect the instrument.

Estimated Cost
Probably around $20-25. Need about 4' of 1x12 fir and Minwax Polyshades in Classic Oak. All materials were on hand except the roll felt, so hard to pinpoint.
Estimated Time Investment
Afternoon Project (3-6 Hours)
Finish Used
Minwax Polyshades in Classic Oak.
Recommended Skill Level
Beginner

Comments

Beginner 2x4 Outdoor Chair

Submitted by Anonymous (not verified) on Mon, 04/21/2025 - 10:19

Over 60 and retired from teaching last year, I’ve never made anything before trying this chair from Ana’s 2x4 plans. I only have a circular saw, a jigsaw and a cordless drill and constructed most of this in the garden as I have no workshop space. Up close there are loads of things wrong with it, but I’m just amazed that I did this on my own and you can actually sit in it. Hopefully, when I build another one to (try to)make it into a pair I’ll see some improvement. Every day’s a school day but this site and the free plans have given me the confidence to give it a go. - Auds

Built from Plan(s)

Comments

bosaf76248

Wed, 04/30/2025 - 10:22

I’m a student and totally new to woodworking, so this project feels perfect for me. I’ve been wanting to build something useful without needing a ton of tools or money, and this chair looks super manageable. The instructions are clear, and the photos really help a lot. Since school’s been kind of hectic, I used writemypaperin3hours to handle one of my assignments so I could actually have time to try this out. It felt good to step away from my laptop and do something hands-on for once. I’m planning to build it this weekend and maybe even stain it to match our porch.

Seasonal And Holiday

Great Patio Set

Submitted by Anonymous (not verified) on Mon, 10/04/2021 - 13:02

I wanted sturdy seating for my patio. Ana White had the perfect plans for my L shaped seating and coffee table. It was simple to put together and we love it!

Comments

Seasonal And Holiday

DIY Modern Rustic Outdoor Chair

Submitted by susanshamp on Fri, 07/10/2015 - 15:07

I made this outdoor chair by looking at a variety of plans and designs from Restoration Hardware and other stores. Check out more info on the project on my blog link. Thanks for looking!

Estimated Time Investment
Afternoon Project (3-6 Hours)
Recommended Skill Level
Beginner

Comments

Cedar Boxes

Submitted by drowland on Sat, 07/09/2011 - 07:18

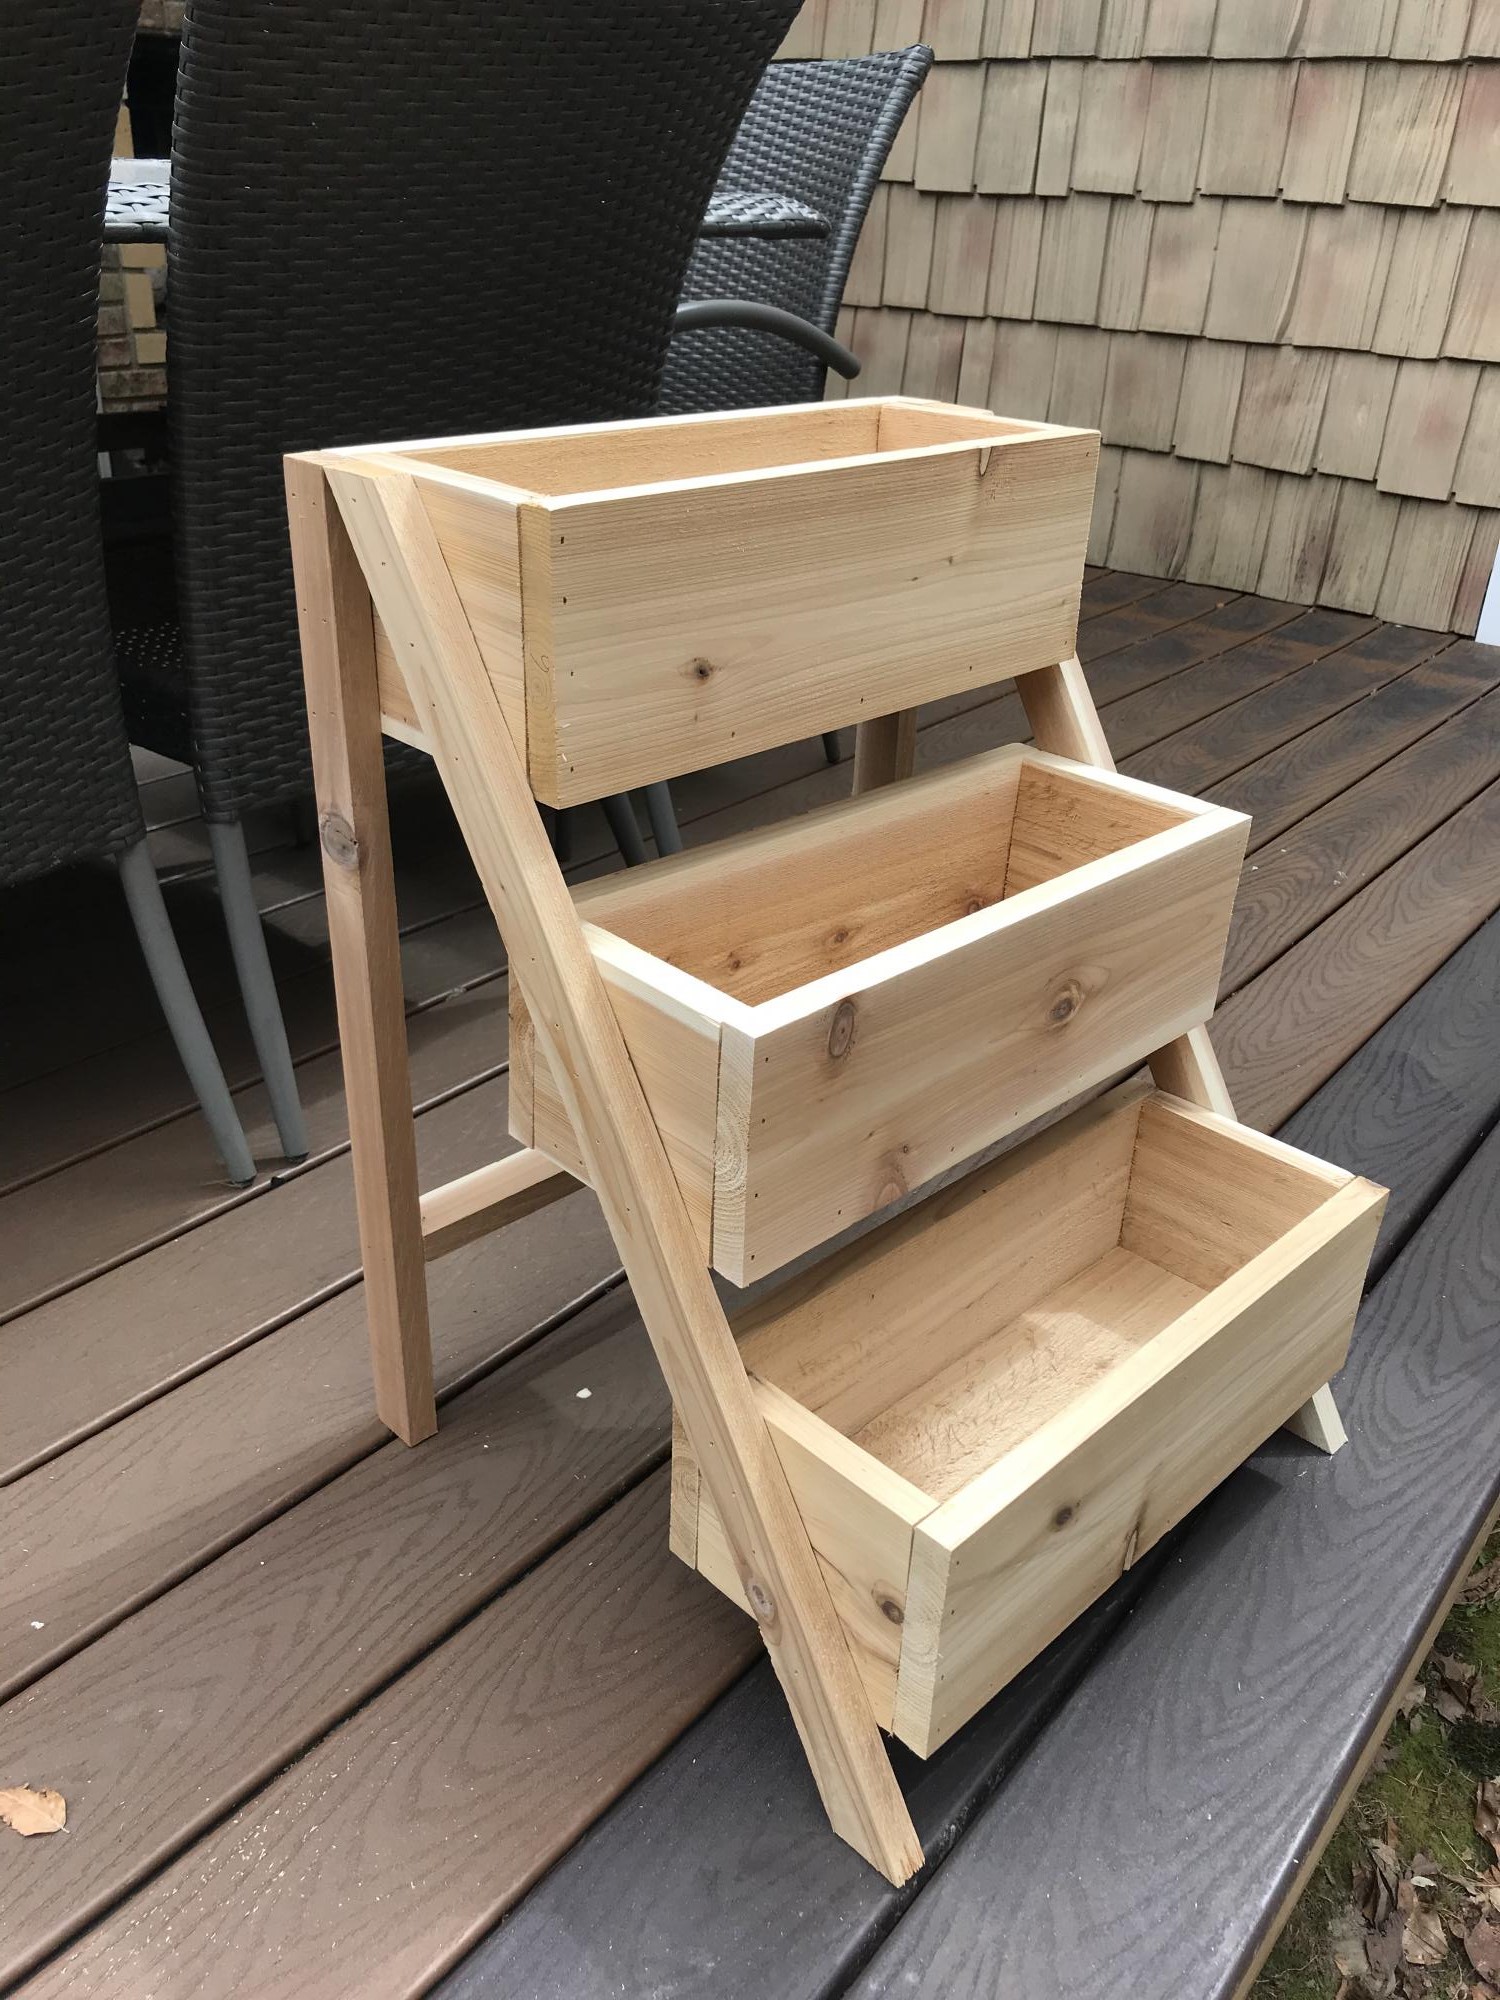
We built these before we saw these plans, but they are pretty much the same... We added the chicken wire to keep the rabbits (and our dog) out of the garden. We added the owl to keep the birds out. We've gotten a ton of tomatoes, onions, and bell peppers so far. Next year, we'll add a few more beds. We also added the verticle garden to take up less space, but its not deep enough. We'll make the next one deeper.

Estimated Cost
$30
Estimated Time Investment
An Hour or Two (0-2 Hours)
Finish Used
none
Recommended Skill Level
Starter Project

Comments

KatieO (not verified)

Sat, 07/09/2011 - 20:11

Wow! LOVE IT! I love the taller posts so you can incorporate the chicken wire! I SOOOO needed to do something like that this year. Also, the vertical garden boxes are BRILLIANT! LOVE IT!

drowland

Thu, 11/17/2011 - 07:59

We ended up getting a ton of tomoatoes and green peppers from the garden boxes. We've actually built a couple more. We'll probably double again before next spring. We're looking at adding more veggies.

We now have ton of stuff planted for the fall...

Guest (not verified)

Tue, 03/13/2012 - 10:46

How did you build the upright planter boxes? Do you mind explaining the building process/design? I really want to plant this in my yard!

colton's mom (not verified)

Tue, 04/03/2012 - 06:19

i love the vertical boxes. I am just trying my hand at the world with a green thumb and could use as much advice as possible about how to make as well as to line the boxes or not to line them. All advice appreciated!

berman (not verified)

Fri, 11/23/2012 - 21:53

Hi, my name is berman. I found you pin from my pinterest and your box garden is so great. I am a newbie in this field and so interested to build garden in my house. If i can ask you some question, could you please to answer that?

cheers,
berman

Seasonal And Holiday

Toddler Bed and Doll Bed

Having done a few doll beds I decided to tackle a toddler bed. I ended up donating this pair to an auction benefiting Montrose Street Reach and Little Footprints Children's Ministry. If you are interested check out http://www.littlefootprintscm.com

Estimated Cost
again....free. I have a cousin that brings me the remains of HUGE shipping crates and pallets :)
Estimated Time Investment
Day Project (6-9 Hours)
Finish Used
sanded, primed, sanded, dark pink paint, sanded very lightly, light pink paint, sanded to distress
Recommended Skill Level
Beginner

Comments

Modular Closet System Using French Cleats

Submitted by Anonymous (not verified) on Tue, 08/13/2024 - 09:25

French Cleat Modular Closet System. This is the first carpentry project I have ever built. I bought myself a Makita Track Saw for my birthday in March. I was working and I have chronic health issues so I just paced myself. Left side first. Then the right side. Then I just finished the shoe component today. I had a U shaped inefficient builder system for the last 20+ years. I can't wait to do my other closets and build out several other projects. I love this site and the great plans that are here! Thank you, Ana!

Annette Hickman

Garage Loft Bed

Submitted by GAno1Dad on Tue, 10/21/2014 - 20:24

The garage loft bed was inspired by the plans on your site. I beefed up the framing with 2xs and found siding panels at my local big box. 

Built from Plan(s)
Estimated Cost
$600
Estimated Time Investment
Weekend Project (10-20 Hours)
Recommended Skill Level
Intermediate

Comments

Wolfeman188

Wed, 08/03/2016 - 13:15

Hi, i was just curious if there was plans for this bed anywhere? My son has that exact corvette bed and he is not with me for a little while and i wanted to make it for him to come home to.

Compact Chicken Coop

Submitted by Anonymous (not verified) on Sat, 05/31/2025 - 20:49

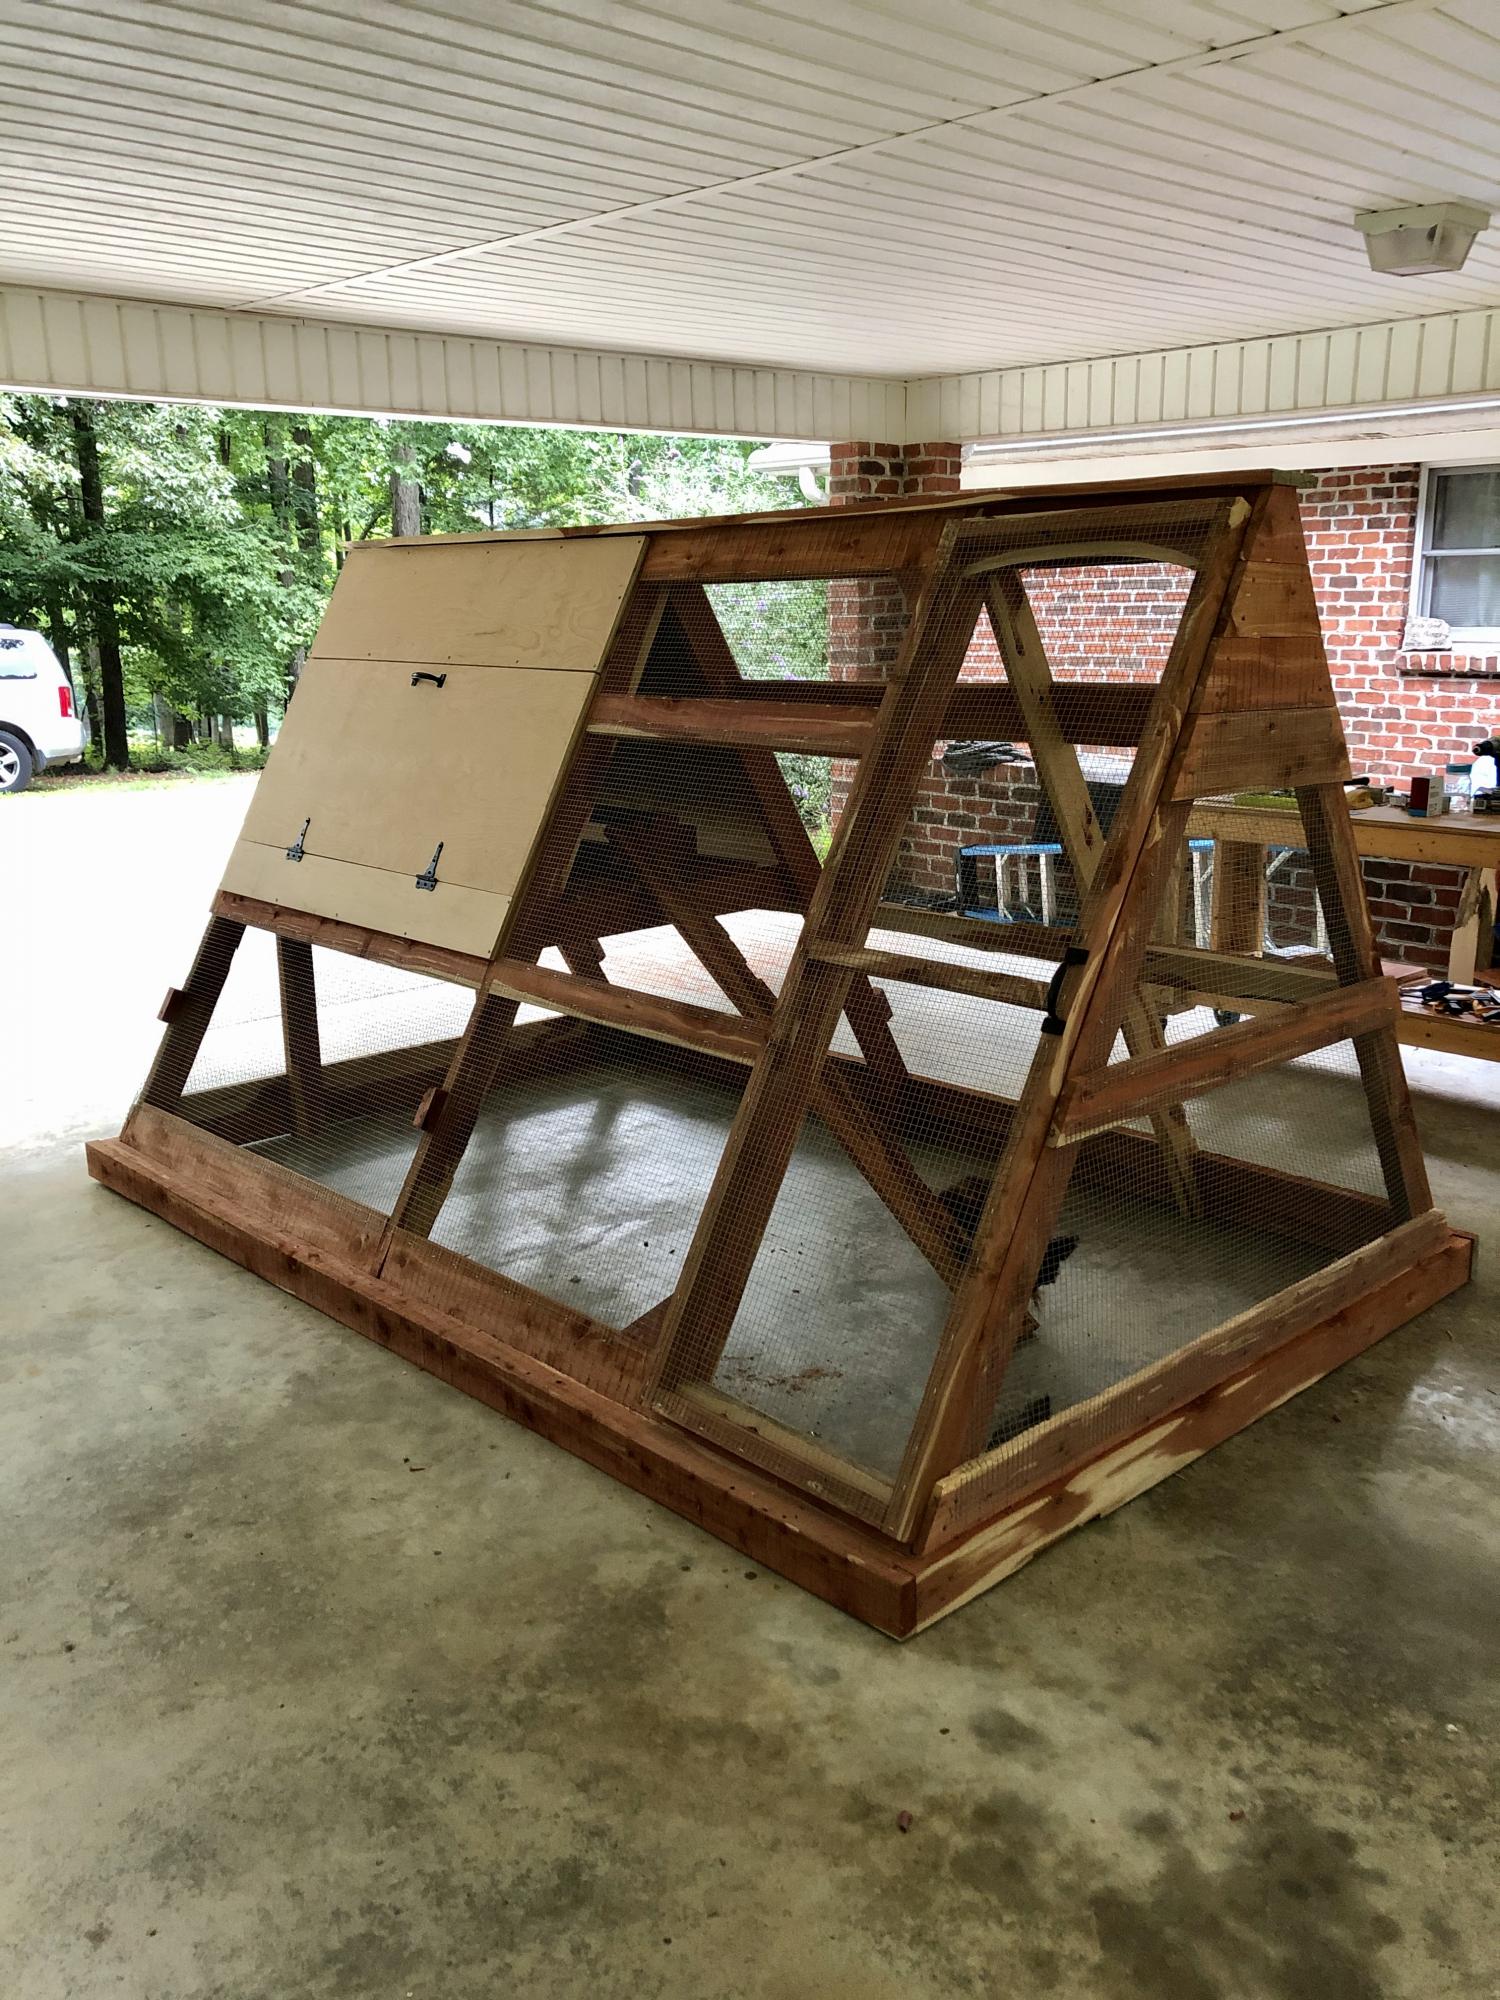
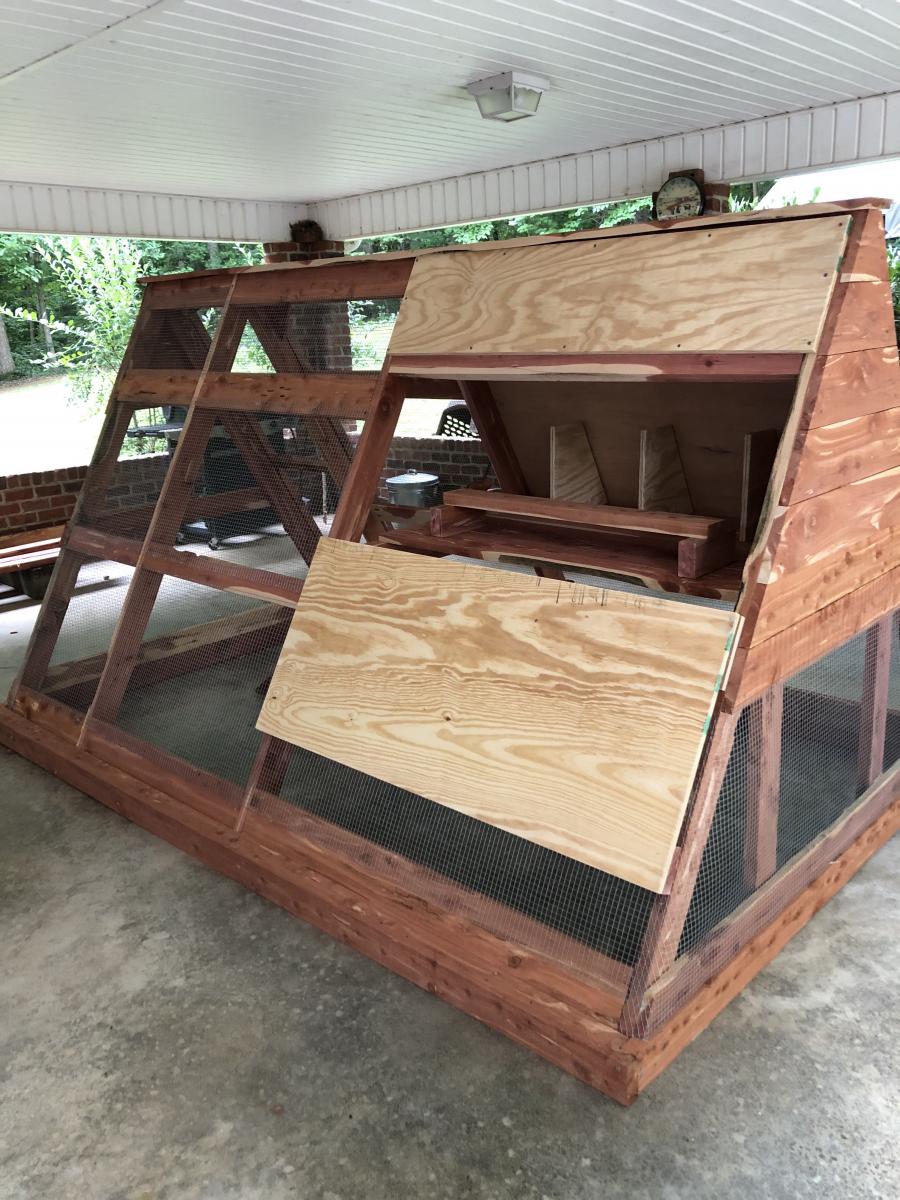
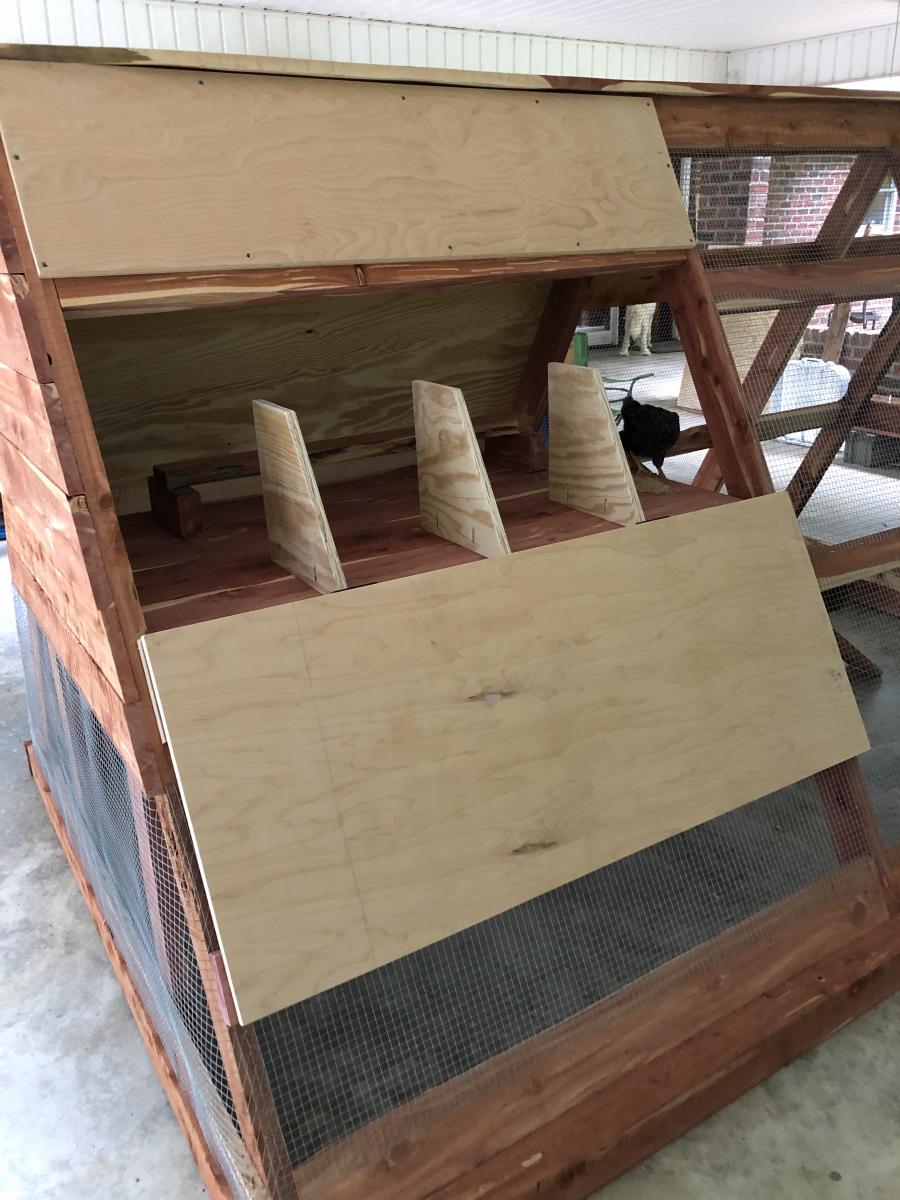
I made this brooder coop for my granddaughter. I had to alter the plans a little. I didn’t have a Kreg Jig at first or a large enough flat surface to do the sides like the plans. I made the front door with a latch to shut them up at night. The ladder to the coop can fit inside for storage when not in use. I used a lot of scrap lumber and supplies around the farm to build it. I bought a Kreg jig for the door. It was easy to use. If I had to make it again I would have put the sides over the chicken wire.

Built from Plan(s)

Cube bookcases

As part of my daughter's big 8th birthday bedroom re-do, I knew she needed some new storage for books and...er...stuff. You know how kids accumulate little scraps of paper, photos, tiny toys. I can't stand to see that kind of stuff lying around, so these cube bookshelves seemed like a great solution for the problem. The canvas "drawers" are from Target and were not expensive. I followed Ana's Six Cube Bookshelf plans very closely with two exceptions. First, I shortened the legs an inch to ensure that the units would be short enough to fit under the bedroom window. Second, I added an overhanging 1/4" MDF panel to the top of each bookcase and trimmed out the bottom of the panel with cove molding. The rest of the wood used was solid pine. I'm now working on building a third unit for my other daughter's room. This time I was smart enough to finish the insides of the cubes before putting the whole bookcase together. Getting into those corners once the project is complete is time consuming and difficult. Painting the insides of the boards ahead of time has proven to be much simpler.
Built from Plan(s)
Estimated Cost
$100
Estimated Time Investment
Weekend Project (10-20 Hours)
Finish Used
Sherwin-Williams ProClassic in semi-gloss followed by satin Minwax Polycrylic.
Recommended Skill Level
Beginner

Full size Murphy Bed

Submitted by Hartung26 on Wed, 06/26/2013 - 20:07

Used the plans for the twin bed, just added the difference in mattress size to the measurements. Pretty simple really. Used a cam lock centered above the door and a sawtooth picture hanger on the inside as a locking mechanism.

Estimated Cost
$275
Estimated Time Investment
Week Long Project (20 Hours or More)
Finish Used
WinMax English Chestnut
Recommended Skill Level
Intermediate

Comments

spiceylg

Thu, 06/27/2013 - 12:16

Been thinking of building one of these. Yours looks beautiful, nice job!

campbelllsara

Tue, 09/30/2014 - 14:16

Hello,

I have been scowering the internet... I too would like to have my murphy bed raised off of the ground and be a full size murphy bed.  But everytime I try to do "adjustments" and get "creative" it ends in disaster.  I am better at following instructions.  Is there anyway that you could give me the exact measurements for your fullsize bed and let me know how it is that you propped the bed up at the end?

[email protected]


Thank you.

Back