Community Brag Posts
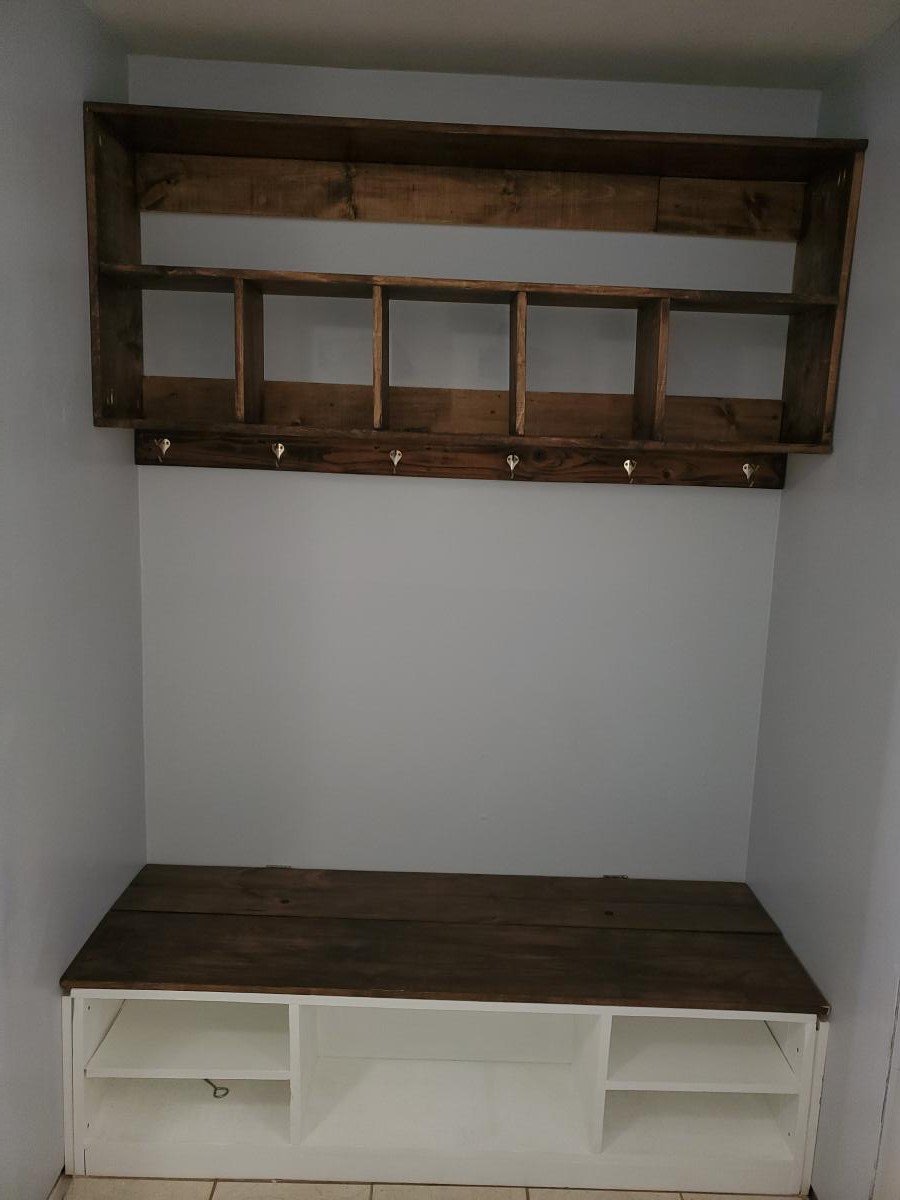
Mudroom bench and storage rack/shelves
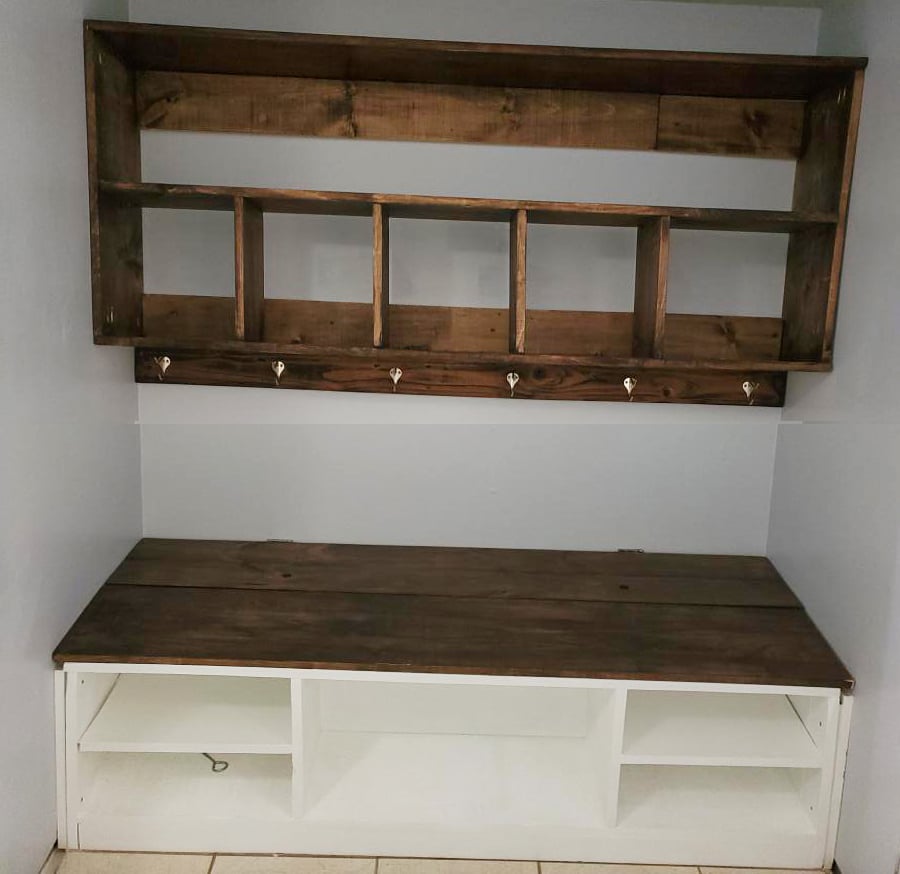
Thants for the inspiration We love it.
Built from Plan(s)
Comments
DIY Closet shelving
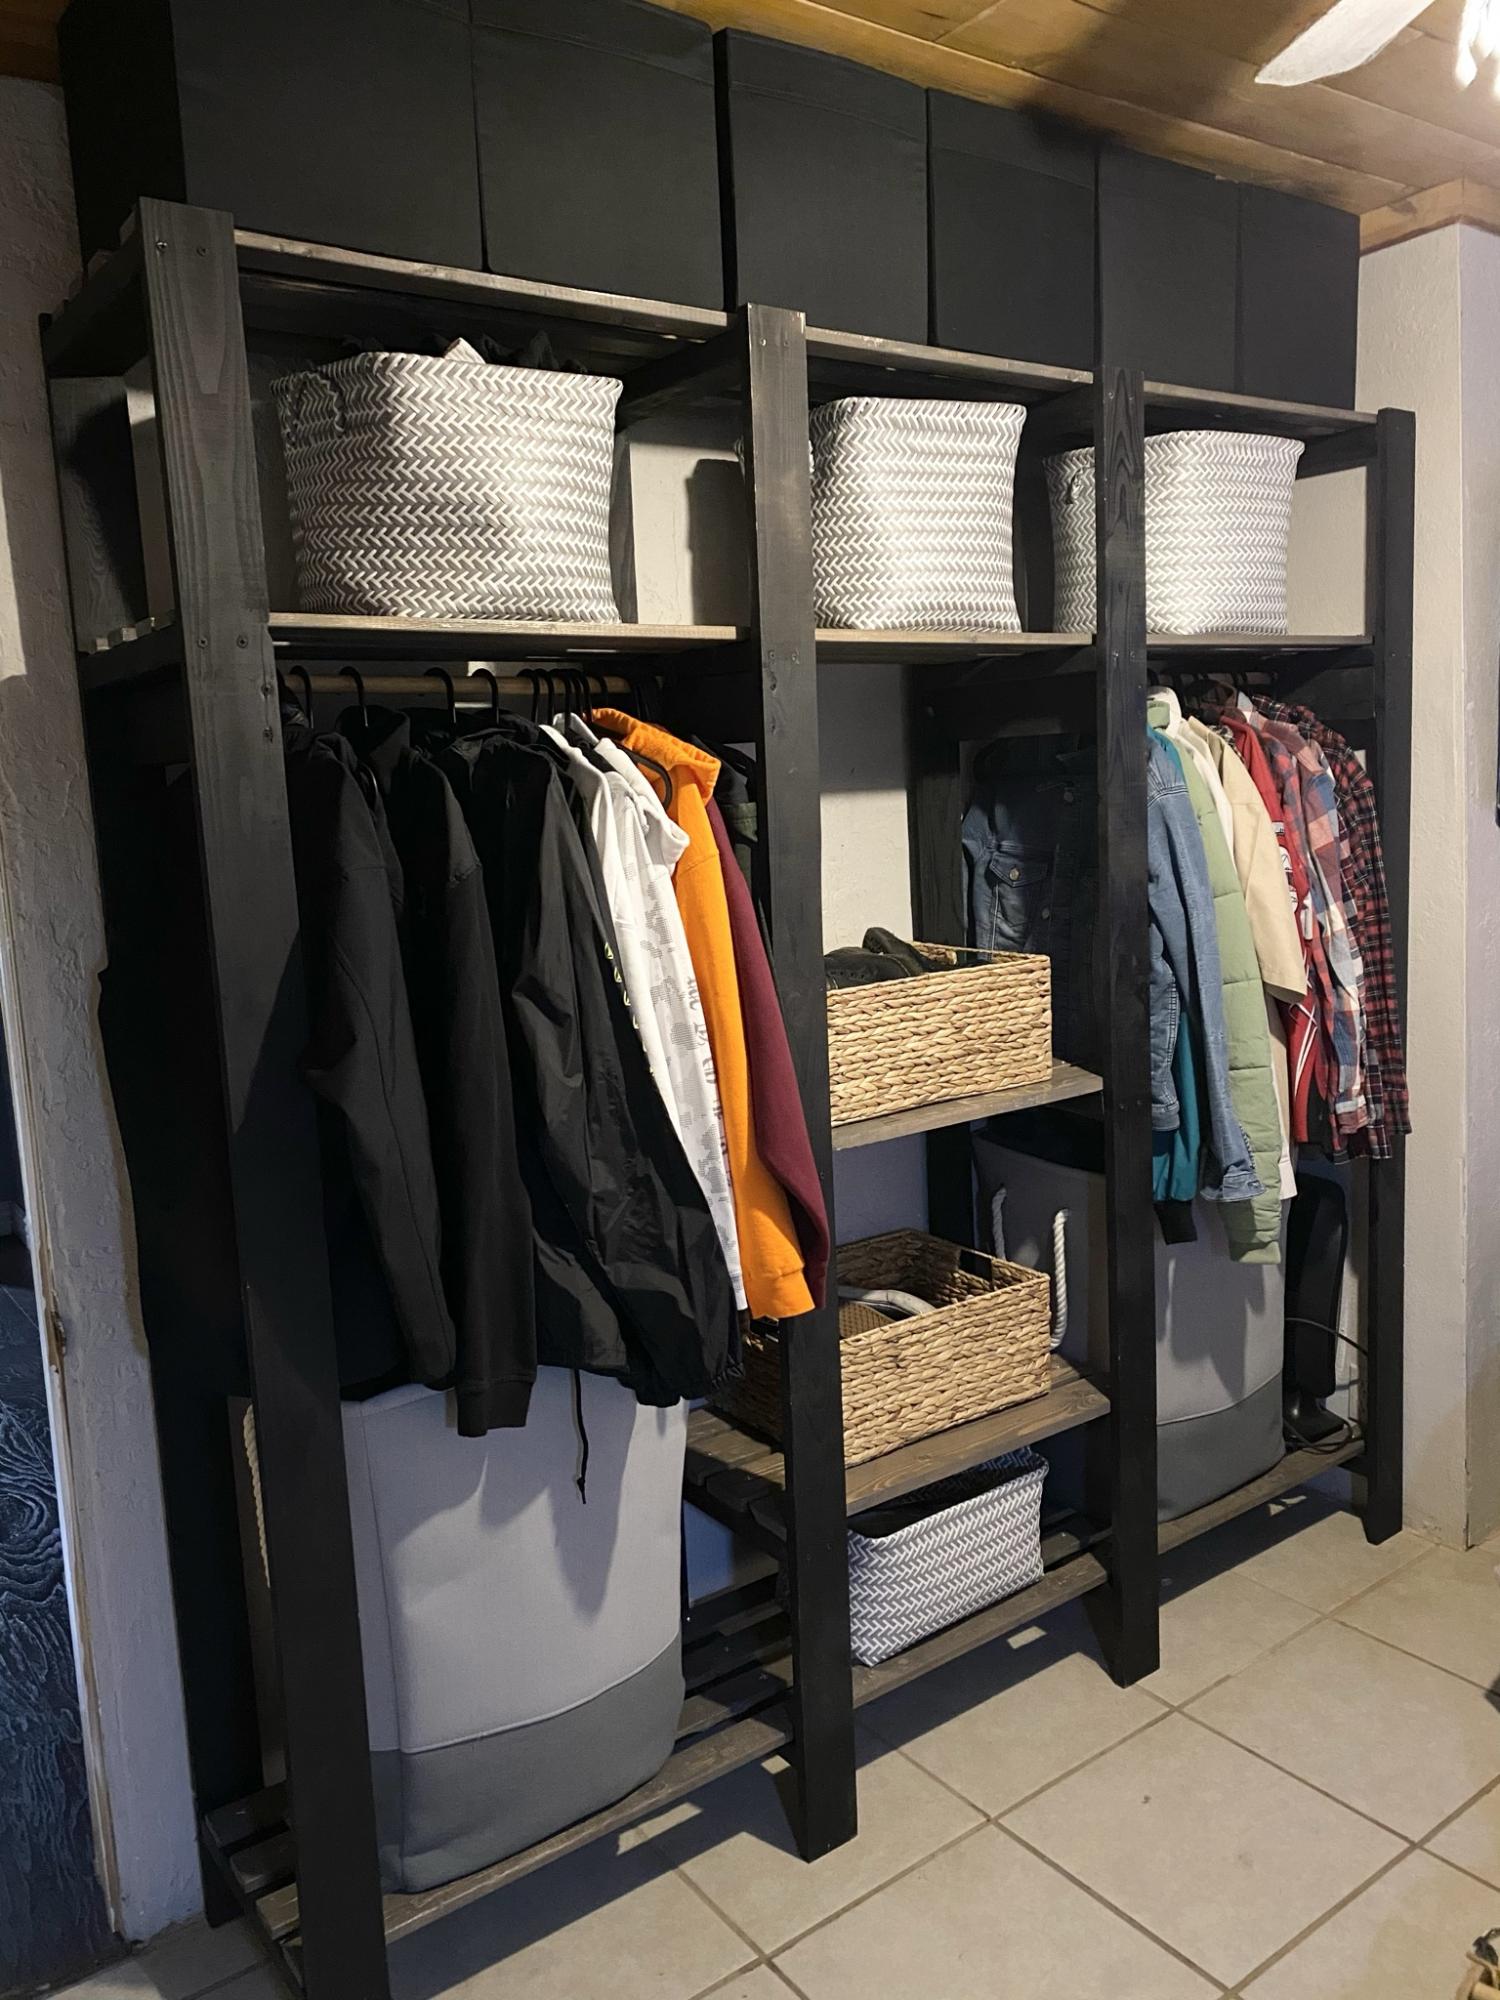
Closet
Built from Plan(s)
Estimated Cost
180
Estimated Time Investment
Day Project (6-9 Hours)
Finish Used
Spray paint
Recommended Skill Level
Beginner
Comments
Mega work bench with miter station
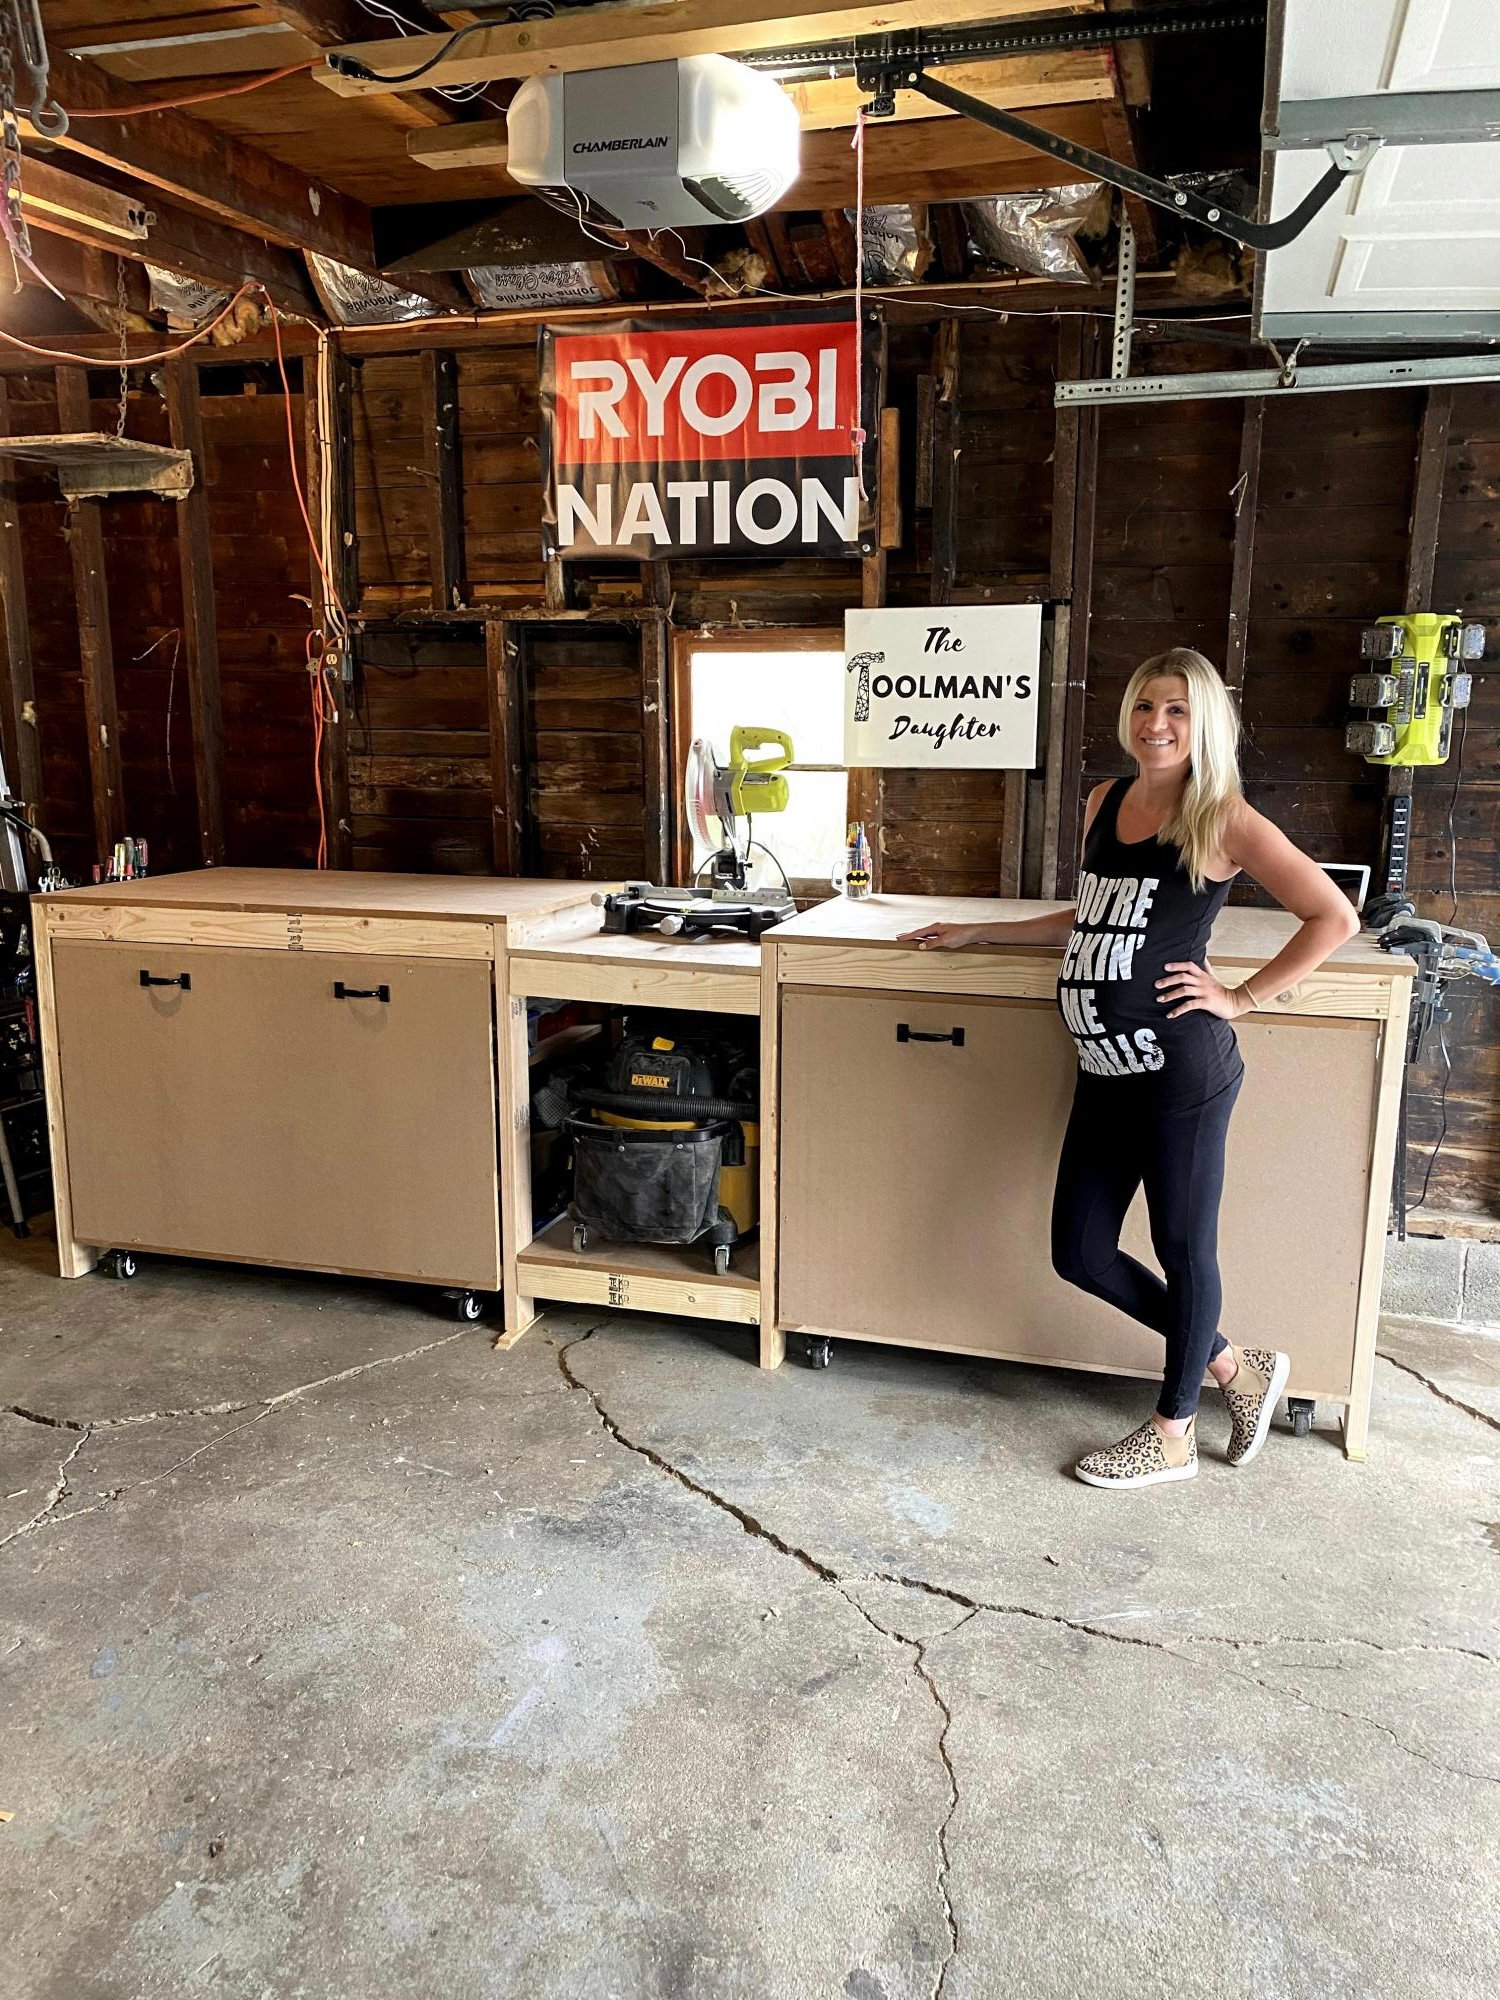
When I was 8 months pregnant and going through my “nesting phase” I knew I needed to get my garage organized. Prior to building this, my tools were all over the place. To try to get it done before the baby came, I called my dad to help me out, and we built it together in just a couple days. It was a weekend I will never forget and I smile every time I walk into my shop knowing we did it together.
Built from Plan(s)
Comments
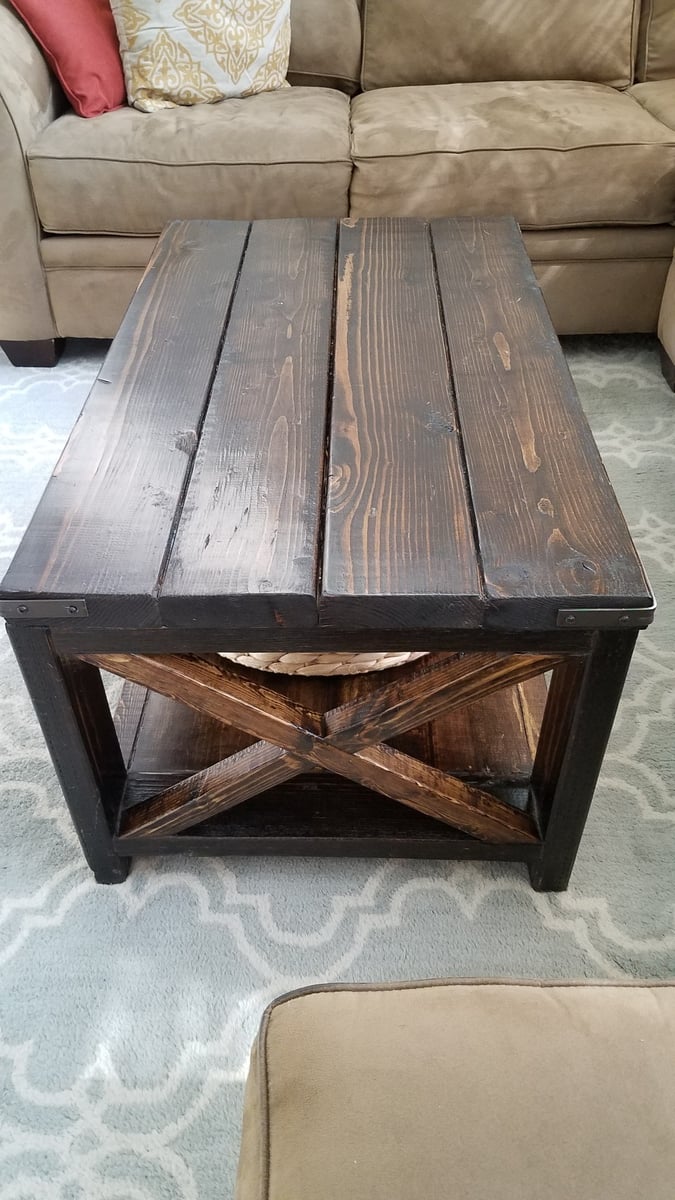
Small version of the X coffee table
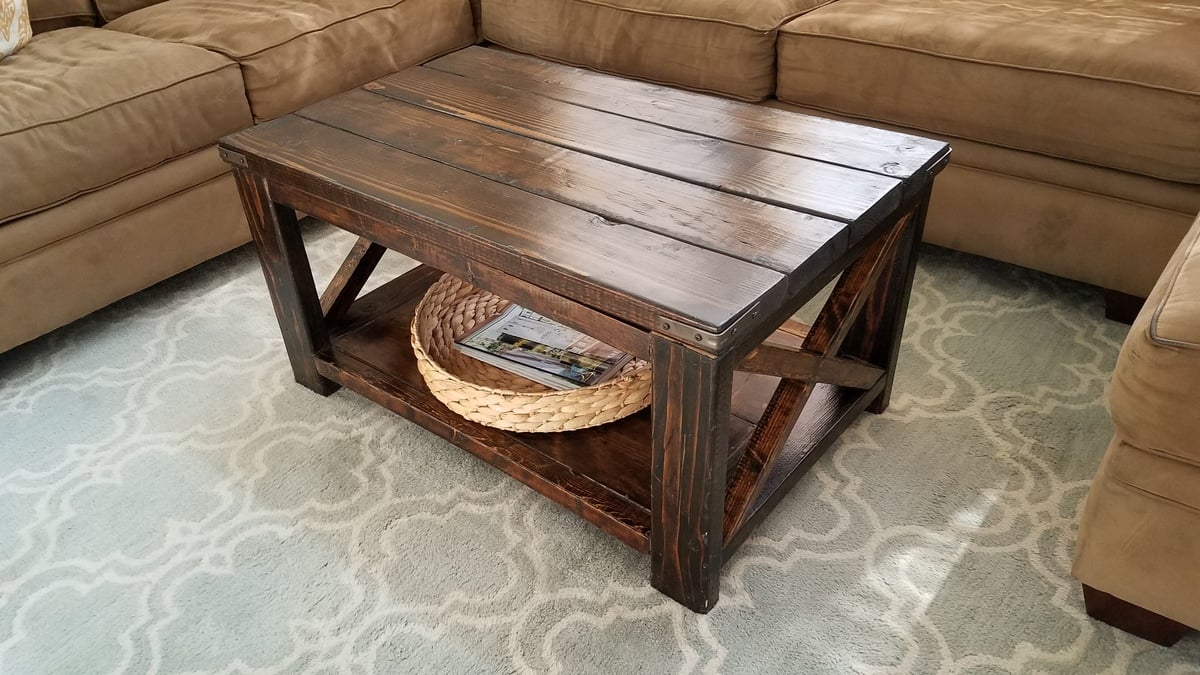
I loved Ana's version of the coffee table but it was way too big for my space, so I scaled it down quite a bit and it fits perfectly!
Built from Plan(s)
Estimated Cost
$100
Estimated Time Investment
Weekend Project (10-20 Hours)
Finish Used
Minwax stain in Dark Walnut with several coats of semigloss poly
Recommended Skill Level
Beginner
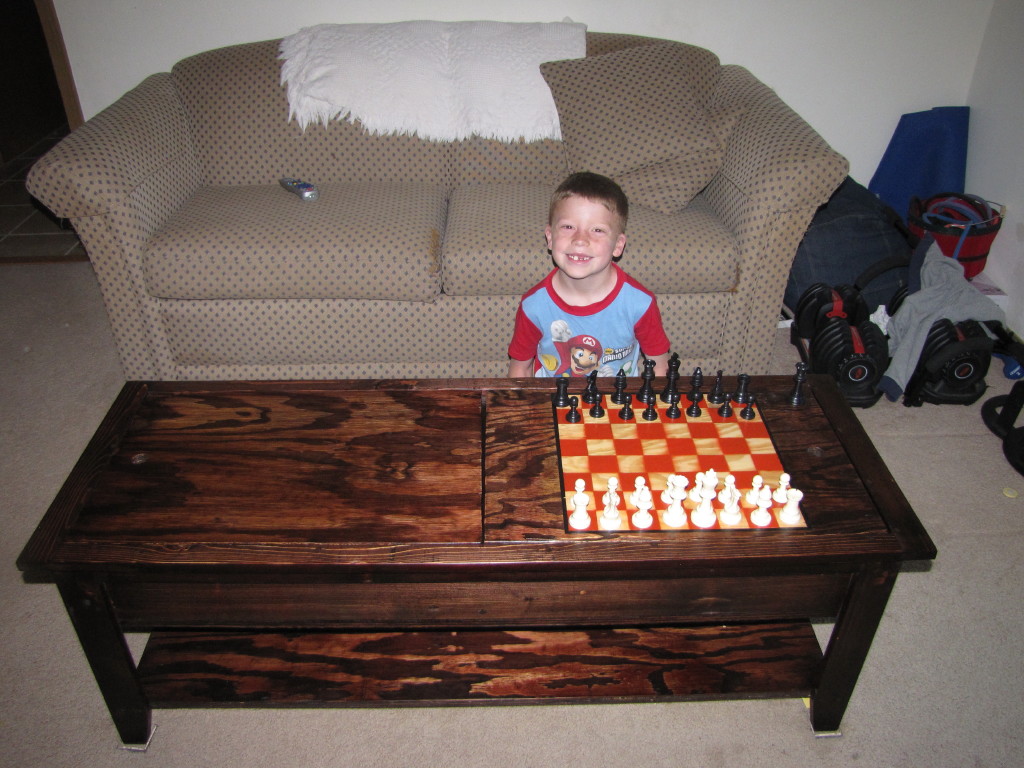
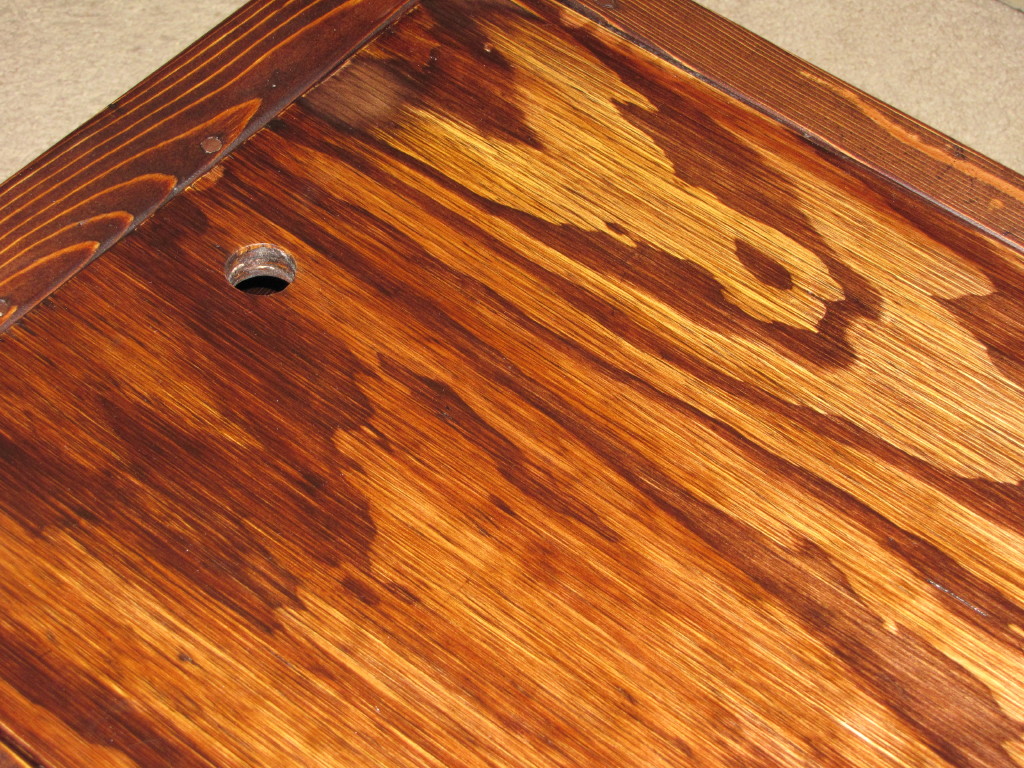
Mom's Lego Table (with chess board)

This is the Mom's Lego Table everything went according to plan until, I cut and tried to place the table tops in ... Ooops. Was not square, with the help of my father-in-law we got them to fit. So, as Ana says ..CHECK FOR SQUARE!!! The other part that took awhile was the chess board but was worth it my son loves chess!
Built from Plan(s)
Estimated Cost
$50.00 (had extra wood.)
Finish Used
Minwax Red Mahogany stain and Clear Satin Rub on poly.
Recommended Skill Level
Beginner
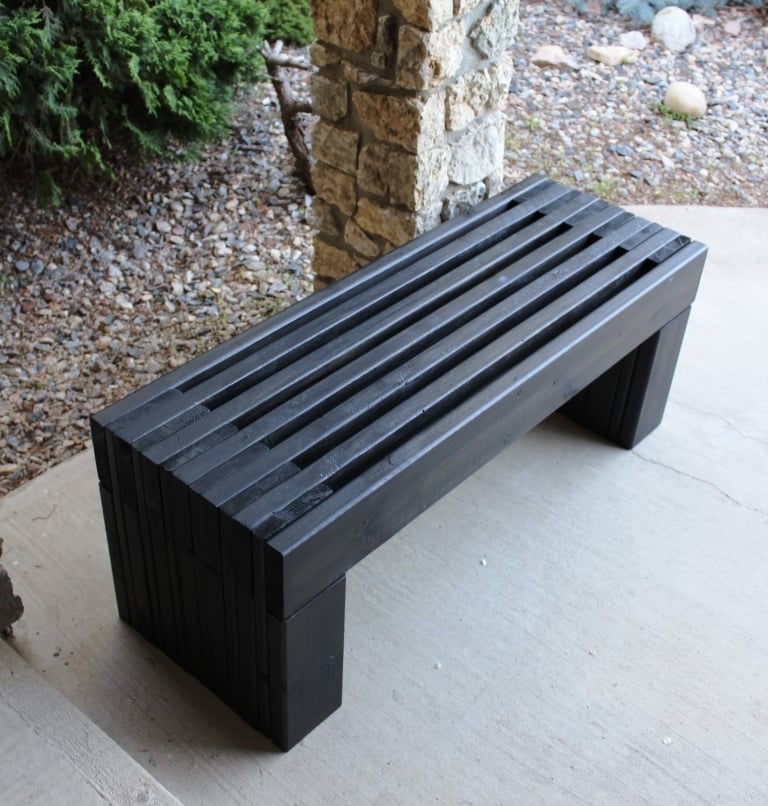
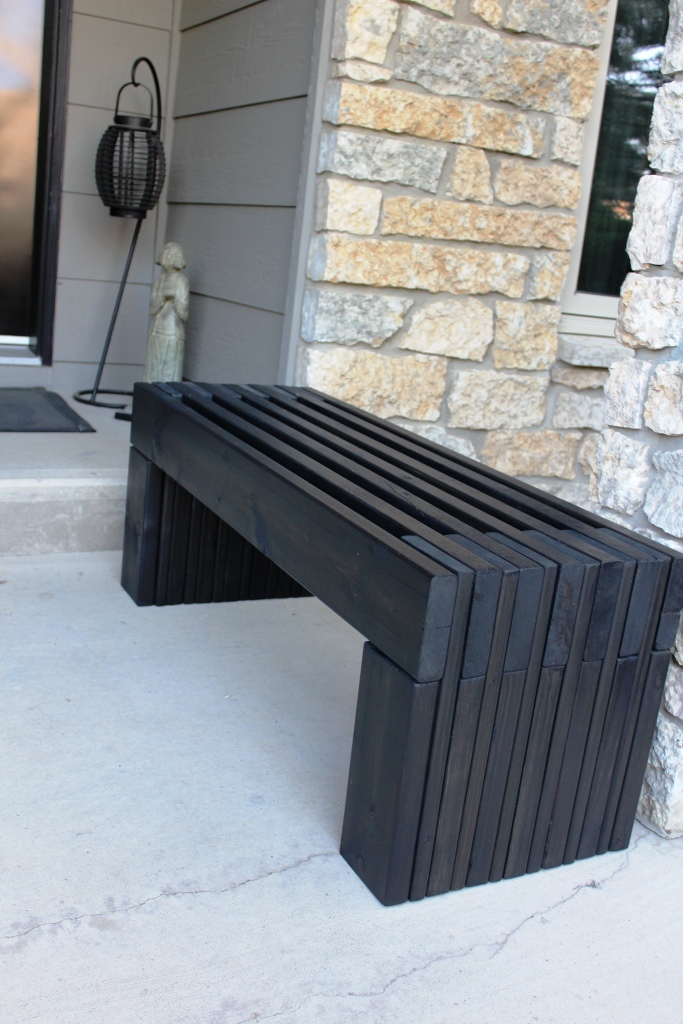
Modern Slat Top Outdoor Wood Bench

We wanted an outdoor bench for our front entrance way, this one is just what we were looking for! Thank you for the plans.
Built from Plan(s)
Estimated Time Investment
Day Project (6-9 Hours)
Finish Used
2" x 6" Spruce Black Stain
Recommended Skill Level
Beginner
Comments
Wed, 05/04/2016 - 10:01
quesion
I am really a novice. The plans say that the 1x4's should be 18-1/2" high? But the measurement of the vertical legs are 14", and the horizontal piece is 4" high, which adds to 18". It all looks flush in the photo. Could you explain what I am missing? Thank you so much!

In reply to quesion by beardjulie
Wed, 05/04/2016 - 11:30
Hope this Helps
So from what i see in the plans Each 1x4 board is to be cut at 18" and the 2x4 is to be cut at 14-1/2". Cutting the 2x4 at 14-1/2" will insure the 1x4 and 2x4 are fluish for the end product. It doesnt seem to add up given the demensional names of the lumber hahaha however the actual width of a 2x4 (the one the will be going horizontal) is acutally 3-1/2". so then you cut you 2x4 leg piece at 14-1/2" and then lay the horizontal 2x4 on top the total height will be 18" and should be flush with your 1x4 that is cut at 18"
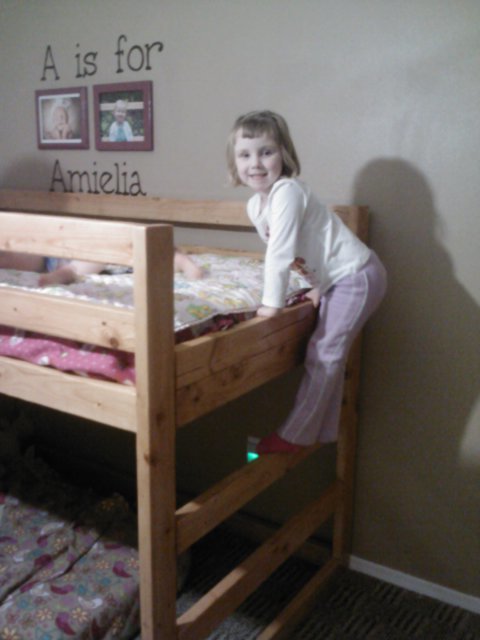
Modified Jr. Loft Bed
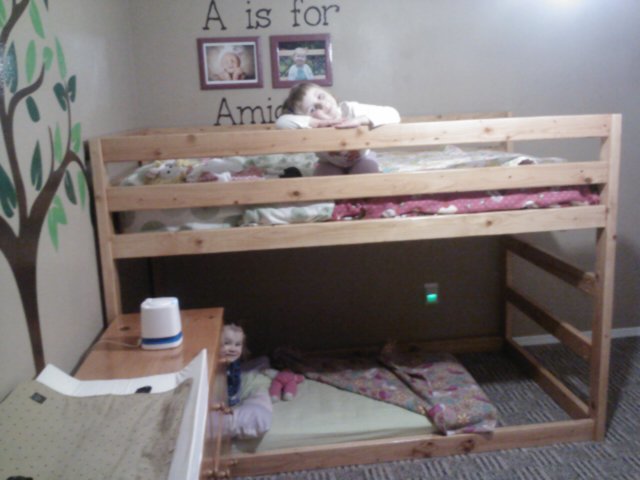
We loved the idea of the Jr. Loft Bed, but made some modifications to fit our needs.
Modifications:
-I didn't really feel the 2x6 railing was needed, so to cut costs, we used all 2x4s. On the end, I put two 2x4s one on top of the other to keep the mattress from sliding off the ladder side.
-Height was a concern for me as my kids are 4 & 2. So I lowered the overall height by about a foot. 54in is the height. Since we are putting my youngest on the bottom (on the floor) we made sure she had enough head room.
-We wanted this to be STURDY and reversible. So we added bottom supports on both long sides to ensure that the frame wasn't going to move. We also added six 2x4 supports under the mattress on the top. I can climb up there to tuck in sheets with no problem.
-We skipped the stairs & landing. I didn't want my kids to be playing on the bed. So we skipped the stairs and just built a ladder into the frame instead.
This was a fairly easy build. We previously built a HUGE Ana White Table. And I felt like I was kreg jigging for DAYS. This was only a few hours of cutting, sanding, kreg jigging, and a simple put together. Staining took the longest! It's a great bed and we're so excited it's finished!
Built from Plan(s)
Estimated Cost
$70
Estimated Time Investment
Day Project (6-9 Hours)
Finish Used
We used Minwax Polyshades. Classic Oak Gloss. 2 coats.
Recommended Skill Level
Beginner
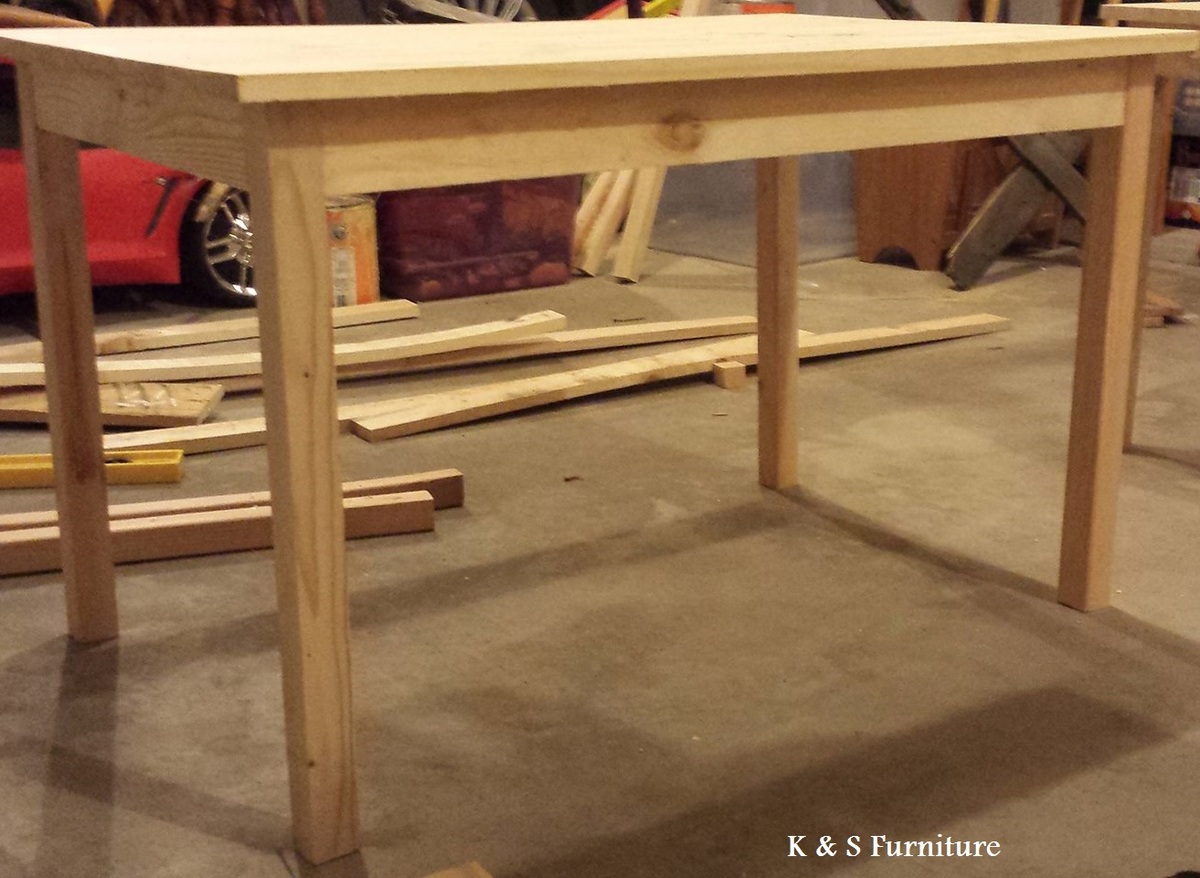
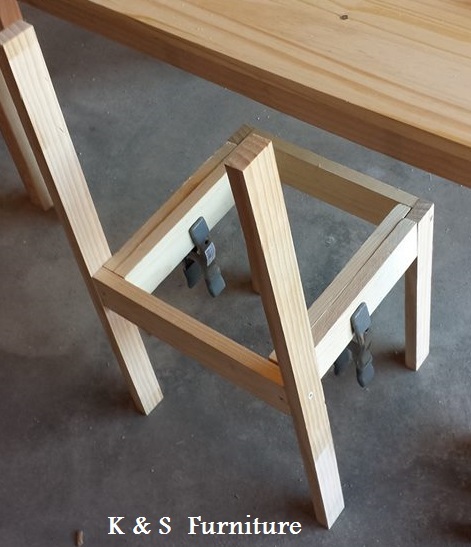
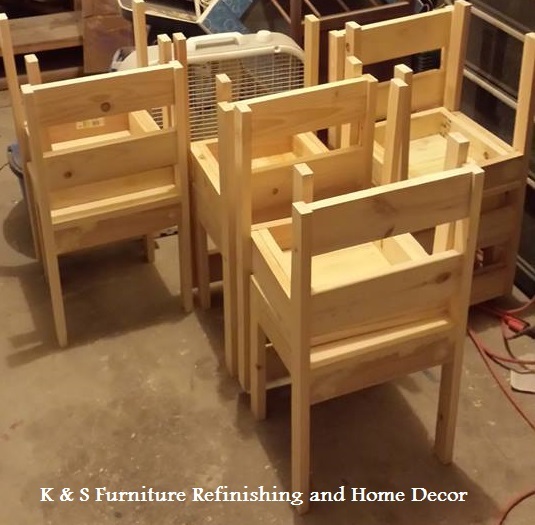
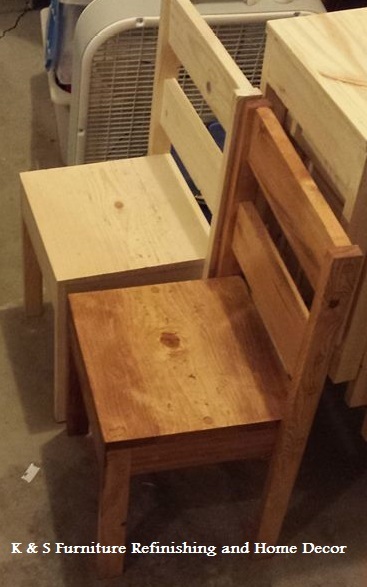
Childrens table and chairs
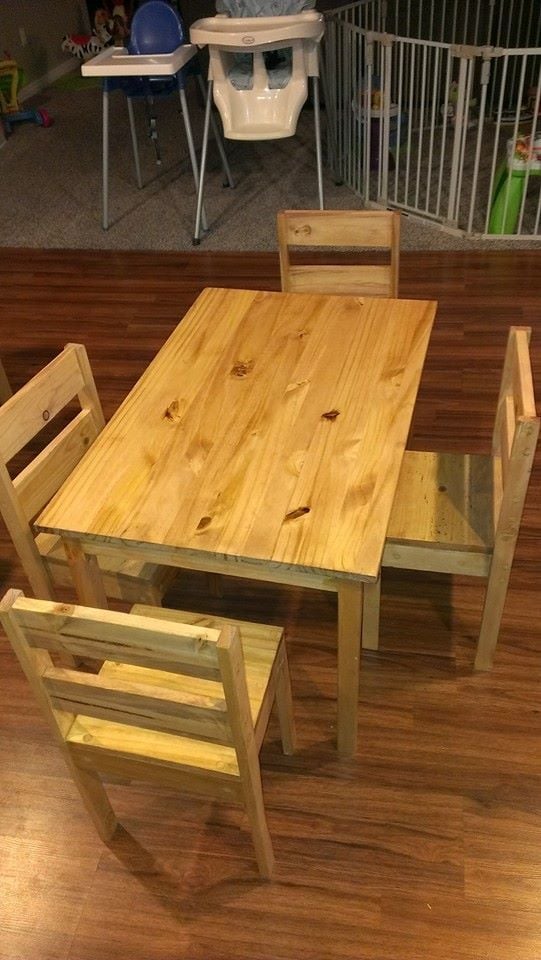
We built Two children's table and 8 stackable chairs for one of our daycare's. It took a lot of work but once we figured out the first chair it was a breeze for the other 7.
Built from Plan(s)
Estimated Cost
$30
Estimated Time Investment
Week Long Project (20 Hours or More)
Finish Used
We stained the wood in a Cherry Stain and finished with multiple coats of Poly.
Recommended Skill Level
Beginner
Comments
Sat, 02/08/2014 - 15:54
look great!
Awesome! I built one for our homeschool and it works great. Yours look very nice.
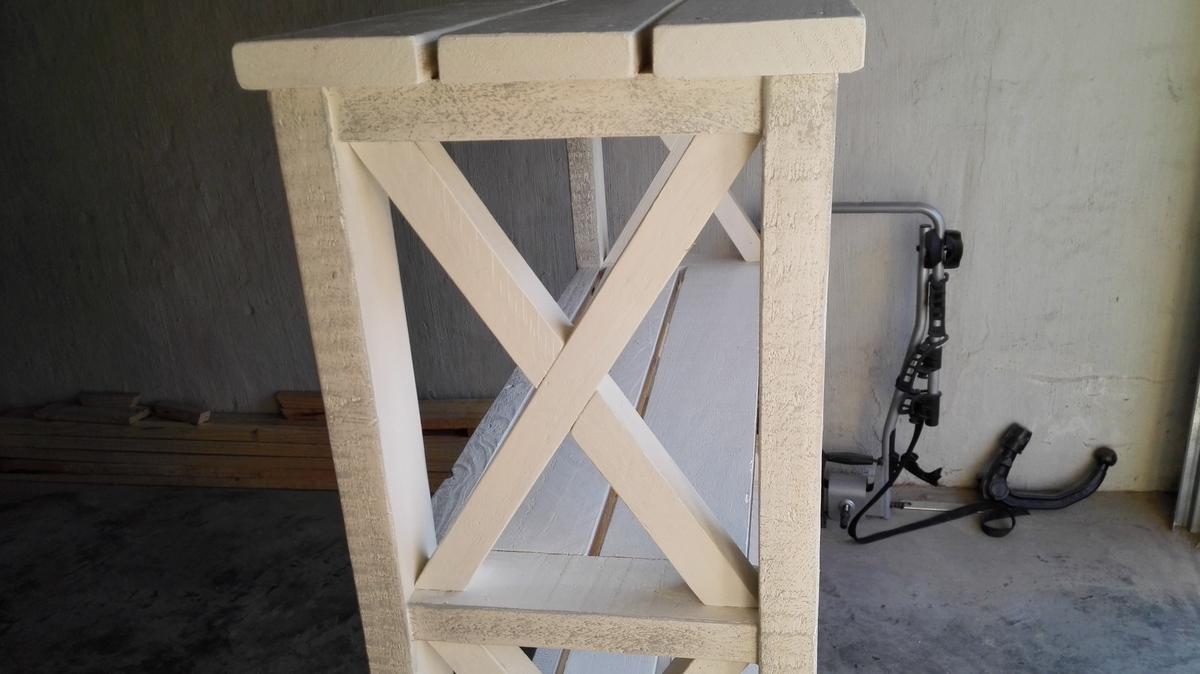
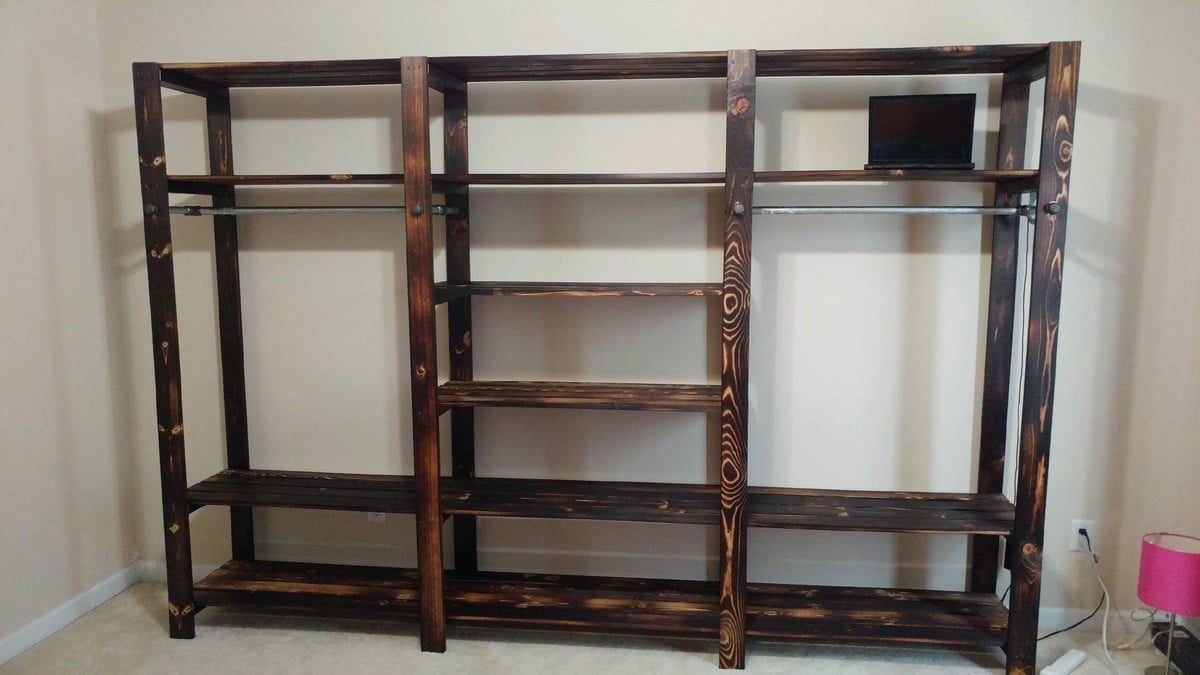
Rustic X Bookshelf
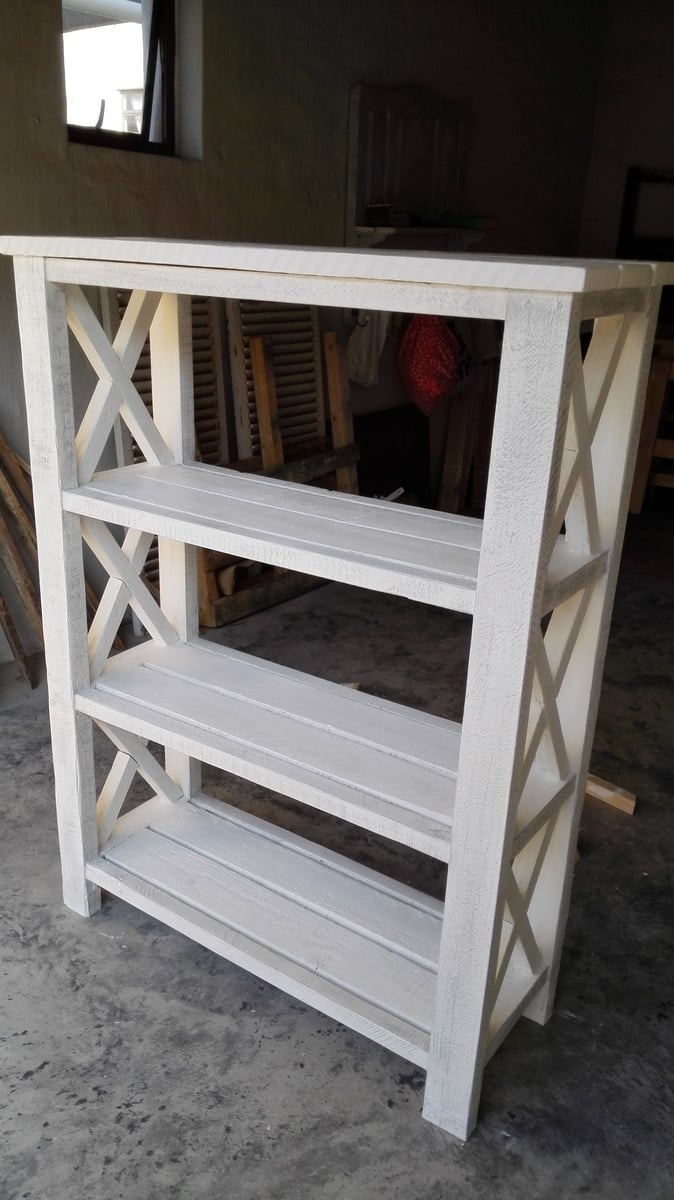
I love the look of this bookshelf, thank you so much for the idea.
I definitely recommend to cut the crossing boards each at a time as they differ even if in milimiters.
Built from Plan(s)
Estimated Cost
$60
Estimated Time Investment
Day Project (6-9 Hours)
Finish Used
Chalk paint
Recommended Skill Level
Beginner
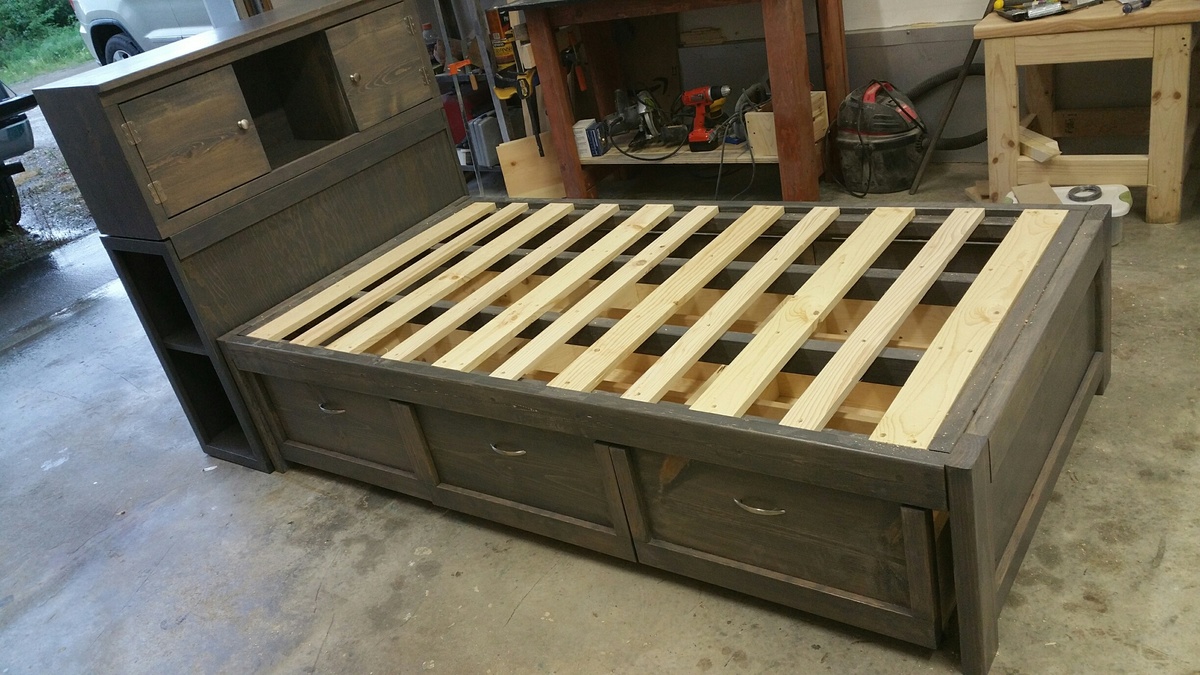
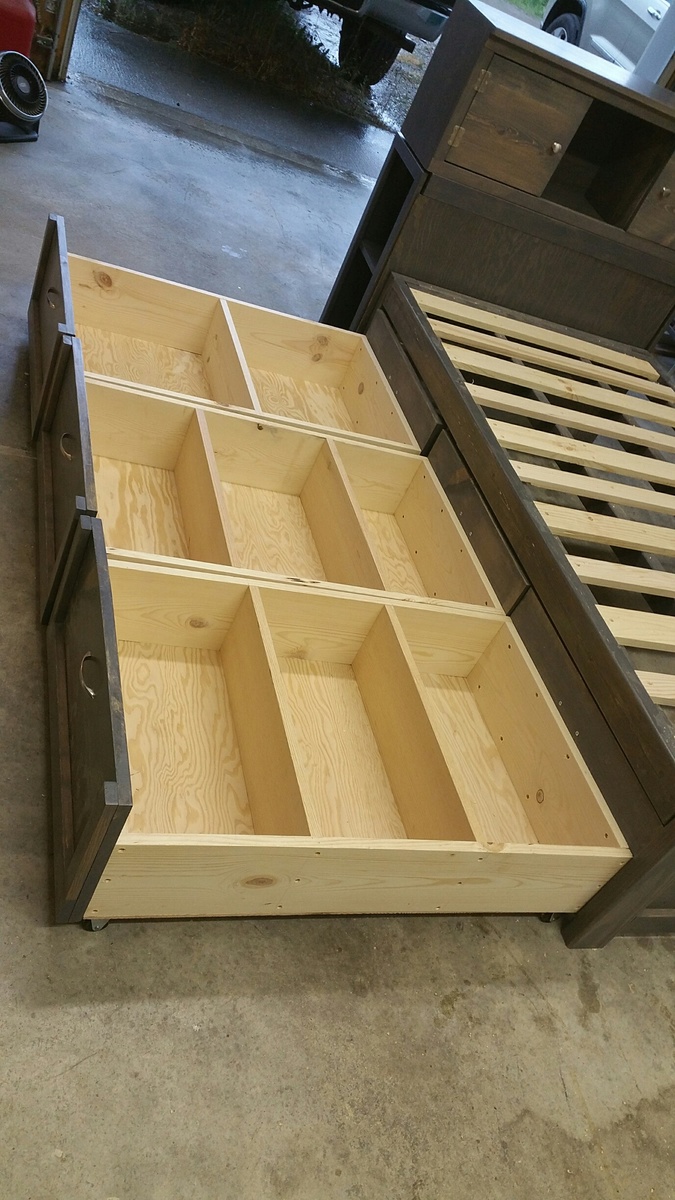
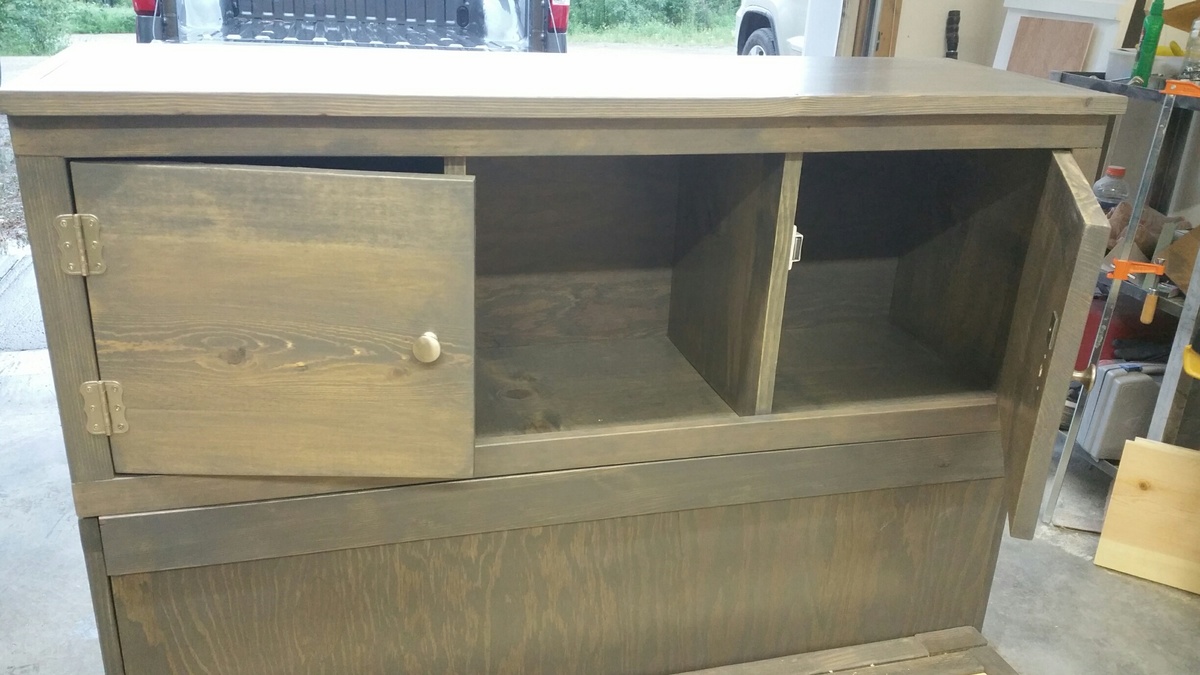
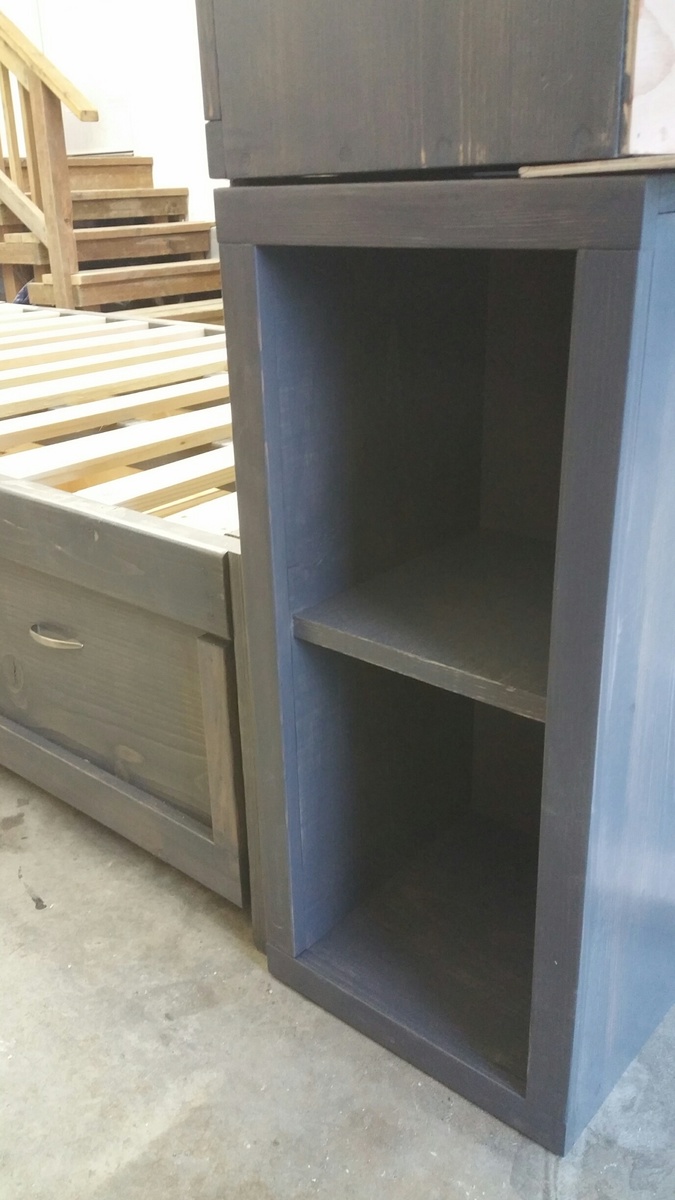
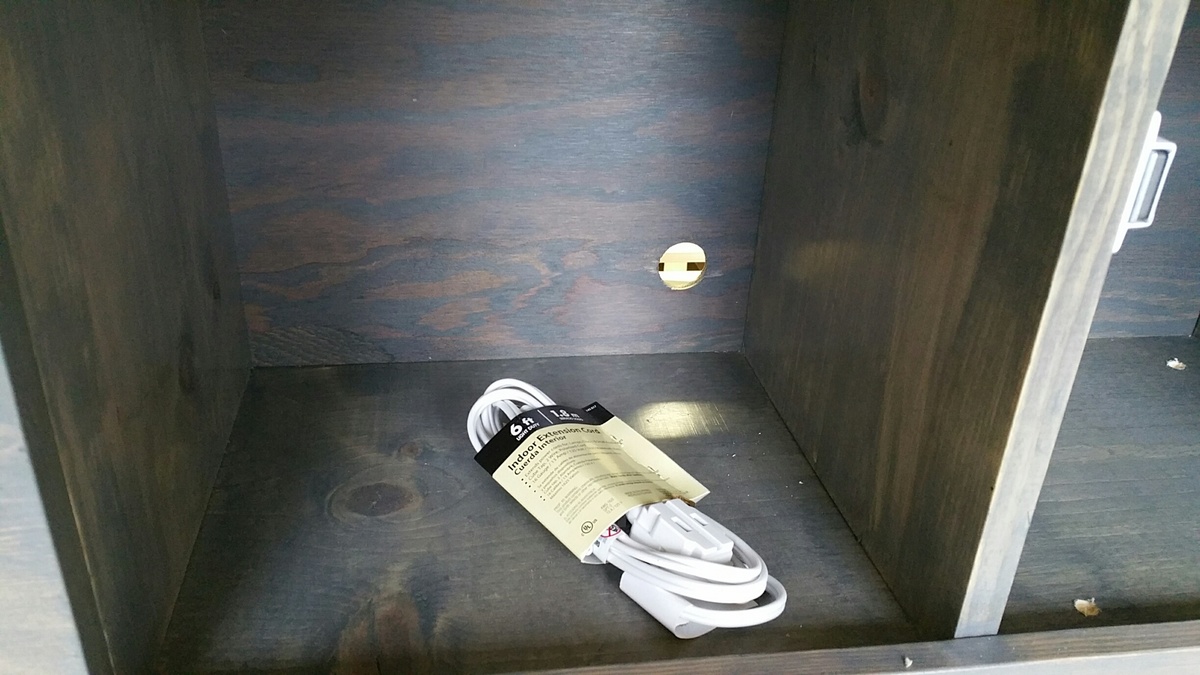
Storage Daybed with Trundle Drawers + Storage Headboard and Hutch
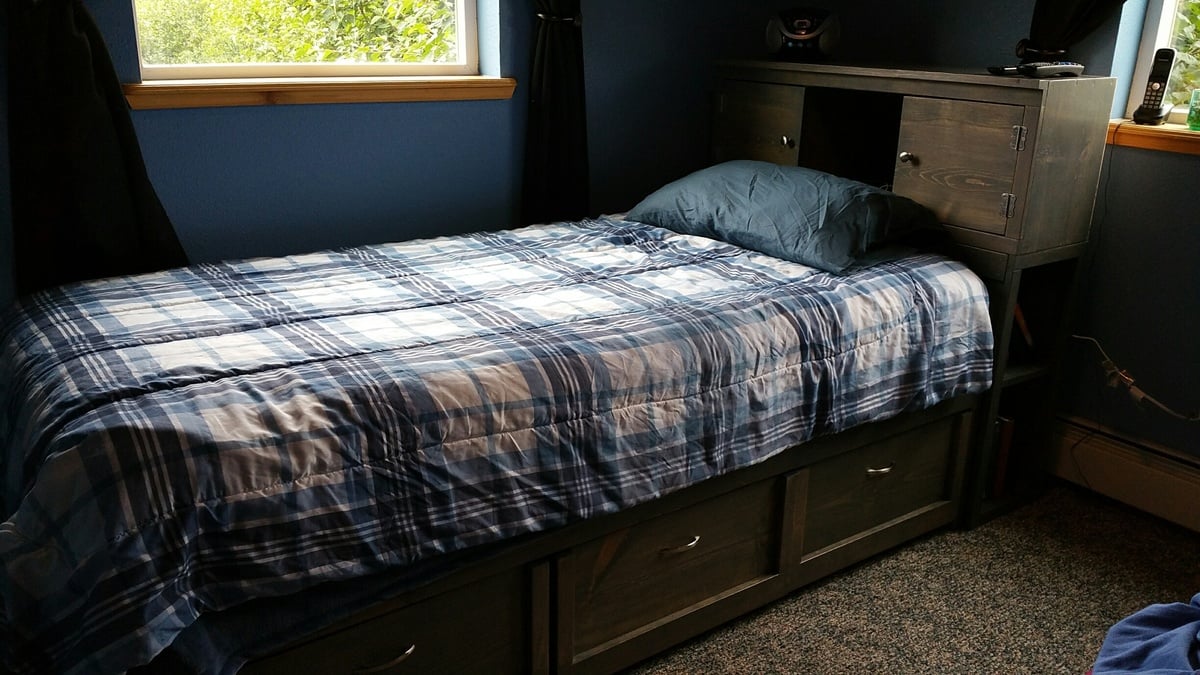
I combined Ana's plans for Daybed with Storage Trundle Drawers and a Storage Headboard with a Small Hutch.
This is my 3rd daybed with storage drawers. It's such an easy build and gives so much extra space. The entire project took about 40 hours. I used Minwax stain in Classic Grey and three coats of polyurethane. For the drawers, I used 1.5" casters. I drilled a hole through the back of the headboard to feed cords through. Then I put the whole thing in the back of my truck and drove 500 miles for the final assembly. :) In the provided photos, some of the pieces are flush because I hadn't permanently attached them.
Built from Plan(s)
Estimated Cost
$450
Estimated Time Investment
Week Long Project (20 Hours or More)
Finish Used
Minwax Classic Grey
Recommended Skill Level
Intermediate
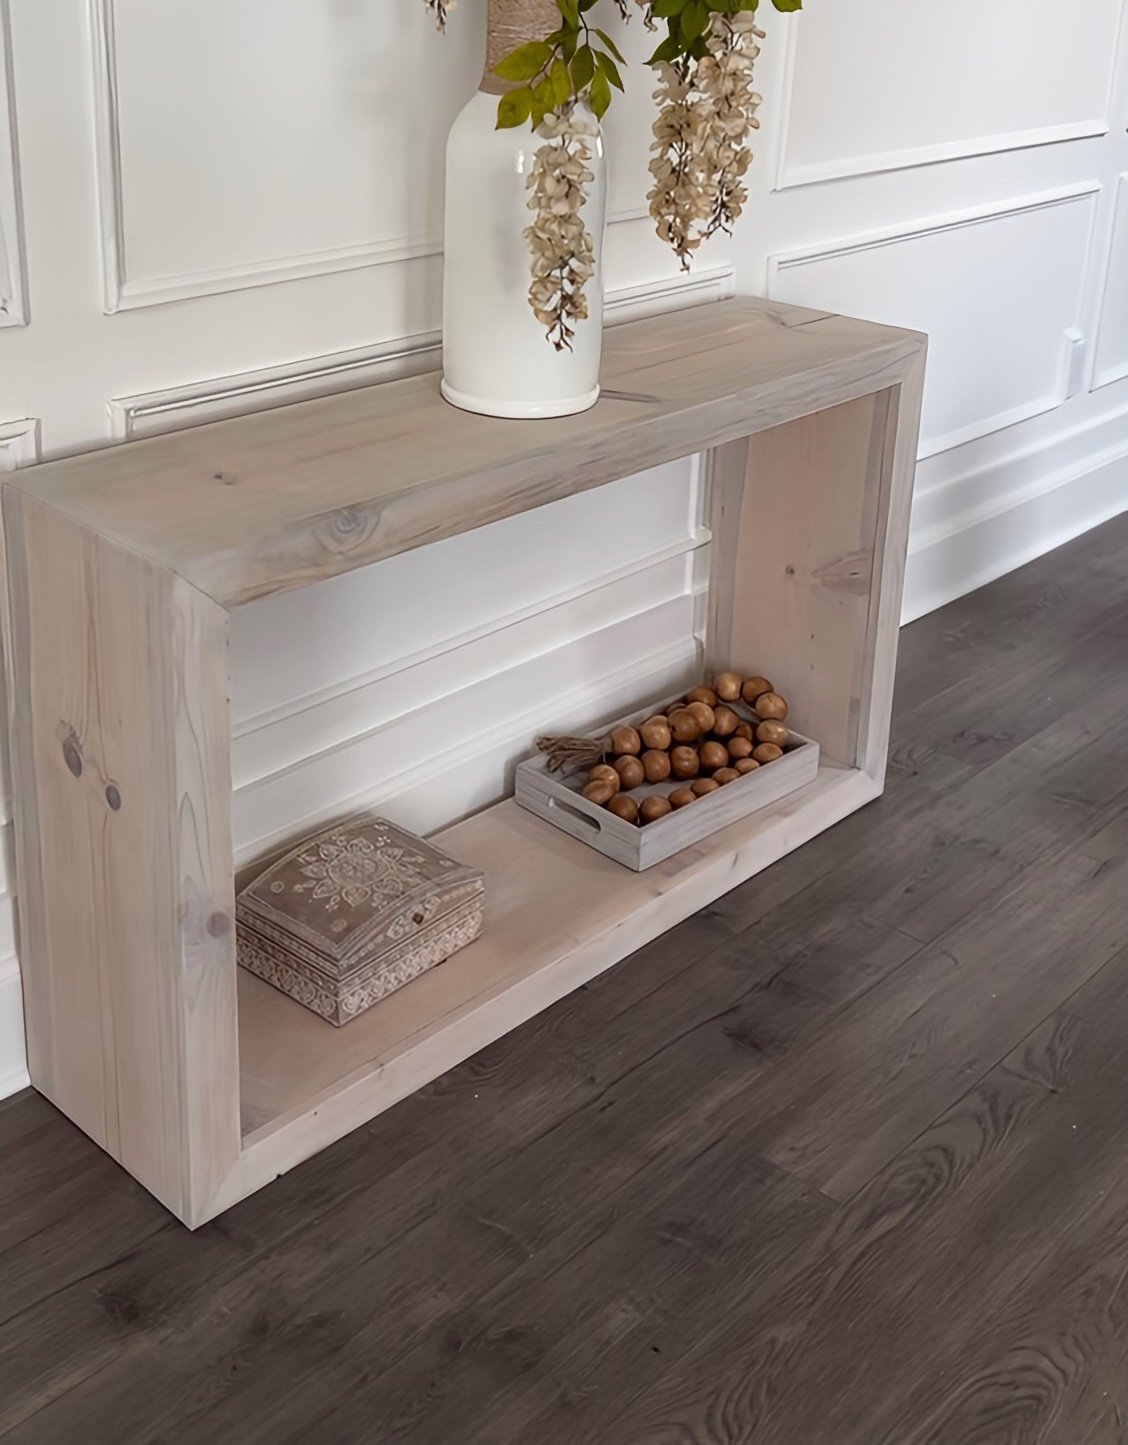
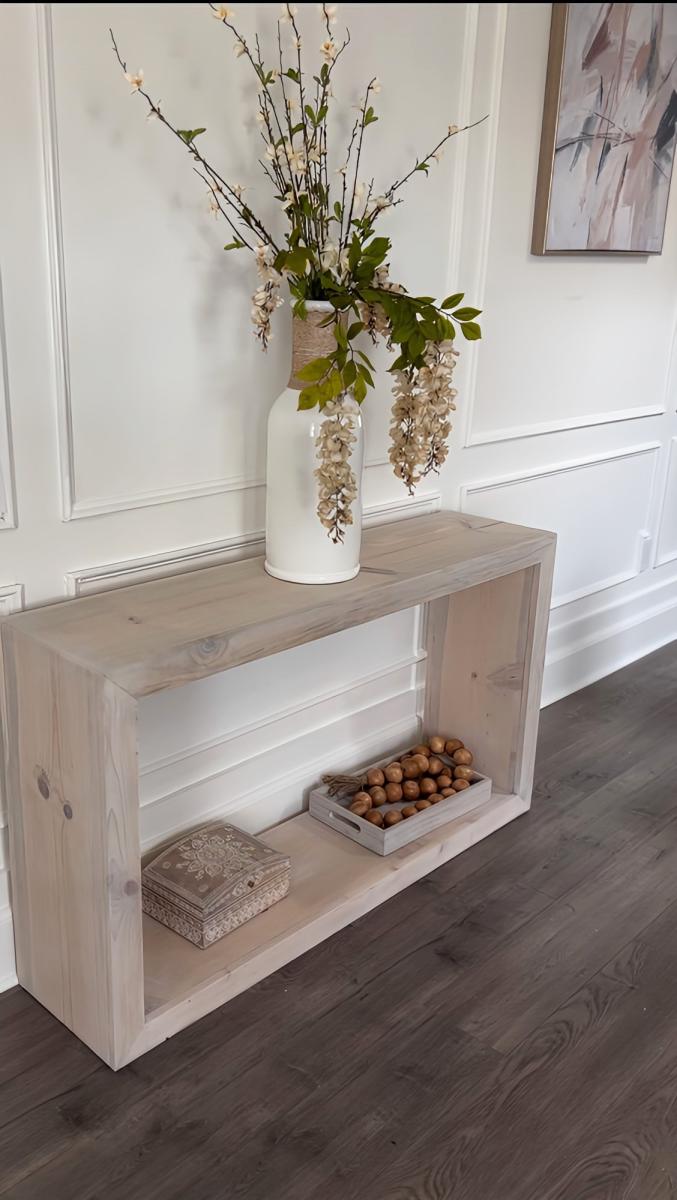
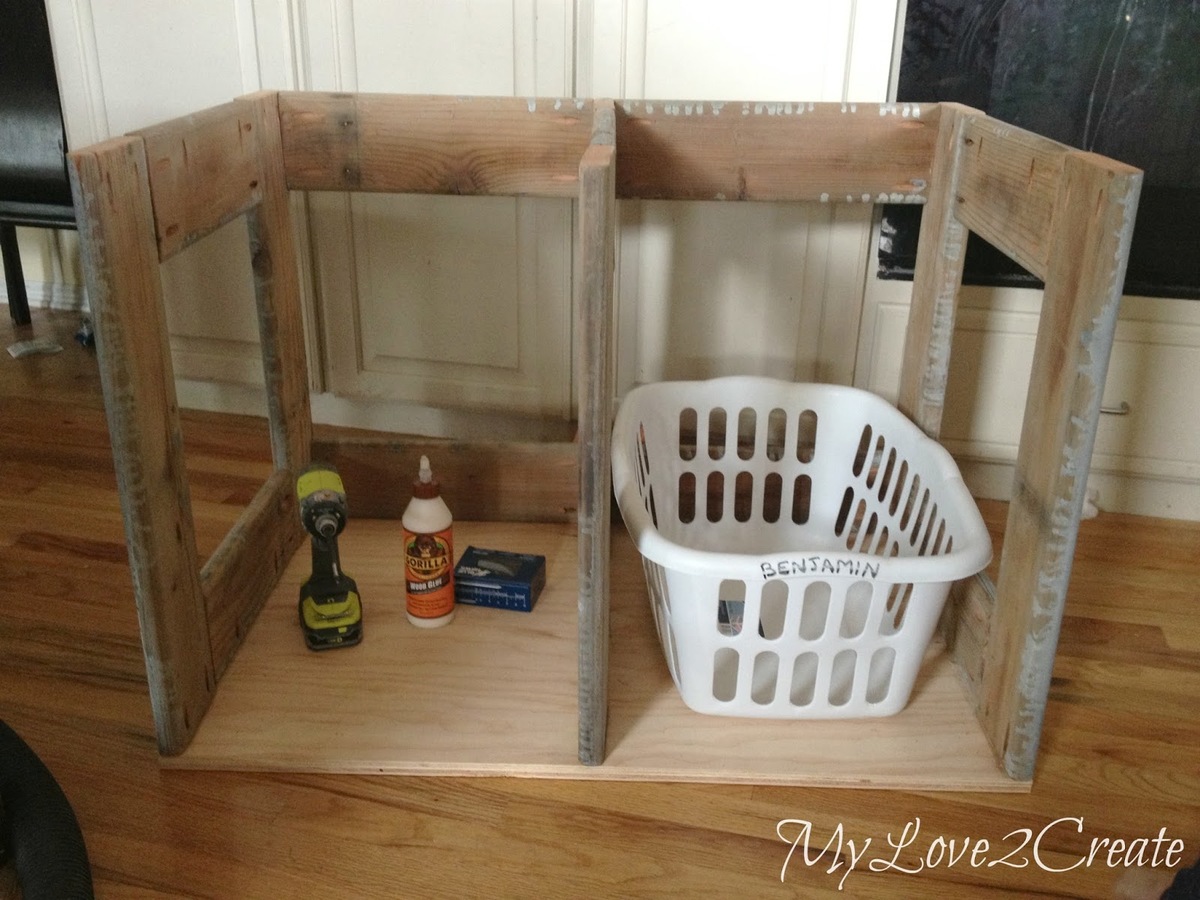
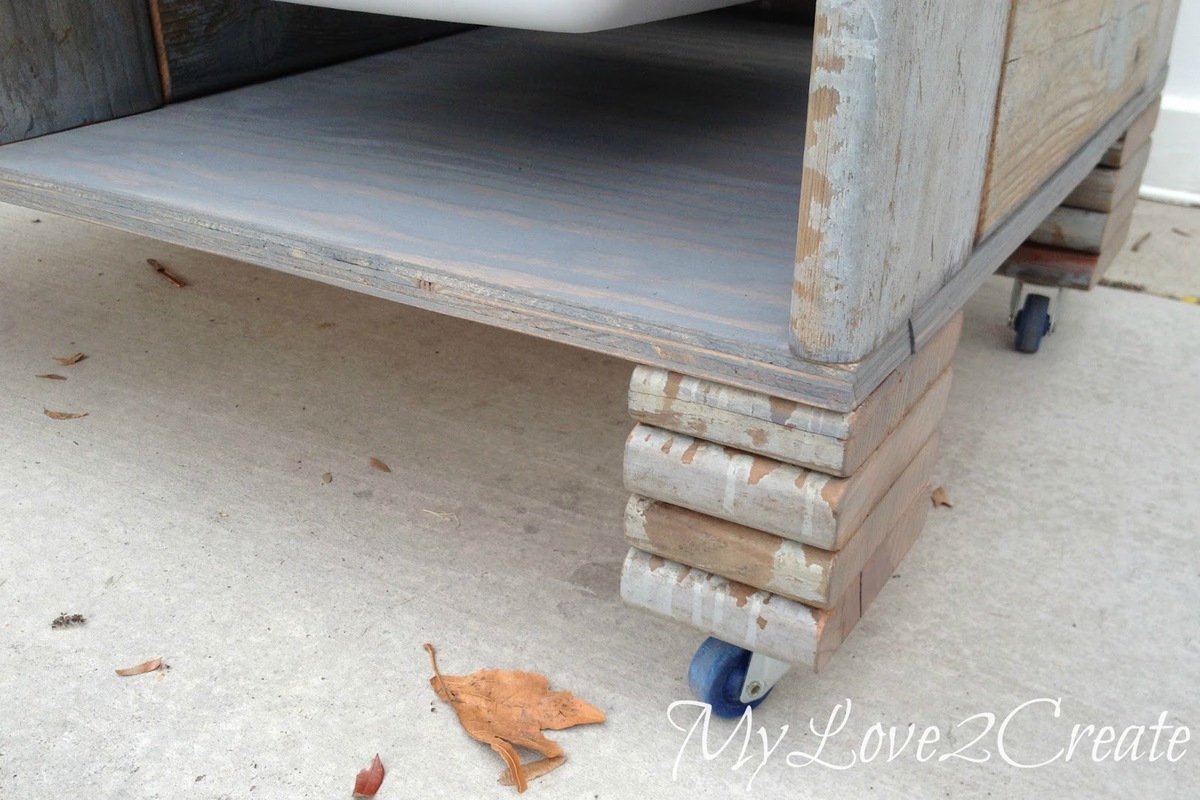
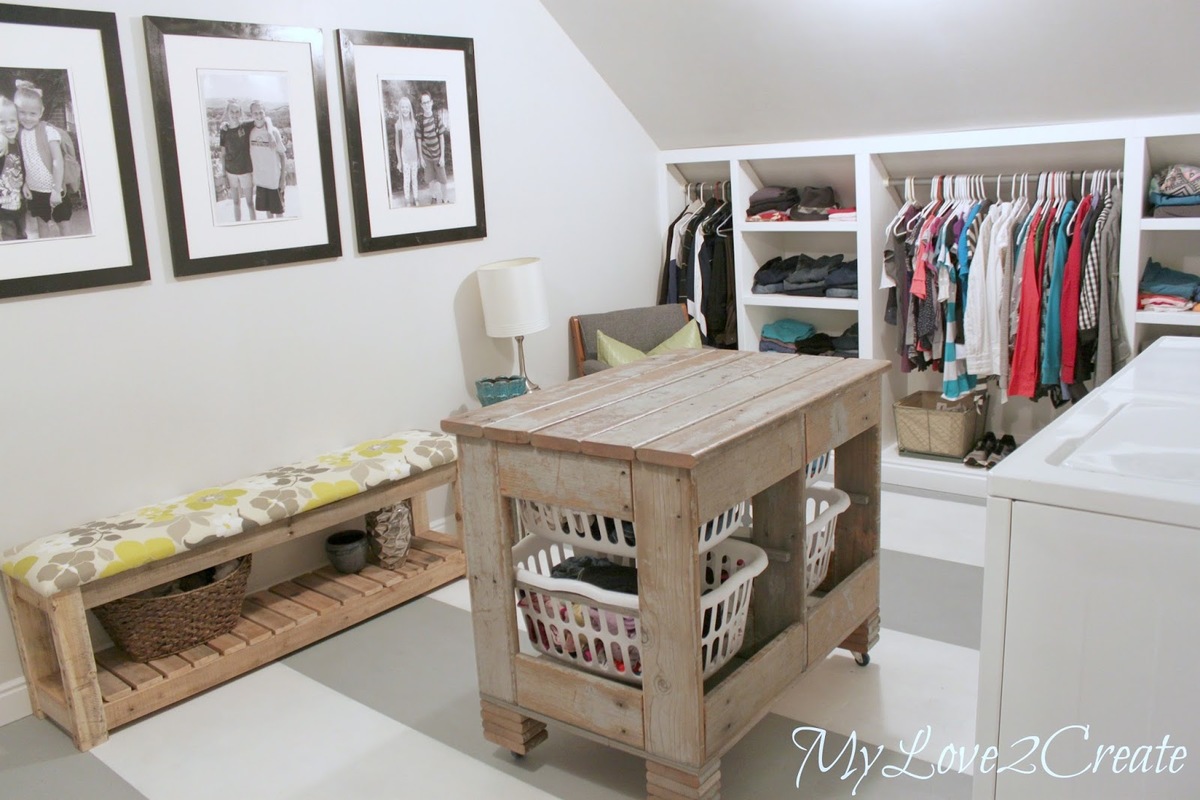
Old Deck Wood Laundry Crate

I have been in love with Ana's laundry dressers since she first posted them. When I helped makeover my sister's Closet/Laundry room I knew she had to have one! Only problem? We were out of funds. I wouldn't let that stop me!! With some free old deck wood I modified Ana's laundry dresser into a rustic awesome laundry crate! Talk about bringing cute to the laundry room, this totally fits the bill, and it is of course useful. She uses the top as a folding station too. To make it taller I cut small pieces of the deck wood and stacked them for feet, which I love! Then I added casters so she could roll it around the room. For a full tutorial check out my blog post, you won't be sorry!
Built from Plan(s)
Estimated Cost
Free! (ok, I spent $4 on casters, they were on sale at Harbor Freight)
Estimated Time Investment
Afternoon Project (3-6 Hours)
Finish Used
Three coats of poly on the top.
Recommended Skill Level
Beginner
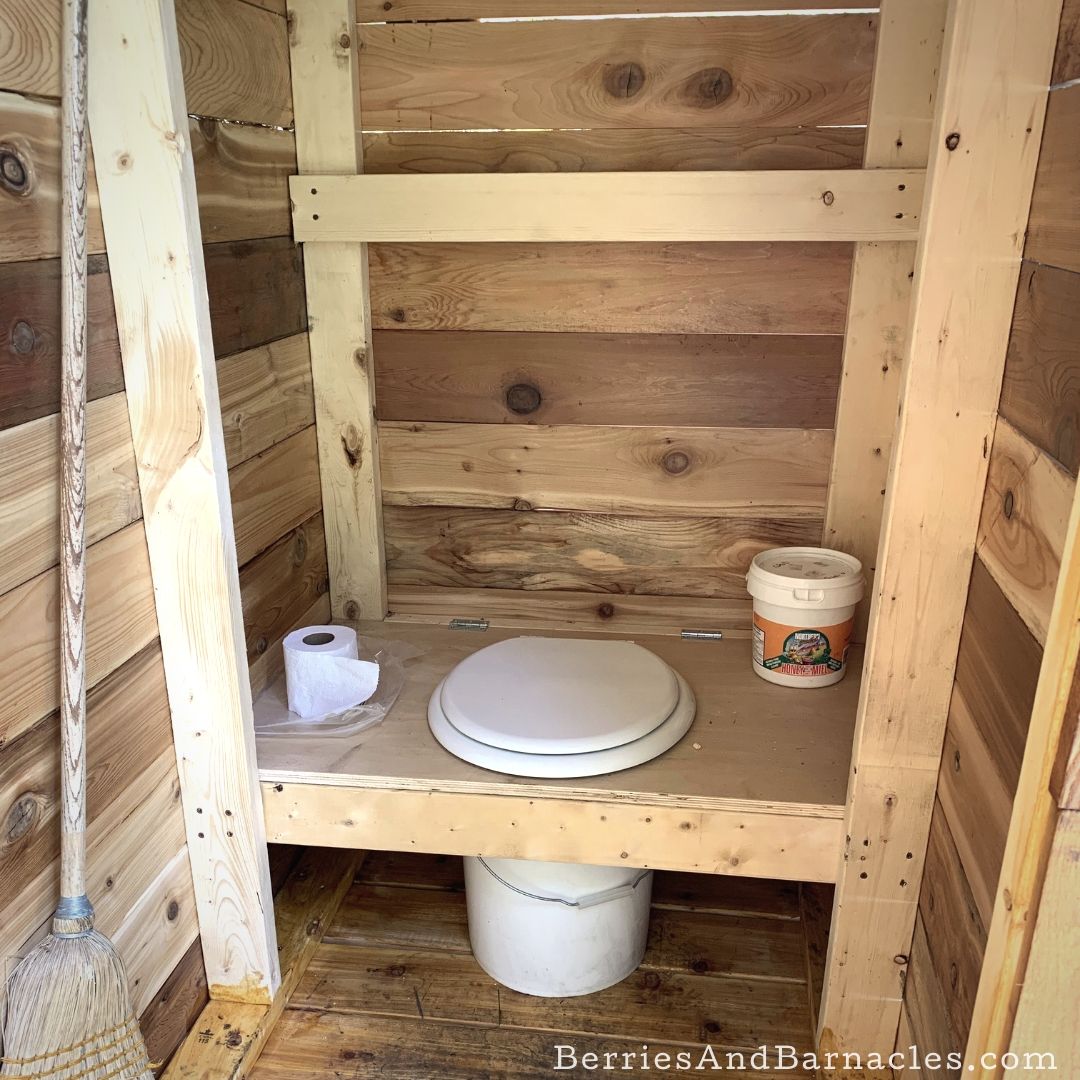
Simple Composting Toilet Outhouse
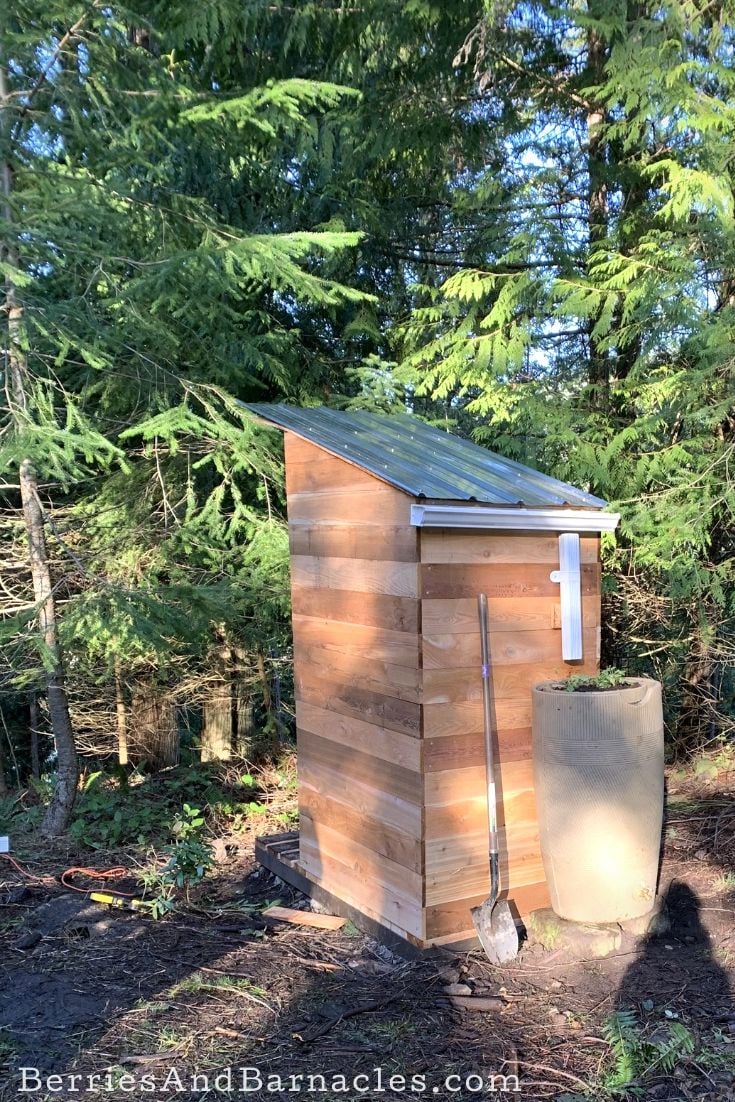
We built this composting toilet as one of the first things we did on our piece of vacant land. (How can you build anything else without somewhere to go when nature calls?)
An eco-friendly design was important to us, so we used cedar fencing instead of plywood. Otherwise, we followed Ana White's simple outhouse plans. It came out perfectly! It even has a rain barrel for hand washing.
Estimated Cost
800
Estimated Time Investment
Weekend Project (10-20 Hours)
Finish Used
We stained the outside with a semi-transparent stain and varnished the inside with an outdoor varnish.
Recommended Skill Level
Beginner
Love this!!! Thank you!!!
This was a fun family project! Thank you!!
Built from Plan(s)
Junior loft bed
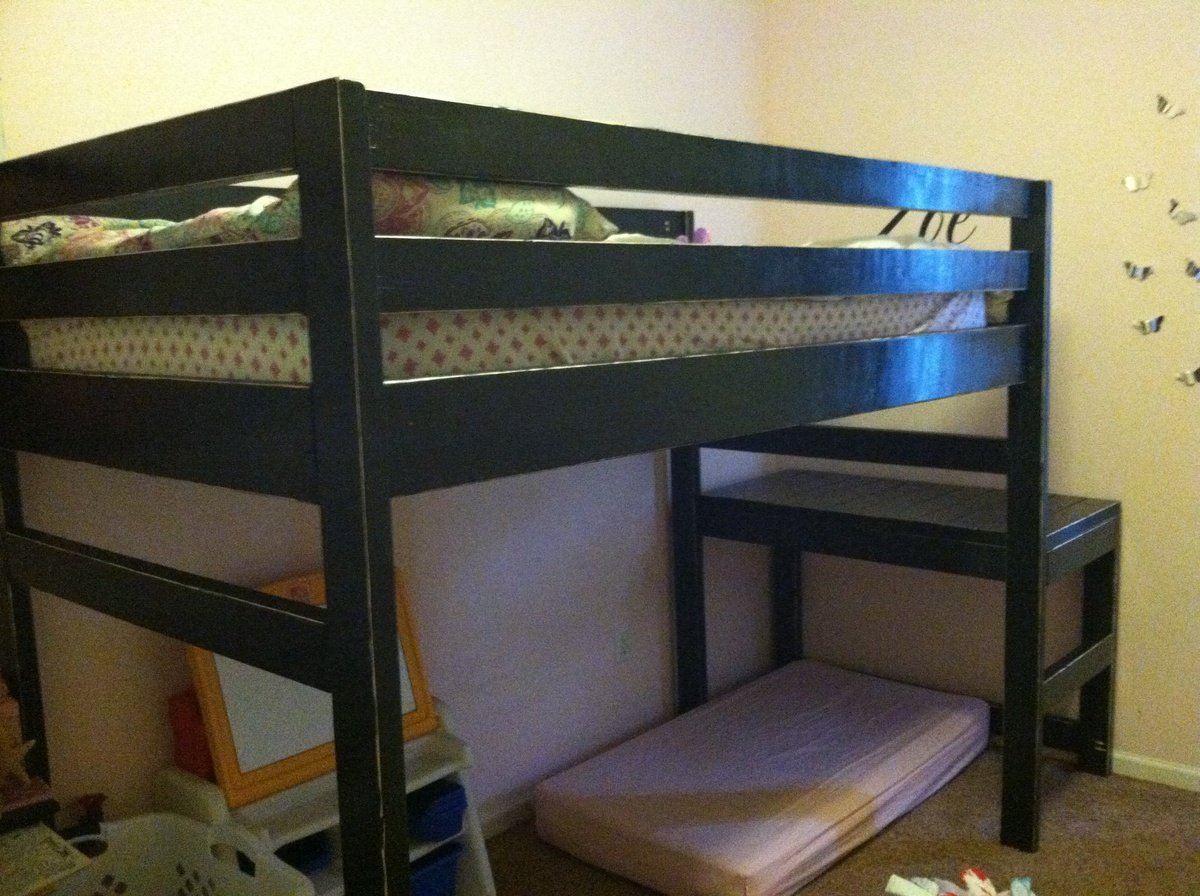
Junior loft bed built using junior loft plans
Built from Plan(s)
Estimated Cost
$75.00
Estimated Time Investment
Weekend Project (10-20 Hours)
Finish Used
Distressed black
Recommended Skill Level
Beginner
I'm pretty proud of myself
Pretty straight forward plans.
Built from Plan(s)
Estimated Cost
$350
Estimated Time Investment
Weekend Project (10-20 Hours)
Finish Used
Shou Sugi Ban/ Tung oil
Recommended Skill Level
Beginner
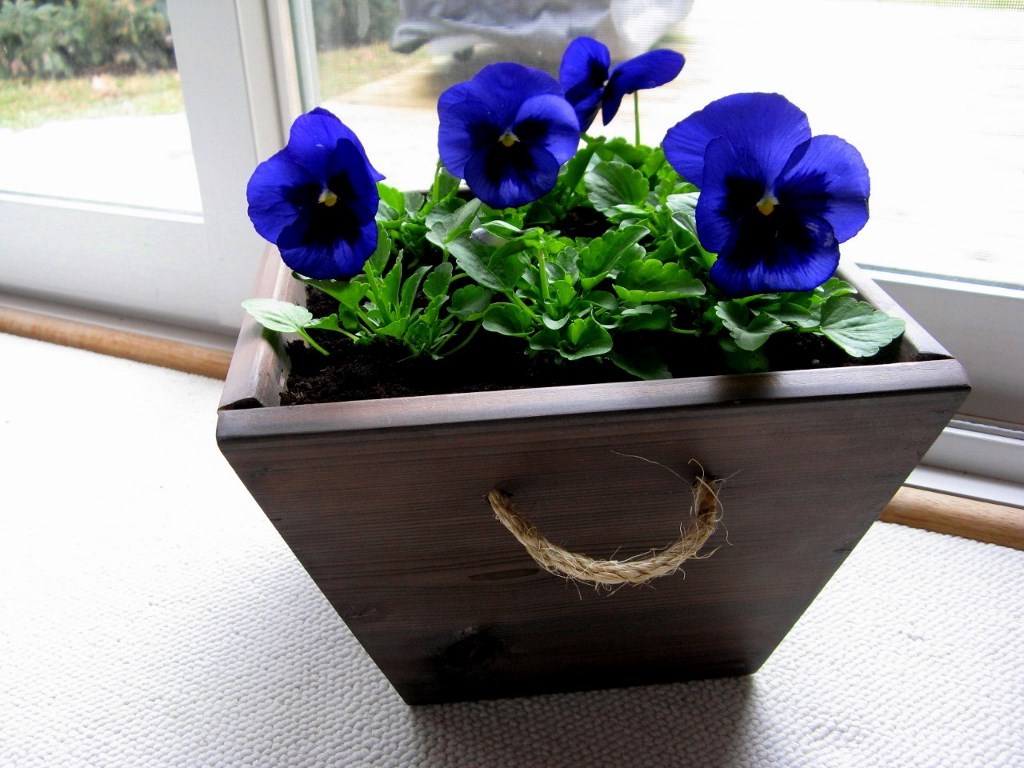
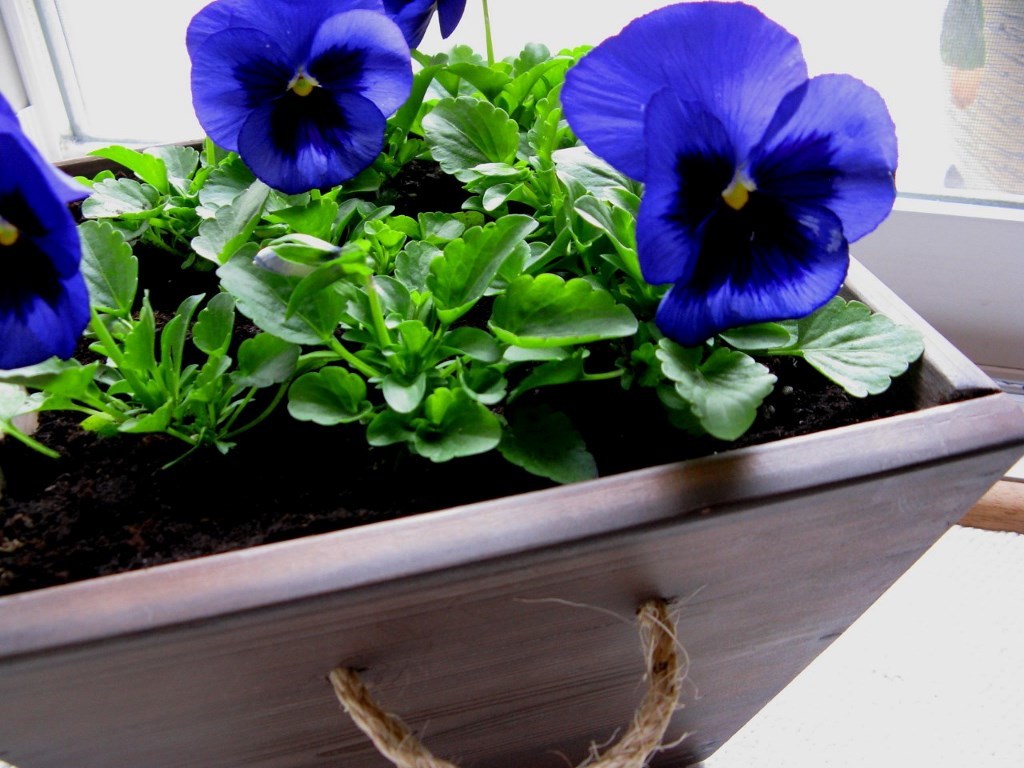
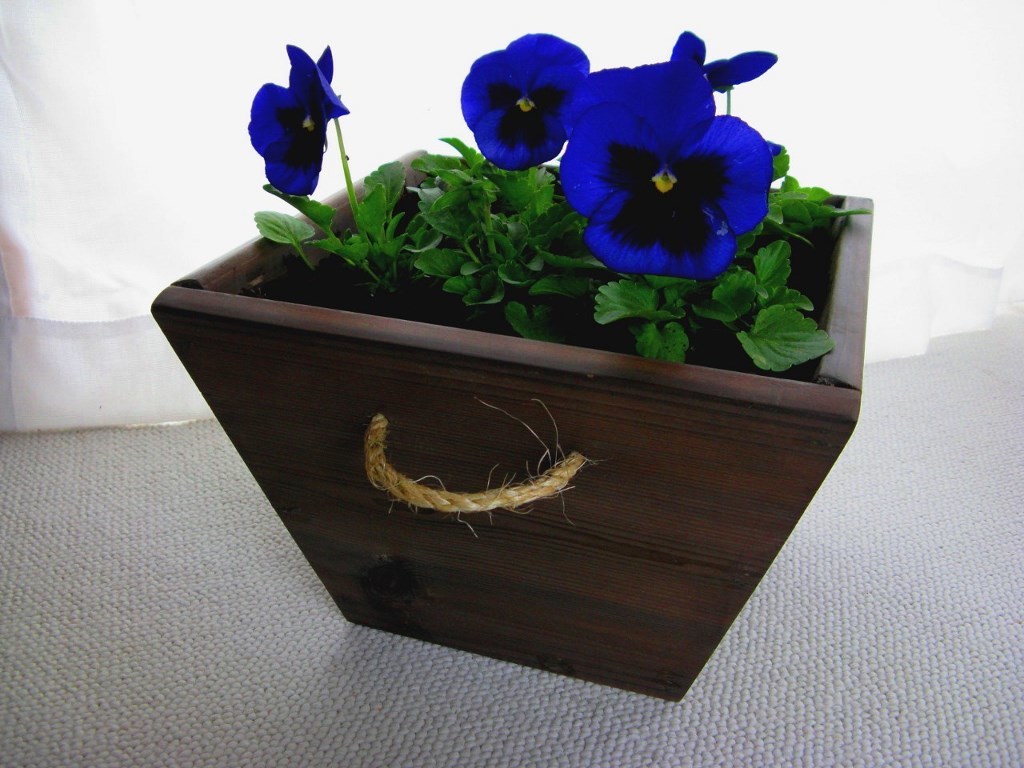
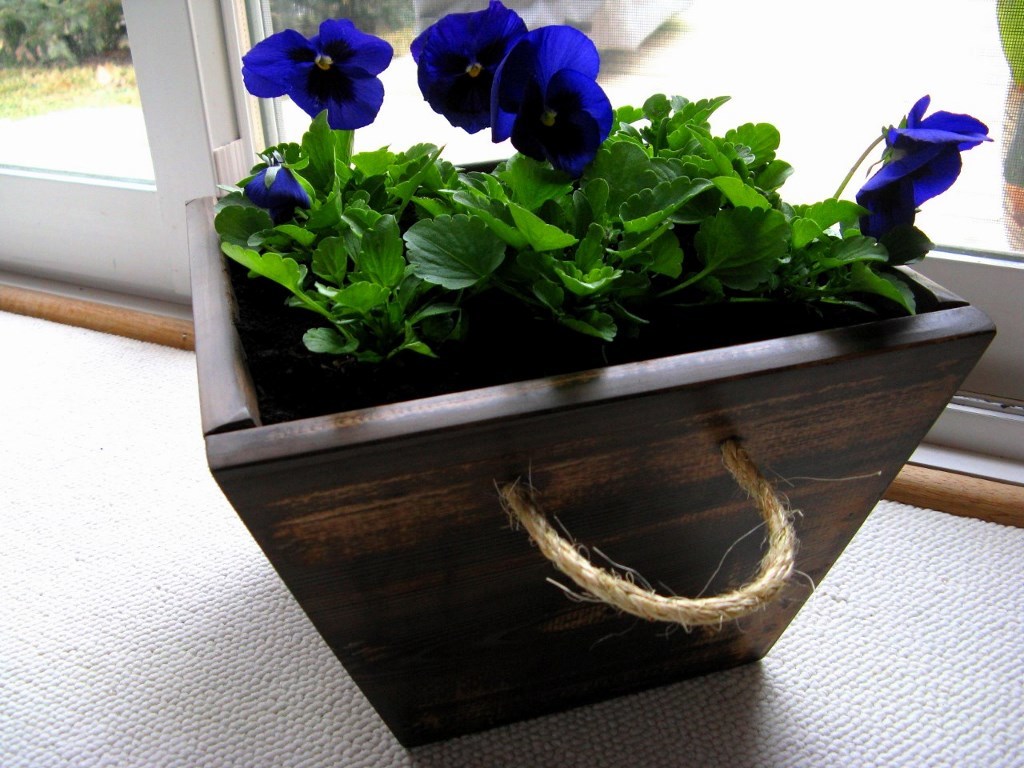
Cedar planters
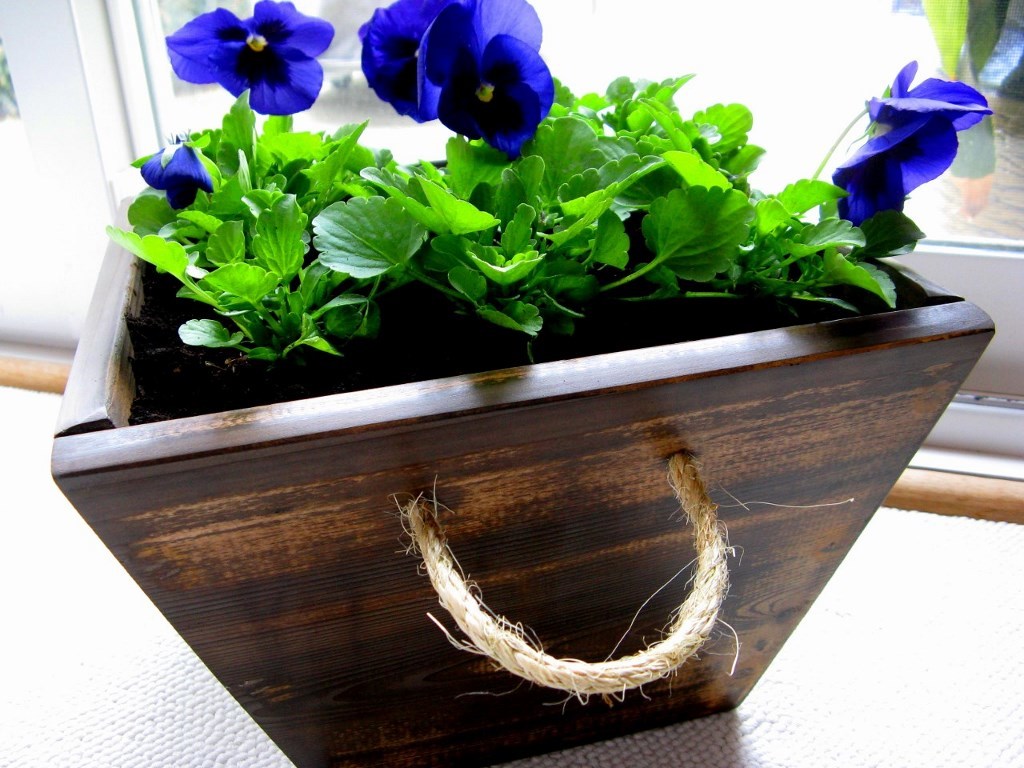
The cedar planters are ready and waiting for spring to arrive. I made three of these planters and absolutely love them. Thanks Ana for inspiring me to build. I love the third one but have to admit that it was a mistake. I made it for my father-in-law's 76th birthday. He loves gardening and shiny wood. So I used a polyurathane on it but it didn't look nice (my nail holes were very visible). So I sanded it with 220 grit sand paper and then used the steel wool/vinegar solution that I used on the first two. It turned out so different so I sanded again, then tried the solution again. I love it! It looks so old. I will be keeping that one and giving him one of the other two.
Built from Plan(s)
Estimated Cost
$8.00 each for the wood
Estimated Time Investment
An Hour or Two (0-2 Hours)
Finish Used
Tea and steel wool/vinegar solution followed by Minwax finishing wax. I love the feel of the wax but I don't think it will stand up to the rain and our Canadian summer.
Recommended Skill Level
Starter Project
Comments

Mon, 04/08/2013 - 12:01
I love the way the finish
I love the way the finish ended up on this one! No wonder you want to keep it for yourself!
Mon, 04/08/2013 - 12:01
I love the way the finish
I love the way the finish ended up on this one! No wonder you want to keep it for yourself!
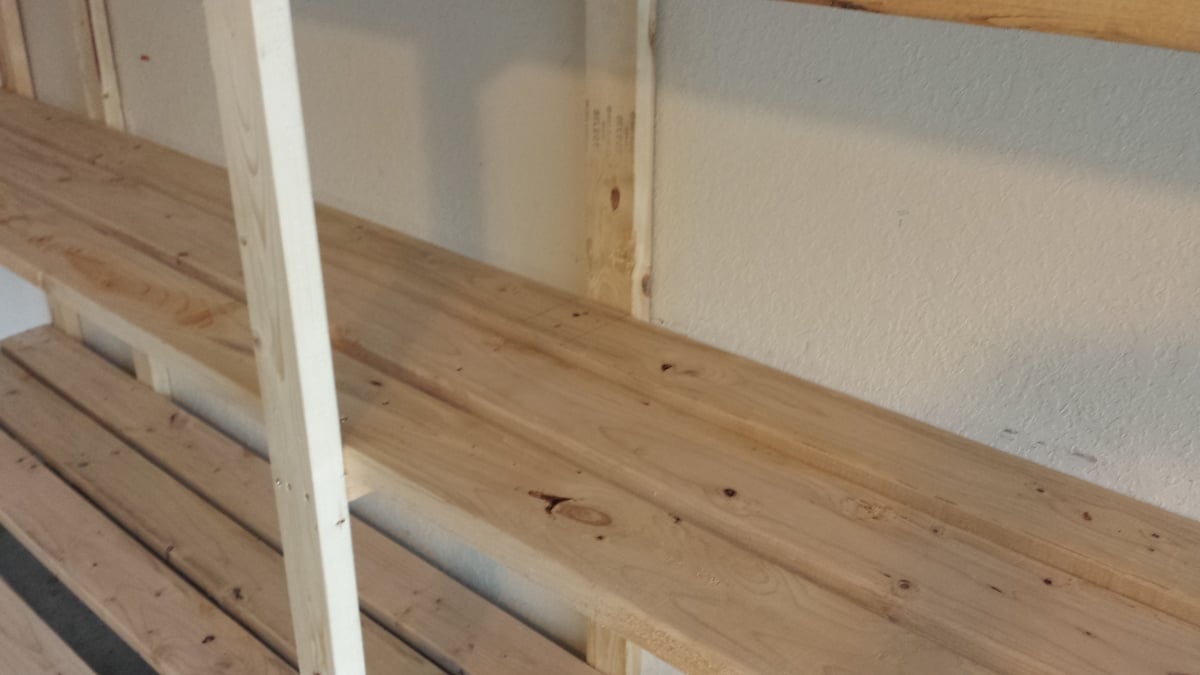
Garage Shelving - Some minor mods to Ana's great basic plan

My father-in-law and I knocked this project out in about 5 hours including the trip to the lumber yard. You've got a great basic design here! A few modifications we made:
1. I thought the depth of the shelves in the original plan was a little too shallow so I used 3 2"X6"s instead of the 4 2"x4"s. That made the shelves 1 1/2" deeper. Although 2"x6"s are obviously more expensive, the overall cost for the project didn't change much because we only had to use 3 boards per shelf instead of 4. This also reduced the amount of screwing and made it easier to position the shelf boards without taking measurements since we only had one middle board to deal with (instead of 2 with the 2"x4"s). We just eyeballed the spacing of the middle shelf board as we worked.
2. Since our garage has a 10' ceiling, I decided to go 8' tall with the unit. This allowed us to add a 5th shelf.
3. Some oversized tubs can be 18-20" high or more so I varied the height of each shelf -- 24" at the bottom, then 20", 18" and 16". There's approx. 24" available between the top shelf and the ceiling.
4. Due to the position of the garage door track, I had to notch out a couple feet at one side. The end support piece is only 6' high.
5. Since many storage tubs can be 16-18" wide, I made sure that there was at least 54" between 3 of the vertical support structures. This will allow us to store 3 tubs side-by-side and maximize storage. You might notice that I have two vertical supports that appear to be very close together near the back wall. I did this so I would have something on that side to attach more shelving to on that short wall where the garage door opener is.
The only cuts we had to make for this entire project were for the 18 1/2" 'braces' or support pieces on the vertical ladder structures. The shelves are either 14' or 12' (top shelf only) and the vertical 2"x4"s are either 8' or 6'. Most lumber yards will carry these lengths in either 2"x4"s or 2"x6"s.
We didn't use any wood glue, and I admit this may come back to haunt me. However, to get a good fit and eliminate gaps, I used clamps I already owned to squeeze the boards together before adding the screws. Everything feels very solid and sturdy to me.
Because of the extra height compared with the original plan, I was worried about it possibly tipping over (we have a 10-year-old who likes to climb ![]() ) so I made sure that 3 of the supports are lined up with the wall studs. After leveling the entire unit, I plan to anchor it to the wall using 3 1/2" screws.
) so I made sure that 3 of the supports are lined up with the wall studs. After leveling the entire unit, I plan to anchor it to the wall using 3 1/2" screws.
So for about $187 in lumber and maybe $20 in construction screws, I've got 76 feet of STURDY shelving that should accommodate hundreds of pounds! Not a bad investment at all...
Built from Plan(s)
Estimated Cost
$187 lumber + $20 construction screws
Estimated Time Investment
Afternoon Project (3-6 Hours)
Finish Used
None right now, but my wife wants to sand it and apply marine varnish to give it a shiny, yet still unfinished, look.
Recommended Skill Level
Beginner
Comments

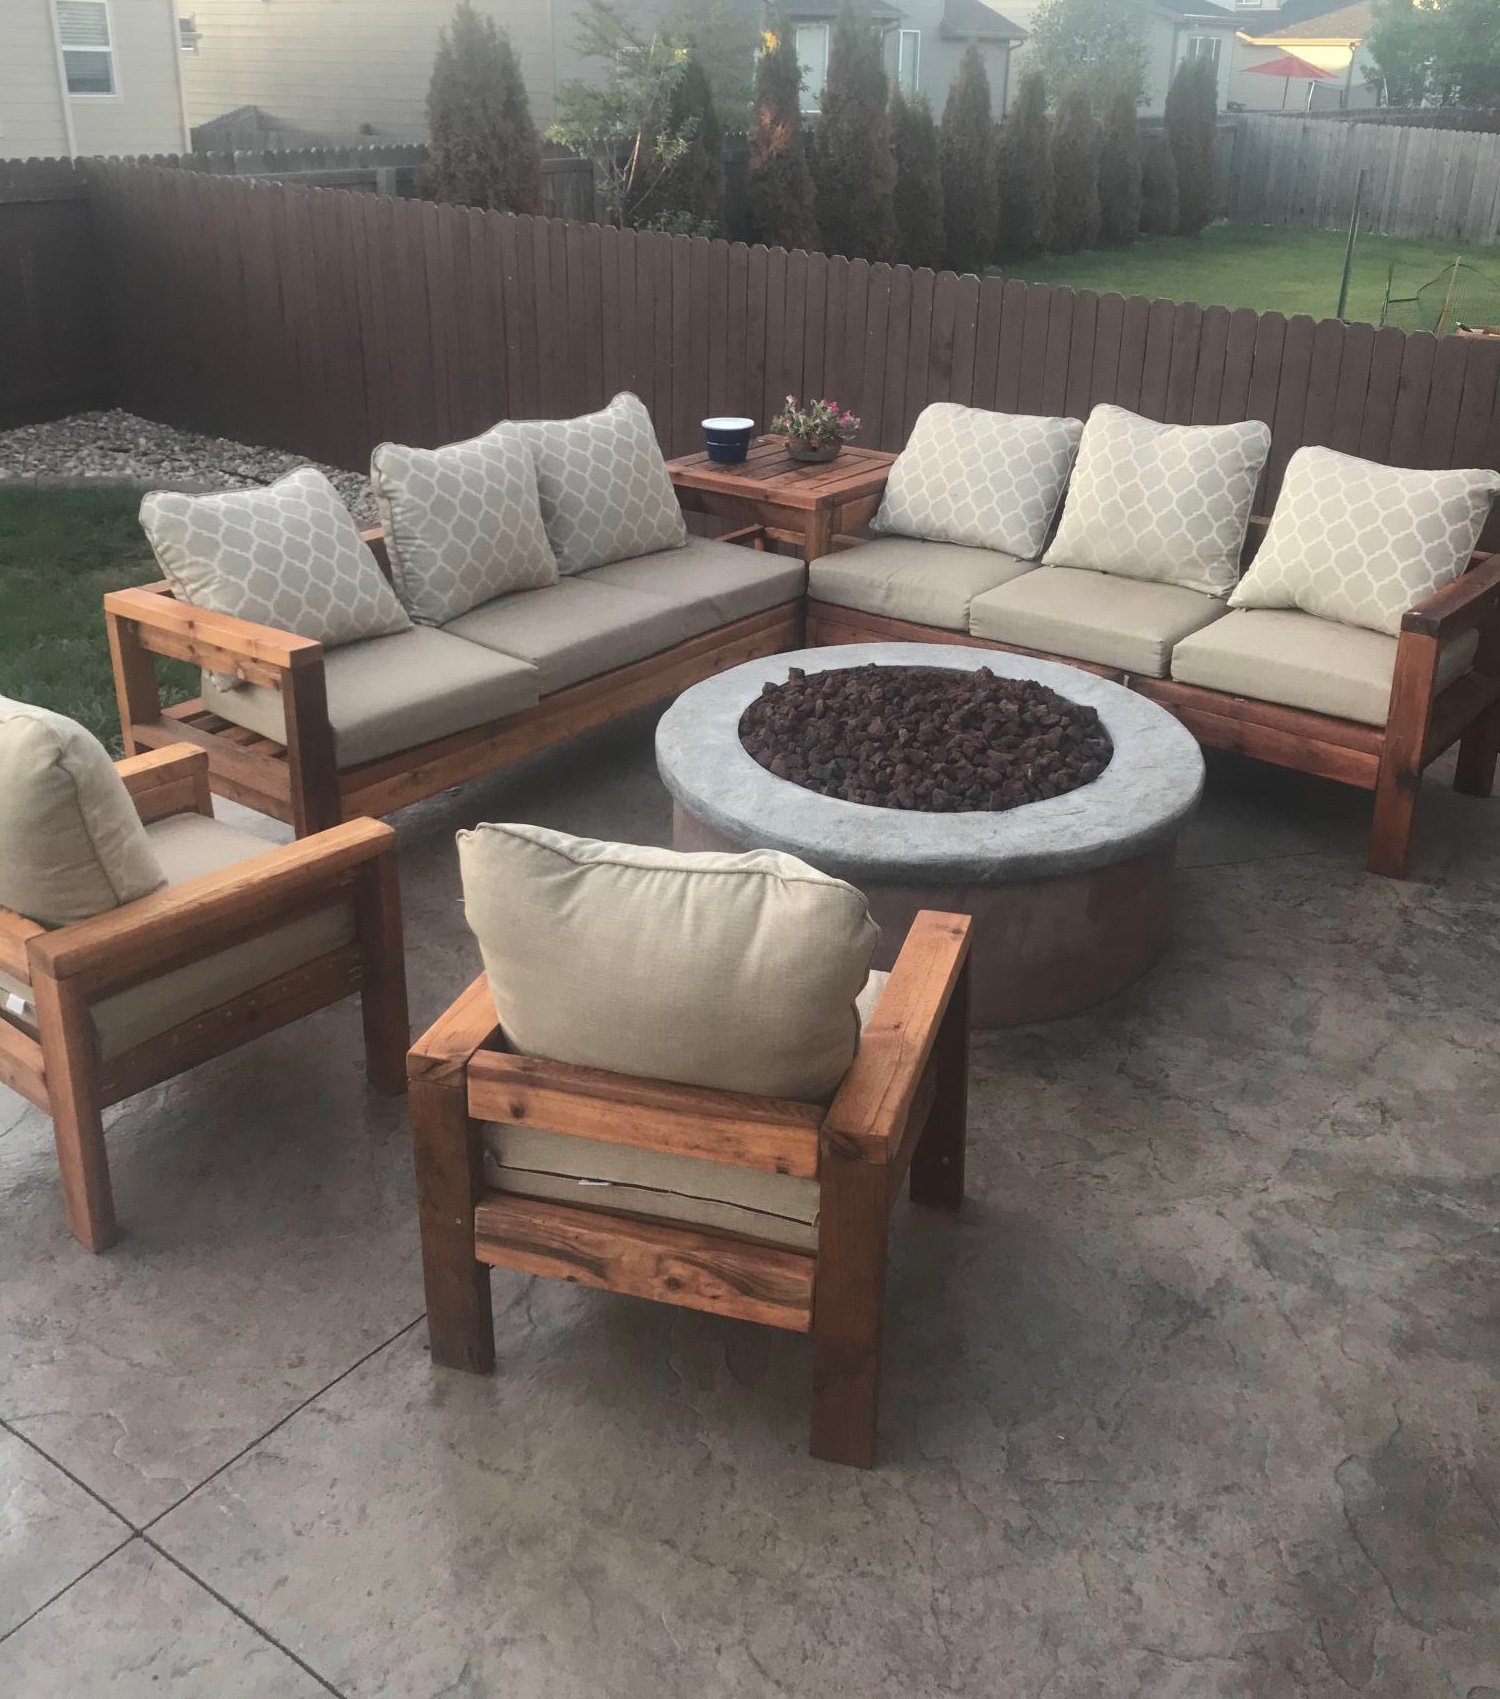
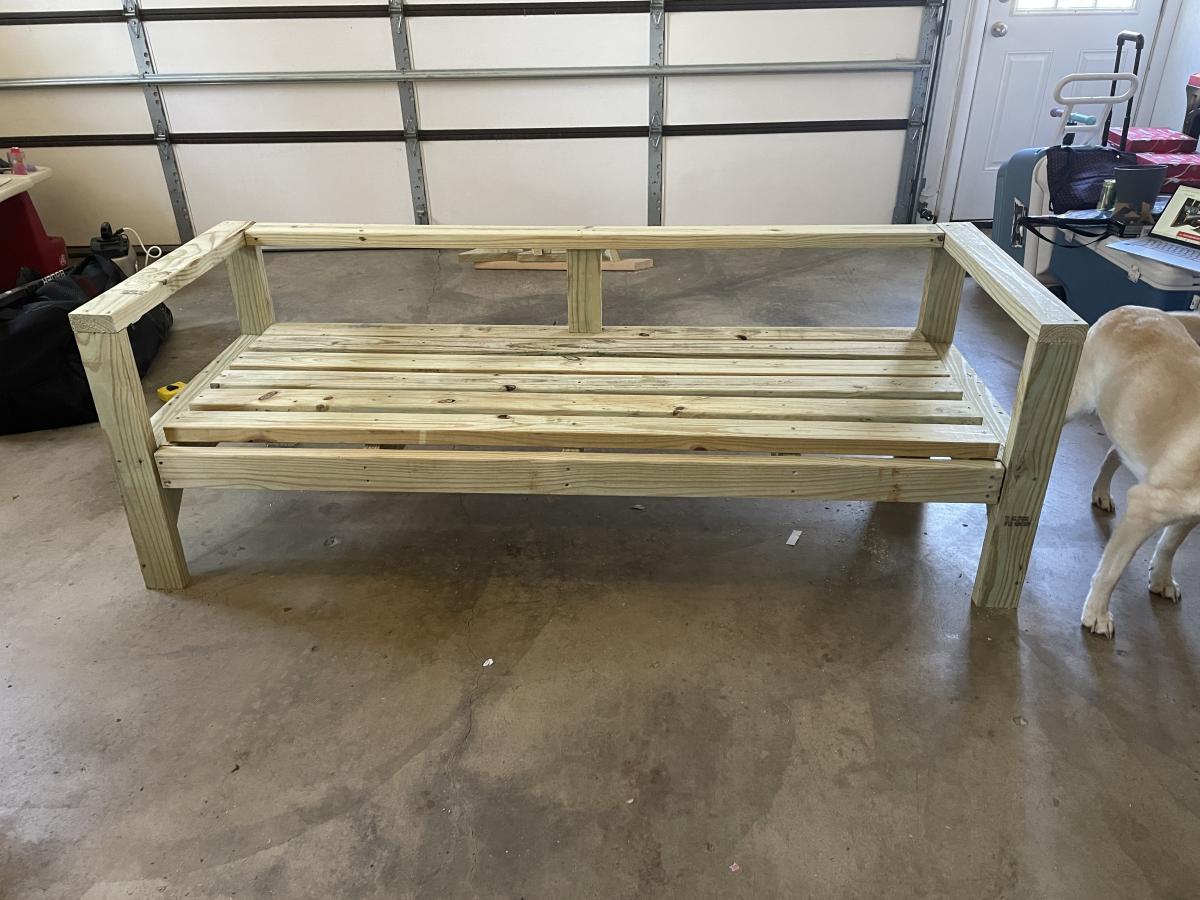
Patio couch
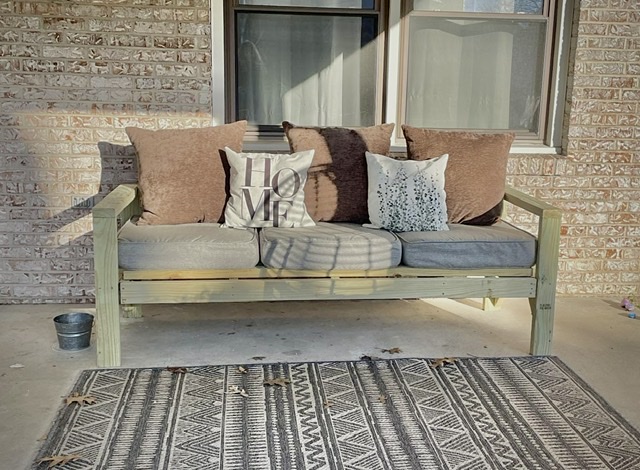
I have been looking at your blog and always been interested in making my own furniture. However, I was scared to try. Your diagrams and measurements were awesome. Thank you! Gave me the encouragement to try!

Built from Plan(s)
Comments
Chicken Coop with run

It took a while to come together and made several modifications but it is a great coop and was a major selling point of the house when we were relocated. I had added a main tray under the roosts and a door to srape the poop out. This made keeping the coop clean very easy.

Built from Plan(s)
Estimated Cost
$800
Estimated Time Investment
Week Long Project (20 Hours or More)
Finish Used
Chicken Coop
Recommended Skill Level
Intermediate
L-Shaped Desk
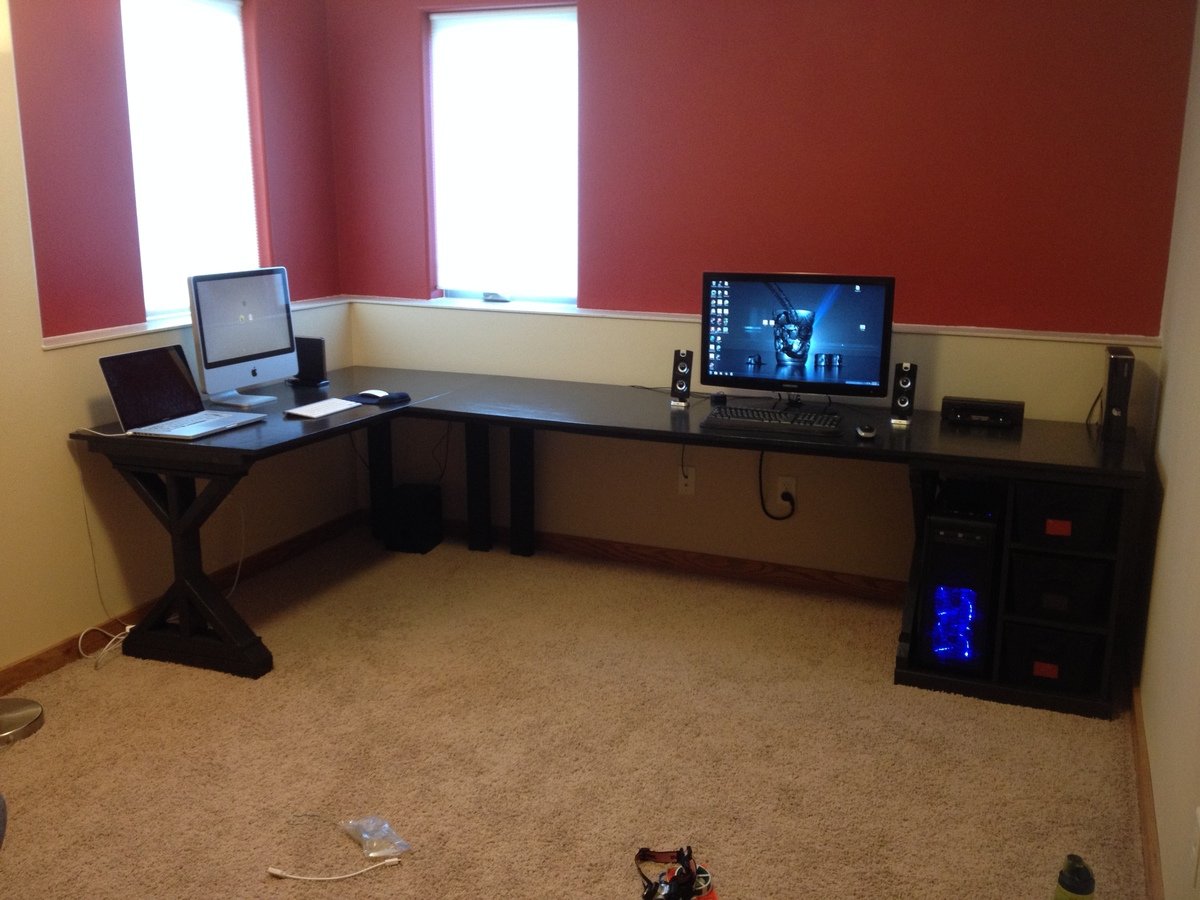
This desk was made using the "Fancy X Desk" and "Modular Office Base" plans. A CPU enclosure was added with a similar "X" design. The top is 3/4'' plywood with 1x2's and 2x2's providing the framing. A 1x4 runs down the back of the desk with a cord try to hide cables.
Built from Plan(s)
Estimated Time Investment
Weekend Project (10-20 Hours)
Finish Used
Black paint and primer in one with 5 coats of polyacrylic on the work surface.
Recommended Skill Level
Beginner
Comments

Mon, 06/08/2015 - 08:46
Modular Office Base
I am not able to find the plans you are referring to. Is there a way you can comment with direct link
Thu, 01/07/2016 - 15:16
Instructions for L shaped desk
HI, The desk is awesome and I thought I would make this my first attemt at building something.
But I am unable to find the instructions.
Please help.
Thank you.
Sun, 01/10/2016 - 08:46
Ok after reading the subject
Ok after reading the subject matter I realized that this is the merging of two different desks.
Can you post a photo of how you joined them.
The support for such a long desk is my concern, with out it having any middle support or at the the corner?
Thank you.
Sun, 01/10/2016 - 08:47
Ok after reading the subject
Ok after reading the subject matter I realized that this is the merging of two different desks.
Can you post a photo of how you joined them.
The support for such a long desk is my concern, with out it having any middle support or at the the corner?
Thank you.
Tue, 01/12/2016 - 14:52
cannot find the plans
Hi,
Could not find attached plans. I did see the same comments before too for the same project.