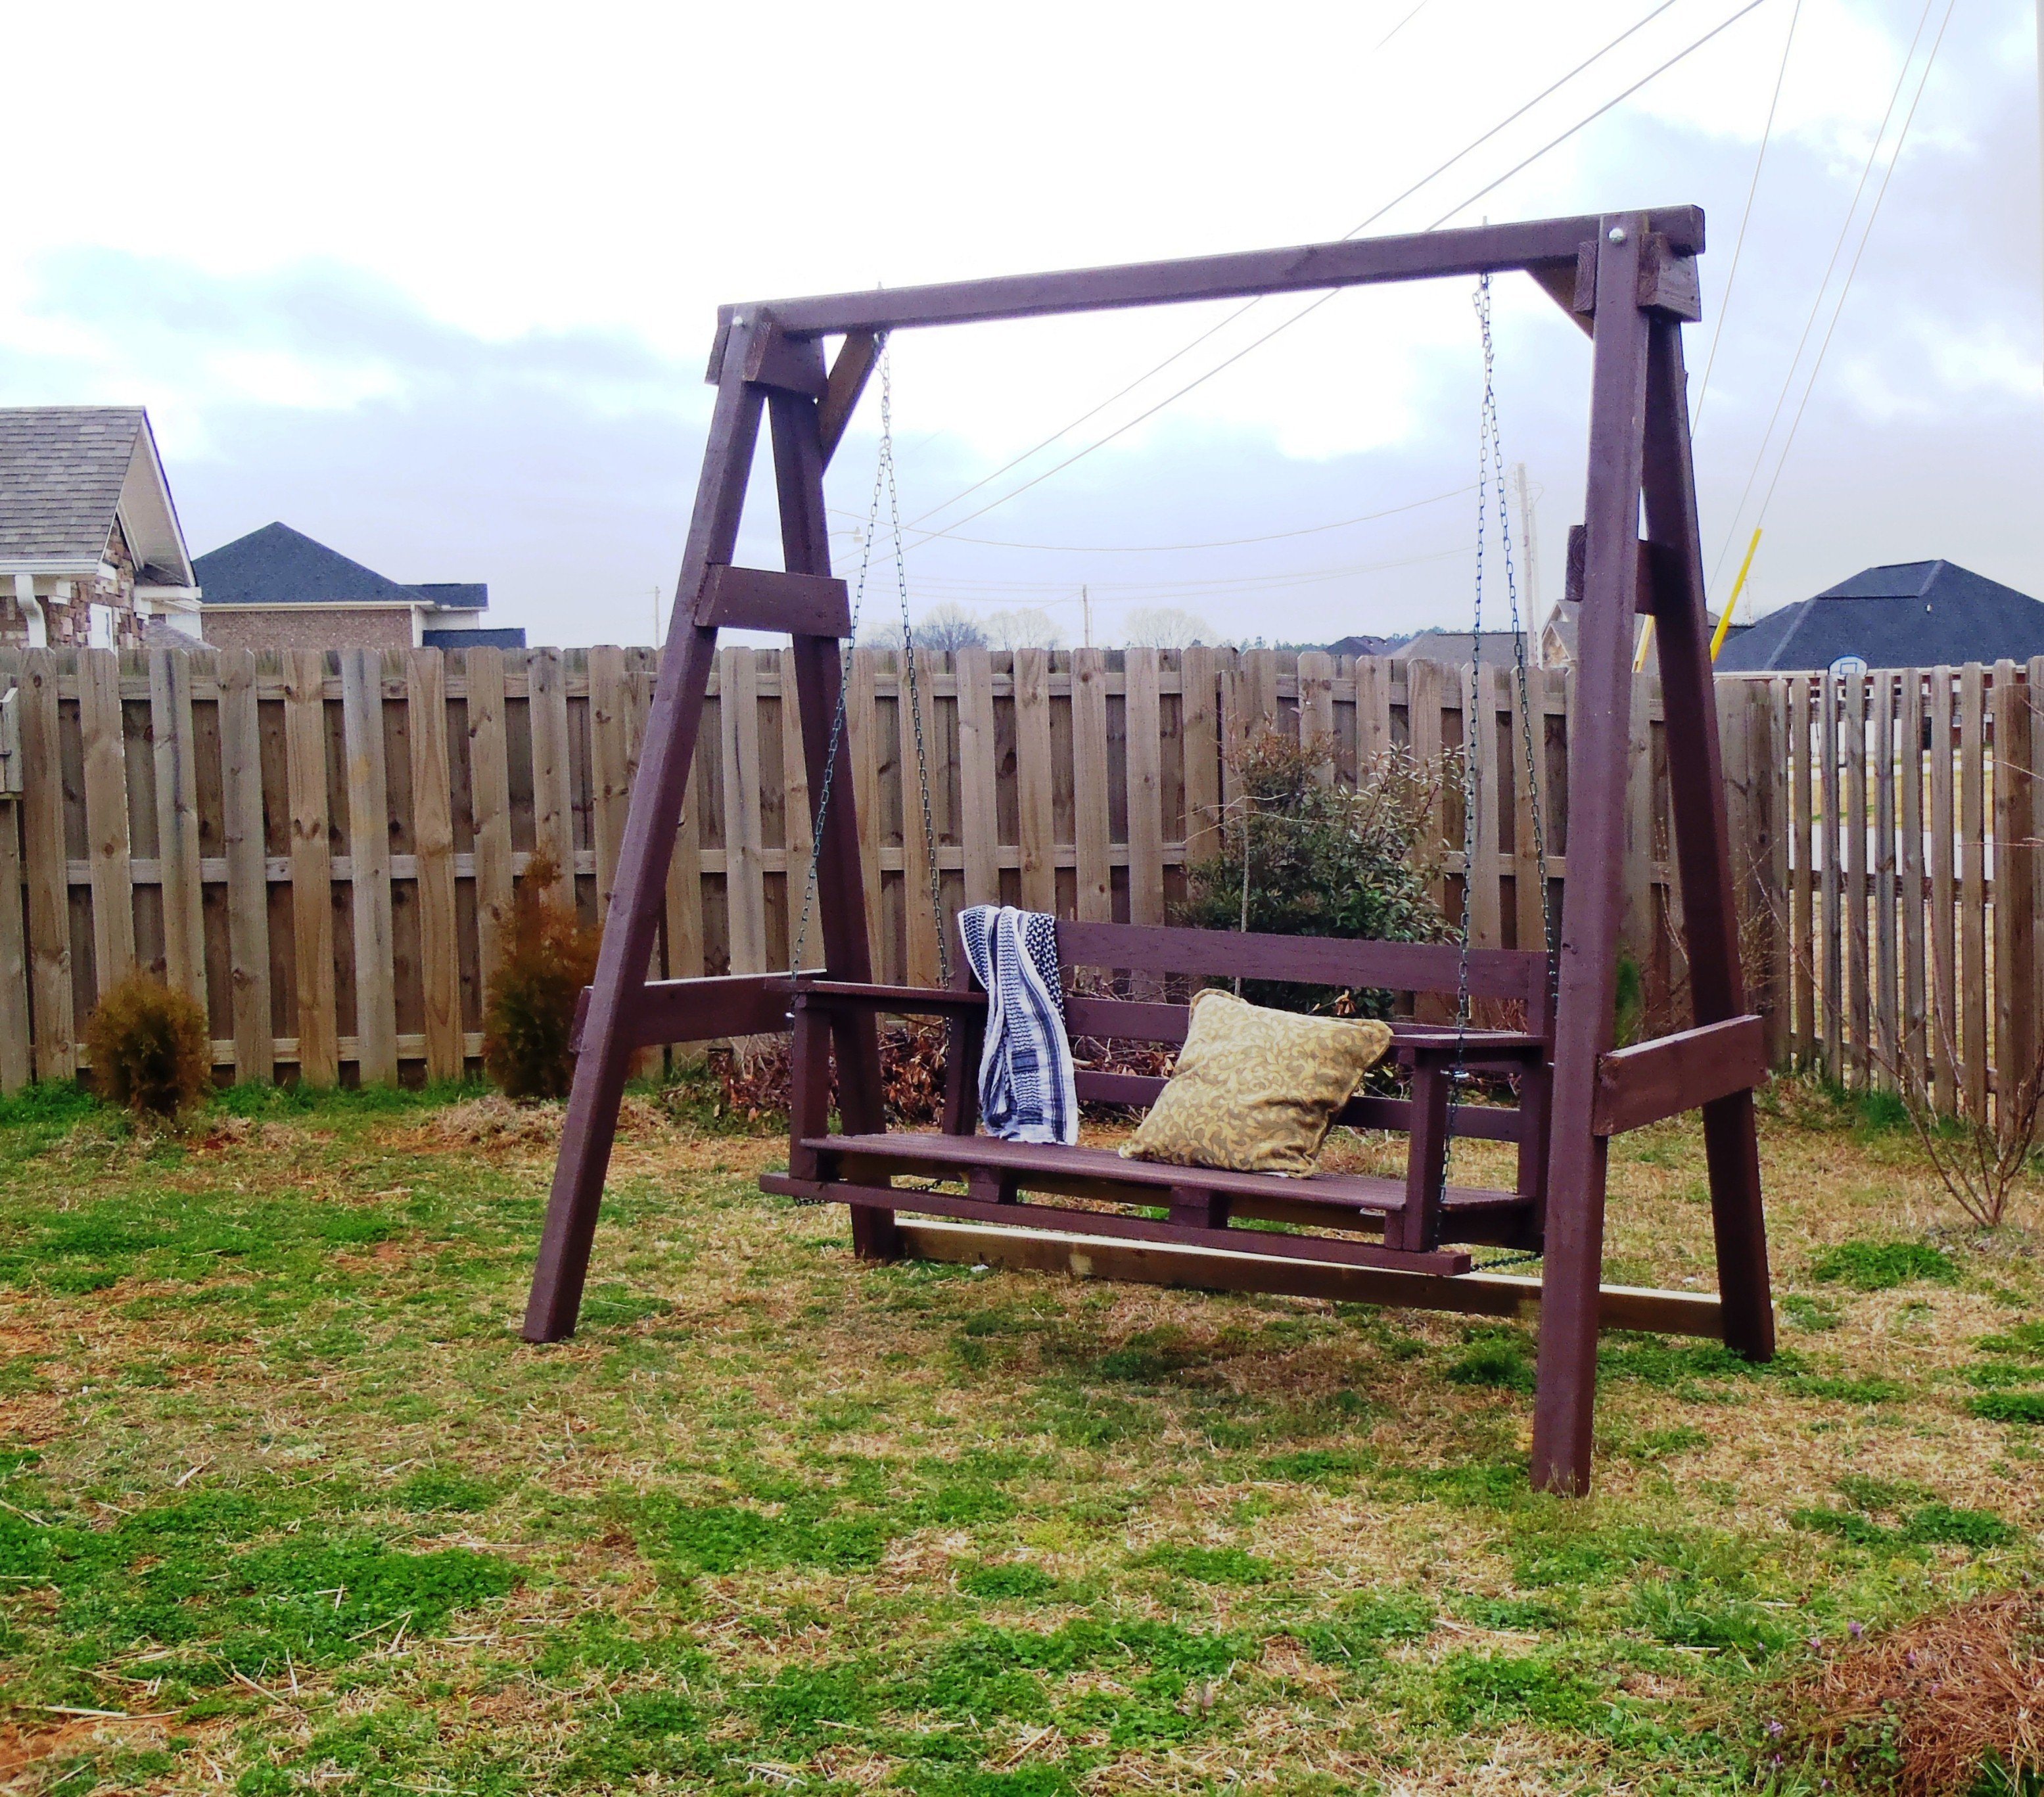
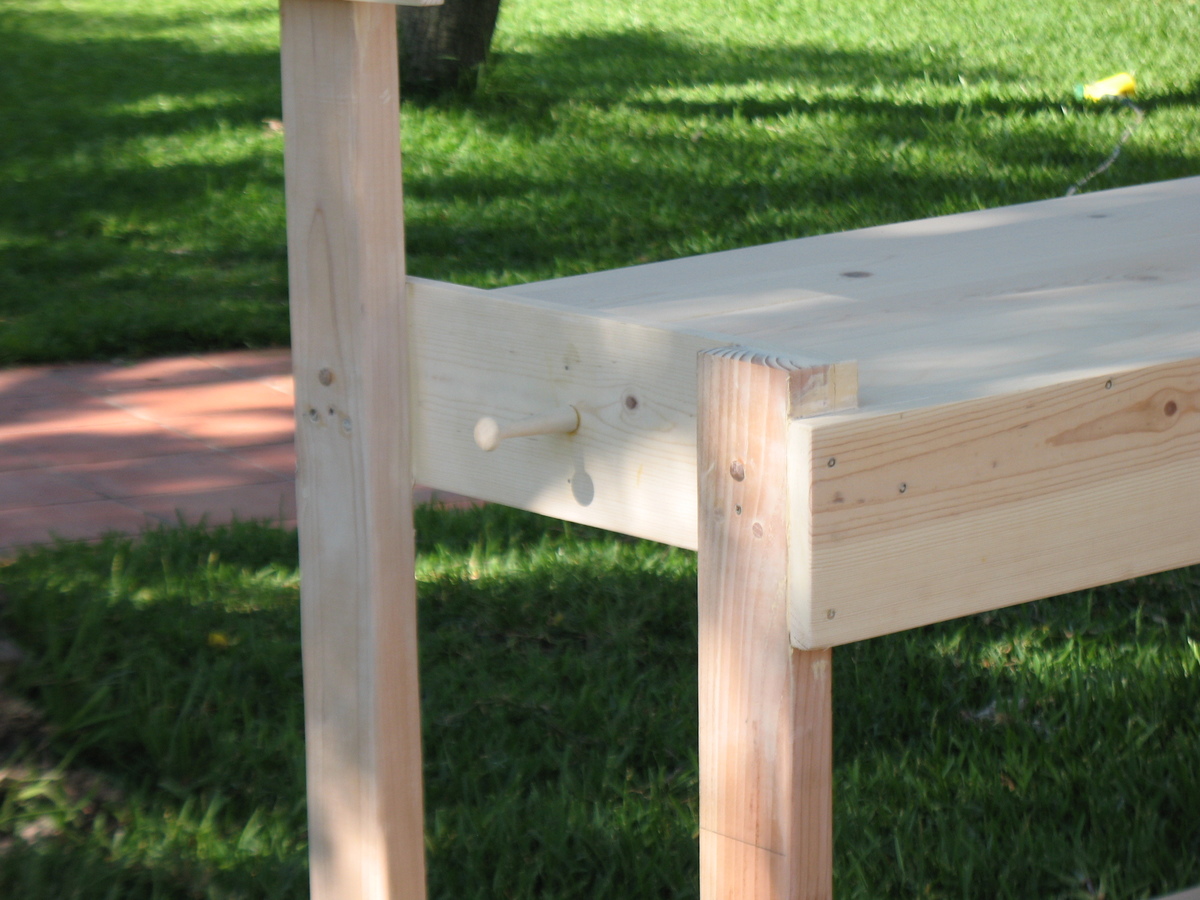
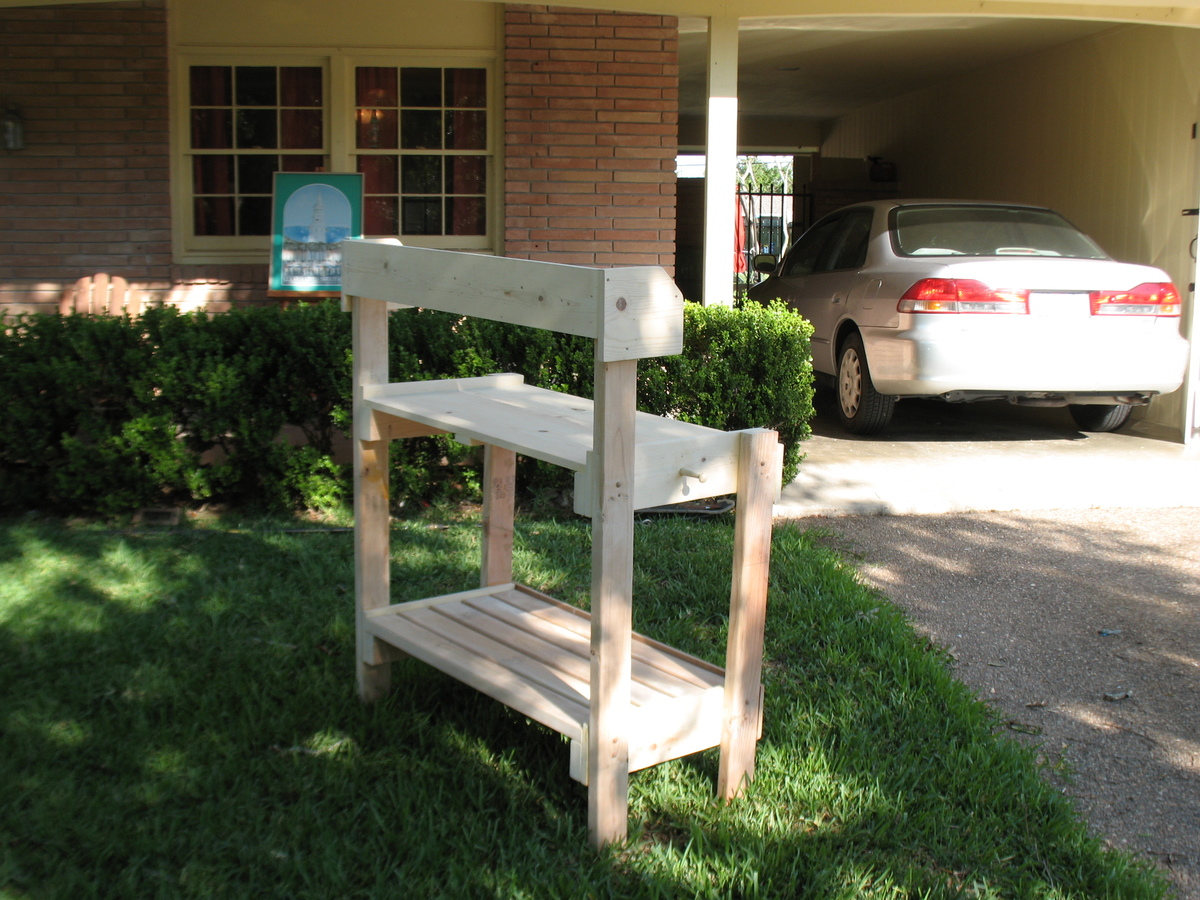
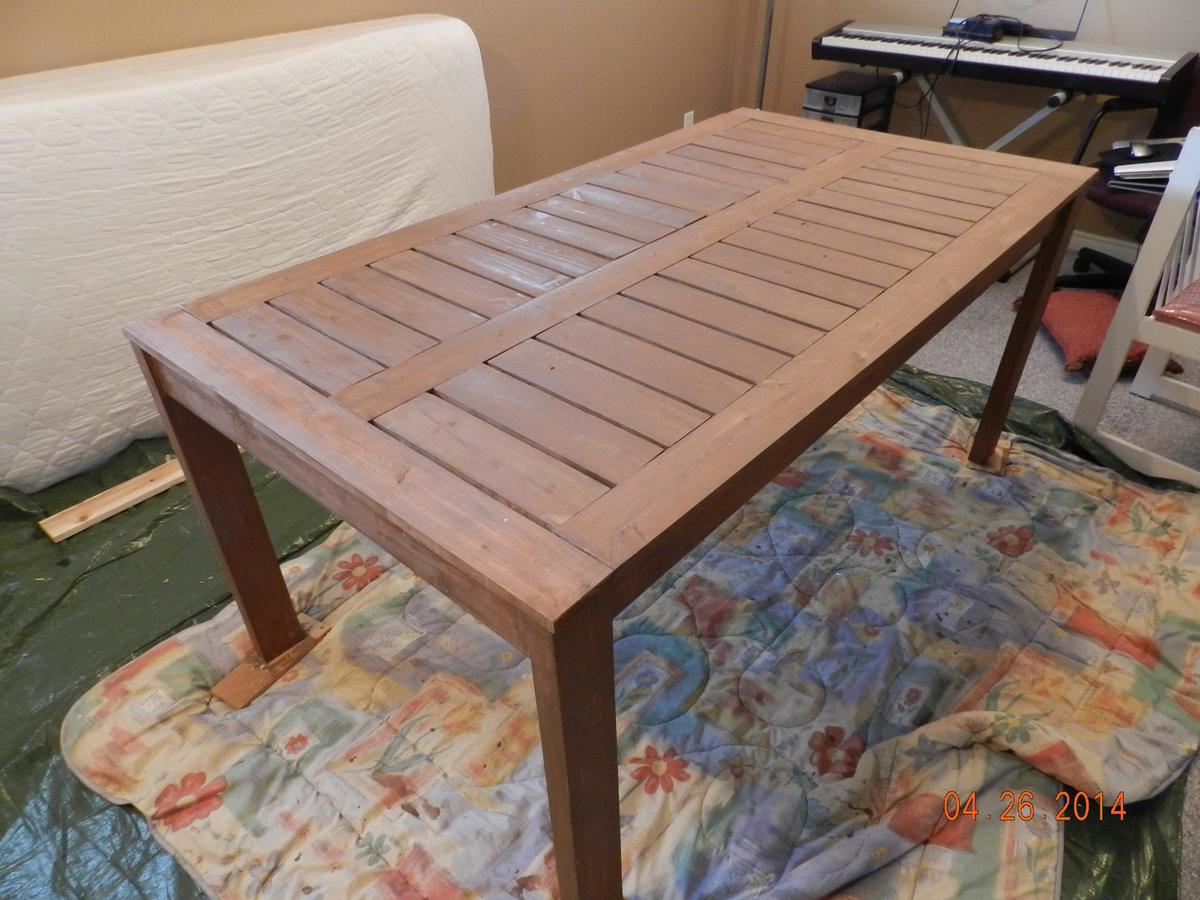
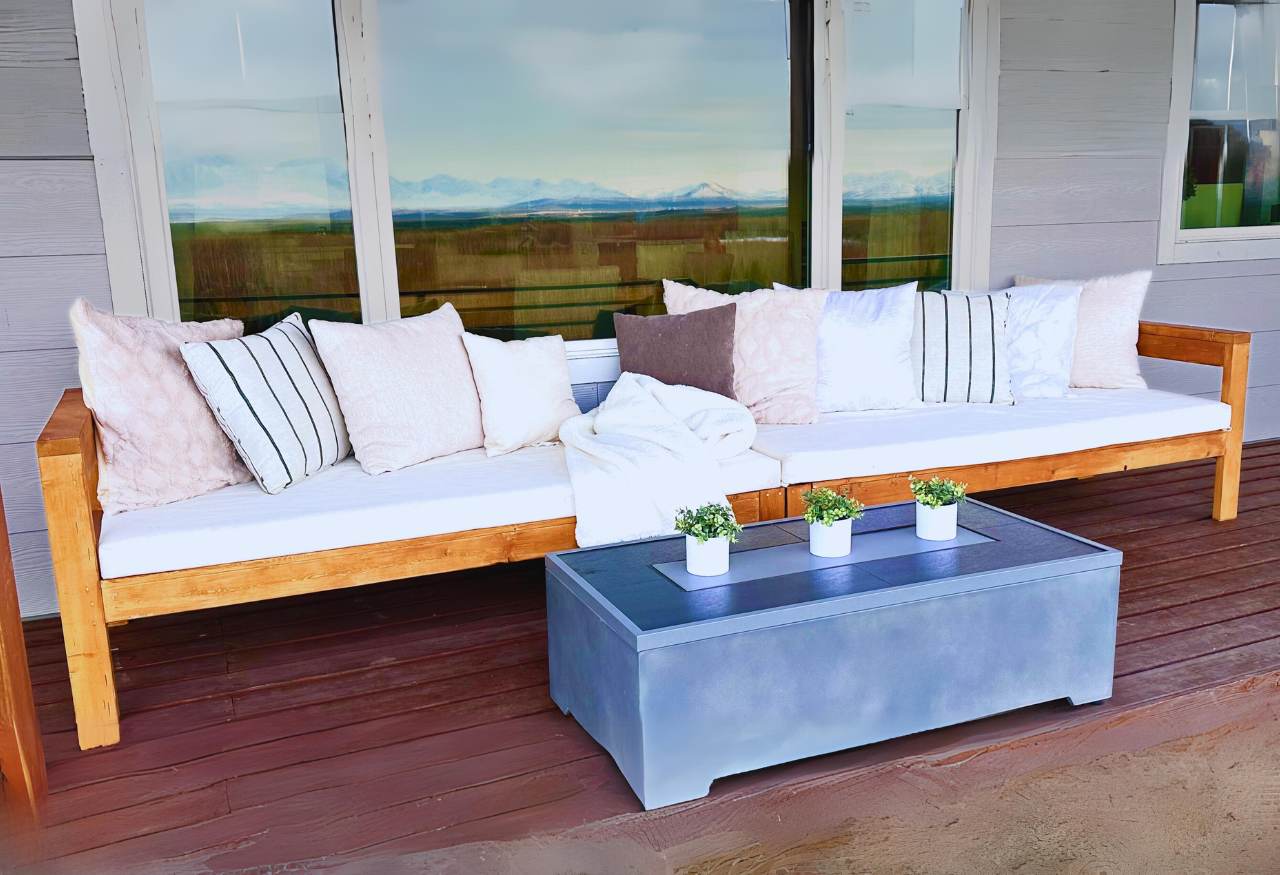
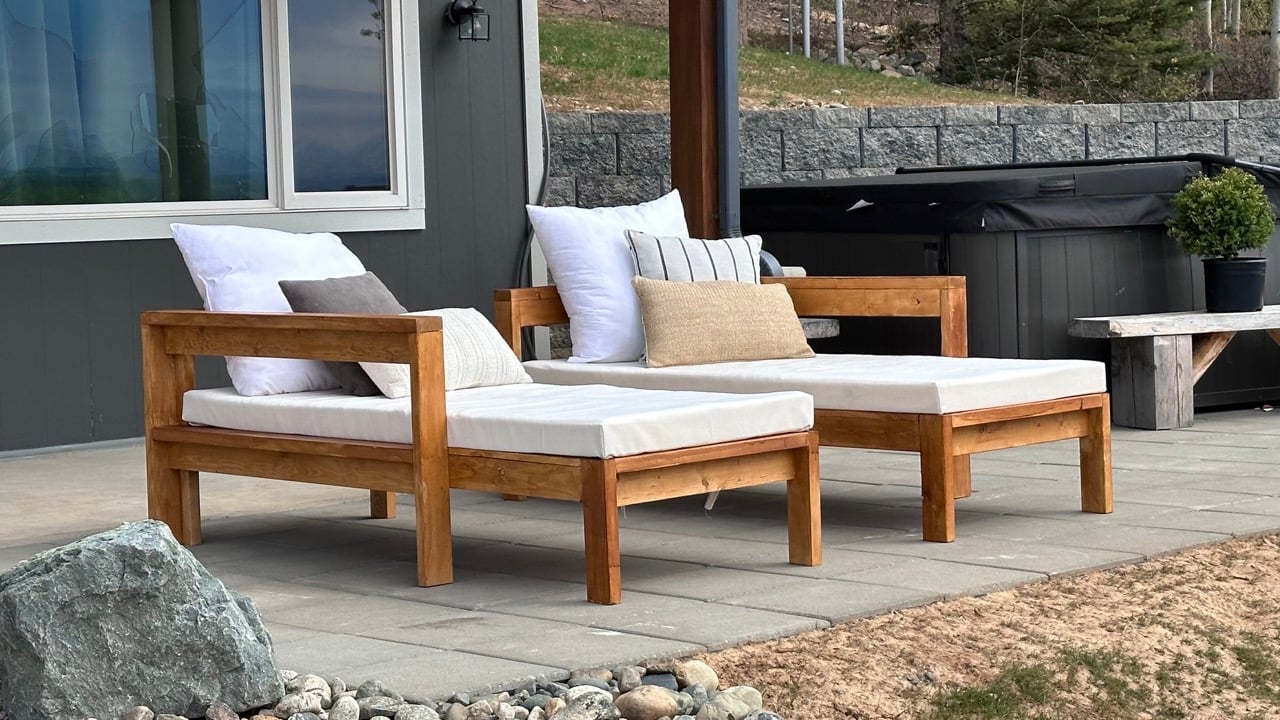
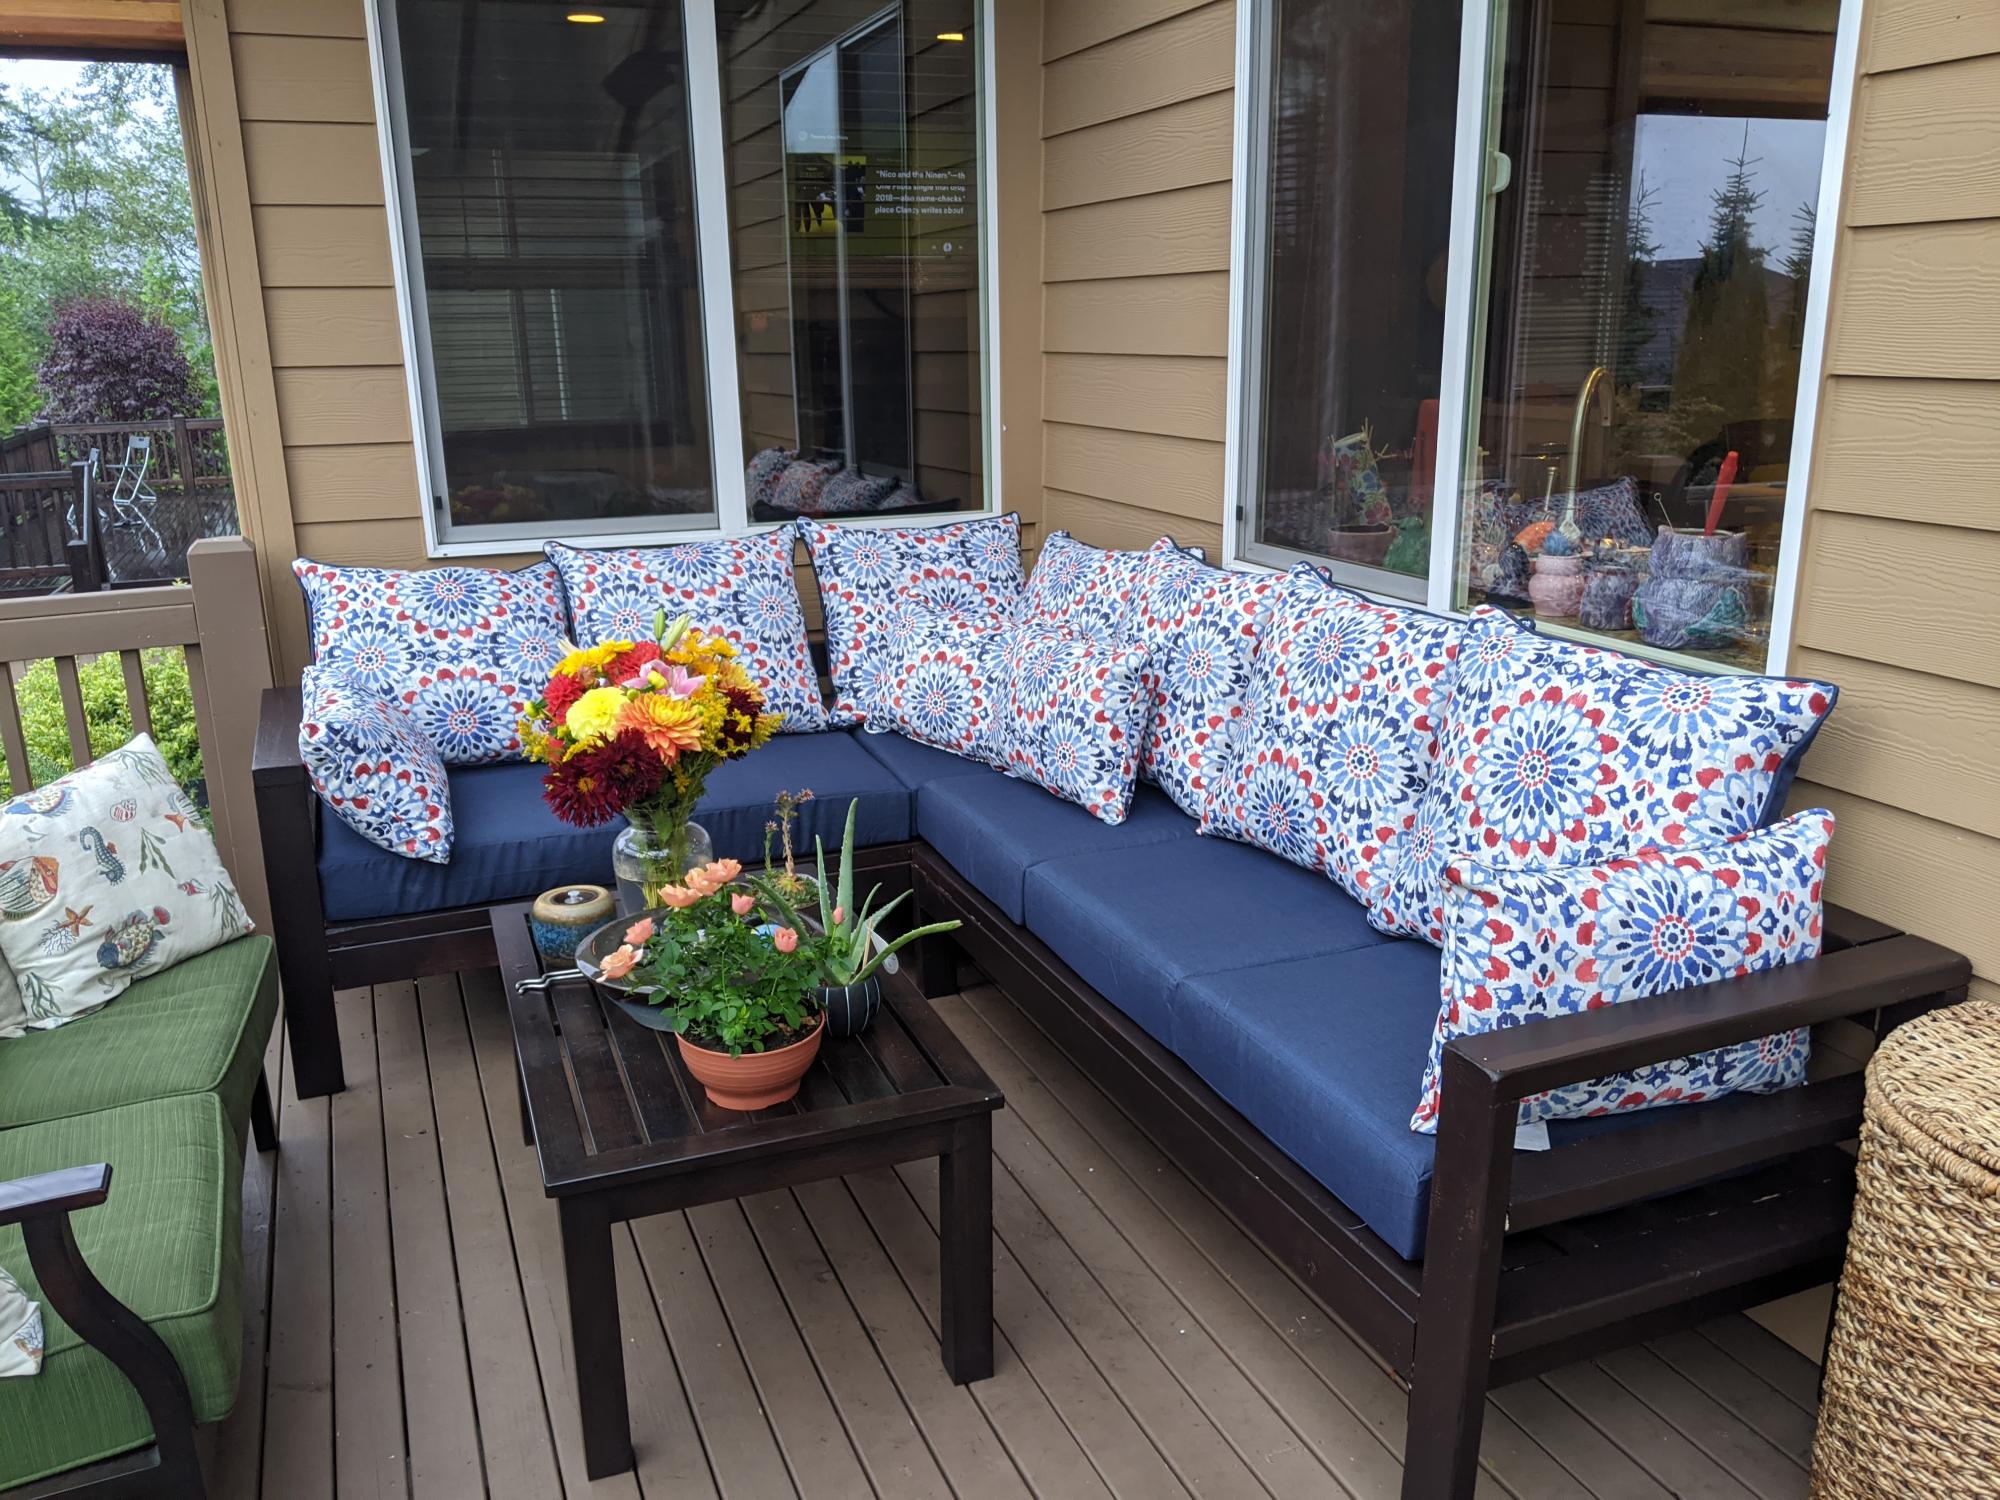
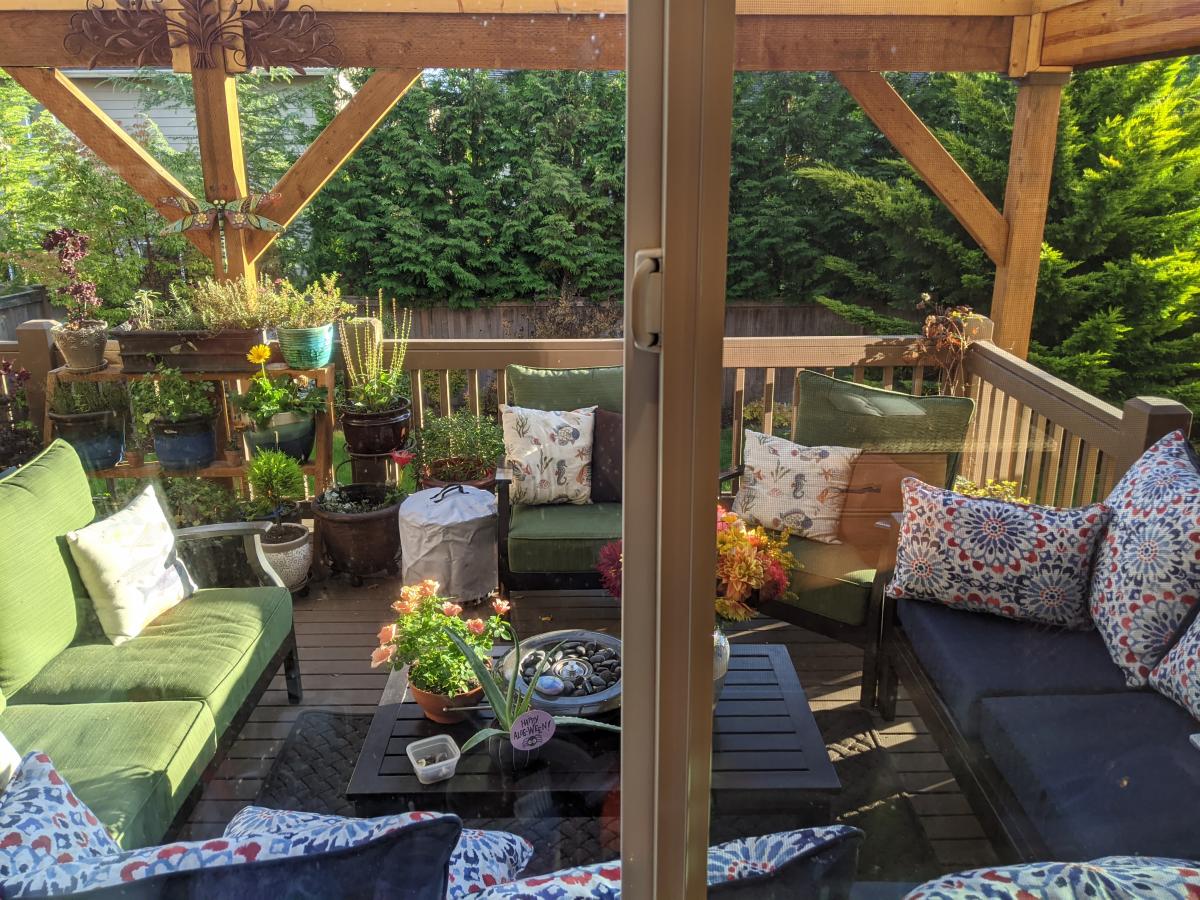
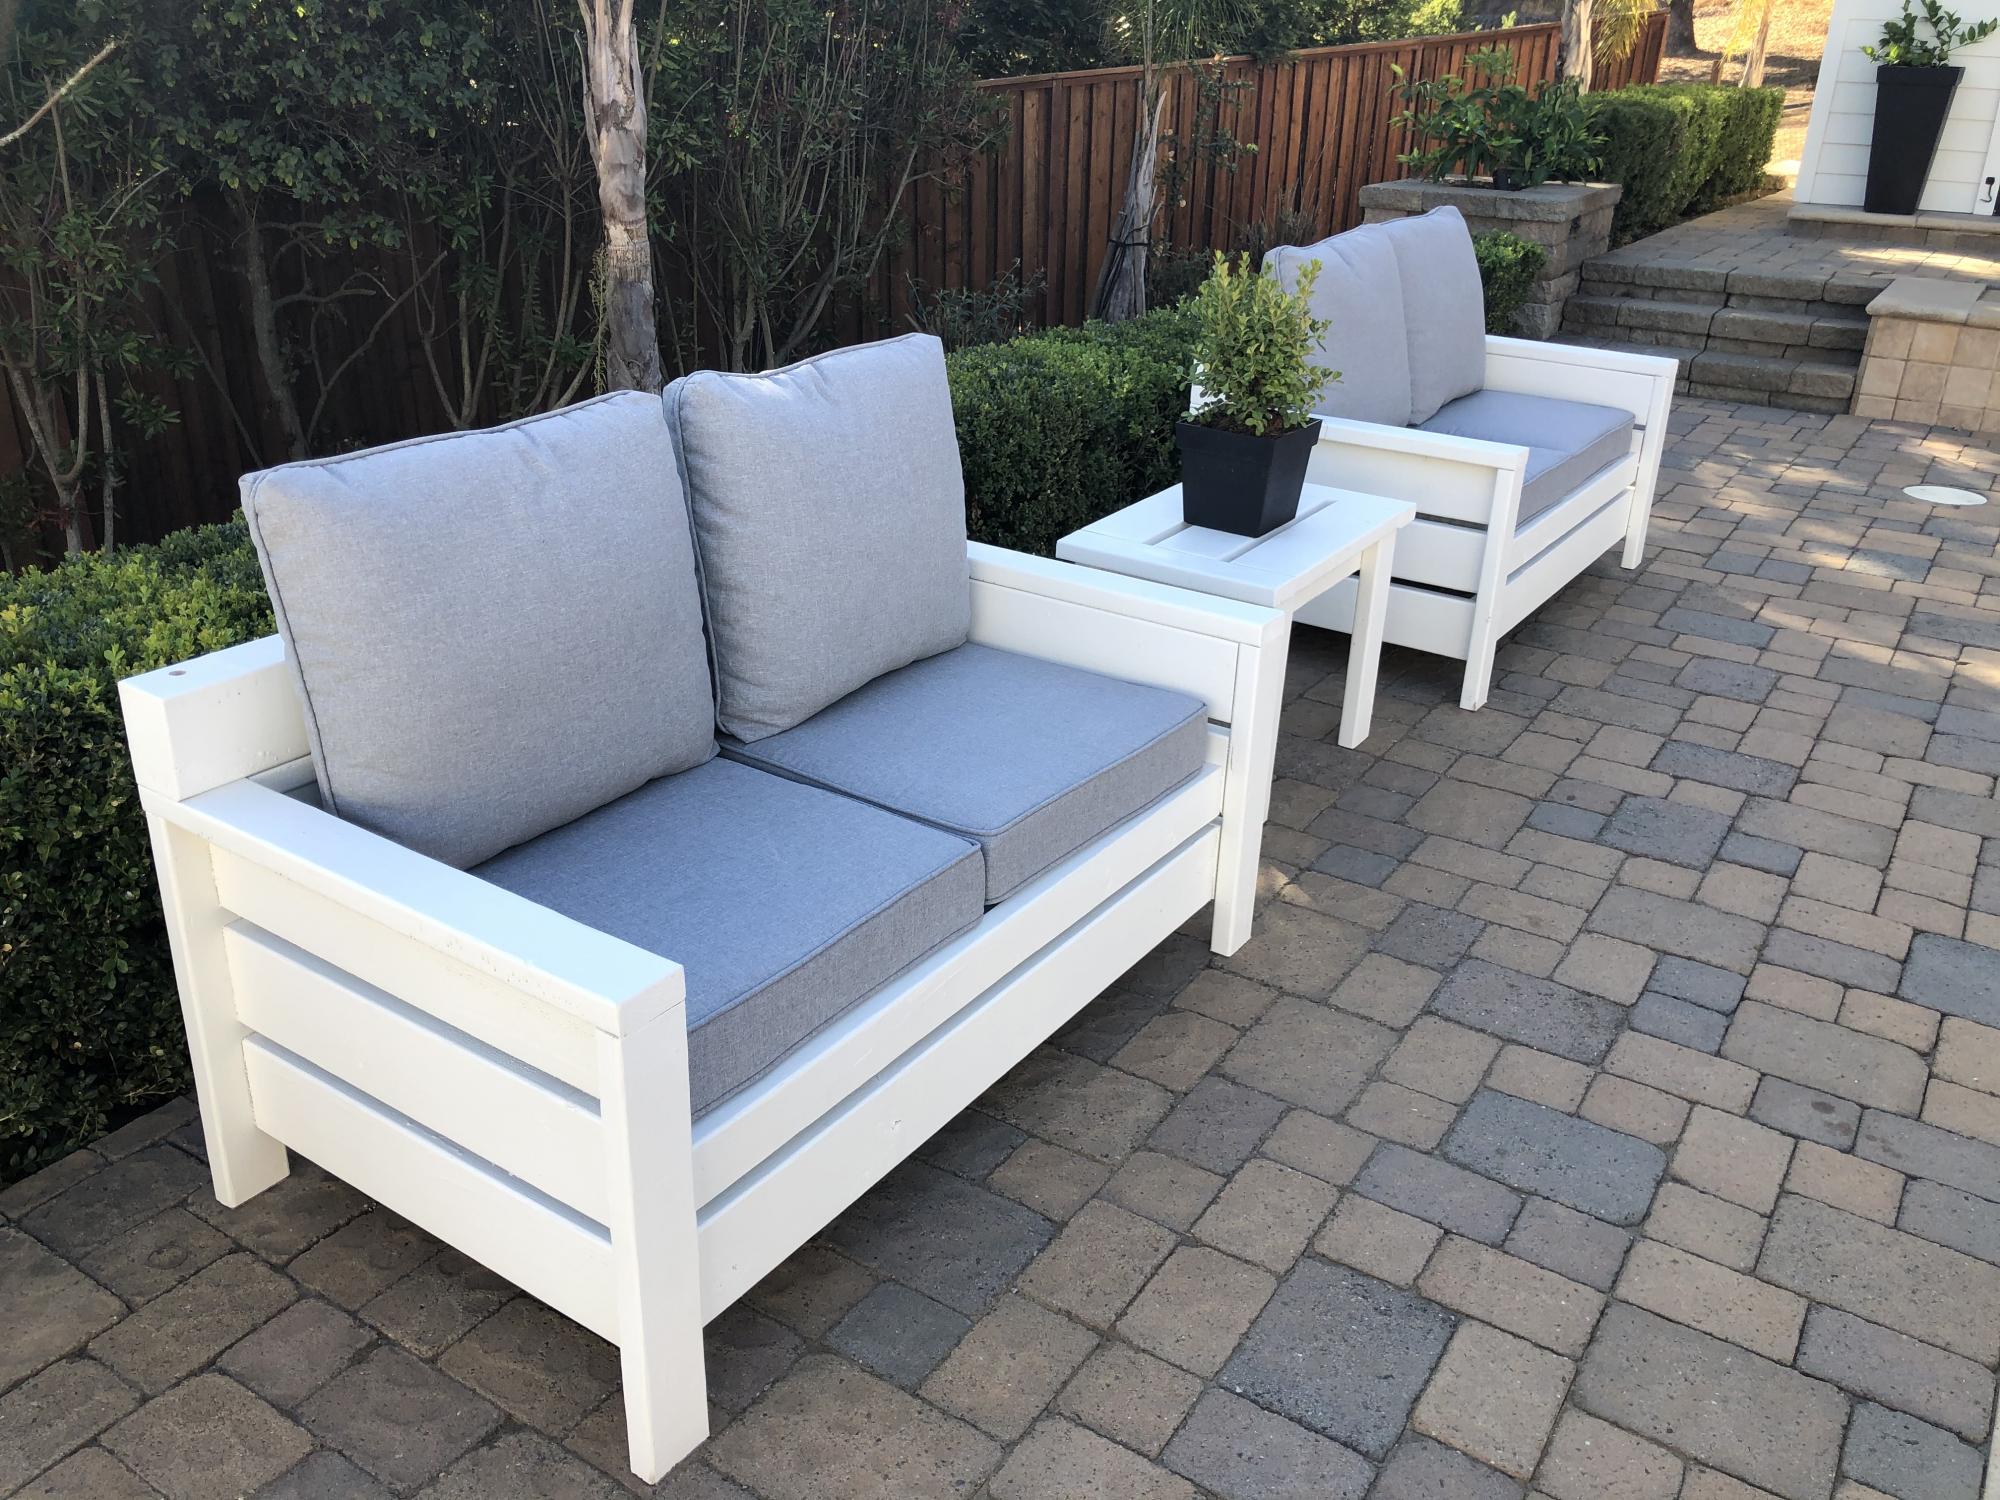
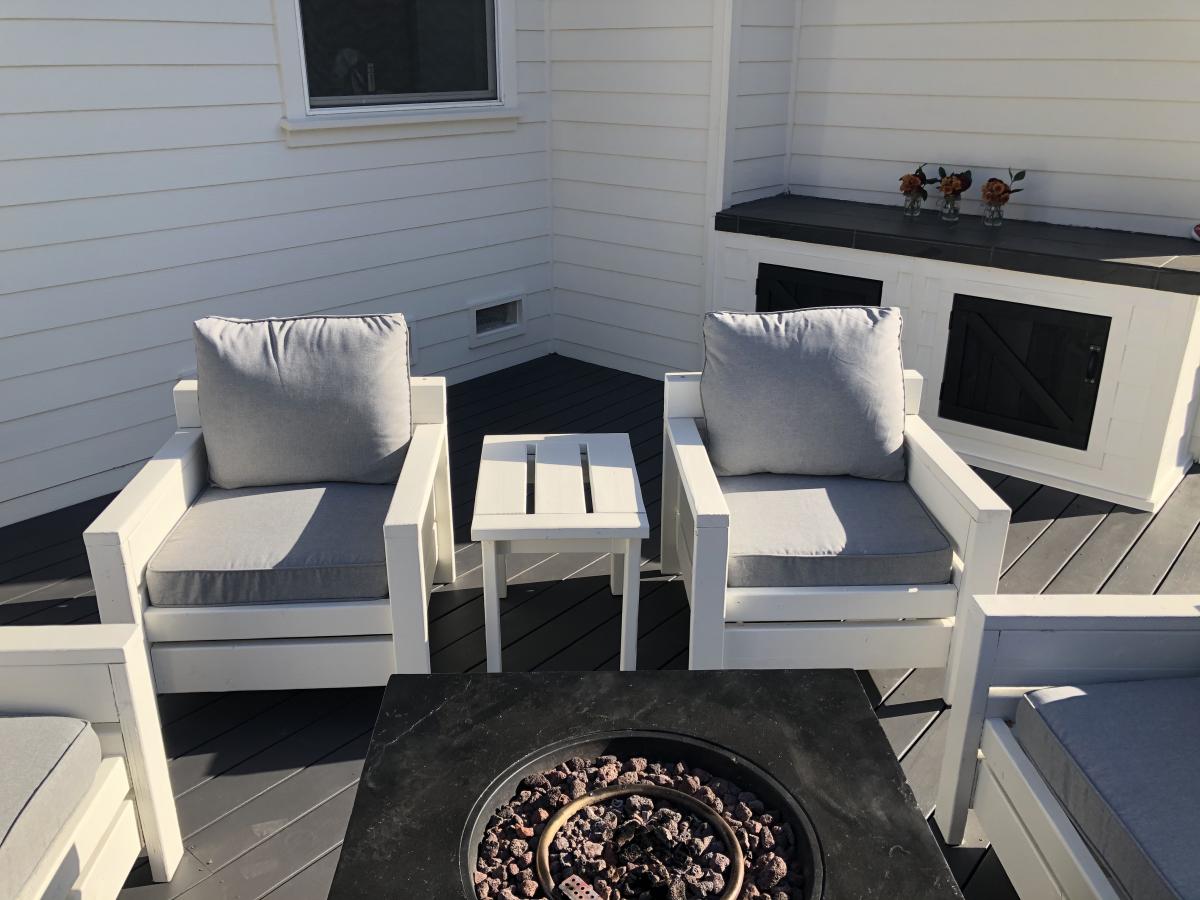
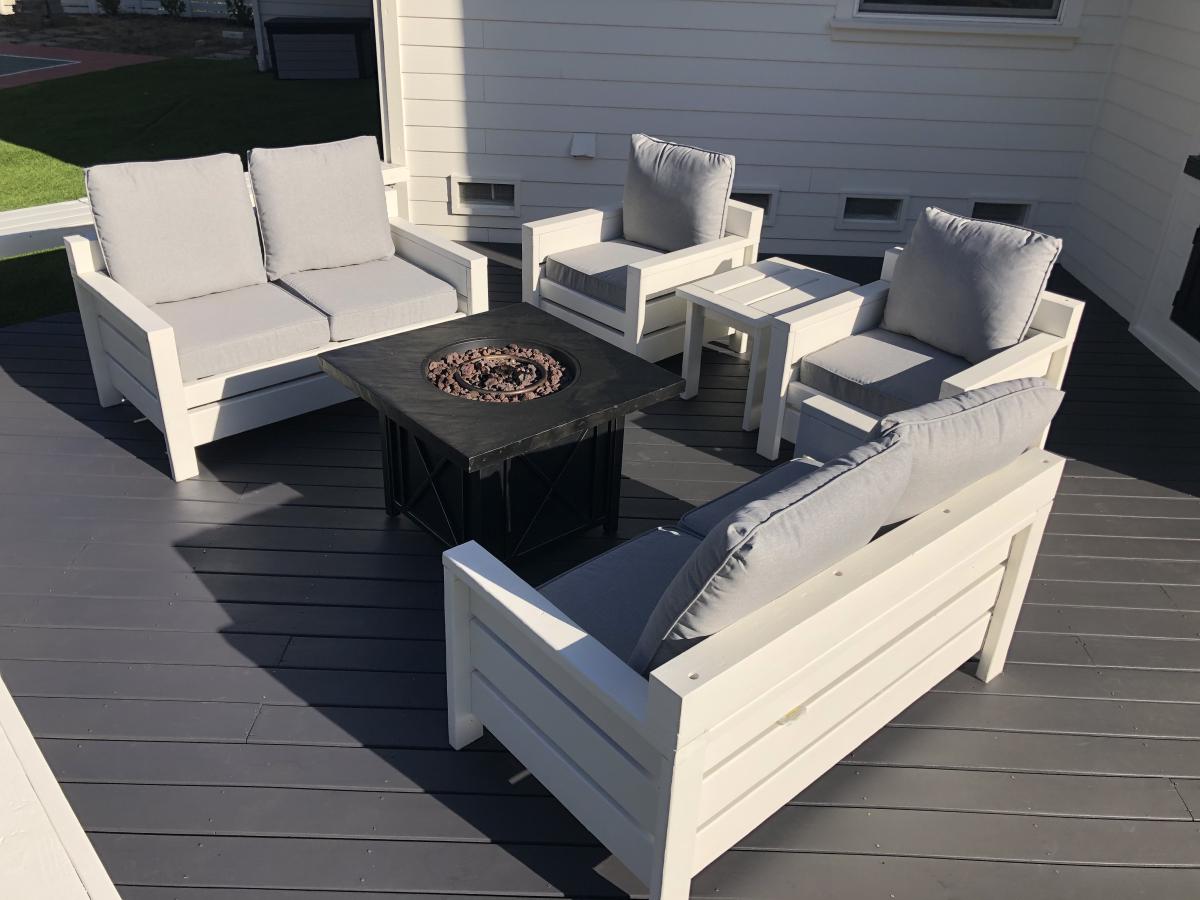
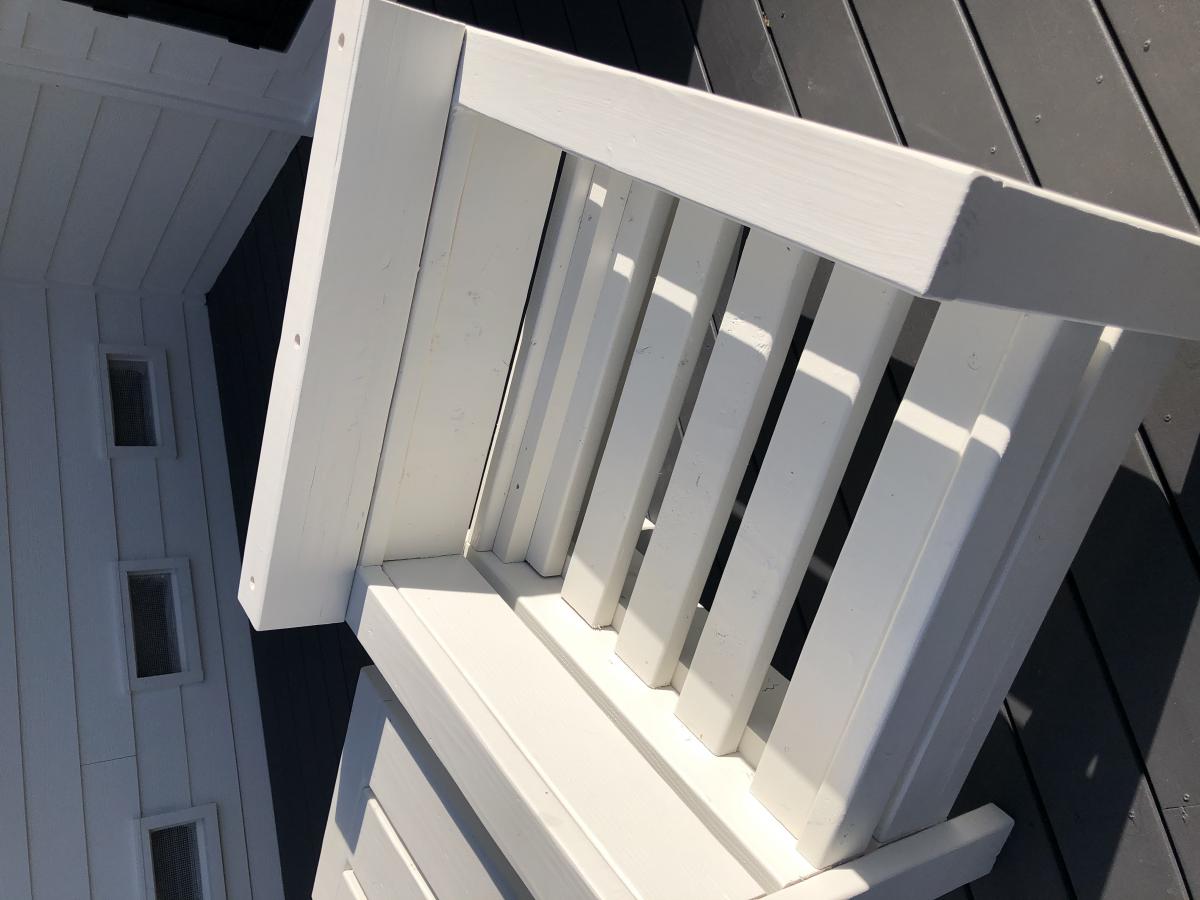
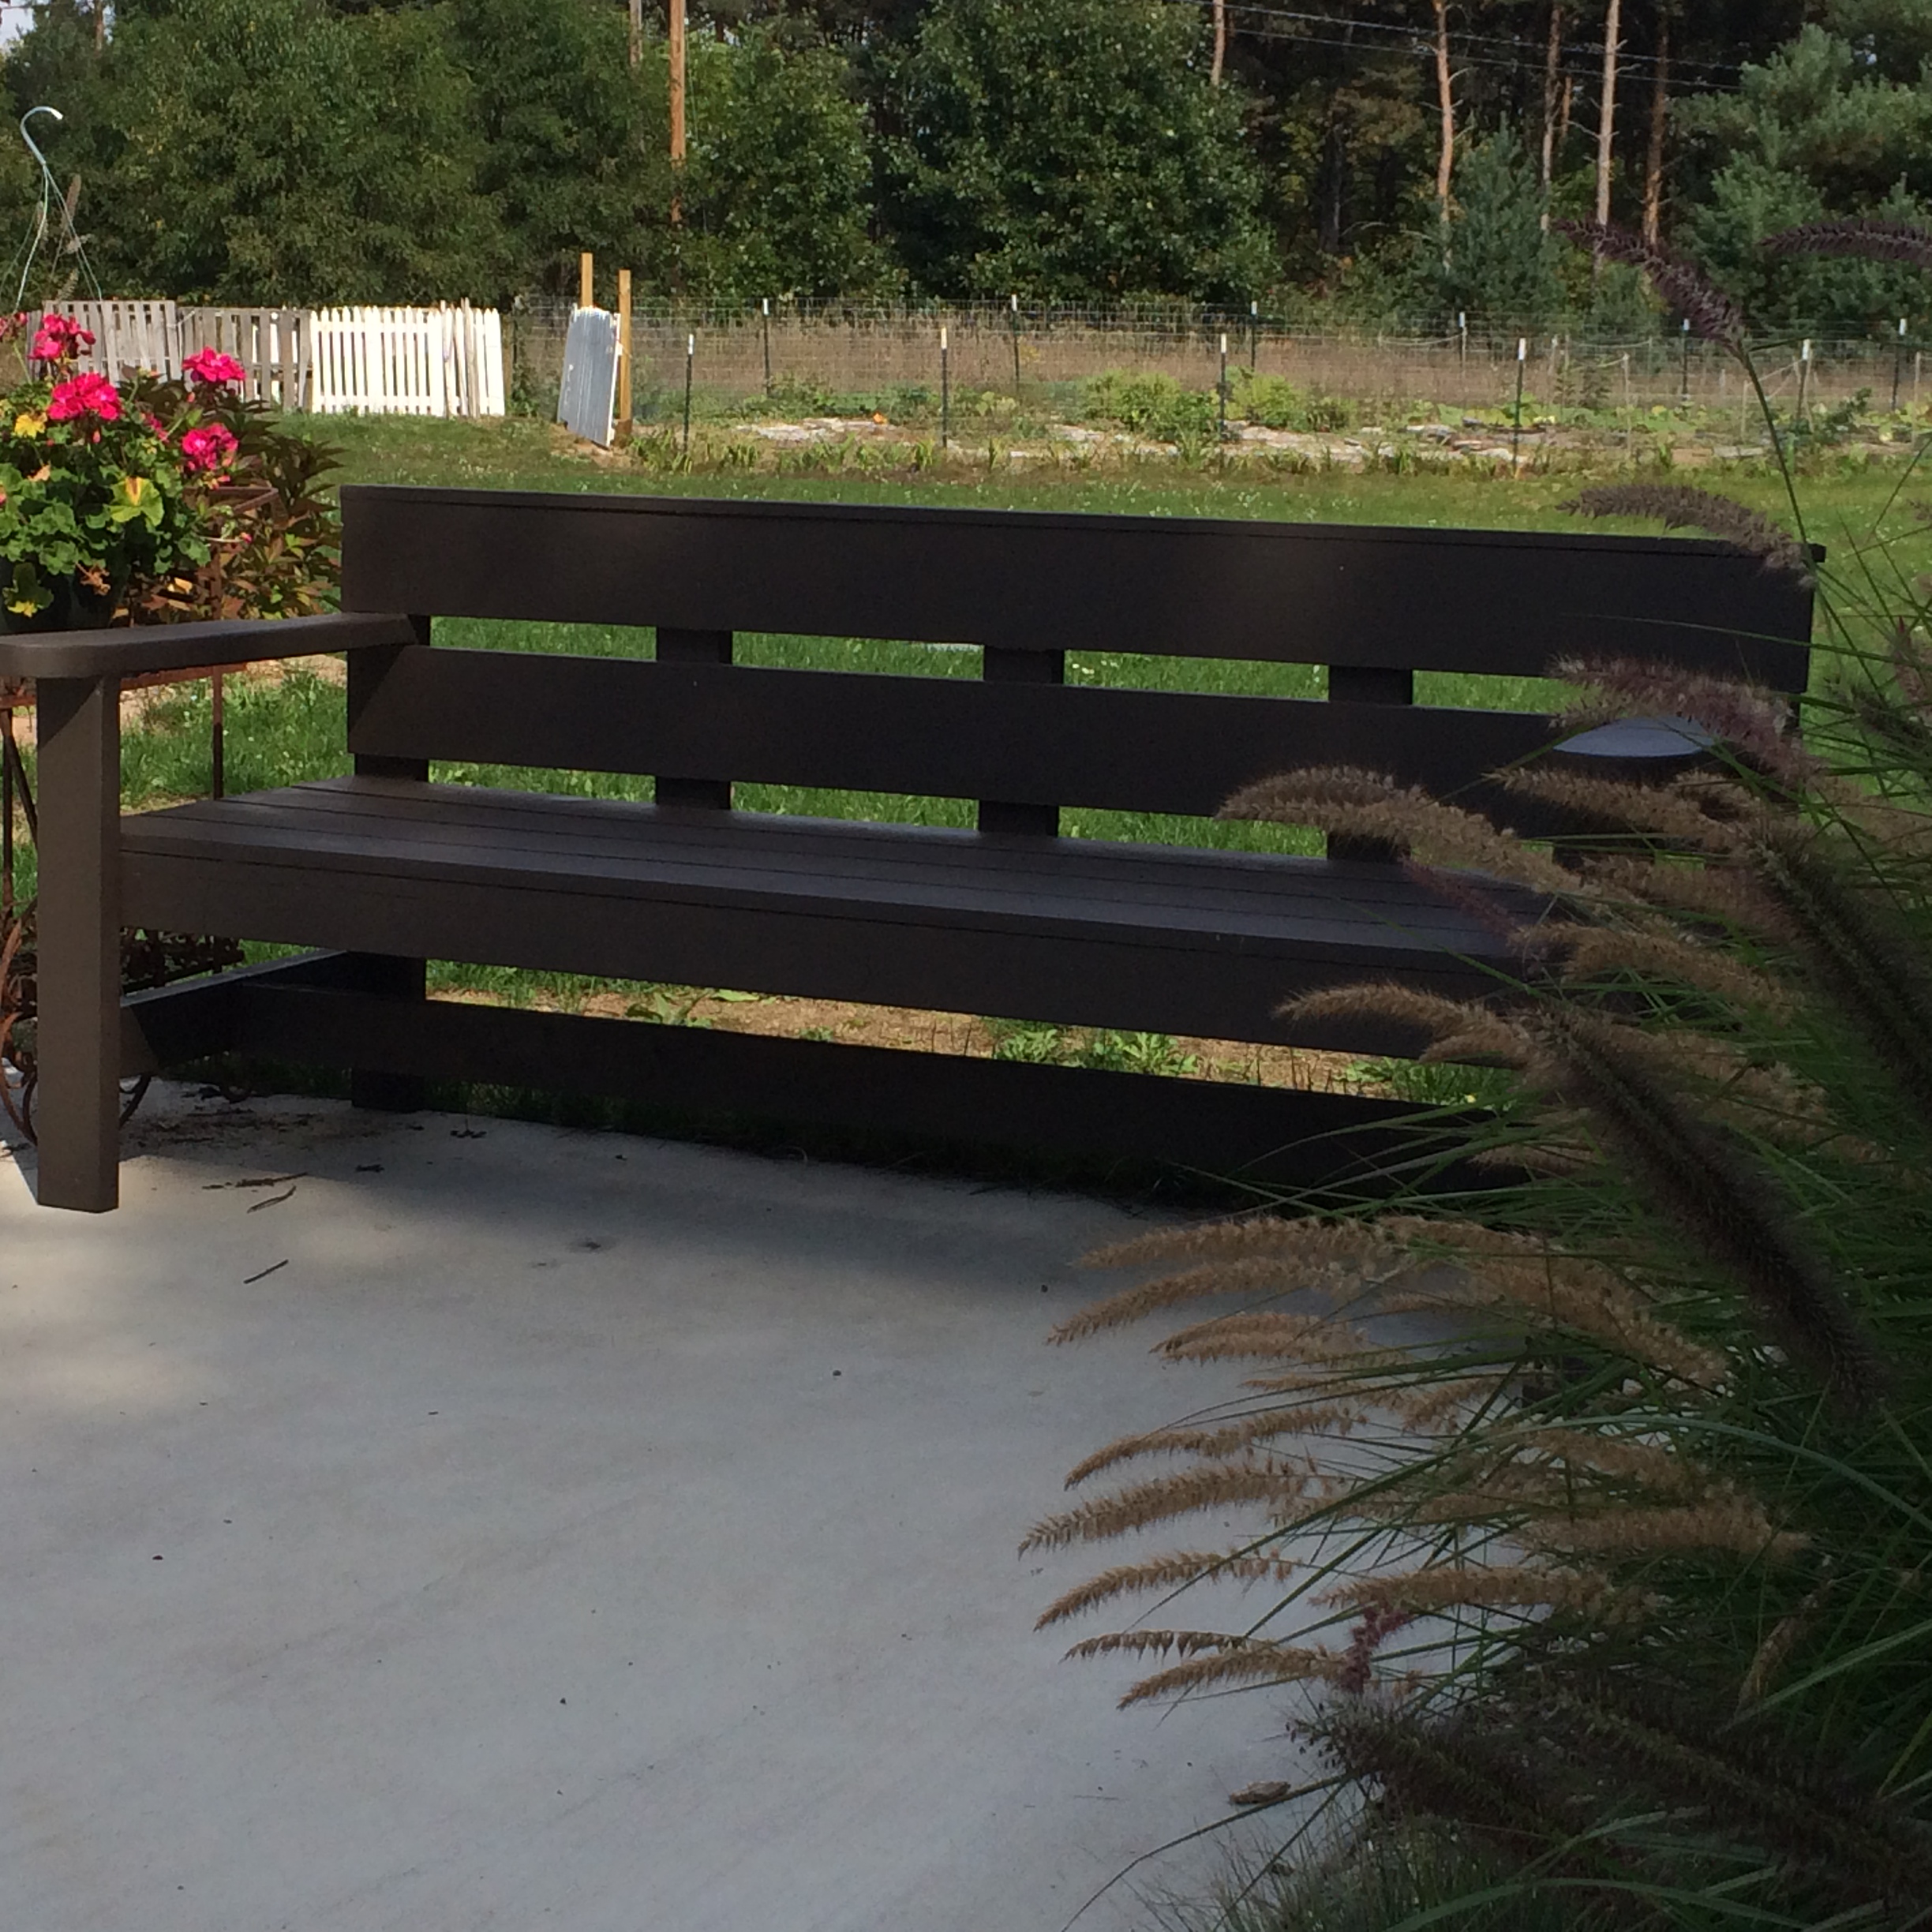
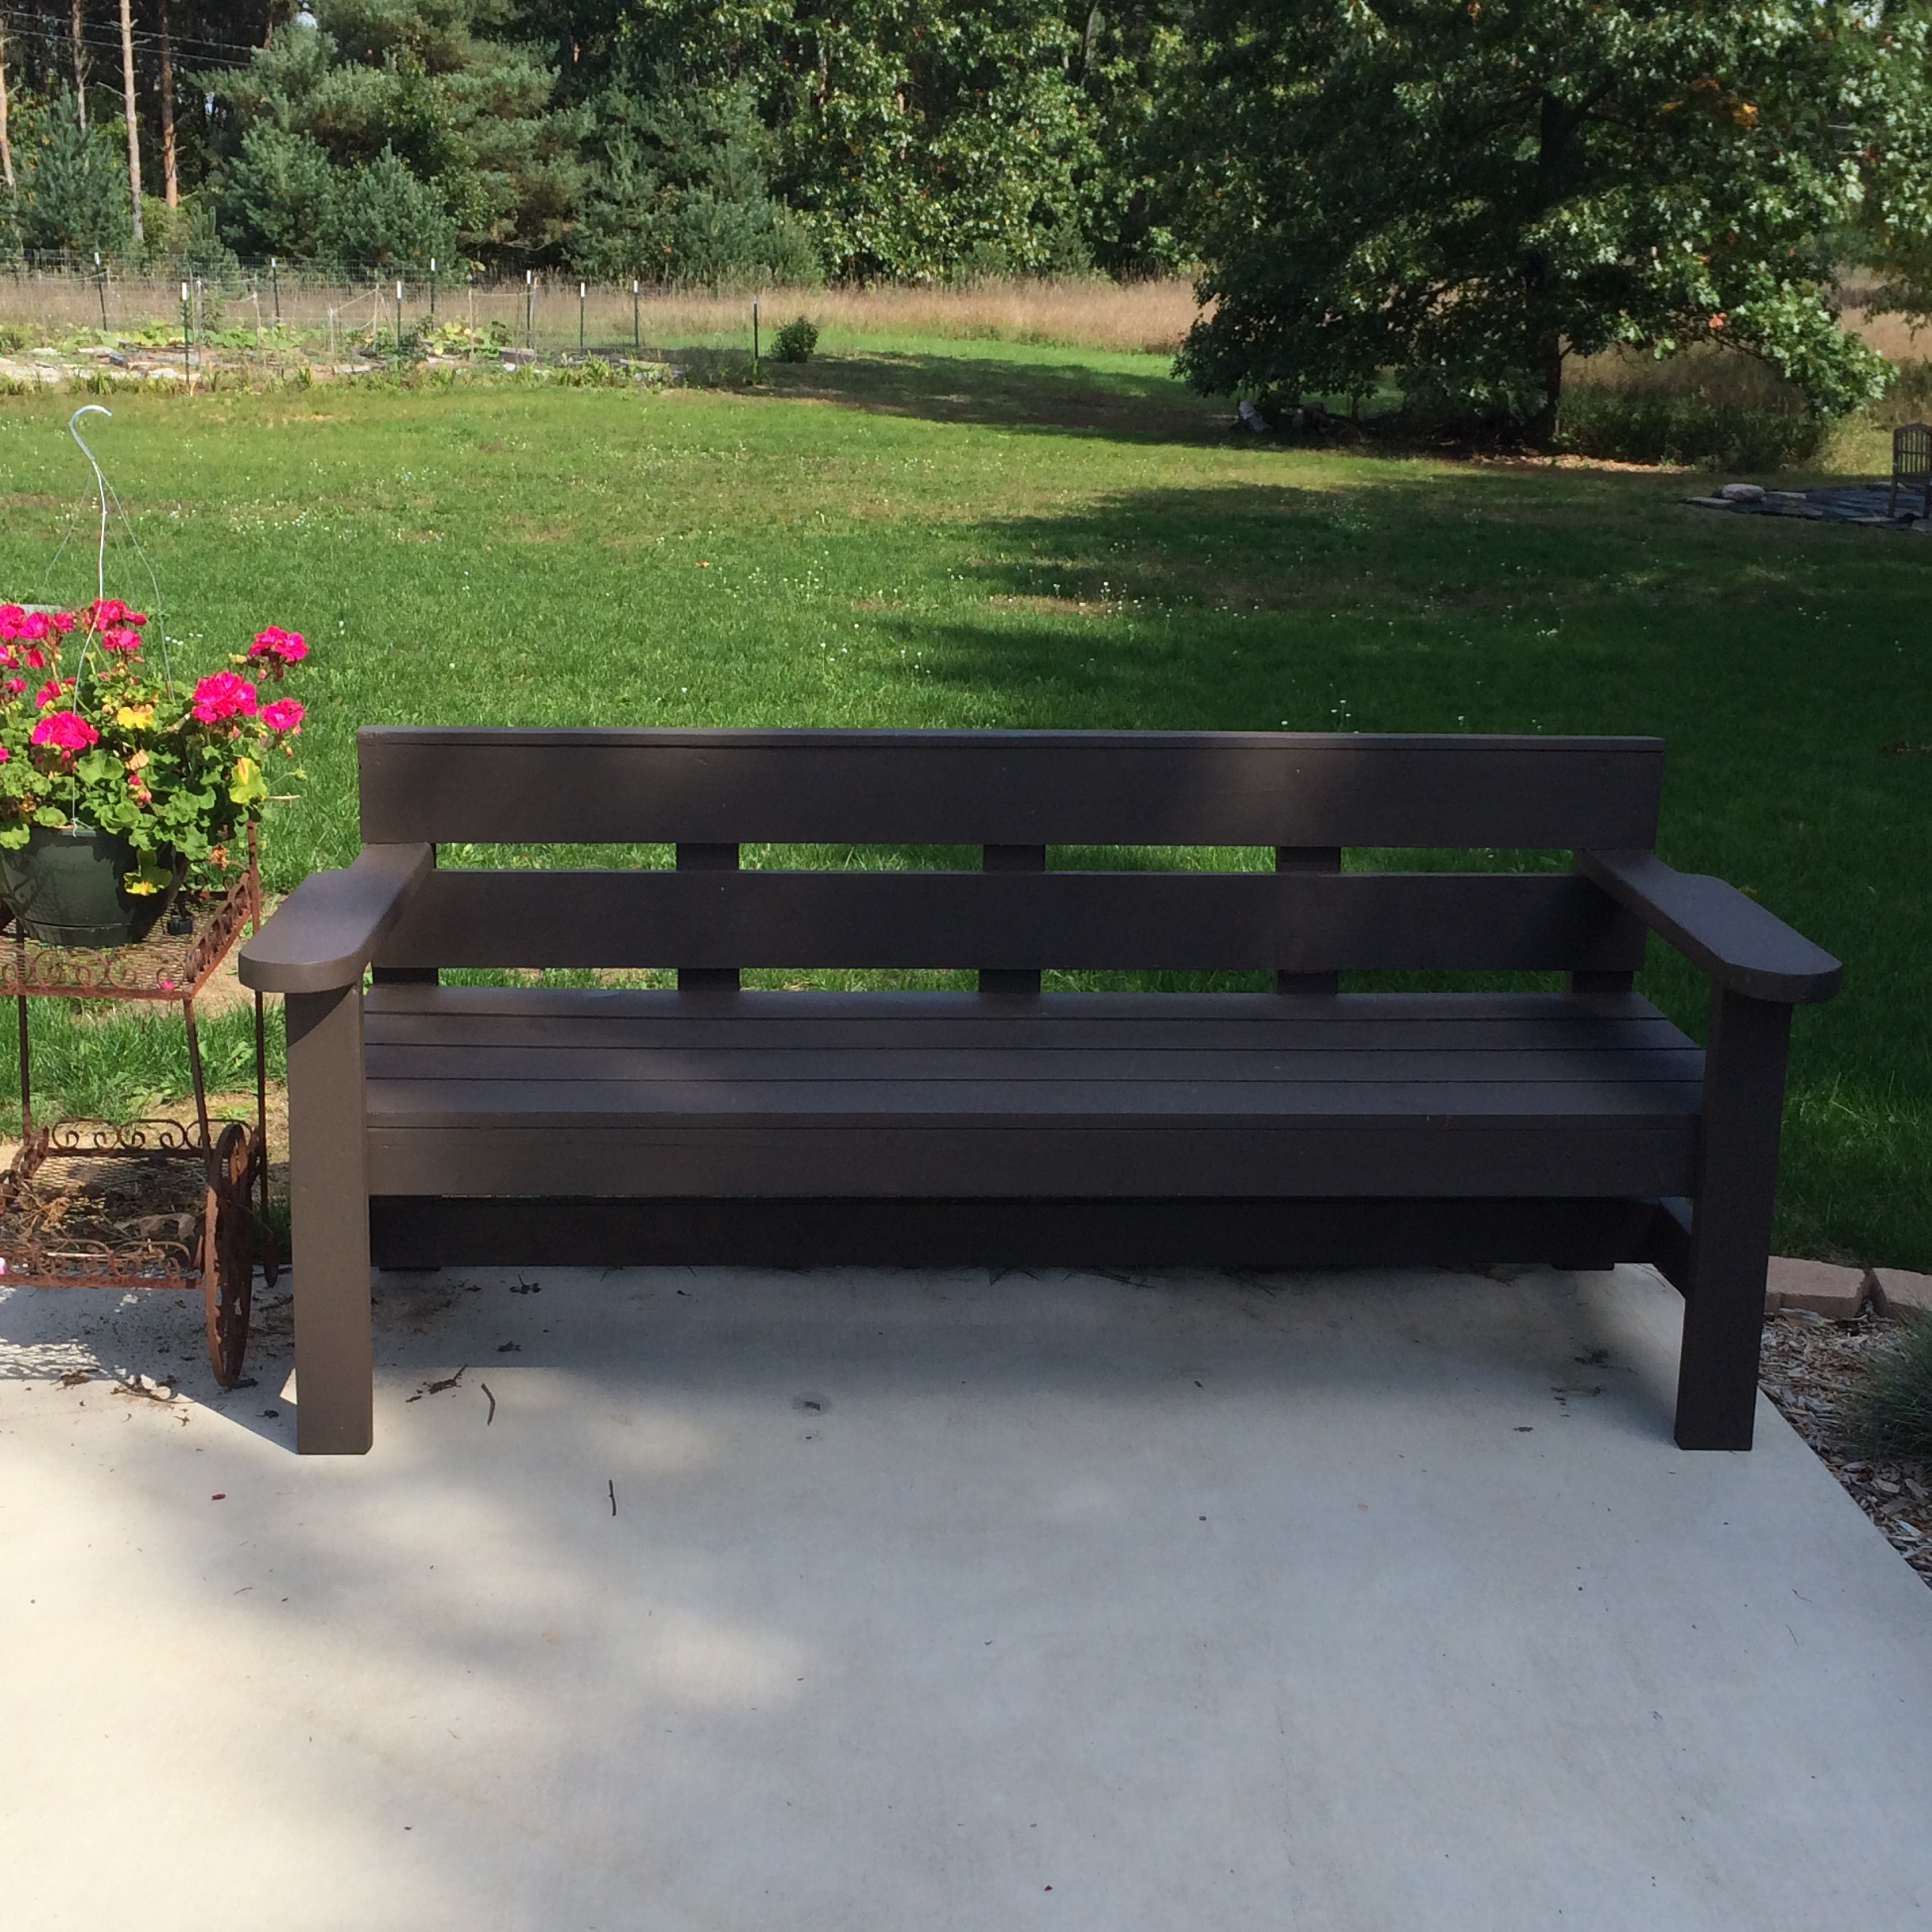
Community Brag Posts

modern park bench

Submitted by debinmi on Sun, 09/28/2014 - 11:50

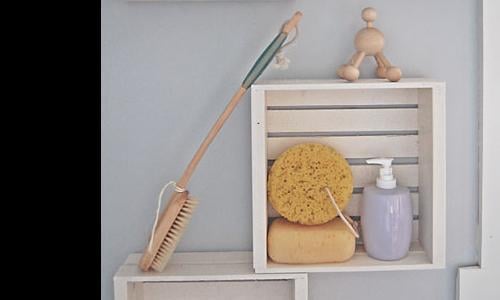
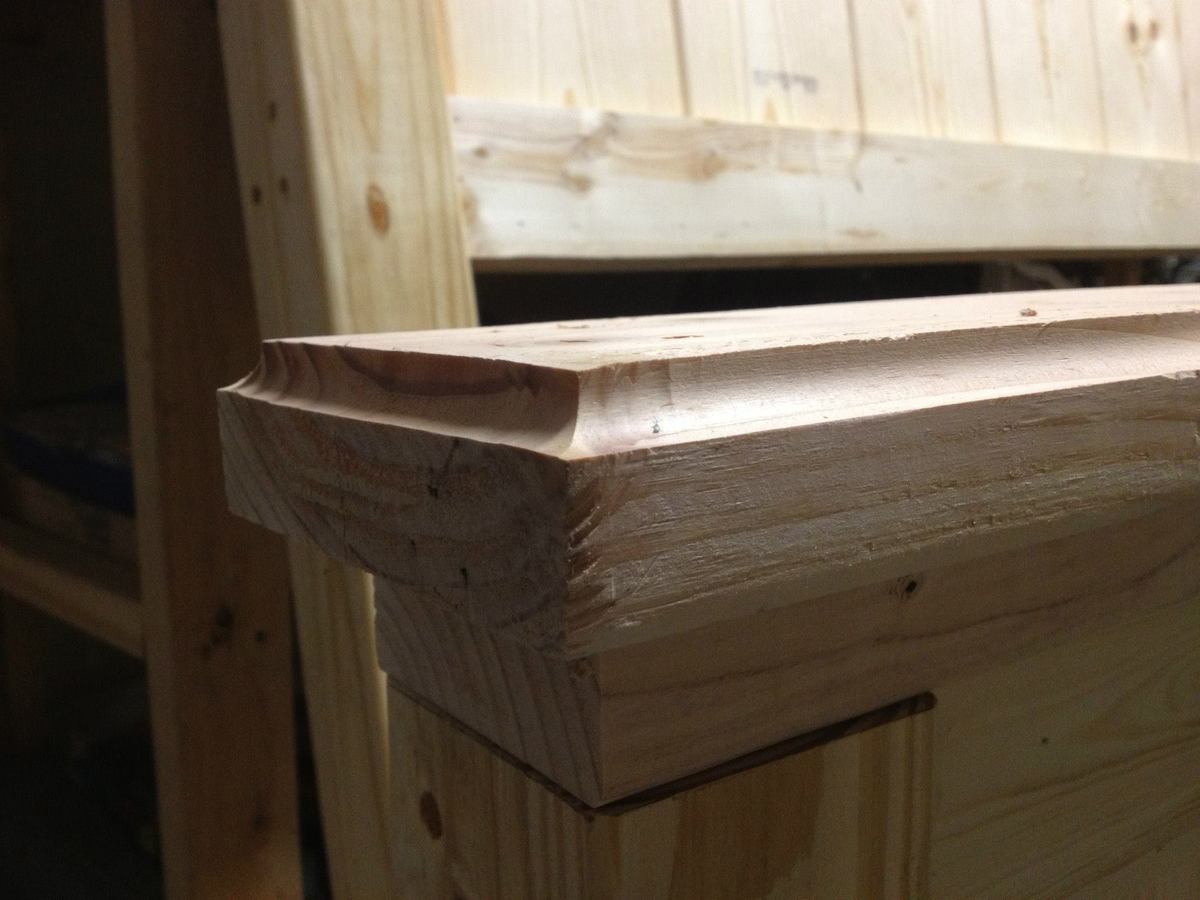
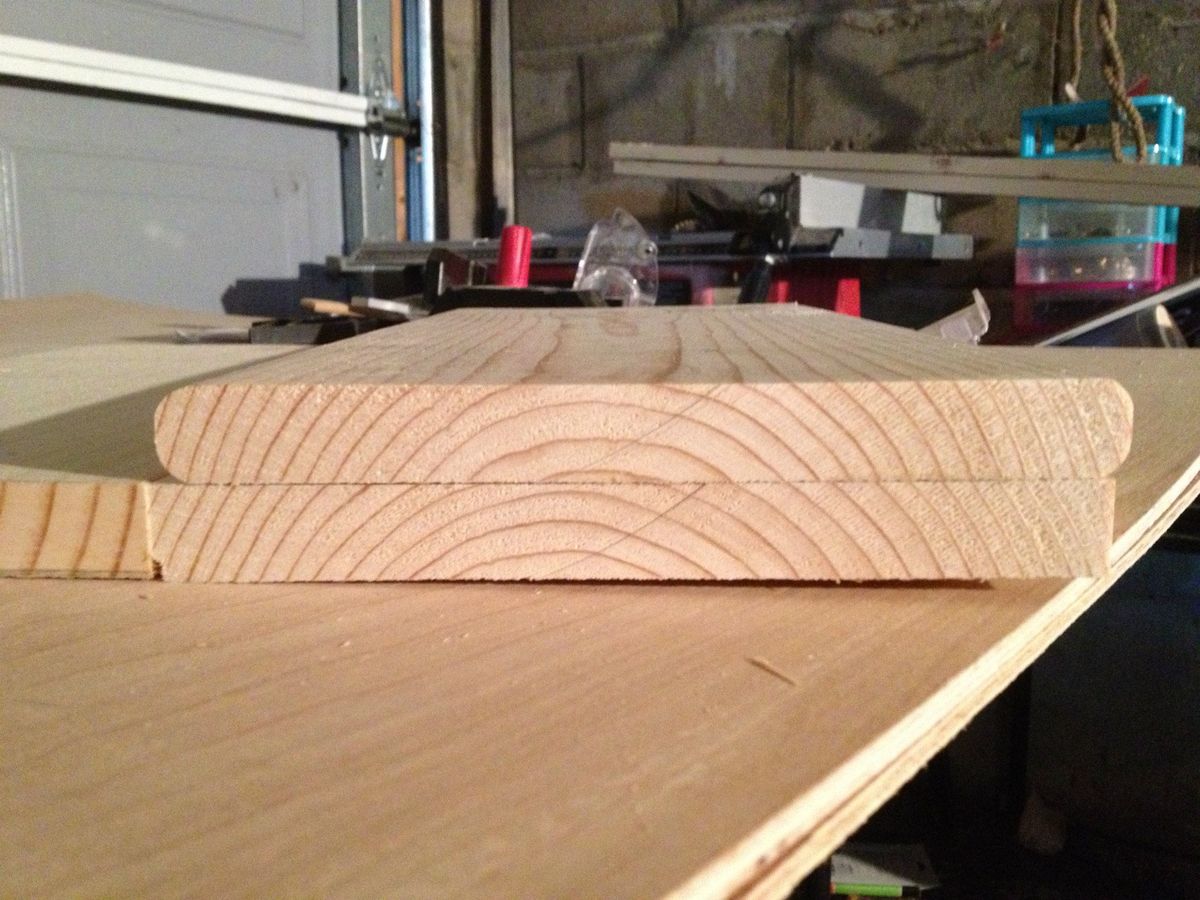
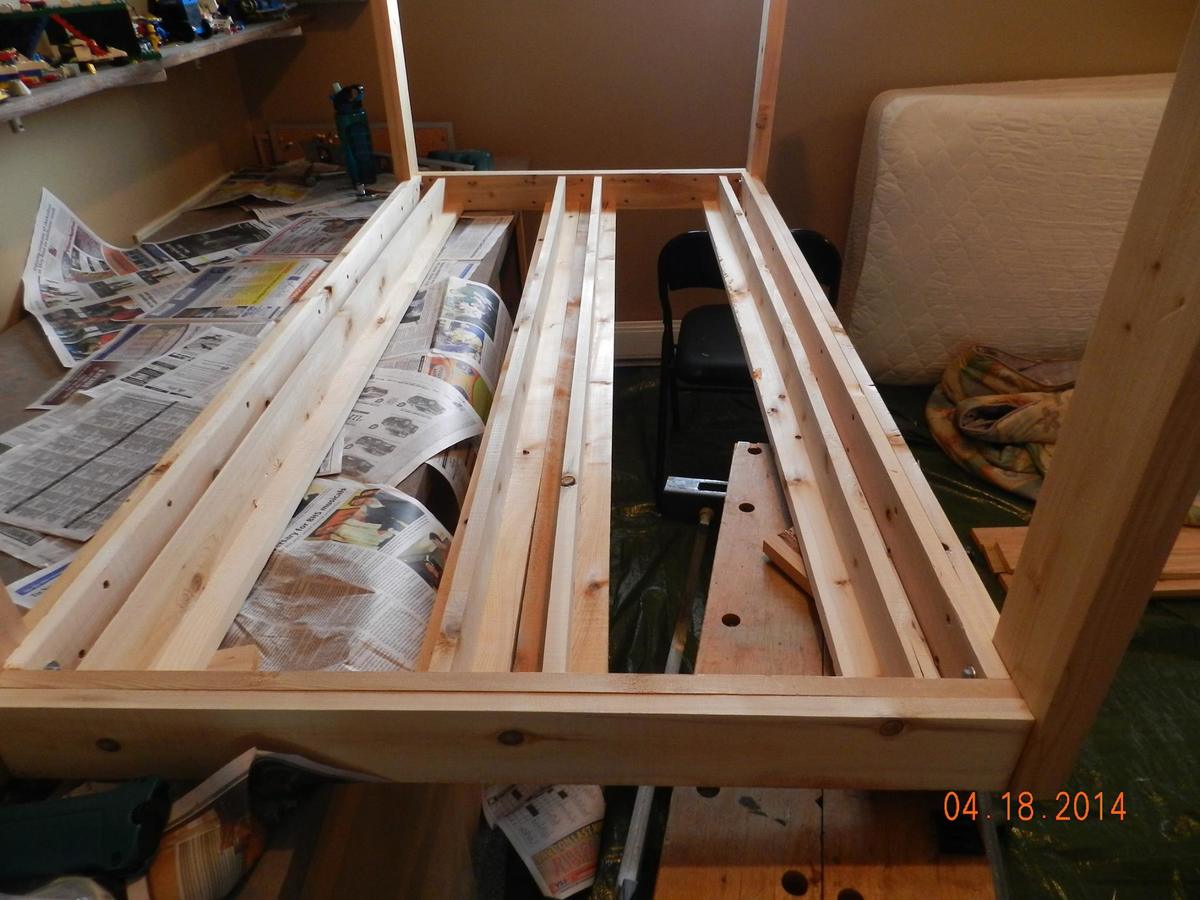
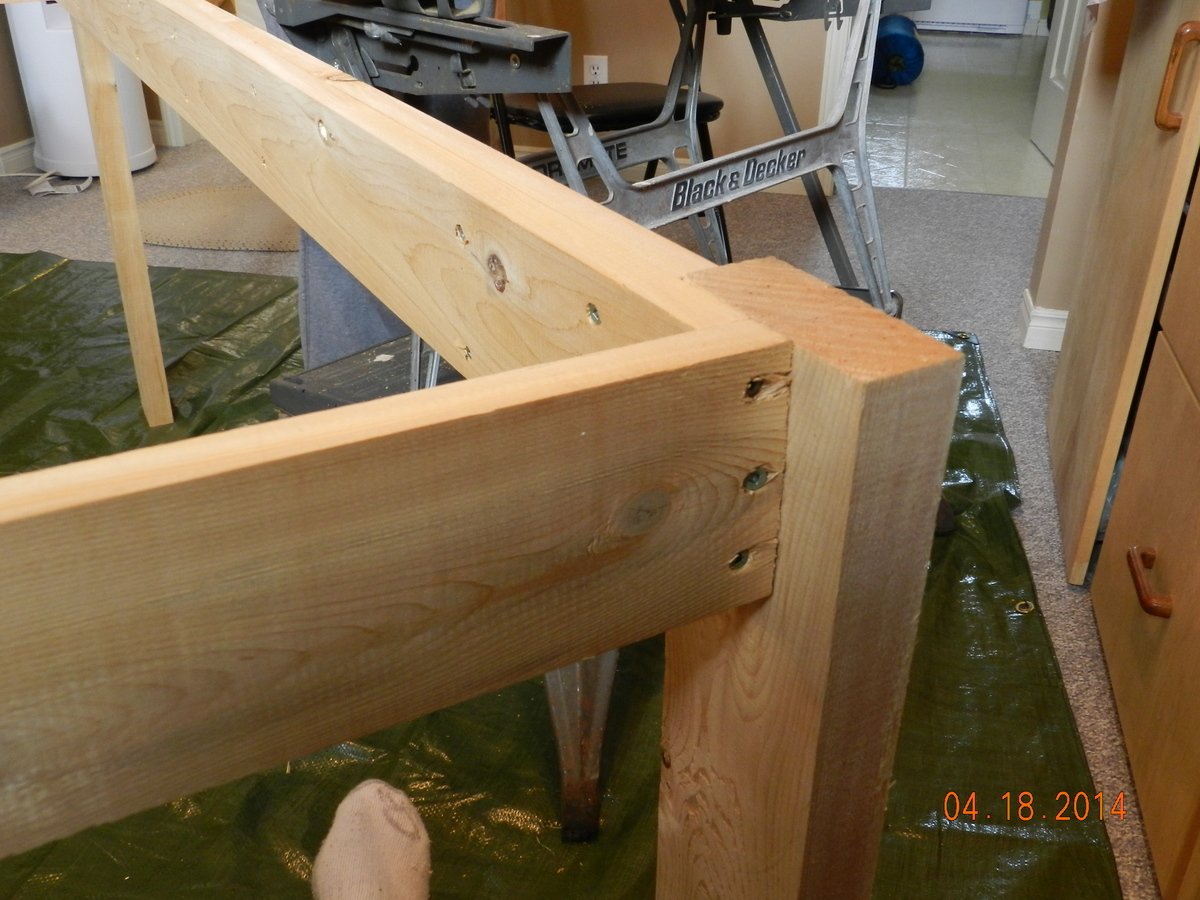
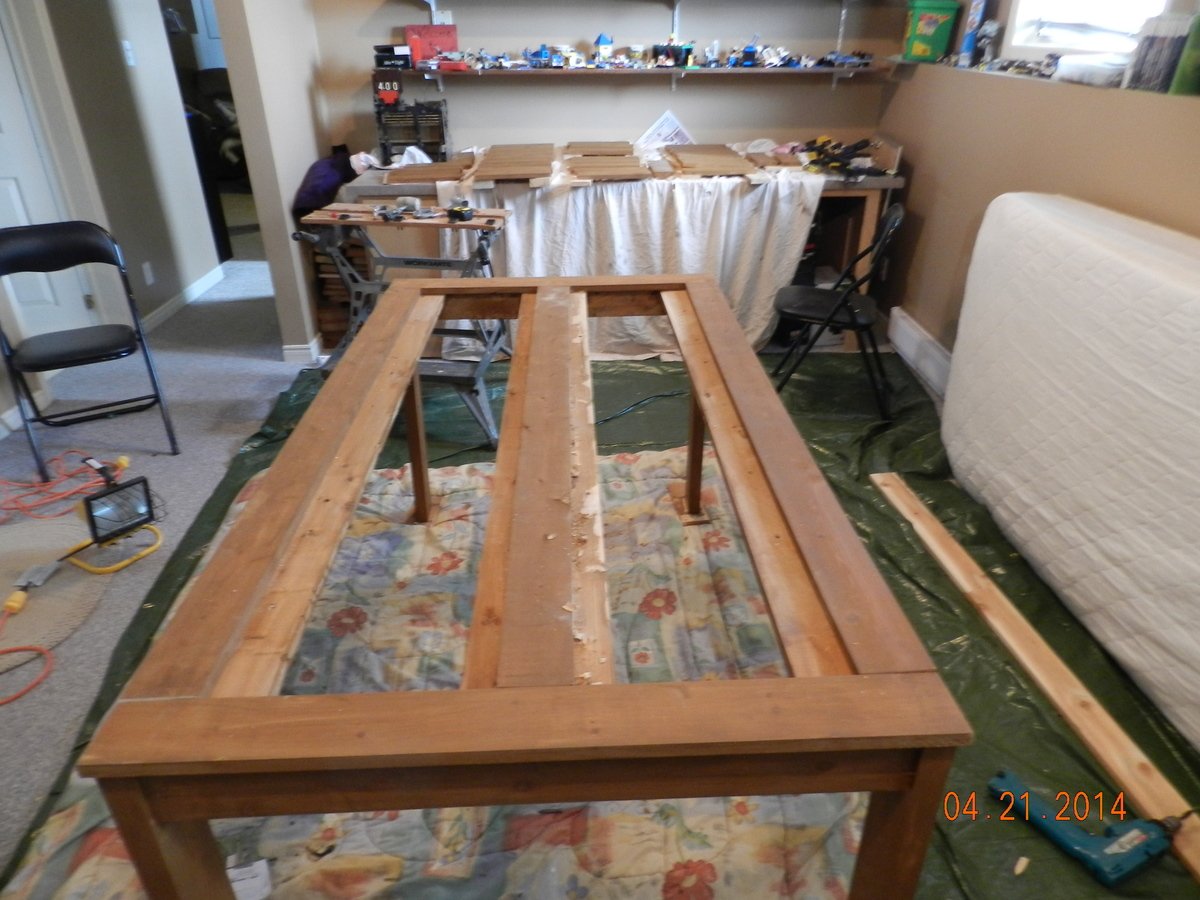
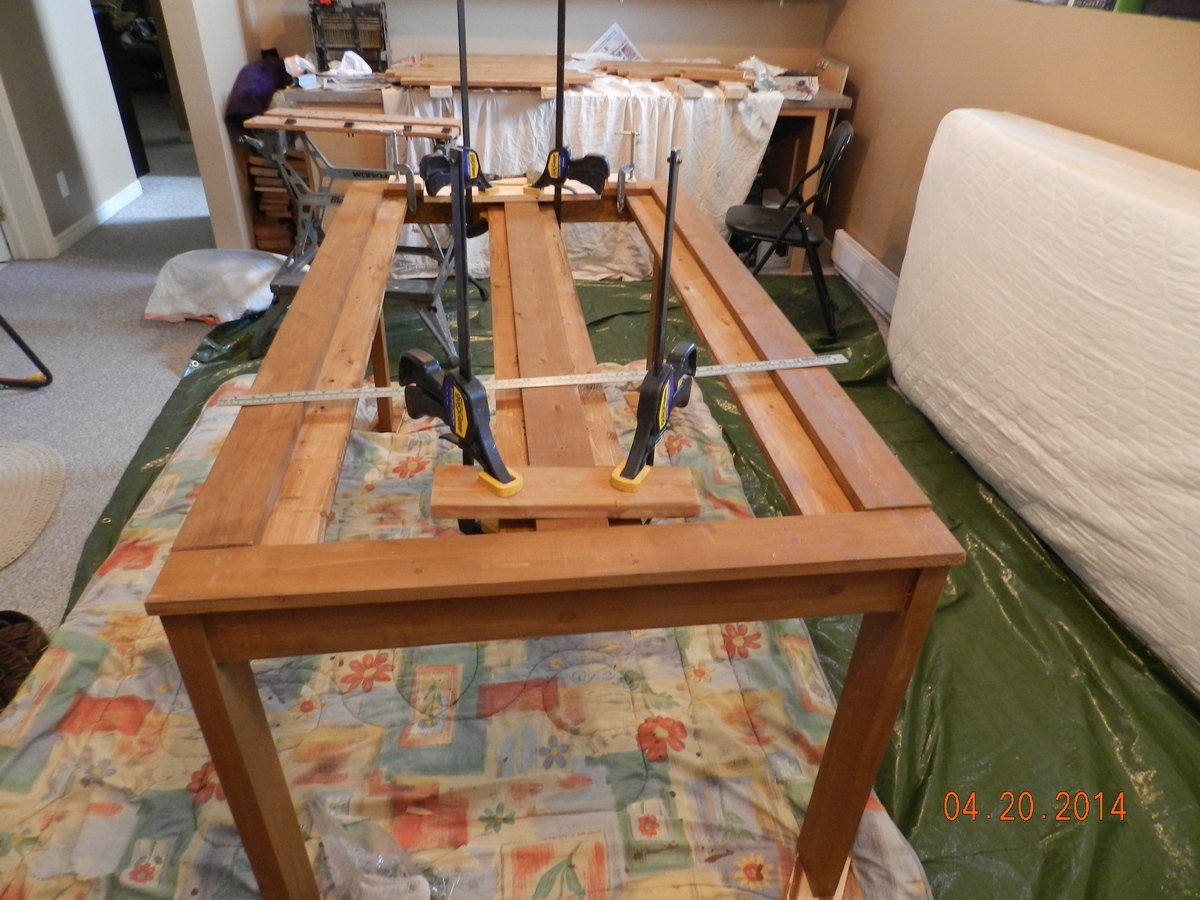
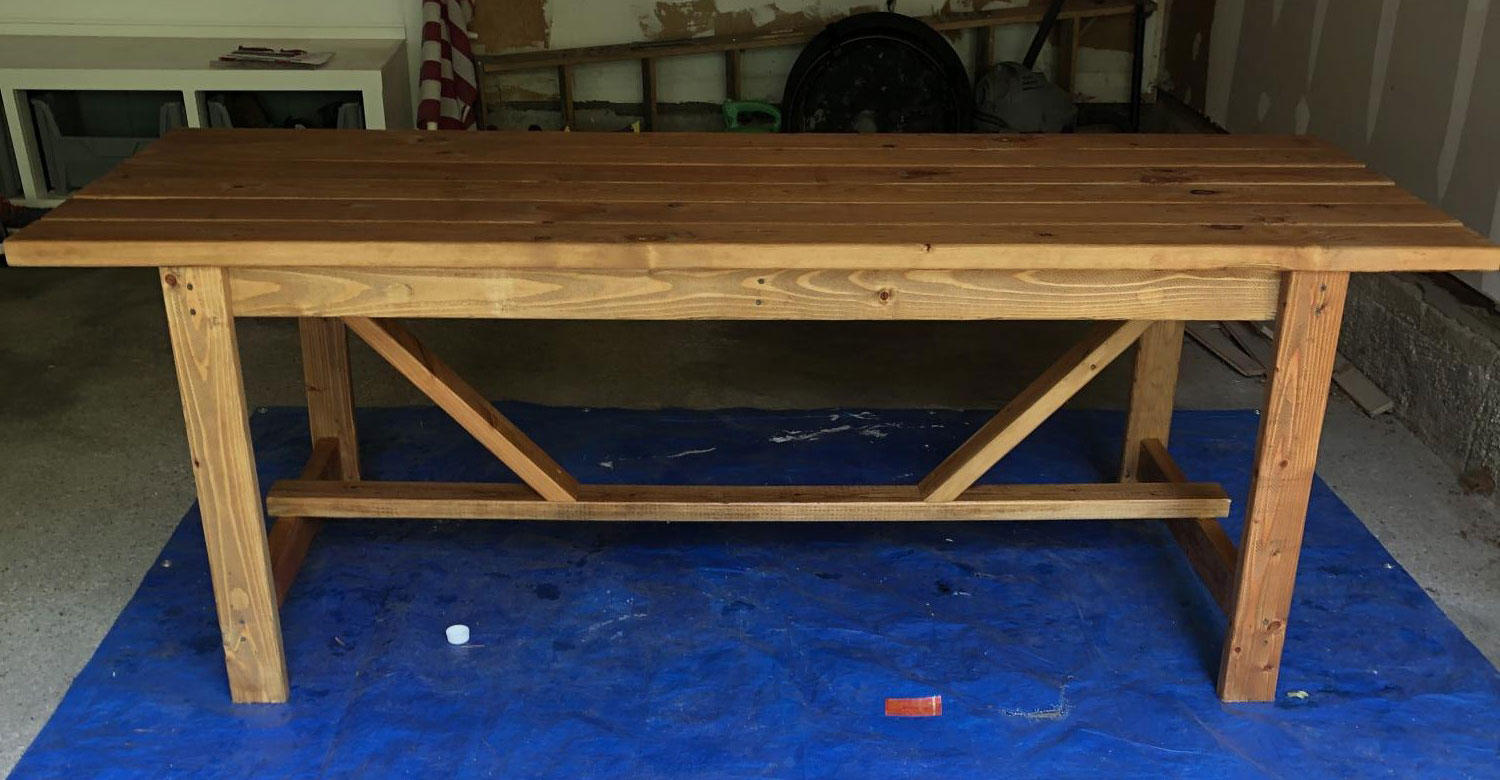
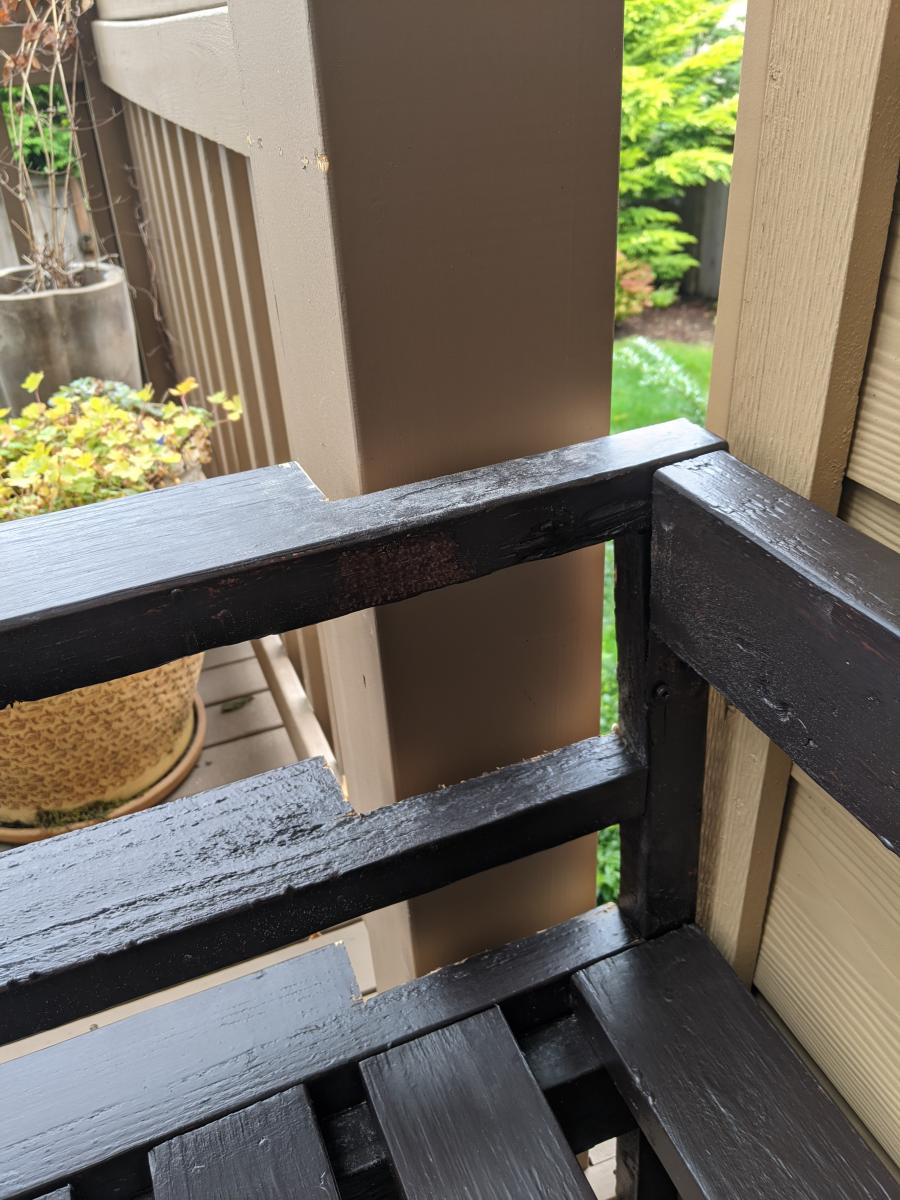
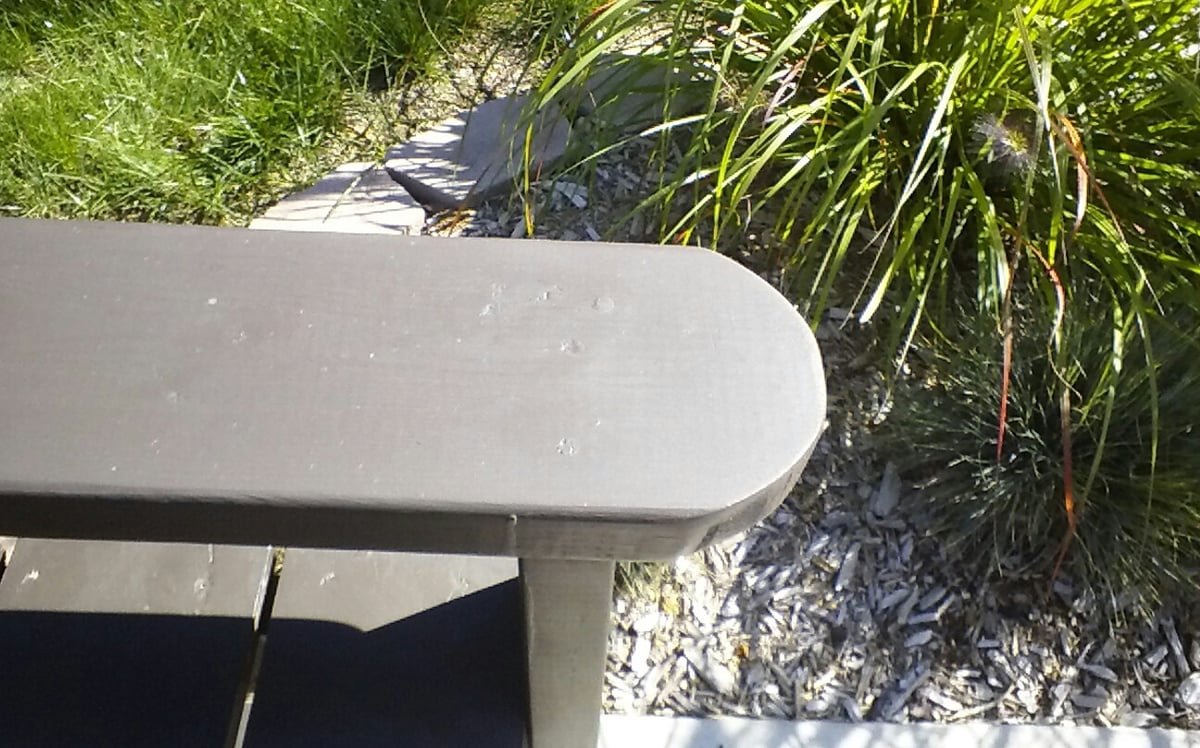
Spent an hour or so an evening after work to make this bench .  Also made the umbrella stand but haven't drilled the hole for the umbrella yet so it' s still in the garage.  Love the bench, it's long & deep enough to lay down upon.  Made the arms from a 2x6 and rounded the front w/ a jig saw, made the other end the same size as the 2x4, and made them longer than the plan. Pretty simple, did use pocket holes in places. First major build & 1st brag.
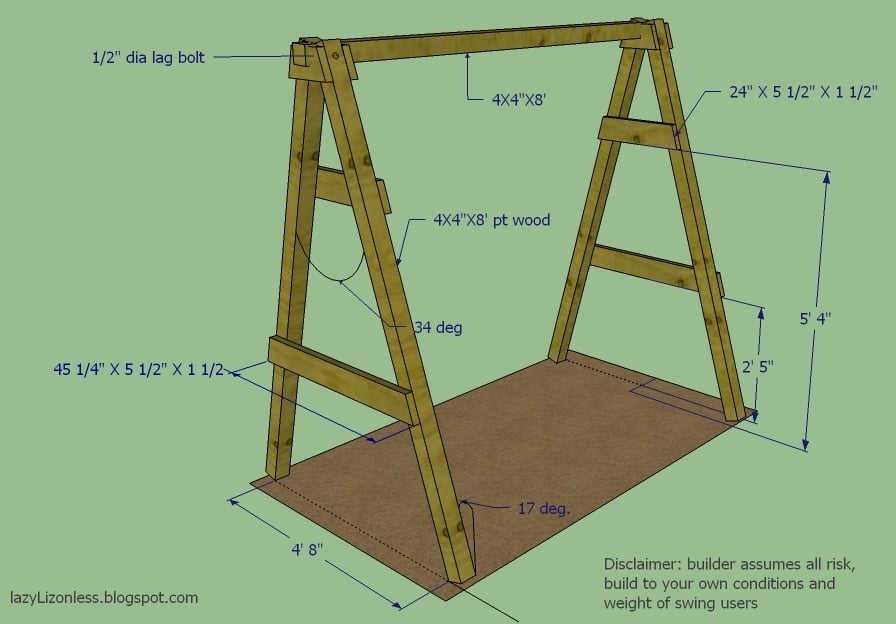
Built from Plan(s)
Estimated Time Investment
Day Project (6-9 Hours)
Finish Used
Pittsburg exterior stain in Oxford Brown
Recommended Skill Level
Starter Project
Seasonal And Holiday

Modern Dorm Mini Refrigerator Microwave Cabinet

Submitted by rachelcb on Sat, 07/31/2021 - 12:35

I changed plan to make deeper. I also modified the bottom trim and top. I put a ball bearing soft door drawer guide on modern door so it can slide back and forth. I feel we need more modern plans on here but with a bit of creativity and using plans you can make anything. I have never built anything before. I love General Finishes Milk Paint in Snow White and I brushed rolled it on (sanded between 3 coats). It’s basically self leveling and leaves a nice matte finish. Used door glide in picture bought from homedepot in the 24 inch and that’s how wide door was and it was 36” tall. Door glide I only used one on top of the door not on bottom as well. Door piece of fiberboard with just strips glued on and quarters spacing them correct.

Estimated Cost
$200
Estimated Time Investment
Weekend Project (10-20 Hours)
Finish Used
Dorm mini refrigerator microwave cabinet
Recommended Skill Level
Starter Project

Comments

Ultimate work bench

Submitted by markmart74 on Fri, 06/16/2017 - 18:44

Tablesaw, router, fliptop mitersaw, and dust collection workbench. 

Recommended Skill Level
Intermediate

Comments

Laundry Basket Rack

This was a great last minute Christmas gift. Took me a little over two hours. Made completely out if pallet wood.

Comments

DIY Cornhole Board

I built a pair of cornhole boards following a tutorial on This Old House.  I used the Glidden Paint Team Colors line to get the a quart of blue and orange paint in the official Auburn colors.  I used my Silhouette Portrait machine to create stencils for the AU logo, Auburn tiger logo and "War Eagle" text.

Estimated Cost
150
Estimated Time Investment
Weekend Project (10-20 Hours)
Finish Used
Glidden Paint from the Team Colors Collection
Recommended Skill Level
Beginner

Teaching Easel in the Classroom

I built this easel for my wife who teaches 2nd grade using the plan on this site. I used a jigsaw to make all the cuts which is why some of them are not perfect. All holes were countersunk and covered with wood filler as I have not yet purchased a Kreg Jig. One sample jar of paint was just enough to cover the whole project with 2 coats. Home Depot sells the whiteboard in 2' x 4' pieces for about $10 in my area. The toughest part was getting the holes to line up just right for the bolts that fix the four main pieces together. Some of them I had to use a little bit of force to make fit. The plan was easy to follow and worked well. I added a curtain rod to the top to hang a paper pad from which I bought for about $5. The big whiteboard behind the easel was hung over the existing chalkboard using industrial strength velcro strips. I bought the whiteboard material from Home Depot for $13 for a 4' x 8' sheet (it is actually called a "hardboard panel board". It works very well with dry erase markers and was an easy, cheap way to install a whiteboard over the current chalkboard.

Built from Plan(s)
Estimated Cost
$40
Estimated Time Investment
Day Project (6-9 Hours)
Finish Used
Behr purple paint sample
Recommended Skill Level
Beginner

DIY Greenhouse

Submitted by Anonymous (not verified) on Fri, 03/03/2023 - 16:02

Thank you so much for the plans. We enjoyed building it. We love it!!!

Built from Plan(s)

Comments

Swing set

Submitted by lazyLiz on Wed, 02/29/2012 - 10:21

I've finished my swing but my porch don't have enough clearance so I built A frame stand for it.

Built from Plan(s)
Estimated Time Investment
Day Project (6-9 Hours)
Finish Used
mahogany latex based exterior primer and paint in one
Recommended Skill Level
Intermediate

Comments

Ashley Doucakis

Fri, 04/19/2013 - 15:37

I love the idea of adding the A-frame considering that where i live there are no real trees to hang it on and building a porch where one doesn't already exist is a pain in the butt! Lol. How wide do you think we could go before it starts compromising the frames integrity? And how much weight can it hold?

Playroom Stage!

Submitted by kdins31 on Thu, 01/02/2014 - 09:48

I had a perfect corner in our playroom that was reserved mostly for clutter and always wanted to do something fun with it. The base is made with 2x8"s topped with Handscraped Hickory laminate flooring. Bored holes into the floor and installed 1" diameter color-changing LED decklights. Added theatre-style tracklights, disco ball and other dance floor lighting for extra effect. Of course the stage wouldn't be complete without wireless microphones for karaoke and mic stands hooked up to a small amp and speakers in the ceiling. I made the shelving on the right side with 1/2" black pipe and used leftover 2x12" shelves from an old garage shelving install from 7 years ago! The kids were ecstatic on Christmas morning for the reveal!

Estimated Cost
$125-150 for wood, flooring and moldings. Black pipe is very inexpensive.
Estimated Time Investment
Weekend Project (10-20 Hours)
Finish Used
Send me message if you'd like to know which products I used, e.g. mics, speakers, lights, etc.
Recommended Skill Level
Intermediate

Comments

Garofola2013

Wed, 04/16/2014 - 11:53

I would like to know which products you used...e.g. mics, speakers, lights, etc. We want to do this is in our basement =)

THANKS!

Snix26

Sun, 07/27/2014 - 15:52

This is great! I was just wondering what your dimensions were? I've been looking for something like this to do for my niece but have been struggling to find a plan and figure it out myself LOL.

kdins31

Tue, 08/05/2014 - 05:58

Hello, the back wall is 8' and side wall is 6.5'. The stage comes out about 2.5' on each side then the front is around 7'.

Hope that helps, good luck!

atilley

Tue, 11/18/2014 - 19:37


Great job!! can you tell me where you got the microphones and mic stands for this?


dmbphoenix

Sun, 04/10/2016 - 14:44

Actually, I was wondering ,what lights did you use? I'm working on a very similar project and was curious to the lights your used please.

Mls4460

Wed, 11/13/2019 - 09:53

Do you have the actual plans to build this?

I would love to copy this idea for my 4 year old!

Combo of Farmhouse Bed with Farmhouse Storage Bed

Submitted by jeniroosen on Mon, 01/27/2014 - 21:39

I meshed the Farmhouse Bed with the Farmhouse Storage Bed with Storage Drawers and this is the final product. Let me know if you have any questions. I learned along the way.

A few things I modified -

I knocked off the corners of the 1x8's used in the footboard and headboard as I wasn't a fan with how they butted up straight. I liked the rounded edges of the routered boards instead.

I cove routered the tops of 2x6's and loved how they turned out

When I handed my cutlist to the kid at the big orange store, he pulled OSB instead of plywood for the storage cabinets. I realized it halfway through the cutting as I was shopping for other things and didn't have the heart to tell him halfway through the job. I had to edge band (first time) the edges and the OSB soaked up a lot of primer.

Estimated Cost
$400
Estimated Time Investment
Week Long Project (20 Hours or More)
Finish Used
Glidden Antique White
Recommended Skill Level
Beginner

Comments

DIY Shed Chicken Coop 6x8

Submitted by Anonymous (not verified) on Thu, 05/19/2016 - 19:50

 The project was used using the same plans but I extended the floor to be 6 feet wide vice 4 feet the additional 2 feet provided the perfect amount space I wanted. I also added an extra windows  to get cross ventilation.    I also insulated the coop and put paneling on the walls and lenolium on the floors.  I dropped the back wall sheeting 1.5 inches for additional airflow since the shed doesn't have a ridge vent.   The plans are easy to follow and easily adaptable.   

Built from Plan(s)
Estimated Cost
$700. You may think that is a lot but you will learn a lot. Coops we were looking at were $1,200. This coop was less expensive and bigger and better plus you can say you built that.
Estimated Time Investment
Week Long Project (20 Hours or More)
Finish Used
T1-11 with home depot behr exterior paint.
Recommended Skill Level
Beginner

Comments

Potting Bench for a Friend

Submitted by Jake on Sun, 05/20/2012 - 17:07

A friend of mine said she needed a potting table (aka bench) so I offered to make her one. Got the plan for the simple potting bench and went to work. The friend wanted a lip on the left and right sides of the top self and she wanted the top shelf to be solid. So adding the lip was no problem and I added the same but smaller on the bottom shelf. I built the solid top from three pieces of wood held together with pocket joints and glue. Worked great. With just a little sanding it is a beautiful flat solid piece of wood. Much better and cheaper than plywood. Since I do not like to rip lumber the final top self was about an inch or so deeper than the plans but that was easily adapted to. It is a good lesson to cut as you go along rather than cutting everything at the onset of a project. You make changes and it effects other aspects of the build. I added a Shaker peg on each end to hang a bar towel or a trowel whatever suits your fancy.

Most important is to continually check for square joints. Especially if you don't have the fancy tools and jigs. I got lucky and my final bench was square and level in all directions.
The build takes about 8 hours (plus a couple of days for priming and painting) using mostly hand tools. If I do another one I am going to substitute lighter and thinner wood. The 2x4 shelves and supports are over kill. I think it will give you a better and nicer looking final product. Keep Ana on The Web,,,,

Built from Plan(s)
Estimated Cost
$30 - $35
Estimated Time Investment
Day Project (6-9 Hours)
Finish Used
I made the potting bench on the agreement that she would finish it. So with the table went instructions on sanding, priming, and painting. Maybe I will have a picture later of the finished product. My cost above does not include the cost of finishing,
Recommended Skill Level
Beginner

Comments

Jake

Sun, 05/20/2012 - 17:10

I also added a face to the exposed lumber ends in the front and for the top and bottom shelves. The bottom face is actually a piece of old cedar fence I found in the garage. Sorry I forgot to mention in my first Brag ...about the potting bench.

Flower Planters

Submitted by mags247 on Sun, 06/10/2012 - 08:07

My co-worker and I built these planters from pallets that we had lying around at work. The only expense we had was the Kreg Jig I purchased (and love). It took us about 5 hours to put them together, including the time it took to cut the lumber to size. Then we used Thompson's water seal and stapled commercial grade landscaping cloth inside the planter. We made them for work and hope they will just naturally age. This was an easy project and we will definitely make more of these.

We had leftover screws, landscaping fabric and water seal from other projects.

Built from Plan(s)
Estimated Cost
$0
Estimated Time Investment
Afternoon Project (3-6 Hours)
Finish Used
We just used Thompson's water seal to let the wood age naturally.
Recommended Skill Level
Starter Project

Modified Simple Outdoor Dining Table

Submitted by DD5.1 on Sat, 04/26/2014 - 20:00

I didn't make any changes , his orginal design was great. Hope these pictures help others. I tried to link to the modified-simple-outdoor-dining-table but wasn't able too.

Built from Plan(s)
Estimated Cost
120
Estimated Time Investment
Weekend Project (10-20 Hours)
Finish Used
make sure you stain as you go
Recommended Skill Level
Beginner

Comments

DD5.1

Sun, 04/27/2014 - 14:06

Found the plans "modified-simple-outdoor-dining-table" and I built it. Very nice table, I posted more pcitures to help others

DD5.1

Sun, 04/27/2014 - 14:06

Found the plans "modified-simple-outdoor-dining-table" and I built it. Very nice table, I posted more pcitures to help others

Easy Farm Table

Submitted by Anonymous (not verified) on Tue, 06/16/2020 - 17:08

Used watco danish oil. Table will be used outside not sure how the danish oil will hold up by itself. May add polyurethane or if it falls apart I’ll build new next years. Also added diagonal supports at the bottom because it swayed a bit

Estimated Cost
75
Estimated Time Investment
Day Project (6-9 Hours)
Finish Used
Watco danish oil light walnut
Recommended Skill Level
Beginner

Tryde Coffee and End Tables - Douglas Fir

Submitted by RebelOne on Wed, 08/20/2014 - 23:15

Although handy - these are the first pieces of furniture I have ever created. Used only 2X4 and 4X4 pieces - Douglas Fir right out of the lumber yard - not kiln dried wood. First time using pocket hole equipment - was worth getting the premium kit from Kreg's - drilled close to one hundred holes. Other than the equipment, the materials totaled less than $200 for all three pieces. $120 for the wood and another $80 for screws and paint products. Sanded the wood to a 220 finish and applied a Gel Dark Walnut stain and added 5 coats of clear satin from Minwax. Tried the wood conditioner on a test board and did not see not much difference so I decided to go without on all 3 pieces of furniture that I built. Experimented with different stainable wood fillers from Elmer's. Quite happy with the result - just in time for a visit from mom and dad. Total time for three pieces - close to 40 hours but worth it.

Estimated Cost
$200
Estimated Time Investment
Week Long Project (20 Hours or More)
Finish Used
Sanded the wood to a 220 finish and applied a Gel Dark Walnut stain and added 5 coats of clear satin from Minwax.
Recommended Skill Level
Intermediate

Comments

Farmhouse X Desk

Submitted by Jeremysj on Thu, 10/15/2020 - 10:59

I built the Farmhouse X Desk with full extension drawers instead of shelves.

Built from Plan(s)
Estimated Cost
$125
Estimated Time Investment
Weekend Project (10-20 Hours)
Finish Used
White cabinet & furniture paint and dark walnut stain for the top. Finished the top with several coats of Minwax polycrylic.
Recommended Skill Level
Intermediate

Outdoor Sectional - Love It !

Submitted by Anonymous (not verified) on Sun, 10/18/2020 - 06:11

Great experience building this sectional, although would recommend pre-drilling the holes where practical to avoid splitting. It only happened to me a few times on #2 douglas fir, but I would have preferred to avoid it. As you can see from the picture, I didn't account for the siding taking up the space, and was expecting a perfect fit. Easily fixed with a bit of saw work, and now it's really custom fit for the space. :-)

I've added the details of the finish we used, and really happy with how it turned out, with the exception of my garage workshop lighting not revealing the spots I need to touch up now that it is in the natural light.

And of course, this is a terrific time to purchase couch cushions at the end of the season. Lots of great sales, and we found these at Target for $47 per top/bottom set.

Estimated Cost
$600
Estimated Time Investment
Week Long Project (20 Hours or More)
Finish Used
Rustoleum Rock Solid Deck Start Wood Primer followed by Behr Premium Porch and Patio Floor Paint. This gave a really matte finish that looks a lot like the metal patio furniture we will have next to it, and Home Depot was able to tint this for us. We also added a mildew and moss inhibitor to the paint at the store for a couple extra bucks since we live in the PNW. The extra time needed to get multiple coats on for full coverage was totally worth it.
Recommended Skill Level
Beginner

Modern Outdoor Collection

Submitted by Anonymous (not verified) on Tue, 10/27/2020 - 16:06

Great plans - thanks so much! Started with two chairs, and kept going...

MODS: Once built, we felt there wasn't enough back support, so added a 2x4 then 4x4 on top. Also added a 2x2 in back of the seat bed, so our 25" x 25" seat cushions didn't float around.

Recommend paint gun vs. painting by hand.

Estimated Time Investment
Weekend Project (10-20 Hours)
Finish Used
Two coats of Behr waterproof stain + sealer (BM swiss coffee)
Recommended Skill Level
Beginner

Comments

Seasonal And Holiday

Farmhouse Indoor Playhouse - I May have gone a little overboard...

Submitted by Anonymous (not verified) on Fri, 01/08/2021 - 19:38

Thanks for your amazing Farmhouse Indoor Playhouse plans!
So easy to follow your directions! I may have gone a little overboard.
I used some scrap wood from recent Renos and wood from an old boxspring my parents had.
The kitchen was originally from Ikea with some updates.
The shrubs are silk plants from Ikea and scrap wood.
The only real cost was Paint $30 ish.

Built from Plan(s)
Estimated Cost
50
Estimated Time Investment
Weekend Project (10-20 Hours)
Recommended Skill Level
Beginner

Comments

Seasonal And Holiday