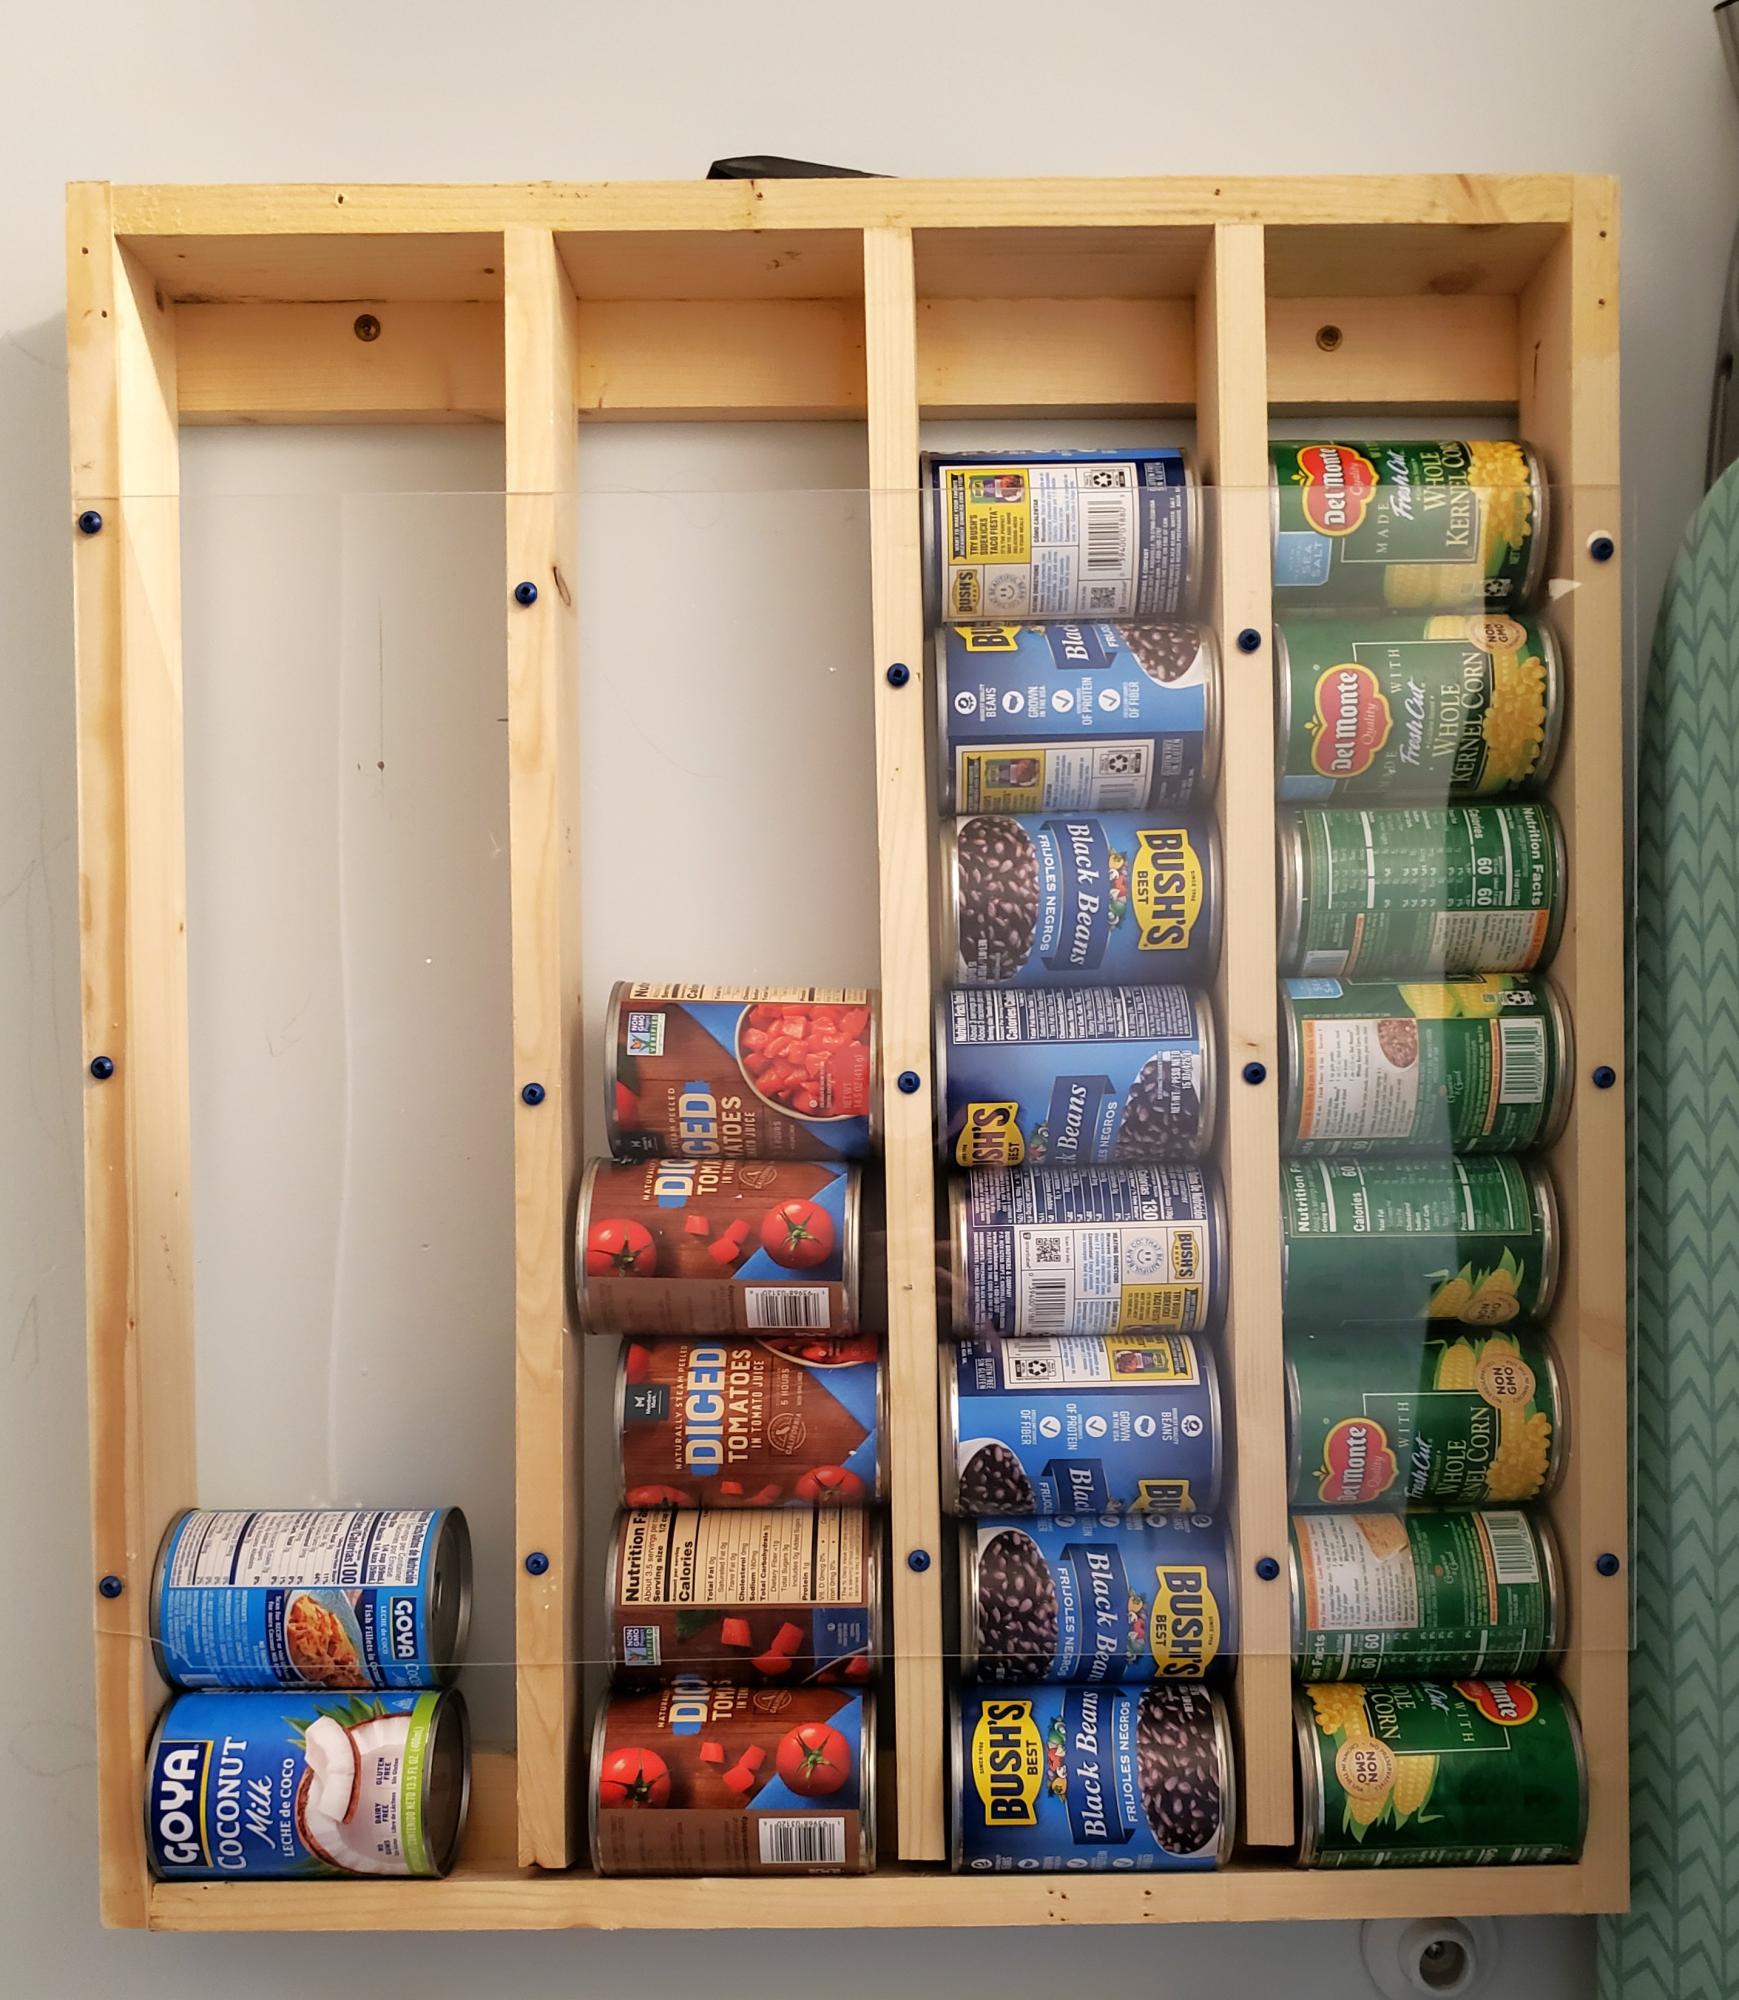
Community Brag Posts

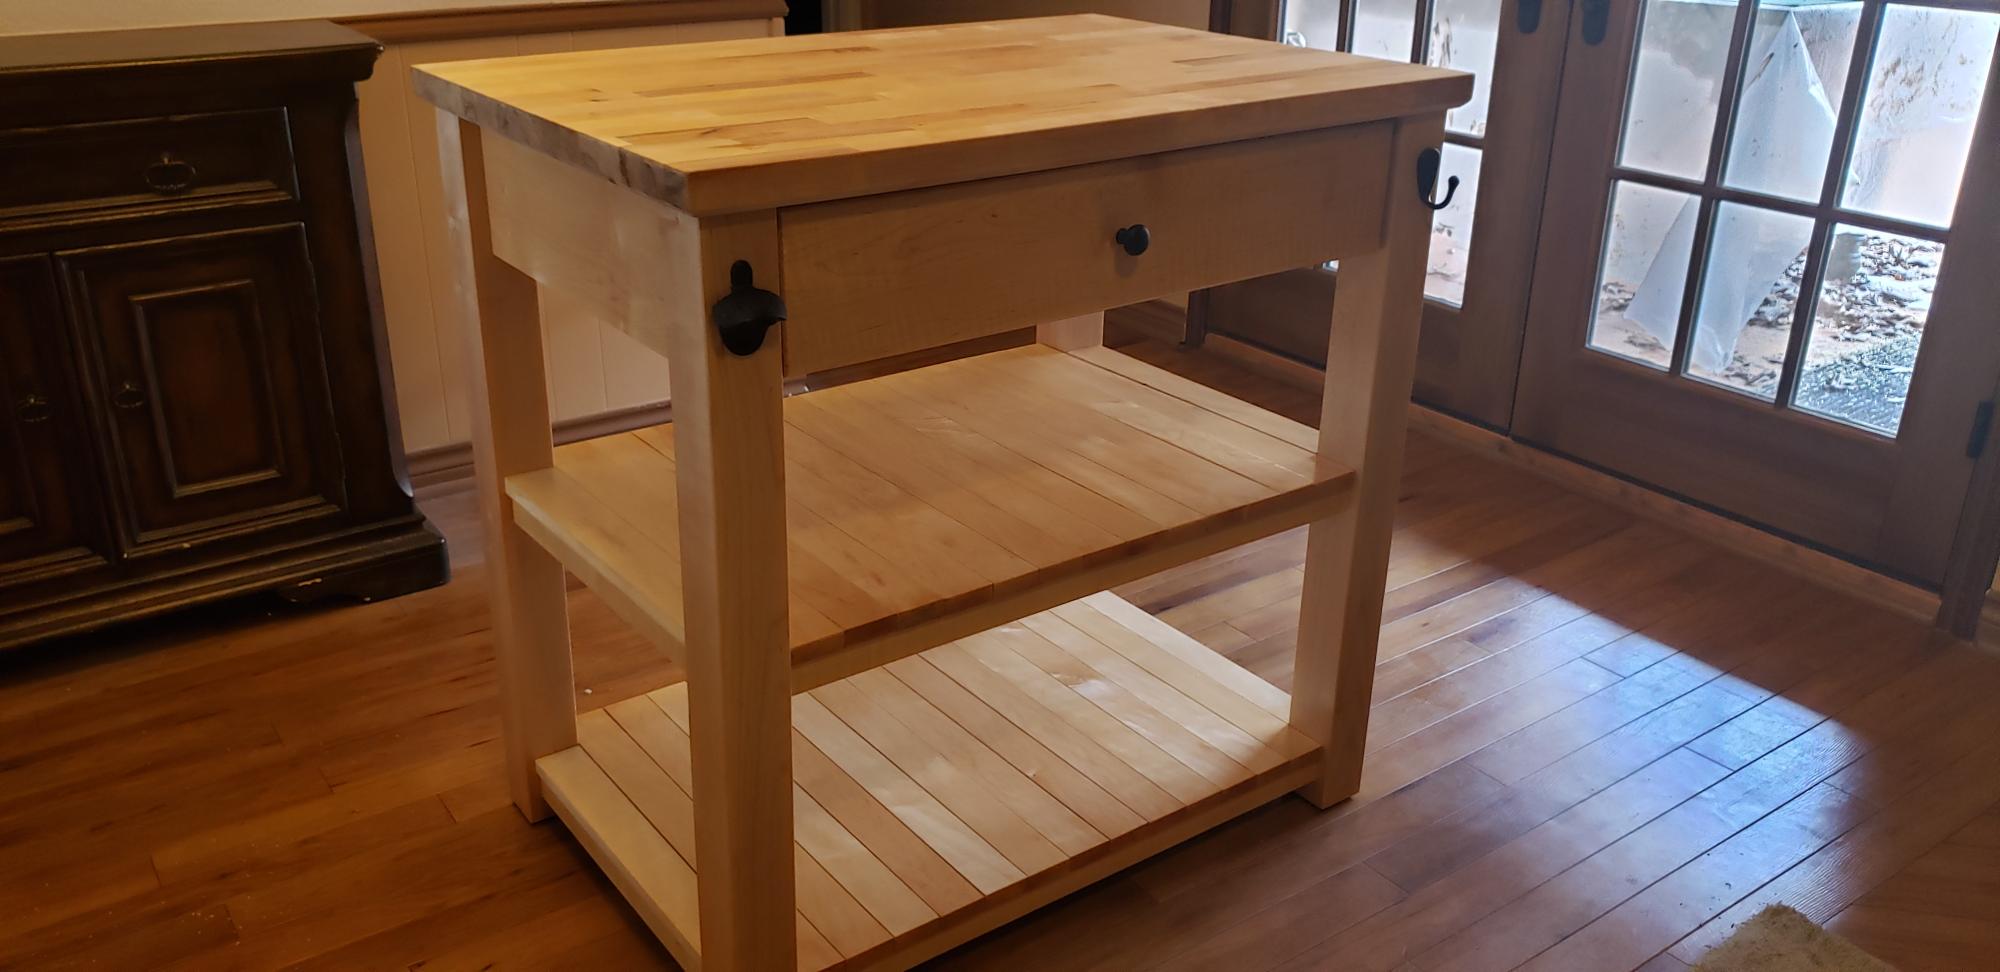
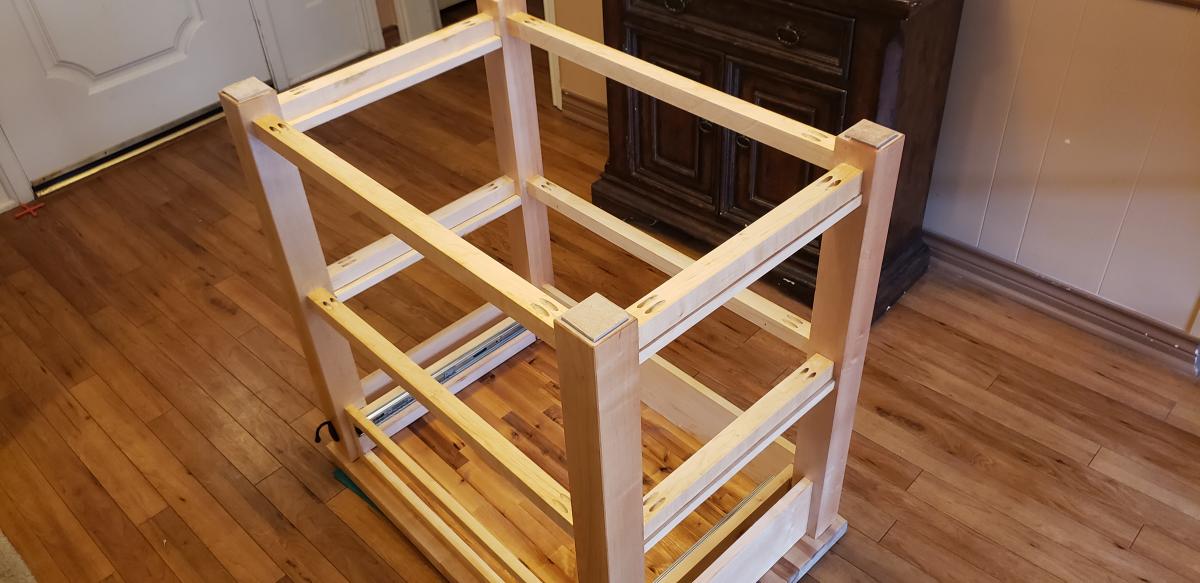
Butcher Block Table

Submitted by Anonymous (not verified) on Sun, 12/19/2021 - 03:56

My own take on this build:
https://www.ana-white.com/community-projects/butcher-block-kitchen-isla…
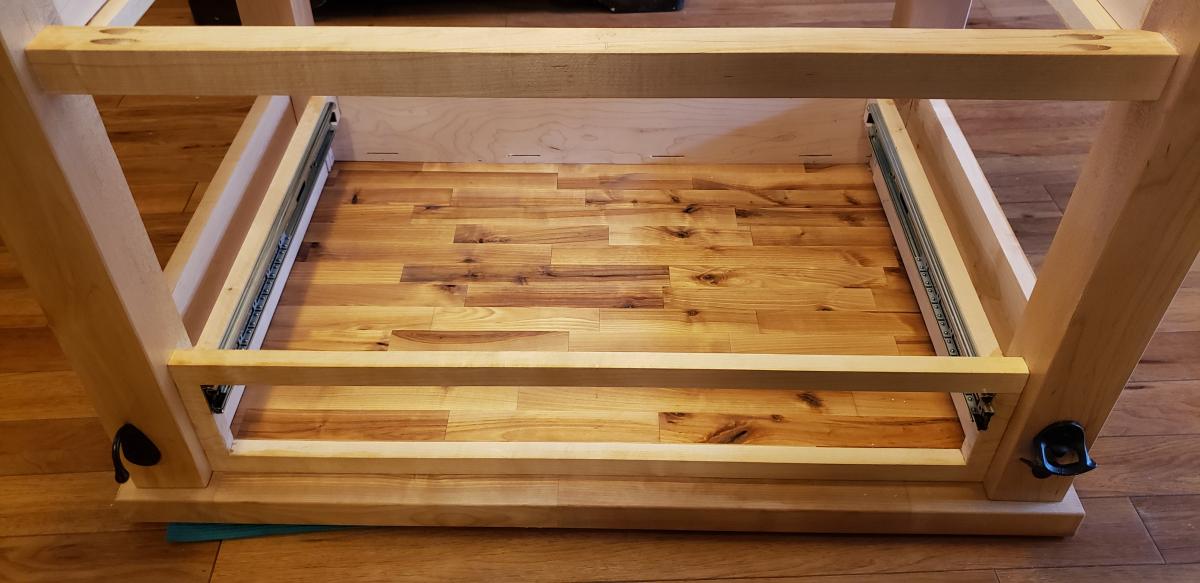
I used a pre-made butcher block top from Home Depot. I did have to cut it down to 2ft by 3ft
Legs were premade from tablelegs.com. I wanted solid legs and didn't want the hassle of shopping fo 3 inch thick lumber.
Drawer is Tiger Maple with plywood bottom, and the rest of it is Hard Maple.

I made a high speed style build video here-
https://youtu.be/iS5wN_CUrEk

Comments

Redwood Farmhouse Table and Bench

Submitted by nkukona on Mon, 07/22/2019 - 05:35

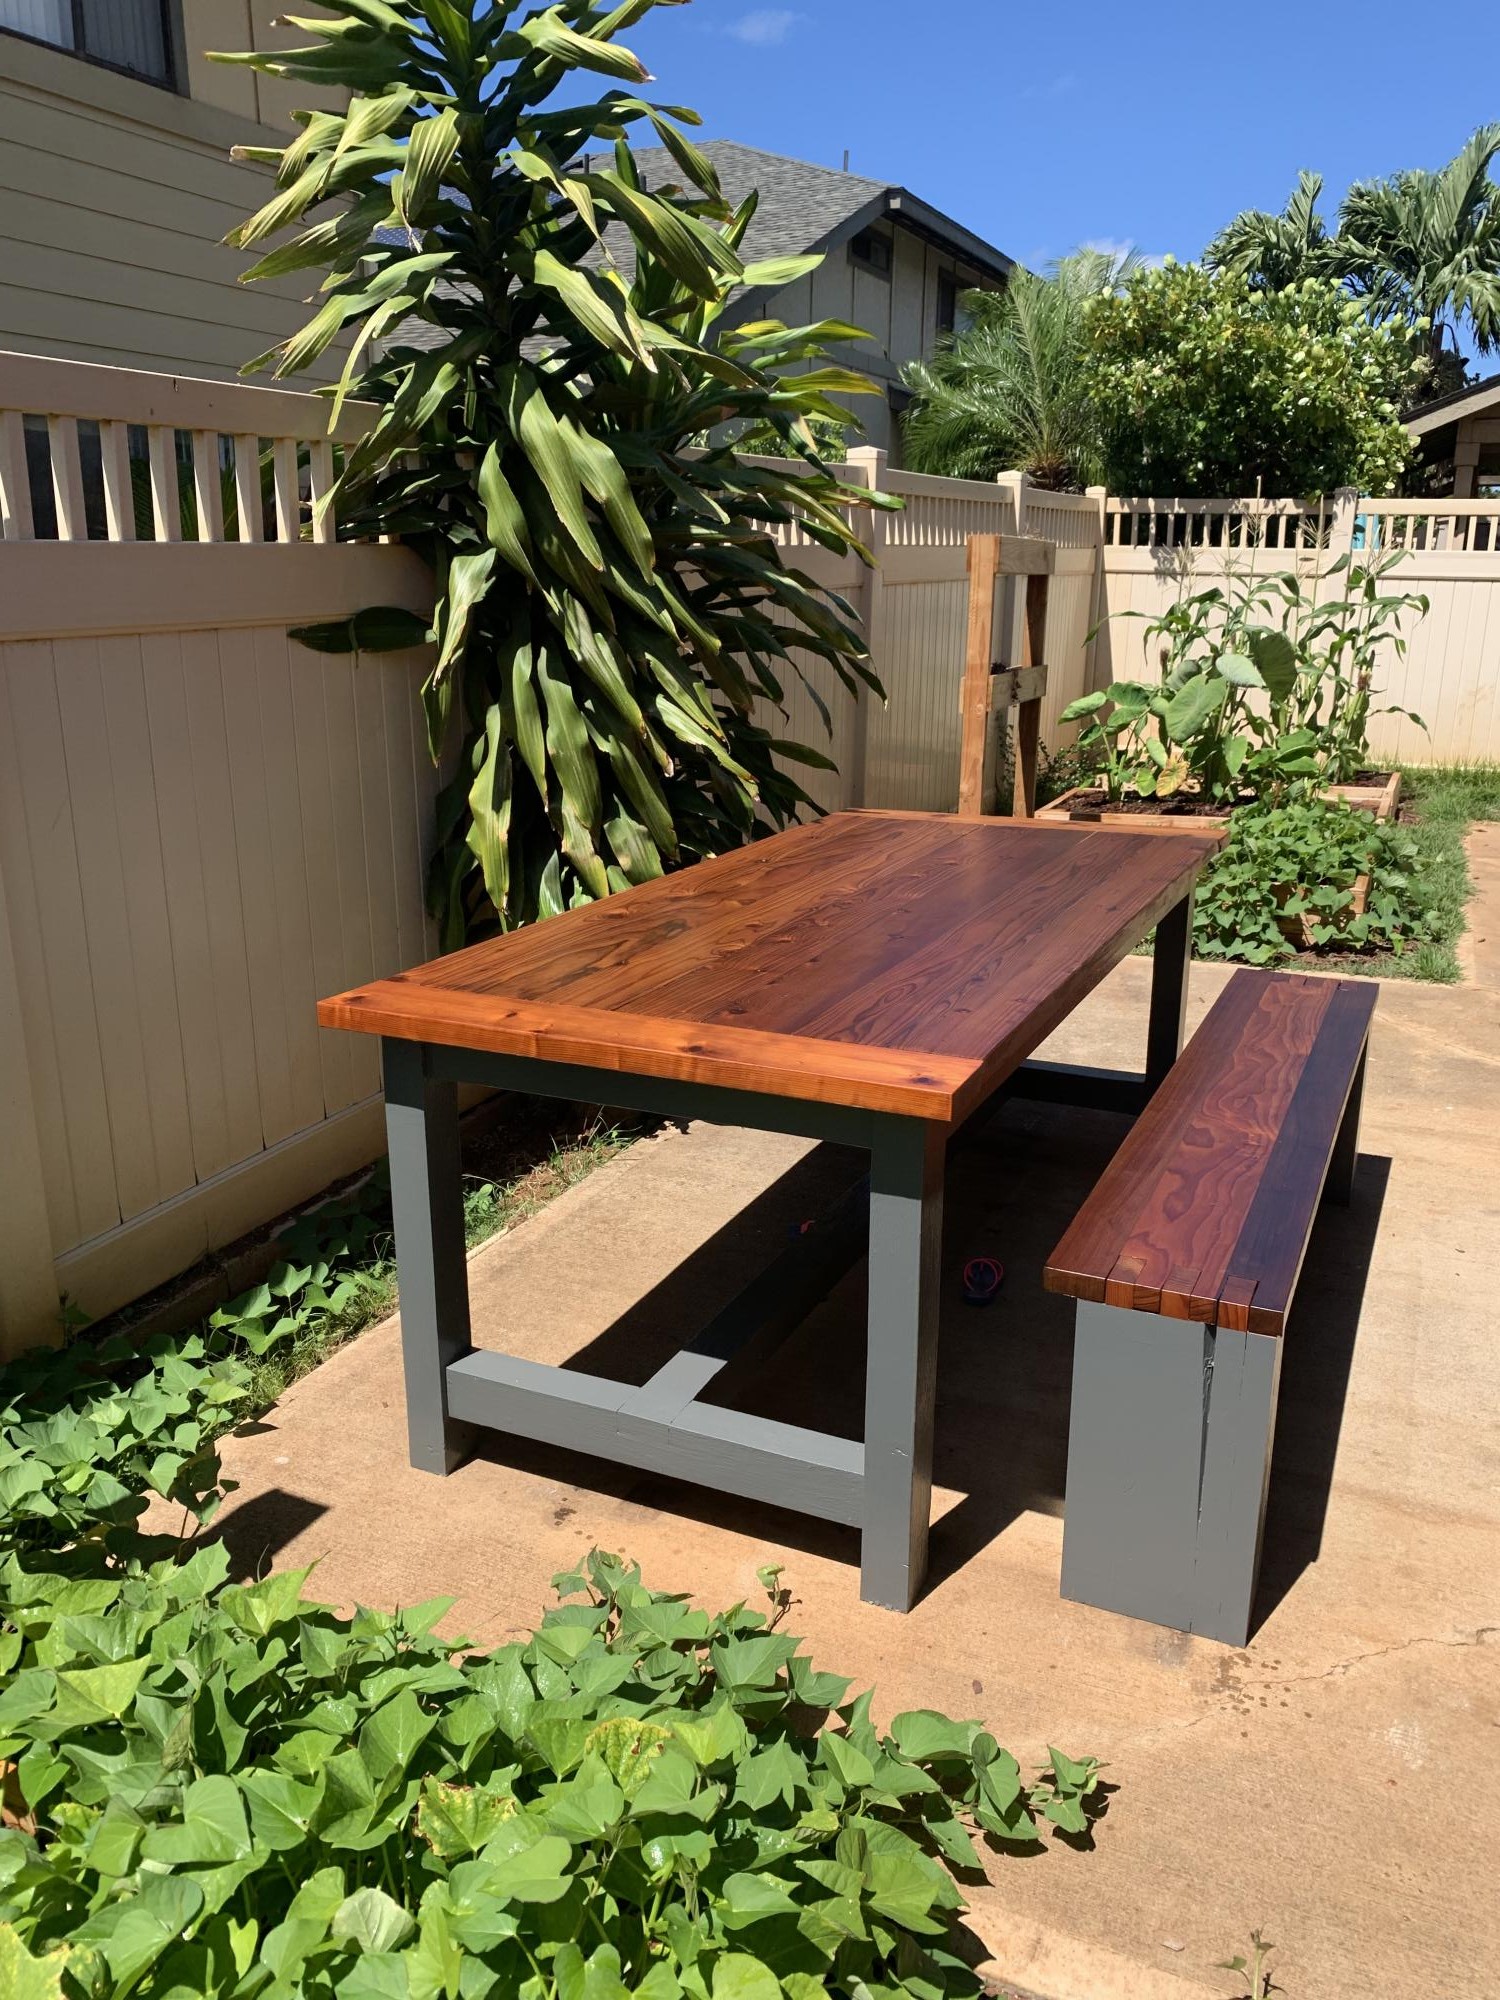
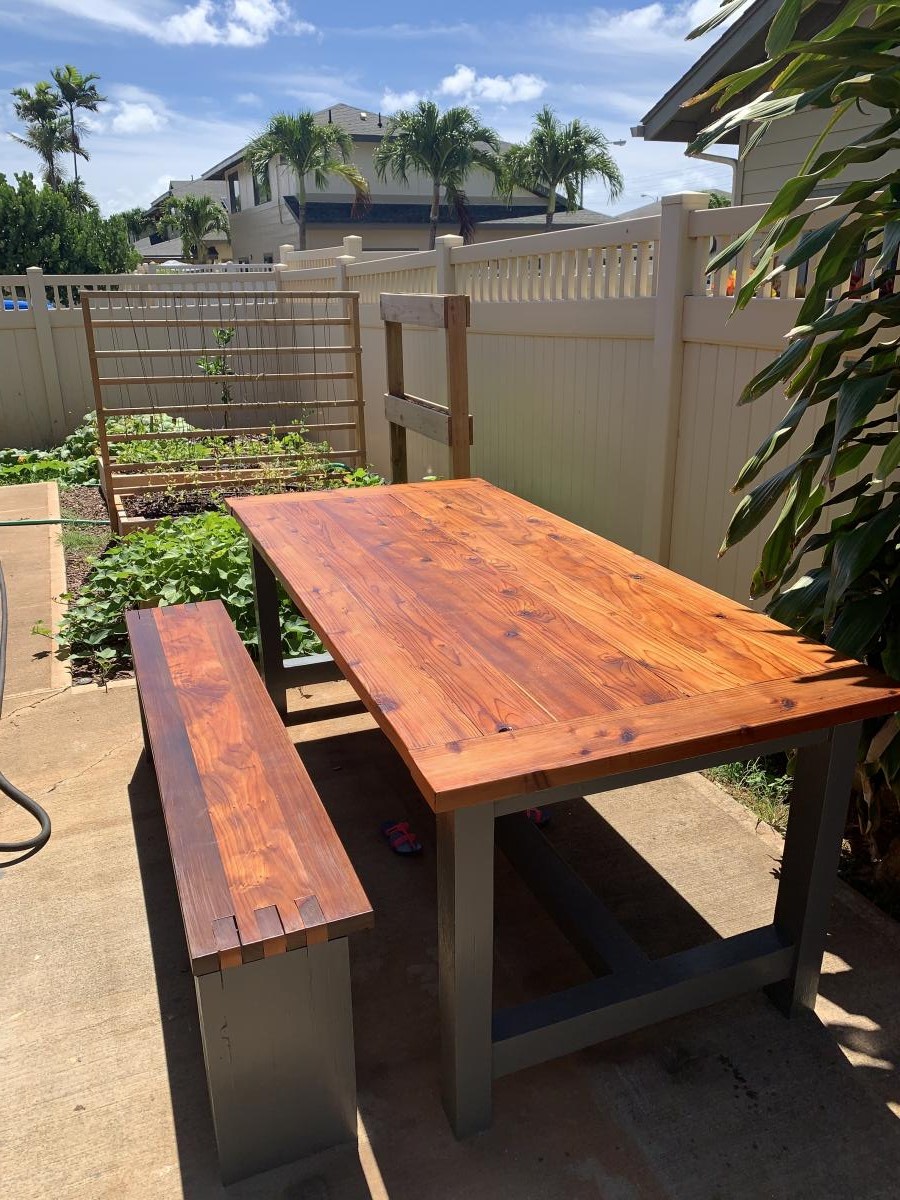
Farmhouse Table and Bench. Made from all redwood. Table is all new wood, and half the bench was from reclaimed redwood. Used Danish Oil and Spar Urethane to finish the tops, and paint to finish the legs.   

Estimated Cost
Not sure, but redwood cost a lot more than pine. Maybe $400 or so.
Estimated Time Investment
Week Long Project (20 Hours or More)
Recommended Skill Level
Beginner

Comments

Cubby/Bookshelf/Corner Desk Combo

Submitted by Anonymous (not verified) on Wed, 01/18/2017 - 20:40

This is a mashup of several plans, combined into one big, bad ass, office desk. I've had a little experience years ago in high school woodworking classes, but haven't really built much since. This reminded me how much I enjoy working with wood. So rewarding to be typing this message at my new office desk!

Estimated Cost
$400
Estimated Time Investment
Weekend Project (10-20 Hours)
Finish Used
Minwax "Early American"
Recommended Skill Level
Intermediate

Comments

treemeagher

Wed, 08/19/2020 - 06:25

This is amazing! So amazing could I ask you to share with me what prices from the collection of plans you used and how? I’m looking at your pic trying to figure out how to incorporate the plans you used. I want to build one for myself lol fantastic job!!!!

Farmhouse Benchright Table Build

Submitted by tcoche on Tue, 05/28/2013 - 17:59

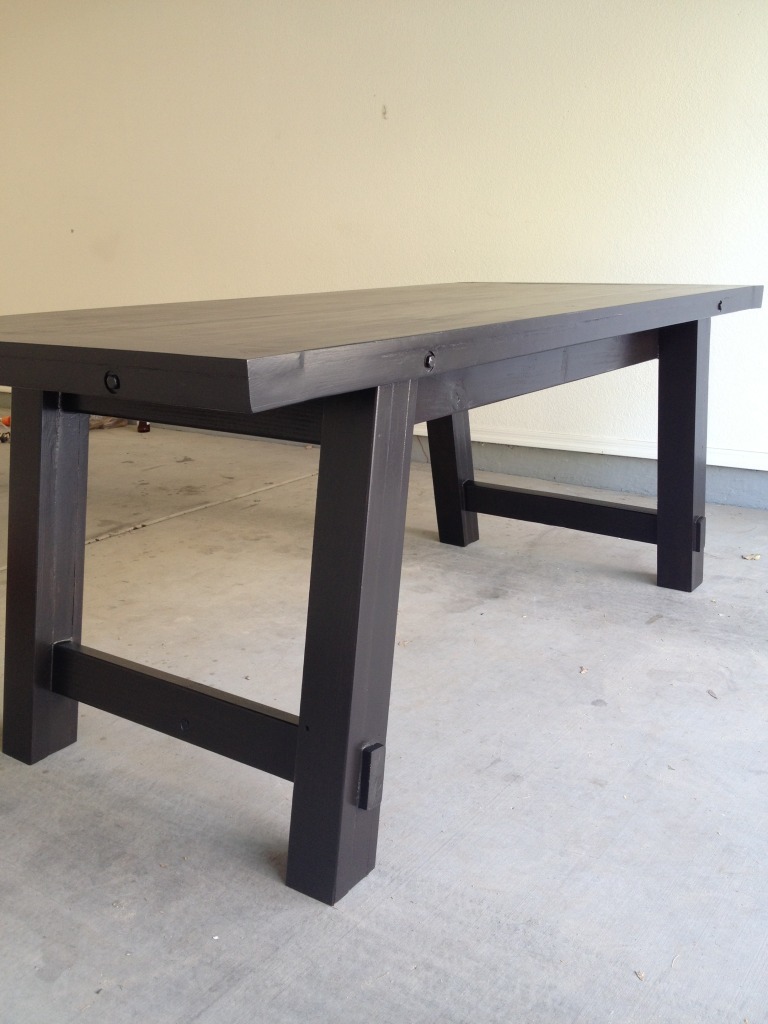
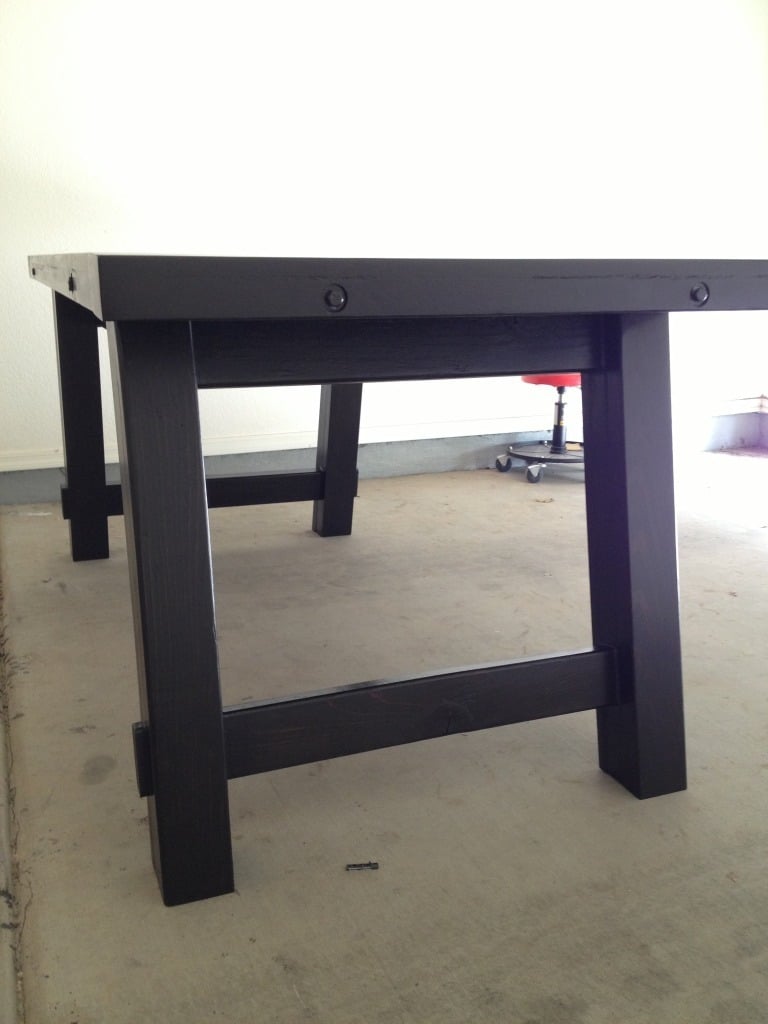
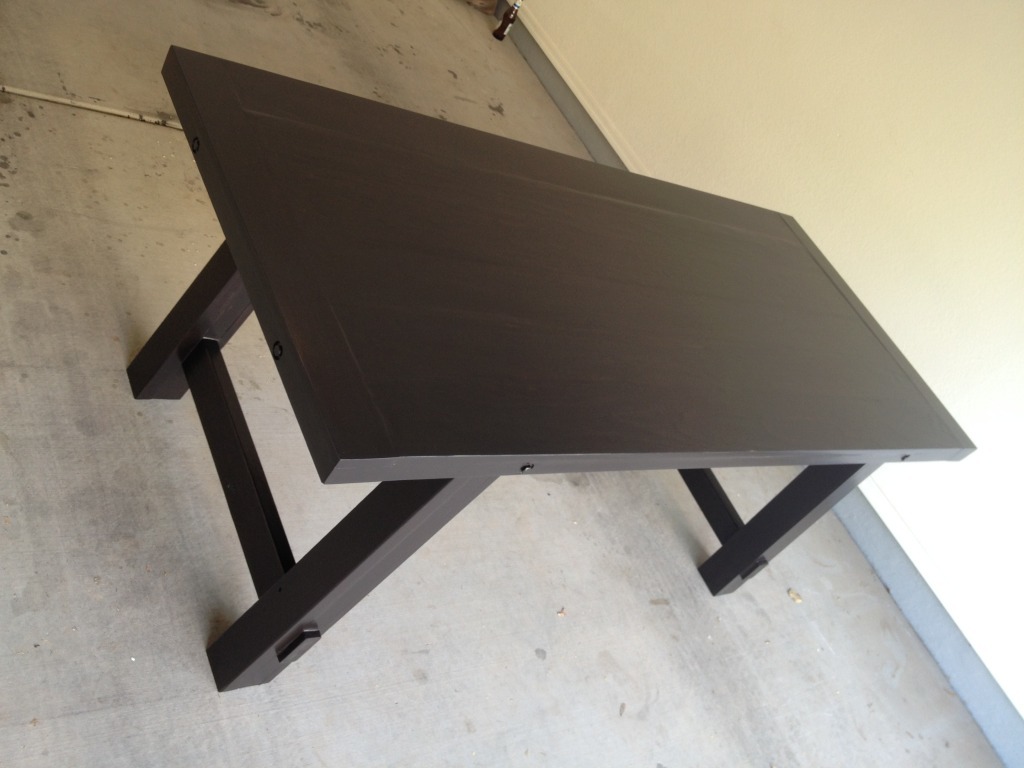
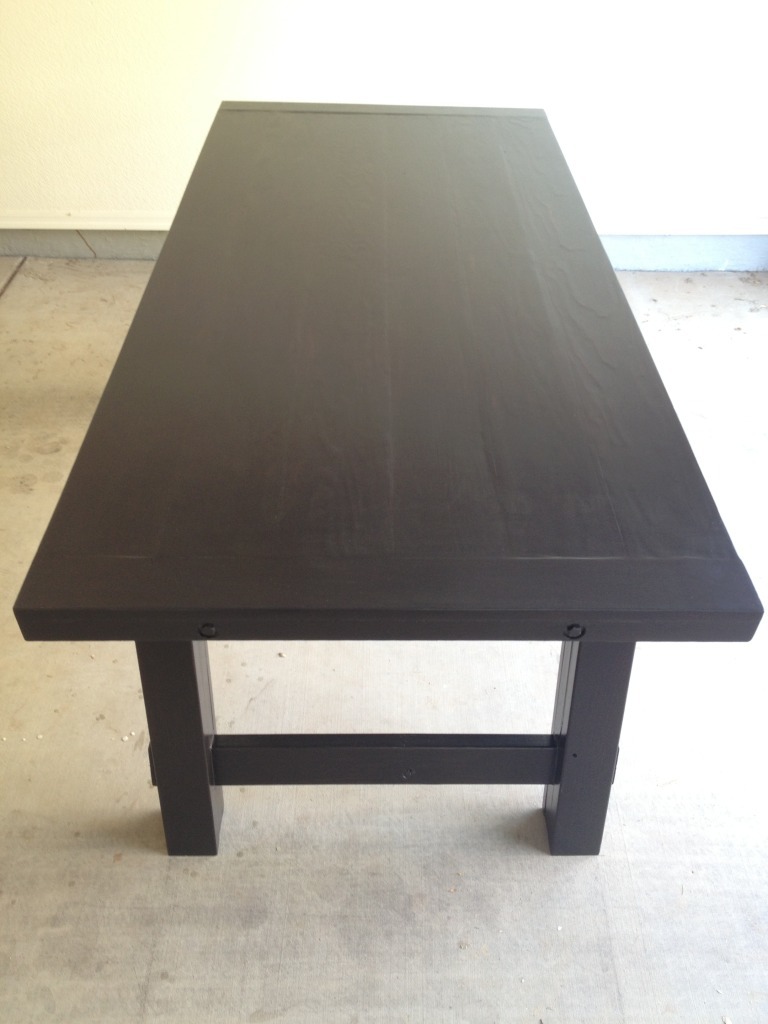
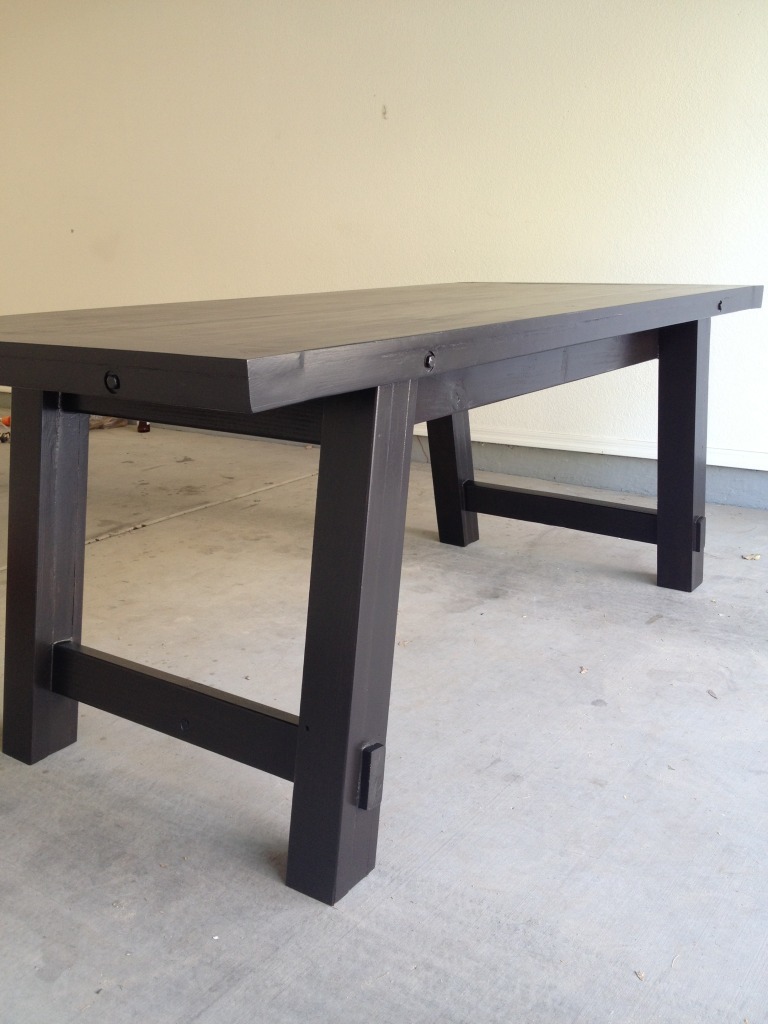
After doing my first build, pallet media center, I was hooked. My family and I desperately needed a dining room table. We wanted a rustic looking table and I was thankful I found the benchright table plan. Thanks Ana!! This build was fairly easy. I did mess up a couple times with the angle/bevel cuts. Totally ruining a couple boards. Which I had to run back to Lowes and purchase a couple more boards. I used 3/8 hardware bolts/washers/nuts in galvanized for the sides (3") and breadboards (6"). The stain basically painted them, which we love. I still need to add the hardware for the bottom (threaded rods, turnbuckle, nuts/bolts/washers, etc). The pics above really dont show the detail with the stain. The pics make the table look black. But you can actually see the wood grain on the table top. The table looks amazing in person, we love it!!! Thanks again Ana!!

Estimated Cost
250
Estimated Time Investment
Weekend Project (10-20 Hours)
Finish Used
Rustoleum Kona stain and Rustoleum Satin Polyurethane. 2 coats of stain and 3 coats of urethane.
Recommended Skill Level
Beginner

Picket Planter Boxes

Submitted by JaxCopper on Mon, 05/09/2022 - 19:09

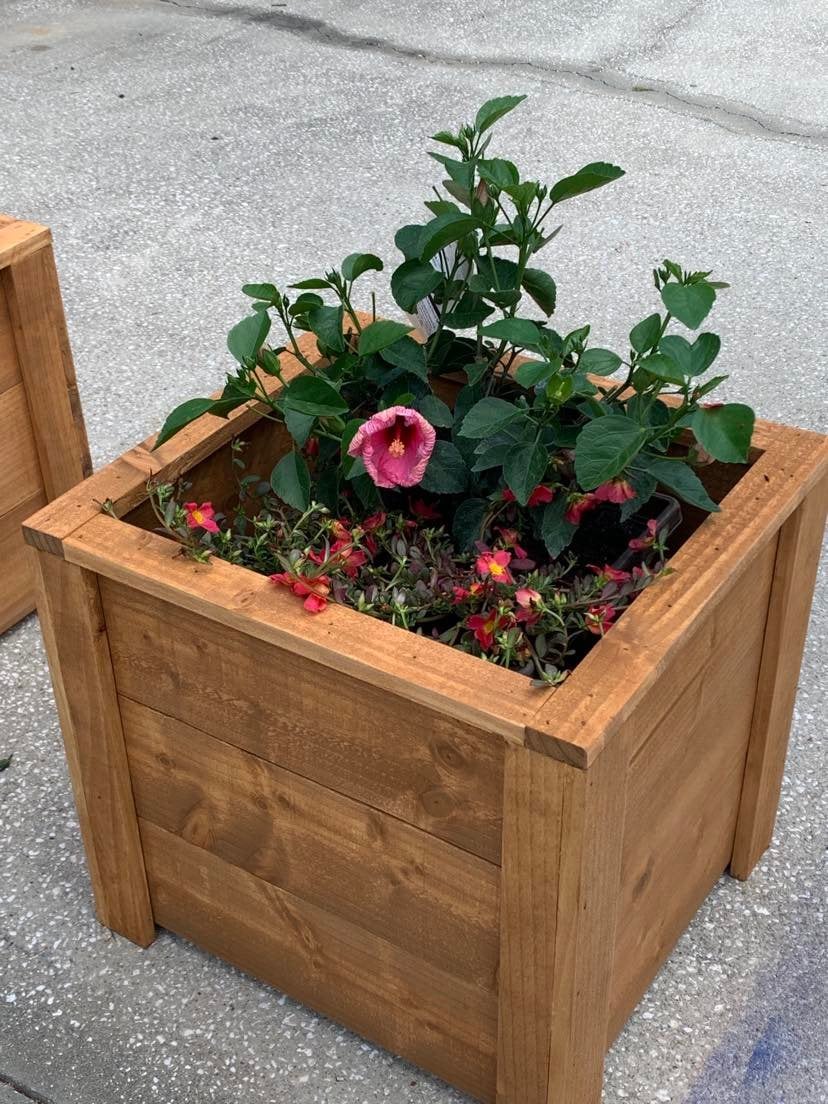
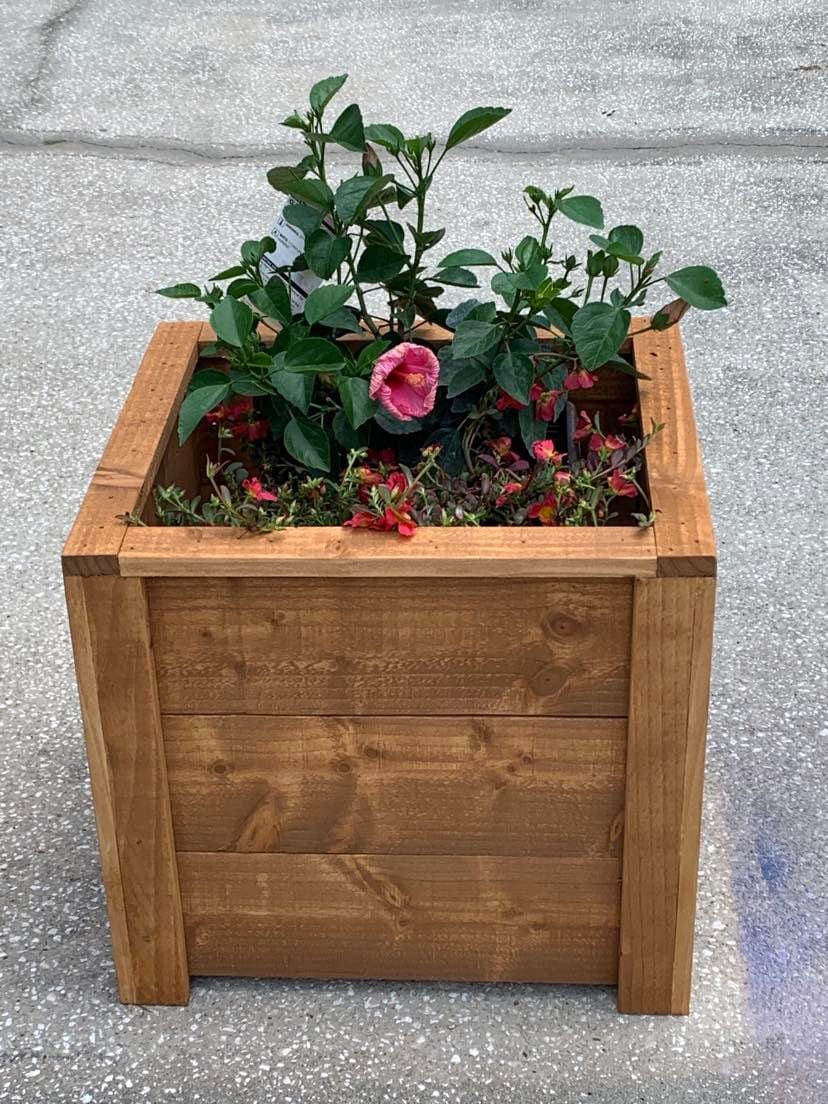
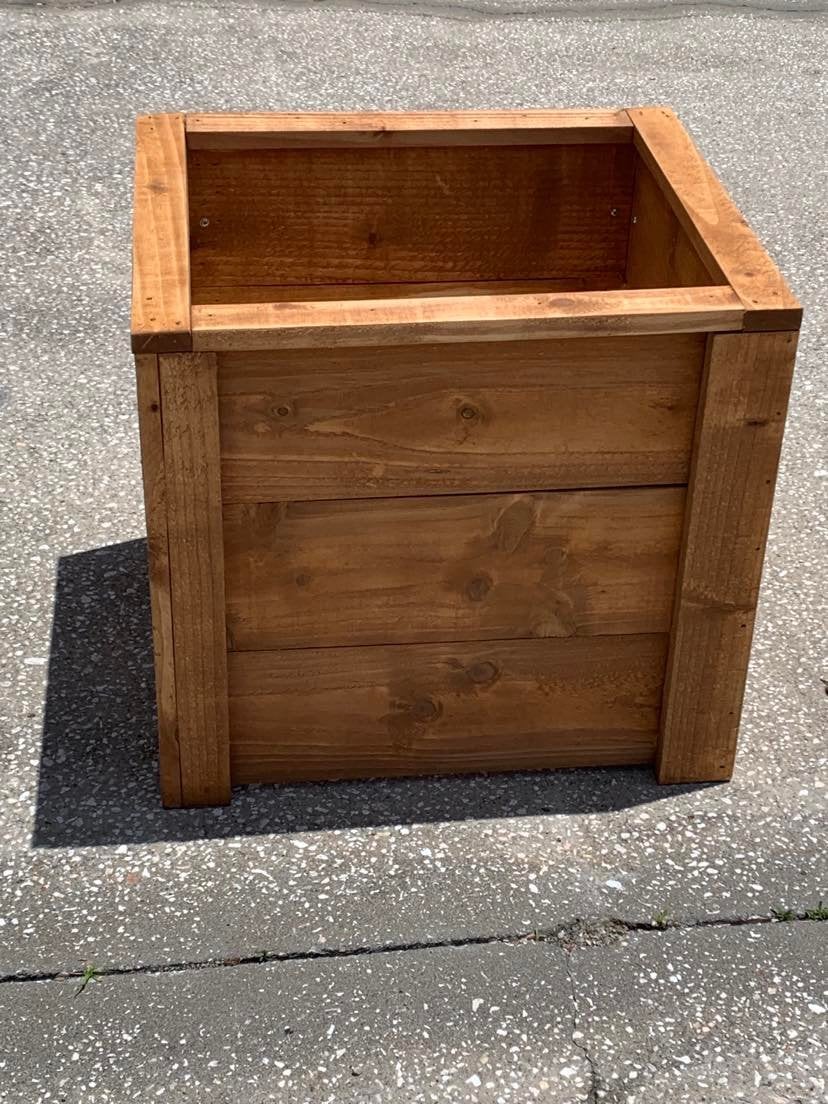
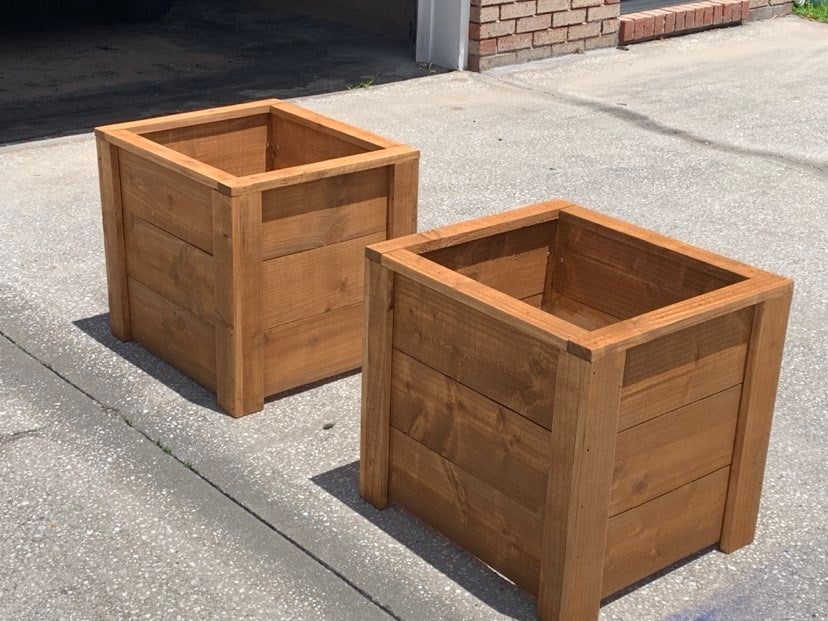
Thanks Ana, I built your planter box, actually built 2 of them, one for each mom. The were a huge hit and I already have people asking me to build them one.

So loved building this planter box. Thanks for all you do for your fellow woodworkers!

Dale G
Callahan, FL

Comments

Raised Planter Stand

Submitted by Anonymous (not verified) on Sun, 04/30/2023 - 13:02

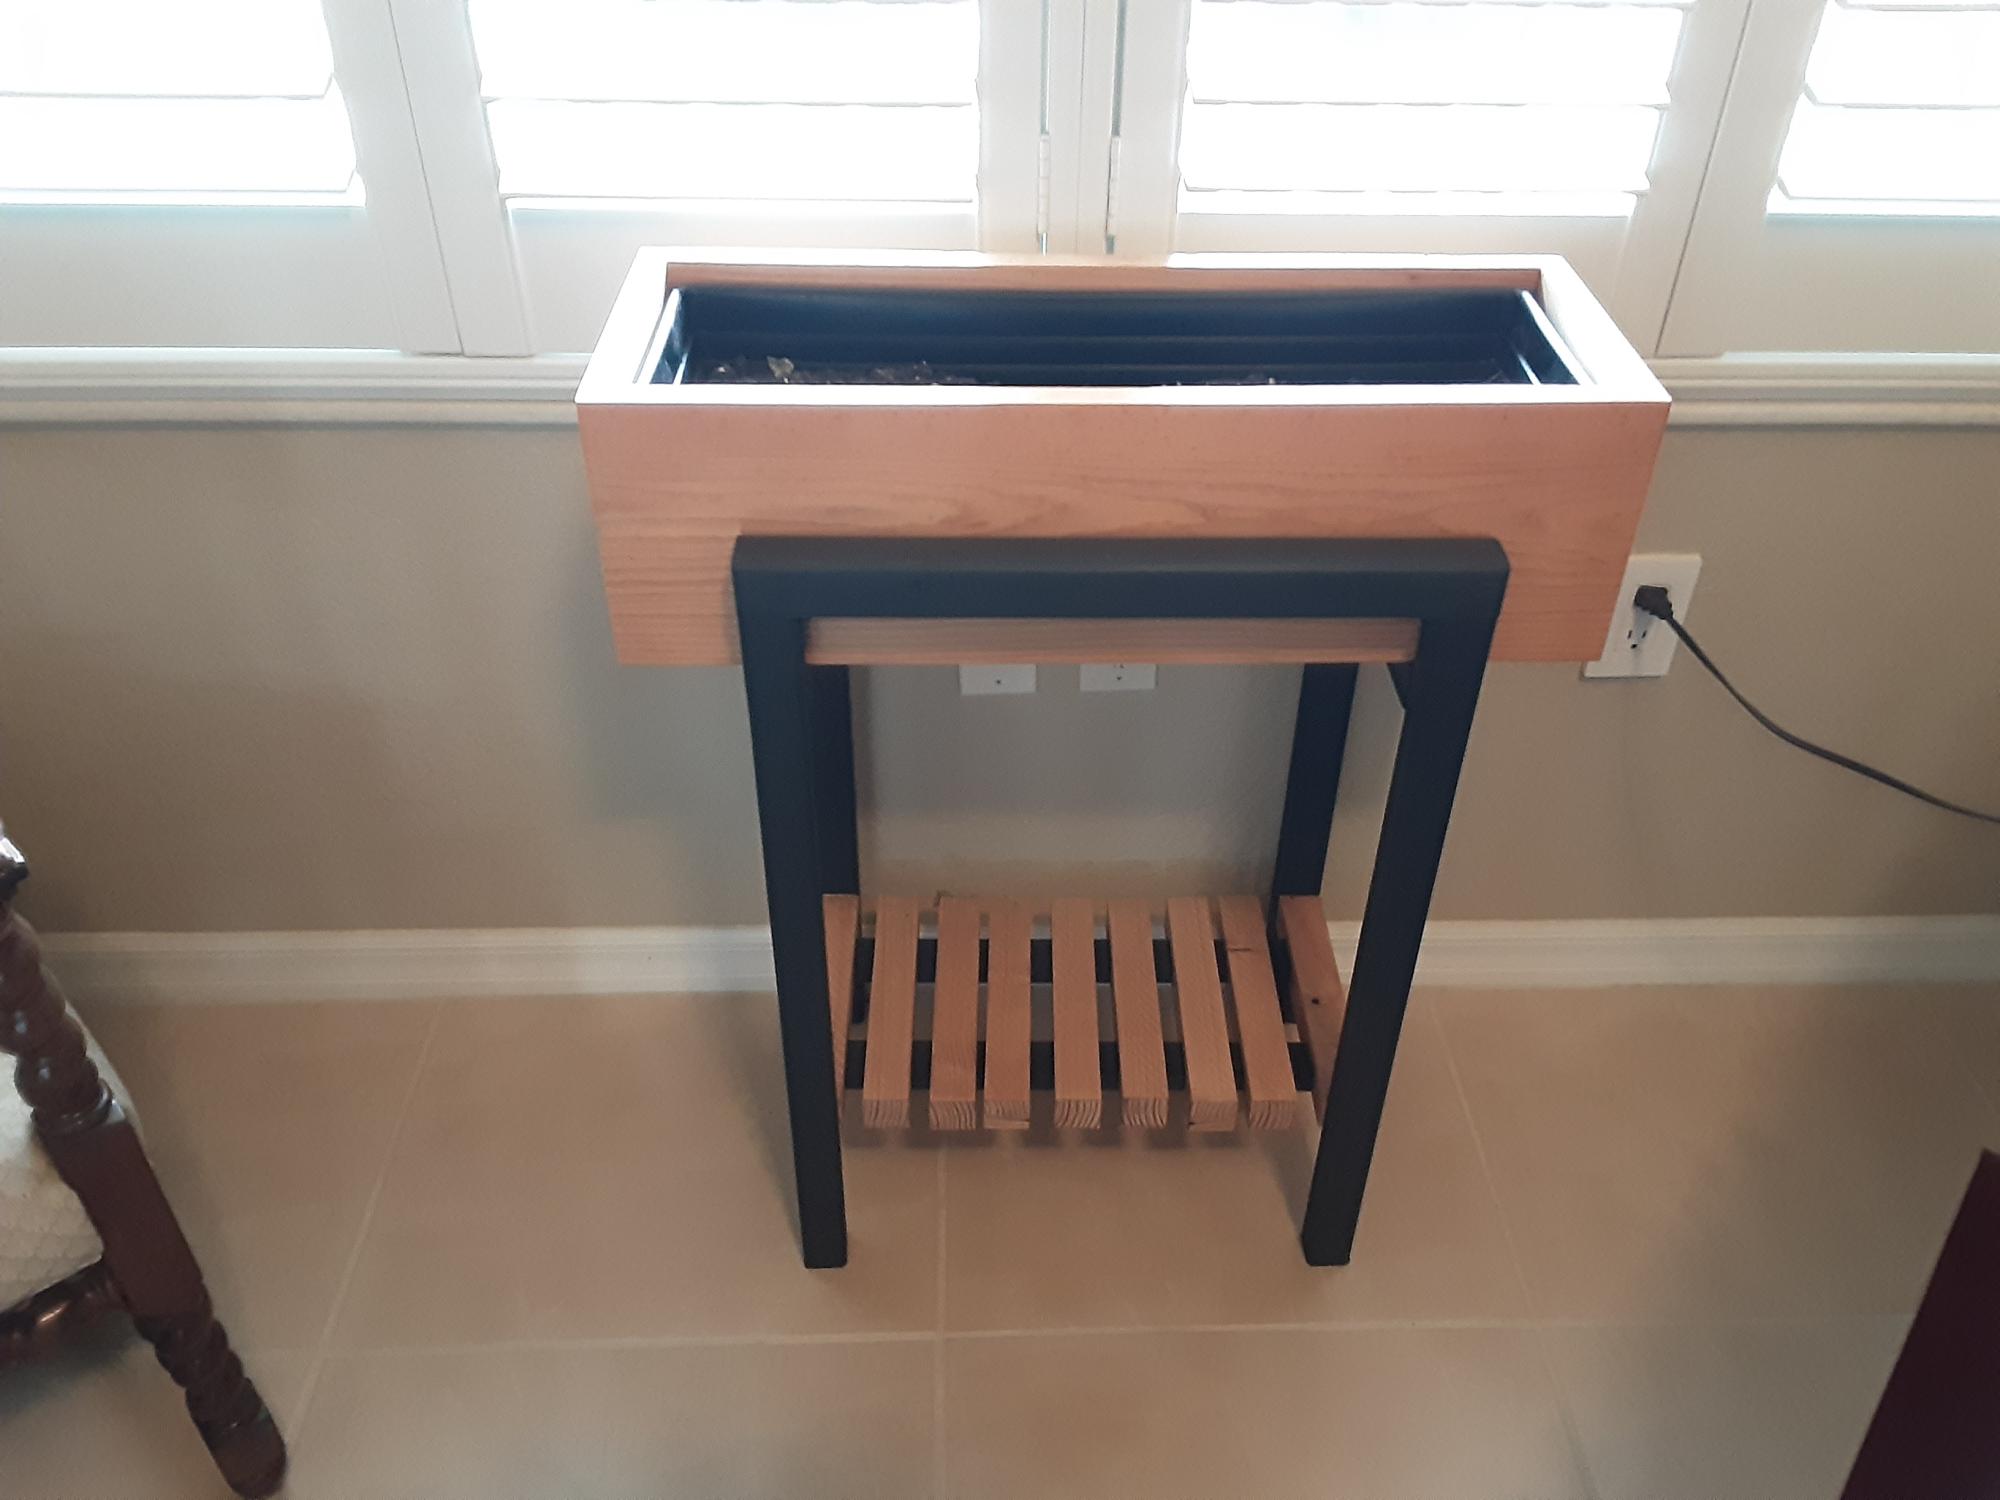
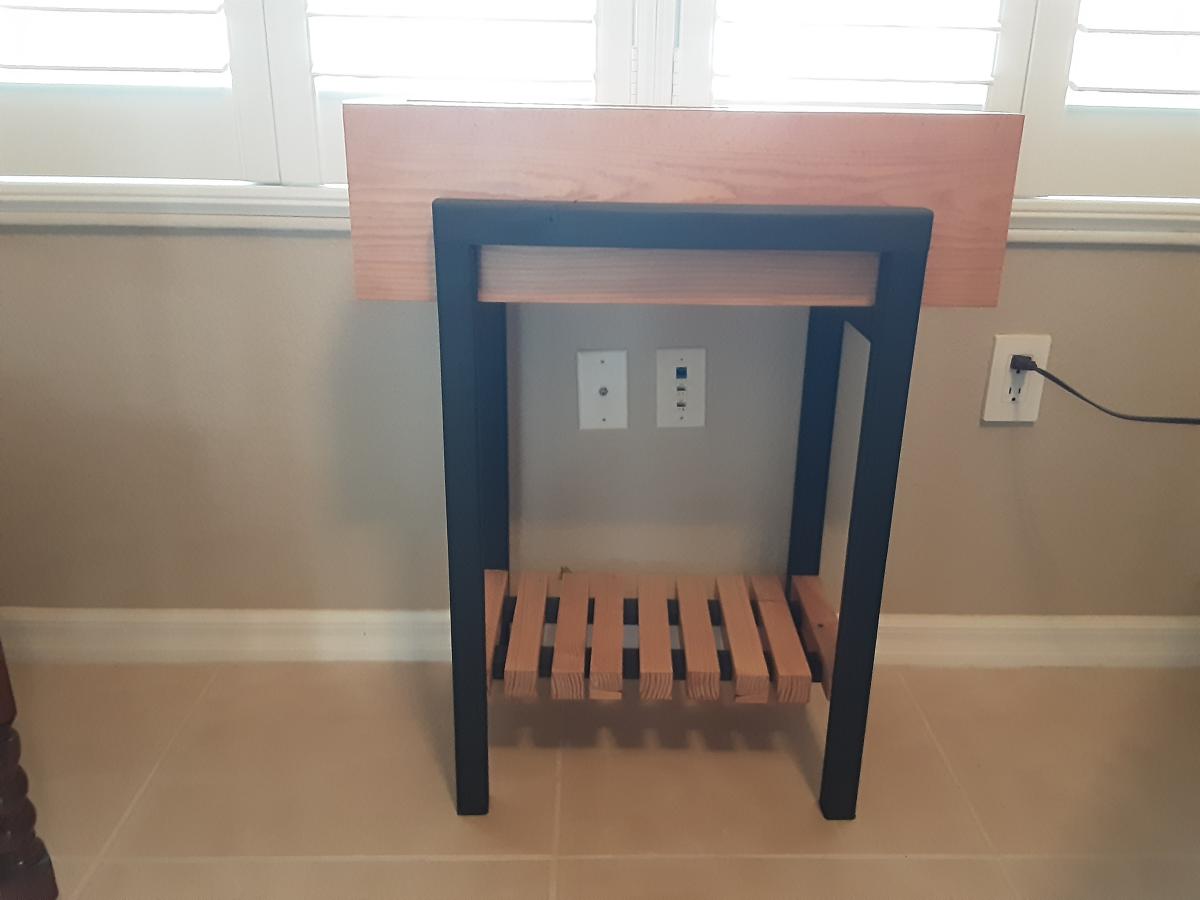
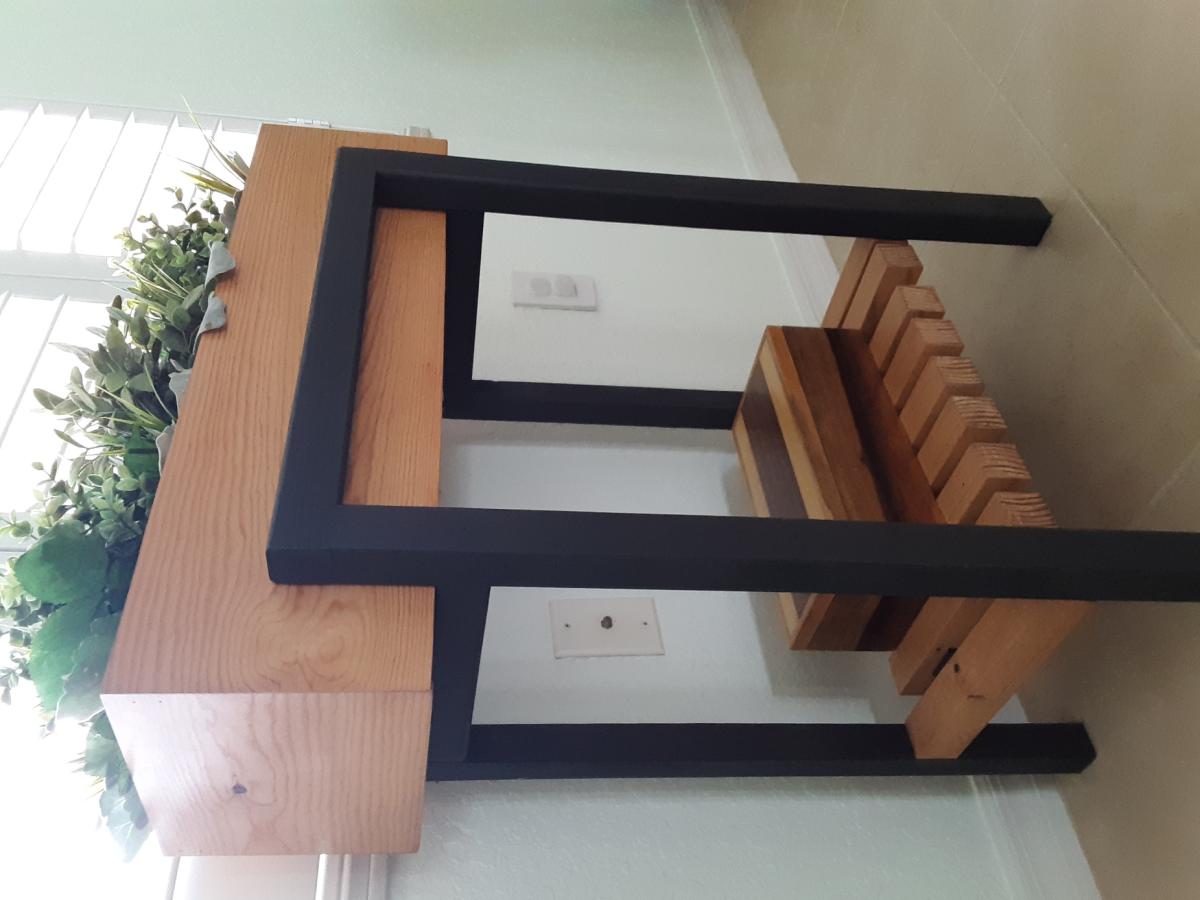
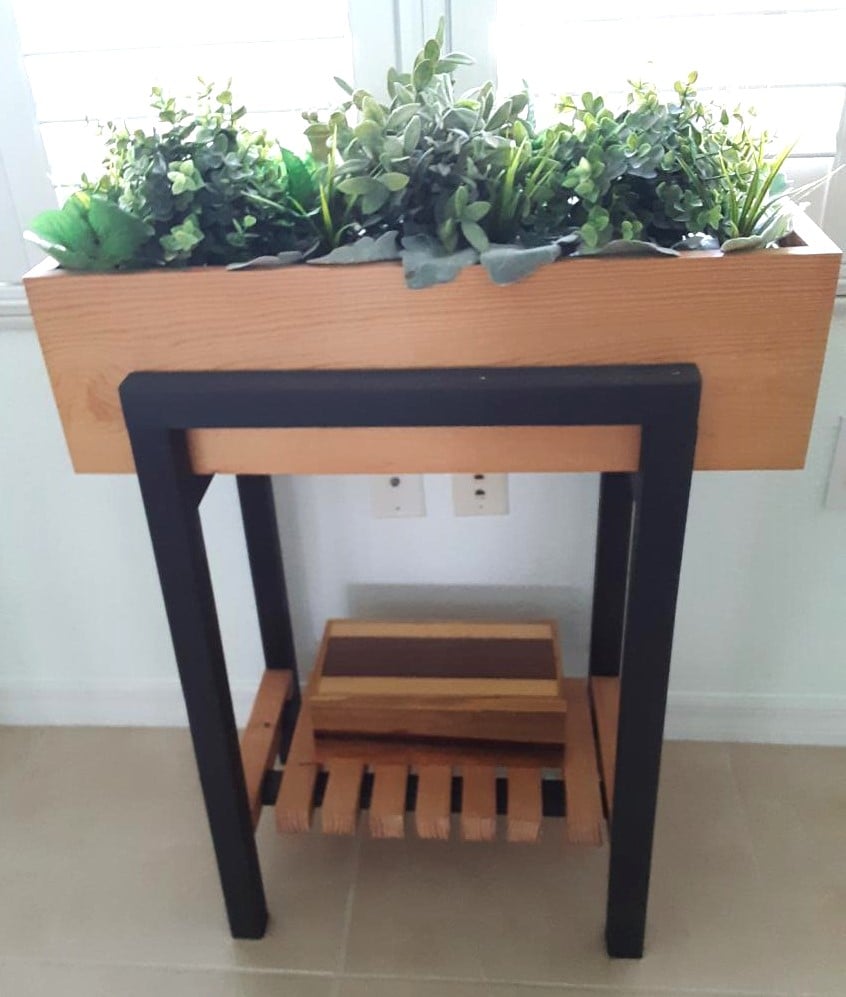
Created the stand for the raised planter using 2X2 assembled using dowels. Painted the stand mixing black with a bit of white to simulate metal. The actually plastic window box fits within a wood open box with mitered corners fir clean log. Bottom of the stand provides a shelf using (9) 2X2s with a dado placed on either end to fit on the runners of the stand.

Built from Plan(s)

Comments

Outdoor rolling bar top

Submitted by Anonymous (not verified) on Wed, 07/08/2020 - 19:43

We had some leftover granite from an outdoor kitchen build and wanted to maximize the use of it. We loved the look of a rustic table from Pottery Barn and set out to find something that was asking the same aesthetic. I came across the Jilly and Mia workbench console and thought it would work great with some minor modifications. I shortened the overall length and height, went with some heavy duty casters to support the weight of the granite, and reinforced the cross beams that would support the 3/4" plywood sheet and granite. I went with cedar for this build since it was outdoors and I'll finish it with a clear sealant.

Built from Plan(s)
Estimated Cost
$300
Estimated Time Investment
Day Project (6-9 Hours)
Recommended Skill Level
Intermediate

Comments

Garden Enclosure with Custom Gate

Submitted by Anonymous (not verified) on Mon, 05/29/2017 - 09:54

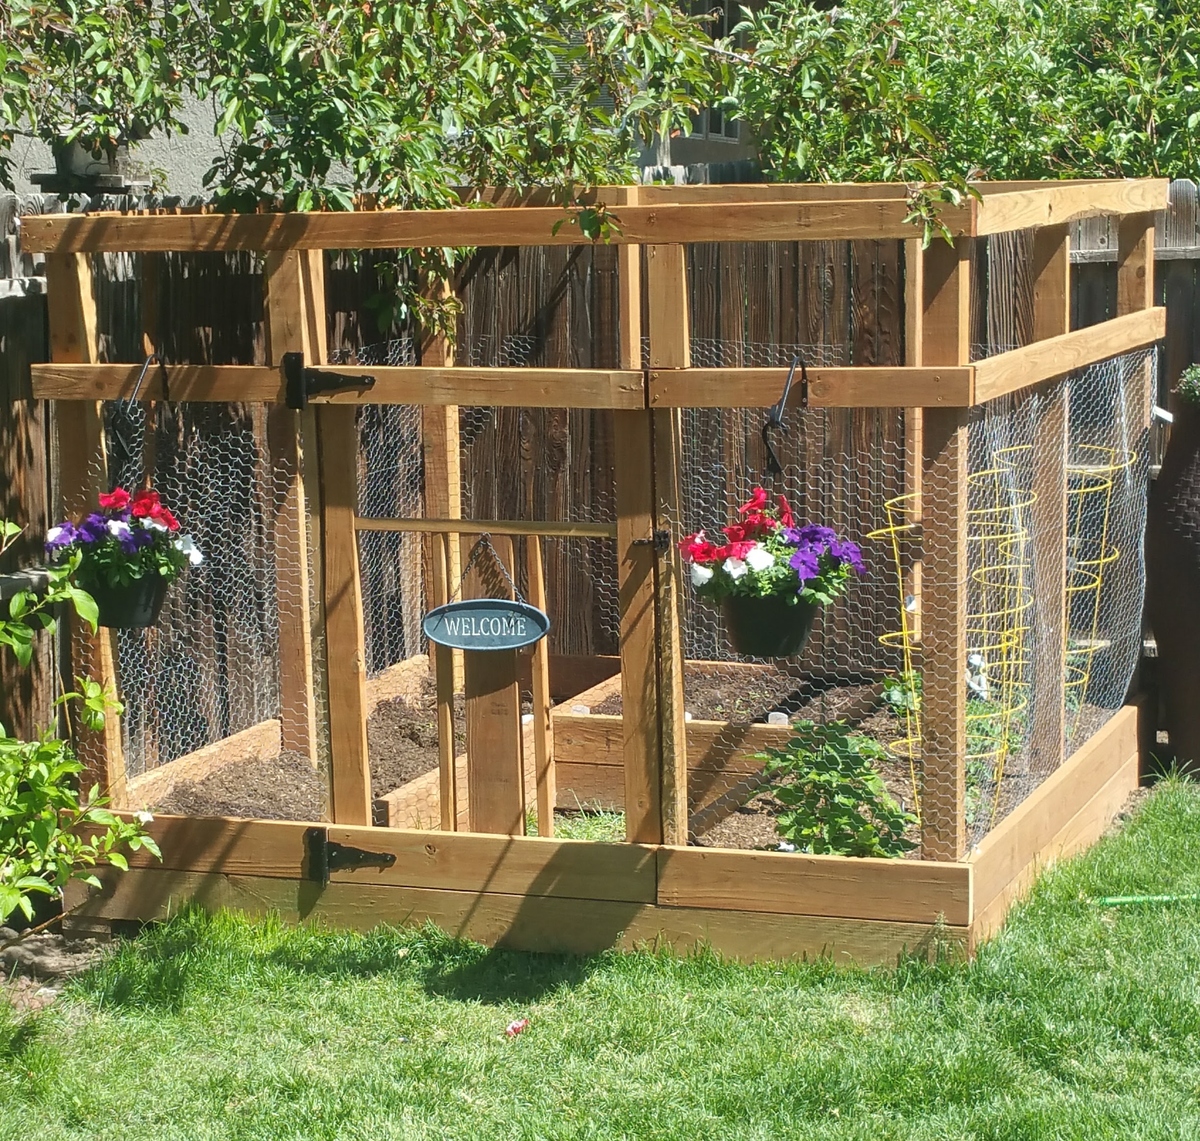
I found the plans on the website last year but we never got around to building it.  So this year it was first on the list!!  I wanted a large enclosed garden because we had a hard time keeping our dogs out of our last boxed garden.  I followed the plans pretty closely, making minor changes to give us more room for planting. 


I did not use the corner wood pieces for bracing because I did not like how they looked.  Instead I used brackets made for decks that I can't see from the outside of the garden.  I also made a custom gate to mimic the custom railings I had made for our deck.  Added brackets to the outside for hanging baskets. Still needs to be stained and sealed.  Hoping to get that done next week.


Note:  I bought 22 2cubic feet bags of Miracle Grow Flower and Vegetable soil to fill the garden boxes.

Approximate costs were around $180.00 for wood/stain/gate hardware, netting and deck screws.

Approximate costs for the soil was $140.00.


I hope  

Built from Plan(s)
Estimated Cost
$180 for project
$140 for soil
Estimated Time Investment
Afternoon Project (3-6 Hours)
Recommended Skill Level
Beginner
Seasonal And Holiday

Modern Dorm Mini Refrigerator Microwave Cabinet

Submitted by rachelcb on Sat, 07/31/2021 - 12:35

I changed plan to make deeper. I also modified the bottom trim and top. I put a ball bearing soft door drawer guide on modern door so it can slide back and forth. I feel we need more modern plans on here but with a bit of creativity and using plans you can make anything. I have never built anything before. I love General Finishes Milk Paint in Snow White and I brushed rolled it on (sanded between 3 coats). It’s basically self leveling and leaves a nice matte finish. Used door glide in picture bought from homedepot in the 24 inch and that’s how wide door was and it was 36” tall. Door glide I only used one on top of the door not on bottom as well. Door piece of fiberboard with just strips glued on and quarters spacing them correct.

Estimated Cost
$200
Estimated Time Investment
Weekend Project (10-20 Hours)
Finish Used
Dorm mini refrigerator microwave cabinet
Recommended Skill Level
Starter Project

Comments

Planter Boxes

Submitted by Anonymous (not verified) on Mon, 10/04/2021 - 12:53

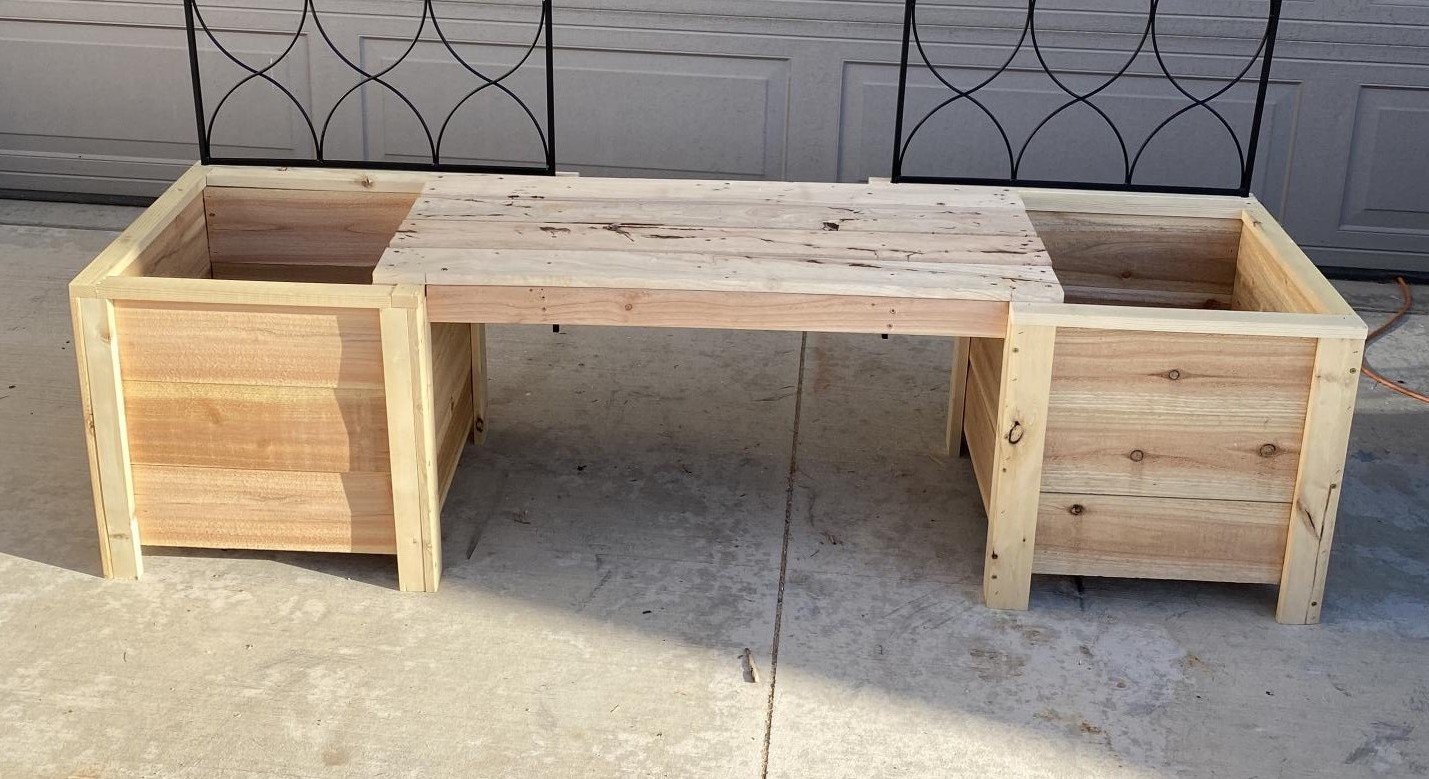
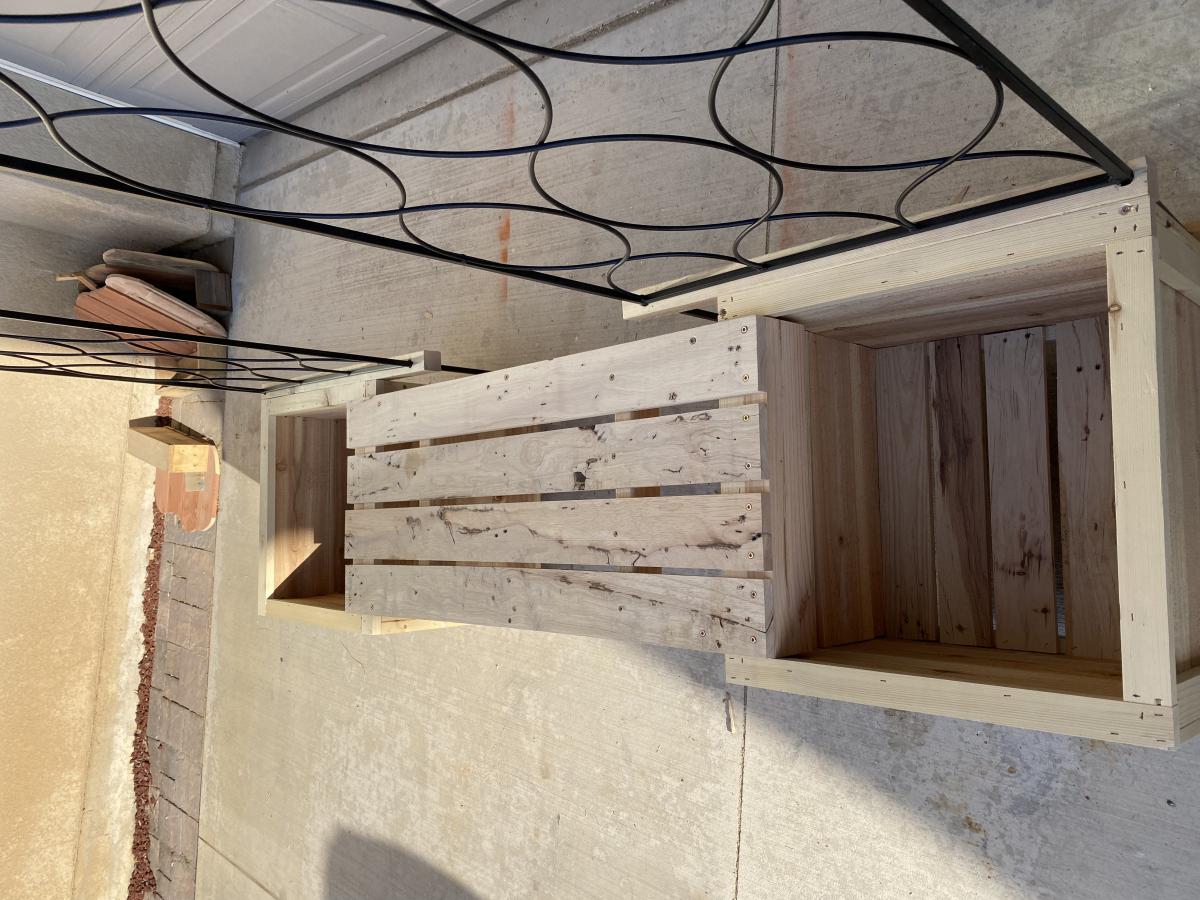
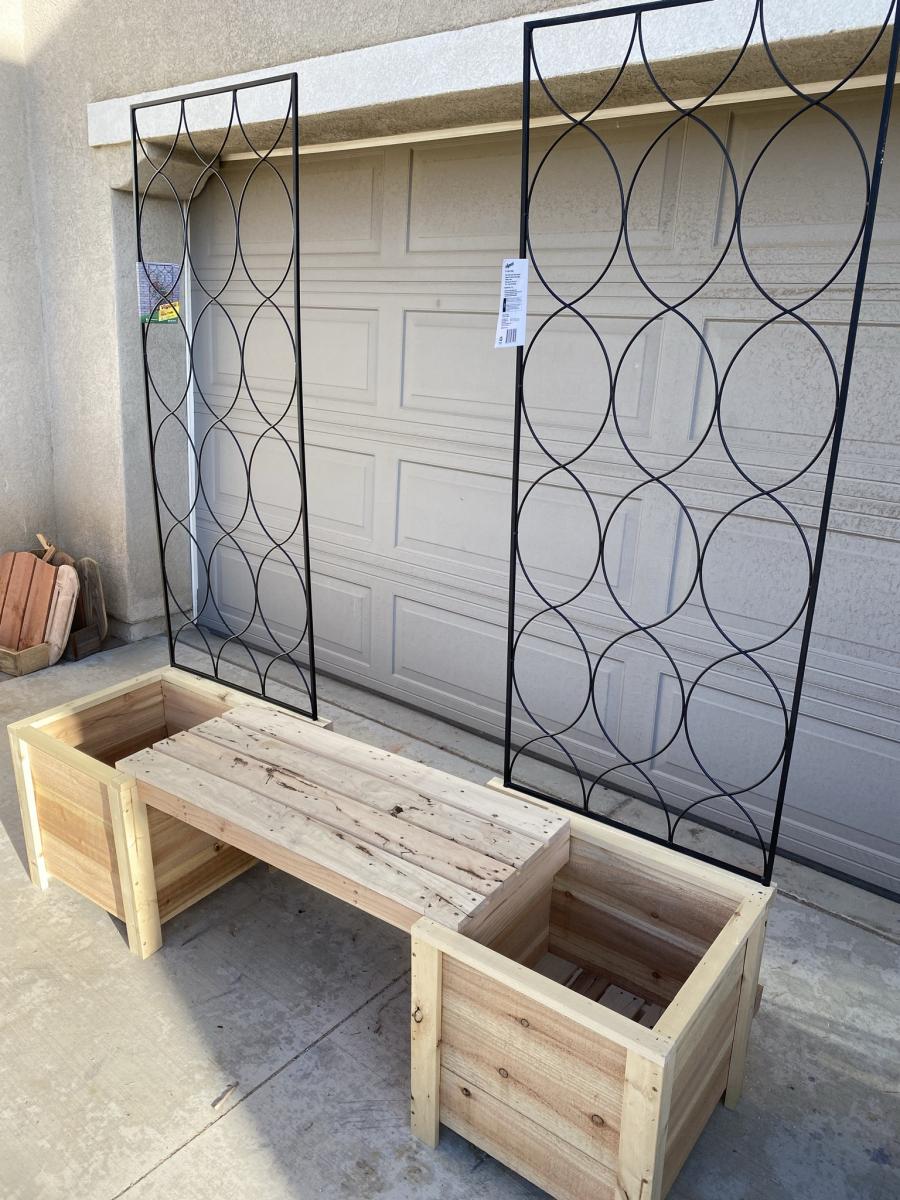
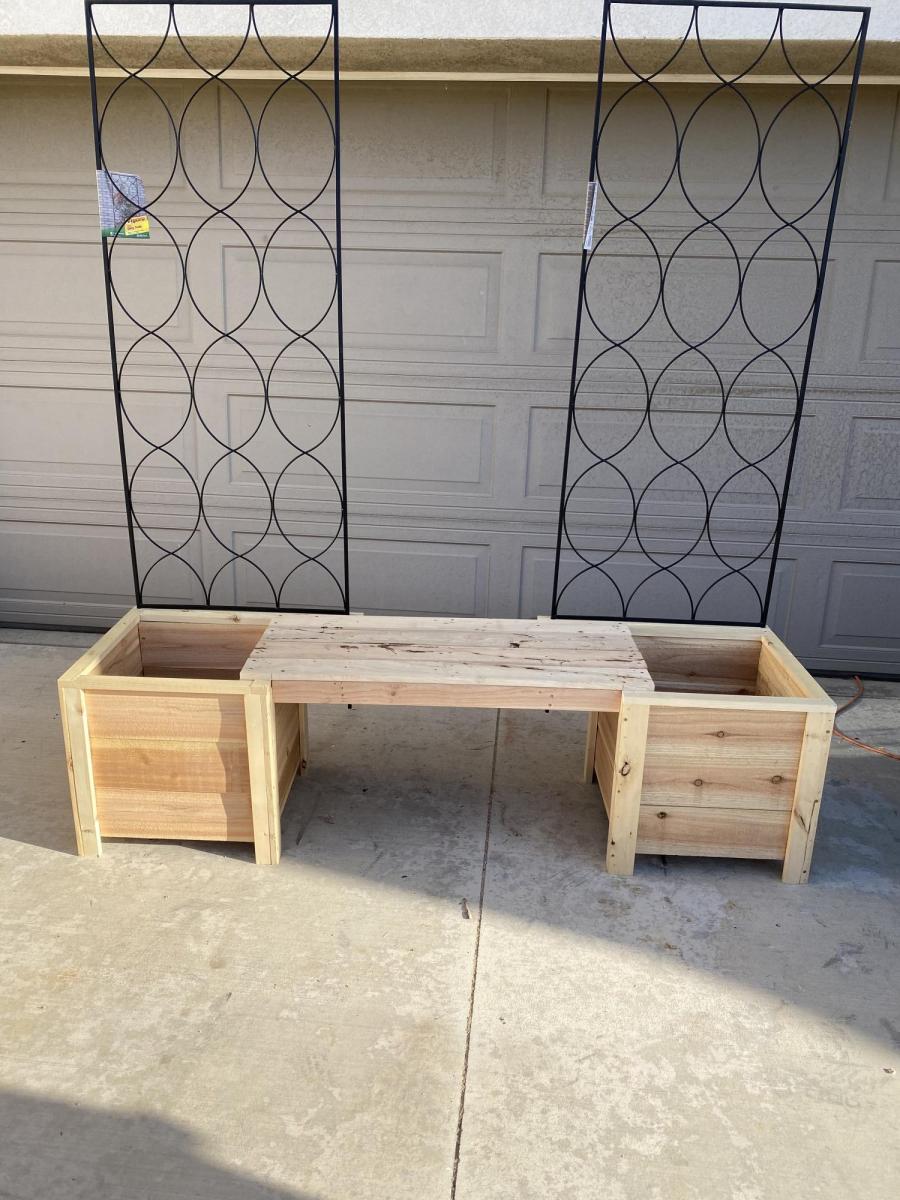
I made the boxes from plans, but added bench and trellis from my own design.

Built from Plan(s)

Comments

Seasonal And Holiday

Strawberry planters

Submitted by DevonWood on Thu, 04/08/2021 - 00:17

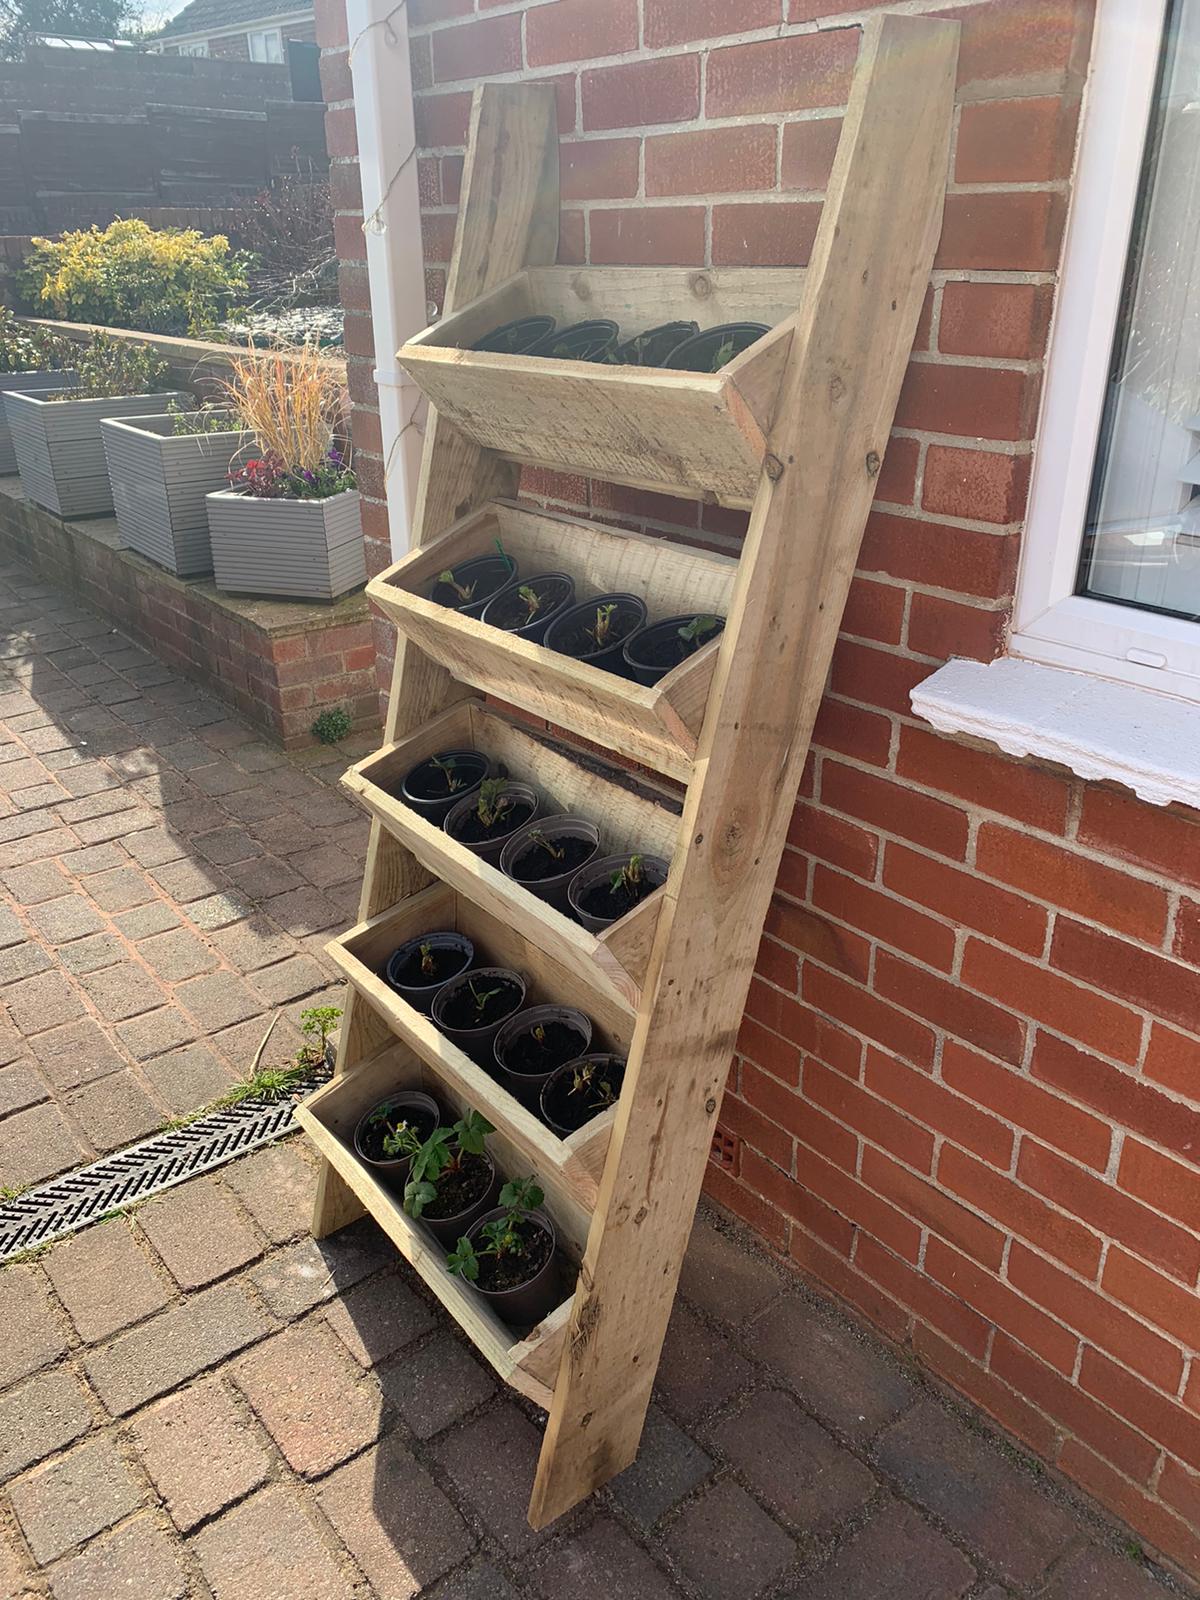
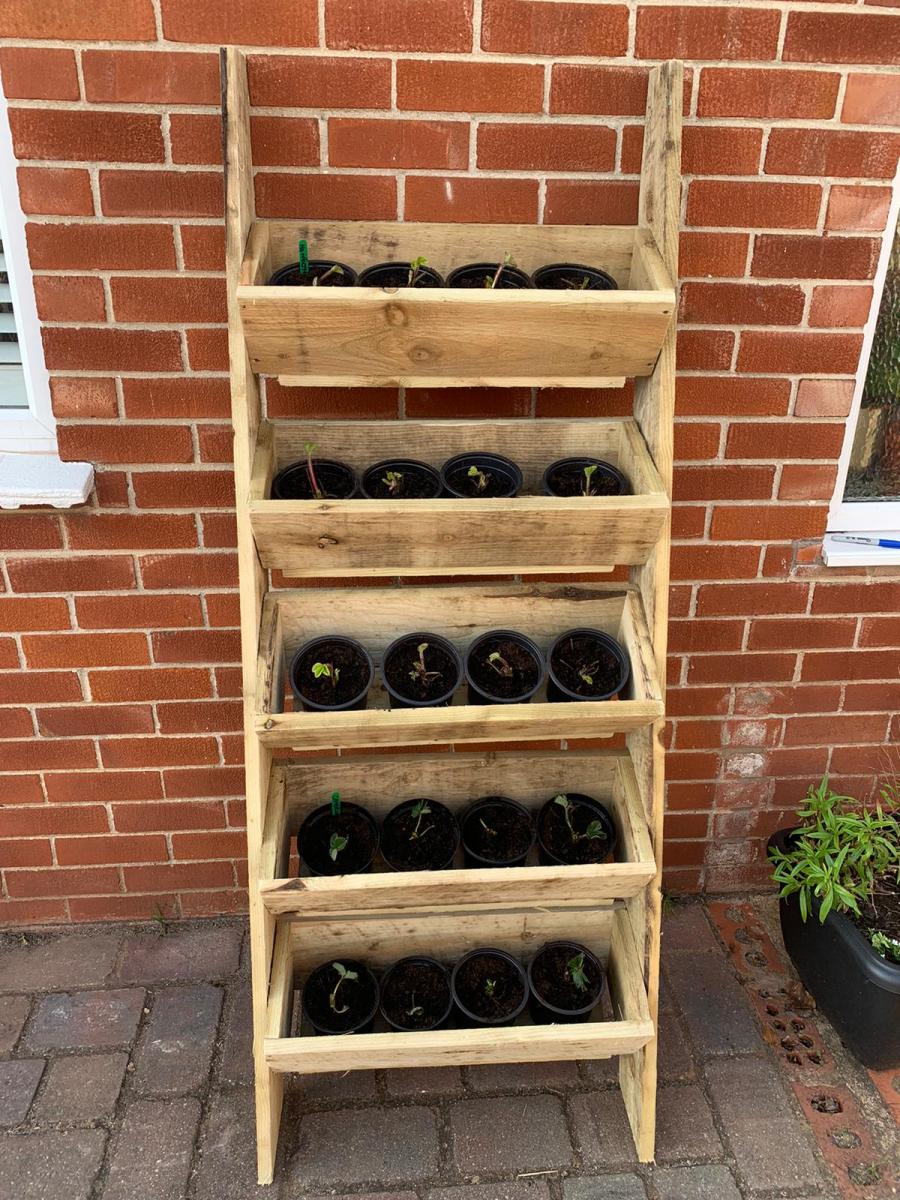
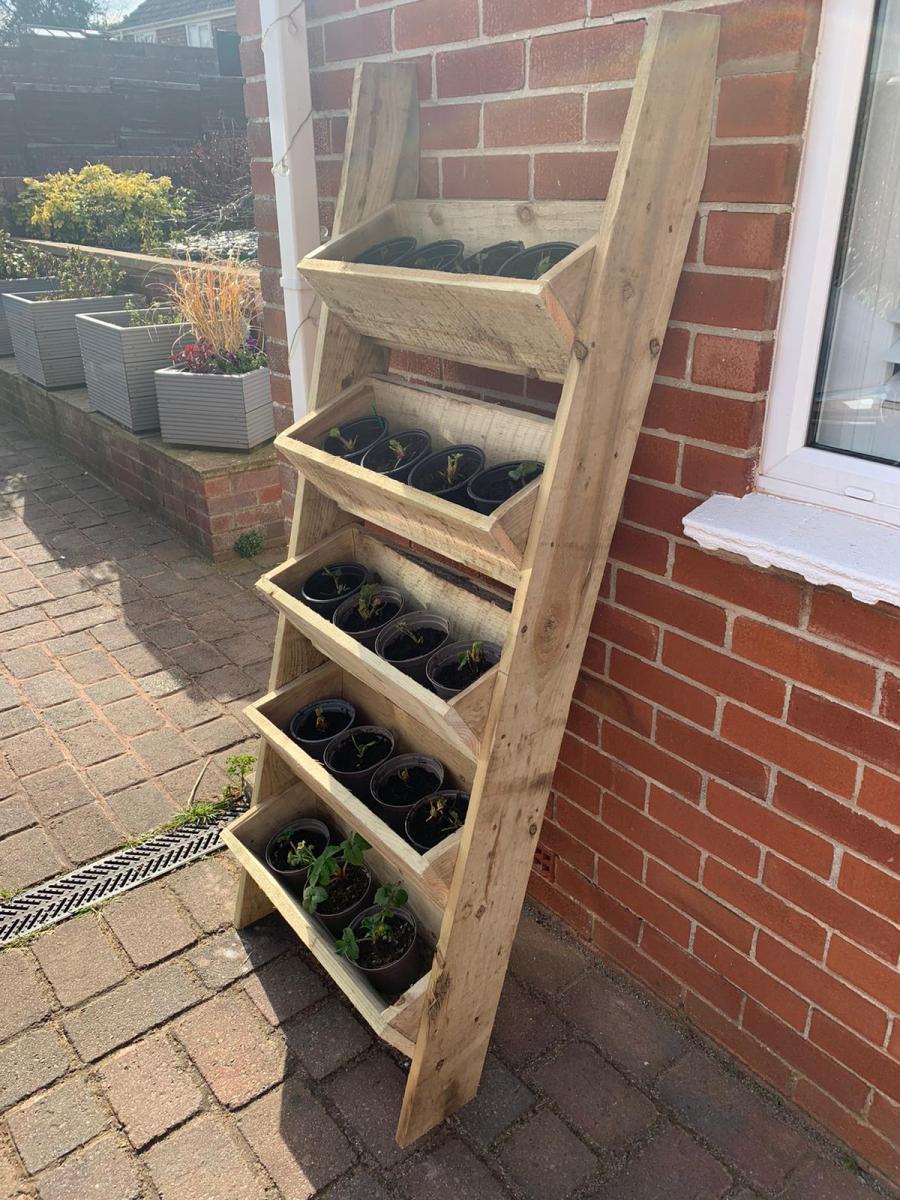
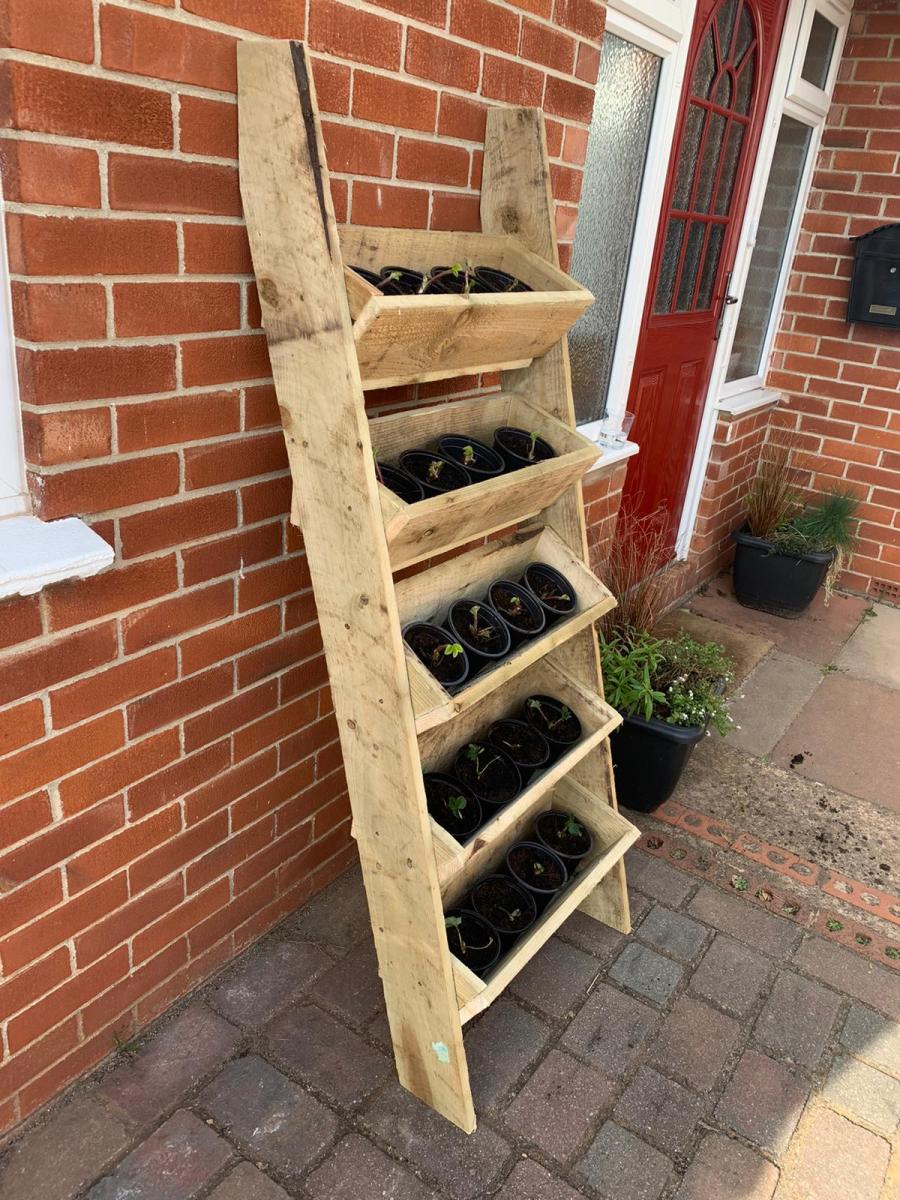
Using plans from this website here are pictures of two, five tier strawberry planters.
Each tier is wide enough for 4 plants in one litre pots.

Estimated Time Investment
Afternoon Project (3-6 Hours)
Recommended Skill Level
Intermediate

Comments

Eagle Project Workbench - Ultimate Roll Away Workbench with Miter Saw Stand

Submitted by nelsoncc on Mon, 10/18/2021 - 11:32

My son chose to make a workbench for his high school theater for his Eagle Scout project, and selected the Ultimate Roll Away Workbench with Miter Saw Stand as the basis for the project. The theater teacher wanted pegboard for tool storage, so we extended the rear legs on each workbench and notched the top to allow them to pass through. We built two frames from 1x3s to fit inside the rear legs, then put a pegboard inside each one.

To secure the extended legs, we added a riser shelf from 1x8s. We put a storage station for drills at one end of the riser shelf.

We also made all the cart shelves adjustable and added an adjustable shelf under the miter saw, and added lighting and power strips.

We left out the panels at the end of the workbench to allow access to the shelves there without having to remove the carts. Once we had constructed it, we added a brace at each end of the workbench to better support the outside front legs.

This plan was the perfect one for the theater, giving a stable work area for the miter saw and allowing for tool and materials storage. The carts can be rolled around to where a work surface is needed. This will come in handy for years of set construction in the theater. So proud of my son and all the leadership and hard work he put into this project!
Comments

Pantry Bin Storage

Submitted by vendo on Tue, 01/18/2022 - 10:21

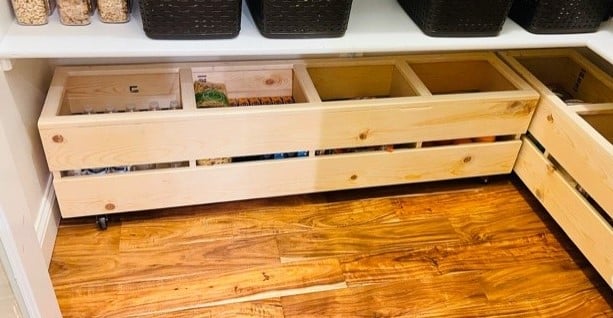
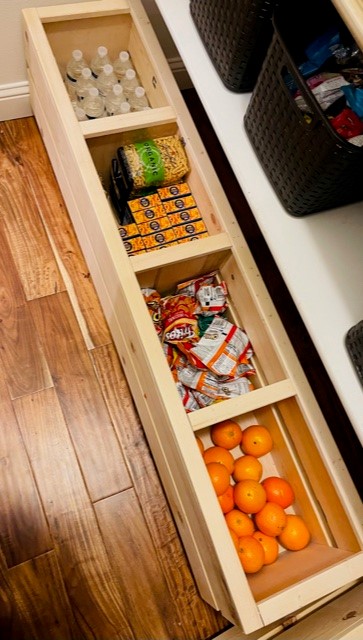
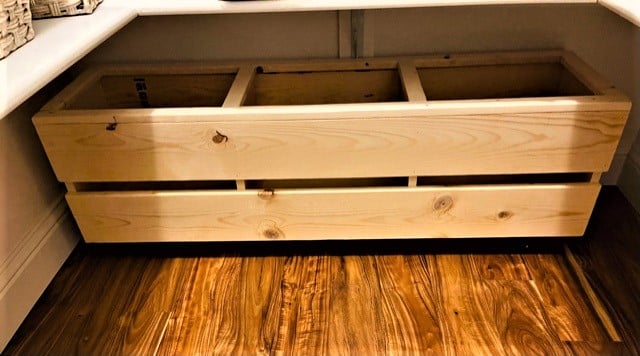
I used Shelf Help for the plywood pieces, then planked the sides with some 1x's, and added a face frame for the top edge. Casters allow for it to be moved easily and cleaned under. This is a great way to add extra storage under the pantry shelves and this design is super easy to modify for any size and height!

Comments

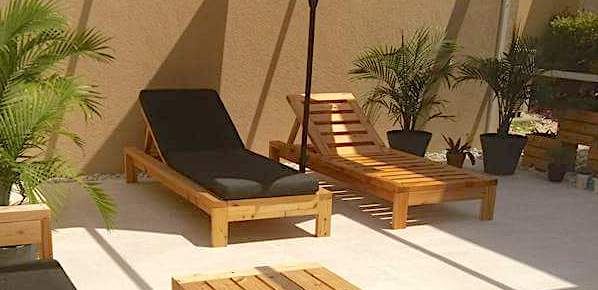
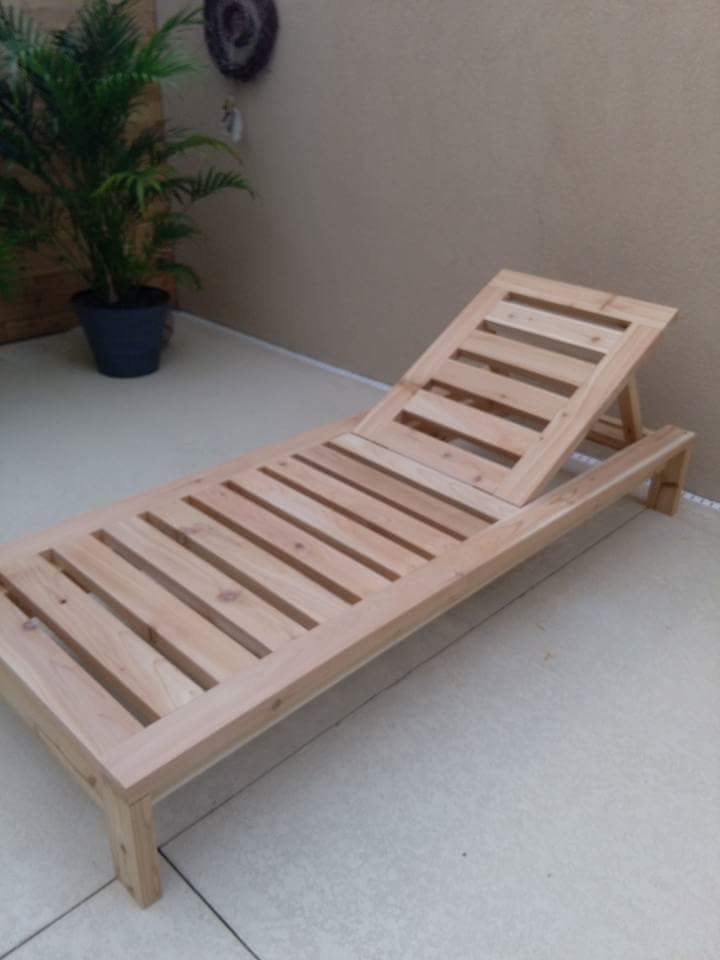
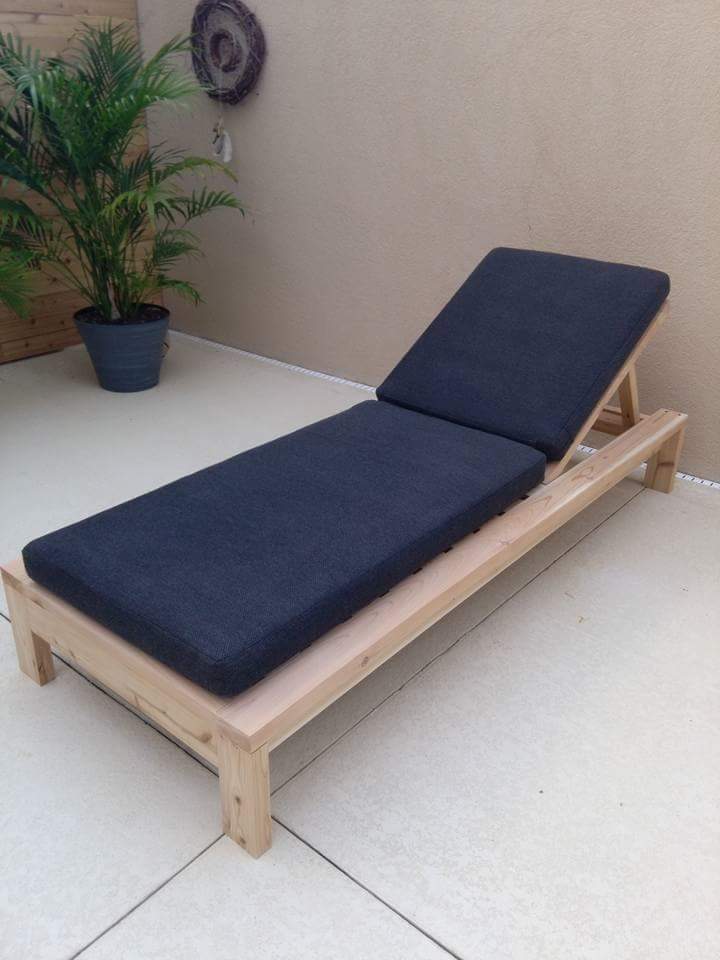
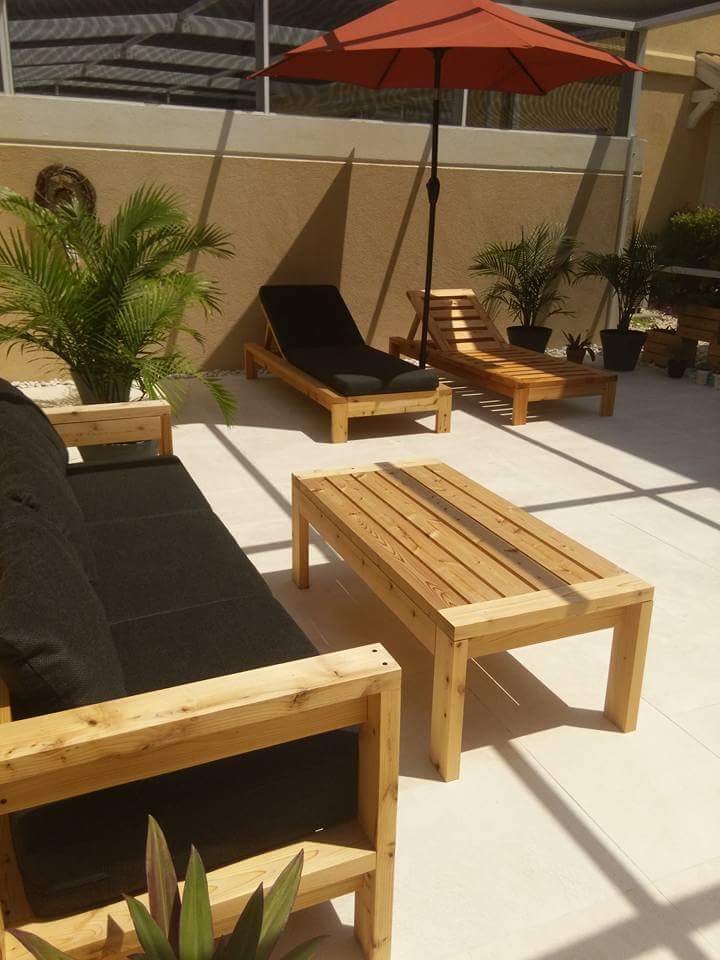
modern outdoor lounge chair

Just finished this beauty, entirely made with 2x4, plans were modify to match our outdoor sofa and coffee table. I think our best looking project so far ;) Thank you for inspiring me to build !!!

Estimated Time Investment
Week Long Project (20 Hours or More)
Recommended Skill Level
Beginner

Comments

Seasonal And Holiday

Simple Outhouse

Submitted by Anonymous (not verified) on Thu, 04/20/2017 - 12:26

I had my nephew build this outhouse for our new 70 acre lot - no neighbours in sight so I had him put in an acrylic window (with a view).  I left off the deck and had him put the boards tight together so 'critters' didn't get in as easily. I made a sign for above the door - 'Waste Management' for a touch of humour.  The plans were easy to follow and I love it.  Thanks, Ana.

Built from Plan(s)
Estimated Cost
Approx. $300 for material and $250 for my nephew's labour.
Estimated Time Investment
Weekend Project (10-20 Hours)
Finish Used
sealer
Recommended Skill Level
Beginner

Comments

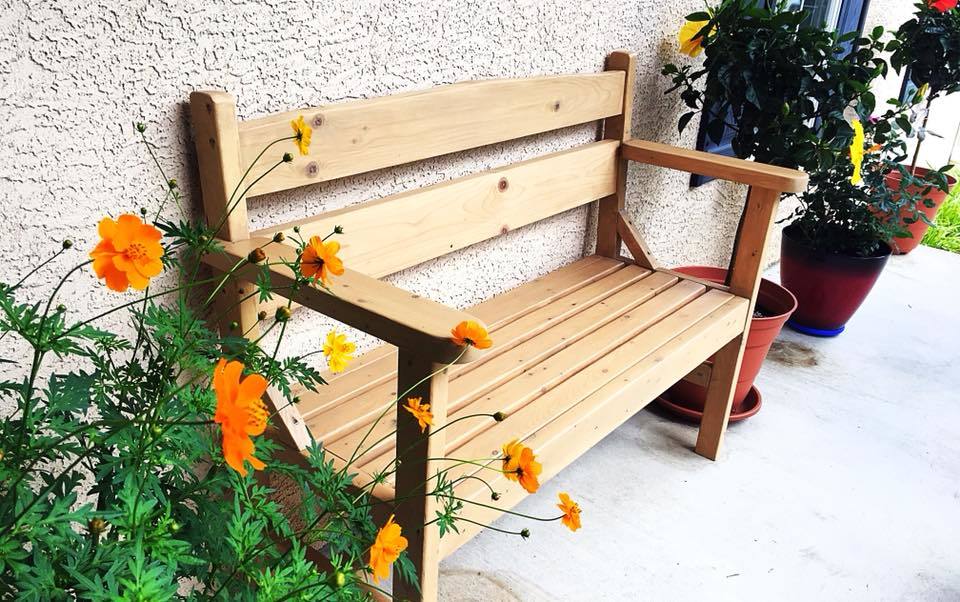
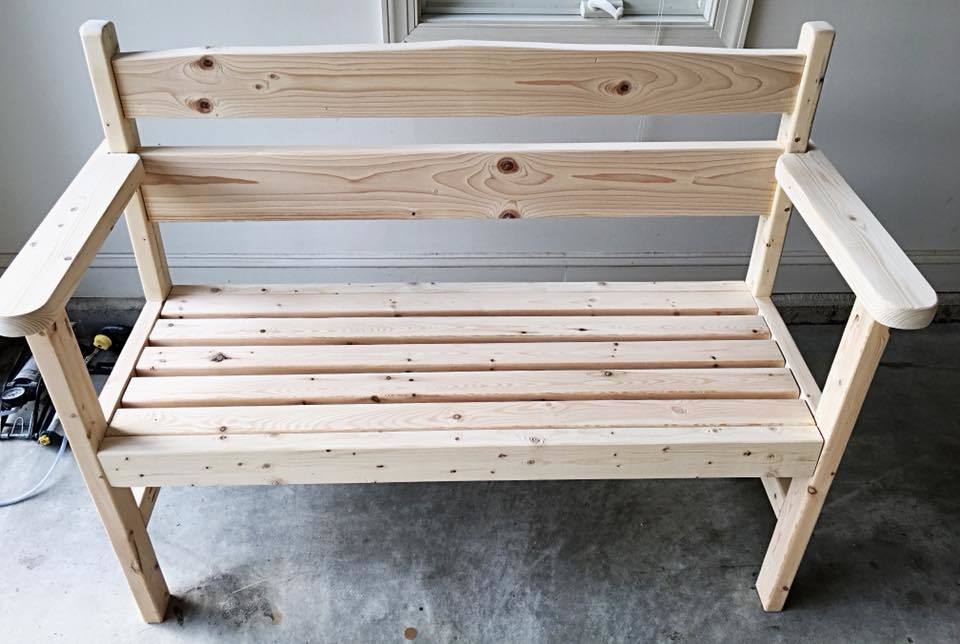
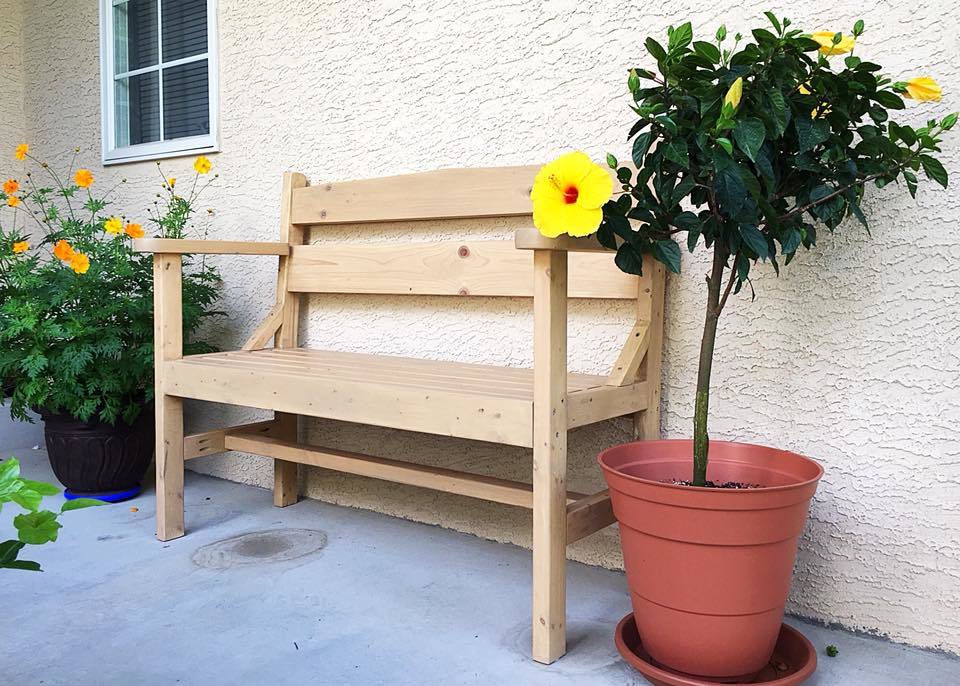
Garden Bench

Submitted by Amras on Fri, 08/10/2018 - 07:31

Used the plans changed some dimensions a little bit.

Built from Plan(s)
Estimated Time Investment
Weekend Project (10-20 Hours)
Finish Used
minwax wood stain and sealer
Recommended Skill Level
Beginner

Outdoor sectional

Submitted by Anonymous (not verified) on Wed, 10/02/2019 - 04:17

Made the outdoor sectional. The coffee table was made out of left over pieces!

Estimated Cost
$260
Estimated Time Investment
Weekend Project (10-20 Hours)
Finish Used
We used a semi transparent stain applied with brush. We would recommend a hand sprayer instead.
Recommended Skill Level
Beginner

Comments

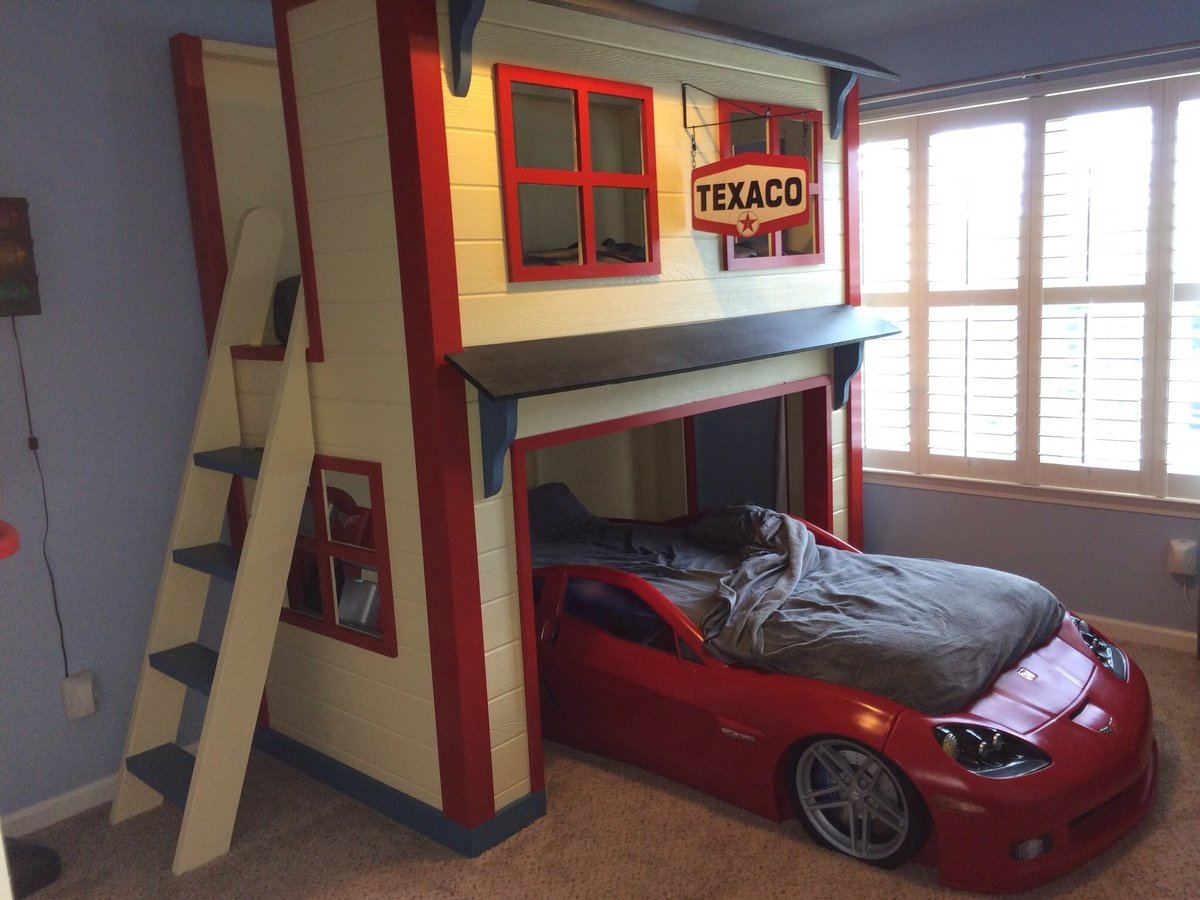
Garage Loft Bed

Submitted by GAno1Dad on Tue, 10/21/2014 - 20:24

The garage loft bed was inspired by the plans on your site. I beefed up the framing with 2xs and found siding panels at my local big box. 

Built from Plan(s)
Estimated Cost
$600
Estimated Time Investment
Weekend Project (10-20 Hours)
Recommended Skill Level
Intermediate

Comments

Wolfeman188

Wed, 08/03/2016 - 13:15

Hi, i was just curious if there was plans for this bed anywhere? My son has that exact corvette bed and he is not with me for a little while and i wanted to make it for him to come home to.

Back