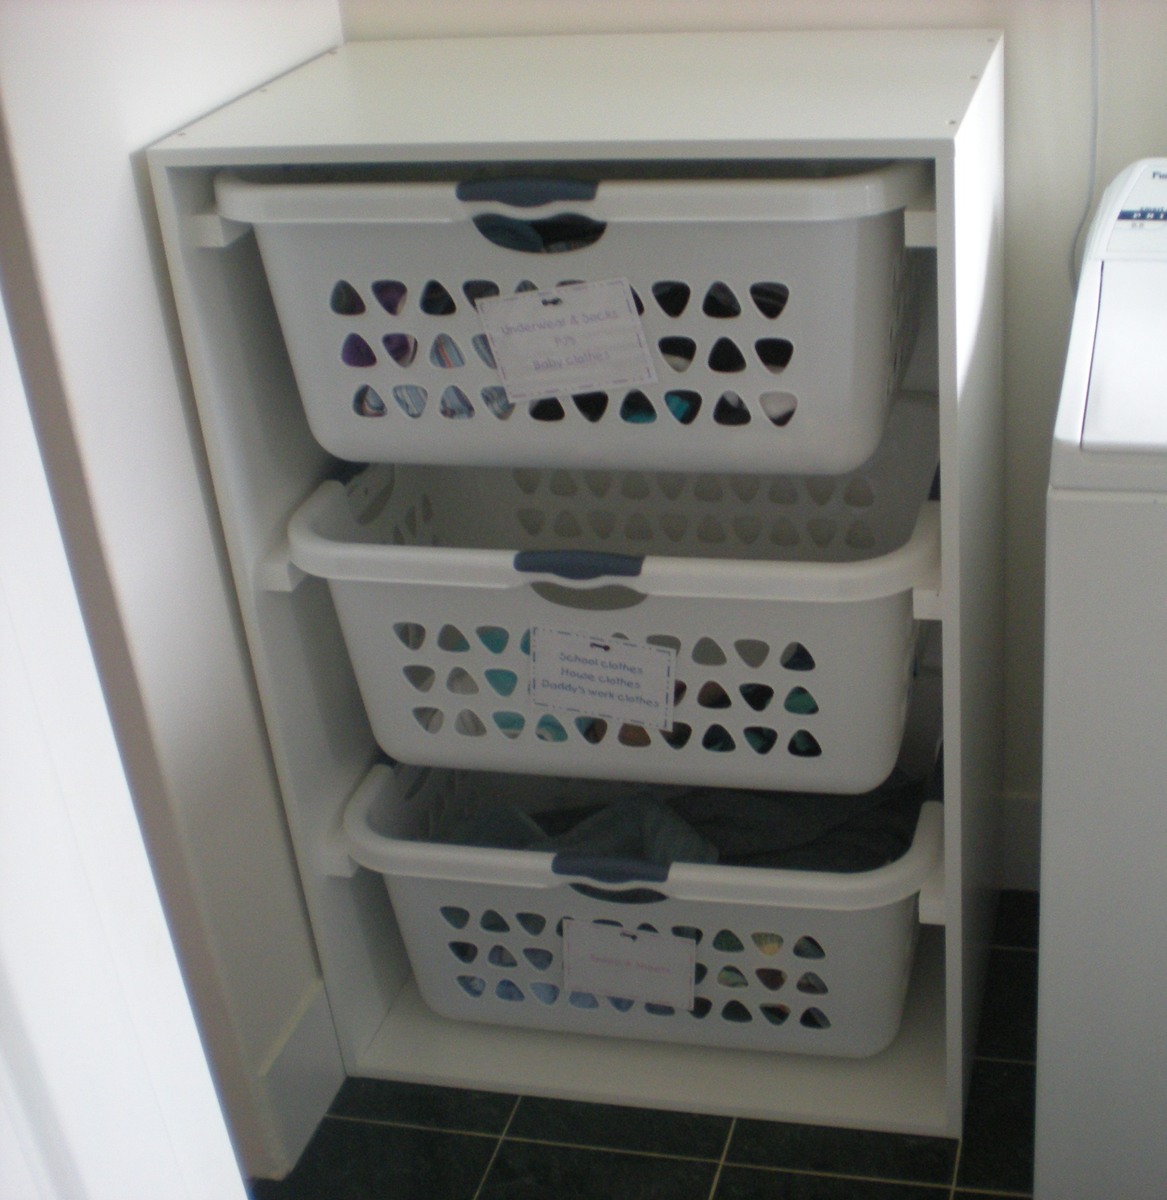
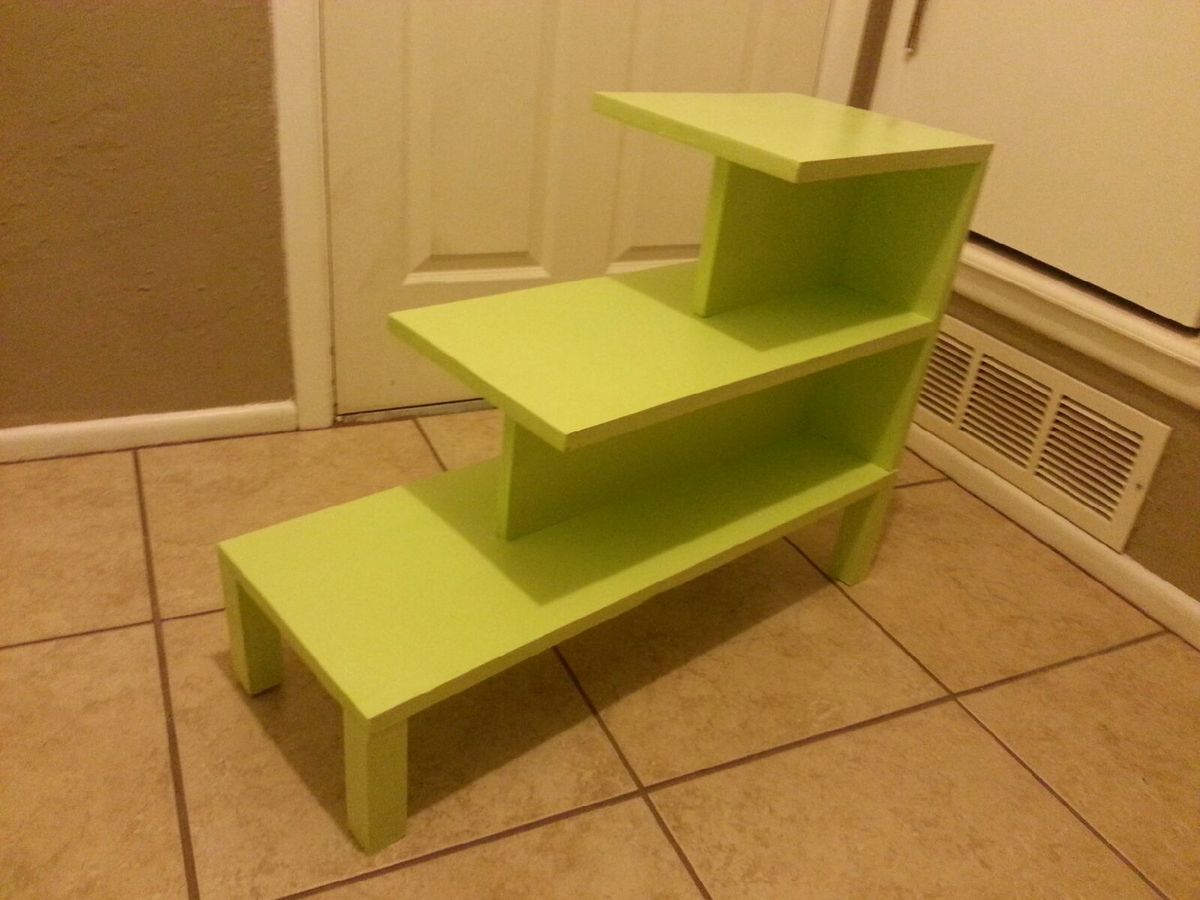
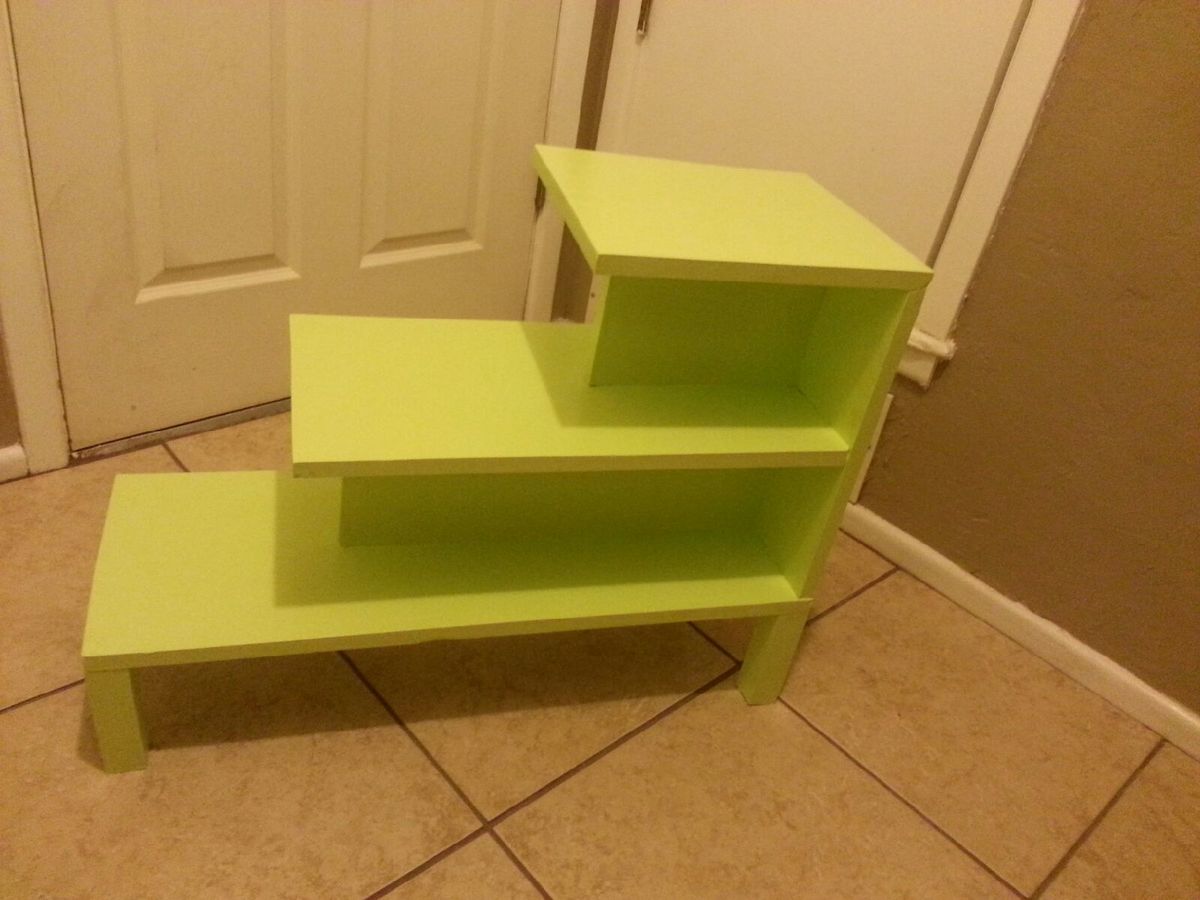
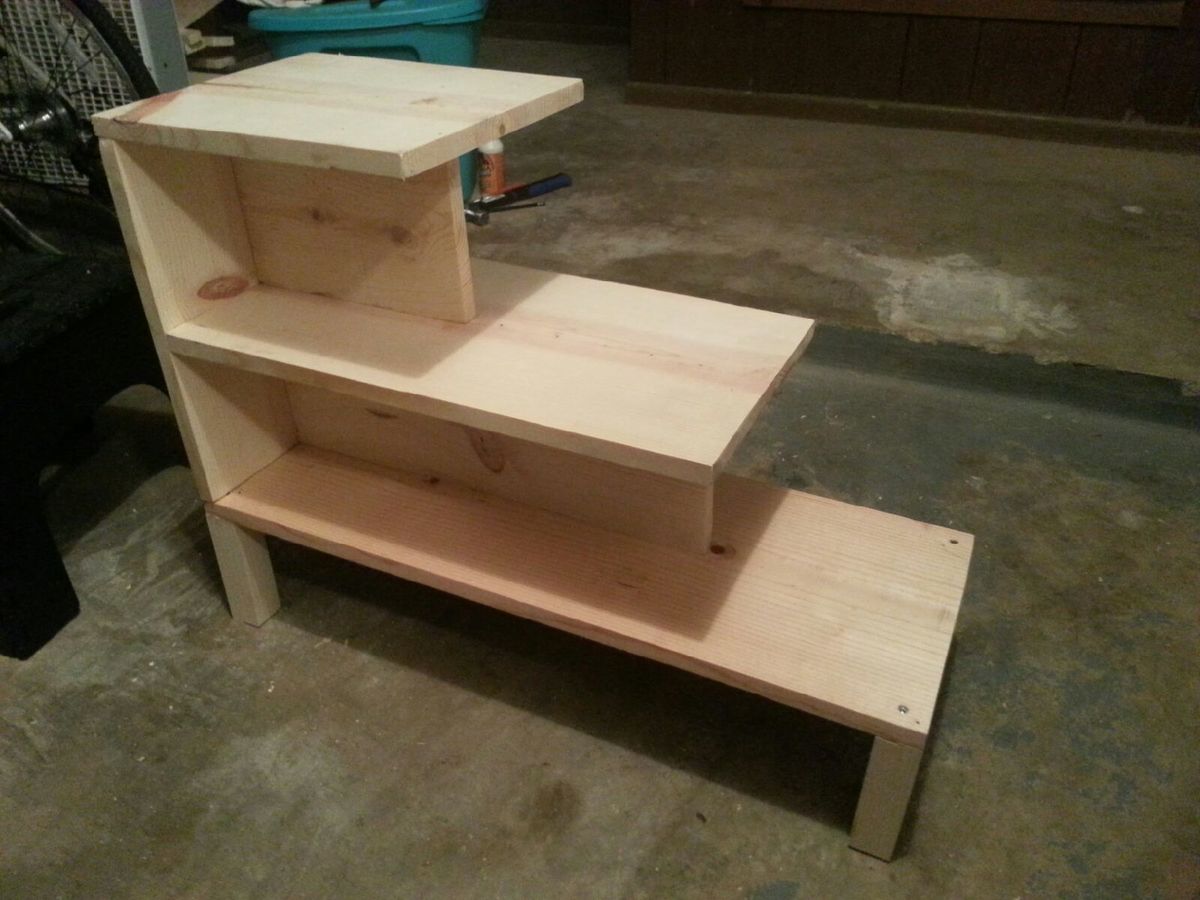
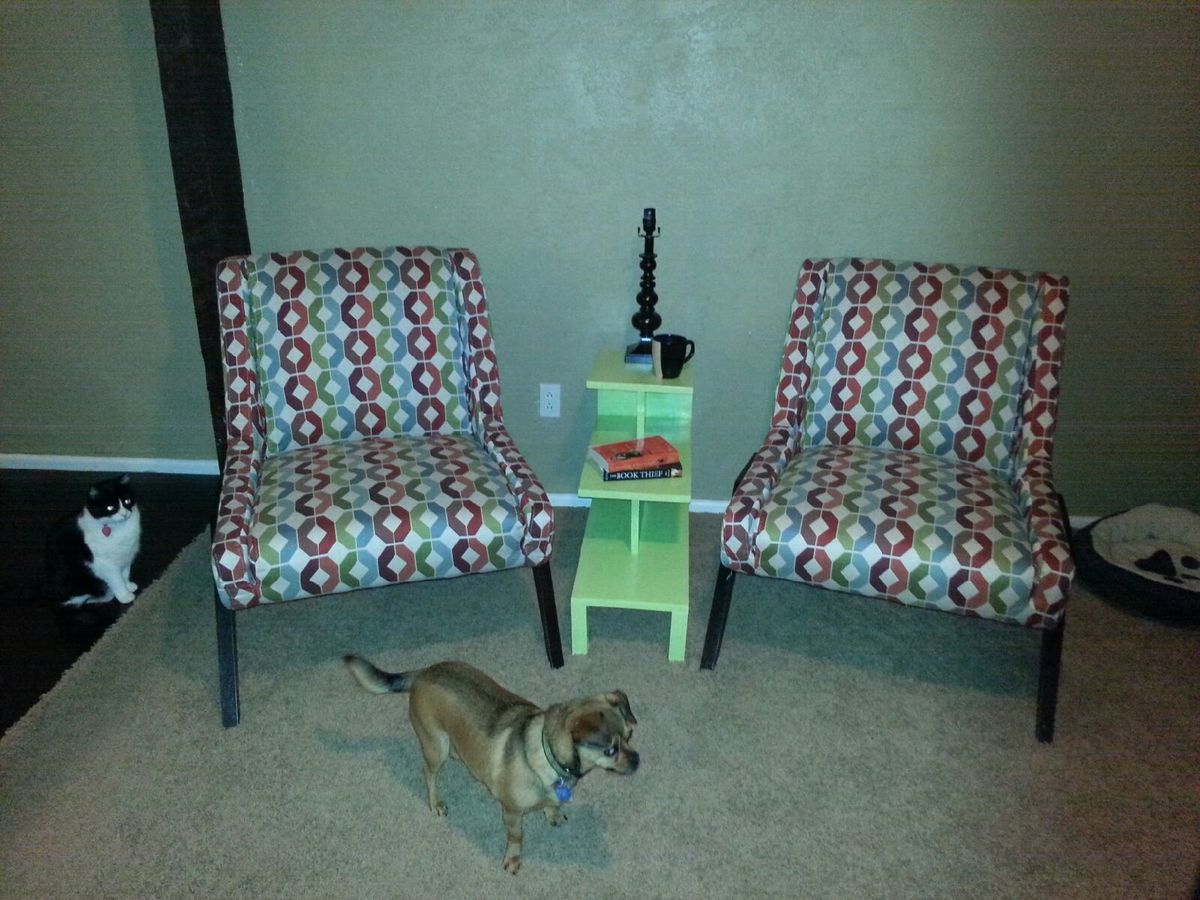
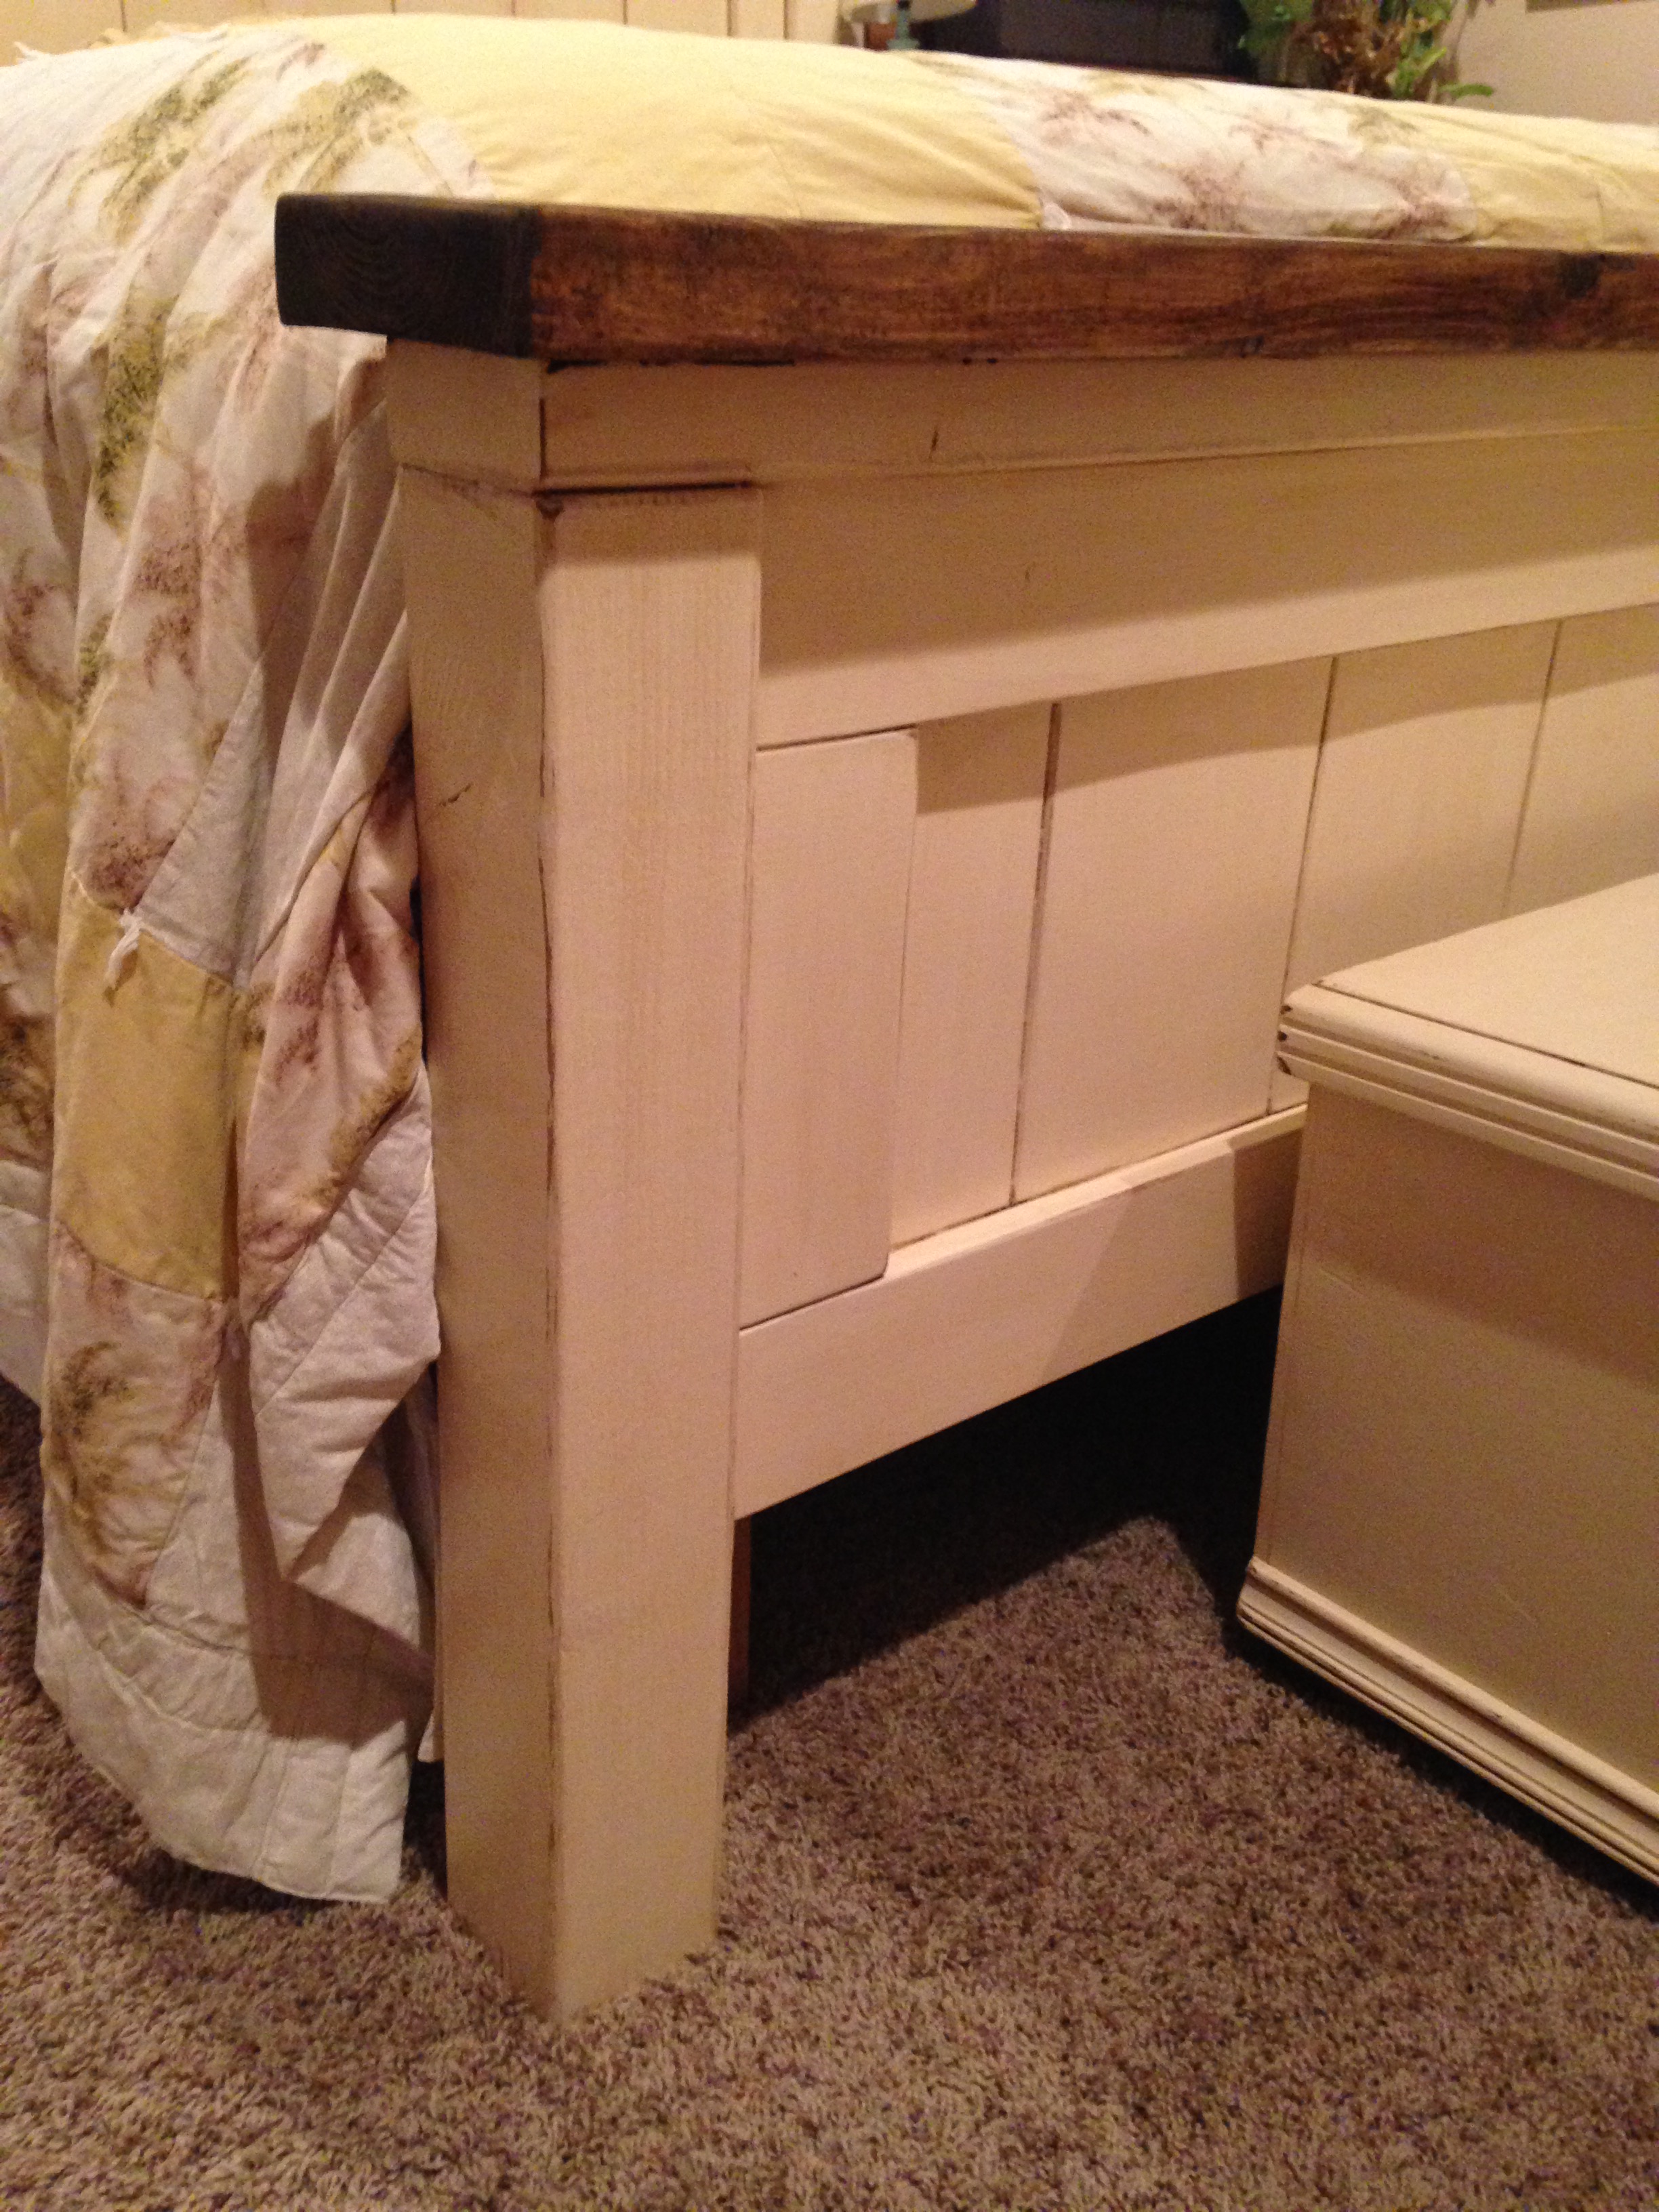
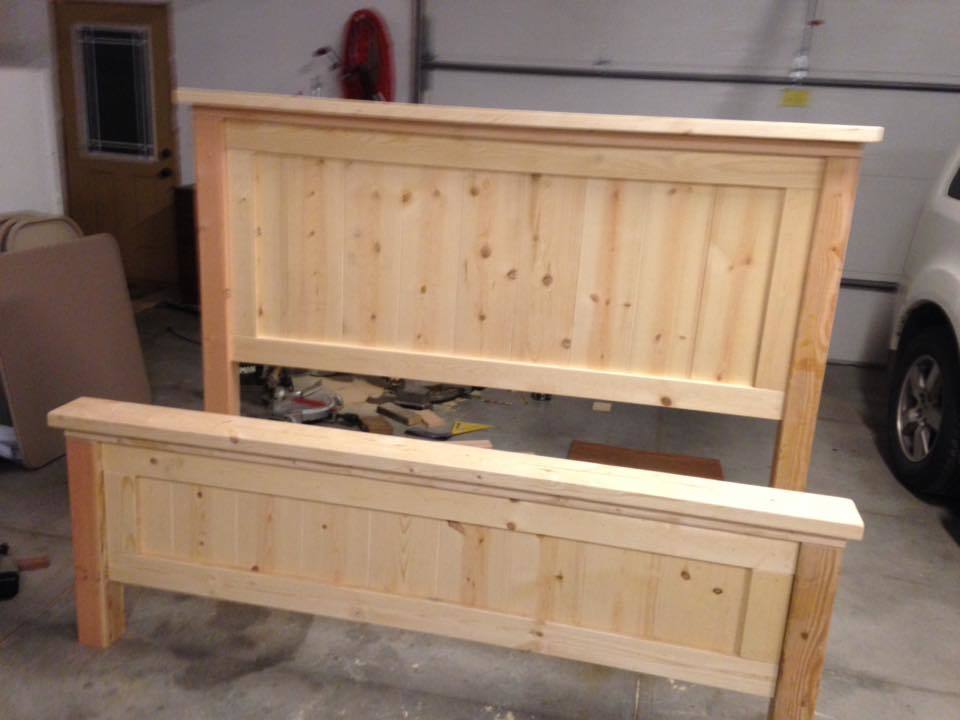
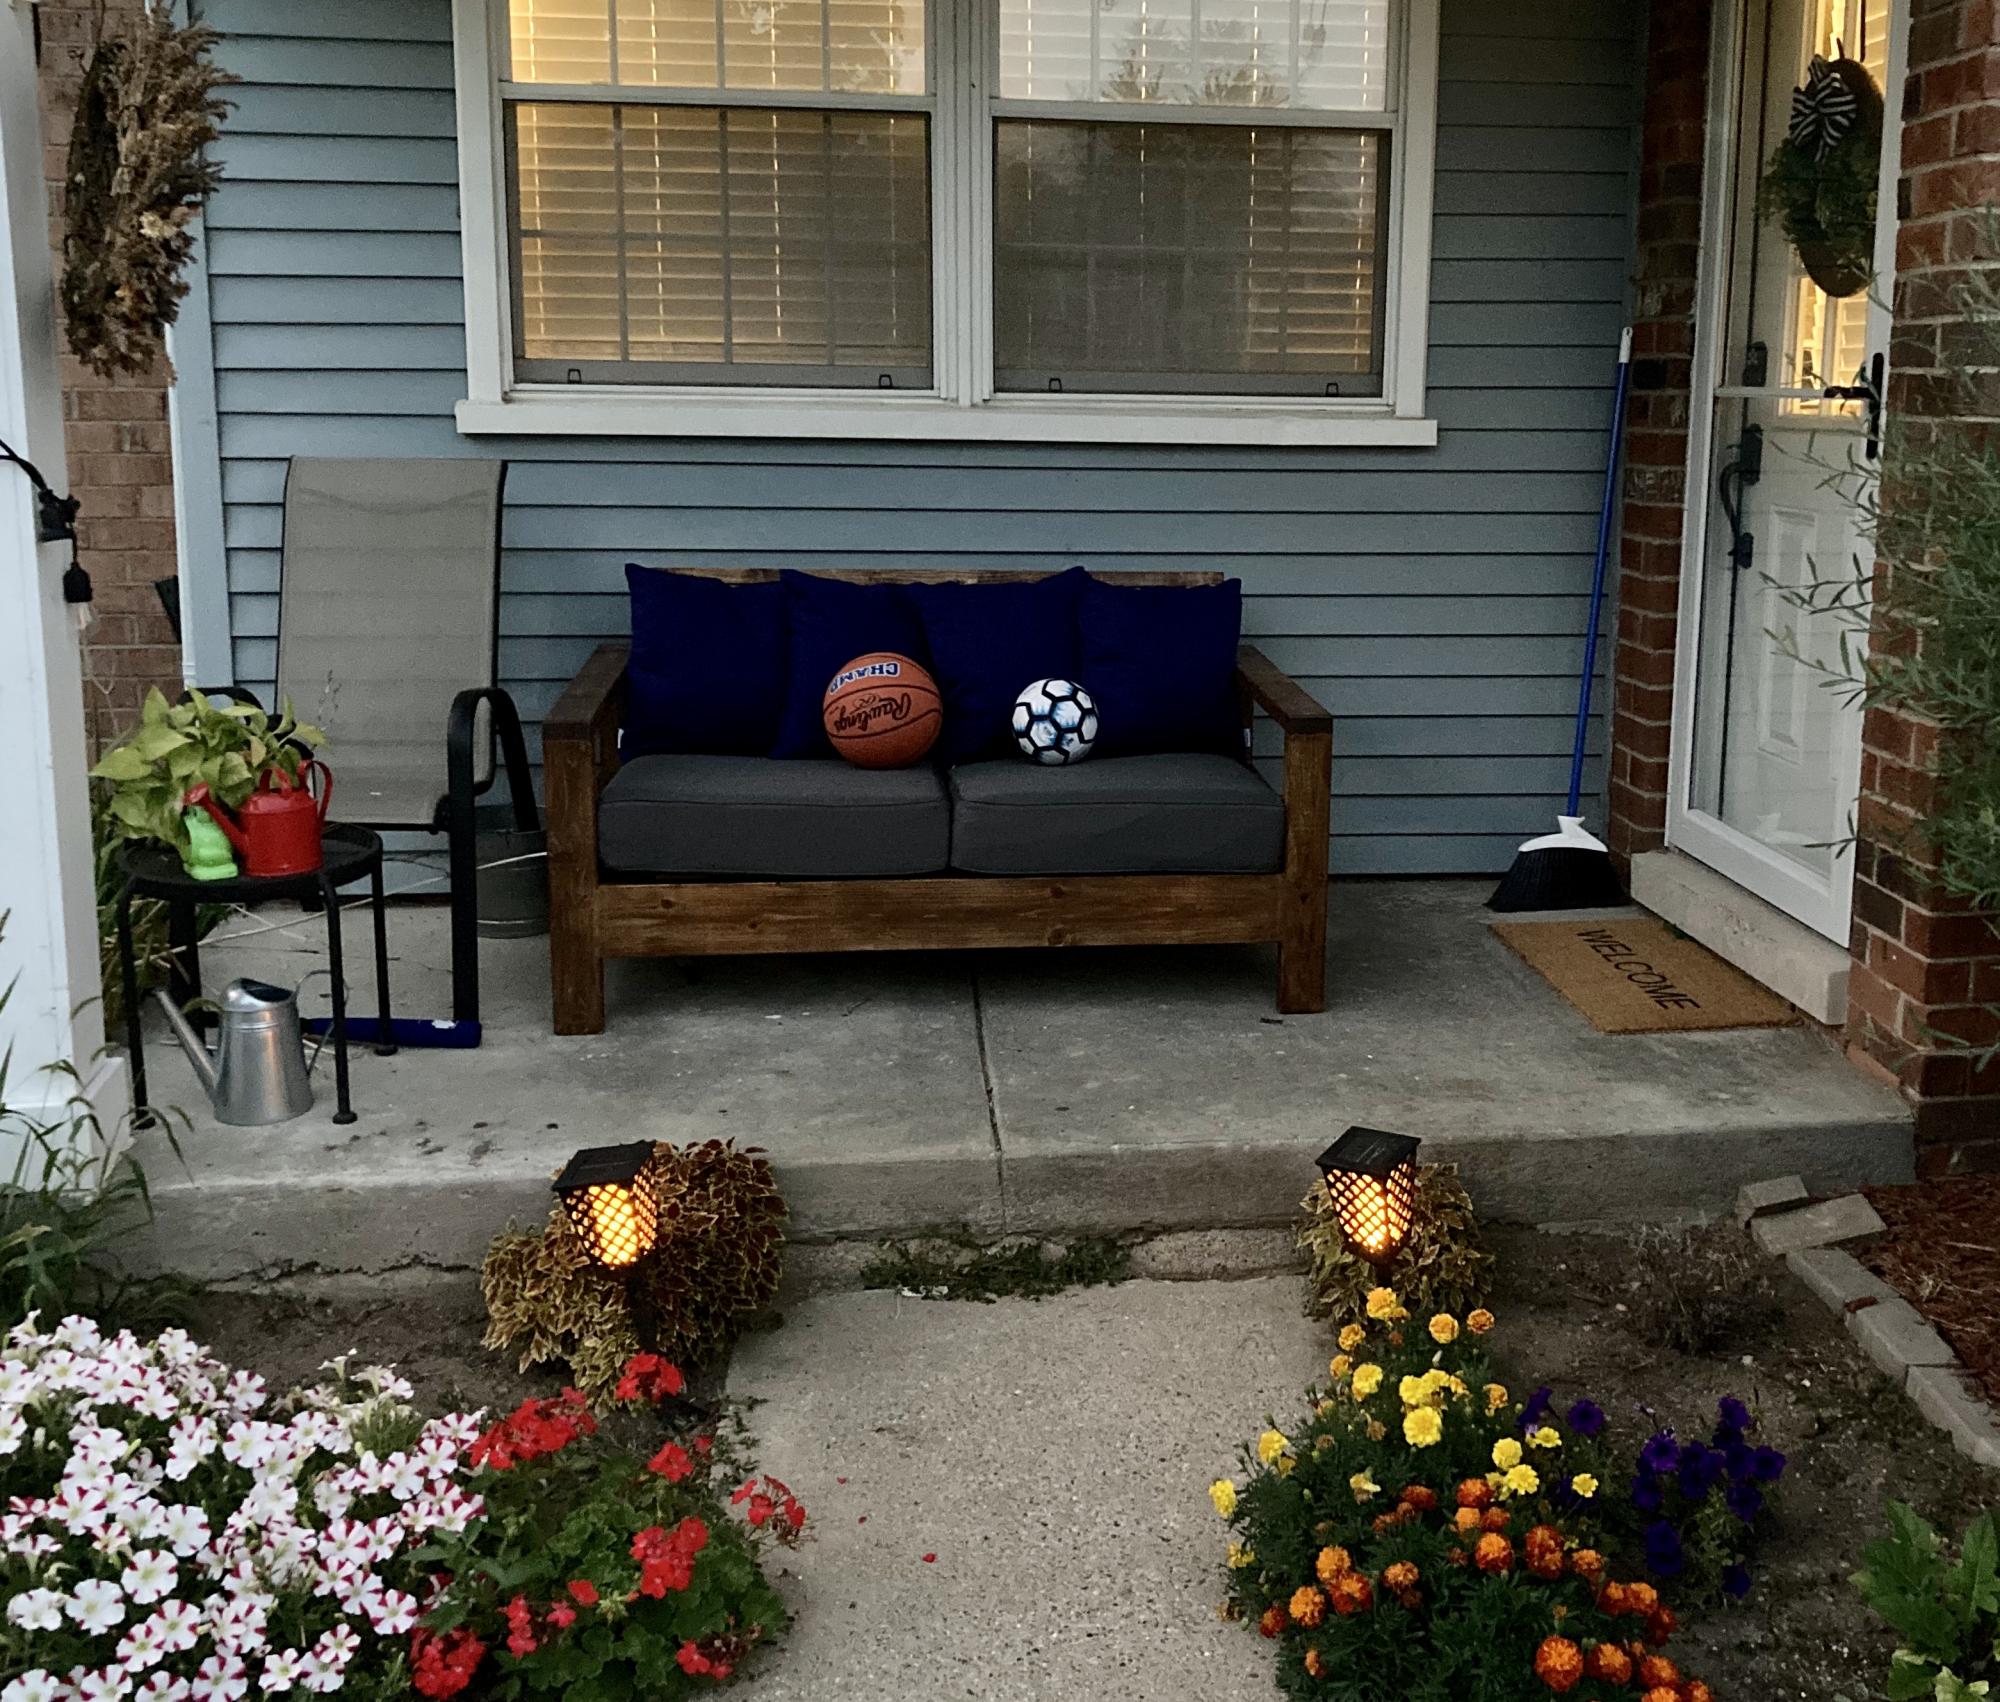
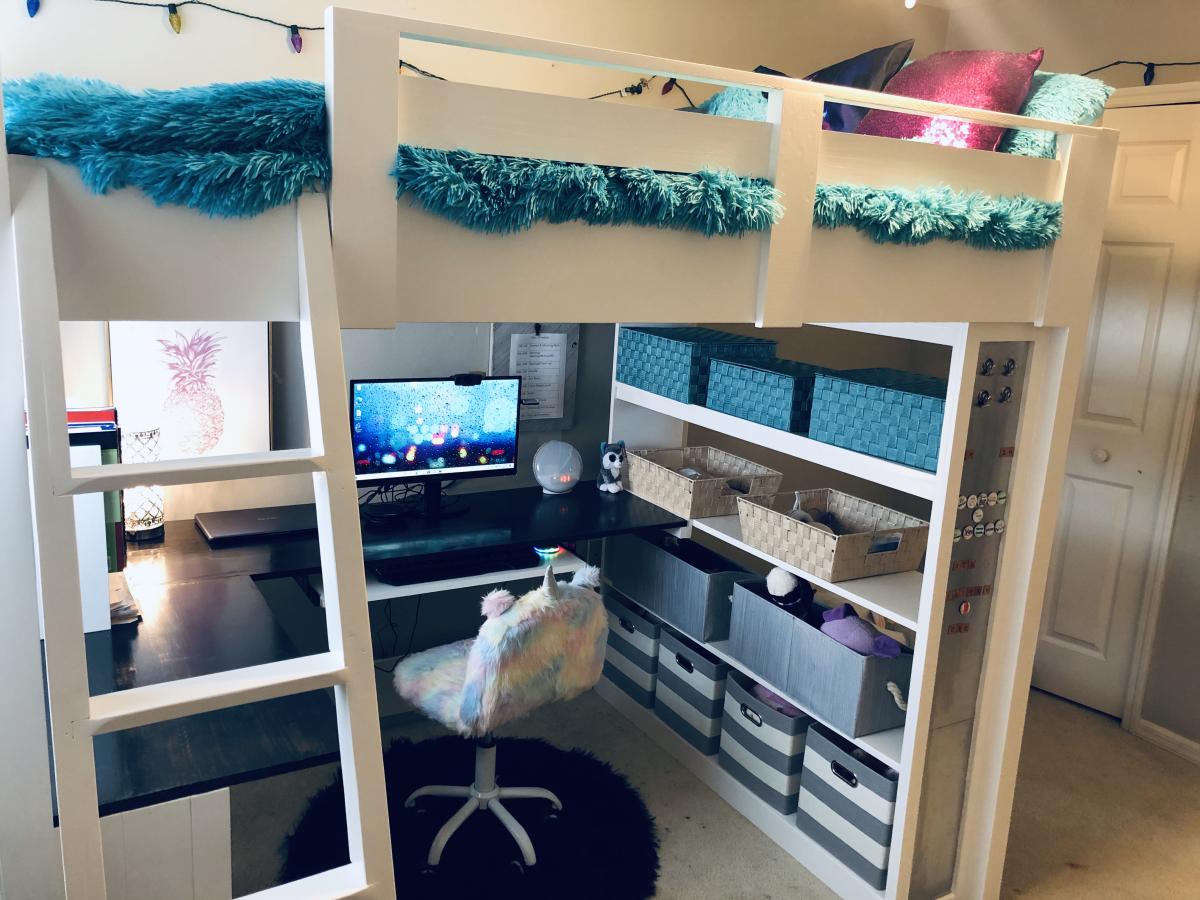
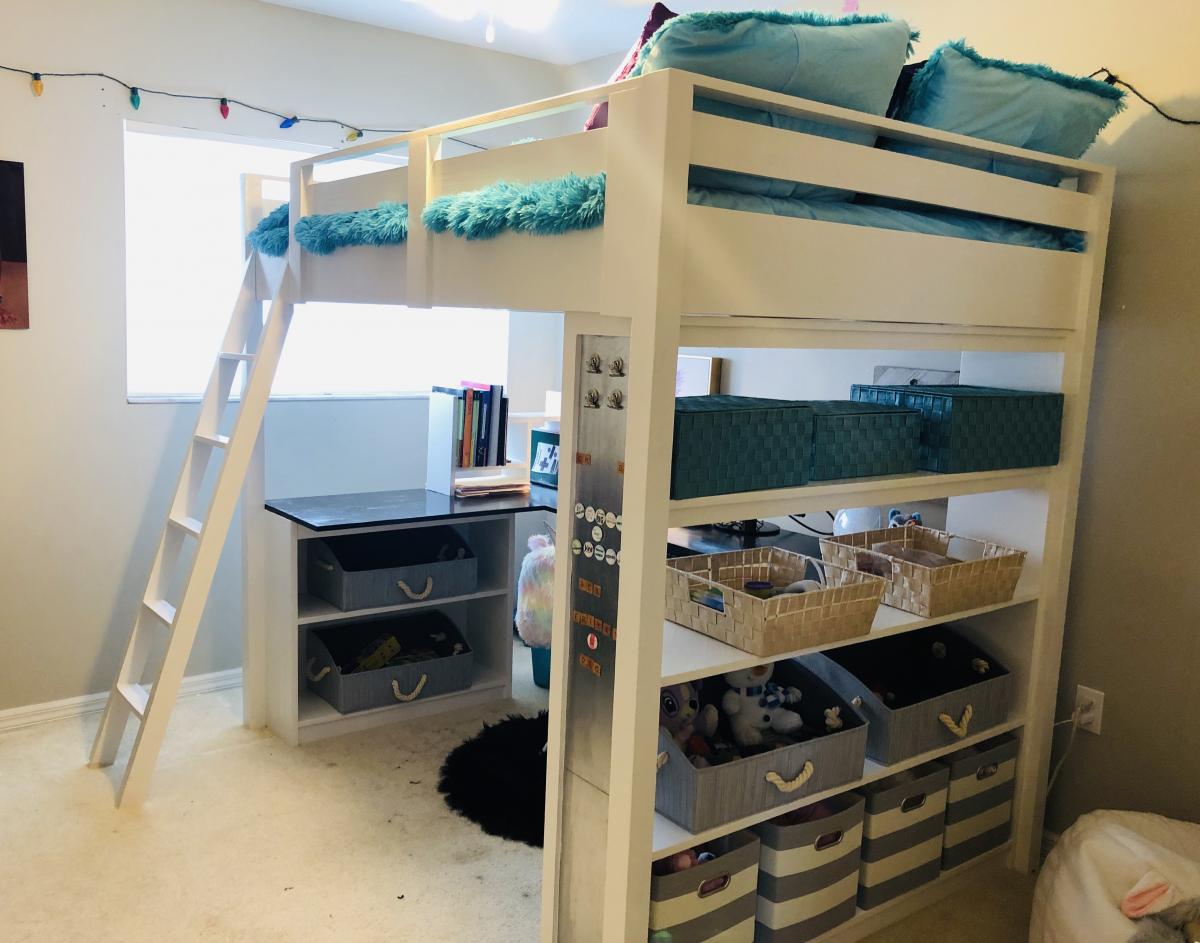
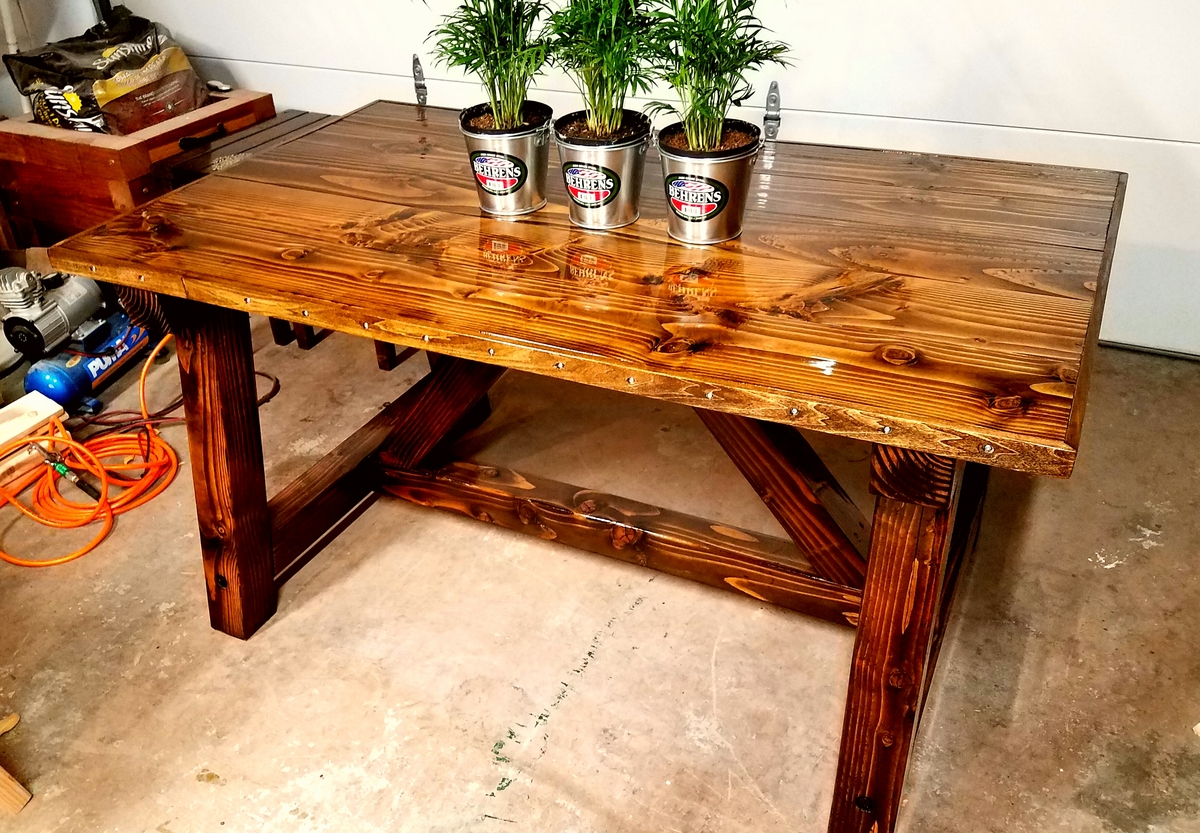
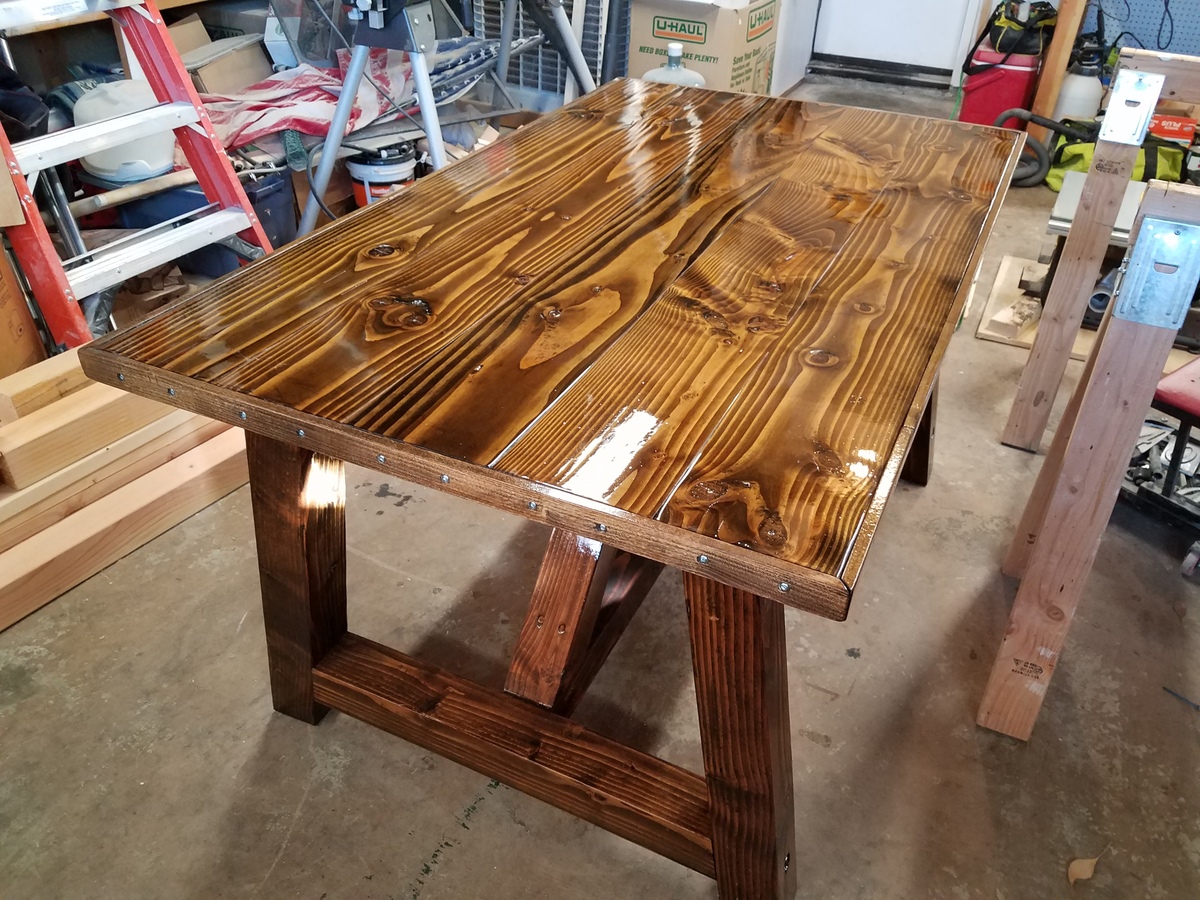
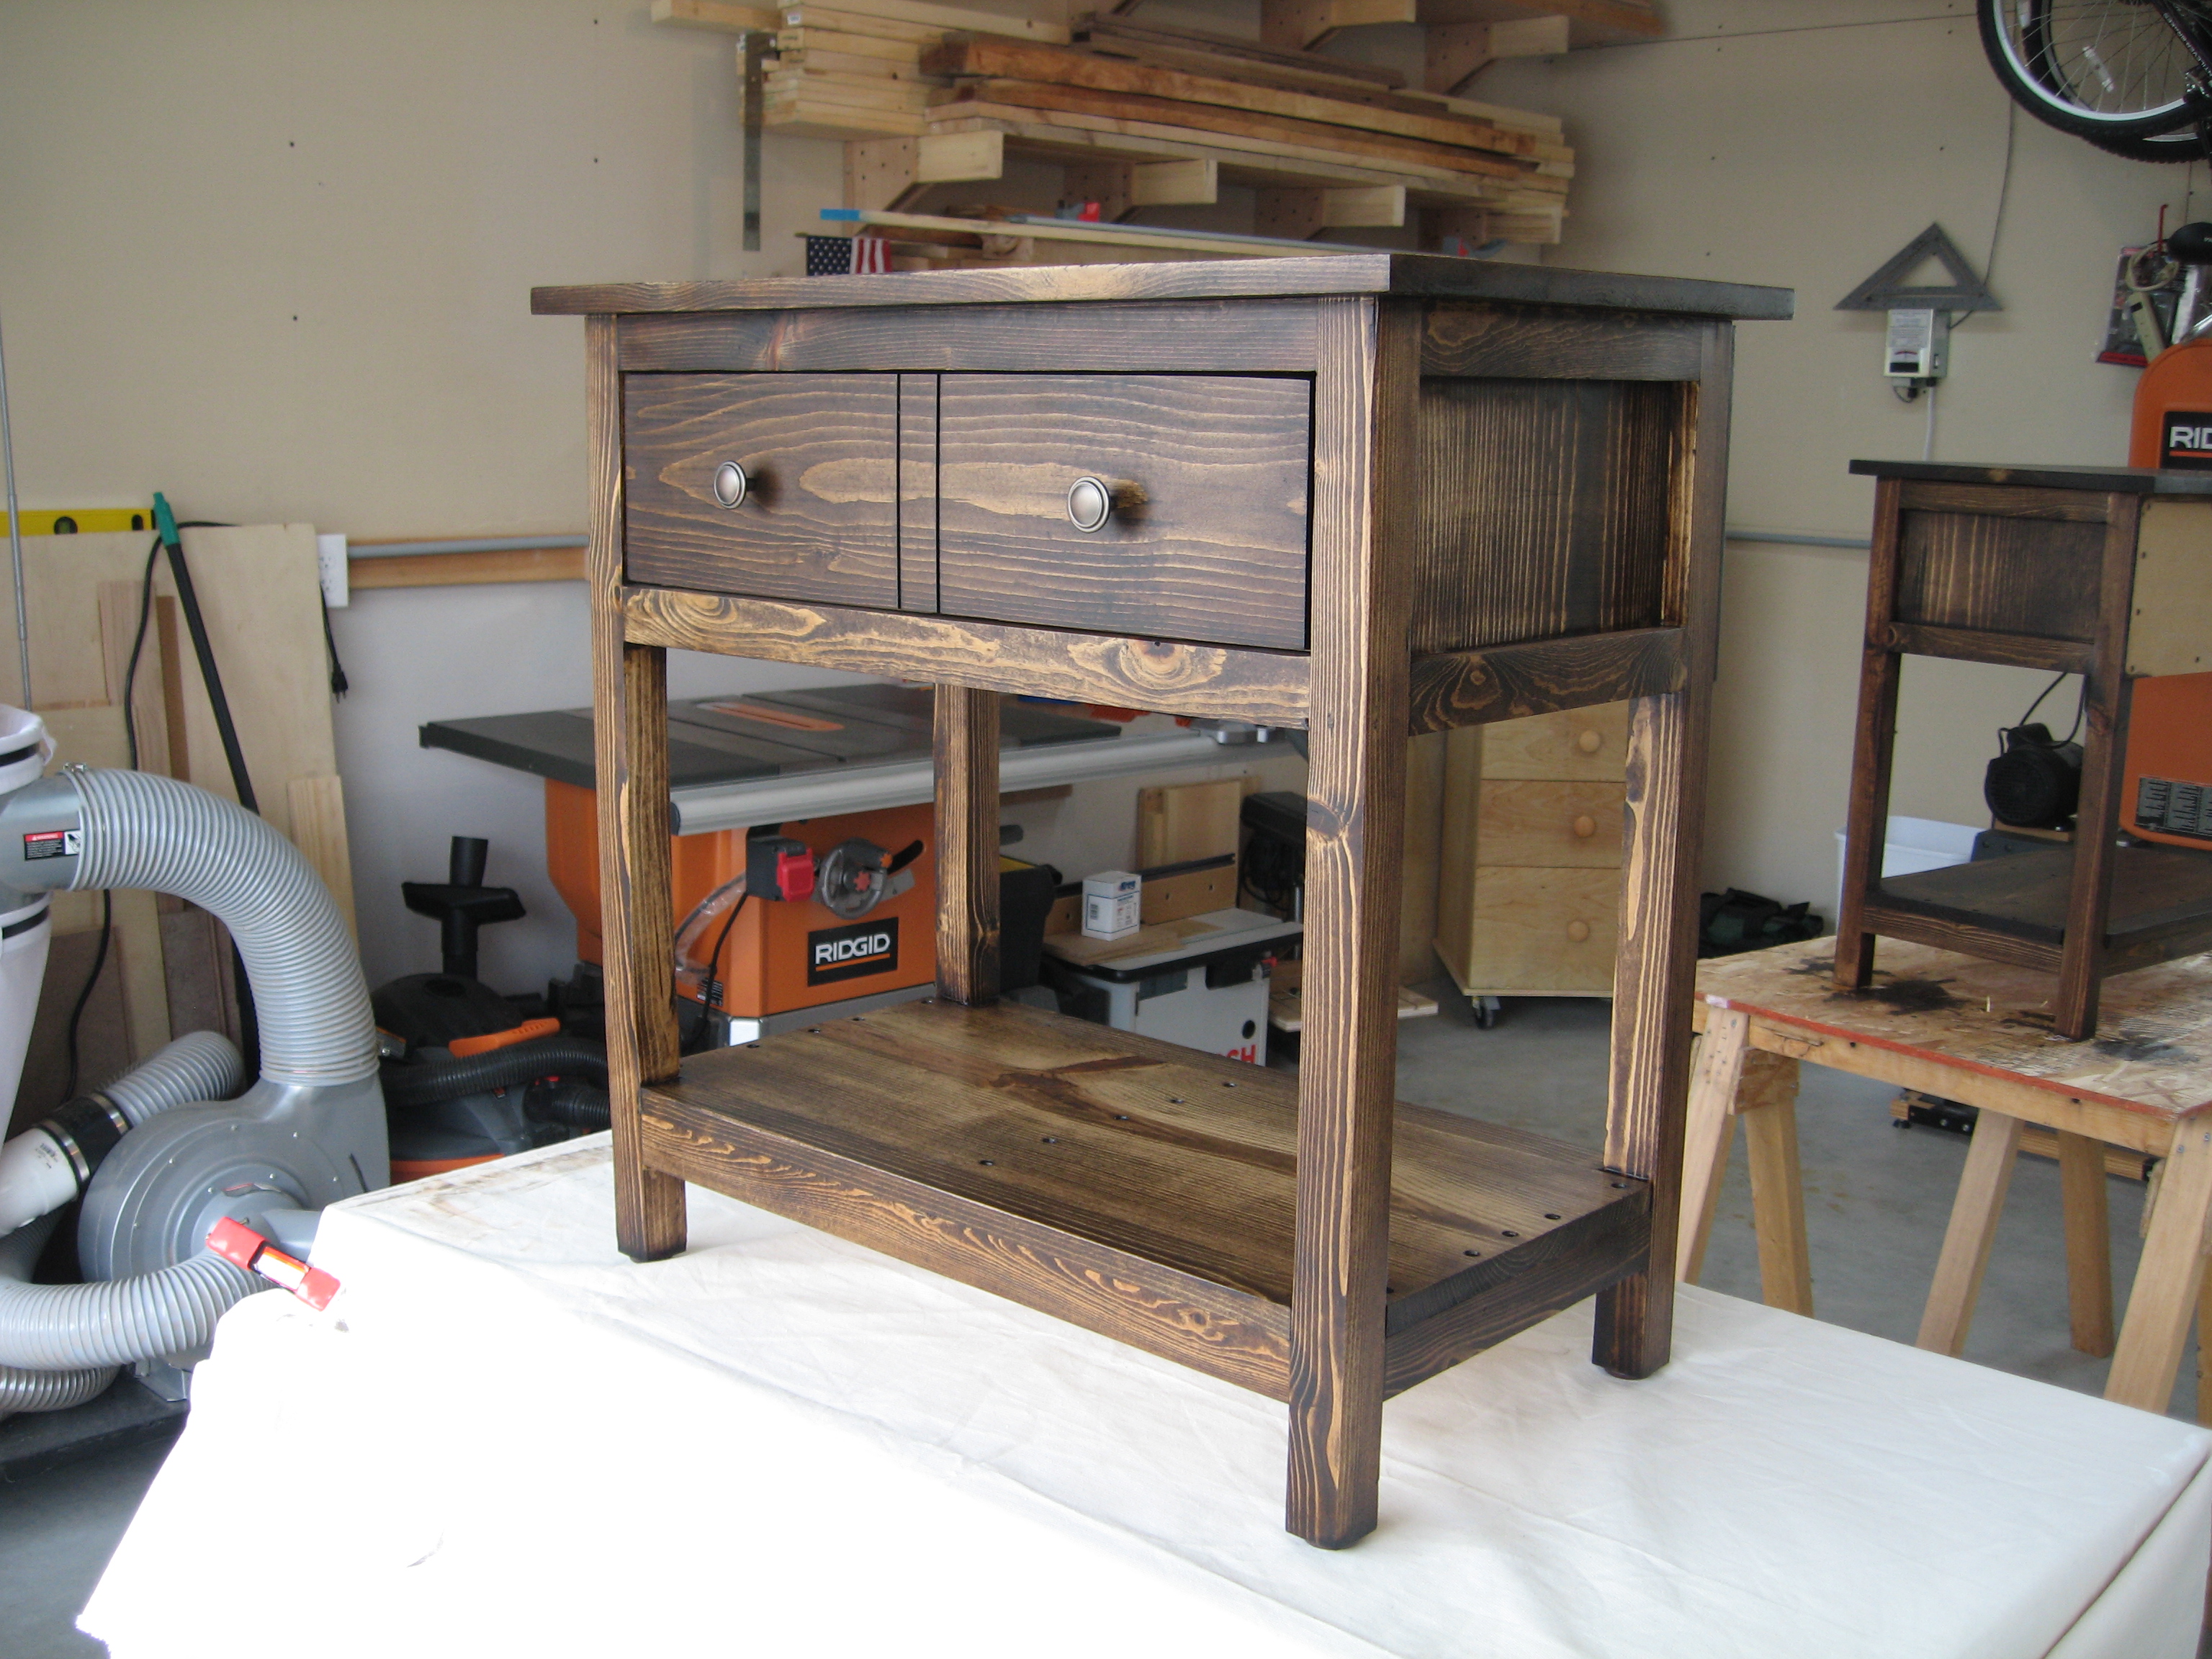
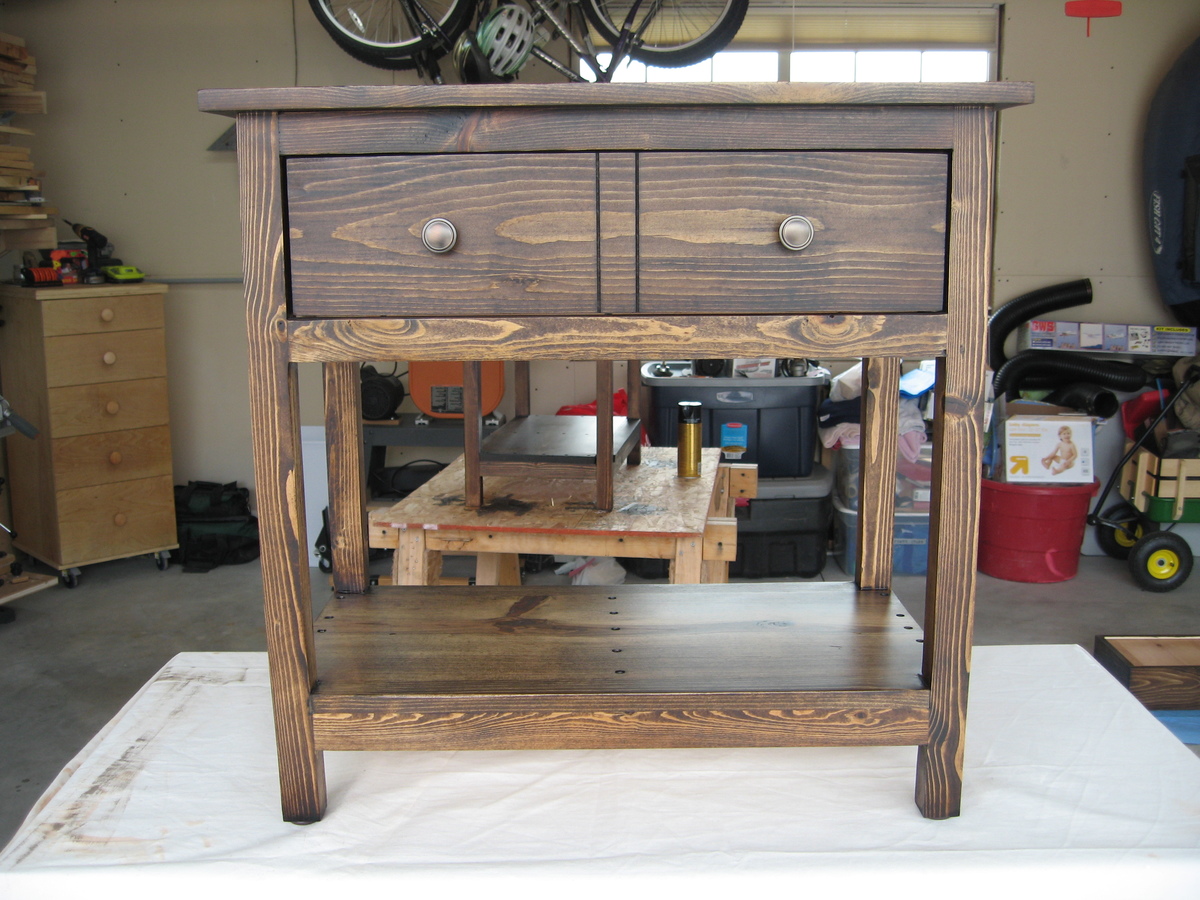
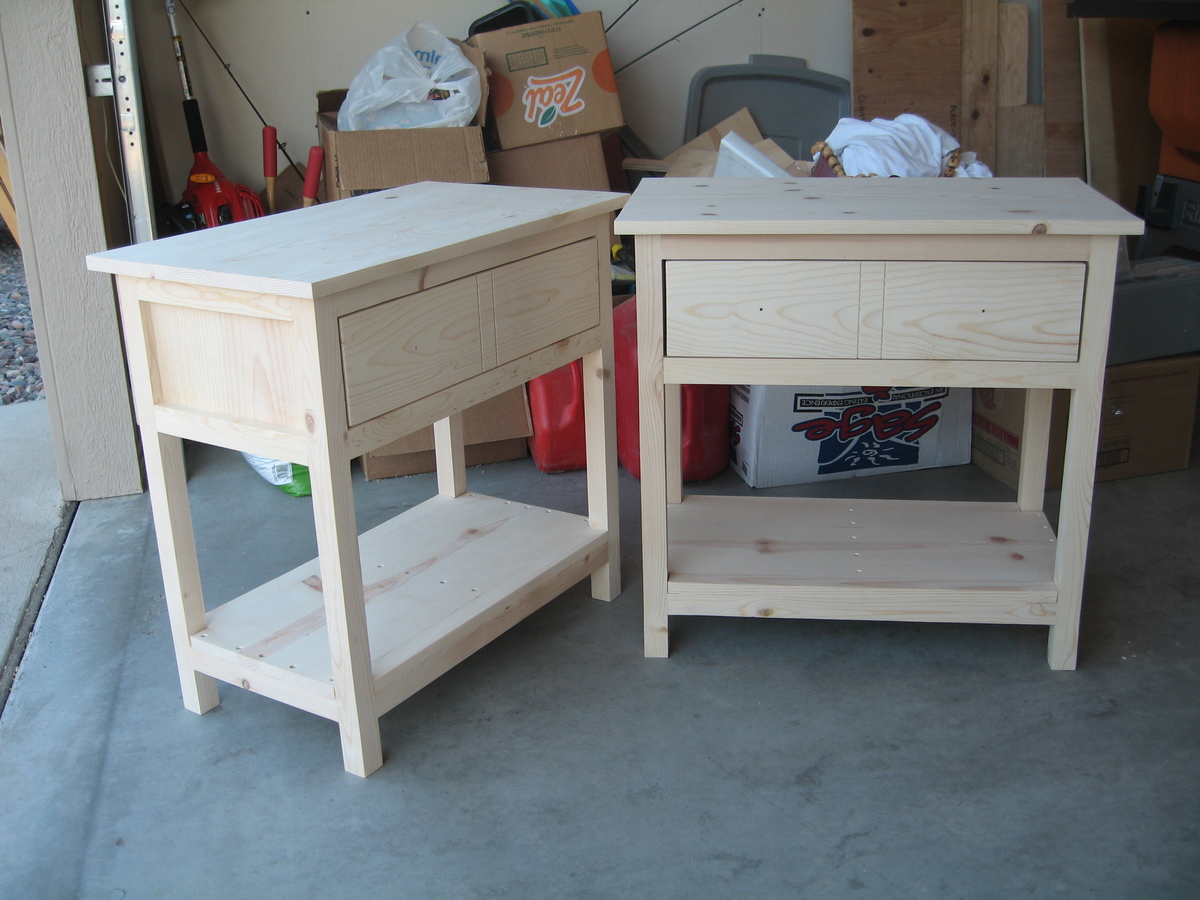
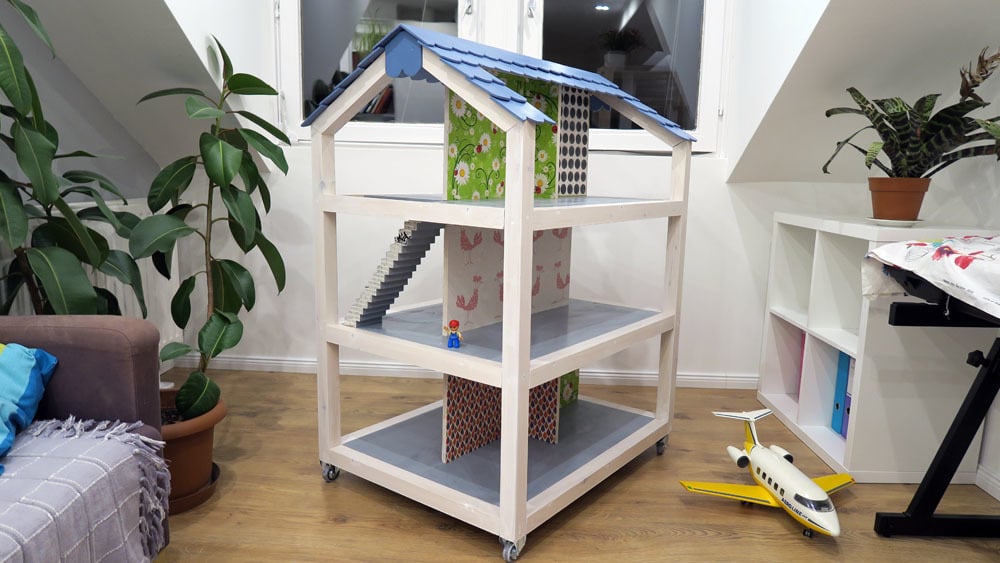
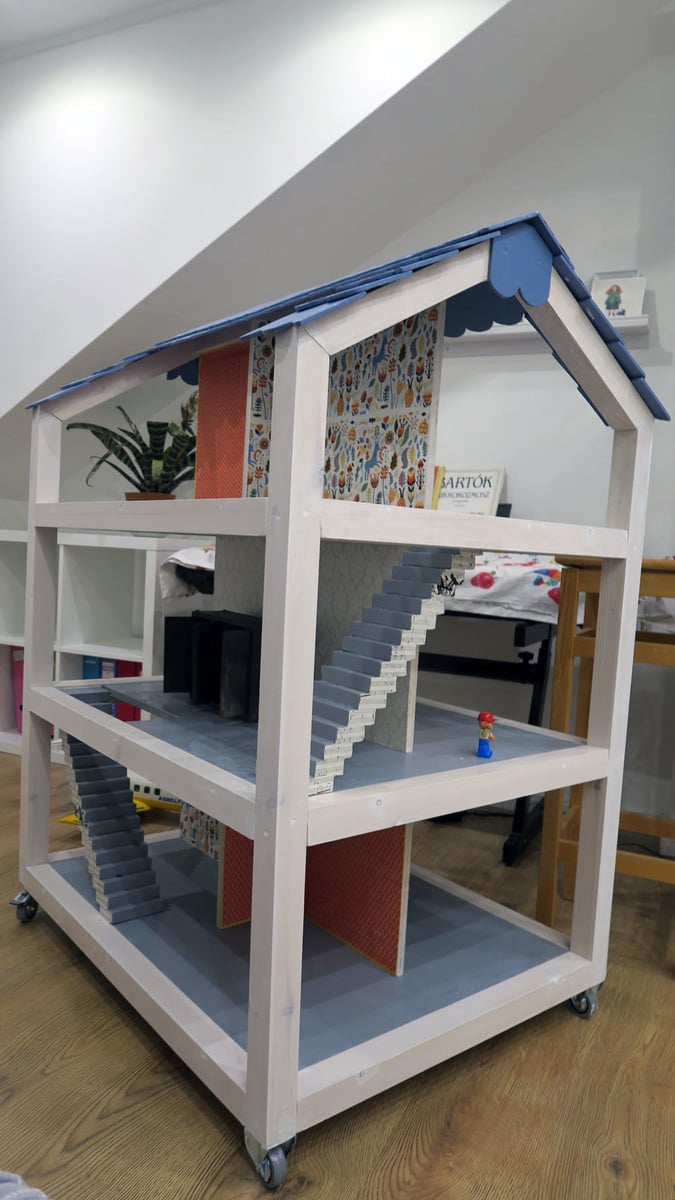
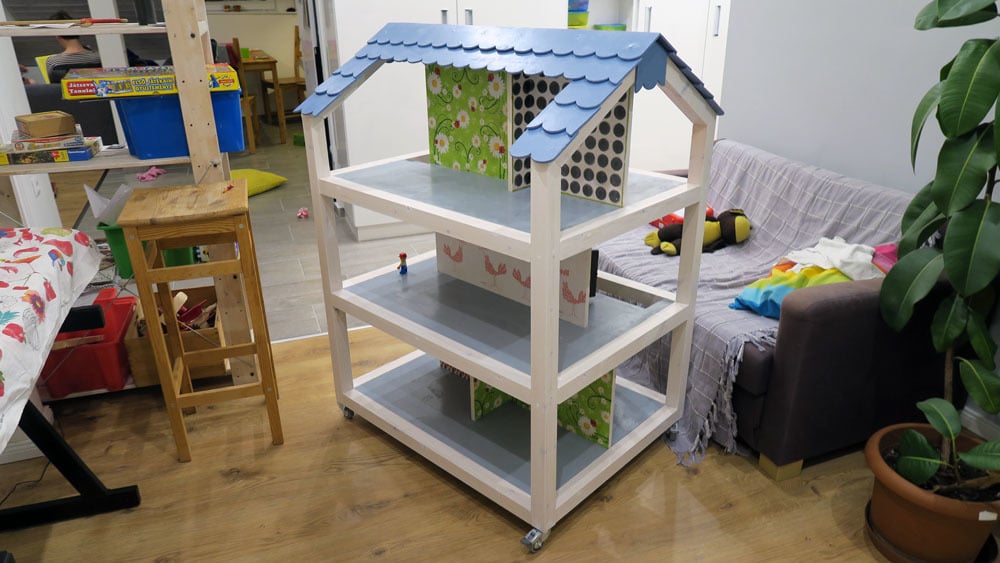
Canopy bed
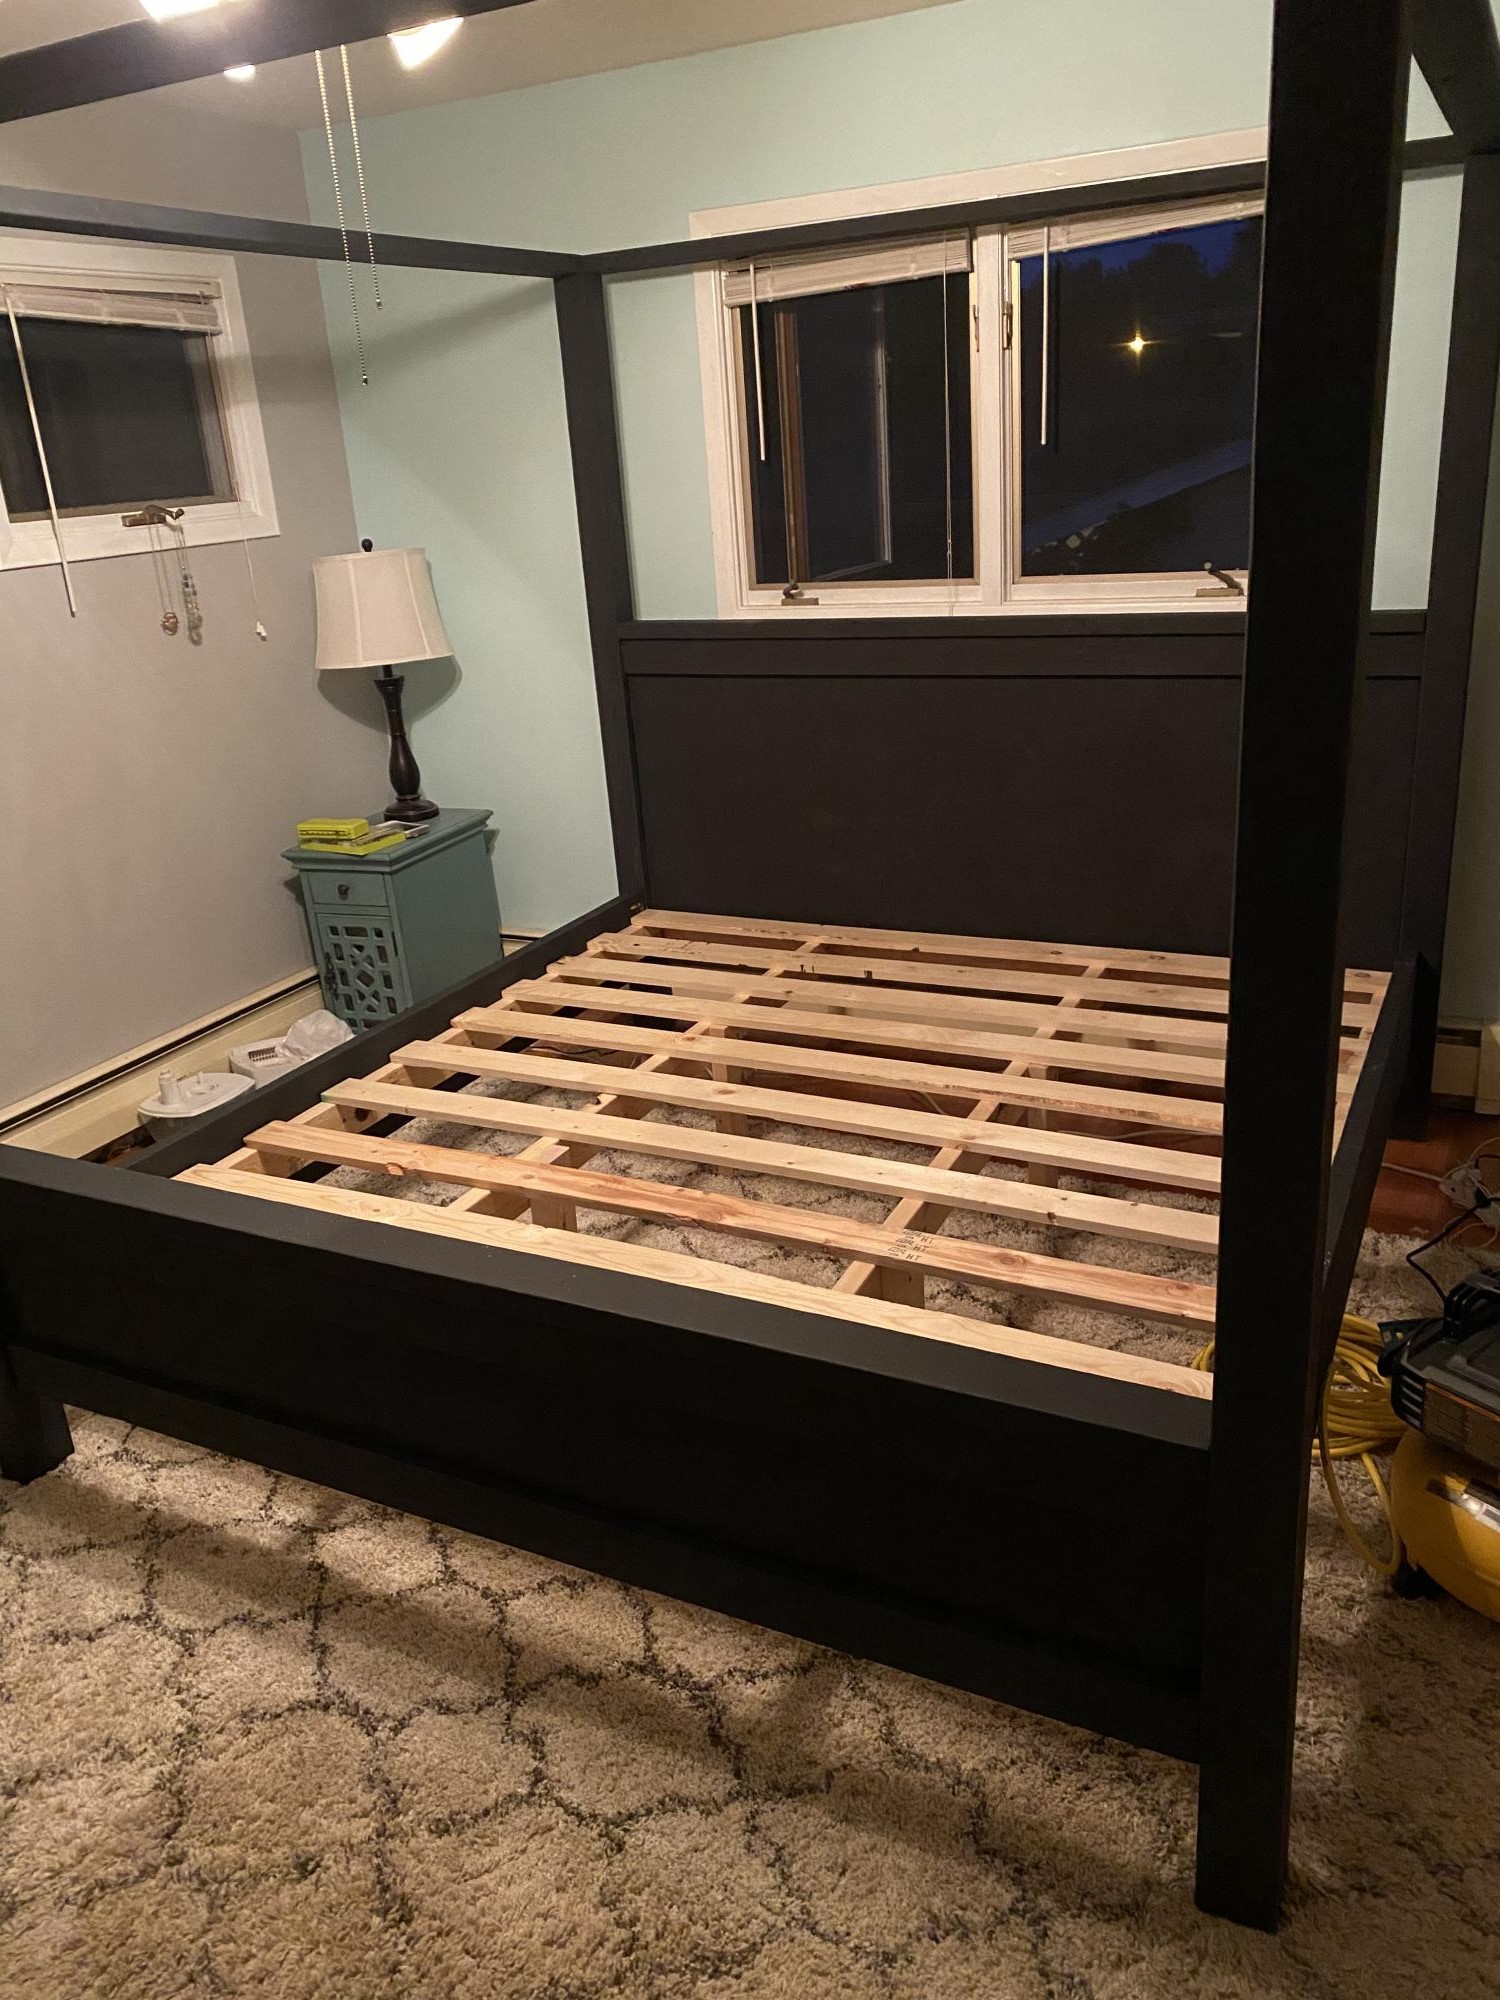
Another project for my wife. She loves it and I loved building it. Fairly simple.
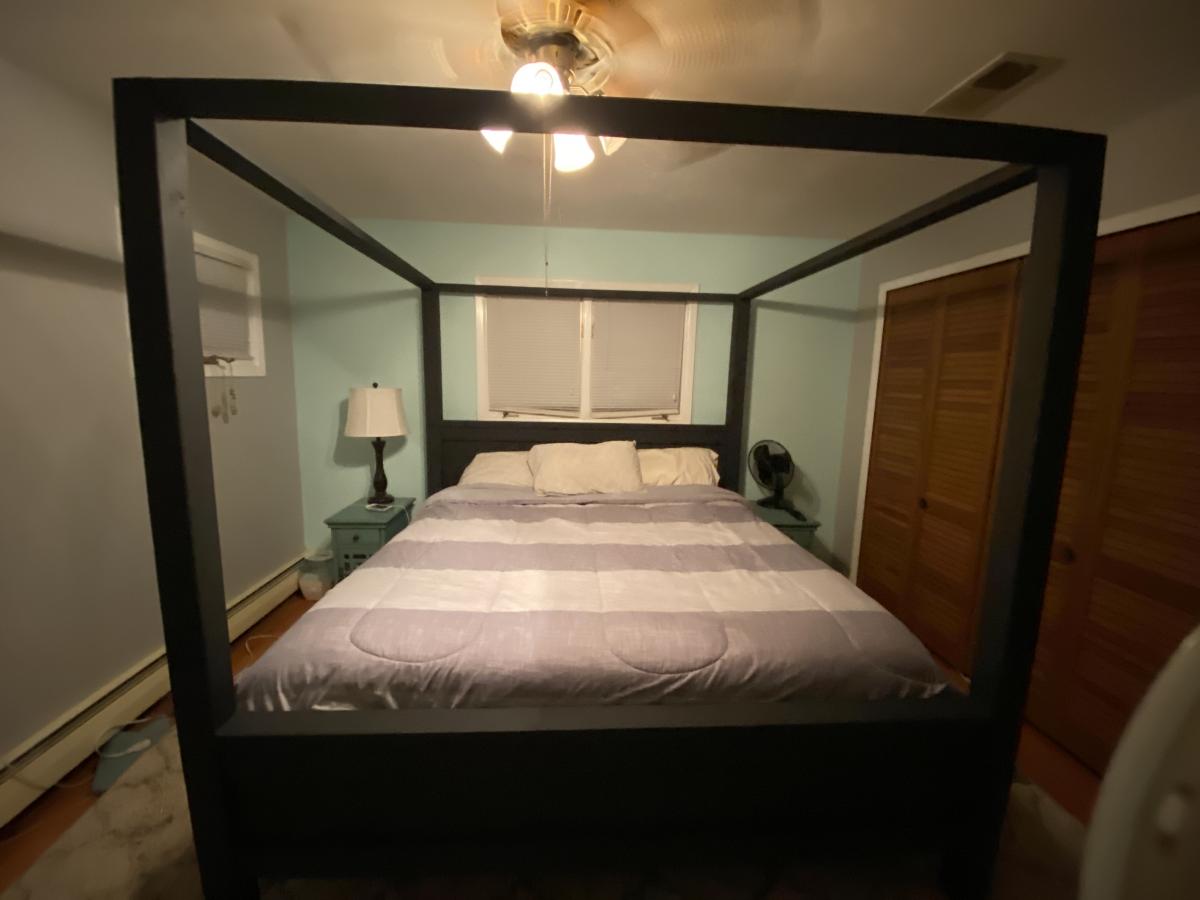
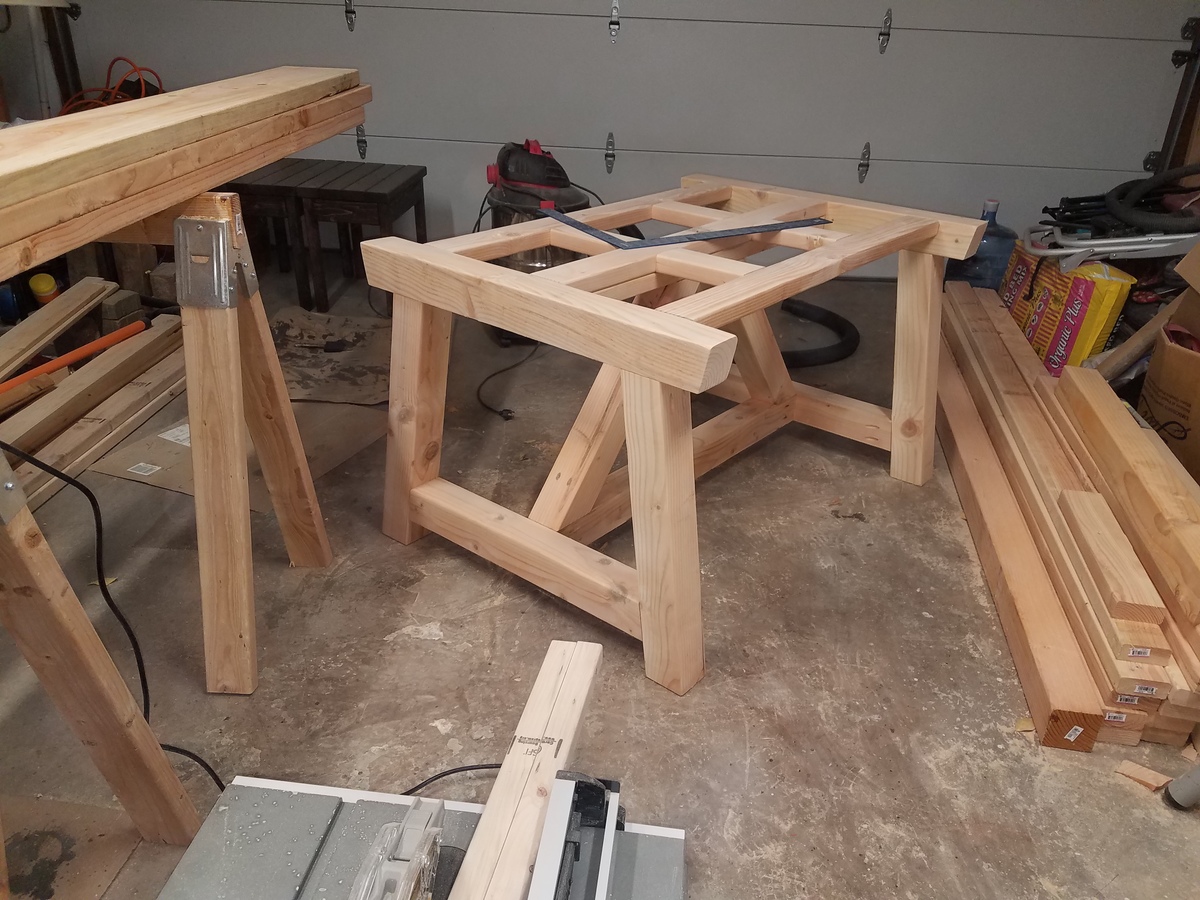
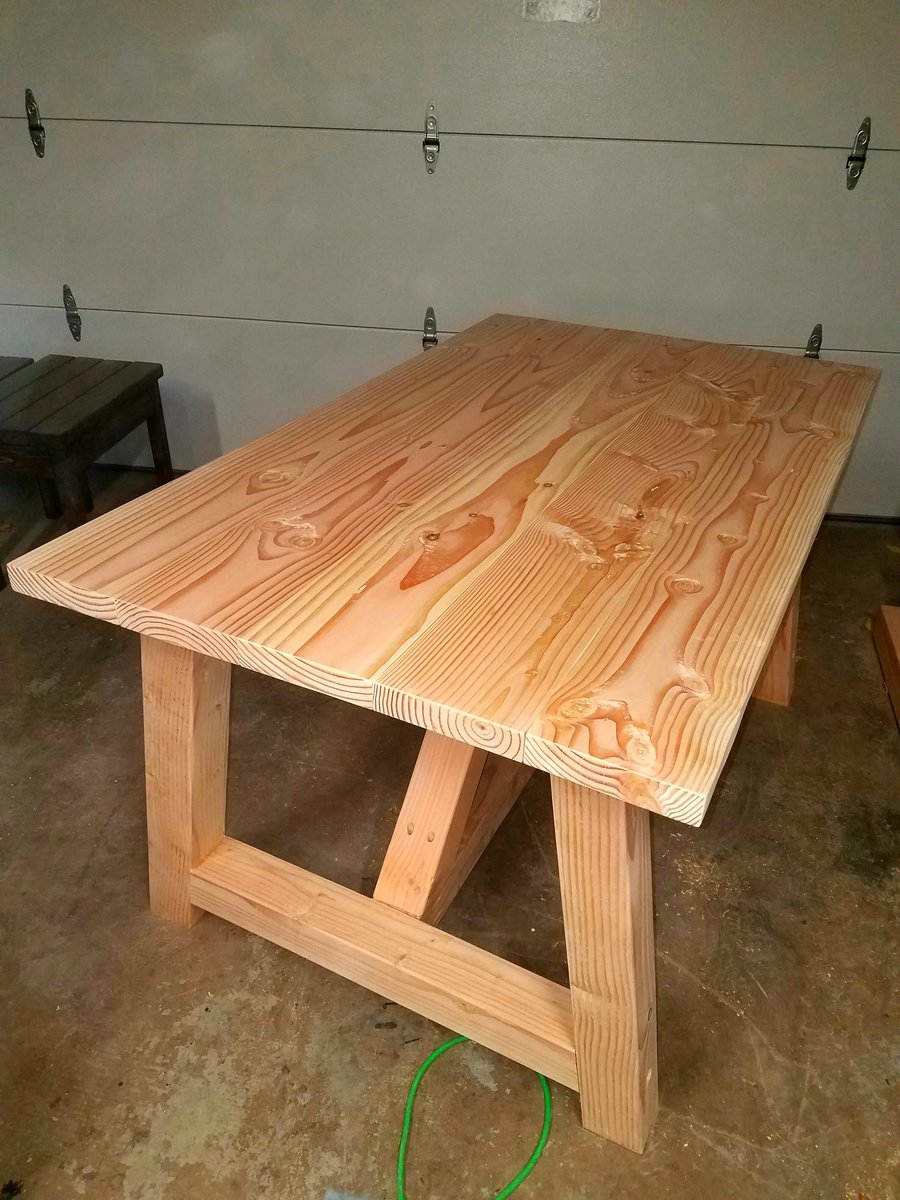
Really happy with the final product and the hubby is glad I have finally finished a project. This project was an answer to the piles of washing crowding our small laundry. I found 3 sturdy family sized (huge) rectangular laundry baskets for $10ea at Kmart and then used Sketchup to adjust the plans to allow for the bigger baskets (Sketchup is so much fun to use). I ended up having to buy an extra piece of wood for the top because I forgot to allow for the thickness of the sides when measuring the top and base. (I know, I know, measure twice cut once...) I used the piece I had cut for the top as the base and then got a new piece for the top. When I finally got all the pieces cut to size it all went together pretty quickly. I used melamine for the box because it was cheap and I wouldn't have to paint it. It did chip a little bit along the edges when I cut it but it's not too bad. I used 30 x 30mm pine for the basket supports and had to countersink the screws 1cm so I could use 30mm screws. I used iron-on melamine edging to finish the exposed edges of chipboard and used paint on the back and supports. Actual construction didn't take long but the painting took about a day by the time I'd done one basecoat and two top-coats.
Sun, 11/04/2012 - 02:17
Yey a fellow aussie ... love the job. i am going to try stetchup yet again, last time i tried it didn't want to play nice, did it take long to get the hang of? & the melamine ... did you get it at bunnings & did they cut it for u?
Mon, 11/05/2012 - 01:06
Thanks for the feedback. I cut the melamine myself. I clamped a straight edge on top of the melamine (allowing for the distance from the edge of the saw to the blade) and then used my jigsaw to cut. My local bunnings didn't seem too interested in cutting specific sizes. They were happy to just cut lengths down so I can fit them in my car but said their saw could be inaccurate up to 10mm from one end of the cut to the other. (Personally I think the guy just couldn't be bothered) Since I wanted my project to be square I figured it was much easier to just do it myself.
With sketchup I just play around and learn as I go. I got the hang of it pretty quickly although I'm still figuring out some of the more complicated stuff like using the protractor tool to do angles etc.
In reply to Thanks for the feedback. I by rosiejane
Mon, 11/05/2012 - 01:38
Thanks for that... very helpful. yes bunnings, all depends on the assistant hey! Definitely going to have another go at sketchup... must conquer it!
Thu, 01/01/2015 - 22:05
I love this. These baskets are very sturdy. Is there anyway you can post the measurements. I have never made anything but this looks perfect. I have never used sketch up. Please let me know if you are able to post the measurements. Thanks!
For my second-ever project, I built the step-up side table! It actually came together much faster than the "updated simplest console," which is listed as a starter project. However, I learned the importance of keeping square on this build!
I don't have a Kreg jig, so I followed the steps in a slightly different order since I couldn't do pocket holes. I also avoided ripping plywood to make 1x16s by using 1x12s instead. The dimensions fit my narrow space between two chairs better this way.
I LOVE this easy build and modern design. I'm pretty sure the cats are going to try to take it over, though. Thank you, Ana!
I have loved this bed since I first saw it probably 8 years ago. Hubby finally got it built for me. It took him one weekend day. I was able to get the finishing done in a couple of days with plenty of dry time between coats of finish. Thank you Ana for this amazing plan!
Used cedar fence planks. These were pretty cheap at Home Depot. My husband wanted to use them for another project, but ended up not needing them. So instead of returning, I used them! I needed a caddy to hold a planter well over 150lbs. My husband and I had to load on a dolly to move around. It was made out of 2 planks and I added copper wheels (each wheel holds about 80lbs) from Lowe’s. I had a few extra planks, and made an herb window planter...I’ll post on that too!!
I used the plans from the Camp Loft bed and adjusted to exactly what I needed. Two twin beds in a small bedroom without losing any floor space. I found the slide on craigslist while I was building this and it made the best addition. I also added a shelf along the base of one bed for the boys to have a play table and adds stability to the base of the bed to keep it from rocking.
Mon, 11/05/2012 - 17:38
Great Bed! Can I get the plans the way that they were modified? I am a beginner and definately need the step by step plans. This would be great for my nephew's!
Wed, 11/07/2012 - 14:09
I just made the first bed as the plans had. Instead of doing the stairs I just did an extra 2x4 across the legs so they can get up onto the platform. For the 2nd bed I followed the same instructions as the first but only doing one end and the rails (made a giant L) then flipped and screwed right into the side of the other bed. I used pocket holes all around so it went together very quickly.
Wed, 11/07/2012 - 20:57
I really like this bed!my boys will love it! I am a beginner can I please get the plans and tell me how to make the bed with 5 feet high for more space
It will be my first time I can't wait. Thank you !
Mon, 06/24/2013 - 10:36
I have scoured the web for this loft for my two youngest girls! As I am terribly untalented at drawing up plans PRETTY PRETTY PLEASE WITH SUGAR ON TOP make your adjusted plans available? I have until the end of next month to build this for my princesses birthday and I'm more than a touch frazzled that I cannot find these plans anywhere. Take pity on the less talented and please post your plans? Or email them? [email protected]
Thank a ton in advance!
Mon, 12/08/2014 - 13:48
Great work with the modifications! Can you please share the new plans for the changes you made or let me know what exactly that you did to achieve the finished results. Thanks in advanced!
Mon, 12/08/2014 - 13:48
Great work with the modifications! Can you please share the new plans for the changes you made or let me know what exactly that you did to achieve the finished results. Thanks in advanced!
Thu, 06/30/2016 - 20:16
I know it's been a while, but if you would share your finished plans, that would be great. We have the original camp loft, bought from someone else who built it, and we'd like to modify it to be an L-shape loft.
Used the simplest armoire plans -- great plans and relatively simple for a first-timer like me. Chalkboard paint on the doors made it fun for the kids!
I used the plans from this site with just a couple changes but the idea came from this plan here
Just wanted a nice looking bench to seat at the porch! This turned out great!
My very first build inspired by the Ana-White.com website. I would declare this as a success. Decided to make two laundry drawers and keep the bottom open for extra supplies. Perfect for our household.
After a lot of cutting, screwing, chiseling and sanding... oh and a lick of paint! My new little Saddle Seat Stools are complete. Time will only tell whether they will hold up to the abuse the boys give them especially Brodie! These new stools only cost me $48 to make the pair and I got all the timber from Bunnings
When my daughter was born I promised that I would make her a dollhouse. A few weeks ago I found these plans, and absolutely loved the visual layout of the rooms. I stuck with this layout and tweeked the dimensions according to what worked best for the space it would proudly sit in. It is 46 inches high and 31 inches wide at the walls, and is made from 12 inch wide MDF which I primed with a latex primer and then finished off with a semi-gloss white on the majority of the walls. I also mixed the colors for the roof and also the 3 accent walls to give it an extra wee shot of color.
I was very, very happy with the end result, and haviong caught what I now know as the "dollhouse bug" I though "what about if I added a chimney ?". So I added it. I then thought what about adding a roof ridge and something to cover my dodgy gable on the roof front . The house looked even better. Progressing onto full-blown "dollhouse-flu", I then decided to make a chair for what would later be the living room. That was it, fully addicted now I couldn't stop and found myself obsessively planning, designing, messing up, re-designing, cutting, building and painting until I reached the point where last night I attended my first "DA" meeting.
I found Dollhouse Annonymous very helpful and although not cured, I realise that it is perfectly acceptable for a 44 year old Scotsman to build a dollhouse for the daughter (naughty 2 1/2 year old daughter) that is the love of his life. If she is happy when she unwraps it on Christmas morning, then all of the work shall be worth it.
This site is top of my bookmark list and I love it. !
Our daughter has been asking us to build her a bed for months now. When eLearning became a reality for our household, we knew it was time to get to work. We usually do two to three big DIY projects a year, and have built from many of Ana White's plans. We often refer our the time together DIYing as "couples therapy".
We used Ana's plans for the Loft Bed and included the tall bookcase and desk system, with a few of our own modifiations and personal touches, such as:
- elimated the plywood backing on the bottom shelves of the tall bookcase
- only used one (1) bookshelf for desk system
- used toungue and groove paneling for back of small bookshelf, adding it to the sides as well
- made the desktop 19" wide
- added a framed magnet board
- added a sliding keyboard tray
I adjusted the dimensions to fit my space and added a shelf on the bottom. I built it using my Kreg Jig.
This project was a challenge because of the instructions regarding the "recommended" pocket holes for the aprons. I soon realized you can't put a 3/4 pocket hole on a 45 degree mitred edge, and when I adjusted the depth of the pocket hole, I could not for the life of me screw it into the legs without the apron getting sucked past the edge of the legs. I ended up putting the pocket screws on the outside which I know is a major faux pas for wood workers, but because I used Kreg wood plugs and painted it, you can't see the little ovals where the screws are.
The photos are just for scale. The little girl is a big 2 1/2 year old, and the dog is not a St. Bernard.
We love the table and it works great for baby brother's room.
Thank you Ana for another great project!
Truss Beam Table size 35x60
Very easy fun build. I laid out the fence boards and marked the 5 degree angle but cut them with a miter saw as I was not confident to use the hand saw. Also numbered each section to easily put the sections back together. Miter saw was set to 5 degree angle also. I initially built with 7 boards and then took off two of them as it was really tall.
For the 7 years I have been married to my lovely wife we have used an old 70's bedside table and some Rubbermaid boxes as our nightstands. It was time to give my wife a nightstand that she would love. With the help of the Kreg Jig, a new table saw and some trials and tribulations in staining, I have given her a special treat. Best part: She loves them!
Sat, 11/17/2012 - 09:42
LOVE the nightstands, but the story behind them is even better.
Mon, 11/19/2012 - 11:39
These look great. I think I can see a satiny sheen on them that is really pretty!
Tue, 11/20/2012 - 02:11
You did a great job on the night stands. What did you use for the legs? They look like 2x2s but where did you get them?
Wed, 01/02/2013 - 01:47
Funny enough the legs are ripped down to 2x2's but they started as 2x3's. The 2x3's were cheaper at my local big box joint. What was nice about ripping them down on the table saw was that I could get a nice square edge on everything unlike just throwing a off-the-shelf 2x2 on there with their inconsistent rounded edges.
So I went to the DIH Workshop held at my local Home Depot and finished my cart over the weekend. I had the guy at HD cut my plywood down, won't make that mistake again. He made each one about a inch shorter than I asked for so I had to make my adjustments for everything else based on that. Next time I will take a tape measure with me to make sure instead of lugging everything to my car, taking it home and then measuring.
All-in-all I like the way it came out even with the minor adjustments still a fantastic cart.
Thanks Ana for the plans, it was big fun to build! Had to do it while babysitting after work hours in our Budapest appartment, so all our neighbors had a lots of fun too while sawing and drilling in the night!
At the start I had some difficulties with your inches and feet, but at the end I had to realize that milimeters weren't my thing either... but it looks good from the distance. Still needs to be filled with furnitures and dolls, but that will be the task of Rozika.
Farmhouse coffee table with an oak stain. It turned out well!