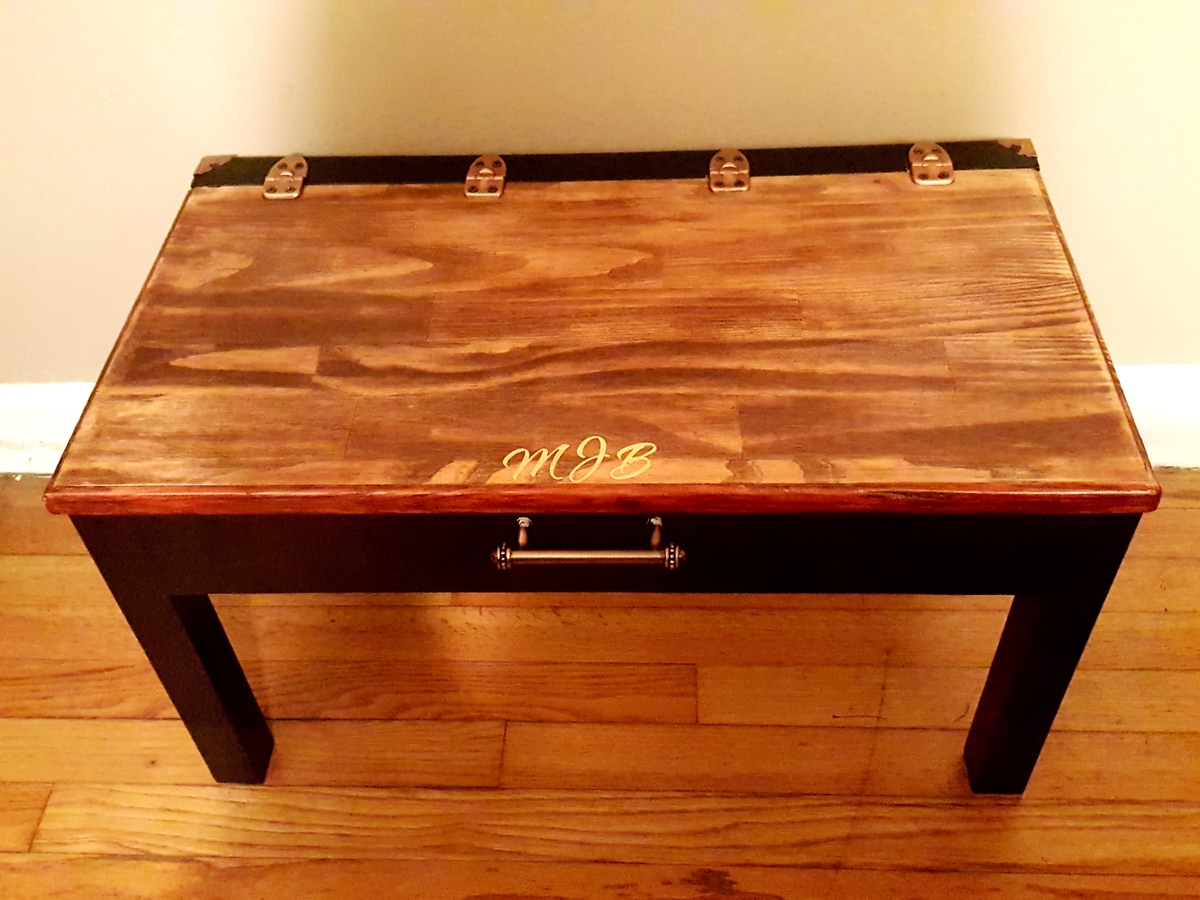
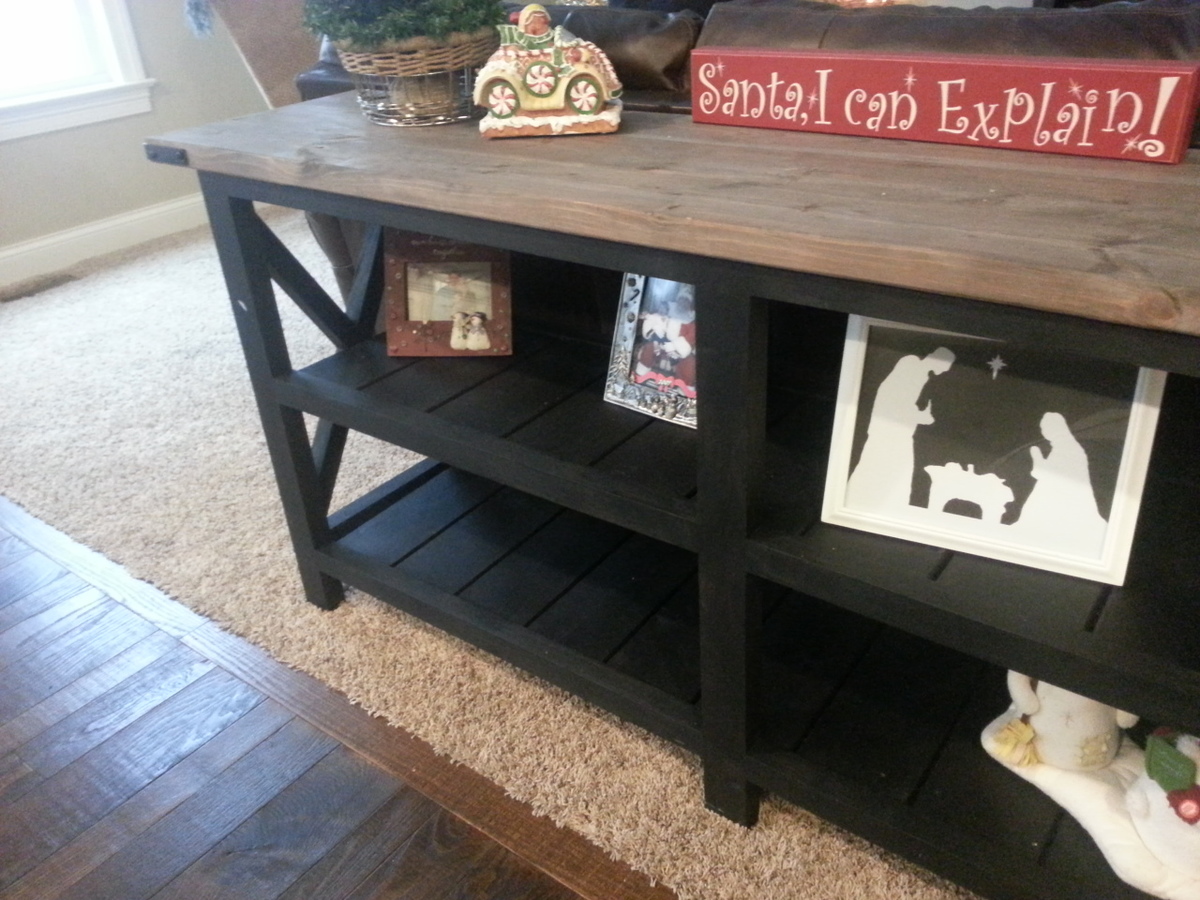
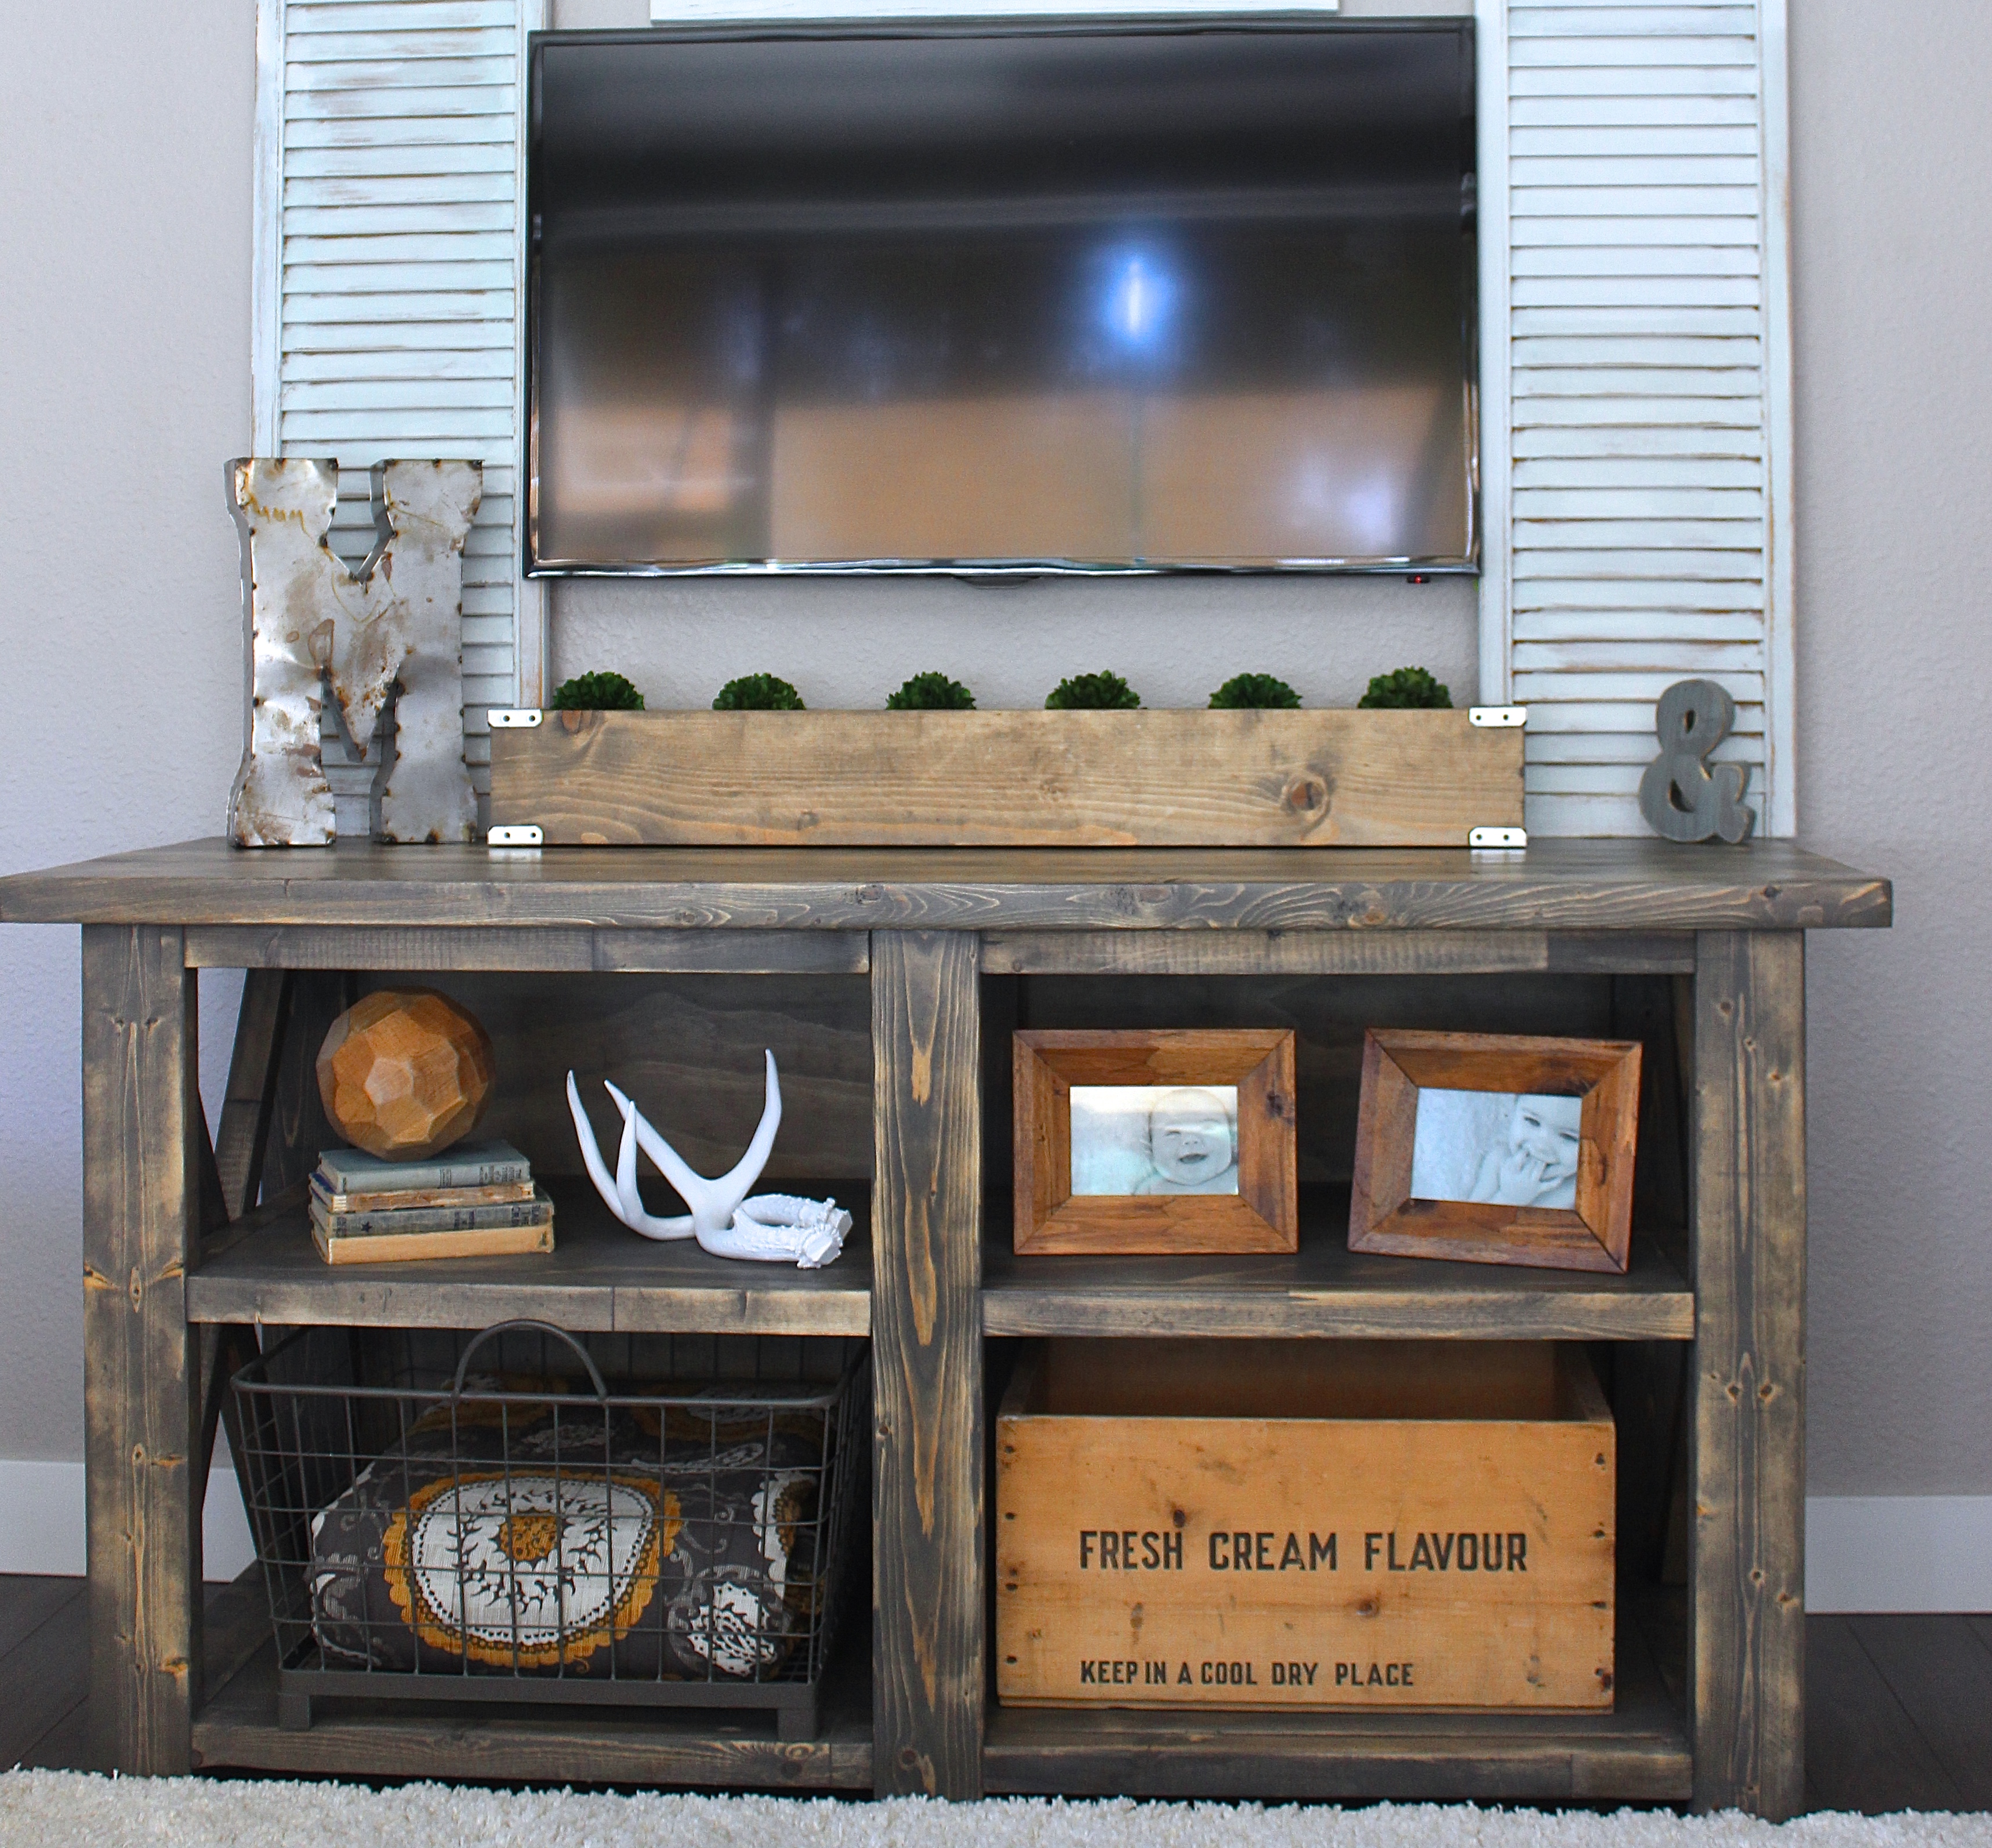
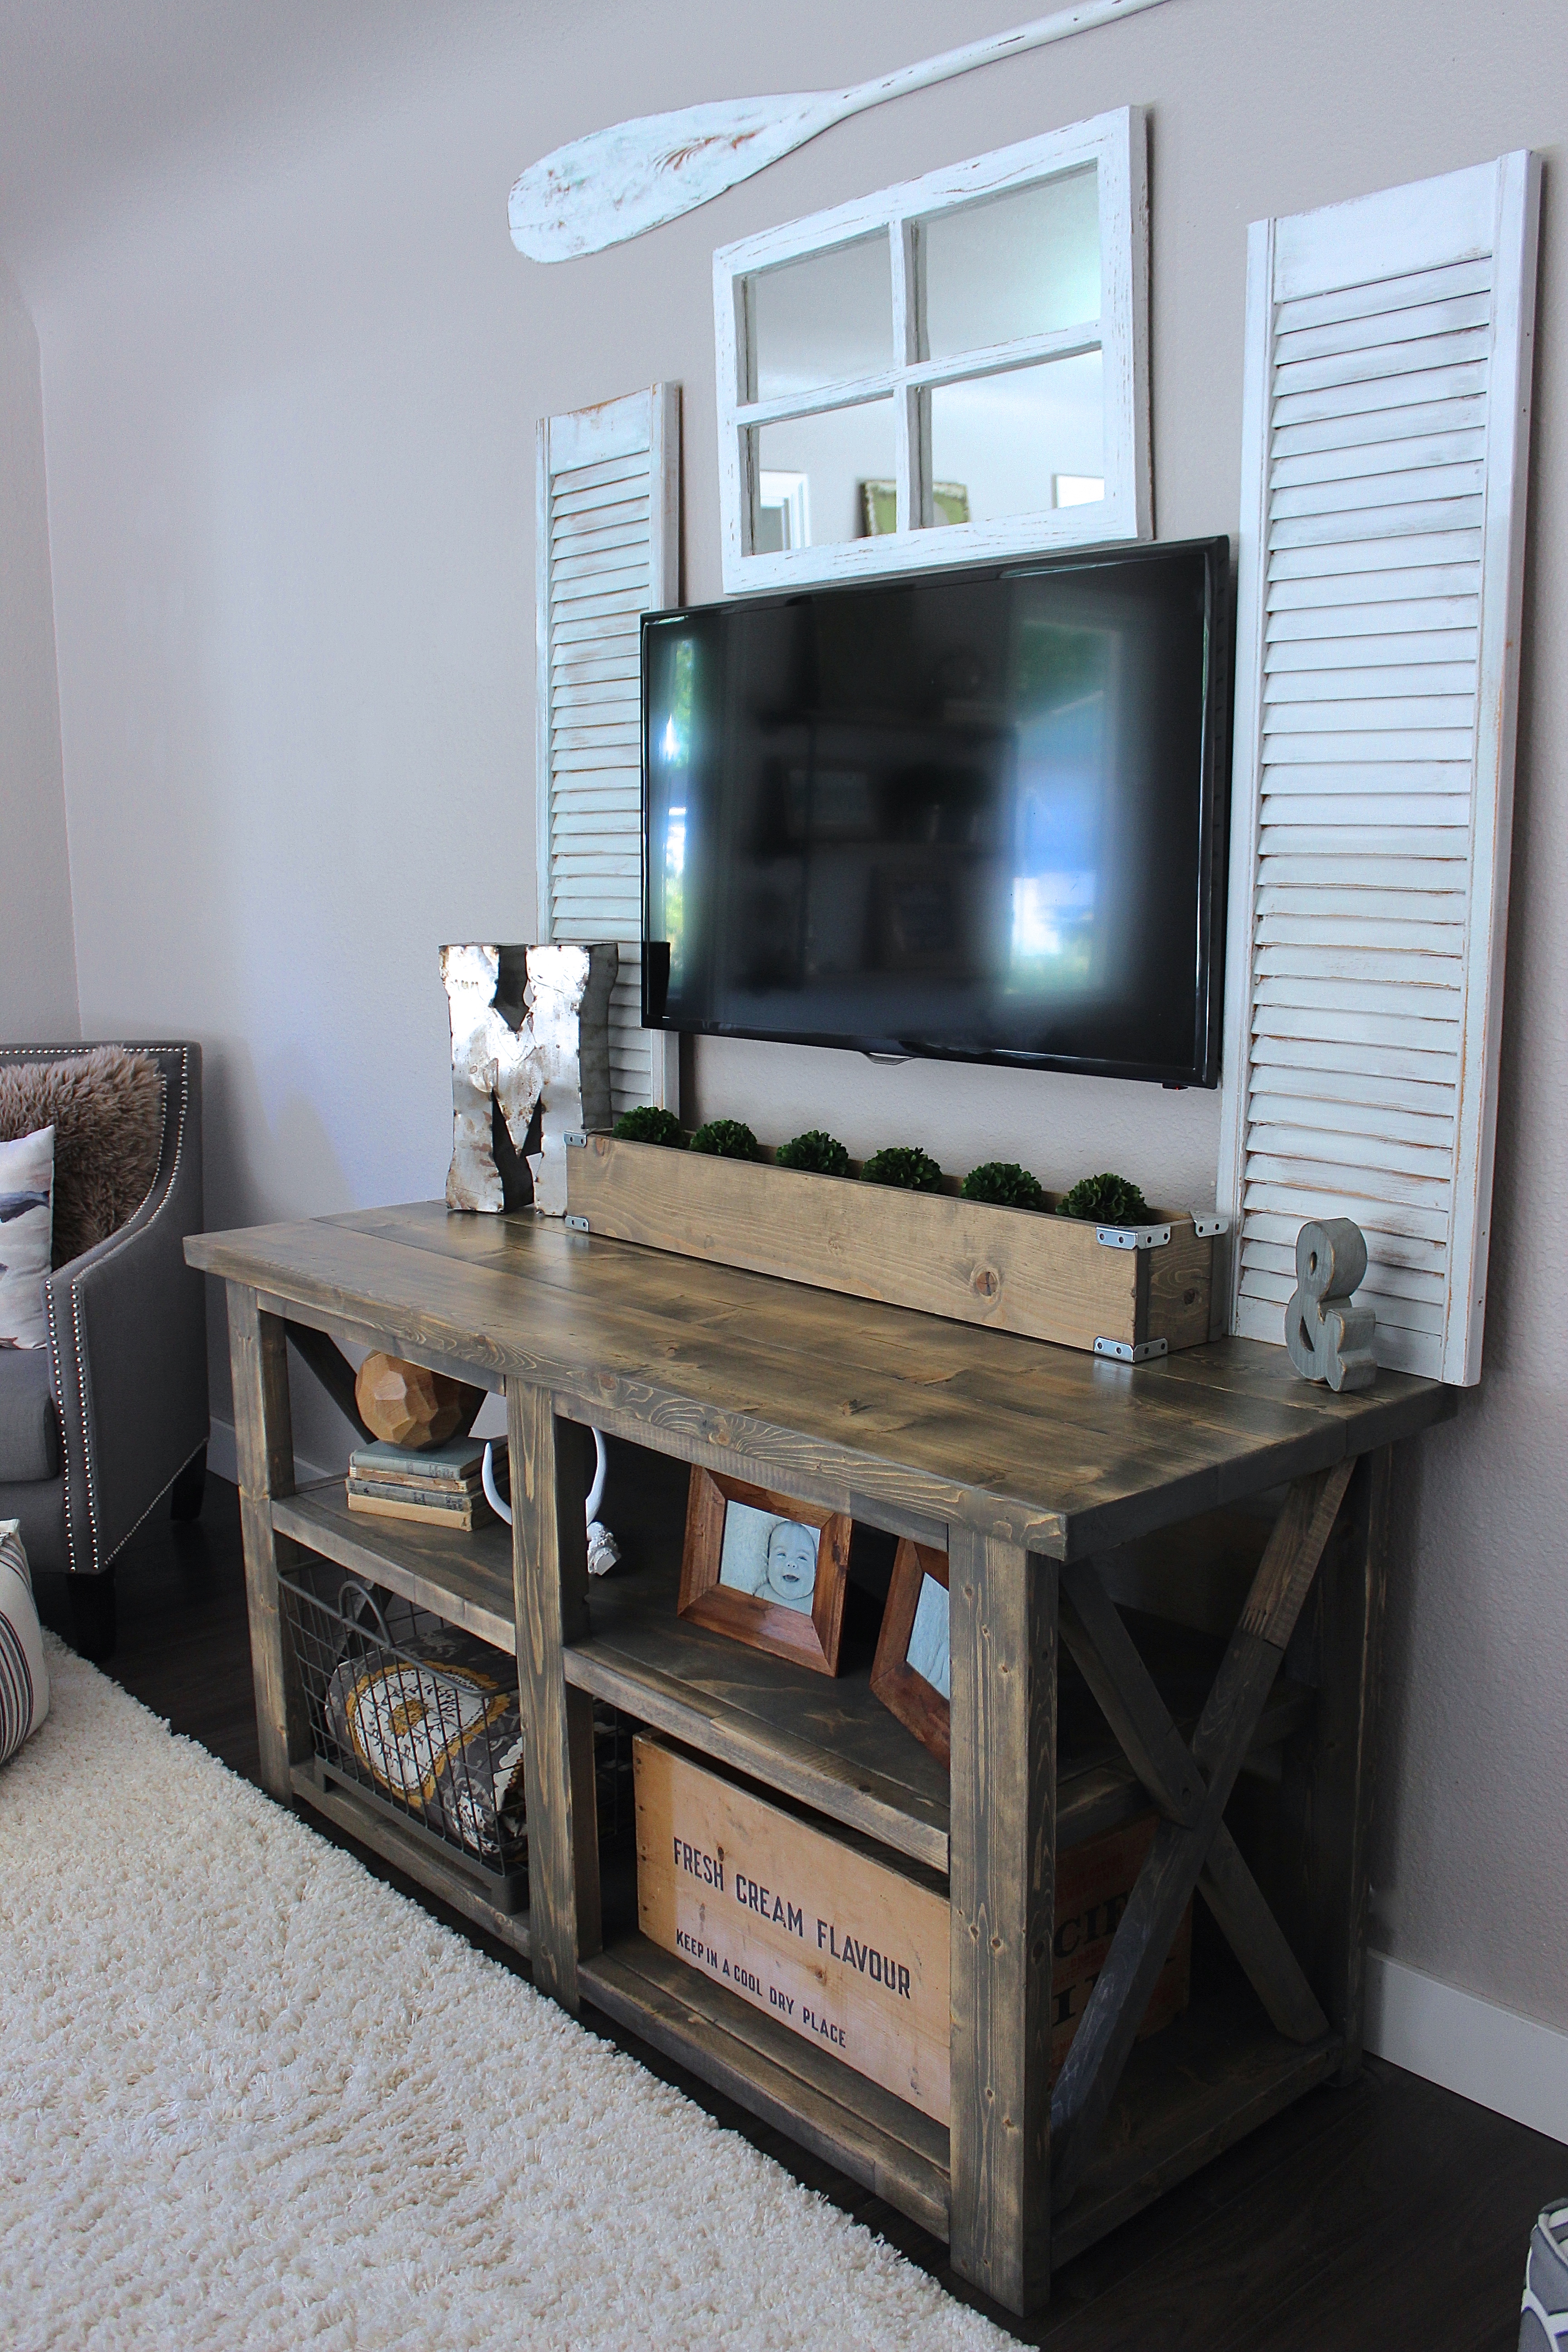
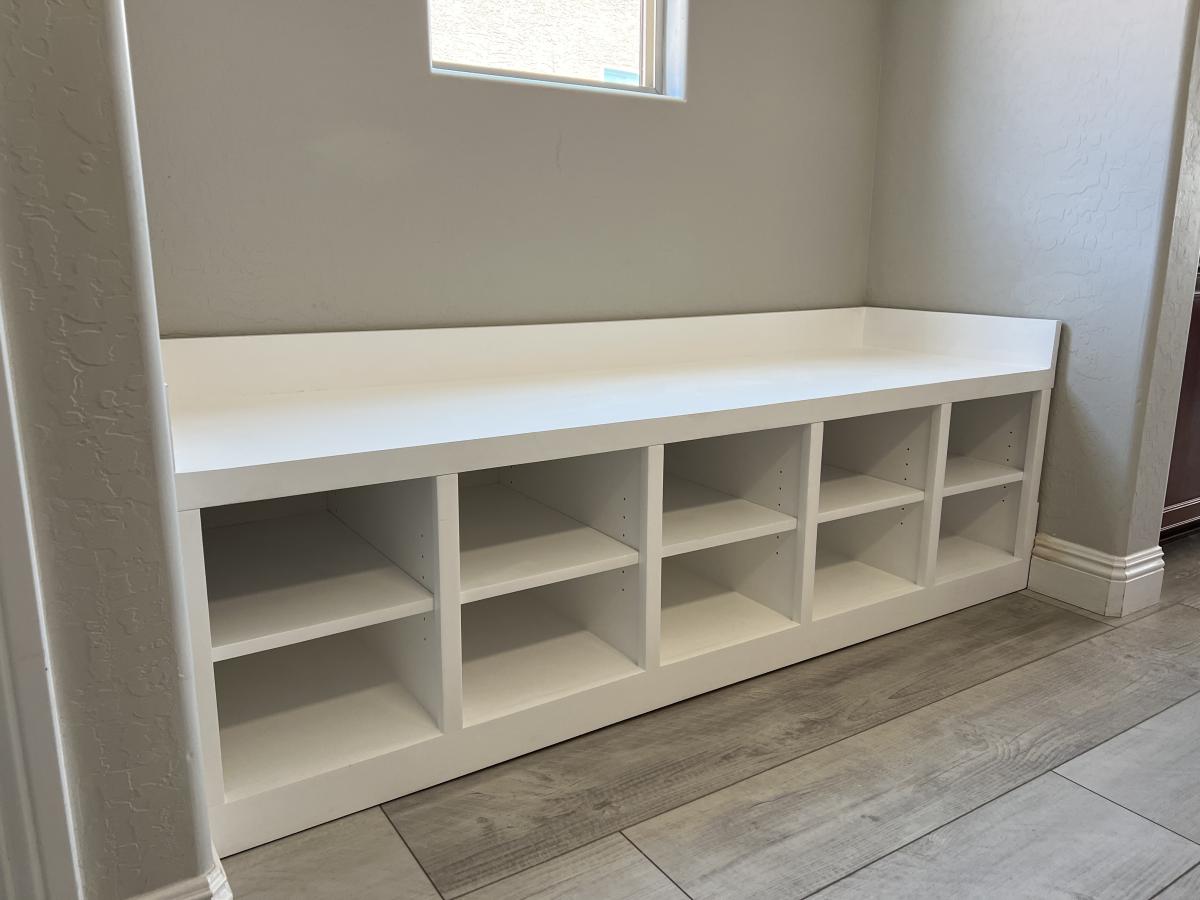
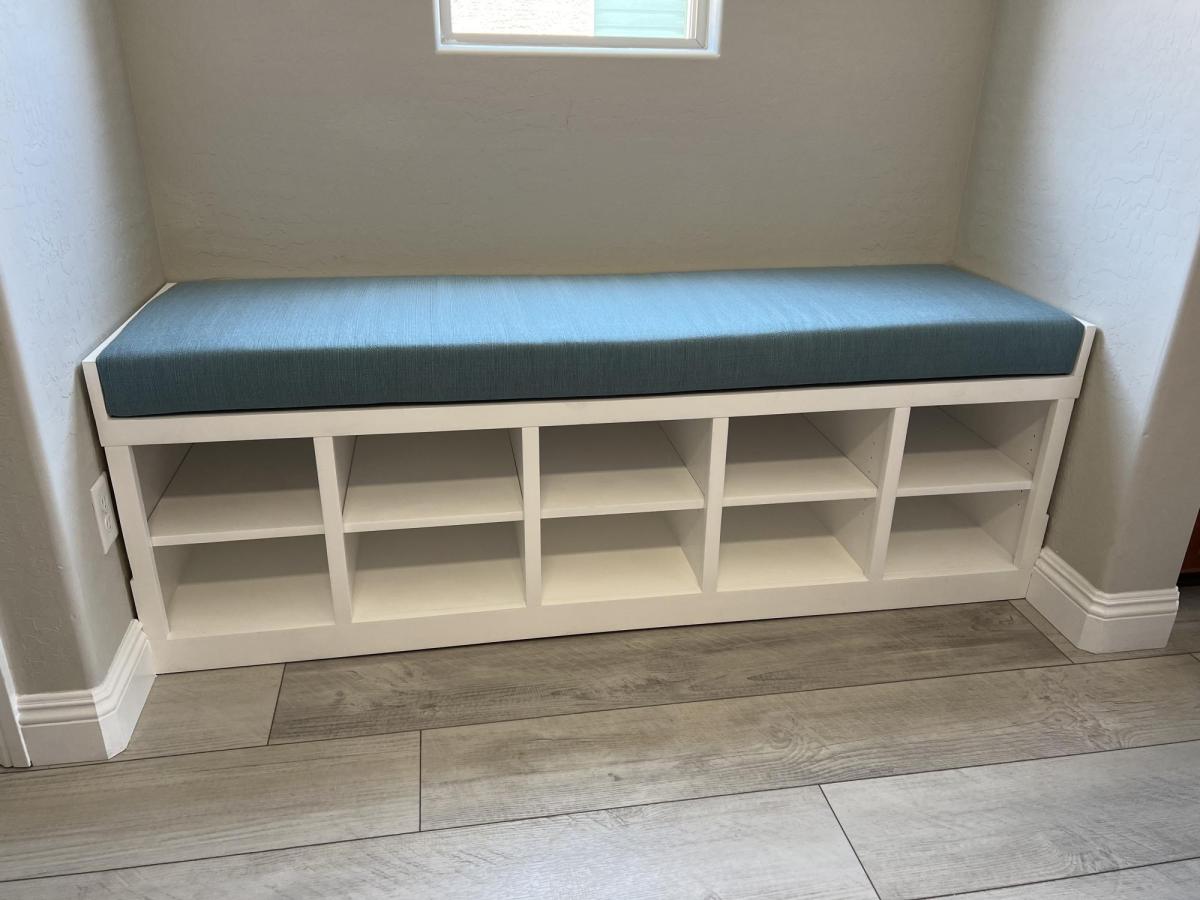
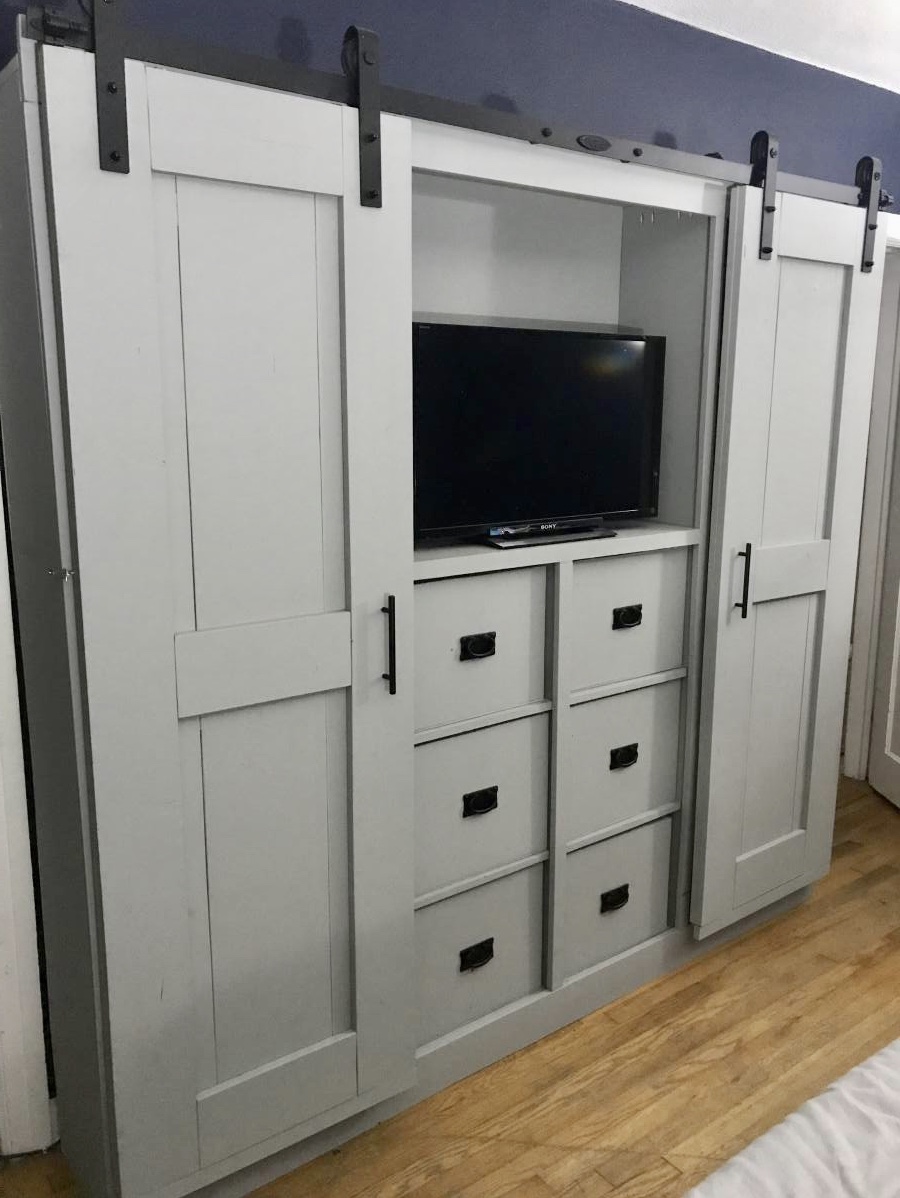
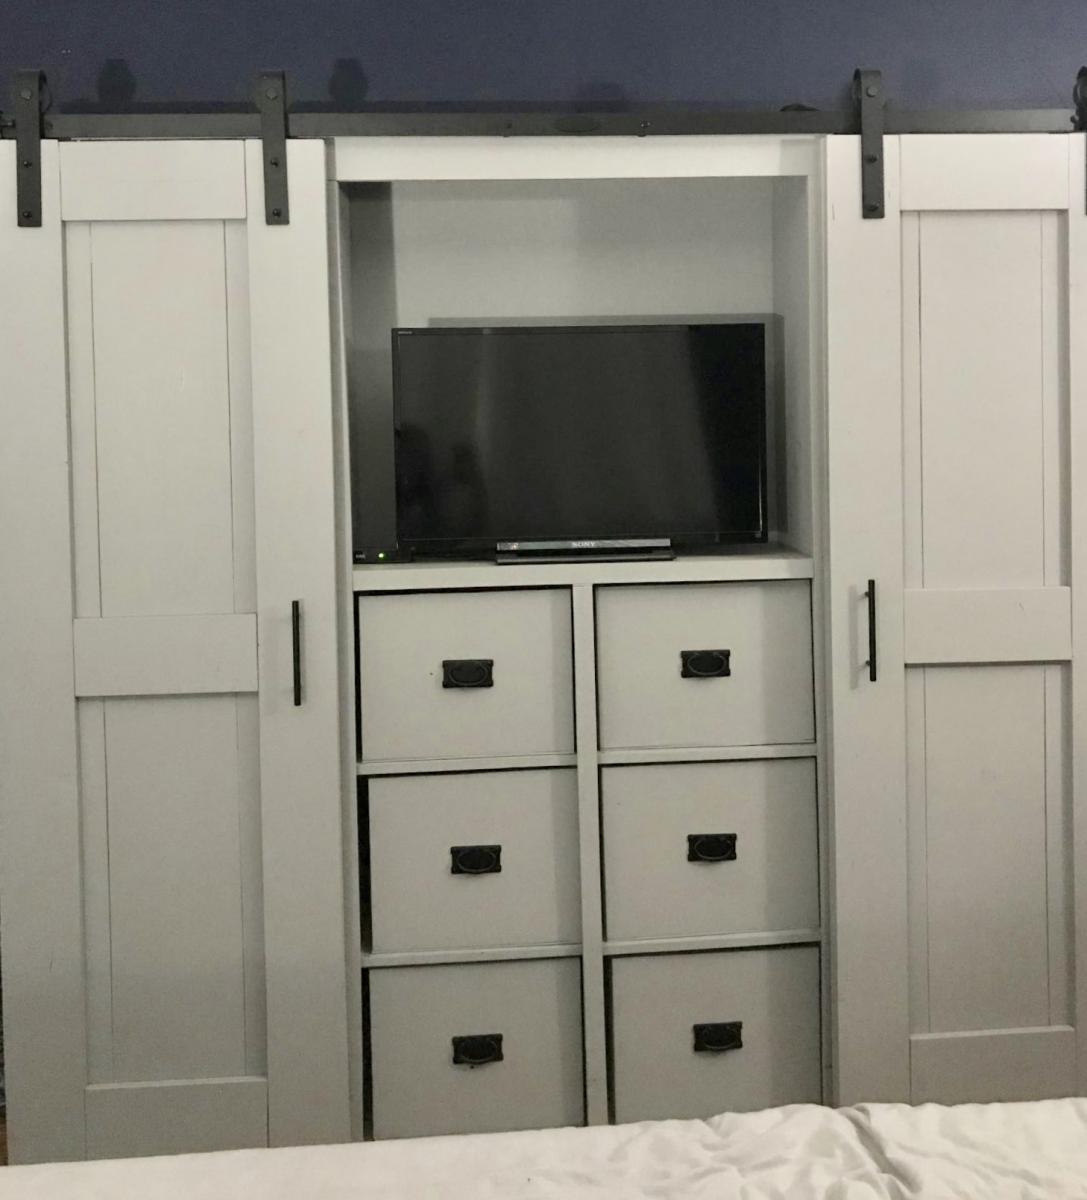
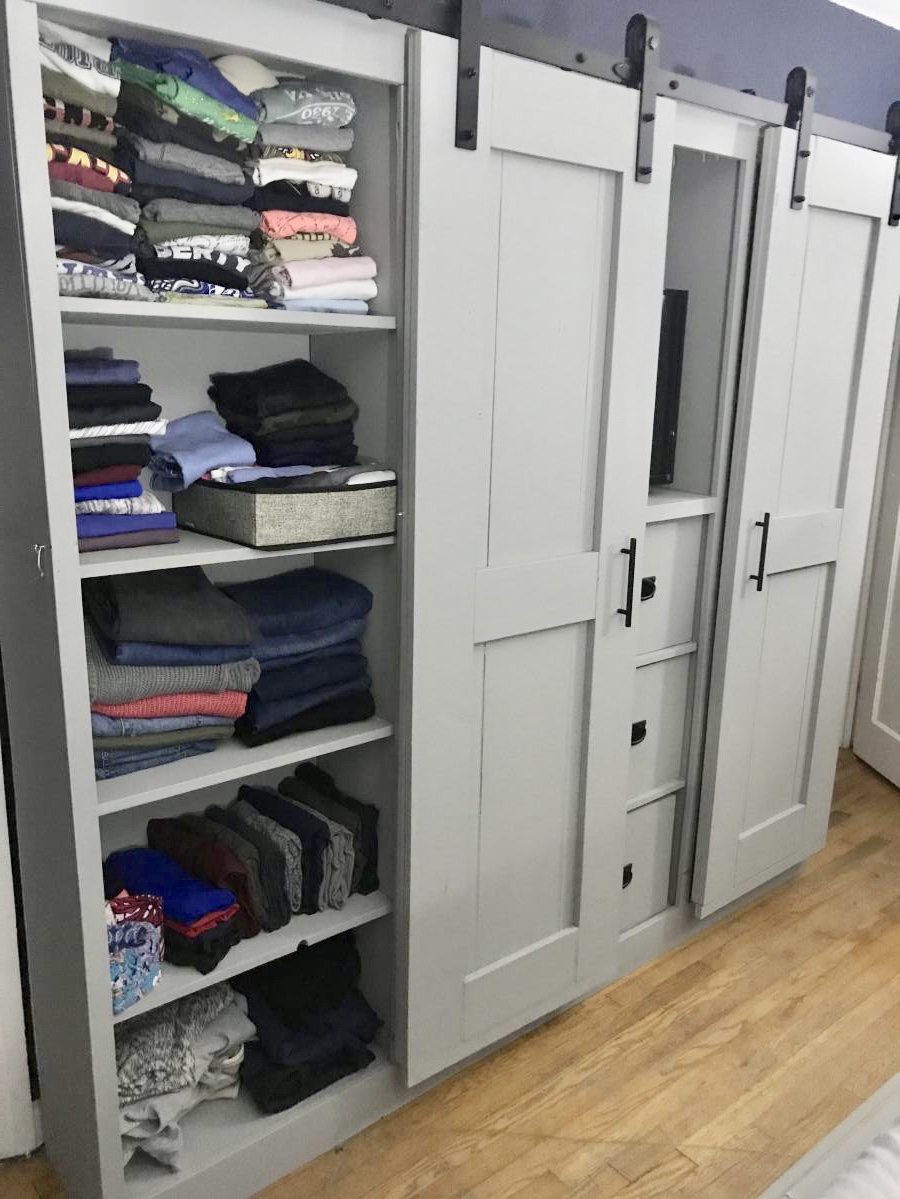
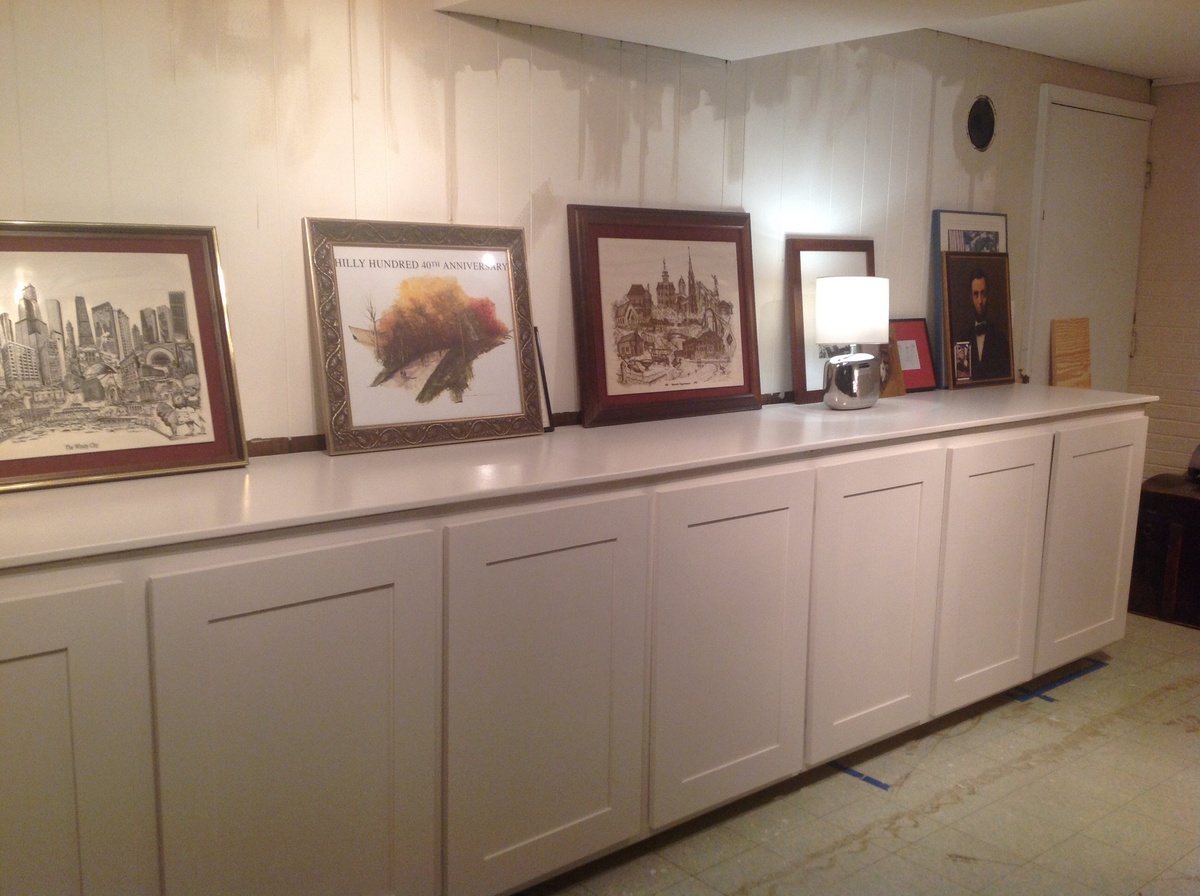
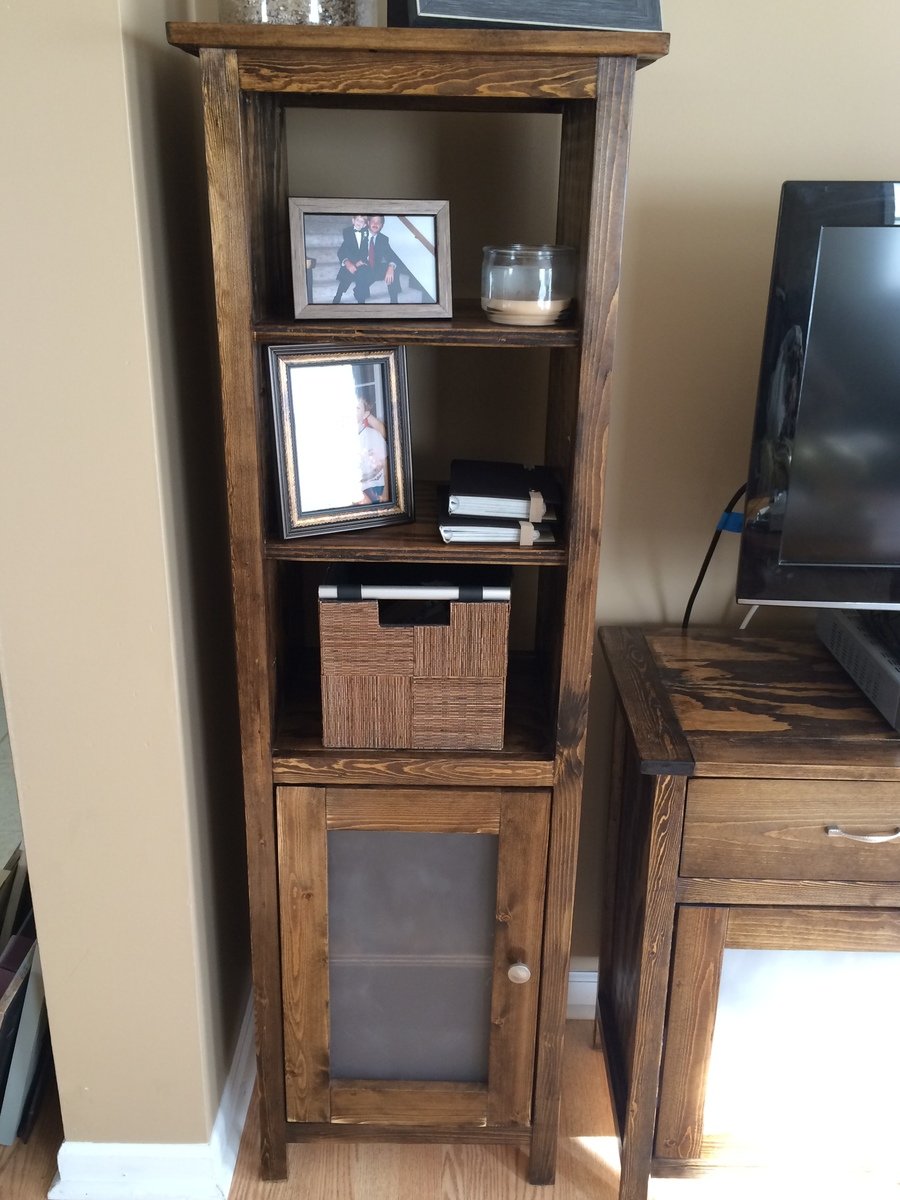
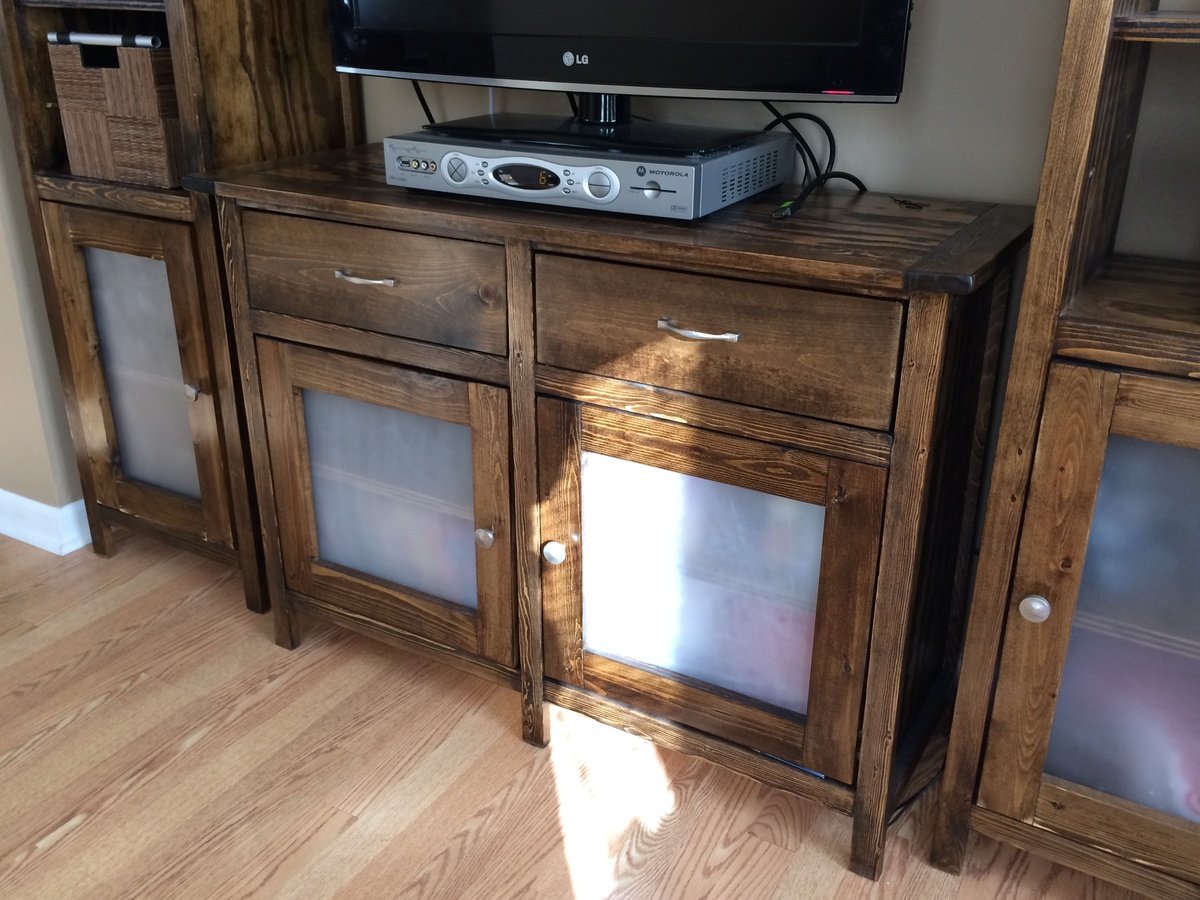
Benchmark Media Console inspired by Pottery Barn
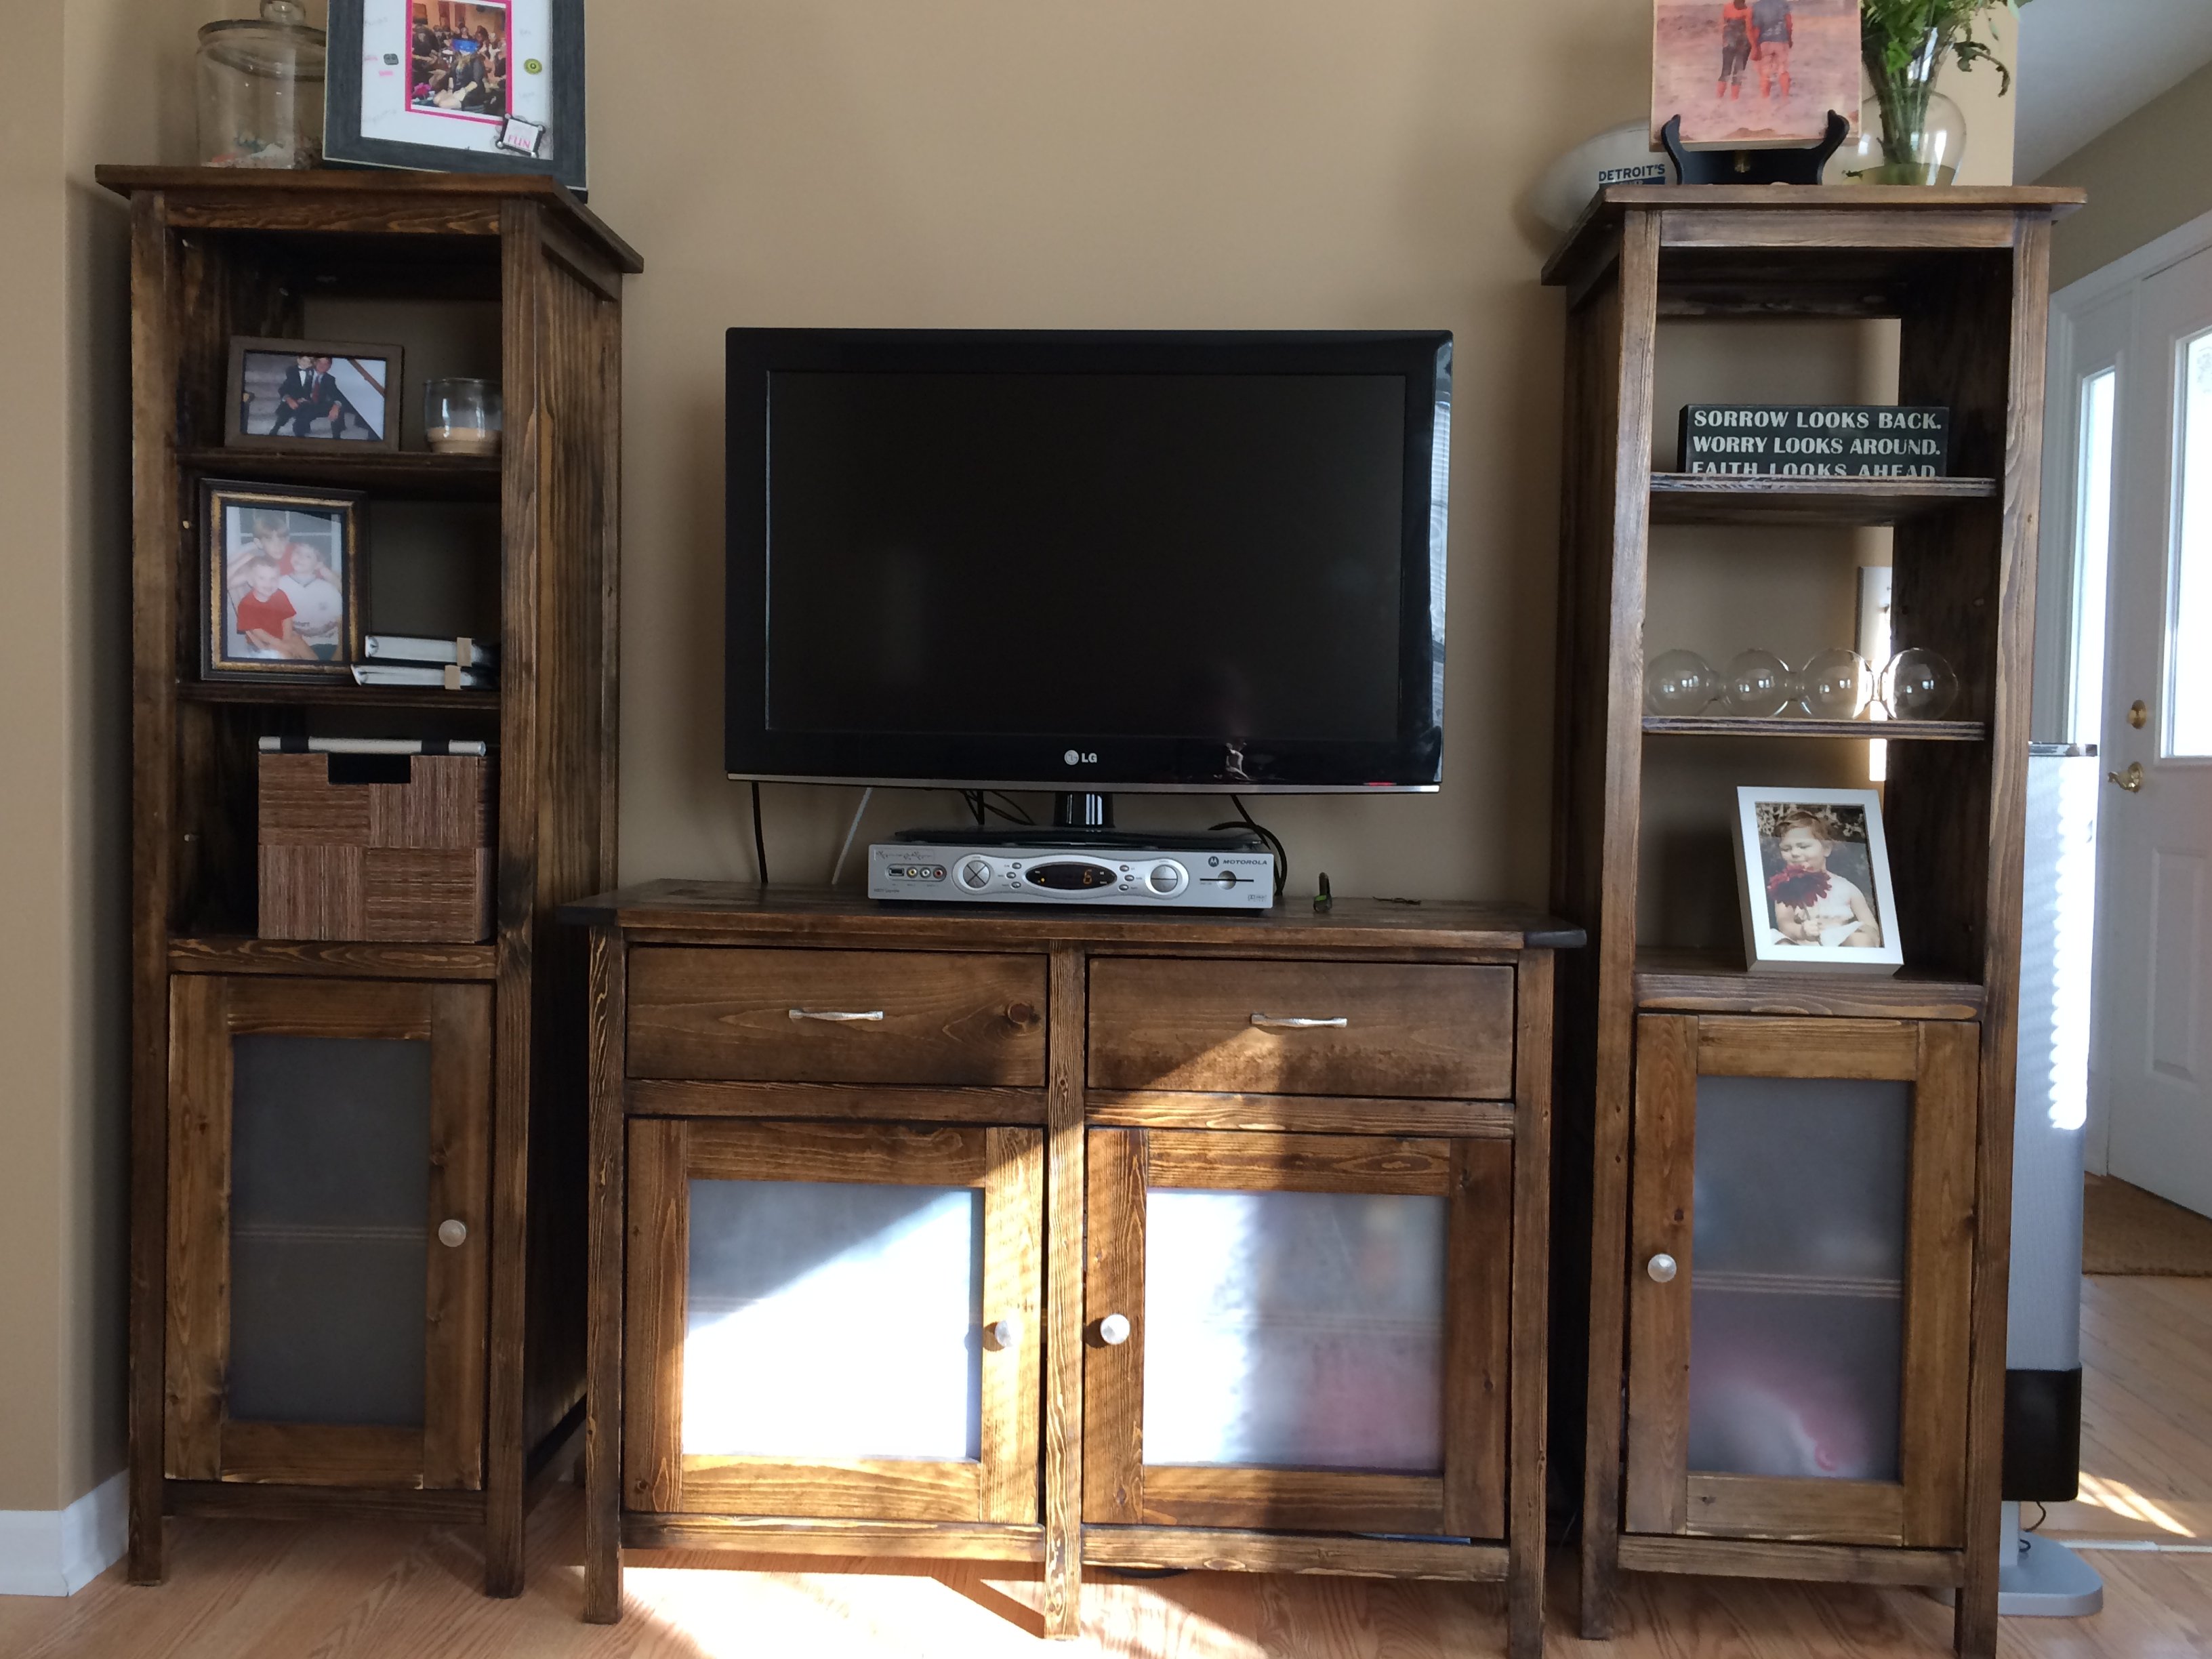
Built this media center for the den. I had to resize all the pieces smaller to fit the console between two doorways.
This lap desk was easy to build, it took me less than 2 hrs. The painting and finishing...um, a bit longer. I really hate painting, and filling nail holes is not my favorite thing to do, either. But overall I am glad I built this little desk, as it will keep all of my beads and jewelry-making stuff handy for when I am sitting in front of the tv at night. The side storage compartments were omitted to keep it on the lighter side, and the front handle serves no purpose whatsoever, it is purely decorative. I added my initials on the top, they are just fancy gold stickers I found at the craft store.
I've wanted chickens for a long time and loved this chicken coop plan. I used lots of salvaged materials so made minor changes in dimensions to use what I had and I absolutely love this! Probably took me longer to build than it should have but the Houston weather was not in my favor....
So easy to build and soooo functional. The plans include both the bench and the shelf, but I just didn't have any room for the bench or I would have built that too.
My wall was too short to fit the original shelf, so I modified this to work with the space available. It's about 10 inches shorter and only has two cubbies.
This is a great starter project.
Fri, 01/13/2012 - 15:53
I really like that. I'm going to have to make one. Nice job.
This is a sofa table made from 2x6 framing lumber. I did the bottom shelves a bit different than the plan.
I built the Simple Bed into bunk beds. The plans for this project are pretty straight forward. The only change I made in the plans, was use 2" x 4" angle plates to mount the side rails to the head and foot boards. This made it easy to assemble and disassemble if the beds needed to be separated or moved. I also had to use two 2"x4"'s mated together to make the bed posts since 4"x4"'s are only available pressure treated. The ladder is constructed of 2"x4" with the steps spaced 10" on center.
Mon, 02/15/2016 - 19:40
Can I have a url to the angle plates you used ? I am not certain I know what they are.
The beds look great.
My grandson needed a bigger bed. His mom needed more storage. So, with a few tweaks, this storage bed was just what they needed. One side will always be against the wall so on that piece I added a hinged too so that seasonal items could be stored there-like gilly suits for hunting season. There’s also room between the two side pieces for more storage. They didn’t want it too tall, But still needed multiple drawers. There are four 8” drawers on the side, with two false fronts on the side of the end piece. The end piece had two large deep drawers that will be perfect for bulky items-lots of sweat shirts. So far so good-they both love it.
I had built two outdoor chairs with love seat (modified from the sofa plans) with 2x4s. The cushion seats were 24" x 24". Where to store them? I modified the Modern Cedar Outdoor Storage Bench plans to make the box wider, higher, longer to accommodate the cushions. With five boards comprising the top, it's a bit wider than the box so I didn't need to carve in an opening.
I mostly followed the directions as provided. My only changes were using hickory instead of pine, it is a nicer wood and it only added $6 to the project. I also put non slip pads on the bottom of the bottoms and used 14 feet of fabric in place of curtains. It is a very quick and inexpensive project that my kids have been getting a lot of enjoyment out of.
Mon, 02/06/2012 - 18:01
where or how did you make that cool mini/toy "tree house" in the background!!?!
My wife wanted a farmhouse dining room table for our new house, I wanted to get into woodworking so these plans were a perfect fit. Bonus was adding a few tools to my collection! Revised plans to two pedestals and shortened about 2 feet. If I were to do over I would have stained and poly'd separately, but I tried to save steps because I was finishing inside the house and didn't have time for separate steps before leaving town. Ran into a few hiccups along the way but both my wife and I are happy with the end results.
We built this media stand for our home and we had many that followed. We put a backing on ours to hide the cords and such. It makes it feel a lot classier & takes under 5 minutes to add! We used 1/8" particle board and we used our neumatic nail gun.
All in all, this is a super easy beginner project that adds a big bang to the space!
I had a very old, weathered 2 x 10 and wanted to build a couple of end tables for beside our new couch. All I did with the top was to lightly sand to take away a bit of the weathered wood. I had to purchase two 4 x 4 x 8' fir posts for the legs. I decided against adding the bottom shelves.
Wed, 10/02/2019 - 09:35
Beautiful with the weathered wood! Thanks so much for sending in a photo, what a great build!
Worked with a client to create a boot bench with adjustable shelves. The Essential Entryway Bench was a perfect starting point! I extended the top trim to home the 4” cushion. I love Ana’s plans! Thank you!!!
I saw Ana's plans for the farmhouse bed a couple years ago I think and have wanted to build one ever since! My husband and I were moving over to Oregon from Scotland though so our timing wasn't quite right... in the end though, I waited until I was 8 months pregnant to do it! We raised the footboard to be about bar height (hung our stockings from it at Christmas) and used carriage bolts and routed out the 4x4 posts to make the bed modular. We also used a forstner bit to drop the screws and plug cutters to make a nice cover up for them... If I could do it over I would have used wood conditioner first before staining to achieve a smoother stain job, but we like how it took to the wood a bit crazy-like in the end. Obviously, night stands are next. :) We LOVE this bed! Thanks Ana!
For the holiday markets this year, some other dog related businesses, along with myself, colaborated on dog stockings! I really wanted to feature the stockings and not just decorate my booth with generic ornaments etc. My boyfriend was kind enough to help me with this project and it has been a hit! I think I am going to change out the decal with chalkboard though. The decal just looks to cheesey and I think the chalkboard will give it a more rustic and crafty fell. Thanks for the idea!!
We love this table! Chose this plan for it's size, cannot wait to host holiday dinners!!
After many months of trying to find the perfect piece of furniture for our bedroom, I stumbled upon Ana White’s barn door entertainment center. I loved it so much that instead, we turned it into an armoire for our bedroom. Behind the barn doors are shelves that holds our clothes, and in the center we added simple pull out drawers. The center space was perfect for our tv. We had to rework the size of the piece and it is 7 feet instead of the 8 feet that the plan called for. This is my favorite build (we have done a lot of them)!
It was so much fun to do and it's perfect for my front porch! I modified it a bit to fit and it was easy to do so.
Using the base cabinets 101 post and other members' ideas and tips, I built these nine cabinets. It's my first project, and I'm very pleased. I live in a 1960's split level with nearly zero storage space... Until now. Next step is to top them with bookshelves, and add some decorative molding. Will start cutting wood once the temperature allows me to set up my sawhorses in my driveway again. Can't wait. Might make something really quick for my husband between now and Christmas. Thanks Ana and everyone else- I'm inspired.
Thu, 12/12/2013 - 07:16
Wow! They look So Good! I'm so impressed that this was your first build. Is the top just plywwod also? It looks so smooth and glossy i can't tell. How much did it end up costing?
We combined two plans to accommodate for a boxspring with a mattress. We also liked the plan with the 4x4 posts so we tweaked the two plans and made it work.
Tue, 09/17/2019 - 23:07
I used two shades of grey, white and black enamel paint to "sloppy paint" in various areas. Then I sanded off the paint, leaving some areas thicker than others. When I liked the look recreating "rustic barn wood" I then stained over the entire surface with barn wood grey stain.