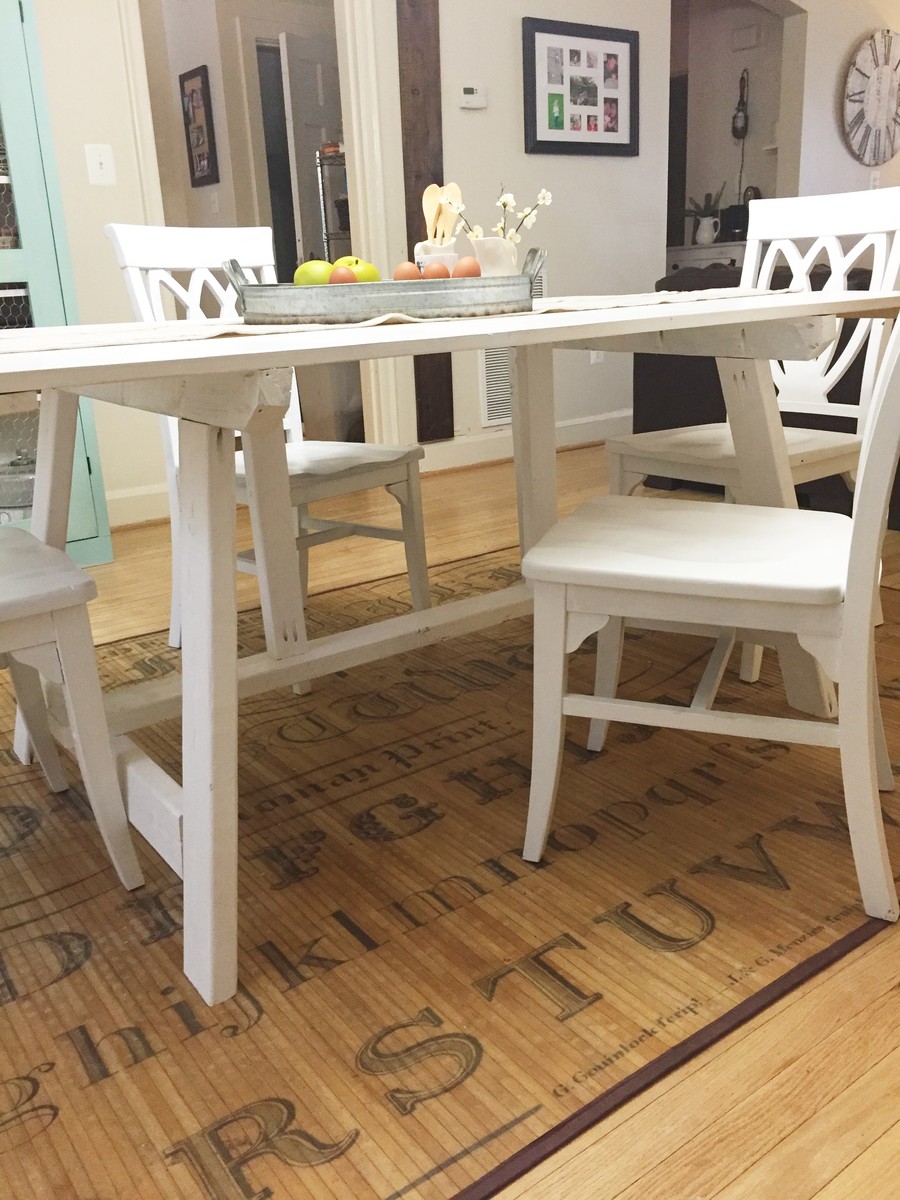
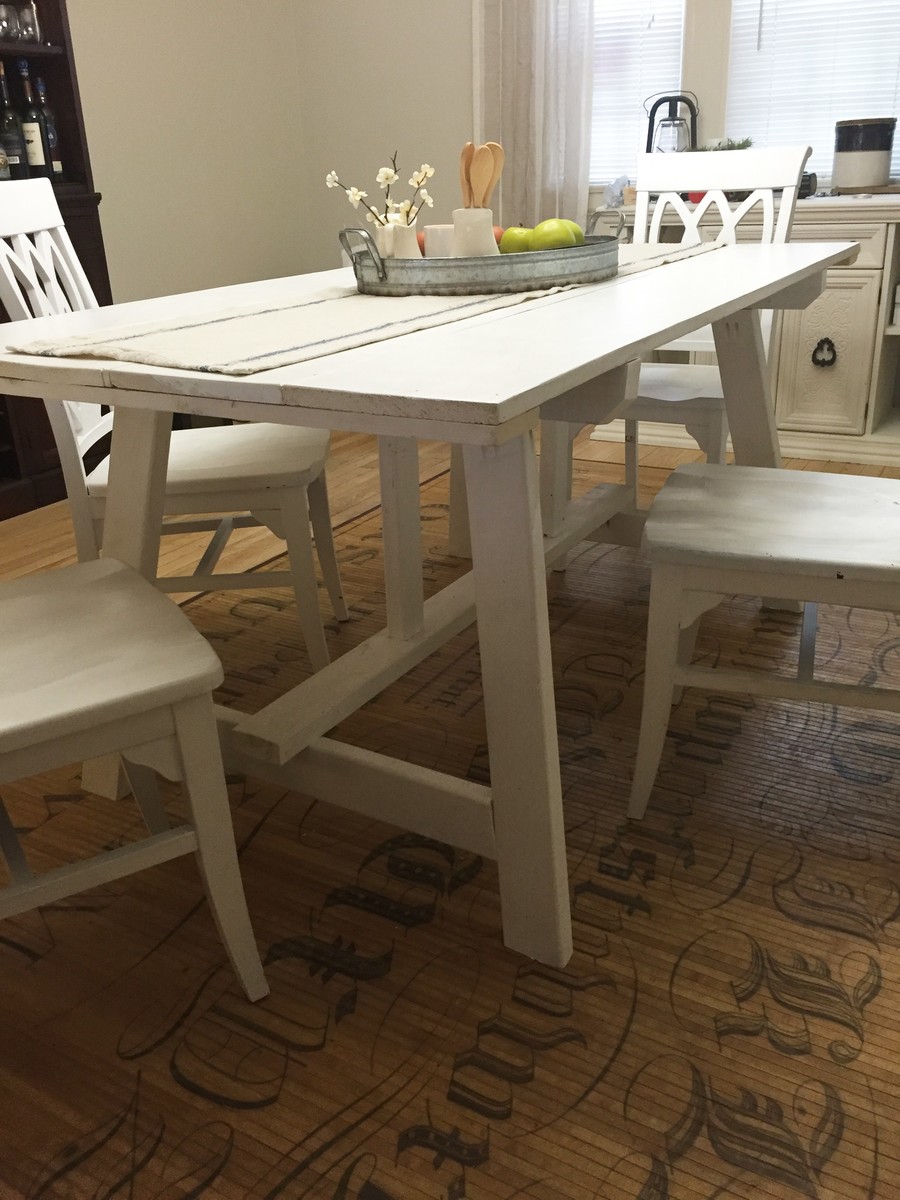
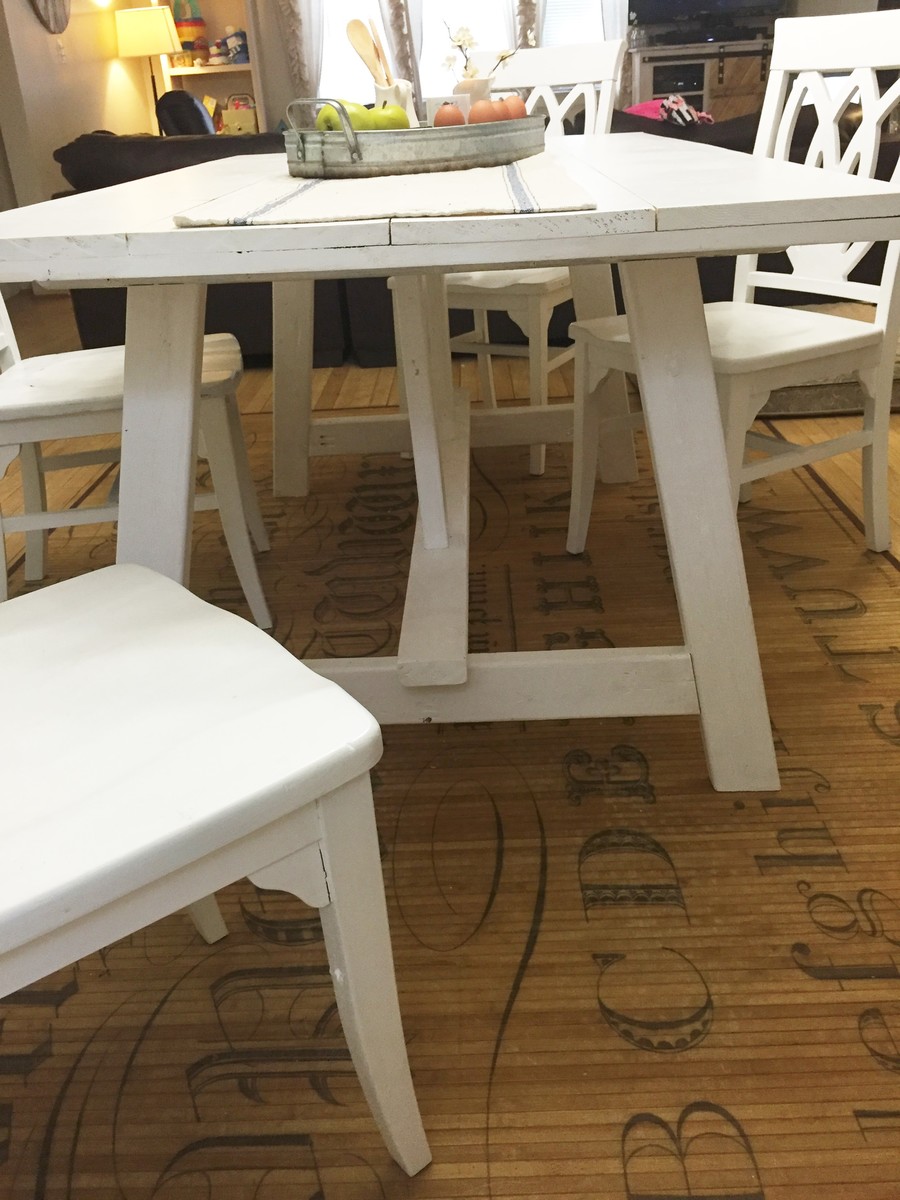
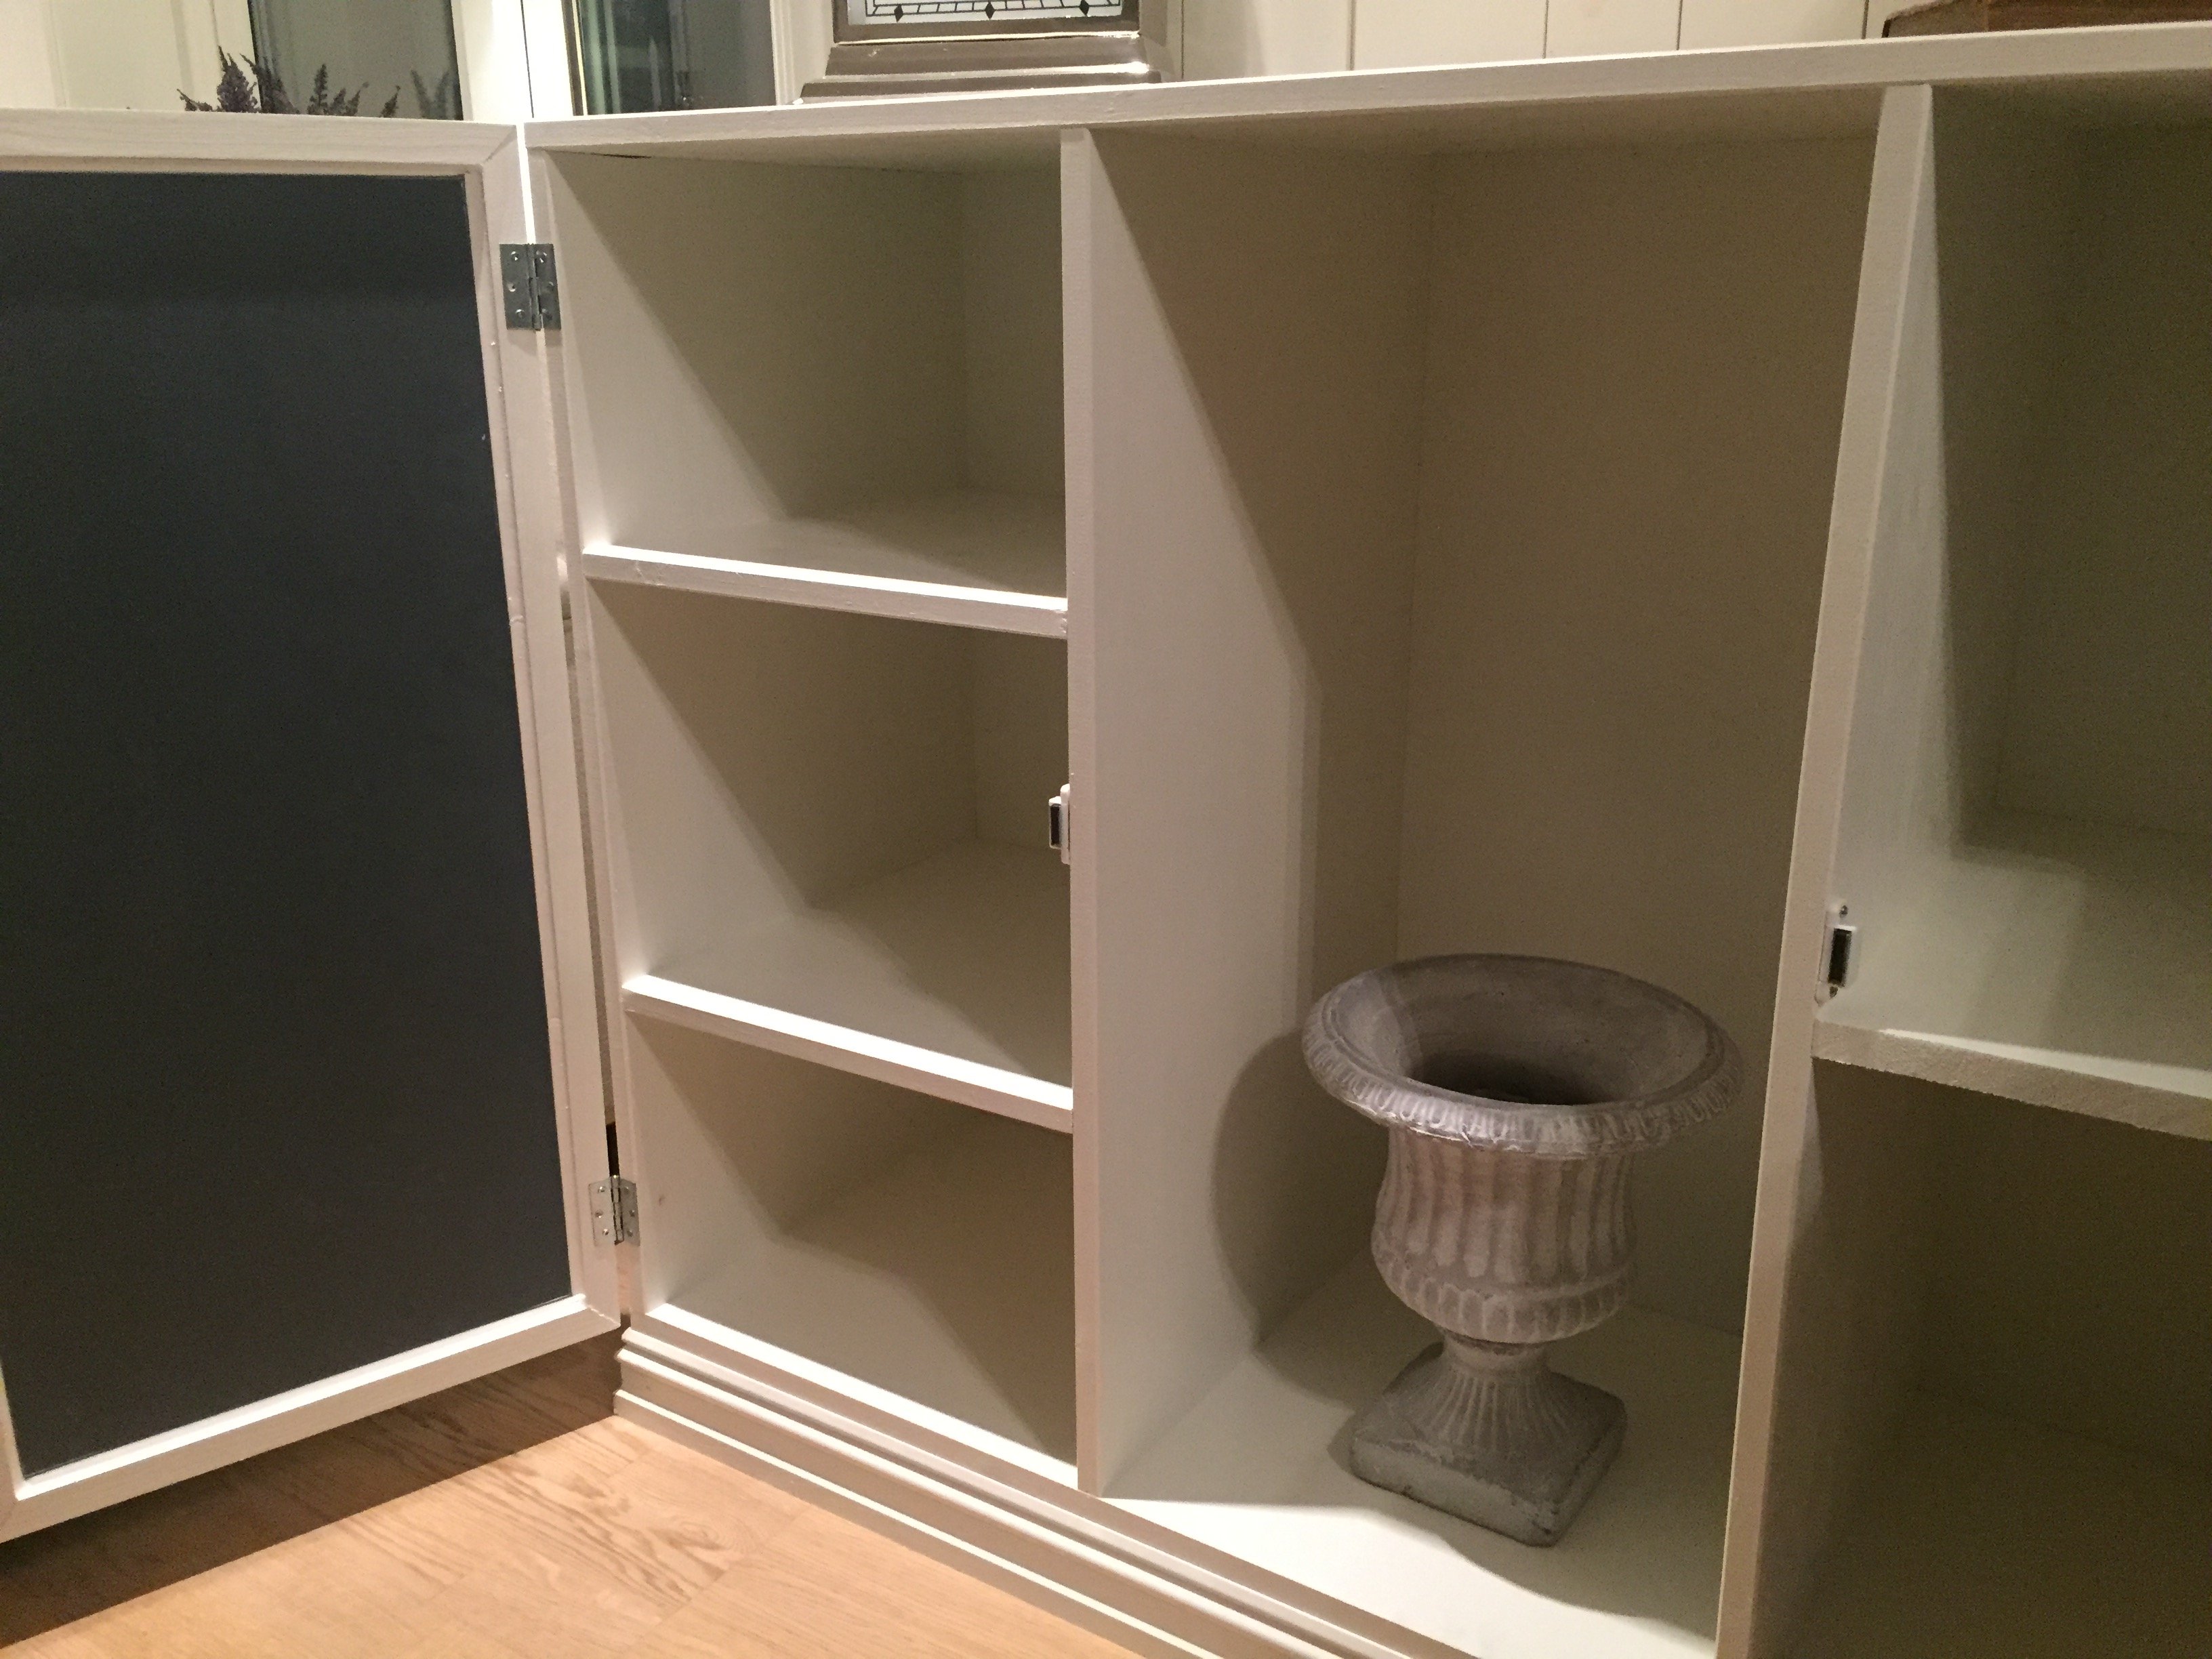
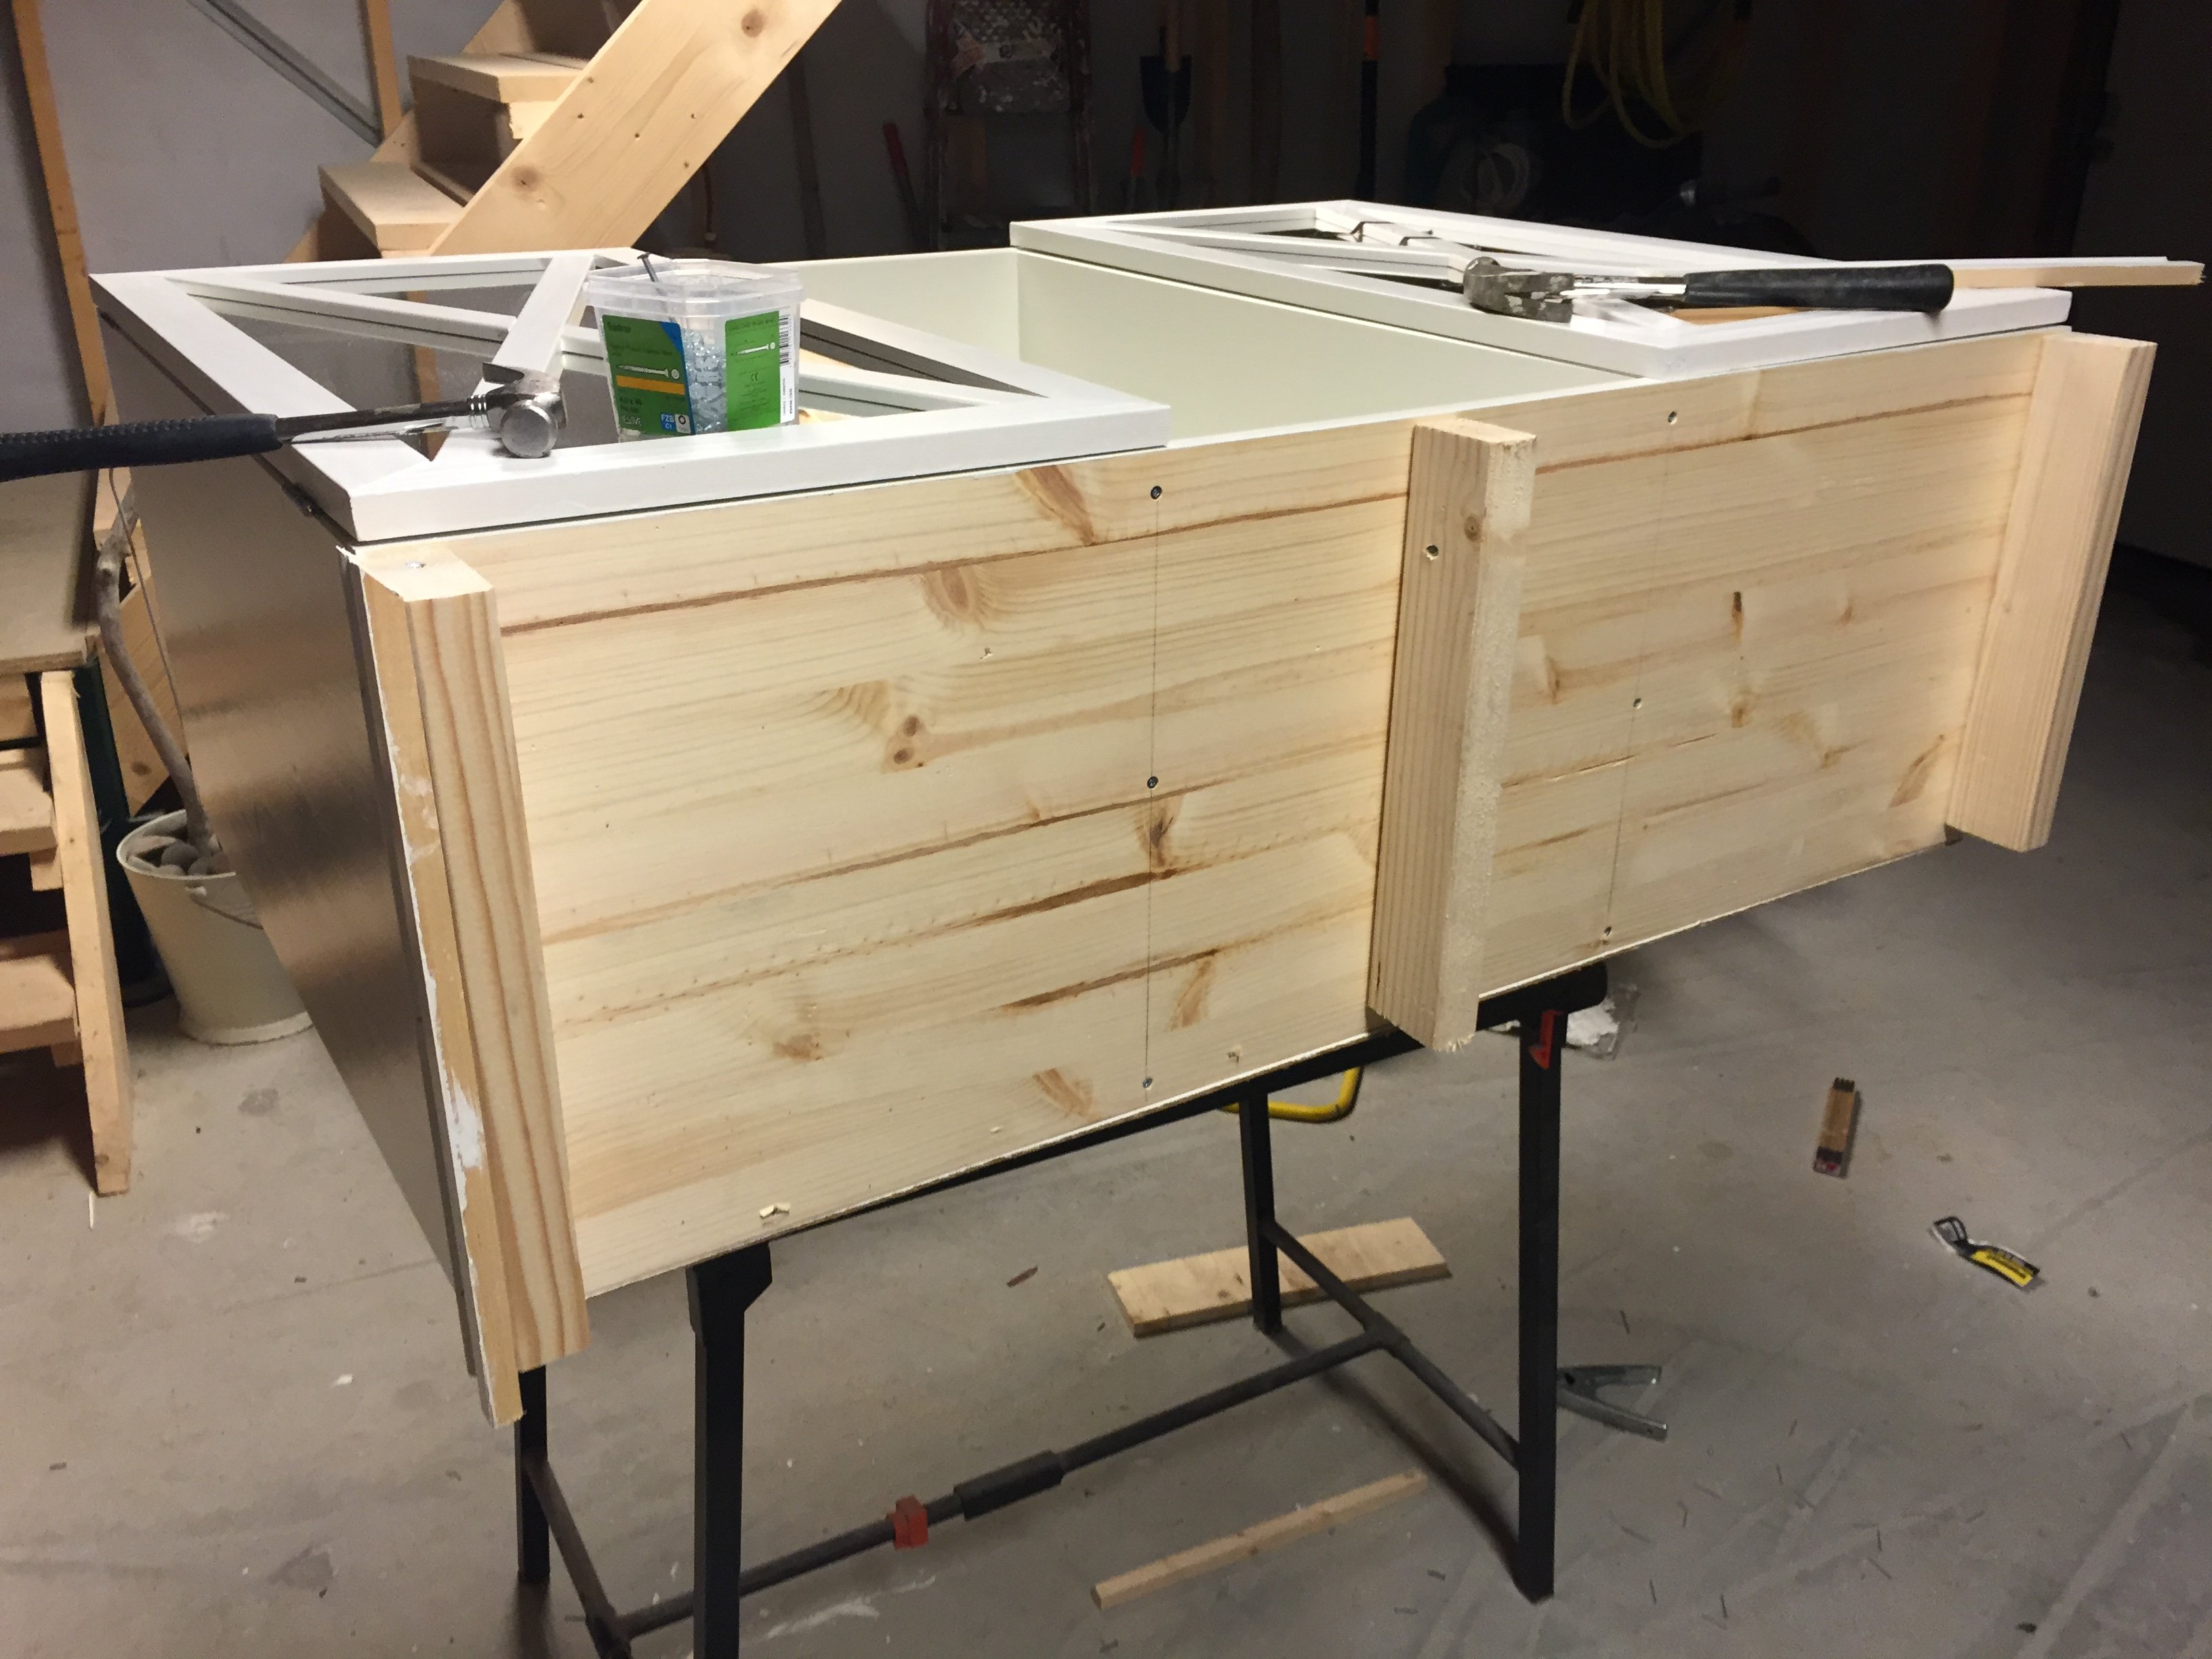
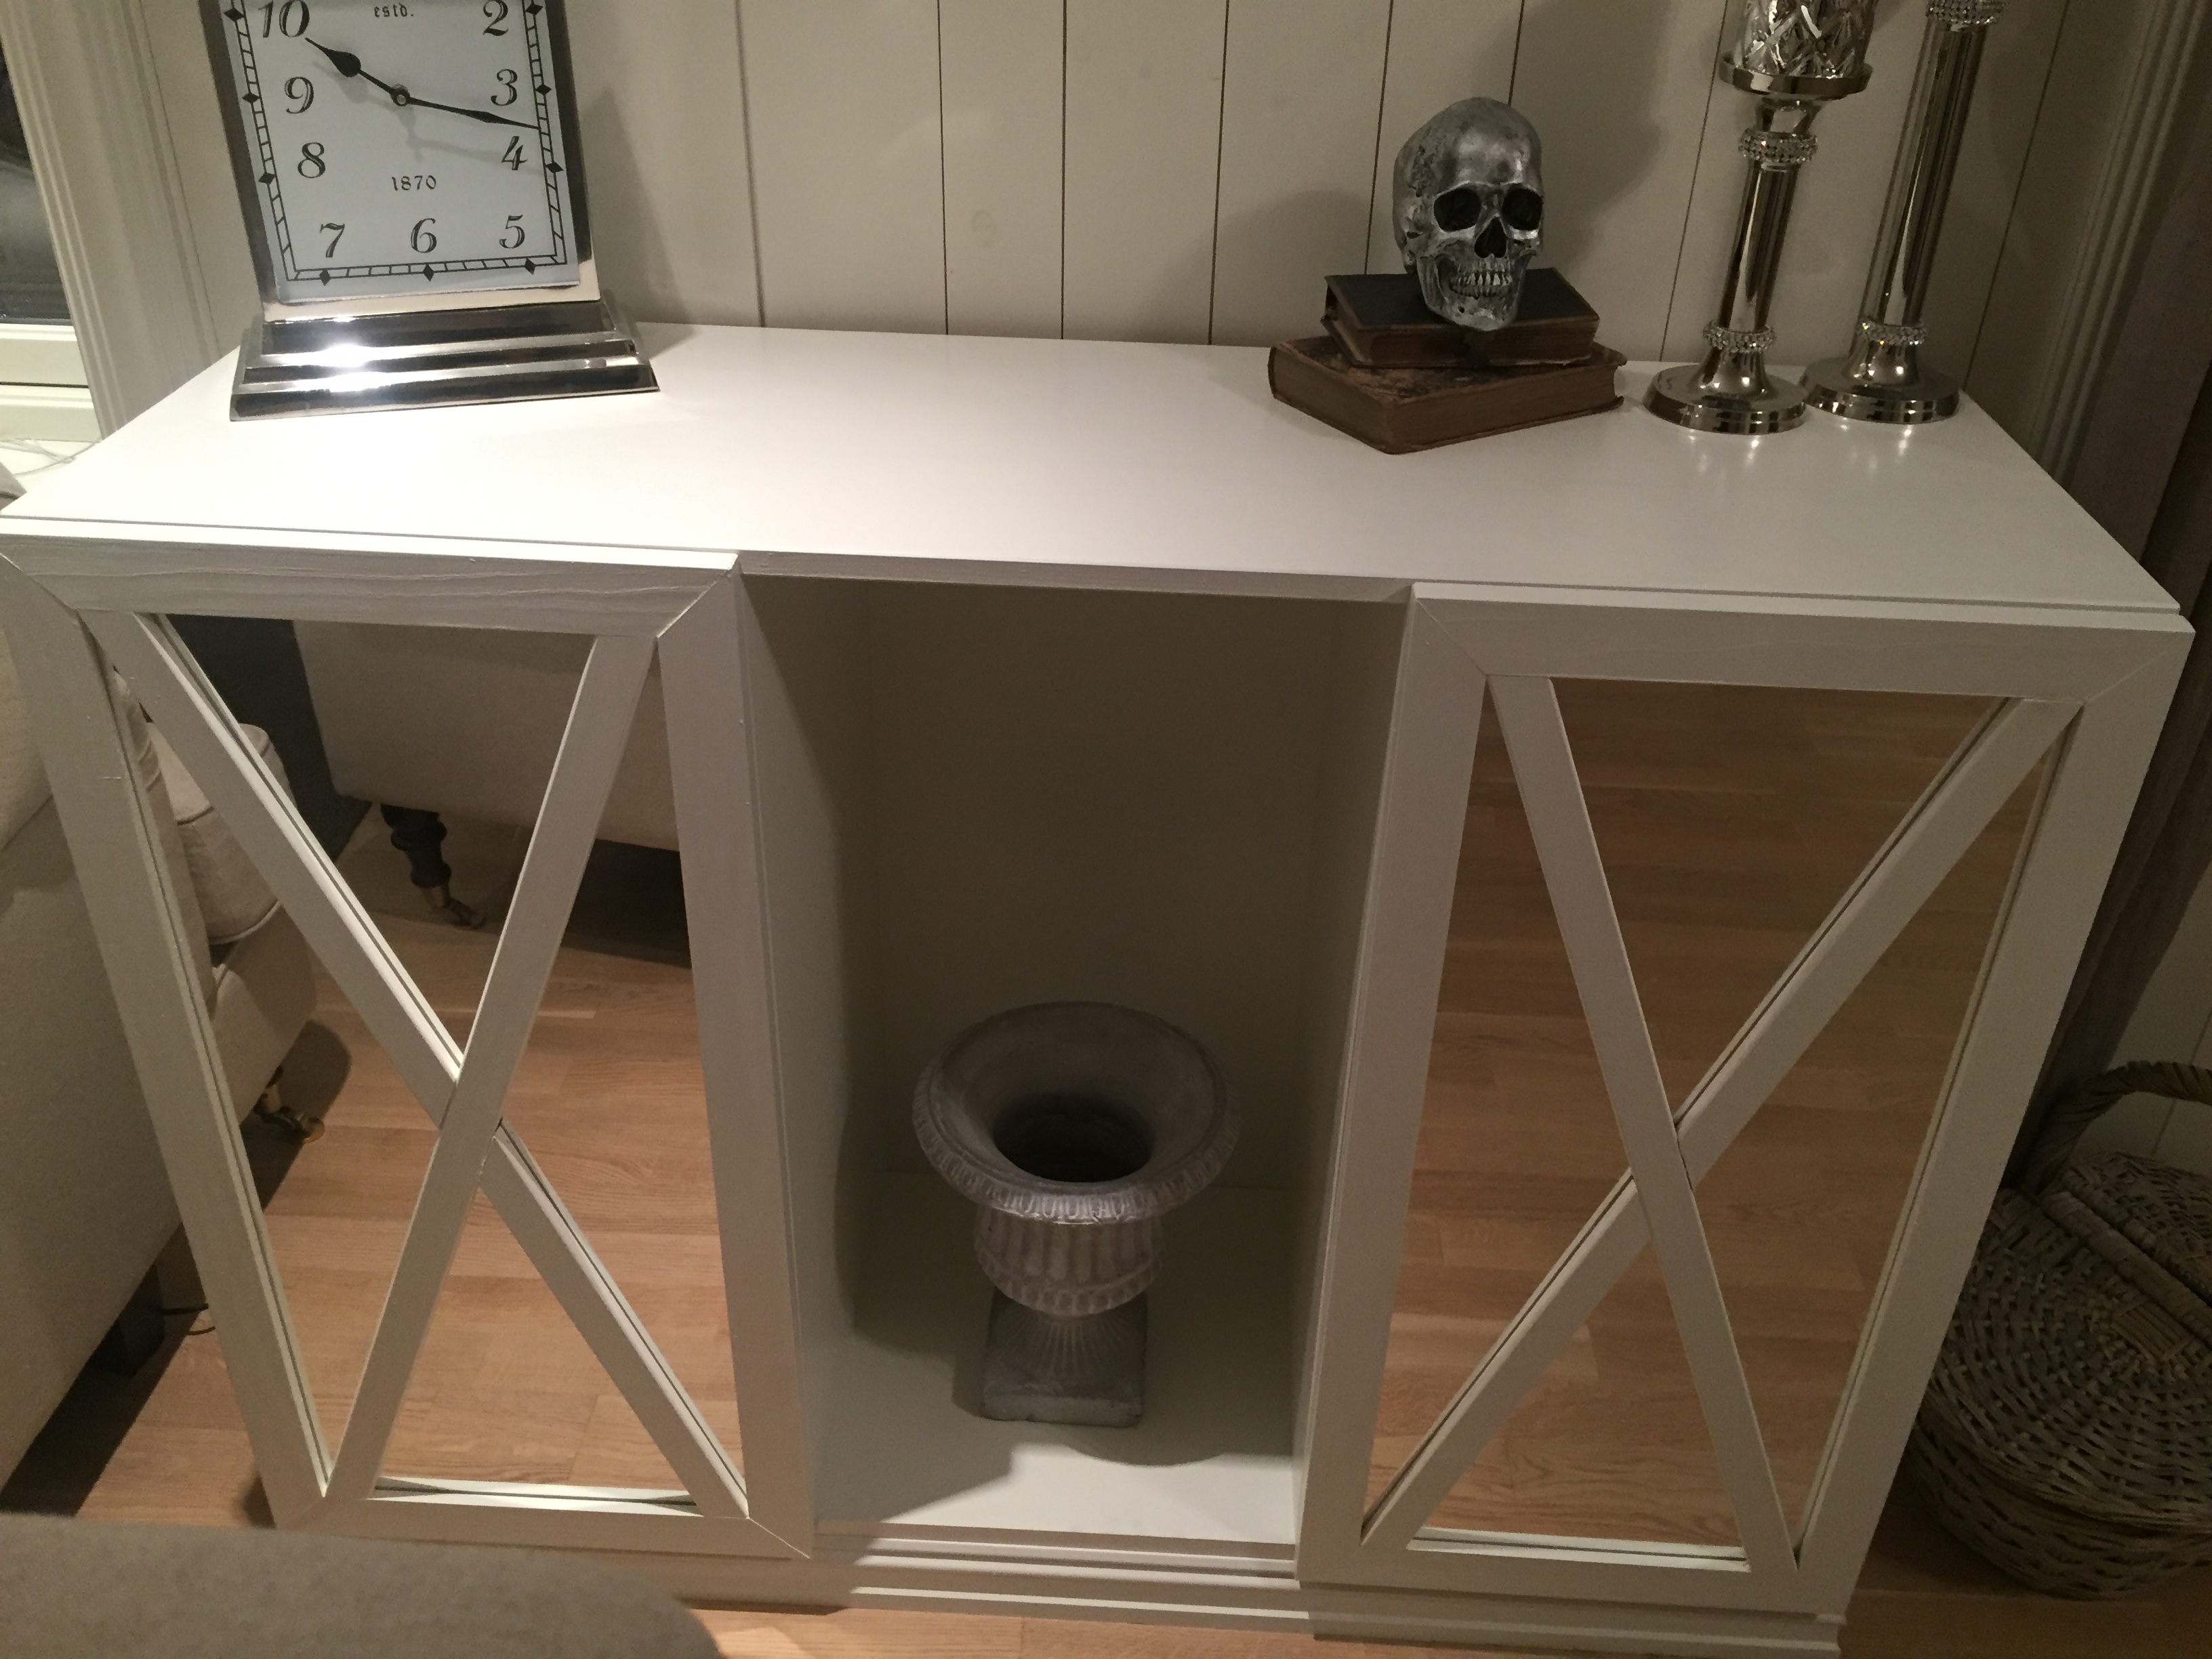
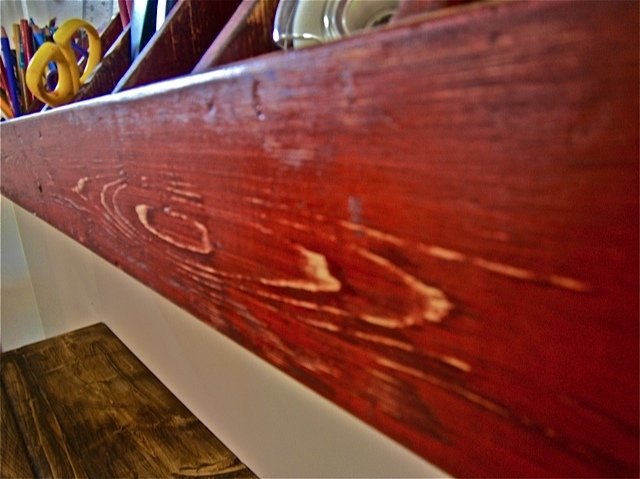
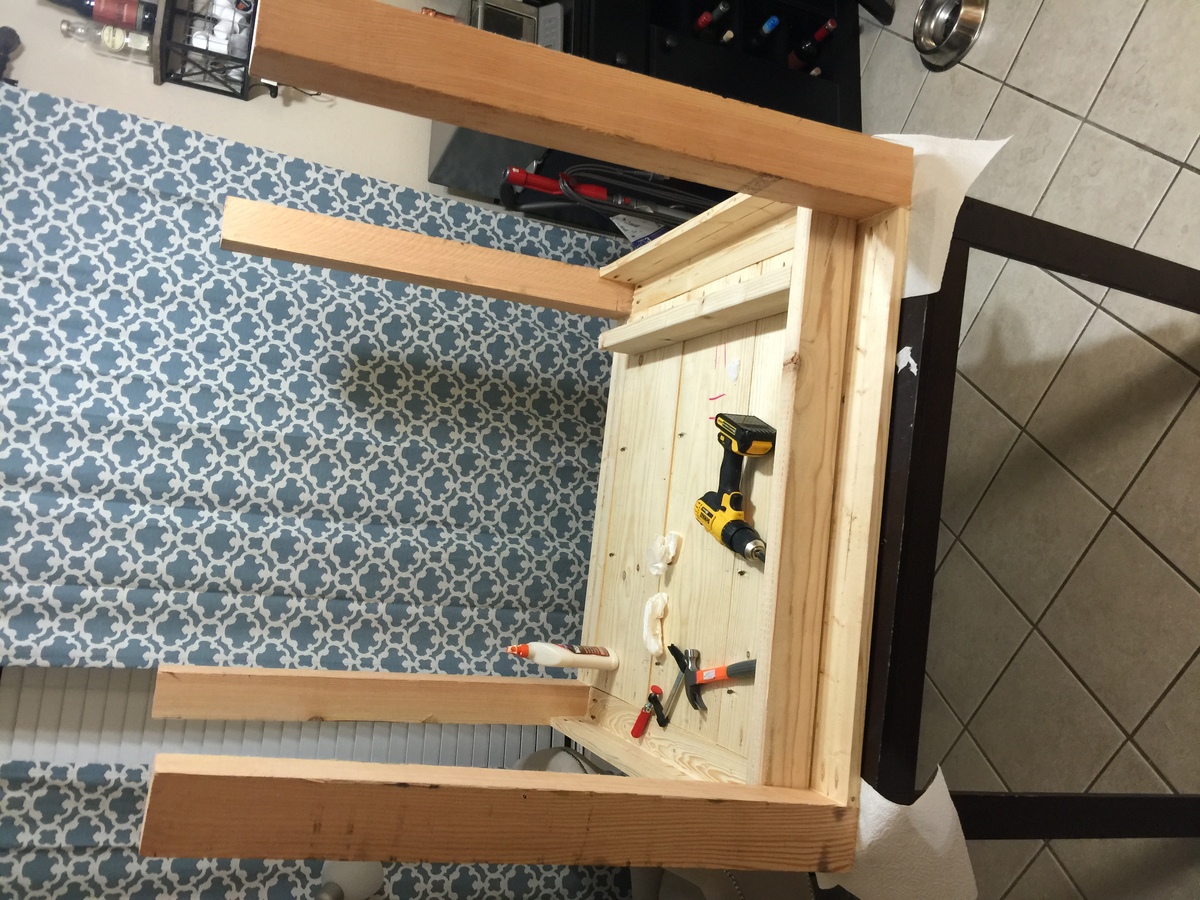
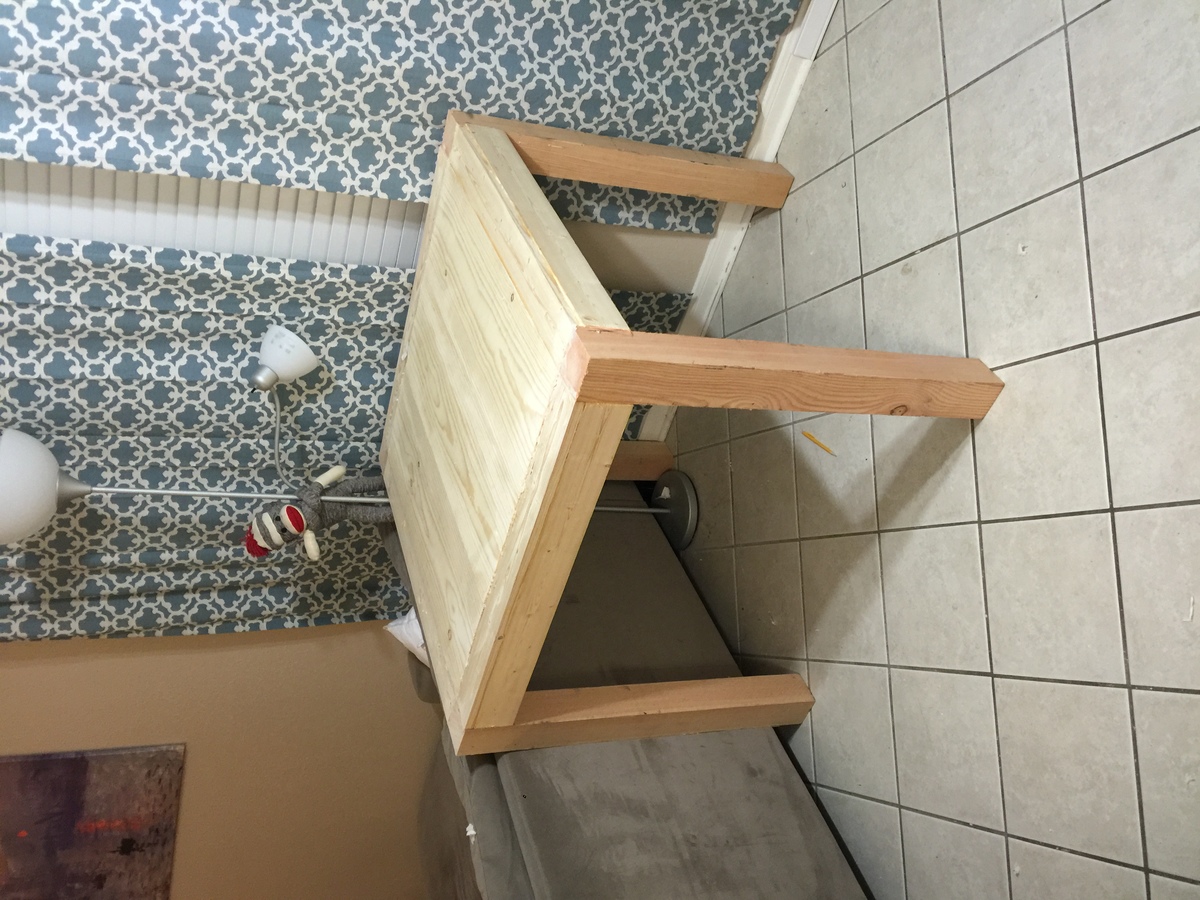
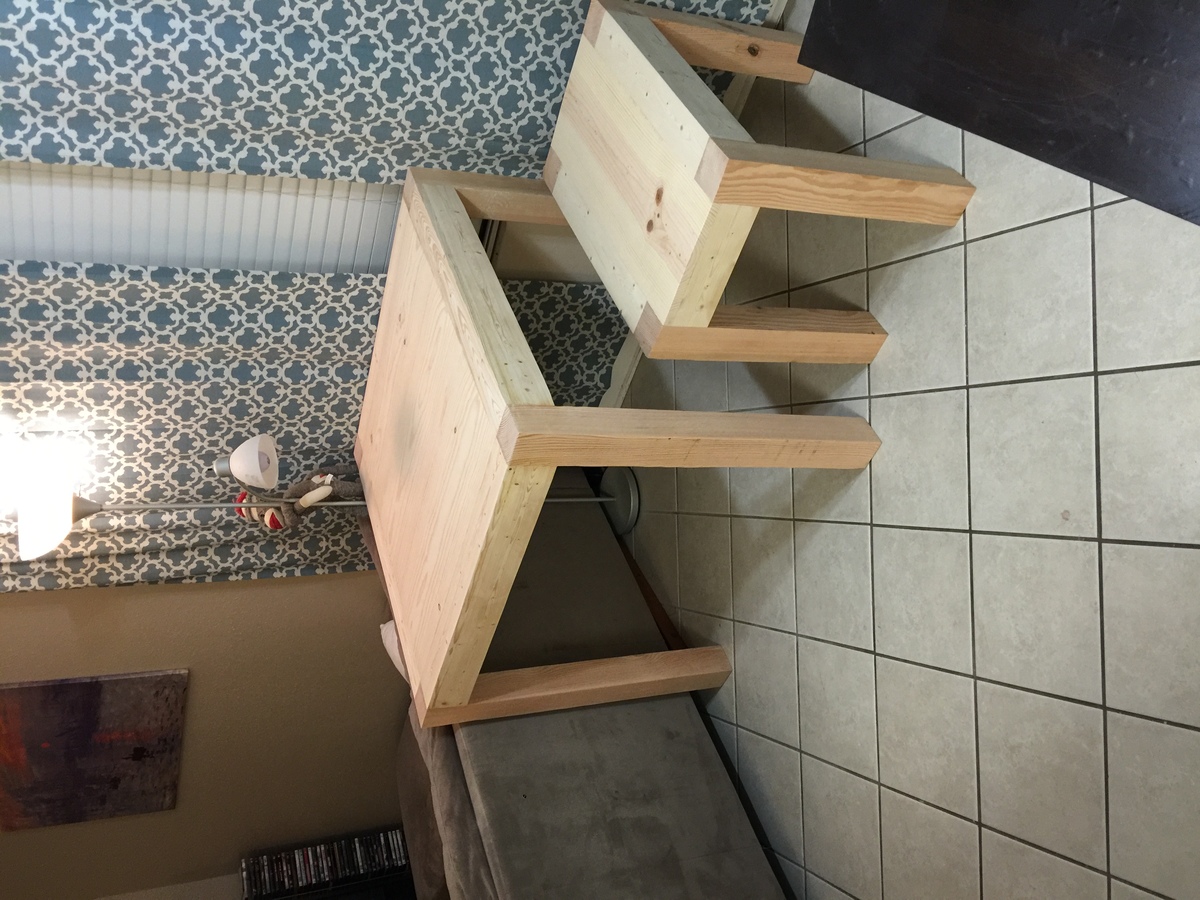
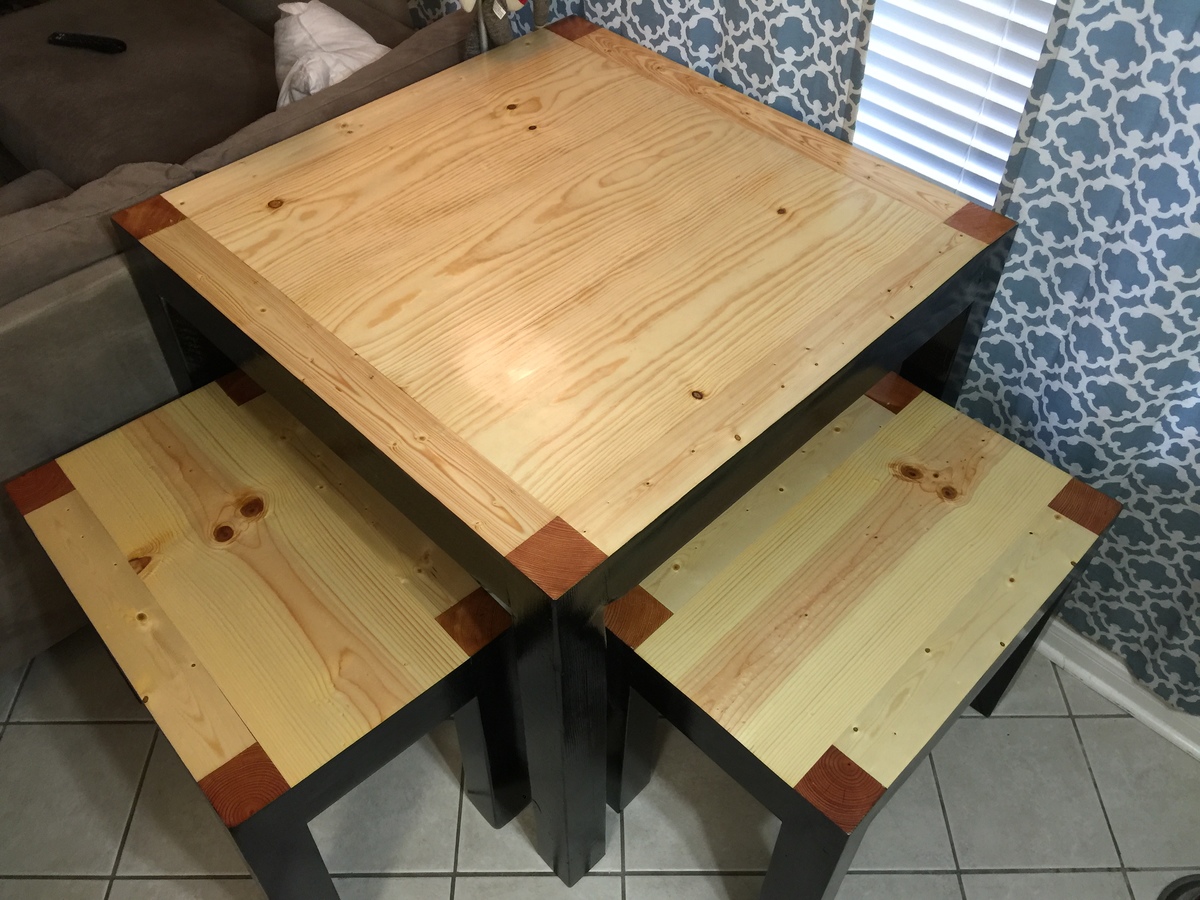
Mirrored console
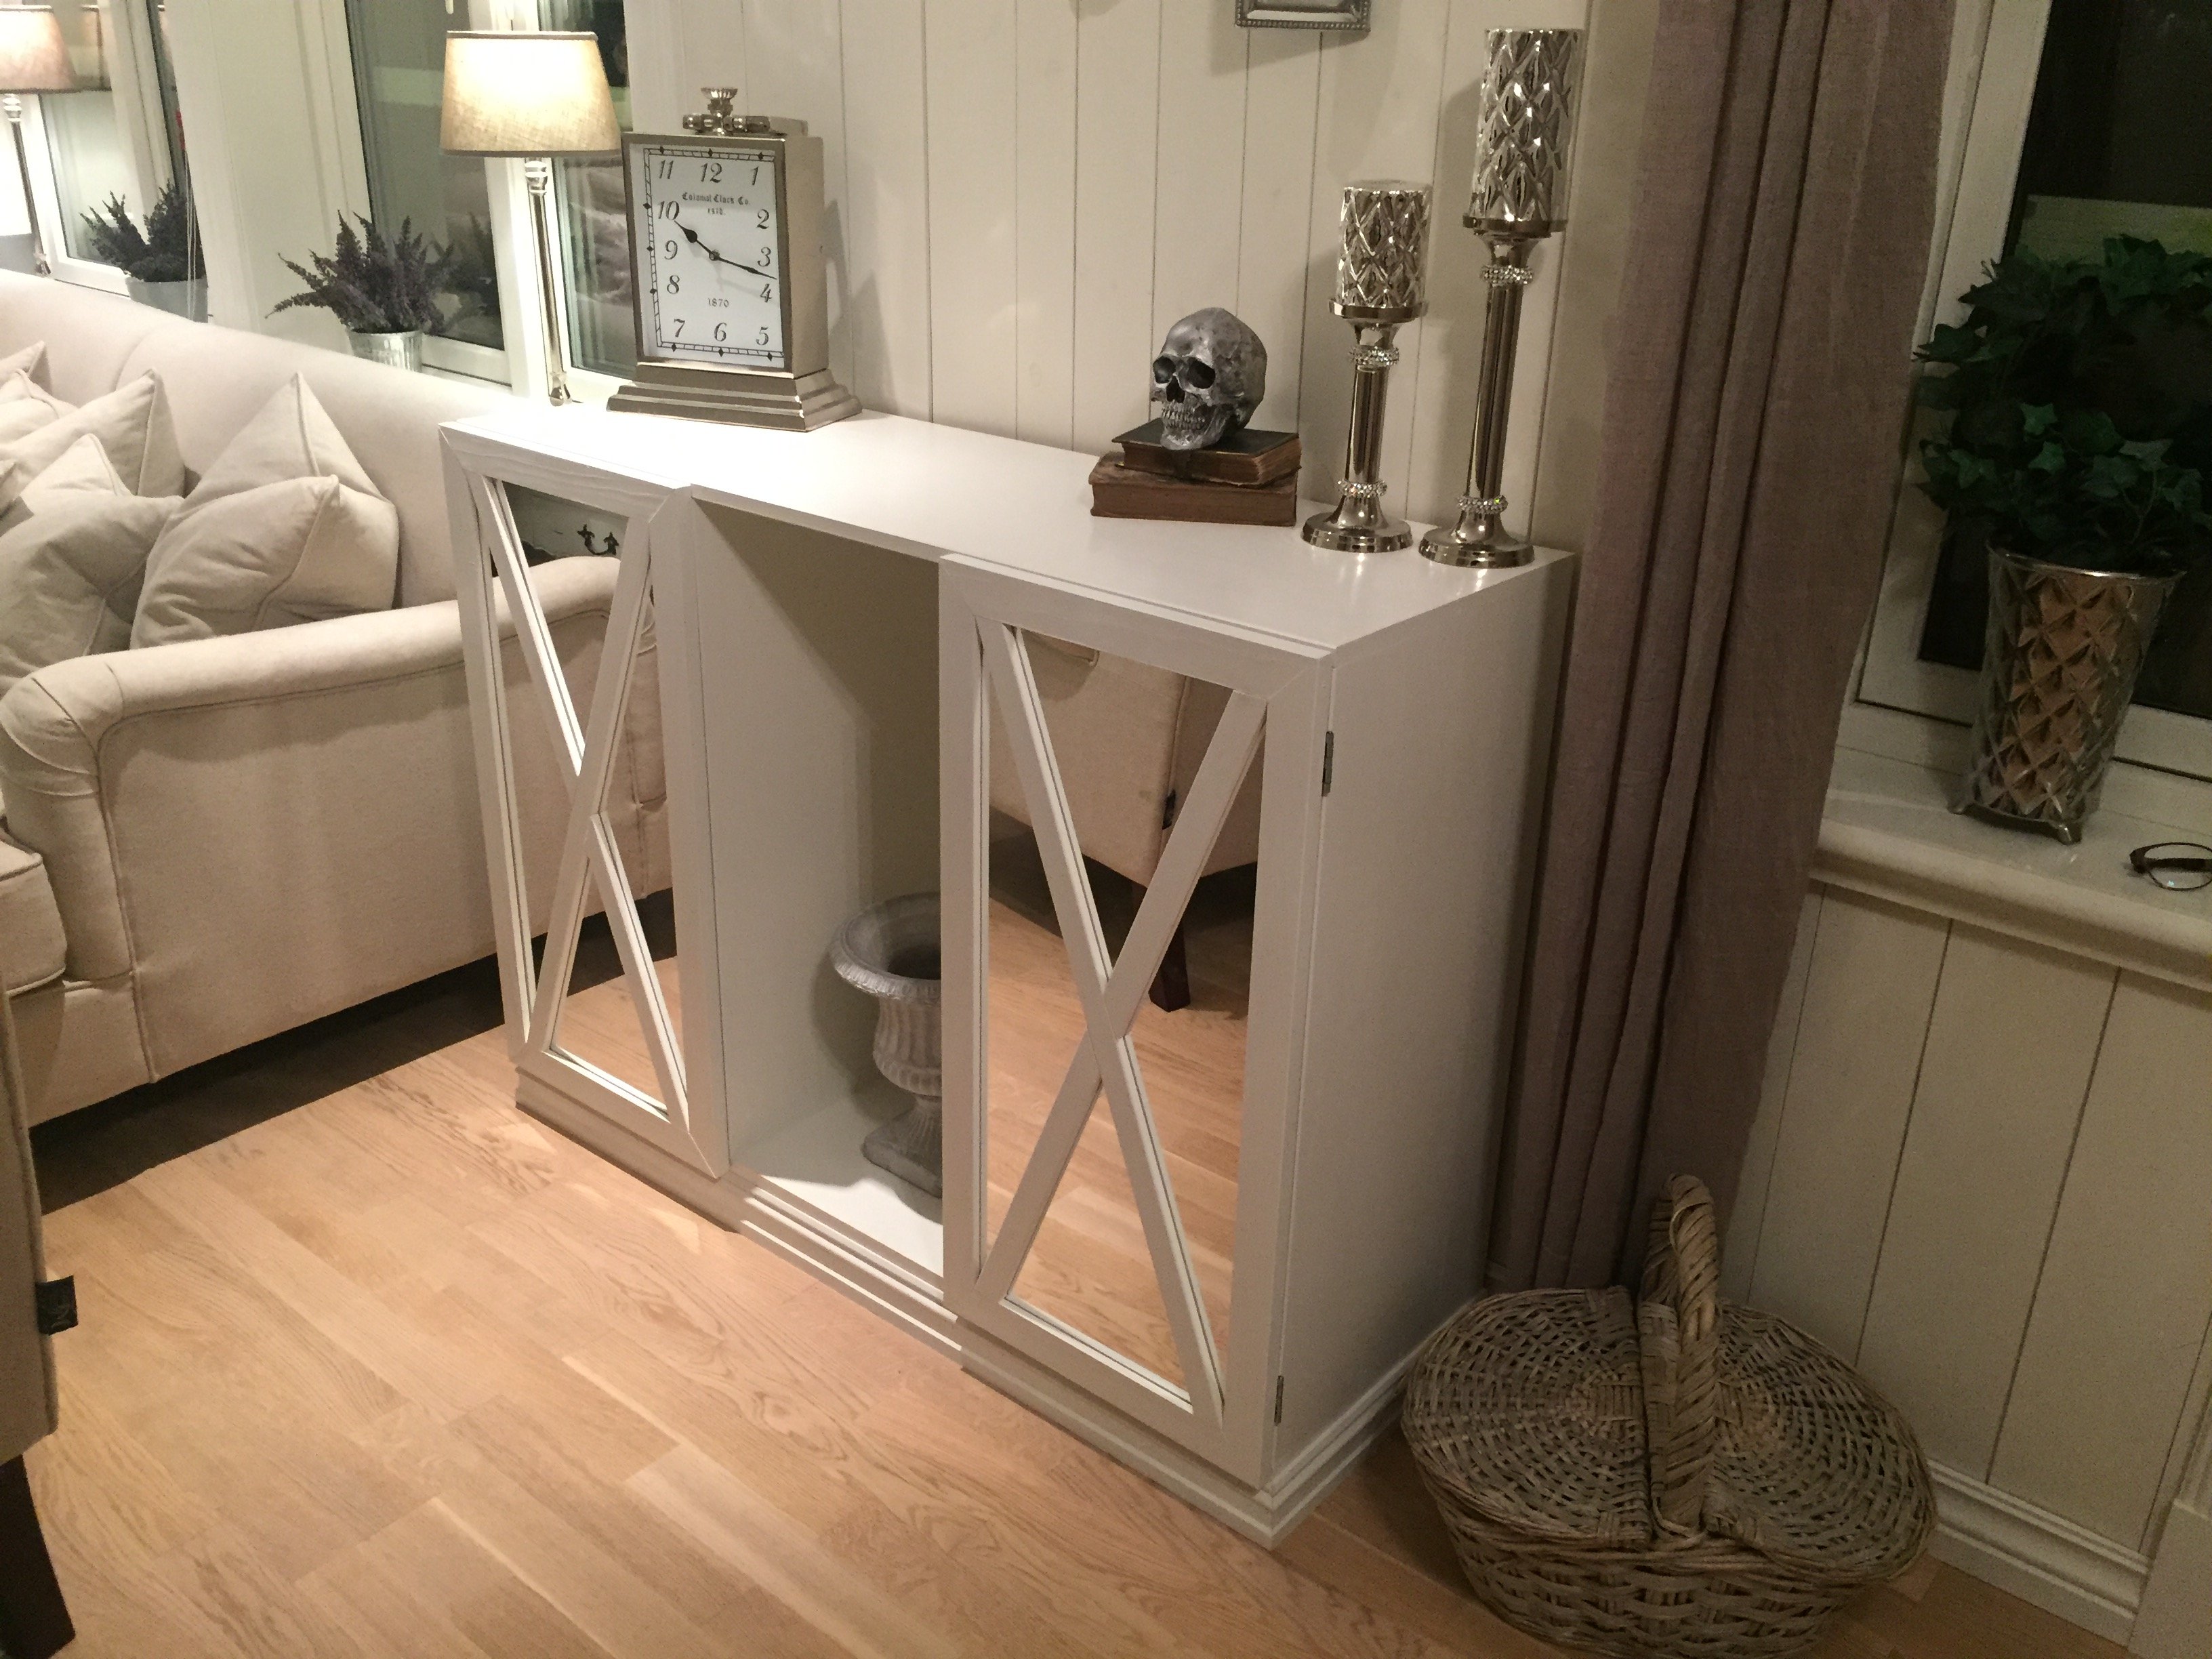
My own take on a mirrored console

Built from Plan(s)
Estimated Time Investment
Week Long Project (20 Hours or More)
Recommended Skill Level
Beginner
My own take on a mirrored console
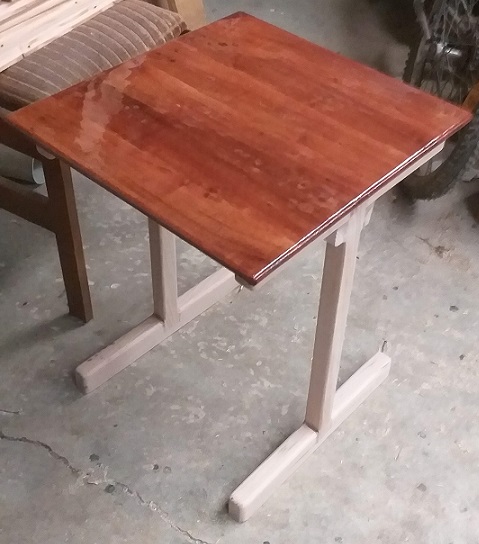
I took your plan for the Clara table to make Ben's table. I used your sizing but made Ben's table with pedestal legs. I then used your $4 chair plan as well.
Most of the timbers you use we in Australia consider exotic timber.
I used eucalypts. Tasmanian Oak for the table legs and Red Ironbark for the rest.
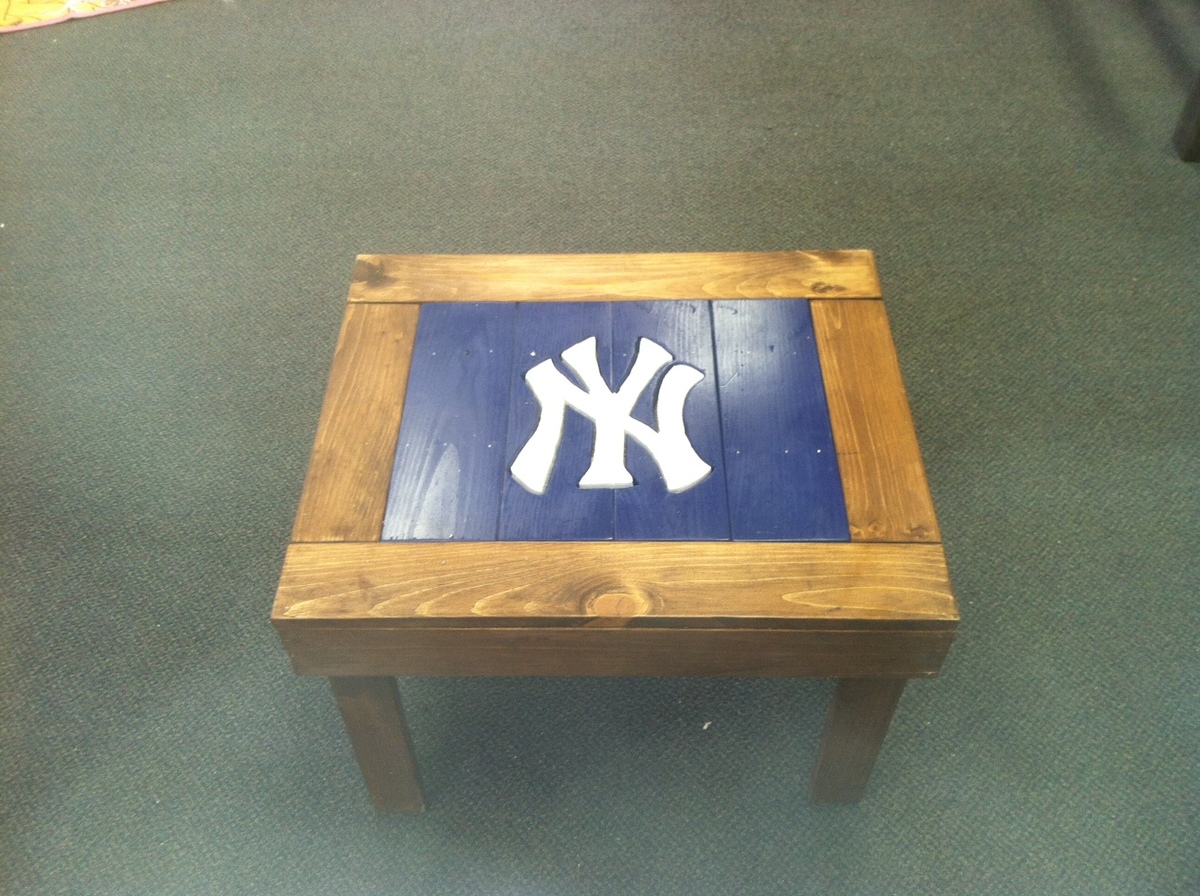
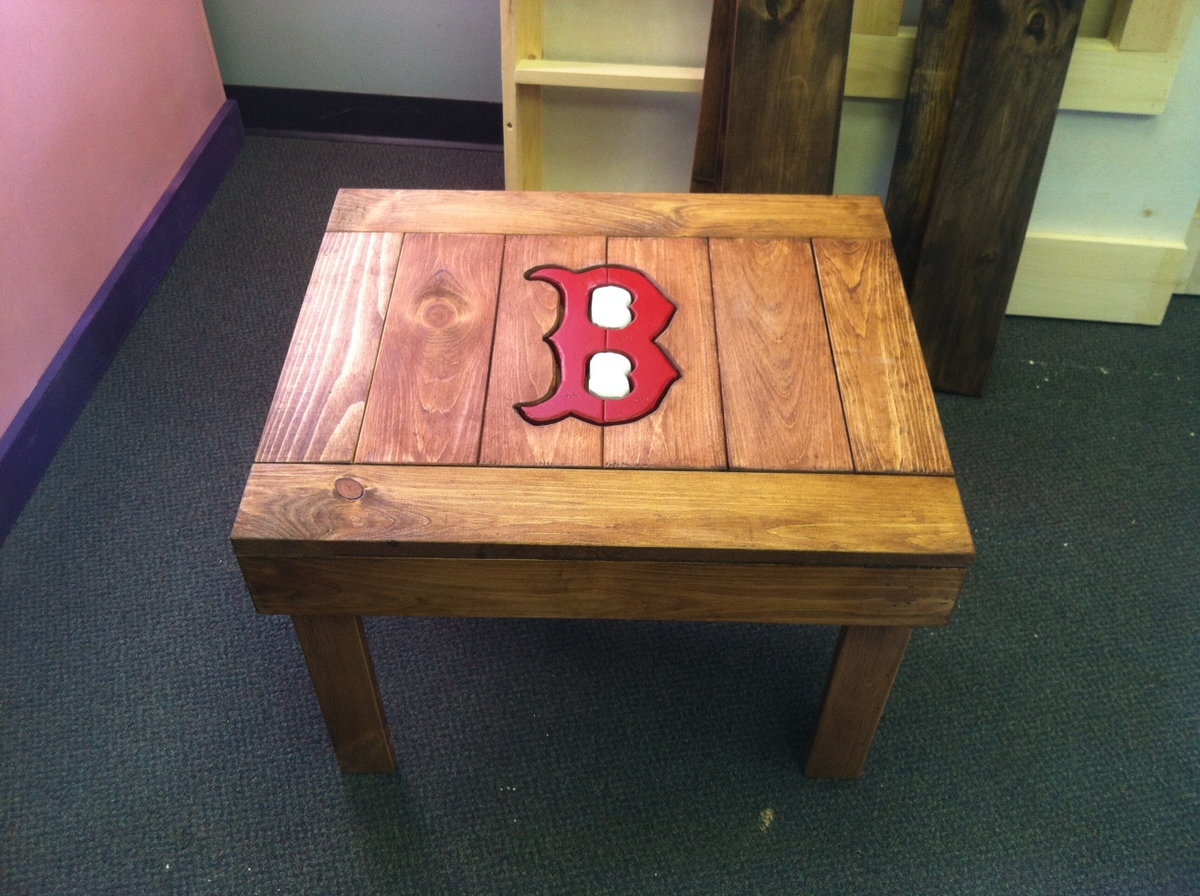
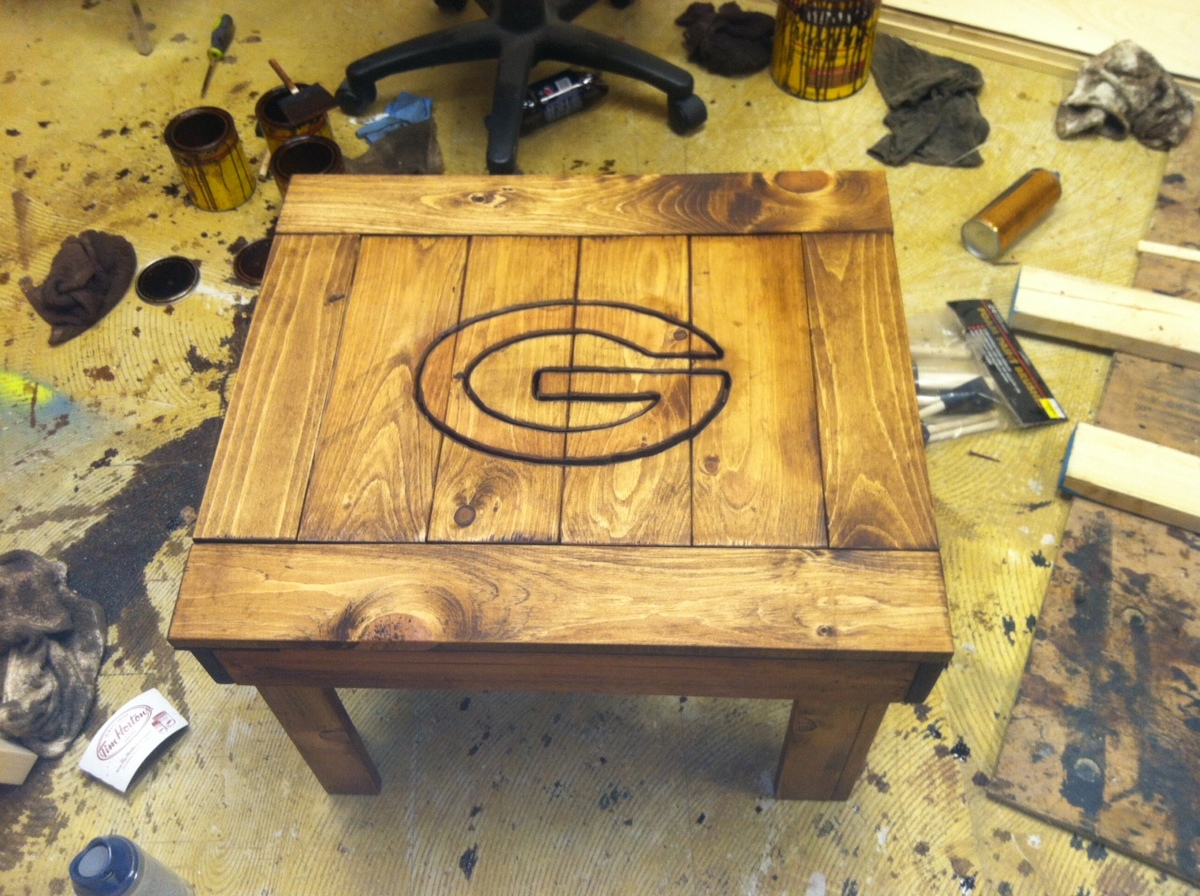
Used the table and cutout logo's and put back into the table using luan scraps. ;0)
Fri, 04/20/2012 - 18:53
How exactly did you get the logos on the table? They look carved or burnt...they are really awesome!
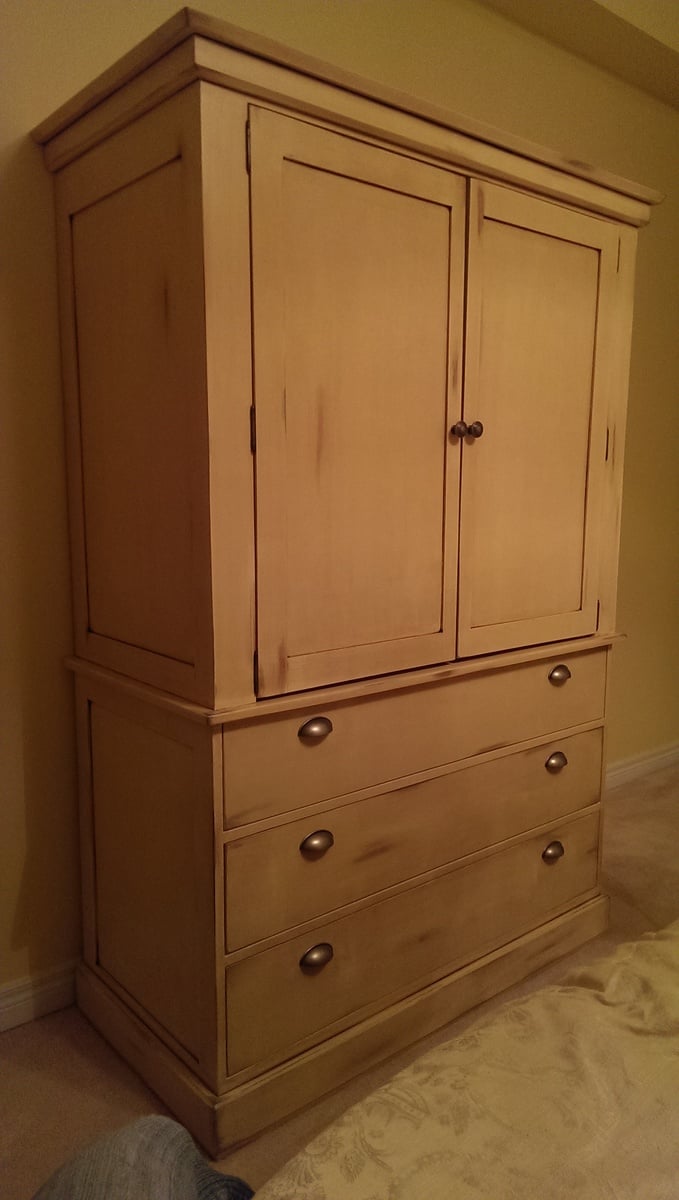
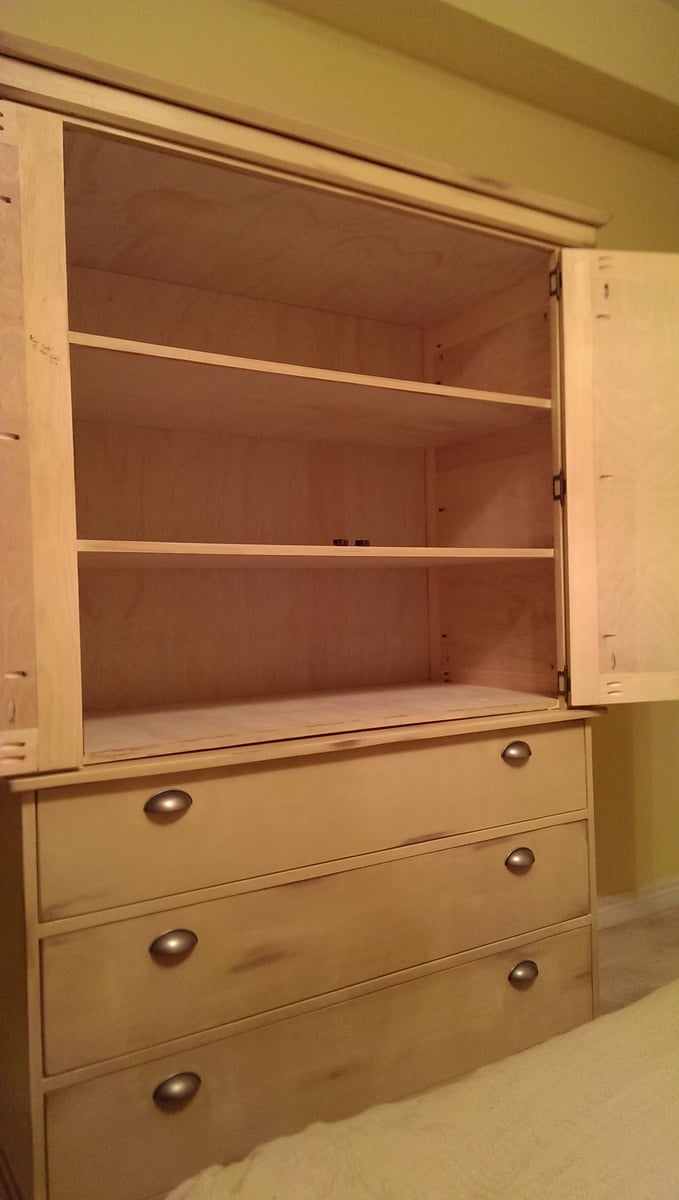
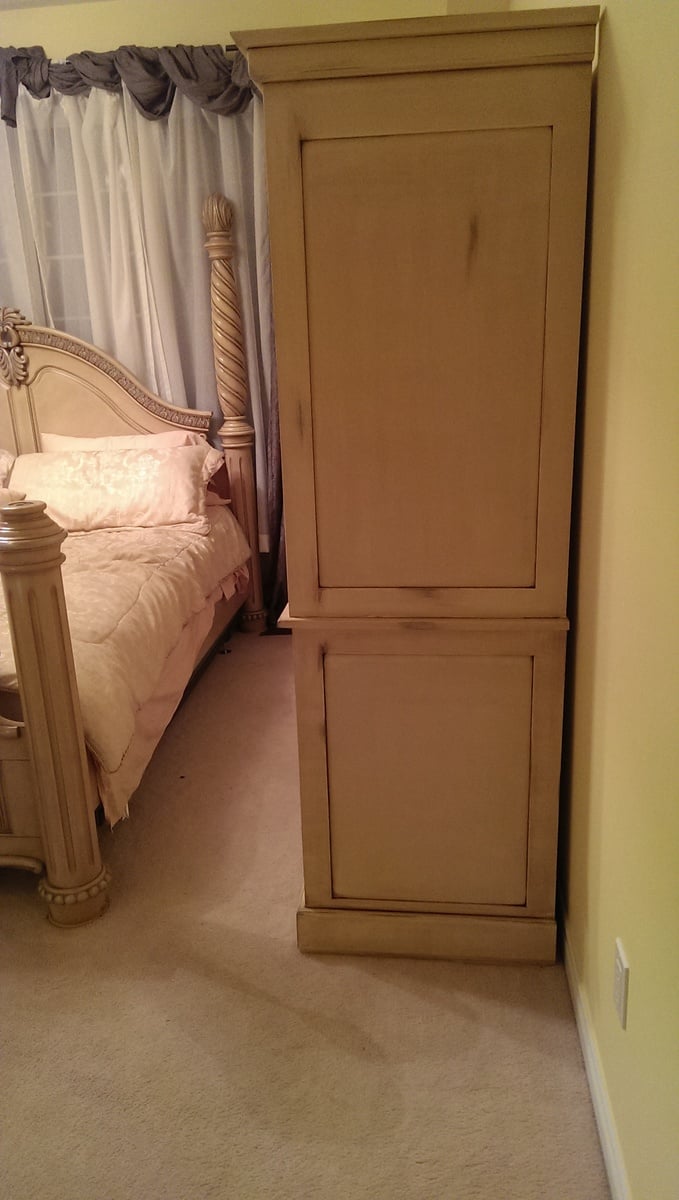
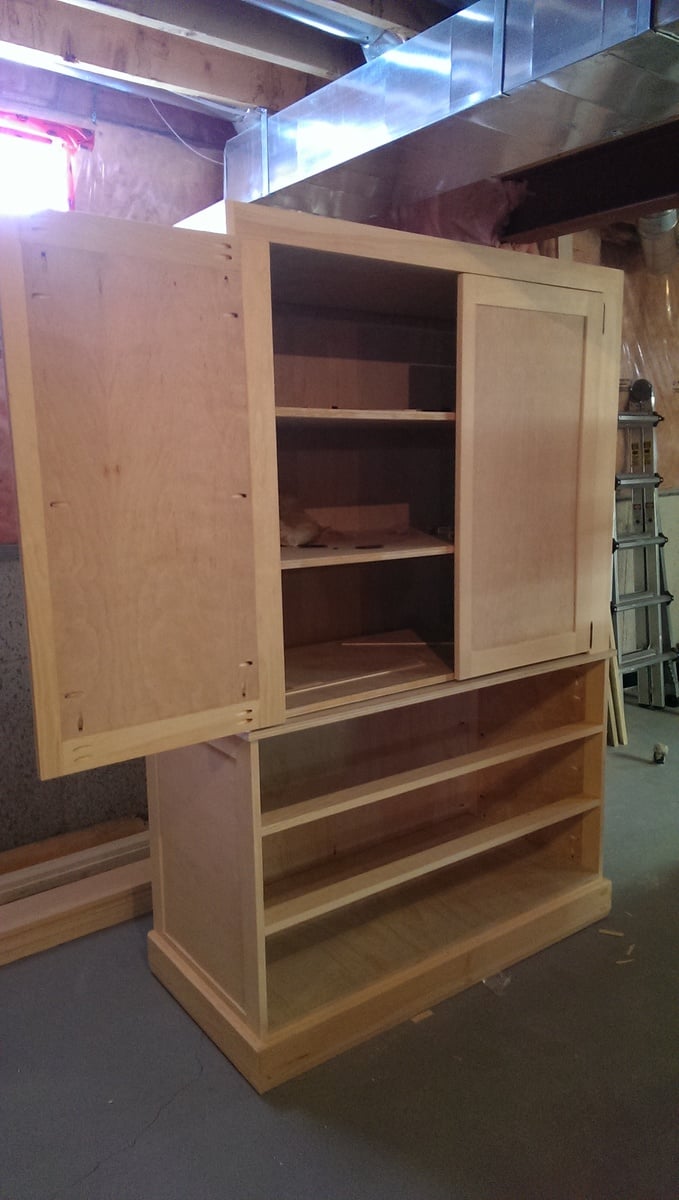
This is the first furniture project I have built from a plan found on-line - at Ana's Website. The plan was very easy to follow and I thoroughly enjoyed building this piece of furniture. I made some alterations to the upper cabinet as per shelving. I used an antique finish to match my bed. The match and design is perfect!
Mon, 02/03/2014 - 08:38
This piece looks like it belongs with the rest of your bedroom set. Great work.
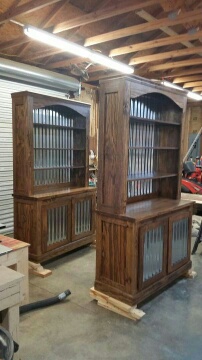
I saw this on Shanty2Chic and loved the plan. I had a friend that wanted me to build her two of these with tin in the door and back. The tin was a challenge but it all worked out. She loves them. Thank you for the plans. I could not have done this without them.
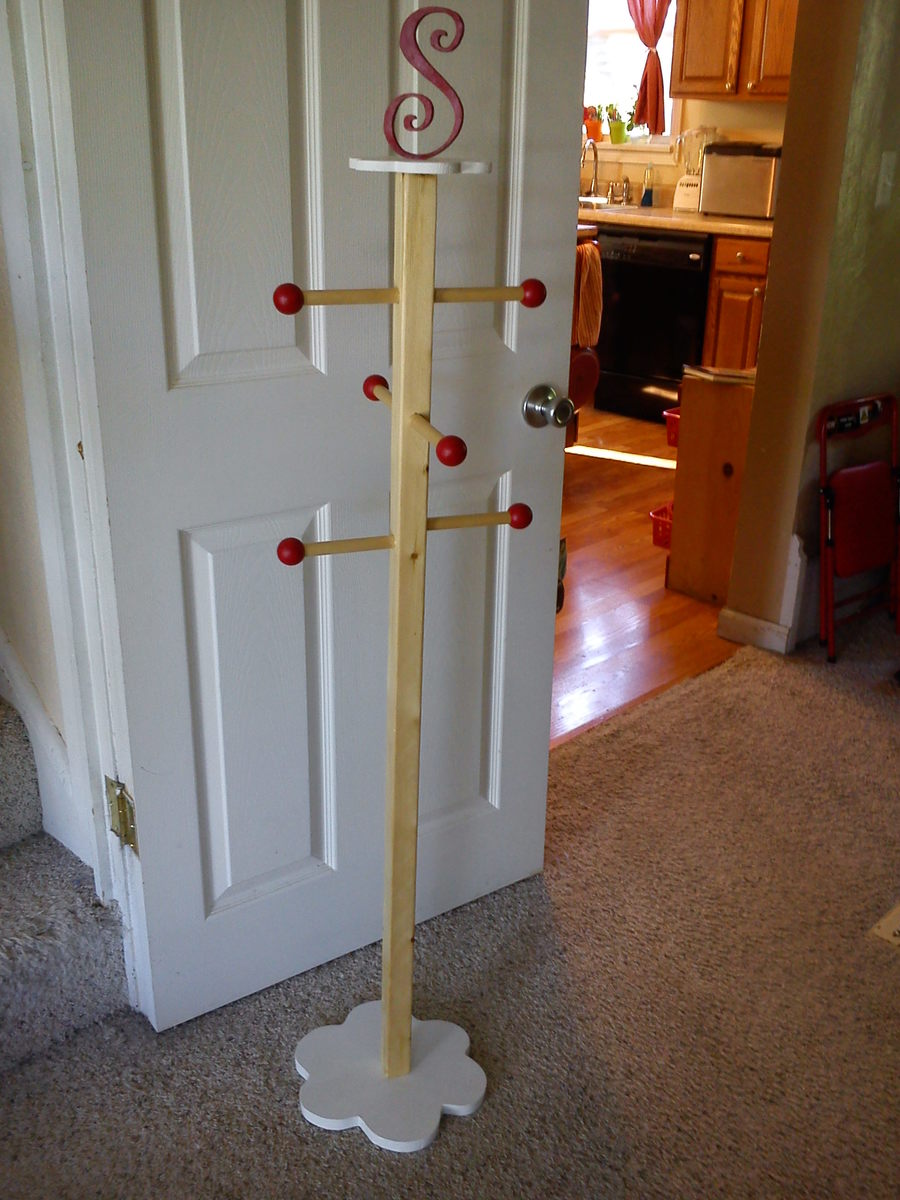
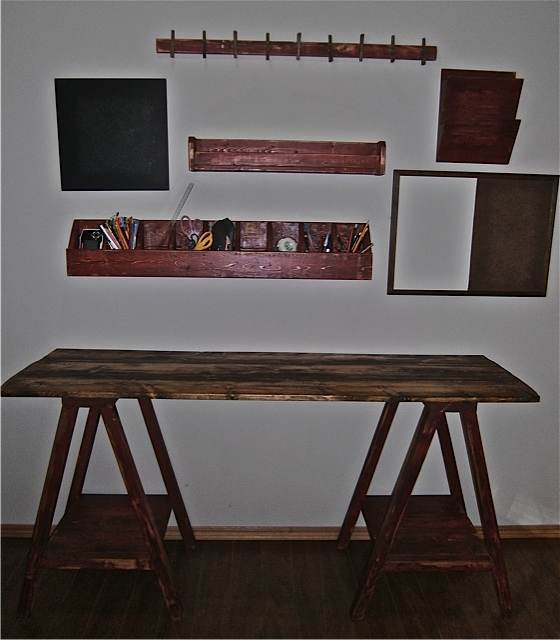
I built my daughter a coat tree from Ana's plans and it looks basically just like Ana's-even the same color. My daughter-in-law saw it and wanted one for my granddaughter's room to hold her dressup clothes but she wanted a natural look, instead of painted and her room is basically natural wood, red and white so this is what I came up with. I would never have even known I could build a coat tree if I hadn't tried Ana's first!! This one was super easy and cheap, made mostly with scraps and some varnish I already had. I had to buy the balls, dowel and letter S.
I would encourage anyone to build one of these if they have need of a coat tree. You could even make it adult size if you combined Ana's plans with these plans and screwed in some hooks.
My first build! Didn't want the X's so I put a straight piece on each end.
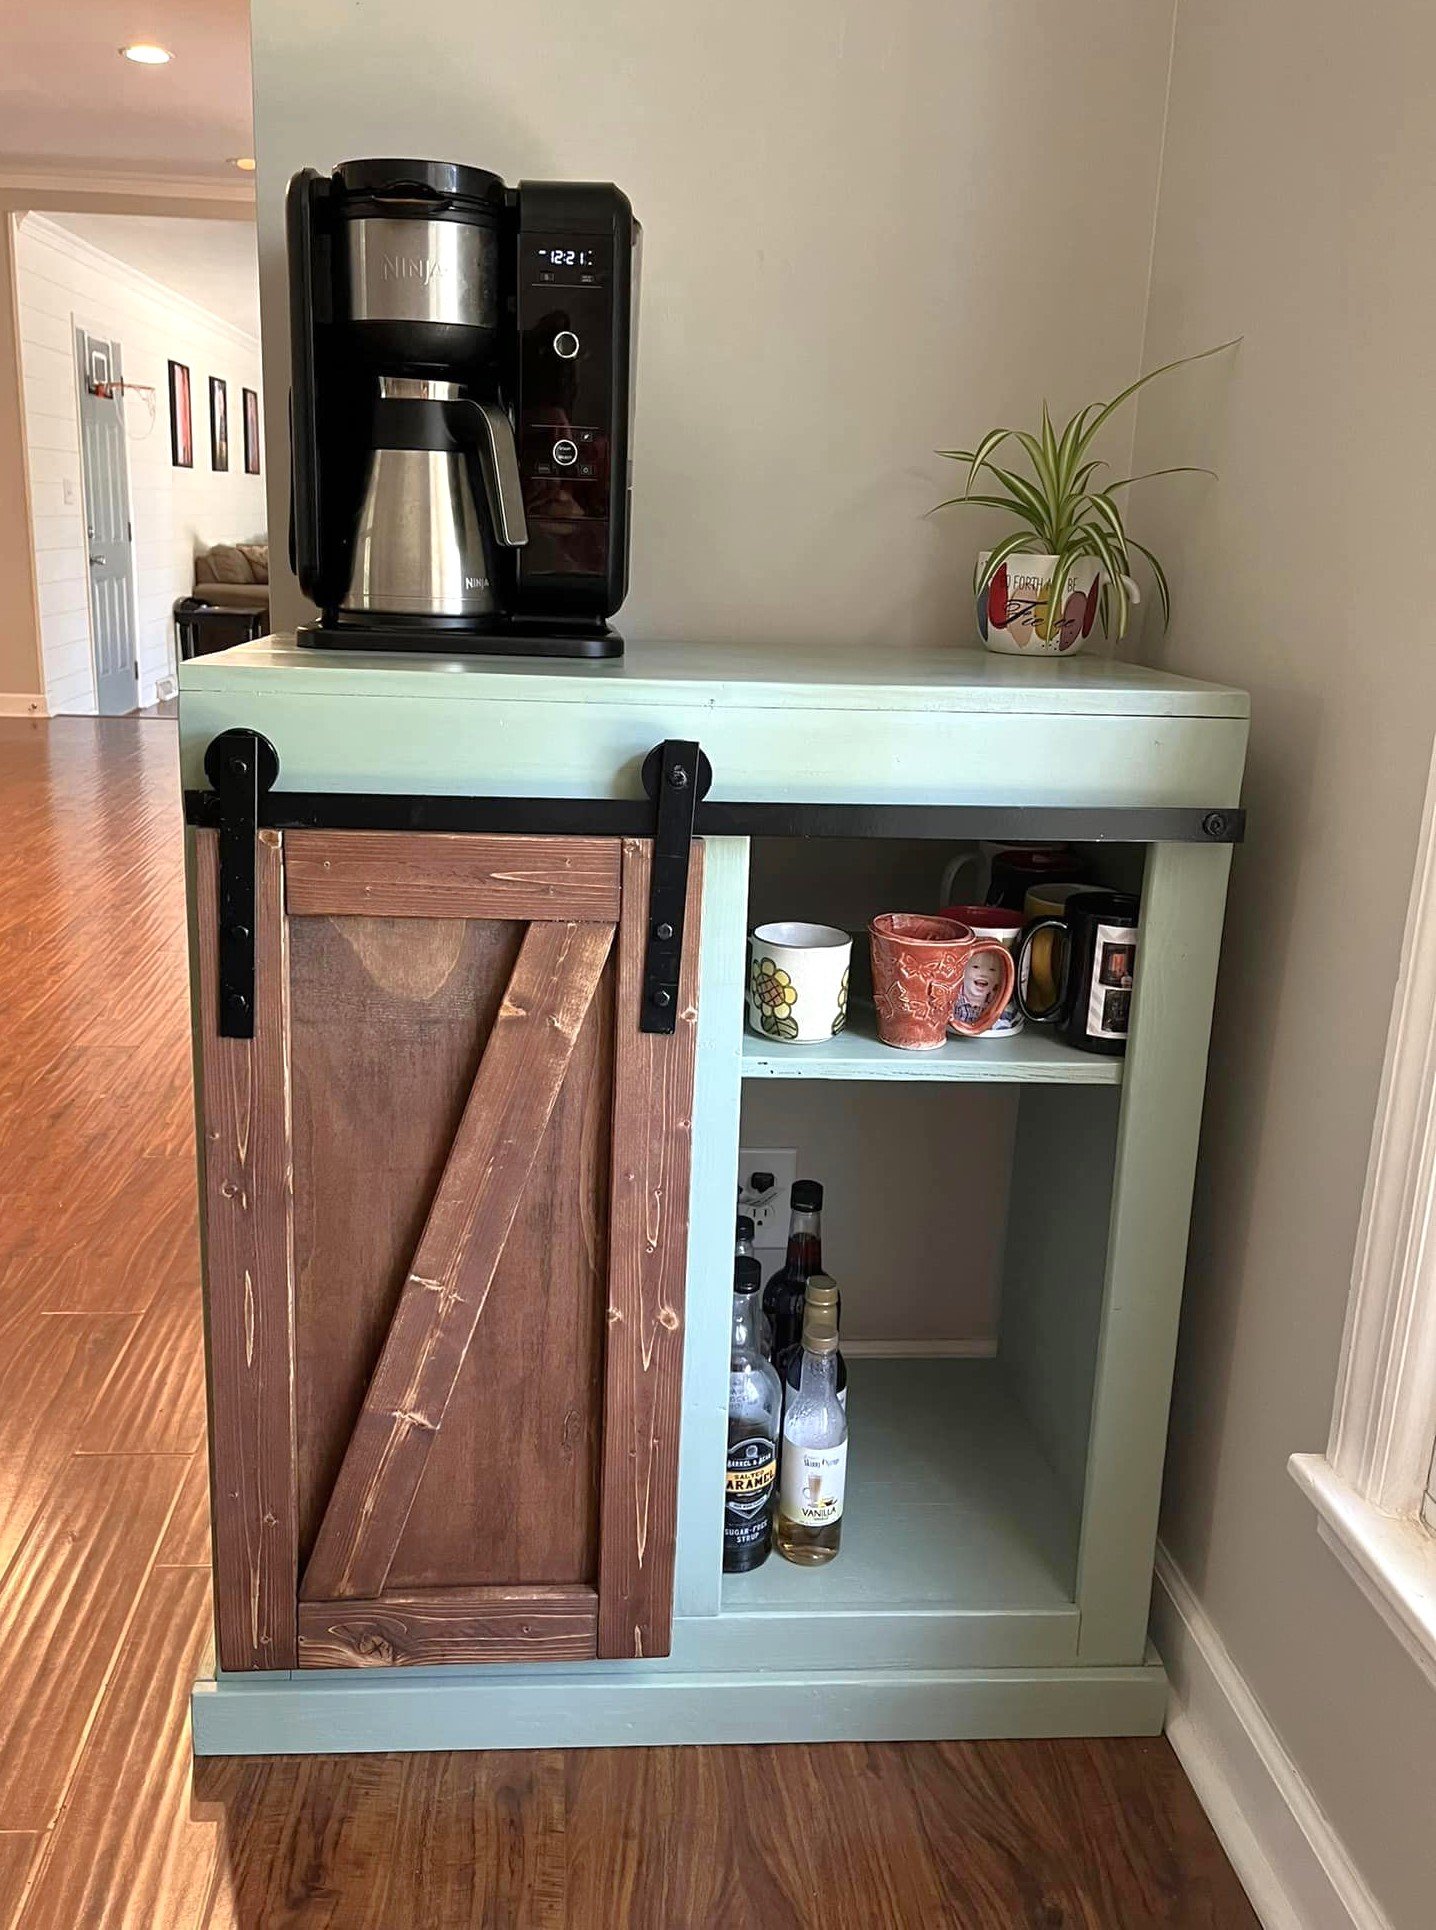
Couldn’t find a coffee bar to fit my space so I modified the Snack Cabient plans of Ana White's! Looove how it turned out! The barn door hardware was fun!
Laura Thompson
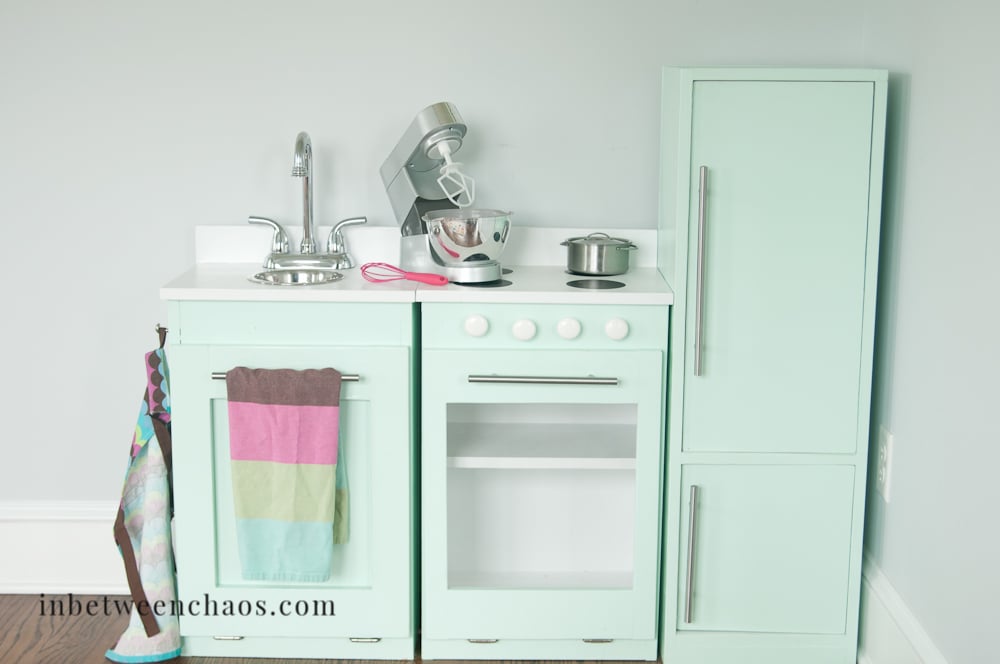
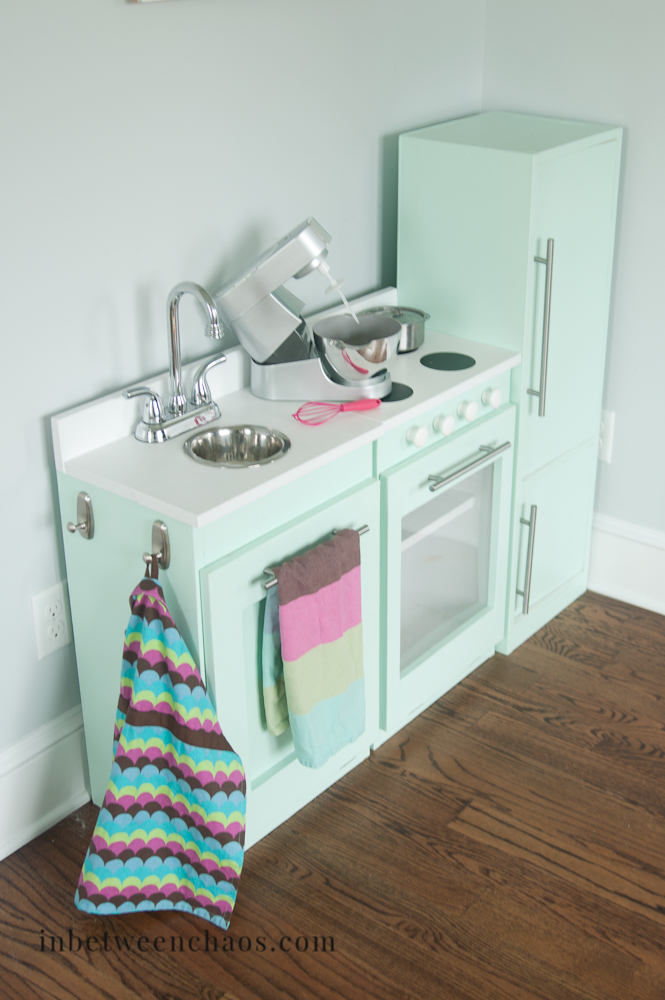
I made this for my 3 kids for Christmas and I'm so glad I did! They have gotten so much use out of it and love to move it around to set up different "houses" and restuarants. Thanks so much for these plans! I made the pieces a little taller, and use the play stove as the sink base too so that it could double as a dishwasher :)
I'm really bad at making the X's, so I just added some straight pieces for decoration.
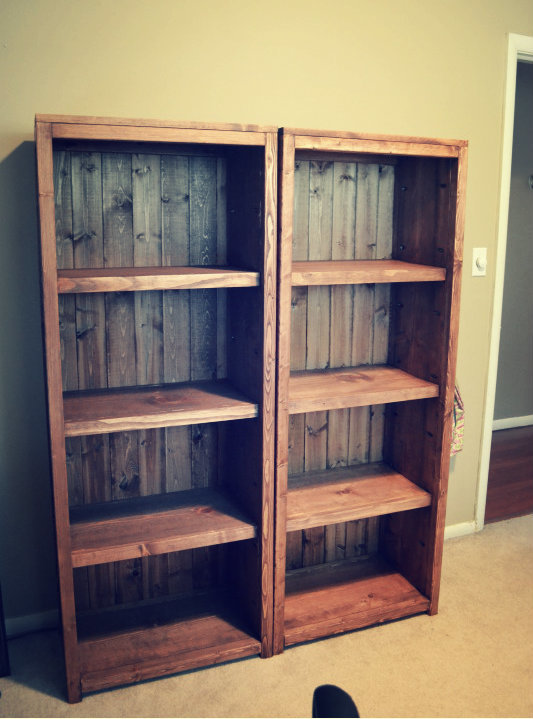
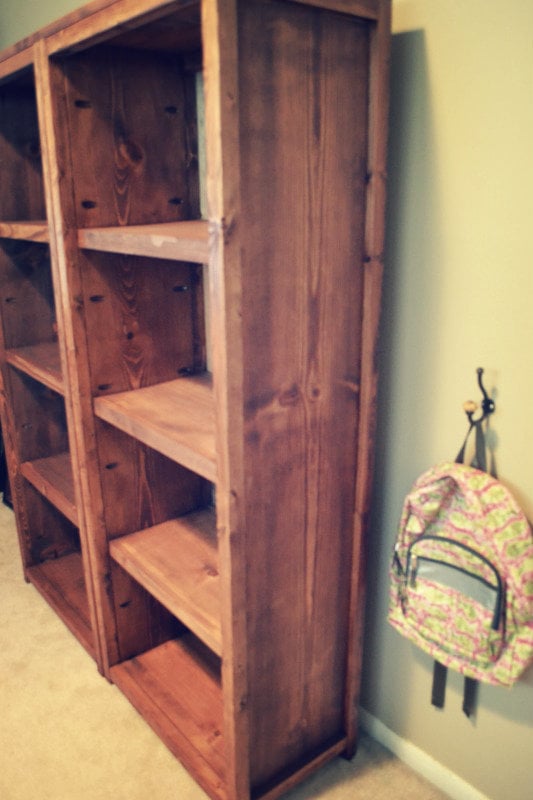
When I started my blog This Girls Life ( t-g-life.blogspot.com ) I knew I wanted to makeover my office to give me more room and storage. These bookcases were perfect for that.
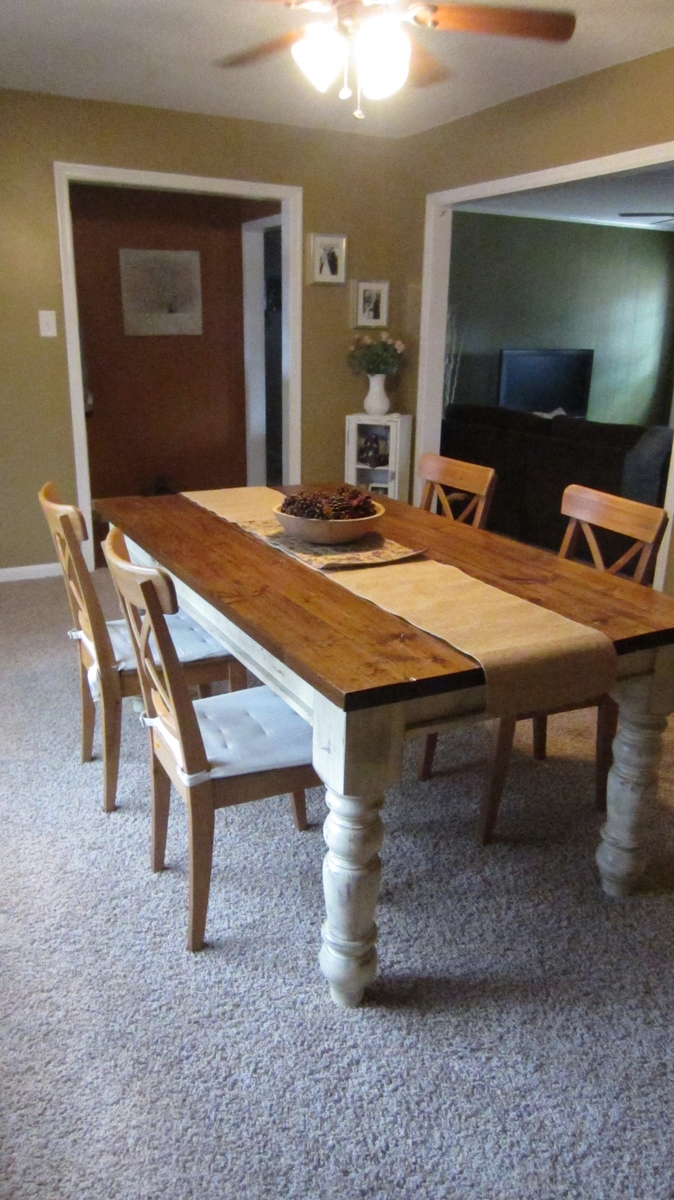
My husband Chris and I have been planning for a few years now to build a farmhouse table for our home. Every year for christmas my mother-in-love (mother in law) gifts us a "must have" tool. We like to think of it as her investing in our home and quality time together. Last year she gave us the Kreg gig, holy cow, that sure is a must have!!! :) This year we received a hand sander. Needless to say we were motivated to start our farmhouse table journey.
We loved the table Ana built for her sister, so we followed the plans almost to a tee. We ordered the turned legs from Georgia. Let me also add that we try to buy everything we possibly can that is made in america, from paintbrushes on. I encourage everyone to take the a few seconds to look and spend an extra dollar or two to support america's economy.
The only modification we did to the plan was add a small strip of wood to the base layer for just a little extra touch of character. :)
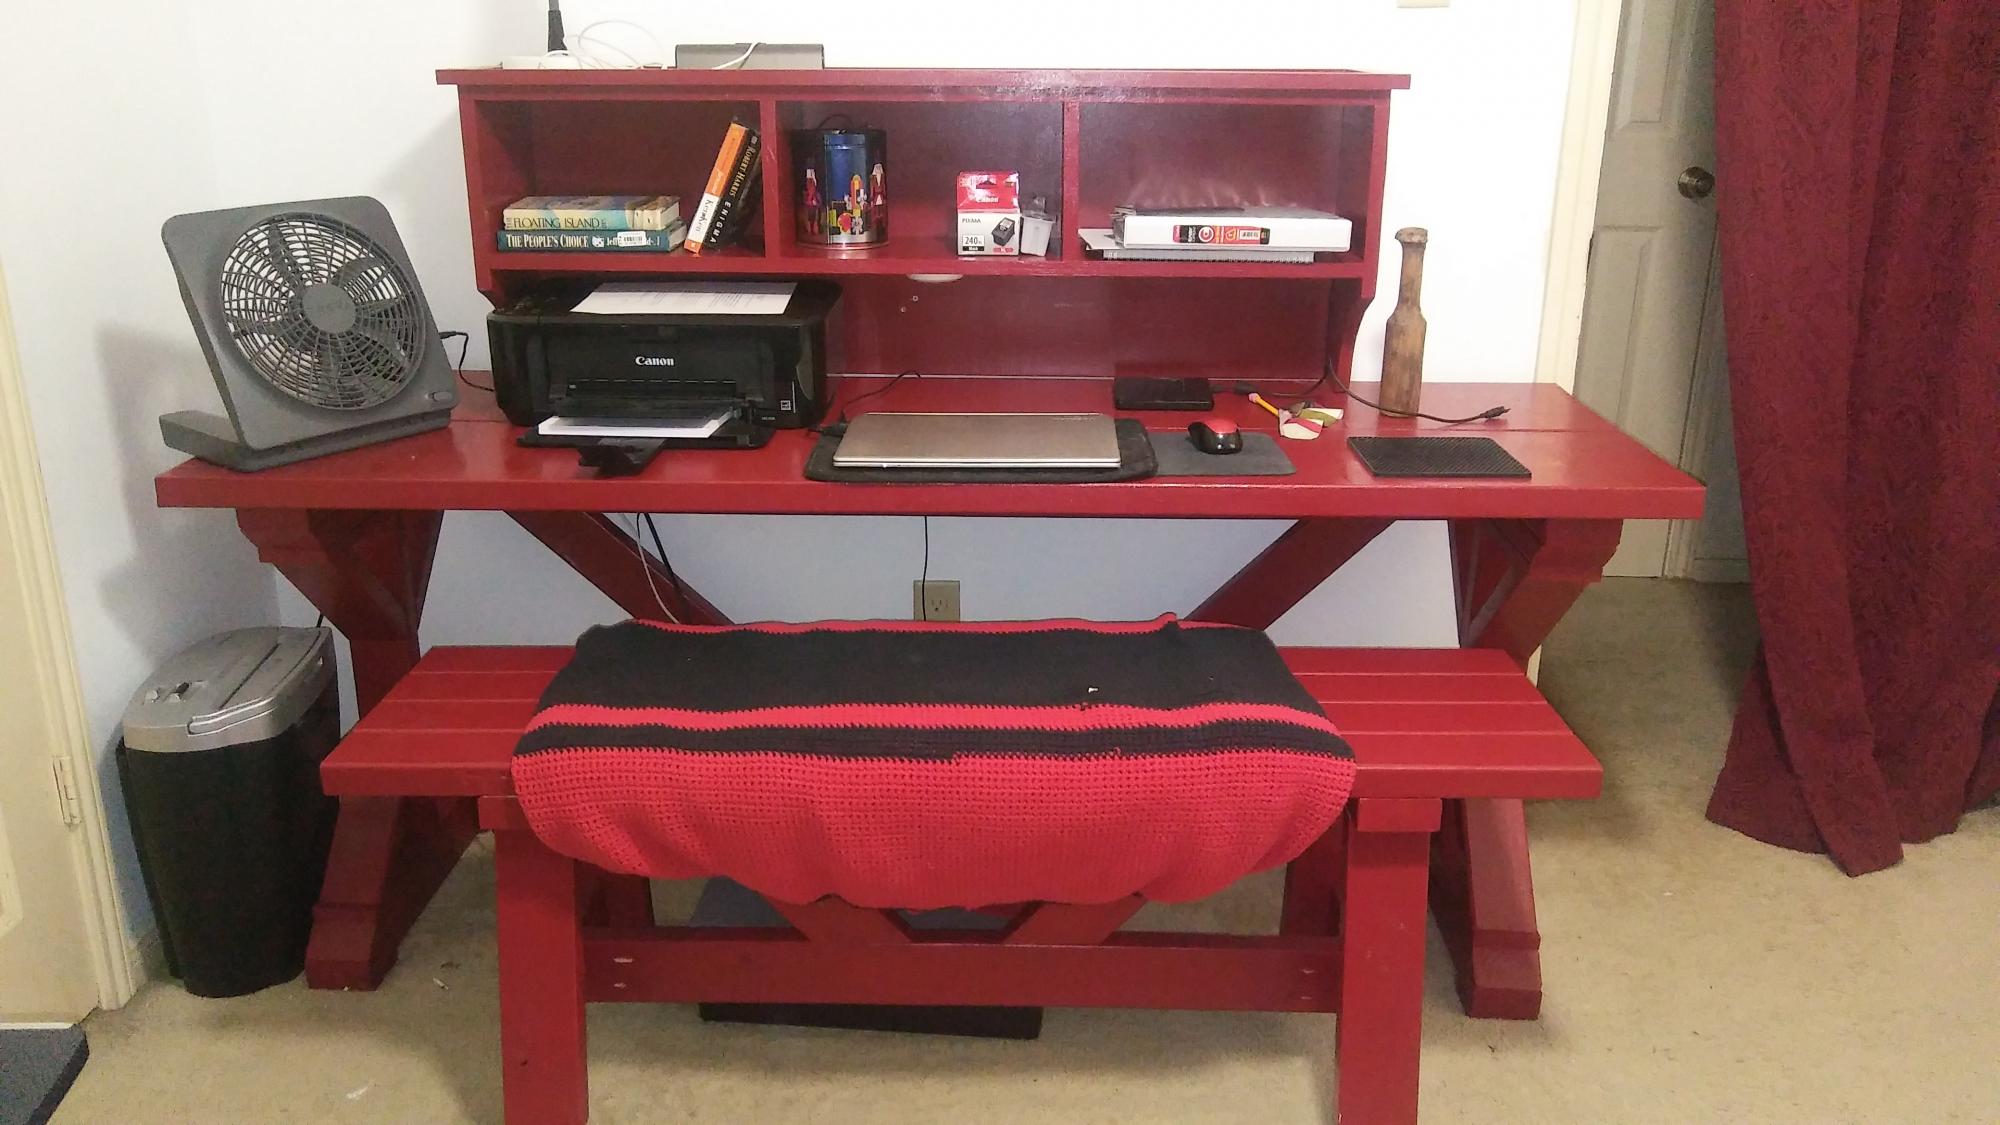
Combined a few of your plans to make my wife a Workstation. Plans were easy to follow and there were no dimension errors.
I used paint stir sticks as the front of my bins!
I wanted the "bead board" look but to still have a natural wood grain that I could stain for the rustic look. I also really like being "frugal"
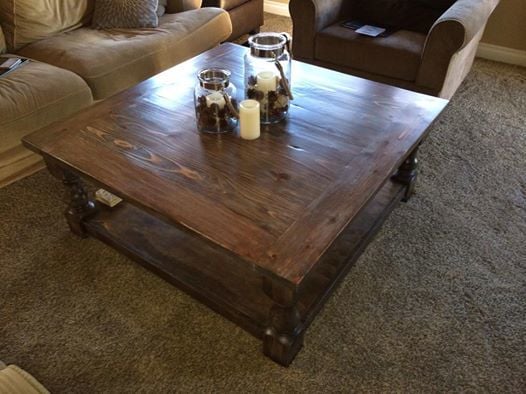
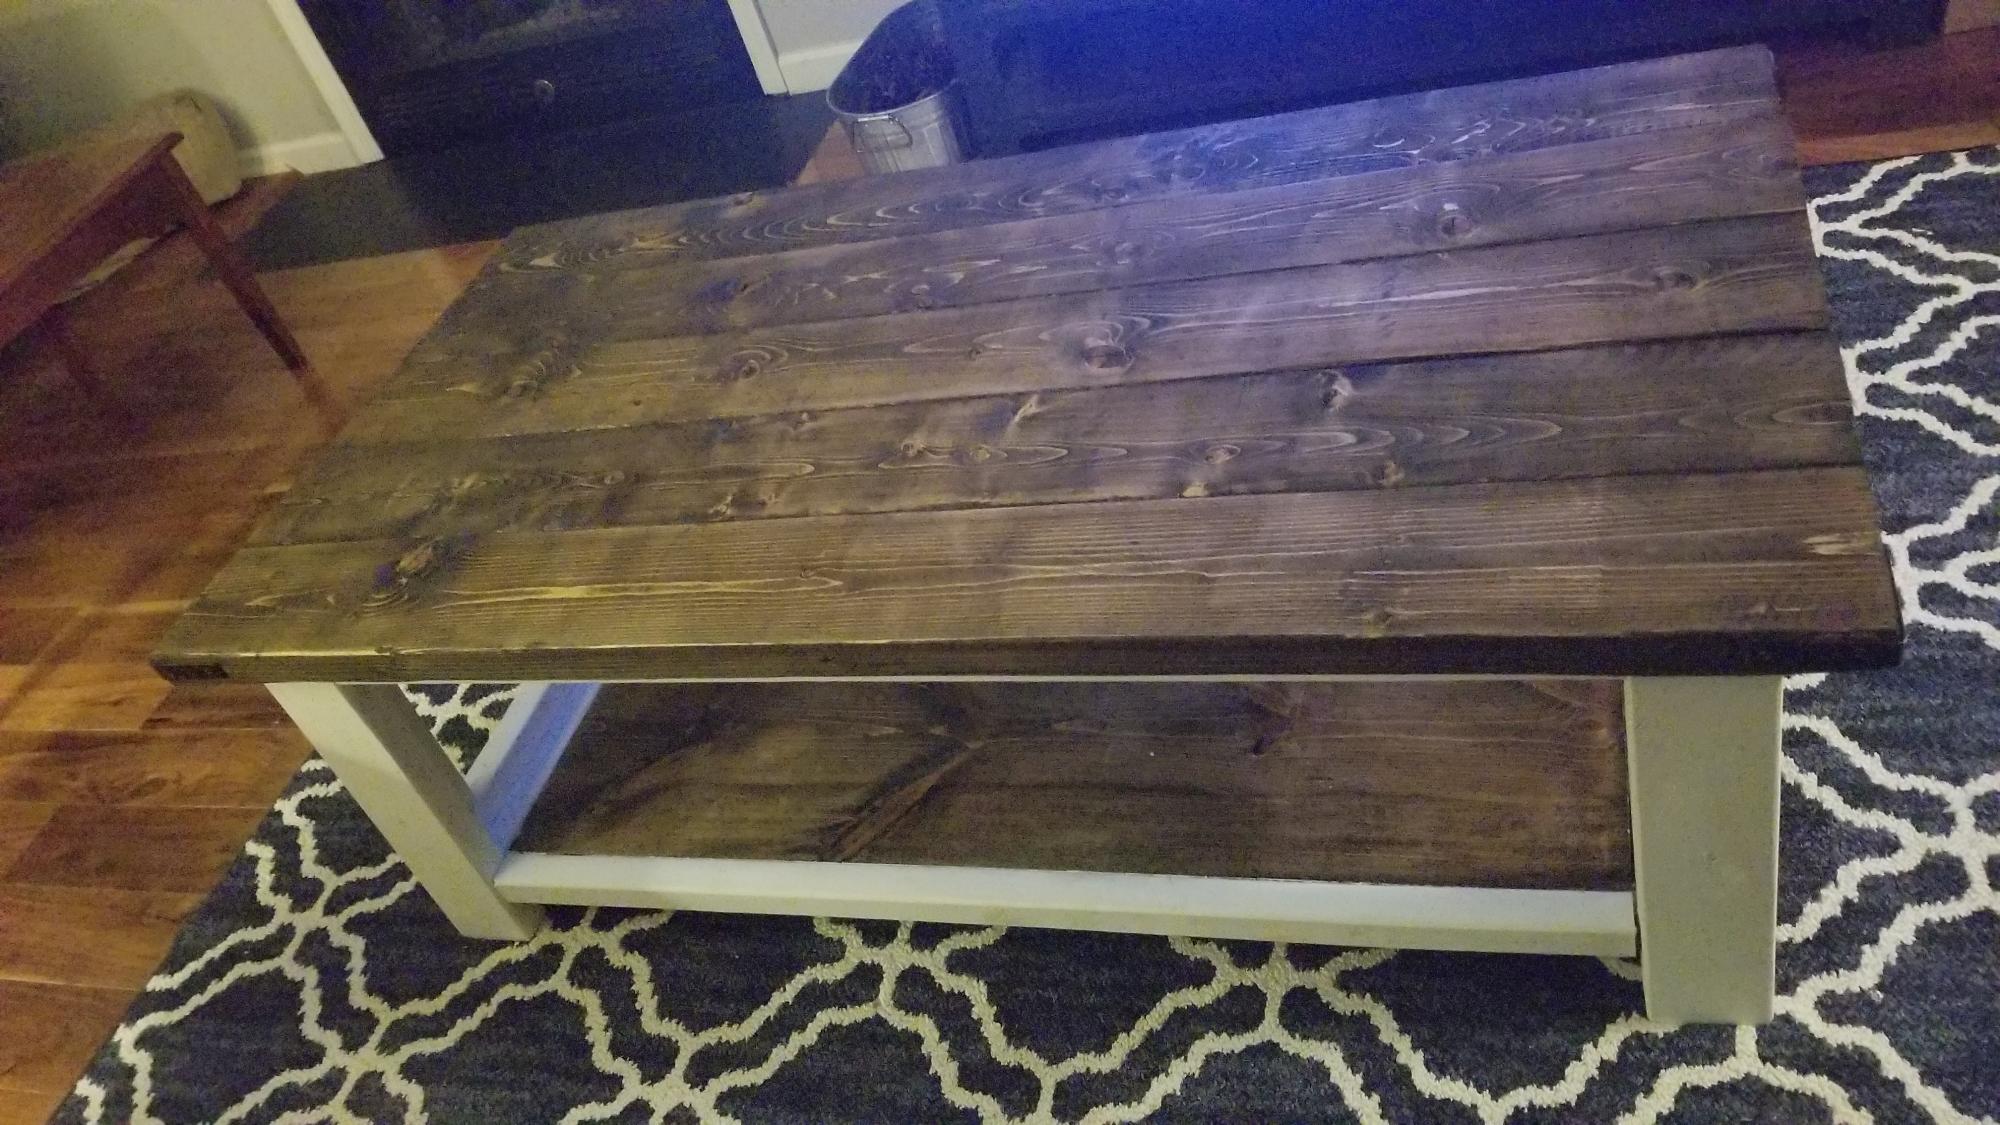
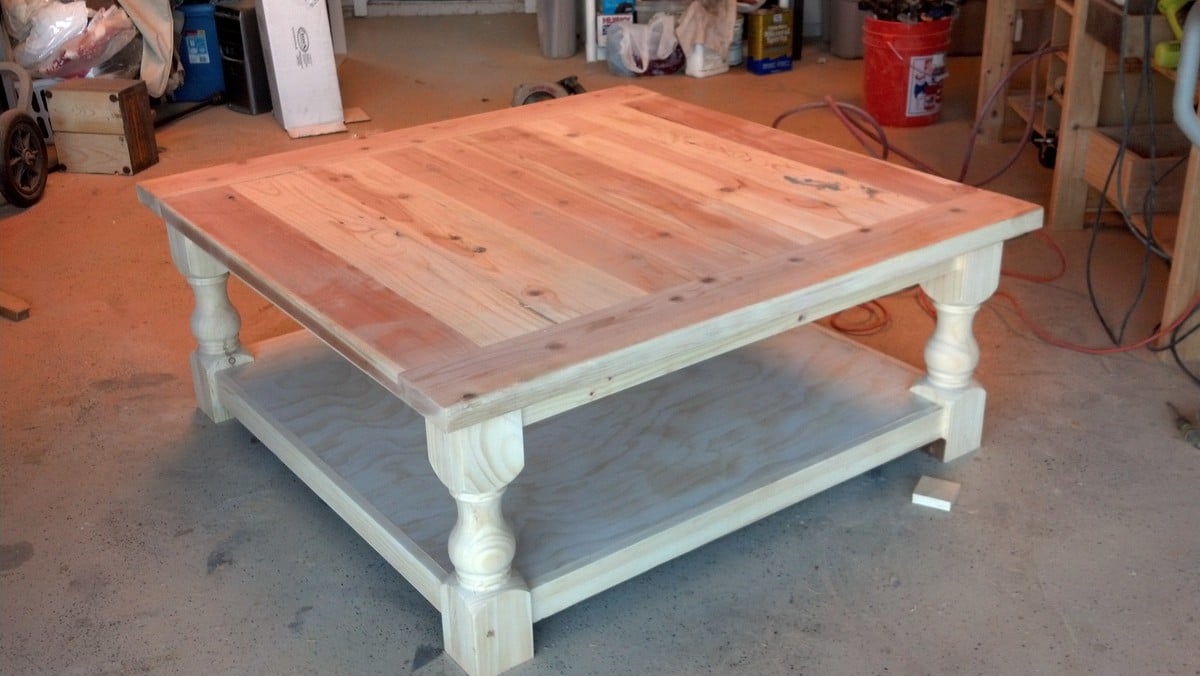
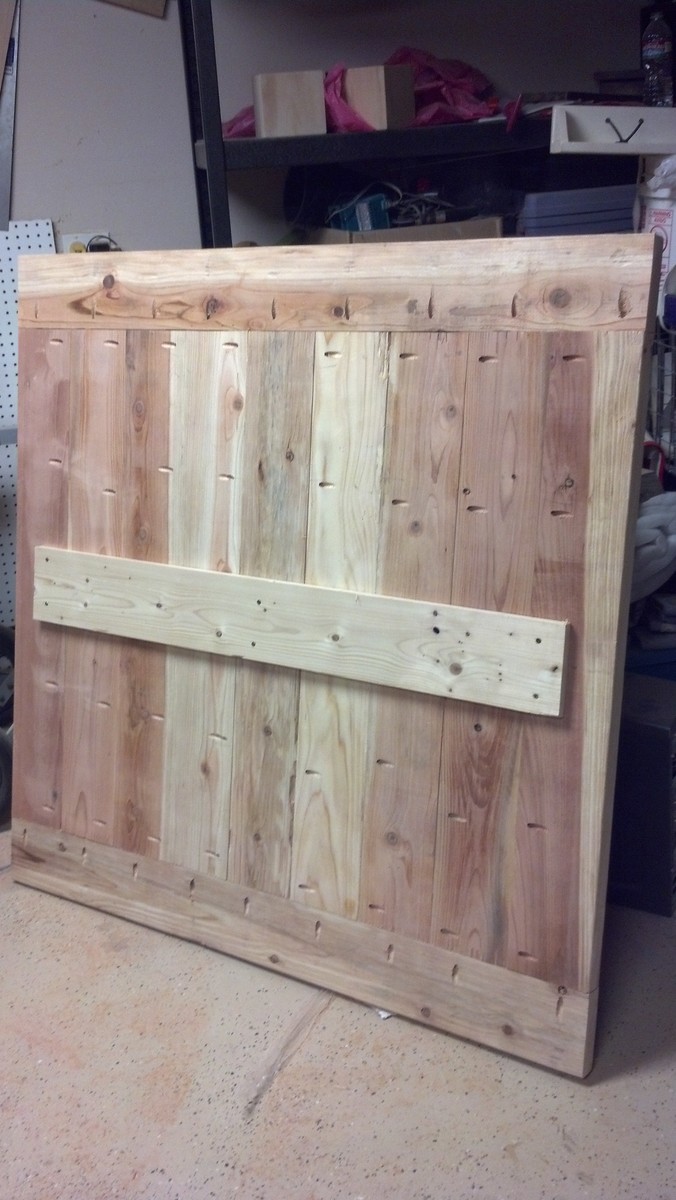
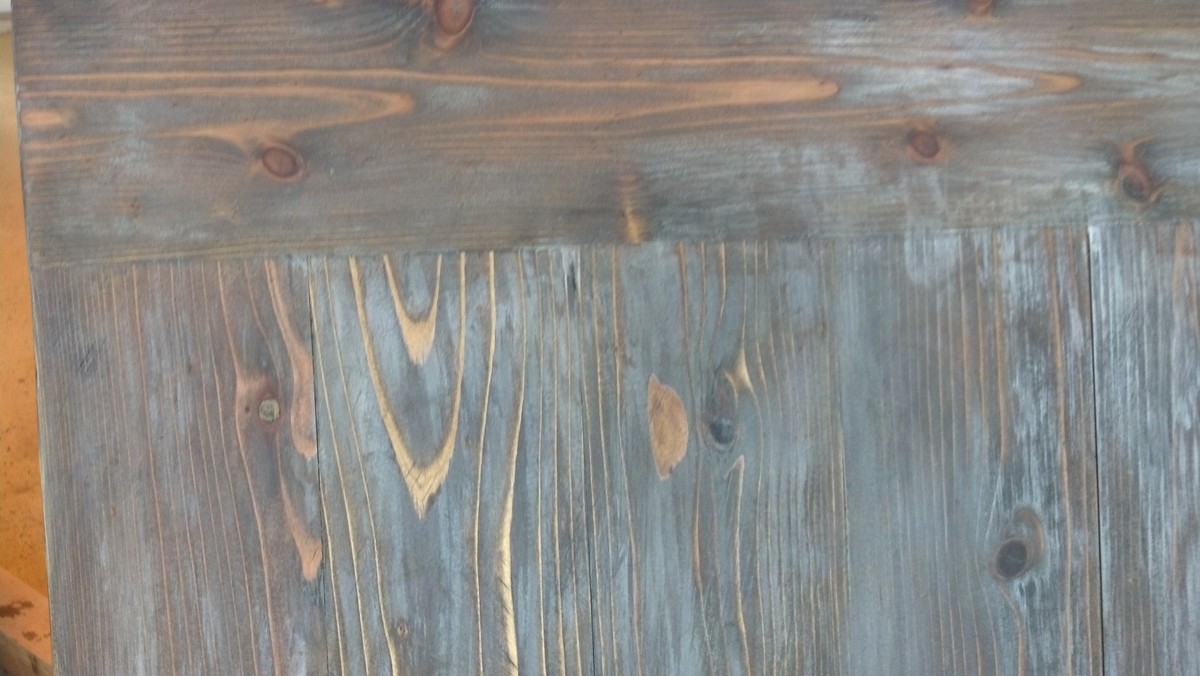
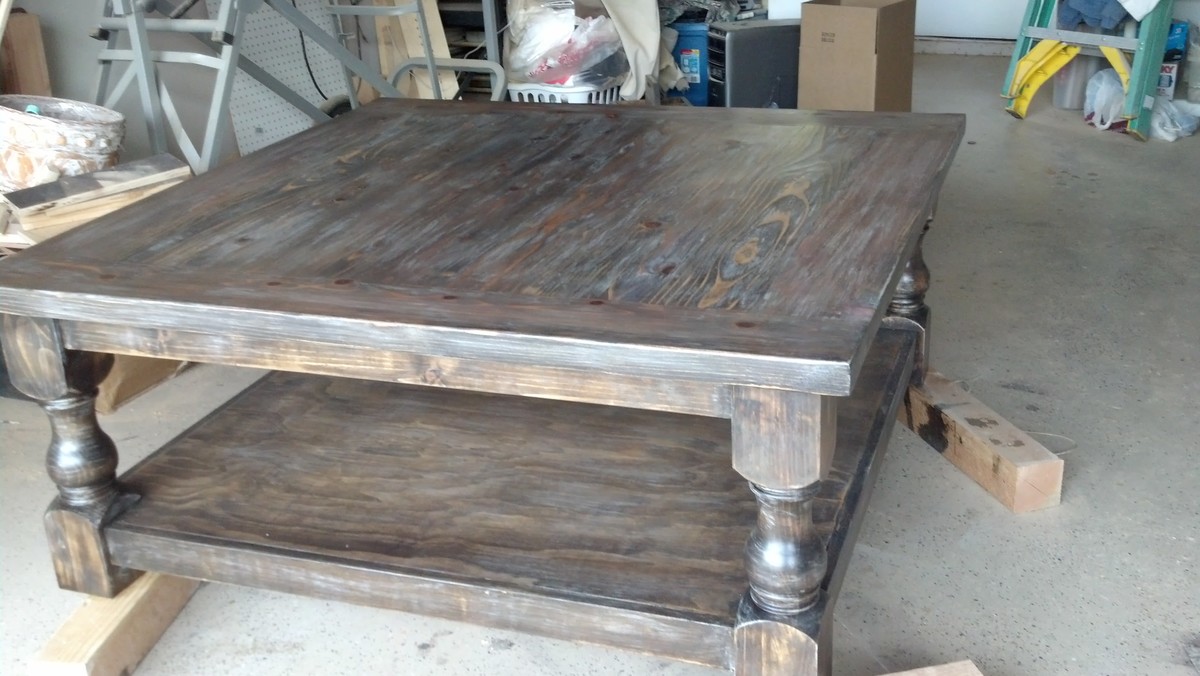
I'm still helping my kids furnish their new home. They "hired" me to build them a massive coffee table for their family room. They fell in love with the legs featured in a plan built by Shanty 2 Chic (http://www.shanty-2-chic.com/2013/11/diy-square-coffee-table.html). The legs definitely were the most expensive part of this table!
I made a couple of adjustments: because these kids of mine hope to have kids of their own soon, and the table measures 48x48, I reinforced the lower shelf of the table and the table top with support pieces. I picture babies crawling all over this and wanted to ensure that it would hold up!
I finished with the same steps used by Jen of House of Wood's rustic yet refined finish, but used a dark walnut stain as the base.
Another fun project for me, and they are very happy with it!
And, I just have to say that Osborne Wood products delivers a wonderful product with great follow up and customer service! http://www.osbornewood.com/
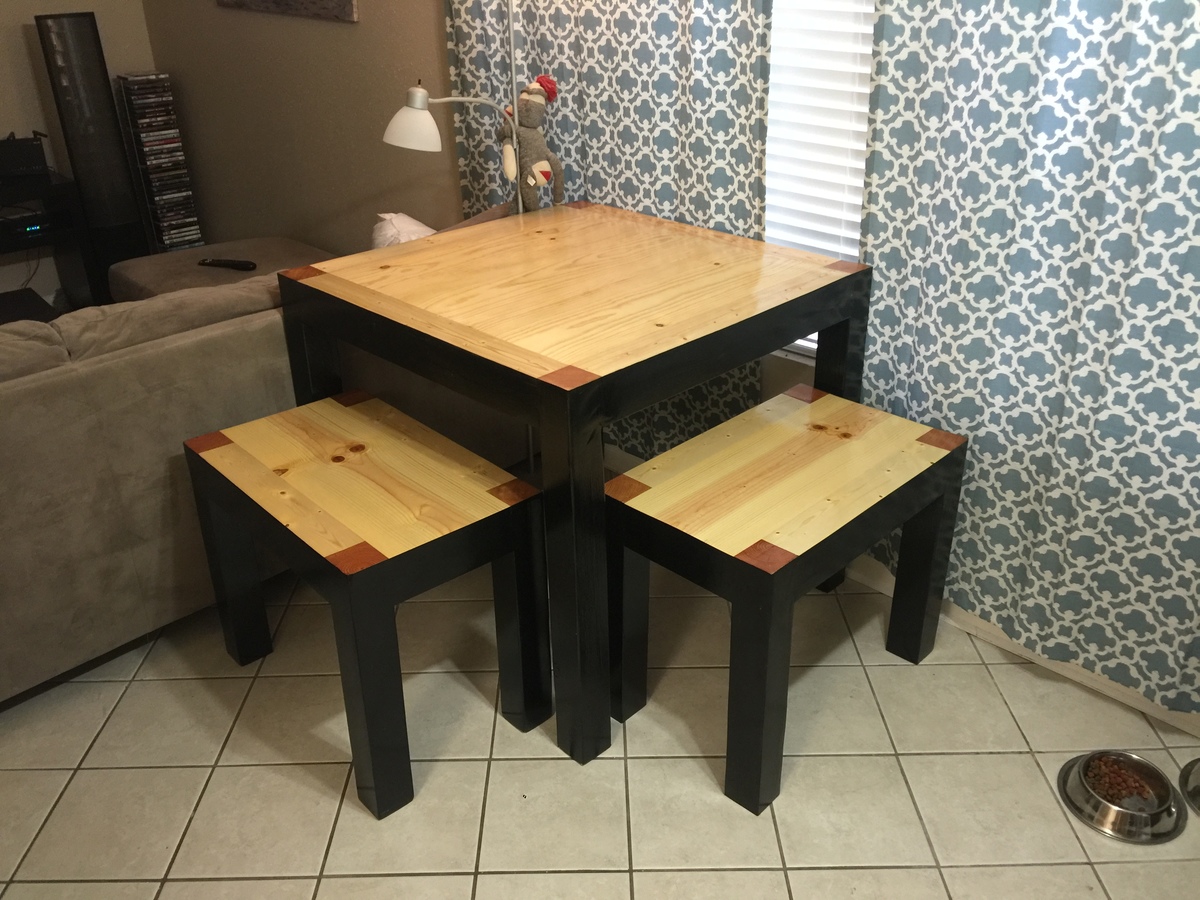
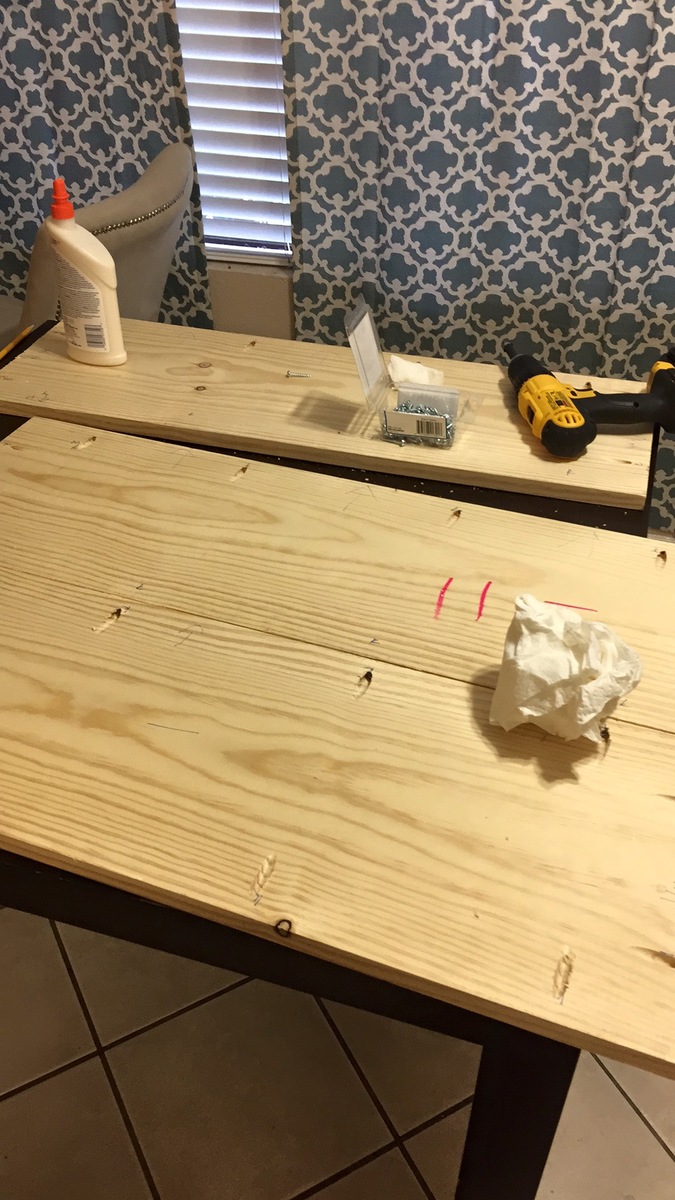
Ana, I really loved this design and was pretty easy to build! I like the way the finish turned out by painting it black and just a few coats of poly on top.
The benches are overbuilt with intention of converting 2 benches into 4 chairs in the future. I made them larger so I can simply just cut them in half and add two 4x4s 18 inches higher than the current bench legs at 24" and just deck it as a chair back, seems simple enough. One thing I would change in the design is eliminating the 3 1x12s and 2 of the 1x4s and just going with a solid table top at 33 3/4 x 40 3/4, similar to what I did on the benches.
Let me know what you think and if you have any questions.
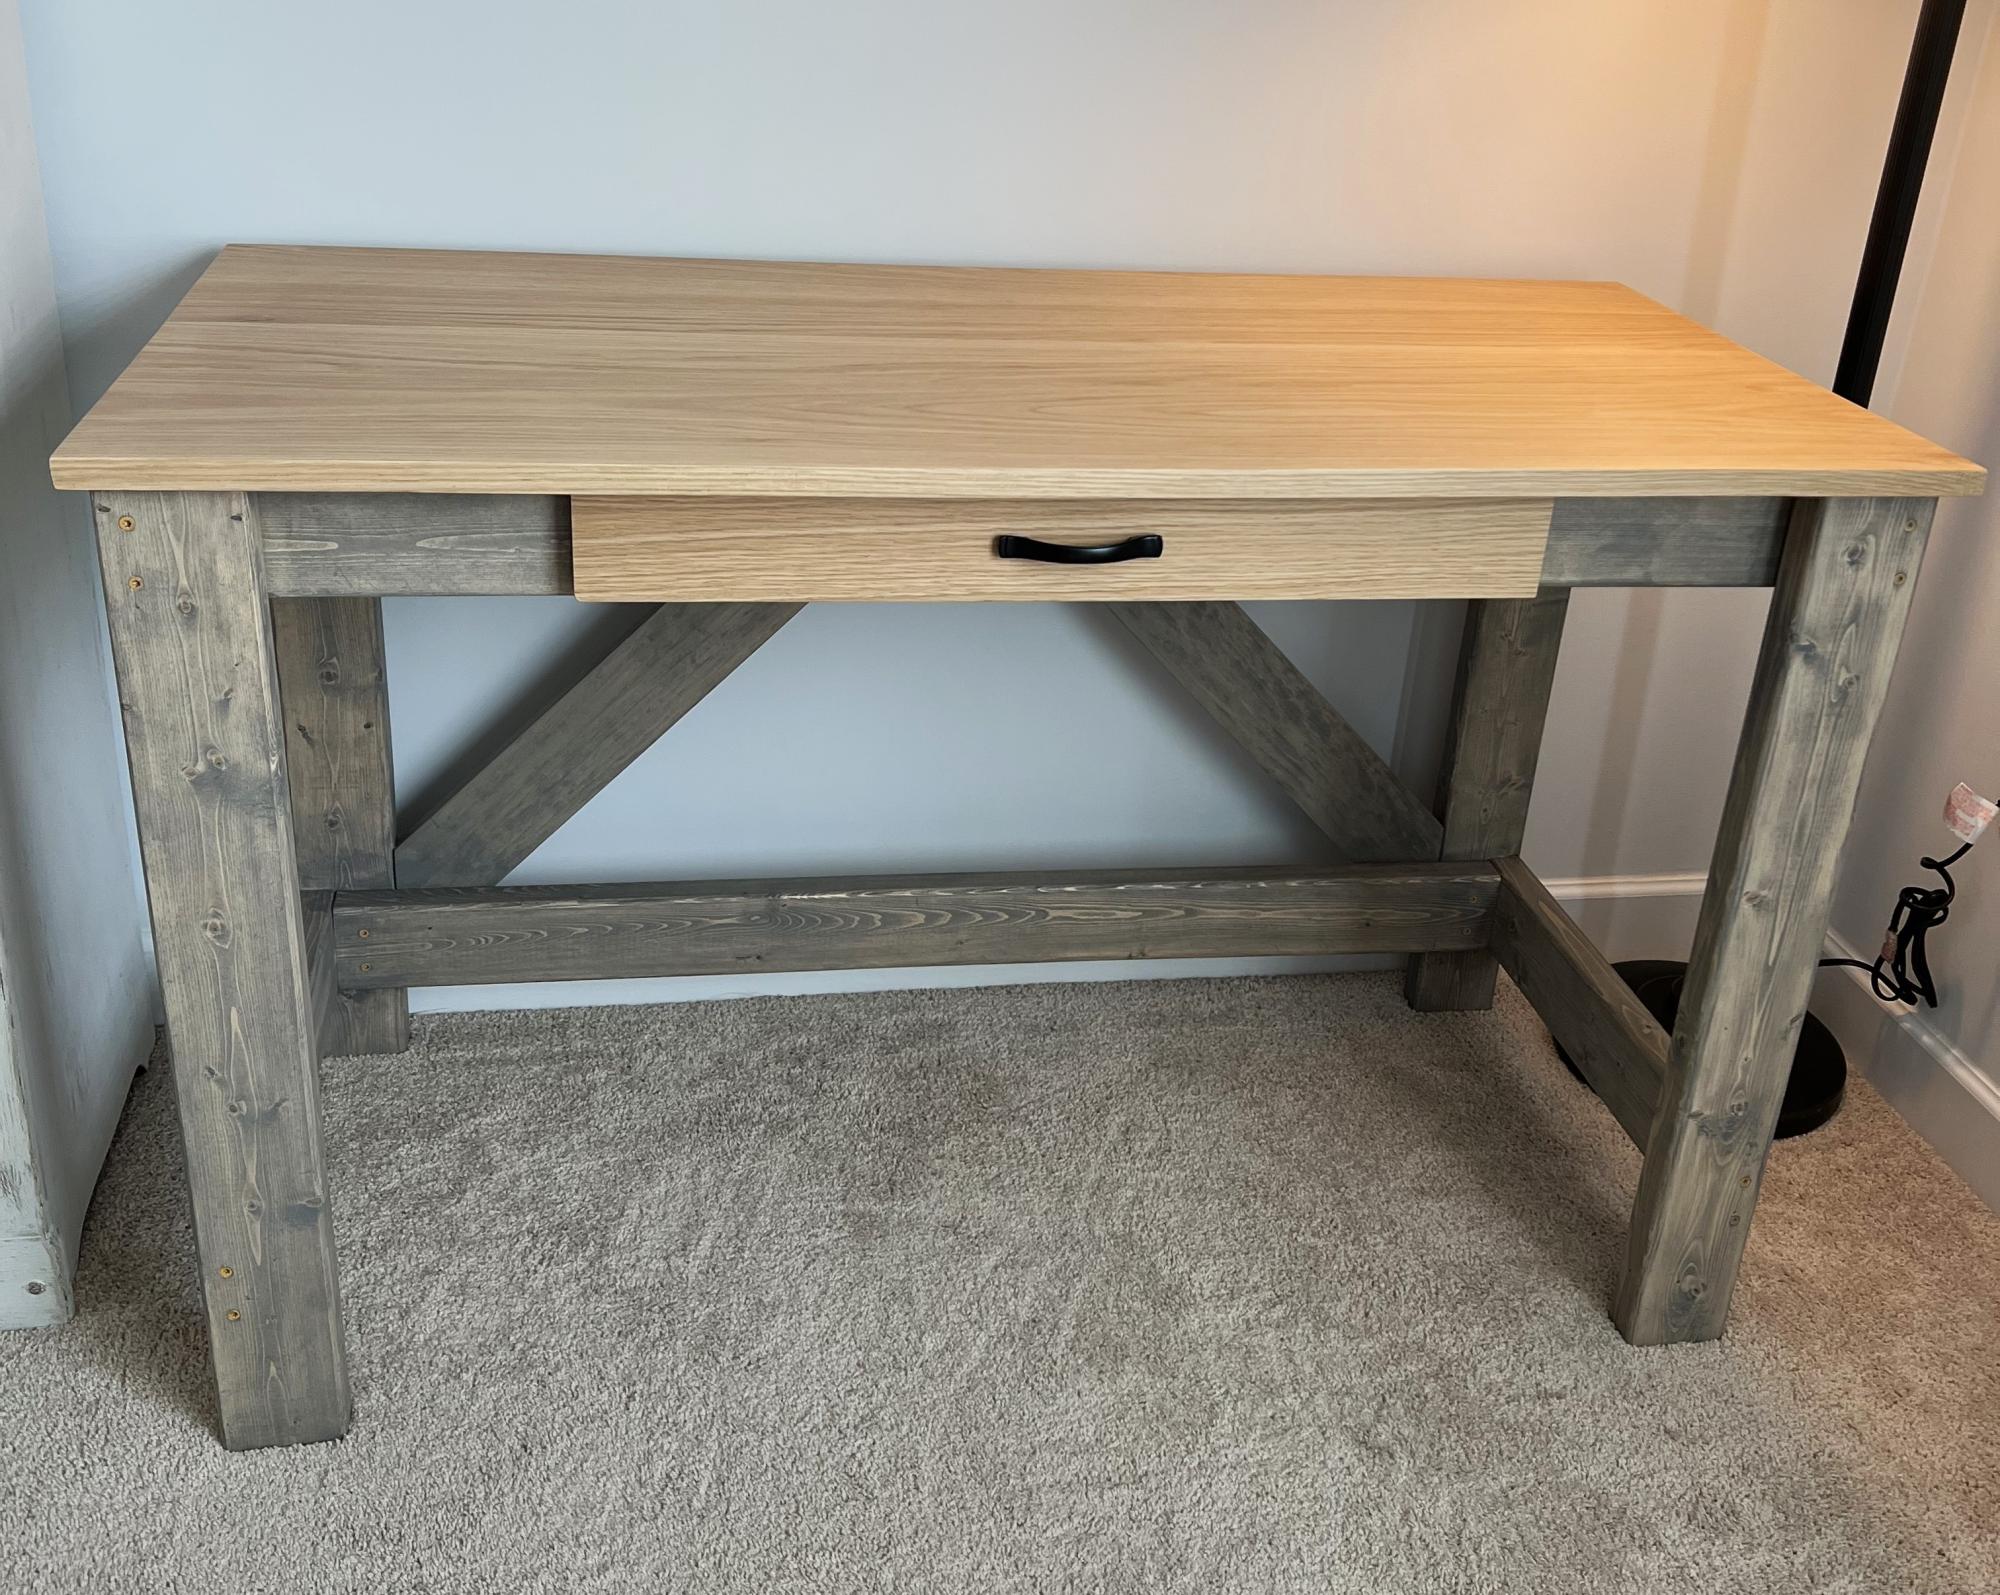
Brookstone desk with a white oak top and drawer that I built for my 8- yr old son. It is a very fun build.
Jerry from NC

Wed, 03/27/2024 - 09:17
Having a well-organized writing desk is very important for optimal productivity. While services like https://domypapers.com/creative-writing/ offer assistance with creative writing tasks, finding inspiration in a well-organized workspace is equally important for writing success.
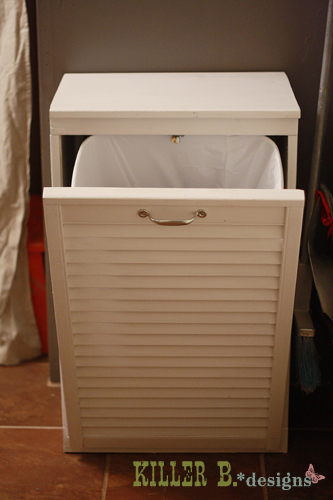
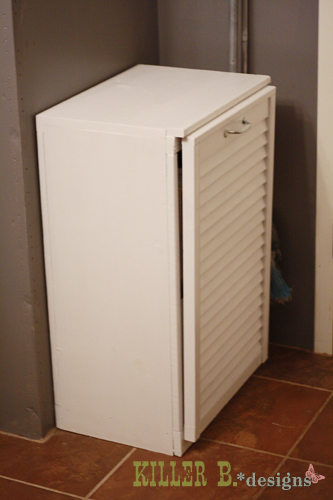
My trash situation was pretty dire once my dogs figured out how to pop off the lid and dig into everything. Trash was everywhere! So to keep out prying paws, I built Ana's tilt-out trash cabinet to keep the can safe. But I didn't read the plan through before going shopping, and didn't get any plywood to make the door! So I used part of an old bifold door that looks like a shutter and cut it to fit. I also added a cabinet clasp inside the top so it can securely shut. Now we don't have any trouble with my dogs dragging trash through the house!
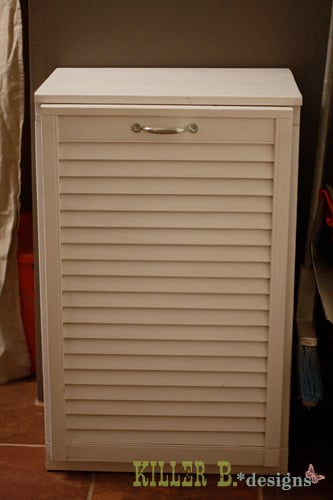
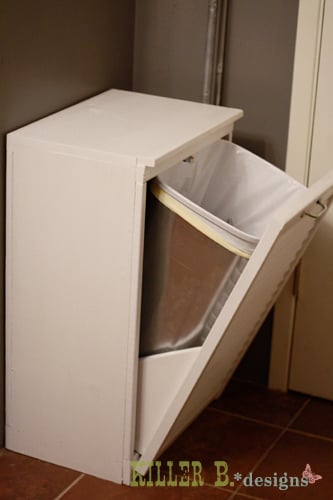

Wed, 05/02/2012 - 11:26
I love the shutter style door! I'd say you improved the plan out of necessity. Good Job!
Fri, 09/28/2012 - 07:14
I too think you have given us another idea with this plan, it's wonderful!