New Dining Room
New dining room with a board and batten, farmhouse table and six parson chairs.
Thanks Ana!
New dining room with a board and batten, farmhouse table and six parson chairs.
Thanks Ana!
I remodeled the main floor bathroom for my parents. My mom had seen a vanity she like at a home center. Then she thought about doing an open vanity. Then I showed her the one Ana did for the Momplex (48" Turned Leg Vanity). and she loved it. This is what we came up with.
It has bead board panels on the ends and the doors. V-grove planks for the bottom shelf.
The top is made from 100 year old ship lap siding from my brother house. The sink is hand hammered copper with a venetian bronze faucet.
We changed the finish of the tables from the original plan, but everything else was the same. We loved the slats on the bottom of the table, and they turned out even better than expected. The two end tables are the first pieces of furniture we ever built, but the plan was very easy to follow without much knowledge needed. The kreg tool and screws are truly magic.
I took on a little bit more than I could chew with this one, but after a little R&I(Resourcefulness, and Ingenuity) I was able to figure it out. I love how it turned out though! Thanks for the inspiration!
We have not added the final details but the chairs are already getting regular use. They are very sturdy so the girls use them for climbing as much as they do for sitting. I was a little worried that my chairs would not sit correctly but following Ana's "trick" for leveling them out worked like a charm. Now we just have to find the time to make two more so the girls will have room to accommodate friends when they visit... but there is that long list of other projects on my "to do" list... Thanks Ana! we are growing more confident every day! ;-)
Put together this rustic x table in about a week of spare time. I finished using Ana's espresso finish tutorial with the red elm gel stain but it was too red after three coats. I bought some regular black stain and put two coats of that on the project and it turned out great.
My wife wanted to incorporate some turquoise into the project. I did not. :-)
We compromised with the turquoise x's. I think the colors go well together.
I spent about $50 on wood and $40 on new stain, spray poly and paint. But that stain and paint will last the next 3-4 projects. So I'd say the total cost for this actual project was around $70.
This was my first ever project I put together. Now I have a list of about 8 things I'll be building in the next few months.
Tue, 02/18/2014 - 15:10
Great looking balance beam! My daughter wants one so bad haha. Oh, and the table is gorgeous too...haha
After finally getting the hang of 2 boys we just found out a baby girl is coming our way... So I decided to take the brookstone plan and make her a changing table a little less masculine. I went with the pull outs in the sides as well. Followed pretty much the way the plans layed out, replacing the drawer with a shelf. Had some issues with the doors with it being my first time making those, all in all I am pretty excited for her to have it
I made this as a gift for my friends son. They are expecting a new baby so I made sure every inch was sanded, and sanded and sanded. This was a fun different build. The slightly angled table legs need extra attention in order to guarantee level.
Loved this project. I bought a jig saw, and I had so much fun. I bought the black and decker one it was around $25.00 and works great for small projects like this one. Another birthday present for a beautiful girl who is turning 5 and I know there is always space for a step stool in the house with young ones. Hope she likes it.
Thank You Ana I have been having so much fun!!
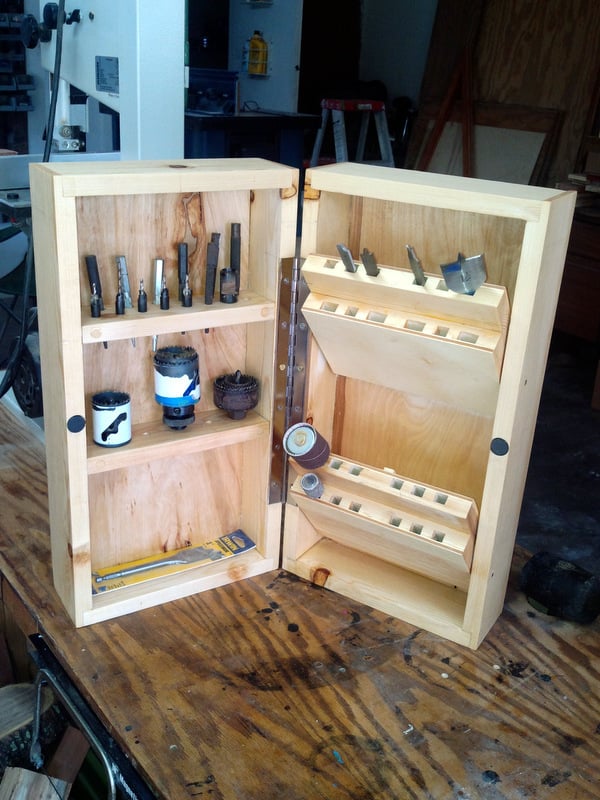
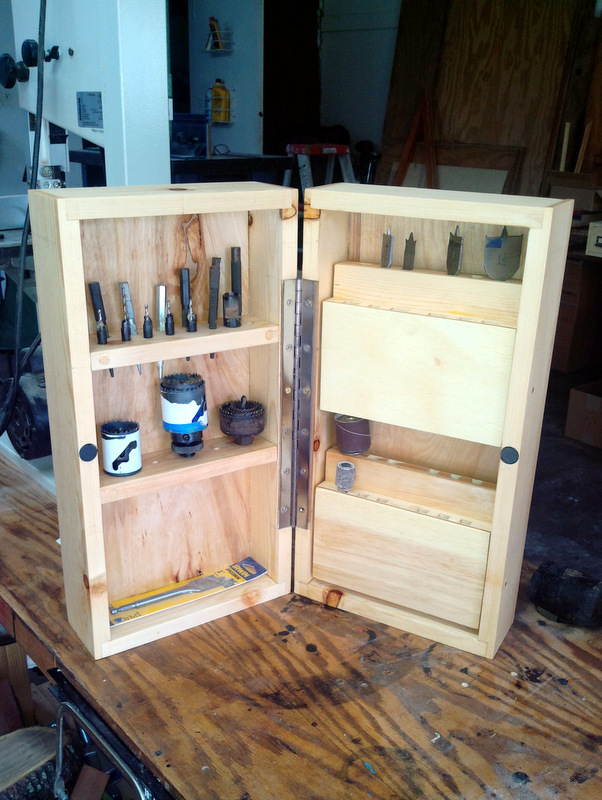
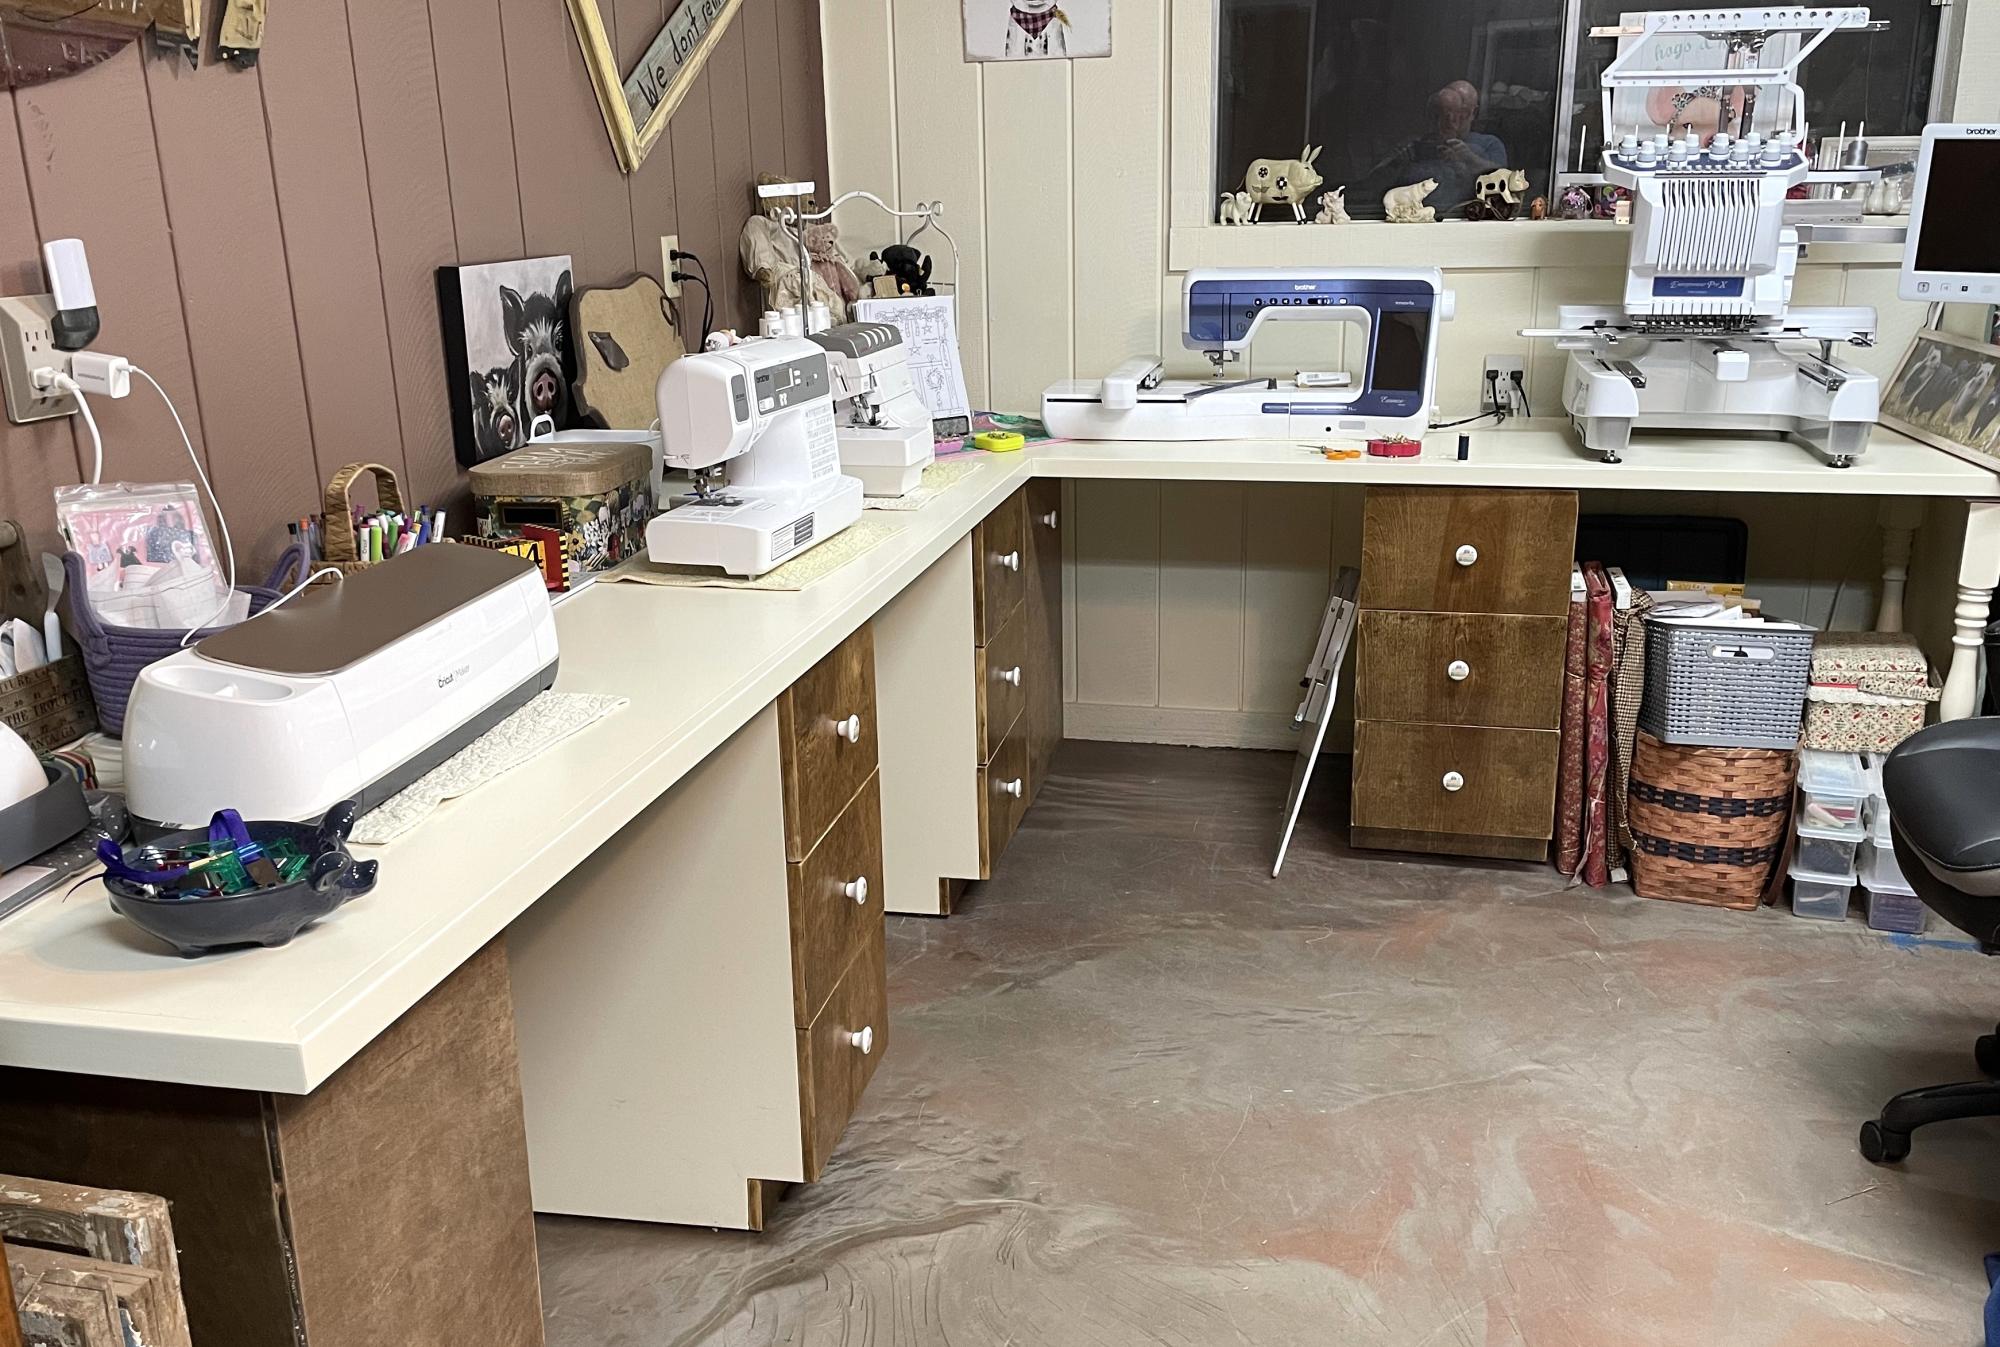
About six months ago I got my first router. I tore up a few boards with it experimenting but mainly used it for basic round-overs. I wanted to learn more so at Christmas Santa brought me the router table. My first real project was to build a project that would be a learning experience as well as produce something useful so I chose the Drill Bit Cabinet. You can see the plans at
http://ct-web2.unh.edu/lee/drill-bit-cabinet.pdf
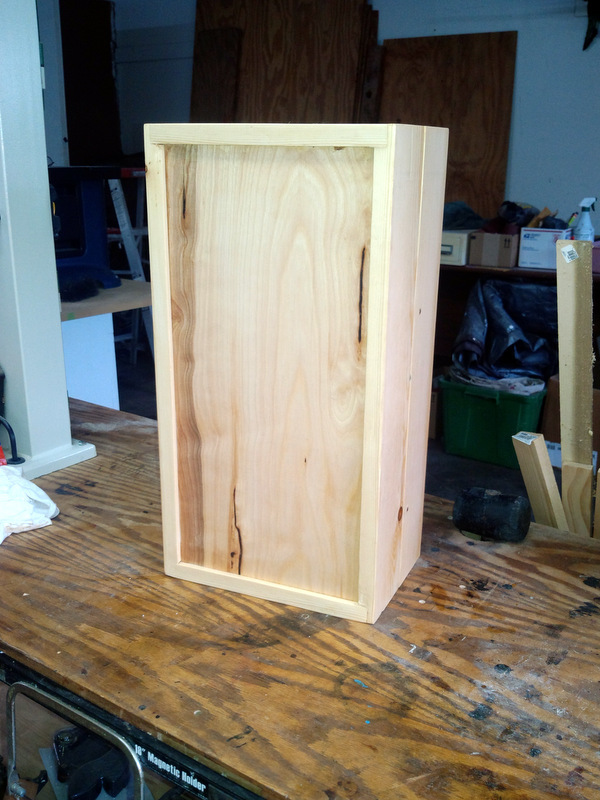
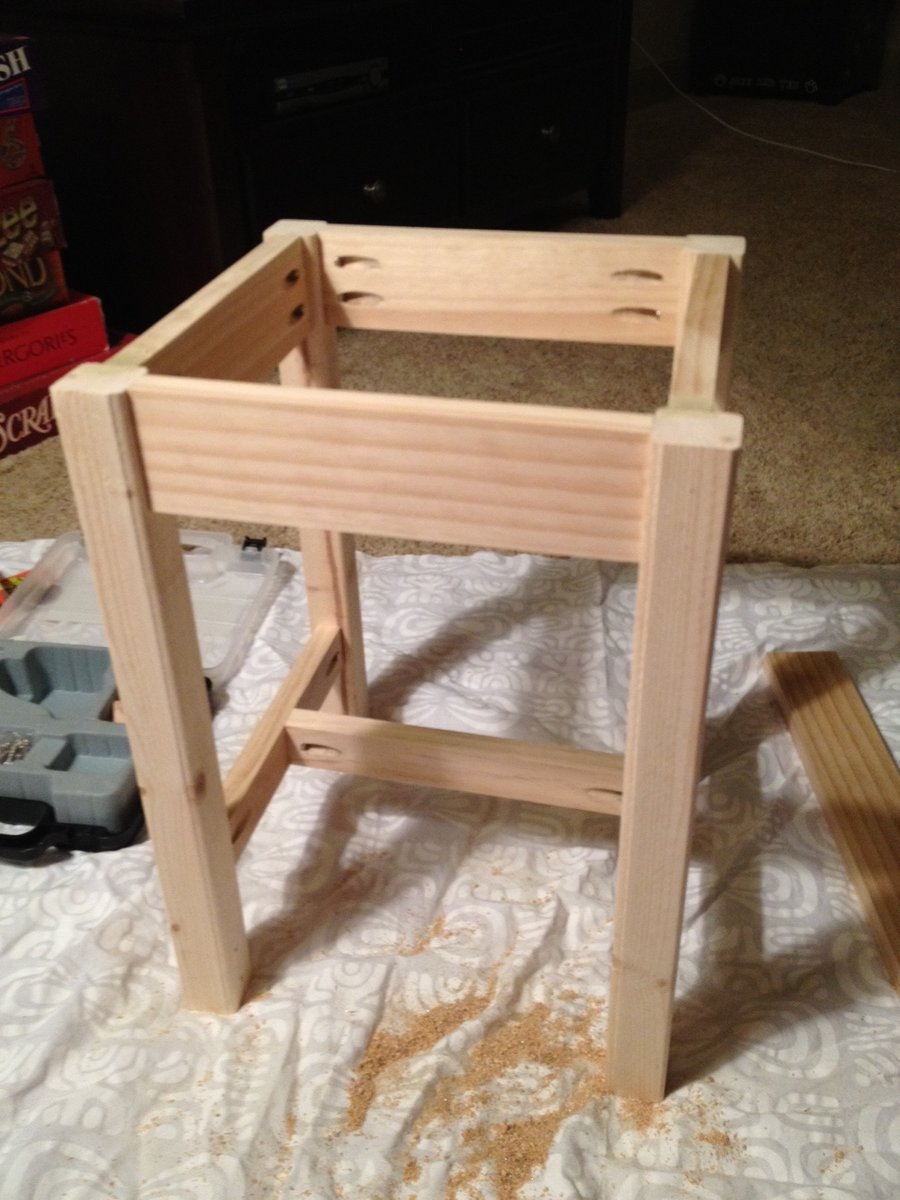
This project requires cutting rabbet and dado joints. Basic joints but also requiring accurate cutting. There are no nails or screws holding the box together. I countersunk screws into the shelves for stability. The final result is what you see in the pictures. I learned a lot. A great starter project for novice router users. I took two days to complete the project but a knowledgeable worker could do it in a day.
I also deviated from the plans somewhat out of a desire to make the build easier and less expensive:
1. The plans called for cutting boards from a 1x8 but I chose to stay with the full size 1x8s I had in the garage. So the final dimensions became: Height 19-1/2 inches, Width 10-1/8 inch (closed or 20-1/2 inches open), and Depth 3-1/2 inches (open or 7-inches closed).
2. I could only find 30 inch and 12 inch piano hinges so I went with the 12 inch. Works fine. I must say I really need practice installing hinges. Took me two tries to get this one right.
3. The instructions call for cutting the box in half with a table saw but I don't own a table saw. So I cut the box in two pieces using a straight bit on the router table advancing about 1/8 inch at a time until I was within about a 1/16 inch from breaking through. I used a regular saw to finish the job and the sander to remove the little bit that was left. Worked fine.
4. The plans call for screws to act as the pivot for the two tiltable bit carriers. Instead I just inserted 1/4" dowel. Works fine.
Tue, 01/14/2014 - 17:38
Santa brought me a Bosch router table. It was on sale for $148 and free shipping. It has most of the extras and appeared to get good reviews. It also fits my router without drilling new holes. Finding a router table that fits your router without serious adjustments is important so ask before buying. Also use all of the safety equipment and follow all of the safety advice. Have fun.
Fri, 01/17/2014 - 12:23
I will keep all that in mind when looking for one. The router is about a 1980's model craftsman brand. I have a friend that found a manual for it online and he also suggested that a table would make it easier to use. Have you seen the plans on this site for 'Patrick's router table" It is so nice!
Fri, 01/17/2014 - 12:45
You are right it is awesome. I considered building a table from scratch but with a limited background with the router and the great deals around Christmas I felt that the safest route was to go commercial.
Sat, 01/18/2014 - 00:36
Santa brought me a new router and router table too! This may be a great plan to learn how to use it. Thanks for sharing.
Sat, 01/18/2014 - 00:36
Santa brought me a new router and router table too! This may be a great plan to learn how to use it. Thanks for sharing.
Sat, 01/18/2014 - 04:17
Please follow all of the safety rules. That little bit is spinning at 20,000 rpm and when something bad happens it happens at the speed of light. Use eye and hearing protection as well as all of the guards provided. Feed in the correct direction otherwise you will produce a bullet that can penetrate a door. By the way the router produces an enormous amount of sawdust so plug in the vac.
Mon, 01/19/2015 - 09:55
What router do you recommend for a beginner? I'm reading reviews on Amazon for plunge and fixed-base kits and smaller palm grip fixed-based routers. Would I be in over my head with a kit like this? http://www.amazon.com/Bosch-1617EVSPK-4-Horsepower-Variable-Collets/dp/…
I want to learn other joinery now that I've drilled a bazillion pocket holes.
So this was a fun build. I actually finished this 2 years ago, but I never really thought to post it. It took roughly 2 weeks straight to build and stain it, Christmas holiday. I used the kreg jig alot. I also used a ebony outdoor stain. Anyway if y'all have questions let me know and I'll try to answer them as best I can. This was one of my first builds, so be gentle. :)
This was a super easy build, that provides a lot of storage!
Four station sewing table. Each station separated by a 15” 3 drawer cabinet. Blind corner includes a pull out shelf/book case which doubles as support for the back corner. Long end supported by a bookshelf which is turned 180 from the original design due to other furniture placement that can easily be changed later. Short end supported by temporary legs. 5th station and additional 5ft. of cabinets on the way. Roughly 10ft x 8ft x 26in. x 31in. high. Wife saw similar on Pinterest which was tagged Ana White but only found brag post so used imagination and basic cabinet design plans modified to meet my size requirements.
Pops’ Workshop
This was my very first furniture-building project. I was pleasantly surprised with how it turned out! It's definitely not perfect, but with some practice I plan to try bigger projects! It was a little more expensive than I would have liked because I had to buy a pocket hole kit that was $40, but hopefully I will be able to use the kit for future projects.
I followed the plans exactly except I used 4X4's for the "footboard' legs. I added molding to all the feet. I also added screw in fence top posts to the footboard legs. I had a small blemish I wanted to hide on the headboard, so I added wooden appliques to cover the mark.
To make the bed easy to move and store, I bought bed rail fasteners from this site http://www.wwhardware.com/wood-technology-bed-fittings-wt8056.
DIY Buffet Table! Our last edition to the dining room. Very happy with how this one came out! Its all Oak with Special Walnut stain and hardware from Home Depot. We needed this piece to store our fine china we received from our wedding. Still haven't eaten on them yet. . . Anyway! I was inspired by the planked sideboard plan and made it my own. My shelves are straight across and I went for the barn-styled cabinet look. Pretty much used all the tools in my arsenal for this one! Used a belt sander for the first time to make the top perfectly level. Hated using it, to be honest! It really shreds the wood. Other than that, I have another piece to be proud of. Thanks for the inspiration!
Hello, Ana.
This is my first share and I plan to share more eventually. First, please know how much I appreciate your willingness to share with and motivate your followers. Thank you.
As for the cart I am sharing, I do not have any plans other than the ones that were in my head so the cart would fit under the stainless steel top. My wife wanted more surface and storage space next to the electric stove in our camp here in Maine. We purchased a used stainless steel table from a restaurant supplier, removed the legs, and prepared the underside of it so it would attach to the cart. In case it is not clear from the two photos, one end is for her cookbooks, the opposite end has a place for the garbage can and a drawer for various kitchen necessities. One long side has drawers where she puts pots and pans. The other side has a place for her to hang her heavy iron fry pans.
I learned a lot from making this and I'm happy to share it with you.
Frank
*I did not have any plans to work from*
the cost really depends on how much you can get your wood for. I had a lot left over from previous projects, so $500 is only a low guess.
This is the second of 3 poker tables built.
Each side is 24"
the table measures 58" across
Some of the accompanying photos of the build were from my first table, but thought they might help.
I purchased a foam pad and "speed cloth" from a local poker supply store. The slide away bev. holders are kept in place with rare earth magnets
If you need any specifics, I'll try to help
Sun, 04/22/2012 - 20:59
I love this! This table is perfect for home games. Please post the plans.
We built this command center to hang in our kitchen so that we can organize incoming papers and jot notes on the chalkboard portion. Also a hook for keys!
A little different take on the plans. We opened up the wall into the playroom and needed something functional yet decorative. This was the perfect addition!
Comments
JoanneS
Mon, 03/19/2012 - 18:15
Awesome job!
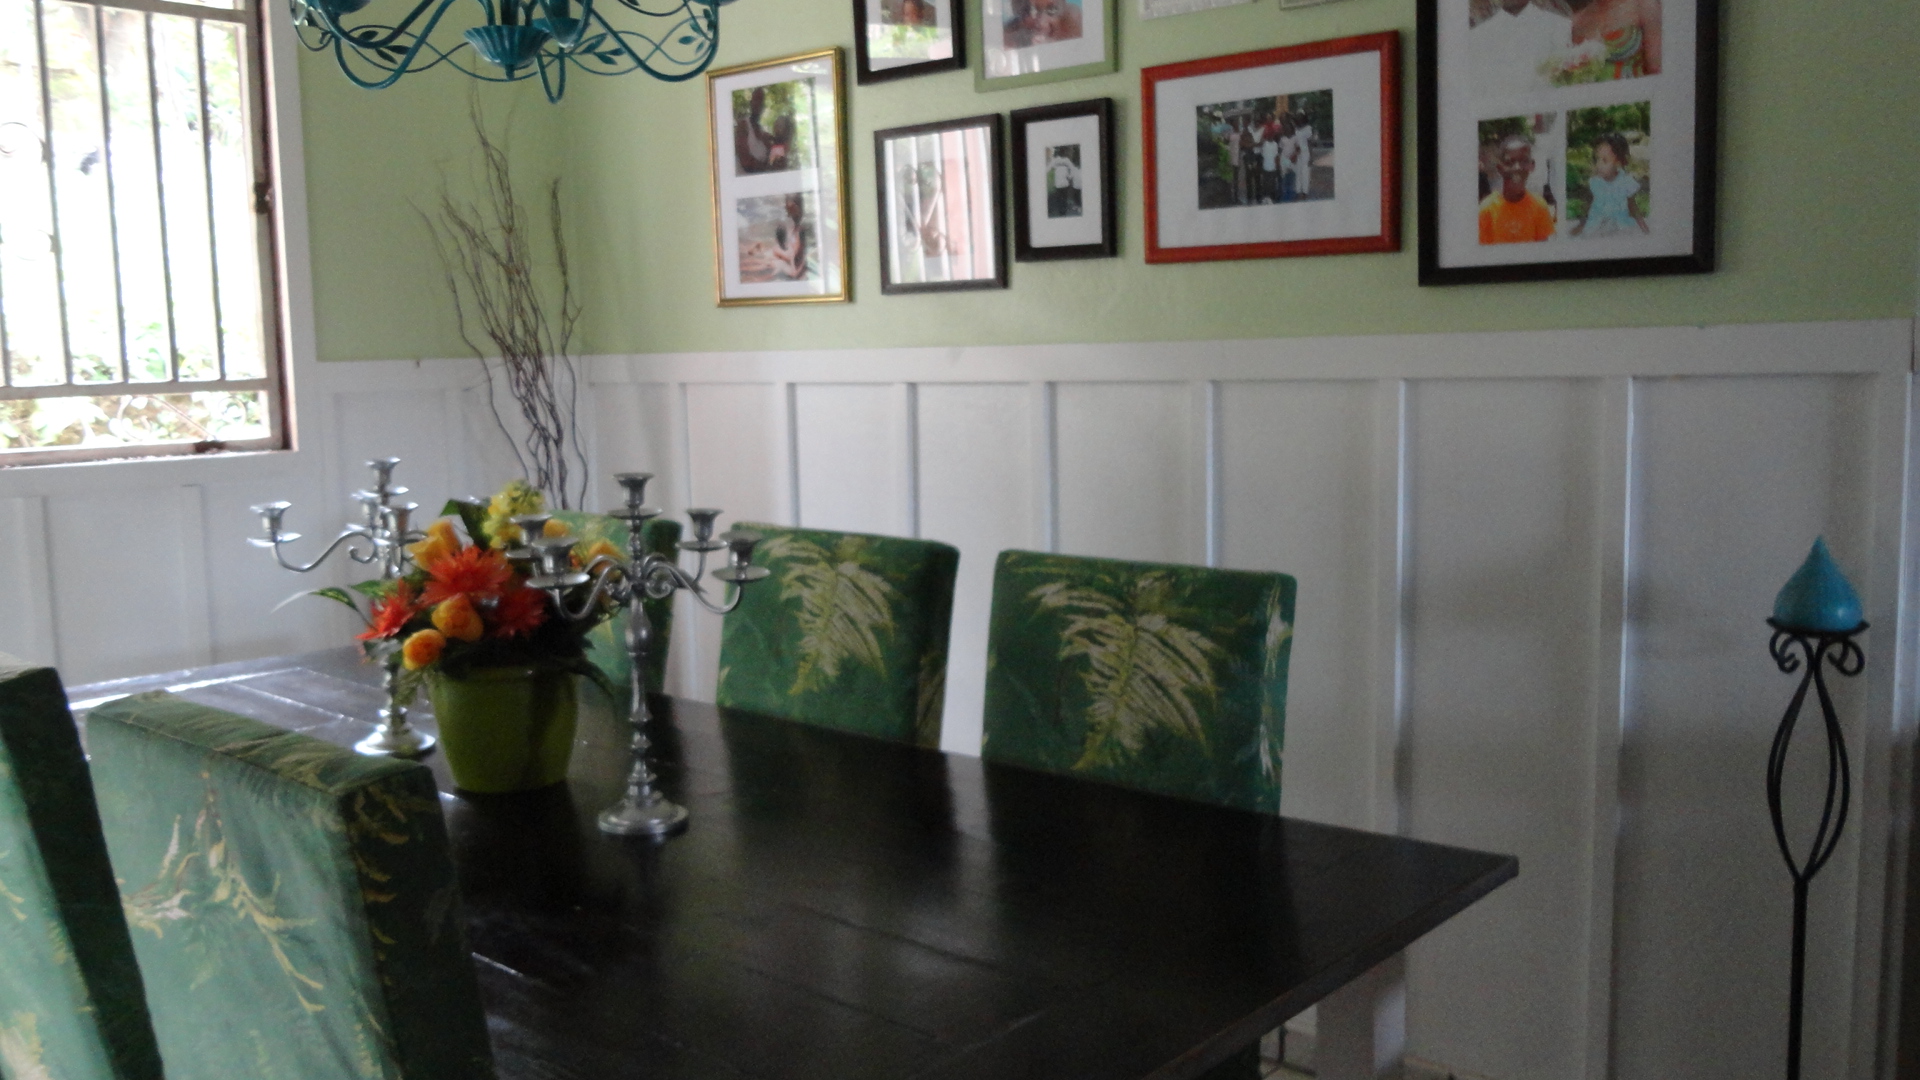
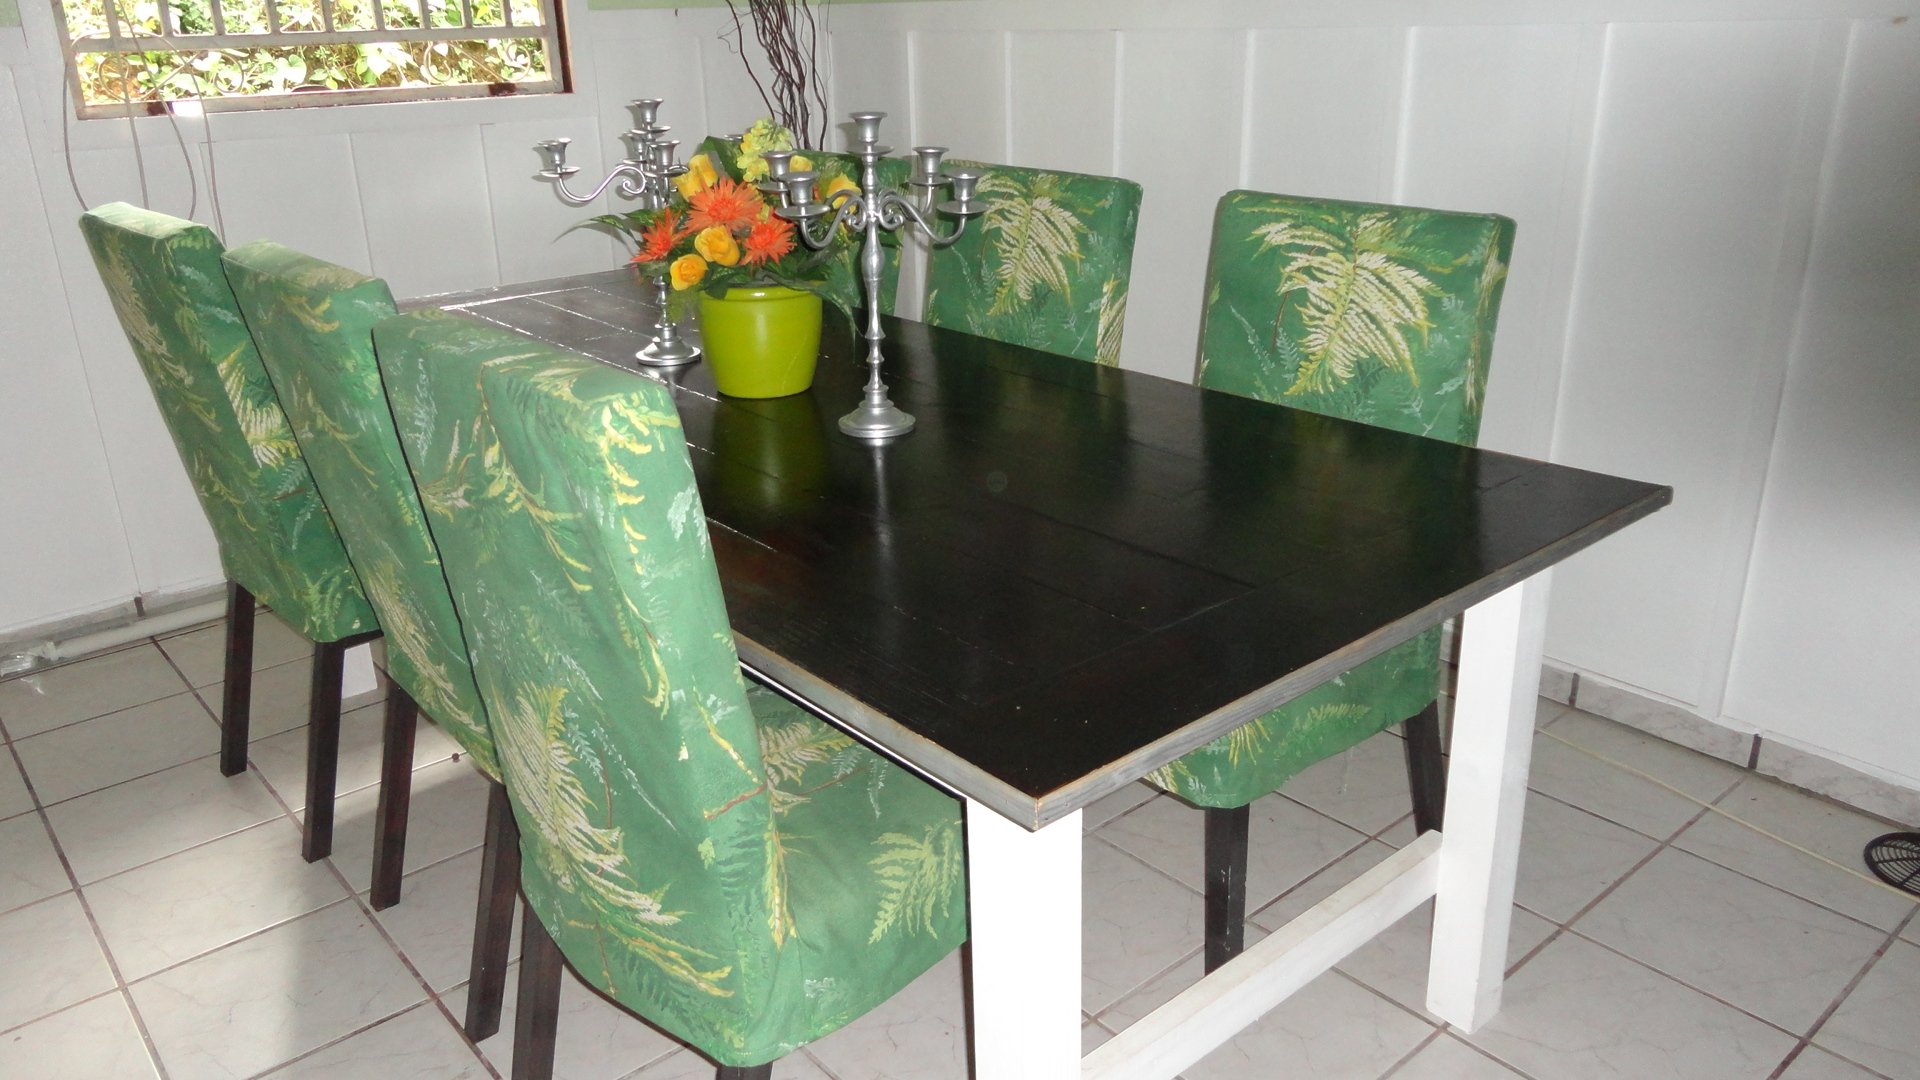
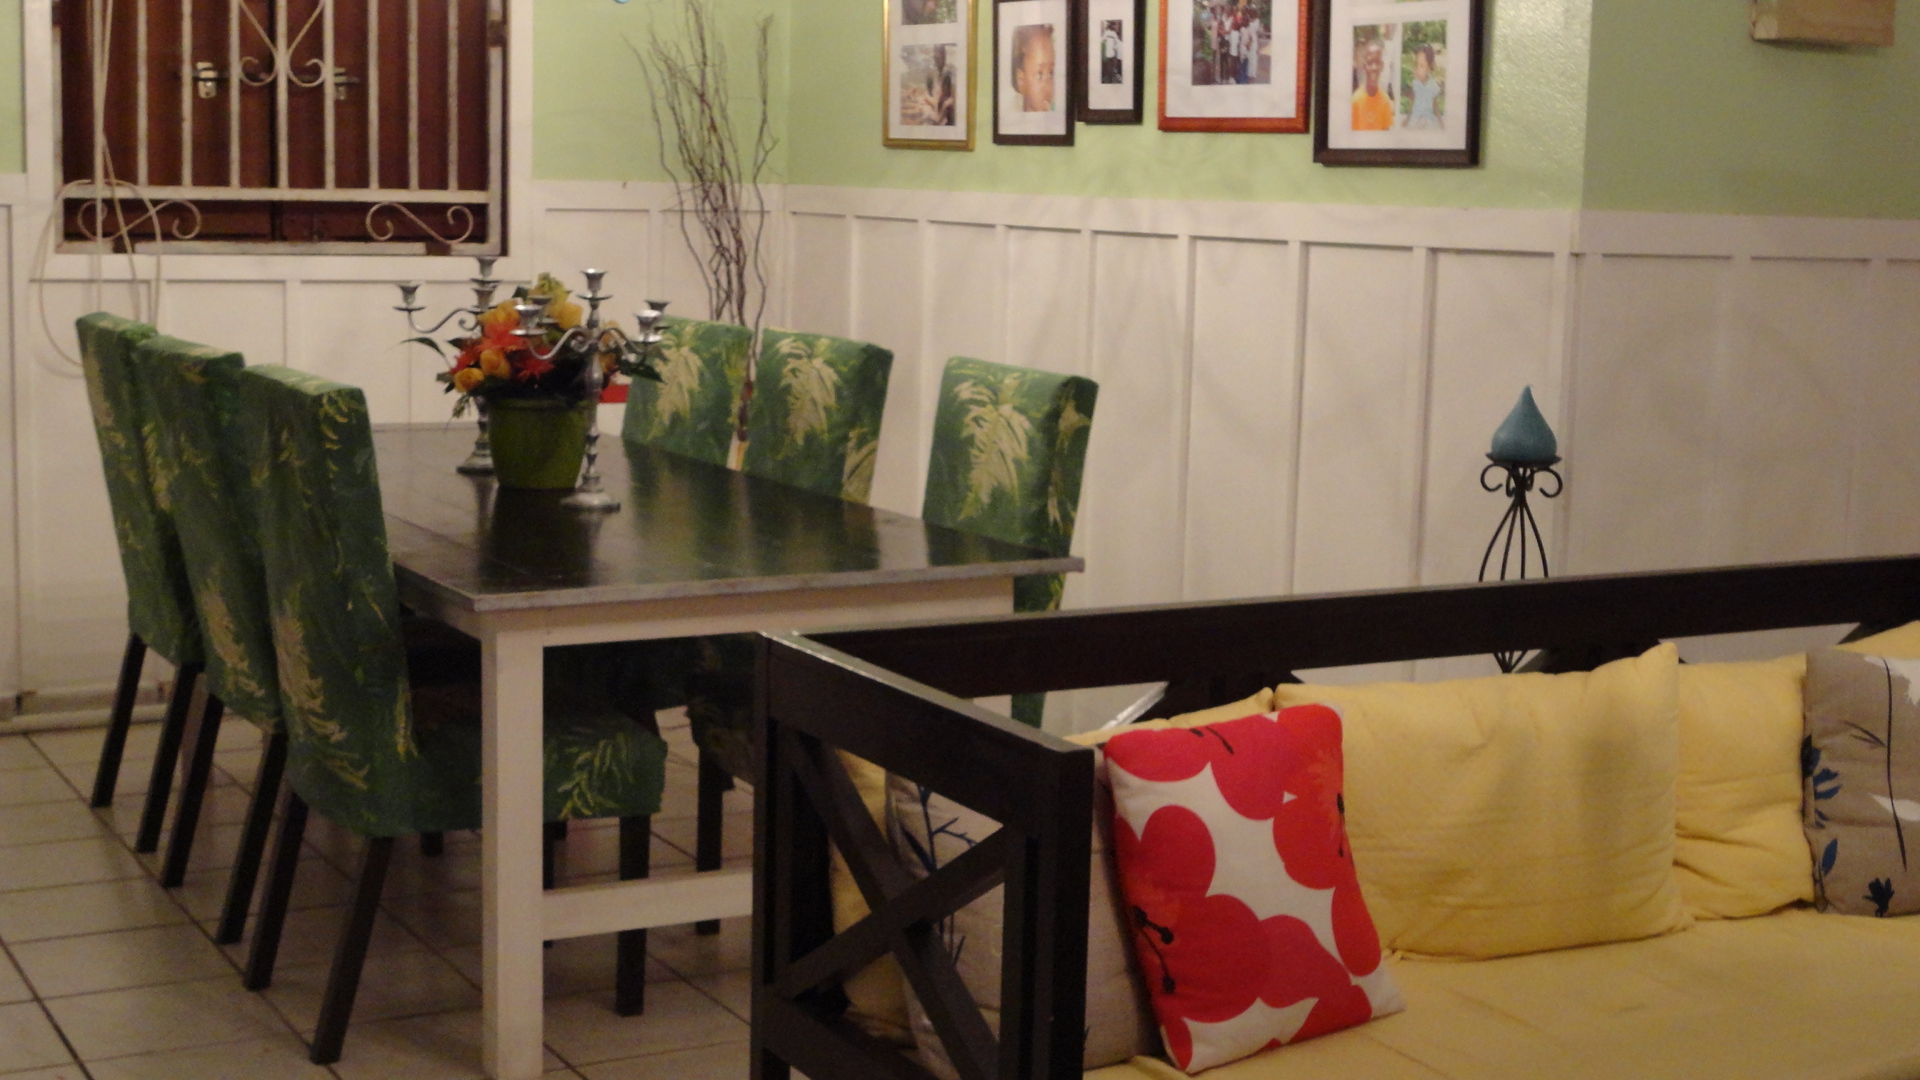
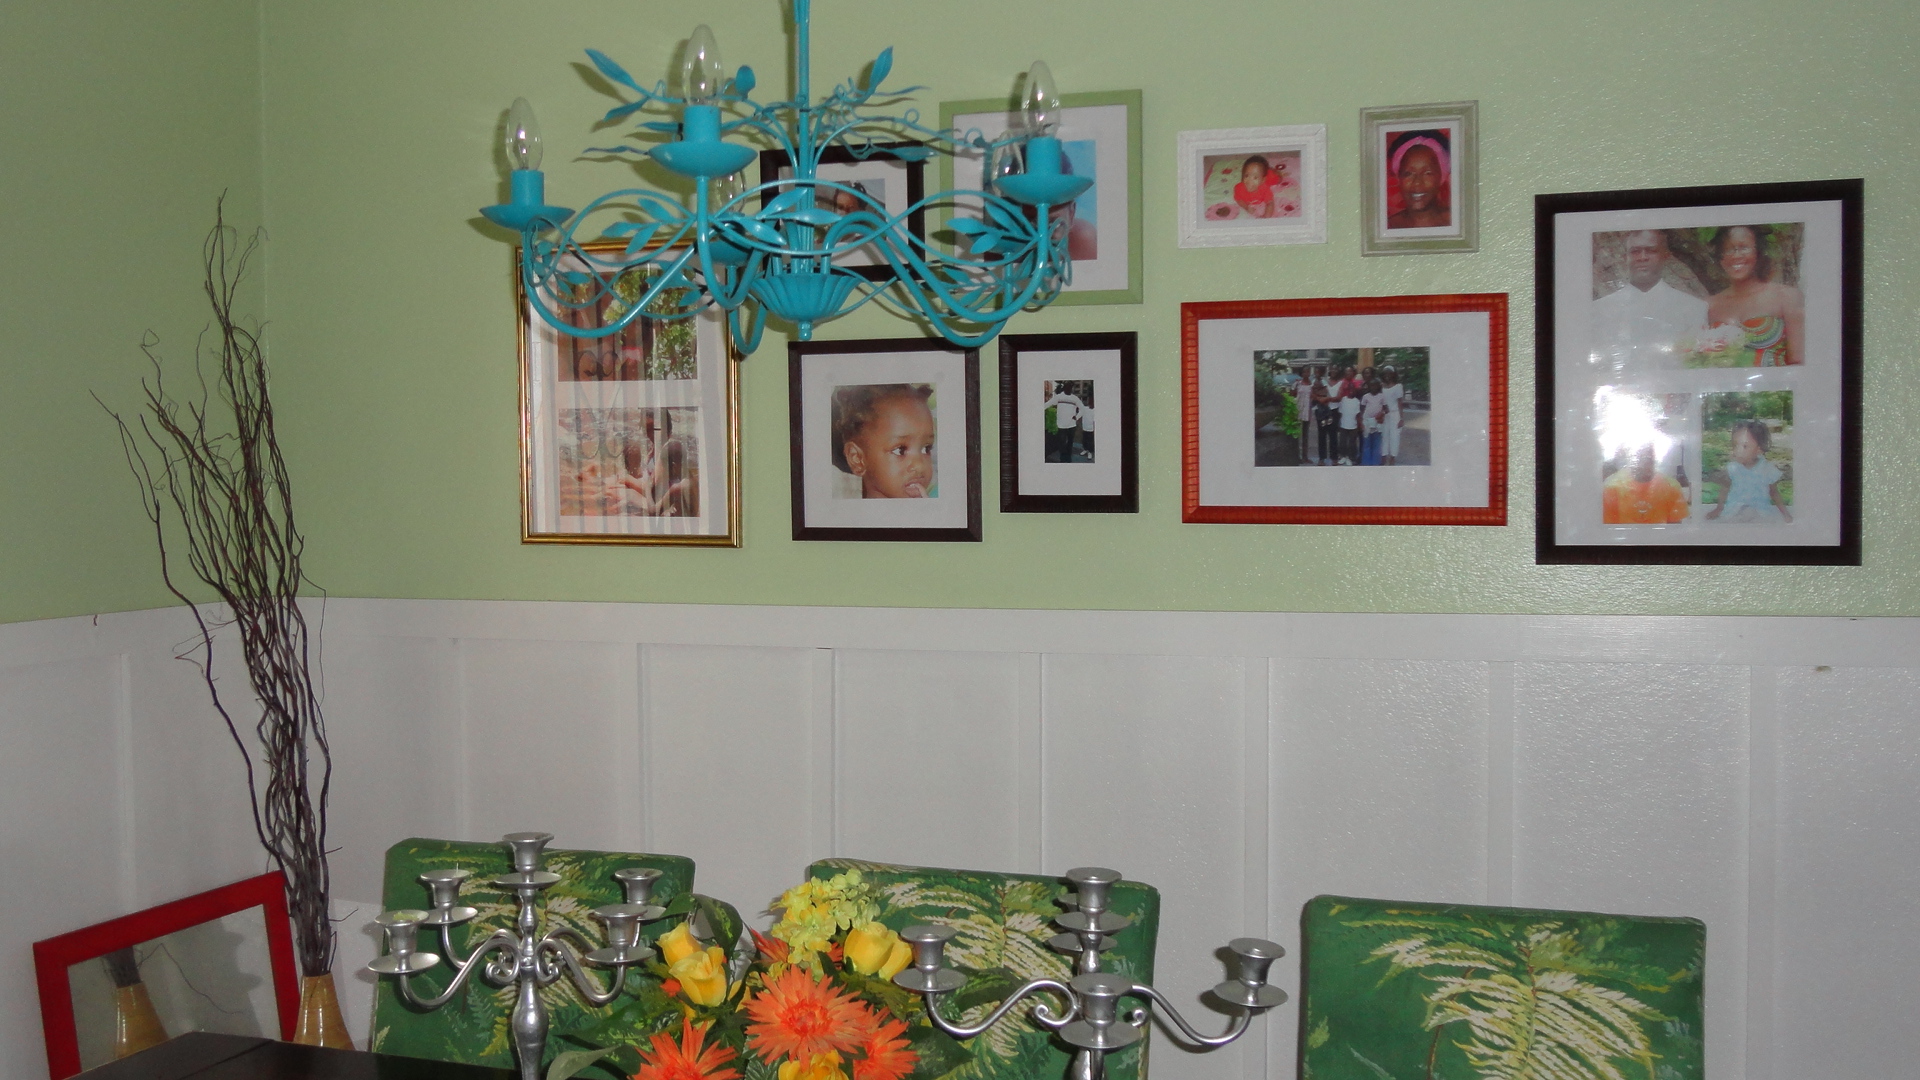
This room is absolutely gorgeous! You did an awesome job- love all the finishes and colors, and the fantastic chairs!
alamanda973
Mon, 03/19/2012 - 18:31
Thank You!
Thank You! I am very happy how it turned out.
Guest (not verified)
Tue, 03/20/2012 - 05:31
Gorgeous! Your place looks so
Gorgeous! Your place looks so inviting!
Cindy from Indiana (not verified)
Tue, 03/20/2012 - 12:43
Looks fantastic!
Wow! This room turned out great - really fantastic job!
Ana White
Tue, 03/20/2012 - 23:19
Agreed! Huge accomplishment!
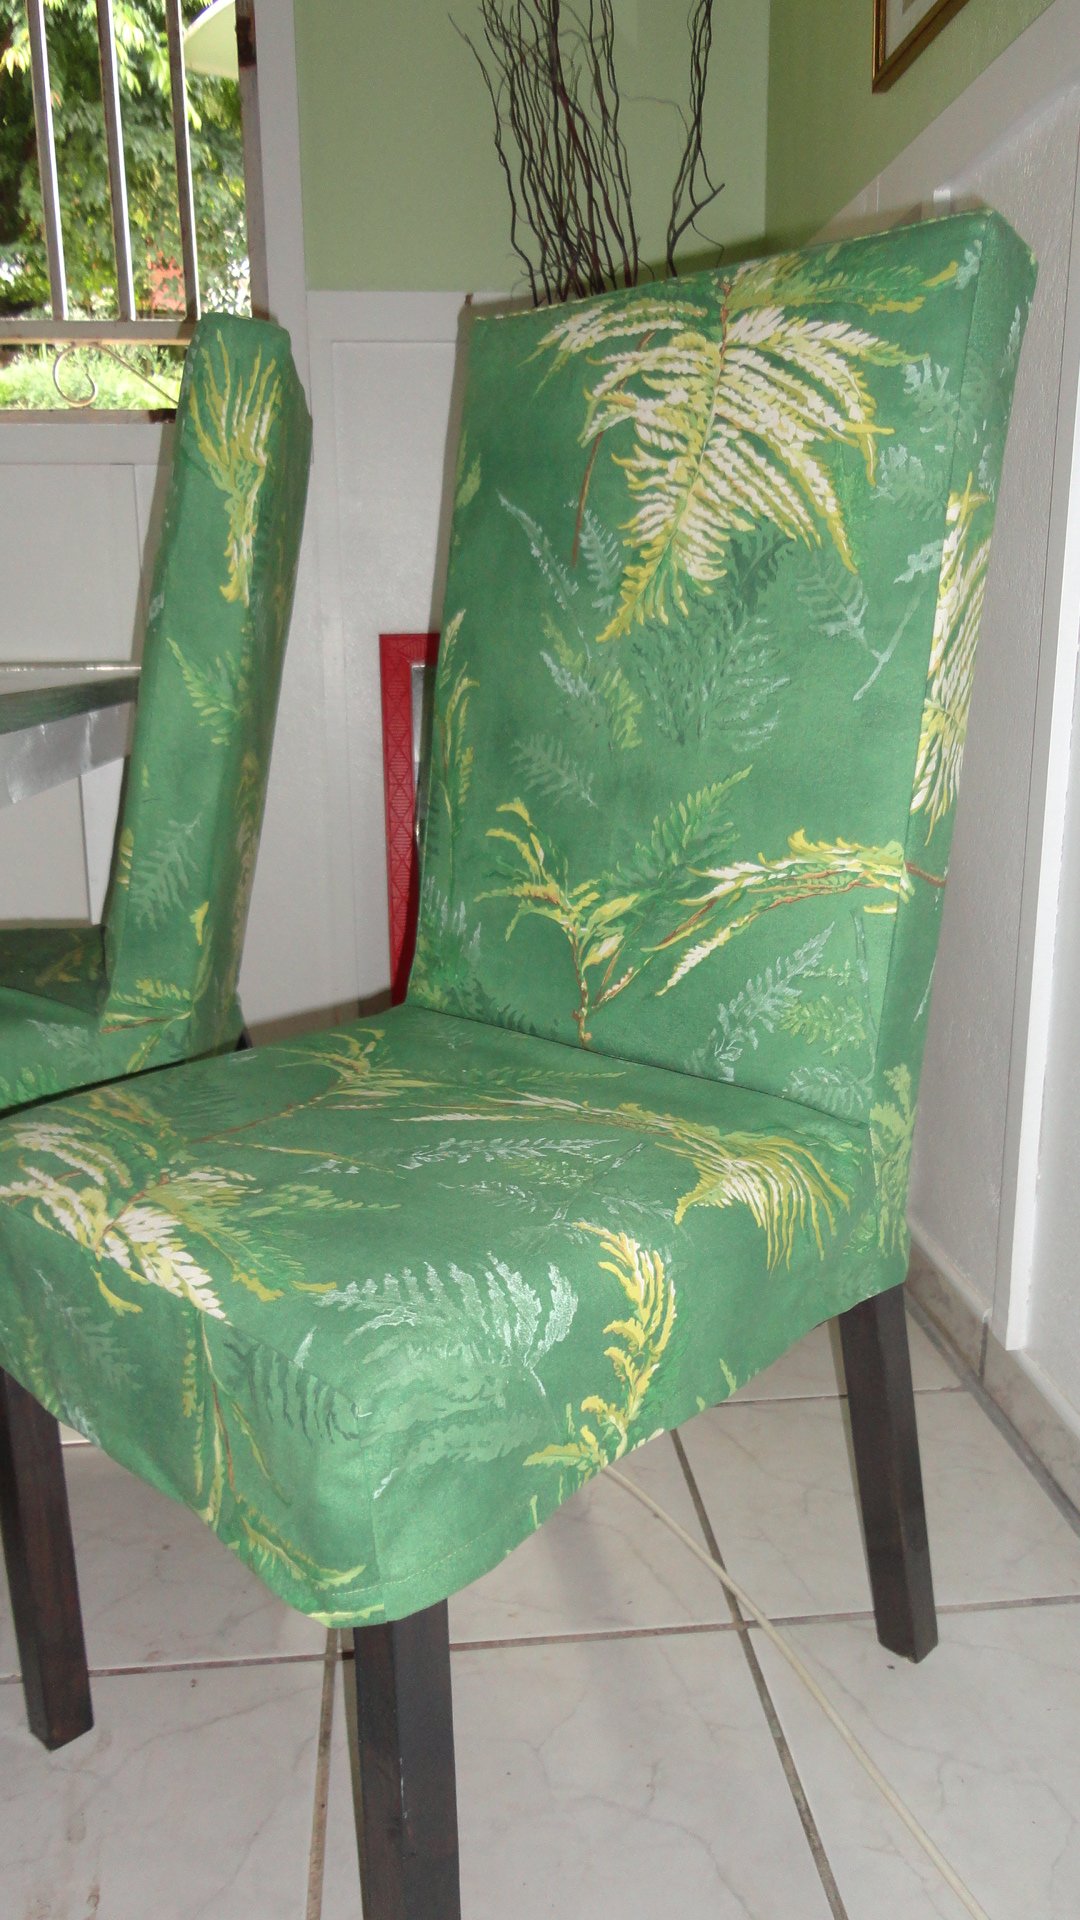
Agreed! Huge accomplishment! I can't believe you made 6 chairs! And they all look so nice and well made! Thanks for sharing, it's a lovely room!
birdsandsoap
Wed, 03/21/2012 - 01:54
I love the painted
I love the painted chandelier! This is a cool room, and you made the whole thing. wow.
claydowling
Wed, 03/21/2012 - 05:14
Chairs
I'm with Ana on the chairs. That's really amazing. The last time I made a chair it took a very full and tiring day to build the frame, and another evening to build the seat. Do you have tips for speeding the process up?
alamanda973
Wed, 03/21/2012 - 09:16
Thank you!
Thank you for all these compliments. I don't speak English very well because I'm french but I will try to make me understand. I built a chair with the modifications to see the result, then, I made all the cuttings with my miter saw for the 5 other chairs, then I made every chair within half an hour. I cut all that it was necessary foam and fabric in one step and I sewed everything for covers. To make covers, I made a paper pattern, then I sewed them in 10 minutes.
I am very happy I found this site with all that wonderful projects. It's my favorite site . Thank you Ana, you changed my life!
alamanda973
Wed, 03/21/2012 - 09:21
The frame
I built every frame within half an hour not the whole chair.
Milca (not verified)
Fri, 06/15/2012 - 07:44
Superbe!
Je suis impressionnee :)
kaytrishjr
Tue, 08/21/2012 - 13:16
Wow!
I'm totally amazed, talk about getting busy! Your room is beautiful!
Angela Kempf (not verified)
Thu, 11/29/2012 - 14:24
great job
Does your slip cover come off? I would like to make a couple of these to use as accent chairs in my living room. Yours look amazing.
I have one little boy, two cats, a large dog and a ferret. I need something that is WASHABLE =)
alamanda973
Thu, 12/13/2012 - 17:48
Slip Cover
The covers of the chairs come out. I used ana's plan to make chairs and covers. I modified the cover's plan to fit the chairs because I made them taller. It is very practical because I have a four-year-old girl even if I have no cat and no dog =)
http://ana-white.com/2010/11/plans/drop-cloth-parson-chair-slipcovers
sugarhigh1605
Thu, 07/18/2013 - 12:37
Beautiful!
I love your chairs and especially like the extra height. How tall did you make the backs of the chairs?
alamanda973
Sun, 07/28/2013 - 07:32
Height of the chairs
The back of chairs is about 60 cms from the seat.