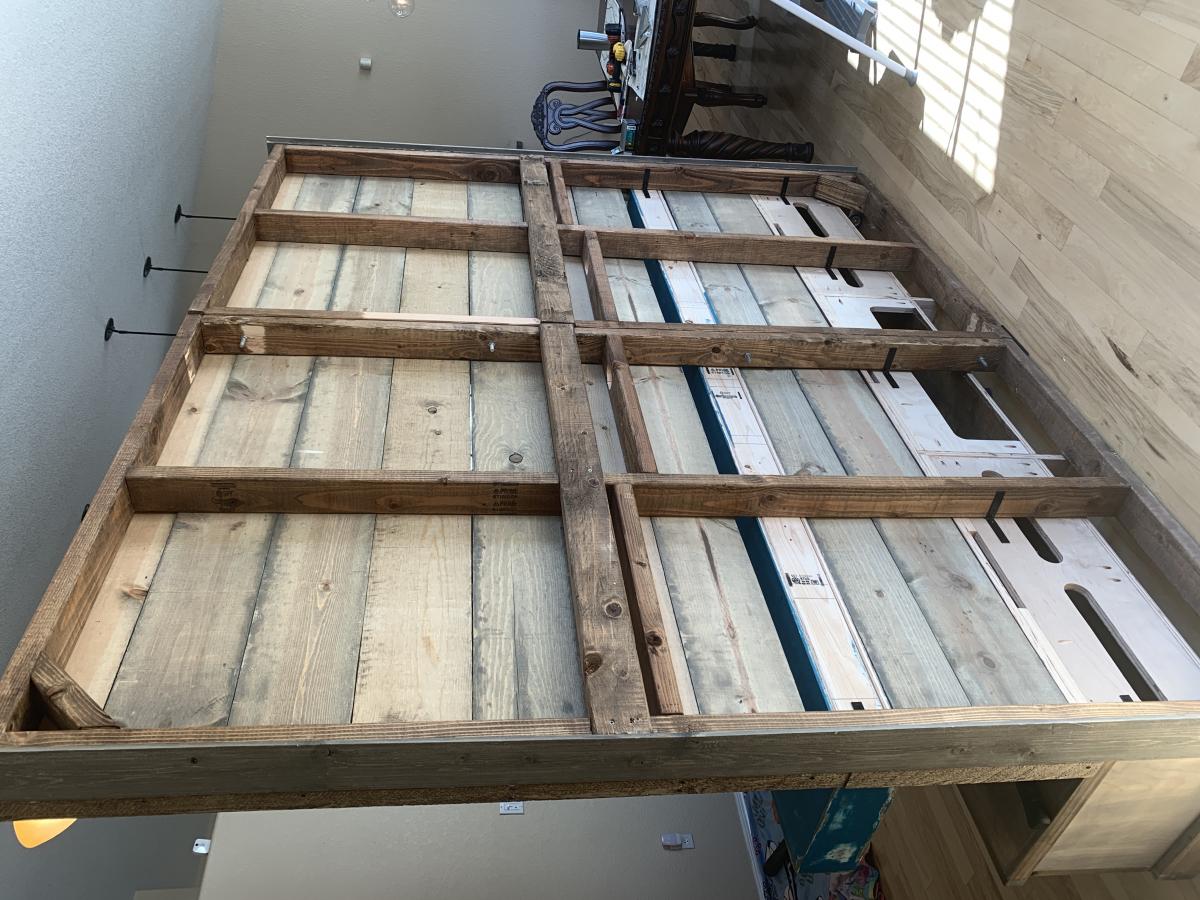
King Modern Bed

Made this with pallet 4x6 and 4x4 posts, and construction lumber.
Built from Plan(s)
Made this with pallet 4x6 and 4x4 posts, and construction lumber.
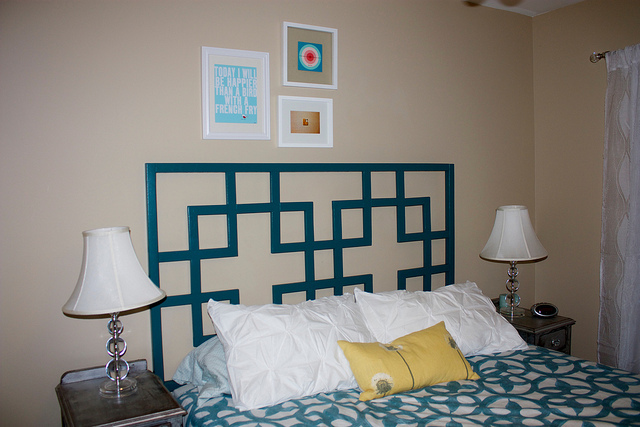
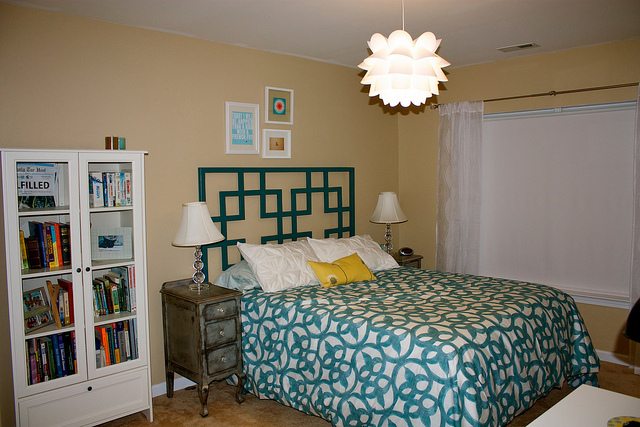
I build Anna's version of this popular store's headboard. I love it! Cost includes wood and paint. I would have used poplar for the entire bed but my hardware store only had 2x2s and 2x4s in white wood.
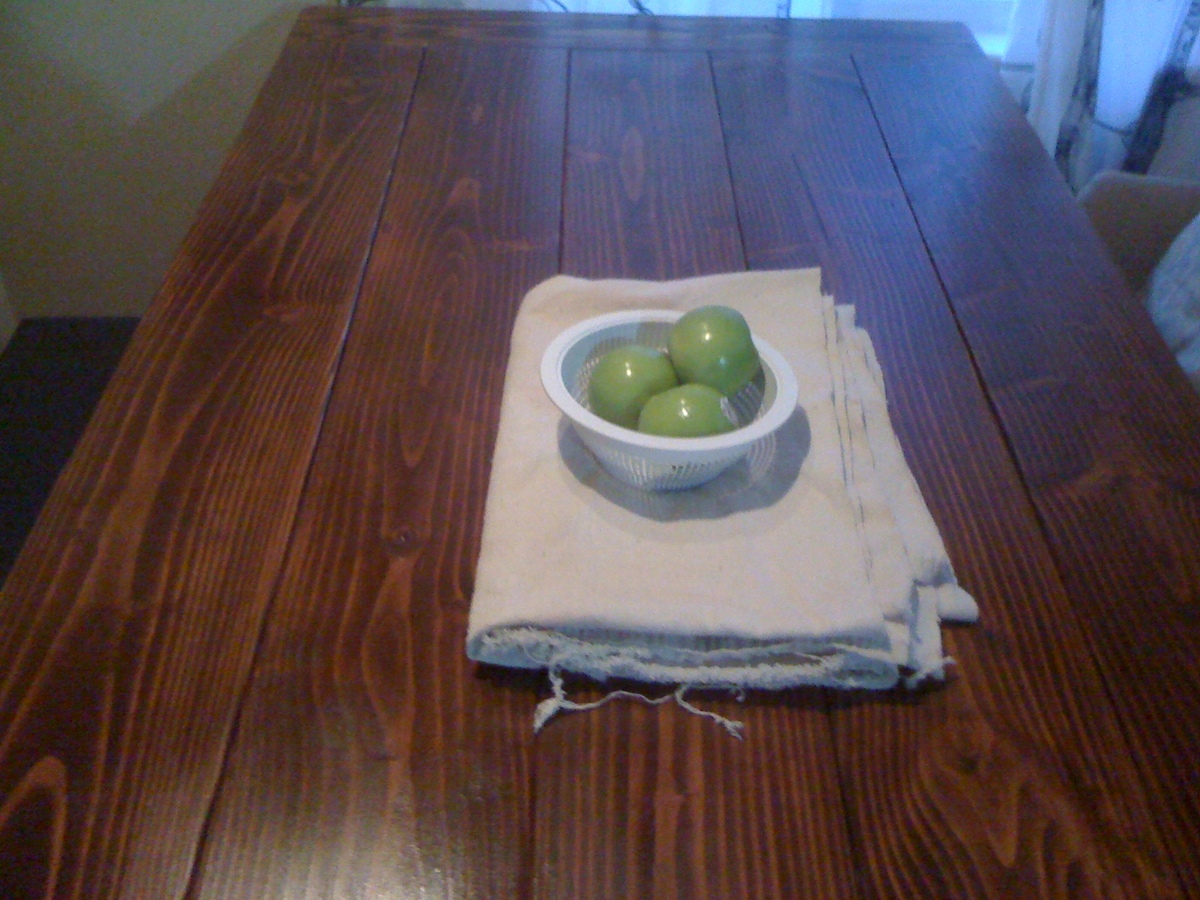
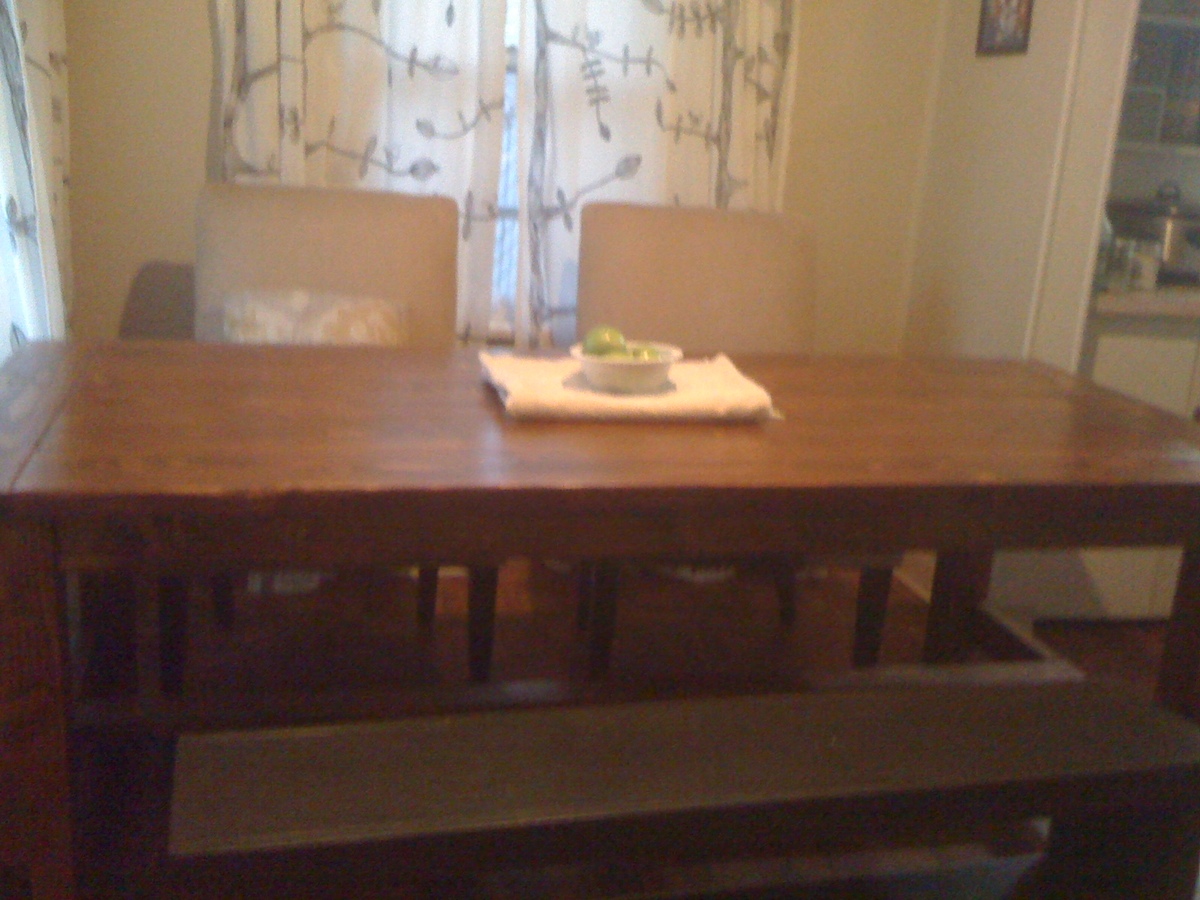
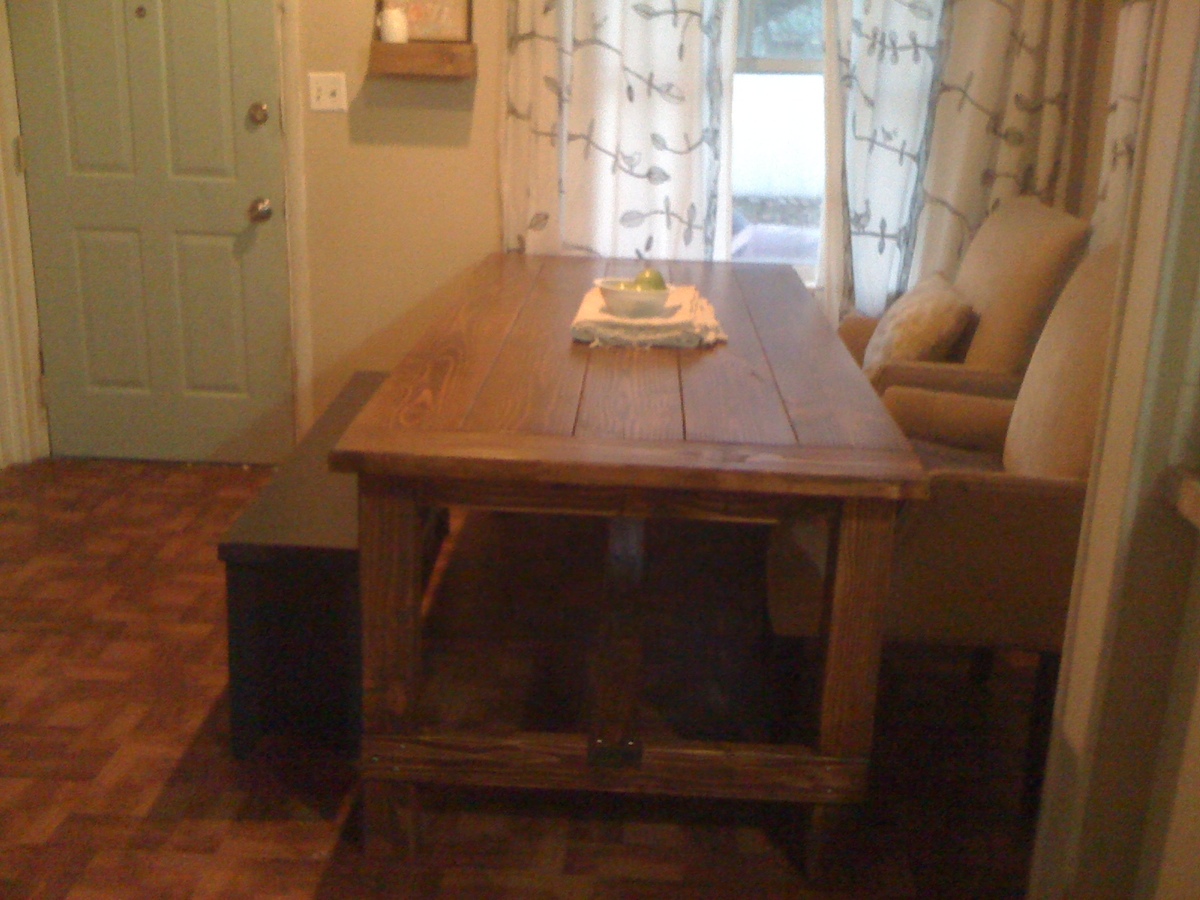
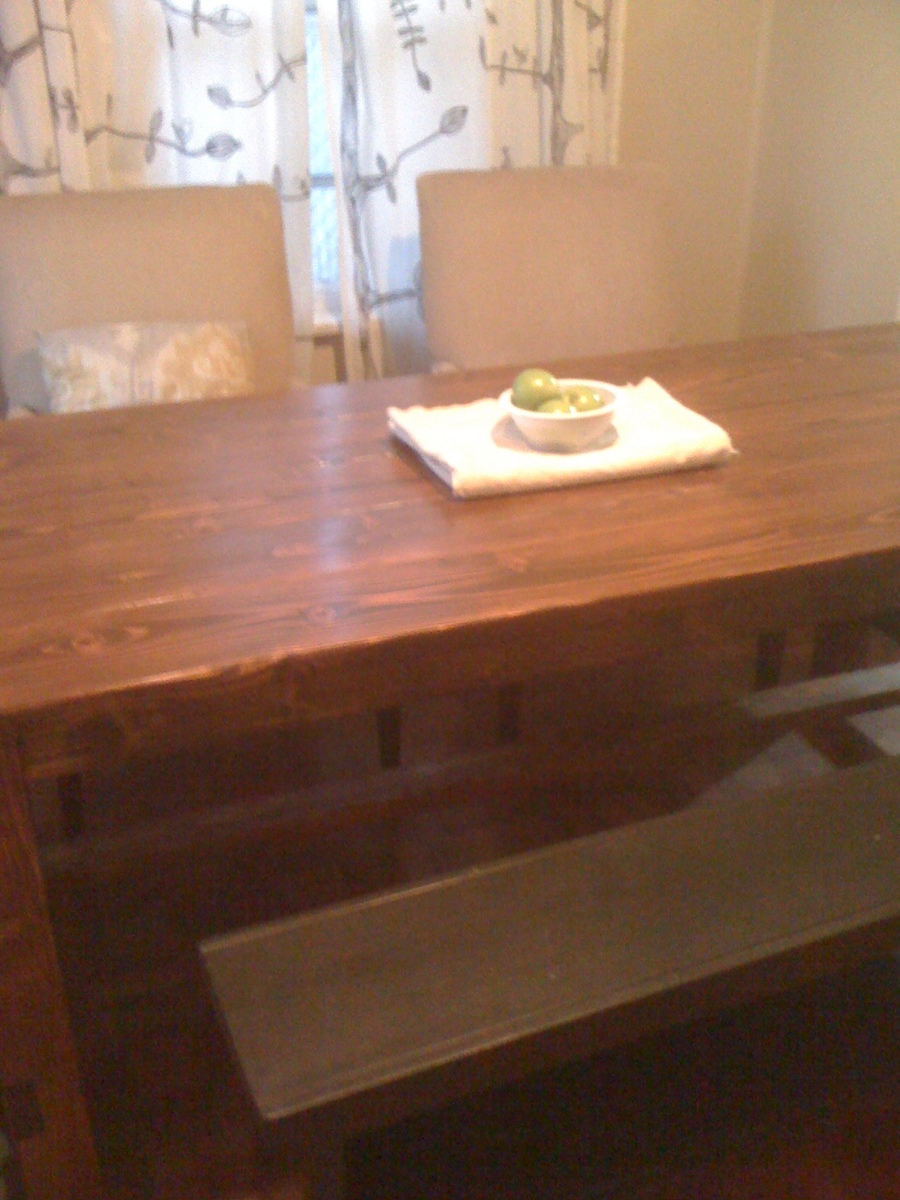
We built this table for some friends and the build went great!
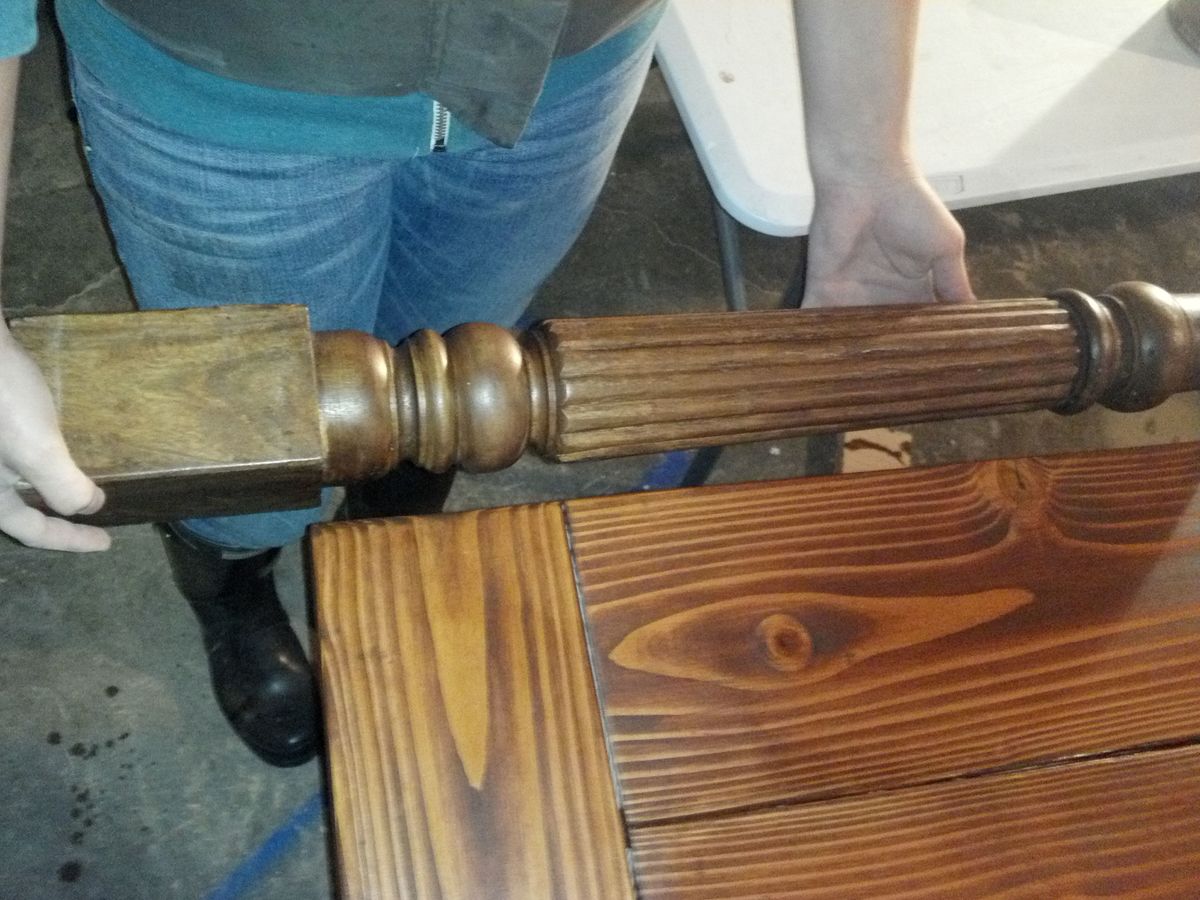
She brought over a table leg so that we could try to compliment their existing stain colors. I used "American Walnut" when maybe I should have used "Special walnut". It turned out a little reddish and I'm worried that she wont like it. I think it's beautiful but I'm so nervous!
What do you think about the finish?

Fri, 11/22/2013 - 09:54
Don't worry, it came out beautiful and the finish looks fine! They will be happy and thankful for your efforts. Besides, the style these days isn't to be so "matchy matchy" anyway. Great job!
In reply to They'll love it by spiceylg
Fri, 11/22/2013 - 18:22
Thanks! They actually really loved it. I'm sooo relieved. Turns out her husband loves red wood stains. :) There is just something about hand built furniture. It is never perfect but it always has soul.
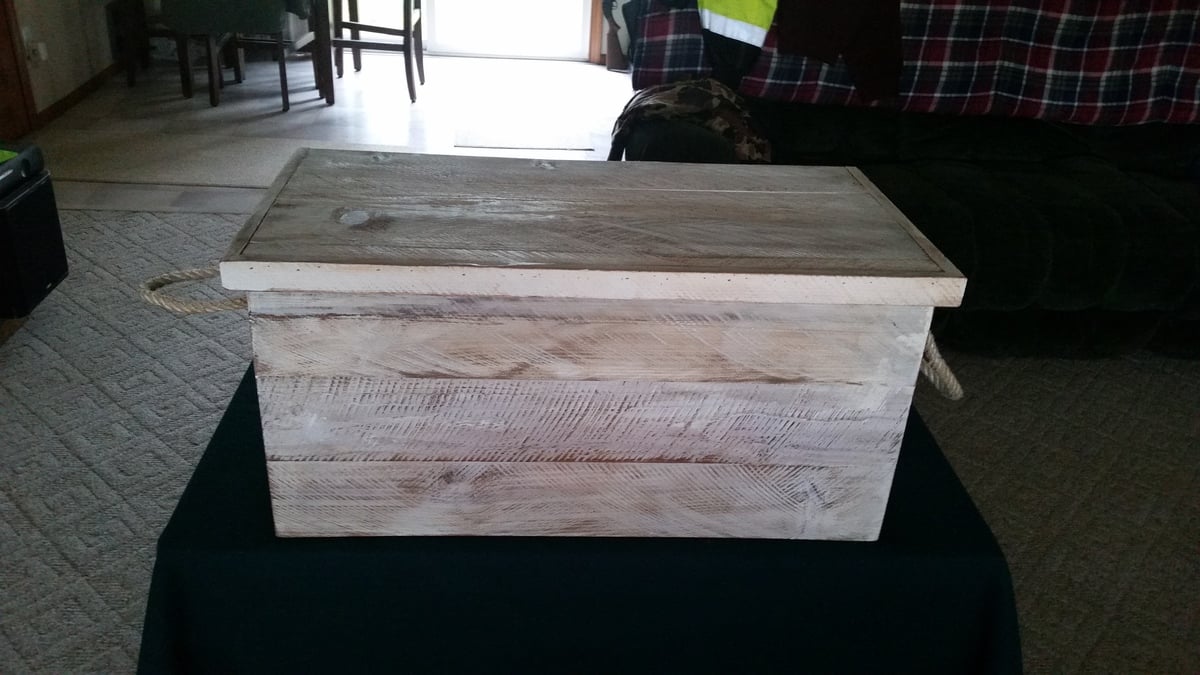
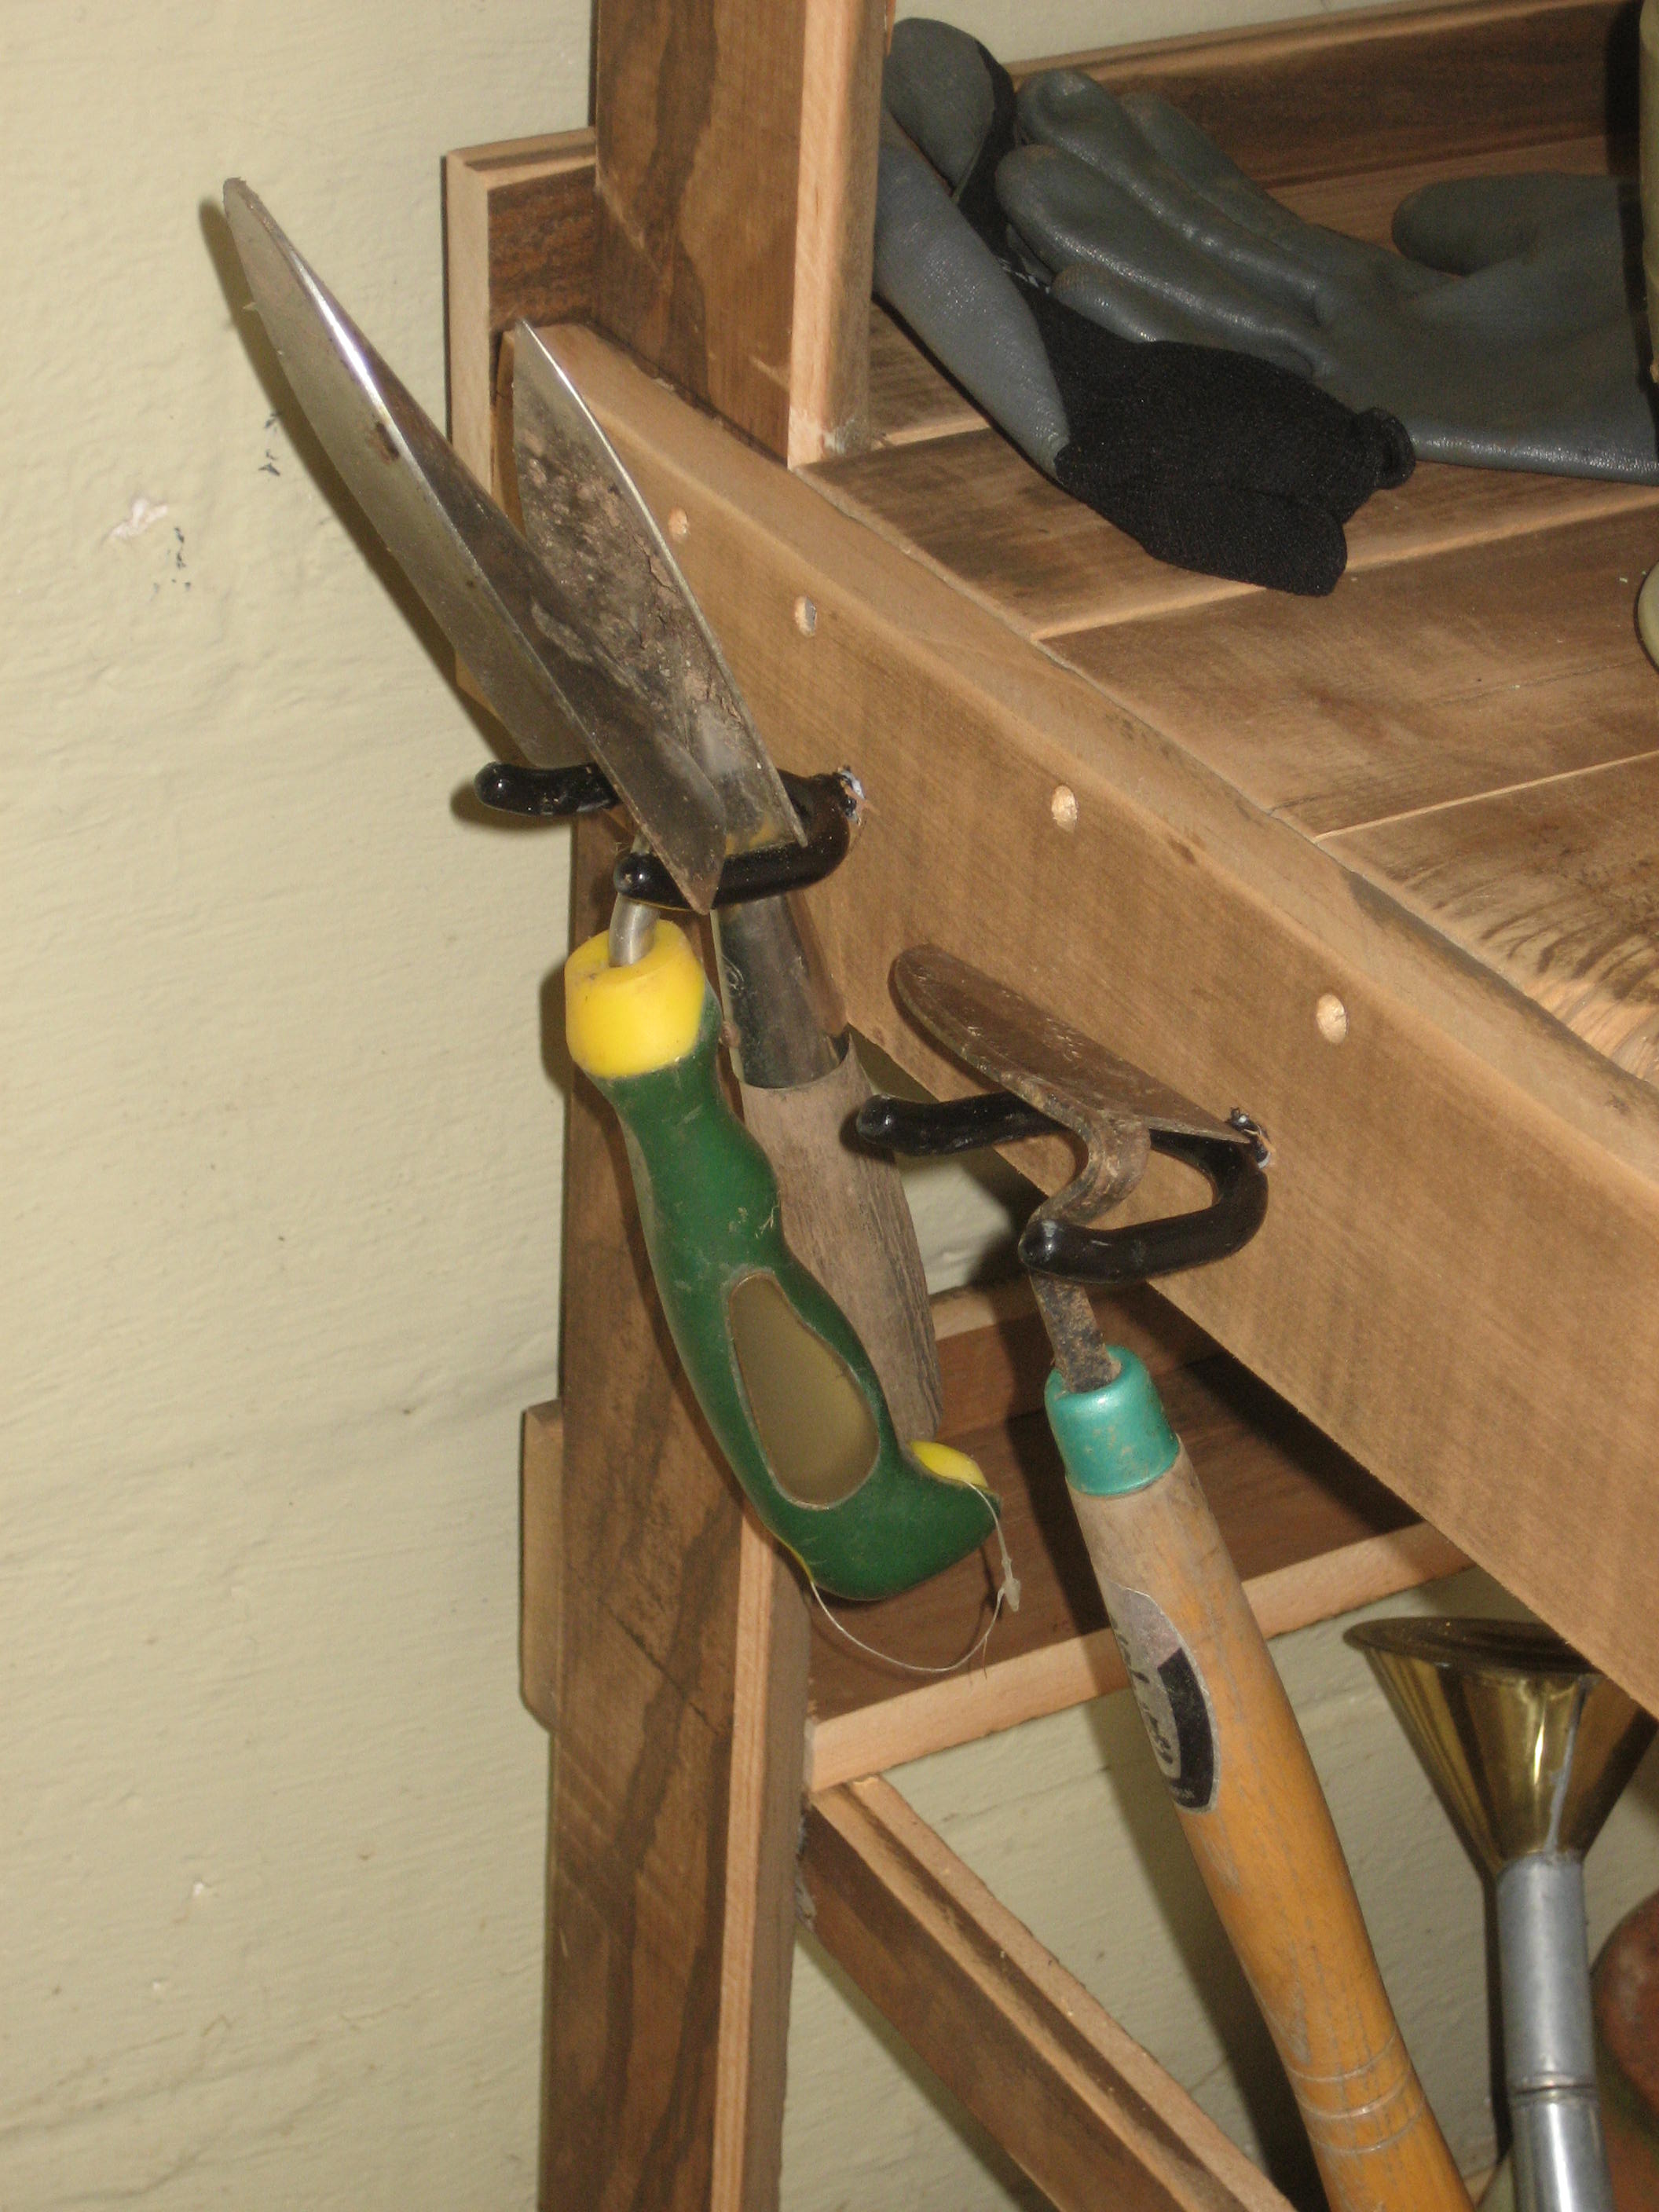
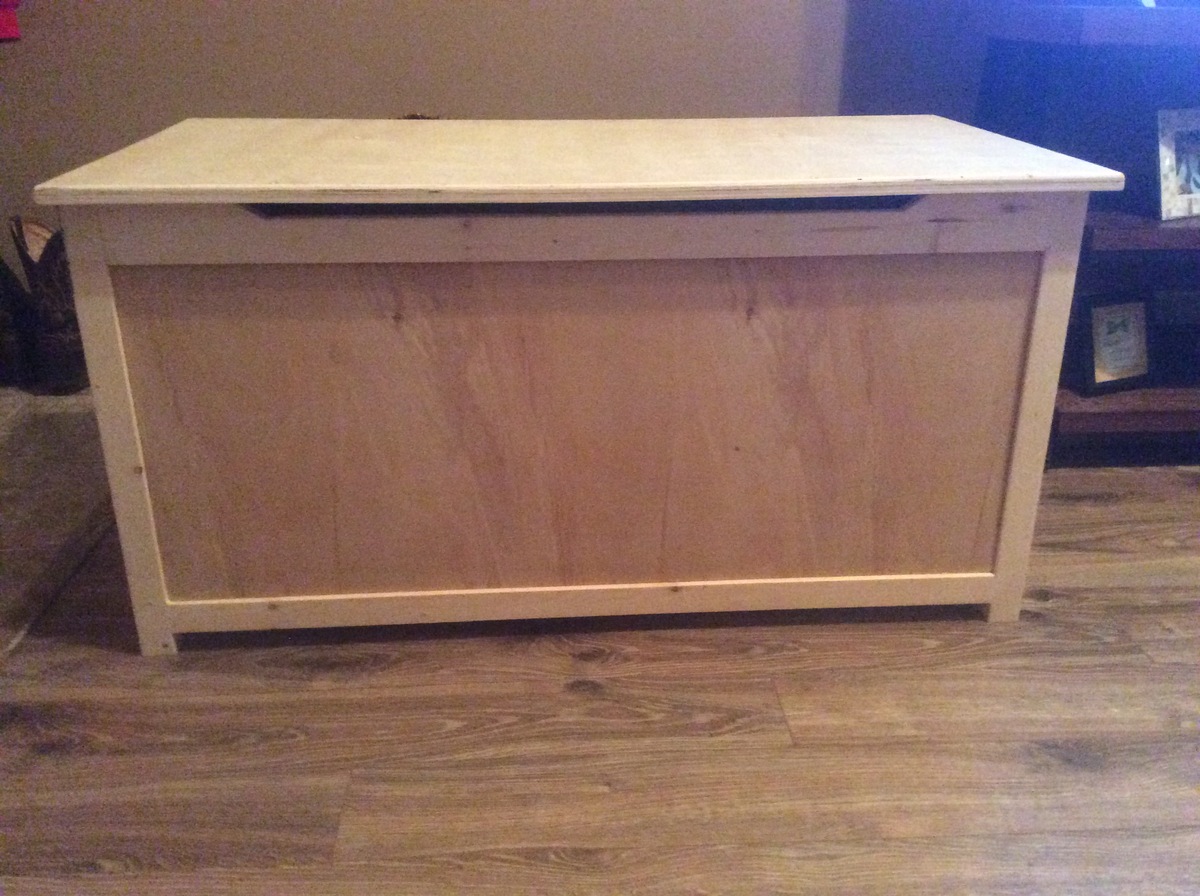
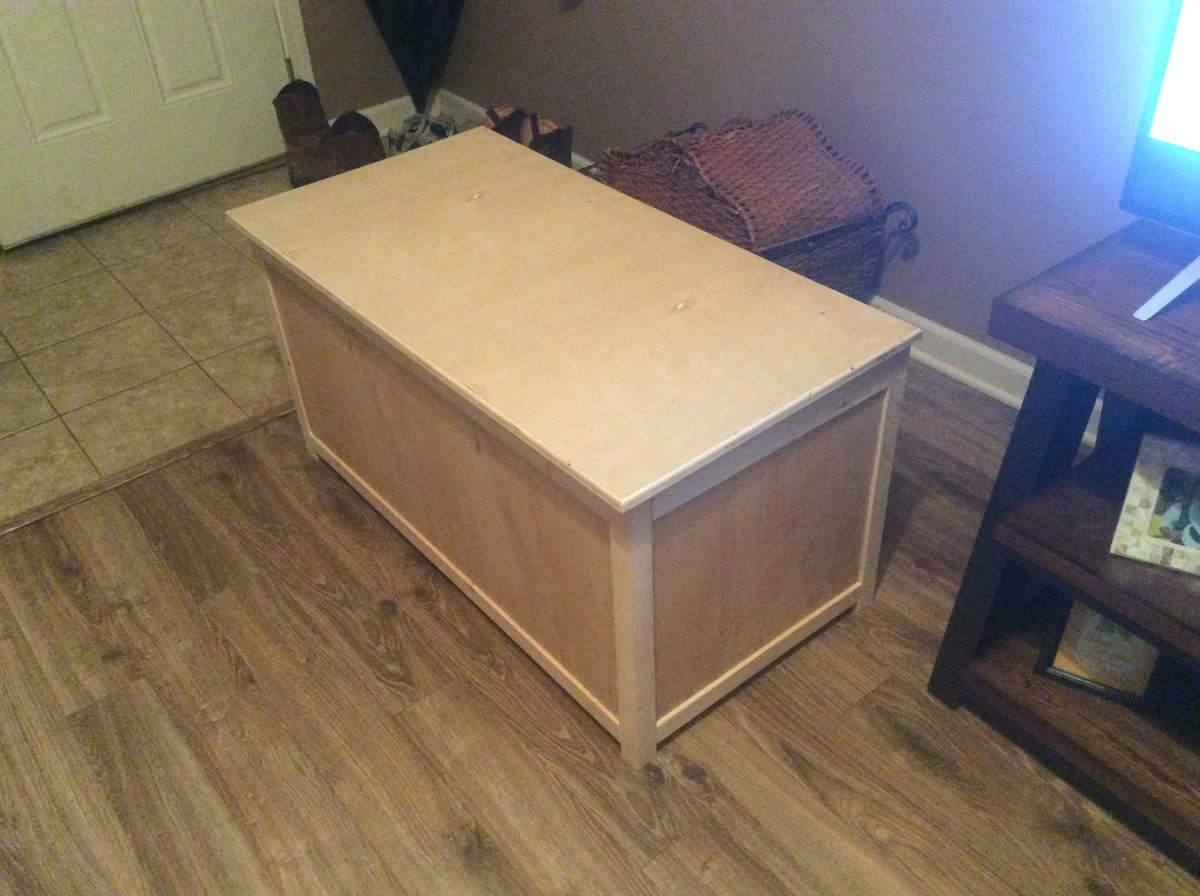
Started as a tool chest for garage and after reading a article on ana white about finishings thought I would give it a tfy
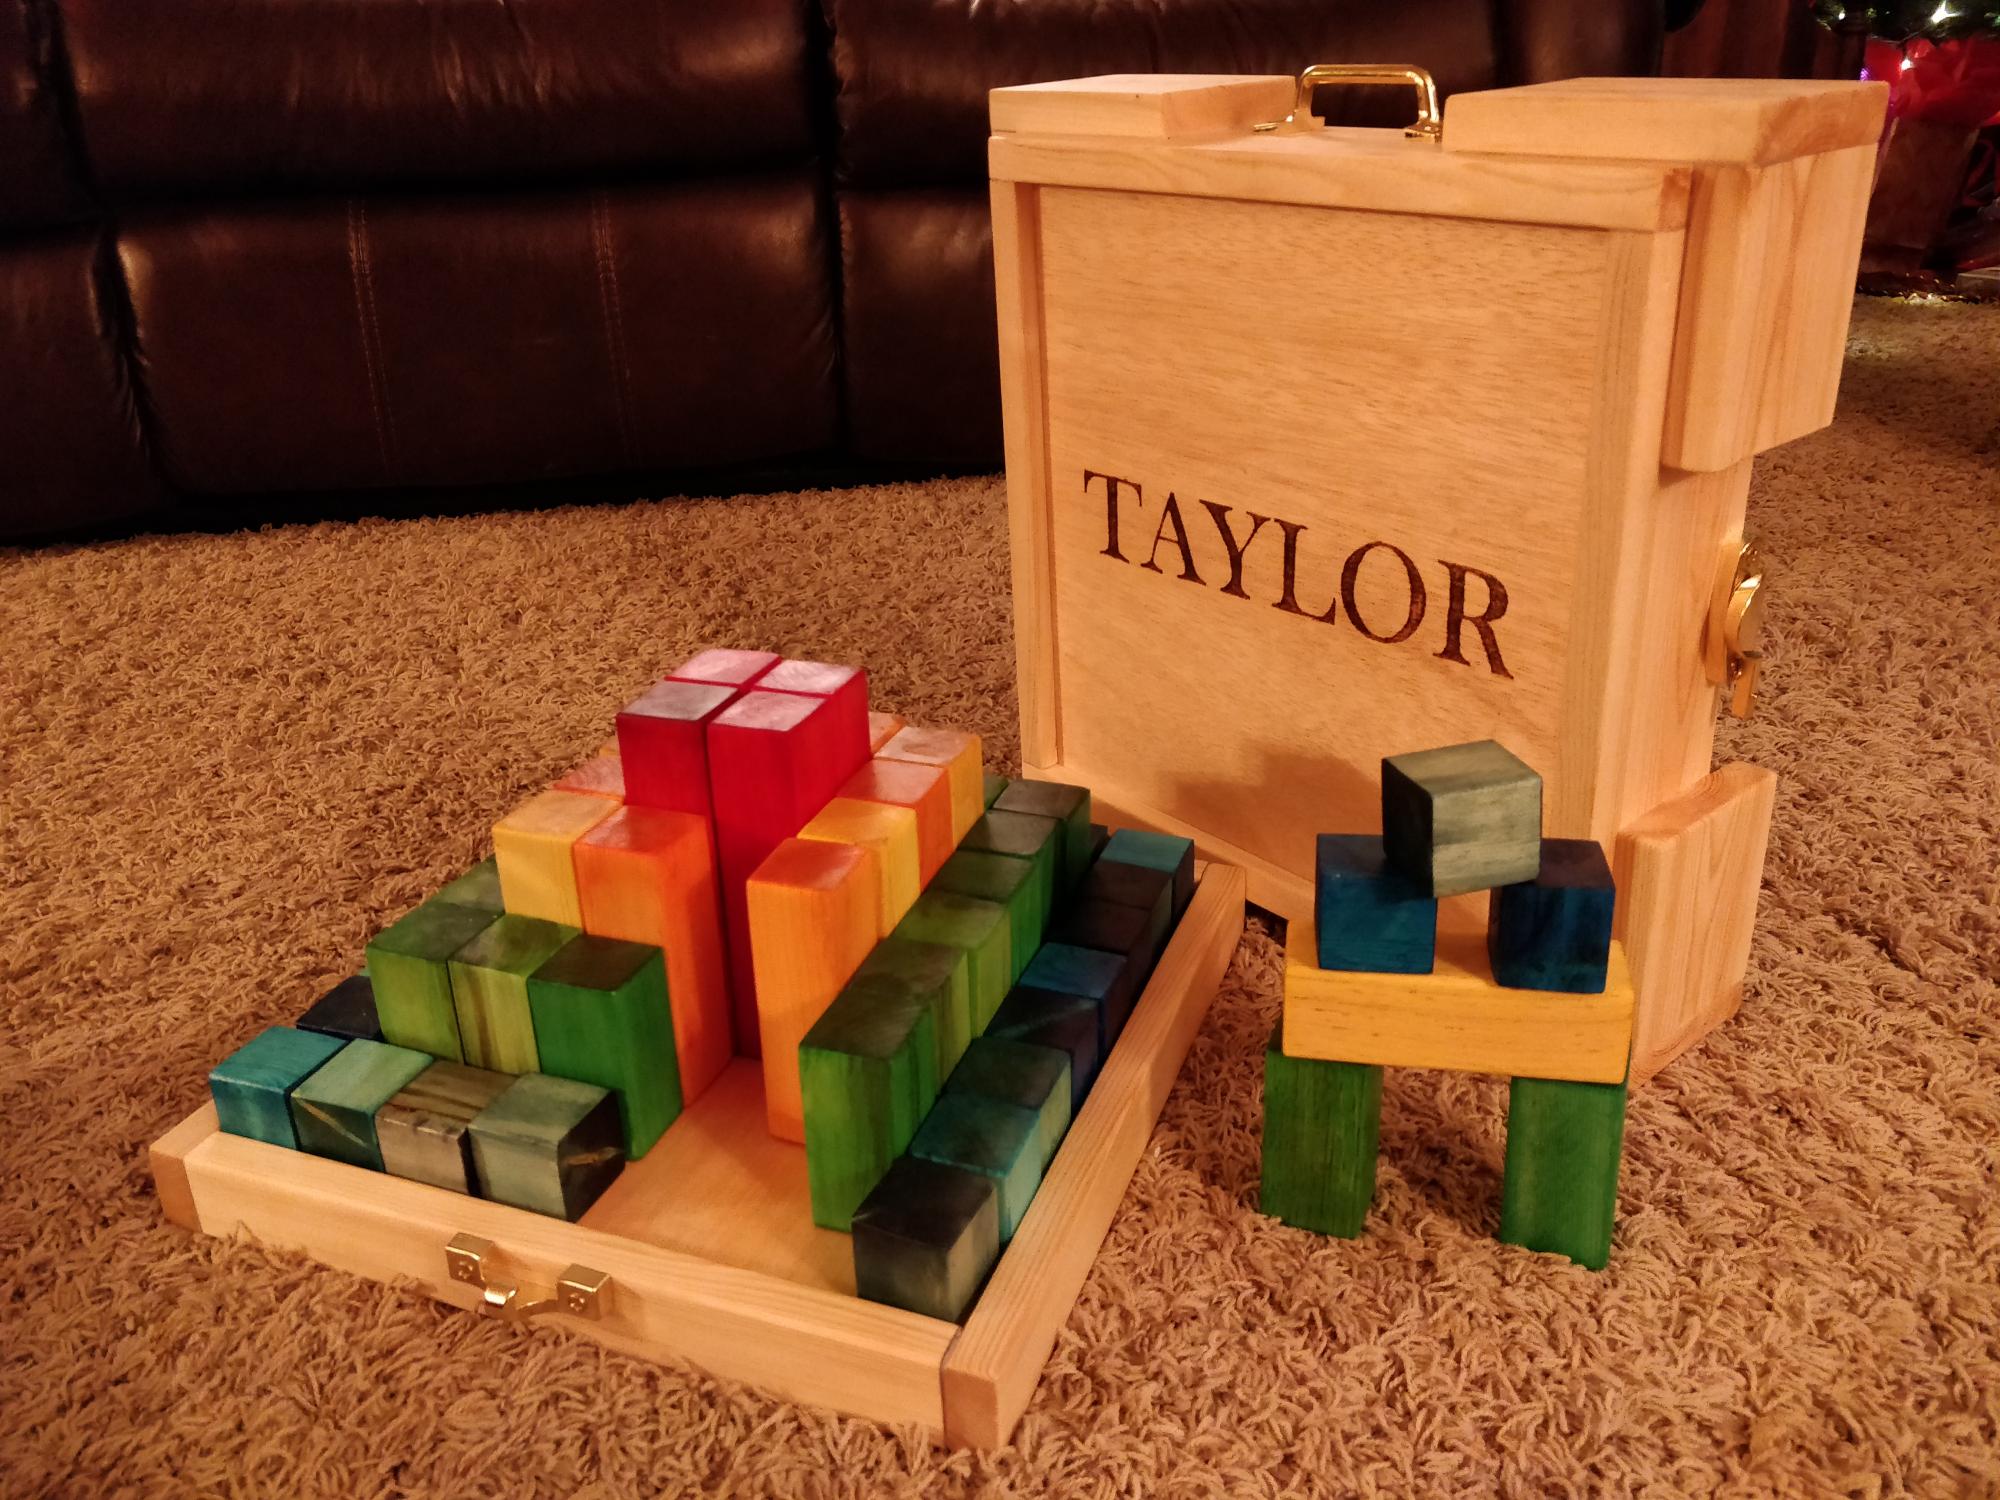
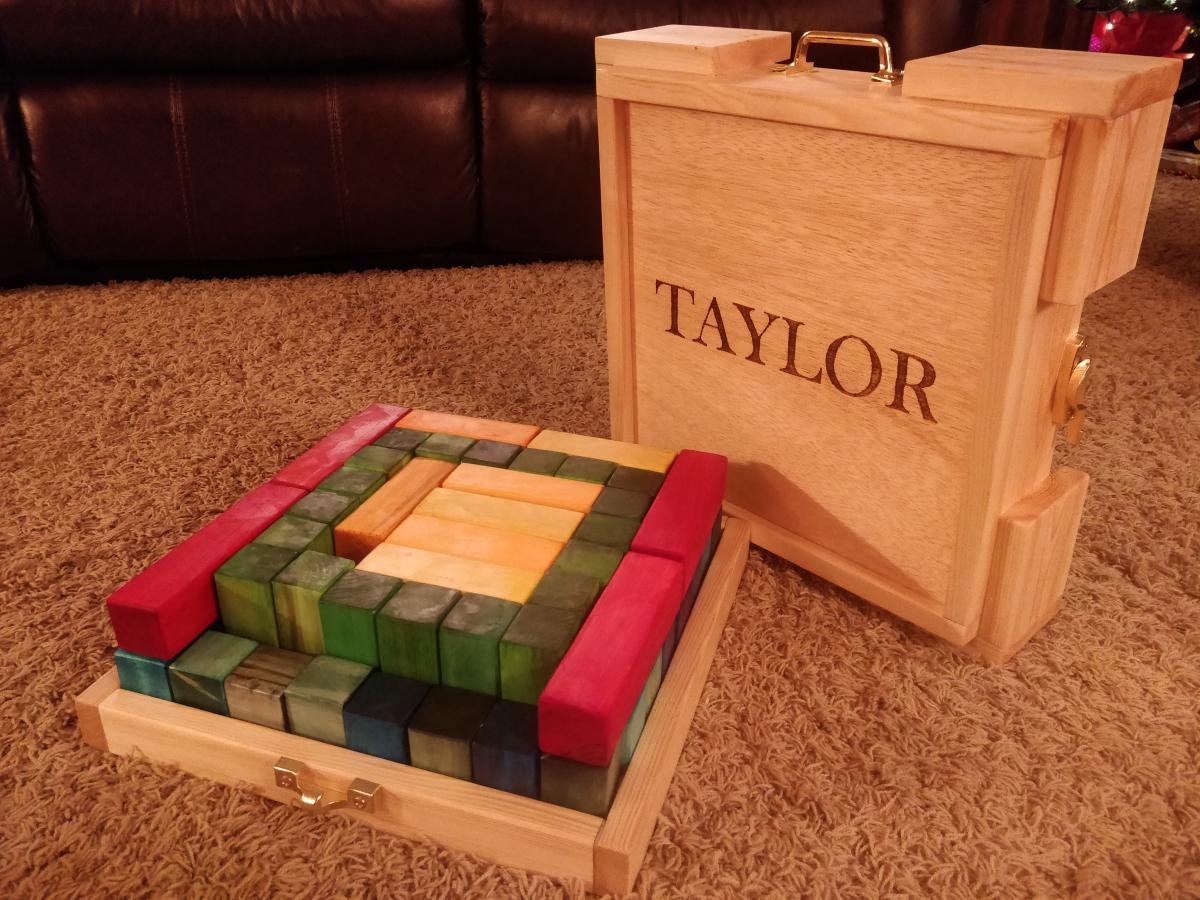
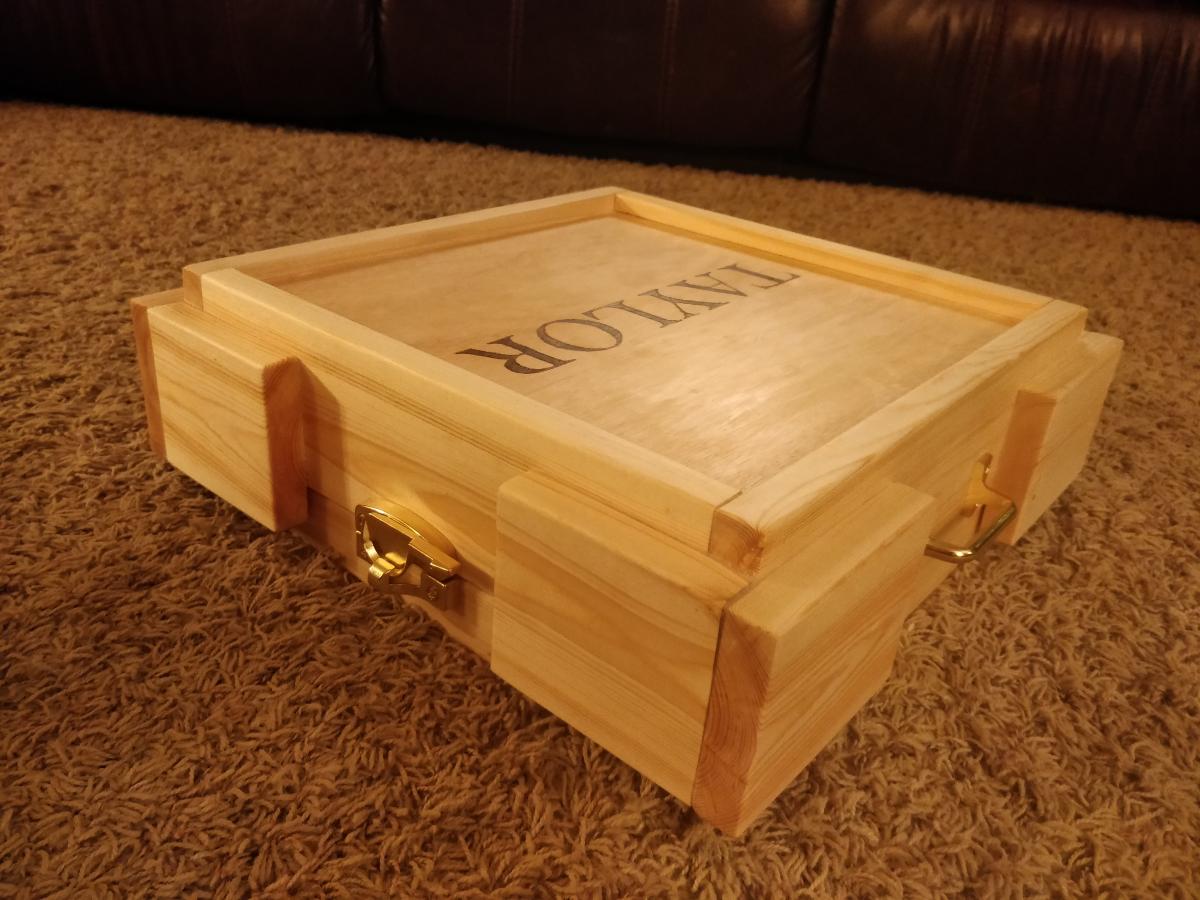
I modified the block dimensions so the smallest blocks are cubic. I also only made four levels of blocks so that the blocks could be stacked into two levels with just eight cubes' worth of empty space. This simplifies storage, and works with the lid I made out of 1x4s to complement the tray that's in Ana's plans. The tray and the lid fasten together with window sash hardware.
I spent forever on this project because it was my first and I was trying to make it perfect. Watching my little one play with it, I now appreciate how soft pine is and how fast kids distress it!
Made some modifications. Love your plans Ana White. Thank you 😊.
Fri, 05/12/2023 - 10:48
A work of art to be treasured, so cute! Thank you for sharing.:)

This was my first build! I combined 2 of Ana White's plans, the King size Farmhouse bed with the Queen size storage bed, I didn't do drawers as the cubbies worked better. So this was a nice merge of two of the plans! LOVE LOVE LOVE our bed, and the 2 tone stain/paint combo.

Mon, 11/25/2013 - 07:53
My wife asked me to find a bed idea for our little girls room. She said she wanted her to have a bed with storage. Well I think I found the bed I am going to build her. Now the fun part making it into a twin size! I like it so much I am going to build one for us in our bedroom. Again I love it great job!!!
In reply to Fantastic!!! by joshuaaslocum15
Mon, 11/25/2013 - 10:31
Let me know if you have any questions modifying the plans :) I think if you start from the queen storage one and modify that, you'll get it right for twin size :) such a sense of accomplishment when it's done!
In reply to Fantastic!!! by joshuaaslocum15
Mon, 11/25/2013 - 10:31
Let me know if you have any questions modifying the plans :) I think if you start from the queen storage one and modify that, you'll get it right for twin size :) such a sense of accomplishment when it's done!
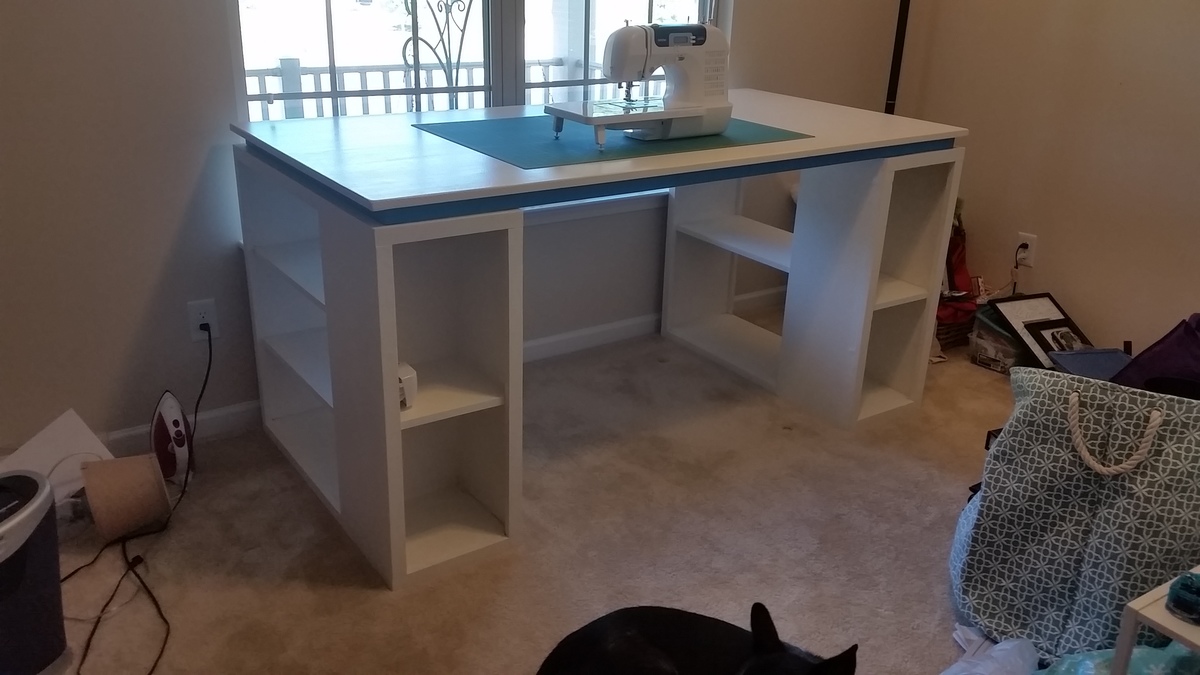
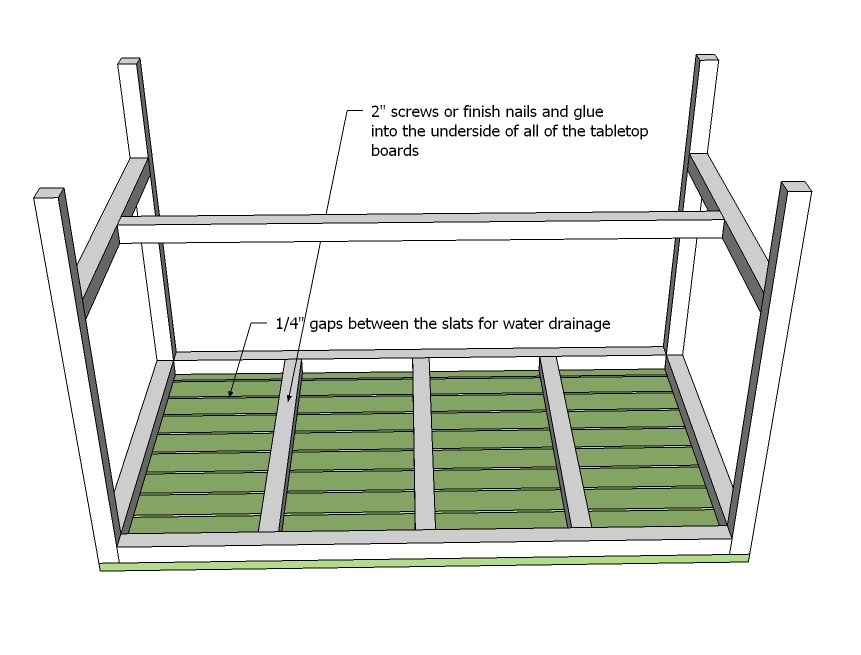
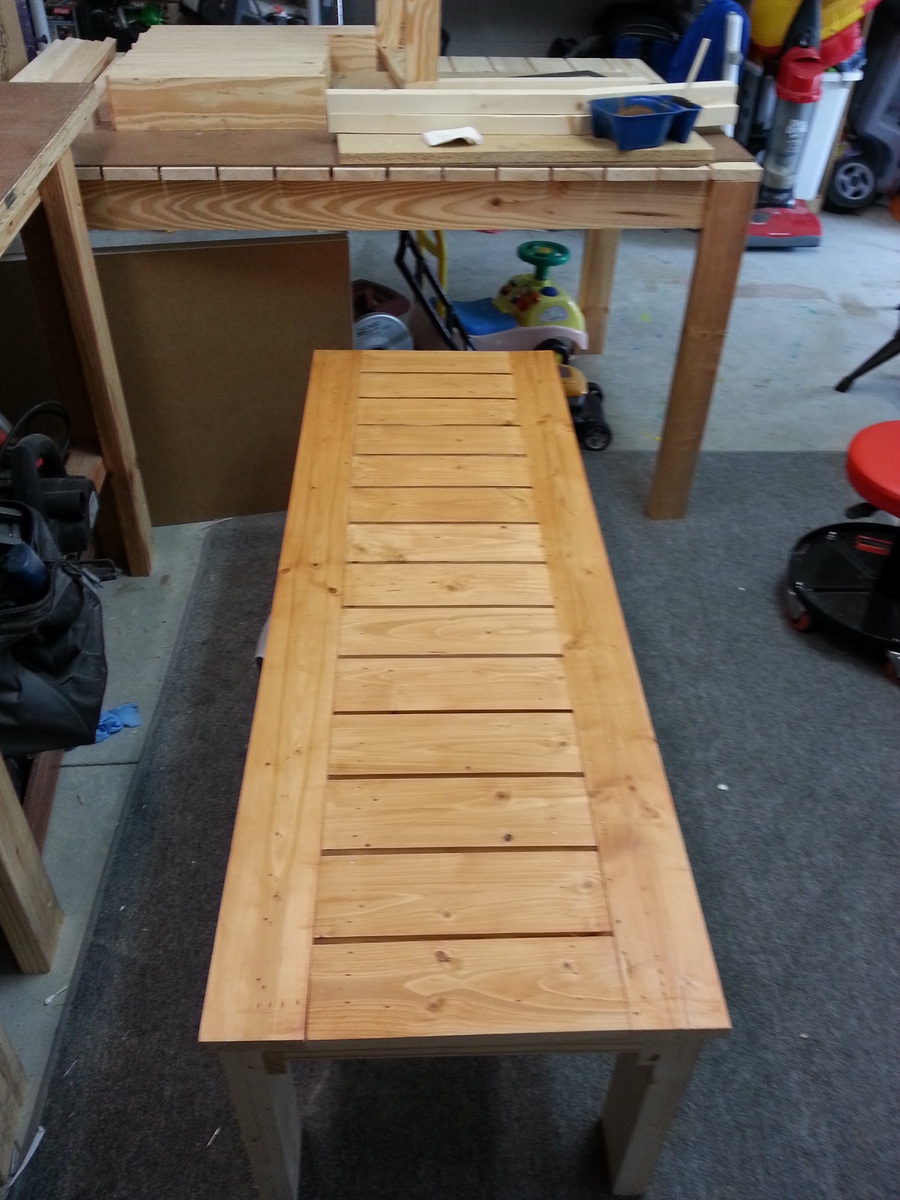
This is a craft table following the Modern Craft Table Plans. There were some adjustments to increase the size of the table to fit the entire width of the window. The final dimensions of the top turned out at 72" x 36" and fits my wifes cutting sheet perfectly on top with no overhang. The project did turn out a little taller than anticipated (built it as if it was a standing workbench or elevated) so that posed an issue with the foot pedal but overall, the wife approves. Future additions may be to add a drawer and attach a couple of adjustable lights, but on to other projects to improve her craft room.
Sun, 11/21/2021 - 13:10
Looks great…. Where are the plans ? Is there a link I’m not seeing?
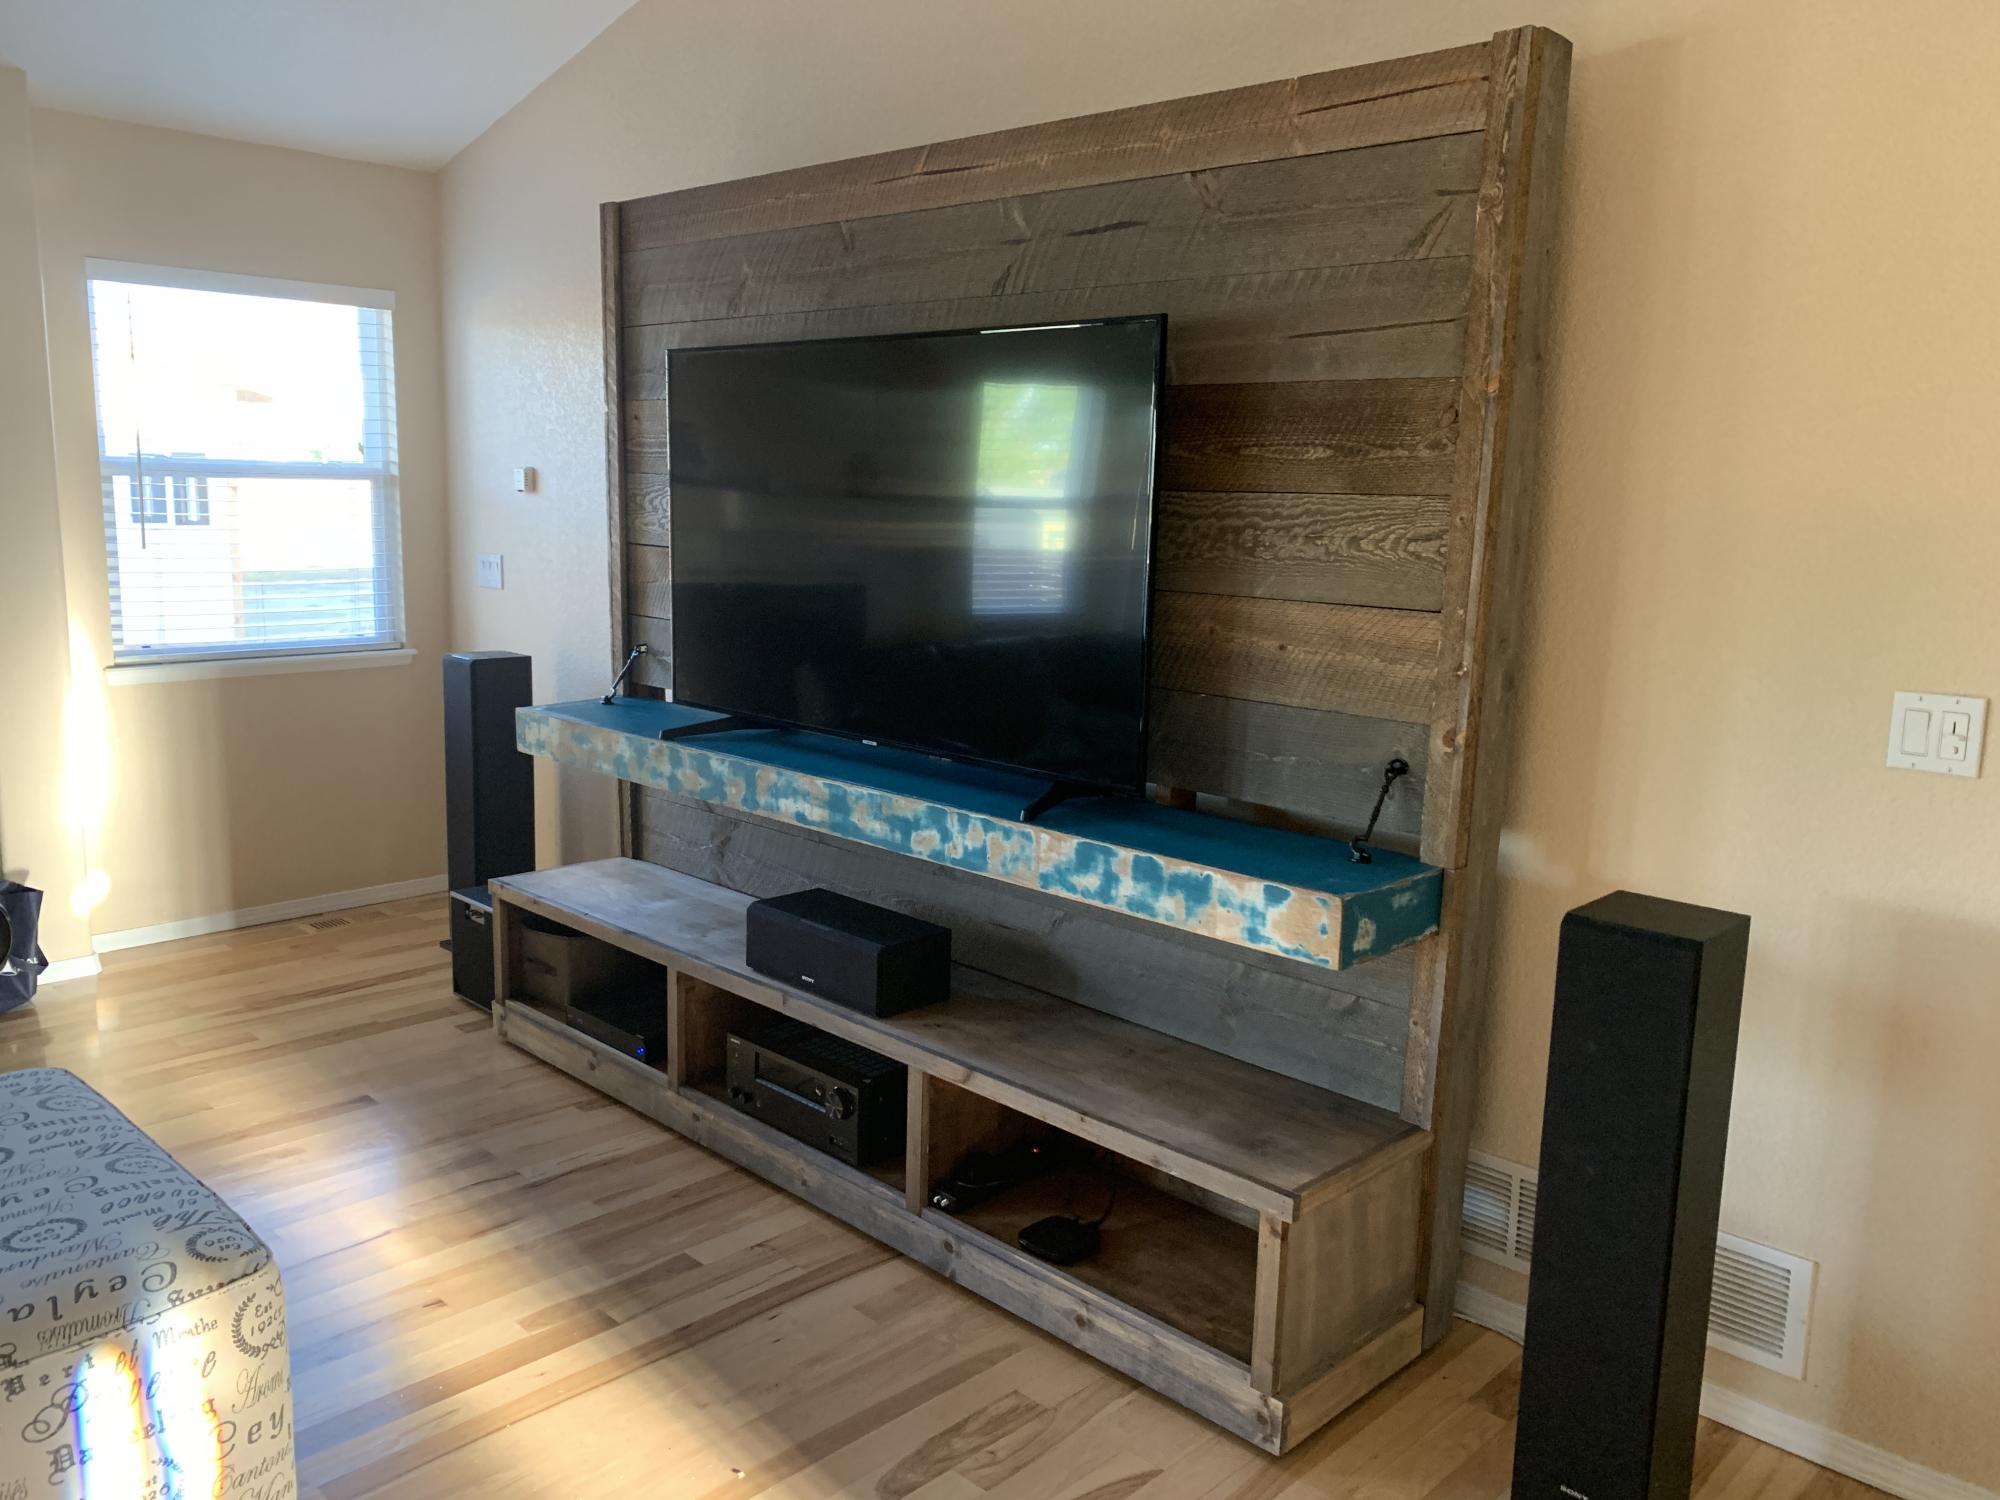
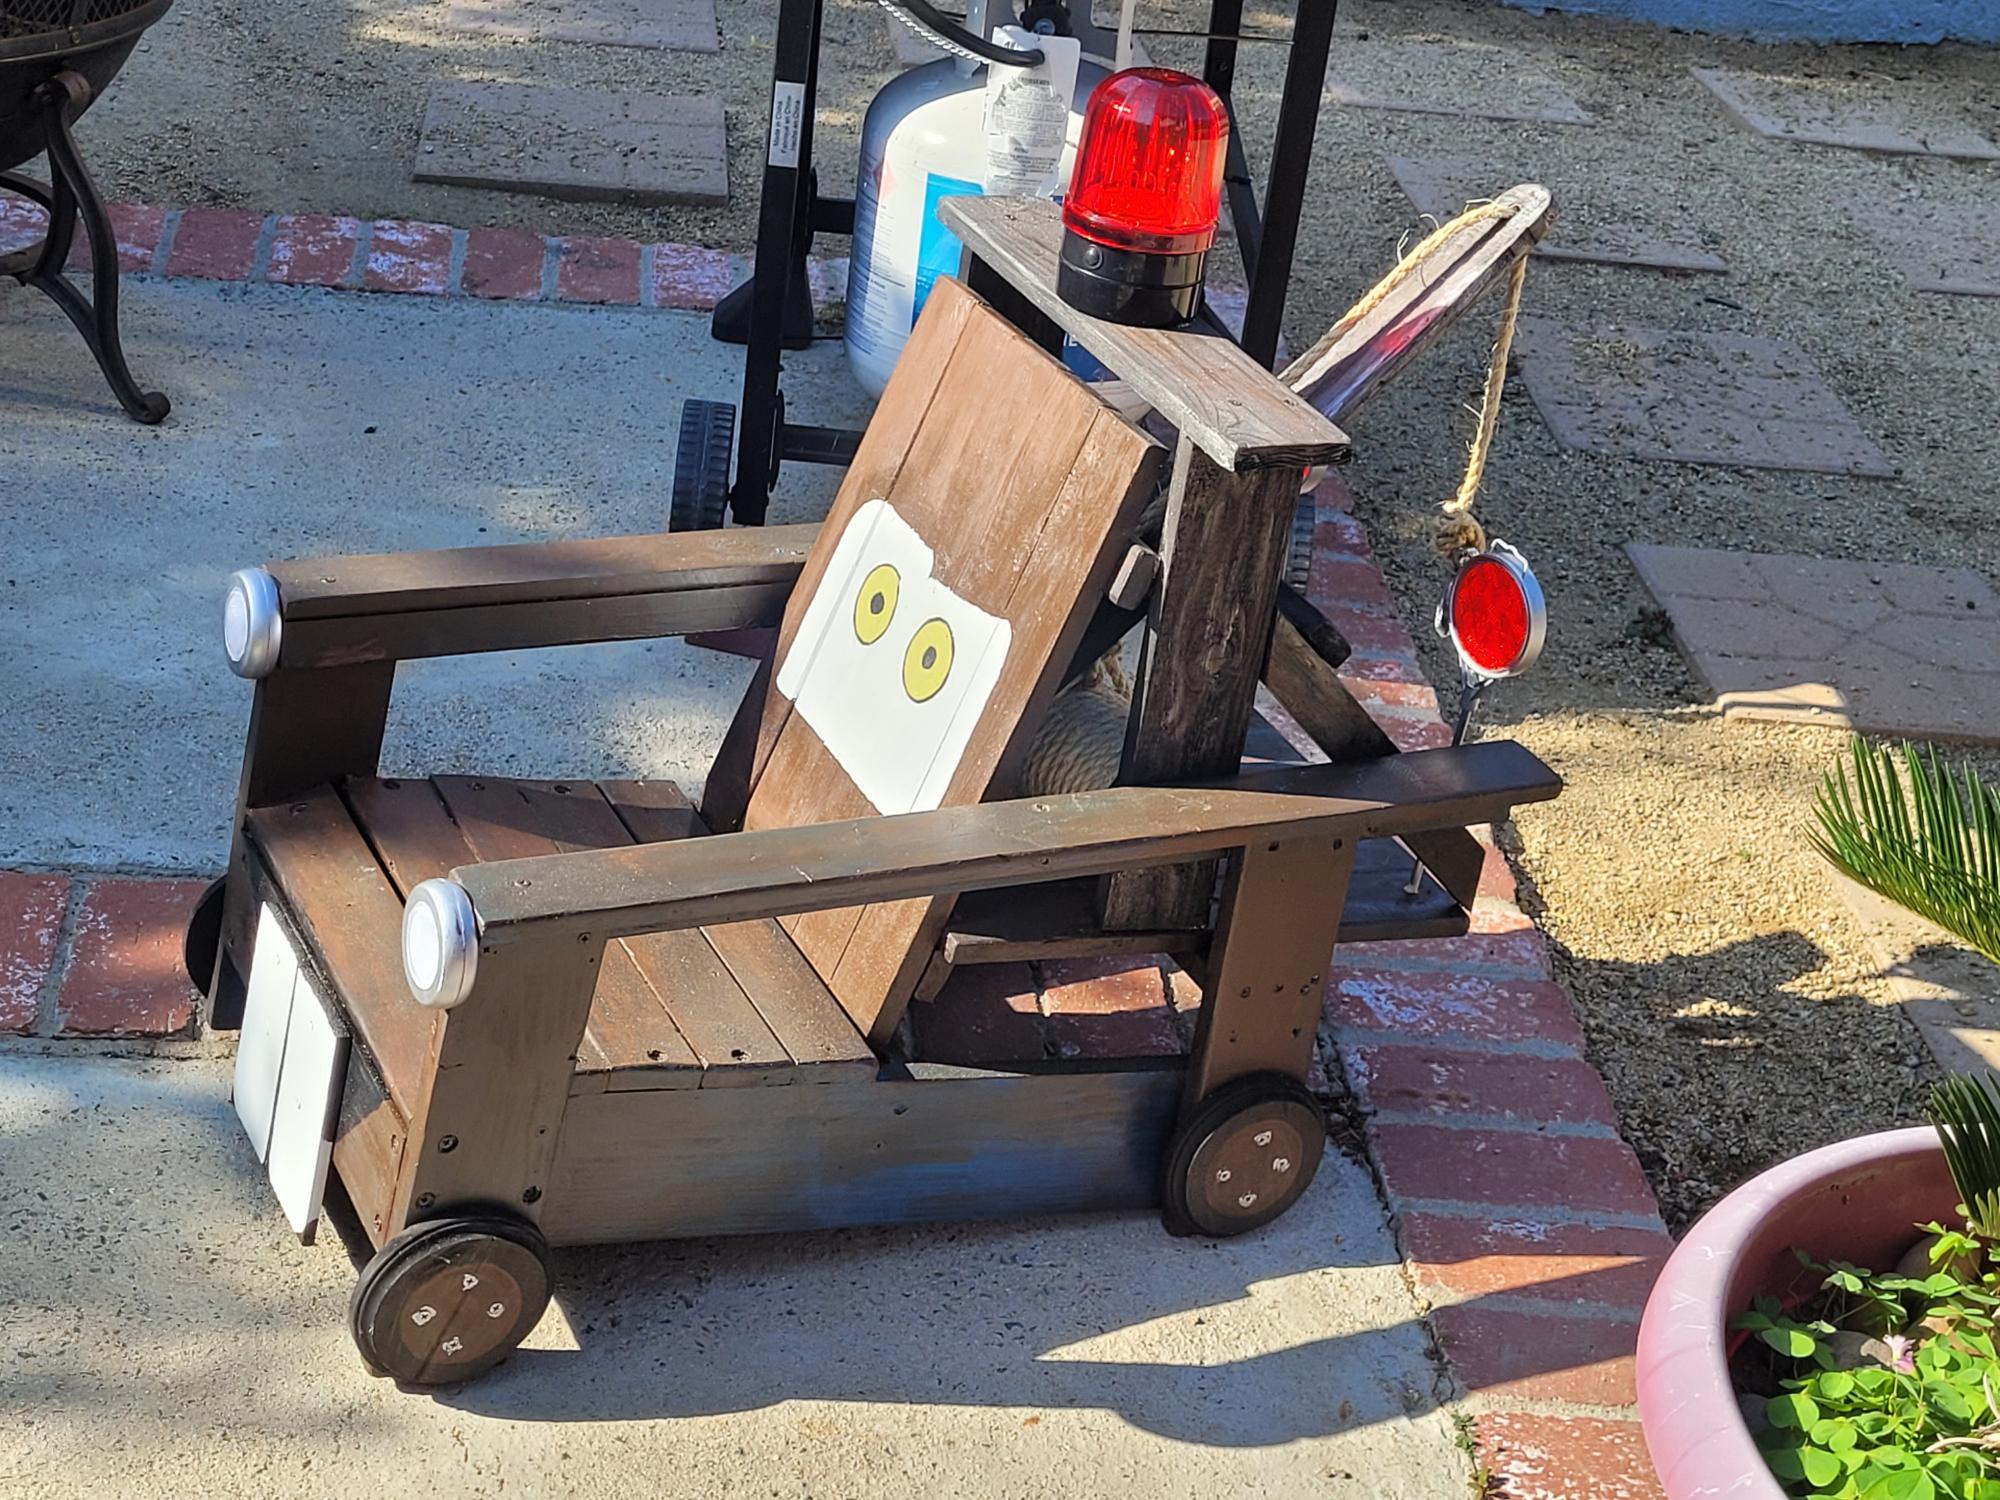
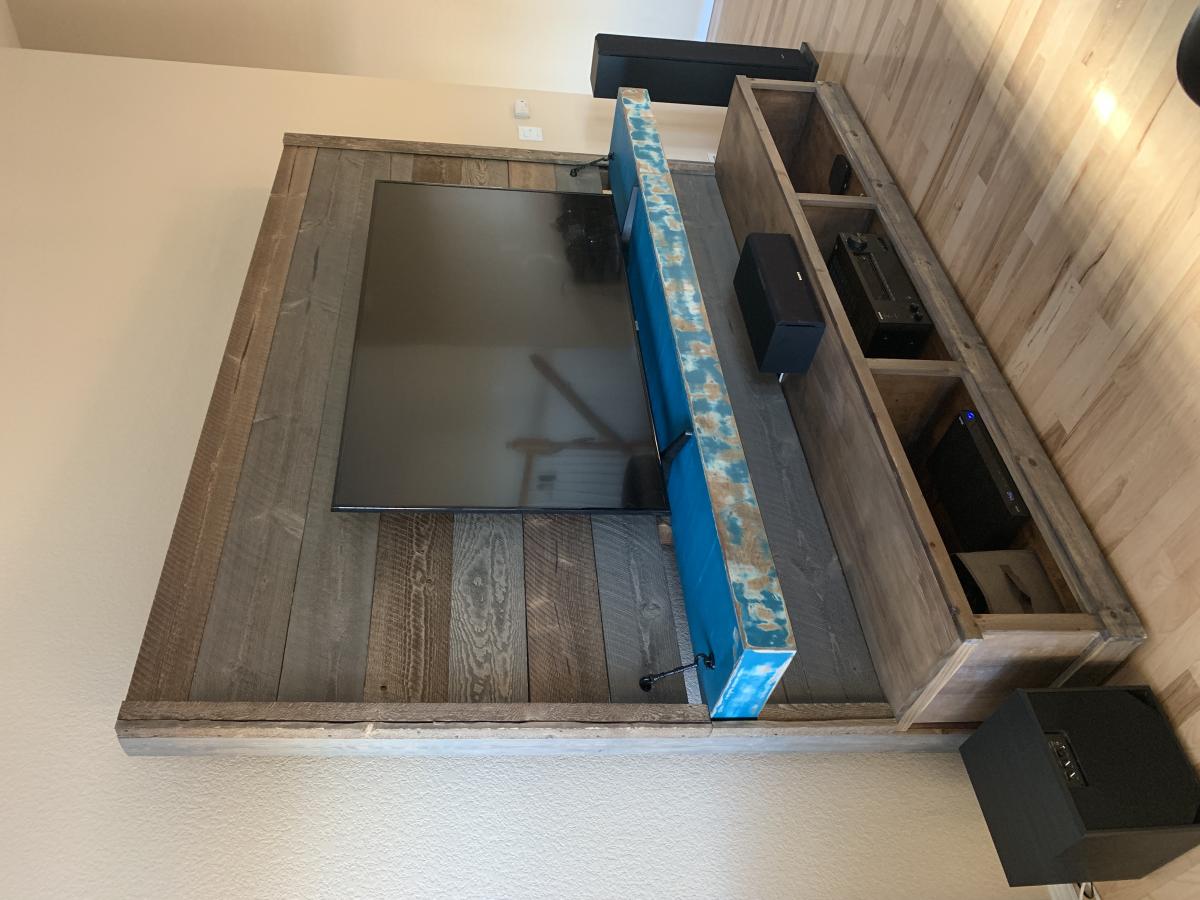
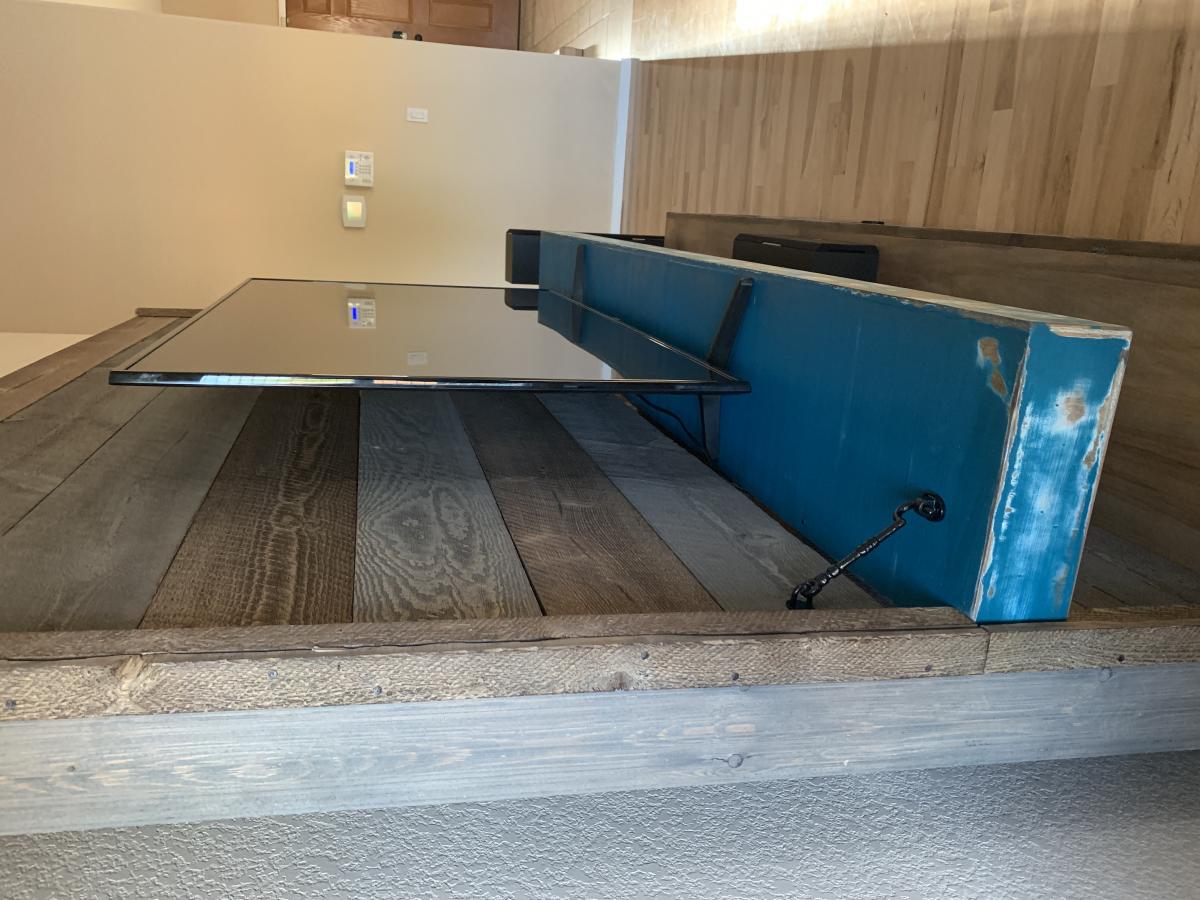
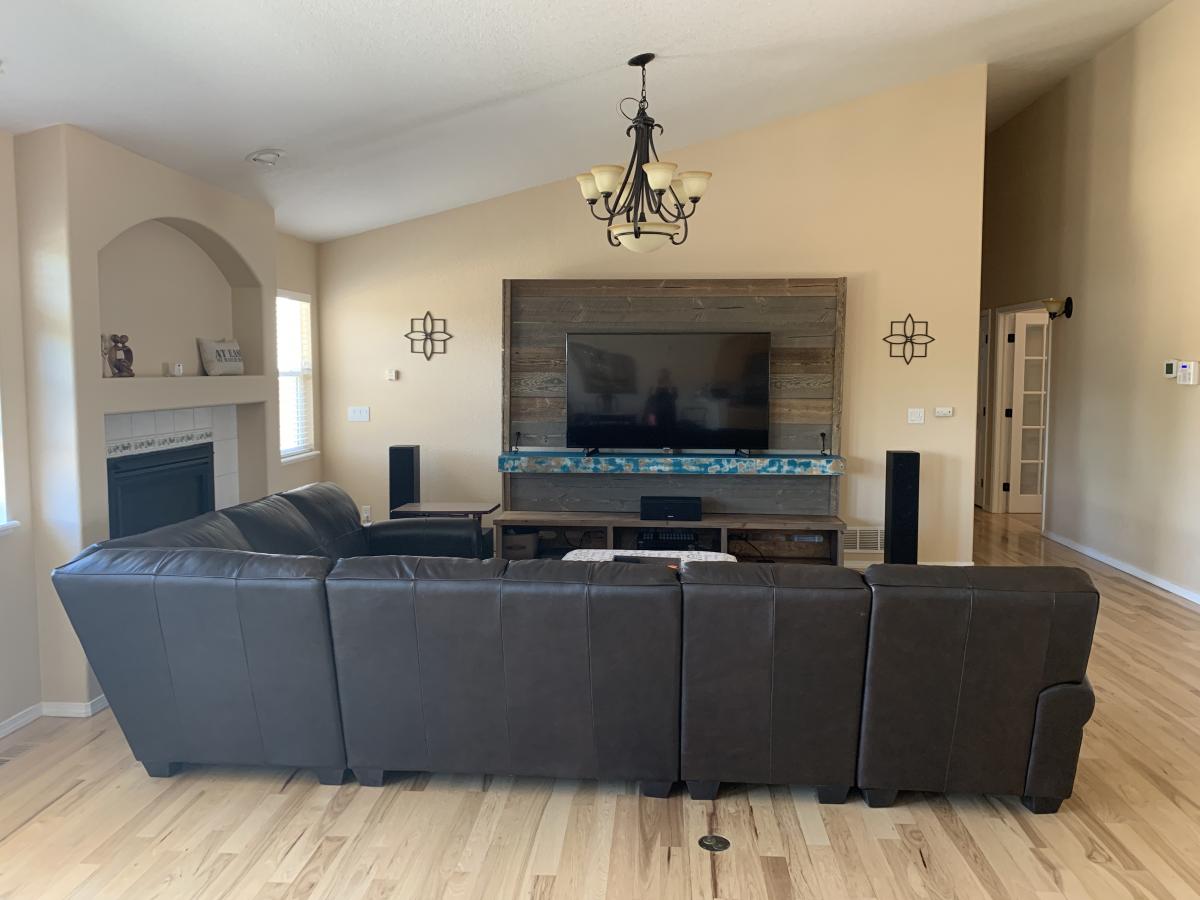
I started with the Triple Cubby Storage Base plan, built two 2x4 walls, and a floating shelf. The walls are 4x7 and were attached inside the house with hex bolts. The walls are attached to the cubby shelf with L brackets. The floating shelf is attached to the wall with 3.5 inch screws and a couple L brackets at the end. Barn wood covers the wall and is attached with brad nails and black sheet rock nails. There are six total 2" wheels under the cubby shelf. We put felt under the bottom part of the wall that touches the floor.


This was so super easy. We are so in love with this. Thank you Ana for making DIY so much fun!
Thu, 05/18/2023 - 09:22
Way to go, so happy you enjoy it! Thanks for sharing.
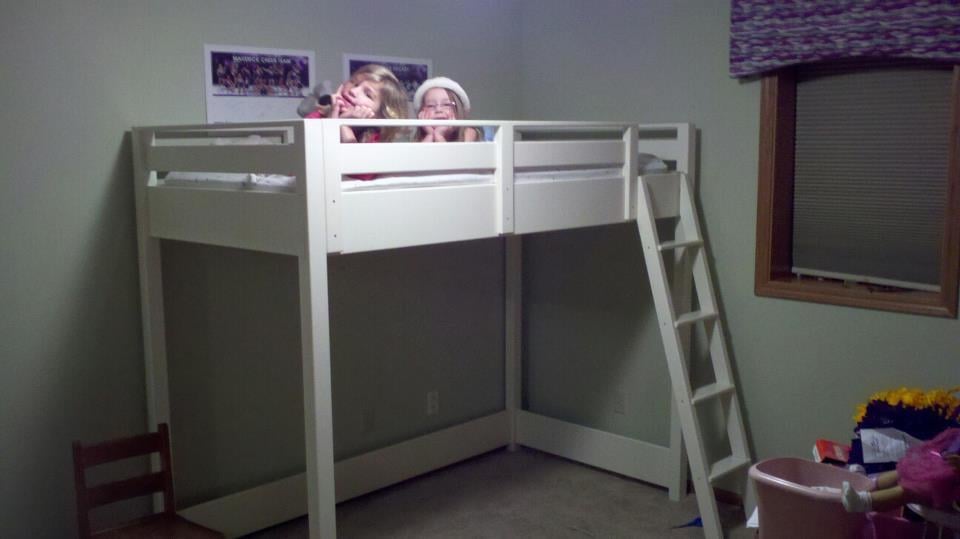
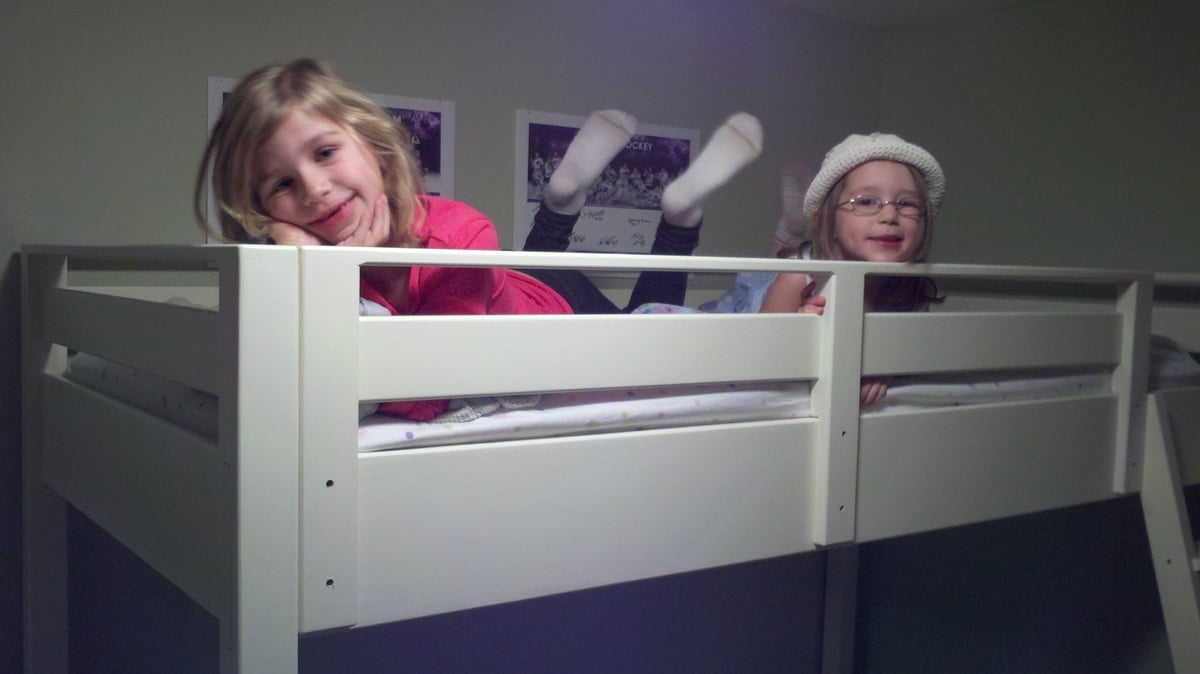
My daughter loves her new bed, thanks Ana!
The plans were well thought out and very easy to follow. I did make a few changes/modifications that others might want to consider.
I used select pine boards to cut down on the amount of sanding necessary prior to paining, however that boards have a fairly sharp edges. Because this is a kids bed and play area underneath I rounded off all the edges with a 1/4" round over bit in my router. I love how it turned out!
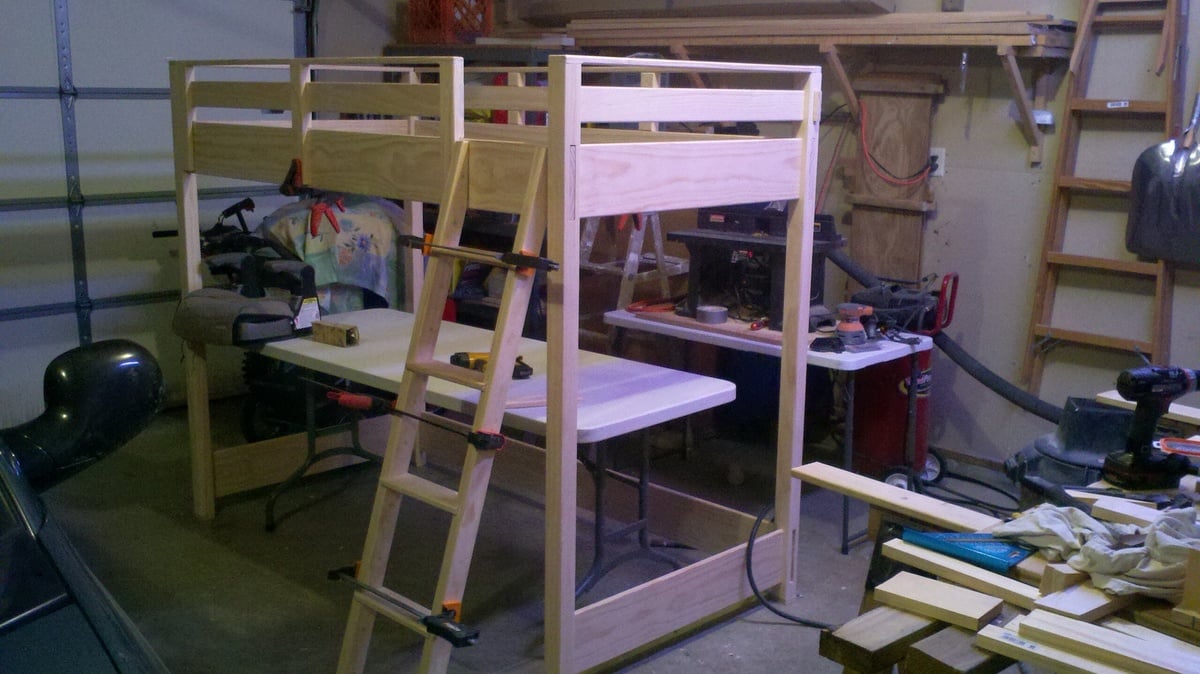
I also added two 1x3 supports to the long 1x2 top back rail. I did this for two reasons, first was the 1x2 seems a bit saggy and didn't seem like it would hold up too well to my 6 year old up there. Secondly, it match the front rail nicely. Speaking of the front rail, I also changed the vertical supports from 1x4s to 1x3s. The 1x3s match the 1x3 posts and look much better IMHO.
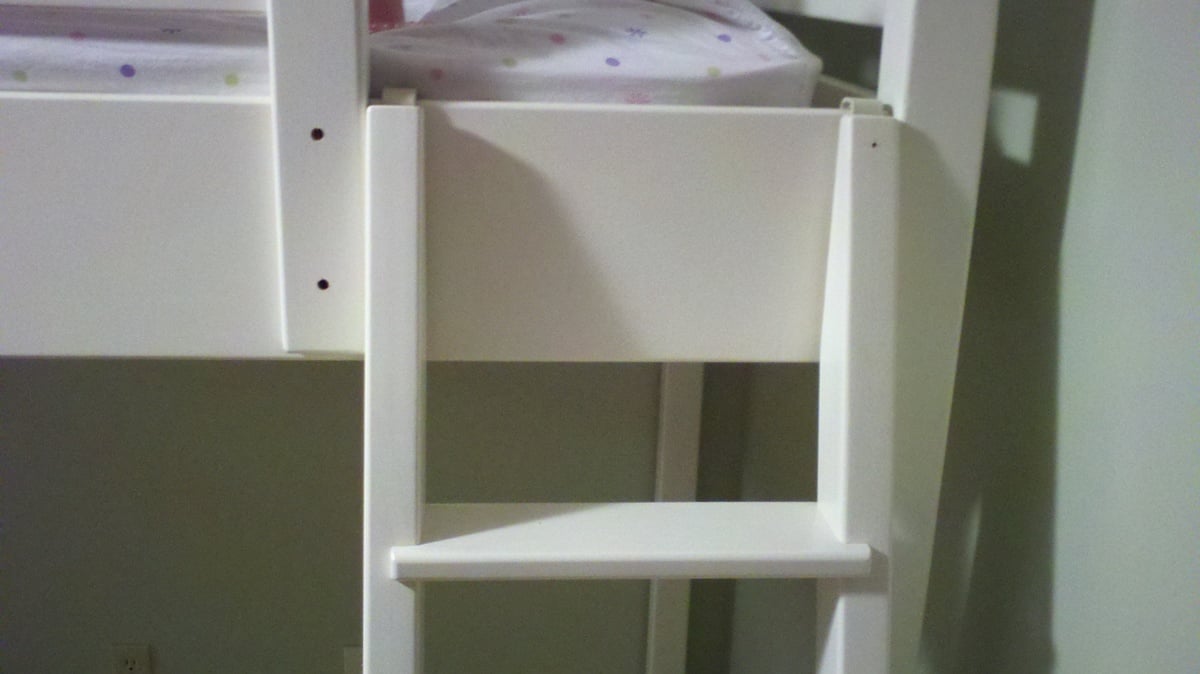
When I built the ladder I was struggling with the gaps left by the 1x3 stair treads when I placed them in the 1x3 sides. Finally I decided to use 1x4 treads, again rounded over with a 1/4" bit. These larger treads overhang the 1x3 sides by about 1/2-inch and look very nice.
Finally, instead of screwing the ladder to t 1x8 bed frame, I bent 5" corner brackets into a "J" shape and attached them upside down to the top of the ladder. The upside down "J's" hook over the top of the 1x8 bed rail and allows the ladder to be easily removable yet is still securely attached to the bed for use.
Mon, 01/23/2012 - 14:12
Wow!!!! Saw a similar bed at a kid's furniture store for about $2,500 in NYC. Thank God I came across this site before plunking down that amount of cash.
Well Done!
Sun, 02/26/2012 - 21:47
Is this bed as tall as the original design specified? For some reason it seems shorter to me. We have a ceiling fan in my childrens' rooms and average height ceilings. I am concerned with making something too tall.
Thanks.
Wed, 07/11/2012 - 07:59
Mary - No, I had to shorten the bed by about 3 or 4 inches because our ceilings are lower than 8' in the basement. The only real challenge with changing the height of the loft is re-working the step spacing on the ladder.
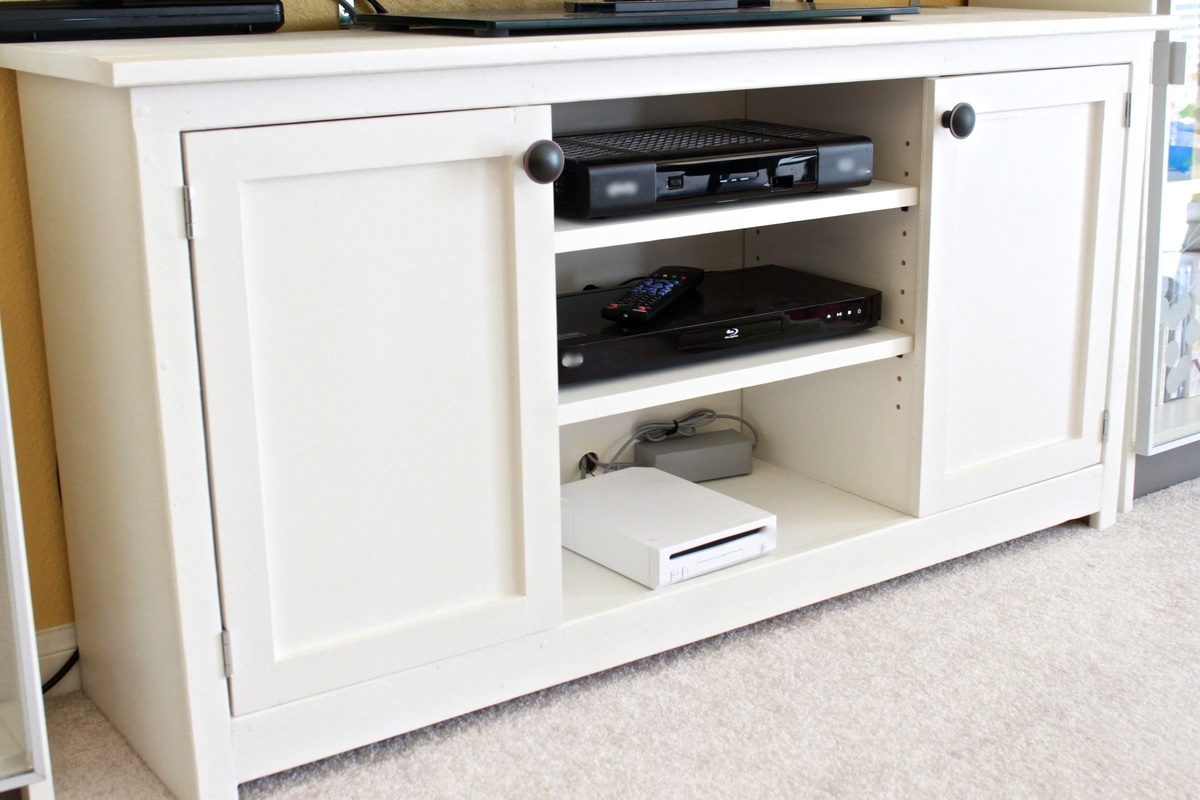
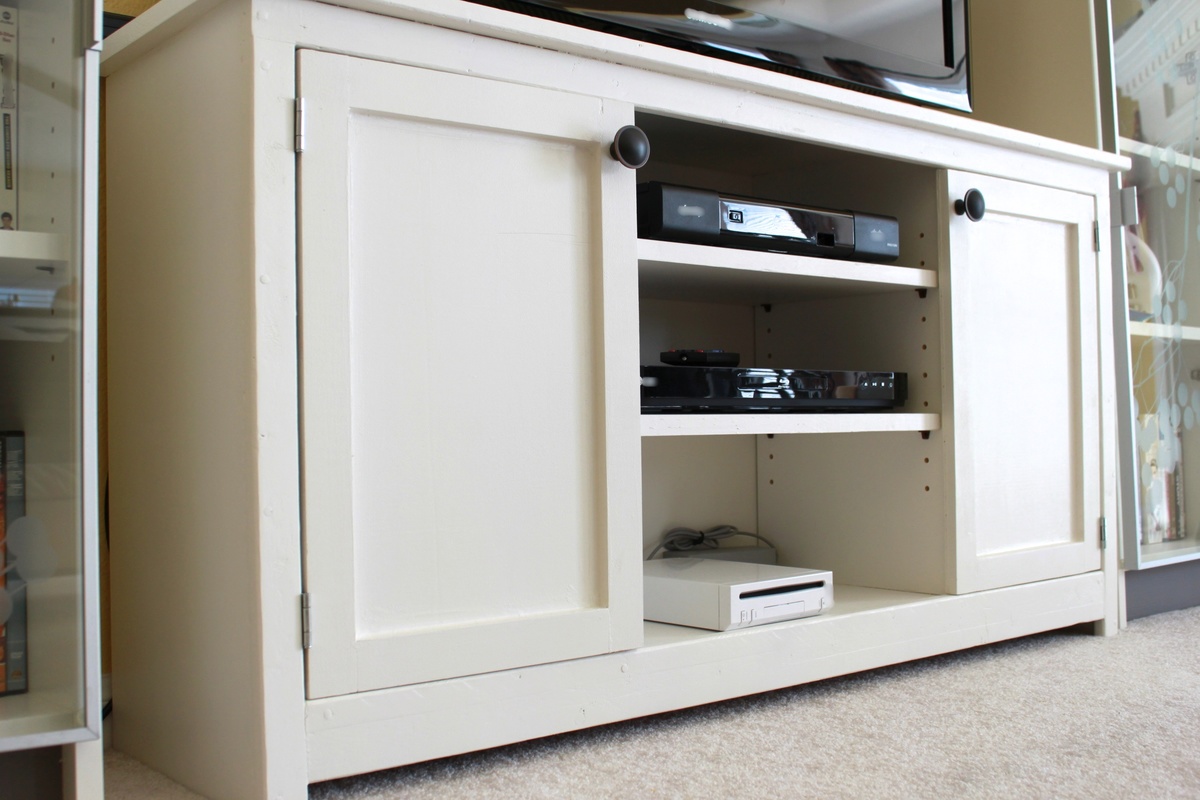
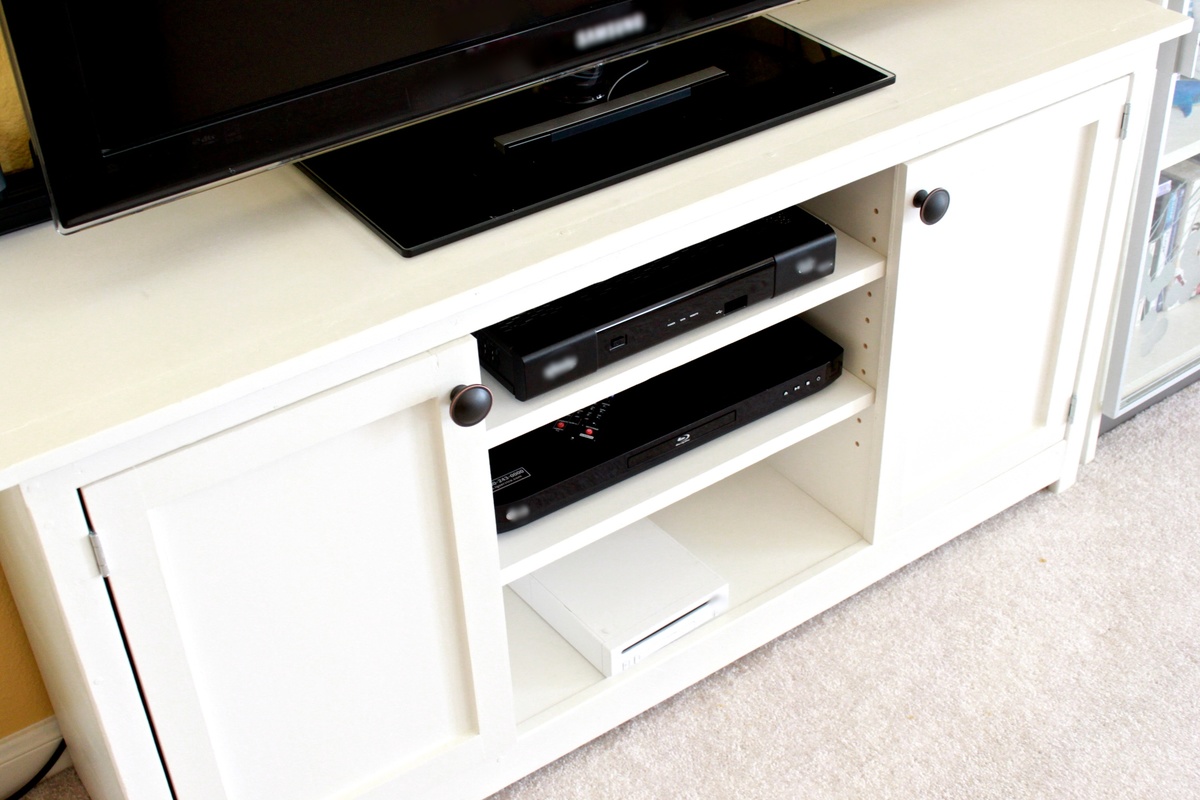
We built this media console because our old TV stand was pretty much a safety hazard for our soon-to-be mobile baby. We found a good plan in The Handbuilt Home and modified it to our dimensions with the help of Sketch Up. We couldn't be happier with the final product!

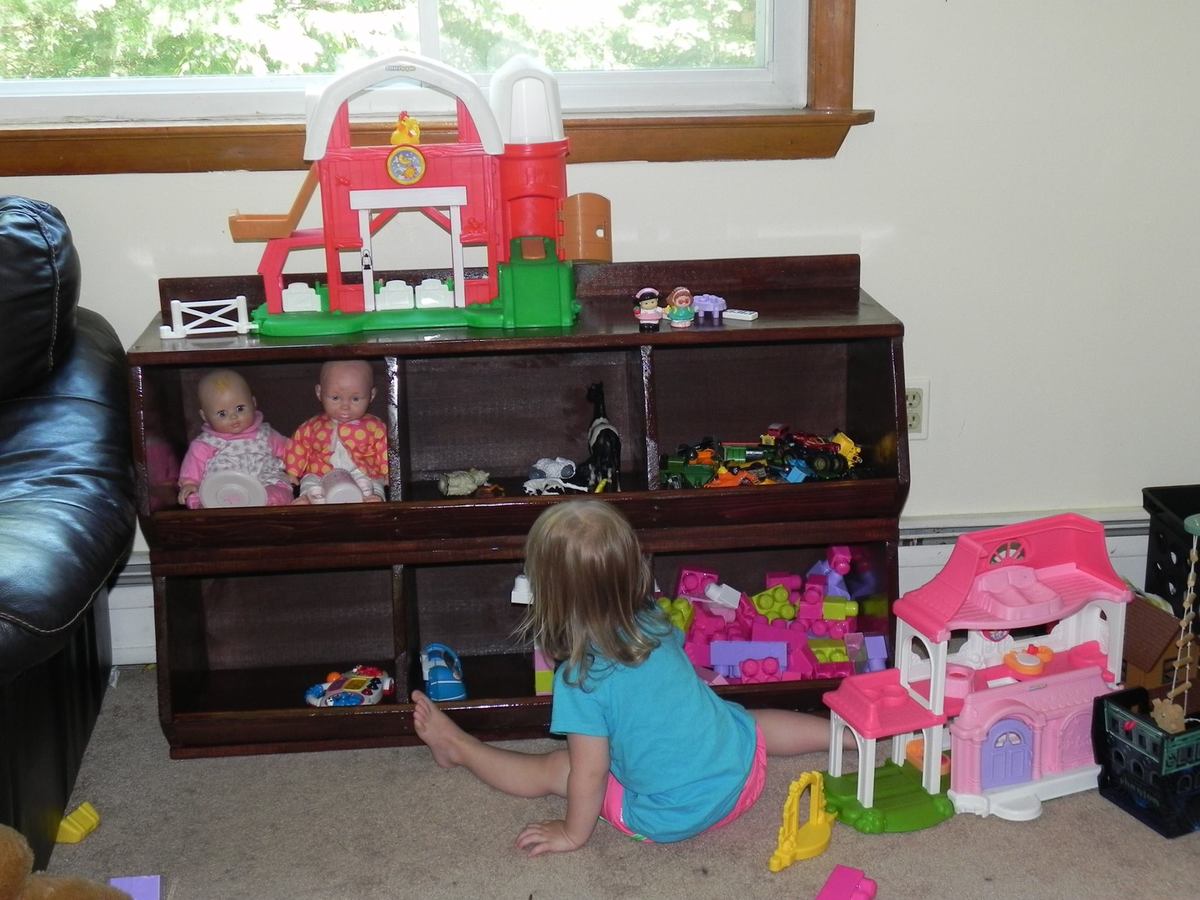
I made this for my 2 year old daughter. She absolutely loves it! I'm glad I only made two levels, because she uses the top to play with her toys. The open bins make it easy for her to find what she wants to play with and she even likes to put things away. I had extra shiplap boards, so I used them for the back. The back is a bit higher than the top, which helps keep toys from falling behind the bins. I secured it to the wall with furniture straps screwed into wall studs. The only tricky part of building this was figuring out the angle cuts. I built this about 6 months ago and it has held up very well. It is a very sturdy design!
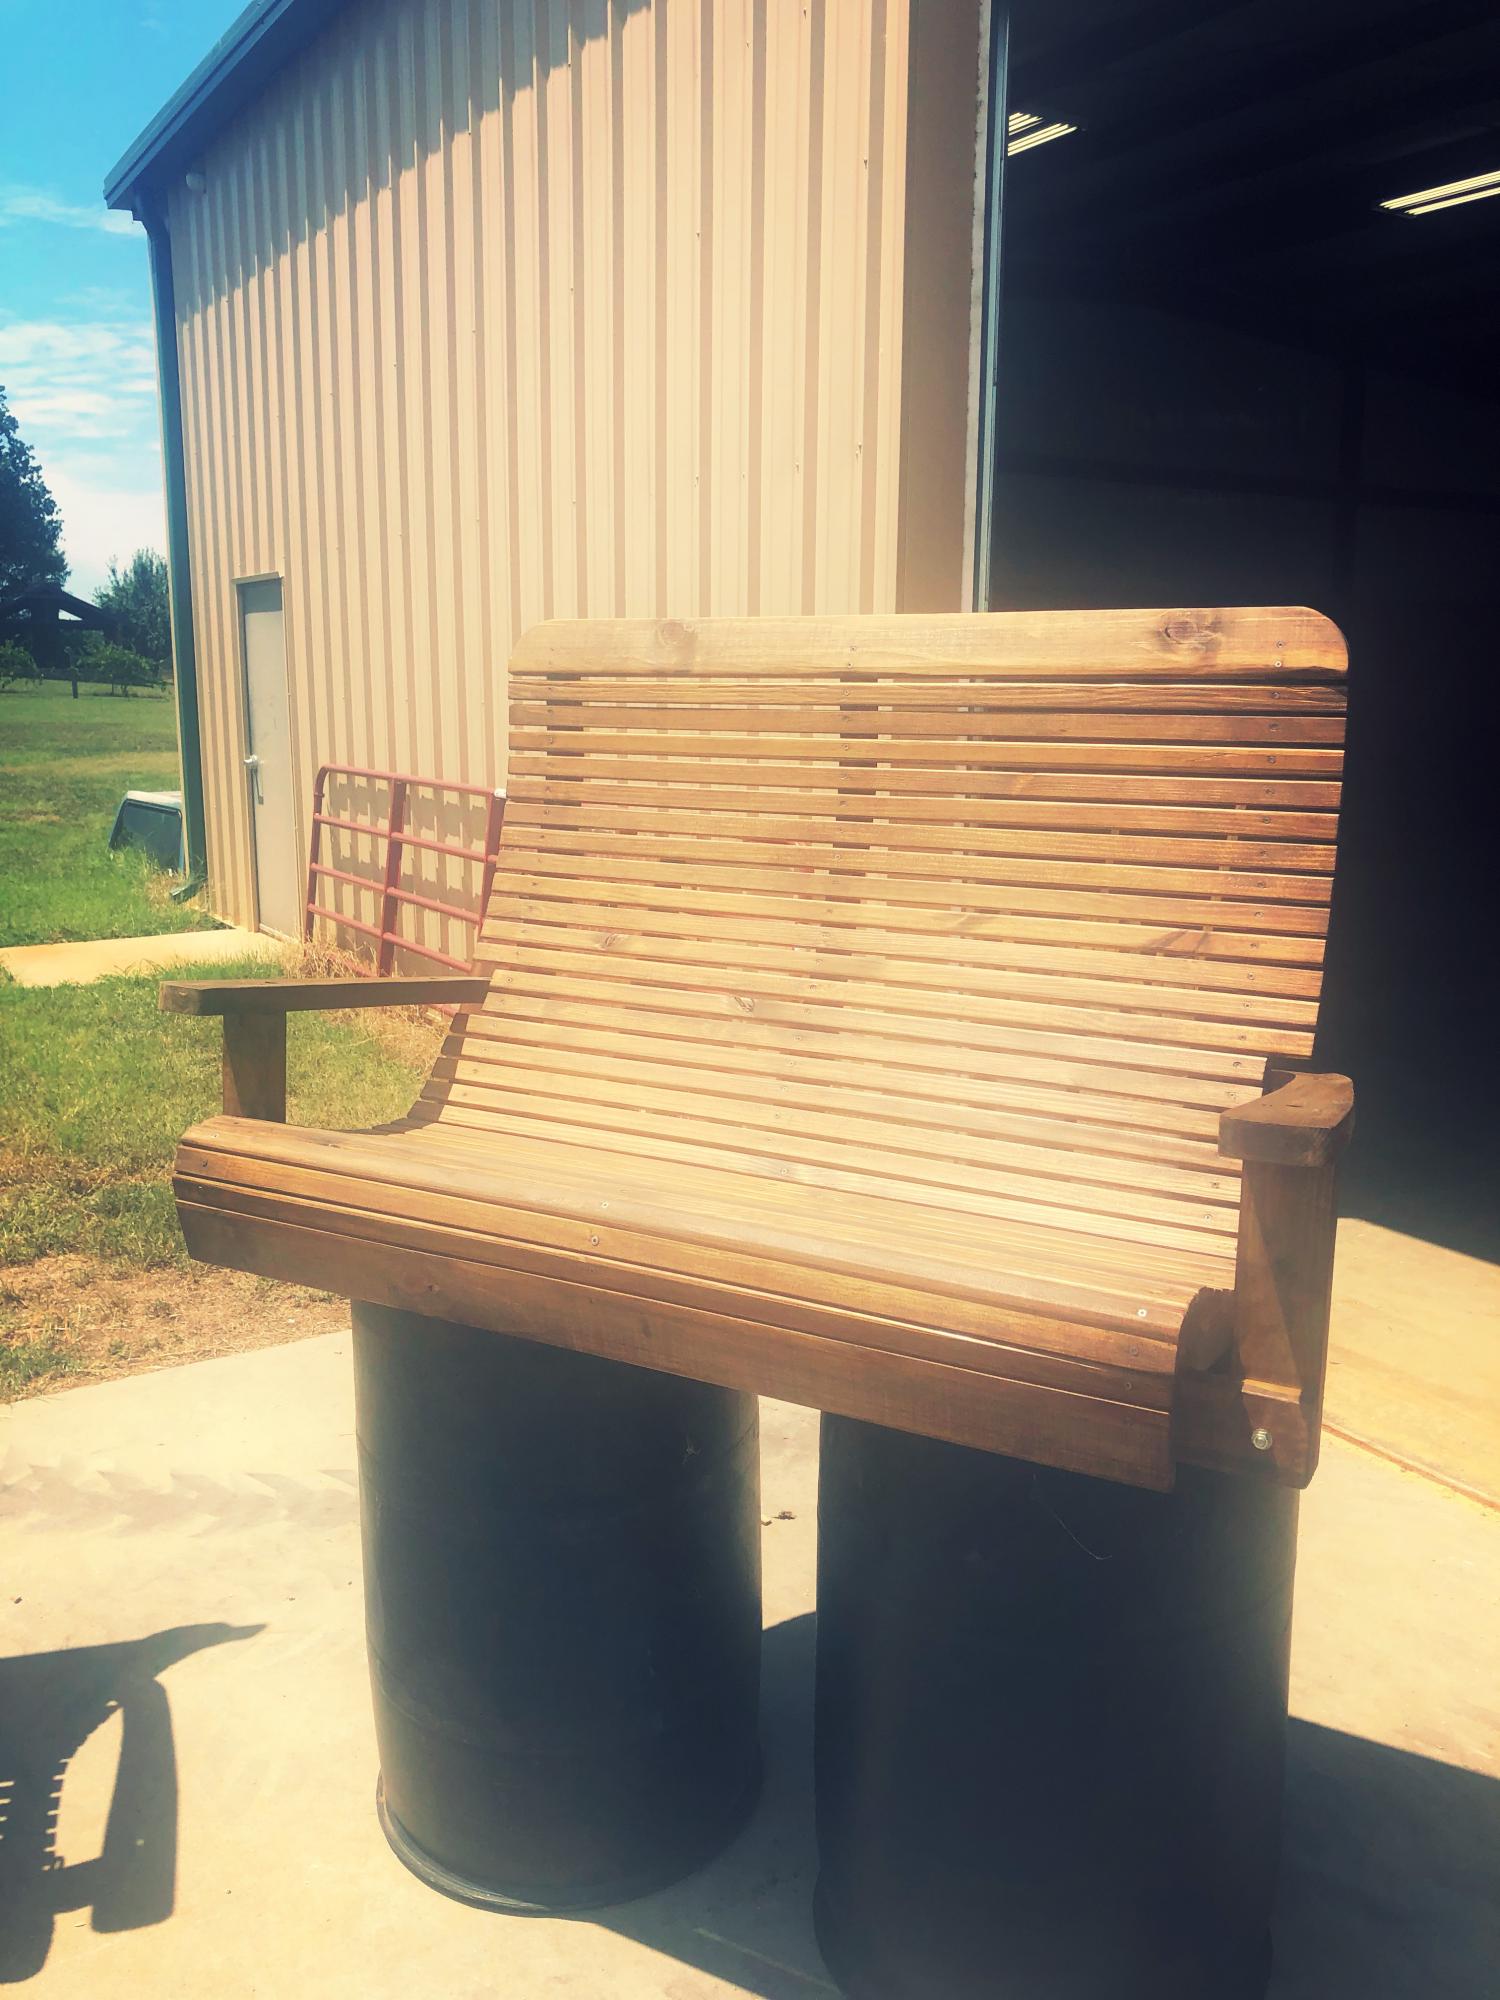
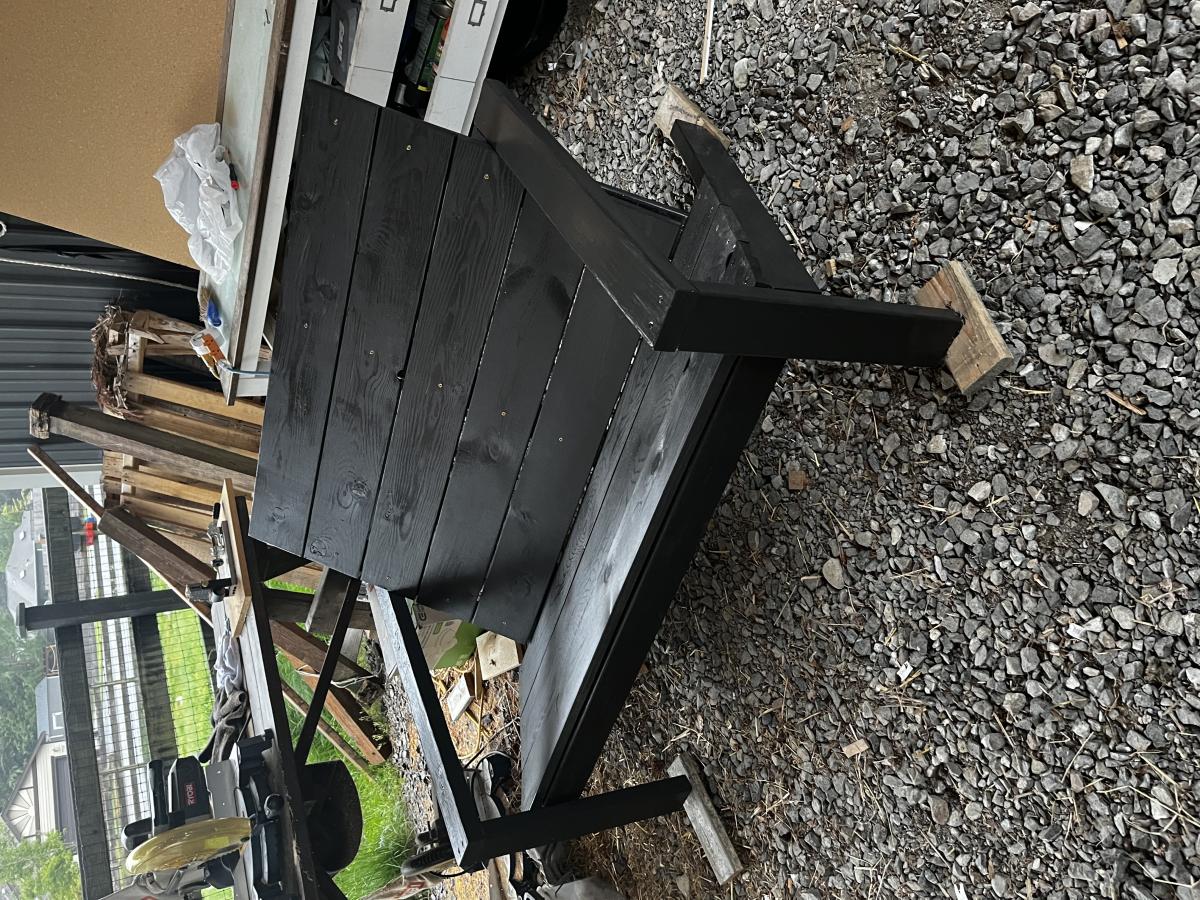
it was an old swing on the family farm. I saved it from the burn pile and remade it. Have made five so far. All hav even 5ft wide, but one was 7ft. Amazingly comfortable swing!
My very first woodworking project and could not have done it without you!!
Mistakes were made and lots was learned but pretty happy with how it turned out in the end.
Wed, 05/24/2023 - 19:54
Absolutely beautiful, can't wait to see what you build next!

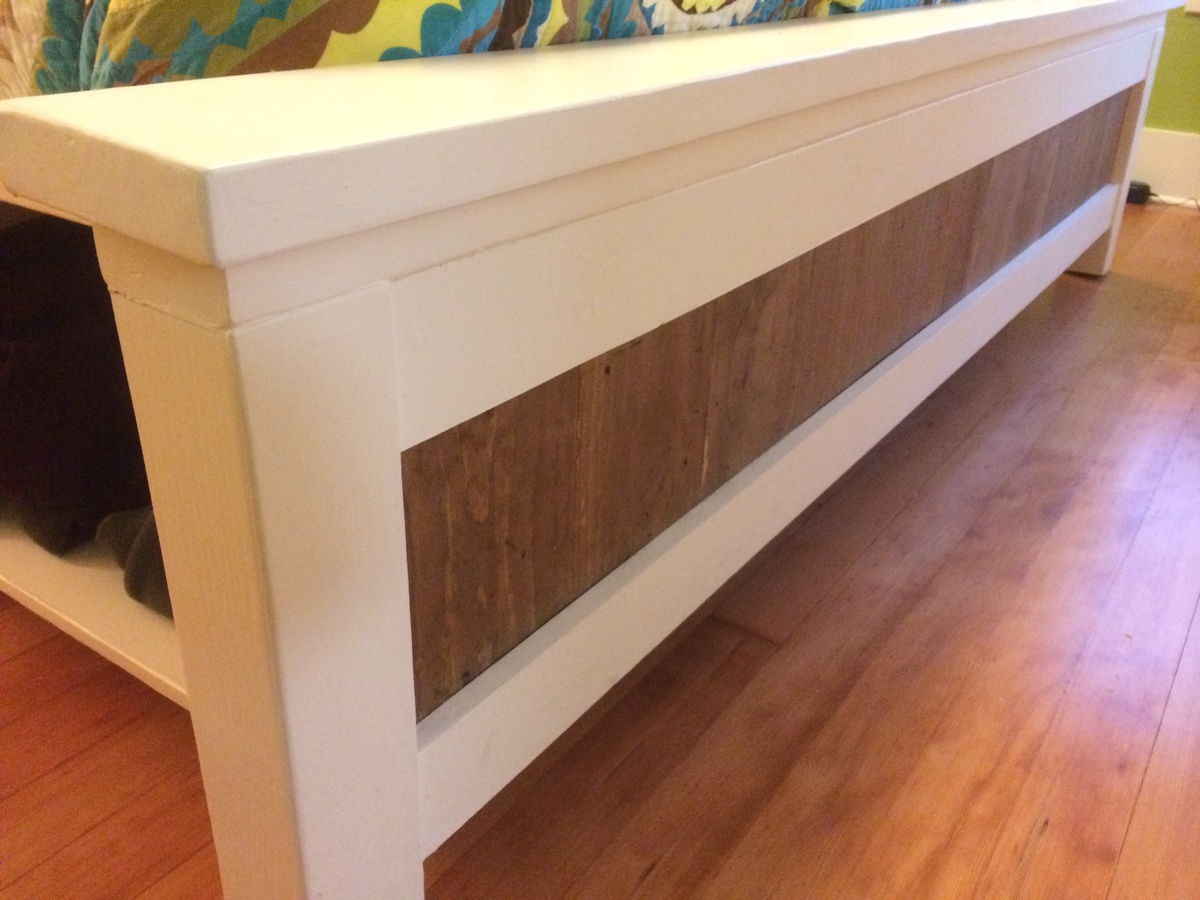
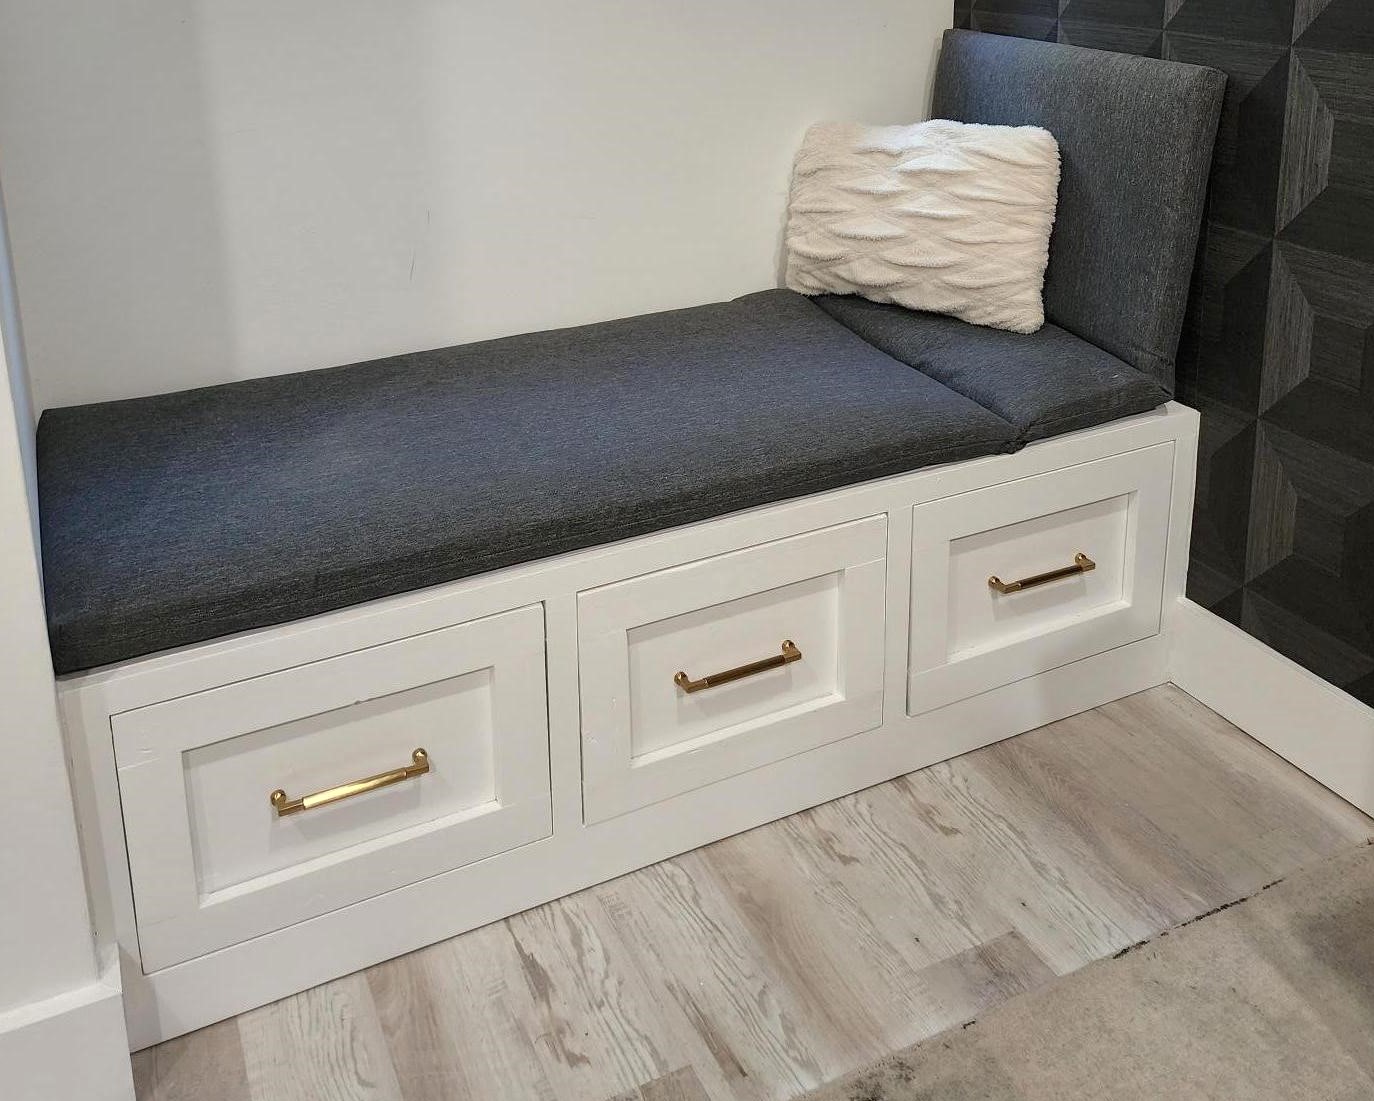
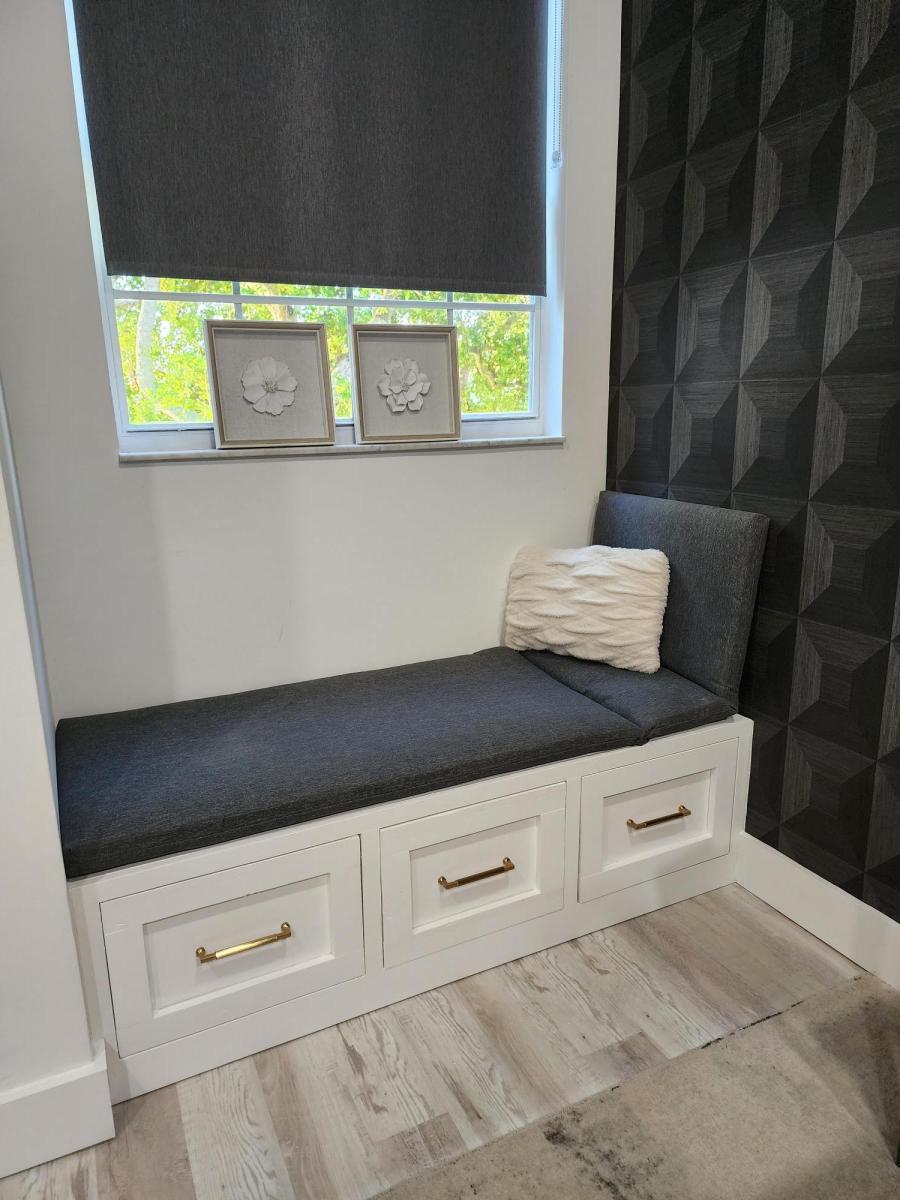
So easy to build and soooo functional. The plans include both the bench and the shelf, but I just didn't have any room for the bench or I would have built that too.
My wall was too short to fit the original shelf, so I modified this to work with the space available. It's about 10 inches shorter and only has two cubbies.
This is a great starter project.

Fri, 01/13/2012 - 15:53
I really like that. I'm going to have to make one. Nice job.
Easy bench to build with my son! added double legs for more stability, just glued two together and followed all directions.
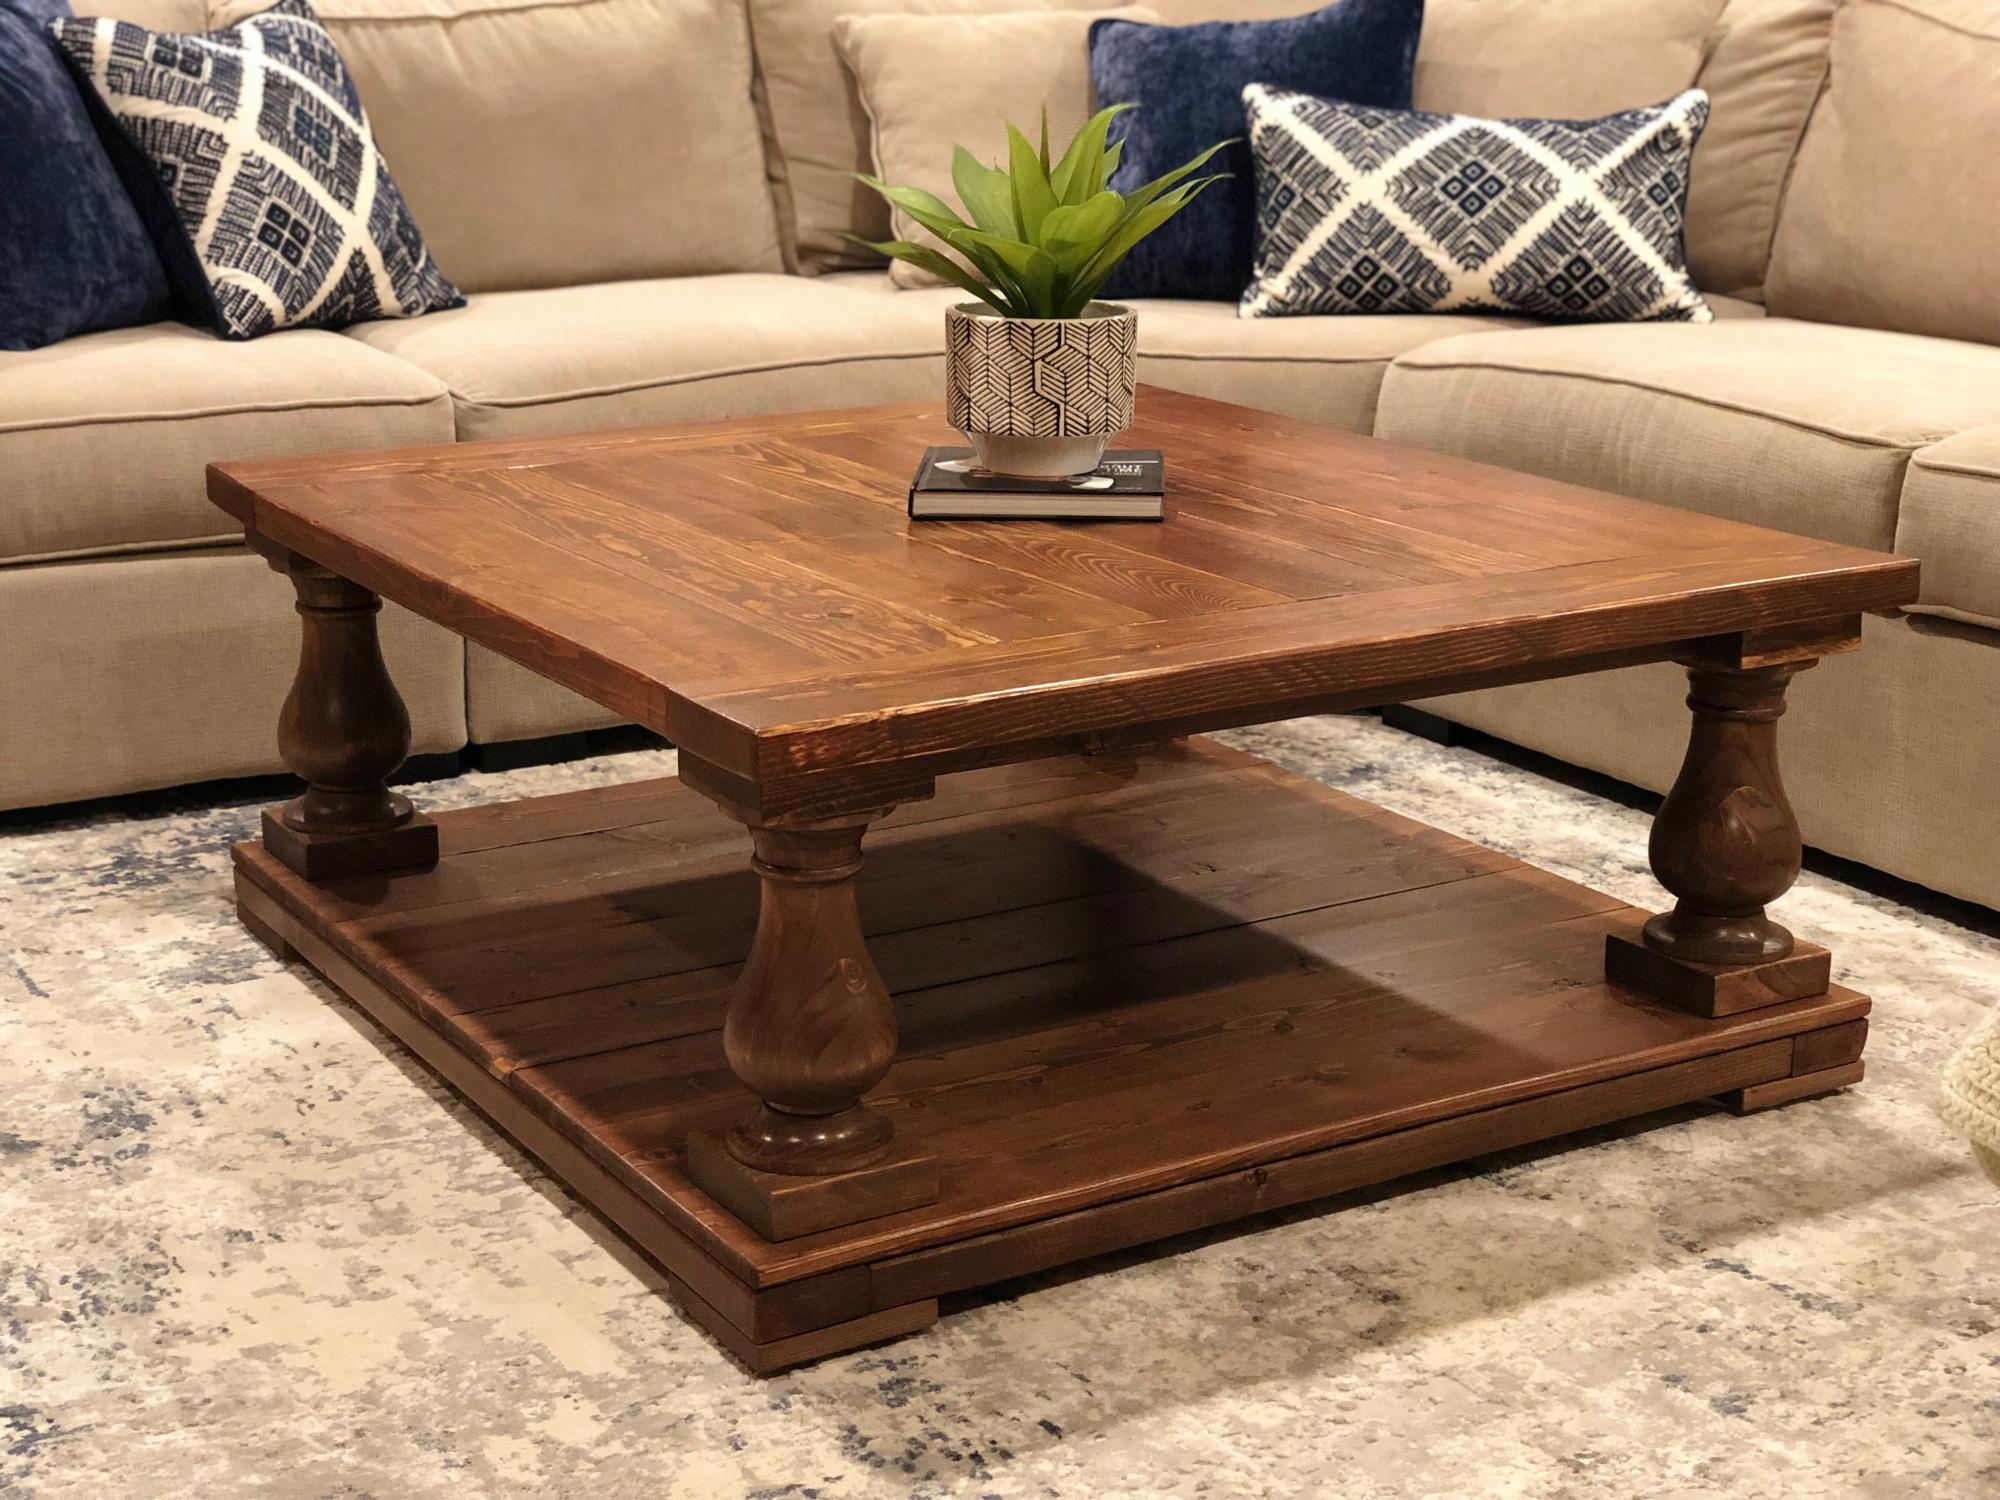
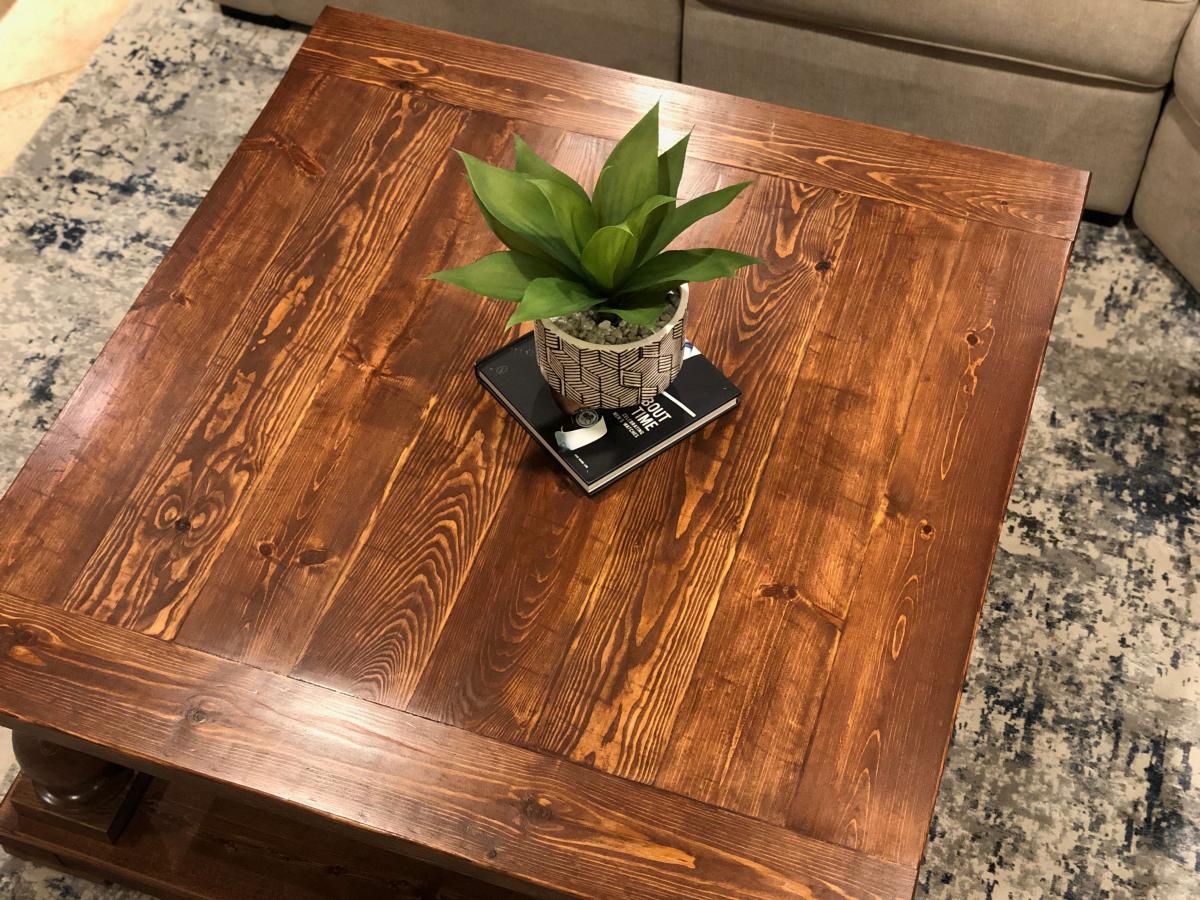
First off, I appreciate you for taking the time to click on my project. Rest assured, this project didn't make me quit woodworking, I know the title was a little "click-batey". I don't want to discourage you from replicating this table because of the title of this post, as this has been my favorite project I've done to-date. The struggles that made me want to quit were laughably self inflicted and by my own doing, they weren't due to the instructions online. That being said, it did make me second guess whether I bit off more than I could chew. I promise not to disappoint with the story behind this build, so lets get into it.
My wife and I moved into a new home in the suburbs of Chicago and like many first time homeowners thought to ourselves, "We'll have no problem filling the house with all of our stuff." Then after settling in we had the realization of, "Wow...we really don't own that much furniture, this is going to get expensive FAST!" So after a decent amount of DIY and woodworking "research", I decided to give furniture building a shot. It all started with a desk...or so I thought it would. I fell into the hobby first by thinking that I needed to build an L-Shaped desk for my office. After having a few meals in our new home, I realized a new dining table would have to take precedent. After building the dining table, I was ready to tackle the desk, but then quickly realized that we didn't have anywhere to sit and eat. So I ended up doing more "research" and found a beautiful design based upon a Williams Sonoma box-joint bench. Following the bench build, I was ready to build the desk for my office...WRONG again! I was getting quite good at building furniture now, so the new couch we just purchased required a new coffee table that wasn't 30 years old and purchased 11 years ago at a garage sale for $5.
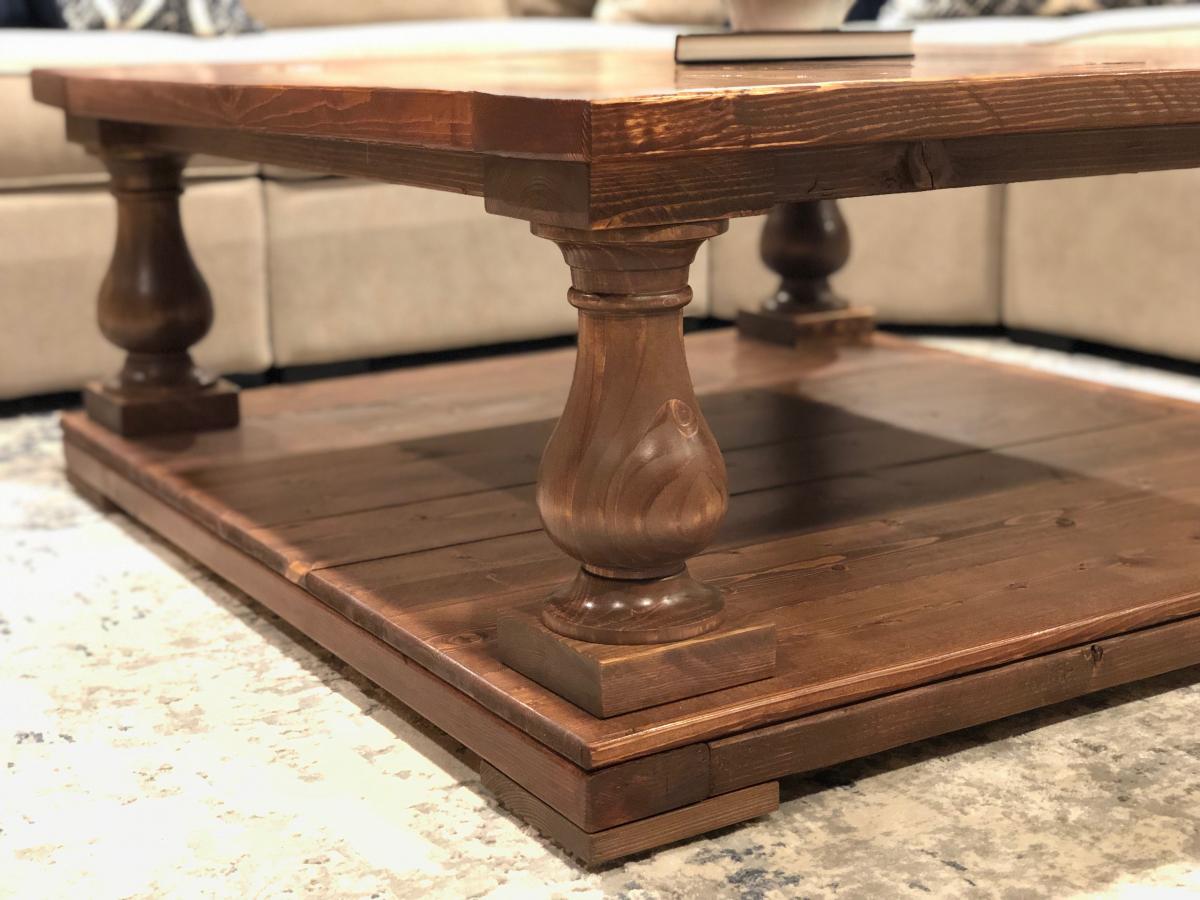
After finding the coffee table design on Ana White's site, I knew the build would not only be a challenge, but rewarding in the long run. About a day into the build I thought to myself, I really need to get the office desk done. So *Enter* a really terrible idea, "I'll do both the coffee table and the desk at the same time, it'll be no problem!" Hind sight is 20/20, because I was a moron for thinking that. We're fortunate enough that space wasn't an issue, I have about a 20' x 12' workshop that was able to accommodate both projects simultaneously. Unfortunately, I gave myself a deadline and the 3-4 days a week of traveling for work wasn't helping. I don't suggest doing that. I had all the pieces joined after the first week, but wanted to stain and finish each piece before putting the table together. This was due to the fact that I didn't want to be crawling on the ground and under the table trying to stain and finish. Finishing each individual component was painstaking to say the least, but glad I built the table the way I did. Luckily, the coffee table along with the L-Shaped desk took about 2 weeks total, and I could't be happier with both project.
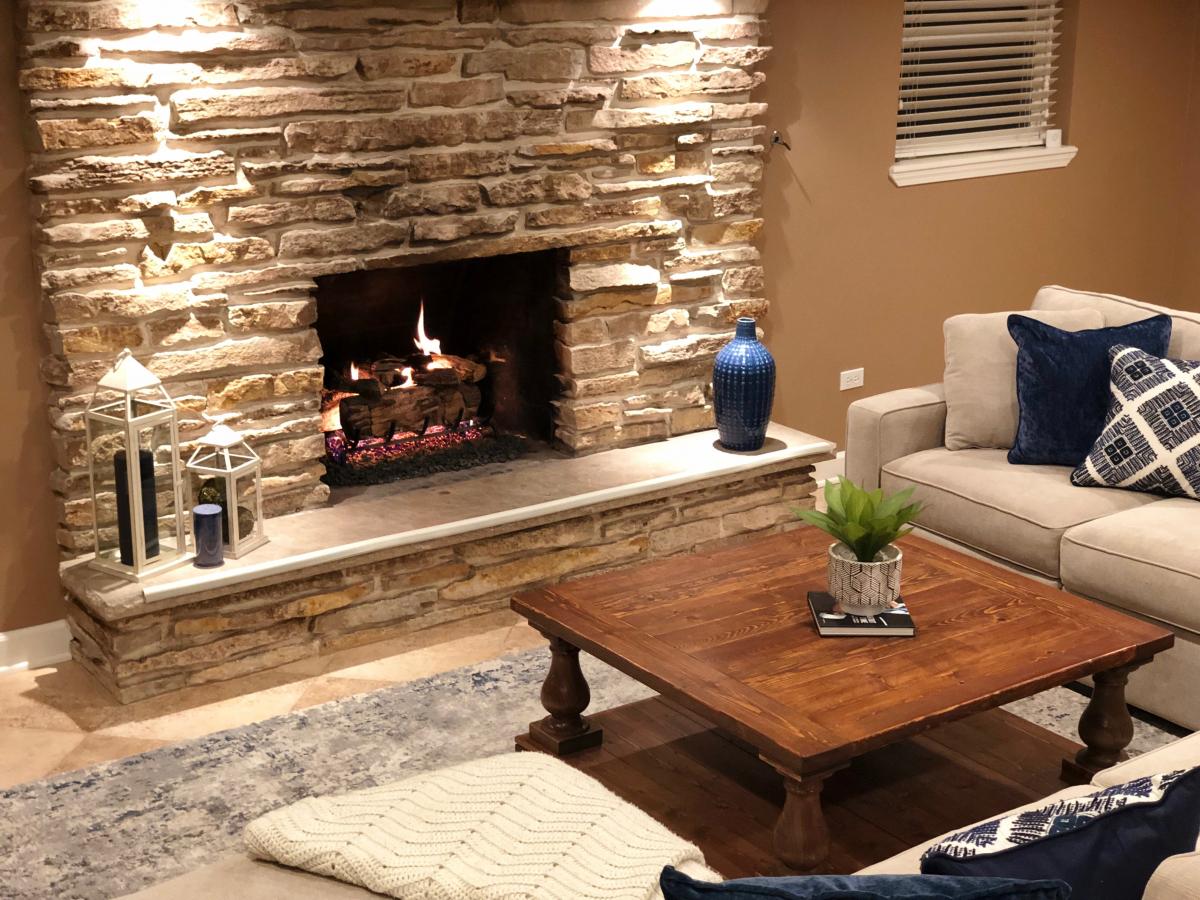
Thank you again for taking the time to view my post, the story was a bit long winded but hopefully entertaining and insightful. I would appreciate you adding this as a pin or engaging the post socially and sharing. Please feel free to reach out if you have any questions, I'll do my best to respond in a timely manner.
Sincerely,
Jeff G.

In reply to Wow it’s so beautiful!!! by Ana White
Tue, 10/01/2019 - 21:11
Thank you Ana, much appreciated!
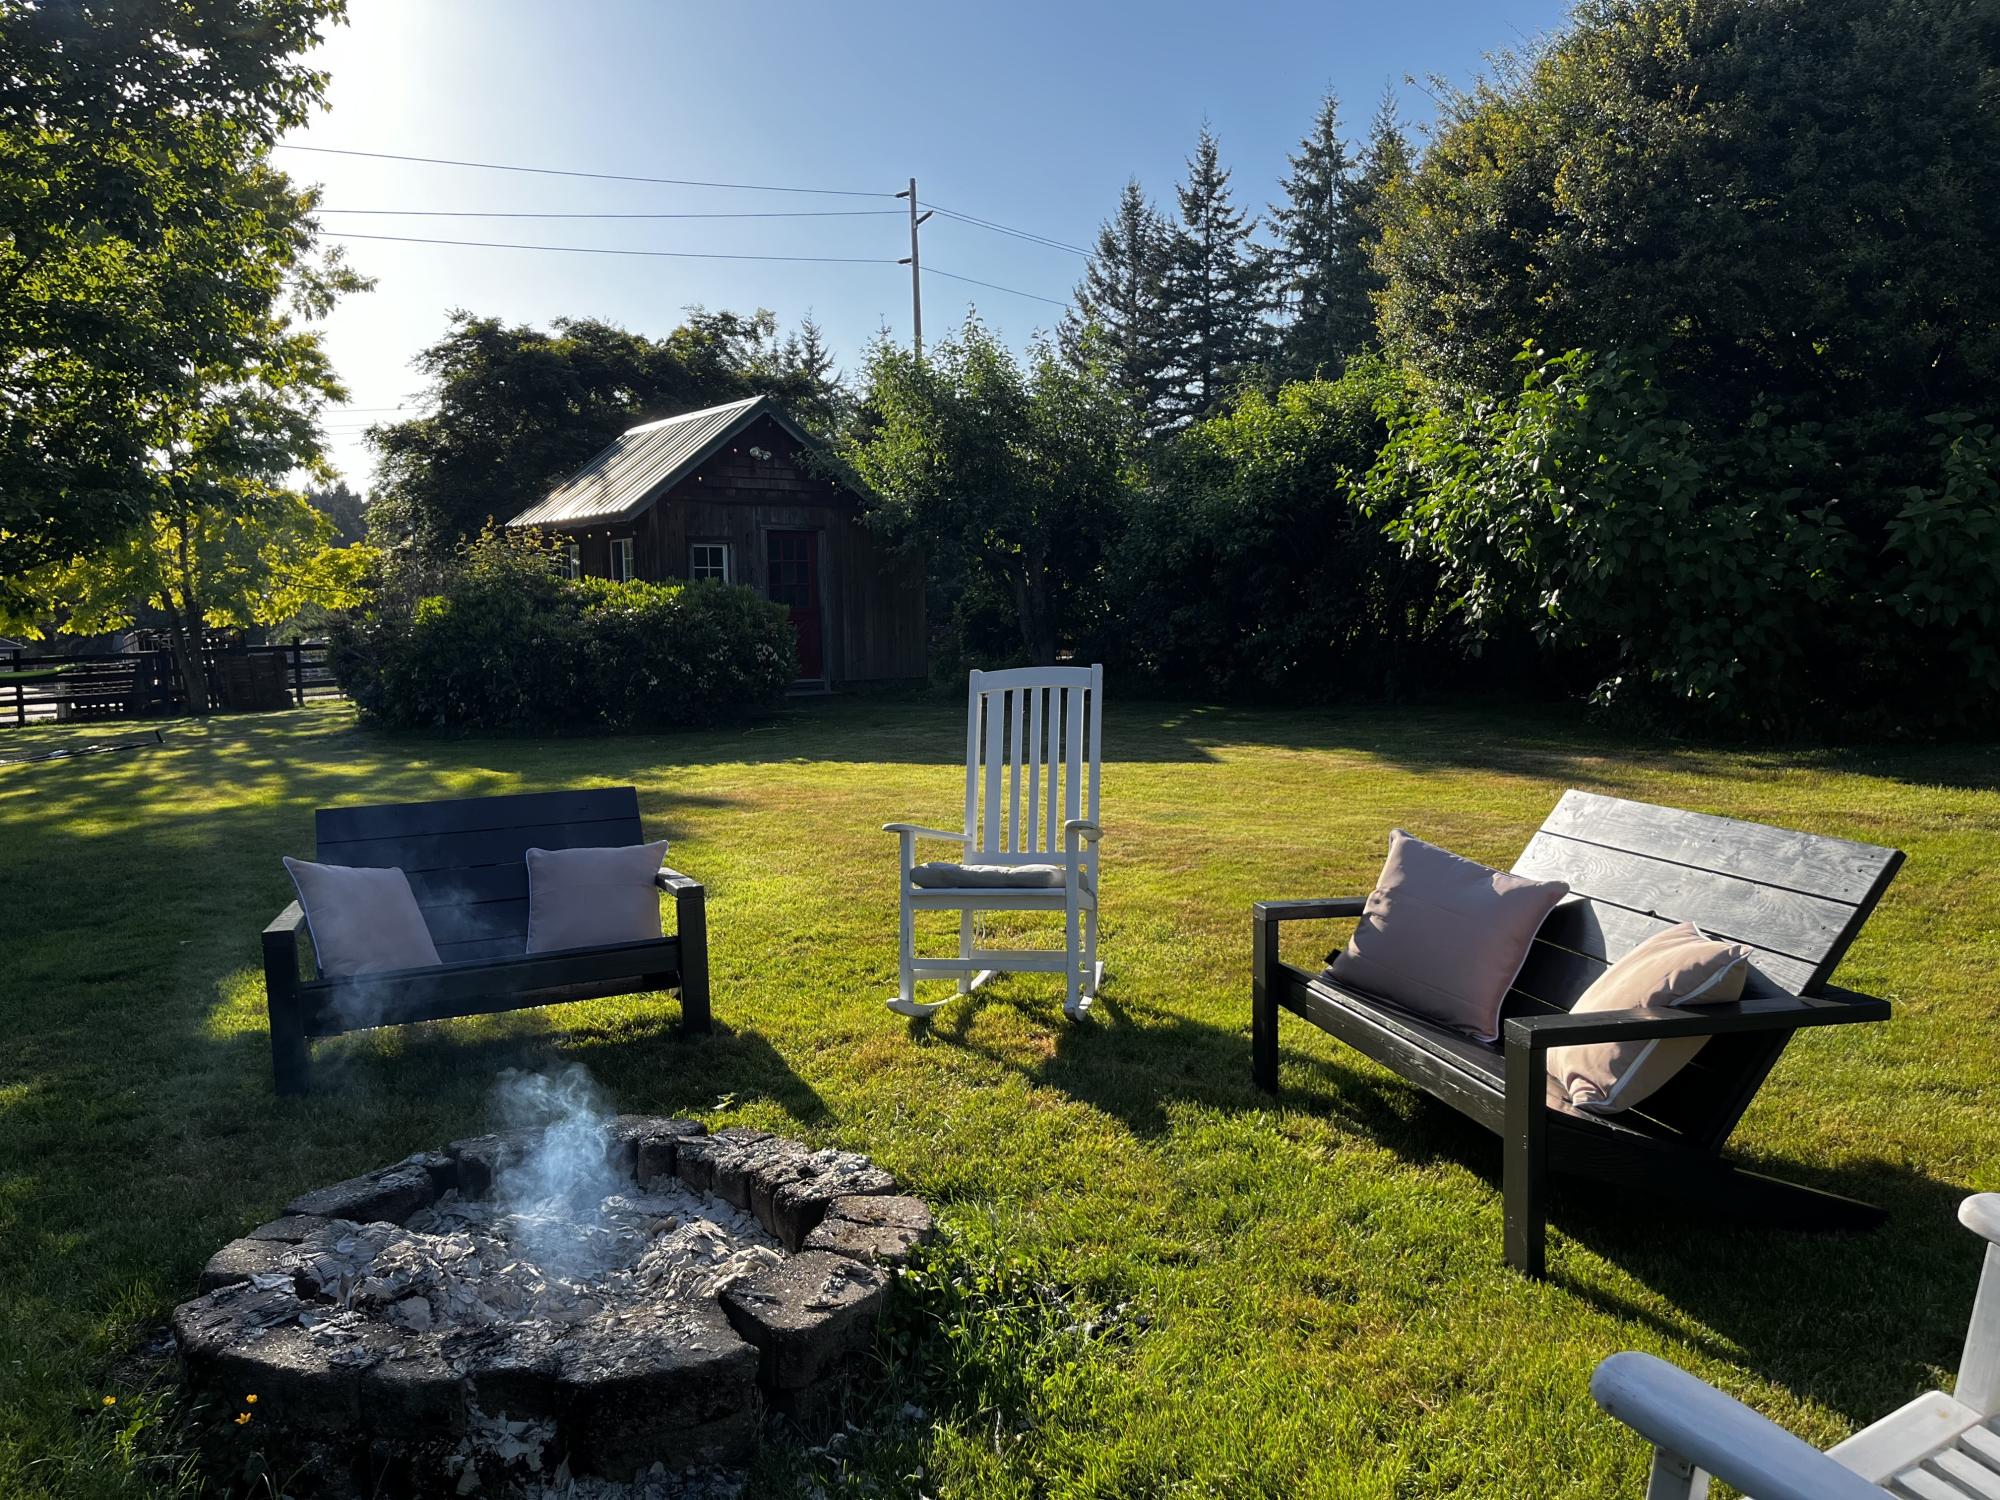
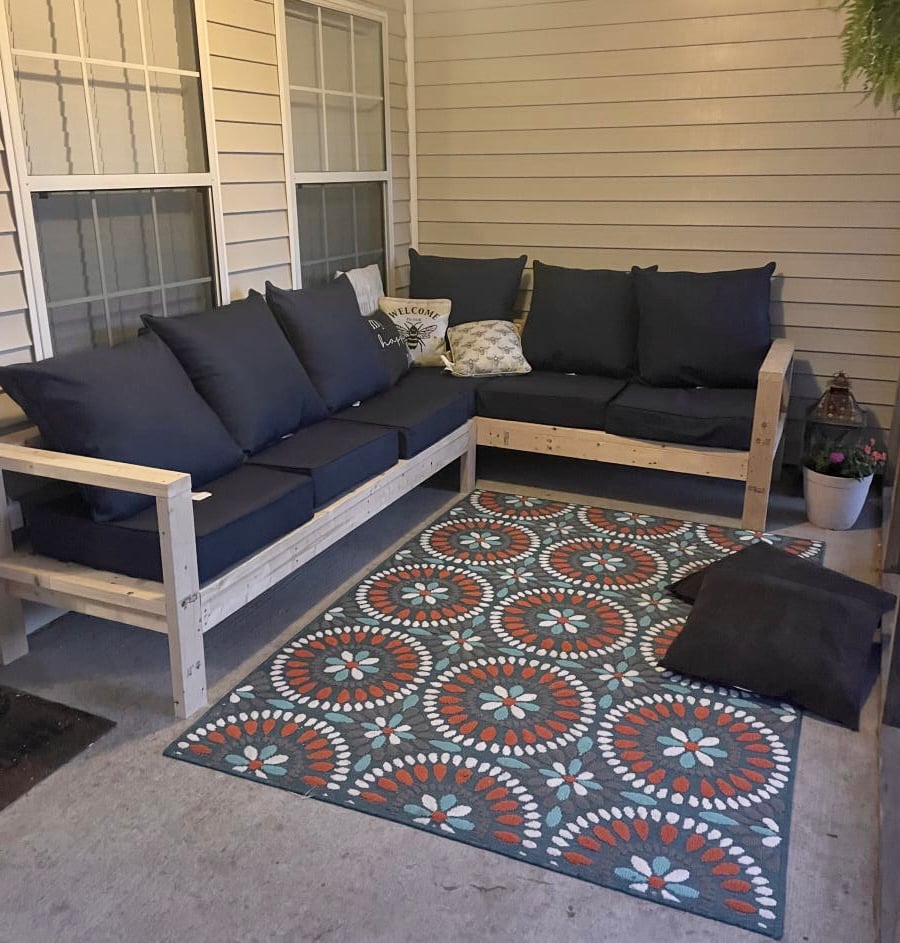
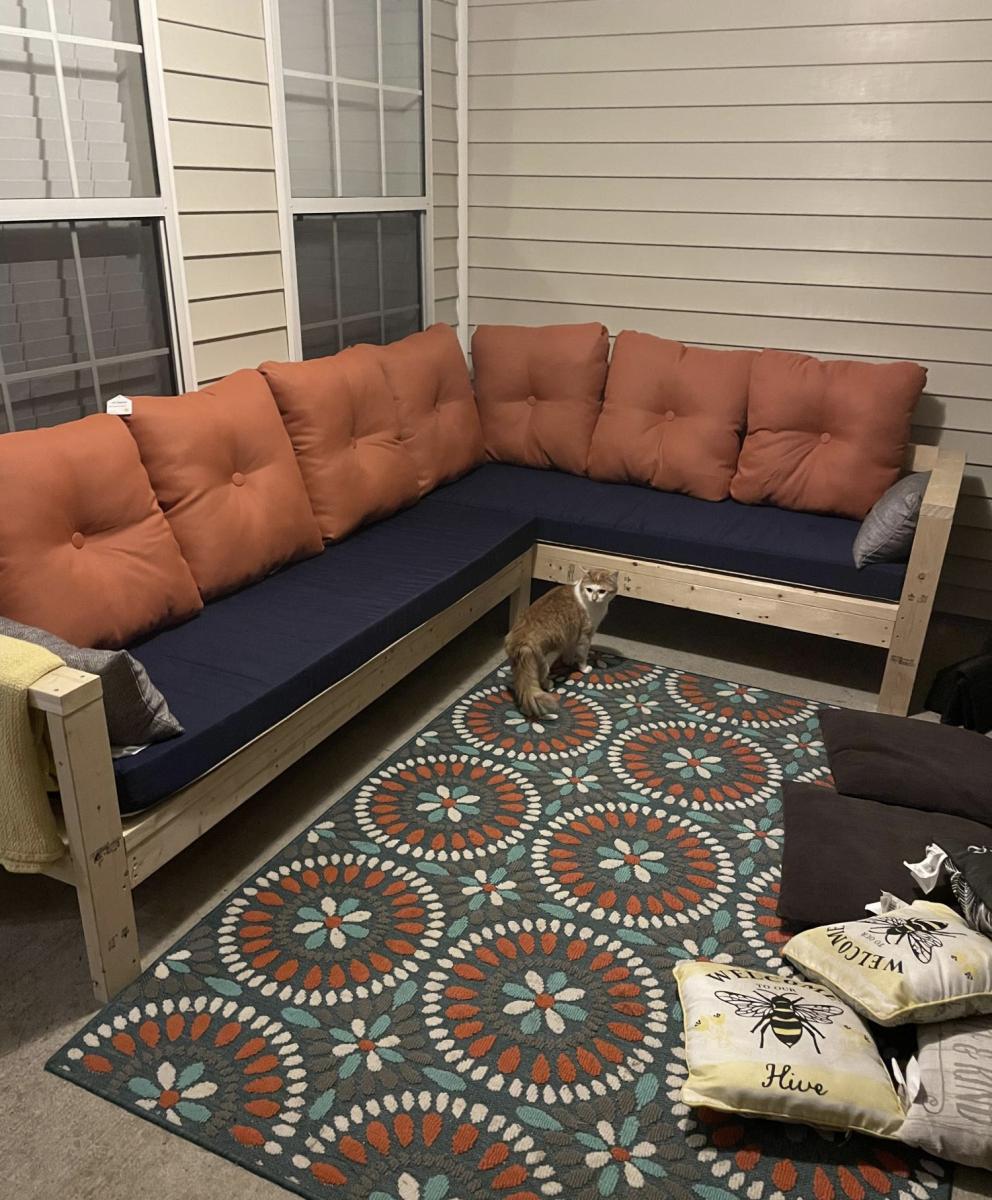
I followed plans from someone who modified the Essential Adirondack plan to make it seat two. It is a fun and quick build!!
I mostly followed the directions as provided. My only changes were using hickory instead of pine, it is a nicer wood and it only added $6 to the project. I also put non slip pads on the bottom of the bottoms and used 14 feet of fabric in place of curtains. It is a very quick and inexpensive project that my kids have been getting a lot of enjoyment out of.
Mon, 02/06/2012 - 18:01
where or how did you make that cool mini/toy "tree house" in the background!!?!


Comments
Ana White Admin
Fri, 05/05/2023 - 11:44
WOW, what a bed!
It is masterfully done, I love your use of material! Thanks for sharing.