My fire pit bench.
This was my first furniture build & it was very easy. I had to have a second pair of hands to help hold the ends up but other than that I did it by myself. Thank you Ana for making this build so simple.
During the 2020 quarantine I started working from home and had to take up an office in my grandsons room. I wanted to leave enough space for him when he comes over so I needed it to be more narrows than most but with plenty of space for multiple monitors as well as workspace. I got ideas from many plans here but ultimately designed my own with a little inspiration from multiple plans. I included a pullout for the keyboard as well as 2 additional pullout shelves for added workspace.
Done the 2x4 chair and table, I think it turned out well. Bought the cushions at Lowes.
Ray and Sandy
Our very first project! We absolutely love how it looks and that there's an easy way for our kids to sort their laundry. Can't wait to start more projects! You can see how we built it here http://addicted2diy.com/2014/01/14/diy-laundry-pedestal/
I followed Ana's plans to build the Bristol Outdoor Lounge Chair. I used White Oak for the chair. The plan was pretty easy to follow and i enjoyed the project. I am excited to build a second chair as well as other items that i will find of interest on her website.
James
Rolling bar cart made entirely from recovered pallet wood.
Based on original Ana White's plan, I've just added a side pocket and rails on the lower shelf to prevent sliding of items placed on it.
Later on I made another one for a friend who attached a hanger plate and a magnetic knife holder.
Built this to replace a cheap picnic table that I had bought. The table is solid and a great first project for me Pops. The grandkids will enjoy this one and Gammy has me already building #2 table. Thank you for the plans and your expertise.
Mark E aka Pops
Luv your site. Took your bench swing plan and modified it a bit (shortened depth) and then created a small pergola to hang it from. Just need to stain/poly to finish it off. Thanks for your plan and website it is very inspiring.
We built this firewood storage shed to hold wood for our wood-fired hot tub! We built this using reclaimed materials we already had sitting around our property so in the end, the only costs involved were the pier blocks plus some screws.
We decided to publish our plans for anyone that may find them useful! Take a look here if you feel so inclined: http://purelivingforlife.com/diy-firewood-storage-shed/
The wire shelves that the builder placed were not cutting it for storage. This setup from your plan helped garner so much more space for organizing. The pantry is roughly 54”x 35” and we were able to place five shelves instead of the four. Thank you so much for your assistance!
This was my second project ever, so I know it is far from perfect, but I am so happy with it. It is super useful since I have 3 little kids that are so far the only grandchildren from both sides of the family and I have the impression that toys come to our house to reproduce.
I made a mistake on choosing the stain for the top, and had to adapt to what I wanted, but I kinda like the end result, although it is more formal than what I had wanted at first.
It is a gloss mission oak, from miniwax.
I built this without the Kreg, but I have bought one since, so my next project should be better!
The paint is Antique White from Glidden (DUO), distressed until my shoulders could not handle it anymore.
Building is so empowering, I am so happy I found this site! Thanks Ana for all the great work!
This project is straight forward and lots of fun. Next time I plan to stain opposed to paint due the amount of time painting takes.
Fri, 05/30/2014 - 20:23
I like how the color contrasts with the cushions and the throw pillows add a nice punch of color and fun. I also would like to know the source of the cushions. The cushions seem to always be the budget breaker.
Wed, 08/06/2014 - 14:44
My apologies for replying so late!!! I didn't realize I received a comment or two!! Thank you for you for the lovely comments I truly appreciate it. As far the cushions, I purchased the fabric, batting, etc at Joan's Fabric at 50% off and sewed myself. Before this project I had never sewed before so please have faith in yourself because if I can do it anyone can do it!!!!! Tammy Linskey
Had a great time putting this together for my teenage daughter's room. Took me about 4 hours to cut and assemble (I only have a circular saw, would have been SO much faster with a miter saw). Then sanded and painted the next day. Under $50 for the wood. What a deal! Love this plan!
Took combination of farmhouse coffee table and side table to make a square coffee table for our sunroom
I really needed a kitchen island. That would work for me & last.
We, my husband & I, based our plan off of the Easy Kitchen Island Plans. I printed the plans. Then modified a few items. Originally I was gonna do a 4ftx25" but my butcher block we found was 6ft. So we left it with 6ft. My barstools slip under the overhang so kids can pull them out & use when needed but not be in the way.
We also made it custom to my height for mixing & kneading dough. The selves are different to work.with my tupperware containers. (Goal is to get all the same eventually).
We used cedar & a little pine for the main structure. The top is European walnut butcher block.
It's on wheels. So I can move it out of the way if needed.
We did seal the sides (kids & messy cook). The shelves & top I used butcher block oil & conditioner. Ever month I add a thin coat of conditioner to the top.
I love that I have so much room now to create.
Thank you so much for the inspiration!
Faith & Jonathan Flesher
Here are some of the outdoor projects that I do to make extra money, Adirondack chairs...adult and kids sizes....patio tables....garden benches, used old pipes for the slats!!!
Thu, 08/09/2012 - 04:56
Wow, really nice and I love the idea for the back slats! Great job!
Tue, 08/14/2012 - 14:52
would you consider posting your plans?? they look really great & comfy!
So another super awesome project from miss Ana. I dont have a lot of jewelry, but I make up for it with nail polish. I made a few minor adjustments and viola and wicked cabinet to hold all of my piggy painters!
Tue, 06/24/2014 - 10:55
Did you use 1x3s for the shelves and doors, and 1x4s for the rest? I've been needing a nail polish shelving unit, so I may copy you. :)
Super easy vase holder adds a fun element!
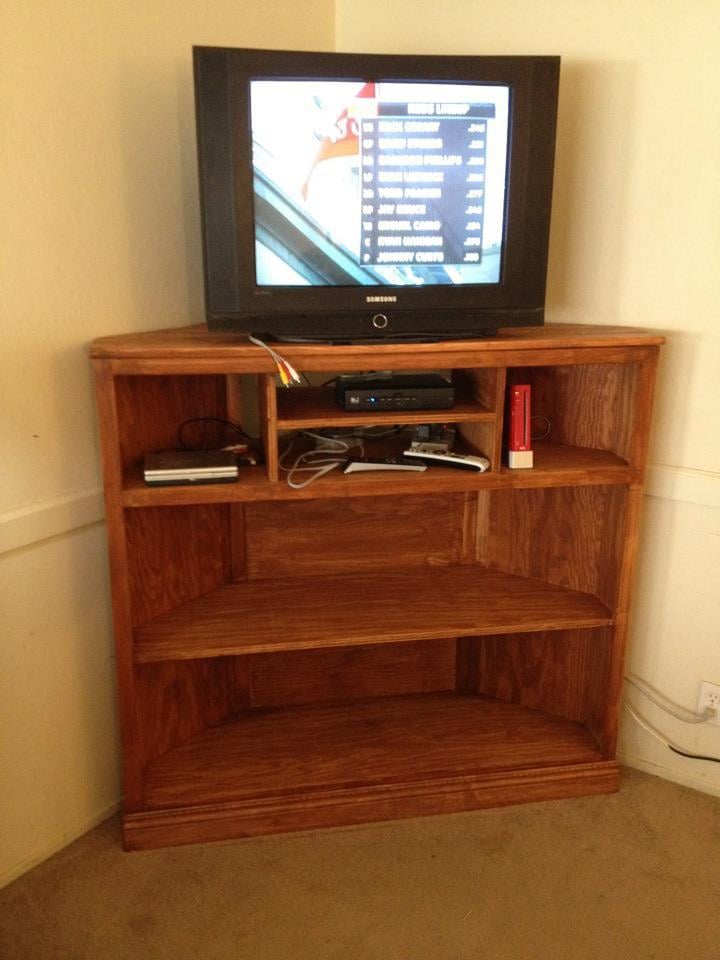
I absolutely fell in love with the Tall Corner Media Console the moment it was posted. We had a decent corner stand for our TV, but it was low and was hard to watch when kids and adults alike were constantly saying "I can't SEE!" or "You're in my WAY!". I've learned that explaining "you make a better door than a window" over an over to a 7yo and a 4yo only takes longer.
Two dilemmas faced us:
1 - Which comes first, the chicken or the egg? DH insisted that we needed a big screen tv before building the console. I insisted that we needed the console first, so that we would have a place for the tv. Since it was determined the that console was cheaper than a tv, I won :)
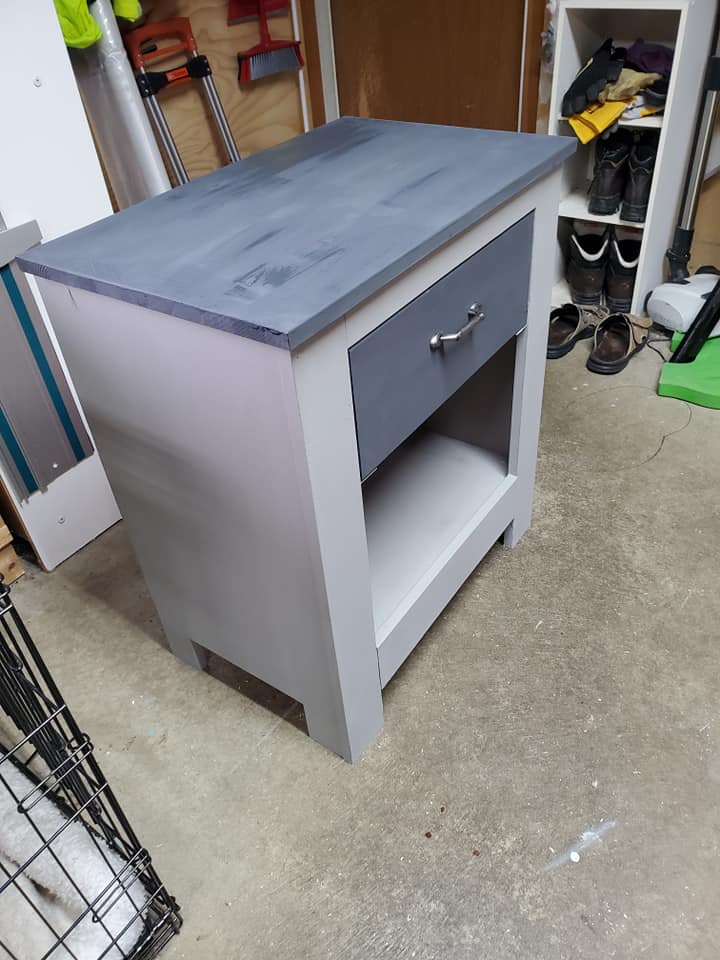
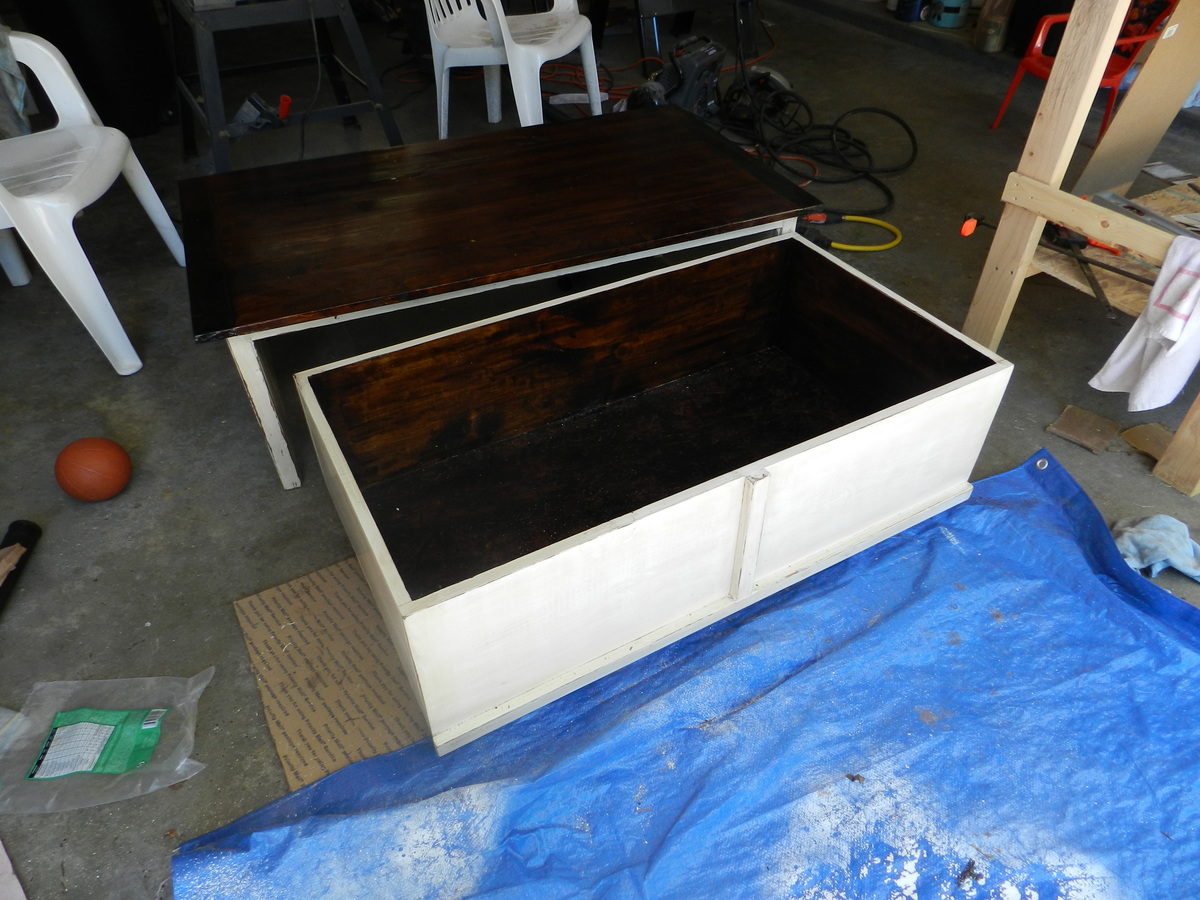
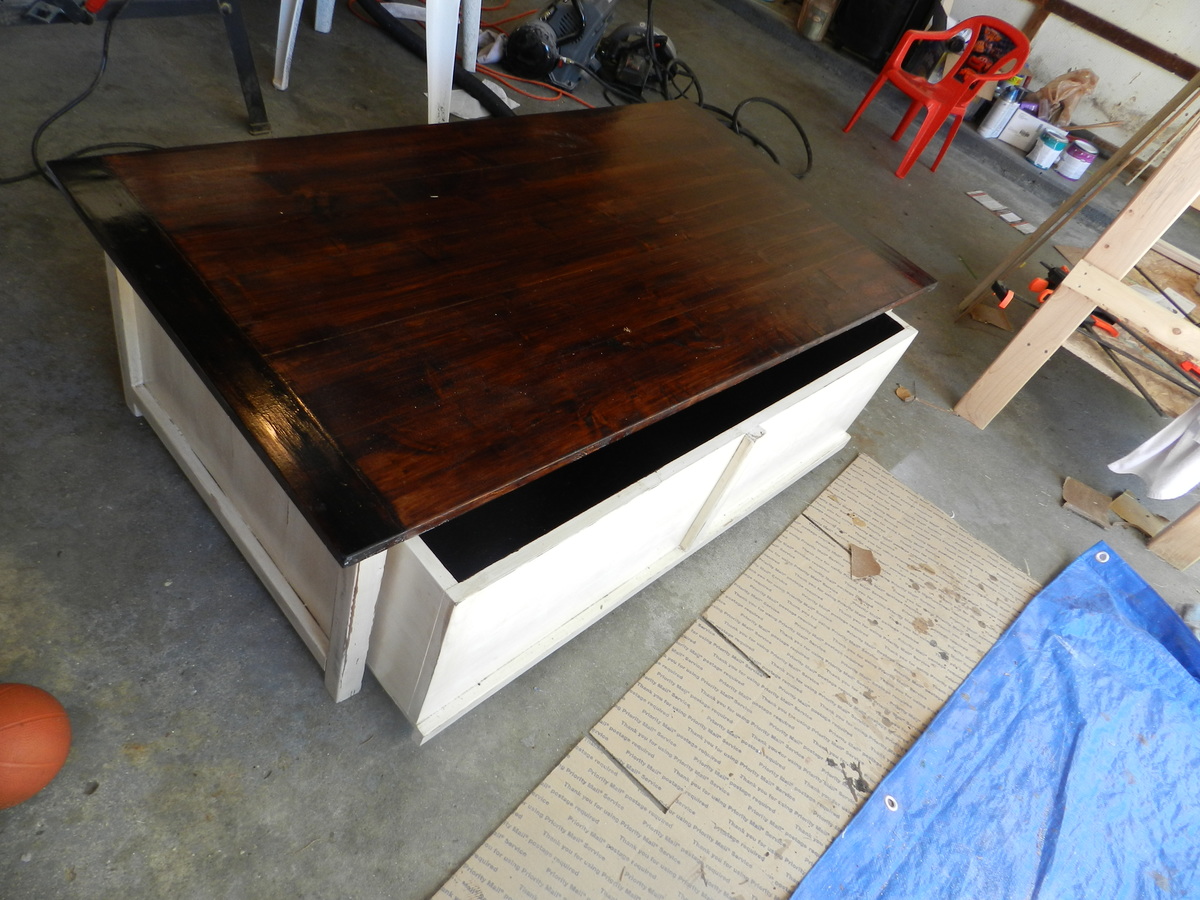
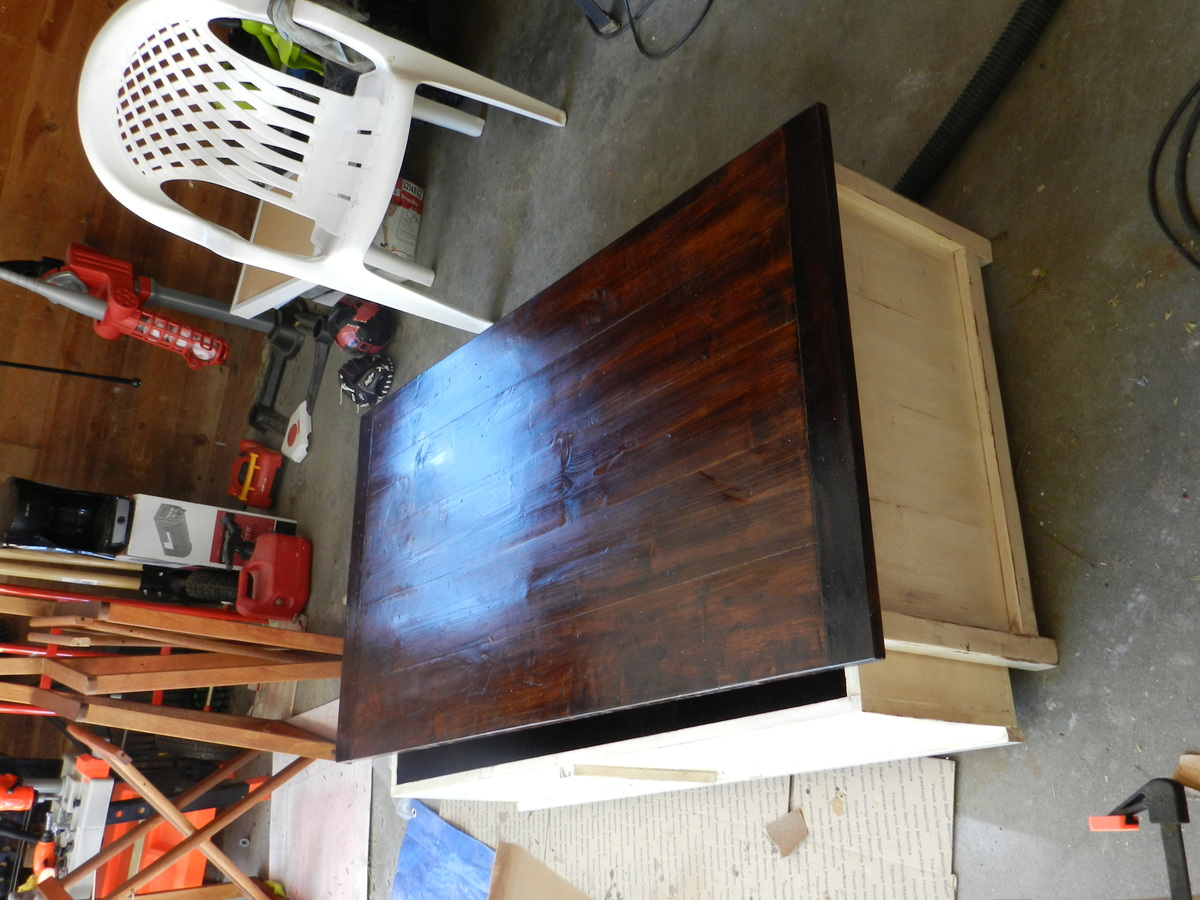
2- What to color it? Paint? Stain? I was the one building, so DH said he didn't care, but that he liked the idea of staining. Having never stained before I was a bit intimidated - paint was my safety net. DH got this one, but only after I made him choose the stain.
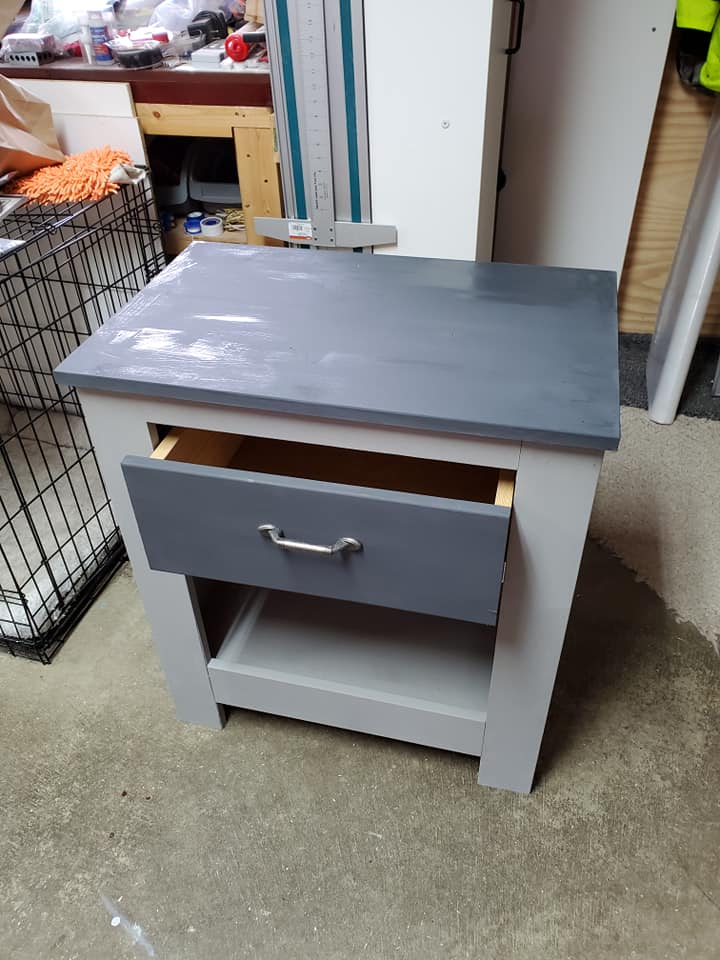
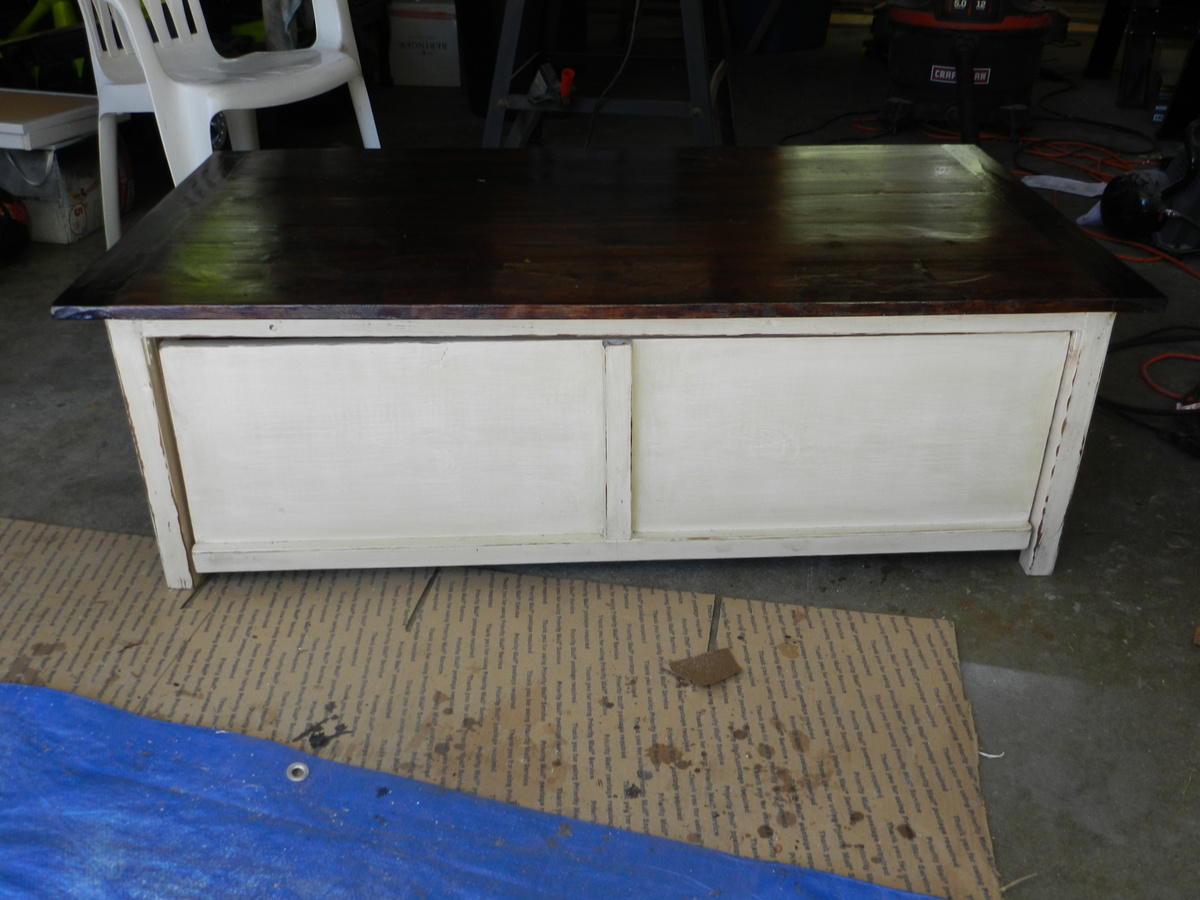
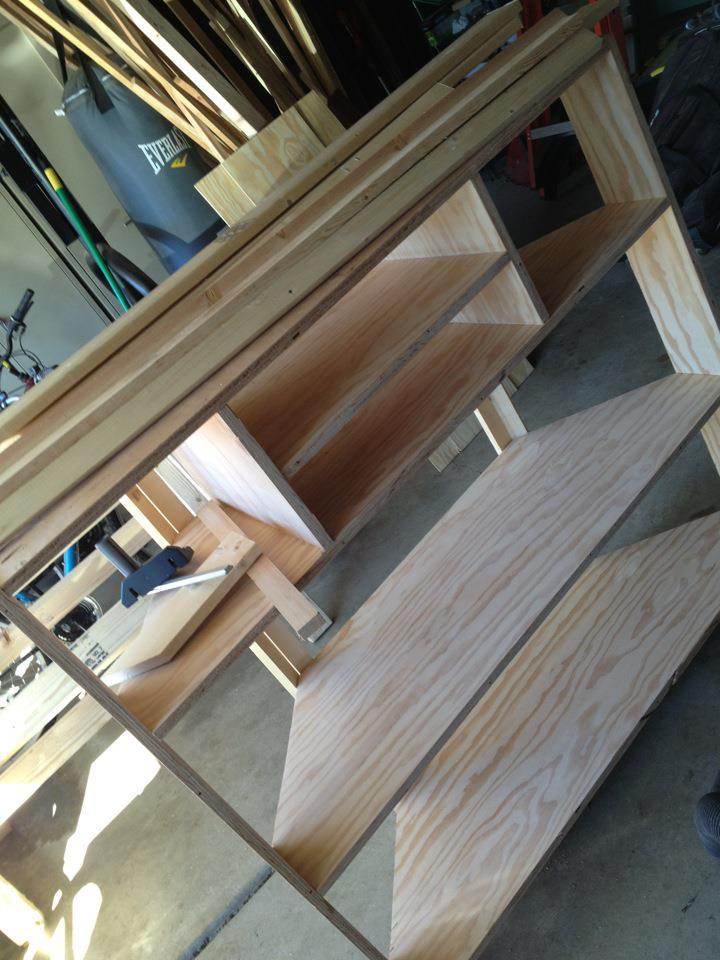
I have the doors built and they are in the garage. With other things in the living room we wouldn't be able to open them all the way anyway. That and my final build weekend topped out at 105+ deg - and I was DONE being outside :) All in all, i like the open look of it, although I reserve the right to install those doors if need be.
Thu, 08/30/2012 - 18:18
You did a fabulous job and I can definitely see it working without the doors too. The nice thing about stain is that can easily be covered with paint, if you change your mind down the road.