Community Brag Posts

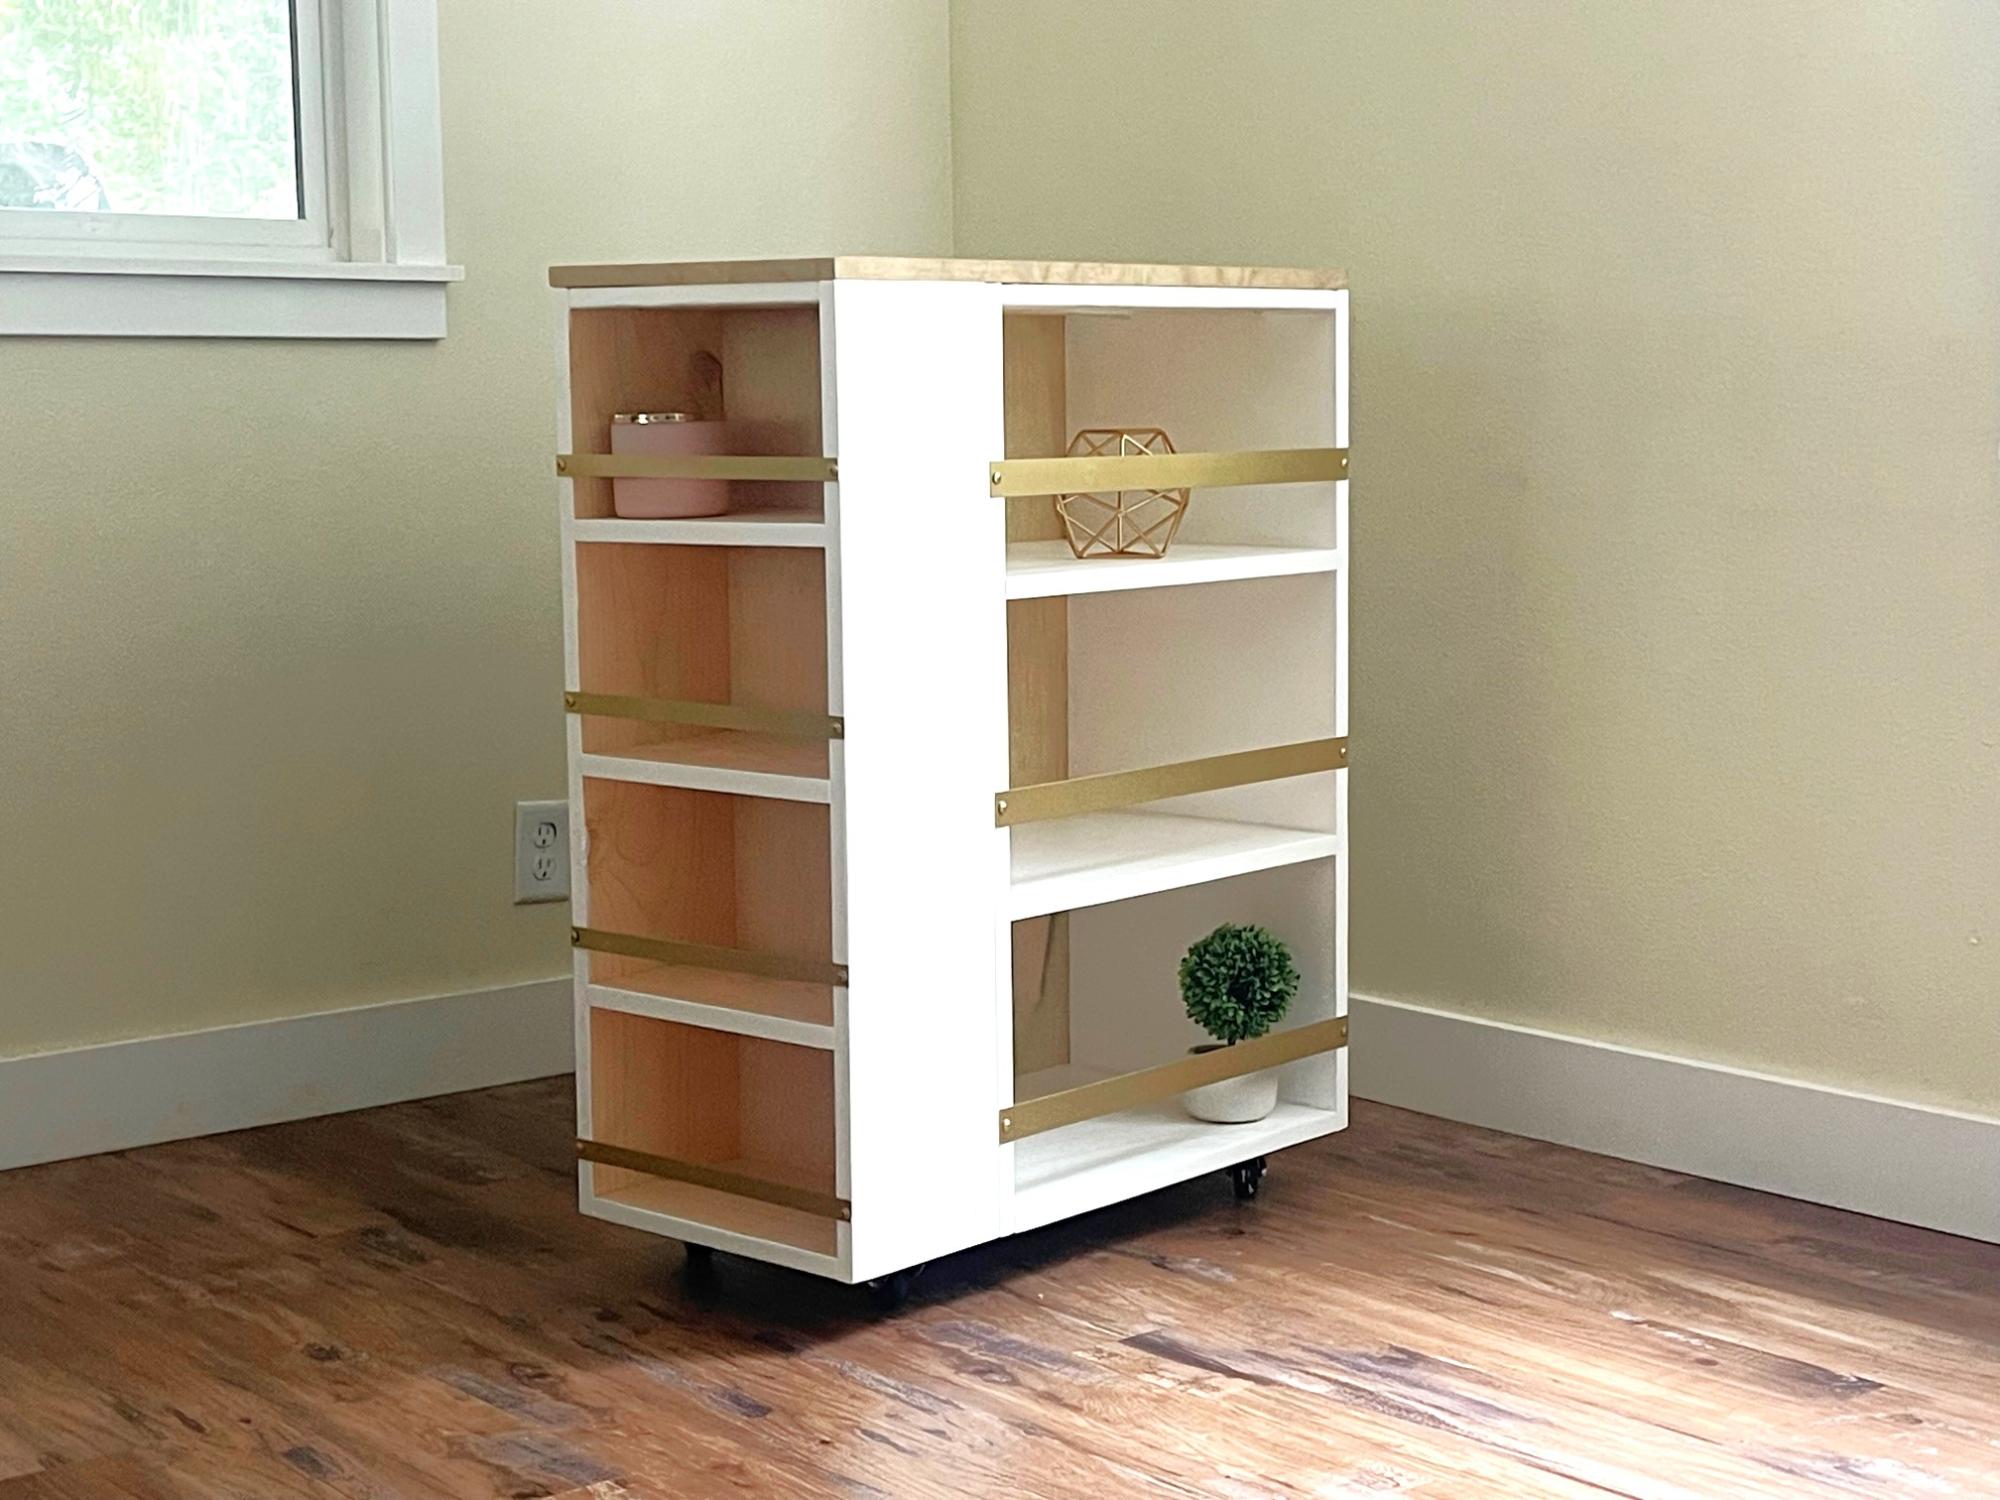
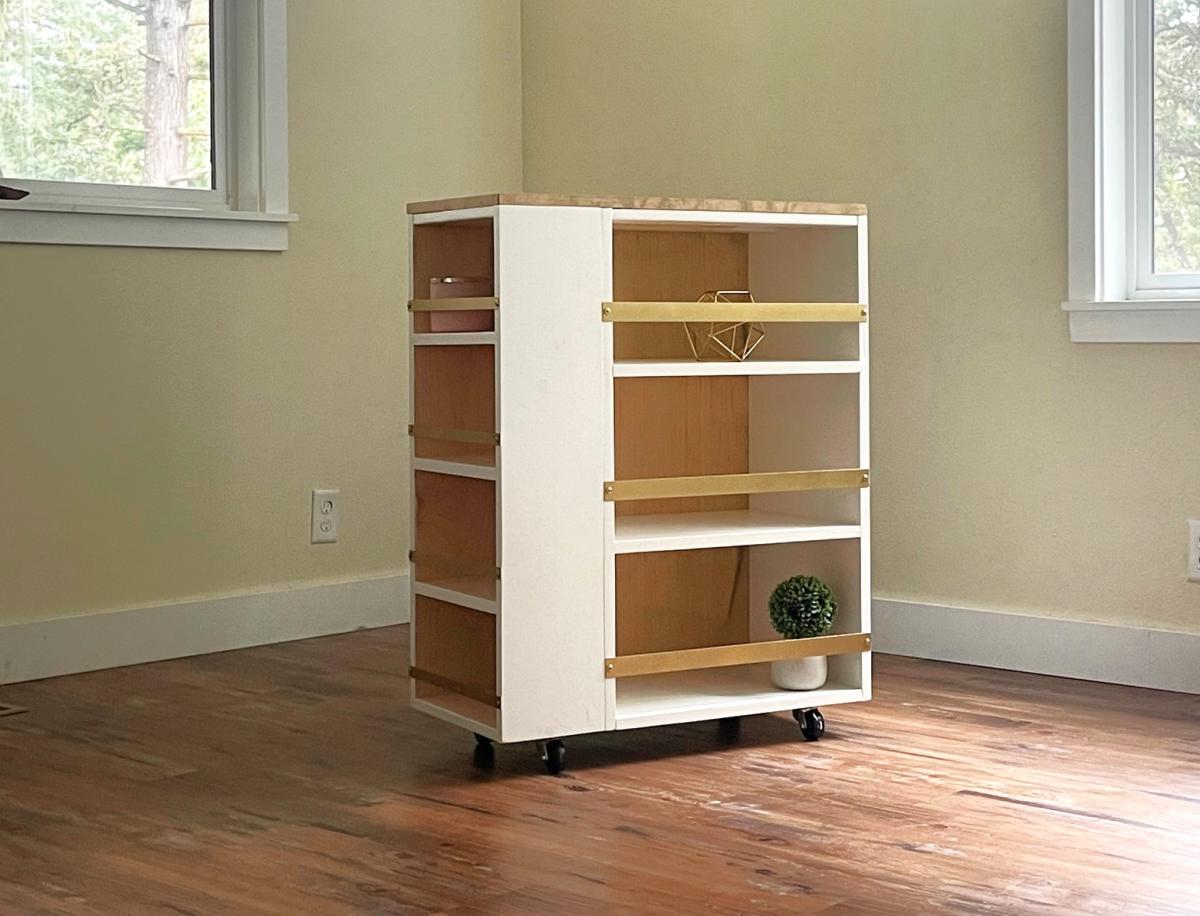
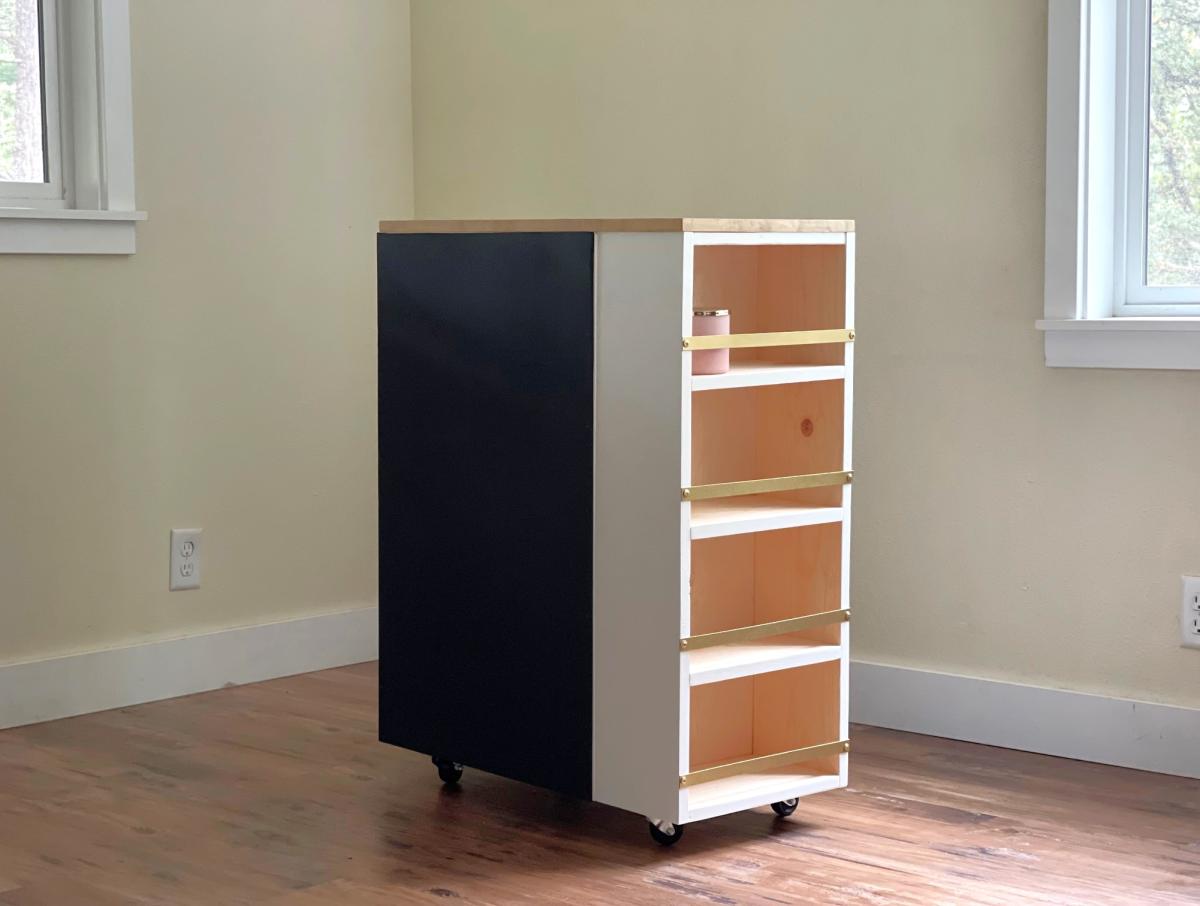
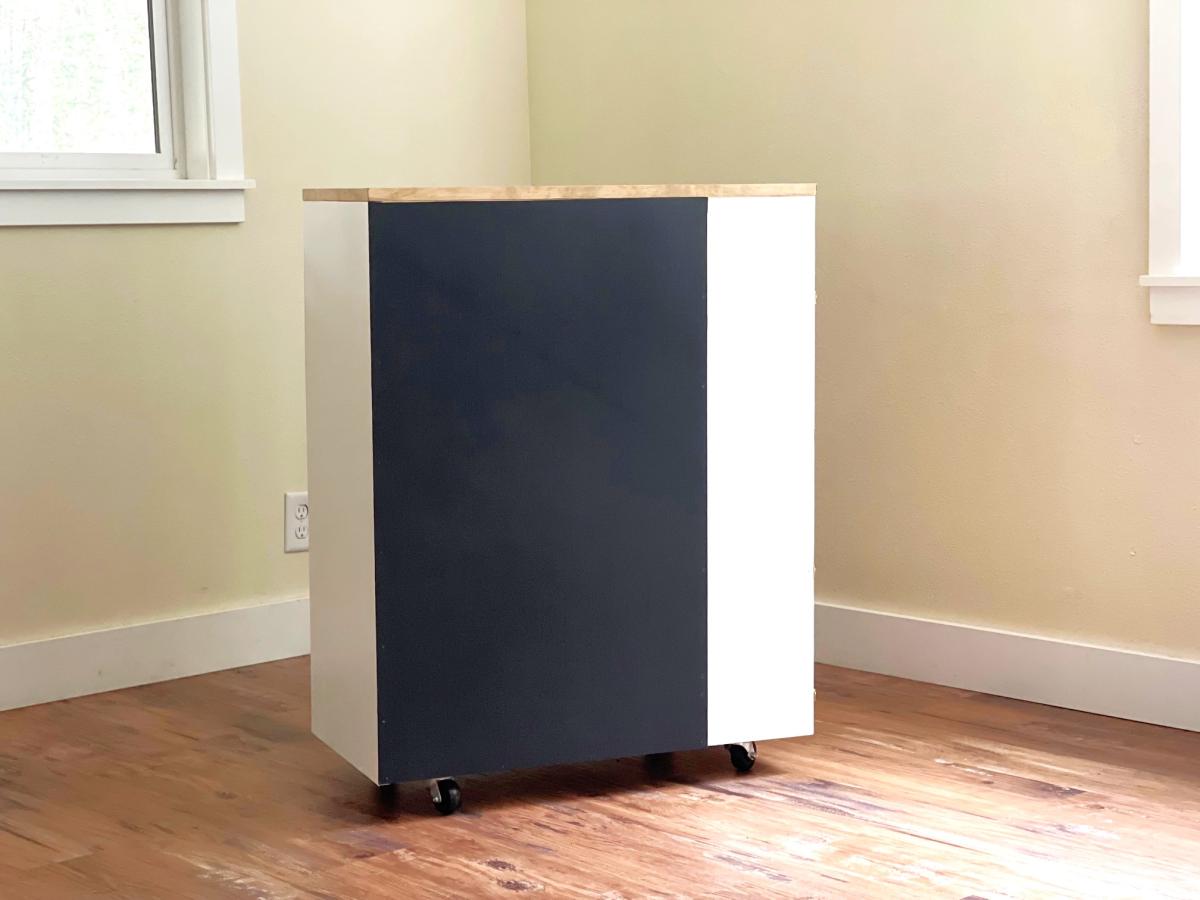
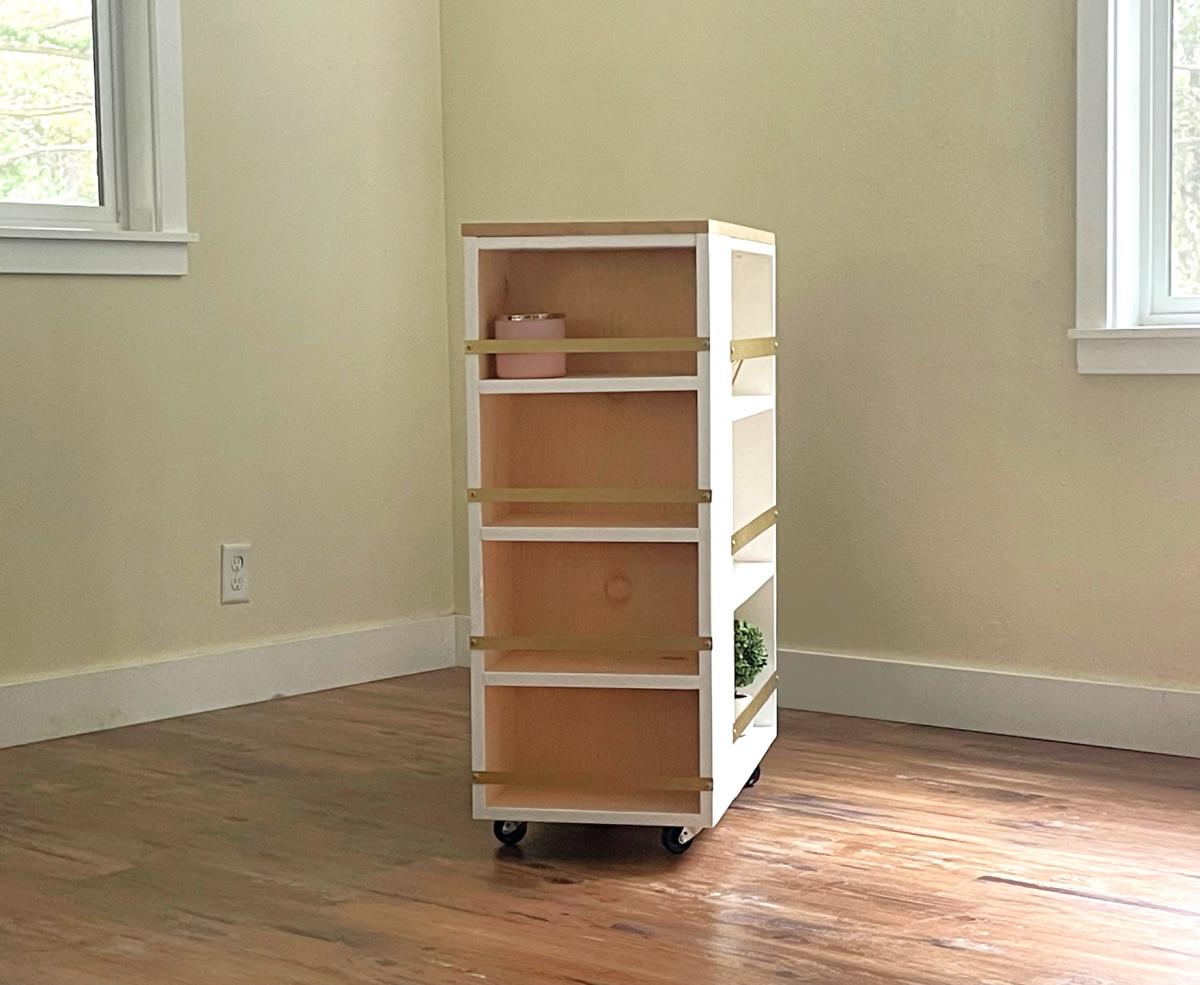
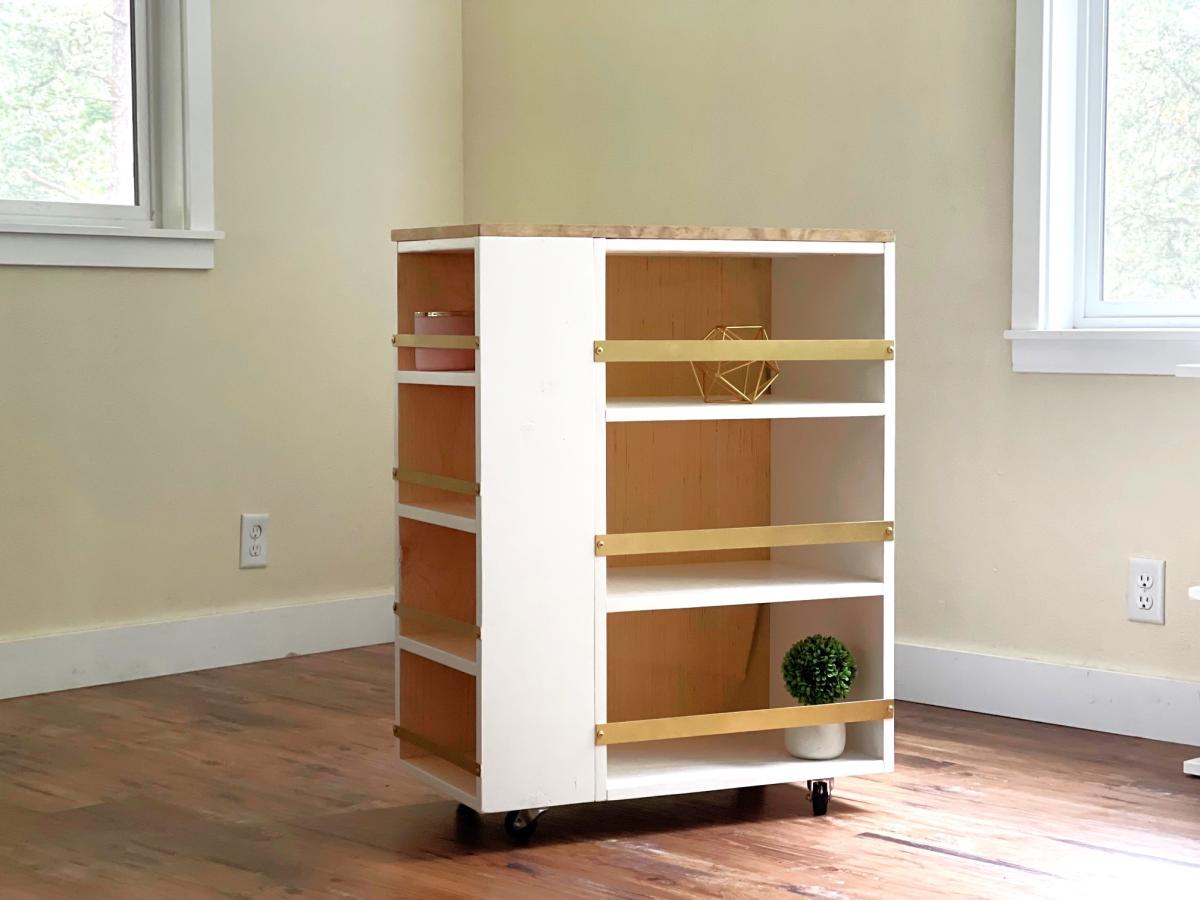
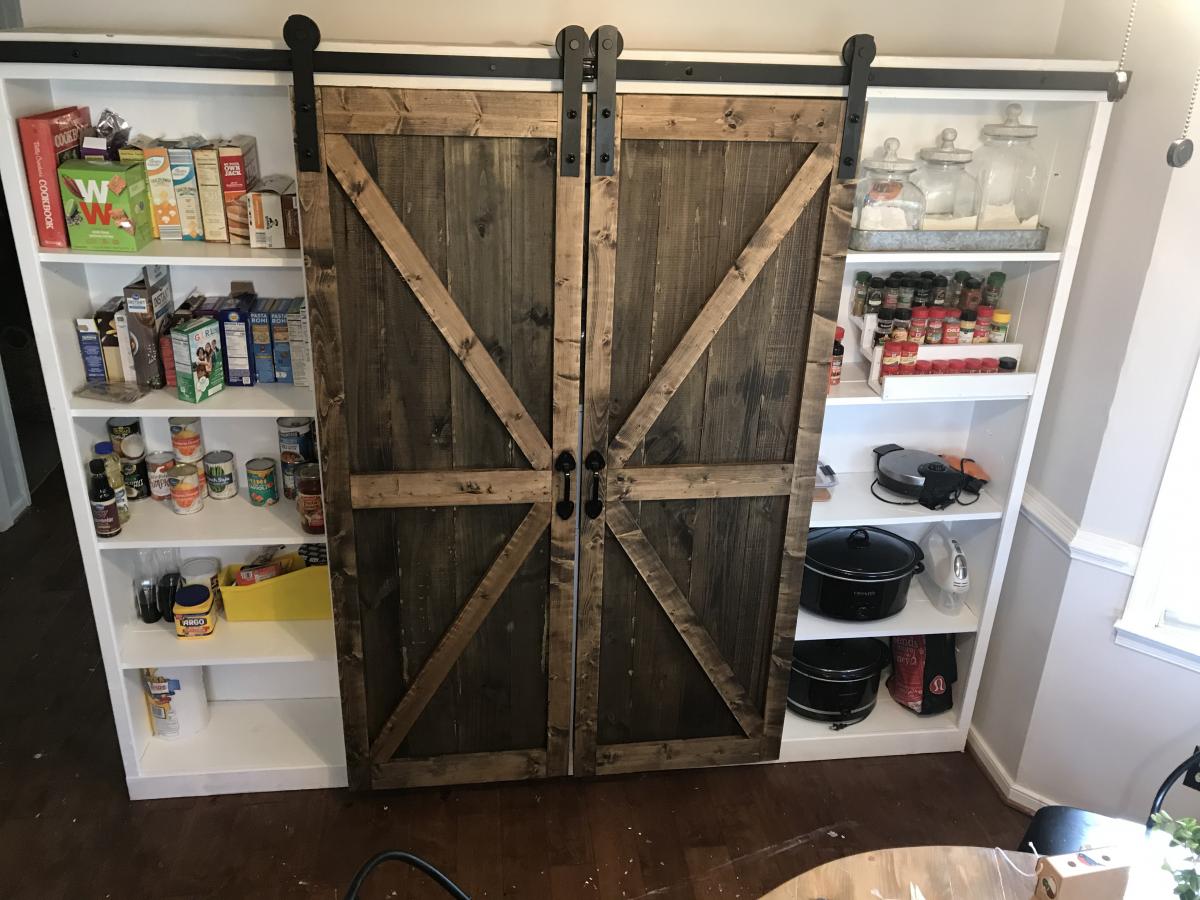
DIY Barn door Pantry/Coffee station

Submitted by tcossins1 on Mon, 03/09/2020 - 08:19

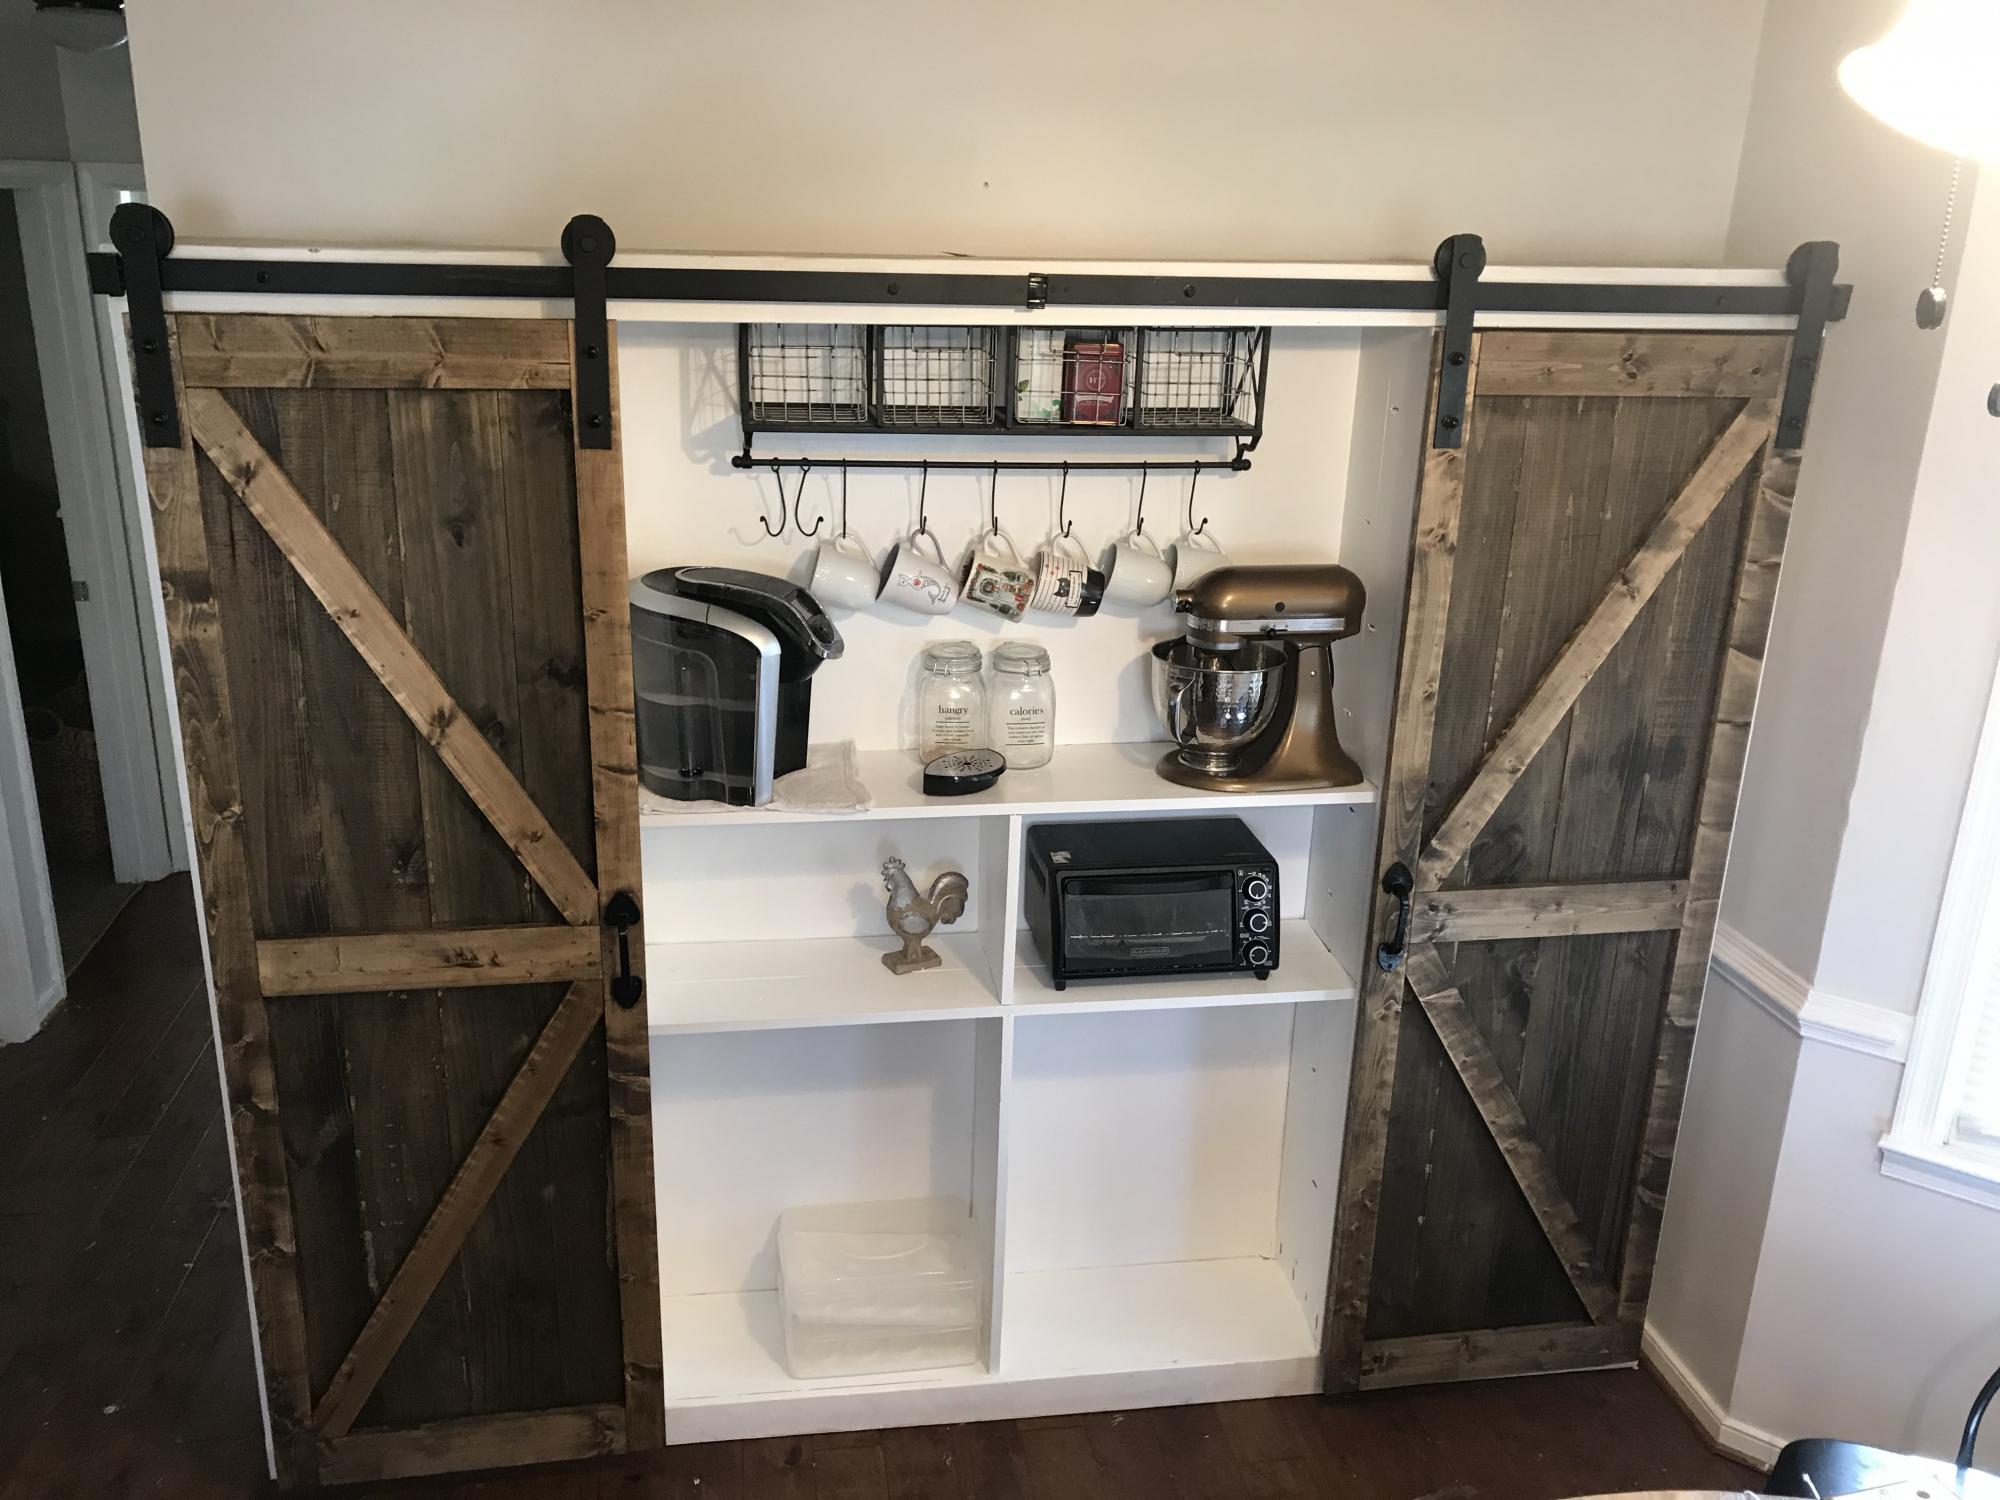
My wife has been asking me to build her a pantry since we bought our house last year and I finally got around to doing it. I used the Barn Door Entertainment center plans as inspiration but Instead of using the 1x12x8ft lumber suggested I used 1x6x8ft boards connected with pocket holes to save on costs. The Barn door hardware is the SMARTSTANDARD 8ft heavy duty (double door) which I purchased on Amazon for 73$.

Built from Plan(s)
Estimated Cost
$350-$450
Estimated Time Investment
Weekend Project (10-20 Hours)
Finish Used
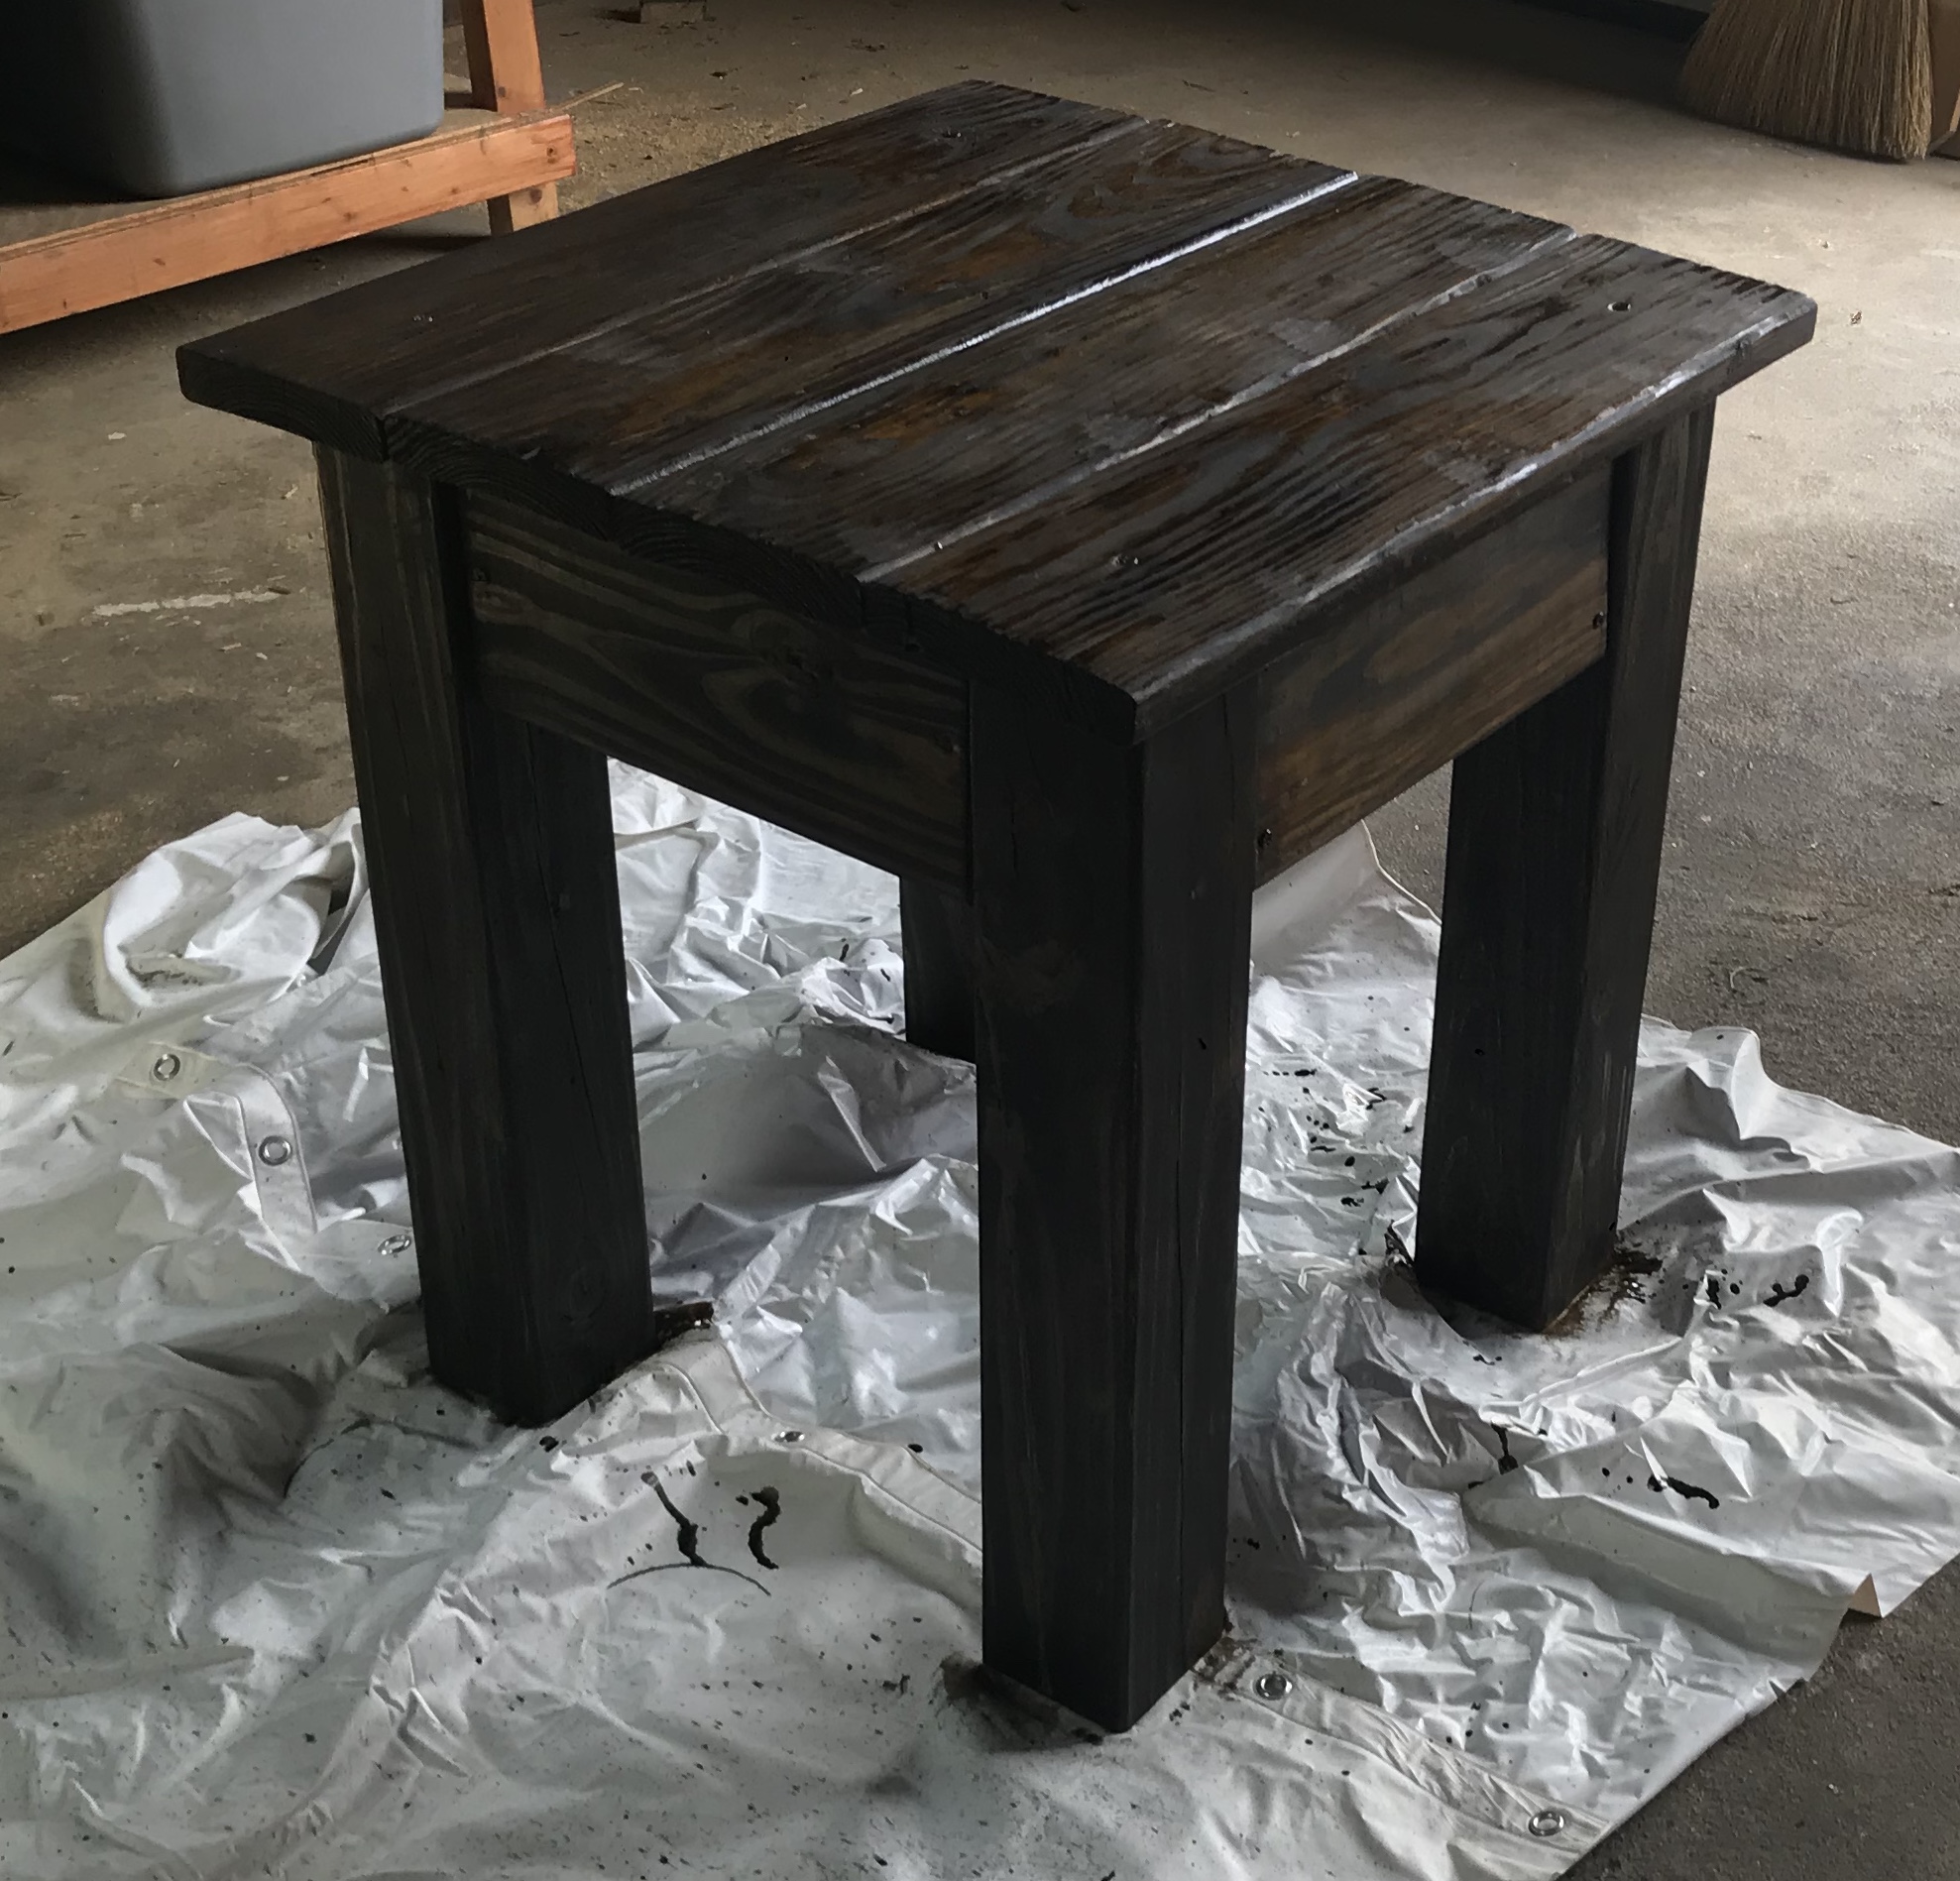
Paint: Behr Plain White paint and primer
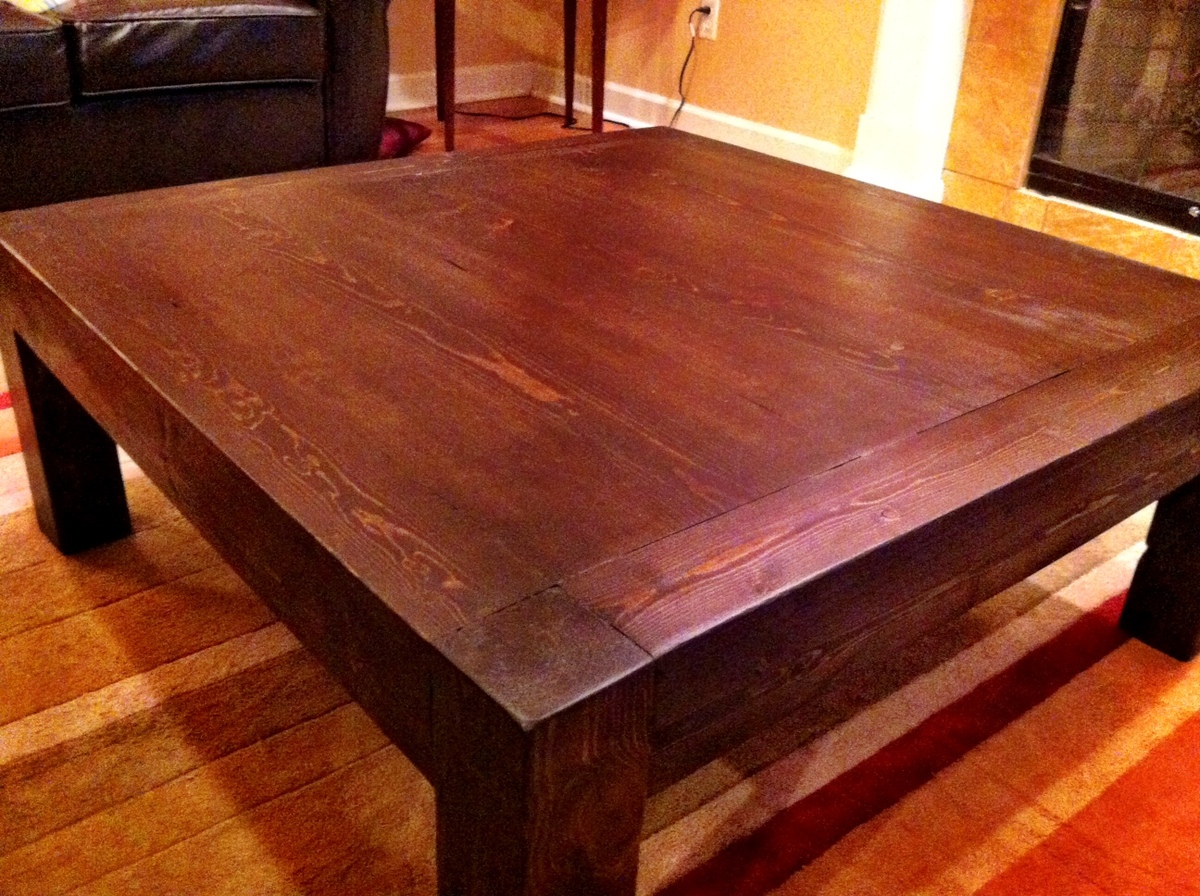
stain: Varathane classic dark walnut.
Recommended Skill Level
Intermediate

Mobile Storage Cart with Chalkboard Back

Submitted by vendo on Mon, 10/23/2023 - 11:14

I was asked to build something for my daughters varsity basketball team room. There wasn't a lot of extra space, so this is what I came up with. I wanted to give parents a place to set treats or leave an inspirational message. I was inspired by Ana's modern craft table plans. The smaller bookshelf measures 14" wide by 33 1/4" high (using a 1x8), the larger bookshelf measures 21" wide by 33 1/4" tall (using 3/4" plywood), with a 3/4" plywood top and 2" casters, it's a nice 36" counterheight. I used edgebanding for the top and front exposed plywood edges. I used aluminum flat bar (spray painted gold) to the shelves adding a decorative element as well as to help keep items on the shelves. The back is 1/8" panel spray painted with chalk paint. I added some bay supports at the top of each bookshelf to attach the top from underneath. I'm happy with the results!

Built from Plan(s)

Comments

Chalkboard Shelf Memo Board

This was my first "build" and was a lot of fun. Very quick and very easy. I'm so happy with how cute it turned out!

Estimated Cost
$18.00
Estimated Time Investment
Afternoon Project (3-6 Hours)
Finish Used
I marked 3-6 hours only to account for drying time of the chalkpaint. I cutting, sanding and assembly went very quickly.

I used Rustoleum chalkboard paint from Home Depot along with some brushed nickel knobs that I got from Home Depot.
Recommended Skill Level
Starter Project

Great couch!

Submitted by Anonymous (not verified) on Mon, 05/30/2016 - 15:39

Biult this for my outdoor patio. Got the cushions from Lowes.ca for about $80 each.

Estimated Time Investment
Week Long Project (20 Hours or More)
Finish Used
Primer then an outdoor white
Recommended Skill Level
Starter Project

Nailed it!

Submitted by yiffergan on Mon, 03/16/2020 - 08:30

I only work with reclaimed/junk wood and this has literally been the most rewarding thing I've ever done.  I absolutely love these projects! can't thank you enough for sharing plans- and for free!  (I also made a chair but it won't let me upload a pic.)

Estimated Cost
$10 for nails
Estimated Time Investment
Afternoon Project (3-6 Hours)
Recommended Skill Level
Beginner

DIY Rustic Coffee Table with Custom Finish

Submitted by Anonymous (not verified) on Sun, 10/29/2023 - 19:41

Great coffee table by April!

For the Finish:

First I lightly burnt the wood. The base is minwax in ebony. I actually sprayed water on the wood and used a damp cloth to apply. 

The top I used random spots of regular satin paint in grey, a couple shades of blue and an olive green and a chalk paint white. Then sanded it down removing most of the paint and stained it with minwax provincial.  And went over some of the edges with the ebony. 

Miter Saw Cart

Submitted by Rennie82 on Fri, 05/18/2012 - 12:12

Coped the design almost to the "T." I loved this design because I only have a small shed to work out of and this stand for my miter saw was much needed.

The major difference between the original and my design are the folding arms. I was working within a very small budget and couldn't afford the fancy folding arms so I was able to do a little creative thinking and decided to go with a removable piece of 1x3 that is wedged under the arms with a block installed on the "leaf" and the main table. I used the old pythagorean theorem to figure out how to make it a level 45 degrees. With a little playing around I have both arms completely level and the stand is perfect!! I am excited to get some other projects on the way now that I have somewhere other than the ground to work with my miter saw.

I didn't use any pocket holes, but am picking up a Kreg jig set from someone this upcoming week and am looking forward to putting that into some use on my next projects!

Built from Plan(s)
Estimated Cost
30 bucks or so
Estimated Time Investment
Afternoon Project (3-6 Hours)
Finish Used
None
Recommended Skill Level
Beginner

Comments

stephanier (not verified)

Fri, 05/18/2012 - 19:04

I would like to see a close up too if possible. I am wanting to make the saw cart plus two more carts with the middle flush with the top so I can push the two together to use for a workbench. How much weight do you think your sides can hold the way you set them up?

In reply to by stephanier (not verified)

Rennie82

Sun, 05/20/2012 - 11:28

I honestly am not too sure how much weight it would hold. I havent seen any bowing or pushing yet. I have used this so far to cut a piece of 4x4 12ft long made of cedar for my next project and didnt have any problems. I think if I need more weight holding strength, I think I would just change out the 1x3 and maybe use a 2x4 in there. I am also not a 100% sure how much weight the hinge can hold, maybe someone else reading these posts can be a little more helpful as far as that goes.

2x4 Desk

Submitted by Livvyhill on Mon, 03/03/2014 - 18:40

I had fun with this project. I needed a long and narrow desk for my son's room, and this was perfect. It was sooo easy. I used countersink drill bit and filled in with wood filler. I sanded to smooth it out and make soft edges. I stained first with a black cherry stain, then spread teal paint around (was inspired by a lot of rustic wood and teal pieces that I saw at homegoods), then coated it with kona miniwax stain to darken it up. I put a clear polyurethane finish on it to protect it. Super easy and I love it. Got all of my wood for under $30.

Built from Plan(s)
Estimated Time Investment
Afternoon Project (3-6 Hours)
Finish Used
Black Cherry miniwax, Teal paint, Kona miniwax, polyurethane finish.
Recommended Skill Level
Starter Project

Garage Shelving

Submitted by Anonymous (not verified) on Thu, 06/02/2016 - 10:16

I used Anna's shelving plans from this video https://youtu.be/cTxRBckenI4 and it was super easy.    I also made a cut out for the mini freezer on the far end and also cut the ends closest to the garage door track at a 45 degree.    The shelves are 24 inches and the run is 16' long.   The cost was right at $100.    We are building more of the same shelving in the garage very soon.  


Thanks Anna for the design!

Ron from Houston

Estimated Time Investment
Day Project (6-9 Hours)
Recommended Skill Level
Intermediate

Comments

Square Picnic Table

Submitted by Anonymous (not verified) on Sat, 11/04/2023 - 14:52

I used the picnic table plans with a minor modification for the top and seats. I used flooring for trailers that were rejects. I made this for my wife for her birthday and she loved it.
 

Alan Welch

Built from Plan(s)

Queen Loft Bed

Submitted by christy on Tue, 05/22/2012 - 07:54

I made this bed for my 6 year old daughter. I loved Anna's Loft Bed plans, but she wanted a bigger play area underneath. So I modified the twin loft bed plans to fit a queen mattress. I also added extra supports for the mattress, and I used PureBond plywood on top of the supports for the mattress to sit on.
That's the Farmhouse Toddler Bed underneath. My younger daughter inherited her big sister's twin bed, so the toddler bed was put to use in the new "playhouse."

Estimated Time Investment
Week Long Project (20 Hours or More)
Finish Used
I sanded the wood and primed it. Then I sanded (lightly) again and painted it with Valspar latex enamel in Gloss Almond.
Recommended Skill Level
Intermediate

Comments

Neatha (not verified)

Mon, 08/20/2012 - 13:04

Do you have your modified plans still? I don't know where to begin with editing the originals. I am moving and we have limited space I need to place a desk under and queen sized bed but my ceilings are only 8ft.

Lindsay (not verified)

Sun, 09/02/2012 - 12:45

I think it's great that you modified it to a queen! I live a studio and NEED something like this. Could you share the modifications? It looks beautiful = )

christy

Sun, 09/02/2012 - 20:58

The changes I made were:
End planks cut to 63"
Top back guard and front and back rails cut to 87"
The top guard rails on ends cut to 66"
I measured for the mattress supports and the front guard rail after the rest was completed.
You should also measure for the bookcases after the rest is completed, but each of mine wound up being about 31" wide.

Everything else was pretty much the same.

Hope that helps.

dbai (not verified)

Thu, 11/01/2012 - 08:24

This is wonderful - I've been looking to make something like this for an urban efficiency (adult) apartment! Thanks so much for sharing your modifications!

gmur589

Mon, 07/29/2013 - 14:08

Will the height of the bed allow for adults to stand under it? If not what modifications should be made to make the height fit a standing adult? (the highest being 6'1" male) Thanks! =D

etb1999

Sun, 10/06/2013 - 08:23

Hello, about how much did it cost you to make this?
THANKS

NicoleLance0826

Fri, 09/19/2014 - 12:30

Hey Christy I was wondering if you could send the plans for upgrade to queen size. I cannot pull up the changes. Thank You. Im sure its not to many changes.

pretty-prima

Thu, 03/24/2016 - 16:52

Hello! I would like to build this queen sized bed, could you give me a cost estimate? I don't have any wooden planks sitting around so I would have to buy them all new.

Rugged Outdoor Table

Submitted by cdrum89 on Thu, 03/06/2014 - 06:05

Ok I decided to construct my very first project - a small outdoor table that would look a bit ancient mostly because the need for it in my house has been screaming since I could remember. I would selfish to say that I did it alone but I got a bit of help from my hussy. I'm happy that the kids love it and all struggle to have lunch on it.

Built from Plan(s)
Estimated Cost
$50.00
Estimated Time Investment
Day Project (6-9 Hours)
Finish Used
Coated with a transparent paint/thinner as I wanted to keep it a bit raw.
Recommended Skill Level
Beginner

LV wine case

Submitted by Anonymous (not verified) on Sun, 06/05/2016 - 13:09

I built this wine case for my for my daughter and her husband. I couldn't done it with Ana"s great plans.

Built from Plan(s)
Estimated Cost
$200
Estimated Time Investment
Week Long Project (20 Hours or More)
Finish Used
Daughter and son-in-law will use it to store the many wine bottles they receive as gifts.I think natural Oak is beautiful and just use a poly finish.
Recommended Skill Level
Intermediate

Our First Wood Working Gift!

Submitted by JD_2030 on Thu, 03/26/2020 - 16:41

This cup tree was so easy to put together and made a wonderful birthday gift for my dad! For the bottom and top, we used scrap plywood that we had lying around. We used one light coat of stain to give it a warm hue. What an enjoyable project!

Built from Plan(s)
Estimated Cost
$6
Estimated Time Investment
Afternoon Project (3-6 Hours)
Finish Used
Stain
Recommended Skill Level
Starter Project

Table for the little one

Submitted by Rennie82 on Fri, 05/25/2012 - 05:36

Got my new Kreg Jig, picked up a brand new master kit on craigslist for half the normal price! The table went together beautifully and the chairs were simple as well!

Built from Plan(s)
Estimated Cost
about 25 dollars for all the lumber
Estimated Time Investment
Afternoon Project (3-6 Hours)
Finish Used
Valspar latex semi gloss
Recommended Skill Level
Beginner

Kids Bunk Bed with Storage Stairs

My husband and I searched at least a hundred plans to find a simple bunk bed for our girls and Ana's Loft bed was a perfect base plan with a few changes. We wanted a lower bunk, top and bottom, since our girls are young (ages 5 and 2.5). The youngest just moved from the crib so by putting the bed lower we are able to skip the side rails. Overall we cut 10 inches off the height of the original loft bed plan and still have plenty of room in the lower bunk. I can sit up comfortably on the lower bunk and the youngest can even stand. We went with another 8 inch board for the top bunk rail, it was simpler then the rail with cap but achieved the same overall rail height. We knew we didn't want a ladder in their room because our 2 yr old is fearless. So for the stairs my husband just ended up winging it, loosely basing them on the Storage Stairs plan, creating basic cubes so we can still let light in and have storage. We also didn't want the steps to be high up in case the girls fall from them, which is more common then them falling off the top bunk. At 32 in. high (the bunk is 61 in) both of them can still climb in the top bunk without issue. At first the steps didn't have the tall "cube" at the back but the platform just wasn't that big so the long cube was an add on and gave it the perfect size and heft. We couldn't be happier with how it turned out. Thanks Ana for your awesome blog and the great plans that you post. My husband also built the original play kitchen and it is amazing! I'll have to do another post with pics of that.

Estimated Cost
$300
Estimated Time Investment
Weekend Project (10-20 Hours)
Finish Used
Valspar white primer and top coat in one in satin finish. Decorative paint is Martha Stewart craft paint, our 5 year old chose stencils, the 2.5 year preferred to free hand her art ;)
Recommended Skill Level
Beginner

Comments

Octagon Picnic Table

Submitted by Anonymous (not verified) on Thu, 06/09/2016 - 04:59

Was a good project that I built for my son's new home.

I found a few errors in the instructions such as:

A) 2 - 2x4 @ 30 1/2 should be 30 1/4

B) 8 - 2x6 @ 32 15/16 both ends at 30 degrees off square, parallel to each other) should be cut at 34 15/16 blank sizes then cut the angles to acheive the finish size of 32 15/16

C) 8 - 2x6 @ 36 3/4 (both ends at 90 degrees off square, parrallel to each other) should be (both ends at 22 1/2 degrees off square, NOT parrrallel to each other)

Built from Plan(s)
Estimated Cost
$120
Estimated Time Investment
Week Long Project (20 Hours or More)
Finish Used
Dark Walnut Stain, Urethane Top Coat
Recommended Skill Level
Intermediate

Dog/Baby Gate

Submitted by advanlente on Sat, 03/28/2020 - 11:53

Inspired by Ana White's $25 Wood Baby Gate (https://www.youtube.com/watch?v=cPV6XfheqgA), I needed a gate for my miniature schnauzers. They loved going into the basement unattended ... and well ... potty accidents happen without me being the wiser. So, I modified the hardware used, and so far so good! The puppies and my little nieces and nephews are protected. 

Back