Becca Trunk slightly modified
I made this Becca Trunk for my daughter for Christmas. I wanted it bigger so I made it 48" wide. I also lined it with cedar. It turned out pretty darn good!!
My daughter wanted a console table for her entry. I found this plan and adjusted slightly for depth (decreased to 14 inches) and length (decreased to 48 inches). This of course requires recalculating the angles for the x's. For the top, and shelves I found edge-glued panels at Lowe's and cut to size. The top is two of them laminated together. She was happy with the birthday present ... thanks for the great plans Ana!
Fri, 09/25/2020 - 14:49
Nothing says I love you, like building a custom piece for a loved one! Thanks for sharing:)
Used cedar wood so I applied a few costs of oil based polyurethane to compensate for the softness of the wood.
Custom shoe bench I built for a friend. See post on blog for more detail:
http://www.tools4moms.com/2012/06/build-corner-shoe-bench.html
Ana, we saw your plans for the barn door cabinet that was pinned in pinterest and absolutely loved it and felt we had to build it but we had to completely modify the plans to have it custom fit our bathroom. It was a trial and error experience never having built anything before. Thank you for giving us the idea.
Sat, 05/18/2019 - 19:54
This is amazing! I can't believe I did not see it sooner. I'm so inspired! Ana
Fri, 01/01/2021 - 10:54
Where can I find these plans. It would be perfect for my master bath. Spectacular.
This completes our living room Rustic X collection. Made the top slightly longer (52.5") and dado'd the exes. I also used 2x12 boards and cut them down so the top is completely flush.
Tue, 09/29/2020 - 17:08
I'm sure it feels good to complete the collection! Thanks for sharing:)
Build the open toy box using pocket holes for a smooth, secure and easy build.
my daughter needed a new bedroom set... i refused to spend thousands of dollars on a new dresser and a bed. with a little hard work and help from Ana's plans... i was able to put these together and they turned out AWESOME!
Great site and projects! I had to add glass doors after I thought I was finshed. Then it was strongly suggested to add doors to keep gglassware safe from our four cats.
Fri, 10/10/2014 - 07:11
I think adding doors to the top was a GREAT idea, as an owner of two cats myself. ;) It also adds a great look to the project. I think I prefer it to the ones without the doors. :) You did a wonderful job. It's beautiful.
This is a simple and fun project to make. The black set are 3" x 1.5". The xlarge pieces are 8" x 4".
More Info / Build Instructions:
http://www.instructables.com/id/Large-Dominoes-From-Pallets/
My husband and I made the boys a seesaw a few months ago. We had been spending a lot of time working on our chicken coop and I snuck around to make something for the boys as a surprise. They named it Blue Blade and it has been a fun new addition to their playground. It was straightforward to make. I used 2x3s instead of 2x4s since they were so much cheaper, and it worked really well. I love how it has the extra hole so we can make it taller as they grow.
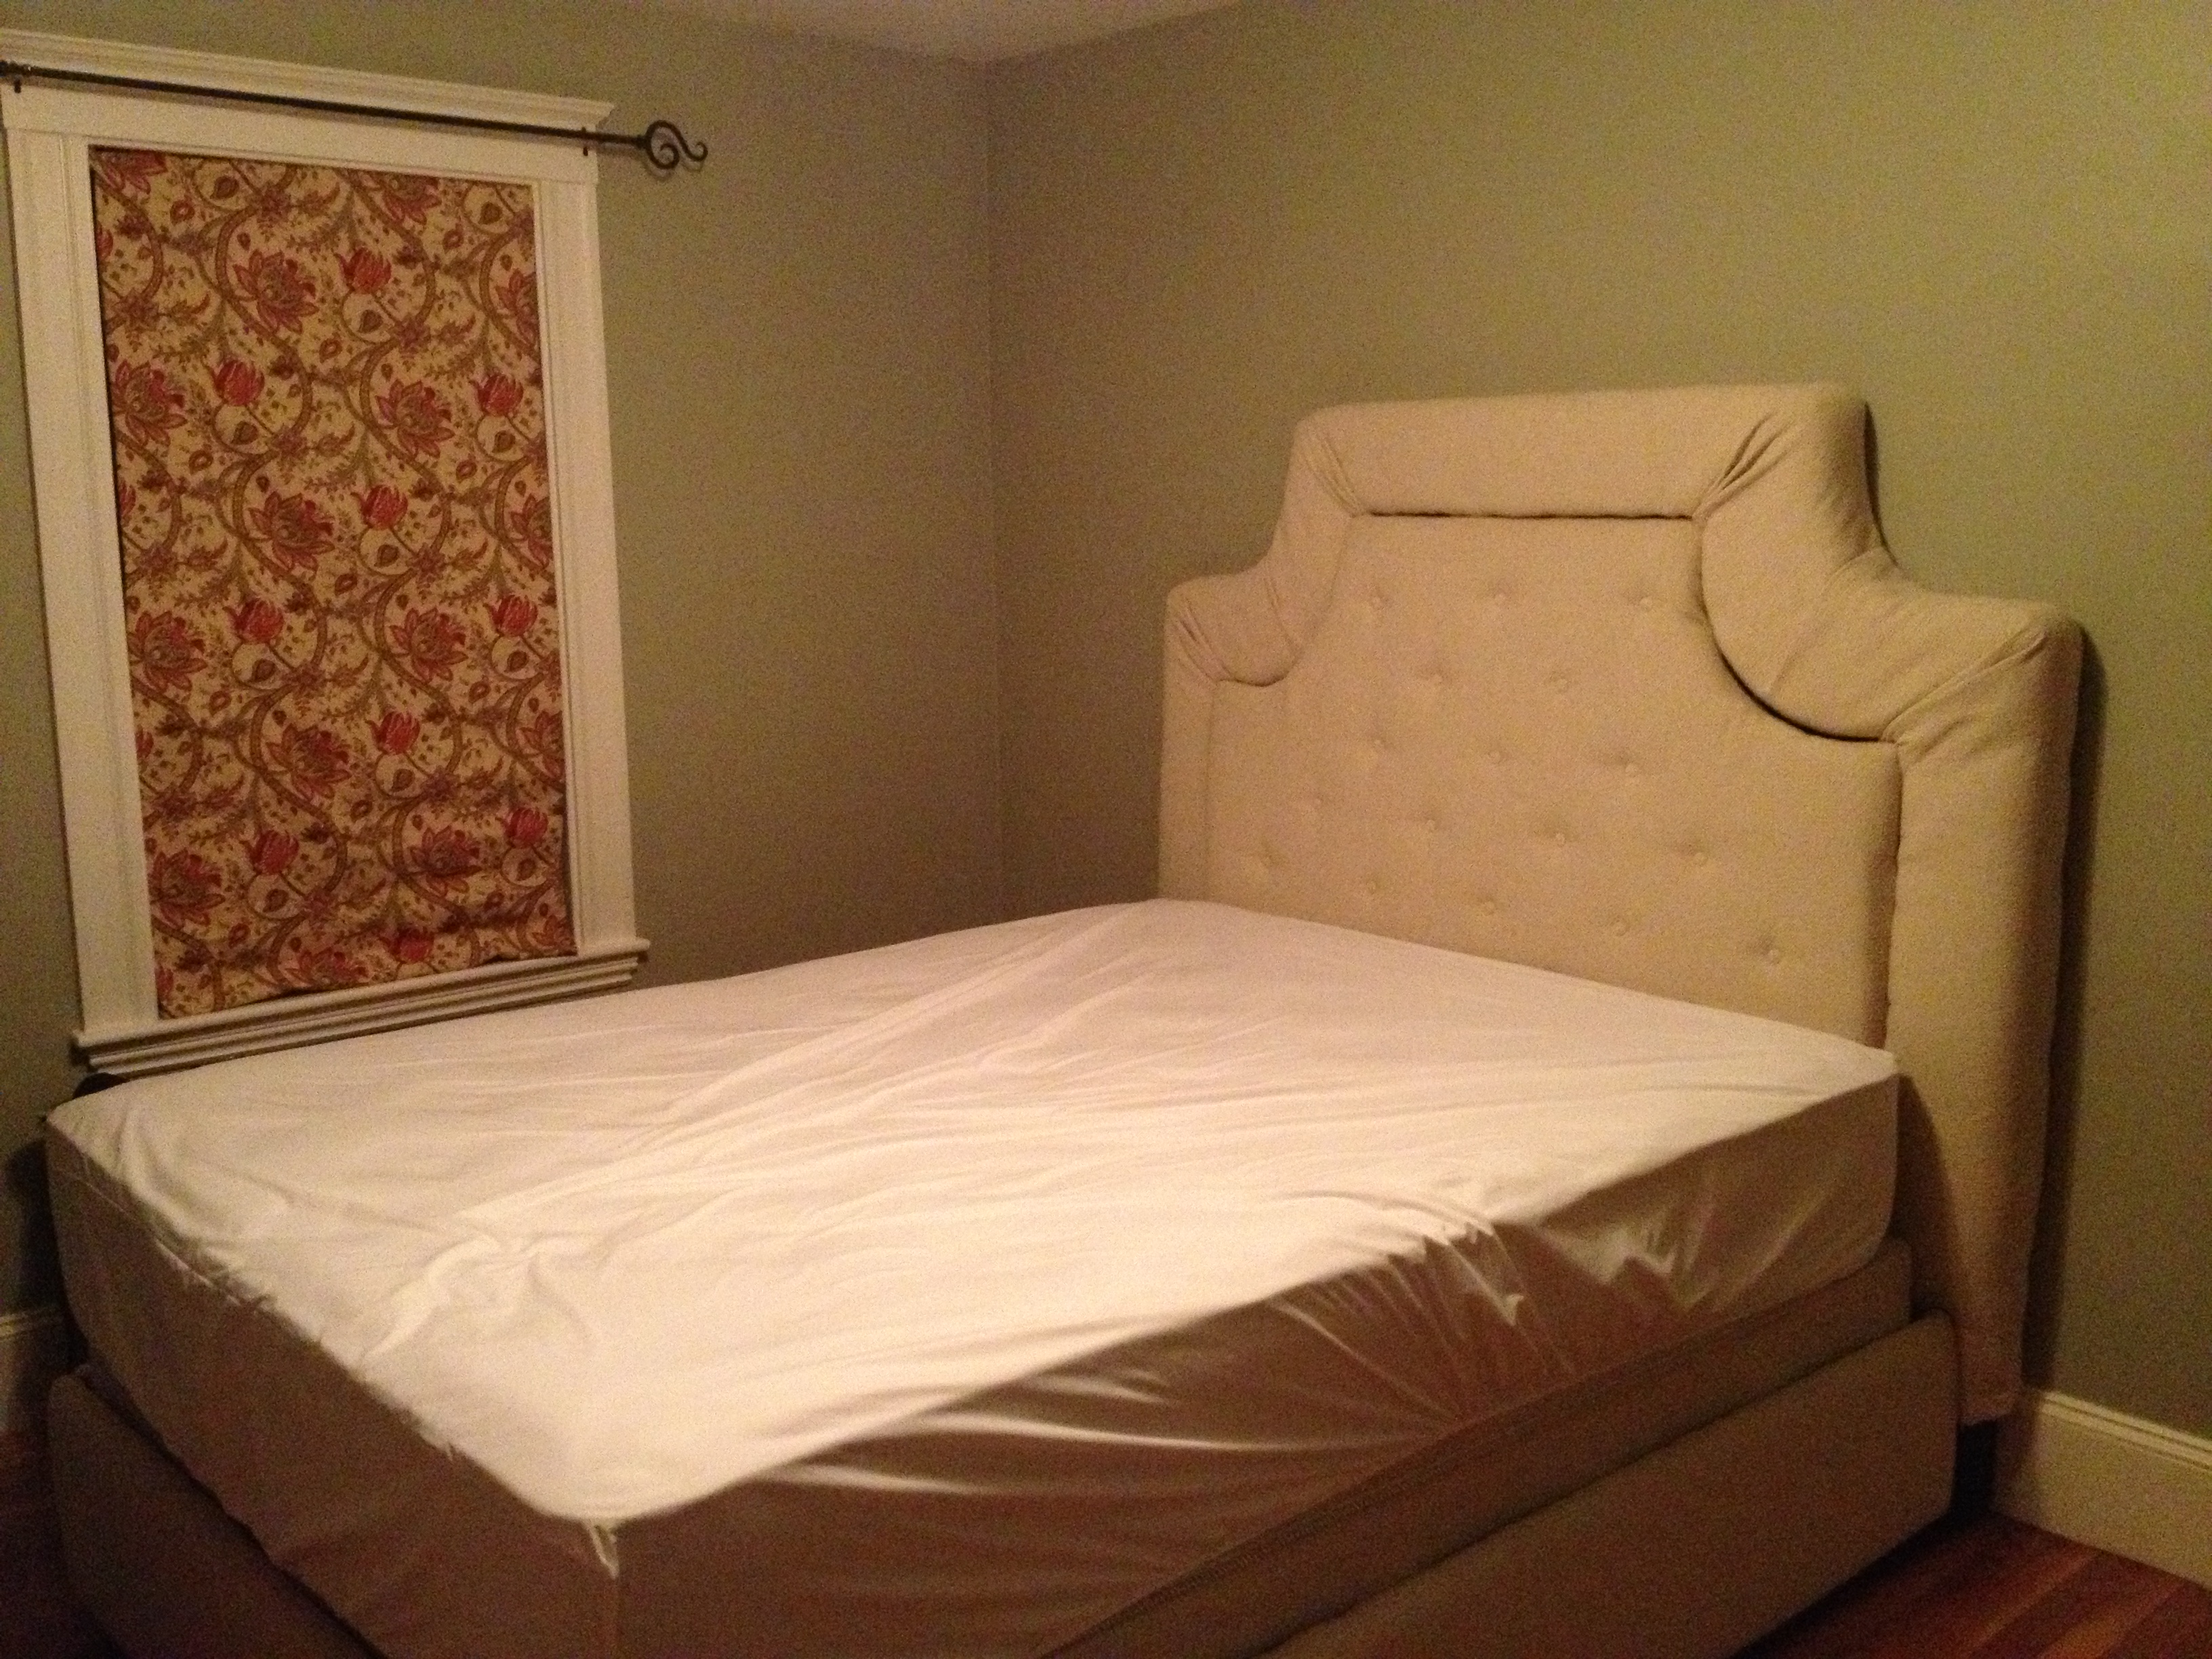
Ok, so I was looking for a new headboard and stumbled on the plans for this Upholstered Bed.
Being without my full compliment of work this winter, I figured, what the heck. I'll try it.
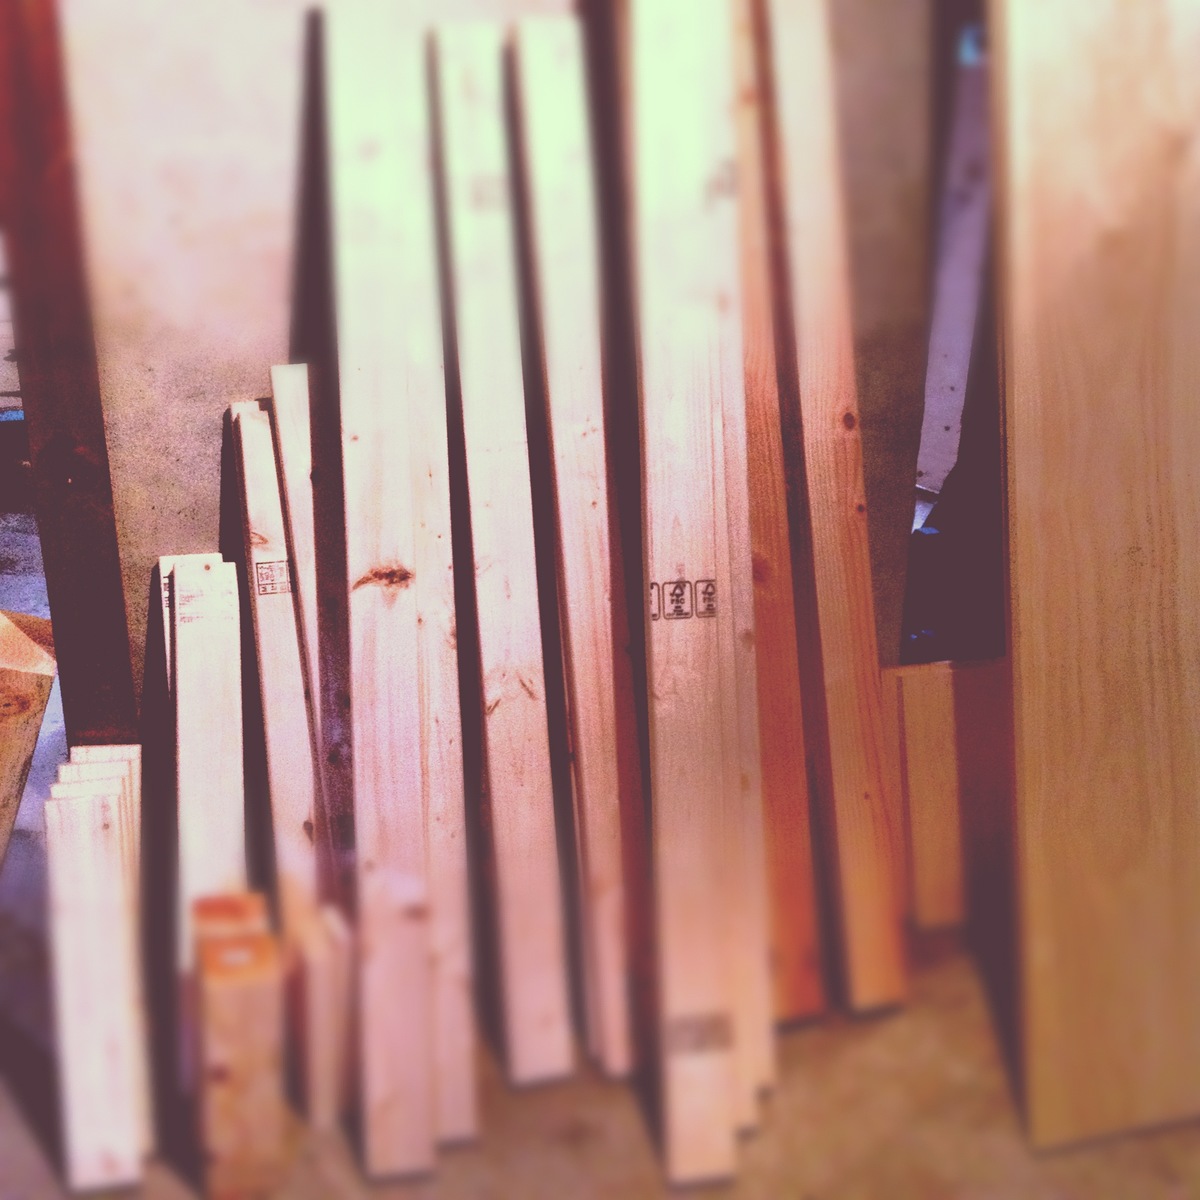
Off I went to Home Depot, bought the supplies and got started.
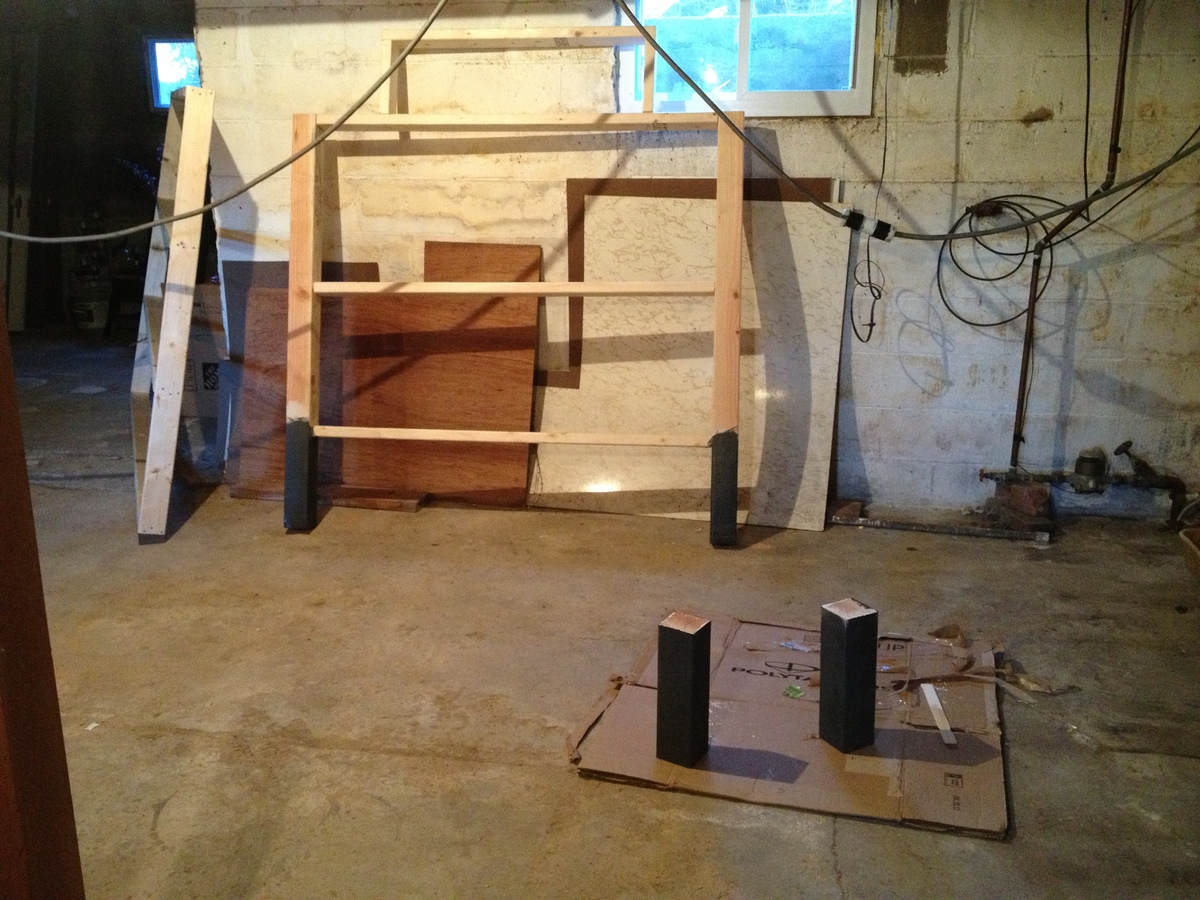
I should mention that this was my first time doing any sort of carpentry, I have never used a jigsaw, and I had to borrow all the tools.
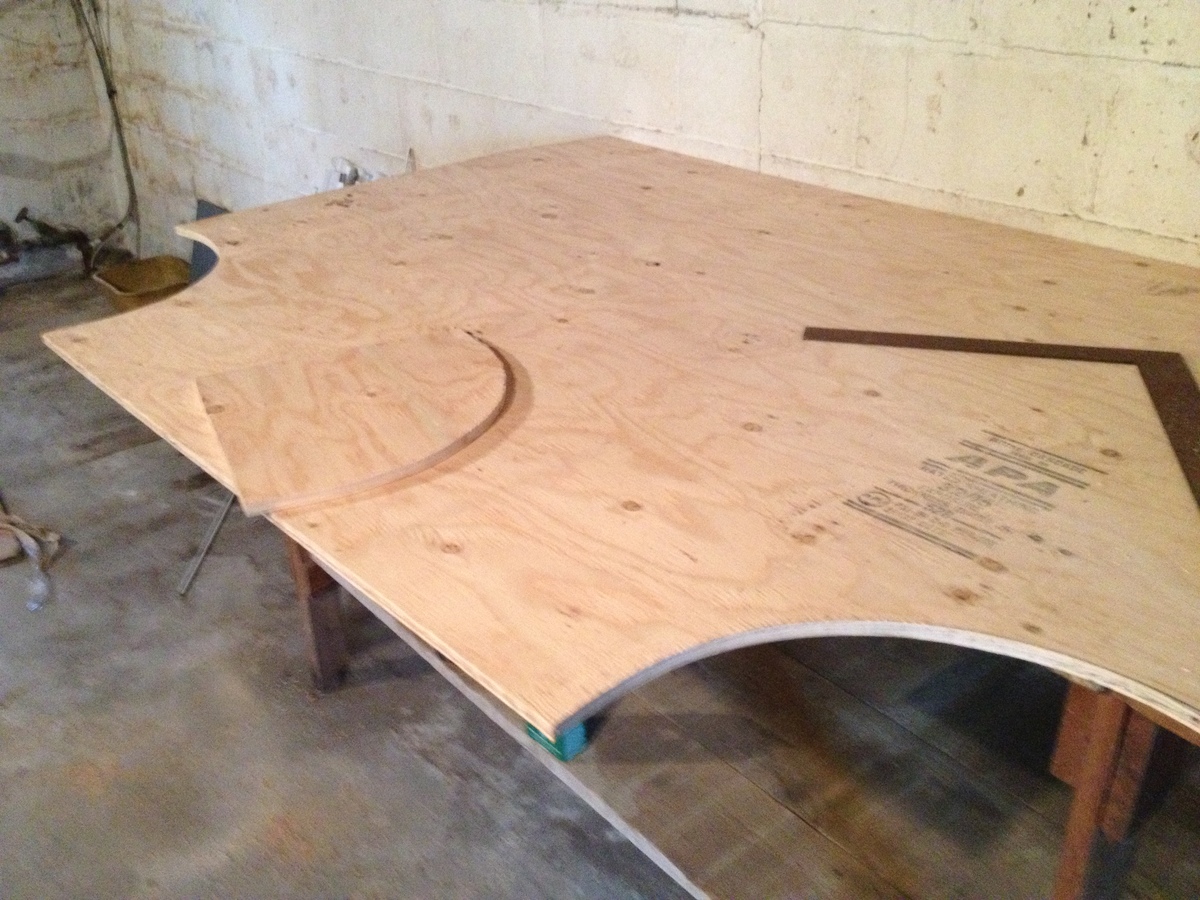
I found this SUPER easy! I had the headboard support finished in under an hour. Then I took my time cutting the plywood, just to make sure I didn't make any mistakes.
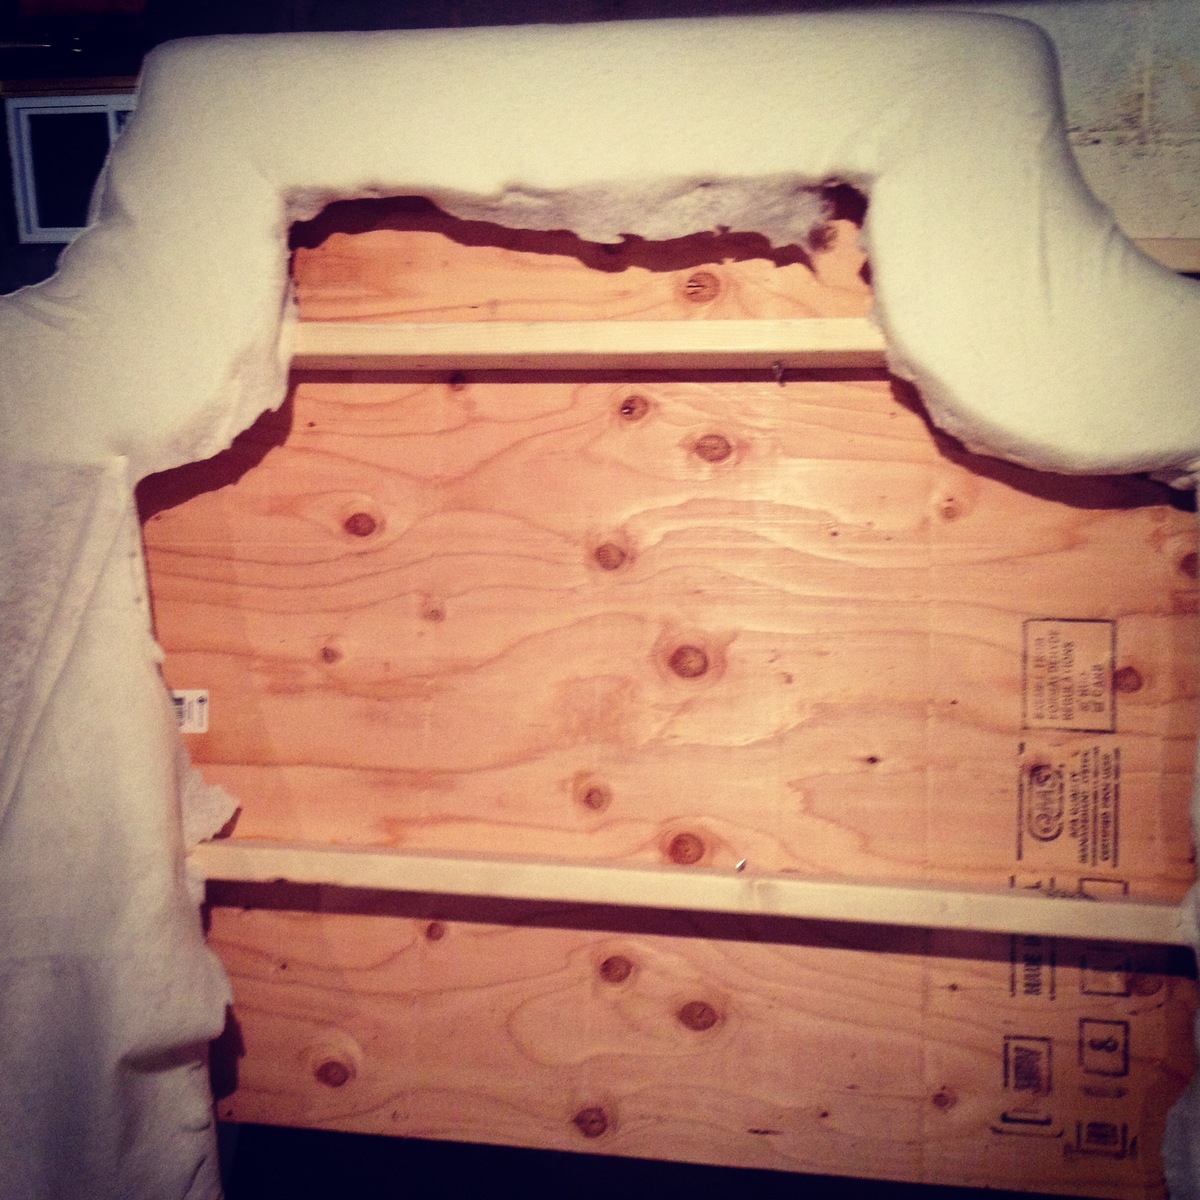
**I should mention right now, if you are planning on using a heavy upholstery fabric like I did, when you cut out the headboard insert, make 2 cuts! I wasn't able to get the insert to lay flush because the fabric was so thick! (I have since taking the picture added decorative trim to hide the little gaps)***
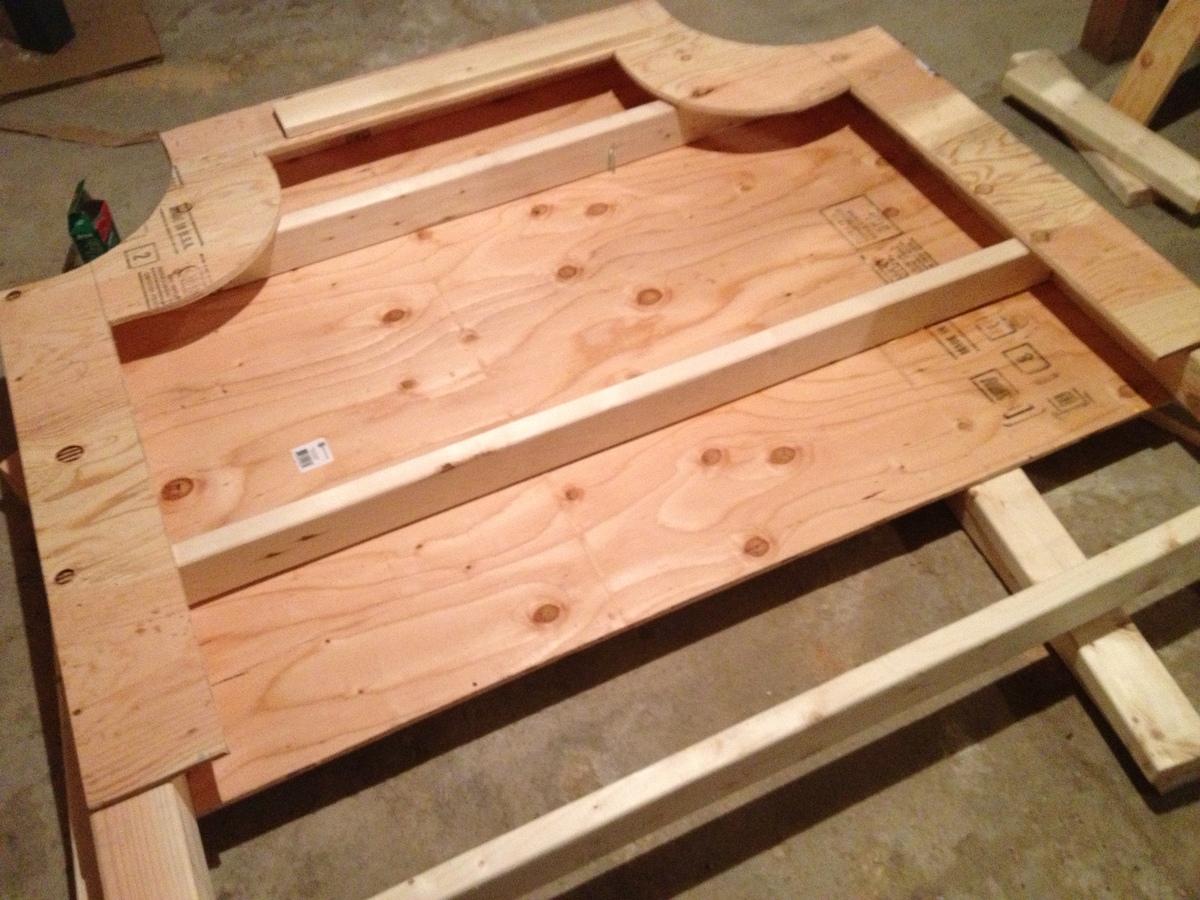
Once I had my plywood cut, I had no problem attaching it to the frame. The upholstery was a 2 person job that took a little time and a lot of staples, but not difficult.
I chose to tuft the headboard insert, and am so happy I did. It was time consuming, but worth it in the end.
All said and done, this took me a little over a week to complete. I had the construction done within a day or two, but the upholstery was very time consuming.
I love my new bed!
This project was wonderfully easy to build and it is a sturdy step stool I feel will last for a long time. I was able to build it very quickly, with minimal assistance. Painting and finishing adds to the time but it's beautiful.
My take on the Grandy Sliding Door Console. I adjusted the size to fit under our 70inch TV and used old wooden windows as my door. I also added wooden furniture feet. Approximate dimensions are 66LX38HX23D.
Just a few of our Fancy X farmhouse tables. Along the way, we where able to put our own spin on the original plans by Ana White.
I built a 15" wide by 8' long outdoor patio bar with locking casters. I modified the stool design on Ana's website and stained both to match. I finished the top with stone tile and grout. This area has become the main gathering point in our backyard when entertaining.
My first project using Ana-white drawings, and also my first project of furniture. I am really happy with the results ! Thanks Ana !
This is Ana’s beginner farmhouse coffee table. Was a blast to make and really enjoyed my first project
The twin beds that my boys were using took up way too much space in their small room so after much looking I found the Ana White site and this plan. The bed I made is per plan except for the addition of the side rails that slip fit onto the sides. When we change the sheets on the top bunk we just slip off the rail and stand on the lower bunk. We've had my two boys and three nephews all on the bed playing Xbox and it is rock solid!
This was built from the rustic storage bed plans i just tweeked it a tiny bit