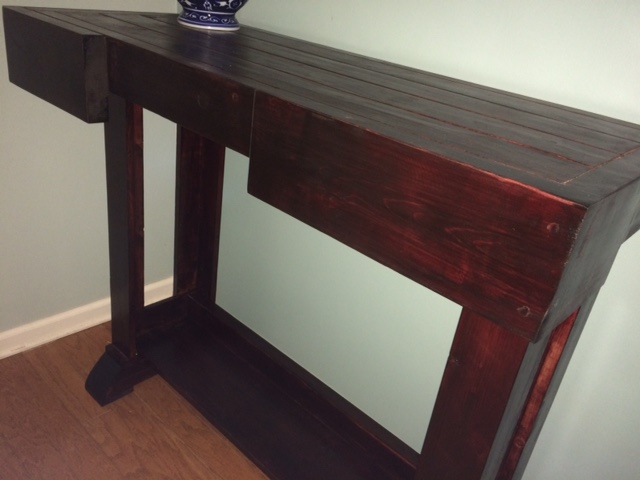
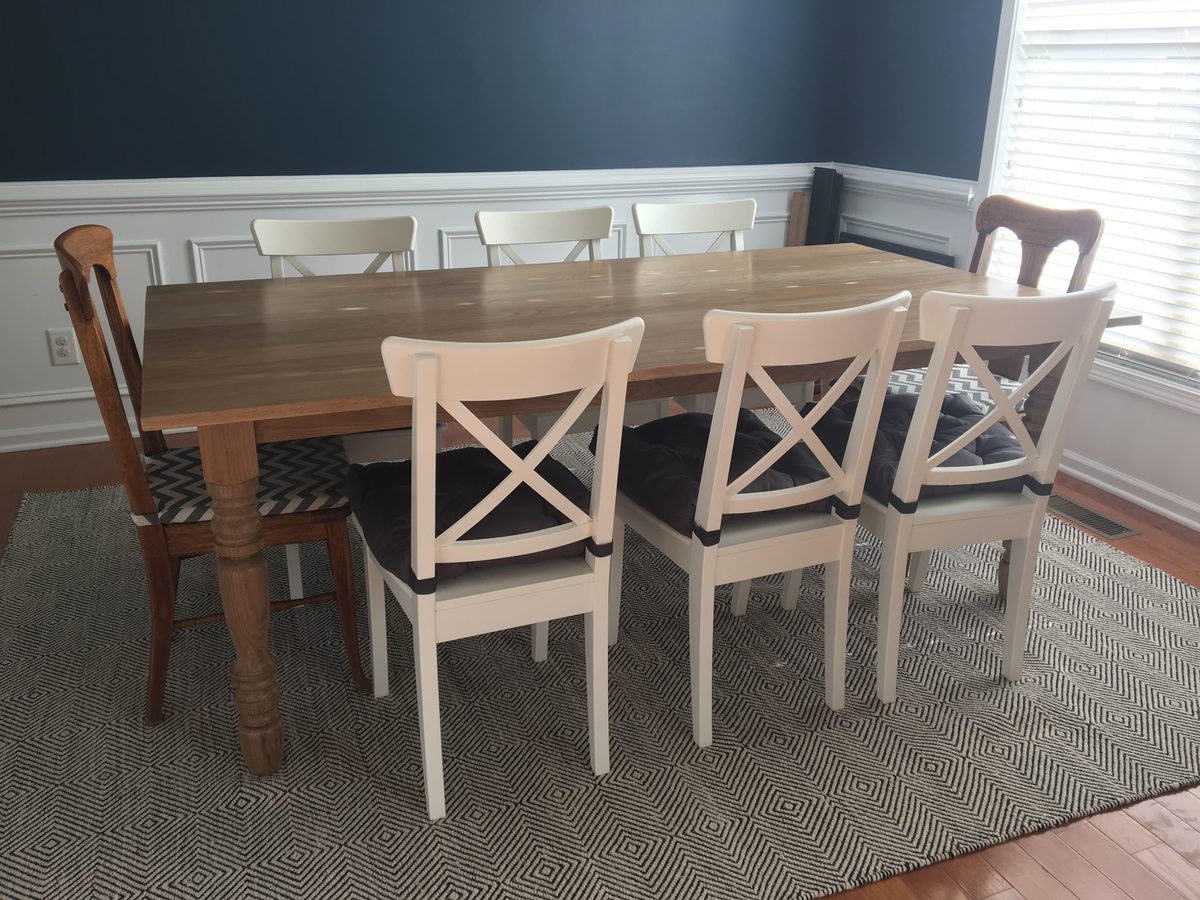
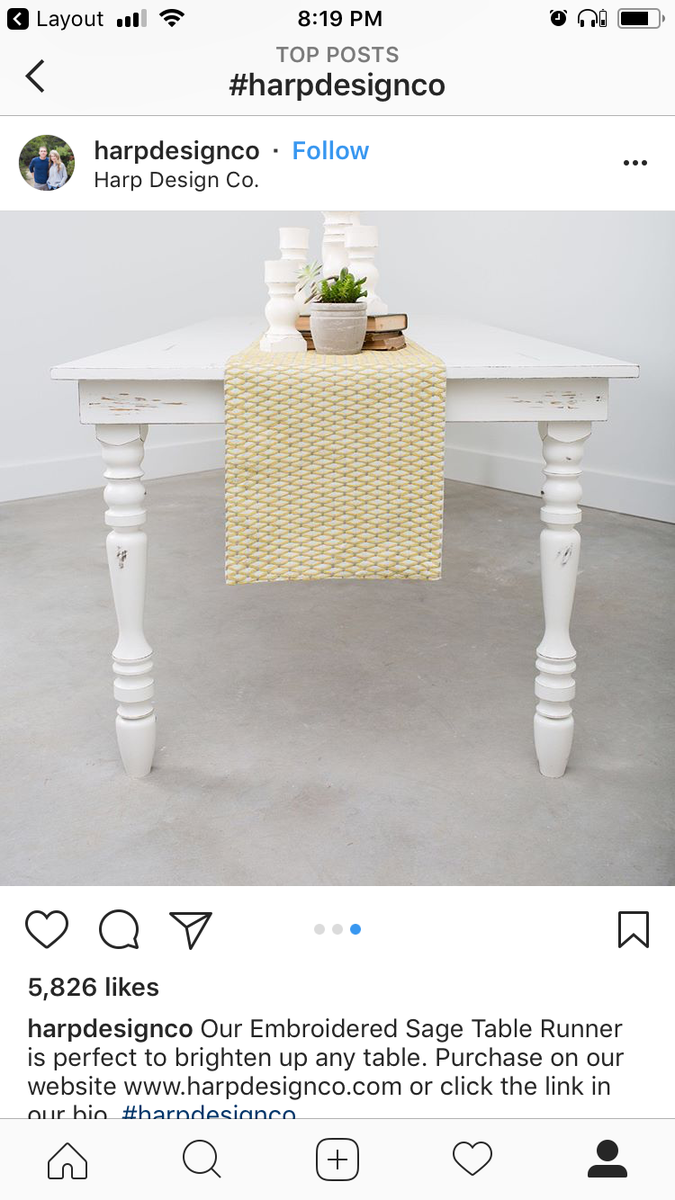
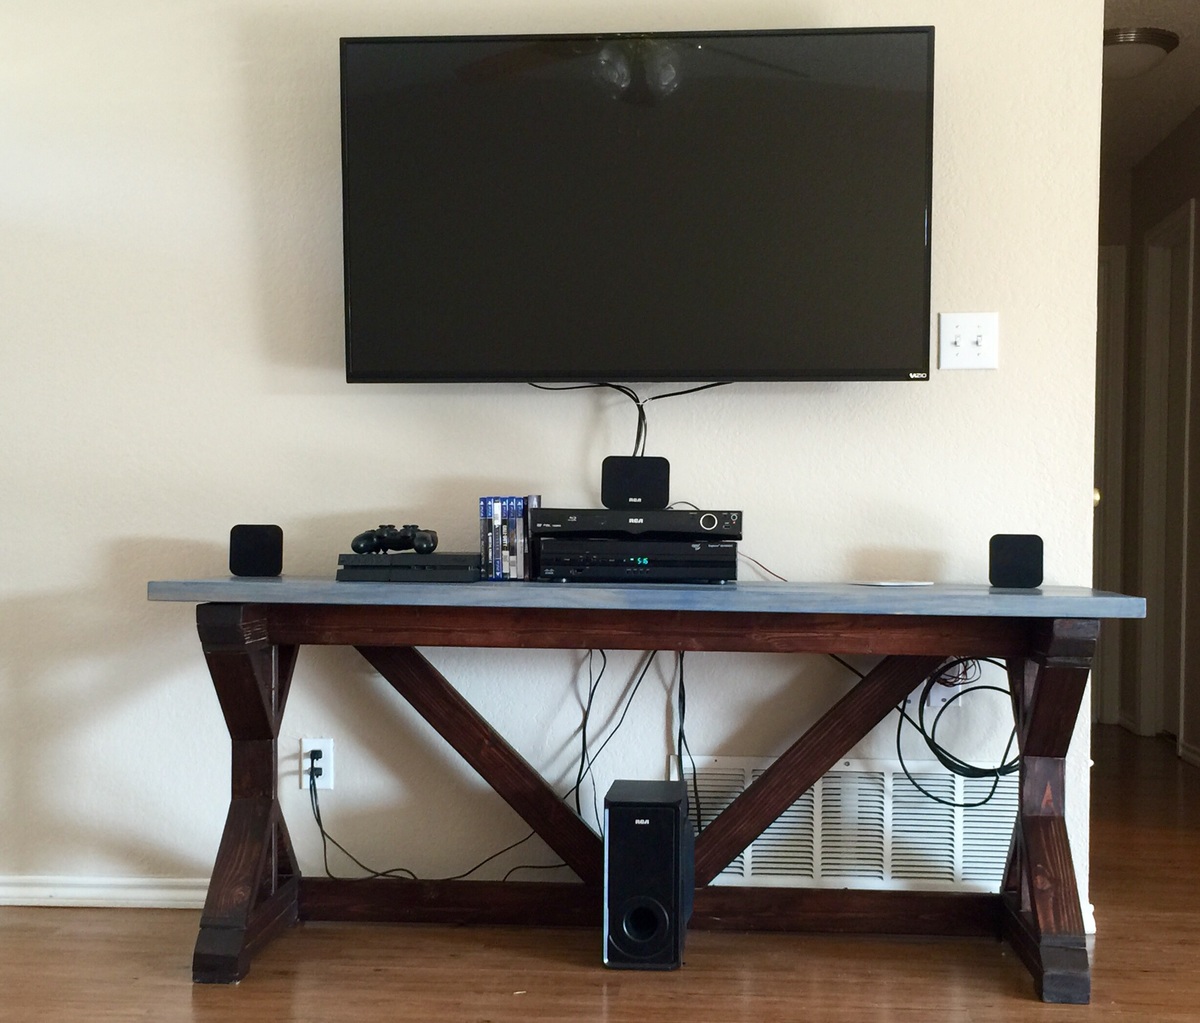
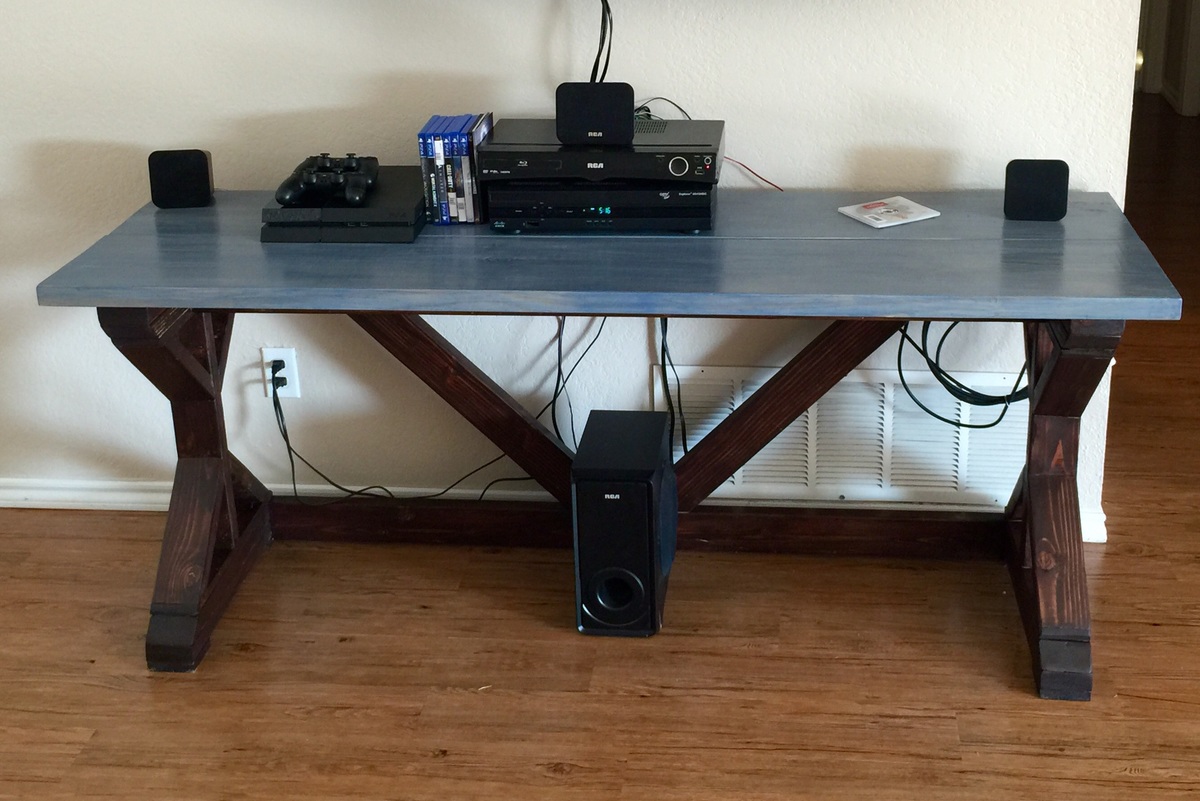
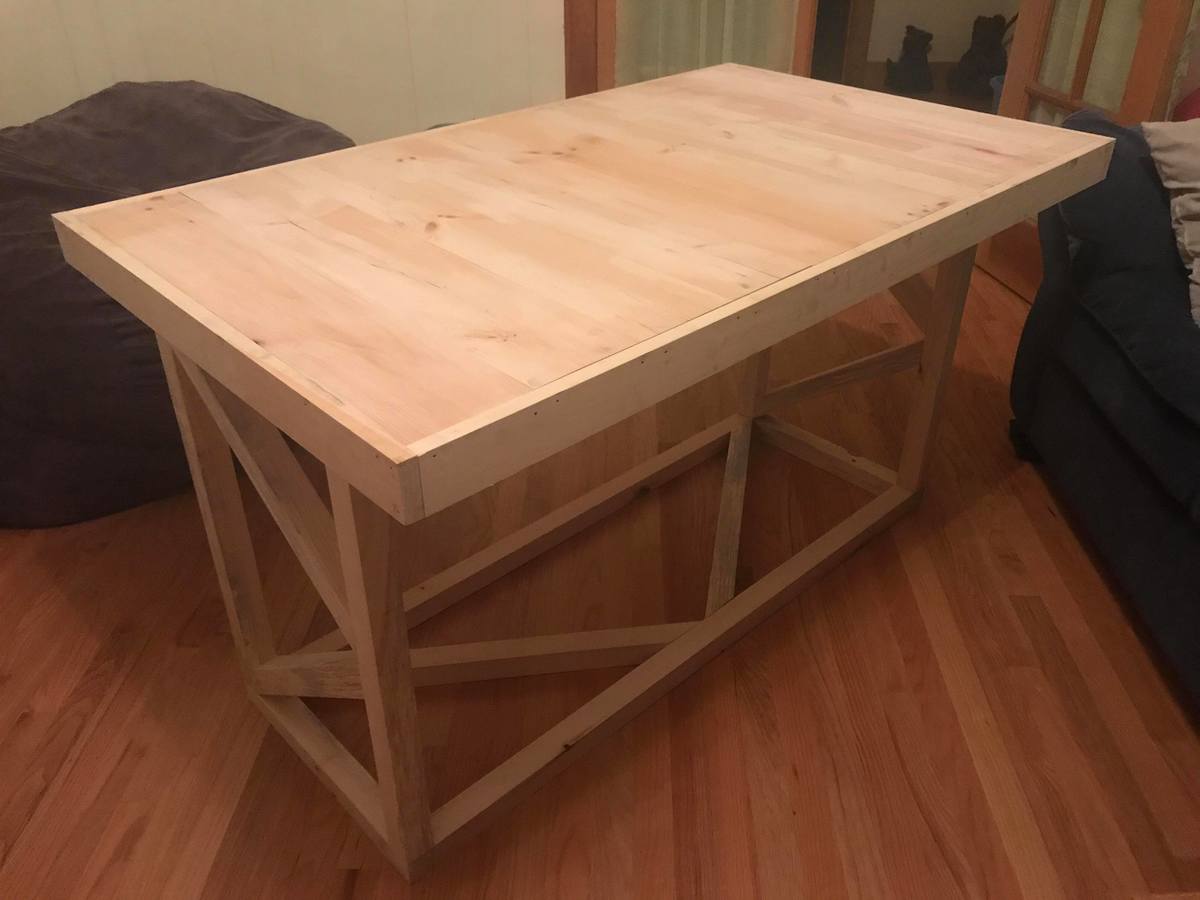
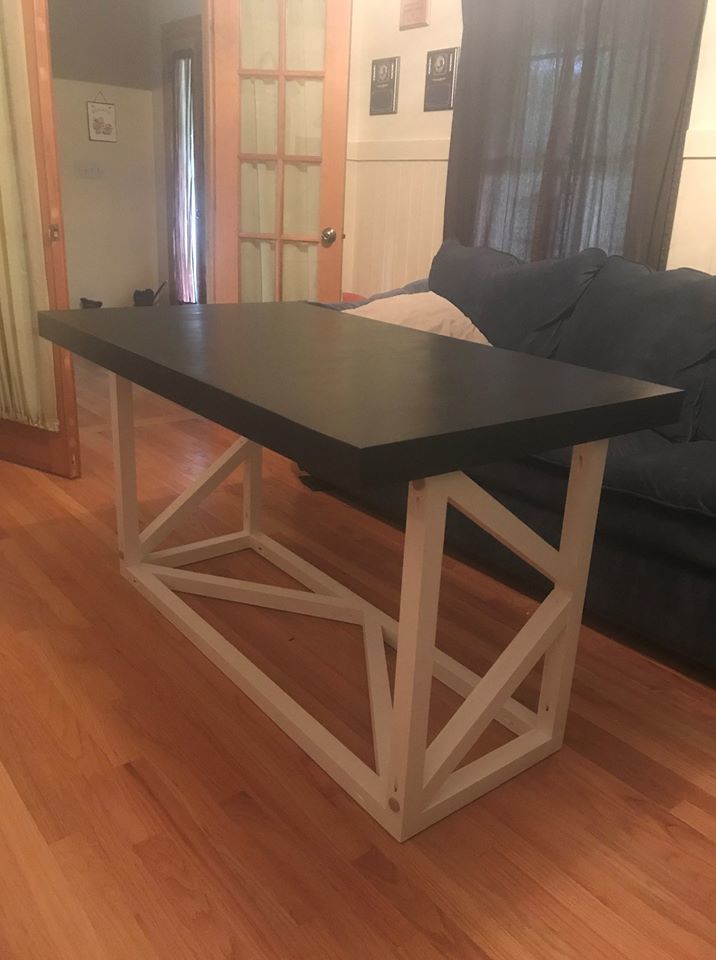
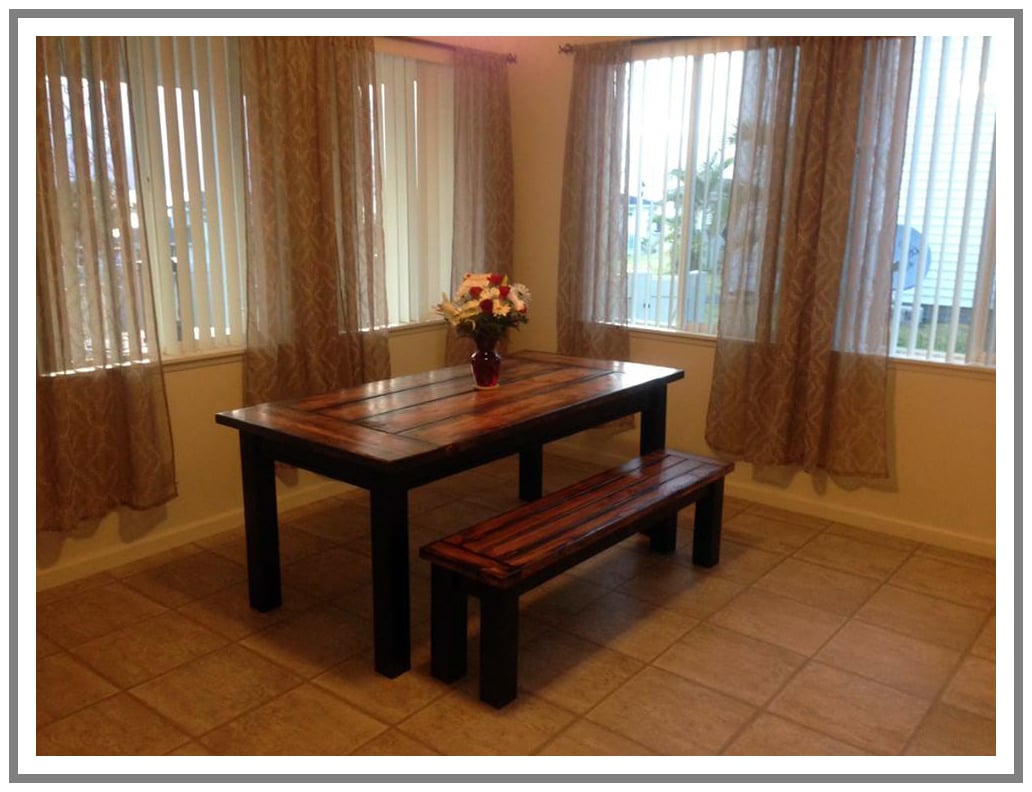
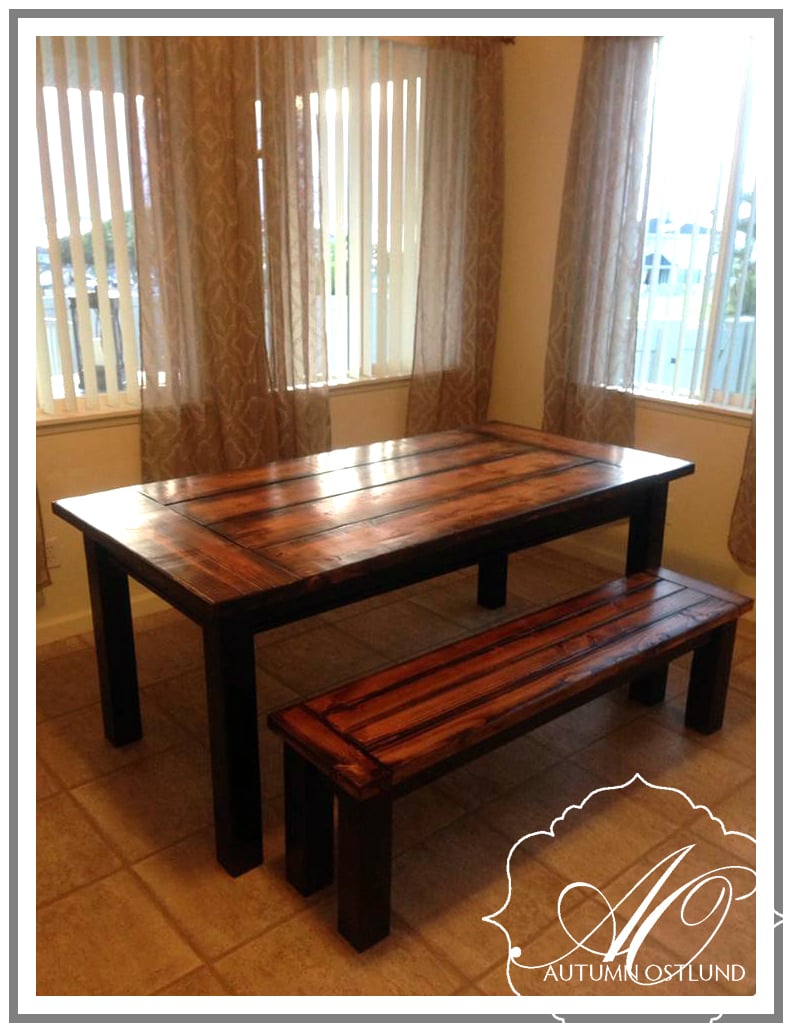
A friend of mine loves the tables by Harp Design Co. but she wanted changes made to it such as the apron being inset, removable legs, oak wood, specific finish, etc.
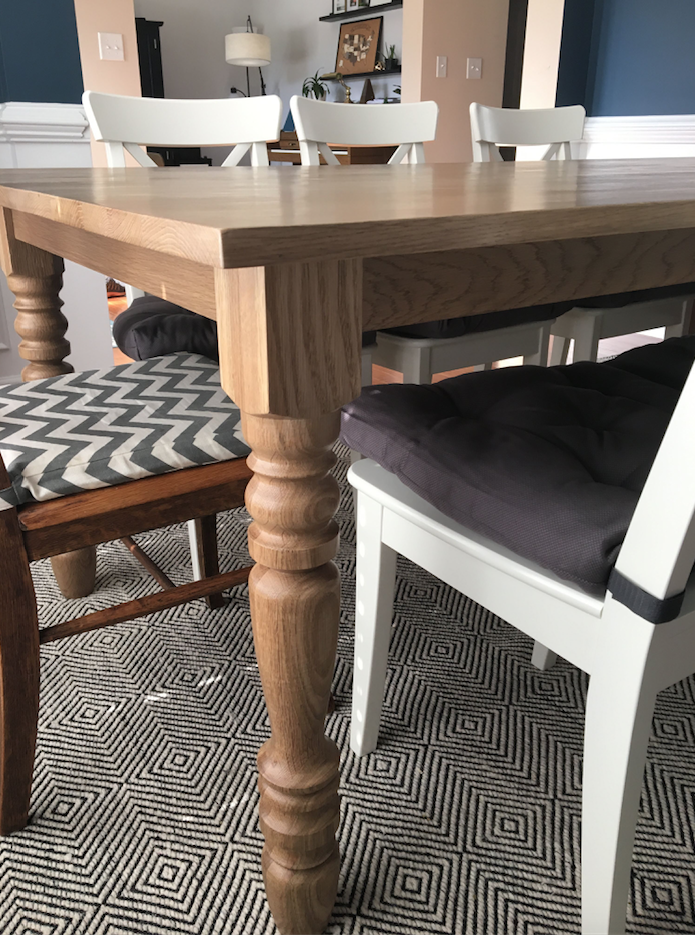
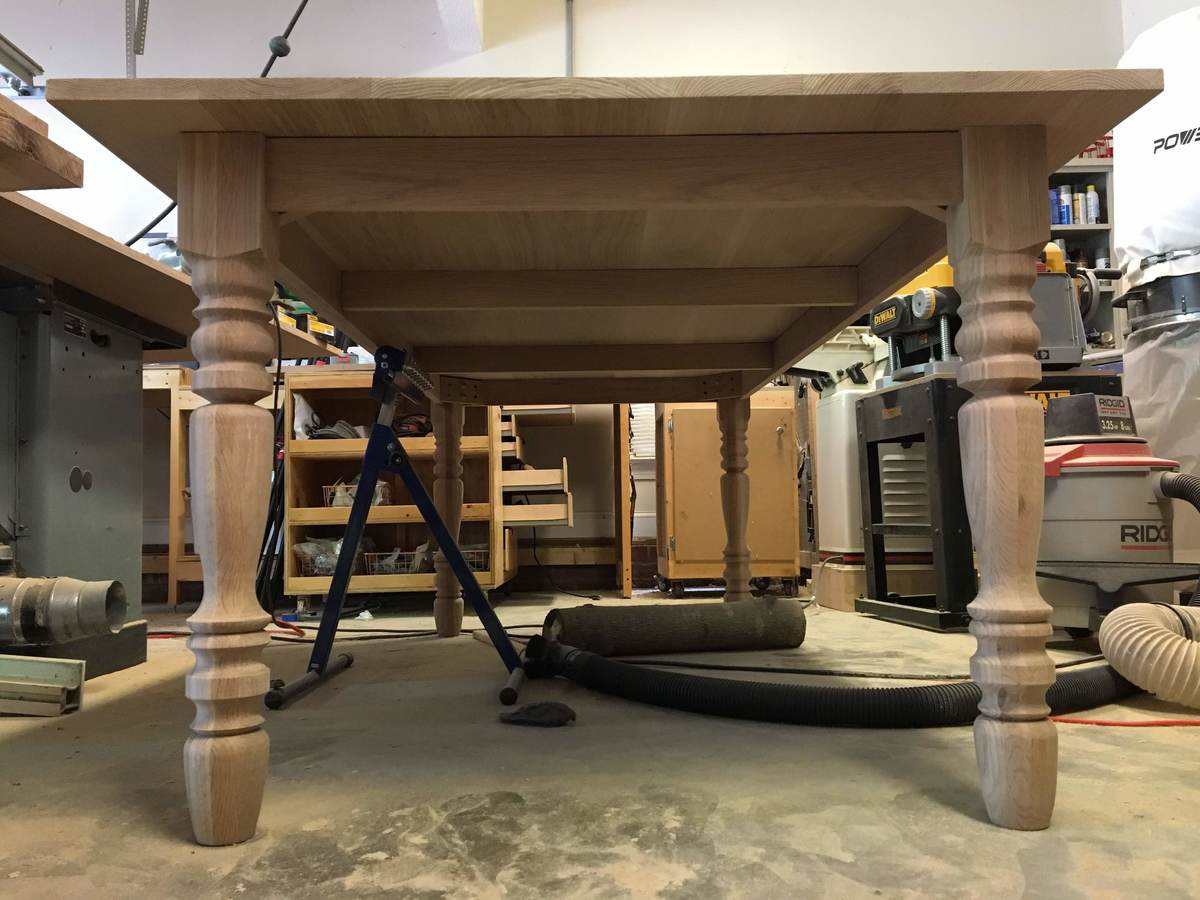
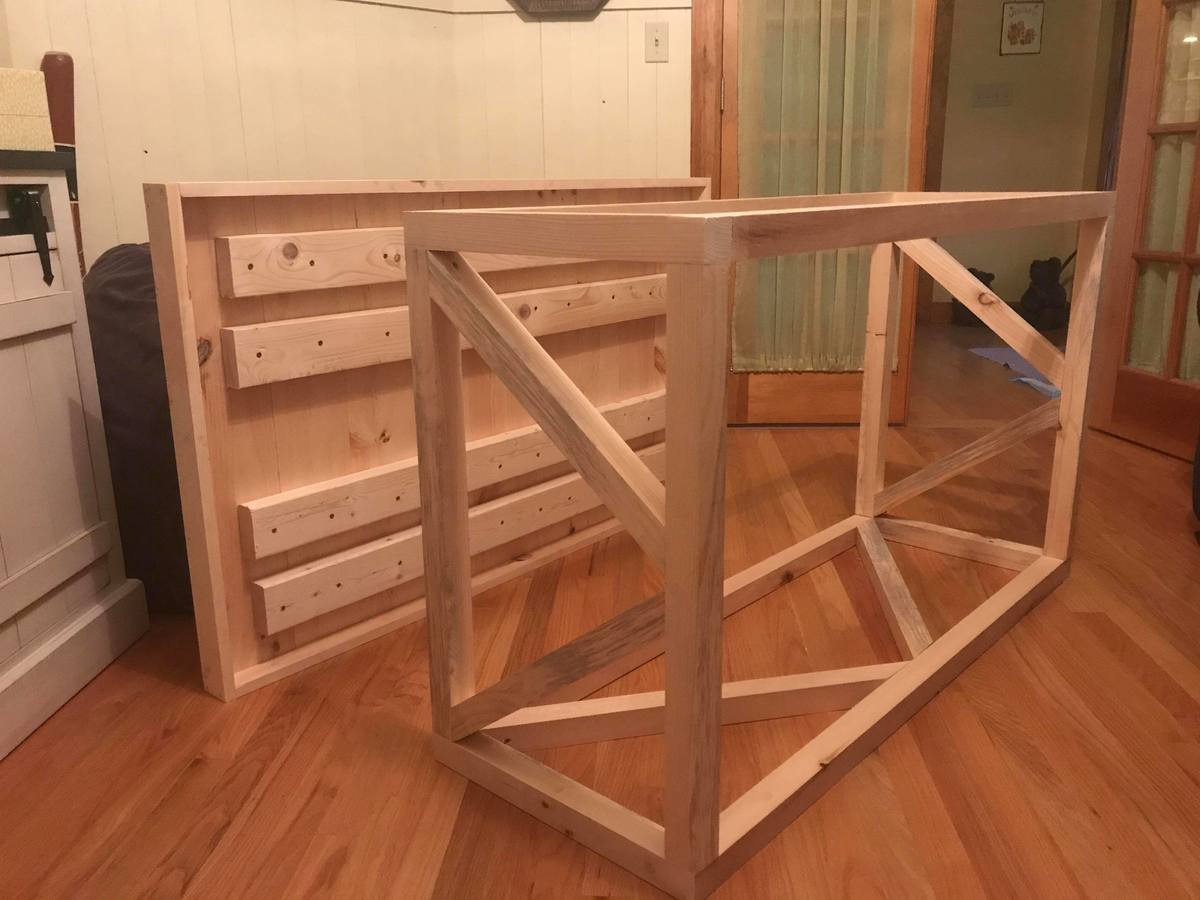
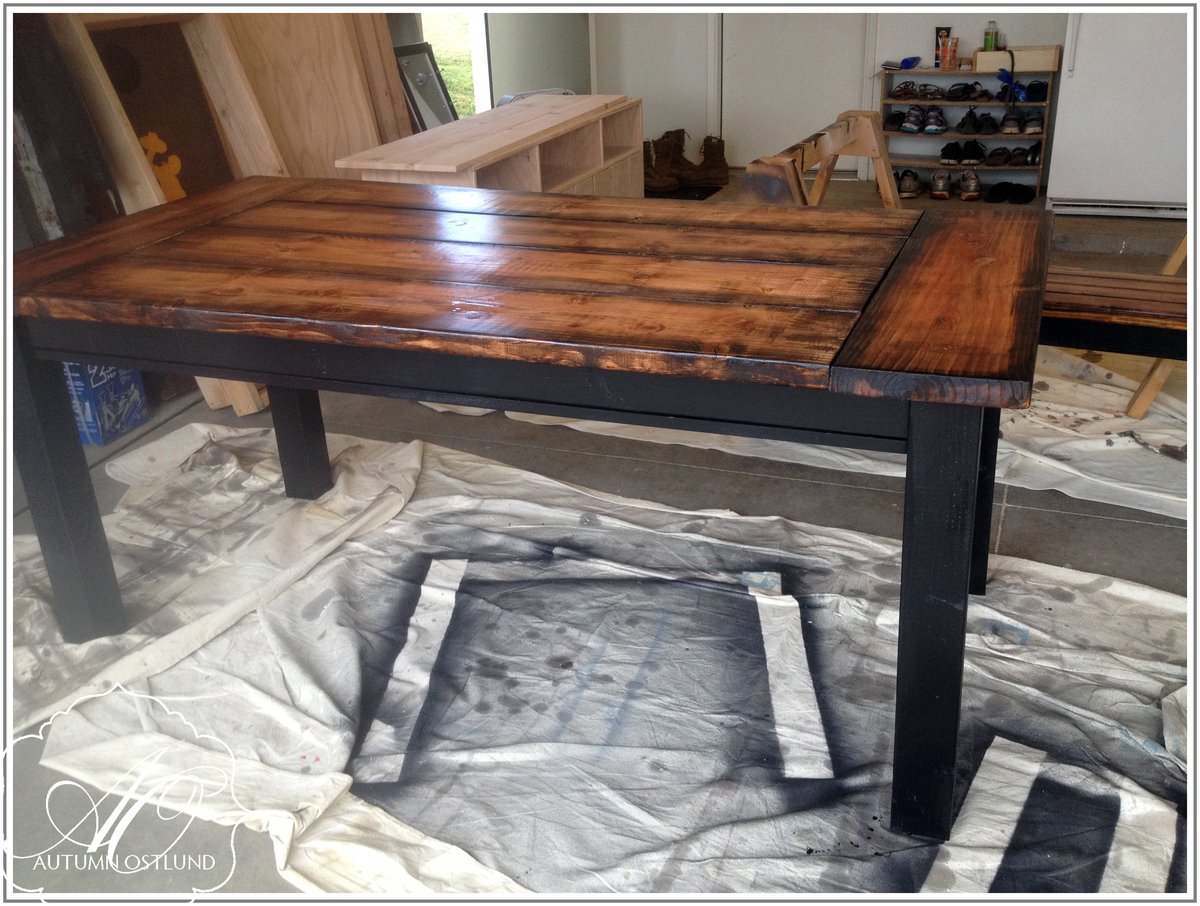
She hired me to make her one and it's been an exciting build! I built it from a pile of raw wood, turned the legs, etc.
My favorite thing to do is to inpsire others to reach beyond what they're comfortable doing - that's why I post about my projects through my website so other people will feel like they can do it too! https://theprojectlady.com/how-to-build-a-harp-design-table/
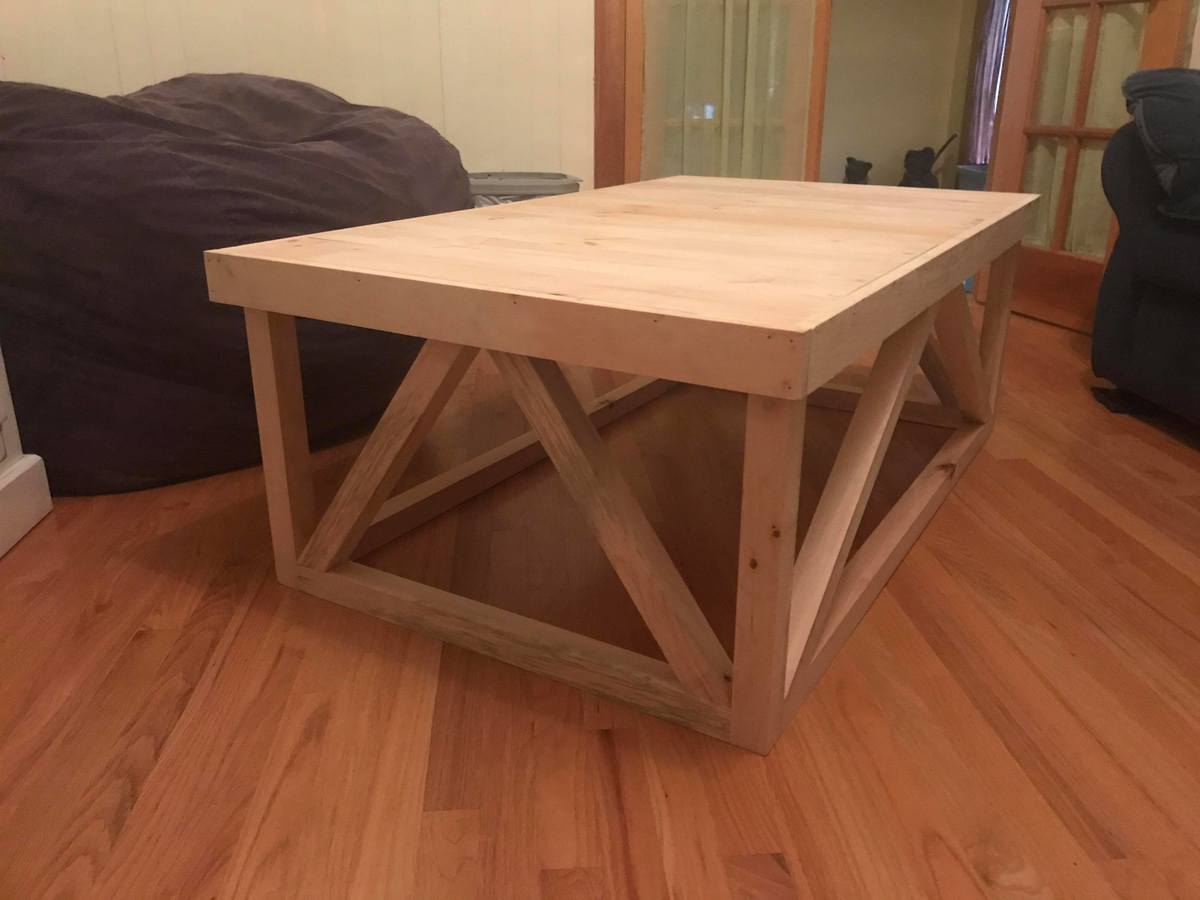
I'd rate the level of build as intermediate, but really anyone can make it easier or harder. The most challenging part is the legs - do something more simple, hire someone to make you some, order them online, etc. The posts I created for this table are in-depth but don't let that intimidate you!
Happy Building Friends!
Estimated Cost
$450 for oak wood, $100 for finish, $30 for hardware
Estimated Time Investment
Week Long Project (20 Hours or More)
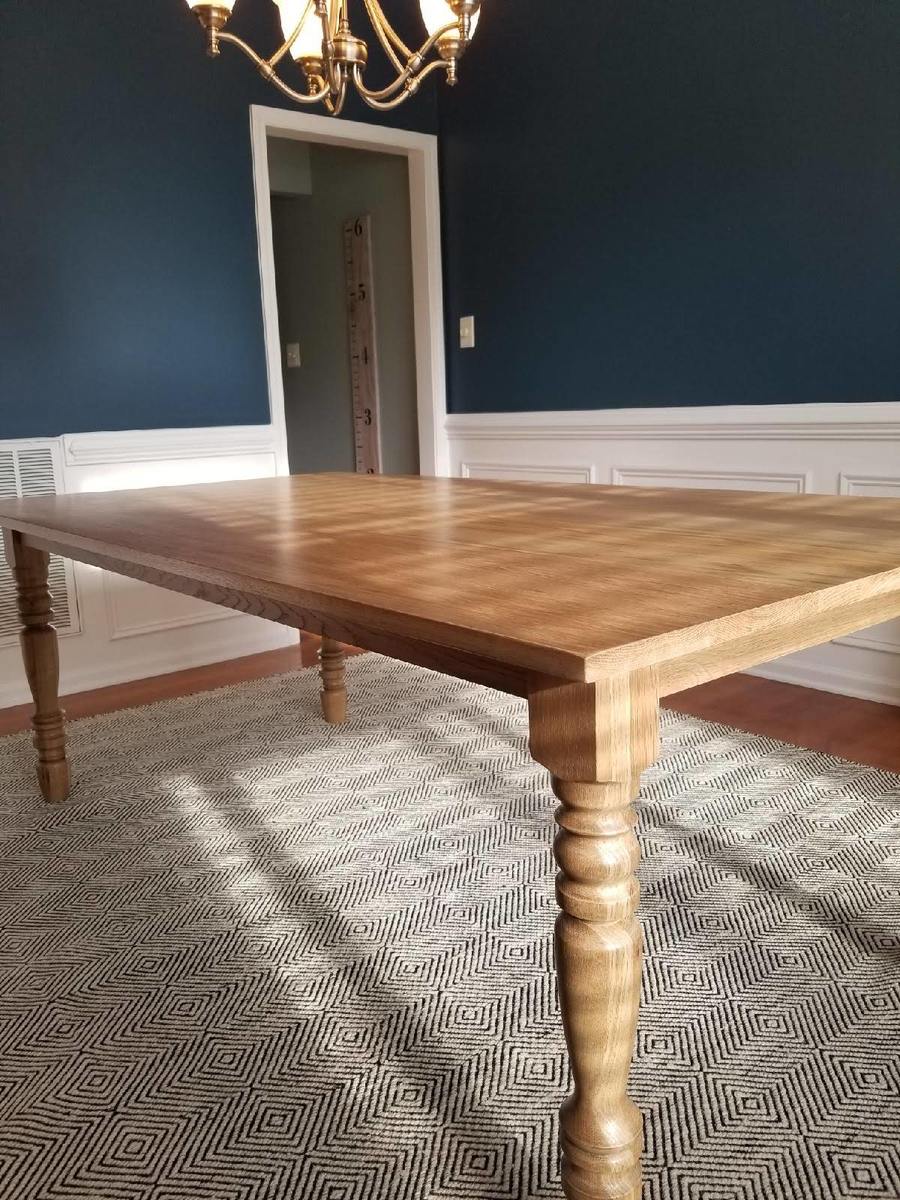
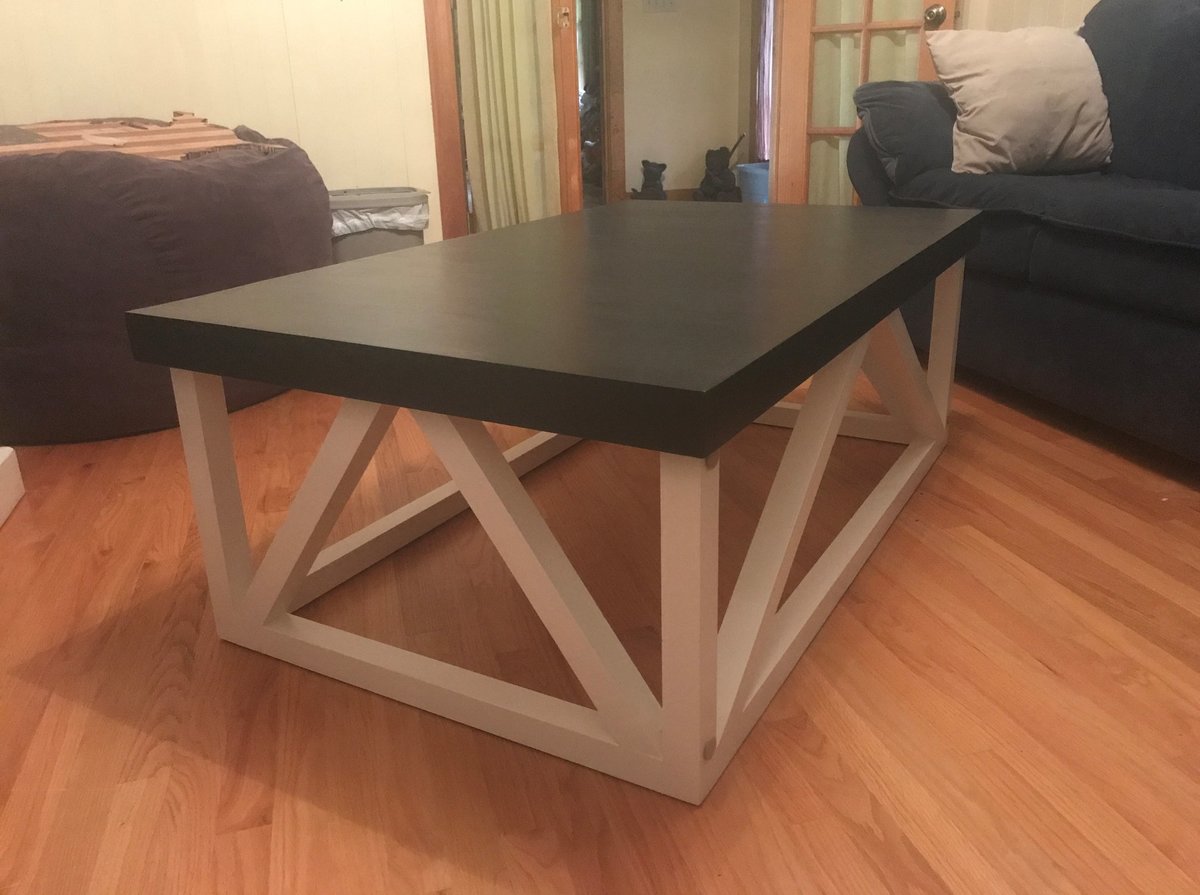
Finish Used
General Finishes High Performance Clear Coat with Transfast Dye (tinted color)
Recommended Skill Level
Intermediate