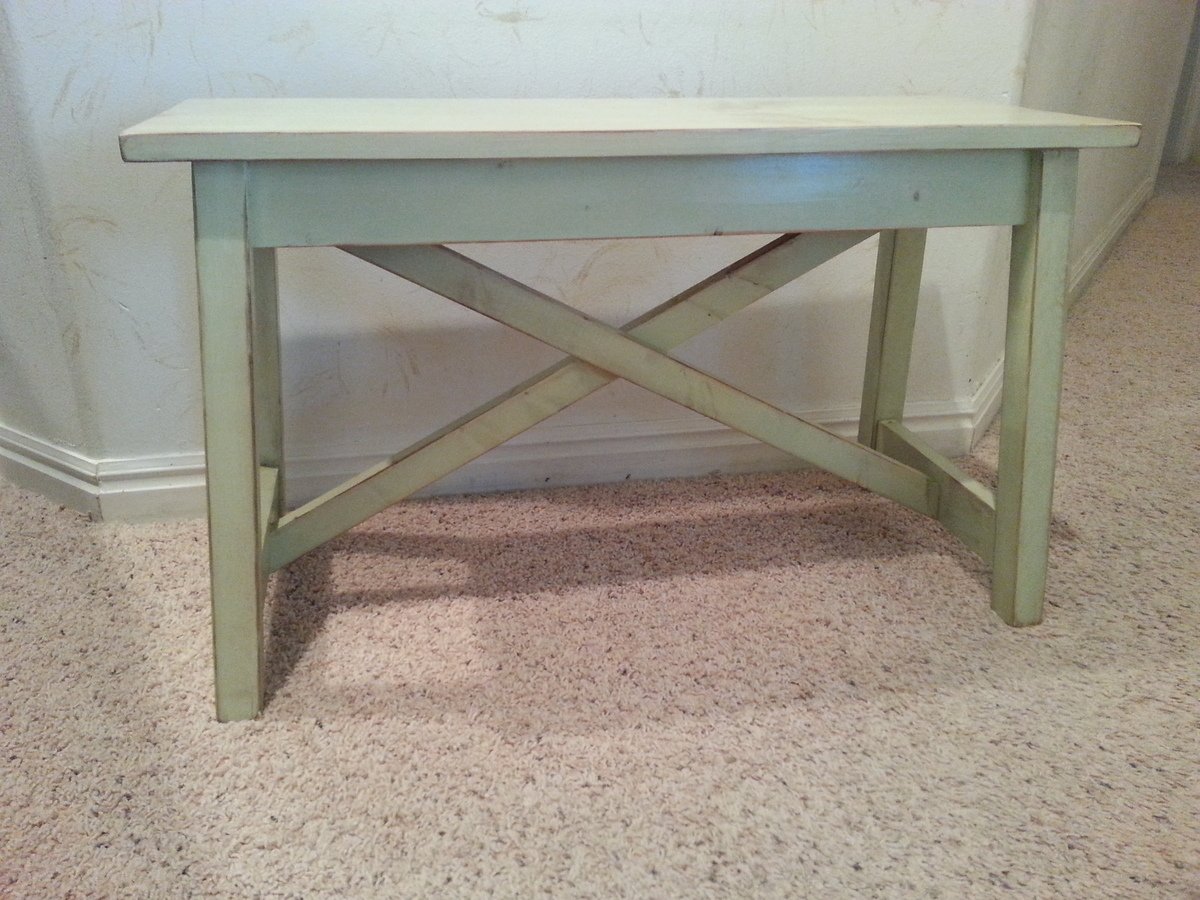
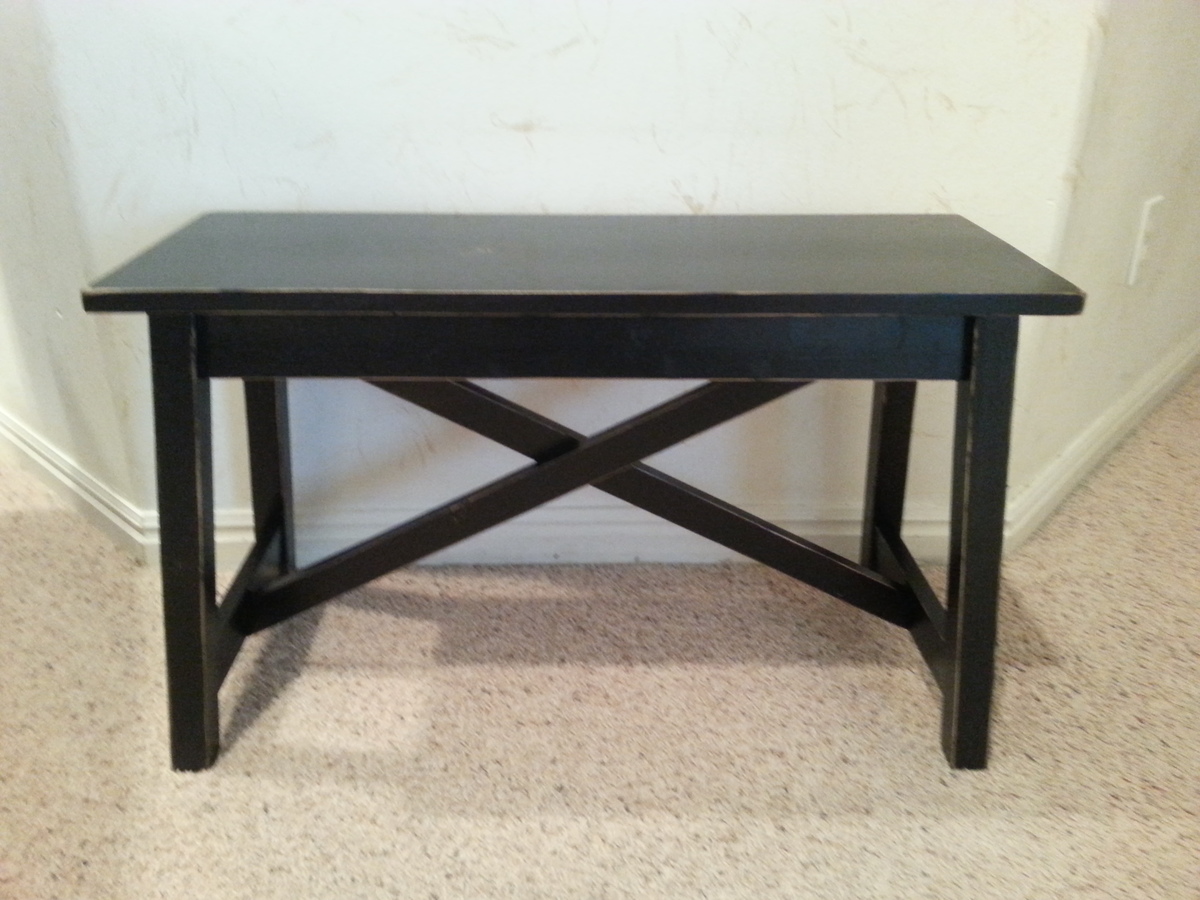
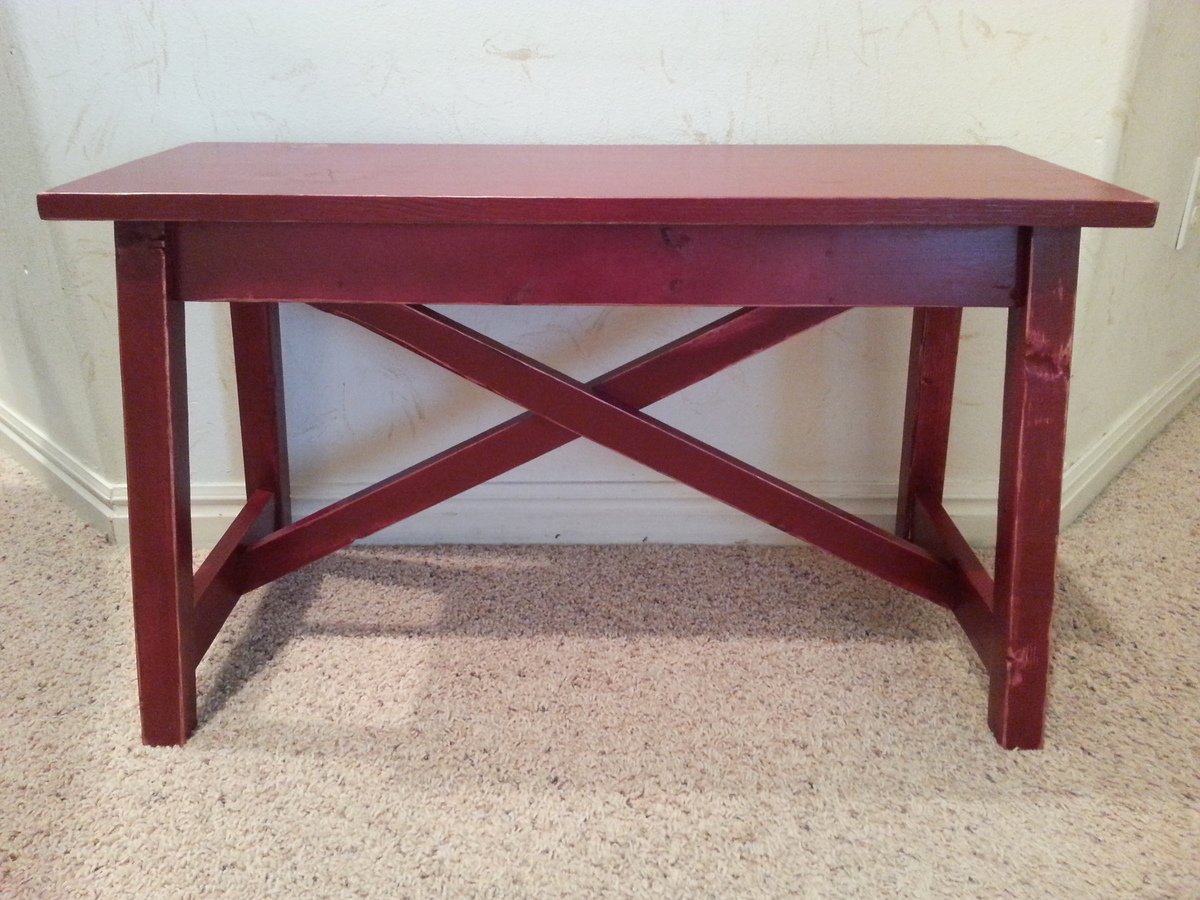
Squatty Potty
Really no words needed :) It's a Squatty Potty. Don't judge until you've tried it!
Built a couple of these earlier this summer for the wife. We went with a torched wood look, so after cutting all the pieces, everything got torched and then finished with spar urethane. After assembly I sprayed a few more light coats just to seal up the screw holes. These are super sturdy, and really comfy. By far the majority of the build time was in the finishing. Cutting and assembly can be done in an hour or two.
I'll probably be making ~4 more of these for around the fire pit by the lake, but this time after torching the wood, we're going to use some color-dyed stains to change it up.
This is my first large wood project. I used pine and fastened the pieces with pocket holes and countersinking screws. I also used Elmer's stainable wood glue. I chose a dark cherry stain. I haven't coated it with polycrylic yet, but I plan to soon. Thank you Ana White for this amazing website. I'm going to buy your book for my siblings!
Used the smaller Dentil crown, and the blue accent that will match the accents on the end table that i will also put up when finished
this project was pretty easy over all, I had a little trouble getting the drawers level, but that was about it. I did have to change the measurements to make it a full size bed but it came out fitting perfectly!!
Needed a sturdy bed for our Autistic adult son. Added an extra bracket at the head and base to support the corners. Then used 4x4 for the legs. Painted it a fun color and he loves his new bed! Need to find some ideas for a headboard but this is such a sturdy bed. We love it! Thank you so much for these great plans.
This was my attempt at the 'Build an Entryway Bench...' project. It was also my first Ana White build.
A few notes:
- I had to modify the length of the bench in order to fit the 12 x 16 inch wire baskets I bought off eBay. Basically, I added 5.25" to all the horizontal pieces.
- I used a jigsaw to the the half-oval cut-outs on the bottom pieces. I got this idea from a similar bench from the Pottery Barn website.
- I routed the front edge of the seat with a round-over bit.
- I also routed the inner edge of the top with a core box bit.
It was amazing how quickly this went with the right tools and a couple mornings. Thanks for checking it out!
-Will
This was my first project from this site...and it will not be my last. thank you so much for all the hard work you put into these great plans.
Built a bunch of benches for Christmas/wedding gifts. It was fun to have them all finished in different colors and line them up for pictures.
We have built this plan twice for our two daughters (Full size mattresses). A similar bed frame at Pottery Barn Teen would have easily set us back about $1500 so these bed plans are truly a blessing! After no luck with a Wayfair wrought iron knockoff bed frame (loud and squeaky!!) we decided to give an Ana White plan a go. So glad we did! We did modify the plans slightly. We mitered all corners and stained all components with a Varathane Golden Oak before final assembly. Although I own and use a Kreg Jig, we wanted the frame to be easily disassembled. We opted for corner braces secured with 6, 1" cap head wood screws per corner (3 per side). Keep in mind miter corners can be a bit tricky but definitely possible with a little patience. PLEASE NOTE: when cutting miters, you will need to account for an additional 4" OD from Ana's written plans. Each 90 degree angle is approximately 2" long. So, if cutting the 75" length( for the mattress length) the miters will be 2" long on each end making the OD length 79". Whether you are going with Miters or butt joints, I would also highly recommend a right angle clamp (Top/Bottom) used during assembly. It is extra expense but so worth the investment!
This is our first project. I mentioned to my mother in law, we were one a mission to try an Ana White project while we were home over Thanksgiving. She surprised us with a kreg jig for Christmas! It is absolutely amazing!! I suggest it to anyone who is considering making this a hobby. Not on screw, is visible. THANKS SO MUCH ANA, WE CAN'T WAIT TO FILL OUR HOME WITH BEAUTIFUL FURNITURE!!
Our kids love this table. Everyone had to put their handprints on it!
I built this bed for my 12 year old daughter. We moved to a smaller house & we needed a way to maximize the use of space in her room. She's also visually impaired, which made the ladder option more dangerous. She could get up a ladder fine, but coming down was an issue. I was thrilled to find a plan with stairs, and I added a handrail for her to help guide her down the stairs. I also put a peel & stick zebra print border around it to tie it in with her bedding & curtains. The rope lights underneath added a cool touch & helped make that dark area more functional.
I couldn’t find 4x4s so I planed 2x6s flat and glued them together. Used it for the first time yesterday for our Thanksgiving dinner.
This was my first wood working project. I am really starting to enjoy it.
Tue, 01/22/2013 - 13:18
Your first project turned out beautiful! Way to go!
Tue, 01/22/2013 - 13:19
Your first project turned out beautiful...way to go!
Someone had asked me to build them a tv stand and this is what I did. Thank you for making the plans so clear.
Made this unit in 6 sections
(2) End Units = 15" x 14.25" x 83"
(2) Middle Units = 27" x 14.25" x 68"
(1) Middle Unit = 15" x 14.25" x 68
(1) Top Unit = 69" x 14.25" x 15"
Total for the whole unit = 99" x 14.25" x 83"
I used my Kreg jig (K4) for pretty much the whole project. Made all the shelves adjustable also using the Kreg Shelf Pin Jig. Glad I purchased the pin jig because it made the whole project go easier.
What I did different be from the plans shown:
1. The shelves: I used the 1x12 and did add the 1x2 but just made the front go down instead of out to give it a bulkier look.
2. The top: I basically mirrored the bottom shelf that way it would be a flush look.
Thanks for the plans! Modified the scale, really happy with the results.
Using the Michaela Island plans, I modified them for this croquet-inspired island, complete with black iron foot rail, sewing spindle drawer-pulls, and iron-supported cantilevered top. The extra boards making up the overhang are also supported by a trio of 1/2-inch dowels drilled through several of the planks.
The top was stained using several colors, with sanding in-between, and finished with paste wax.
The bottom shelf is supported, albeit not visibly, using a croquet mallet head.
Thu, 12/30/2021 - 16:46
How did you make the countertop since it hangs over the edge?
I needed a nice way to hide our TV electronics and at the same time serve as a bench for seating. I could not find plans for ANYTHING like this anywhere! I decided to take the Rustic X Console table plans and change the dimmensions around and it worked fantastic. I can now hide everything I need to in the baskets with the wiring exiting through the basket handholes and at the same time I do not have a useless media cabinet taking up space, but instead have additional seating in our living room for 3 more people!
This was my first furniture project, and I modified these plans slightly to get 2 drawers, as well as a smaller depth of the desk. I took this photo before I added drawer pulls, but I love how it turned out!