Garden-potting bench
Great project! Thank you Ana!
1 thing though, it was 6-2×6×8' boards!
Cheers!
Great project! Thank you Ana!
1 thing though, it was 6-2×6×8' boards!
Cheers!
Ana, I want to say how inspirational you have been to me over some years. I think my first project found on your website was a chicken coop. More recently I have built the large garage workbench system with 2 rollout workbench/storage units (still in progress). In the past few weeks I have built the Adirondack chairs. The Adirondack chairs spurred me to continue building a “park like” setting in my small backyard. This includes a park bench (to match the Adirondack chairs), a park style grill, and a water fall. The waterfall is fairly simple (now that I have done it once - ha).
Ken Moody - Babcock Ranch, Florida
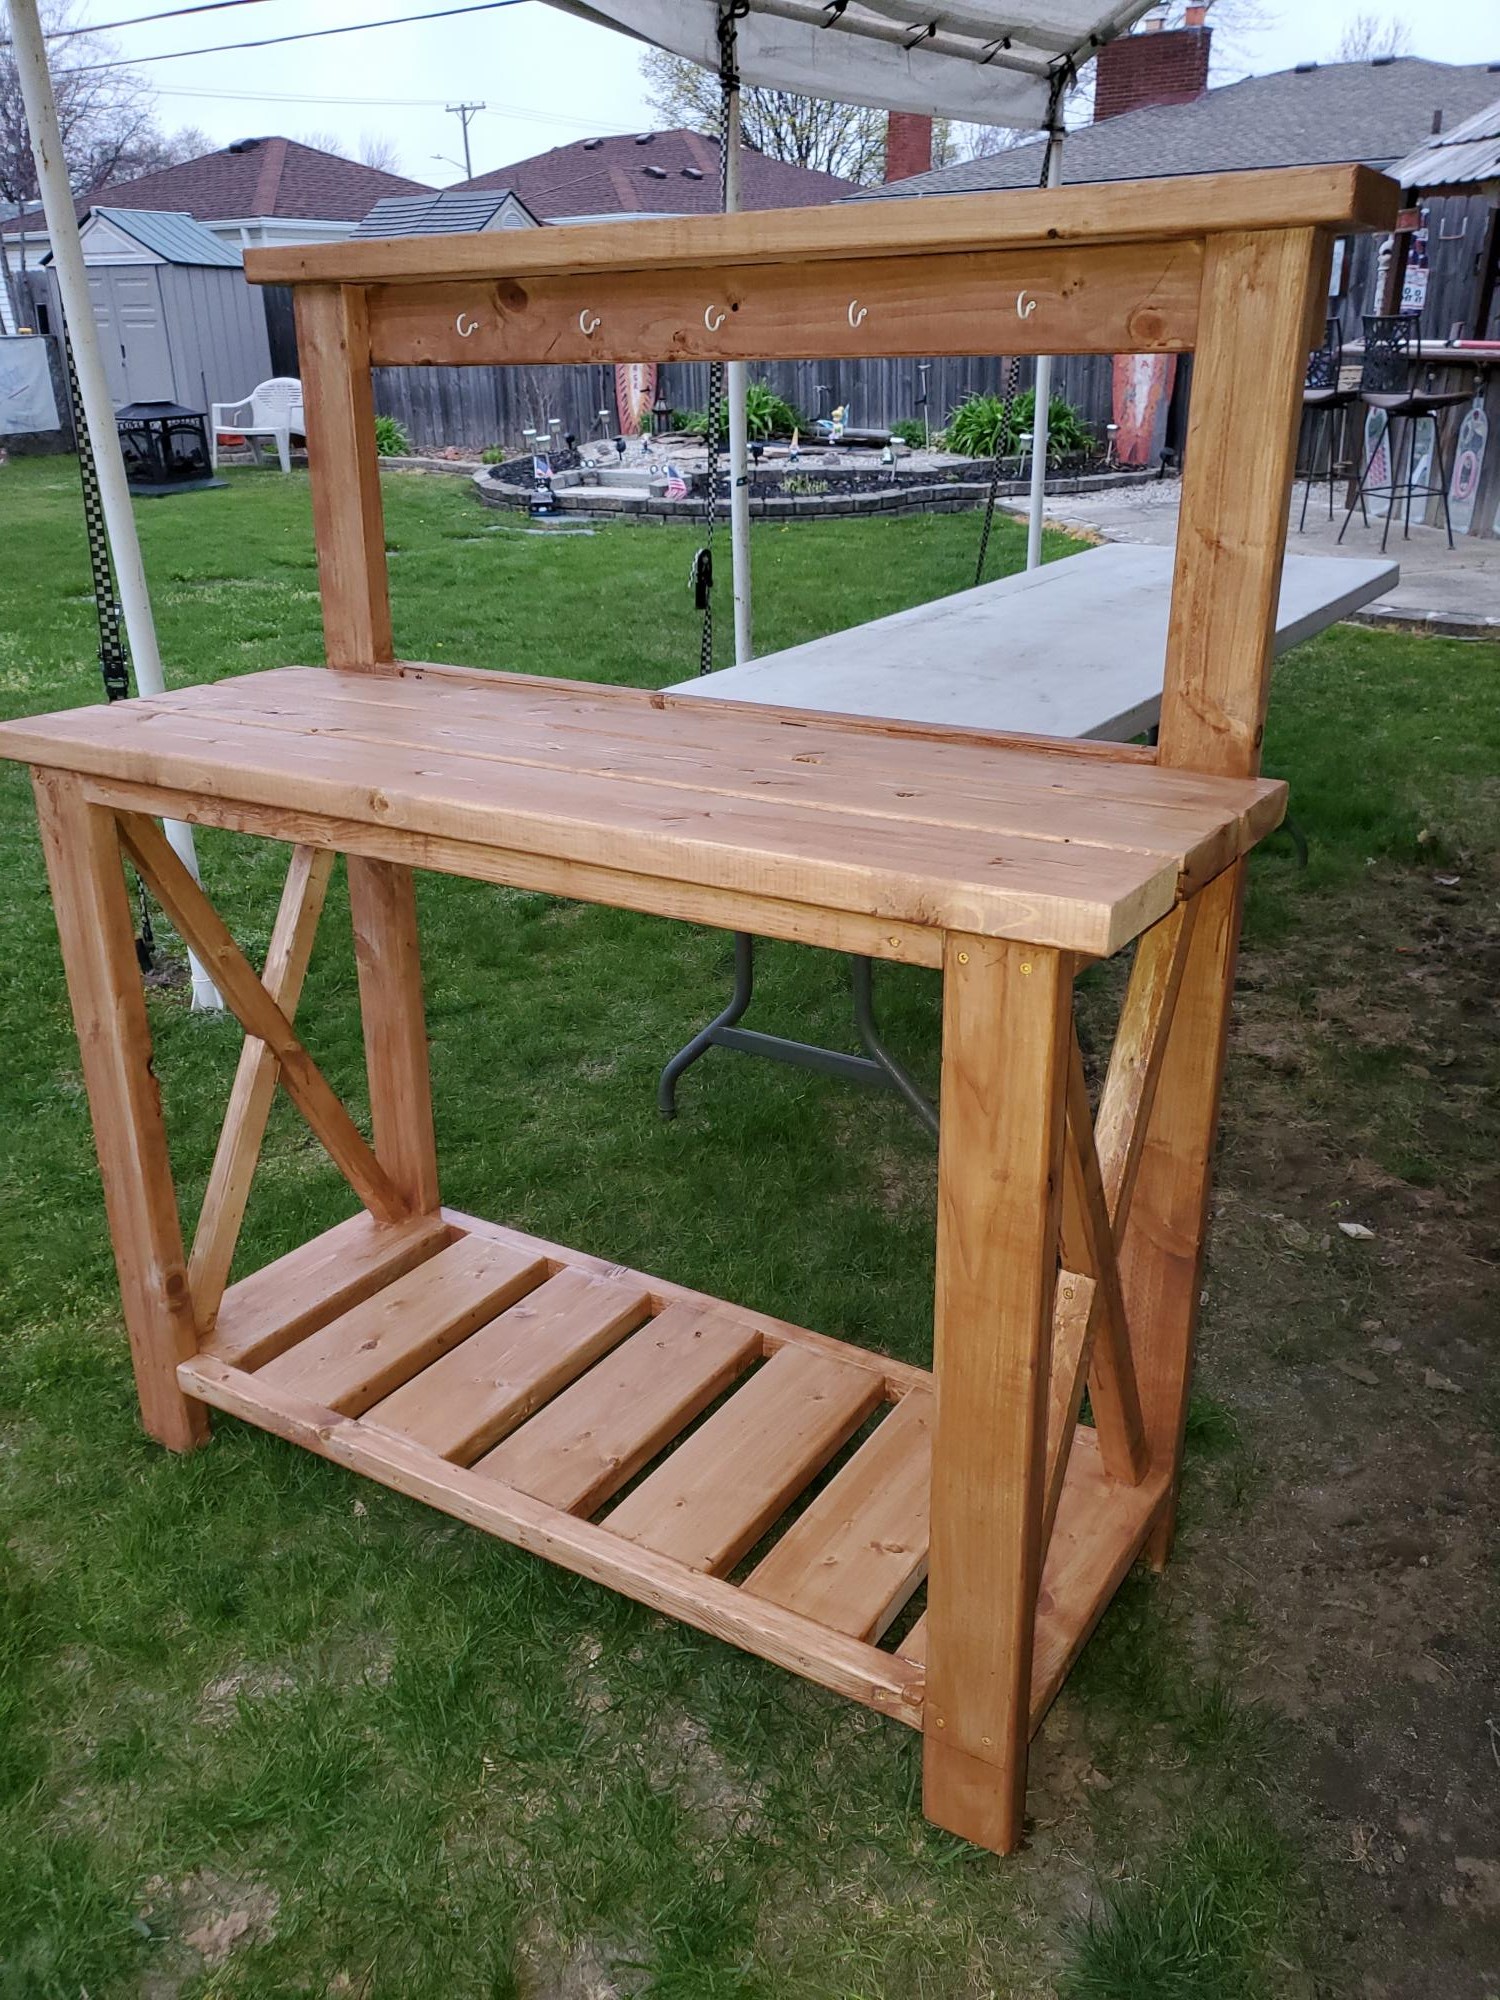
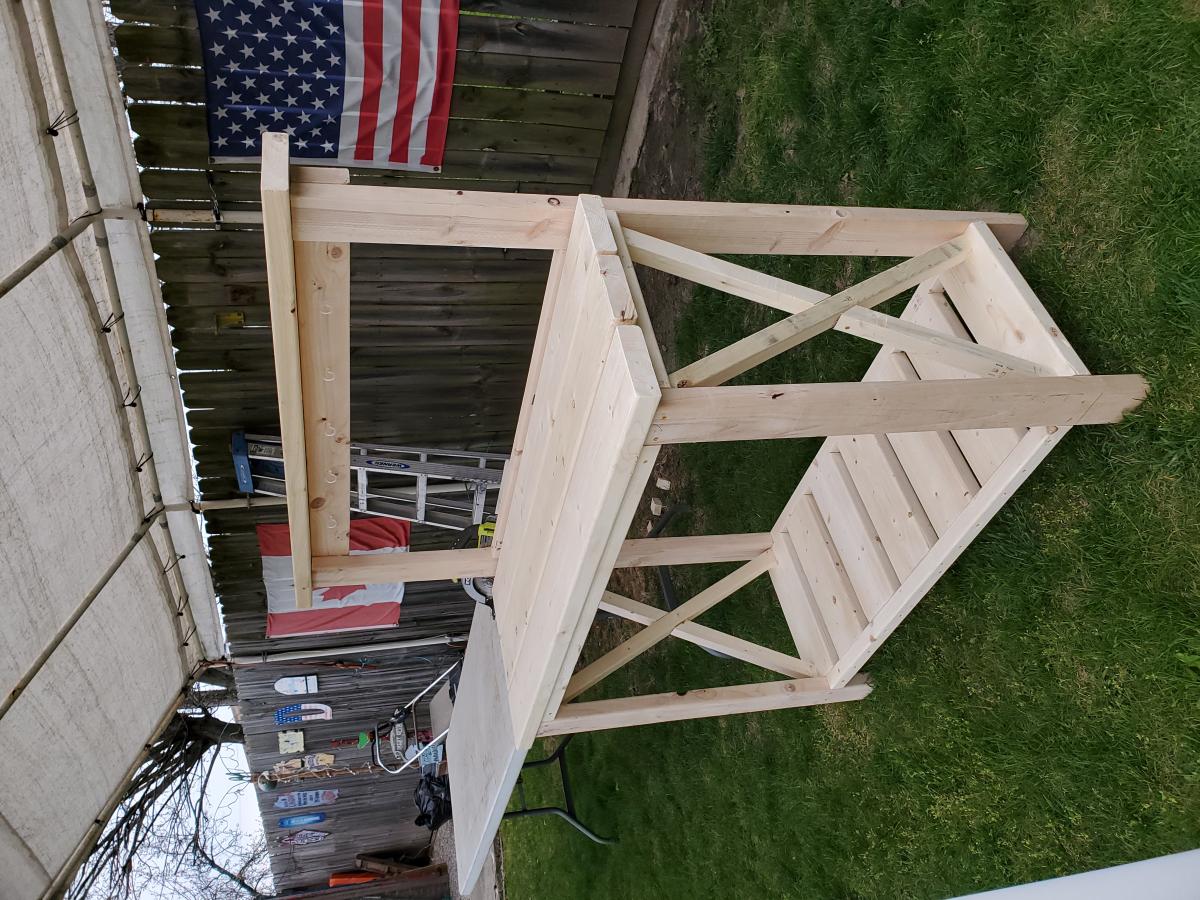
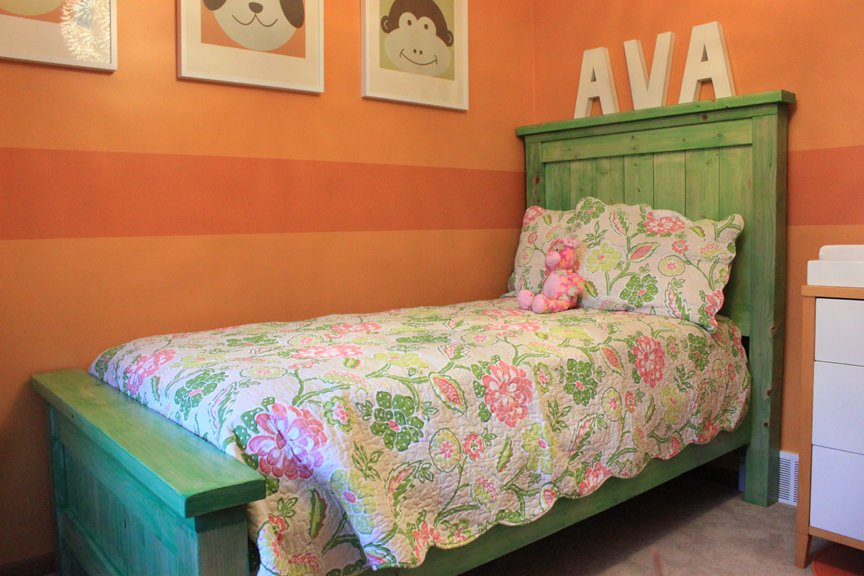
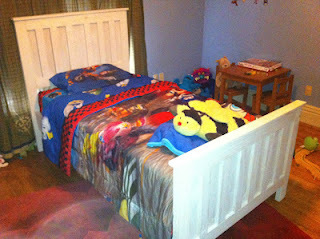
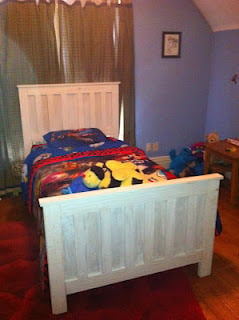
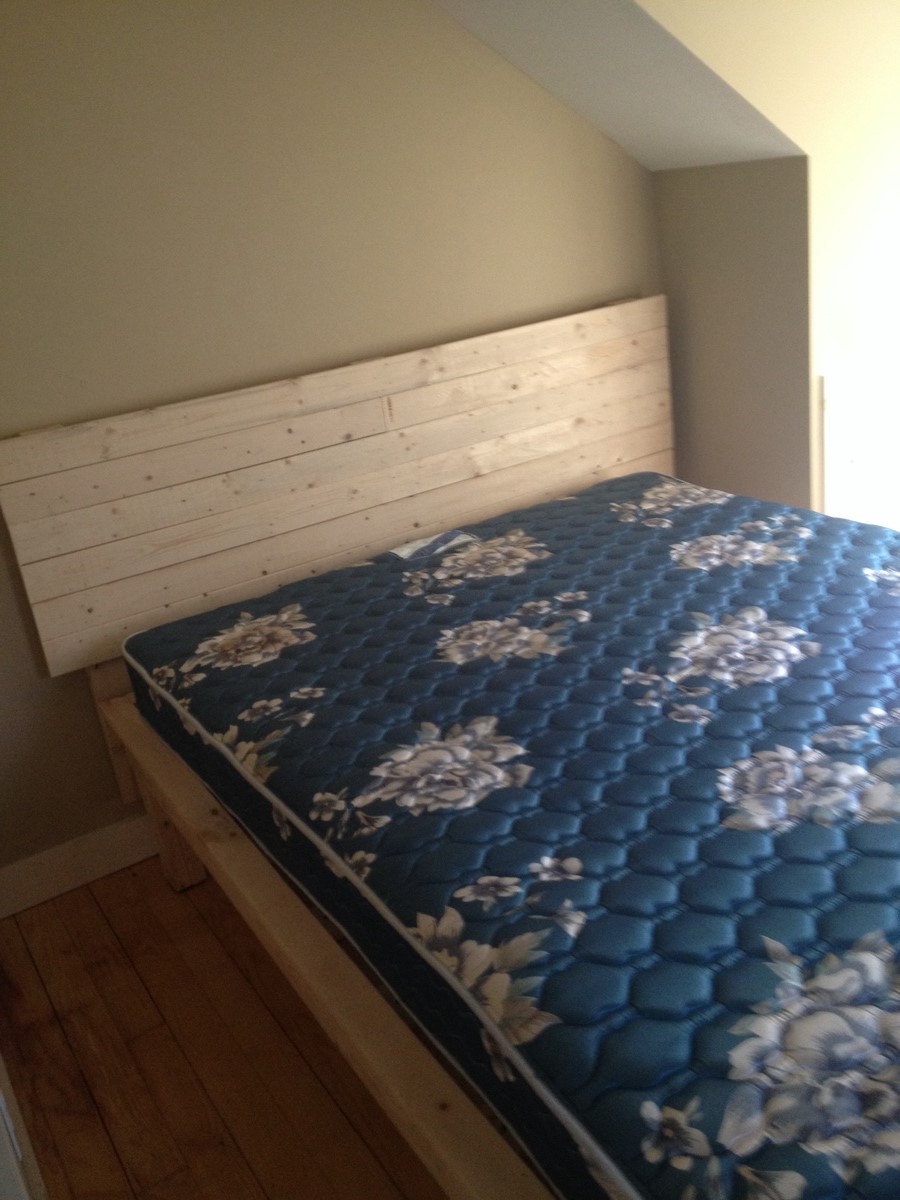
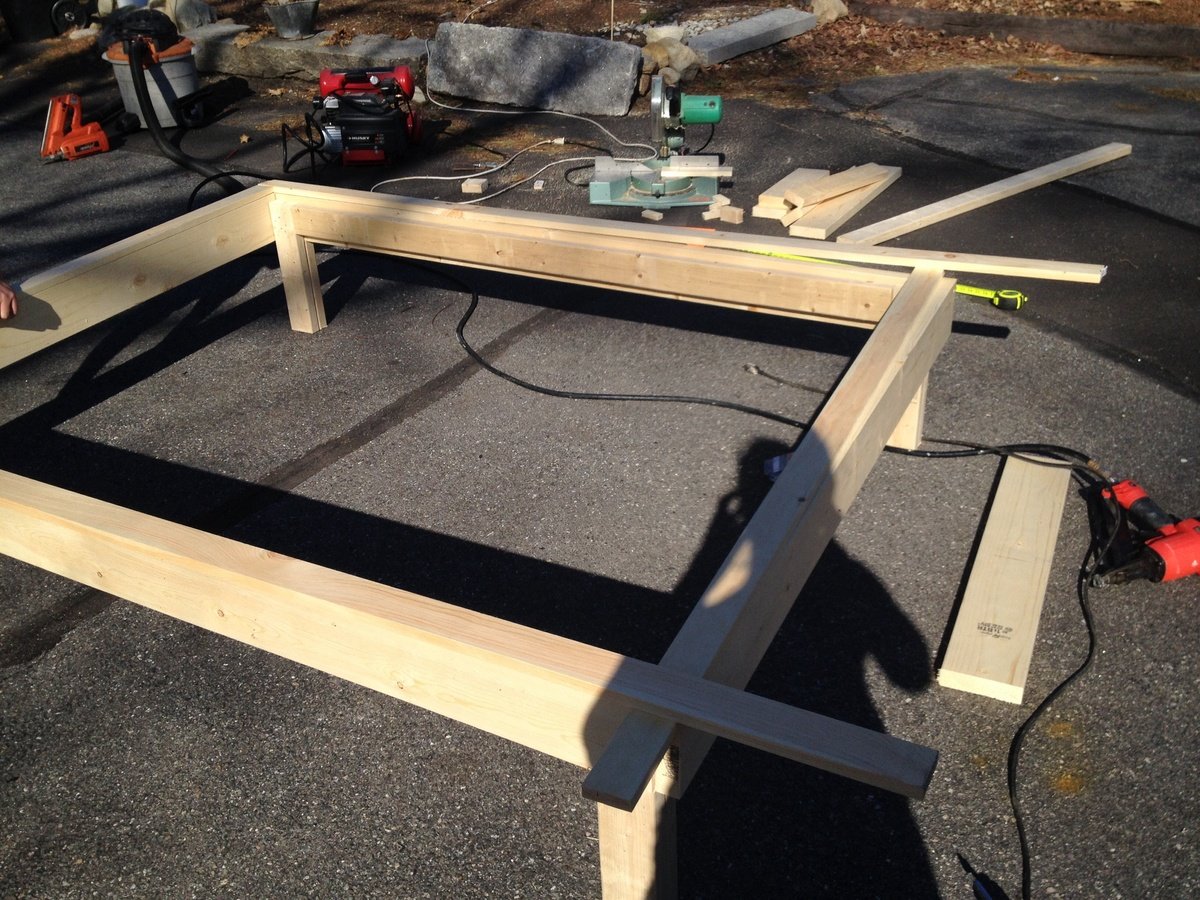
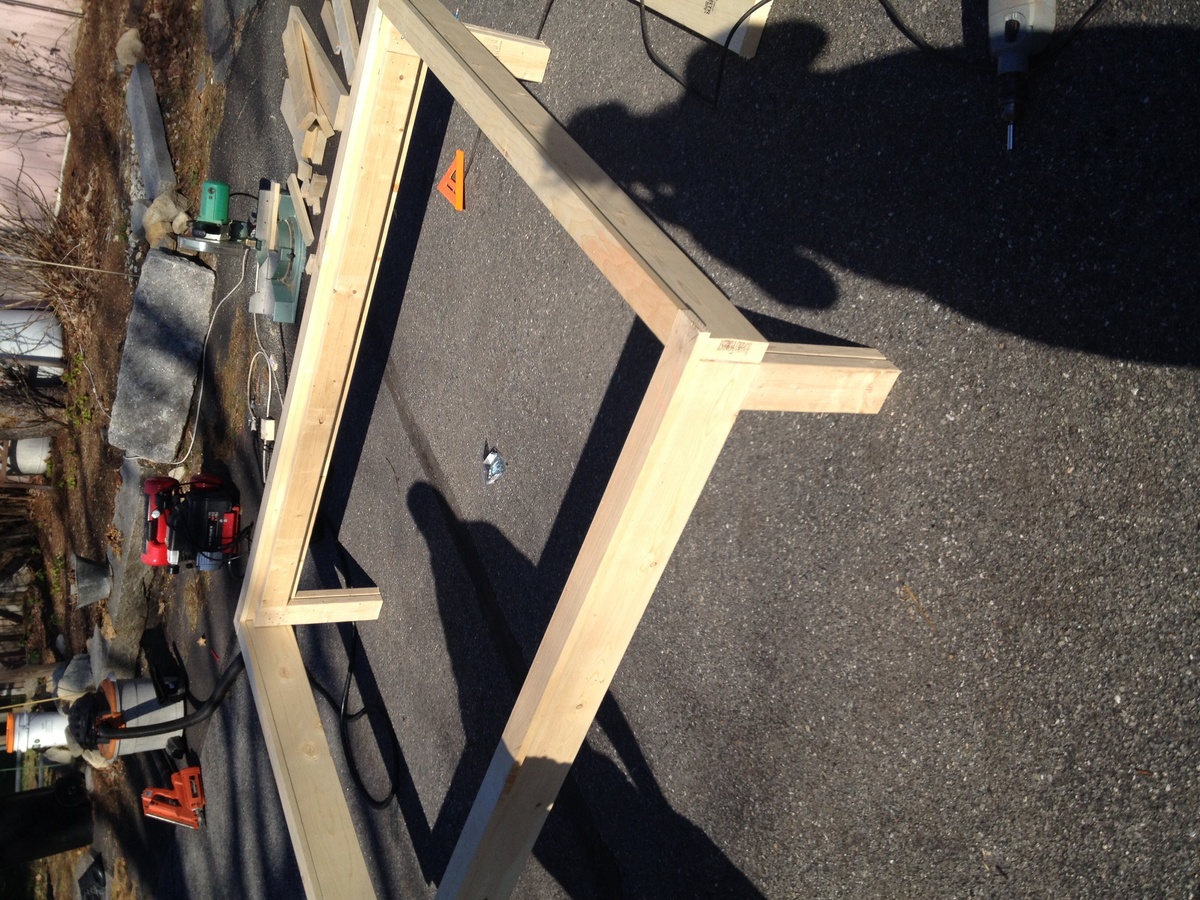
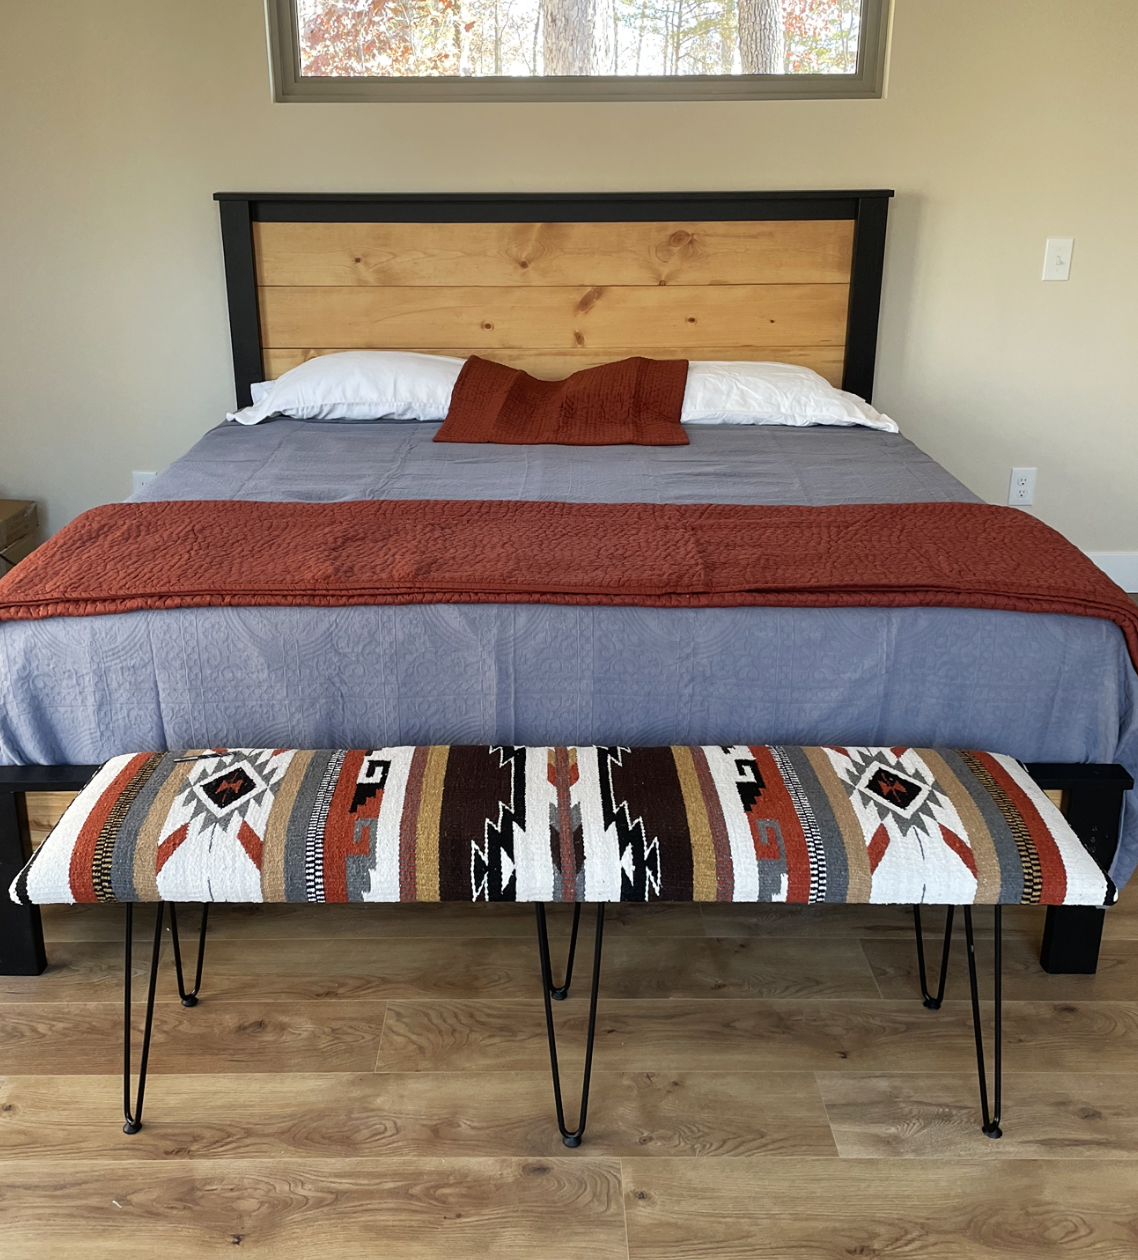
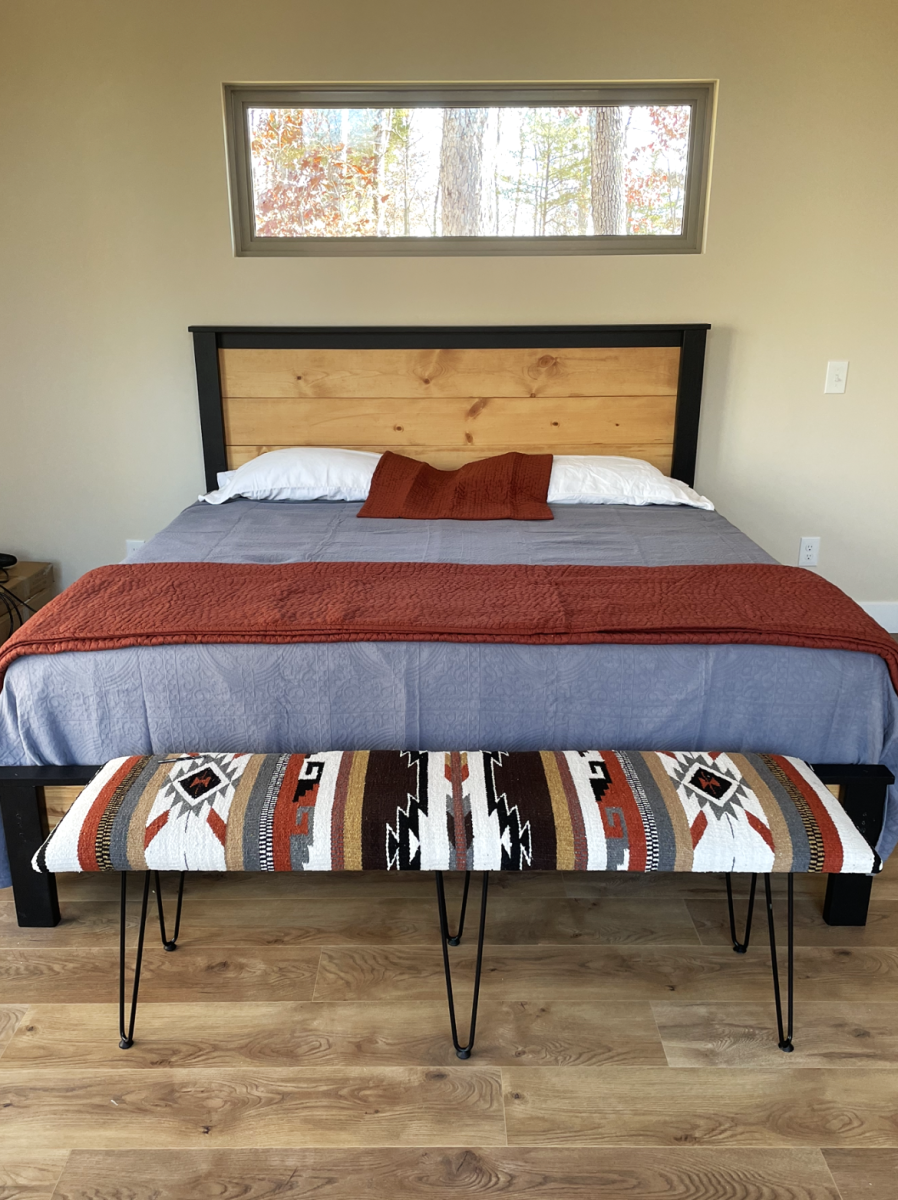
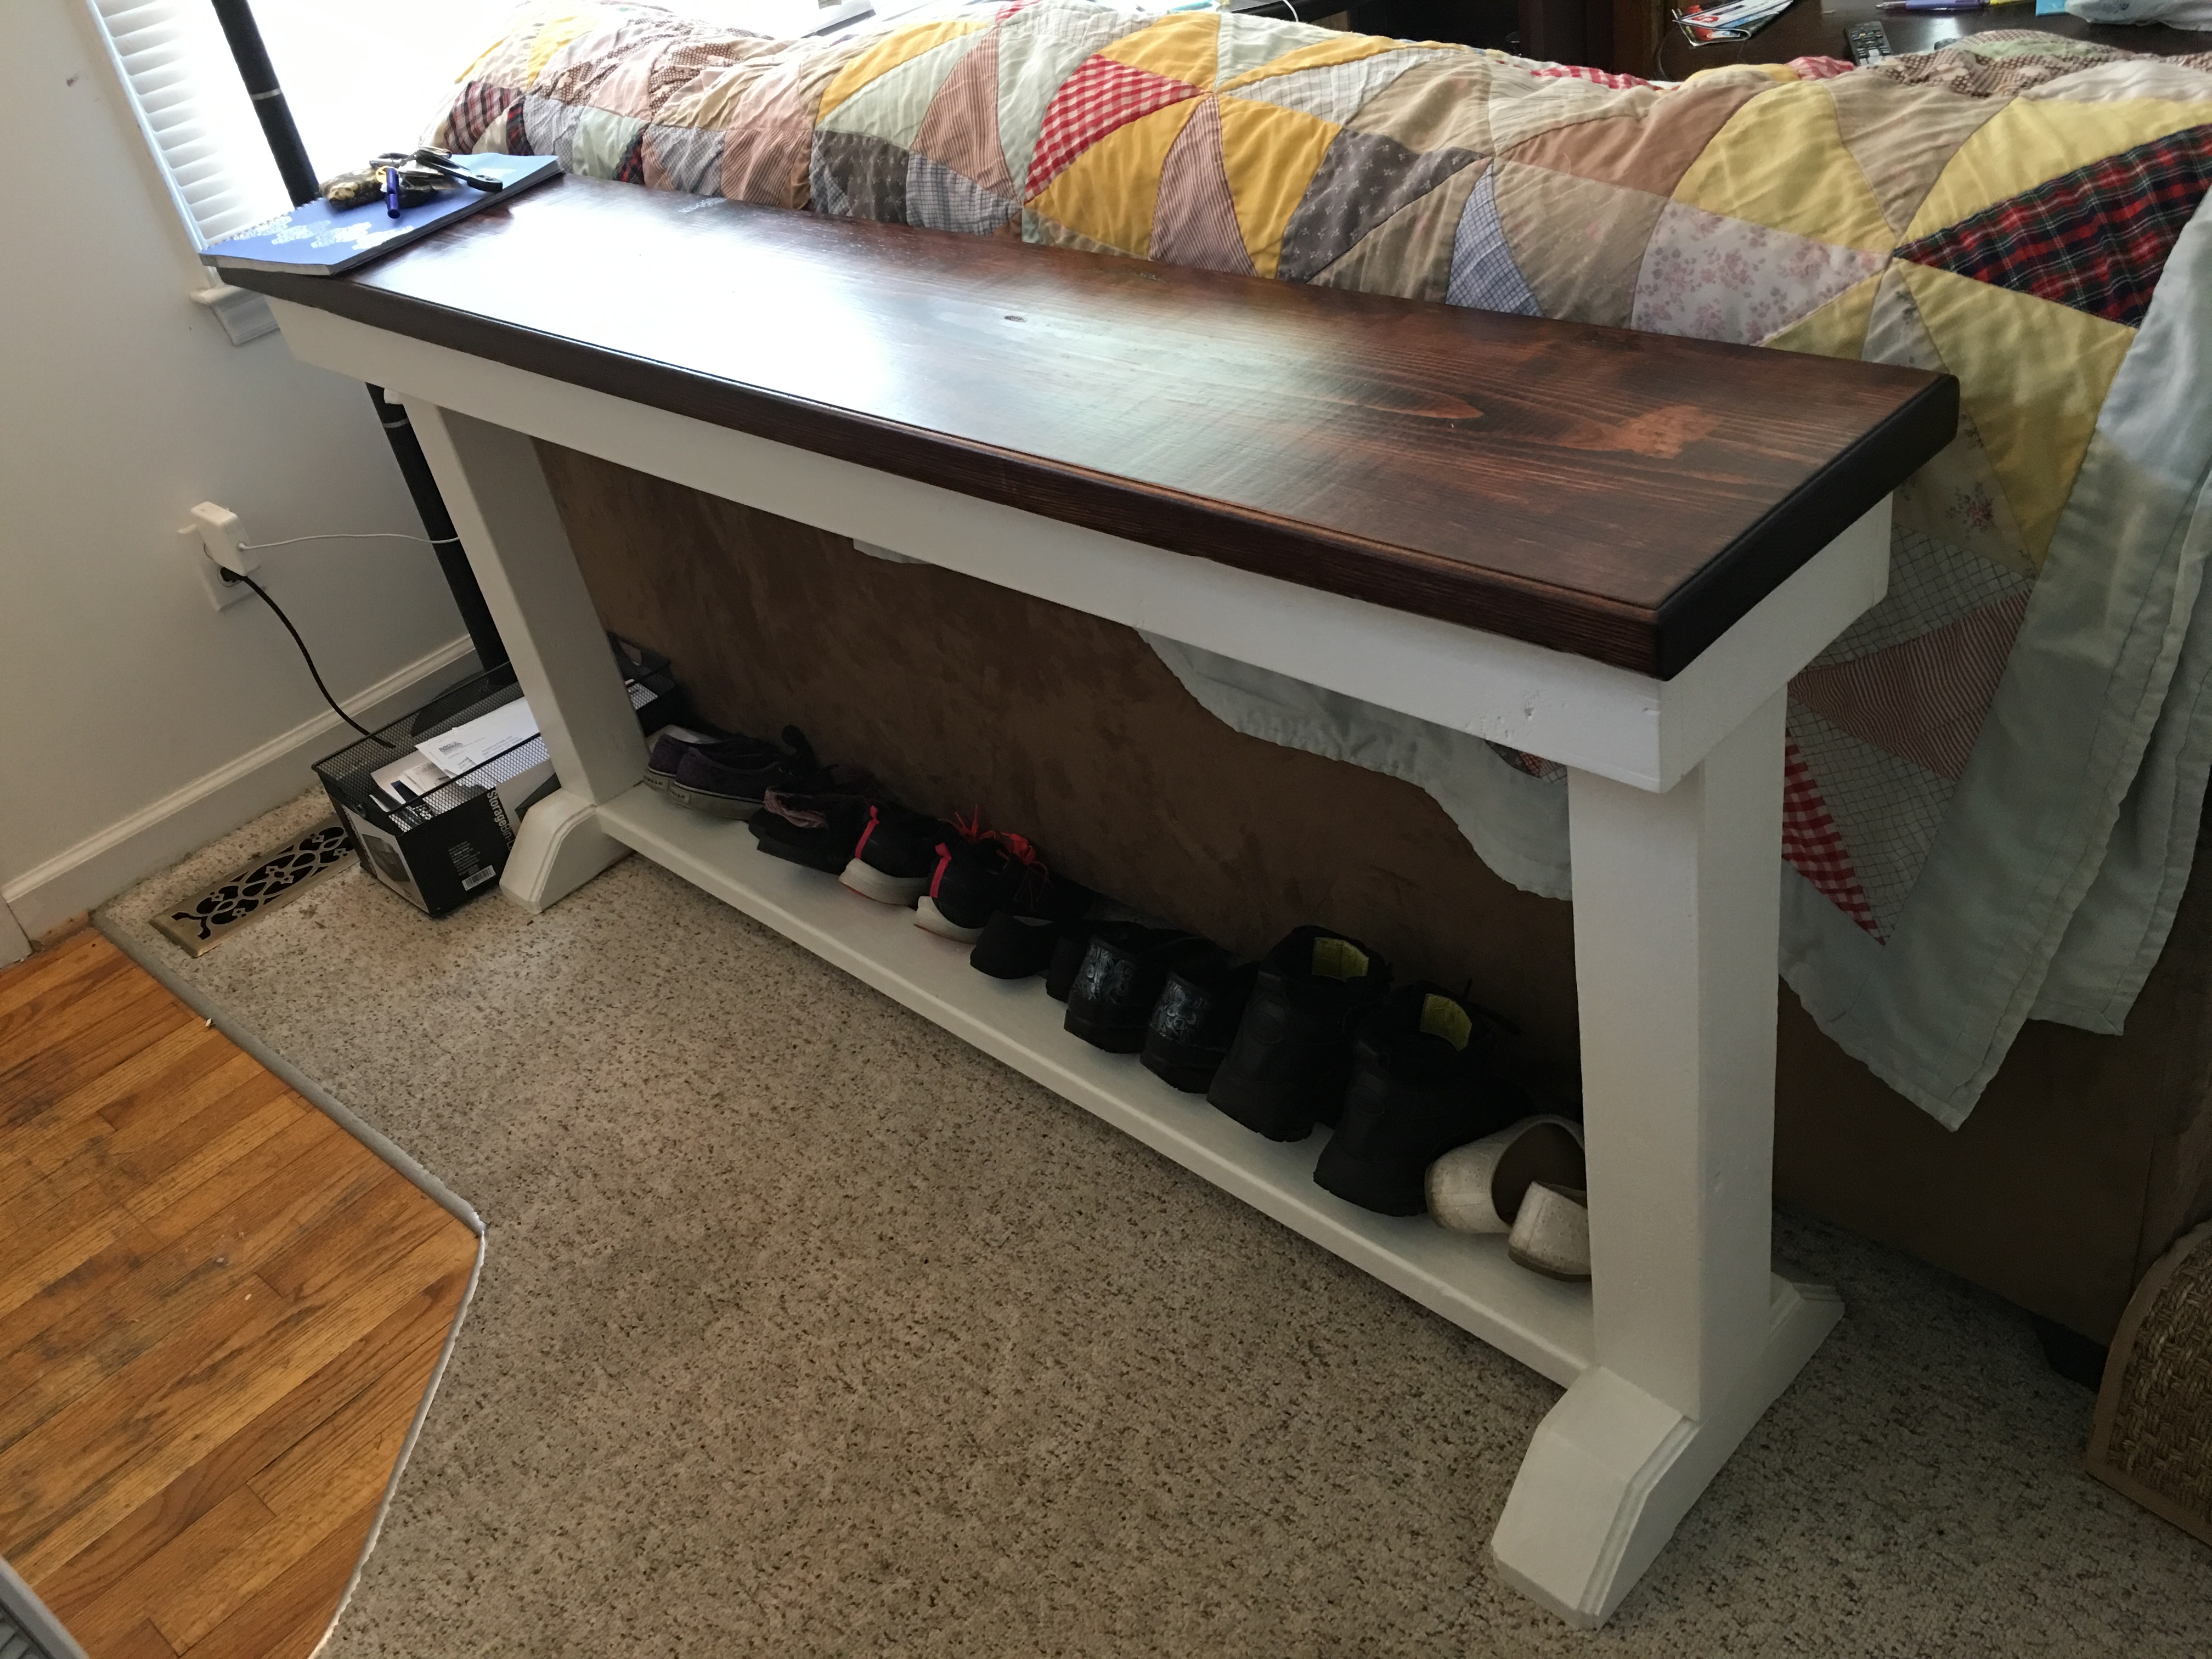
Modified the Twin Farmhouse Bed slightly to meet the needs I felt were necessary for my 2 year old daughter.
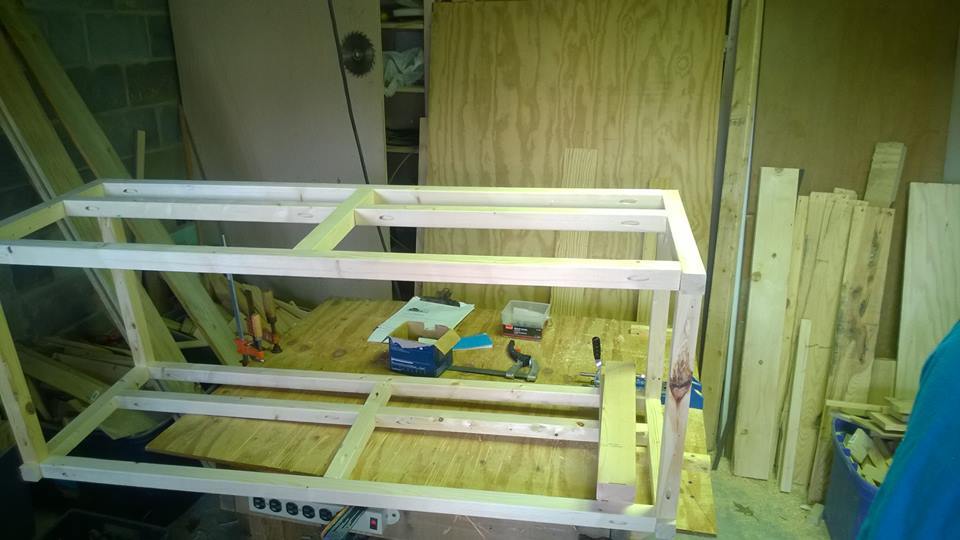
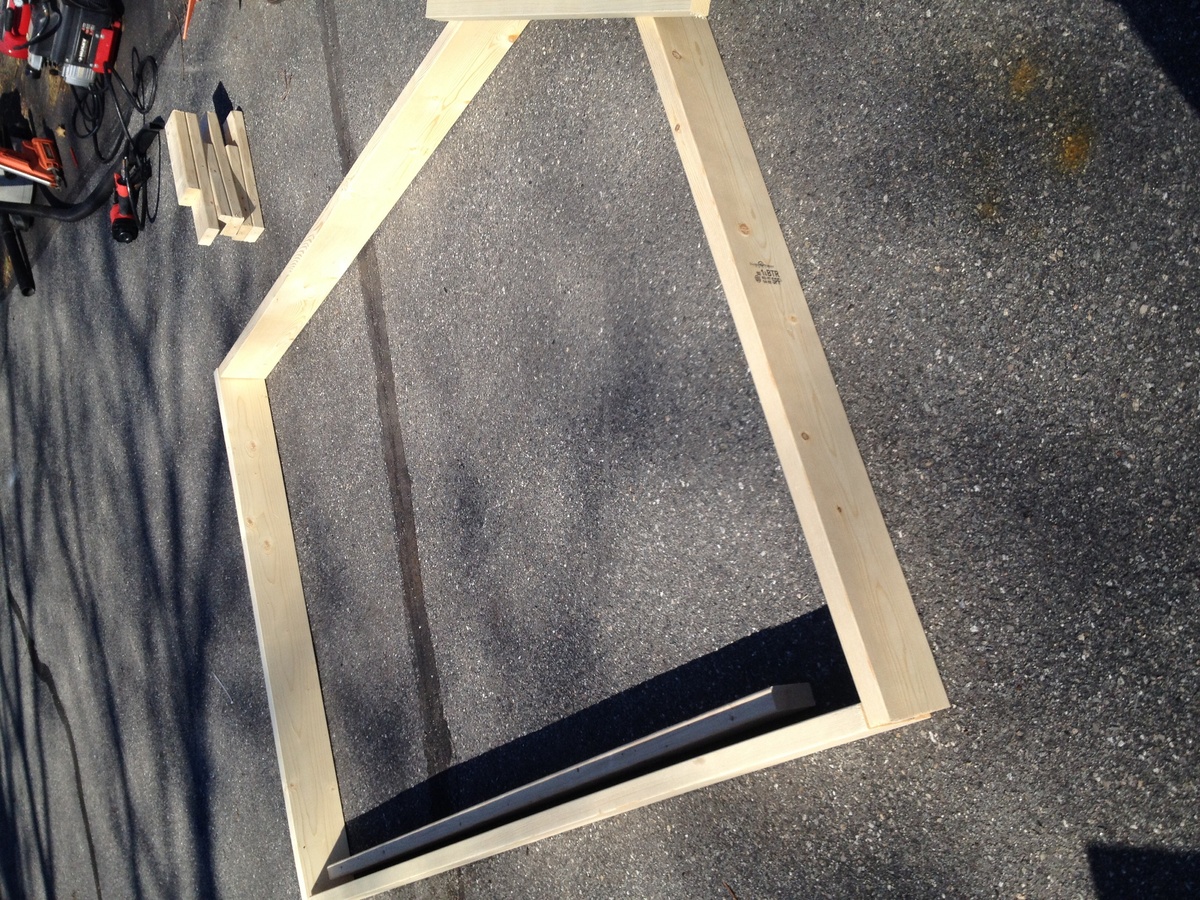
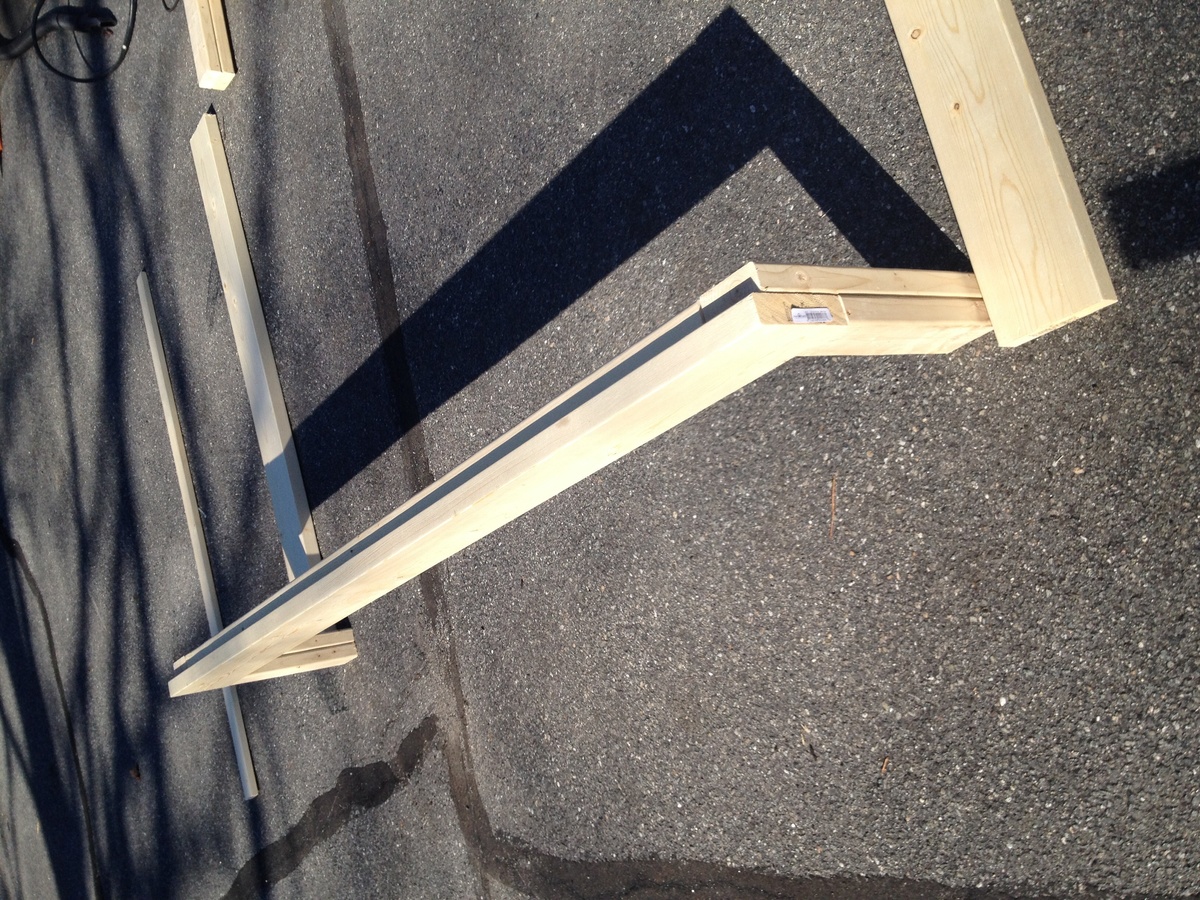
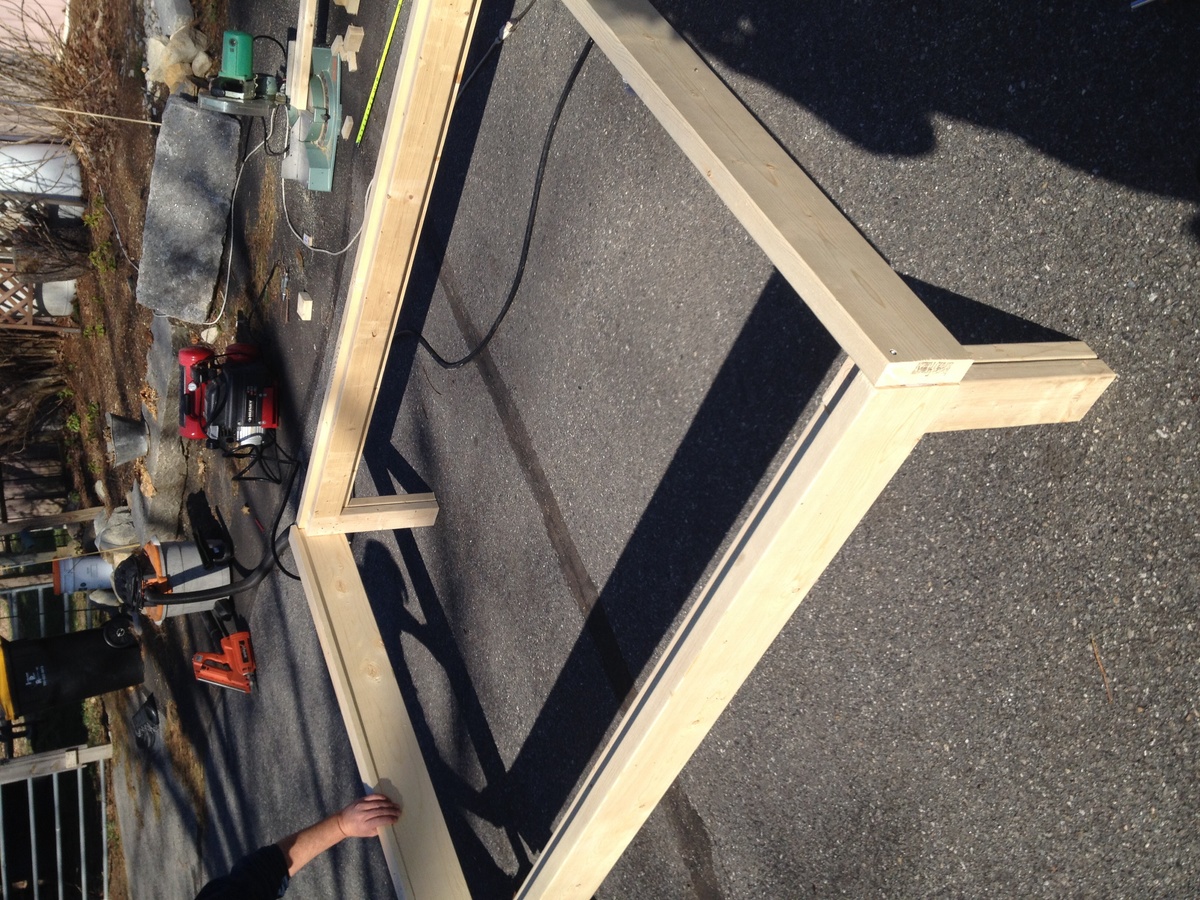
I put the side rail cleats as low as possible to minimize height. I totally left out the Rail Supports for Footboard/Headboard (Part M), as they are unnecessary. I also added three center supports using 2x4 joist hangers. On the headboard posts I added two blocks to make assembly easy and uniform. The bed comes apart in 4 pieces and is easily put together by one person using screws. I will take more pictures if anyone has questions about anything.
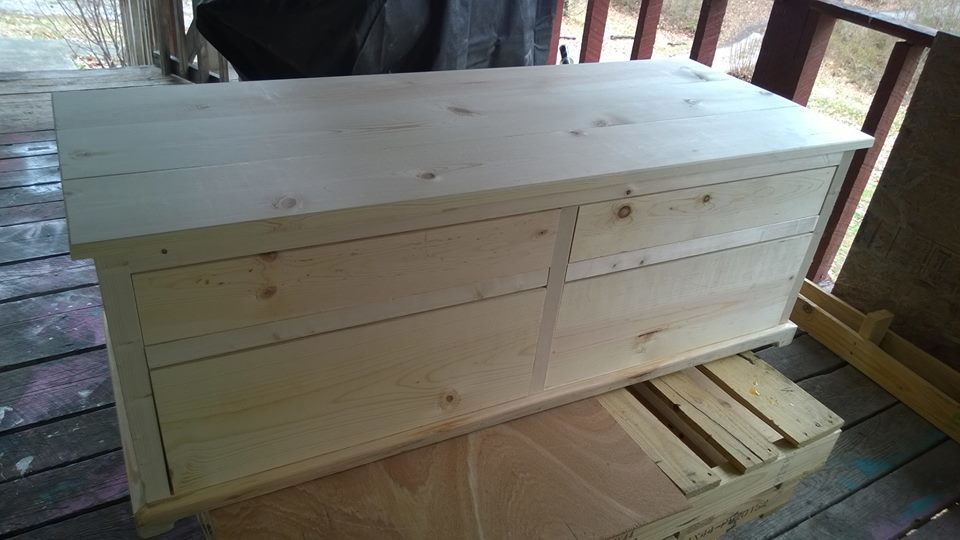
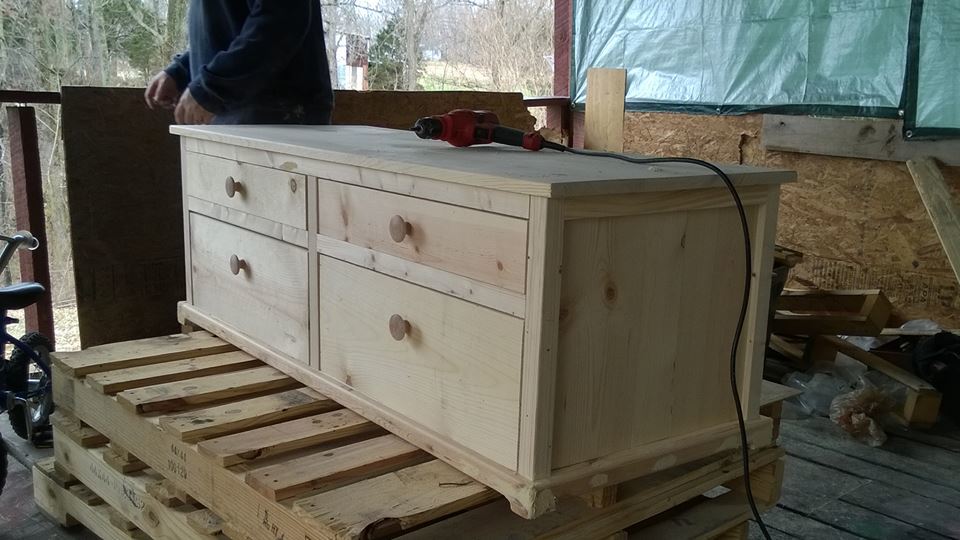
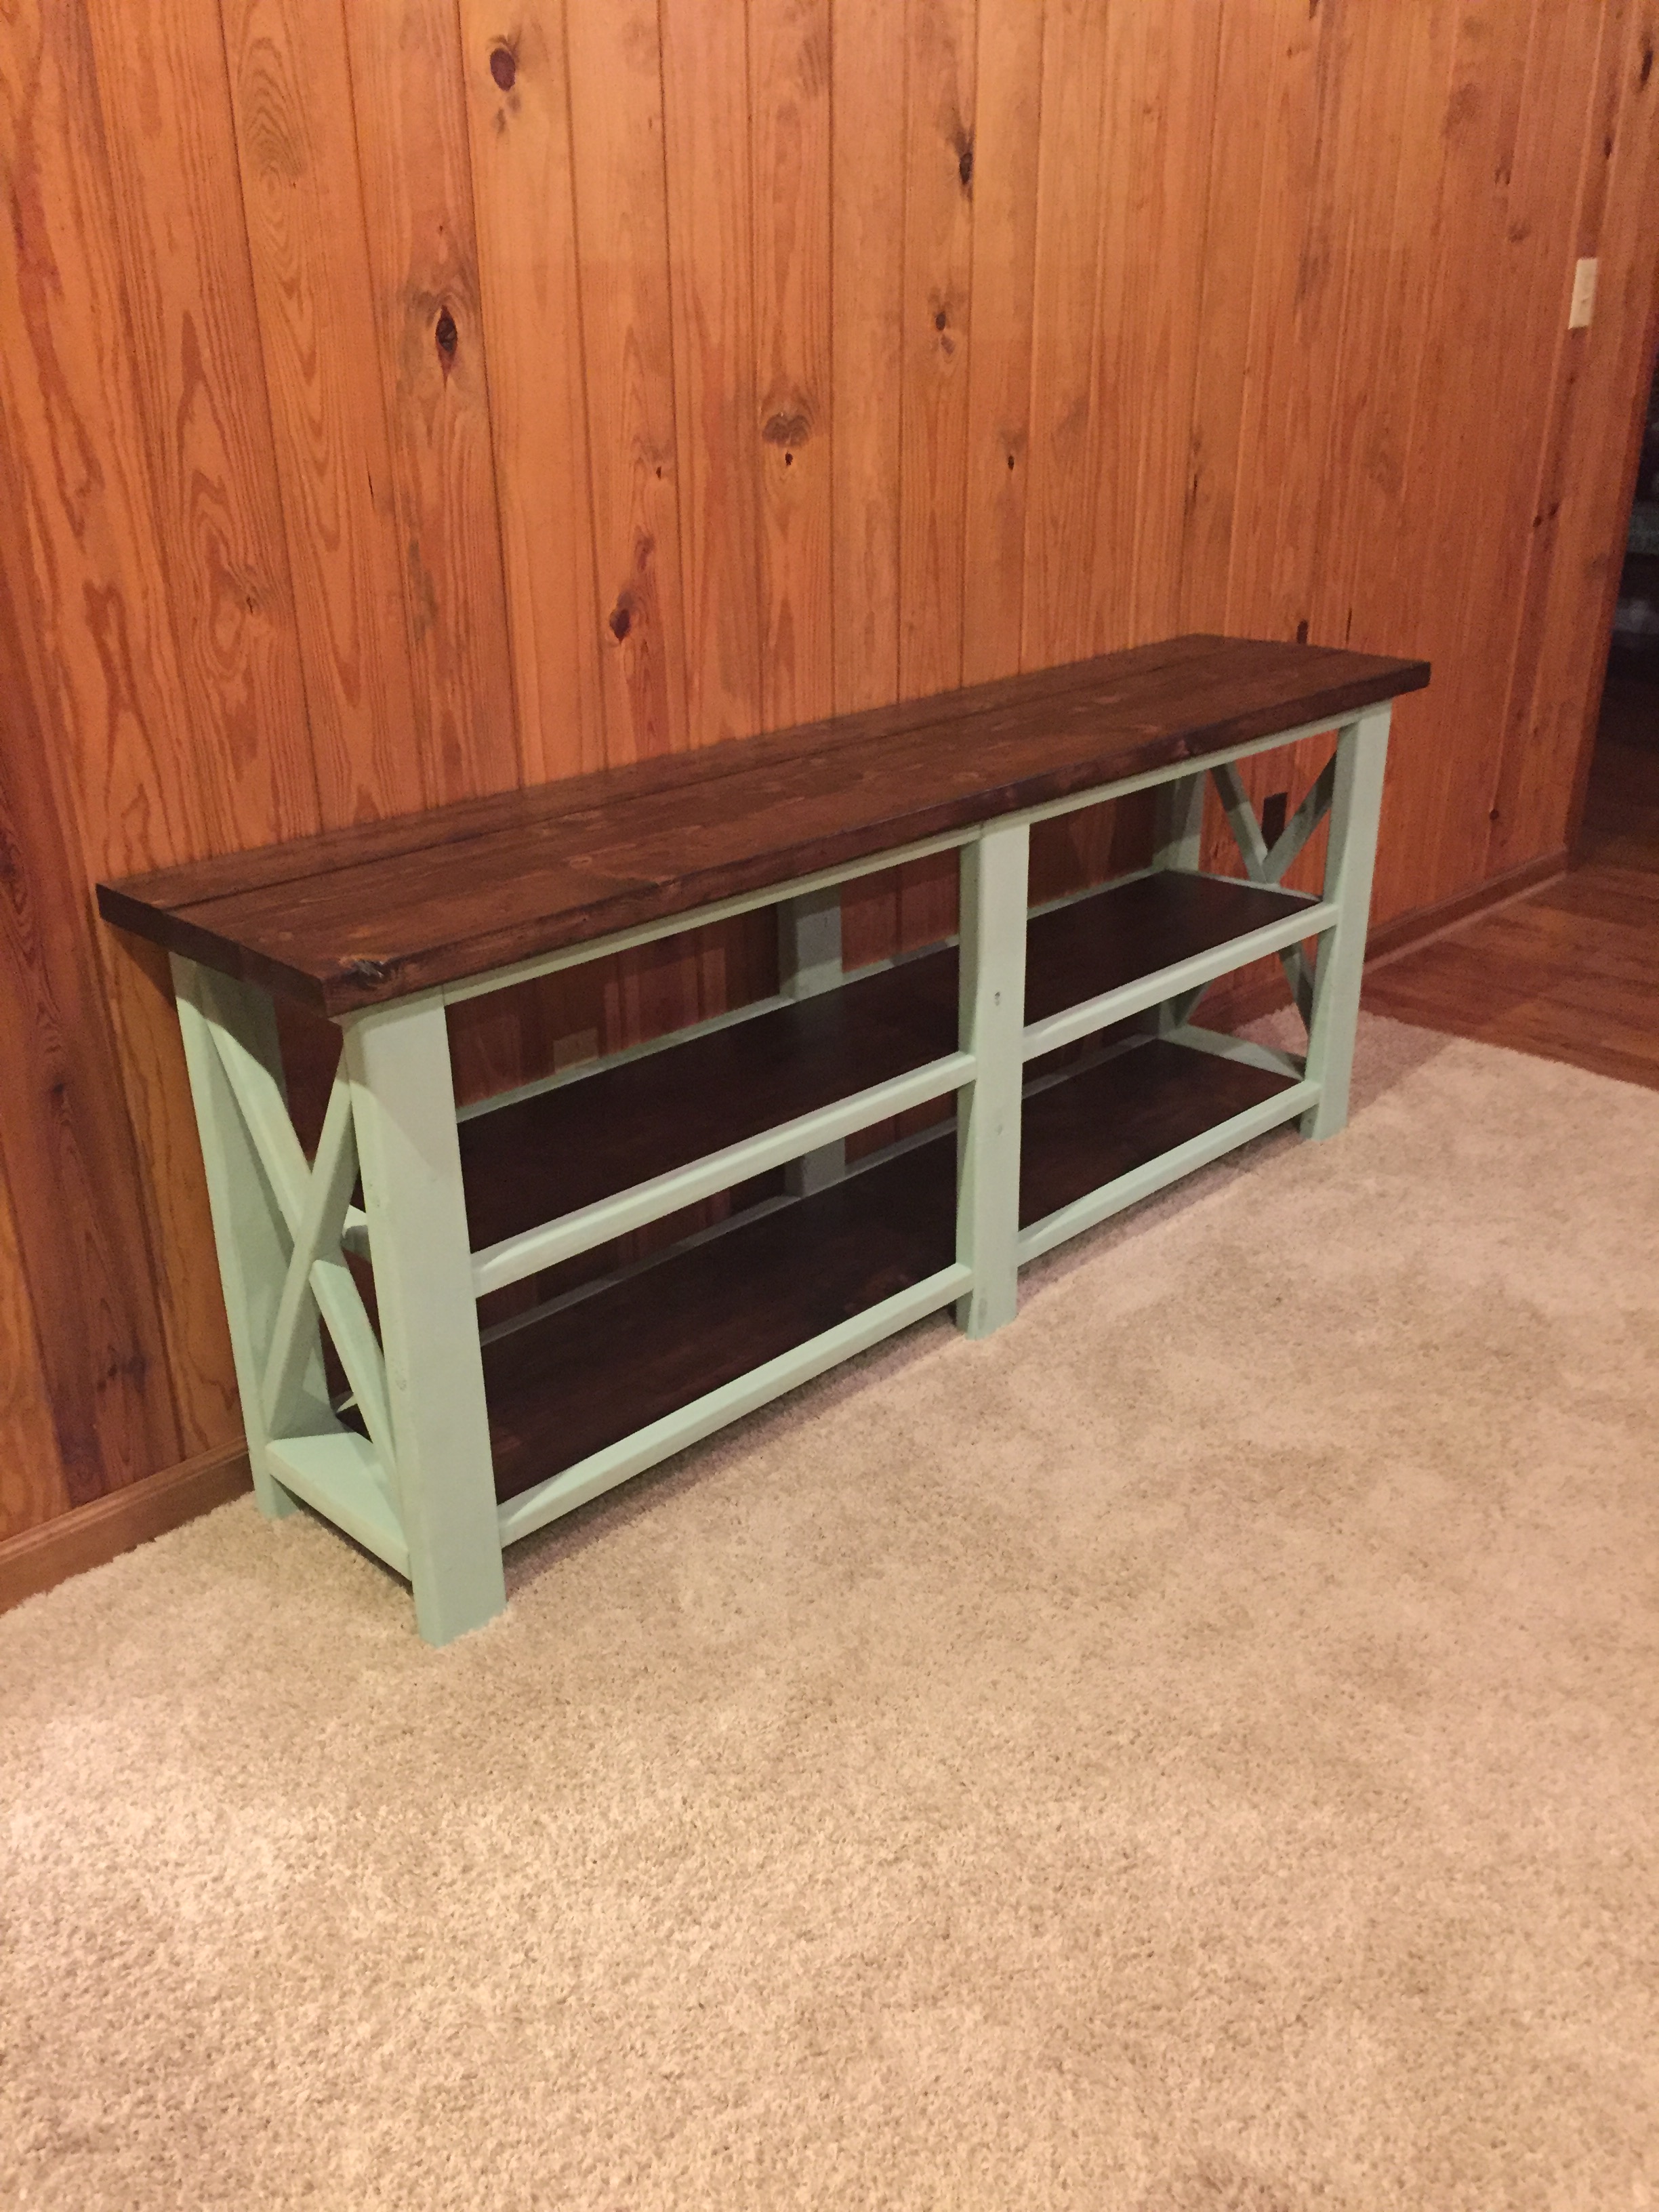
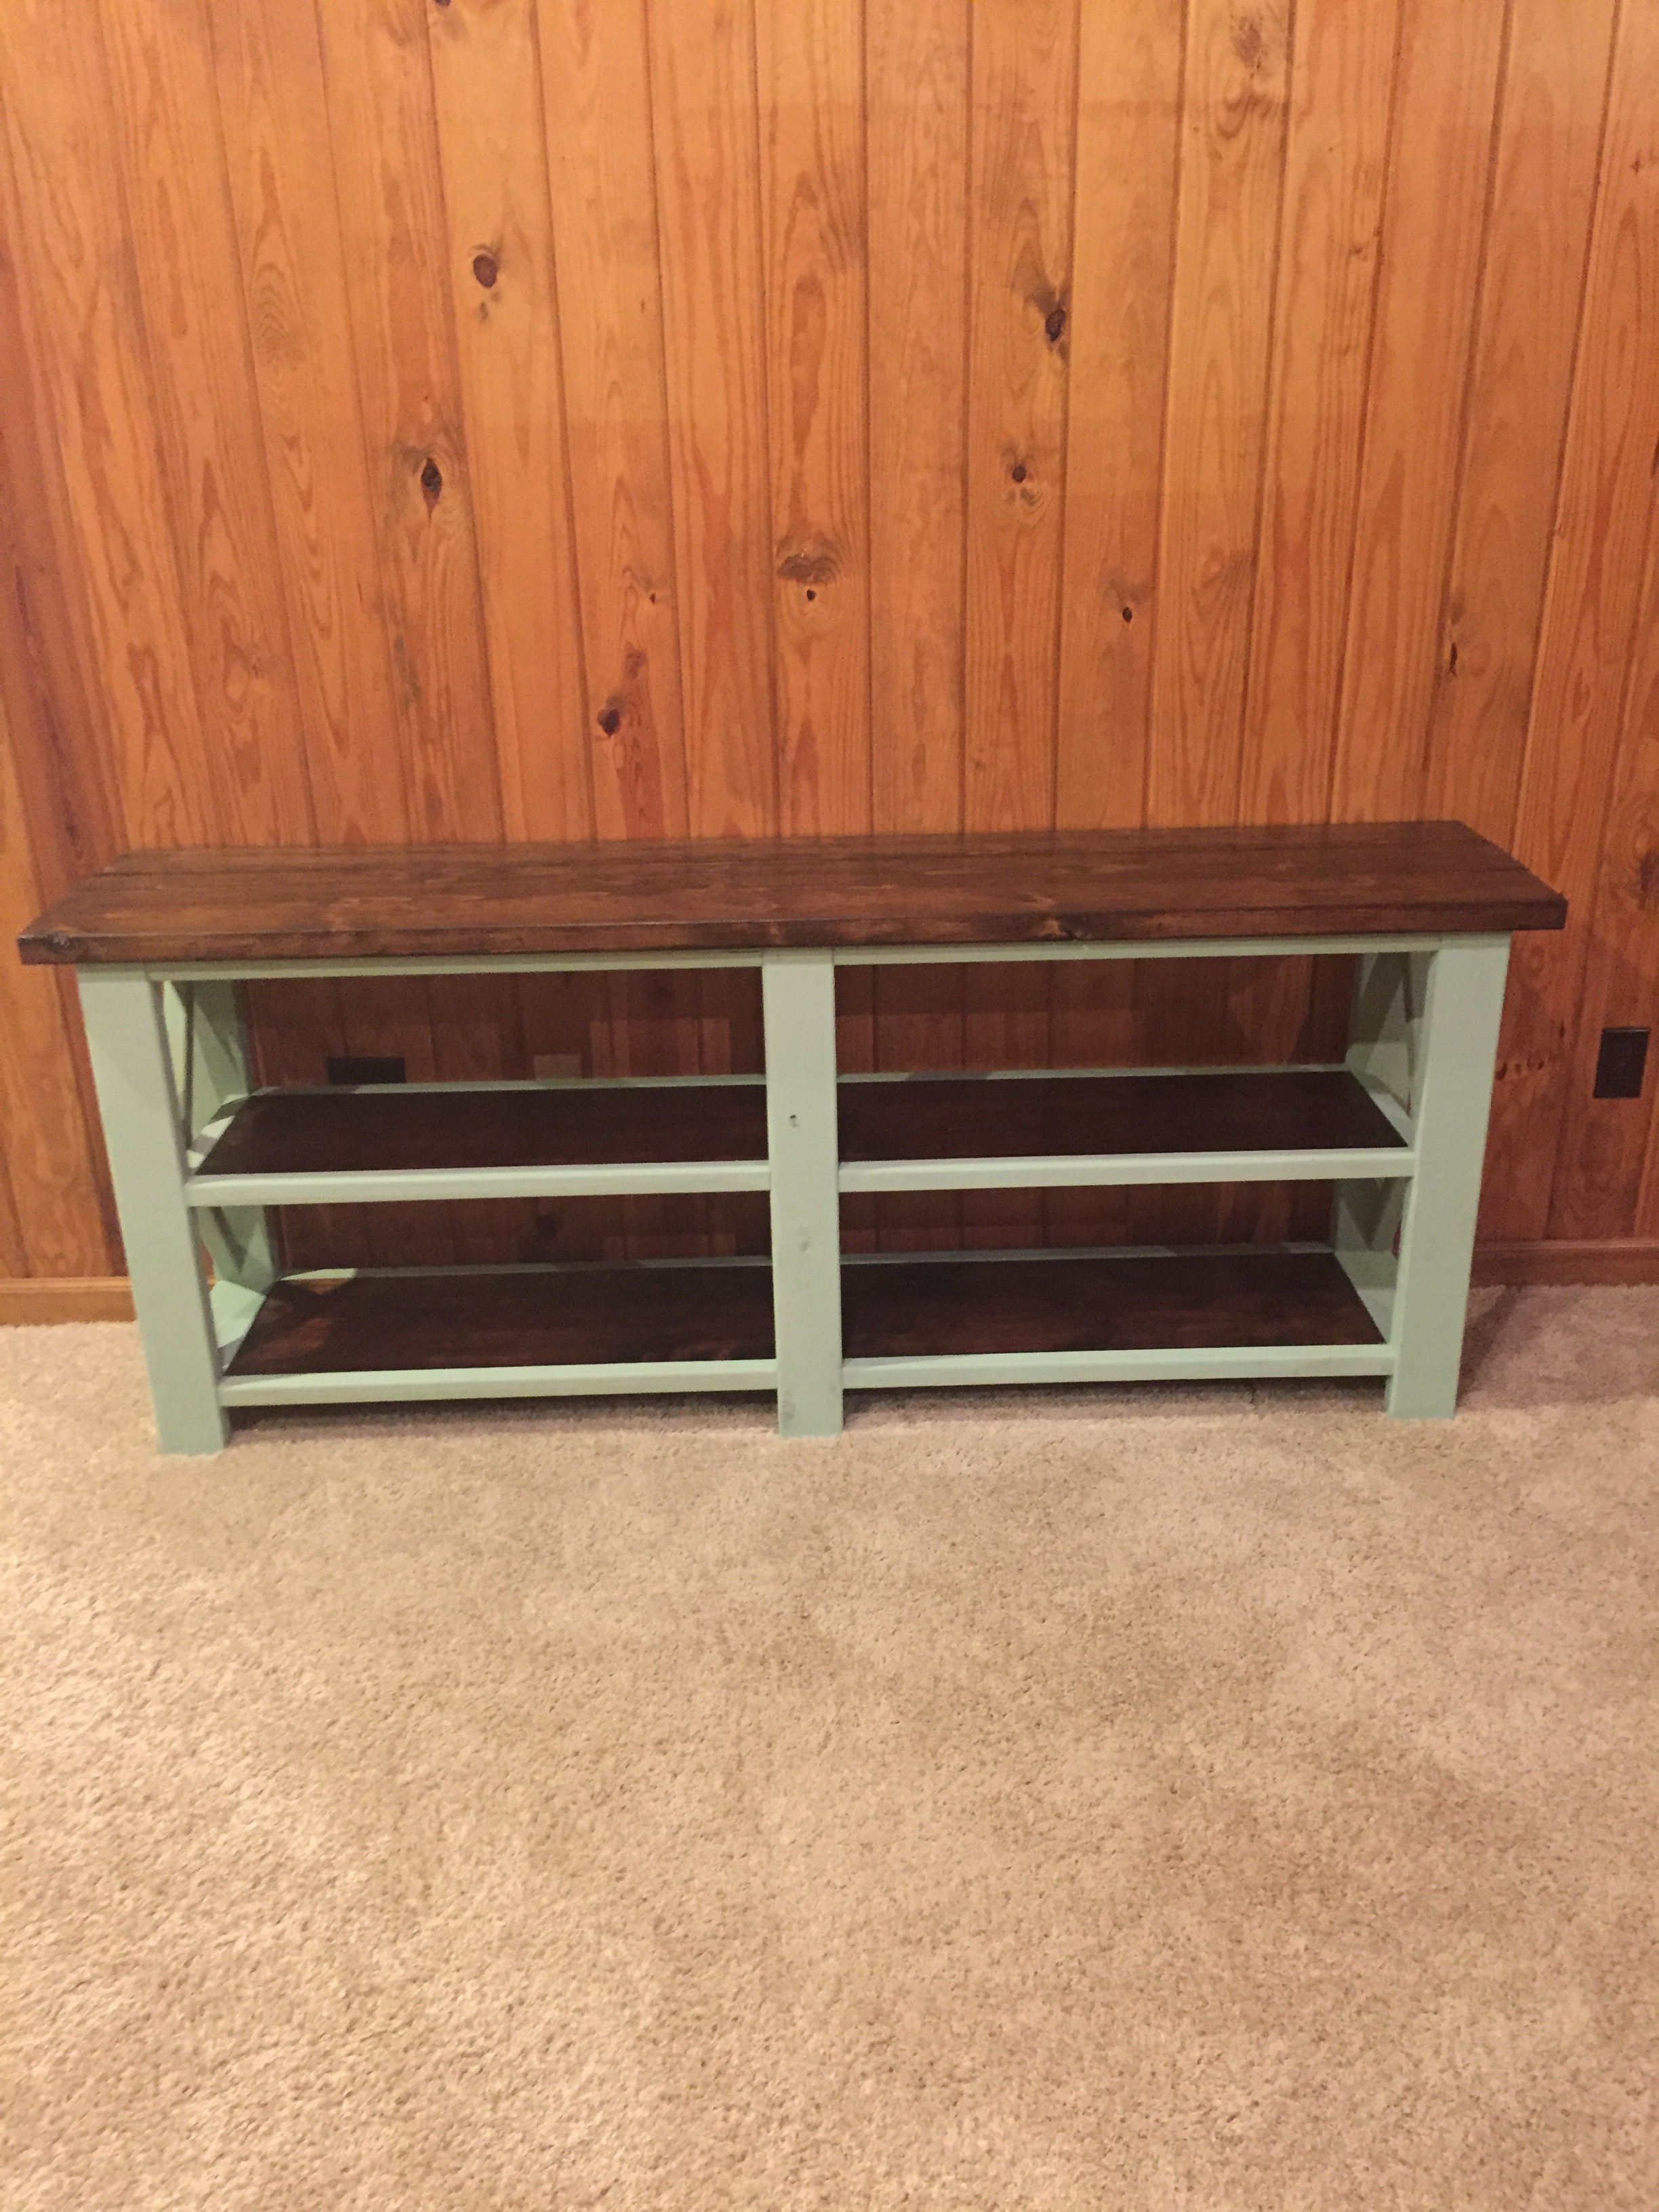
Building the different pieces took roughly 6 hrs as I'm a little OCD. Finishing took a ton of time. I only have a palm finishing sander so I first sanded with 60 grit, then 120, then a final 220 (220 was recommended by Minwax). Finishing was time consuming as I had to finish one side of each piece at a time due to space limitations.
Minwax water-based stuff is a little tricky with pine as it causes "grain reversal" which is fine for me because I like the look. I think it was really designed for oak or other denser woods.
Tip: Use a low-profile box spring.
Wed, 08/29/2012 - 12:34
I would love to see more pictures, especially of how you built it to allow for disassembly. Soon I plan to build this for my almost 2-year old son. When you get a chance.
Thanks!
The entryway in my mom’s house was the perfect candidate for a spring update. Home to a broken, non-functioning storage bench and constantly cluttered with shoes, we decided it was time for an upgrade. It took us a weekend, some PARA paint & stain, a little fabric and lots of elbow grease, but we were able to take the entry way from boring to beautiful.
Went together well, a few things modified.
I get my wood from a sawmill and plane it myself, so the legs are 2x2's instead of the commercial sized 1.5's x 1.5's and to make them go with my Ana White Farmhouse bed I built a few weeks back I made the legs 30" long to compinsate for the height of the bed
Winwax Polyshades Mission oak
I took this opportunity while quarantined to make this set. I think it came out really beautifully!
Well, it's not a barnyard play set, but there are farm animals in it. This is my wife's nativity set that her late sister made. Never had a barn till yesterday. All scraps from my shop. Keep the plans coming!
mccabechristopher
This one started out in a lovely whitewash...then Kids happened.
Very easy plan to put together, my little client loves it!
Tue, 06/19/2012 - 13:11
I like what you have done with this it looks amazing!! (as do you!!)
My wife saw the Harper Style coffee table by Pottery barn and loved it so as a gift to her i set out to recreate this table in a white wash look that is not available and after a week of creating plans and a weekend of work here it is with fully functional drawers that are accessible from both sides
Fri, 04/11/2014 - 17:14
Plans can be made available upon request, just haven't had time to clean them up a bit
Octagon Dining Room Table
Great easy to follow plans, I cut both front and back legs from one 2x4x8’ by having the back leg 1” shorter than plan. Also bought 1x4x39” slats at less cost than buying the 8’ ones.
Great unit would be perfect for near the BBQ and any place needing storage and work bench
This was such a fun build and a wonderful addition to my Christmas collection.
Beth Belflower
Loved building this chair. Super simple to put together and very sturdy once everything came together.
I modified it to create a larger and taller chair, using 2x6 and 2x4 lumber. Because of this change I felt like my math challenged brain was completing some sort of quiz, but to keep things simple I cut the pieces step by step recalculating lengths as I went.
I marked up the plan as I went, so if anyone is interested just let me know & I'll add the changes.
http://radcrafter.com/2012/06/simple-outdoor-chair-beefed-up/
Sun, 08/19/2012 - 08:29
I would love to see your changes and build the beefier version! Please share!
Thu, 07/26/2018 - 07:05
I have a large (400+) family member who I need to make chairs for. This plan looks perfect (even though I will have to probably adjust width and add additional support) Can you please send me your plans?
Sat, 08/10/2019 - 21:14
Hi just joined your website. This is exactly what I was looking to build. Any chance plans will be shared?
Thanks.
In reply to Plans on the horizon? by tintin66
Sun, 08/11/2019 - 10:25
Hi, yes, I am planning to update this collection of plans to include the "beefed" up modifications. It may be a few weeks though.
My dad and I made this in a queen size to match a mattress it already had. We changed the plans a little, making the legs from two boards to make it more stable. We used a nail gun to put together the lip of the frame and used wood screws for the rest. The headboard was made from the left over slats and attached with a 2x4 on the back of the frame. We also bought square sliders and screwed them to the bottom of the legs so that they don't scratch our wood floors.
My wife and I loved the look of this plan, so I decided to make it happen! I built this same console, only half the length for our dining room, and then made this full size version for the living room area. I used this plan for both designs. I used a table saw to cut dado channels from the intersecting pieces of material for the "X" design on each side of the table which was considerably easier for me. It can get a little tight when trying to secure the 11.25 inch pieces of 2x4 and 2x2 with pocket holes so I opted to secure through the outer frame with 2.5 inch screws. Countersinks, wood filler, and some sanding made for a clean alternative to the pocket-hole approach. Stained and chalk painted frame and shelves separately before assembling. We love this table and promise you will not be disappointed either.
King sized bed. My first project. I’m a 69 year old female and had a blast making it.
This ended up being a very easy project to complete; Ana's instructions were very straightforward. I probably spent four hours altogether on the project, although that was spread over the course of several days. We had several 2x4s left over from other projects, and I was able to use a quart of exterior Behr Premium Plus Ultra (with primer included) that didn't get used for its intended project. So altogether, we spent about $20. You can't even buy a plastic kids' picnic table for that price! As for advice, I found that the best way to avoid wobbling was to firmly attach three of the legs while leaving the fourth leg somewhat lose. Upon flipping the table, you should be able to move that fourth leg into a place that prevents wobbles before firmly screwing it in as well. I painted all the boards before assembling the table, and I feel like that is the best approach, as the space in between boards is slim.
For our first project, my boys and I decided we wanted to build a shoe shelf for our front foyer. We loved the design of the modern slat top bench so adapted it slightly to fit our needs. Here's how it turned out.
So I made this a couple weeks ago. I used 2x12 for the top and 4x4 for the feet and legs. This was my first project and it came out ok. The feet need some work. The plan called for feet to be angled but unless you have a band saw just cut the 45' for the feet.
I built this during quarantine. Dark walnut on the top, and pure white paint ok the base and doors.
Comments
Ana White
Tue, 04/28/2020 - 09:21
Beautiful job! Thanks for…
Beautiful job! Thanks for tip on boards, I'll double check the shopping list.