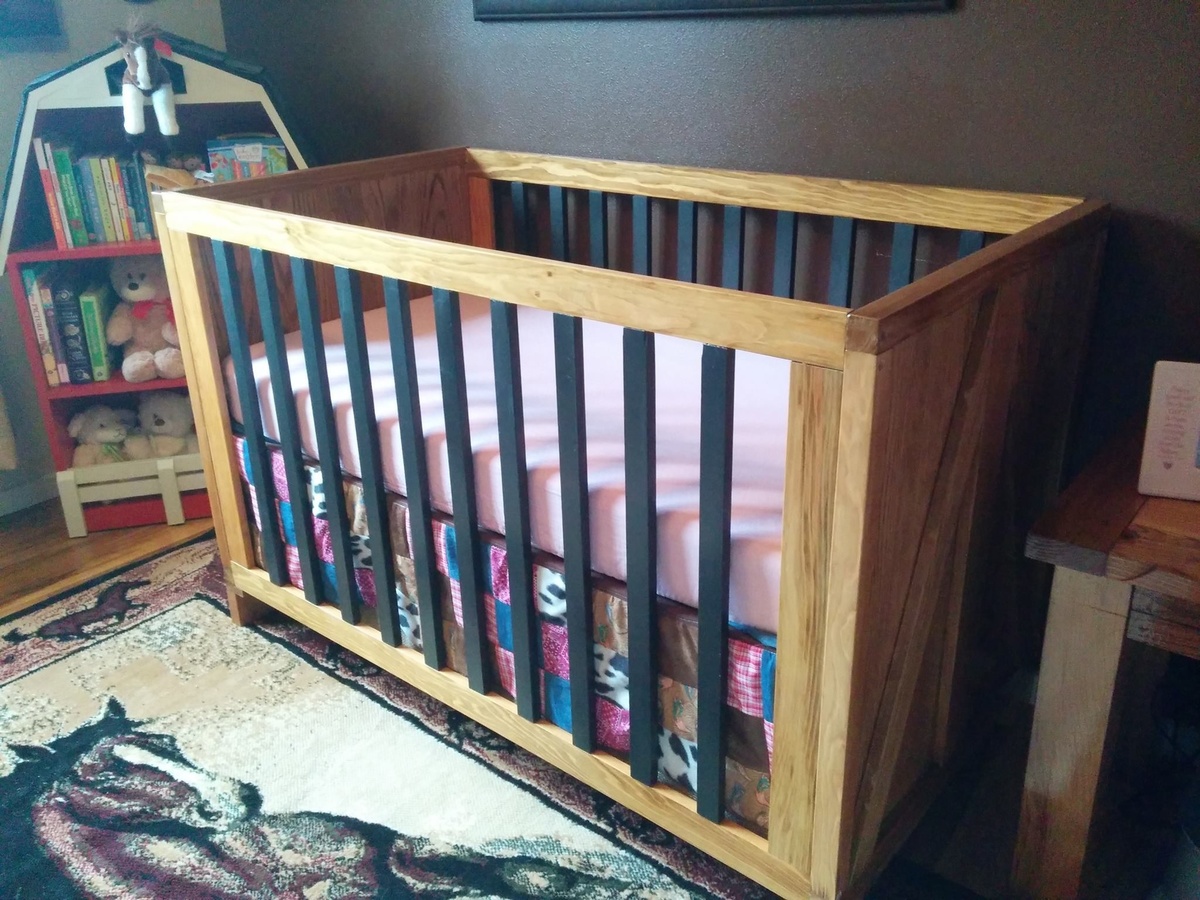
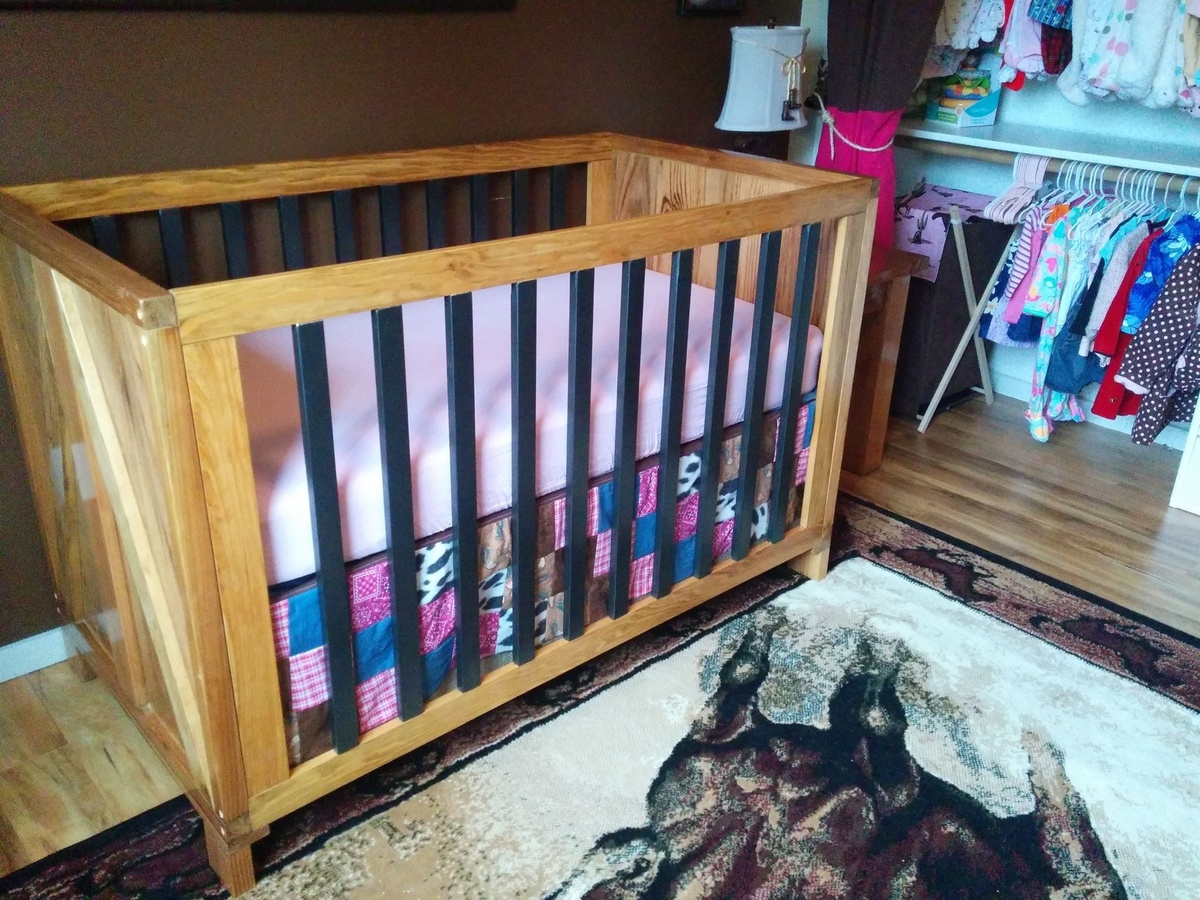
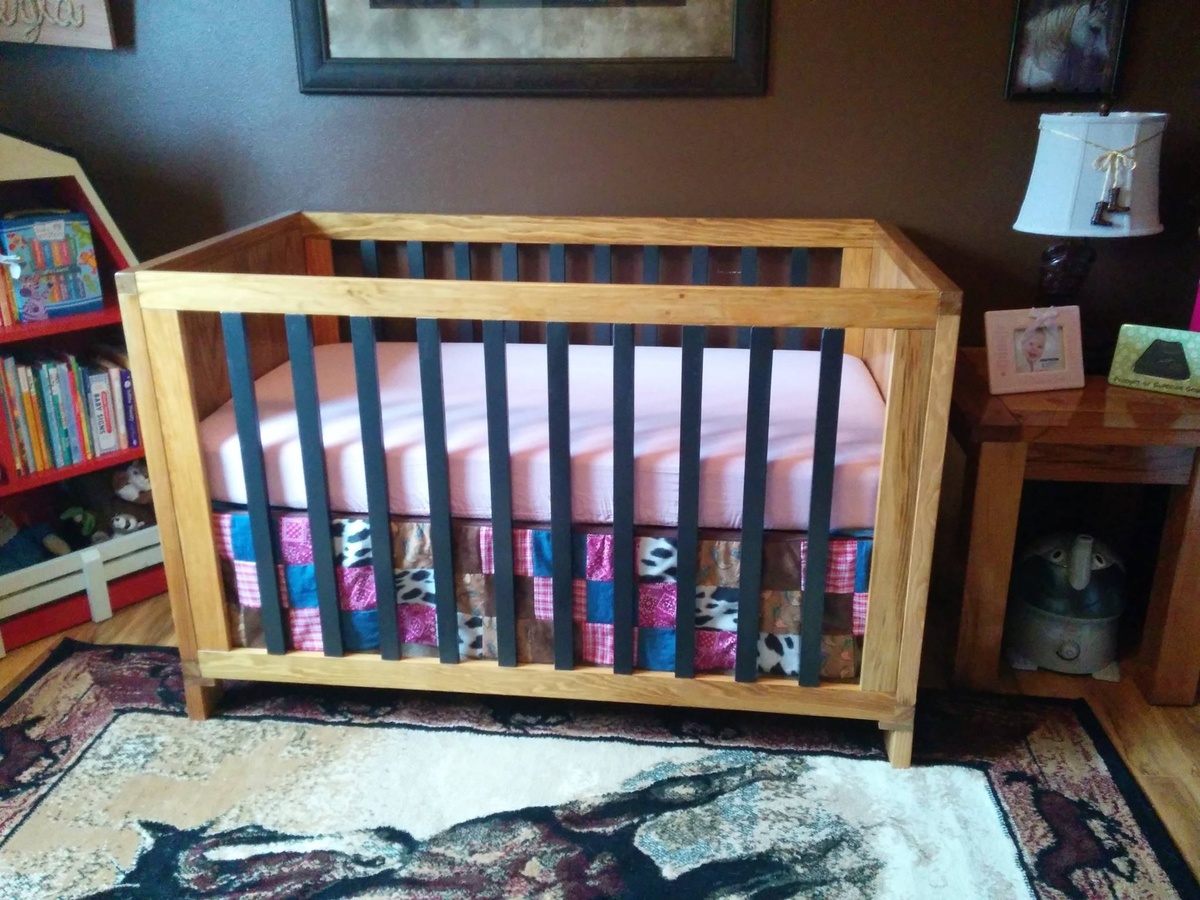
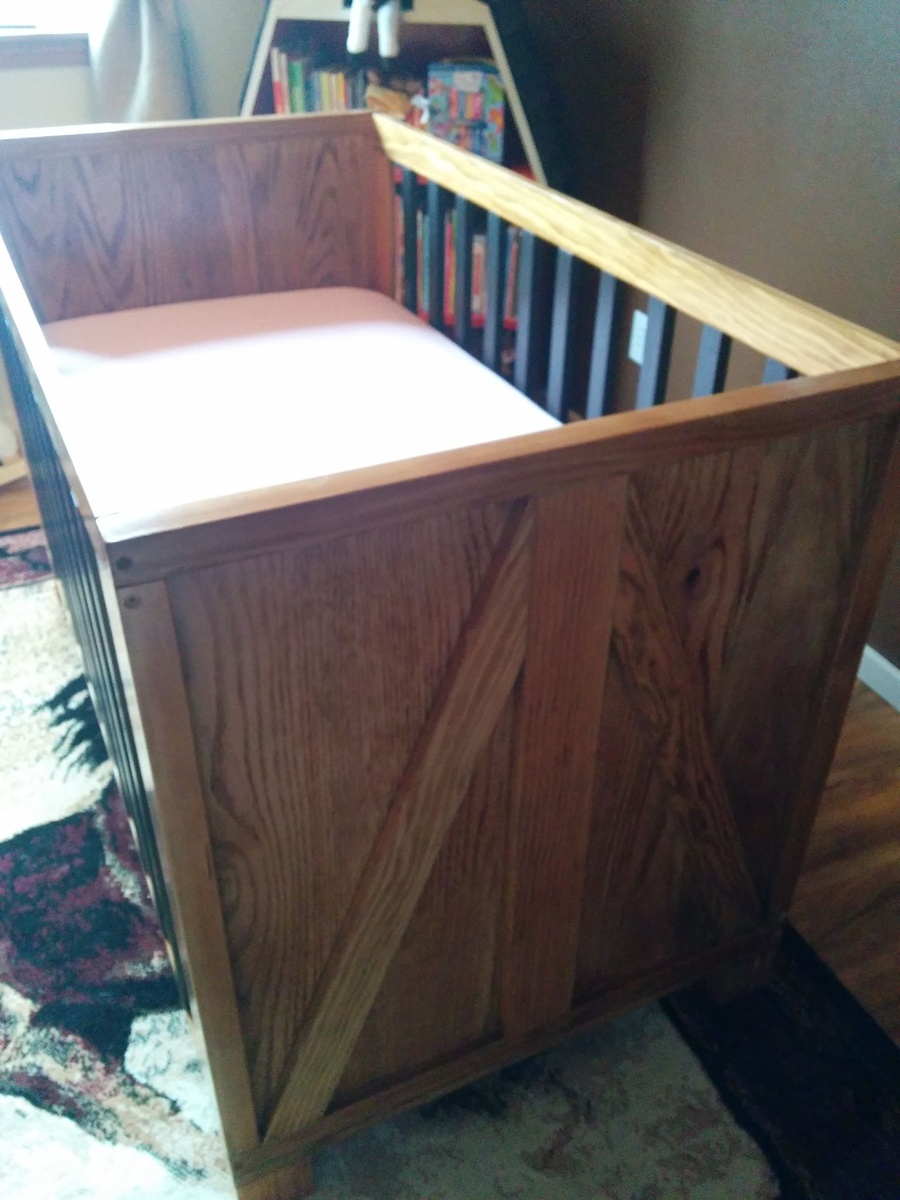
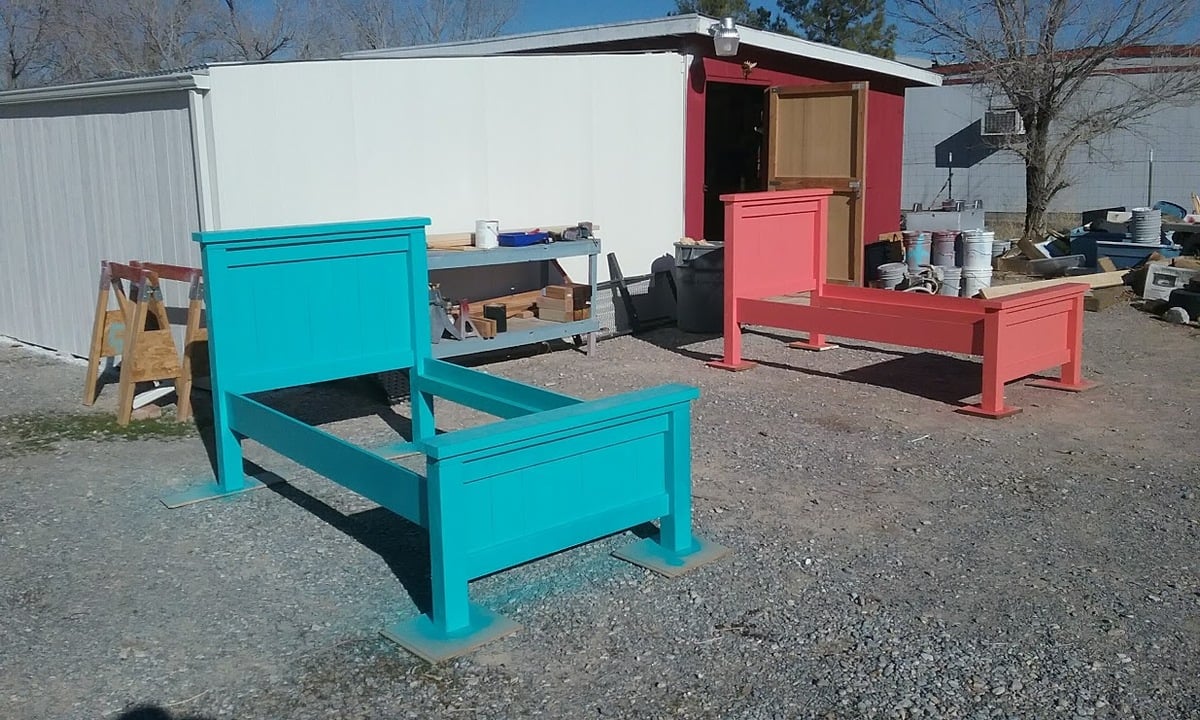
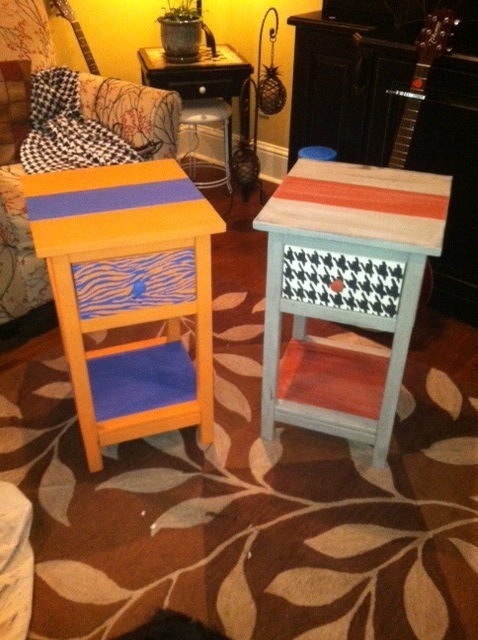
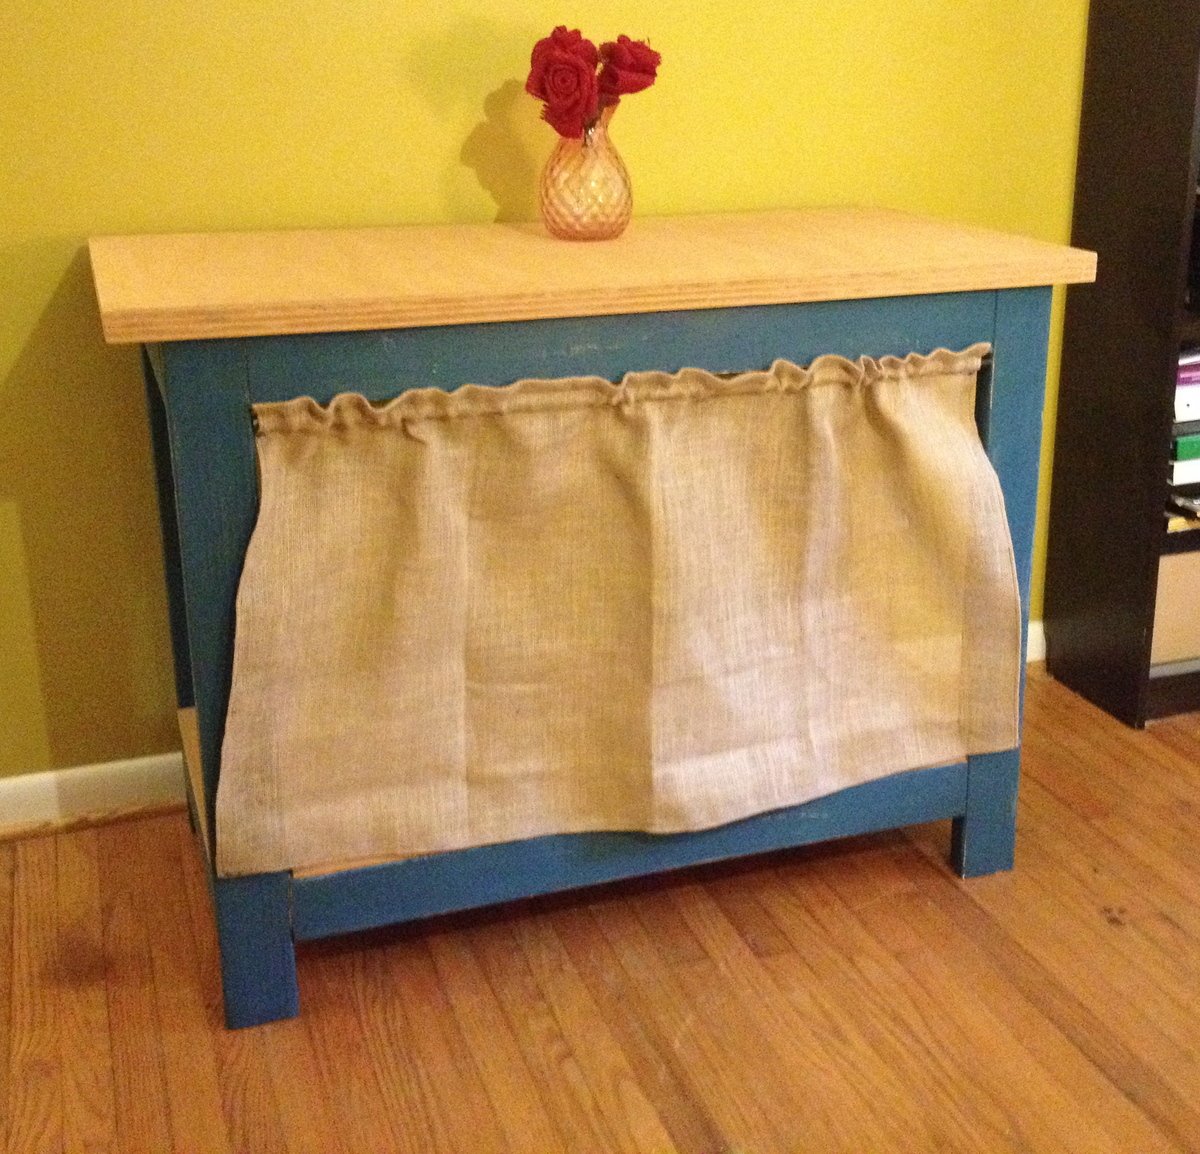
Mini farmhouse bedside tables
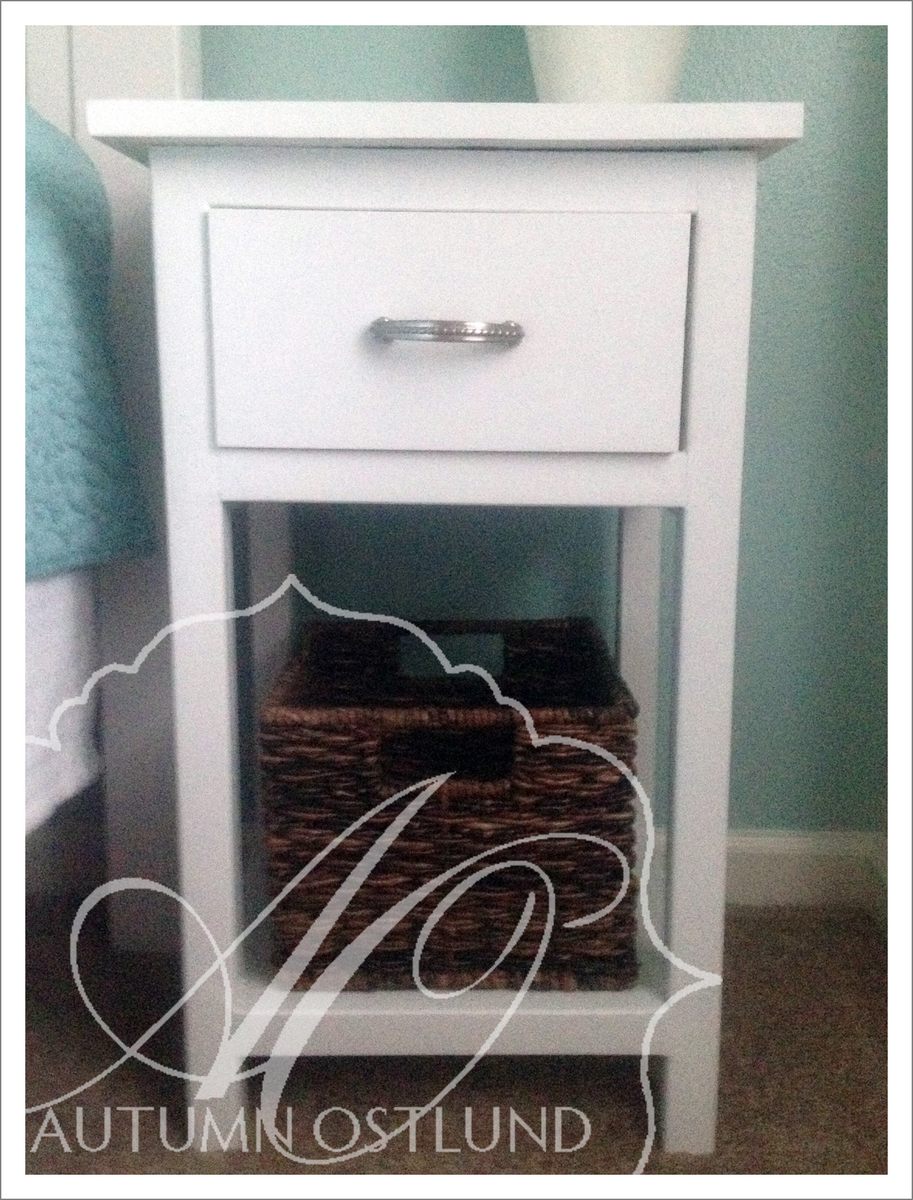
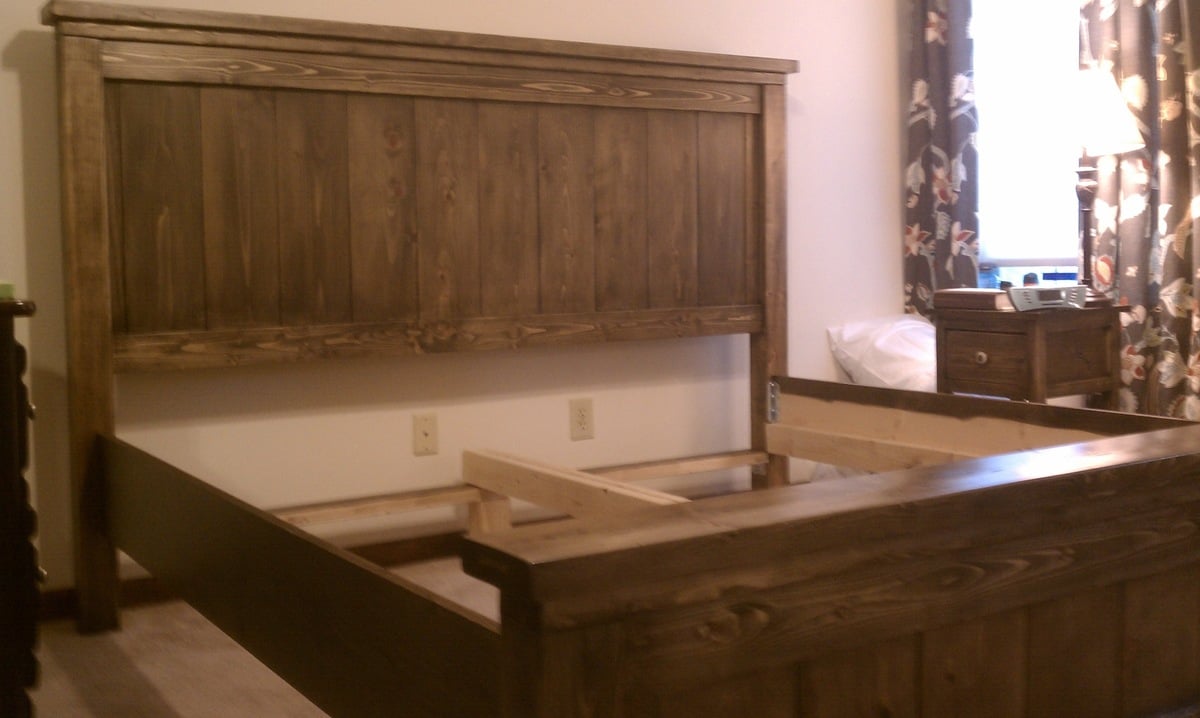
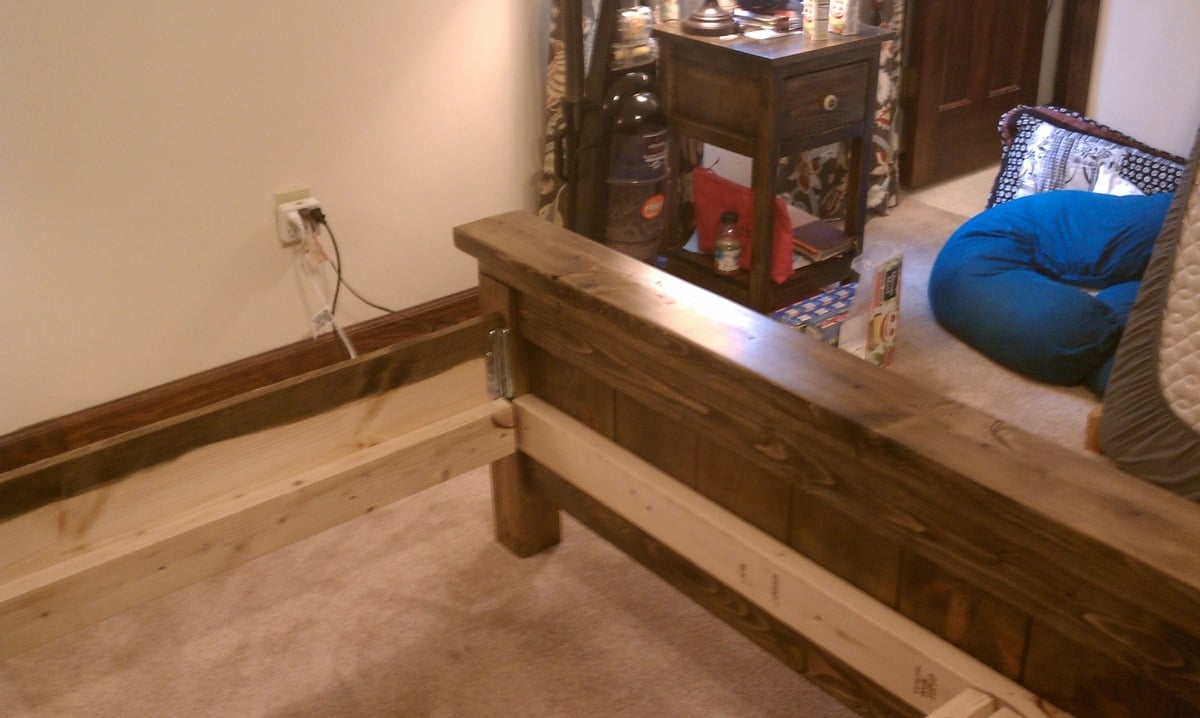
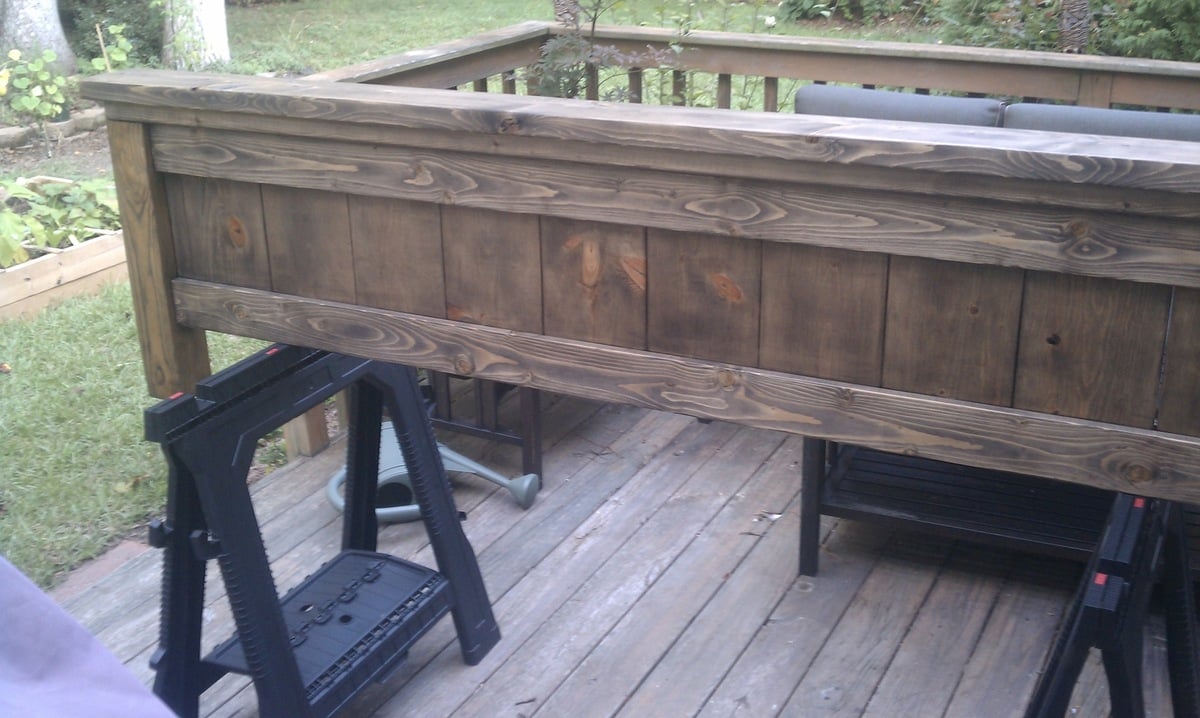
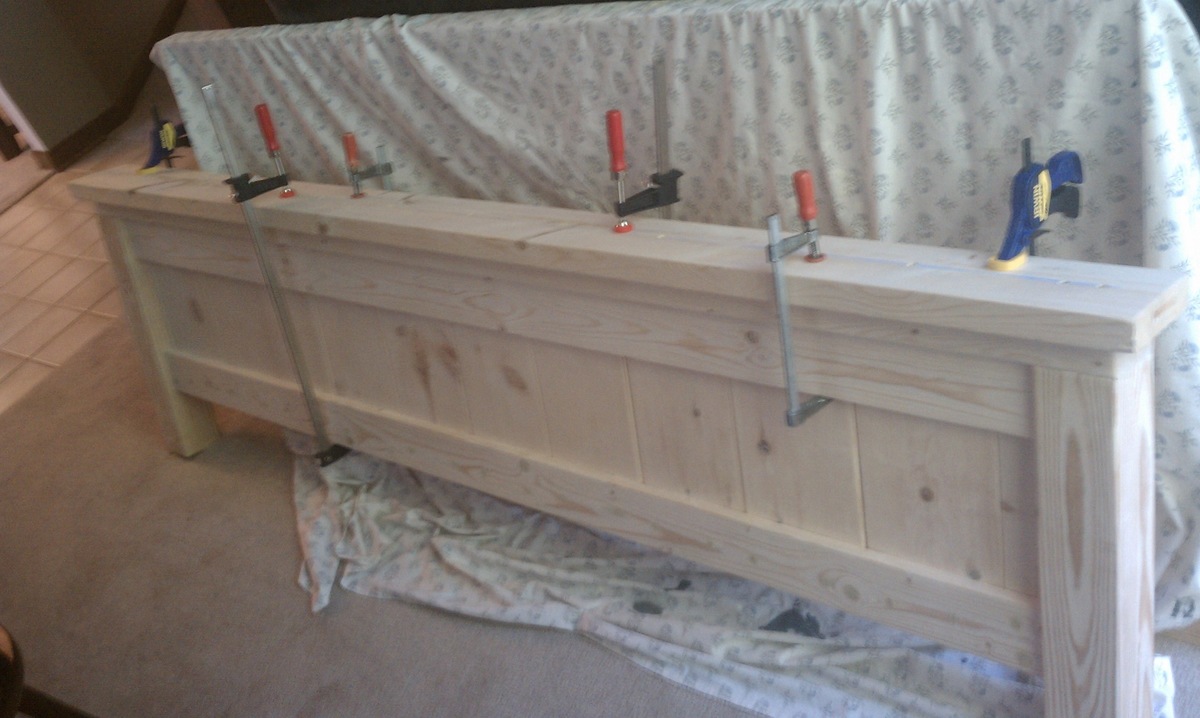
I built 2 of these to go beside my queen farmhouse bed. I think I would put drawer slides on them if I were to build them again.
The crib was our last build project for our daughter's cowgirl nursery. My husband knew he wanted to build the crib long before we knew we were pregnant.
As a mechanical design engineer, he found crib dimensions online that put together a design of what we wanted in CAD. We wanted the end panels to look like barn doors. We also wanted the slat sides to look like the metal on a horse stall. This gave us the overall look we wanted for our cowgirl room!
We also built together a side table, closet system, barm bookshelf, and dresser/changing table. I cannot take any credit for the crib. This was all my husband's work. Excited to bring our daughter home to her complete nursery soon!
Sat, 08/30/2014 - 20:57
Such a lovely, heartfelt build! It's beautiful, and bound to be an heirloom. Great job!
Sun, 08/31/2014 - 12:51
What a beautiful build. He did a great job, and you can sleep soundly knowing it is safe since he is an engineer! I also love the barn bookshelf in the background of the pics.
I've wanted to build benches for my dinningroom table for years. When I first saw the plans for the spa bench 2 years ago I bookmarked it, saying thats the one. Now all this time later Ive finaly gotten to it! I modified my benches by making them longer, they are 48 inches, adding the dividers/supports to the inside to make 3 cubbie compartments, (I will eventualy put baskets under there to store stuff) and raising the bottom edging up a half an inch to create a lip to keep the baskets on. I made 2 benches, sanded and restained my table at the same time. the benches took about 3 hours and $50 each to build. Simular benches cost aobut $150 for the cheep particalboard ones, thank you so much Anna White for making this possible!
TV Toy Armoire 3/4 size
I modified the 3 drawer open console table design to fit in a somewhat narrower space.
Purchase poplar wood from Home Depot, was unable to find all pieces of wood in pine. Cut according to plan, sanded, used kreg jig for joints, (forgot wood glue until last piece).
Built this for about $16! Fun wonderful project! Thanks Ana
My daughter wanted to help with building her loft bed. She handled drilling all the pocket holes, sanding, painting and some of the assembly. This was her first project. We opted to not use the landing from the plan. Increased height to 70 inches. Used 1x4’s for the mattress supports. Anchored to the wall to eliminate any shaking in the bed when climbing up
I made this from the Simple Play Kitchen Plan. I recently purchased Ana's book, and it inspired me to finally build something on my own. I am proud to say I got it done within a few weekends, with minimal issues.
Sat, 11/24/2012 - 13:26
The idea for the apron sink I borrowed from this blog. http://www.catdmoore.com/2010/vintage-inspired-play-kitchen/
First project, so fun!
This is a hope chest I made for my step daughter this Christmas it is made intirely out of pallet wood except for the frame which I used 1by4 by 8 pine board
I took on the challenge of teaching myself how to make these chairs and use my Ryobi tools. I had sawdust everywhere and loved it, thank you Ana
This is a century old red oak fireplace mantel I bought off of Craigslist. It came out of a home in Louisville, KY. It was in bad shape as you can see in the photos. I stripped it and replaced the veneer that needed it. I had to modify it a bit to install it to my mother-in-laws brick fireplace. The mirror is mercury glass and beveled. I did add some red oak rope trim which I beveled to give a more formal look. I countersunk some holes along the sides that I covered with some red oak trim. This allowed me to attach studs to the brick and then attach the mantel to the studs. The very top shelf was rotted so I found some beautiful spalted red oak and rebuilt this. The former onlay on the front was beyond repair and I found the current salvaged onlay on Ebay for around $10. I am really happy with how it turned out.
These mini farmhouse tables are great examples of a creative way to personalize plans. They both cheer for thier college team! And as fall in the south is here, college football is king. Please go to www.ourhomemadefamily.com for my thoughts on how the finish is the personality of all my custom builds.
I reduced the length by 12 inches to accomodate my space, and I ripped the boards on the table saw so they would be more flush when I assembled the tabletop. Otherwise, I followed the plan exactly. Distressed tabletop before staining.
Desk was built per the plans. The only adjustment made was to the width to fit the space. Desk was easy to build and looks great! I added Gator Hide to the top to provide water resistance.
Ana's simplest console inspired my first build. I decided to make it a bit wider like one I saw on Shanty 2 Chic's website, and this is what I came up with. So excited about my first build - can't wait for the next!
This project took us four days. The biggest job that took us awhile was sanding and painting.