Kentwood bed
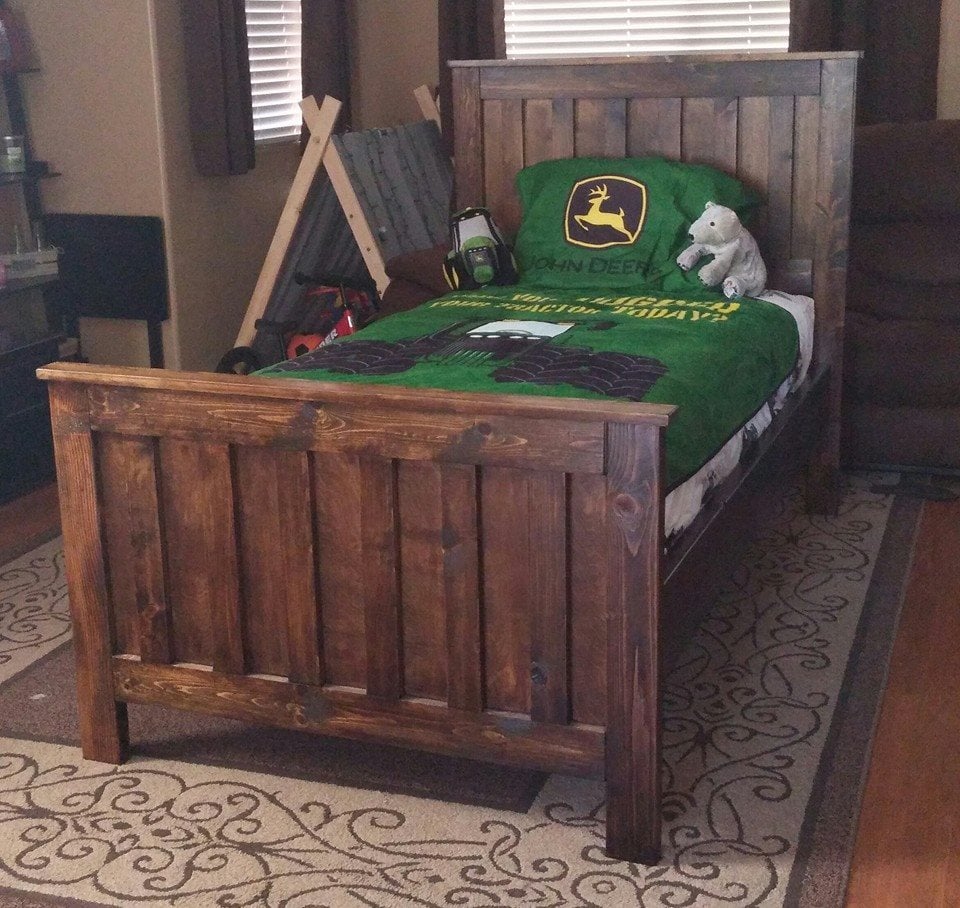
I built this for my four year old son! He even helped me out so that made him love it even more :)

I built this for my four year old son! He even helped me out so that made him love it even more :)
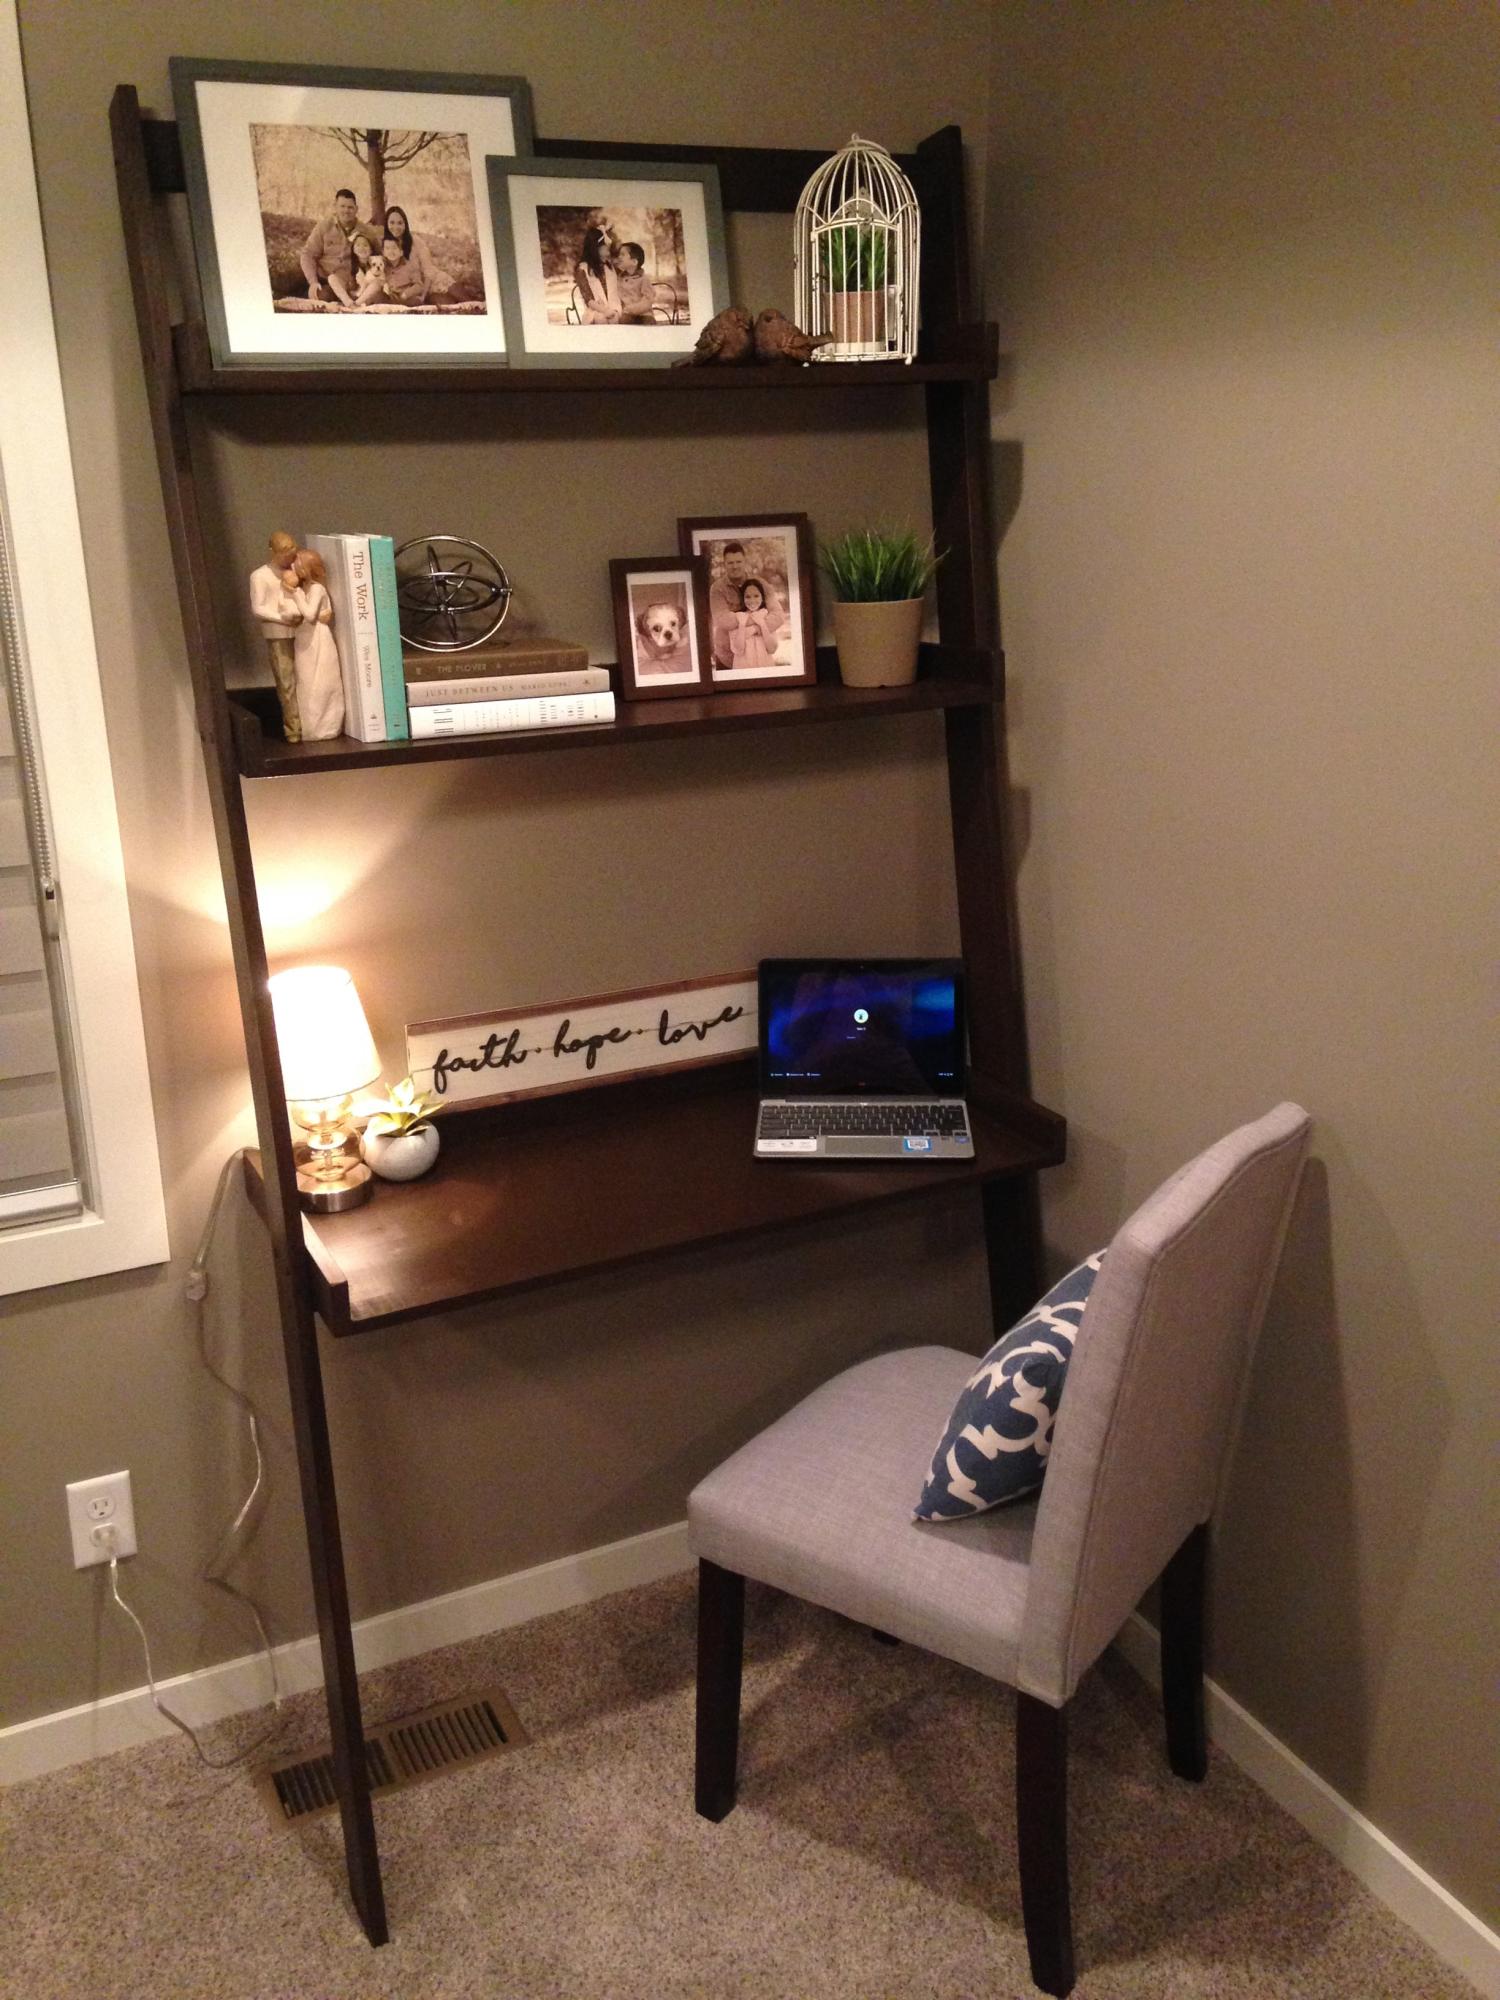
Thank you Ana for the plan my husband loves it. So functional yet requires very little space. I made it a littlest wider- 38 inches overall width and 83 inches overall height.
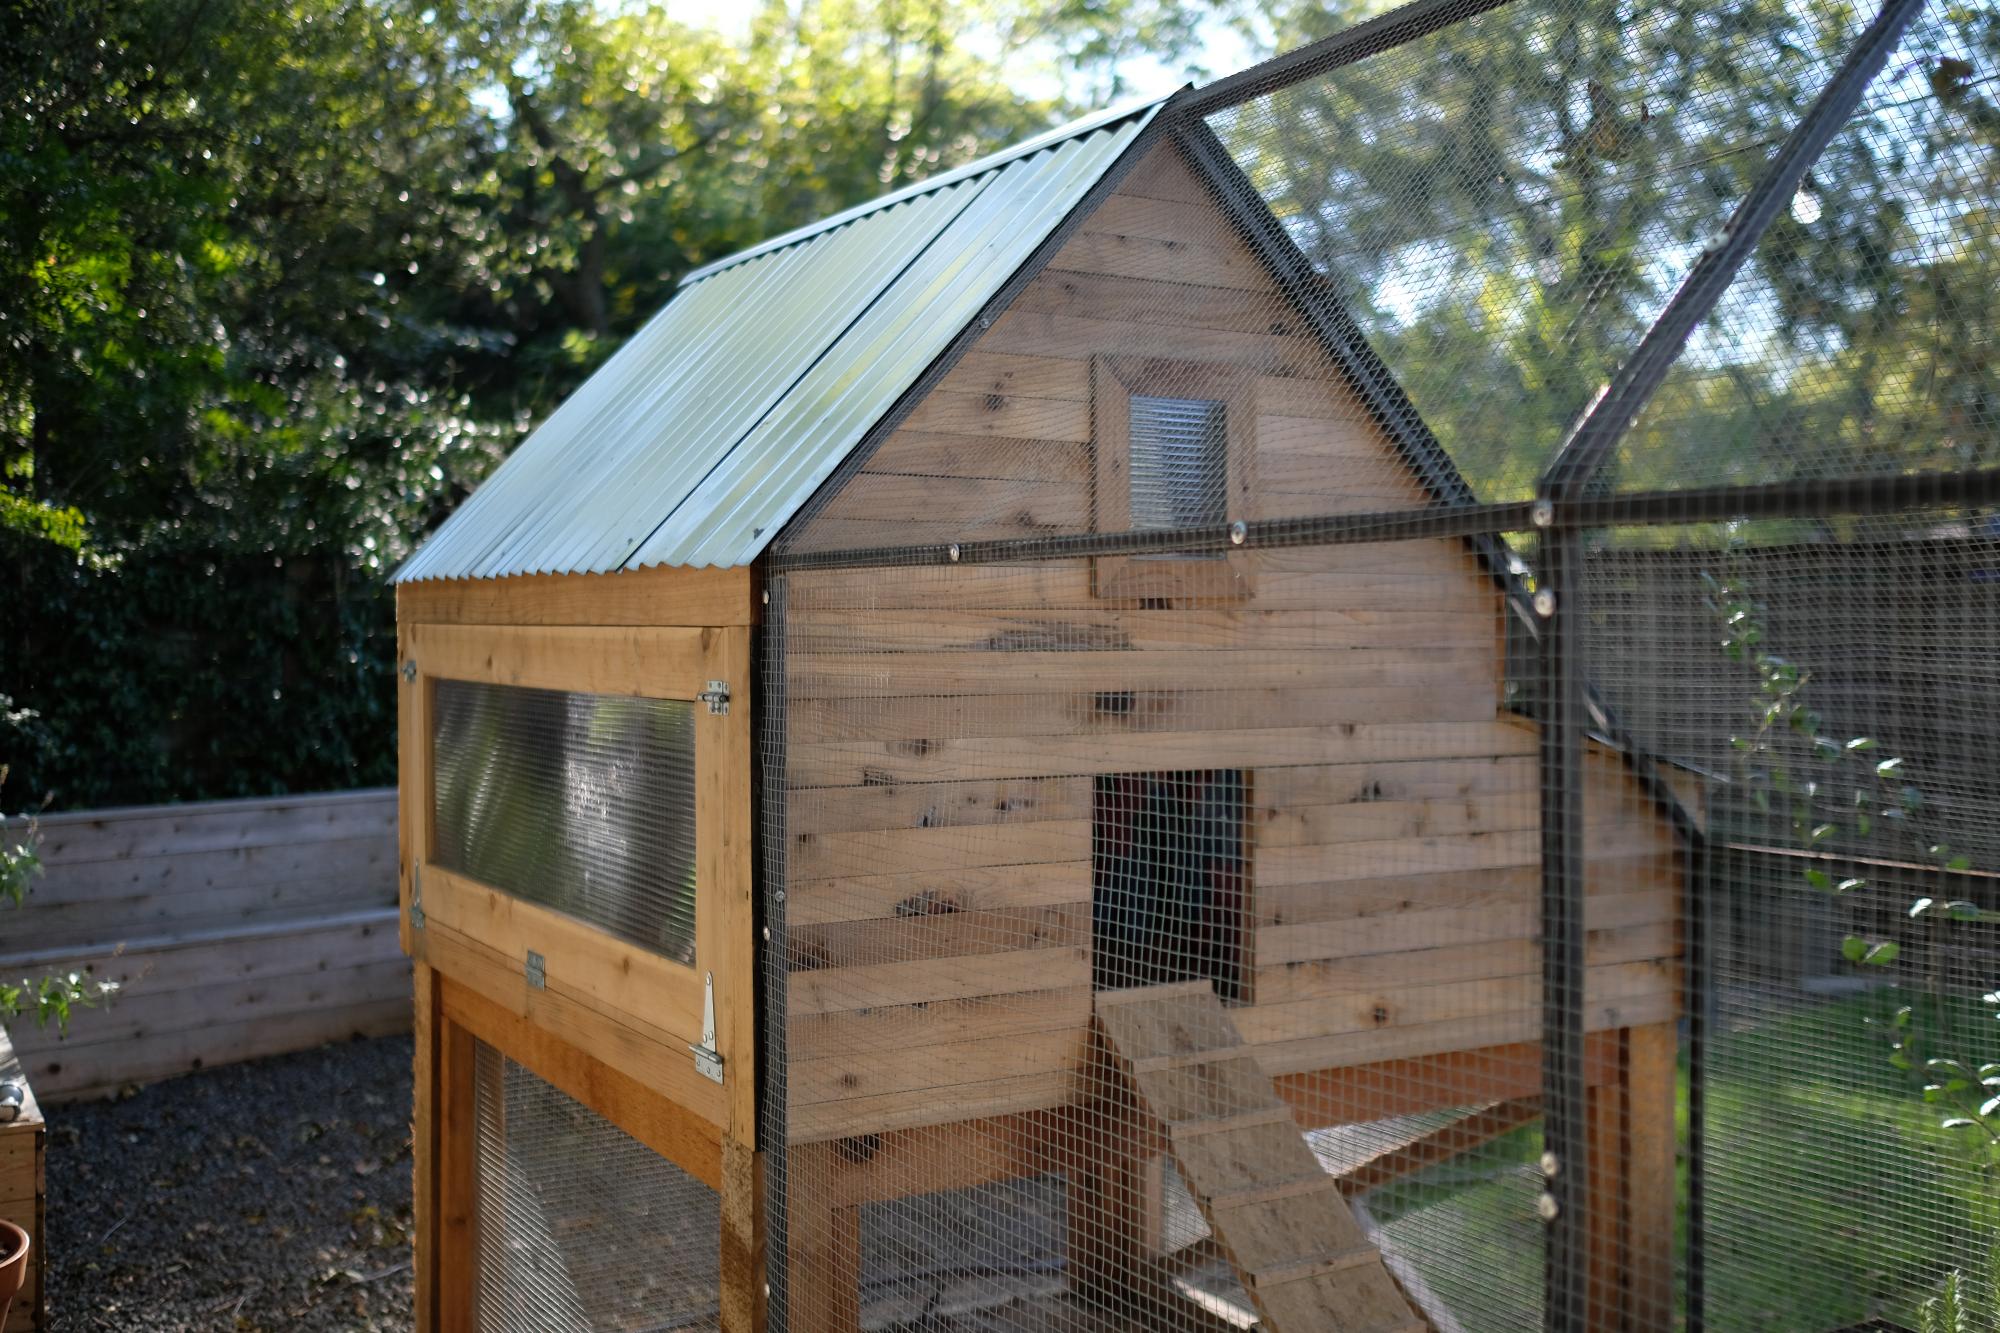
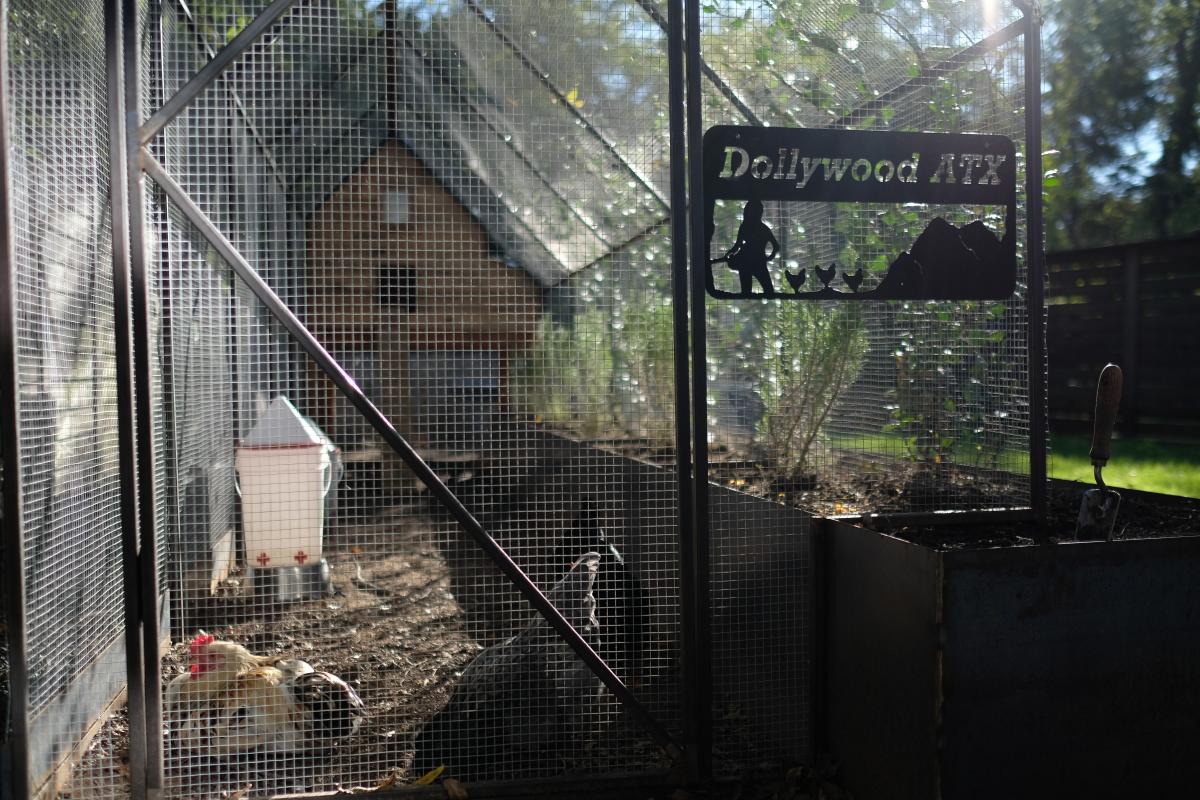
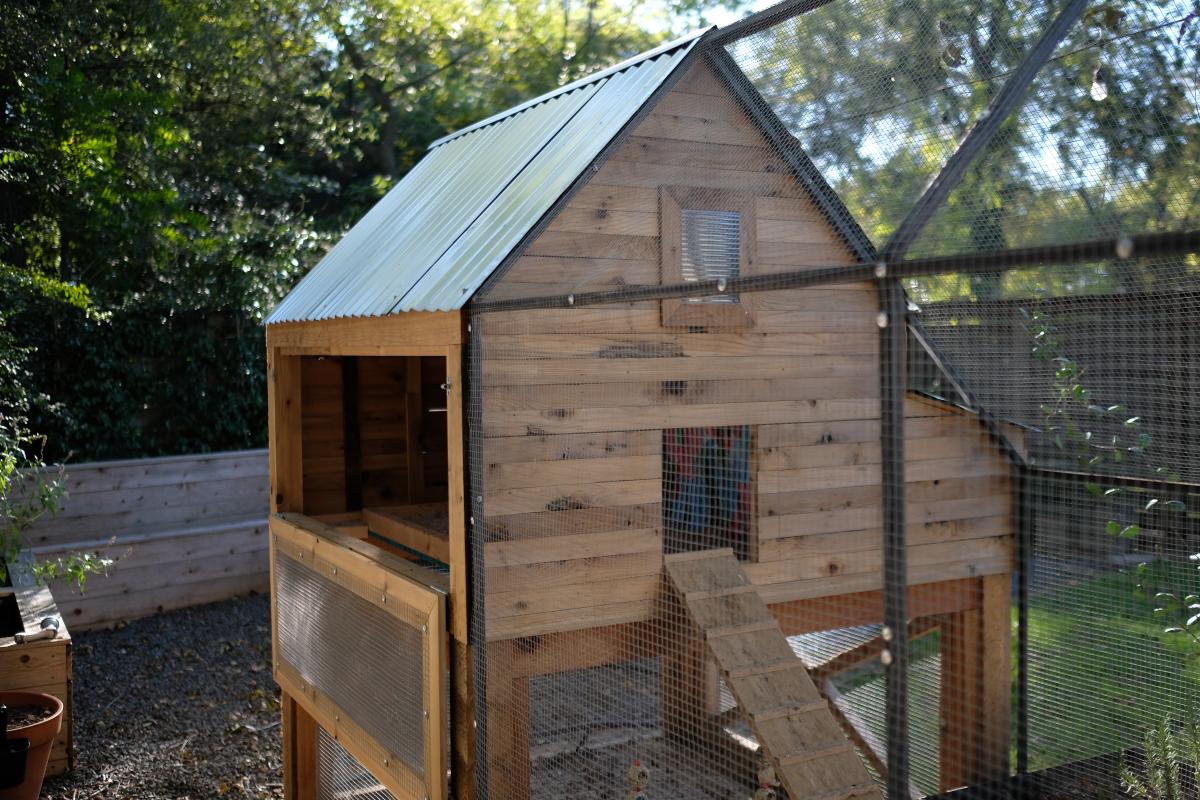
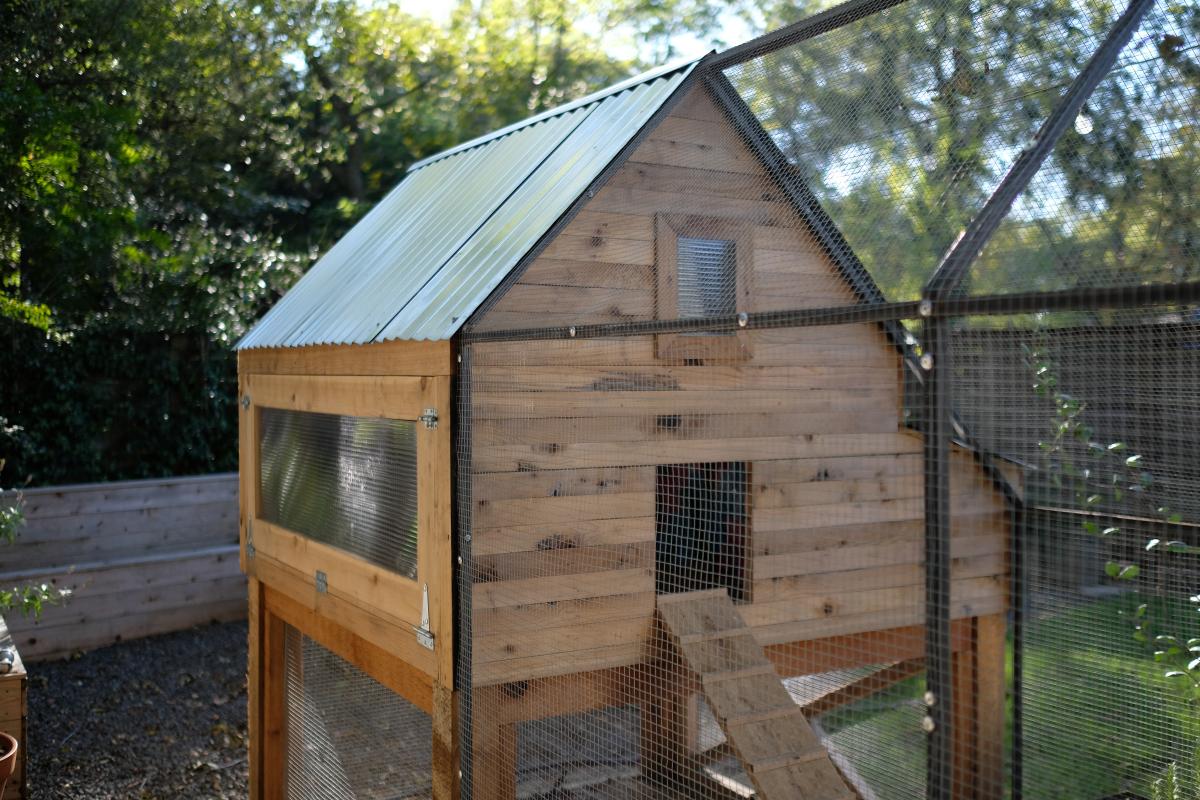
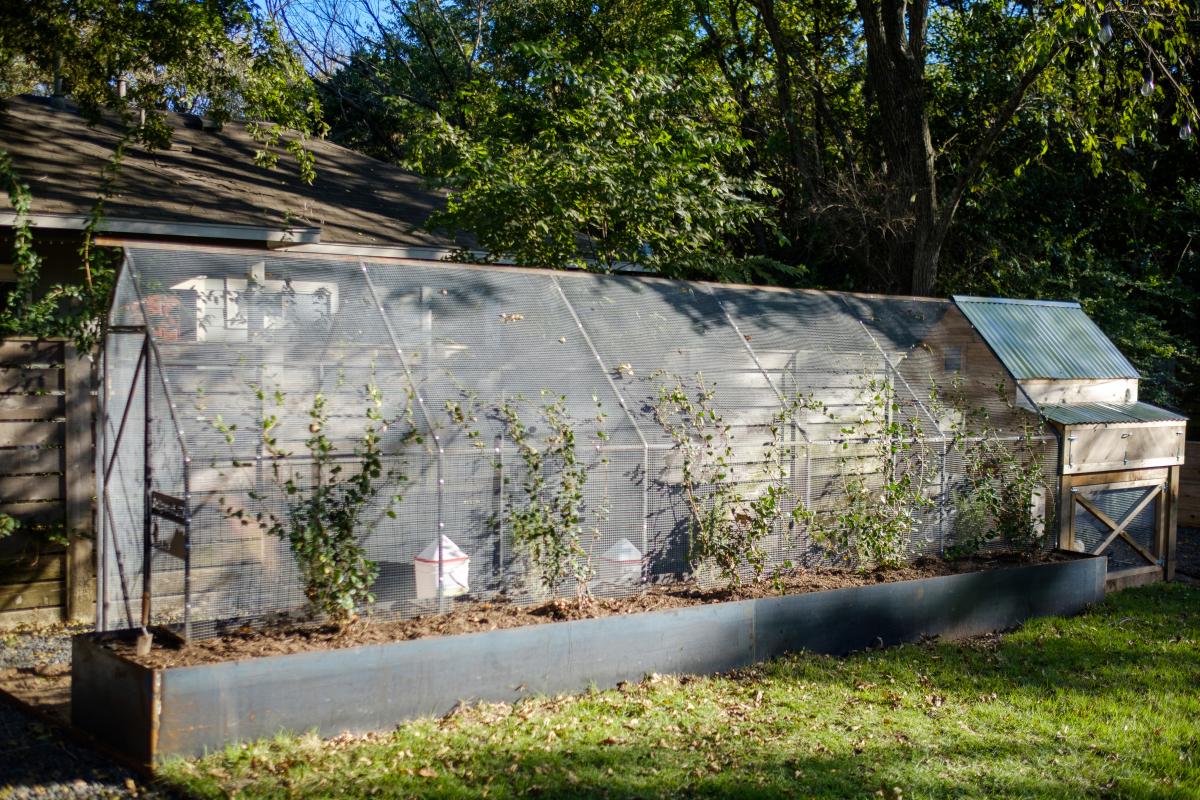
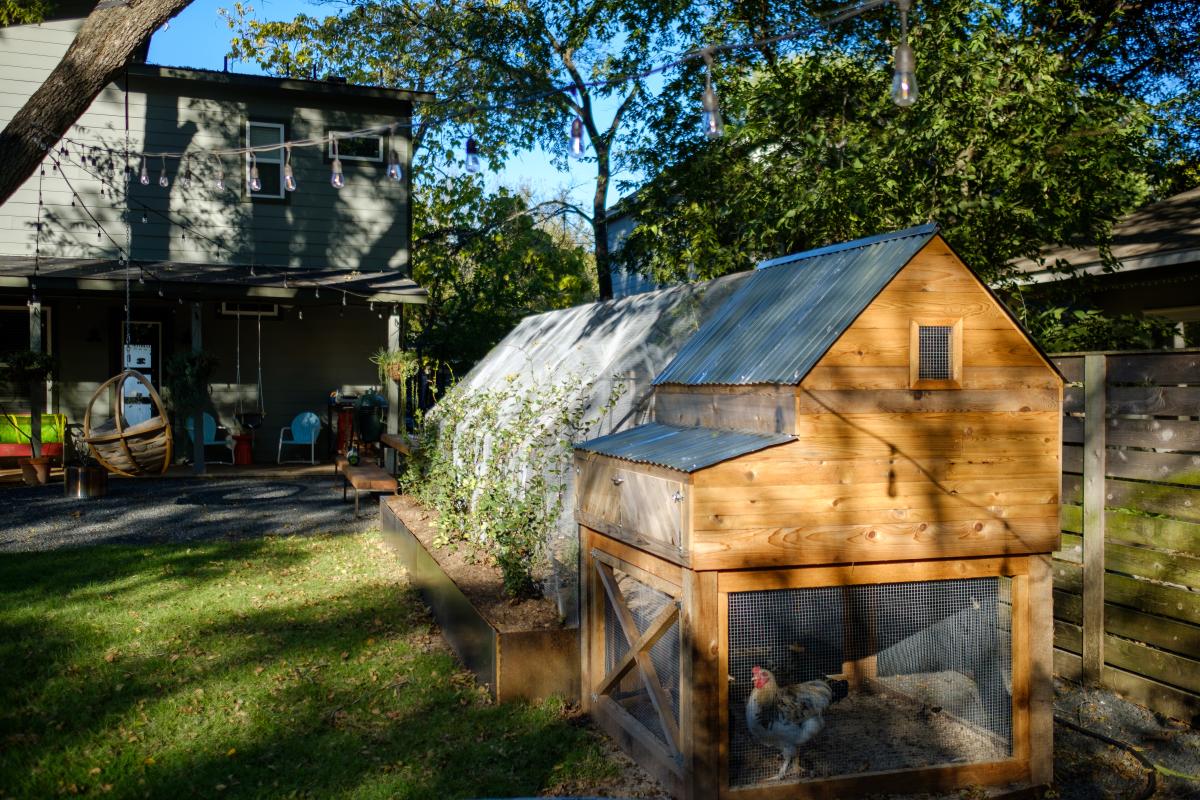
When we became accidental chicken owners, we had to build a coop fast. I found the plans for Ana’s replica of the Williams Sonoma chicken coop and got to work. They were very easy to follow and easy to modify to fit our own needs and aesthetic. We decided to enlarge the coop and remove the planter in the original plans to accommodate more chickens while keeping the original footprint. Instead of plywood, we used cedar reclaimed from an old fence we had recently replaced. We also enlarged the rear door to make clean-out as easy as possible. I cut pieces of polycarbonate to fit inside the door and windows to winterize the coop when temps drop below freezing. The run is designed to follow the shape of the coop and is large enough to give our 5 chickens plenty of space to roam when they aren’t free ranging in the yard. The planter box runs the length of the chicken run, providing plants to munch on inside and shady vines that will eventually cover the outside.
Sat, 01/01/2022 - 12:14
This is so awesome, I love the raised beds and chicken run too!
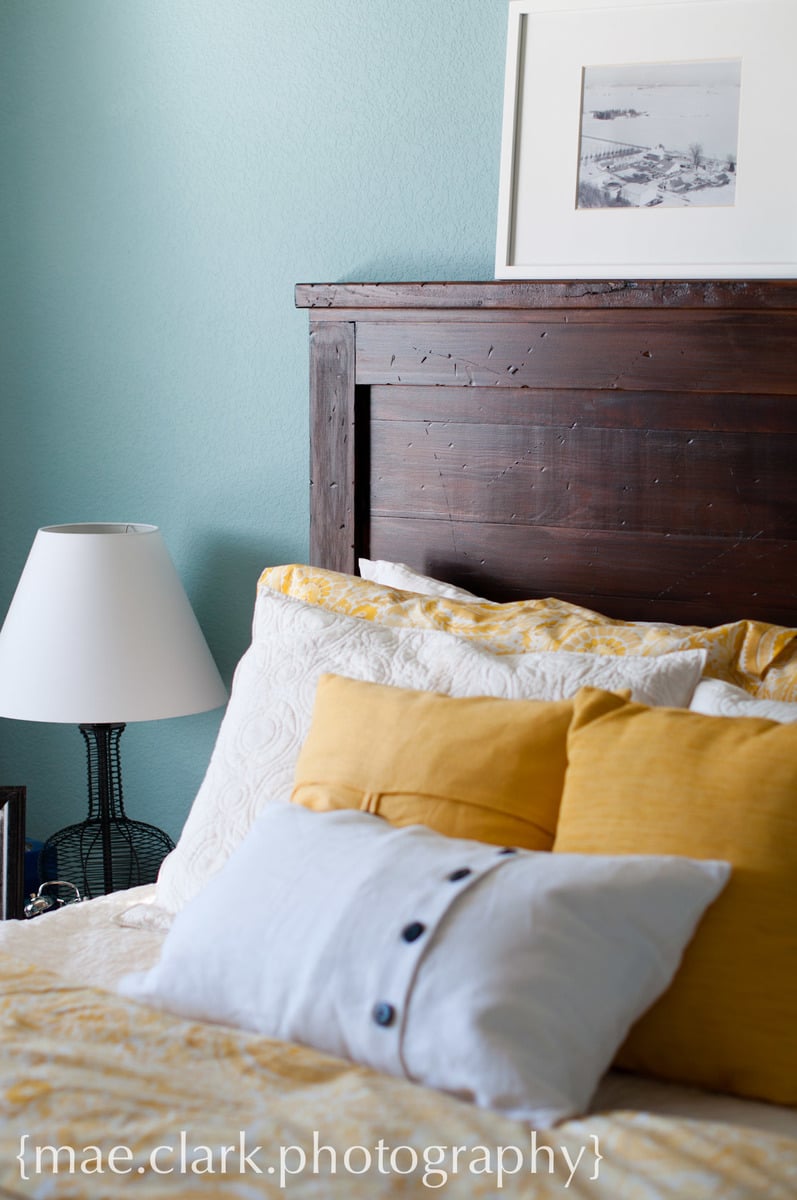
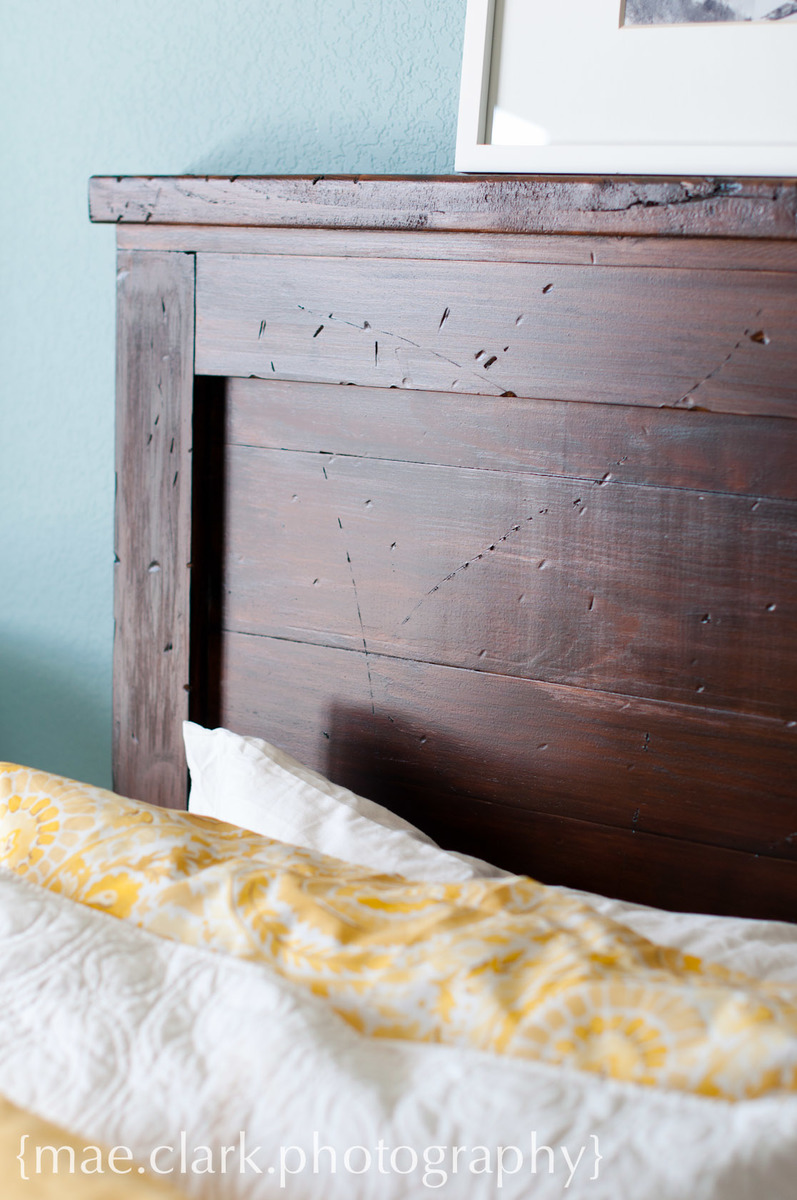
The hubbs helped me build this during a day off from work. We spent an hour after work the following few nights working on the finish. Tons of compliments on this headboard...a few coworkers have even built their own after seeing ours!
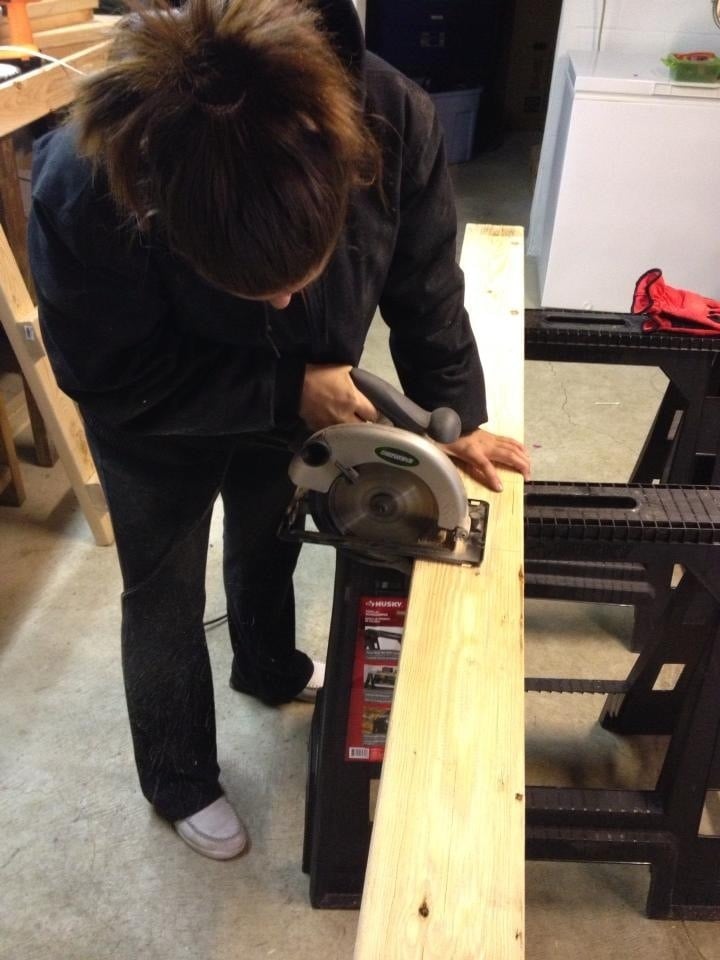
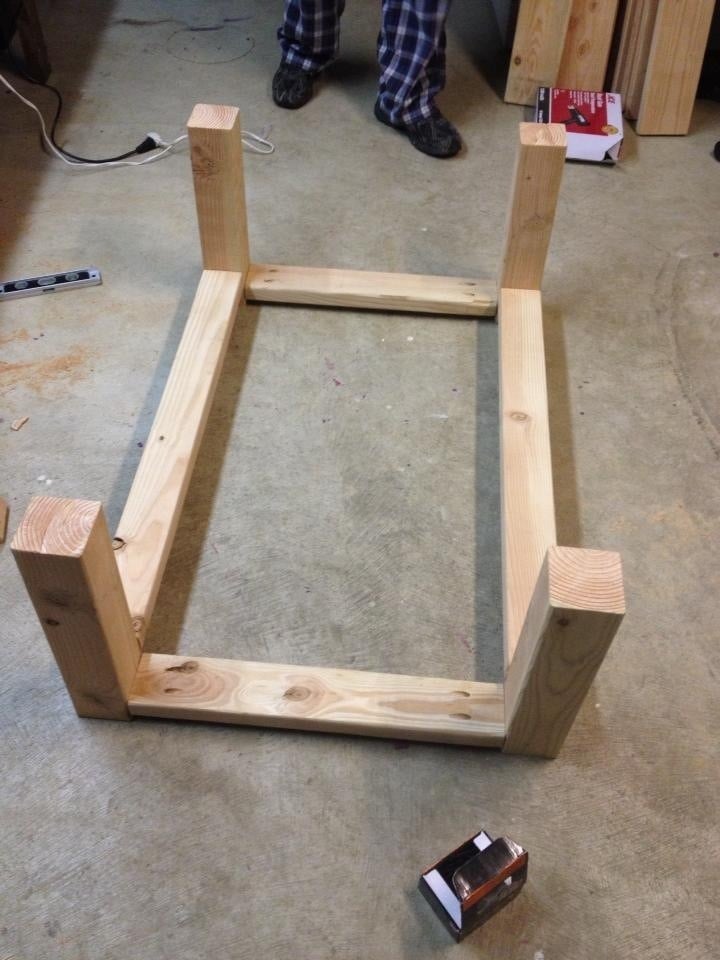
I found these amazing tables that i fell in love with! so i decided to take matters into my own hands! i adjusted the measurements to fit my needs and style, and after we purchased the wood, i got to cutting! with a little help from my daddy the project came to life in no time! now i have furniture for my living room that i can completely appreciate and adore forever! i was amazed at how easy this was and how beautiful! and for the price?! theres simply not a store to beat it! and i love all the compliments i get on them and the surprised reaction when i tell people i made them myself! i still plan on building the console table to match!
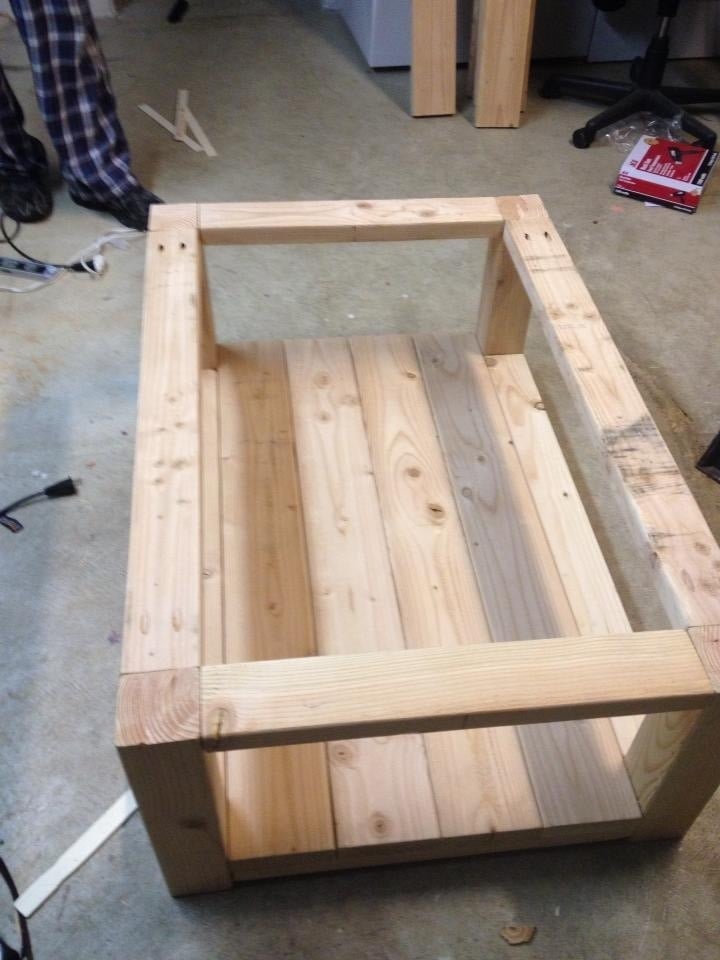
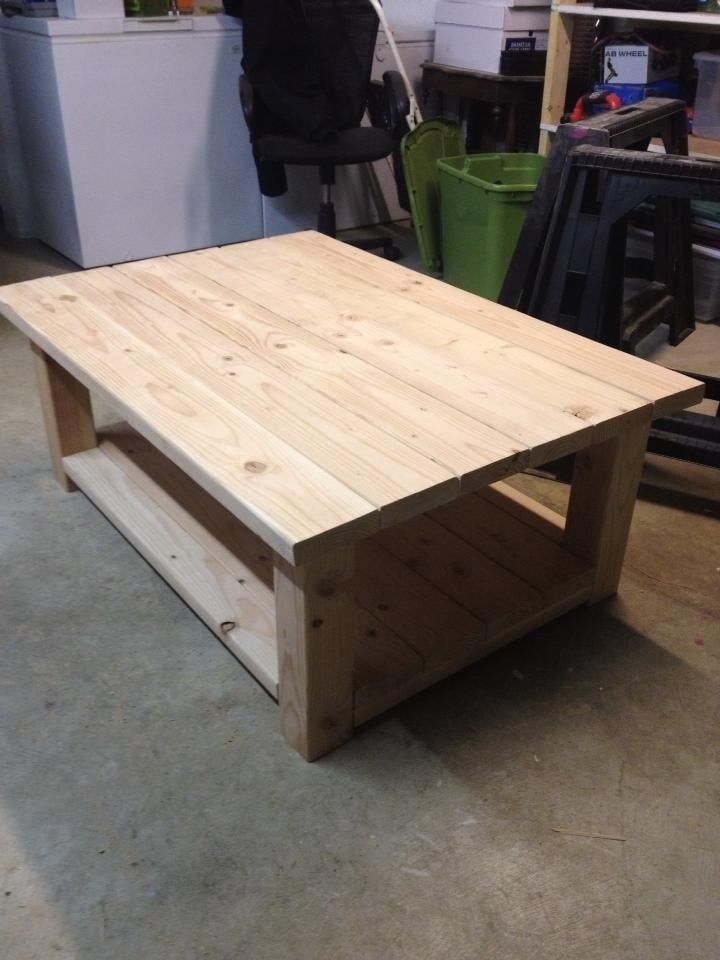
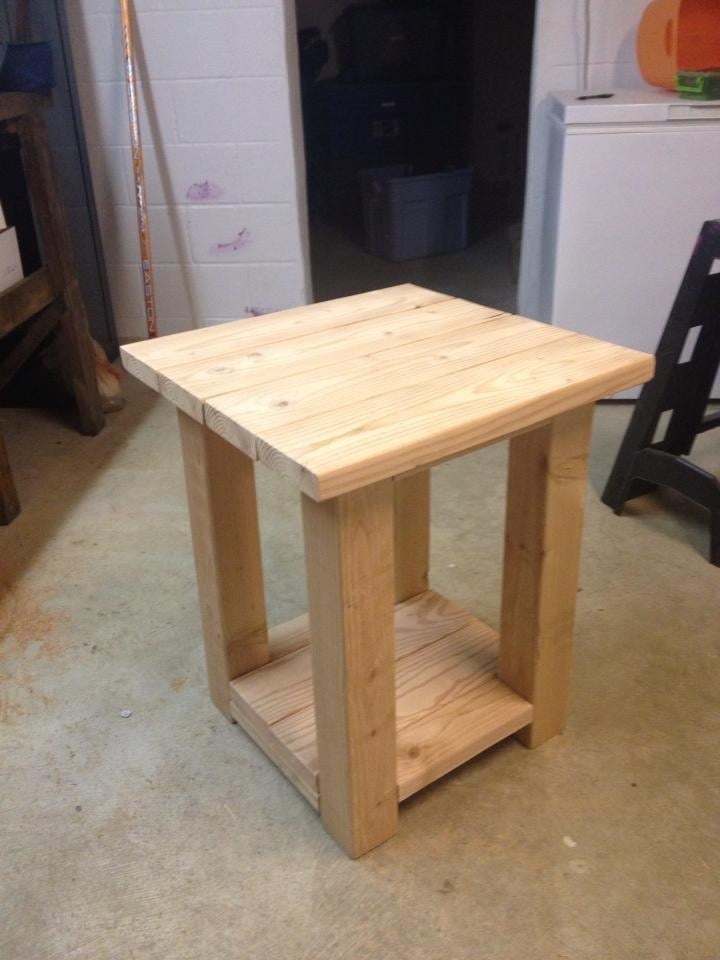
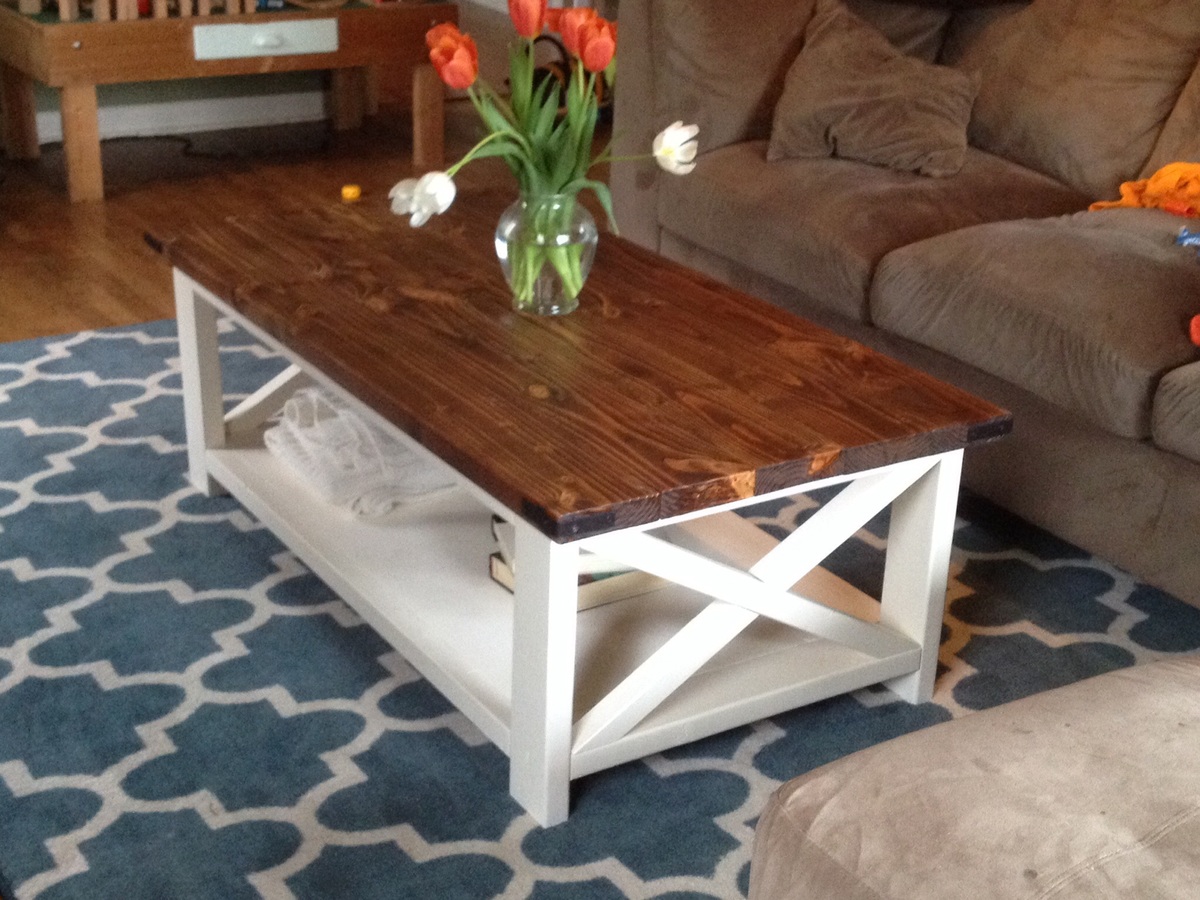
This is my second project. I used all pine. The top is stained special walnut then added poly acrylic sealer and the bottom I sprayed with Rustoleums heirloom white. This one was a lot of fun and I love the result. Since this picture, I added corner brackets sprayed with Rustoleums oil rubbed bronze (my fav-so good!).
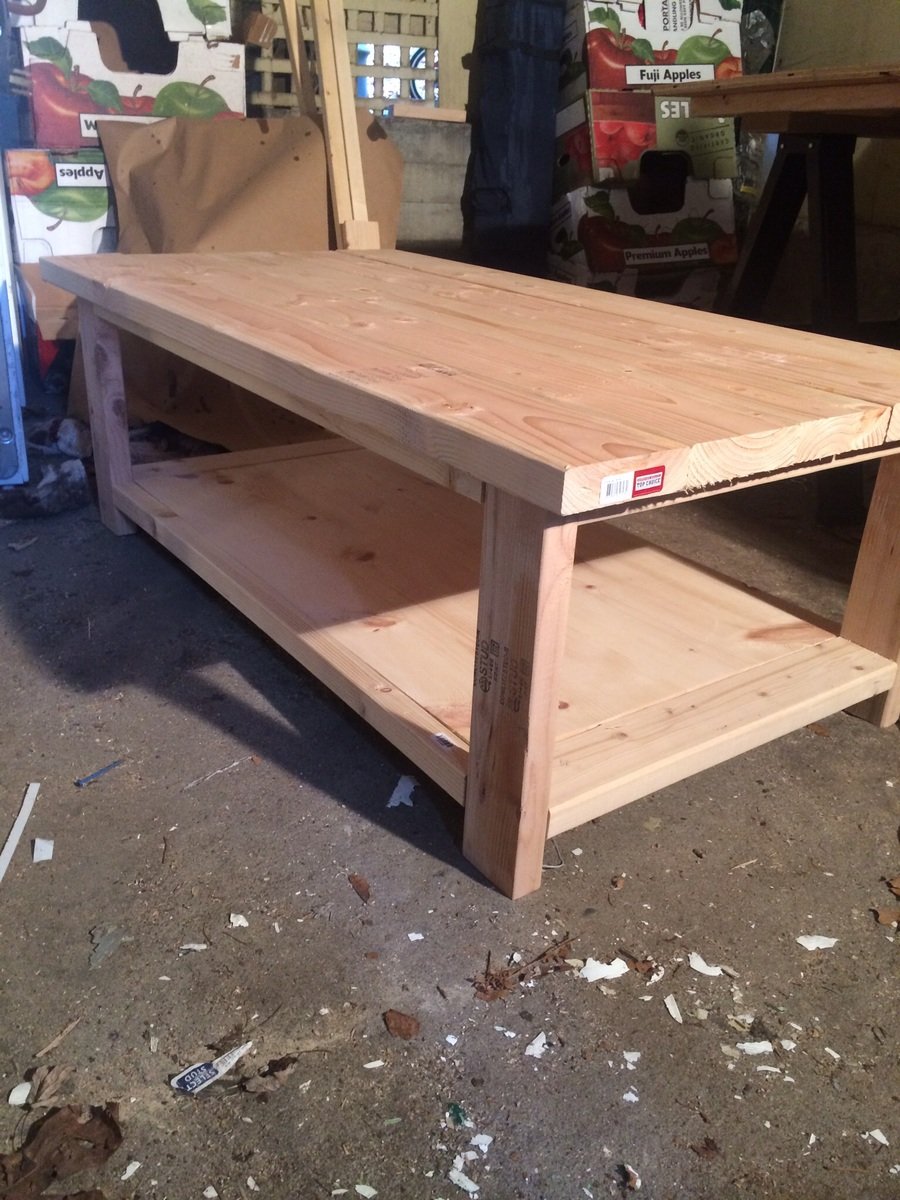
Wed, 07/01/2015 - 09:47
Actually, the picture does show the corner hardware. Oops!
This was my first wood project ever. No prior experience and no tools. I started really from scratch. Thanks to Ana's website I mustered the currage to take on this project. Thank you!
I just want to leave a few tips for anybody that is an absolute beginner with wood working - things that I have learned along the way.
- First mistake. Practice your cuts with the circular saw before you get to used it. The offset of the blade thickness will puzzle you initially. Maybe I should also mention.. there is a certain way to hold a chisel. You got 50% chances of doing it right the first time :))
- The hardest thing for me was to find lumber that was in decent condition, not too wet, fairly straight and at low cost. I spent many hours in the big stores searching trough their stock. In the end one single board was a little too wet and soon after I was done is started to warp a bit. I did expect that and I used it as breadboards to prevent bowing along the tabletop.
Be aware that if your board is wet, most likely it will curve across width, especially if the section is cut through near the center of the tree. Looking through the section of the board, the outer rings are going to shrink more that the inner rings creating a bow that will push the center outward. See picture.
- If you want your boards to join perfectly you sould take them to a wood shop and get the sides straighten. Doing it by hand it will not get them right and it will take to much of your time.
At the shop you could also plane them and get them at the same thickness. I preferred to leave the imperfections on the surface of the boards but I wanted the same relative heigth along the edges, so the tabletop would be smooth across but not perfectly planed. If you are planning on taking some of the thickness off with a palm sander it will take you a week of sanding; the better solution is either using a belt sander or even a cheaper way is to get a Sanding disk that you use with a drill machine. See Diablo Sanding Disk Kit. It worked really fast for me removing material in the desired areas.
- Get some good quality Poly. It will give a professional look to your tabletop.
I tried the wood conditioner and then I stained the under tabletop with the Weathered Oak finish but I did not like the result. I let it dry and I was still not happy with it. I decided to leave the natural color of the wood and use only Poly. Some of the better brands are Arm-R-Seal or Old Masters. I applied 5 coats of General Finishes Poly with slight sanding in between.
I hope this helps.
I also finished the bench that comes with the table and they look incredible.
The cuts/assembly takes about 30-40 hrs in total (for a beginner). The finished product was done in about a month after starting lumber hunt and tool gathering. Worked on it whenever I could and some weekends.
Dan
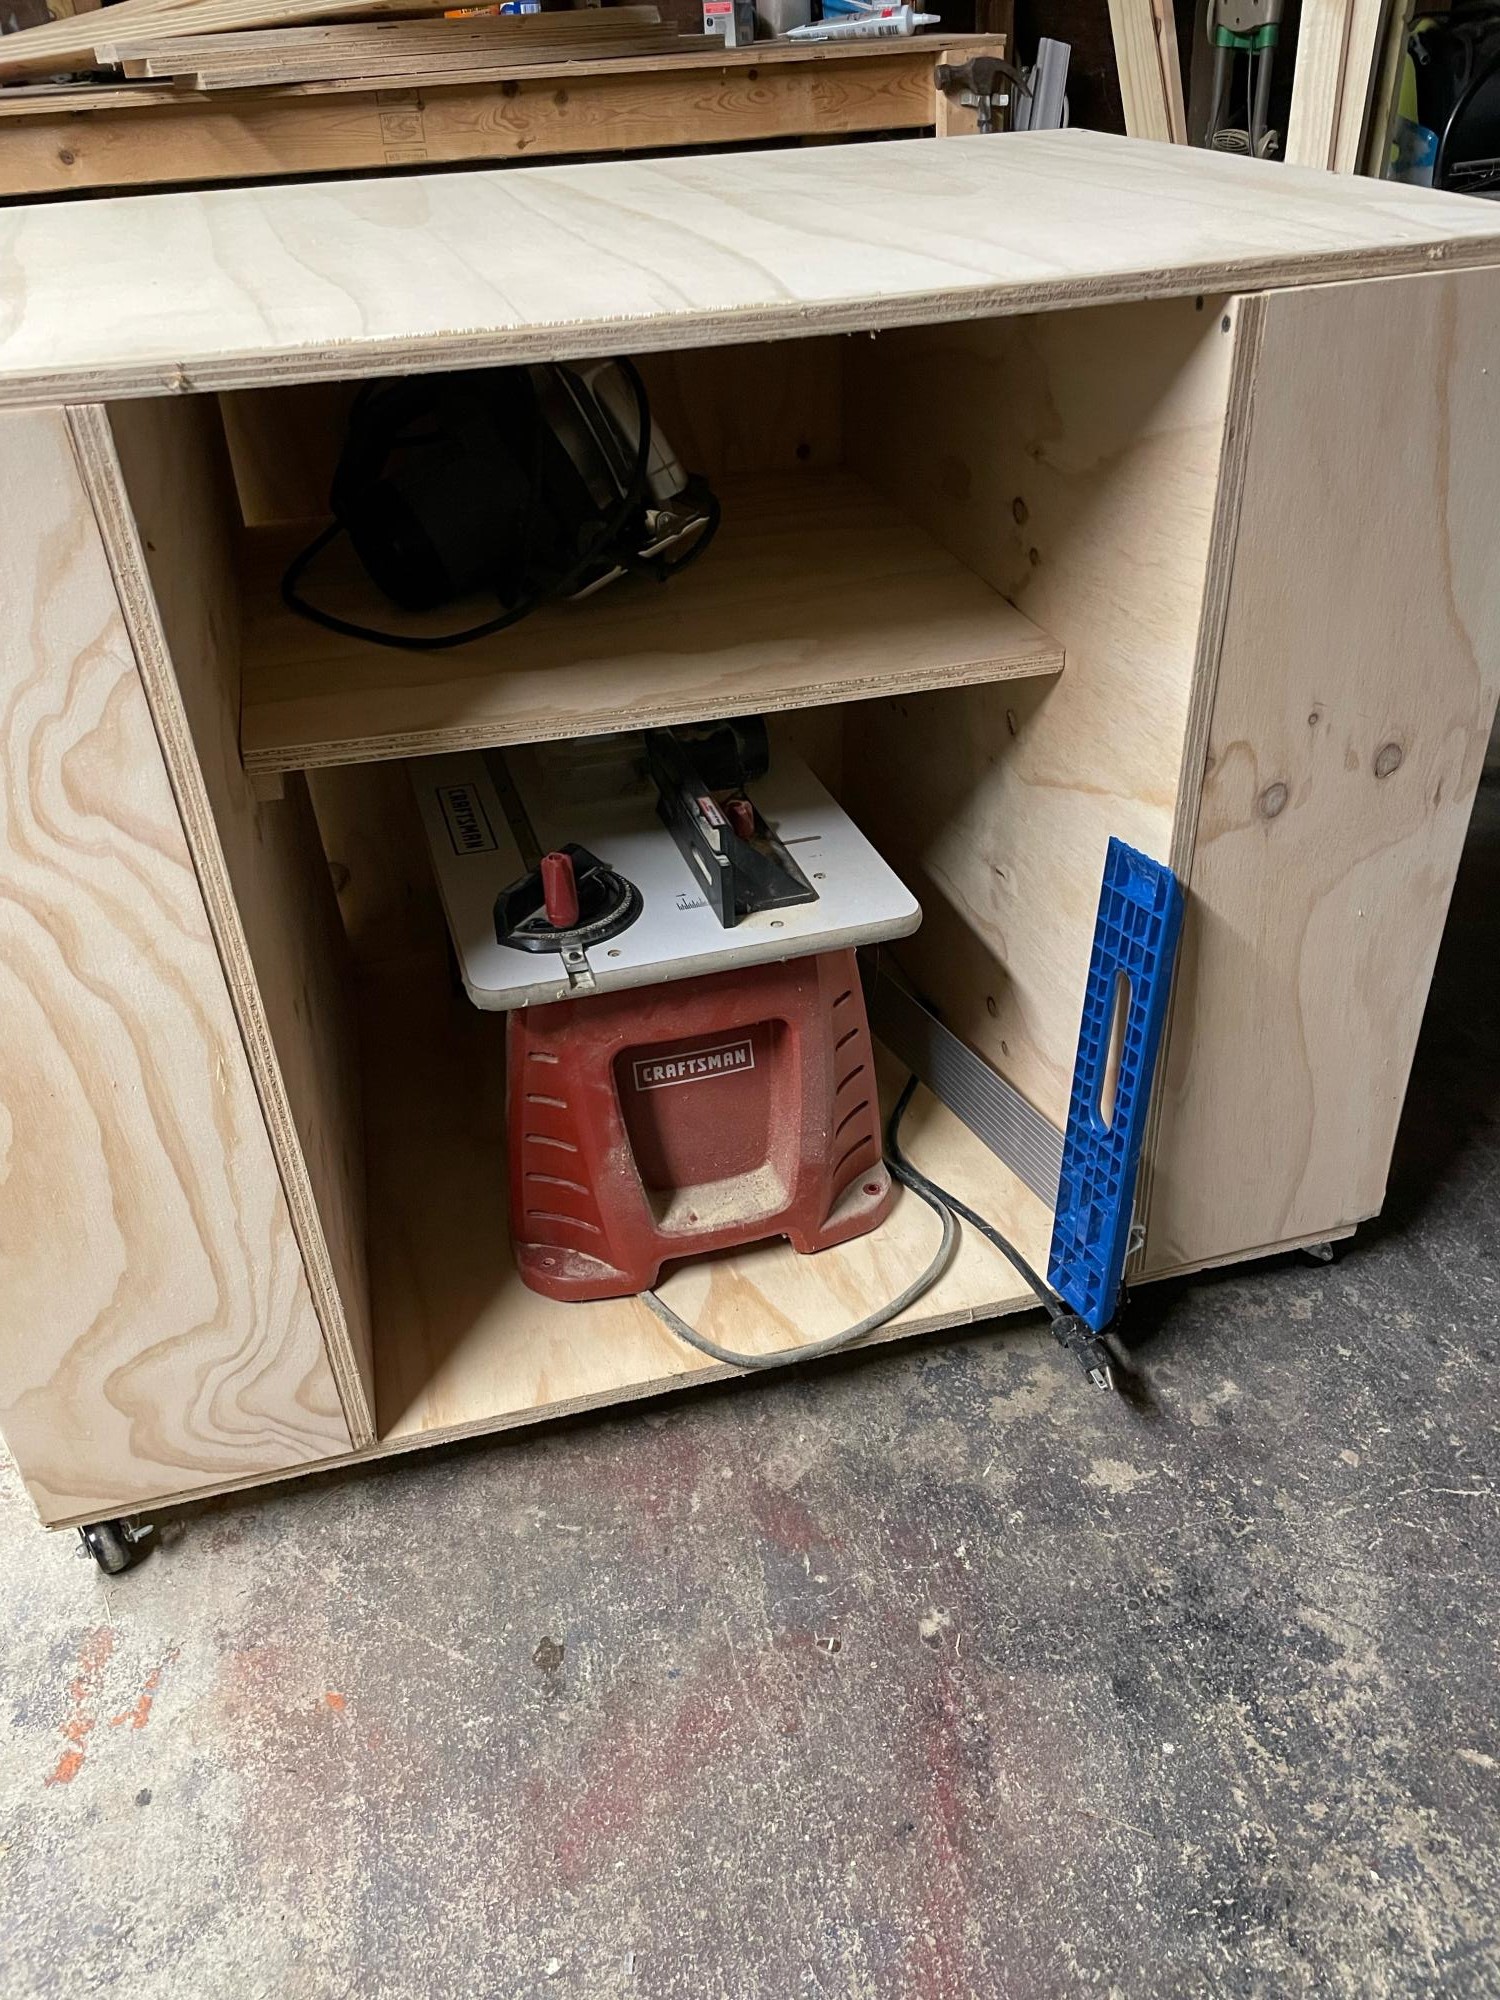
while this is a great design I only needed the extra storage and work space so I just made one of the storage roll away from this plan. I had to alter slightly making them a bit smaller as the space I was making this to occupy had a width of 44 inches but it is an amazing amount of space provided. I will put a clear coat on but sanded, edged and its wokring great. the clearance all around is about .5 inch t fits in beautifully and decluttered my overly cluttered workspace. thanks so much for your Ideas Ana, they are always amazing.
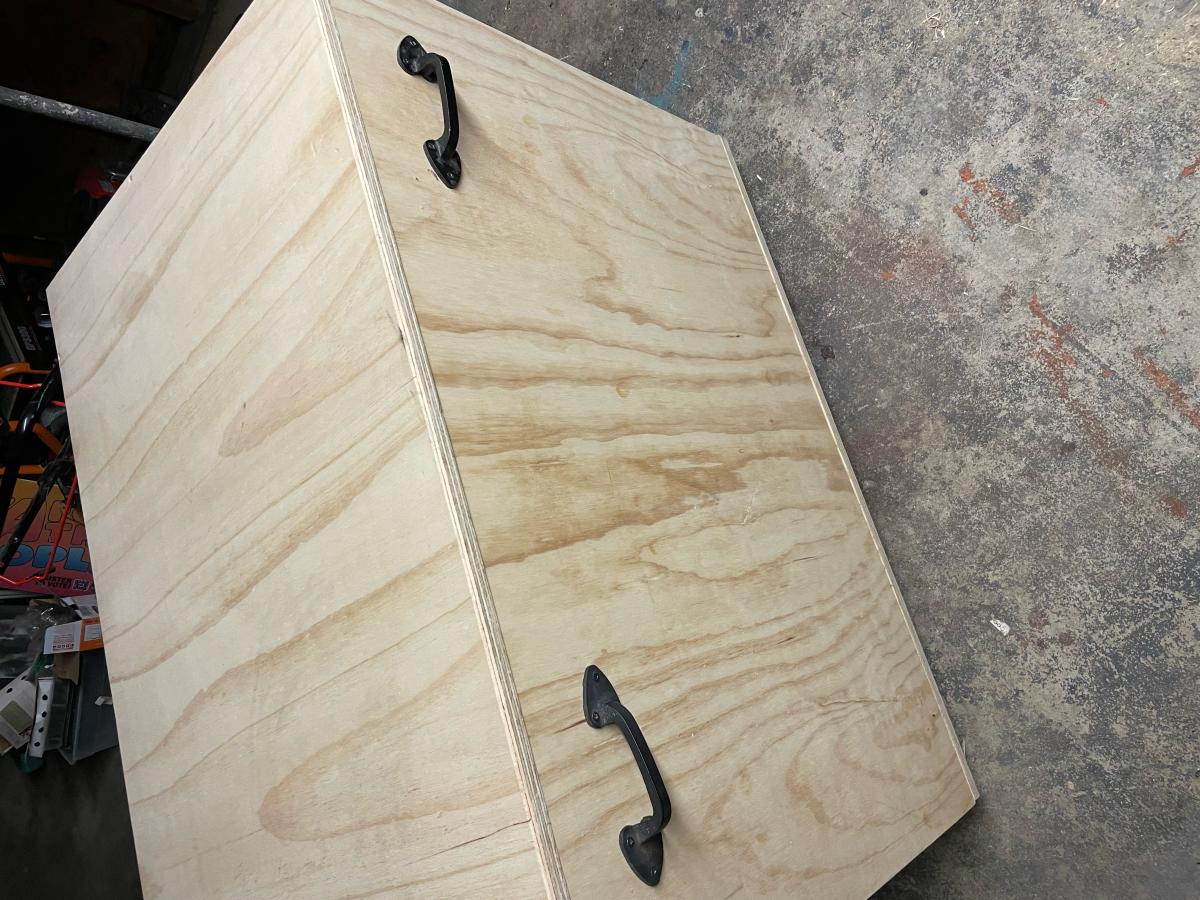
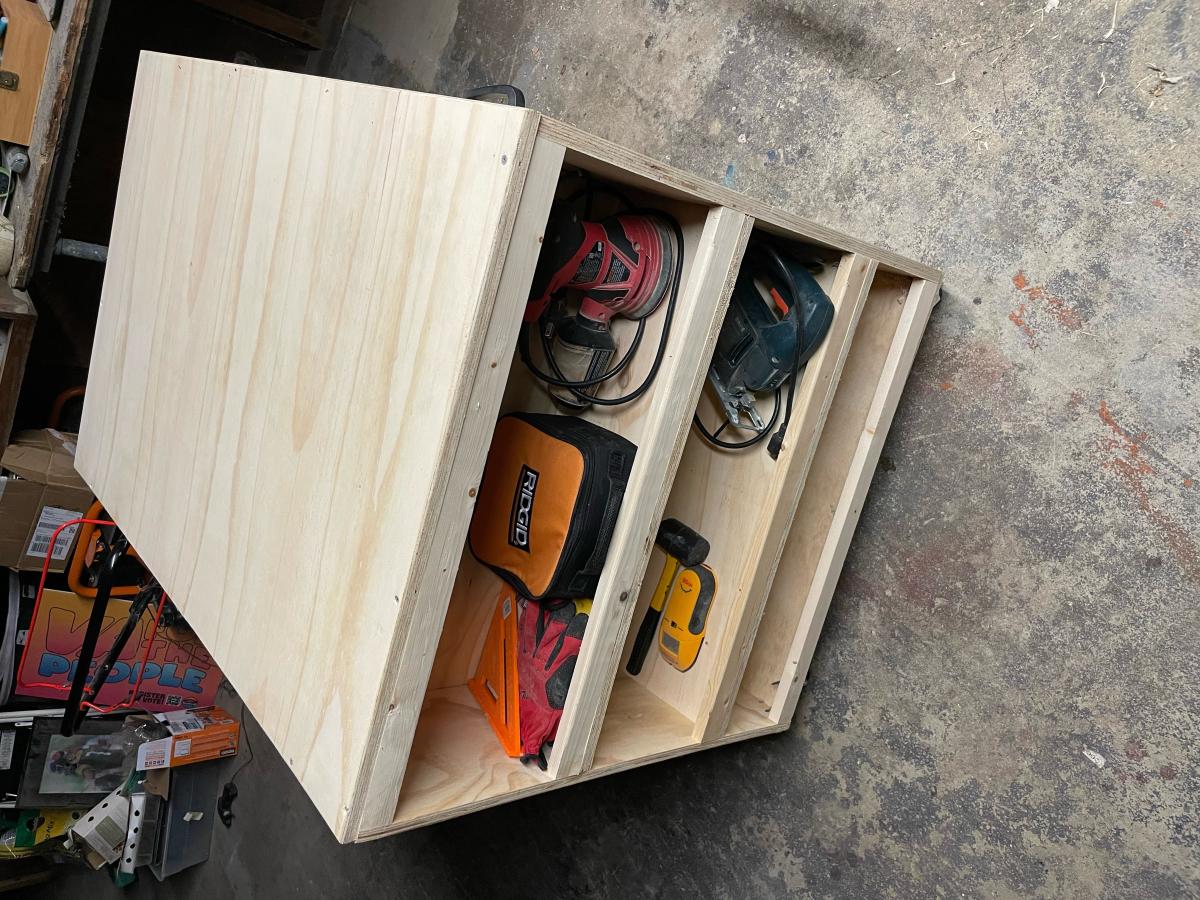
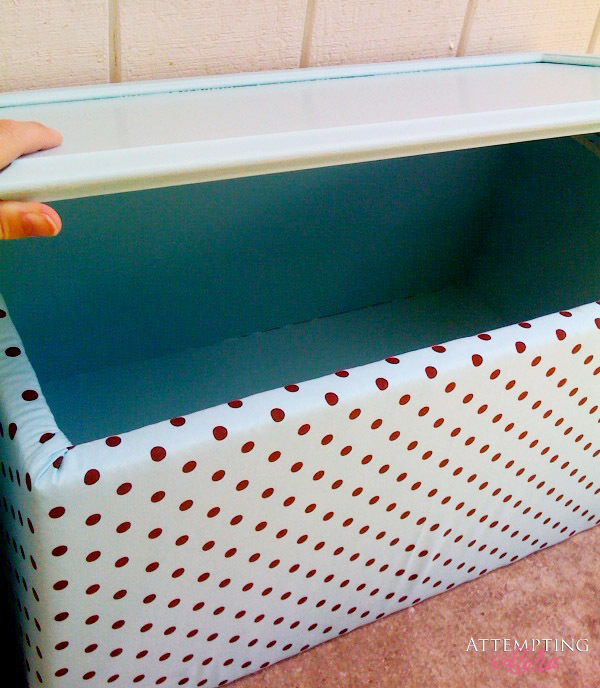
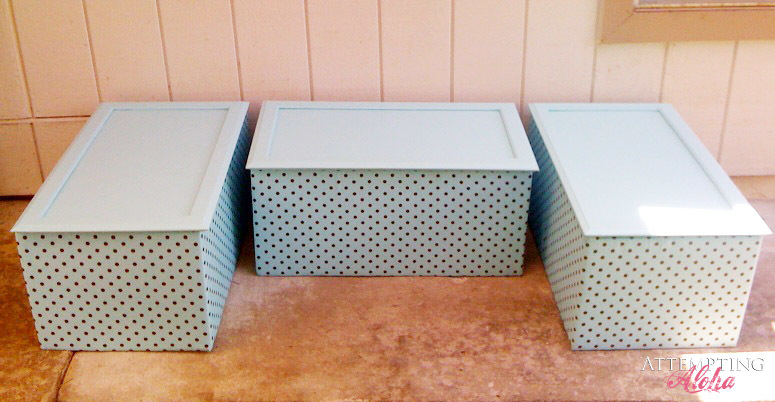
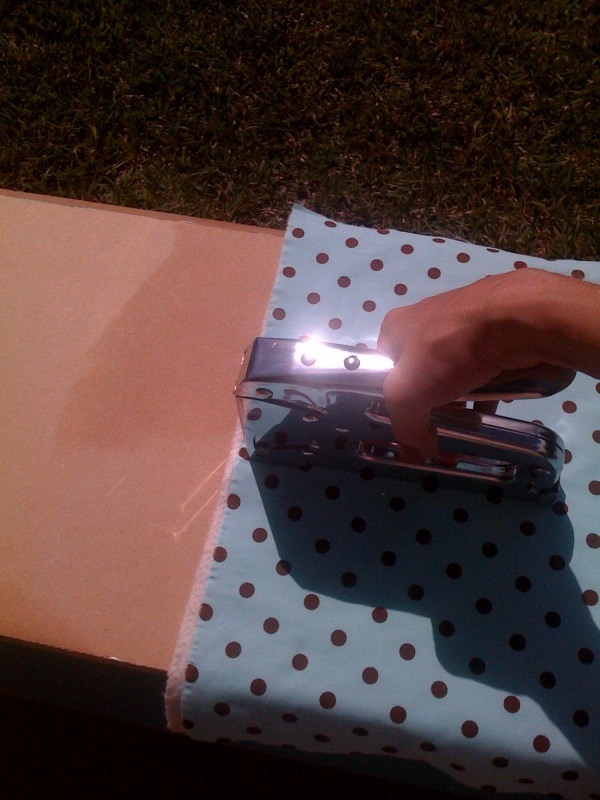
I loved Ana's upholstered toy box benches that she made and really wanted to do some of my own (three girls = muchos toys). We are remodeling our kitchen, so I decided to use our old cabinets for as much of this project as I could! Fun to keep a little bit of our home with us wherever we move (military family). :)
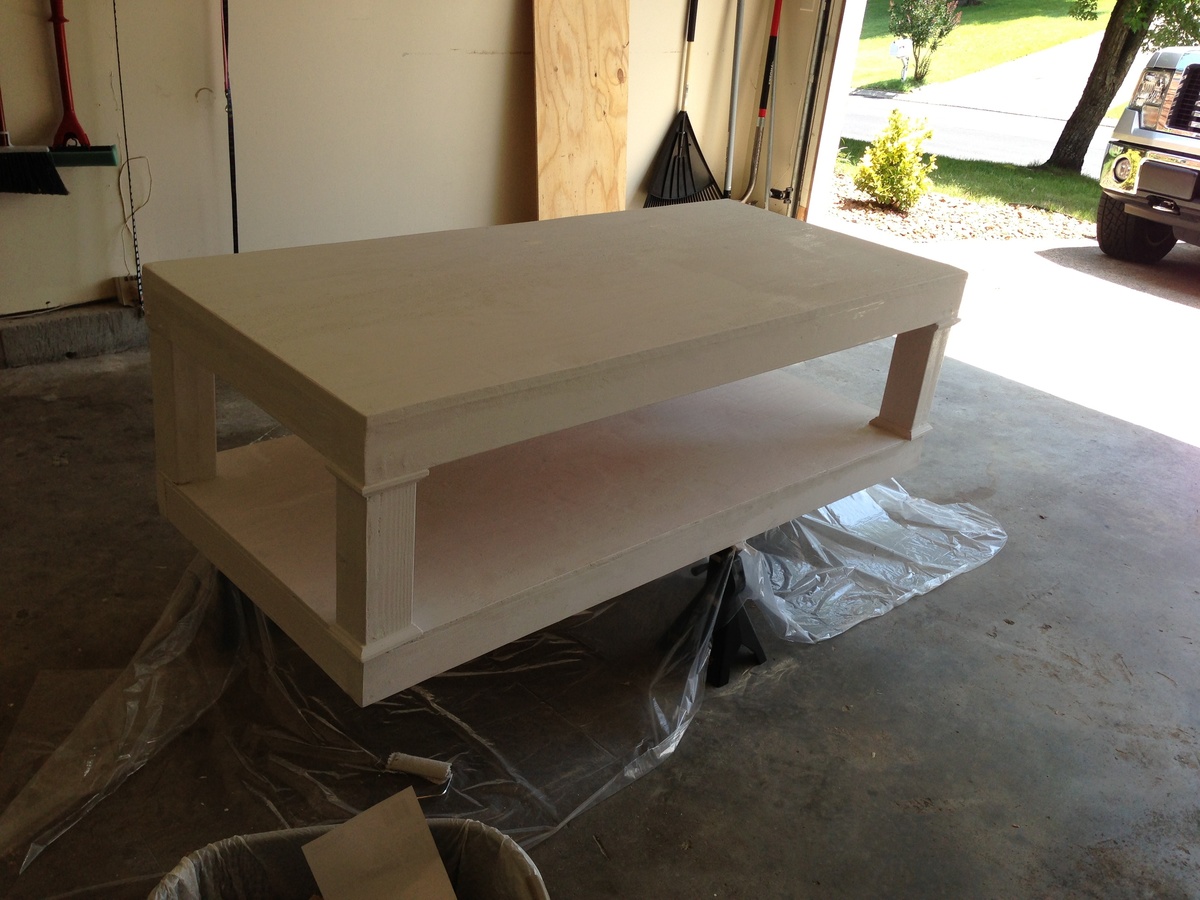
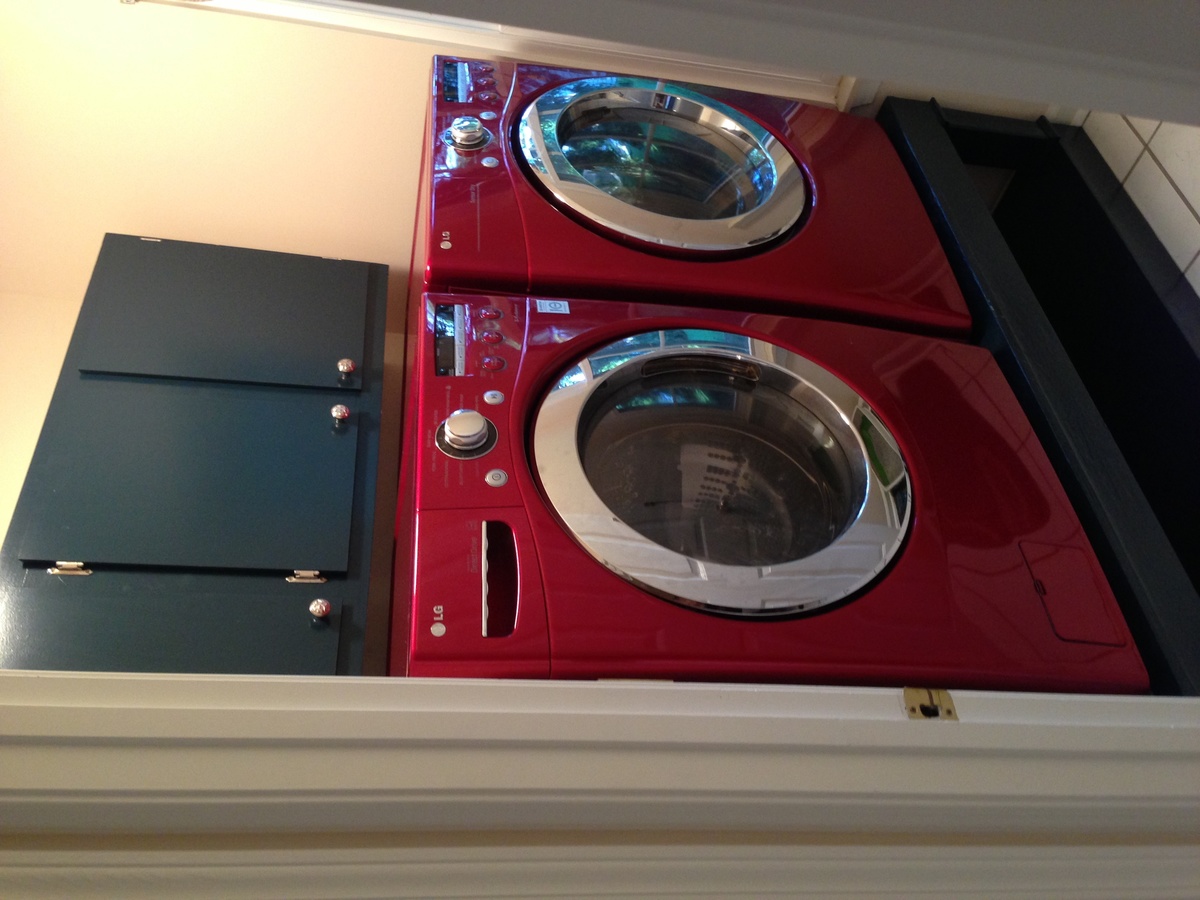
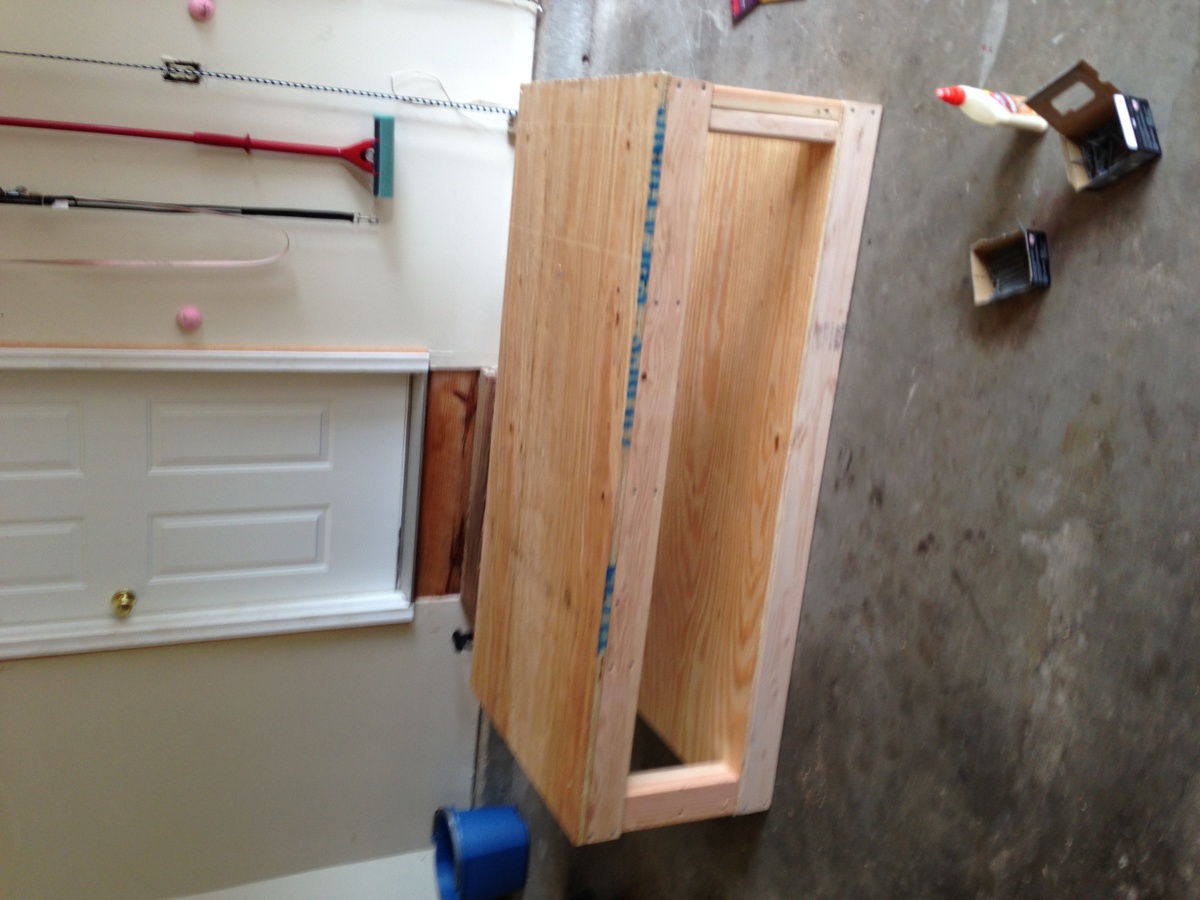
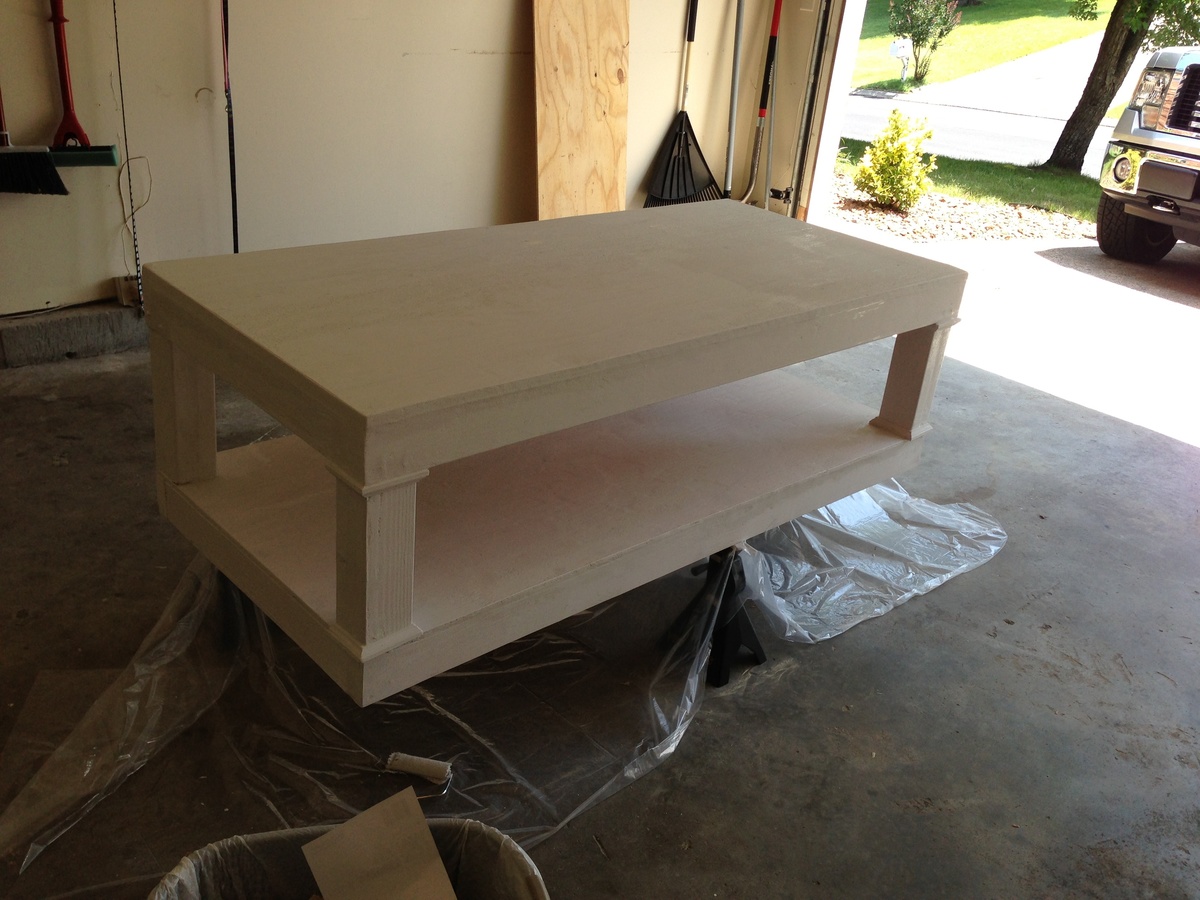
This was one of the first big DIY projects for my husband and I in our new home. It took us one weekend to complete. The $150 cost includes all supplies: even paint, rollers, wood filler, etc. My husband wanted to get pedestals for our front loaders because he is so tall, but after pricing it out, it would have cost around $550 with tax to get the red LG pedestals. The $150 was definitely worth it and I feel more confident that we can tackle more DIY projects like benches for the deck :) It's not perfectly made, but it's perfect for us.
This couch was super easy. The 2x4s cost about $30. The cushions were a little higher at $160 for all, but can't complain when spending so little. I bought the cushions first to assure the size would be adjusted correctly. It took about 30-45 minutes to put together. I say it's a weekend project because of the stain and sealer. Then the wife wanted a chaise also. I decided to make it an ottoman so it's a chaise when she wants and an extra seat when we have extra company. I went with the color Kona for the stain and applied clear satin spar urethane 3 times since it was raw wood initially. Excellent project that really completed my outdoor space!
Mon, 07/06/2015 - 20:16
They were on sale at Target, but they were running out. We initially wanted the Navy Blue but when this was the only color available we settled but now we couldn't be happier. Fits in with our backyard perfectly.
The cushions are Threshold Deepseating Outdoor Cushions. They do get soaked in the rain but I suppose they're outdoor cushions because once the sun is out they dry instantly. Let me know if I could help any further!
Mon, 07/06/2015 - 20:15
They were on sale at Target, but they were running out. We initially wanted the Navy Blue but when this was the only color available we settled but now we couldn't be happier. Fits in with our backyard perfectly.
The cushions are Threshold Deepseating Outdoor Cushions. They do get soaked in the rain but I suppose they're outdoor cushions because once the sun is out they dry instantly. Let me know if I could help any further!
Sat, 10/03/2020 - 23:56
Are the plans not posted to your website? I built a 90" version of your plans that are for 79" couch and want to use an ottoman as a versatile chaise similar to this layout.
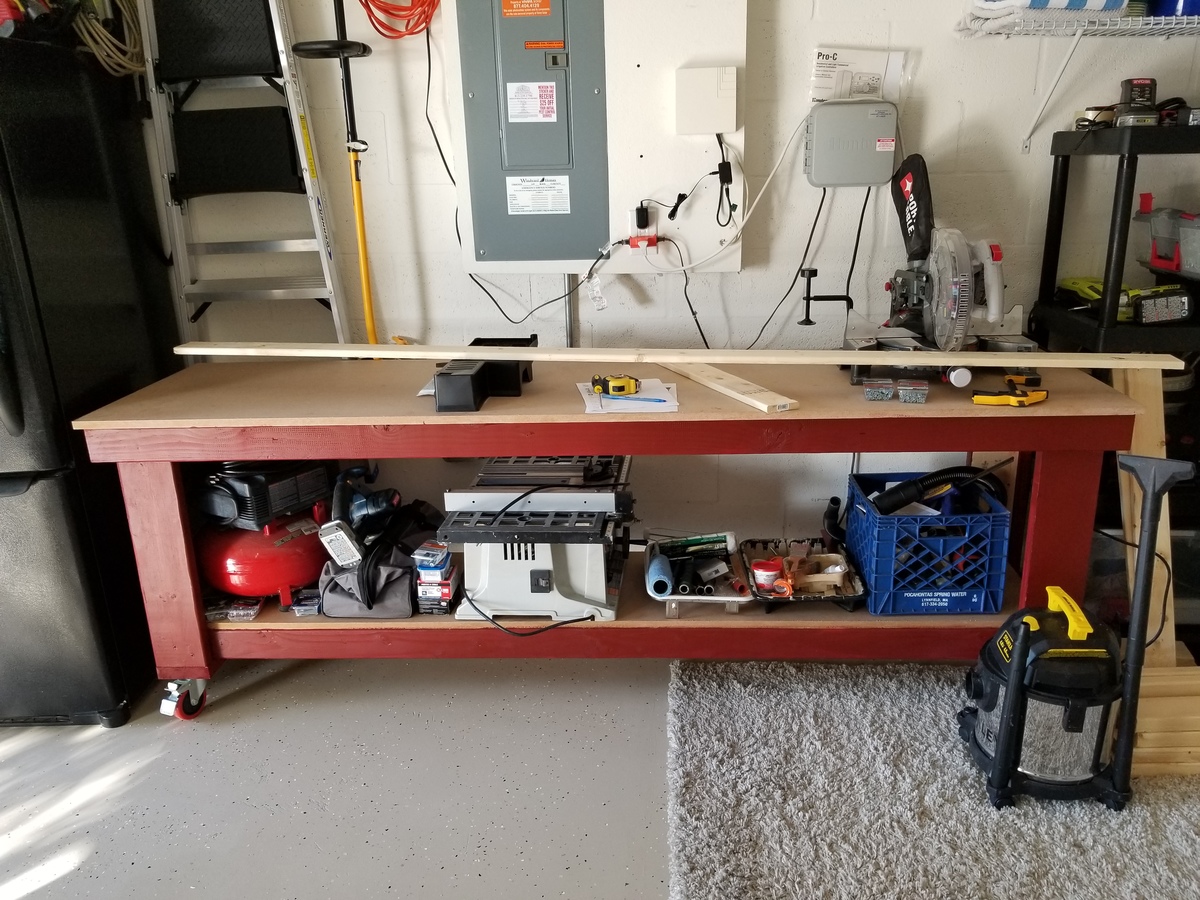
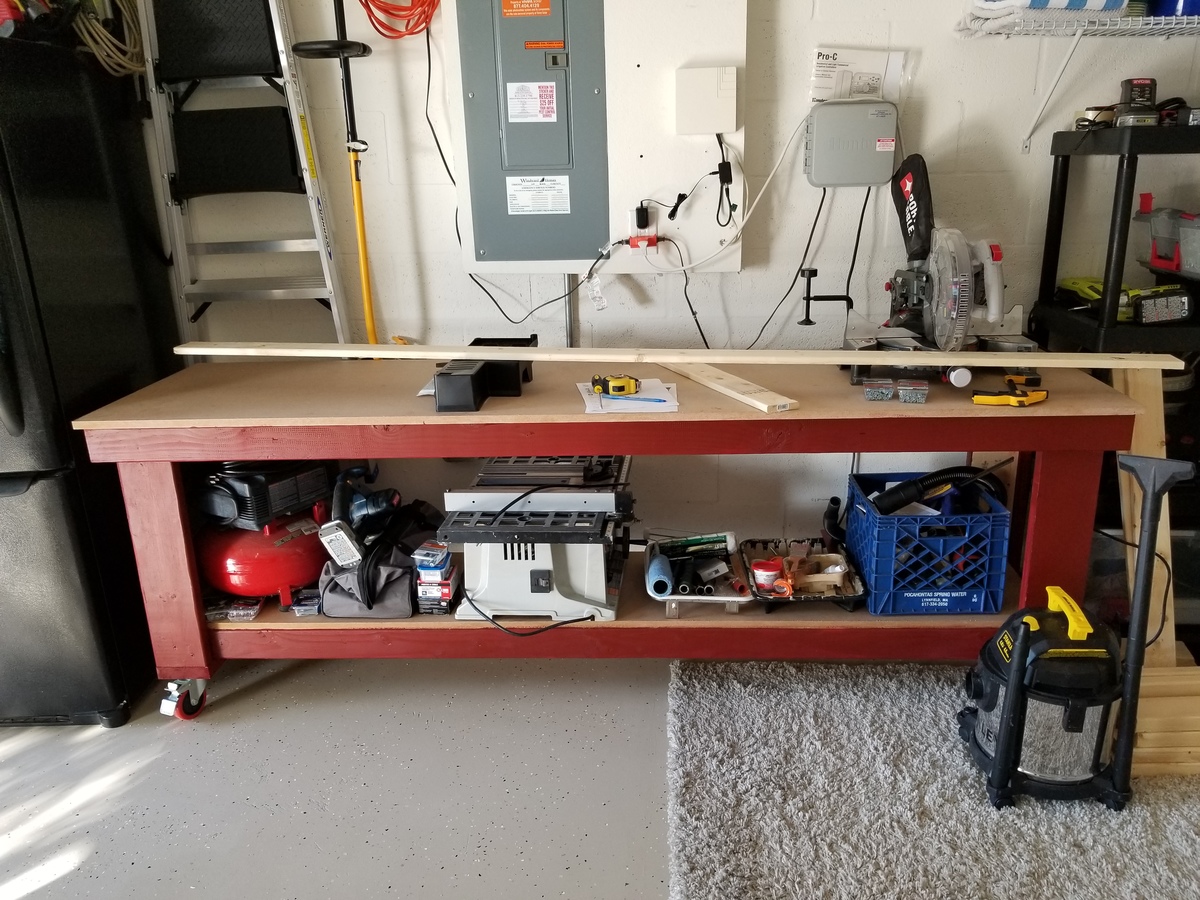
Work bench with casters came out great and already using it on my kitchen console.
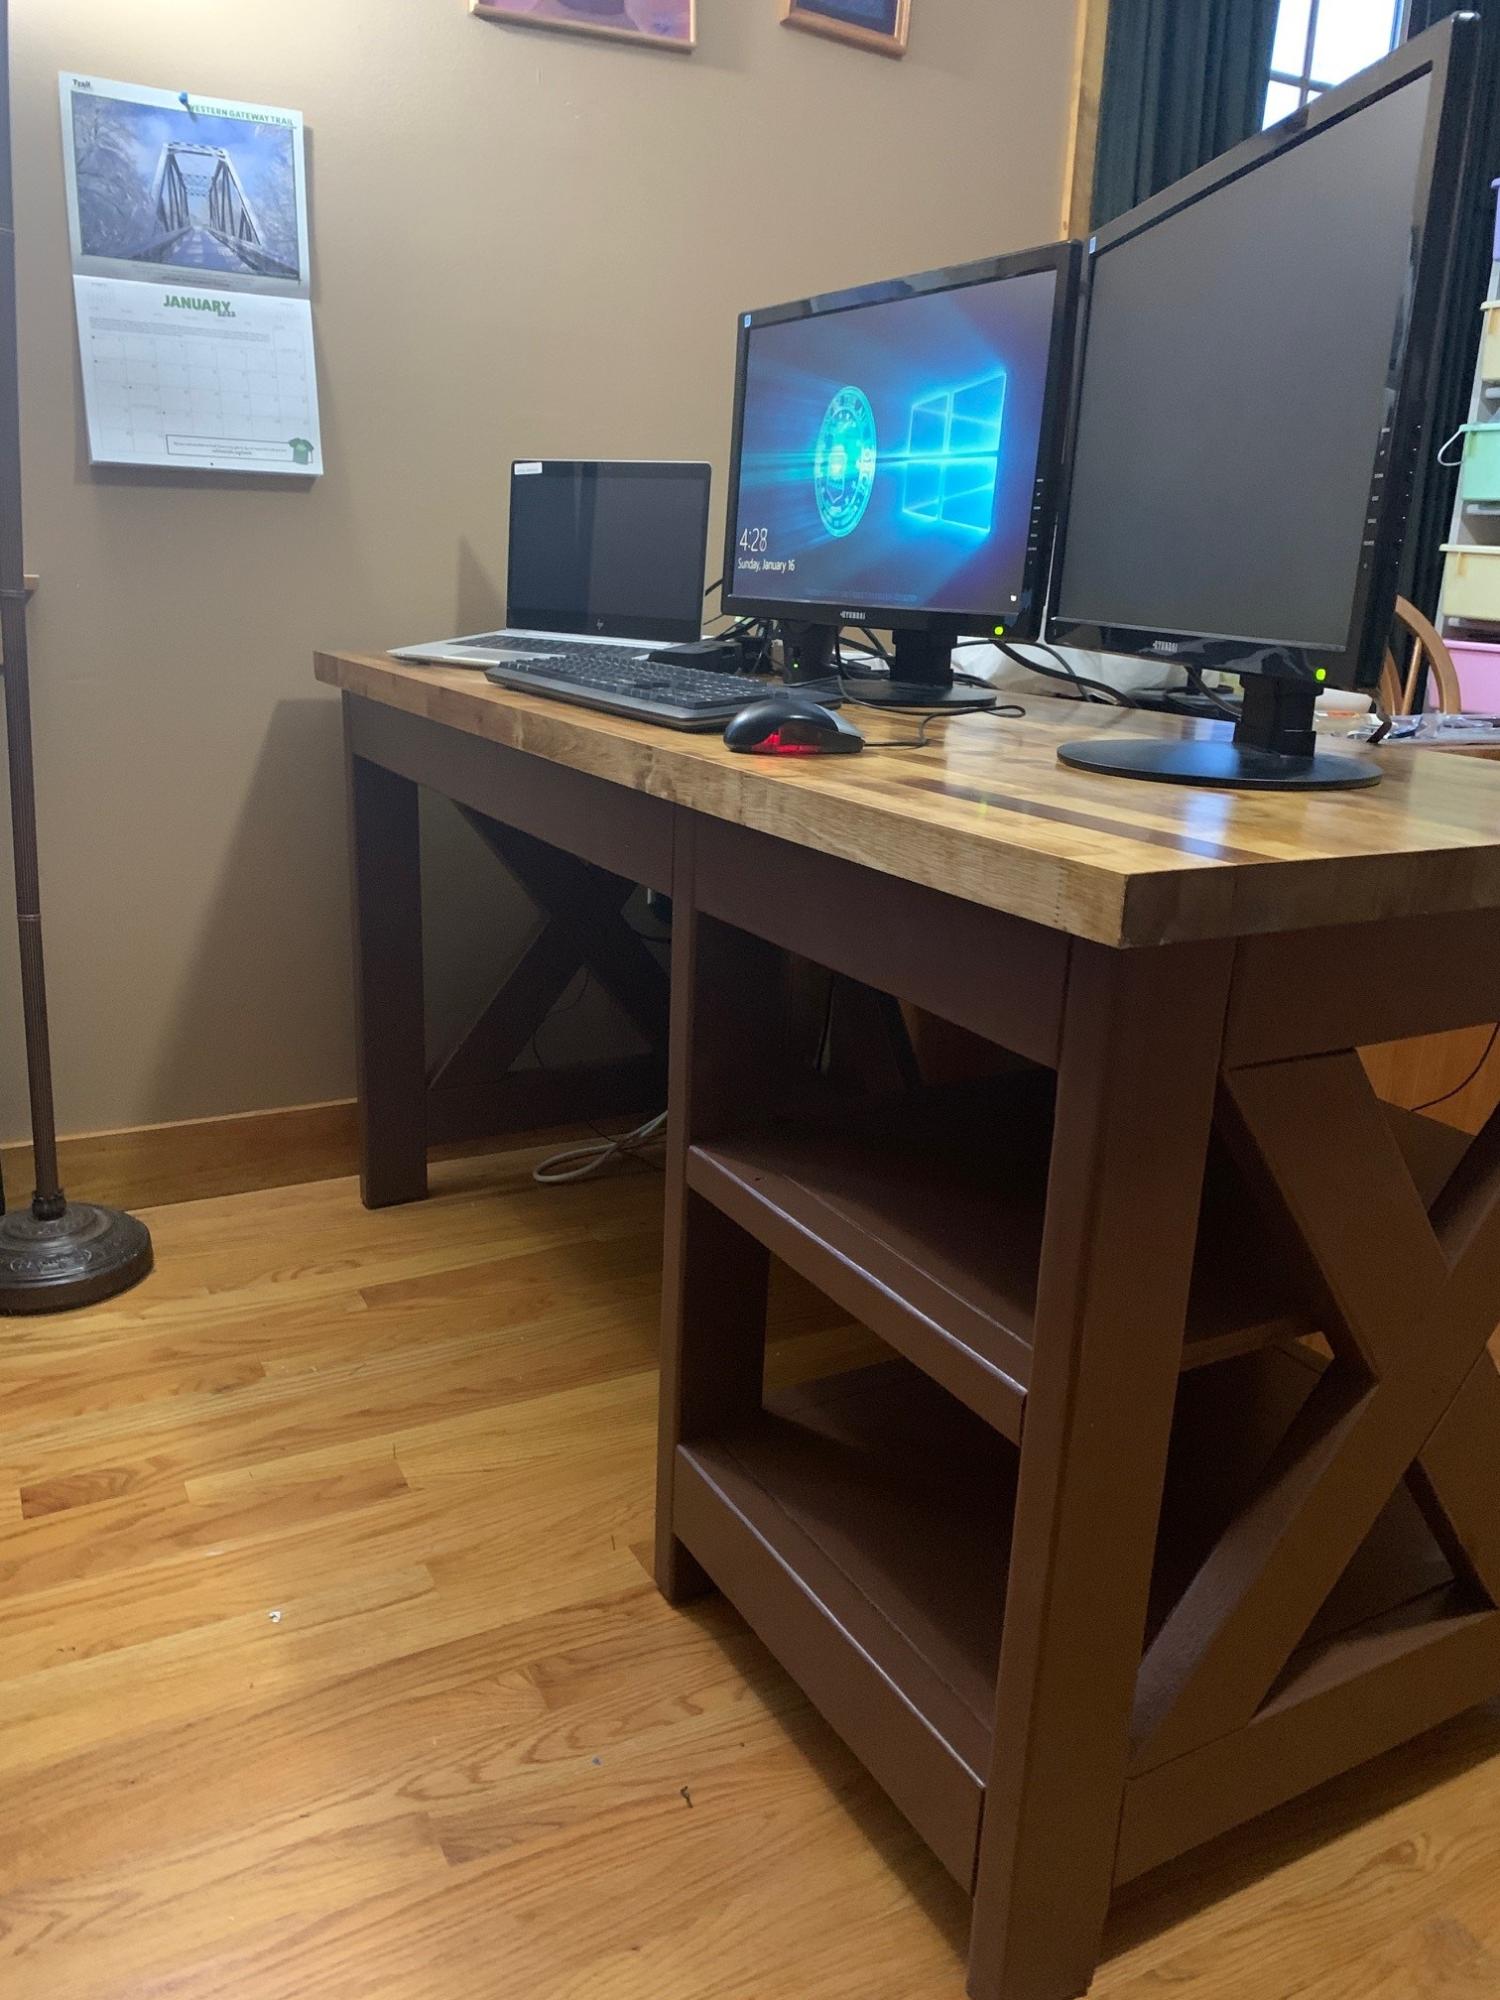
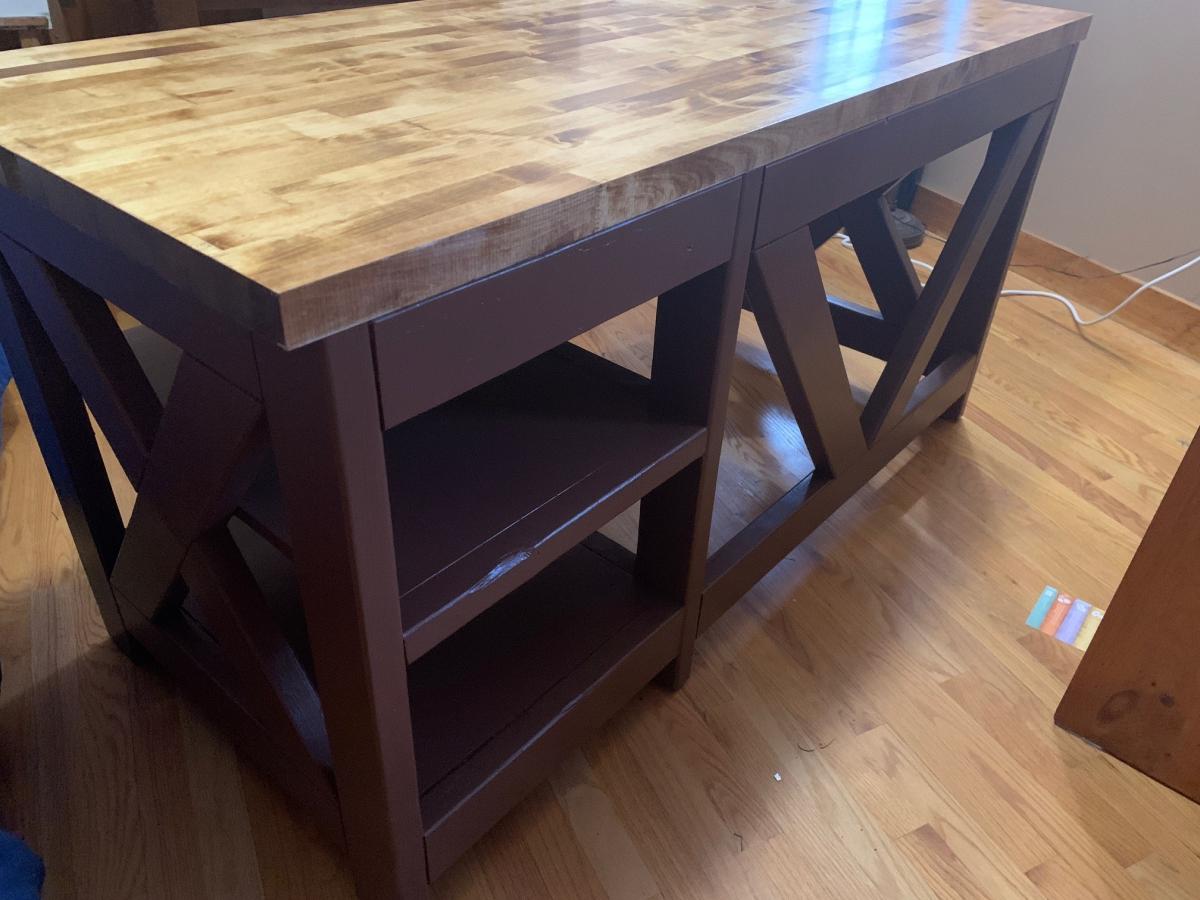
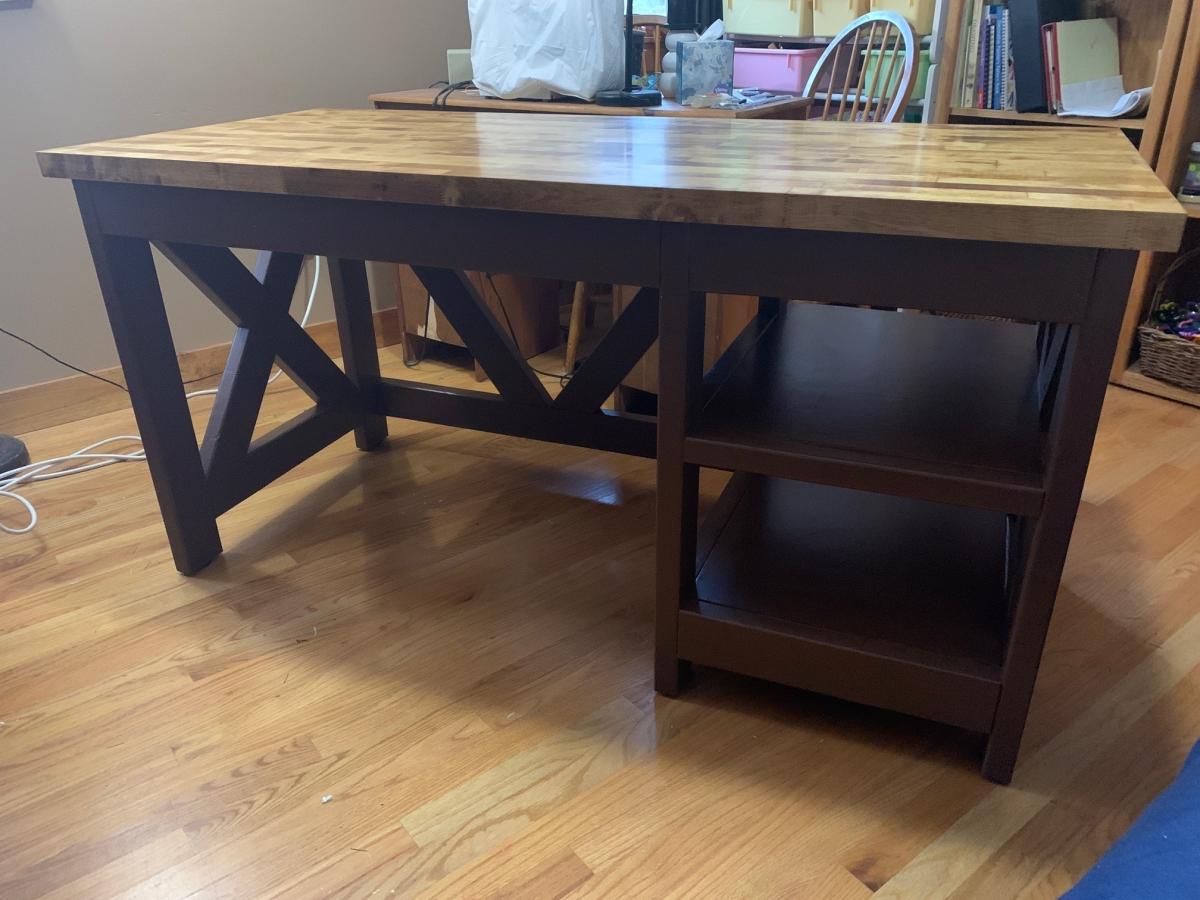
After nearly two years of working from home I started searching for an actual desk and did not really find what I was looking for. Then I found the Farmhouse X Plans and knew that's what I wanted to do.
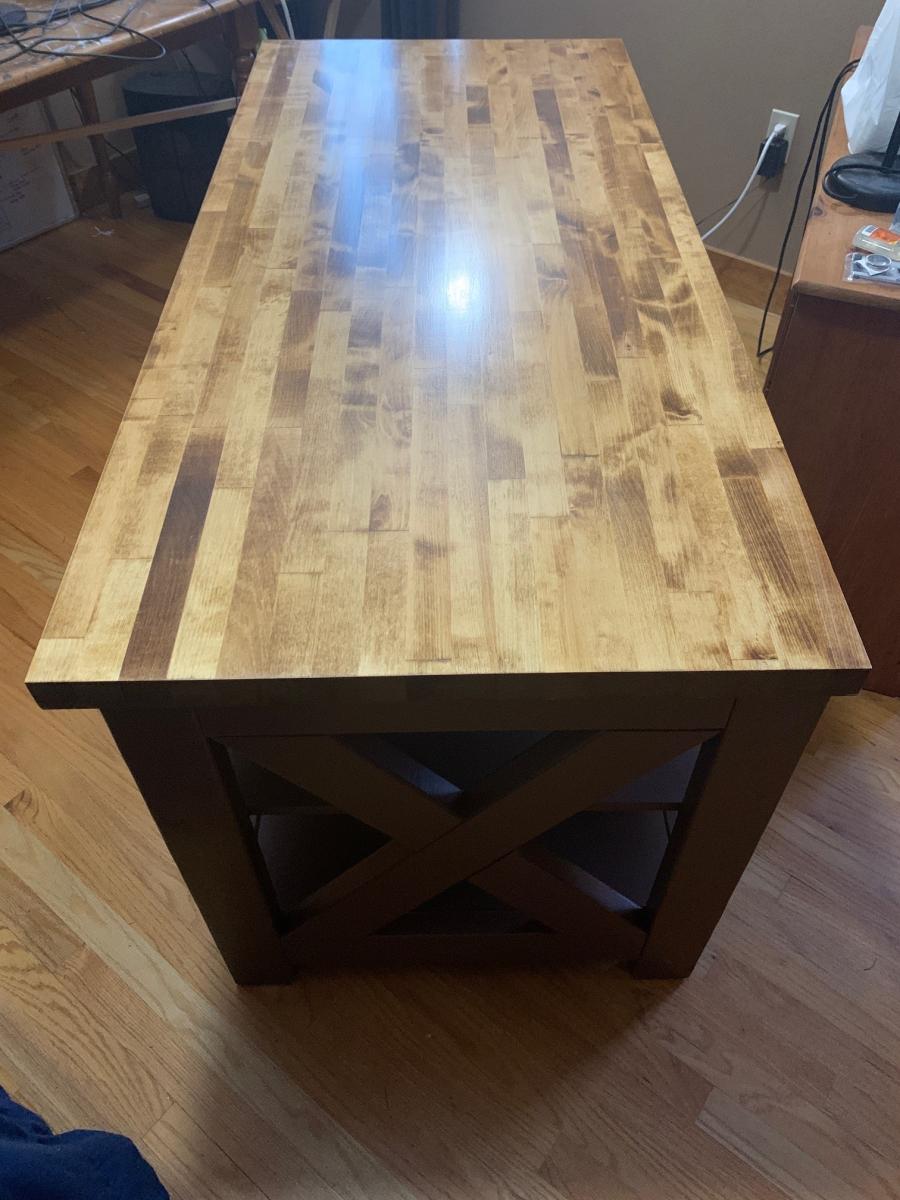
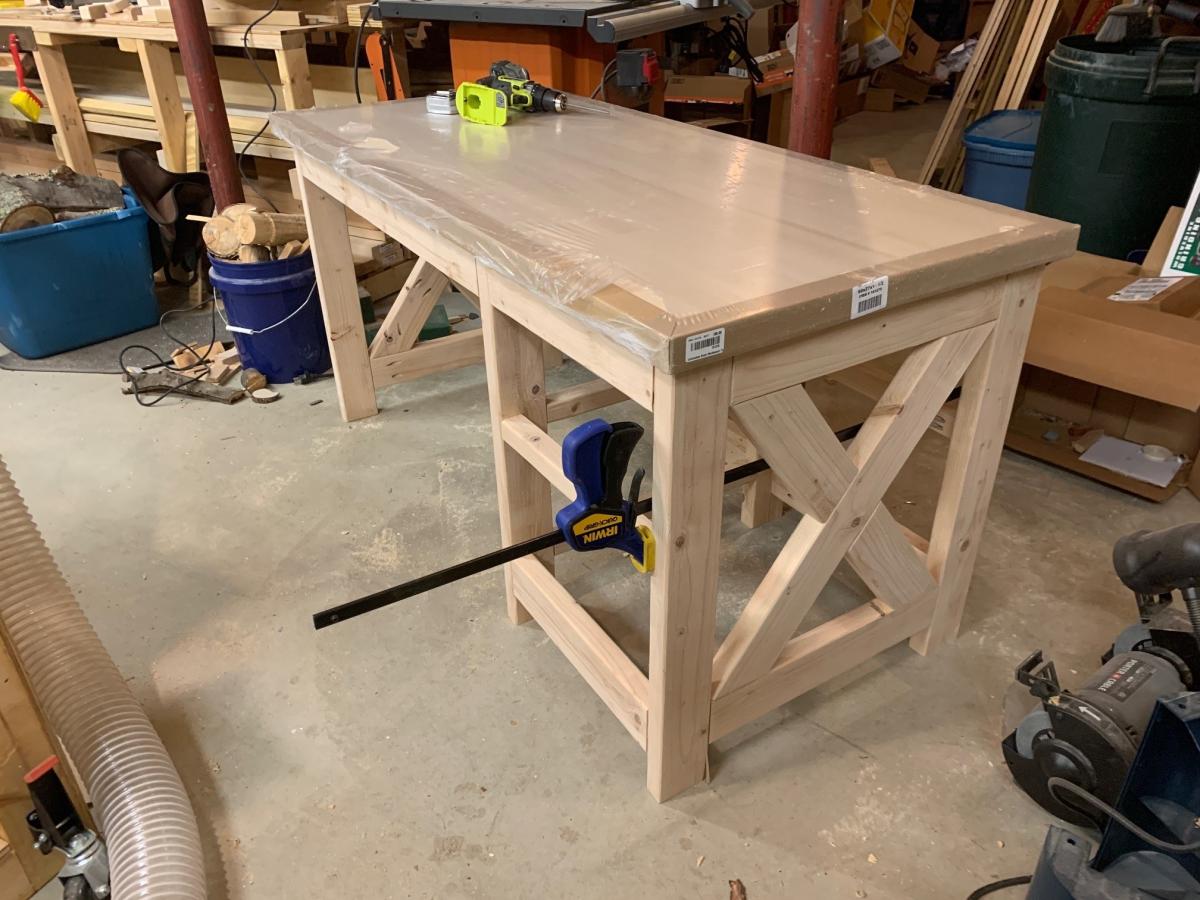
I found a birch butcher block top, 27" x 60" on sale for less than the cost of building my own top. I had to carefully adjust the measurements of the plans and also doublechecked before every cut. Measure twice cut once was definitely a good idea for me this time.
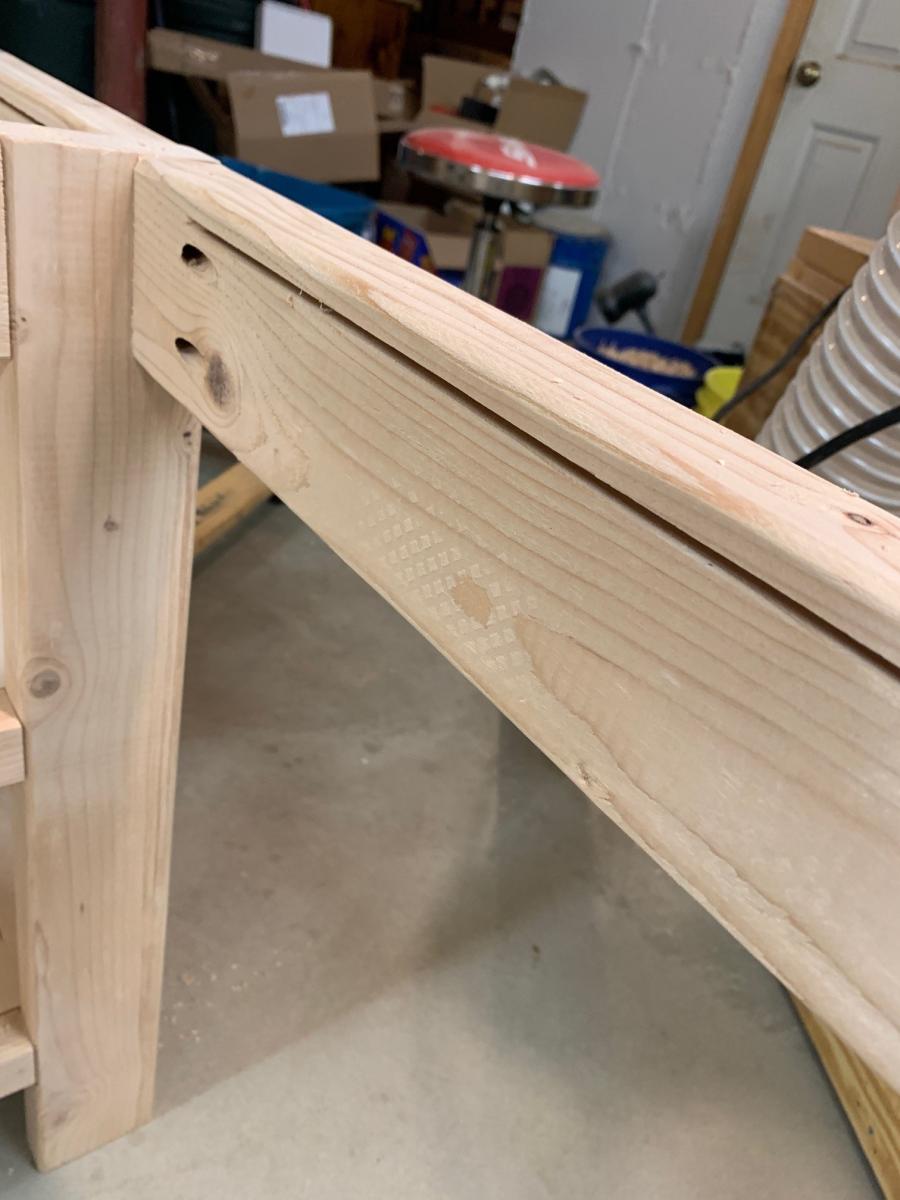
I used Z Clips to hold the top to the 2x4 frame and used my biscuit jointer to cut the groove. Took several test cuts to get the right height. I finished the top with Helmsman Spar urethane and five coats of poly. The frame used a primer and some Behr paint (I decided the color "Coffee Bean" was perfect for my long days at the office).
I plan on making slideout drawers soon, with bottom mounted drawer slides. Some baskets would work too.
So far I'm quite happy with how it all came out.
Sun, 01/16/2022 - 15:40
That is a gorgeous desk, thank you for sharing, wonderful build!
Fri, 01/28/2022 - 08:45
Thank you! Haven't decided whether to build drawers or not, it's definitely sturdy and heavy!
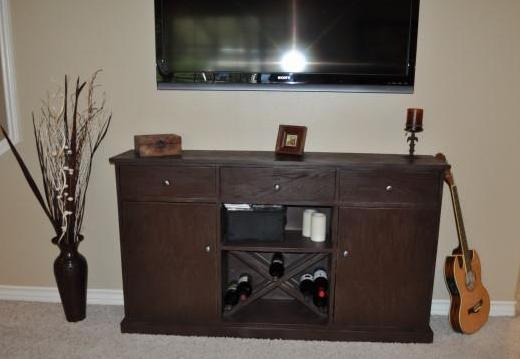
I needed a project, my daughter and son-in-law wanted a cabinet that had to be custom built to fit in their small space. It was just what I needed. Nothing simple for my 1st time, oh, no! I wanted doors and drawers. Learned a lot, and know I have a lot more to learn. The importance of getting things square is probably #1 on my list. I thought I'd start parking my car in the garage, but this was too much fun - the tools are staying!
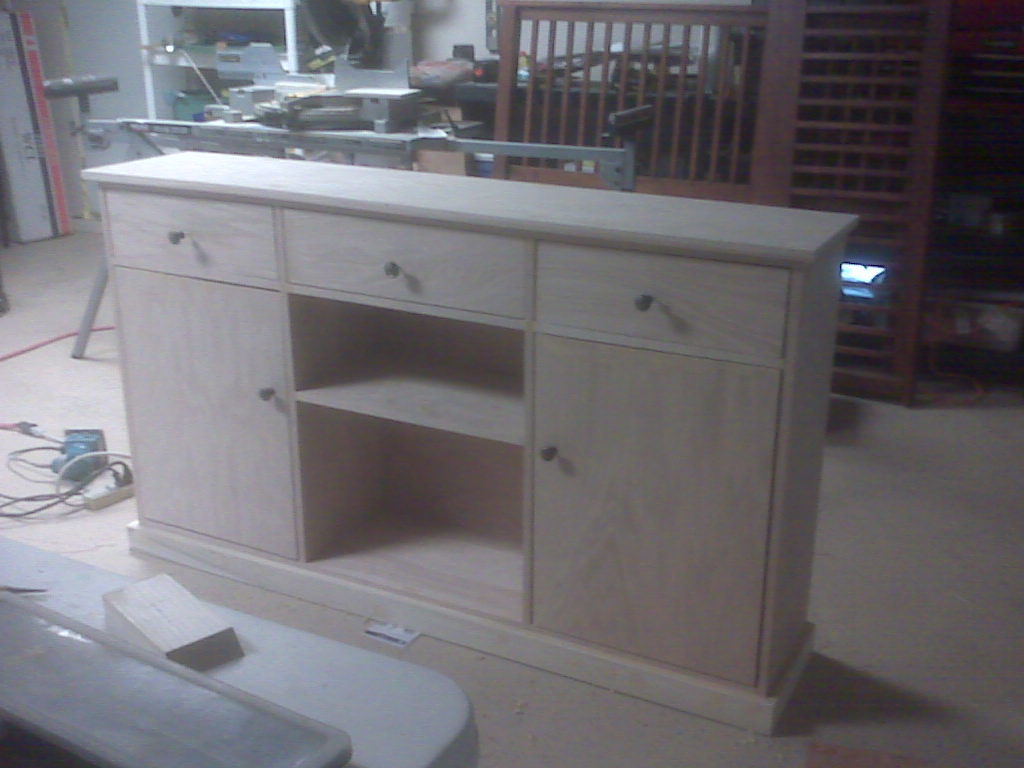
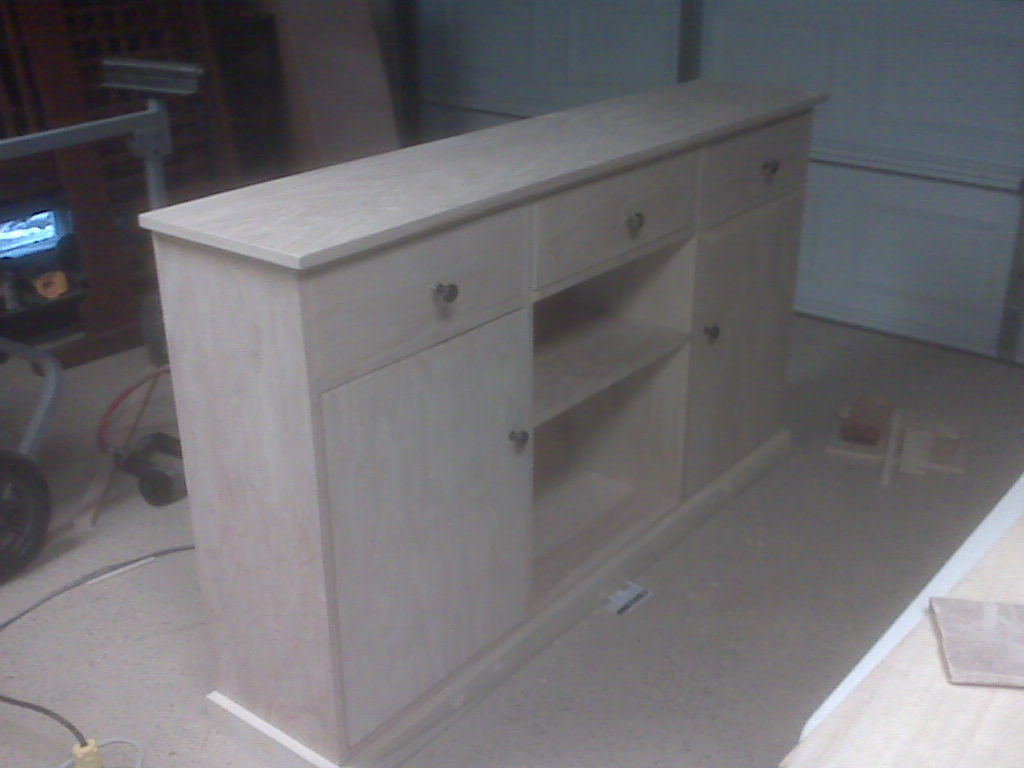
This was my first project from Ana's website! She does such a wonderful job making the plans easy to follow for the novice builder.
I really needed a rustic coffee table for my new living room. All of the retail stores expect you to pay hundreds of dollars for a table less than half of the quality. I am so happy with how the table turned out! I already have a list of other furniture that I want to add to my home. Thanks so much for all you do, Ana!
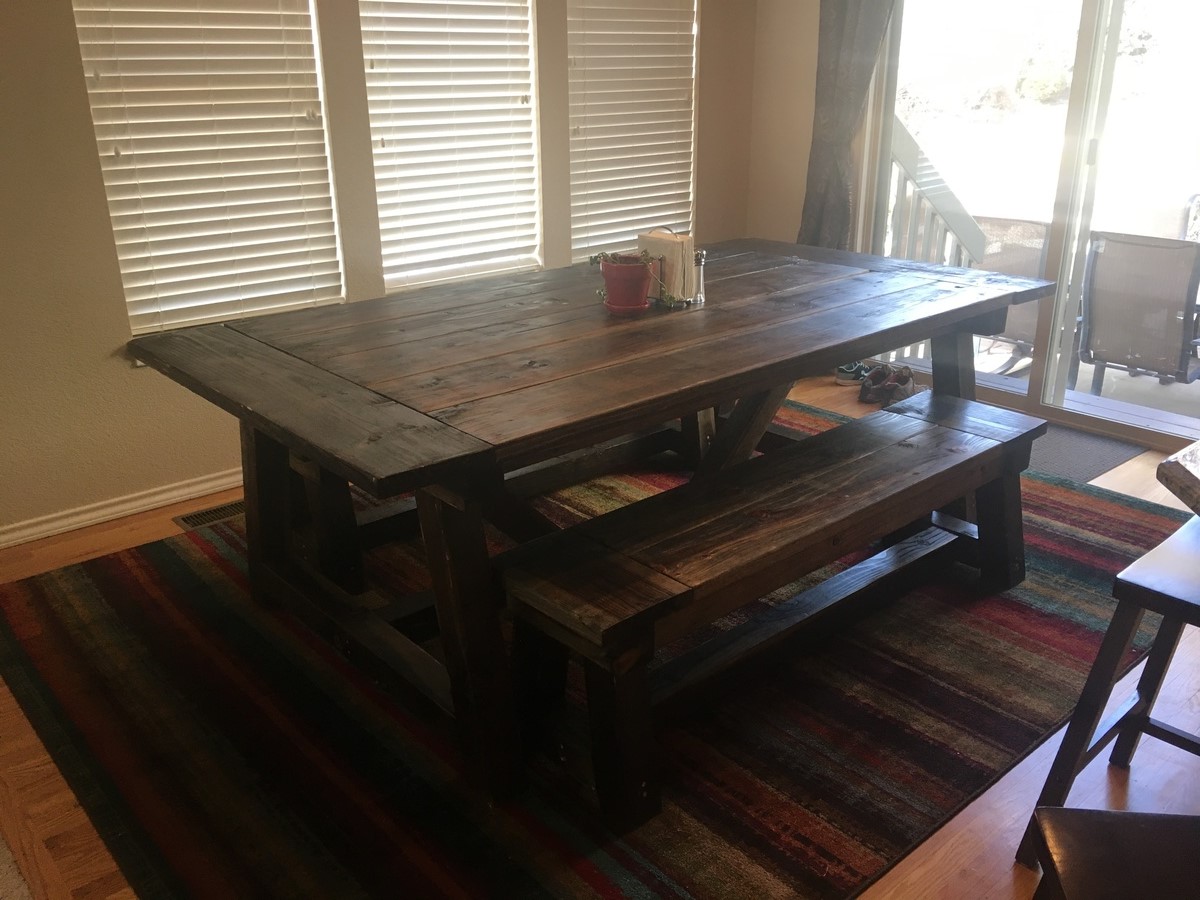
Thanks for the joy of this project! Our family of 5 just got a new kitchen table, and everyone pitched in to build it.
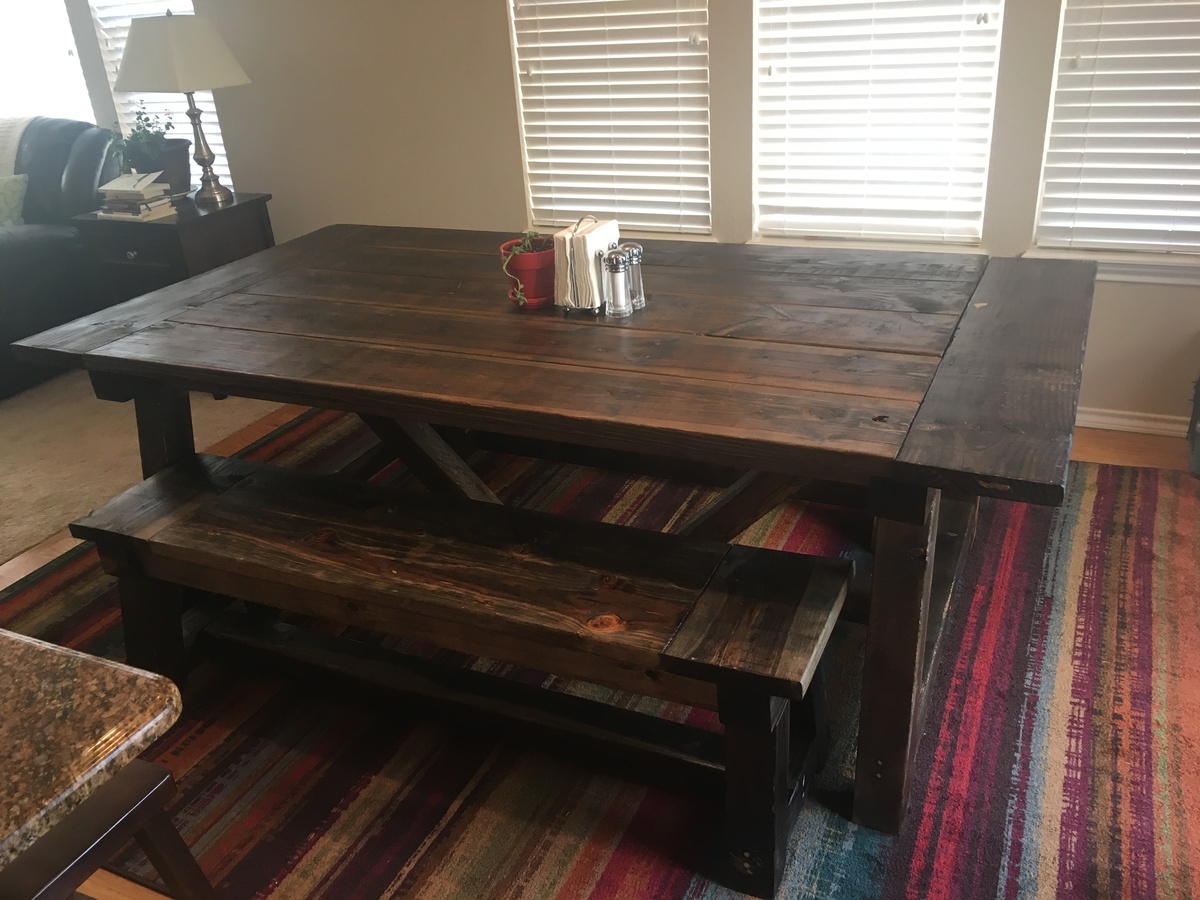
I have always helped my dad with projects, but this was the first one I ever did without my dad! The directions were very easy and I had no trouble at all. The table turned out beautiful. I modified it a bit by making it a little longer and using a 1x2 on the ends to cover the rough edges instead of a bread board. I also made 2 benches as we are a family of 10. I have 2 high chairs attached to the end. This table will seat 12 adults comfortably! I am so excited to finally have a big sturdy table. Thank you sooo much for this site. I have a new hobby now! ;o)
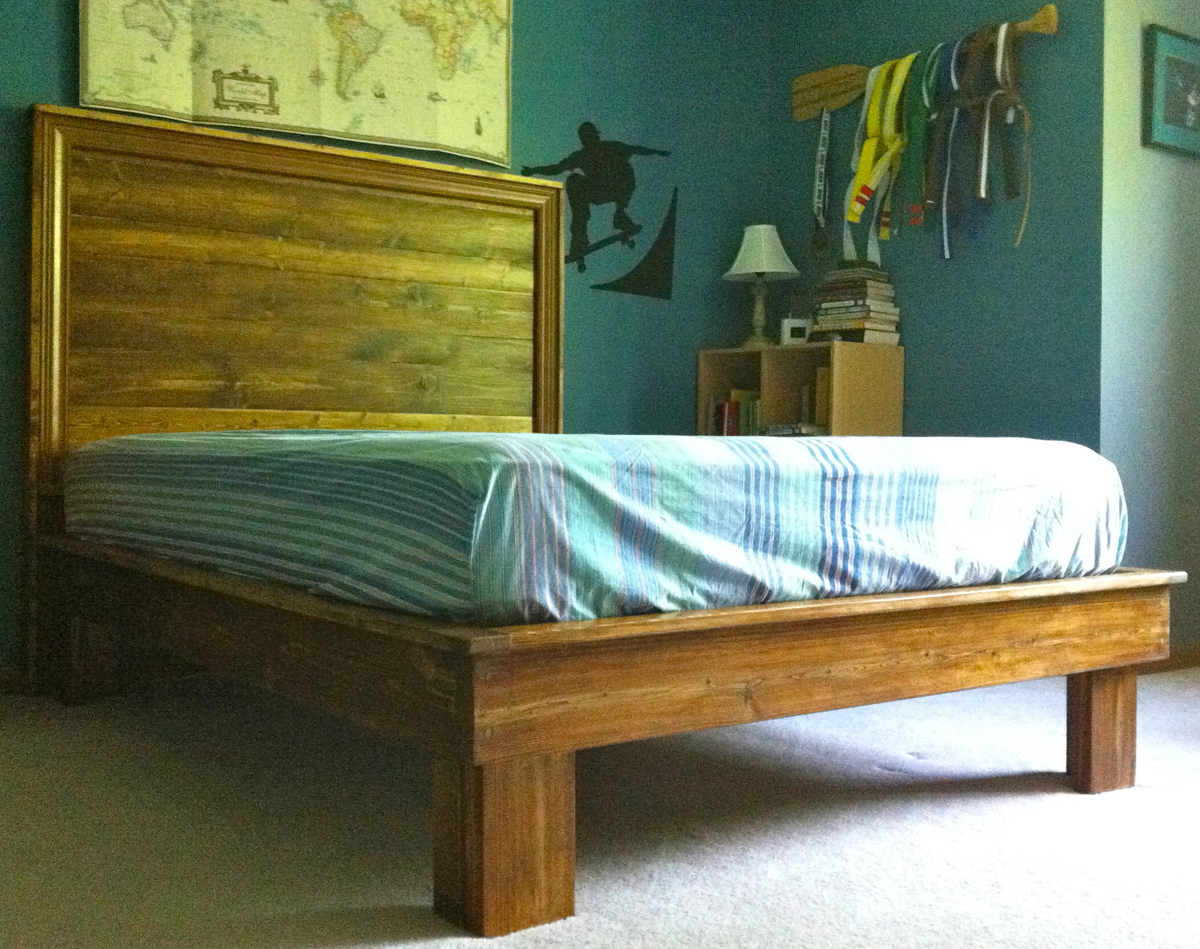
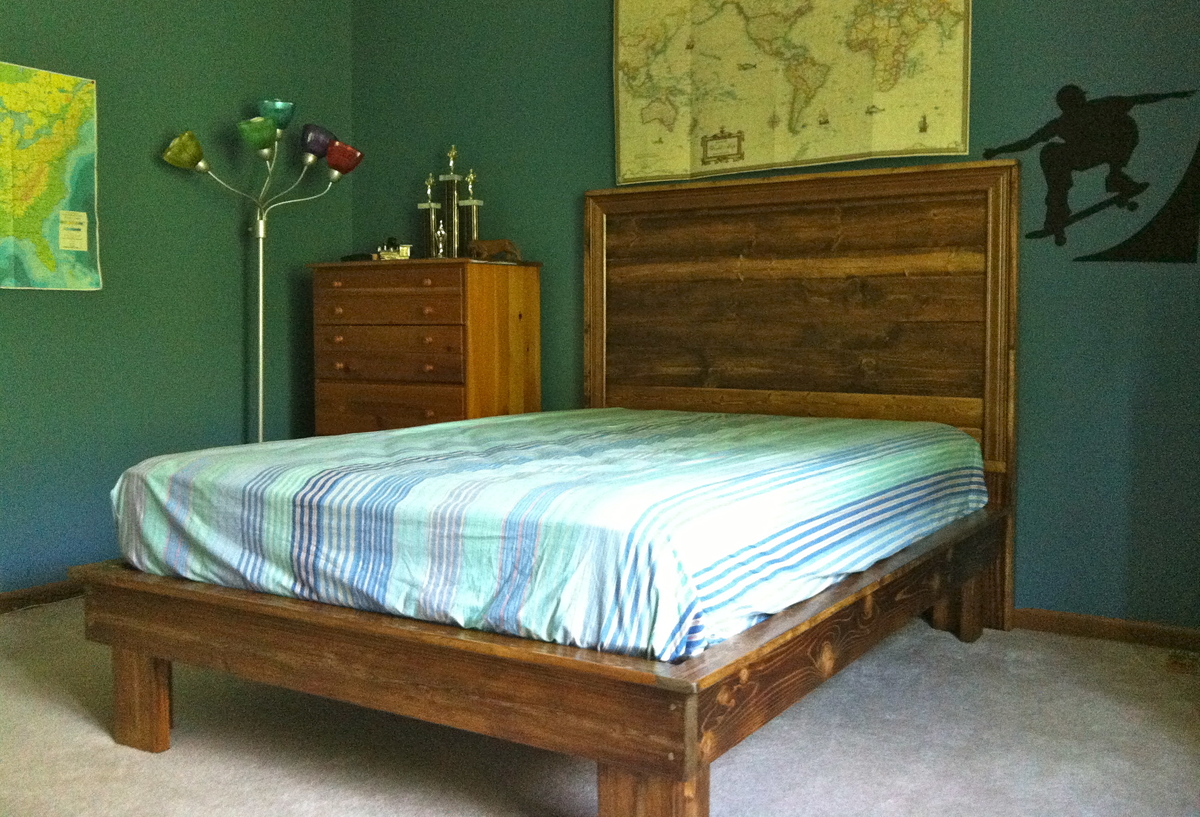
I used the Hailey plans with the following modifications because there's no such thing as TOO sturdy.
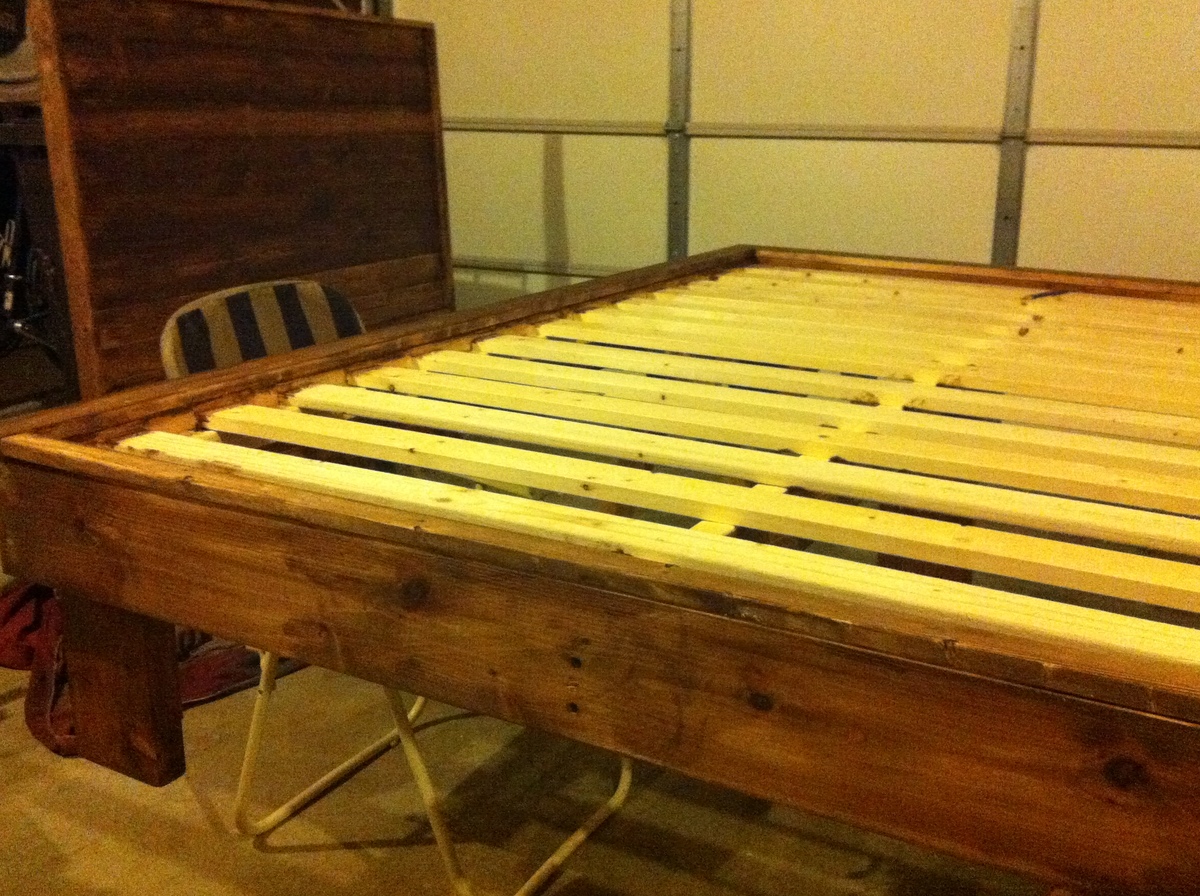
Instead of 2x4s on their own, I used the leftover lengths of my 2x6s for legs, joined at the corners (Kreg pocket hole screws) with 2x4s for a chunkier look and a very stable bed.
I made the legs 5" taller than the plans called for. Otherwise, the bed simply seemed like it would be too squat for my tall son.
For the casing/trim, which is pricey, I went to the Habitat Re-Store and found two matching pieces for $3.00 a piece.
I deviated from the plan by adding the trim last, after the headboard was otherwise complete. I had considered painting the casement, but decided to leave it all wood-tone, and I'm glad that I did.
The furring strips at my local big blue box store were so terribly warped that I used pine boards instead. This increased the overall price, but decreased frustration and time spent sanding. I work slowly and deliberately as it is, always worried about mis-measuring, so anything I build takes twice as long as anticipated.
With every project I undertake, my wood filler shows and my budget exceeds the amounts in plans and other brag posts. The bed and headboard combined cost me about $230 to build. That's still a great budget, but $80 more than I'd hoped after reading Shanty 2 Chic's inspiring details.
The stain on this bed is Minwax Provincial 211, and I used three coats of Minwax's water-based poly.
Best of all, my husband and I carried this bed from the garage, up the stairs, around the corner, and into a bedroom while it was fully assembled with legs. (He lost the bet on that one, saying I'd regret wood-gluing it all together ahead of time.)
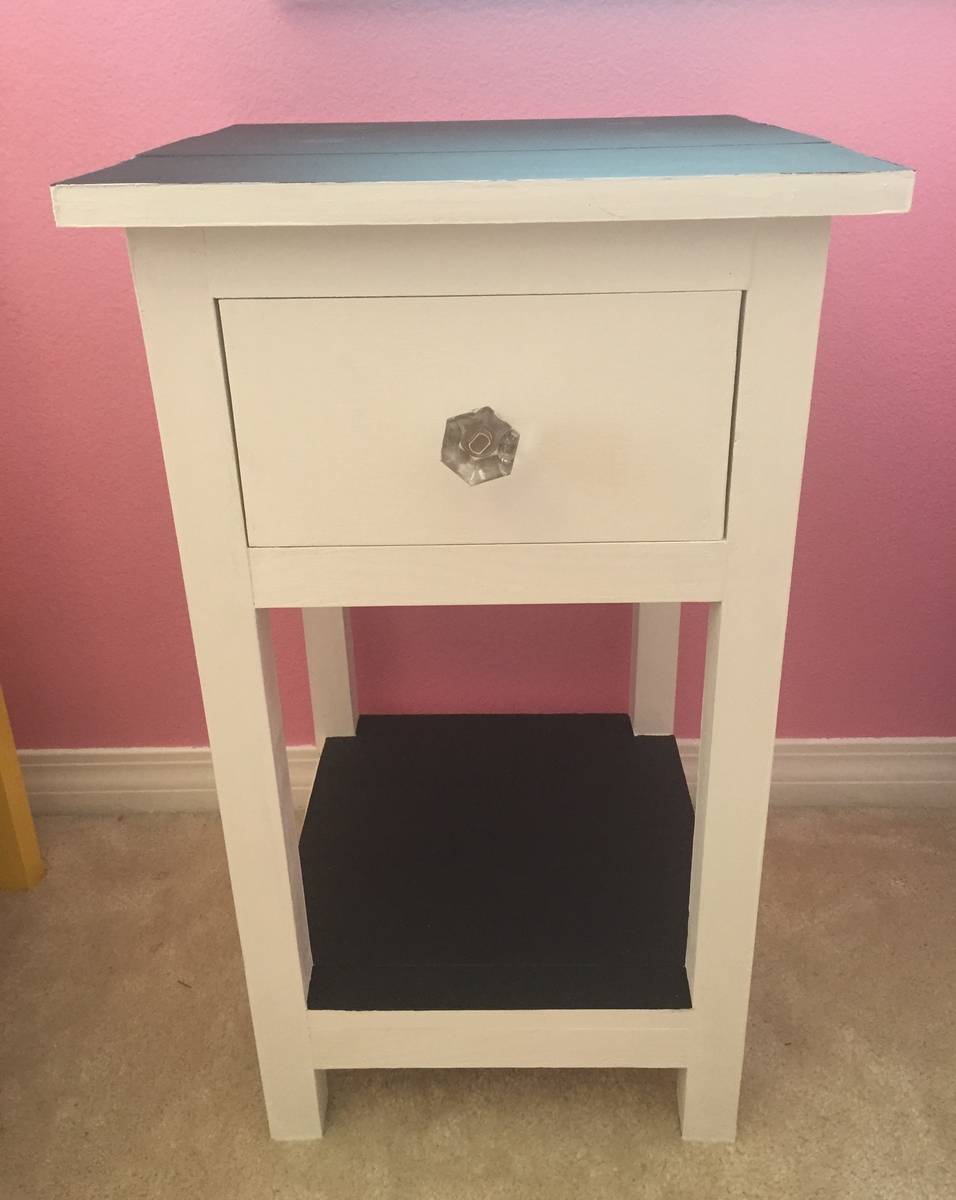
I built this for my daughter's room. It is my second build. It is the perfect size for her room. I used chalkboard paint for the top surfaces. The knob is from Lowe's. Thank you Ana White for providing these fun plans! I am excited to start my next project!!!