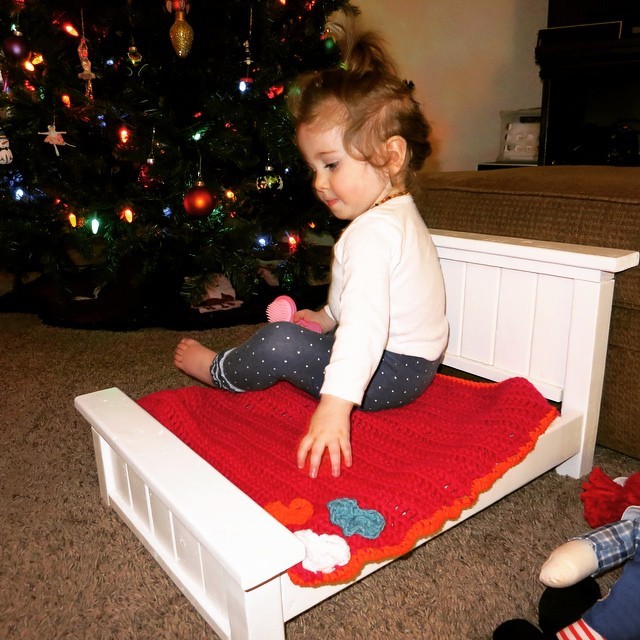
This was so fun. My little girl loves it and we have another on the way, so I am thrilled with how it turned out. The assembly wasn't hard, but it took FOUR coats of paint and three coats of finish. That was the most tedious part. I made a box for the apron sink, rounded off the edges, sprayed it with a white lacquer, and modified the countertop so it fit in nice and snug. It's my favorite part. I love that it tied in the white fridge. It ended up costing me 130 bucks. 50 in wood, 35 in paint/supplies, 45 in handles, knobs, faucet, hinges, stovetop etc.
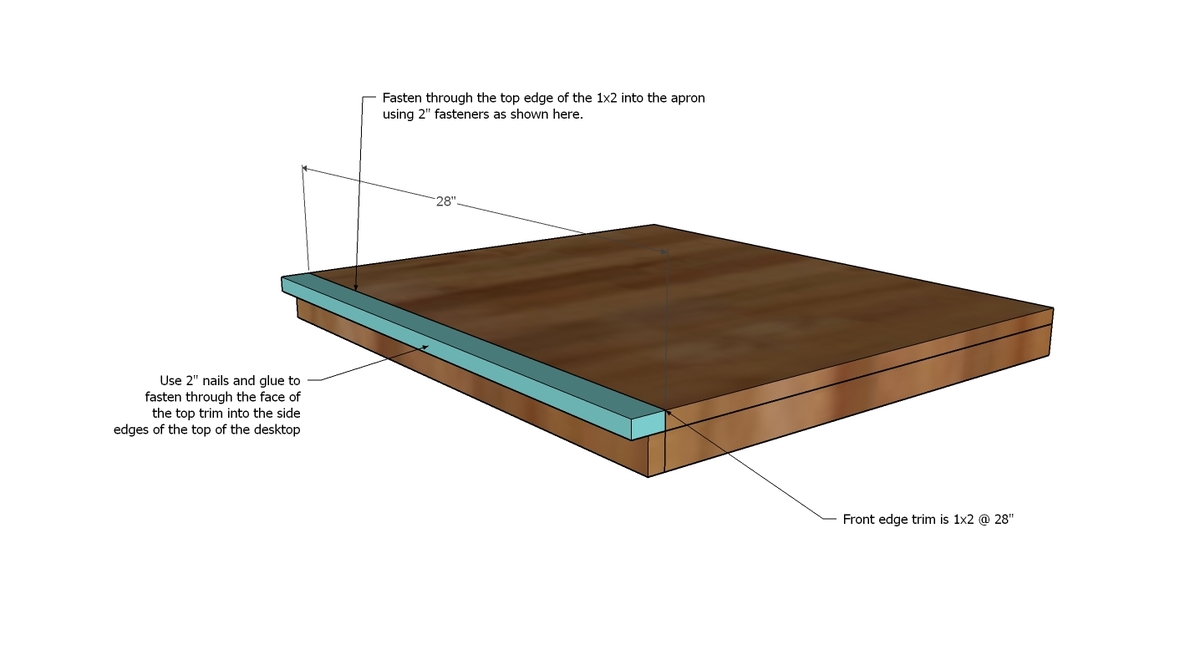
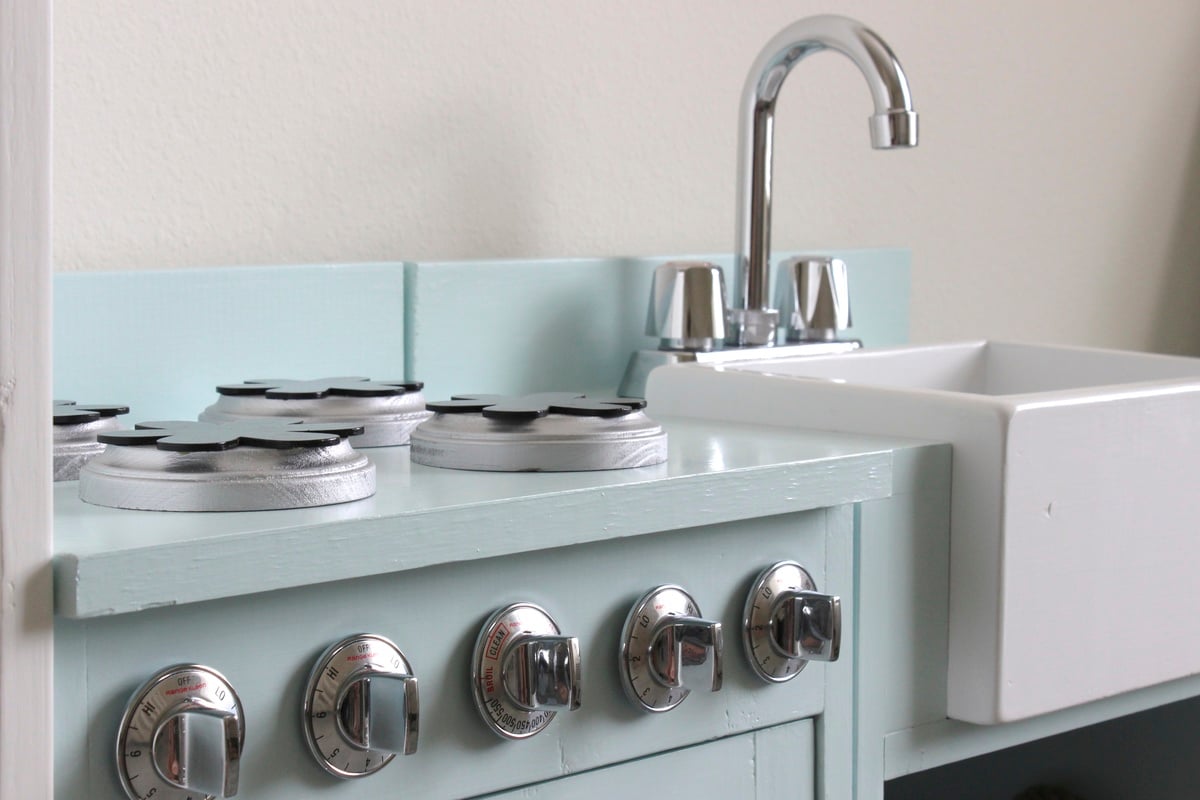
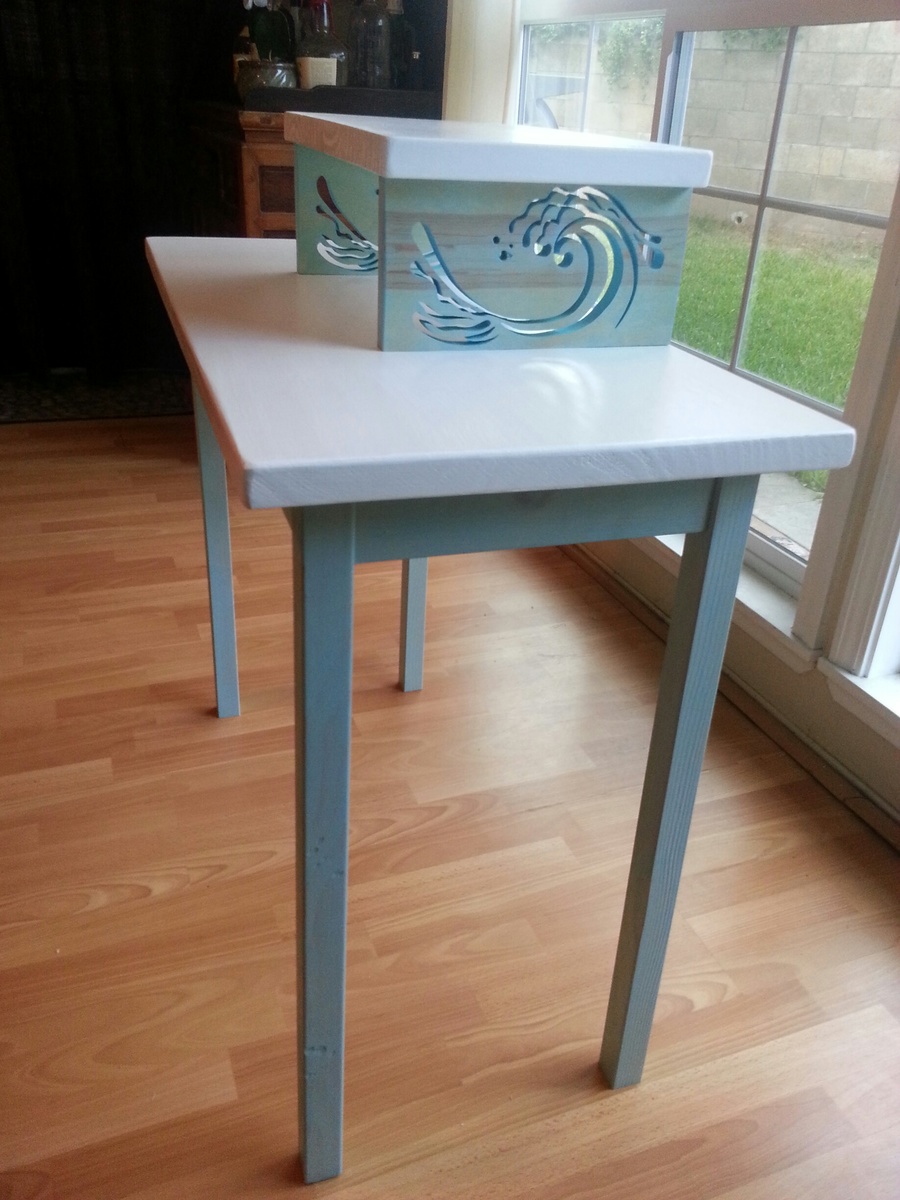
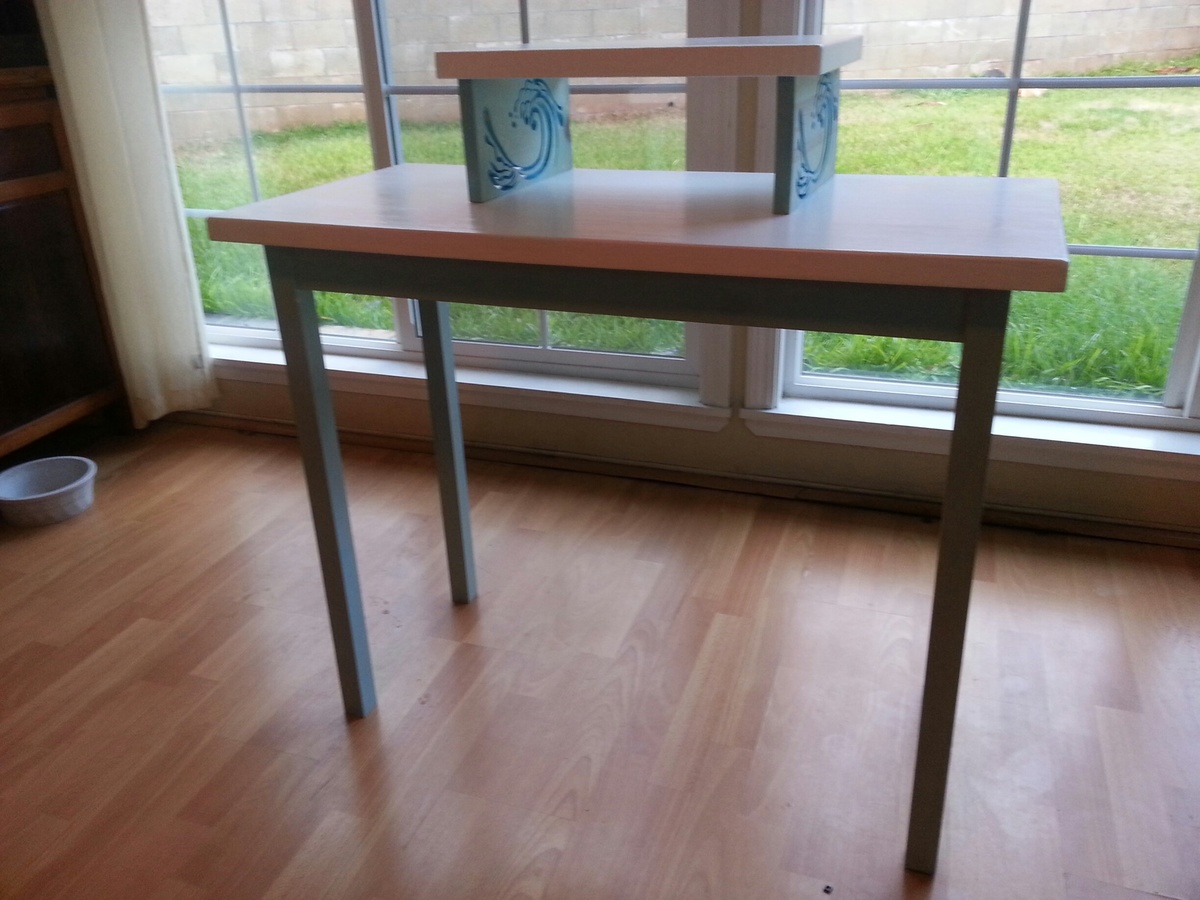
COUNTERTOP AND SINK MODIFICATION:
I hope this isn't too confusing. It's hard when you can't see it, so don't hesitate to email for clarifications.
Countertop
(2) 1x3 @ 10 ½” (these boards go on either side of the sink when looking from above)
(1) 1x4 @ 11“ (this is the board the faucet sits on)
Put the backsplash on the same way the original plans say.
Sink box
11” wide, 8” deep, 5.5“ high (Using all 1x6 boards)
(2) 1x6 @ 11” (front and back)
(2) 1x6 @ 6.5” (left and right sides, on the inside of the 11" boards)
6.5x9.5 inside bottom (cut down whatever board you need to to get this size. This should fit snuggly inside the walls of the box)
Because a 1x6 is really 5.5 inches wide, and the countertop is 3/4" thick, and 3/4" of the sink sits above the countertop, that means 4” of the sink will be under the countertop. So looking at the sink from the front, you need (2) 1 ¾” wide x 4” long blocks of wood on either side of the front part of the sink. Then I just put a 1x12x14 1/2" shelf under the whole thing to hold it up. I built the sink box first and spray-painted it with a white lacquer, then I built the entire sink countertop and base, and then shoved the sink in last. It was a very tight squeeze so I didn't have to nail or glue it in or anything. About an inch of the sink should be sticking out of the front, and 3/4" should be sticking out the top.
Good luck!
Email me for questions!
[email protected]
Or visit my blog for details where I got all the accessories
carlyandjordan.blogspot.com/2013/08/play-kitchen.html


Comments
spiceylg
Wed, 08/14/2013 - 04:46
Awesome
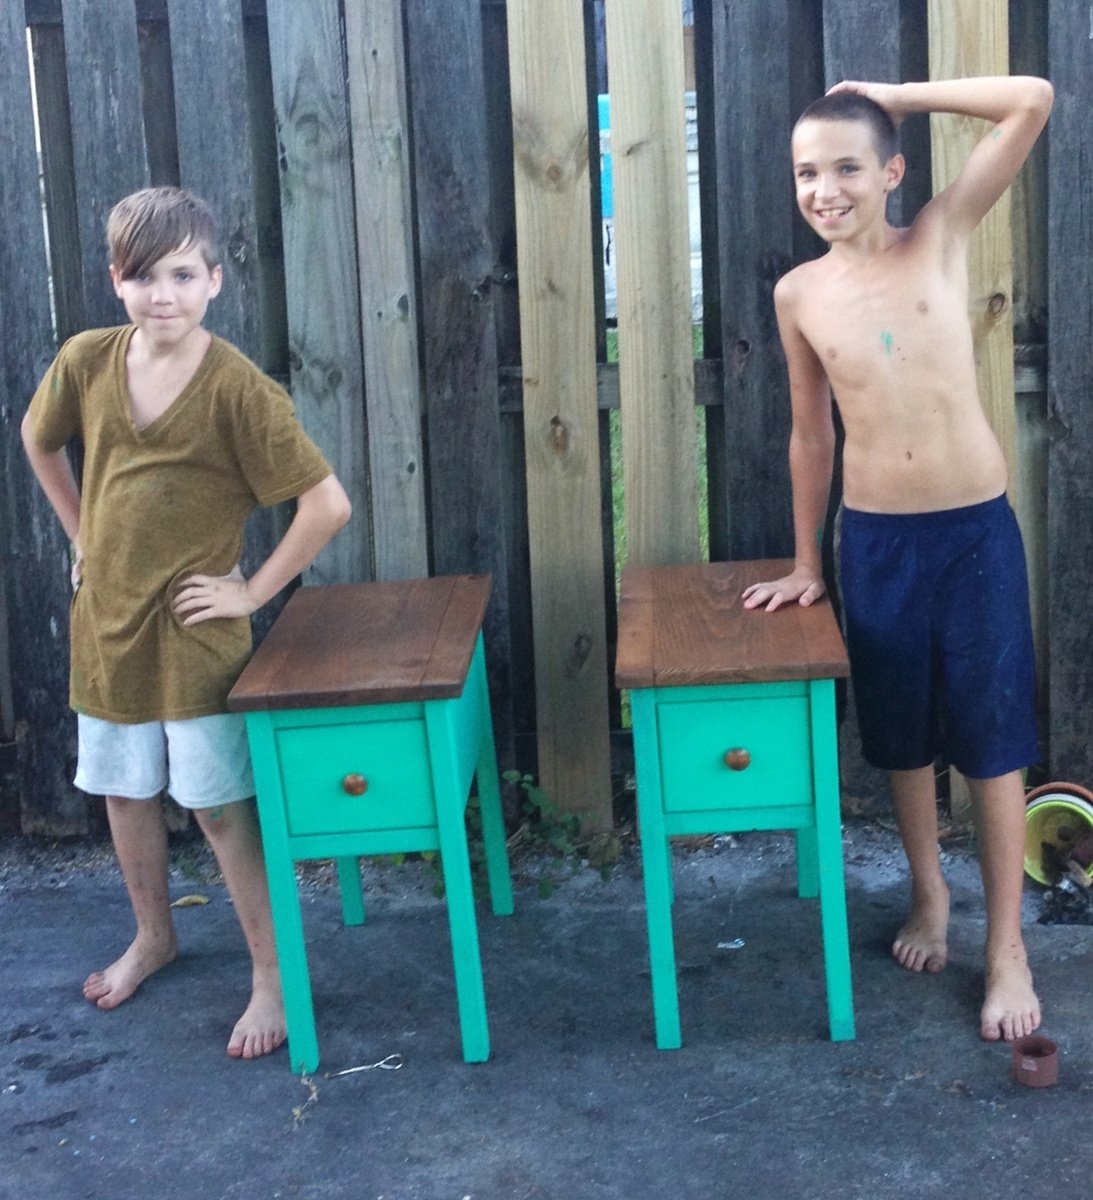
I love that your kids built these, what a sense of accomplishment! Tell them they did a great job!
Oldsouldesigns
Wed, 08/14/2013 - 16:47
Thank you! I showed them you
Thank you! I showed them you comment. As you can tell from their studley poses, they are not lacking in the ego department ;-)