Community Brag Posts

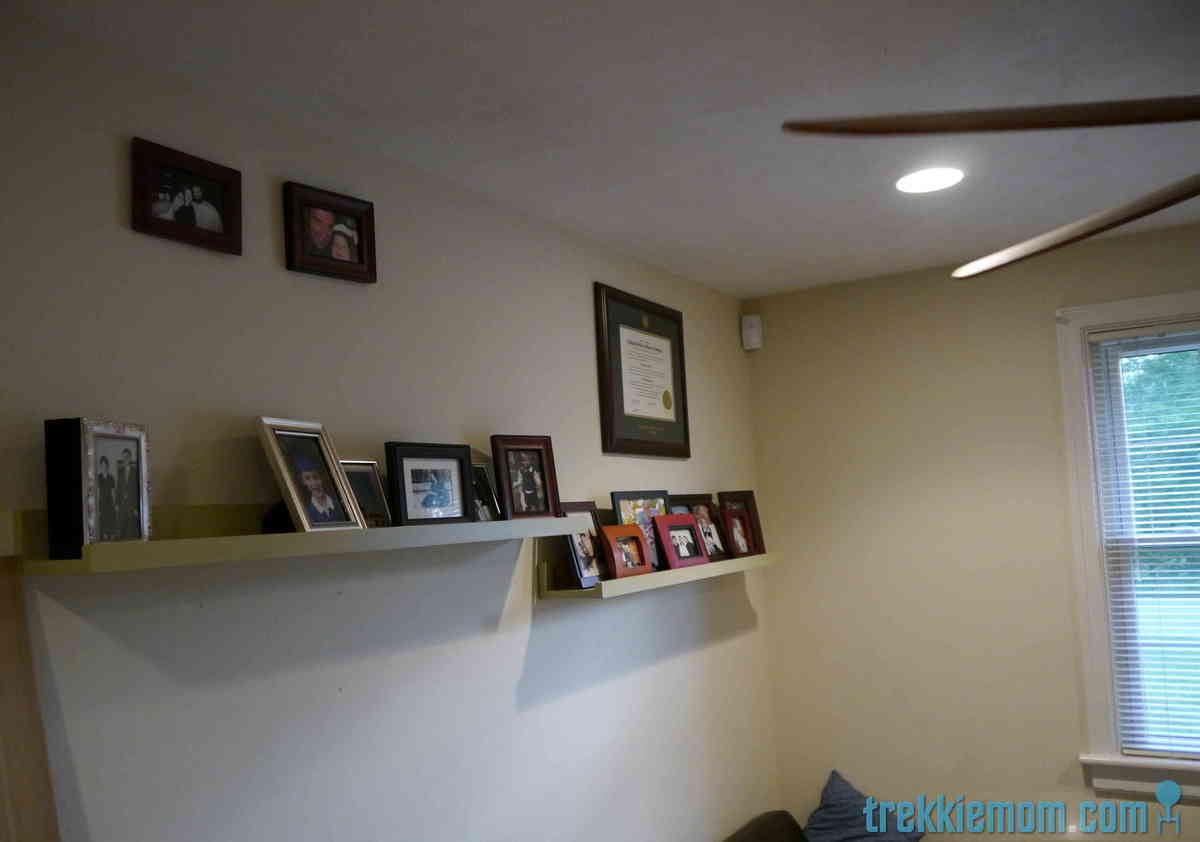
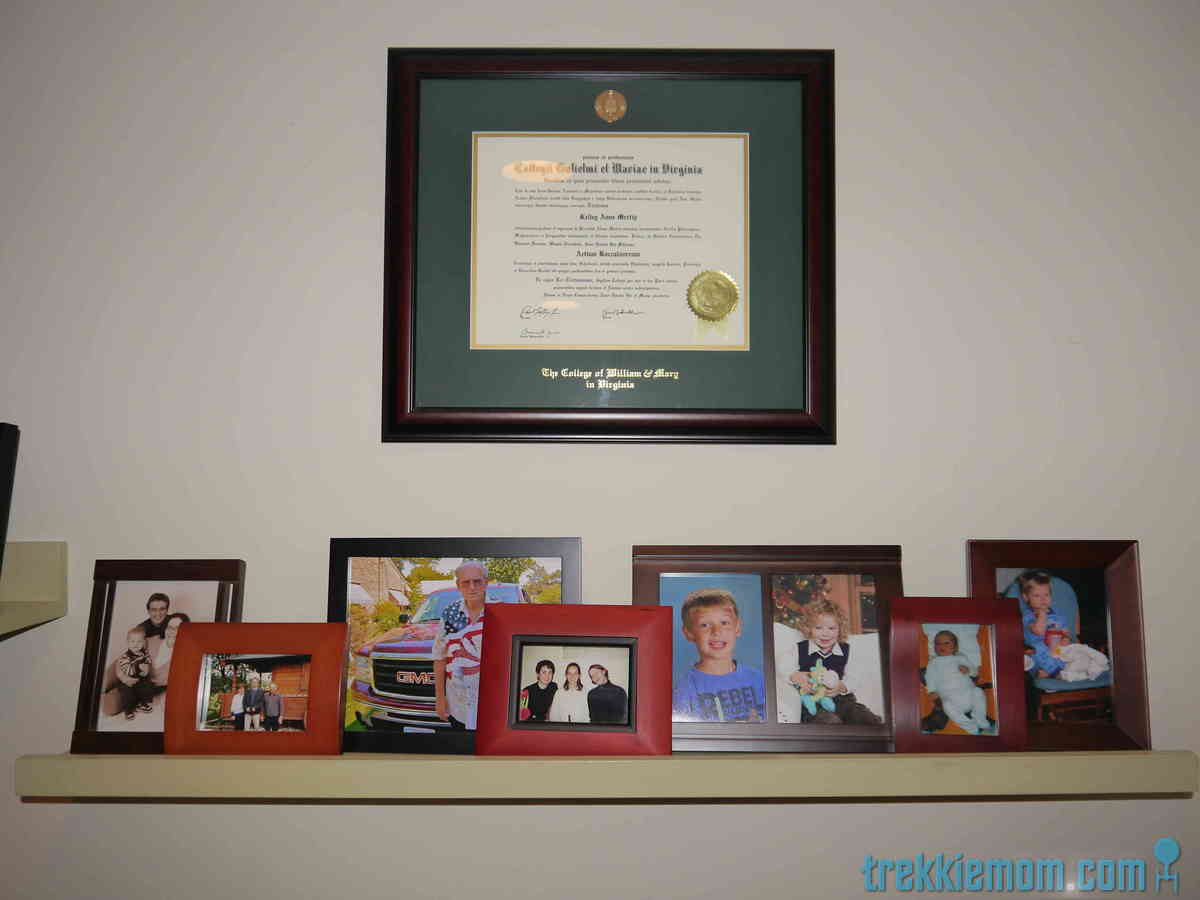
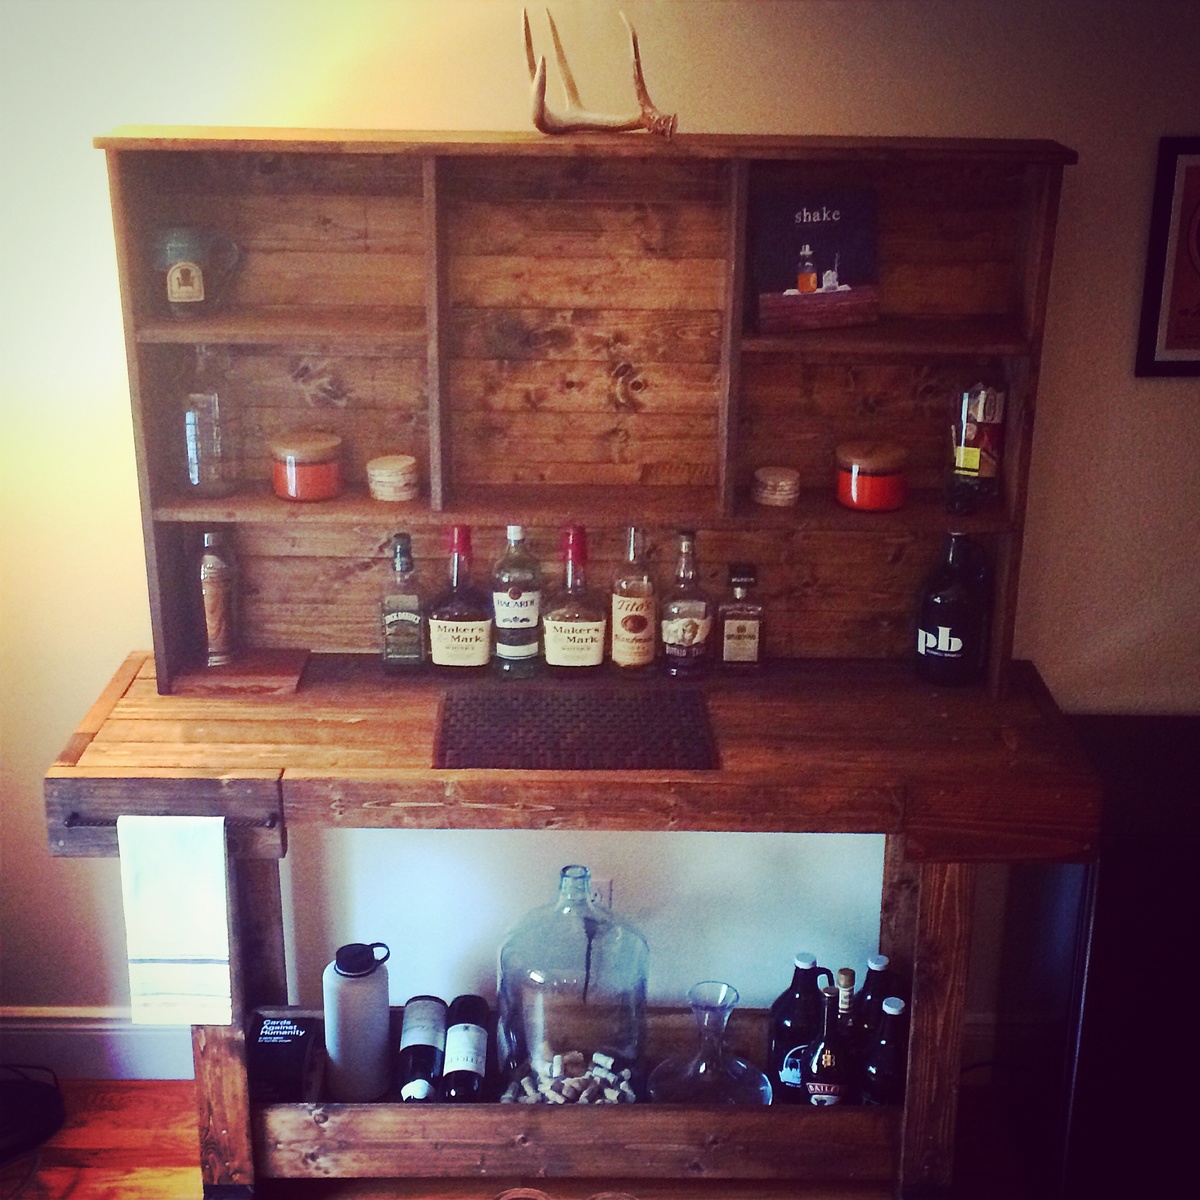
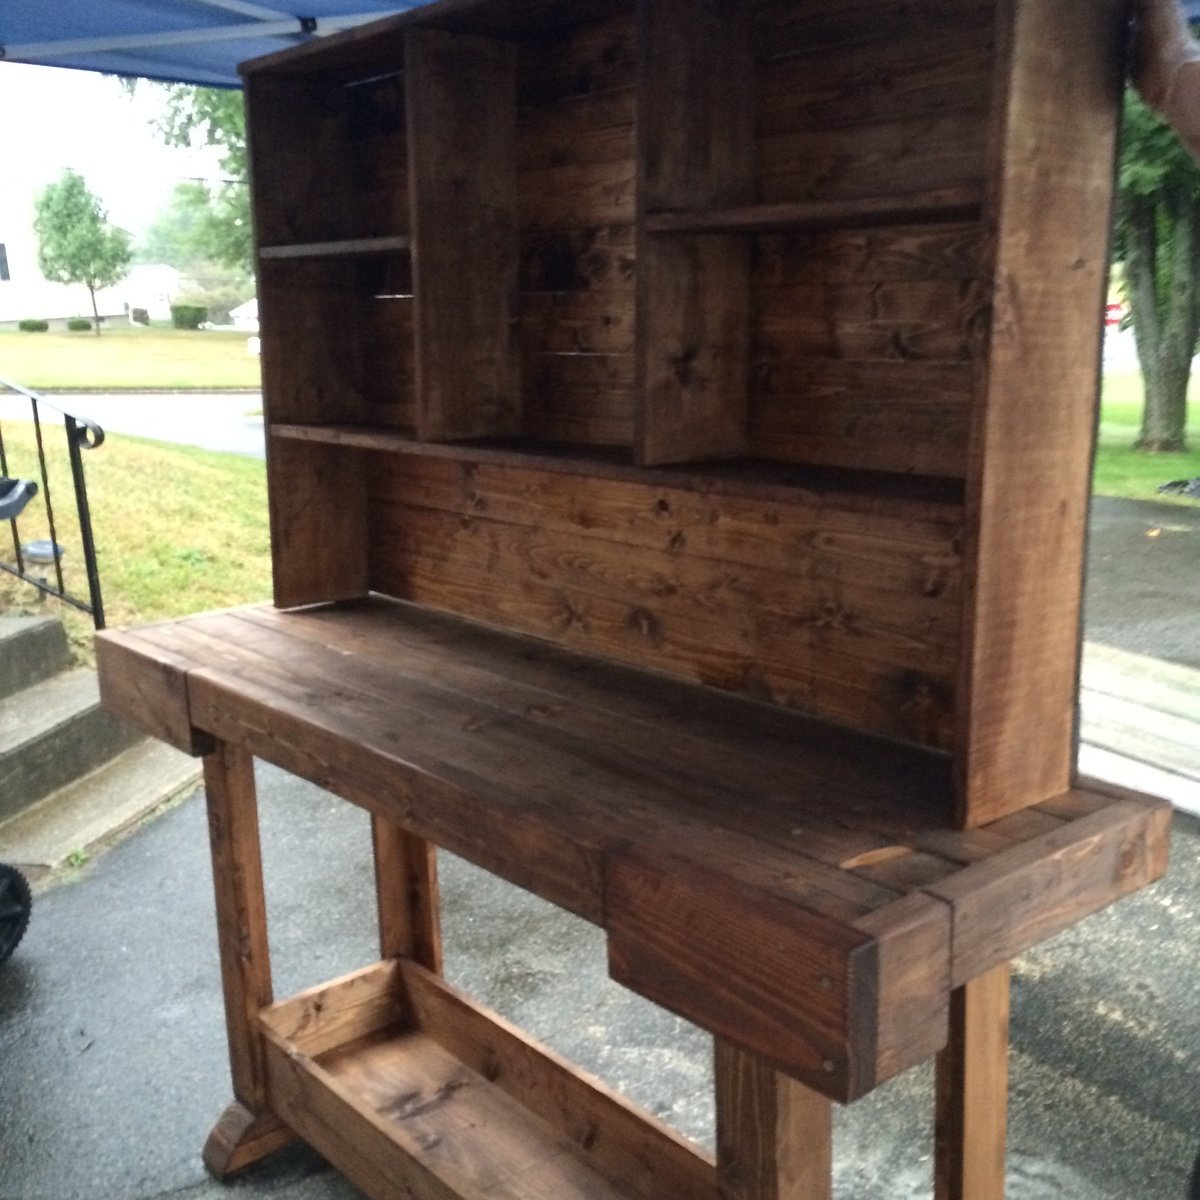
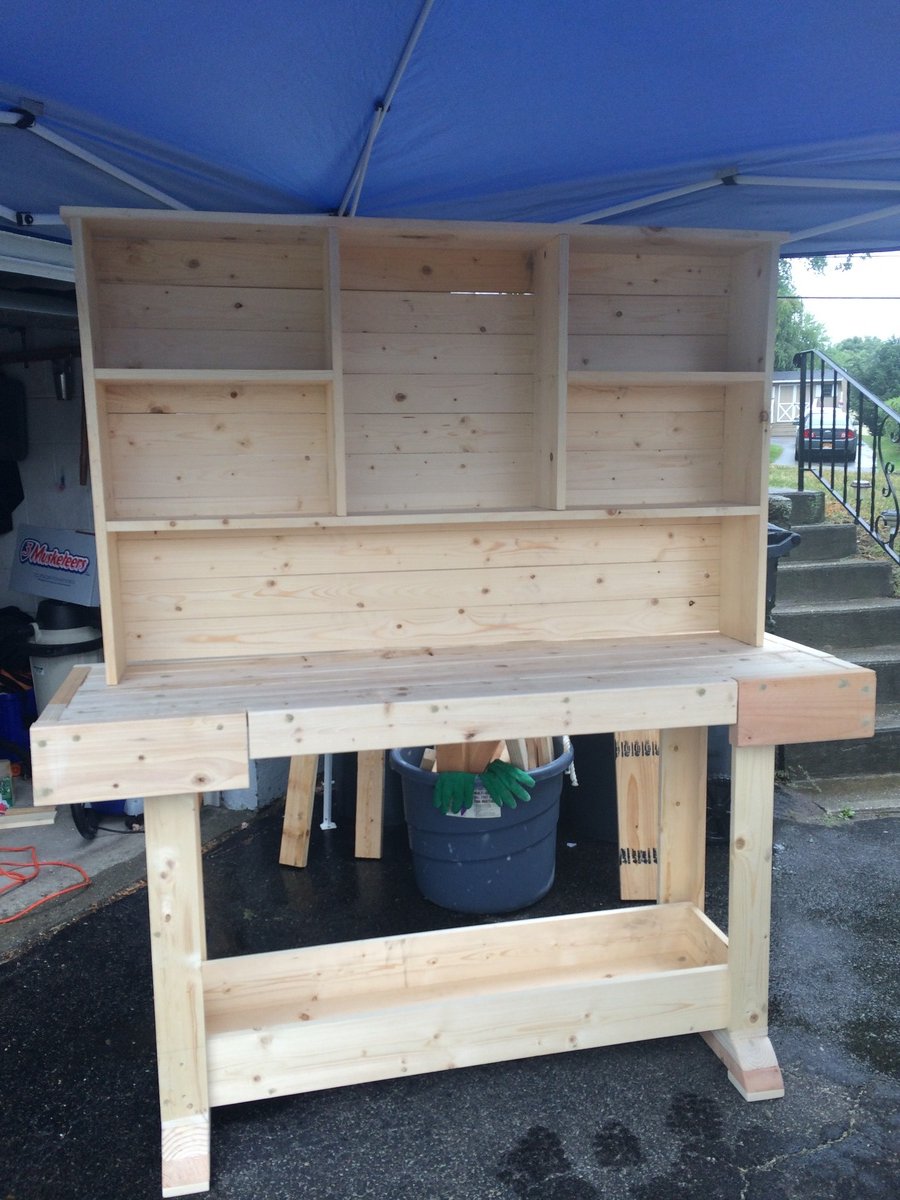
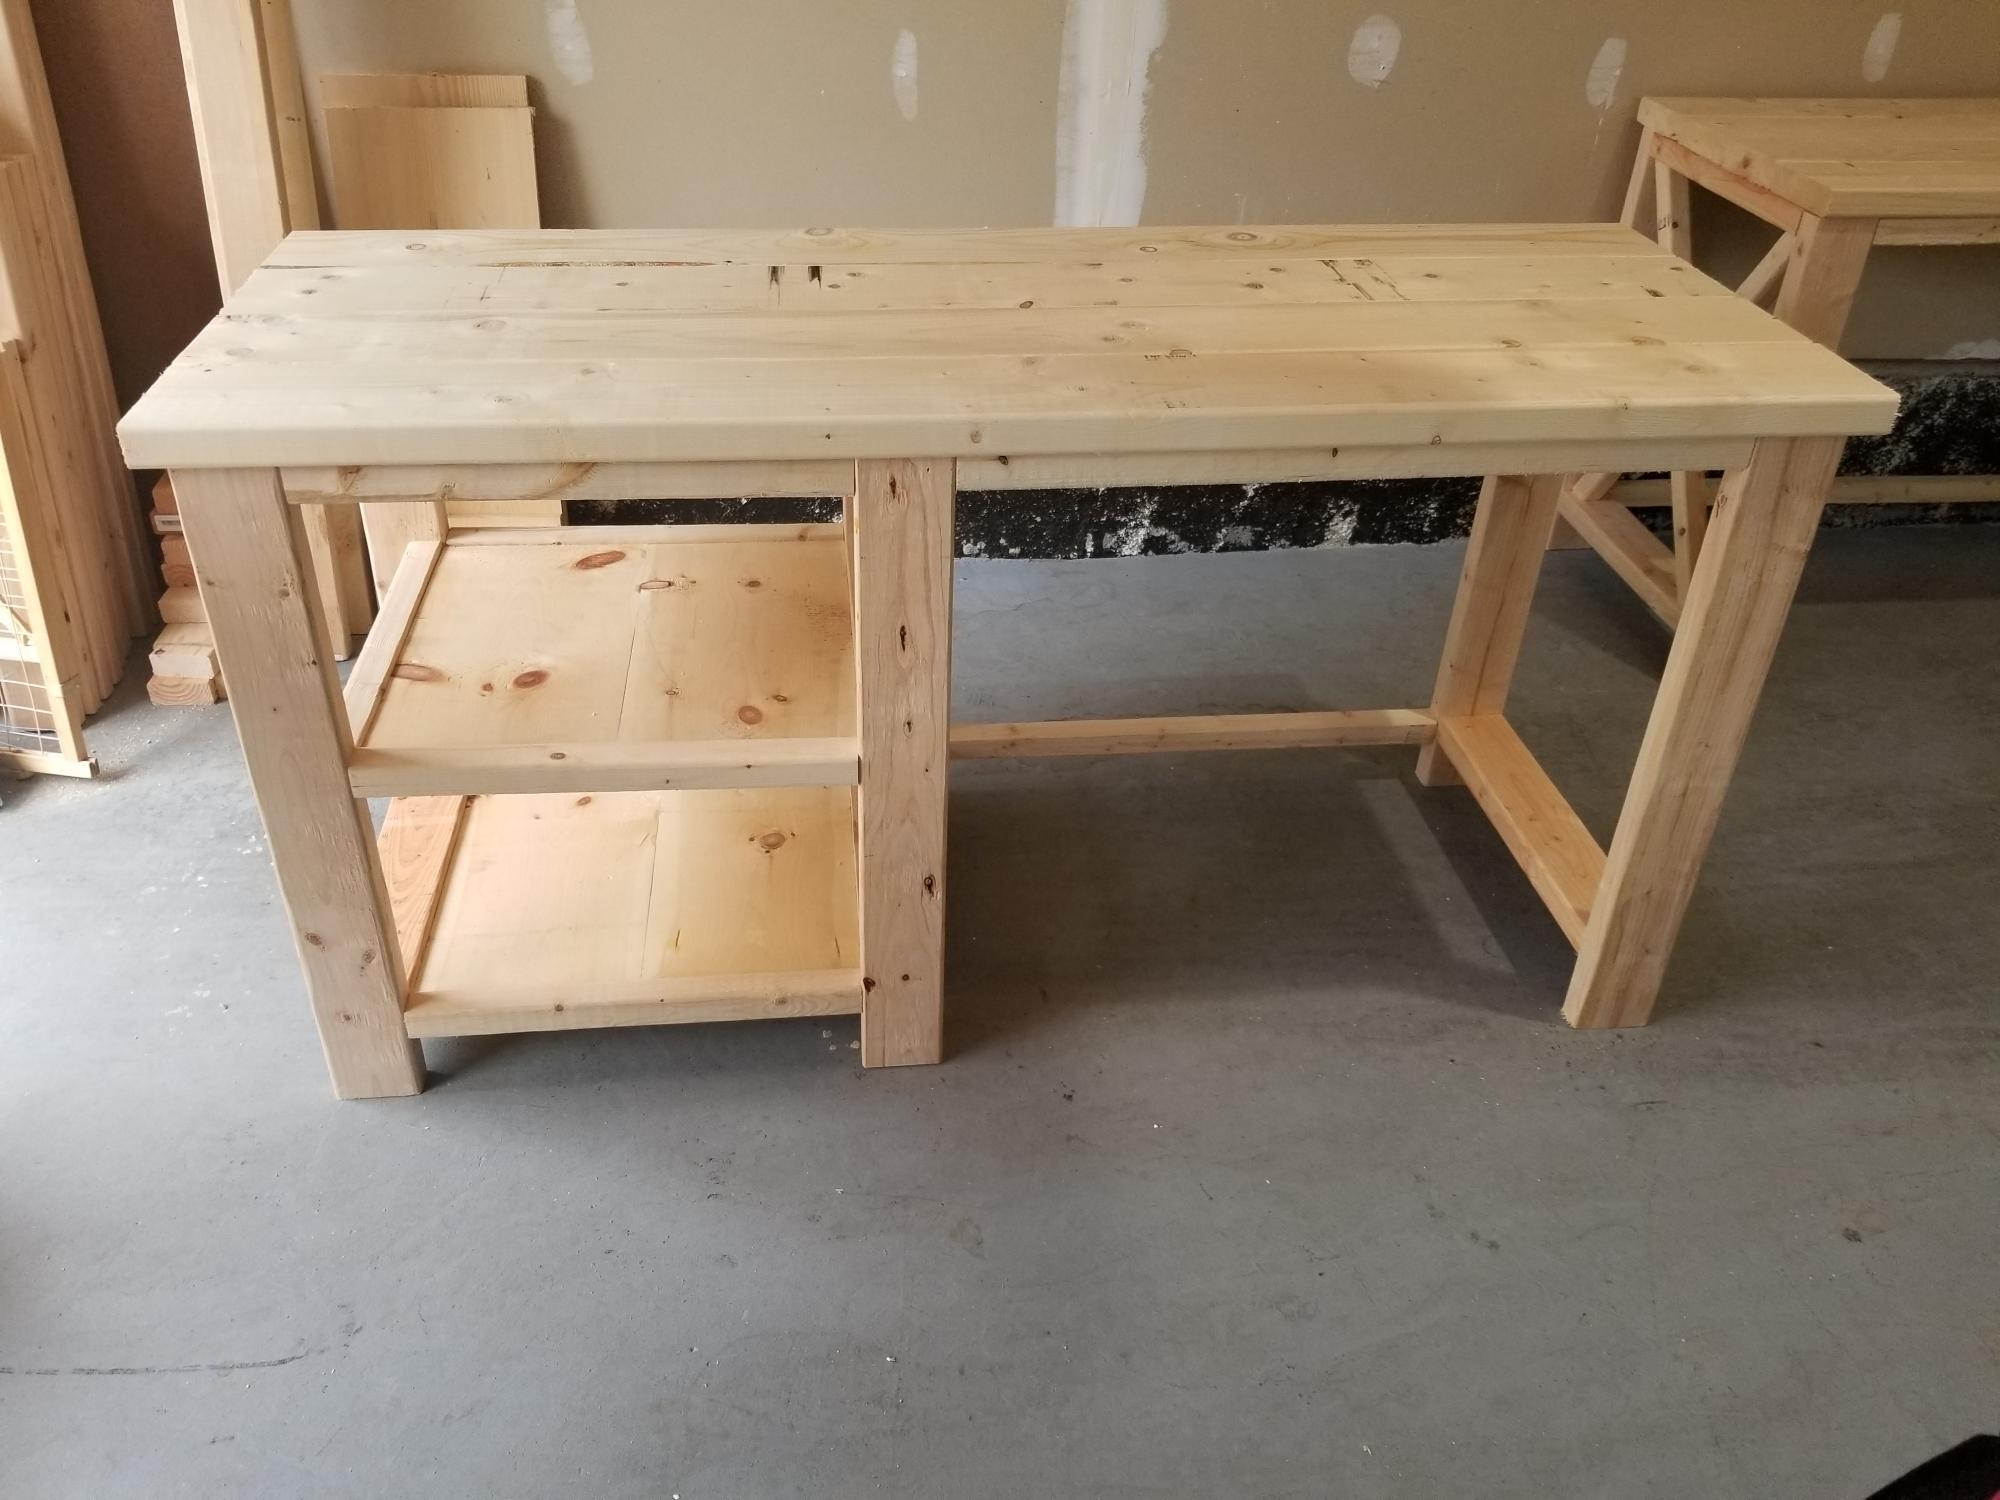
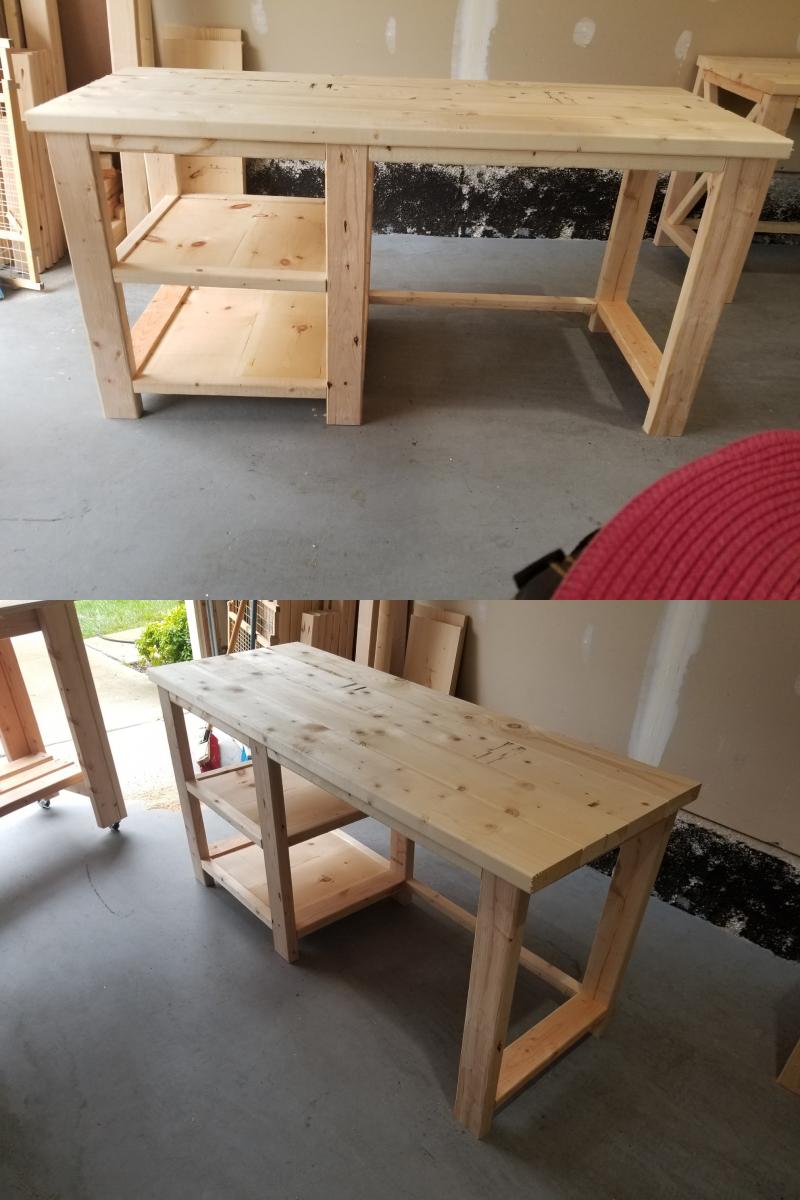
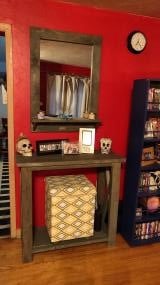
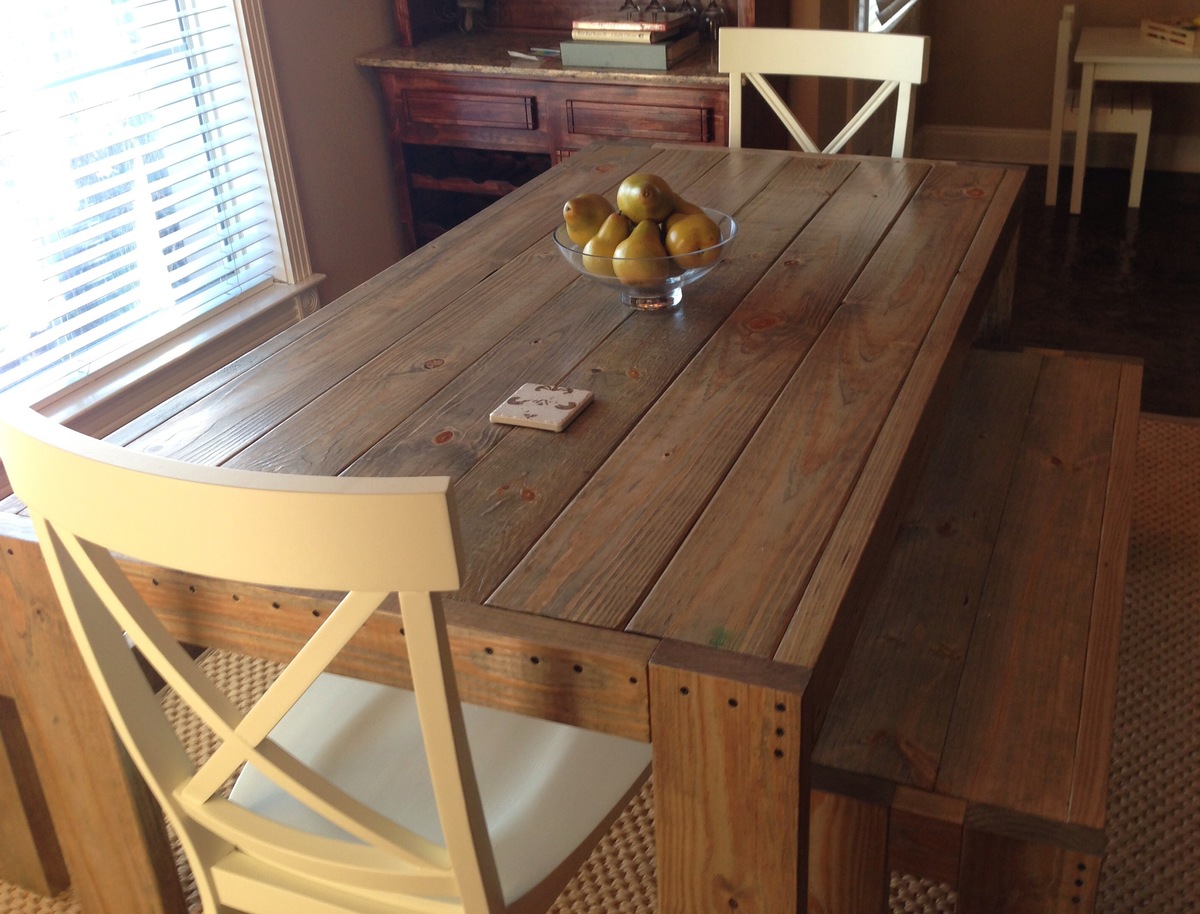
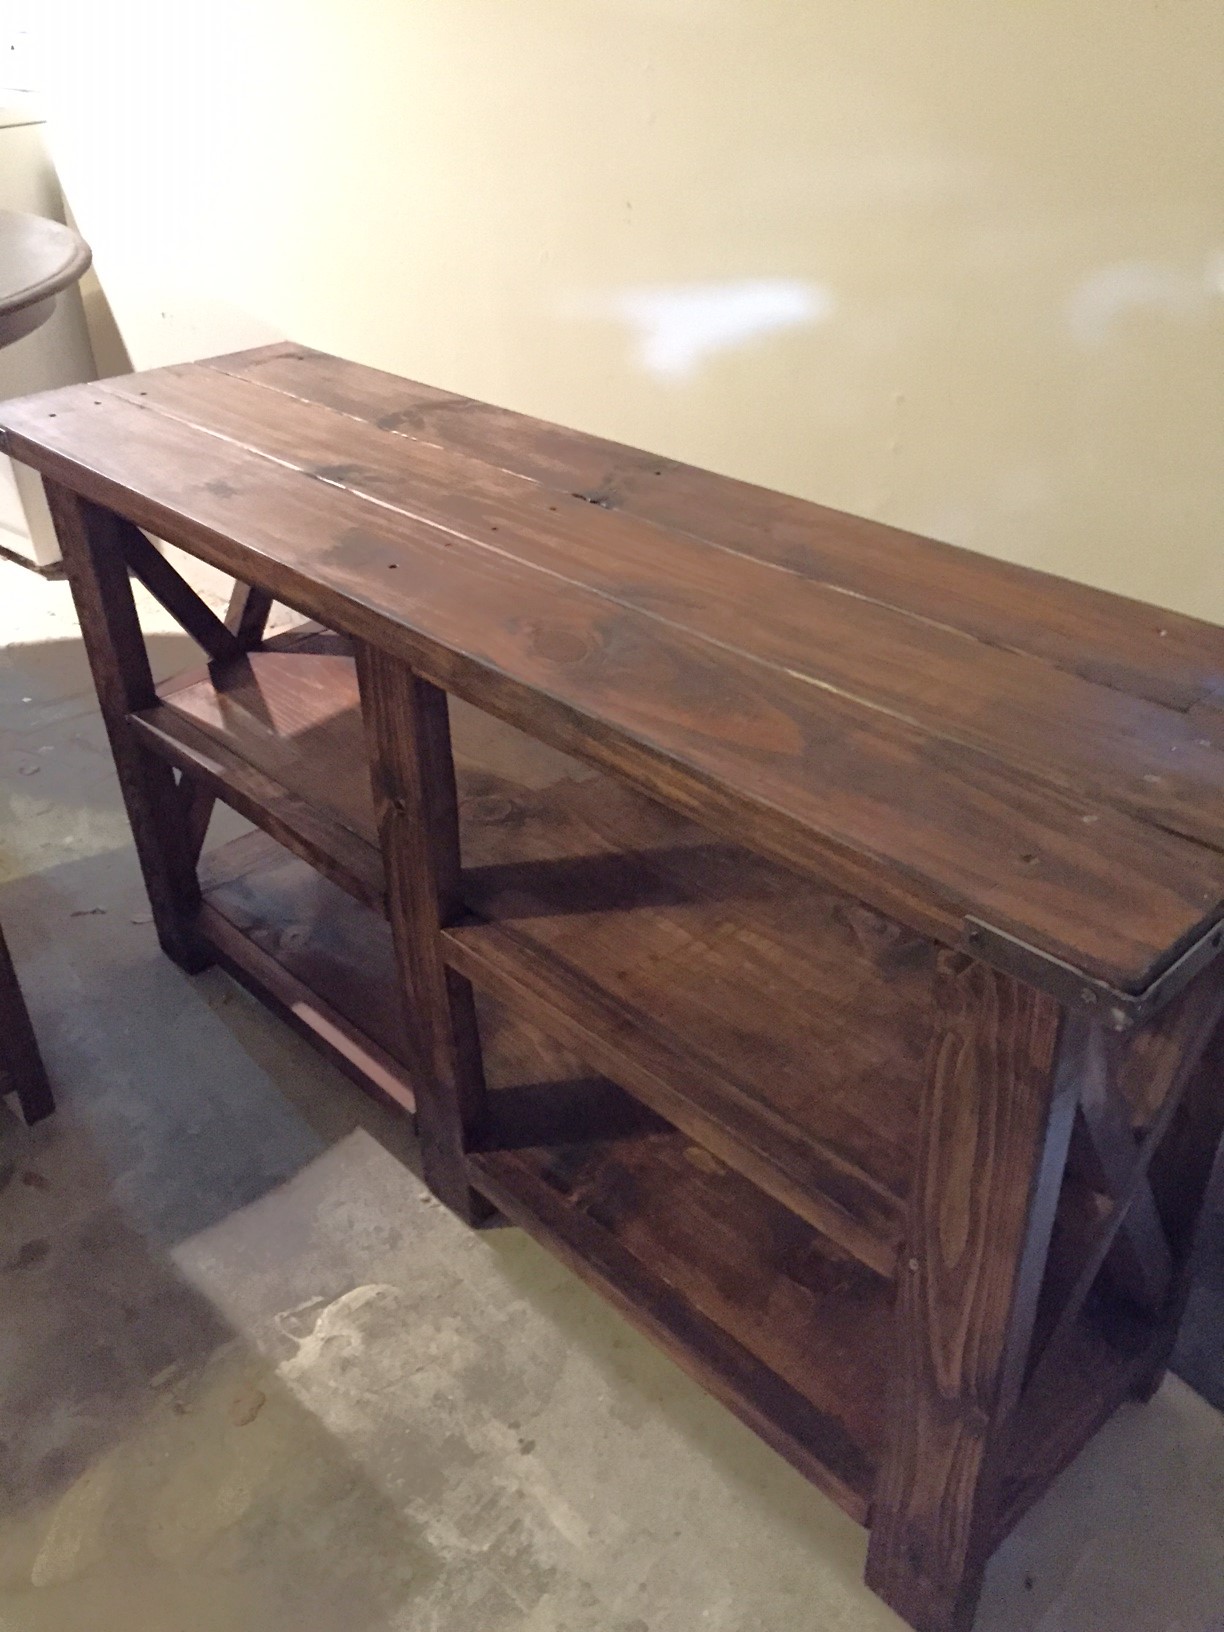
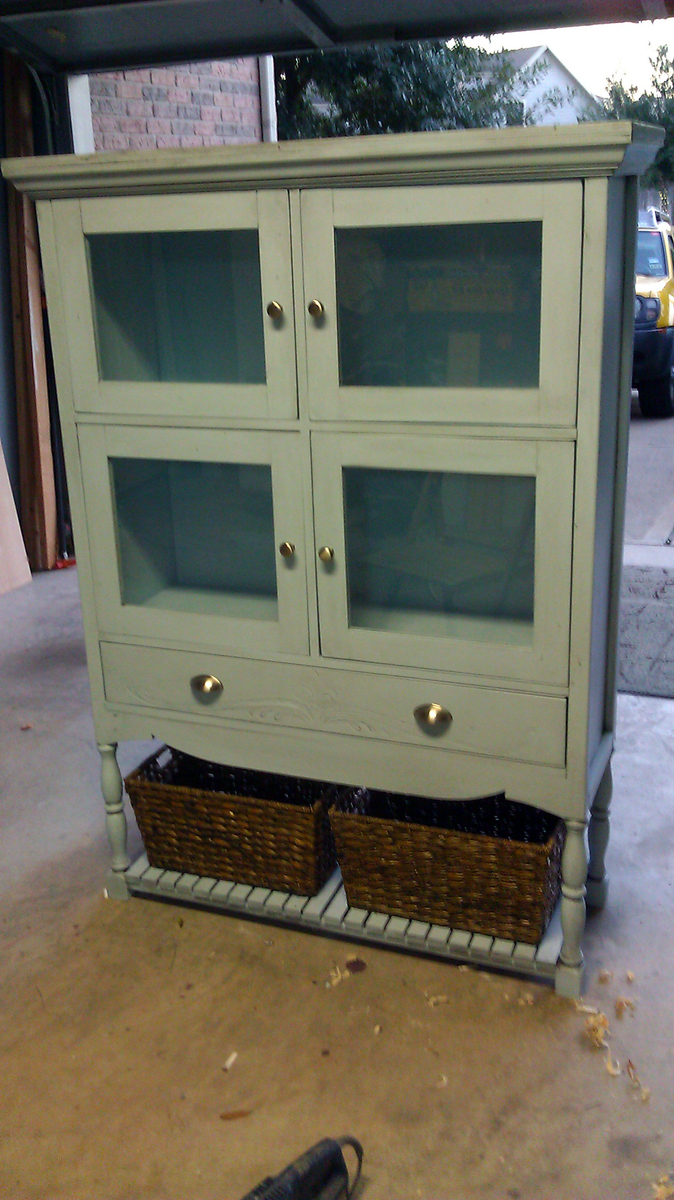
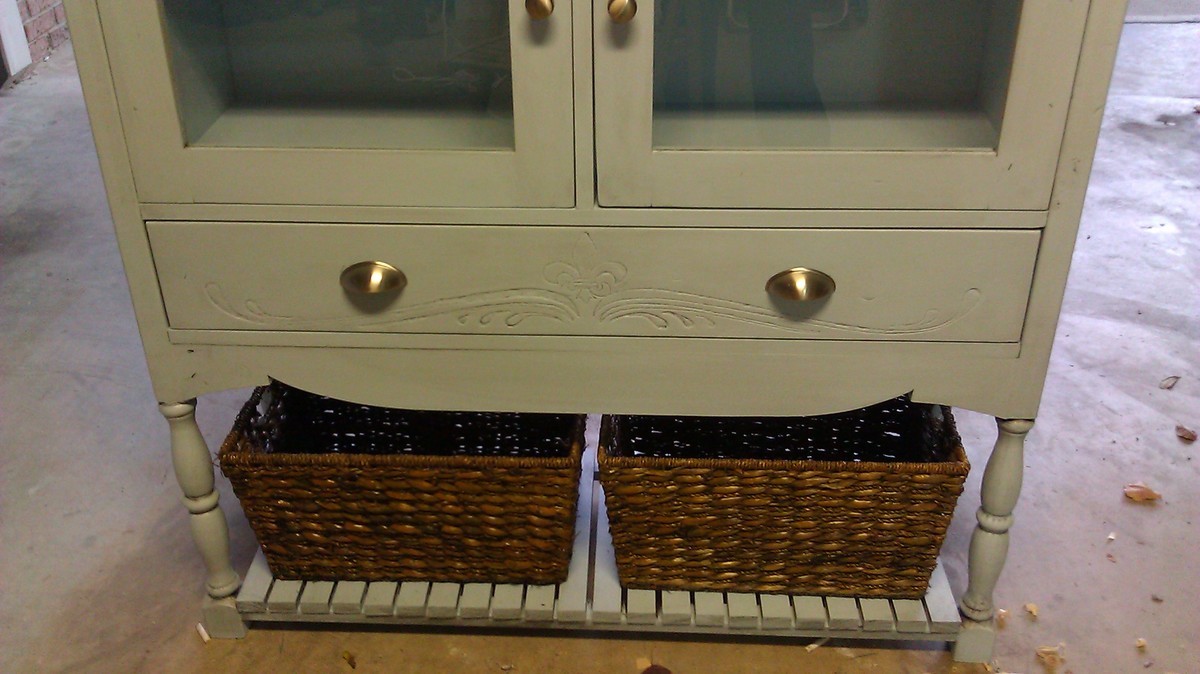
Truss Shelves- my first project!

Submitted by Slrusch91 on Thu, 11/29/2012 - 16:28

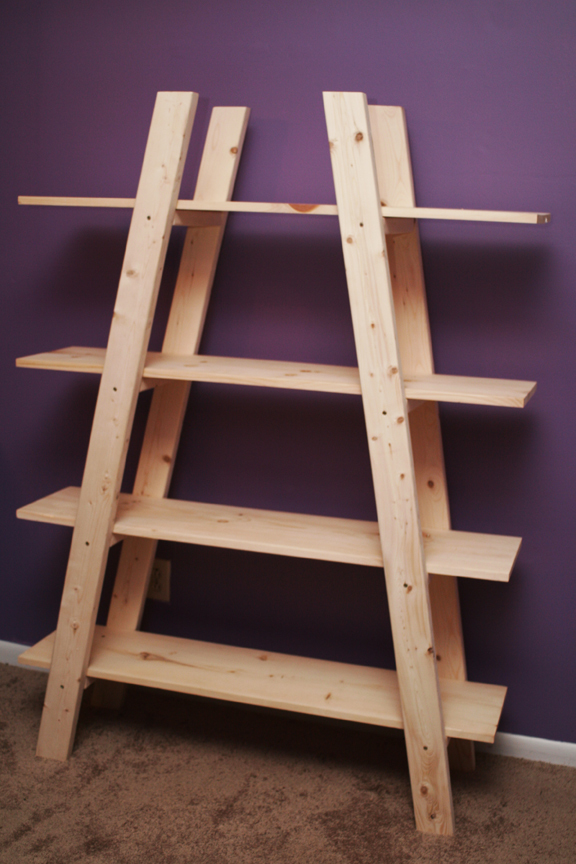
Not going to lie, as this was mine and my husband's first time building we did run across a few challenges BUT, nothing that we weren't able to figure out and correct. It came together beautifully and I can't wait til we purchase our first home in January so that I can figure out what color to stain it!

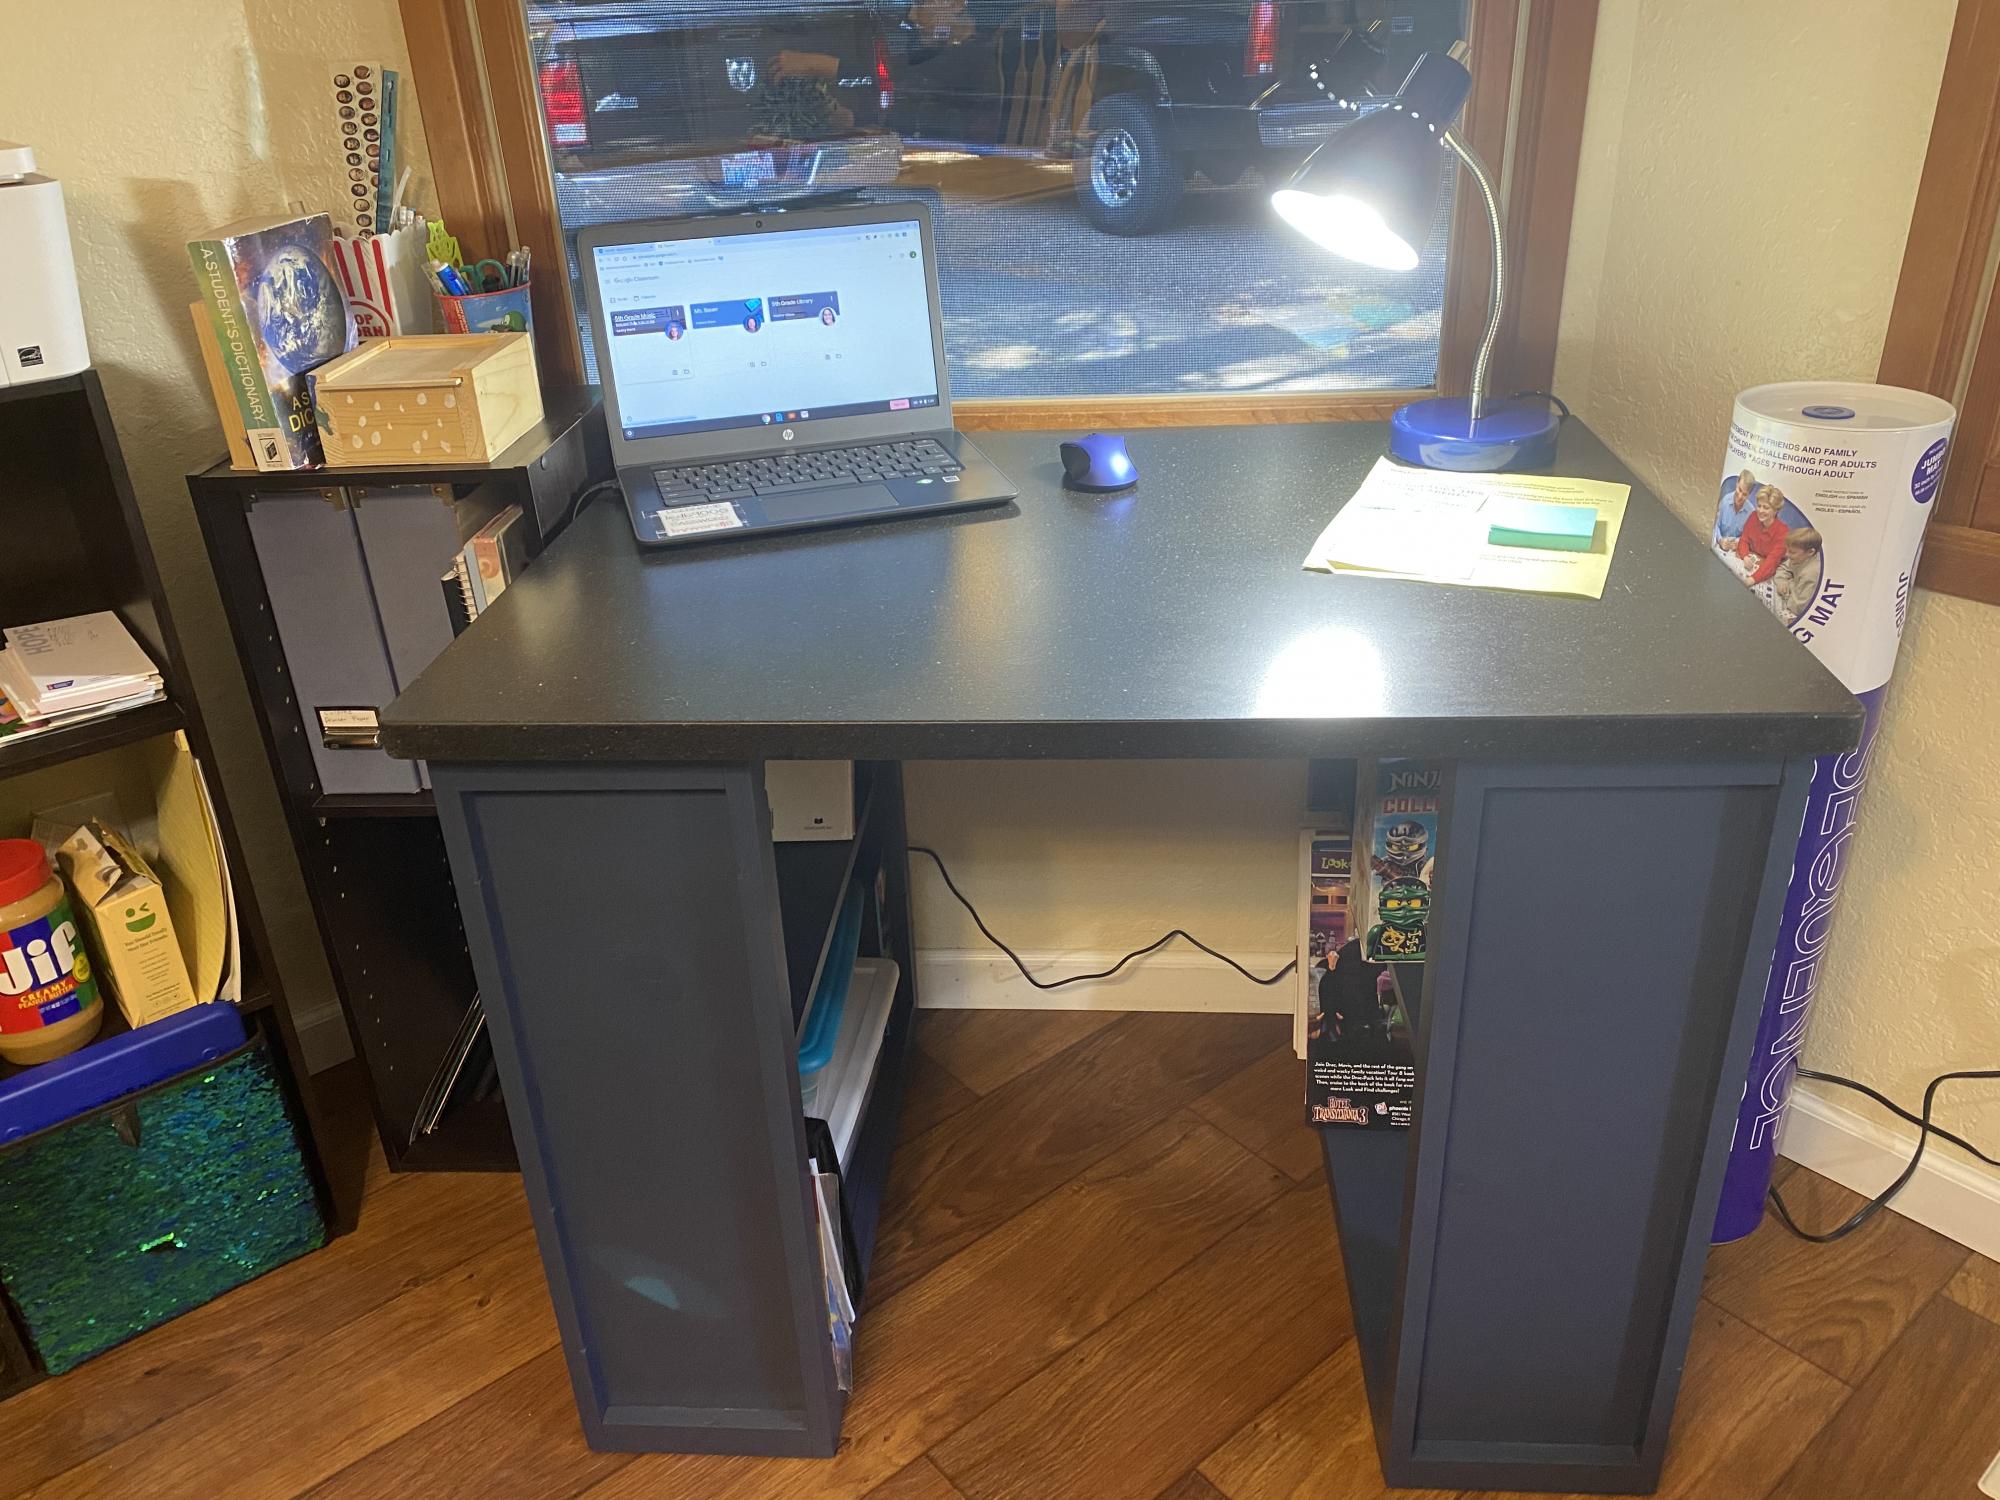
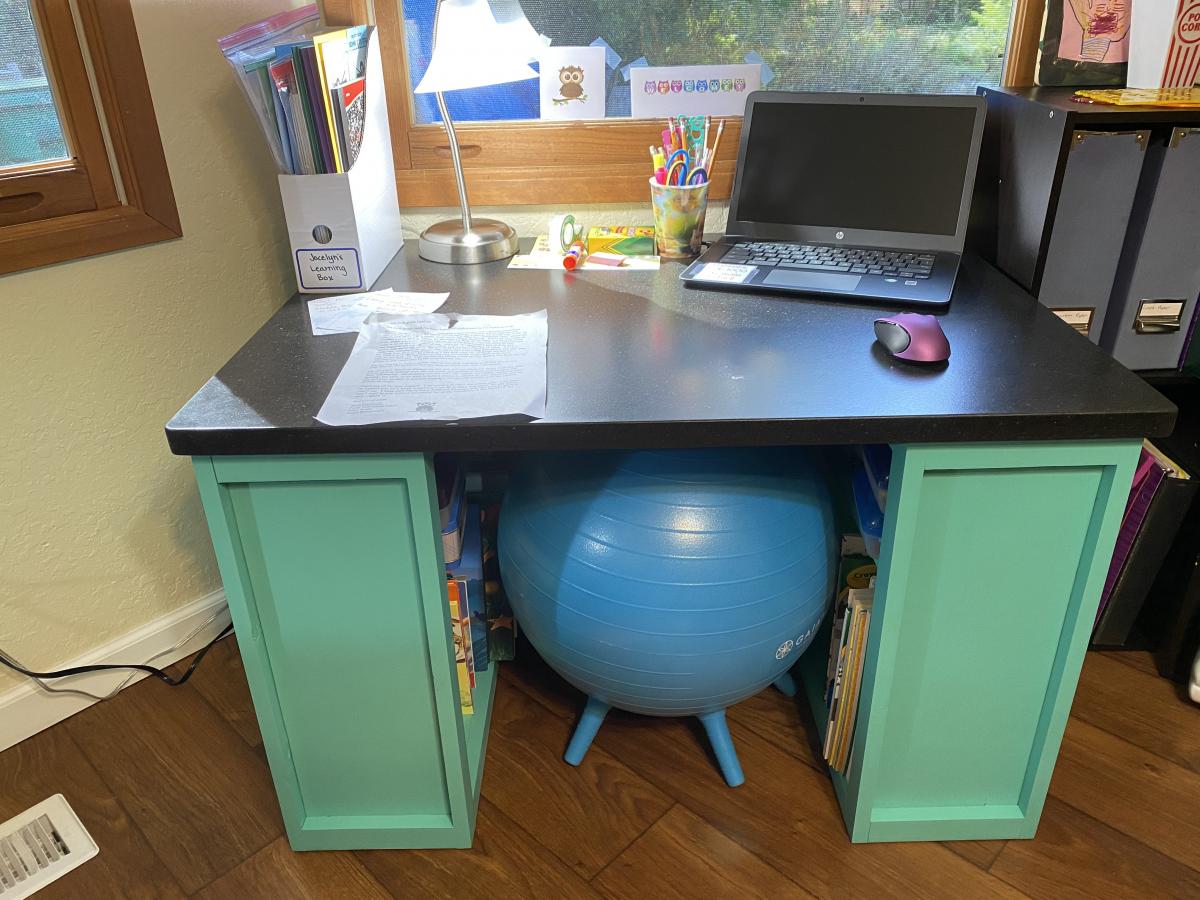
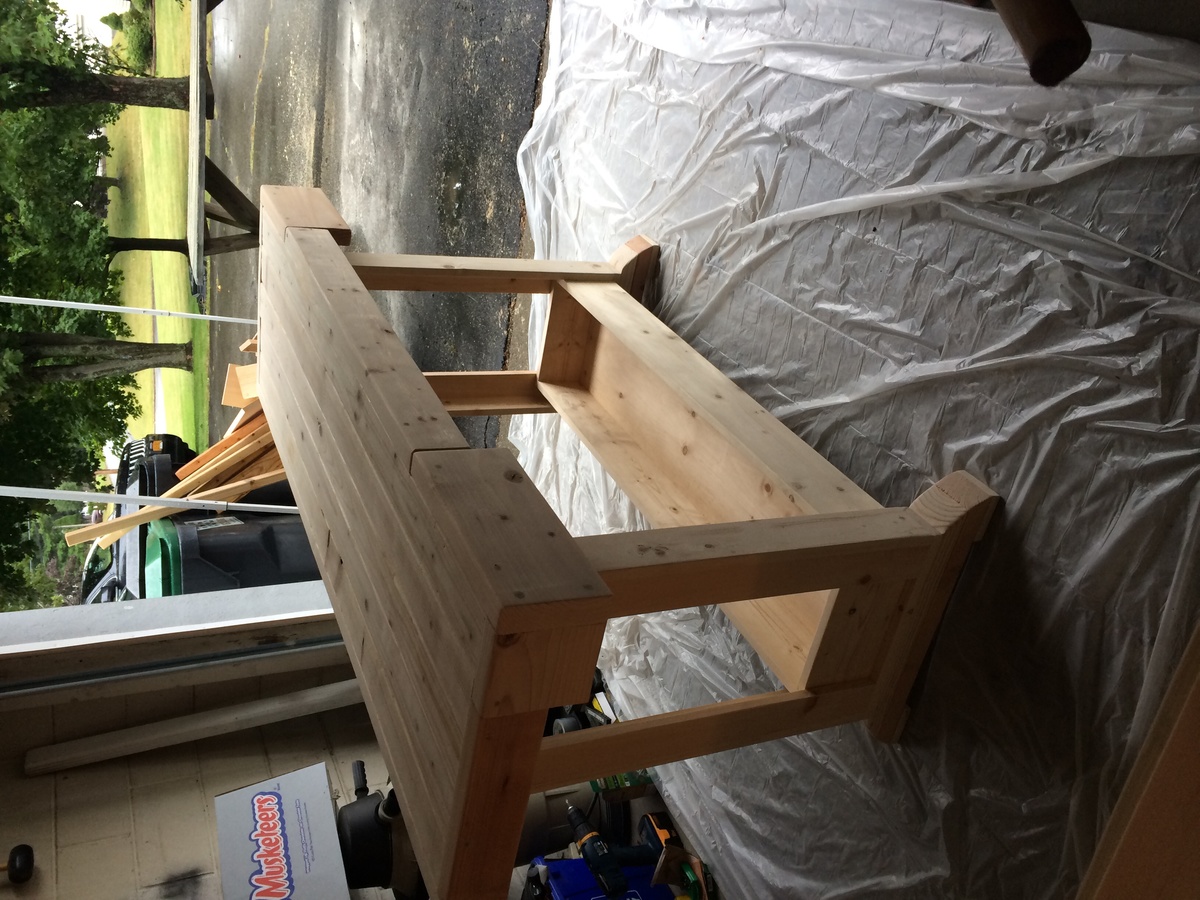
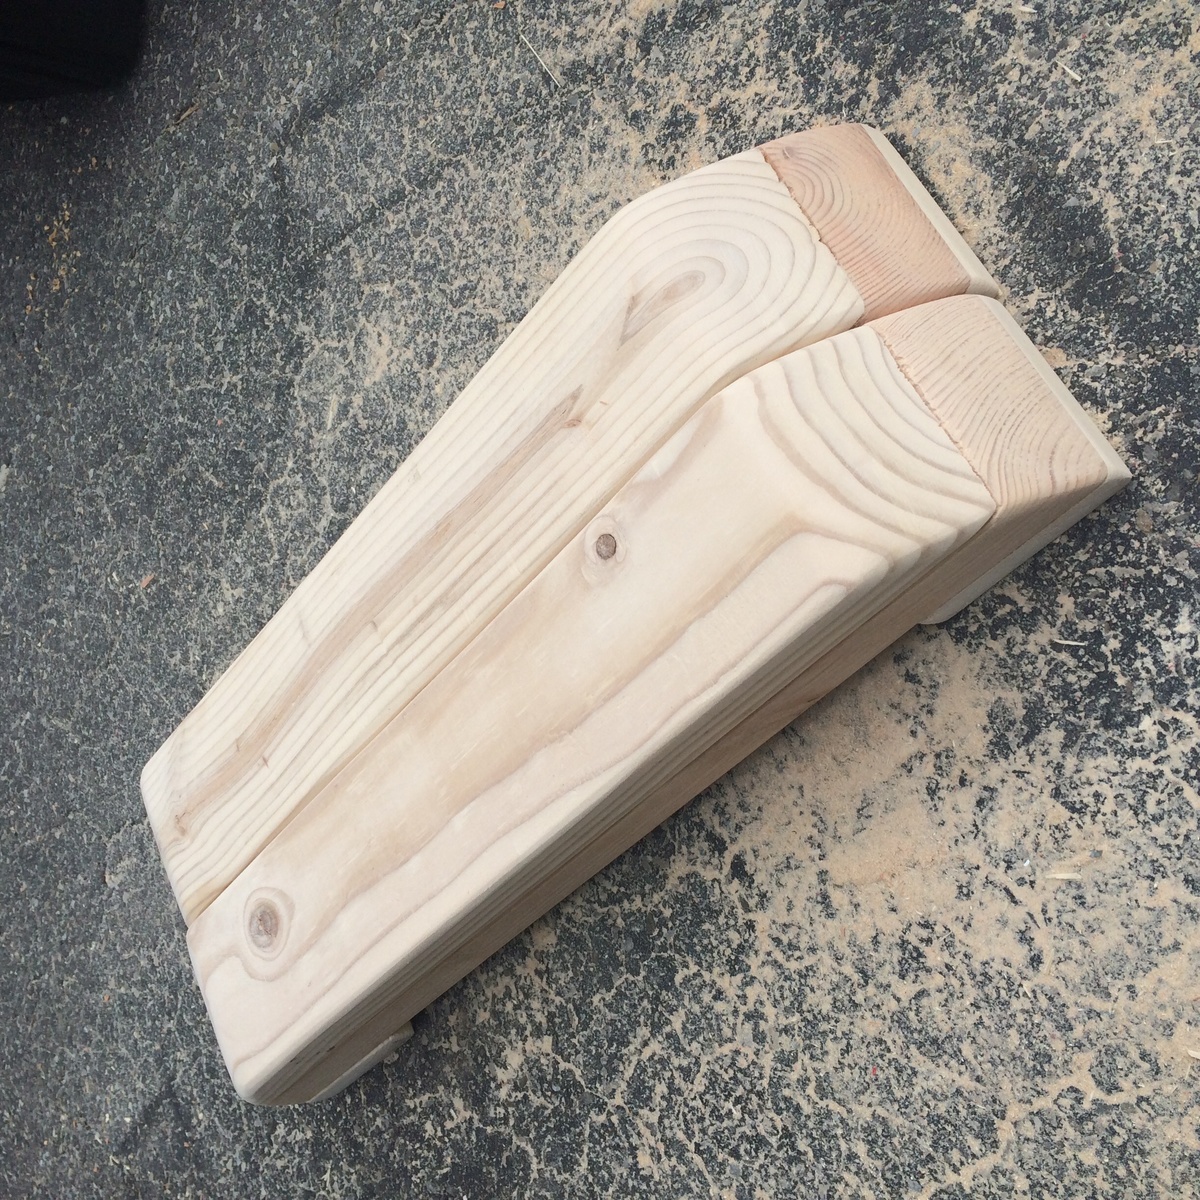
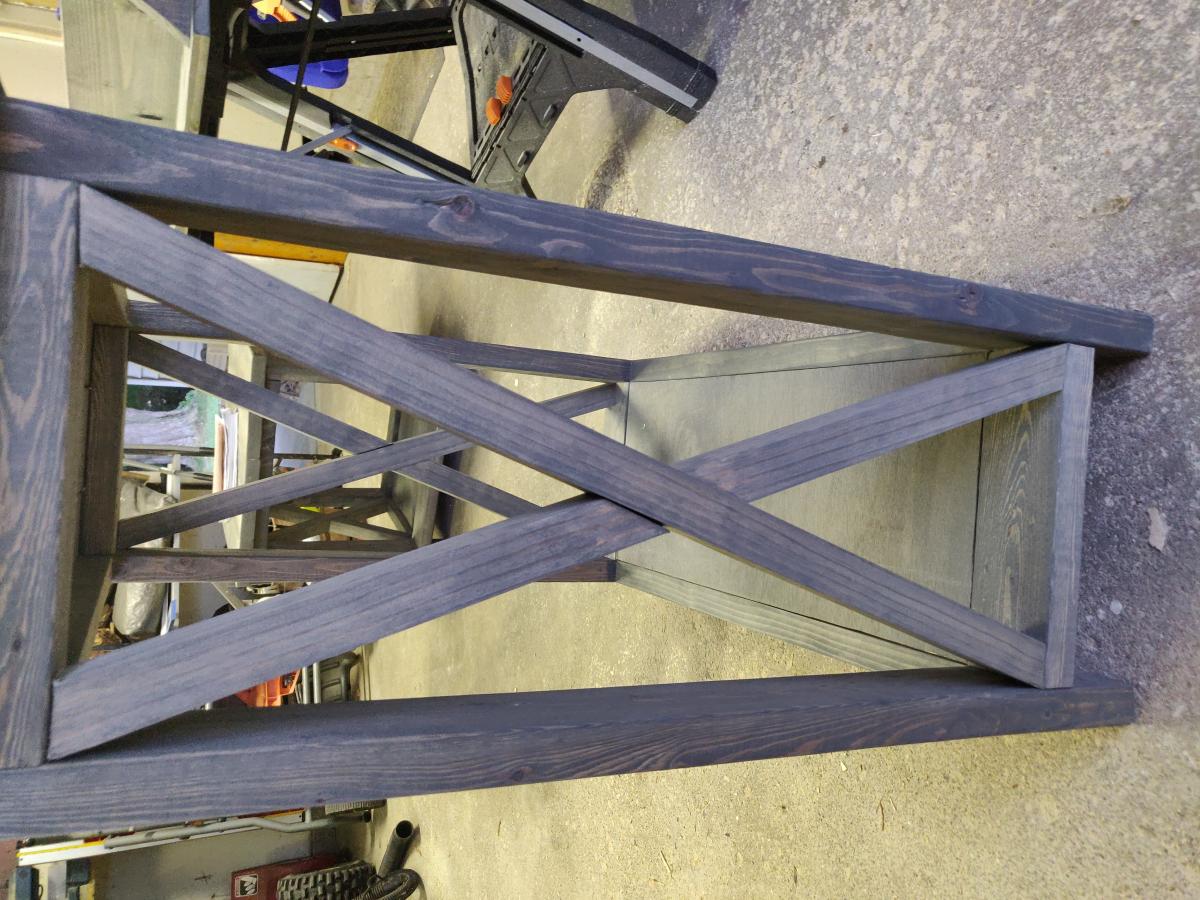
FYI- the angles were difficult to get perfect especially since we were using a makeshift work bench (ie: a pallet and the sidewalk) and a circular saw - we were also rather unfamiliar with some of the terminology used in the directions

Built from Plan(s)
Estimated Cost
80.00
Estimated Time Investment
Weekend Project (10-20 Hours)
Recommended Skill Level
Beginner

Not So $10 Ledges

About 2 years ago when we were redoing our kitchen, I made these ledge shelves inspired by Ana White's $10 Ledges.  I originally wanted to use them as storage for spices and our olive oil, but once our vent hood was installed, there just wasn't room for them, at least not as I had originally intended.  Since mine are made of yellow pine (harder wood) and I used a 1 x 6 for my platform instead of a 1 x 4, my ledges cost more than $10.

Built from Plan(s)
Estimated Time Investment
Afternoon Project (3-6 Hours)
Finish Used
Annie Sloan's chalk paint with 2 coats of poly, sanding between coats.
Recommended Skill Level
Starter Project

Modified dorm desks

Due to COVID-19 the first 9 weeks of my children's schooling will be online. When I looked for cheap desks in my area they were completely sold out. I have been a big fan of Ana White's designs since I first discovered her through Pinterest. This was my first furniture build project and while it's not perfect I will definitely be attempting another. I modified the height of the desks to fit my 1st and 5th graders. I also decided to add a second bookcase for extra support and storage. My husband owns a flooring store and he had custom quartz desktops made instead of using wood. We temporarily glued the desktops on versus a more permanent install. This is so when the kids go back to school full time and the desks are no longer needed in our dining room we can remove the bookshelves, finish the tops off in another way and move the bookshelves to their bedrooms! I may still add cork-board to the front section of each desk but I am undecided at the moment.

Built from Plan(s)
Estimated Cost
$175 for two desks
Estimated Time Investment
Weekend Project (10-20 Hours)
Finish Used
The dark blue desk is one layer of Minwax water-based navy stain (son insisted on stain, I don't know why). Before staining we applied Minwax water based wood conditioner. Finished with 3 layers Minwax satin water-based Polycrylic. The lighter blue desk is Krylon Fusion all-in-one satin beach glass spray paint and primer in one. It is also finished with 3 layers of spray on Polycrylic.

Play Kitchen

The standard play kitchen. The pine planks used were not a consistent 12 inches. I would recommend using plywood. Finished with hardware from IKEA ( blue handles) and lowes (flowers and hinges).

Estimated Time Investment
Weekend Project (10-20 Hours)
Finish Used
Pink and white latex paint.
Recommended Skill Level
Beginner

In love with our new bar! Easiest build yet!

Submitted by maryday on Mon, 09/15/2014 - 17:15

We've built a headboard, two nightstands a farmhouse table and bench all off of knockoff wood and this workbench console table and hutch was the Easiest build yet !

We didn't use pocket holes so instead of doing the middle center shelf of the hutch we chose to keep it open. I actually love the way this looks better than the original plan!

Waiting on our black bear mount bottle opener that will be attached later this week and then we can't wait to stock up our new bar. It looks great next to our farmhouse table and bench!!! Thanks for the deer antler inspiration - this gave the perfect finishing touch!

Estimated Cost
$110 lumber for both hutch and table
Estimated Time Investment
Day Project (6-9 Hours)
Recommended Skill Level
Beginner

Coffee Table

Submitted by Anonymous (not verified) on Tue, 01/03/2017 - 16:52

4'x4' Coffee Table 

Built from Plan(s)
Estimated Cost
$100
Estimated Time Investment
Weekend Project (10-20 Hours)
Finish Used
Jacobean for base
Golden Oak for top
Recommended Skill Level
Intermediate

Hexagon Coffee Table for the patio

Ana, I borrowed the structure of your hexagon picnic table and created a coffee table to compliment my collection of Adirondack chairs on our patio. The rib structure using 30 degree angles is surperb, and with pocket screws on the joints plus Gorilla Glue, it is far stronger than I anticipated.

The table is first shown unpainted, then again on the patio in poor light (sorry for that.) I primed and then painted it brick red and am in the process of updating the paint on all of the chairs to match.

The 30 degree angles are probably the trickiest part. If your saw is off by even a tiny bit, the tolerance buildup will come back to bite you. For example, if each cut is off by 1/2 a degree, you have six cuts, which equals 3 degrees of error. My mistake was not calibrating the cuts made on my table saw or mitre saw. A professional woodworker buddy of mine suggested buying a cross-cut sled for my table saw. That's my next purchase.

Overall I am very happy with the final outcome despite the slight imperfections in the spacing between the slats. A little wood filler covers a multitude of sins!

Built from Plan(s)
Estimated Time Investment
Weekend Project (10-20 Hours)
Finish Used
water-based primer, then water-based semi-gloss latex enamel (three coats)
Recommended Skill Level
Advanced

Comments

Fred C

Wed, 05/15/2013 - 16:21

Really like this table. Besides a coffee table I think it would make a great picnic table for the little kids, where they could pull up their small chairs and I also think I might try building this out and up a little and use it as an addition table for dining on the deck. Now I just have to decide what kind of chairs to build to go with it. Thanks for all the additional ideas.

New TV Stand

Submitted by mrloren on Fri, 01/06/2017 - 20:58

2 years ago I mad a TV stand that was nice. I decided to make a new one now that I know more about wood work. First one was made from Lowes top choice oak plywood and took a lot of work. I have discovered real hardwood stores and for plywood I like Baltic Birch.

I didn't  make any hard plans for this one, made it by ear. 2 sheets of 5x5 18mm (3/4) 1/2 sheet of 12mm (1/2) and a 1/2 sheet of 6mm (1/4) Baltic. For edging I left the baltic alone and just rounded it over.

60'wx20"dx 28h

Estimated Cost
$180
Estimated Time Investment
Week Long Project (20 Hours or More)
Finish Used
Old Master Cherry wiping stain
Deft Waterborne Acrylic semi gloss
Recommended Skill Level
Intermediate

Rustic X Desk to Plan

Submitted by AhmaNaz on Thu, 09/17/2020 - 10:17

Build for niece. Easily converts to left or right handed desk. I'm a lefty and initially built to suit for me....then moved the footboard from back to front and turned that baby around....none the wiser lol

Built from Plan(s)
Estimated Time Investment
Afternoon Project (3-6 Hours)
Finish Used
Raw
Recommended Skill Level
Beginner

Comments

Kitchen Nook

Submitted by Scheppie on Sun, 12/09/2012 - 13:06

I modified the plans from the storage bed to create two benches according to the sizes I needed. The benches were arranged in an L formation and secured to the walls and to a base that I built from 2x4s. I made overlay (correct terminology?) drawers using accuride drawer slides that were super easy to install. Floor molding around the base and some 1x2s for the trim. Drawer handles from the depot. Custom cushions ordered online (I can't sew and yes this was the most expensive part of the project). Pillows from Kohl's with free ship and a 30% off coupon - whoo hoo!

Estimated Cost
$200 (not including cushions)
Estimated Time Investment
Week Long Project (20 Hours or More)
Finish Used
zinsser primer, BM semi gloss white, polycrylic spray (water based)
Recommended Skill Level
Intermediate

Comments

Helper tower!

Submitted by CJCram on Sat, 09/20/2014 - 13:12

We used Behr cloud burst for the colour and Minwax special walnut for the stained platform.  I hand drew and painted the owl (the wings are scrapbook paper) and coated with three coats of polyurethane.

Recommended Skill Level
Beginner

Comments

Ana White Loft Bed Playhouse

Submitted by Anonymous (not verified) on Sun, 01/08/2017 - 13:22

It was very easy to follow the directions and the costs were minimal. Our granddaughter is in heaven with this bed. 

Estimated Cost
$150 not including the cost of the Kreg Jig.
Estimated Time Investment
Weekend Project (10-20 Hours)
Finish Used
Will be using enamel paint.
Recommended Skill Level
Intermediate

Rustic X Console table

Submitted by MandyM on Sun, 09/20/2020 - 14:03

Modified the console table by height (approx 39"), length (approx 40"), and eliminated the middle shelf. I can't put an accurate $ estimate since I bought wood for three projects and this was one of them.

Built from Plan(s)
Estimated Cost
$50
Estimated Time Investment
Afternoon Project (3-6 Hours)
Finish Used
Charcoal grey stain
Recommended Skill Level
Intermediate

Modern Famhouse Table - Weathered

Submitted by MEC6107 on Thu, 12/13/2012 - 14:28

This table and bench combo was a fun project to complete and was not very difficult (hardest part was picking out straight boards at the lumber yard). The table was stained with weathered oak stain and finished with satin polycrylic. The chairs were purchased, I am not skilled enough to build those!

Built from Plan(s)
Estimated Cost
$100 for table and 2 benches
Estimated Time Investment
Weekend Project (10-20 Hours)
Finish Used
Weathered Oak Stain and Polycrylic in Clear Satin
Recommended Skill Level
Beginner

Comments

PamC03

Sat, 06/18/2016 - 20:32

Lovely finish on this table! Well done. What type screws did you use for the edging? They give it a really nice finished look

Rustic X Console

Thanks again to Ana for the instructions. It turned out great!

Built from Plan(s)
Estimated Cost
$100
Estimated Time Investment
An Hour or Two (0-2 Hours)
Finish Used
Minwax Honey
Recommended Skill Level
Intermediate

Doll Picnic Table From Little Kids Picnic Table Plans

Submitted by chrimicha on Mon, 01/09/2017 - 19:14

This is my scaled down version of the preschool picnic table, made for an 18 inch doll. I used scrapwood that someone was throwing away and supplies left over from other projects, so it didn't cost anything but time. My girls have really enjoyed it. Here are the measurements: 

Cut List: 

4 – 1×3 @ 17-3/4″ (Tabletop pieces) 


1- 1×4 @ 9-3/4″, then cut in half using a table saw to equal 2 pieces (Supports directly beneath tabletop pieces) The longest measurement is 9 ¾”, with the ends cut at a 30 degree angle back to 7 3/4″.


2-1×4 @ 12-7/8”, then cut in half using a table saw to equal 4 pieces (Legs) (angle each end to 30 degrees as shown in preschool table plans) 


1 – 1×4 @ 19″, then cut in half using a table saw to equal 2 pieces (Supports directly beneath seat boards)  (angle ends to 30 degrees as shown in preschool table plans)


4 – 1×3 @ 17 3/4″ (Seat boards) I ran these 1 x 3’s through my table saw to make them 2” wide.


*When attaching the legs, secure them to the supports below the tabletop pieces so that the bottom of the legs will measure 19 5/8” from lateral edge to lateral edge when resting on the ground. In the preschool picnic table plans, this measurement is shown as 33”.

Built from Plan(s)
Estimated Cost
0$. I used wood someone was throwing away and remnants from other projects.
Estimated Time Investment
Day Project (6-9 Hours)
Finish Used
I sanded it really well, and then I painted it with two coats of "Lime Rickey" from Sherwin Williams and a clear coat of spar urethane.
Recommended Skill Level
Beginner

Clubhouse Bunkbed

Submitted by REDCANVAS on Tue, 09/22/2020 - 17:07

This was my first ana white project. I didn't take great photos. I also modified the bunk a bit for small children. I added a bunk right on the floor and made the legs slightly longer so that there was some headroom. After the kids grew a little, we switched it back to just the clubhouse with some room underneath for storage/playing. First time using pocket holes too.

Built from Plan(s)
Finish Used
Polyurethane on body. Paint/clear coat on trim.
Recommended Skill Level
Intermediate

My Ayla Cabinet

Submitted by Janettx on Tue, 12/18/2012 - 16:23

I wanted to make a China Cabinet and I couldn't find a plan for one on Ana's so I used the Ayla Cabinet plan and I just made it bigger. This cabinet is 46 inches wide x 17 1/2 inches deep x 64 inches tall. I also added 4 glass doors and one large drawer in the middle. I added the bottom shelf and baskets because I felt the cabinet legs would be more secure with this option. The reason there are 4 cabinet drawers is because I added a middle shelf and a center support. I did not take into consideration the doors being inset when I added the middle support so I had to make 4 doors so that they would be inset. I also added crown molding to the top of the project. I'm not sure you can see but I also carved a Fleur de lis and scrolls onto the drawer.
This took me about 2 weeks to complete....and a lot of tears but it is complete and I am very pleased.

Estimated Cost
300.00
Finish Used
Robin Egg blue with dark ebony to antique.
Recommended Skill Level
Advanced

Comments

Patrick Hosey (not verified)

Wed, 12/19/2012 - 18:17

This is incredible. Where did you get those spindle legs?

In reply to by Patrick Hosey (not verified)

Janettx

Sun, 12/23/2012 - 04:42

I got them at home depot. they are stair spindles, very cheap 5.00 each. I cut each one at a pleasing location on the spindle and the length I wanted then I used a double ended screw and screwed them into the leg and to the cabinet, I also used glue to make sure they were secure. I decided the legs were not safe without the bottom shelf because this piece is so large and heavy, so this is the reason there is a bottom shelf.

srodge1

Sun, 01/10/2021 - 21:03

Janettx ... you did a GREAT job!! I've got this project planned for the spring . We're having our annual church auction and I know it will sell high! I was considering buying furniture anchors since it will be for a child and I want to make sure it won't tip over. Did you have any issues with the project being top heavy??