Community Brag Posts

my first project

Submitted by metalmx on Sun, 04/08/2012 - 01:03

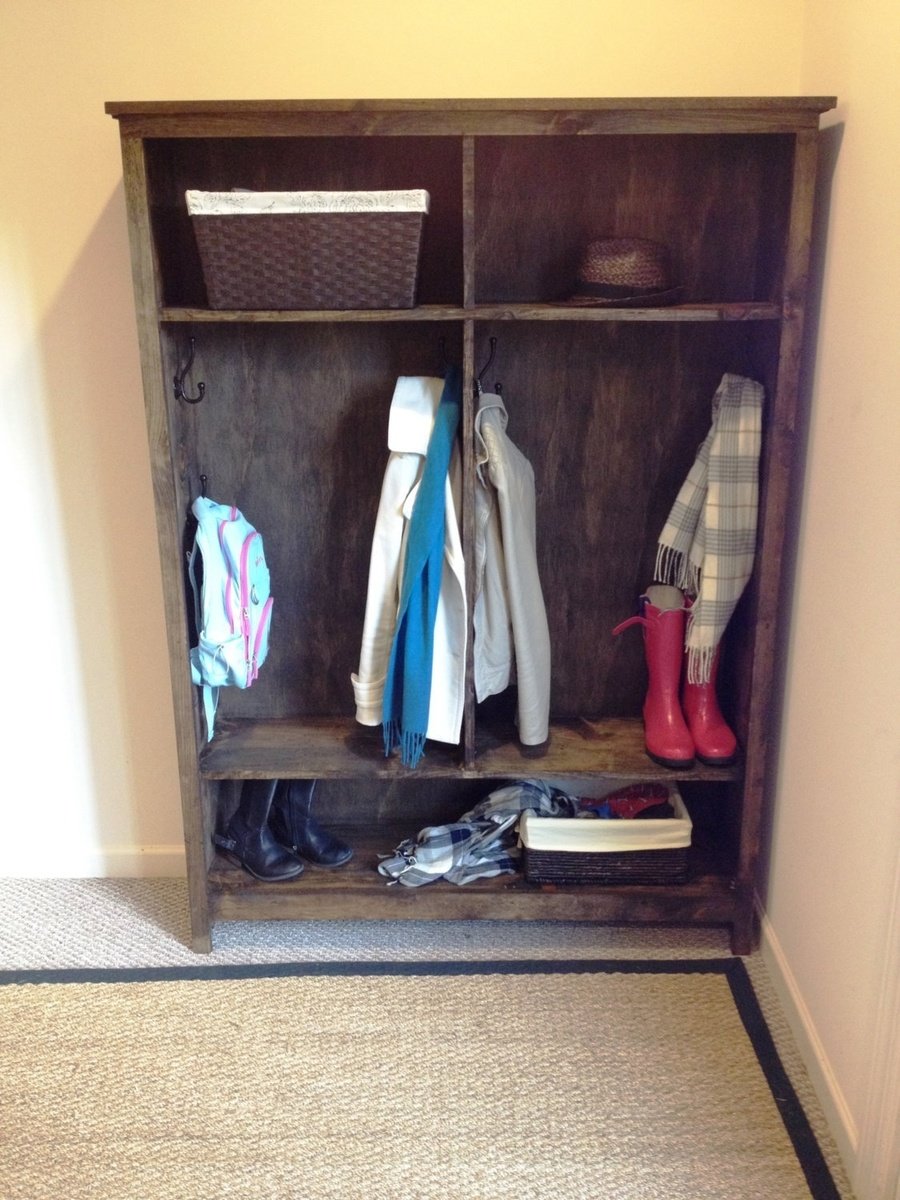
my best friend has built a couple of projects from this site. i enjoyed helping him a bit so when he decided to build one of these for yes baby that is due this summer, i figured i'd double up and build one for myself while we were at it. i haven't built anything since high school (10 years ago). he had all the tools and had made a lot of mistakes along the way so he brought be up to speed and told me a lot of "don't do this...trust me" tips that are helpful.

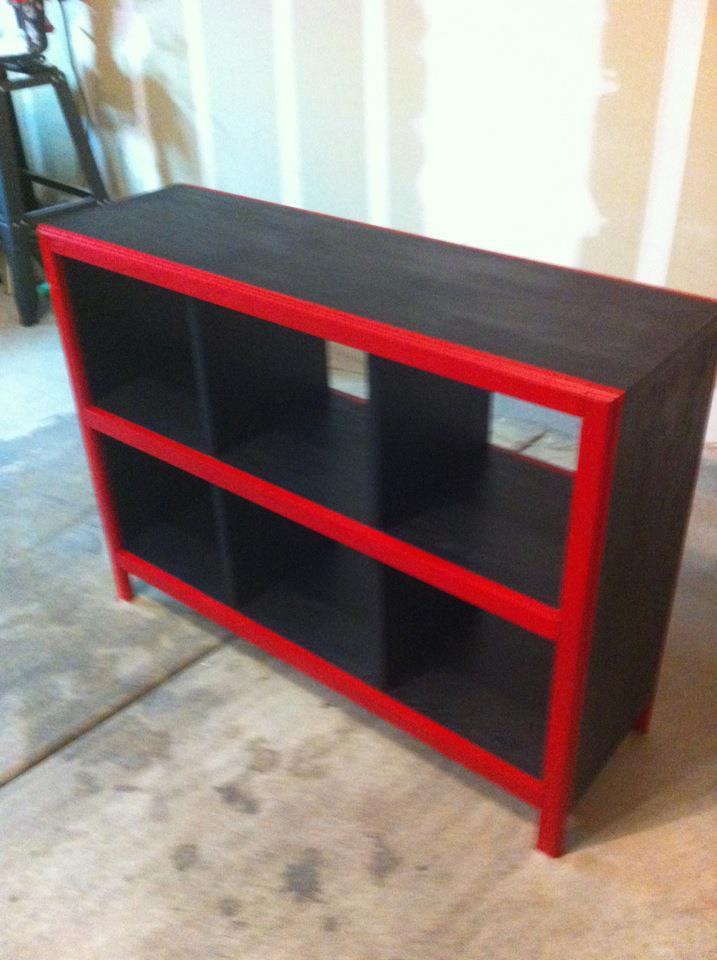
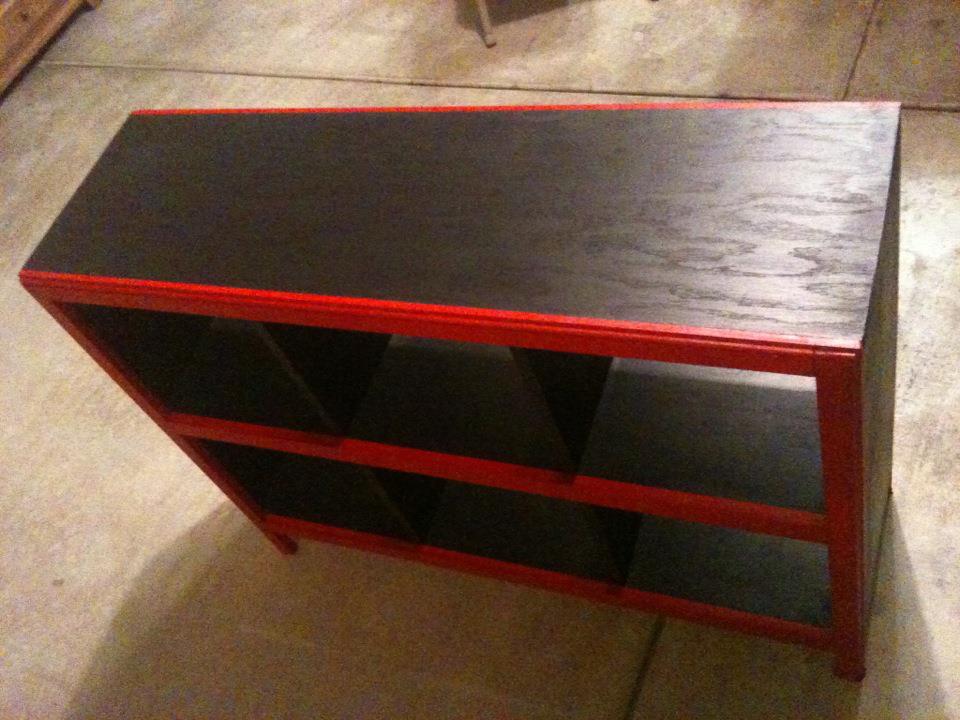
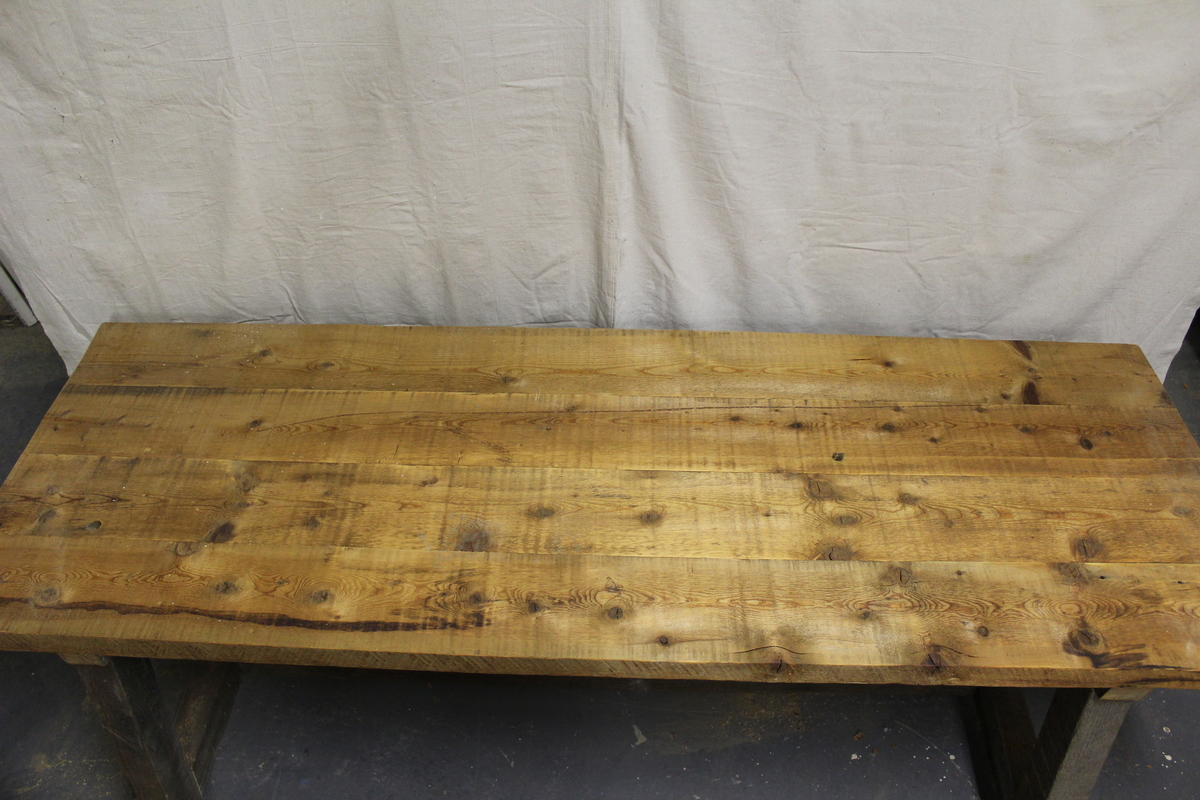
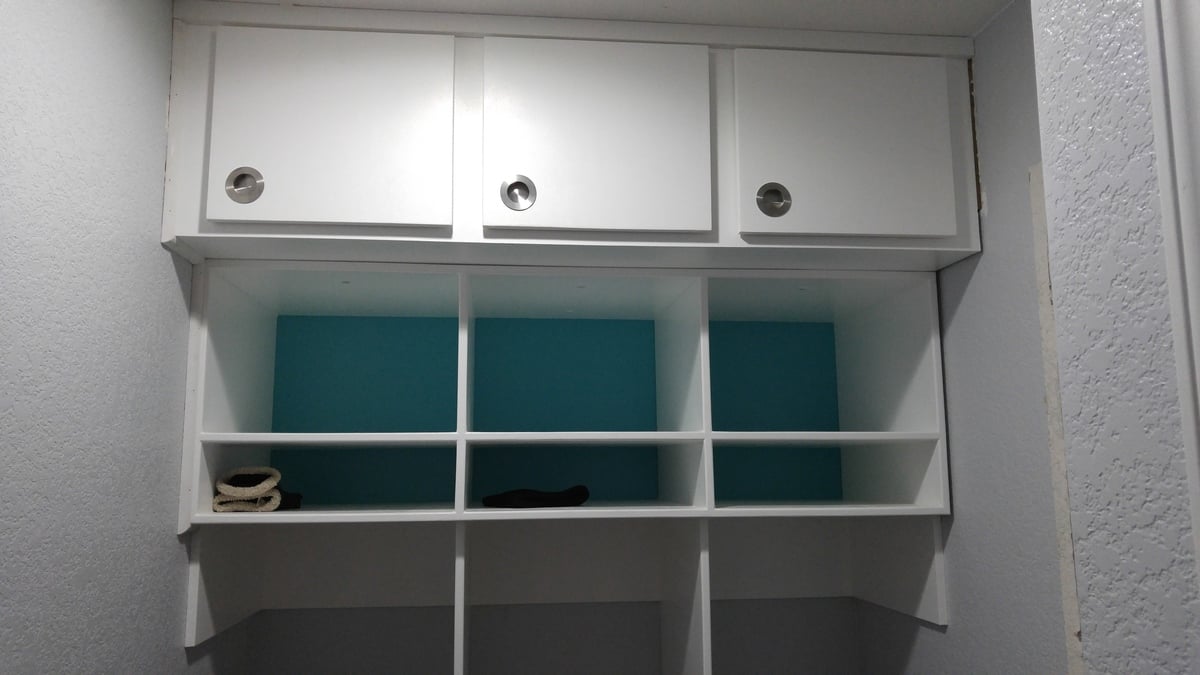
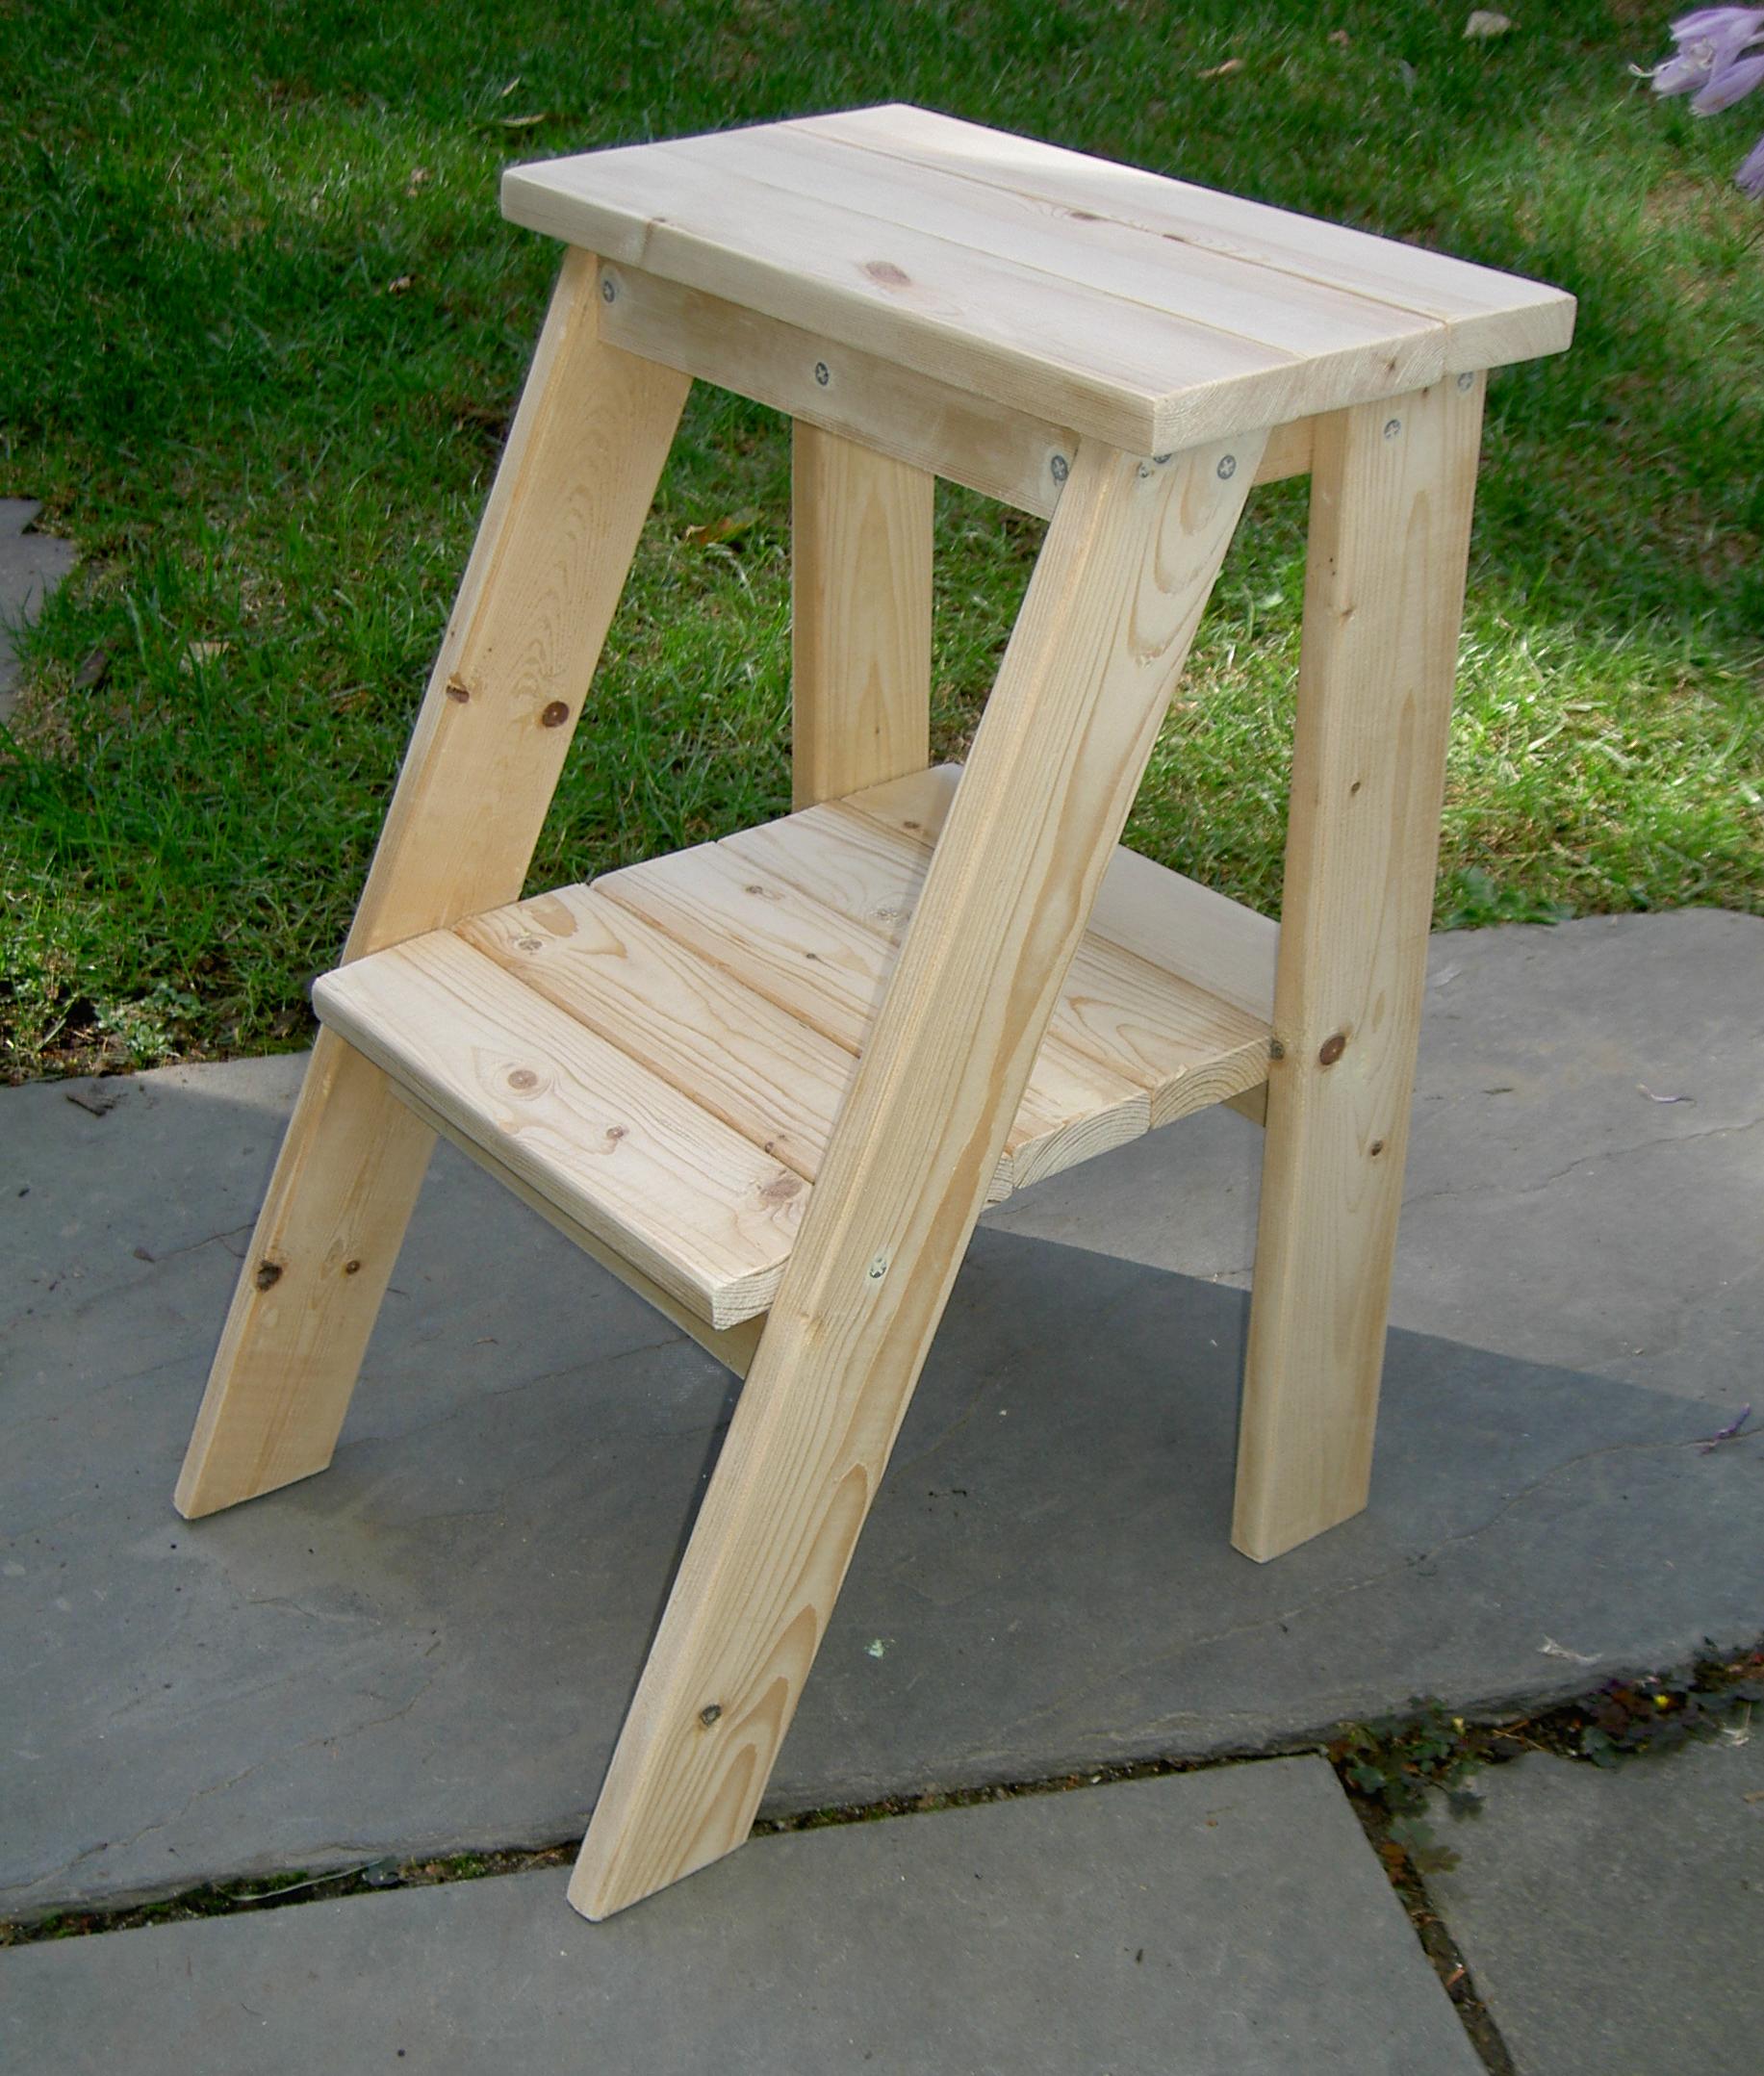
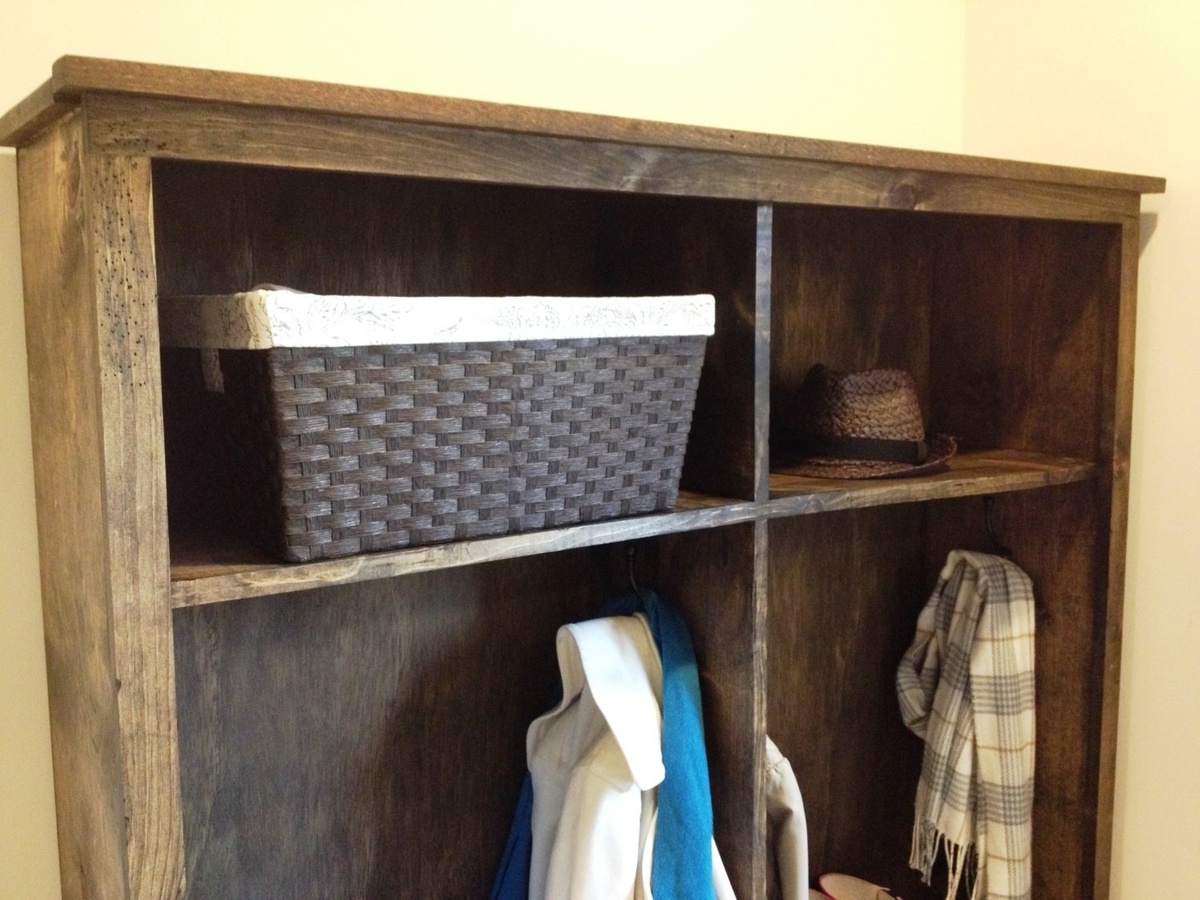
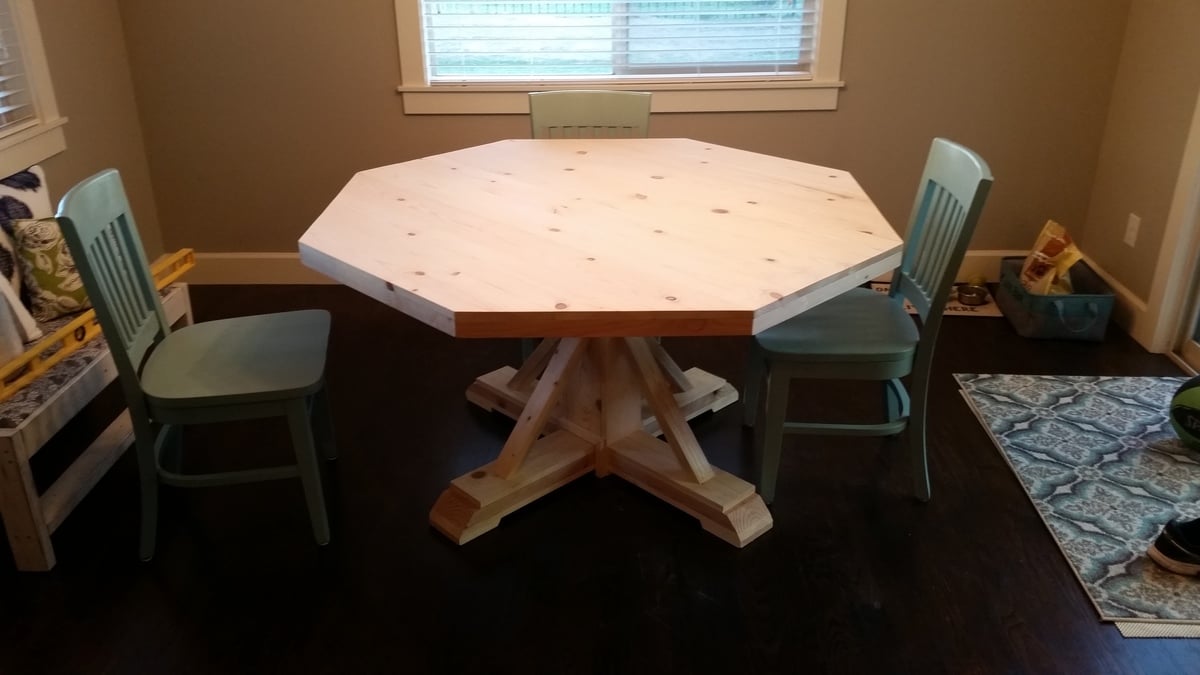
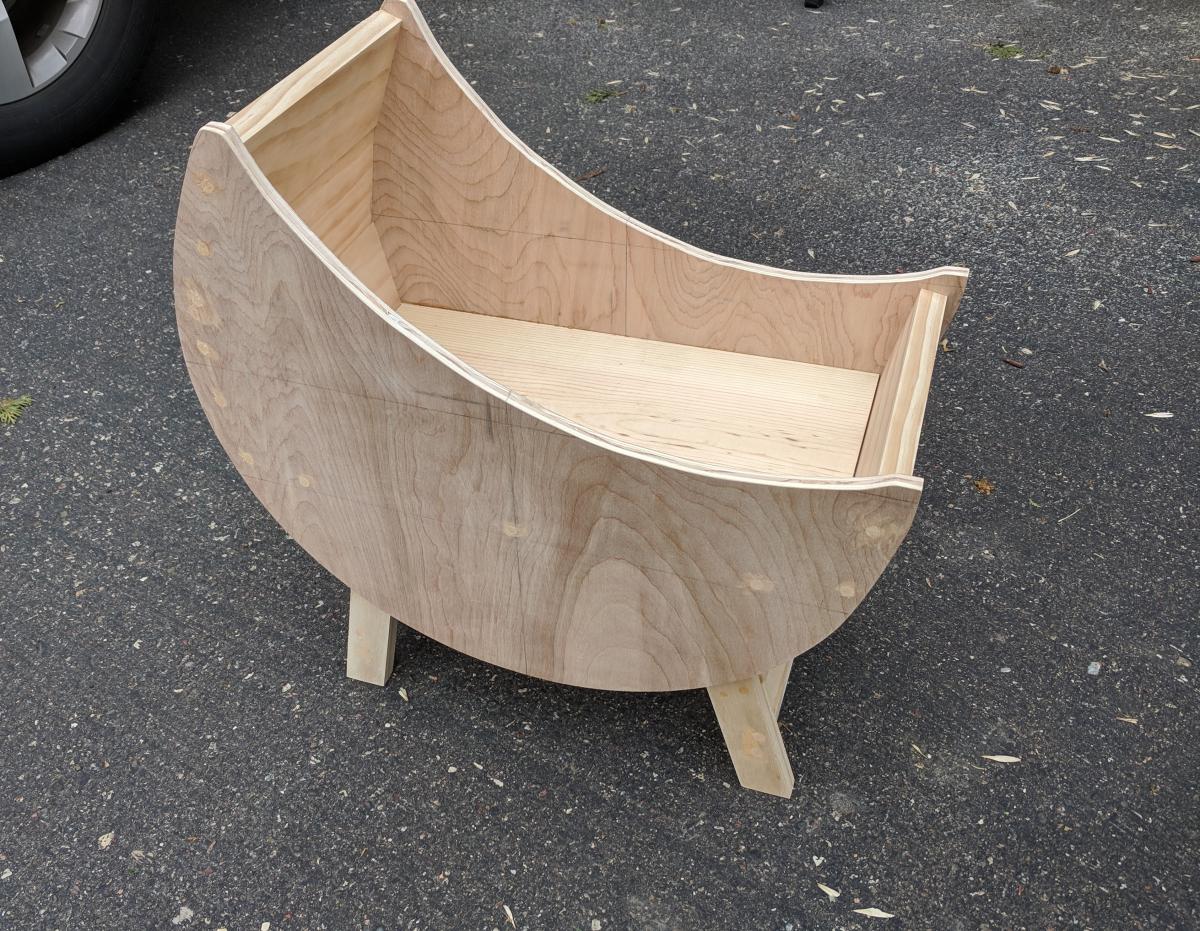
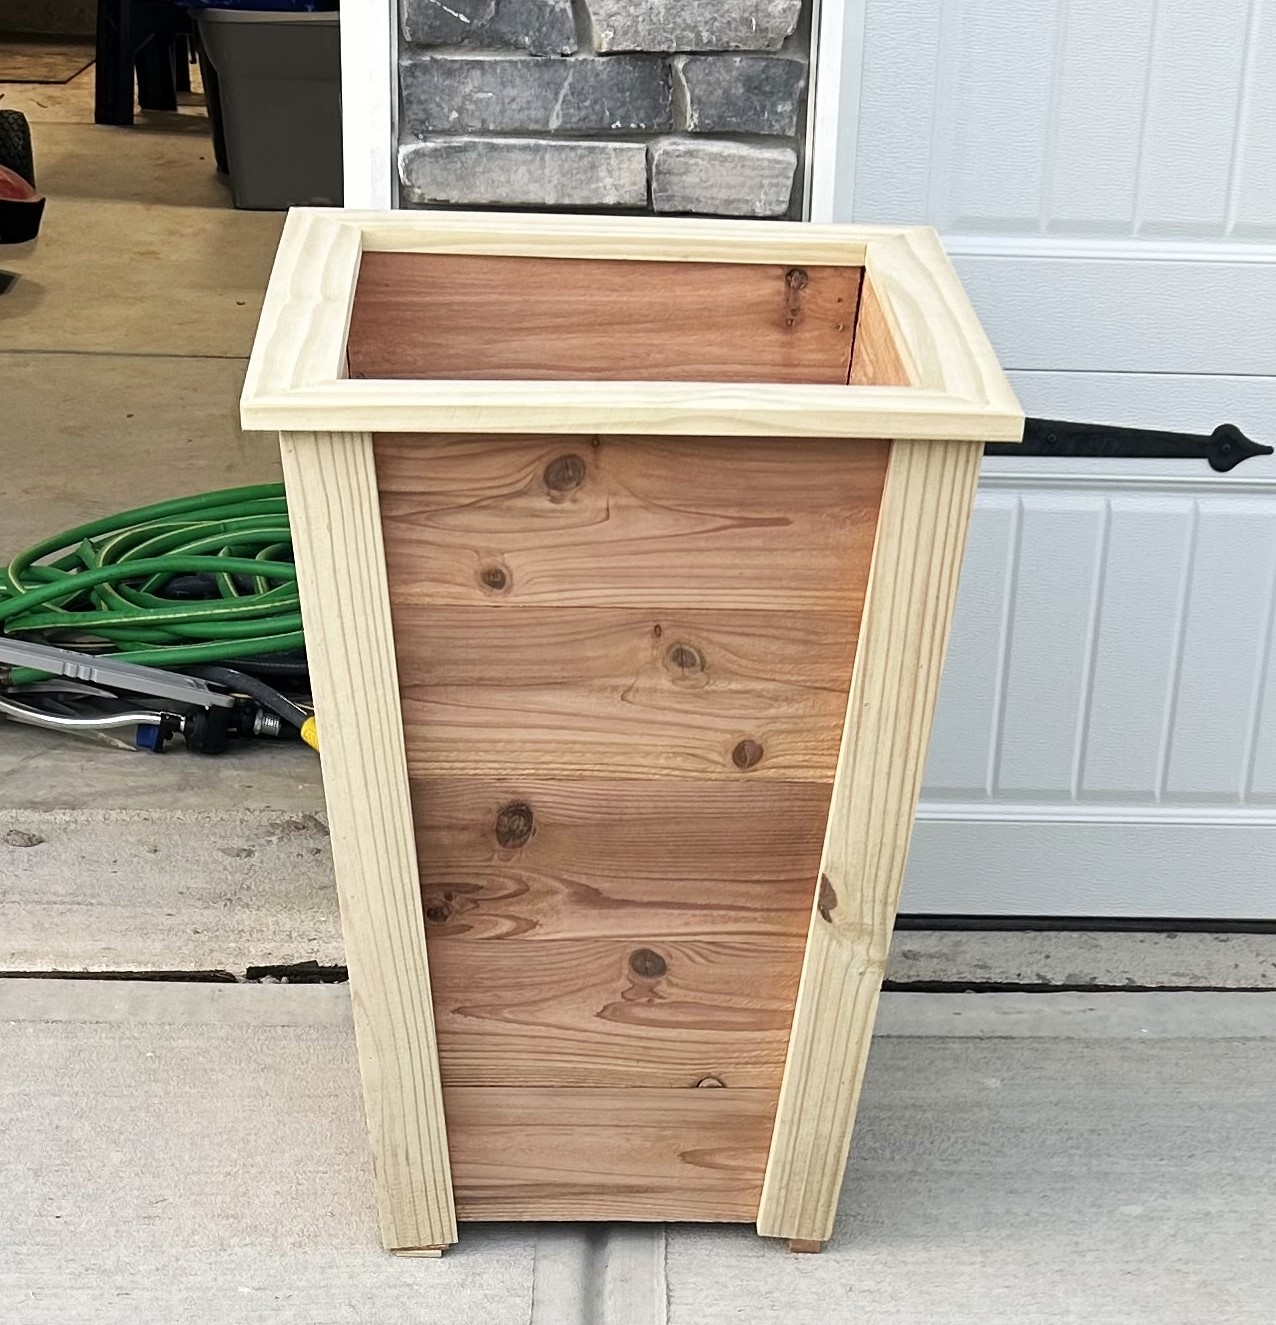
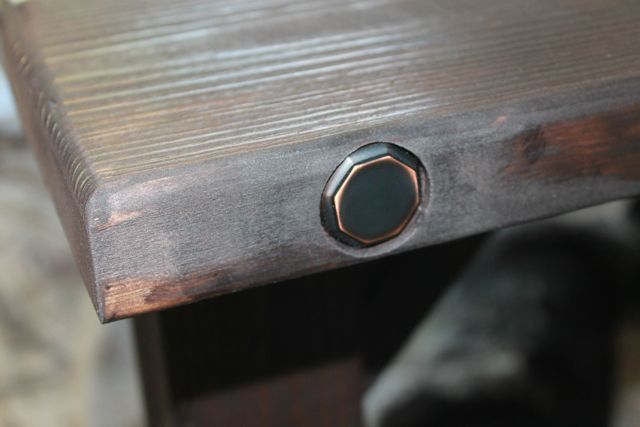
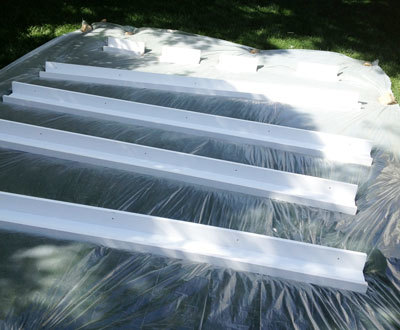
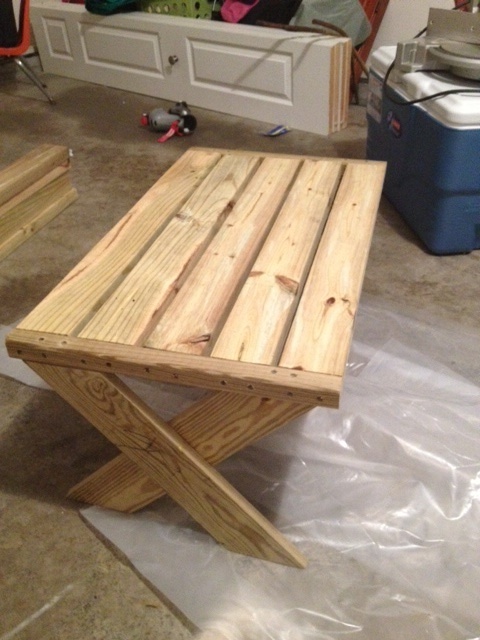
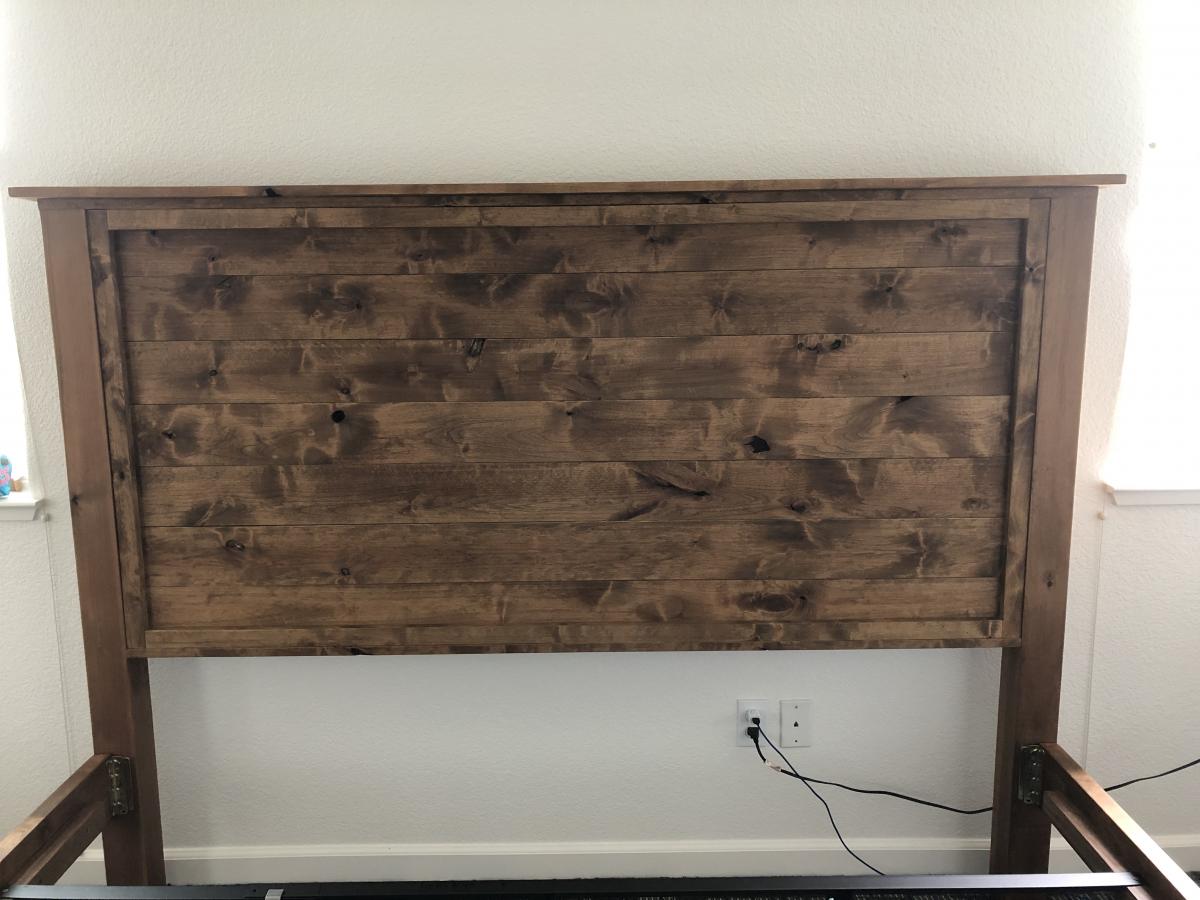
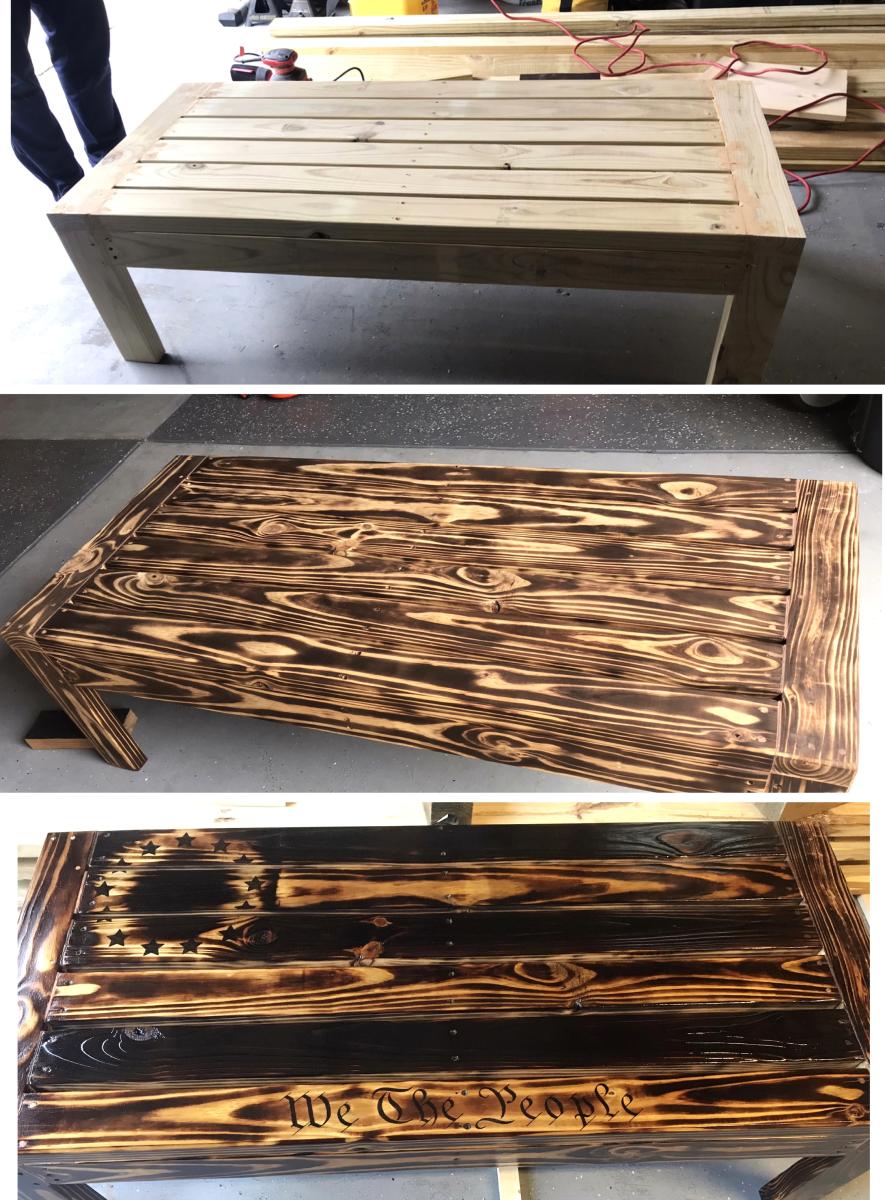
we used premium ply wood cut to 1x12s and poplar 1x2's for this. total wood cost was about 30 bucks per shelf. I decided to use a trim router for my framing along the outer edge. I think it gives it a professional look at it took 10 minutes to do.

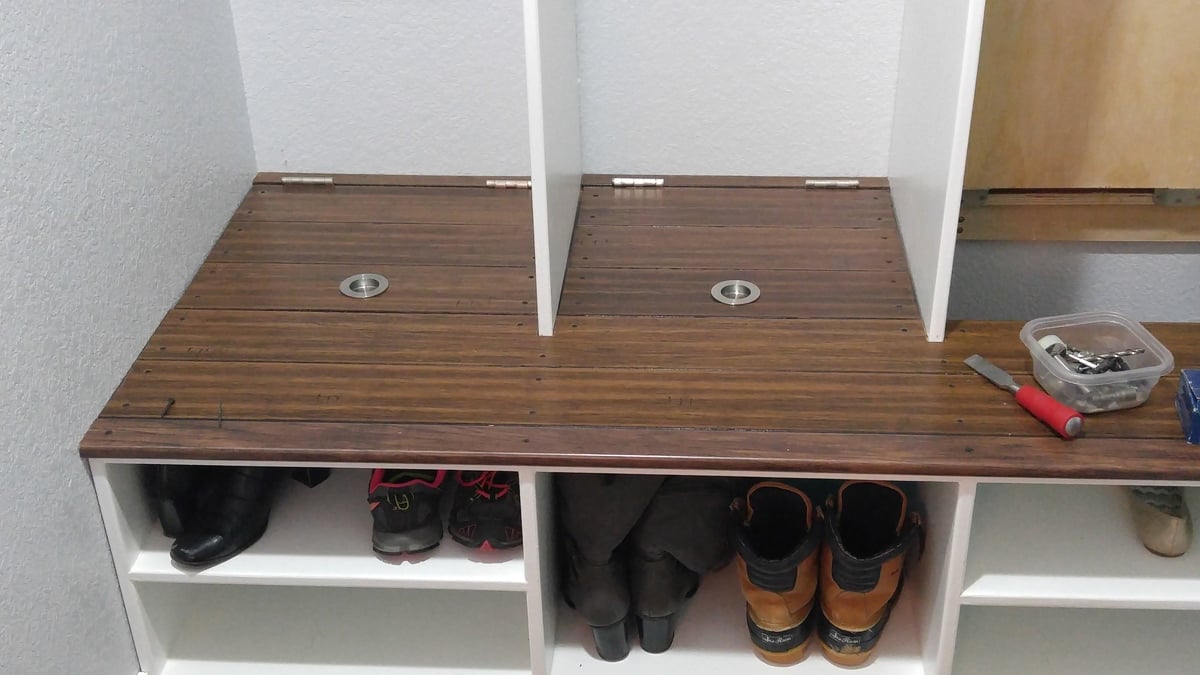
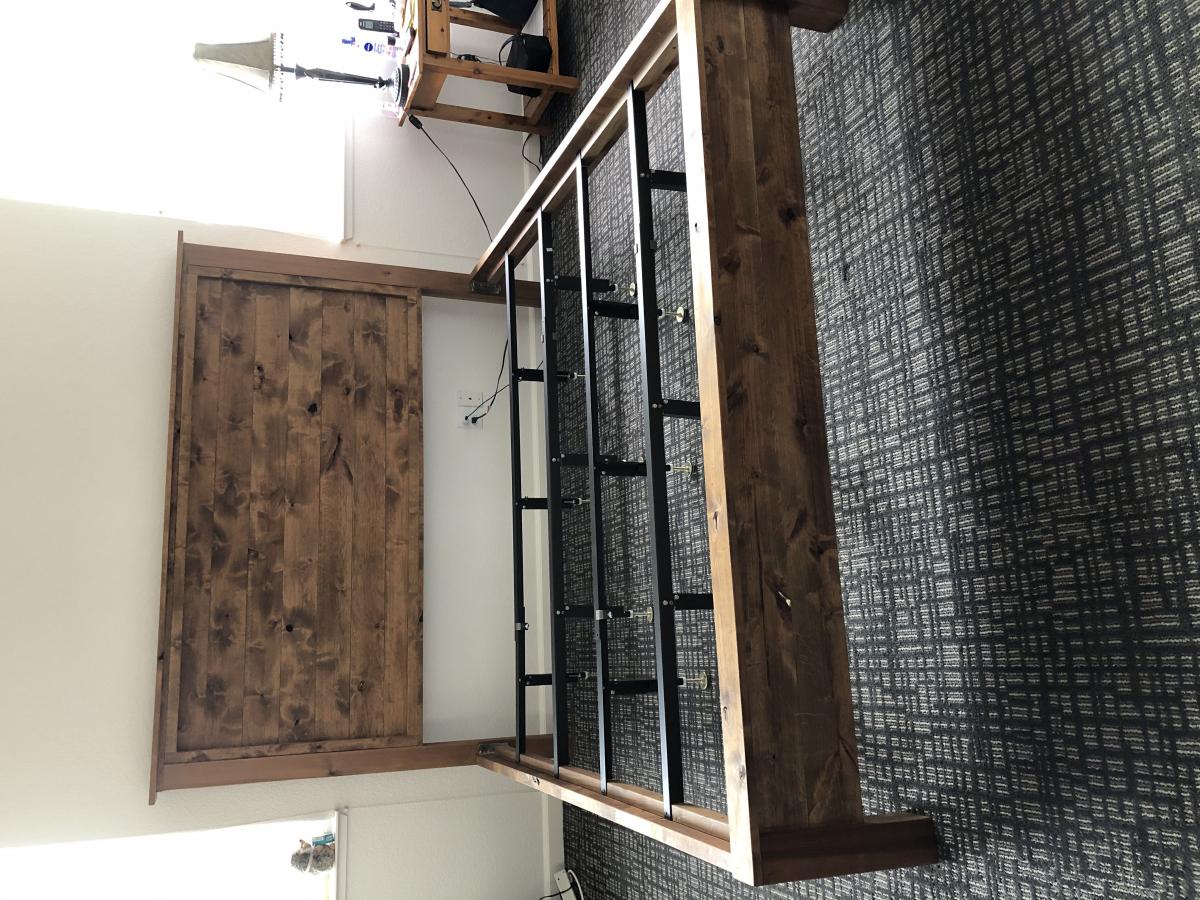
NOTE: if you want to rout around the entire top and you used pocket holes....DONT DO IT. we found that one out the hard way on the other shelf. if your bit does anything but slightly round the edge it's gonna hit the screws. :(

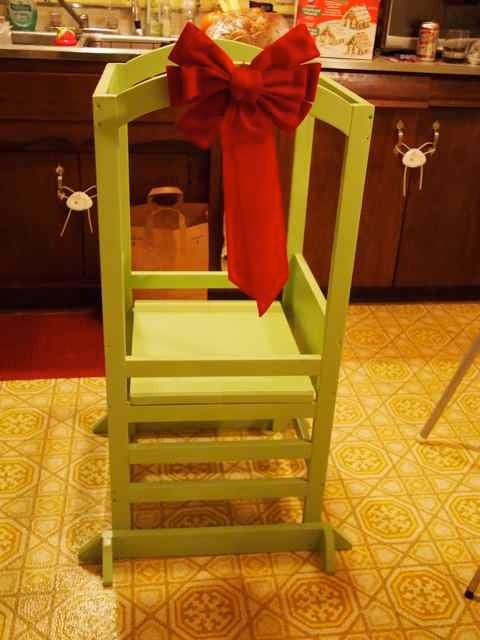
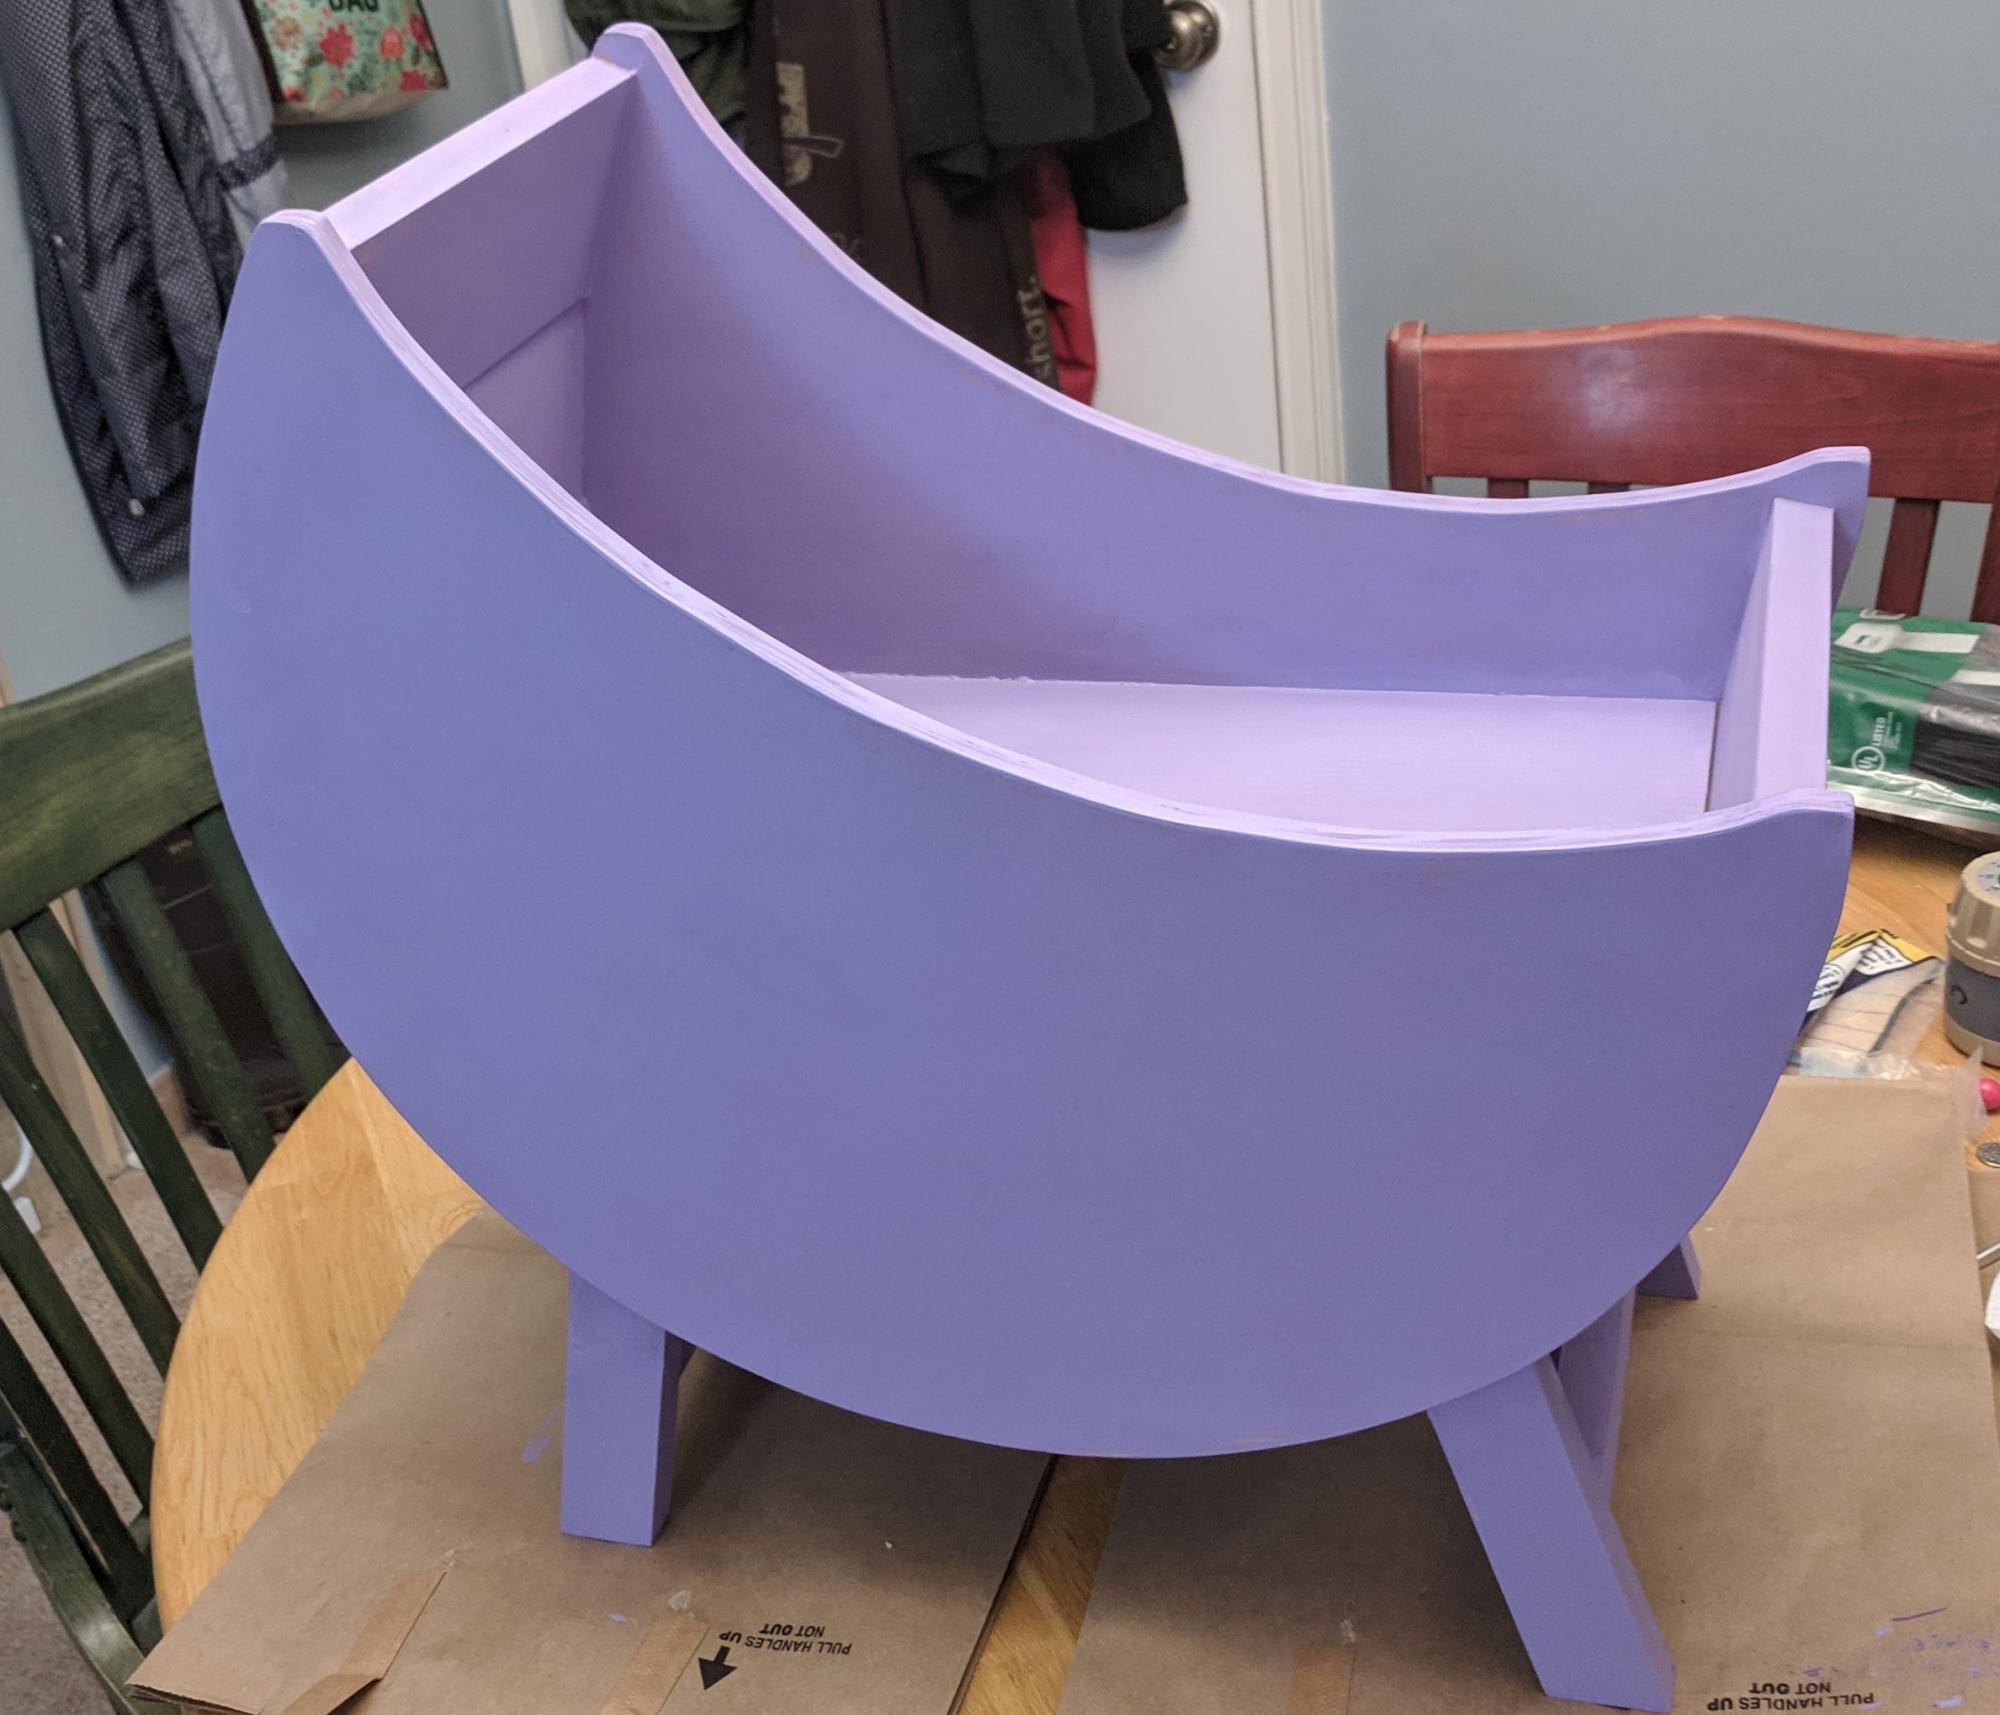
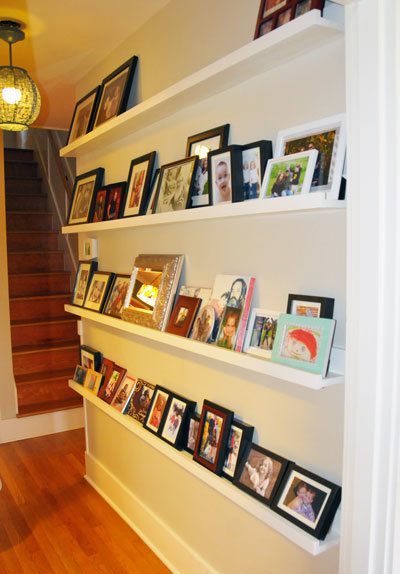
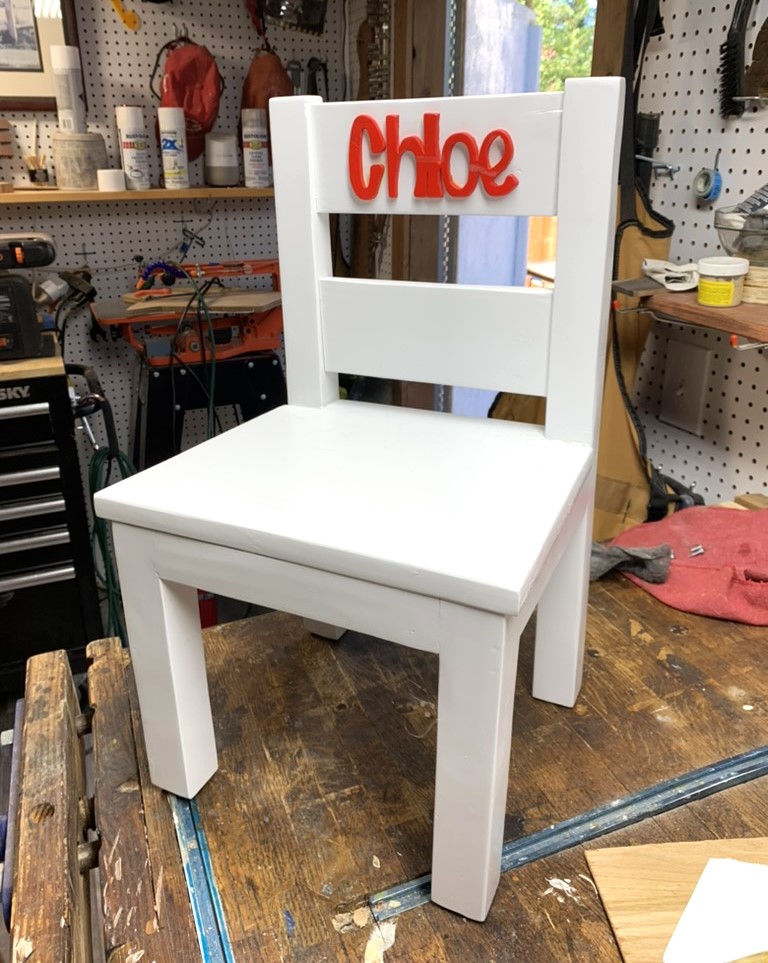
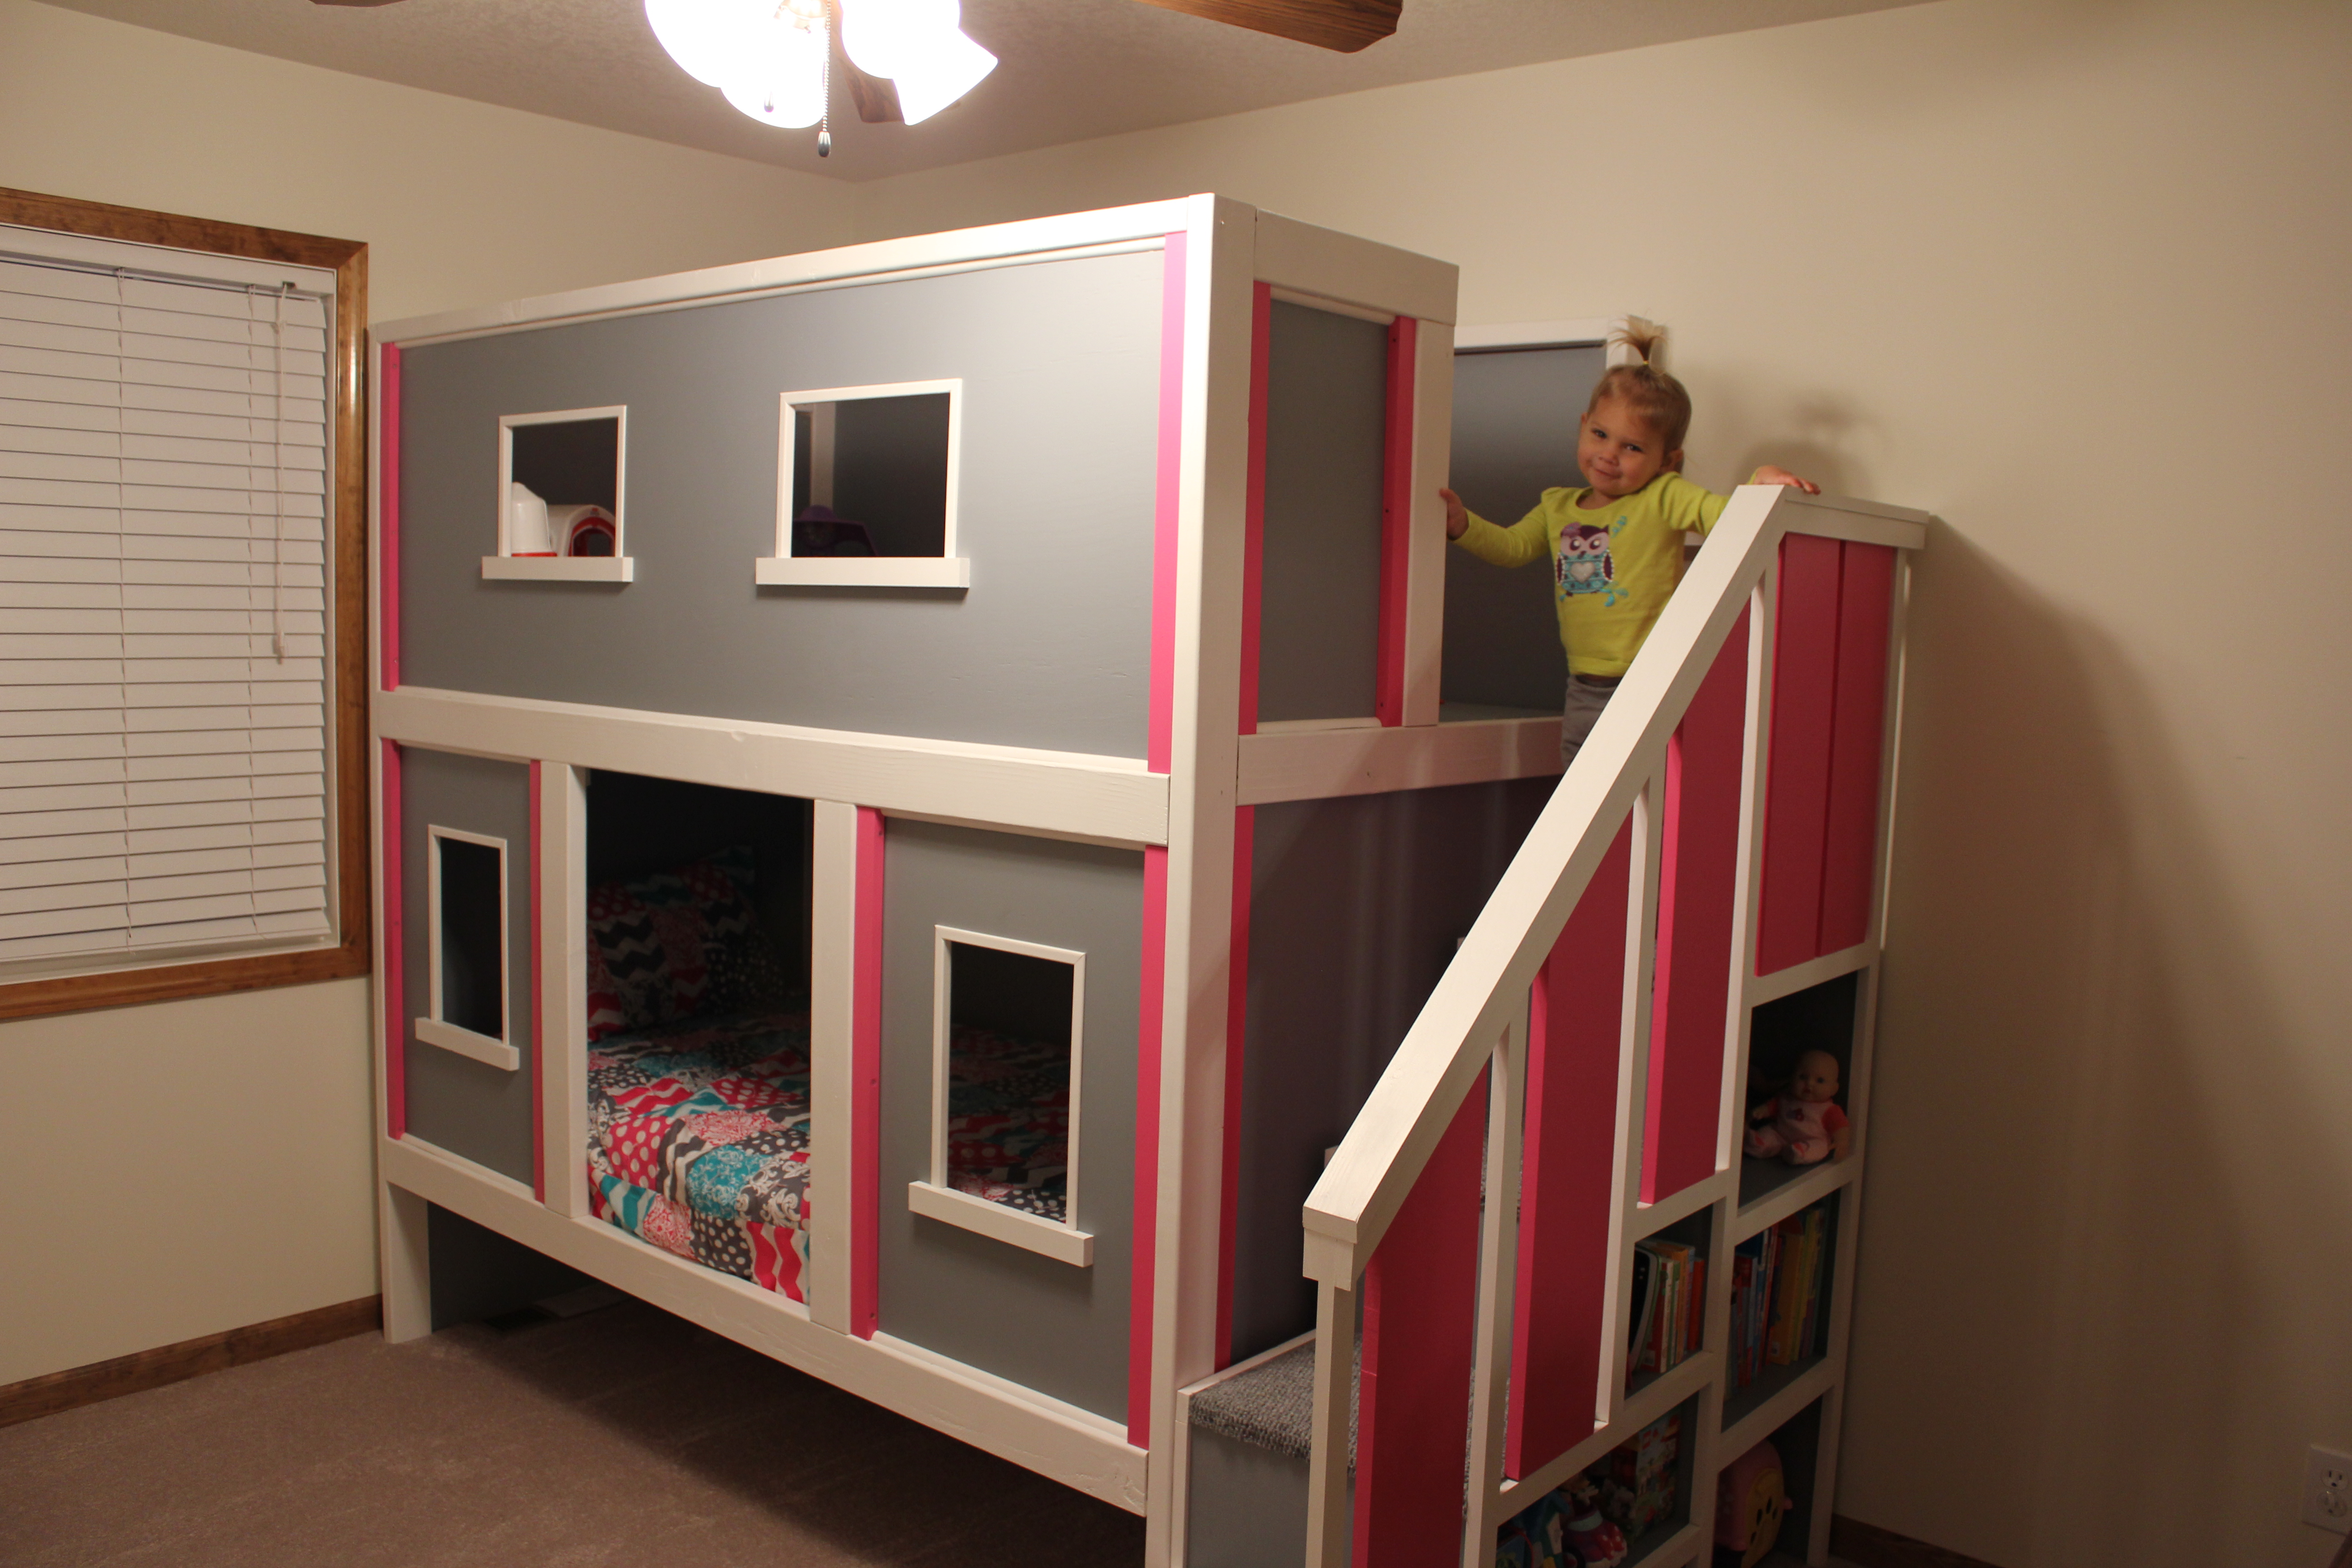
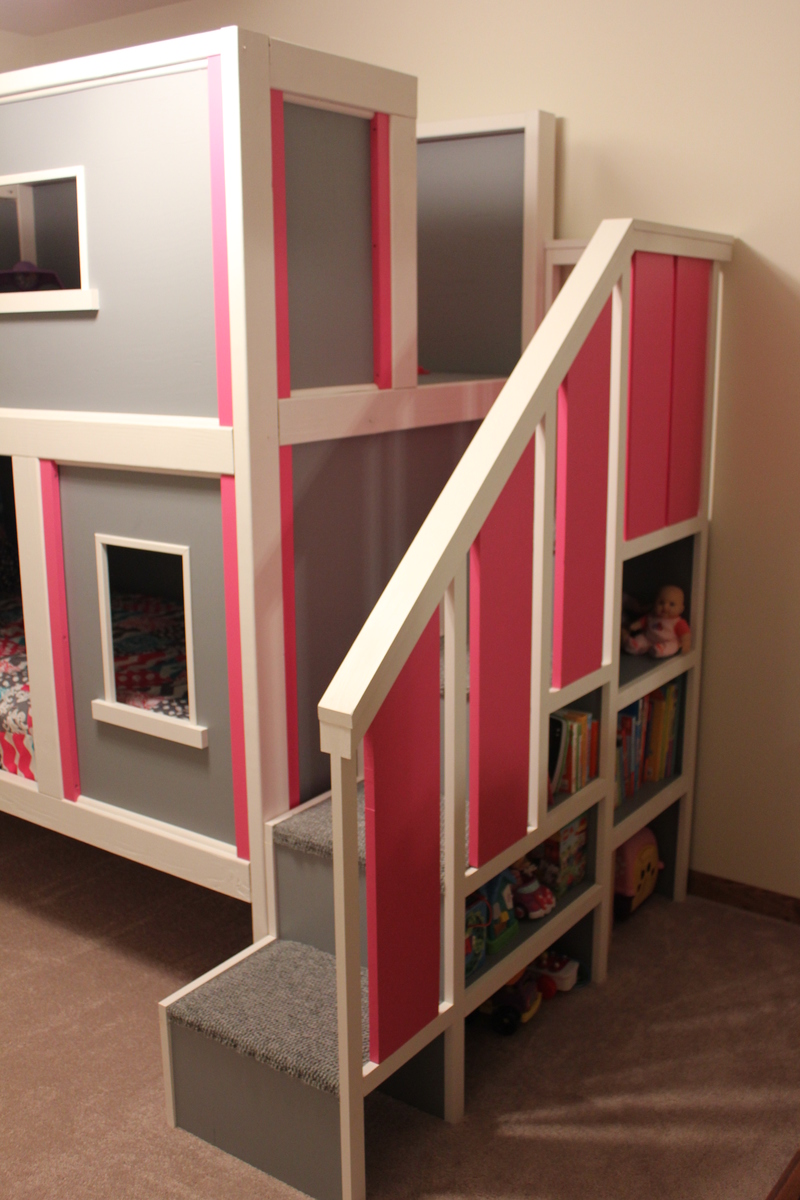
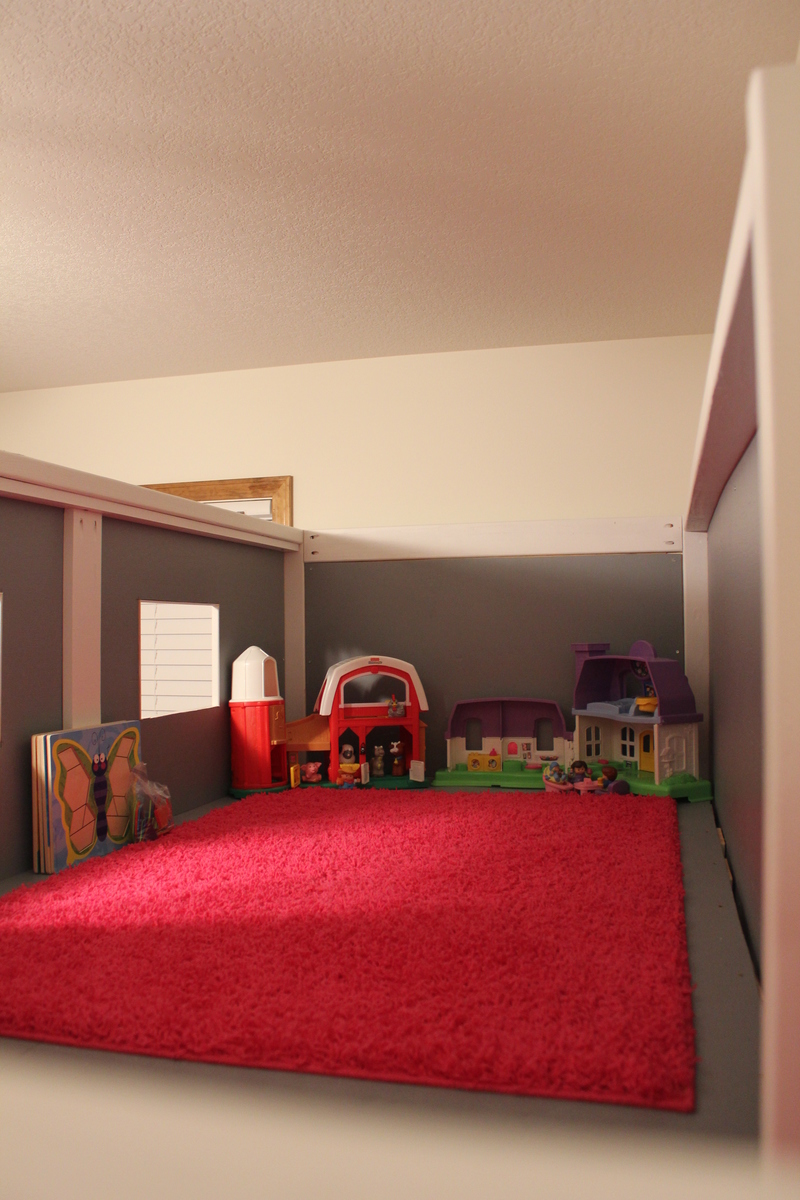
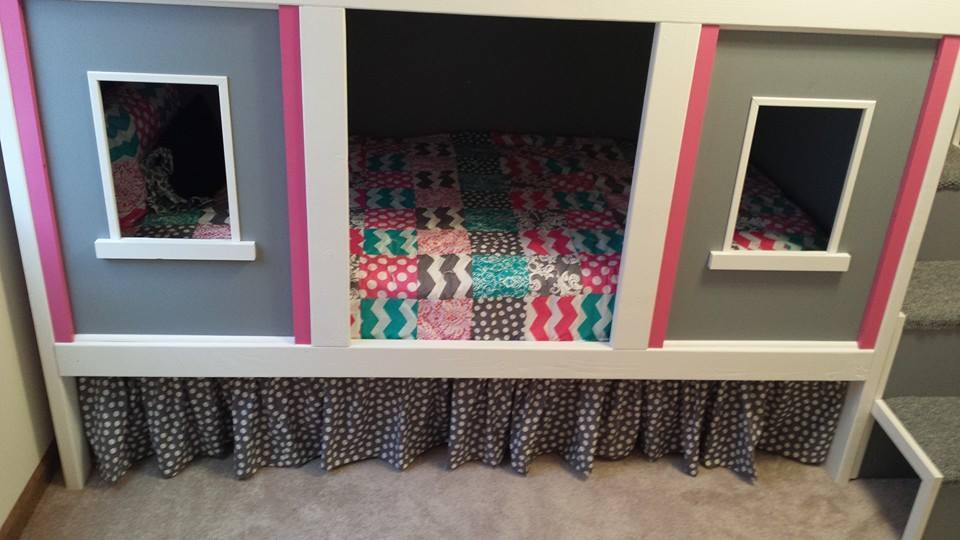
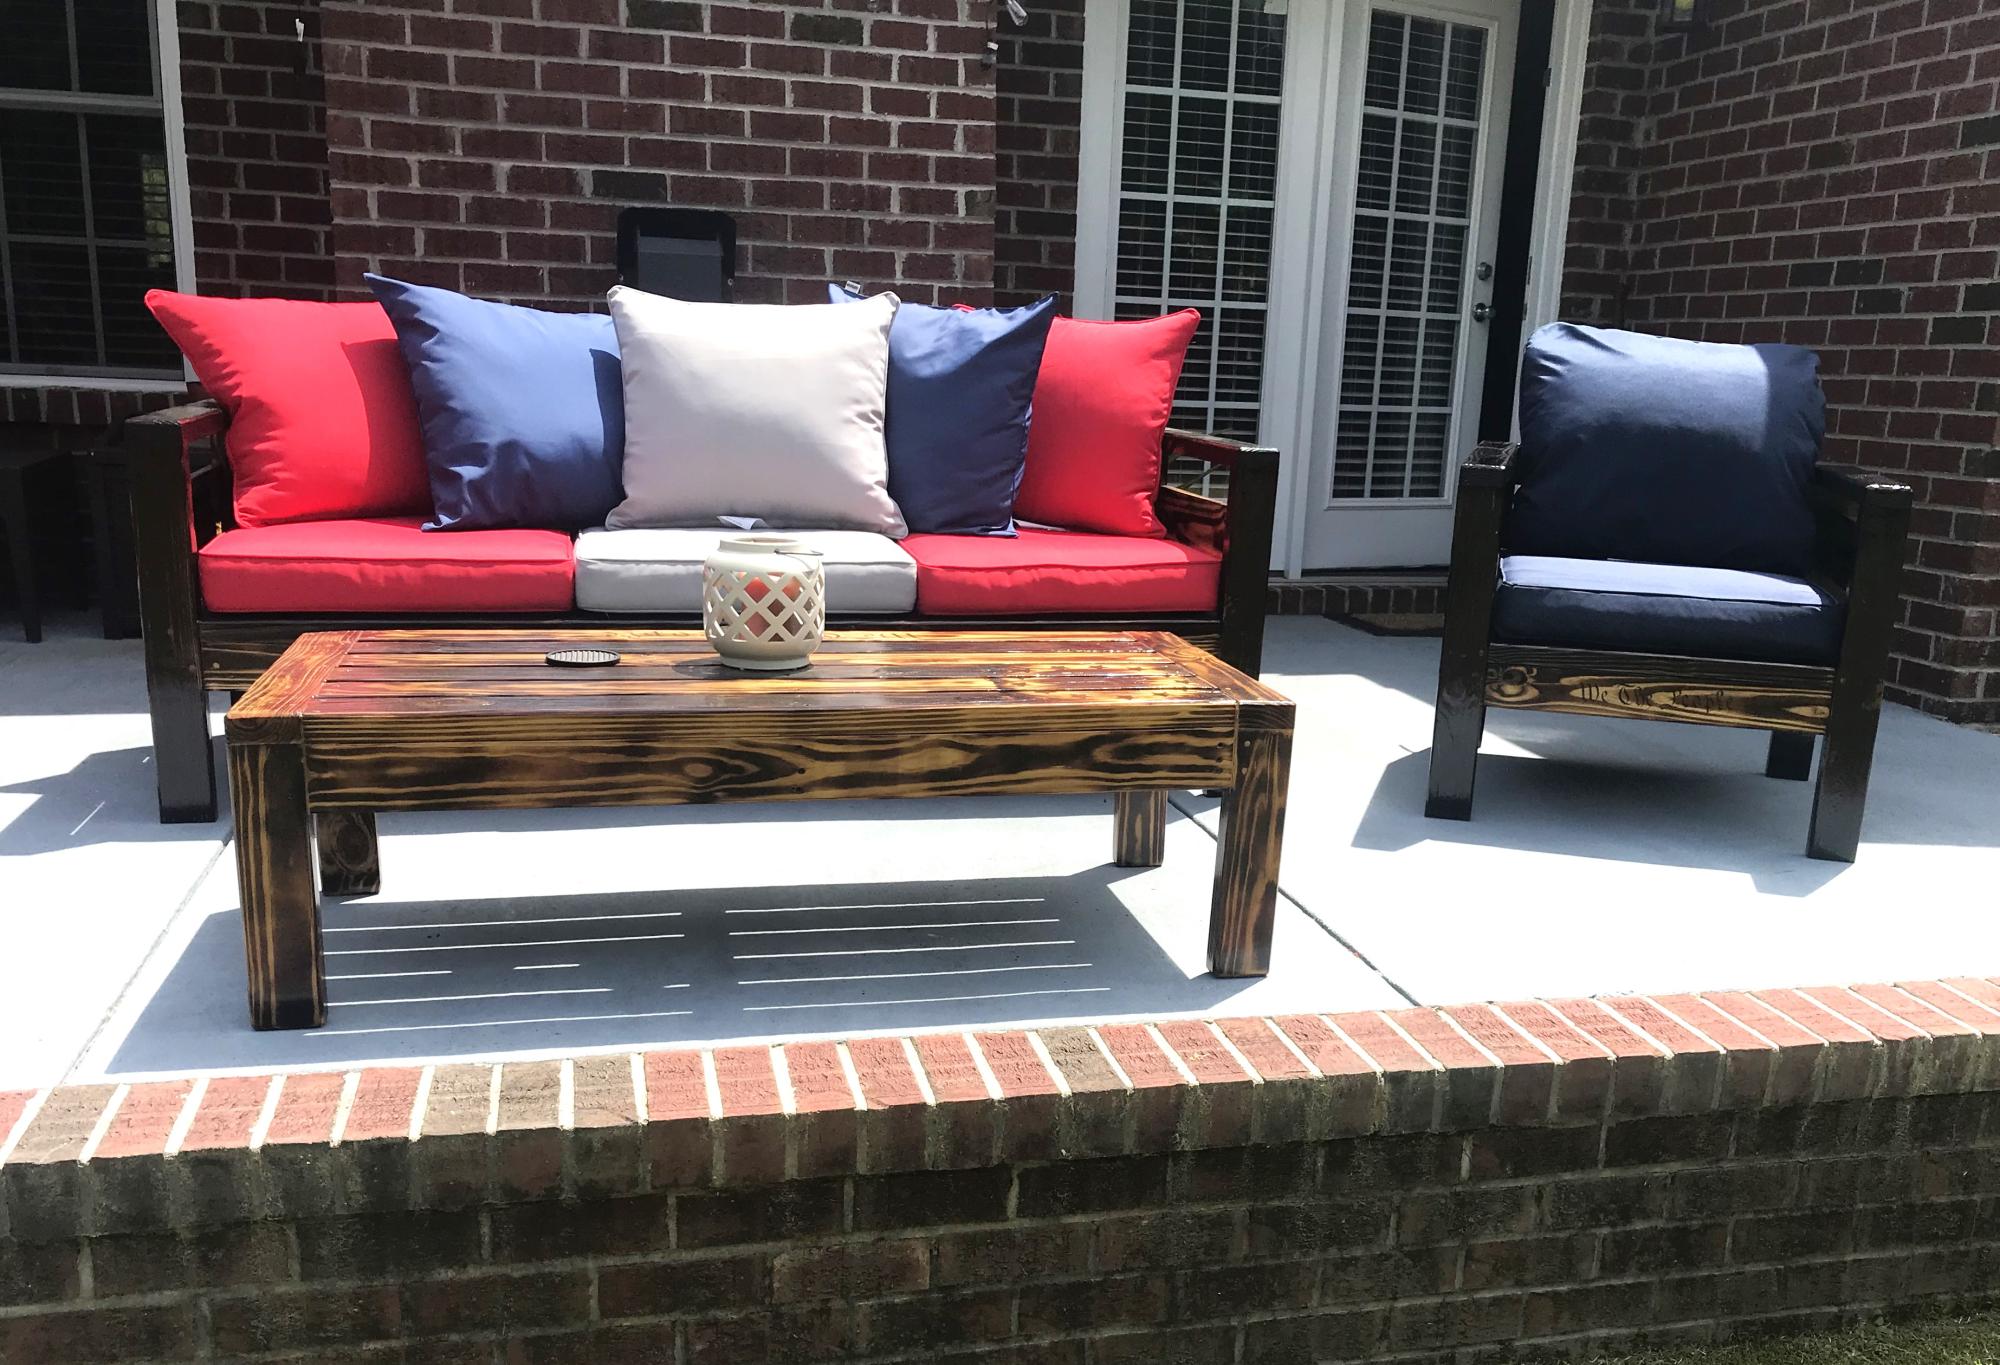
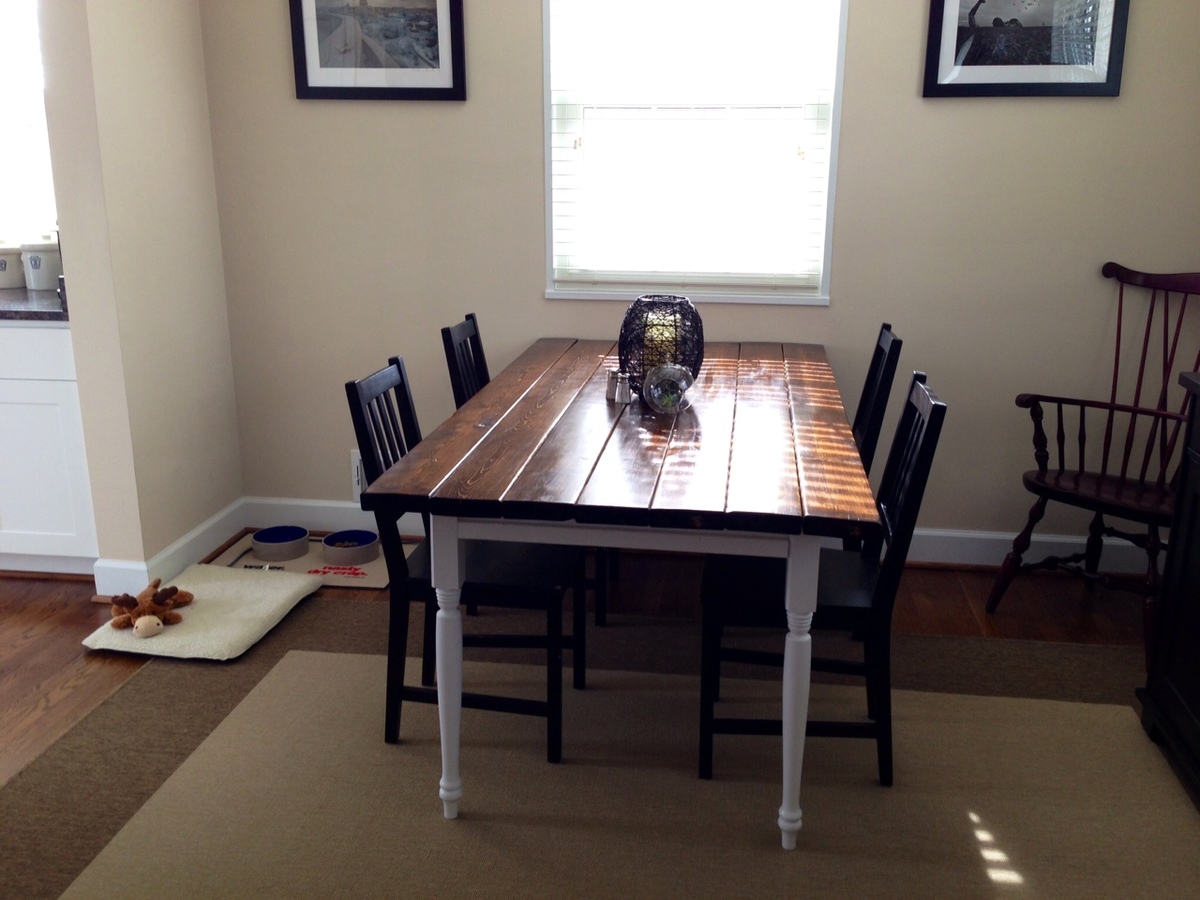
i made a last second change and went with a vibrant red and a dark dark black to make it up. i couldn't be happier. it doesn't match my room at all but i don't care at this point. my friend did a great job taping off the trim and the lines are just awesome.

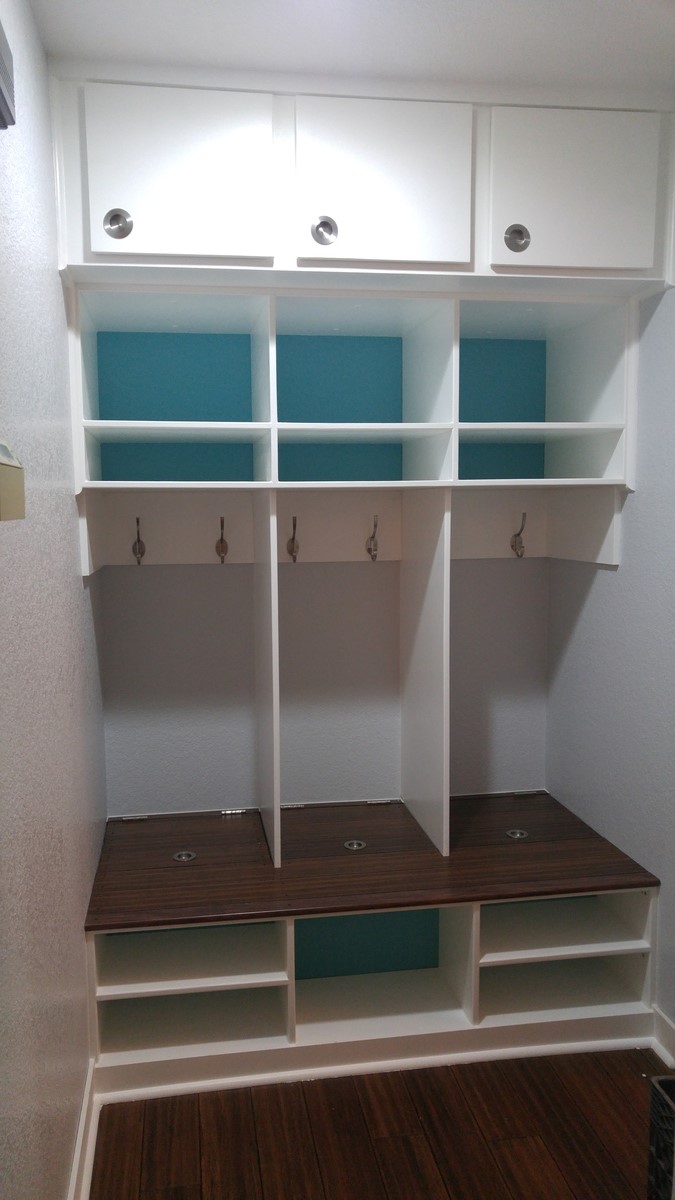
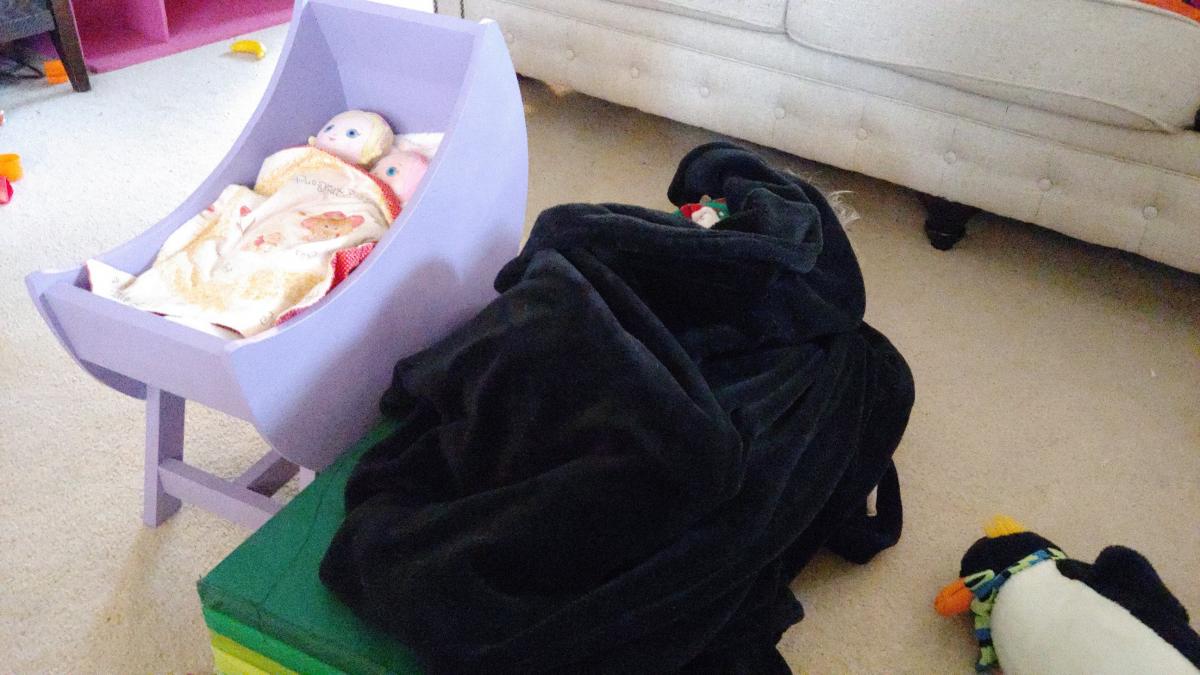
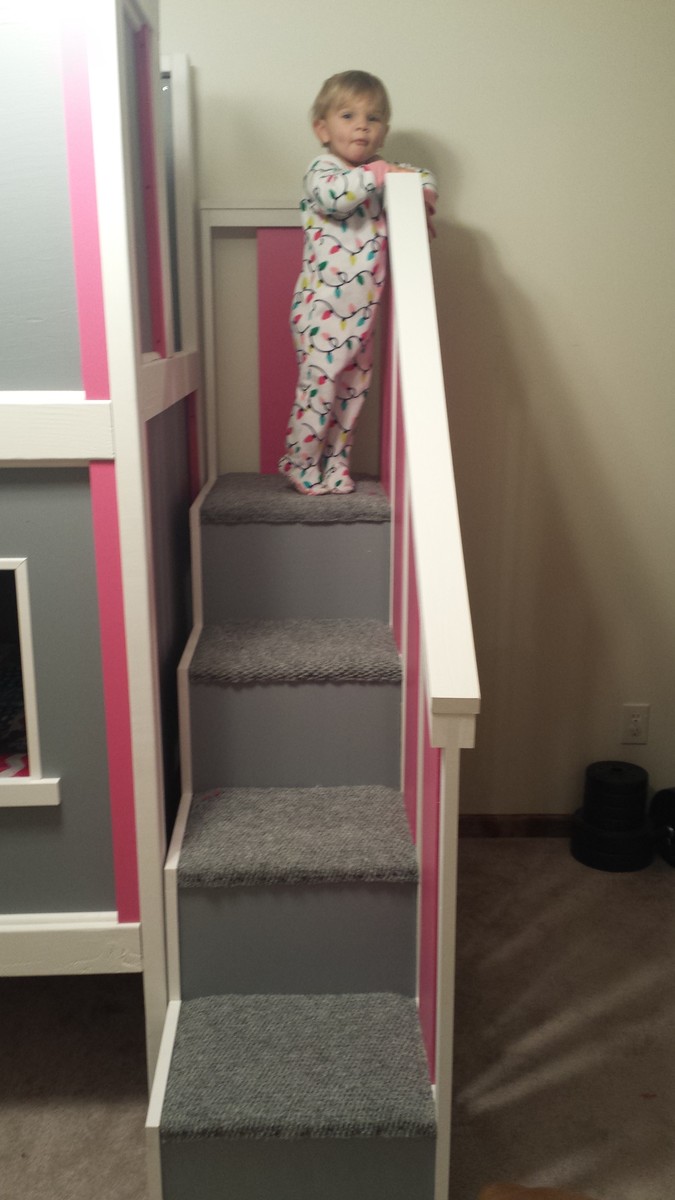
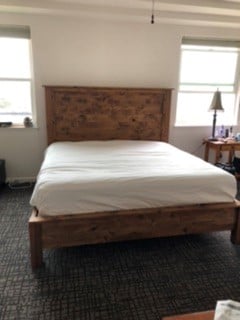
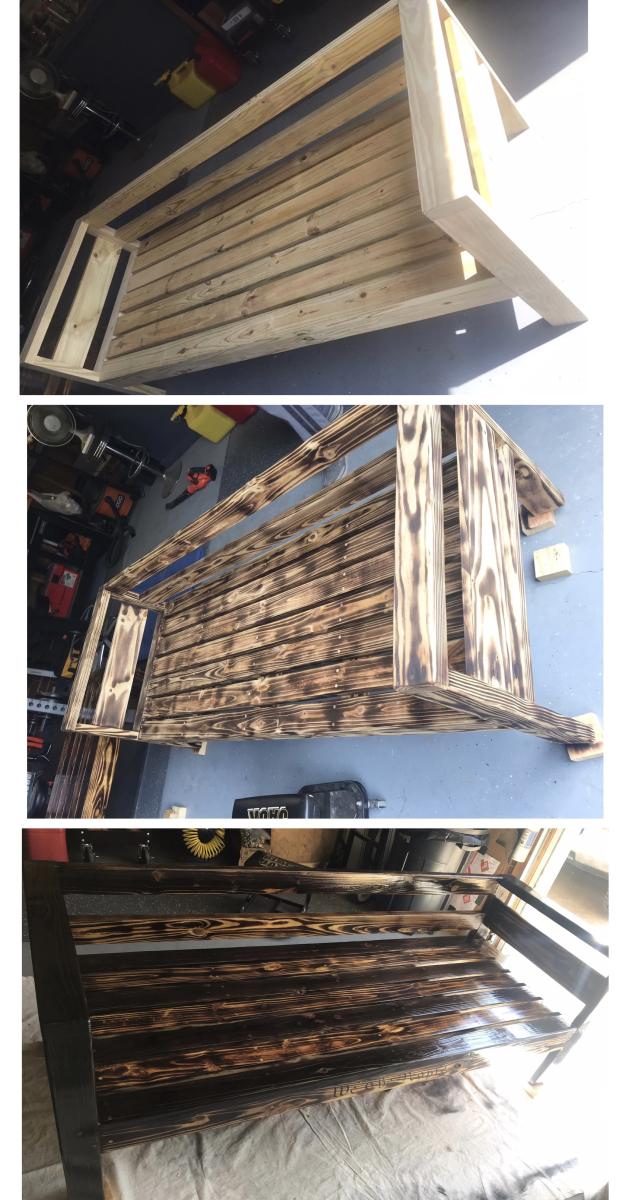
This thing is stout. i'm not a small man and would not hesitate to stand on top of this thing all day. can't wait to show it off to anyone i can:)

Built from Plan(s)
Estimated Cost
40-50 dollars with paint included.
Estimated Time Investment
Weekend Project (10-20 Hours)
Finish Used
satin black and ruby red satin for the trim. both paint a brand i forgot from lowes.
Recommended Skill Level
Beginner

Comments

Truss Table

I have been wanted to build this table for over a year and finally had the time for it. The plans made the cuts very simple.

Built from Plan(s)
Estimated Time Investment
Weekend Project (10-20 Hours)
Finish Used
Watco Danish Oil - Natural
Recommended Skill Level
Intermediate

Comments

Closet-to-Mudroom Conversion

Submitted by Anonymous (not verified) on Fri, 04/15/2016 - 21:41

Starting from the Extra Wide Shoe Bench plans, I expanded the upper section considerably. The cabinetry is all cut from hardwood plywood and joined with pocket screws and glue. I don't have a table saw, so a circular saw and straightedge were extensively used.

Estimated Cost
$400.00
Estimated Time Investment
Week Long Project (20 Hours or More)
Finish Used
Gloss paint.
Recommended Skill Level
Intermediate

Modified Triple Pedestal Table

Submitted by pkw on Mon, 12/30/2019 - 02:02

 this table and chairs was a joint effort between my lifelong best friend’s son and I, his dad had just recently passed away and it was a good way for us to stay busy and also to help furnish his new house he’d just moved into, we used stock pine 2x and 1x lumber from the big box store and StoneCoat countertops epoxy resin on the table top.This was a lot fun and not too difficult to make and we were super happy with the way this project turned out!

Built from Plan(s)
Estimated Cost
approx $130 in lumber and supplies and about an additional $100 in the epoxy resin
Estimated Time Investment
Weekend Project (10-20 Hours)
Finish Used
Minwax wood conditioner and Minwax dark walnut stain
Recommended Skill Level
Intermediate

Little Helper Tower

Submitted by h.abbott on Tue, 04/10/2012 - 05:55

We decided to make a helping tower for my little guy for Christmas after I saw it on Pinterest. The curves were not the easiest, but I think they turned out fine. He's just finally starting to use it more as a helping tool rather than a playing platform. Definitely happy that it keeps him from standing on the chairs.

Thank you so much for this plan. I love this site!

Estimated Time Investment
Weekend Project (10-20 Hours)
Finish Used
green spray paint to match kitchen.
Recommended Skill Level
Beginner

Comments

Hall tree from lockers plans

We modified these plans for a customer down to two lockers. We also added a divider for the cubbies on the top per her request. We found the whole thing to be a bit top heavy and easy to get a wobble. Recommend securing it to the wall with a tether or L bracket. Also, it is CRITICAL to not skimp on the quality of wood and getting straight boards for this. We did not and it was seriously skewed for a while until we did a lot of adjusting...and it still has a bow! Also I recommend doing the build all in one day. I think since we broke it up into two days it allowed the wood to warp more than had it all been assembled and fastened/tightened at one time. Message us with any questions! The stain is Minwax Jacobean- one coat. We got the hooks from Home Depot. The customer wanted plenty of storage so per her request we used 8 hooks! Good luck with this build!

Built from Plan(s)
Estimated Time Investment
Day Project (6-9 Hours)
Finish Used
Minwax Jacobean
Recommended Skill Level
Beginner

Our Kitchen Table

Submitted by Anonymous (not verified) on Mon, 04/18/2016 - 15:25

We wanted to build a new kitchen table for the home we moved into. I had just bought a new table saw and needed a project. We searched through a lot of plans and settled on the Benchmark Octagon Table that Ana White had. My 14 y/o son and I built this over a few nights in our garage and my wife did the finishing. We were thrilled how it turned out. It comfortably seats 8 adults (yes we have had 8 adults at it). My wife and I always sit in the bench that is pictured and we easily eat side by side on one end. It is a great project. I would recommend being very careful attaching the table top support to the base column and also reinforcing the joints of the diagonal upper and lower supports to keep the table top from twisting easily. All in all a fantastic project and people are shocked when I tell them my son and I built it, particularly from off the shelf pine.

Estimated Time Investment
Week Long Project (20 Hours or More)
Finish Used
Dark Walnut Stain and about 5-6 coats of Satin Poly
Recommended Skill Level
Intermediate

Lavander Moon Bassinet

Submitted by papamike on Sun, 01/05/2020 - 13:39

My daughter-in-law asked me if I could build a doll crib for my granddaughter. I had no idea how to do that, so of course I said "Absolutely!" Then I immediately came to the Ana White site!!

I found a few options and checked with my daughter-in-law to see what style she wanted.  She chose the "Baby Doll Furniture Moon Bassinet" and said that it needed to be "lavander".  

As usual, Ana's plans made me look like a hero!  My granddaughter liked it so much she insisted on sleeping on the floor next to it during her nap!   

Estimated Time Investment
Afternoon Project (3-6 Hours)
Finish Used
Paint and satin clear coat.
Recommended Skill Level
Beginner

Tall Cedar Planter

Submitted by zzjb2 on Fri, 09/08/2023 - 08:29

Made a tall wood planter from cedar and pine fence posts using Ana’s plans this weekend! Modified slightly and added a frame around top to give it a more finished look.

Awesome plans! Thanks Ana.

Built from Plan(s)

Add Metal Accents to Furniture

Here's a small tutorial on how to add simple metal accents to furniture. We used something as simple as door knobs at your local home improvement store to make it happen!

Check out the tutorial here http://sawgrasshome.com/?p=1443

Estimated Cost
$20 - $30
Estimated Time Investment
An Hour or Two (0-2 Hours)
Recommended Skill Level
Beginner

Comments

birdsandsoap

Sat, 04/14/2012 - 23:14

so clever. I love when others figure out how to do awesome things like this and then show me how! Thanks!

Kristen Davis

Wed, 03/25/2015 - 11:26

Hello,

I am very interested in this tutorial, "Add Metal Accents to Furniture", but it appears that the link provided, is a dead link. Do you happen to remember anything about this tutorial? Thank you!

Kristen Davis

Wed, 03/25/2015 - 11:25

Hello, I am very interested in this tutorial, "Add Metal Accents to Furniture", but it appears that the link provided, is a dead link. Can you please assist me in finding the direct link to this tutorial? Thank you!

My version of ten dollar picture ledges/galley shelves.

I think I get more compliments on these galley shelves/picture ledges than anything else I’ve made, and these were probably the easiest things to make!

It cost me about $25 a piece but they were nearly 8 feet long each. I used a paint sprayer to paint them, WAY easier than brushing on the paint! watch for drips though (my first time using a sprayer, treat it like spray paint, light easy coats!)

Built from Plan(s)
Estimated Cost
$100
Estimated Time Investment
Afternoon Project (3-6 Hours)
Finish Used
used a satin white paint. that is the same as our molding in the house.
Recommended Skill Level
Starter Project

First project ever

Submitted by Anonymous (not verified) on Thu, 04/21/2016 - 18:53

I challenged my husband who is new to any woodworking project to make me this table! That he did!!

Estimated Cost
$250 (benches and table)
Estimated Time Investment
Weekend Project (10-20 Hours)
Finish Used
Rustoleum American walnut
Recommended Skill Level
Starter Project

First Ever Woodworking Project - Modified Farmhouse Table

I modified the Farmhouse Table With Pocket Holes plans to make the table counter height for our views of the woods from the dining area. We also have large family gatherings every Sunday evening so made the overall length 95” and the width 46” using 2x10s instead of 2x8s. I also made a little extra foot room on the ends by moving the stretcher support to the inside of the legs. All of the lumber was run through a planer multiple times to get everything nice and even. Large knot holes where left by choice for character, and I filled them with epoxy and sanded smooth.

I started the project with lumber that was not completely dry. As a result, my tabletop width shrunk by nearly 3/4” over the first few weeks after completion. I would recommend bringing your lumber package inside for several weeks before you begin the build to allow it to dry and shrink. Do not bother to glue the table top if your lumber isn’t dry as it will simply pull apart like mine did.

This table is a BEAST, and will definitely be our shelter in the event of an earthquake. Because of the size, I had to build it in the dining area and I wish I had sanded everything to final finish before I built it. There was a lot of creative shopvac help from the kids.

Thank you for the great plans and inspiration to take on my first major woodworking project!

Estimated Cost
$130
Estimated Time Investment
Weekend Project (10-20 Hours)
Finish Used
Minwax Classic Gray and Varathane Triple Thick Water Based Clear Matte Finish Polyurethane. I also chiseled out a few chunks from the edges and sanded them smooth to make a “used” appearance, as well as using a torch to “toast” the long edges and corners of some of the lumber to give it character and dimension.
Recommended Skill Level
Beginner

Kids Modern Picnic Table

Submitted by abbpim on Mon, 04/16/2012 - 09:52

This is my very first wood working project! I know its not perfect and I learned from my mistakes. I found a miter saw at a garage sale and after three hours of plugging it in and unplugging it, I finally worked up the courage to make it make a noise! Then I eventually worked up the courage to cut wood lol! I'm pretty proud of myself for building something and I am going to continue practicing until I can make really cool stuff!

Estimated Cost
$20
Estimated Time Investment
Afternoon Project (3-6 Hours)
Finish Used
Valspar, Quart Size, LA218, Fuchsia, Duramax, Exterior Semigloss, Base 4 214-4.75, 113-31.75, 105-3.63, 115-2Y7

I used 2 coats
Recommended Skill Level
Starter Project

Our Bunk Bed

Submitted by aloewen on Wed, 01/29/2014 - 09:27

My husband and I are expecting our second child this April. We knew we wanted to move our 2 year old out of her crib and into a “big” girl bed so that the new baby could use the crib. I saw the Play House Loft Bed on Pinterest and fell in love. I showed it to my husband and convinced him it would be a great winter project for us. He of course started his research and had nightmares of our daughter falling over the top bunk. So when I saw the Sweet Pea bed I knew it was perfect. I pitched the idea to my husband that the bottom bunk could be her bed and the top would be her play area. He was sold. We went to Lowes and bought our first round of lumber and immediately realized this project was going to be more expensive than expected but we were still up for the challenge. My husband worked on the project two full days, I worked on it a half day and then together we worked on it a few hours over nap time or after putting our daughter to bed.

We made some modification to the plans, we liked the look of a flat front rather than 2x4’s so we used a flat sheet of ply wood. We added carpet to our stairs to help prevent any major injuries if fallen down. We left the roof off for now but may add it on later. We also decided to leave the bottom open for any size storage we needed. We added a fabric ruffle to hide the space.

Looking back we wish we would have done this project in the spring/summer and not dead winter. We had to park our cars outside and use our garage to cut and paint all the wood which meant space was limited. This also prevented us from being able to use a spray gun to paint. Had we been able to spray the paint this project would have moved a lot quicker!

Once the project was complete we were so happy with the outcome. Our daughter absolutely LOVES her new bed and loves her play area upstairs!

Built from Plan(s)
Estimated Cost
$800
Estimated Time Investment
Week Long Project (20 Hours or More)
Finish Used
Behr White, Gray and Pink Paint.
Recommended Skill Level
Intermediate

Comments

birdsandsoap

Wed, 01/29/2014 - 11:12

I love the color combo. This is a great bed to transition to from a crib, we did that with my youngest daughter too. I hope she enjoys it, both kids will be sharing a bunk in no time!

Farmhouse Table

Submitted by Anonymous (not verified) on Tue, 04/26/2016 - 12:38

My husband built this following the plans for the farmhouse table and I painted and stained it using 2 different stains and a whitewash. We are so pleased with how it turned out.

Recommended Skill Level
Intermediate

King Size Bed

Submitted by hailey807 on Fri, 01/17/2020 - 19:37

I love the farmhouse look and wanted to start changing out pieces in my bedroom. Good quality furniture is expensive, so I thought I would checkout DIY projects and came across Ana’s plans for a king bed. Her plans got me started and I changed a few things along the way. I LOVE the end result. 
 

I used Knotty Alder and Danish Oil in Dark Walnut. Alder is an easy wood to work with and the Danish Oil brings out all the beautiful grain. I highly recommend both. 
 

I decided to buy the metal frame and plywood to place the mattress on. 

Estimated Cost
500.00
Estimated Time Investment
Weekend Project (10-20 Hours)
Finish Used
Danish Oil in Dark Walnut. I applied one coat and the finish is satin.

FYI: Danish Oil is very easy to work with and it made the grain of the wood “POP”. The great thing about this product is that it’s a stain/sealer combination and you apply it with a foam paint brush.
Recommended Skill Level
Intermediate

DIY Wood Patio Set

Submitted by Anonymous (not verified) on Fri, 09/15/2023 - 08:46

We were in need of a nice patio set and just couldn’t find the right fit until we came across some 2x4 plans and thought “that seems simple enough”. Took some planning for the right dimensions but I swear my husband can build anything. It turned out beautifully. He made a table, a sofa and a chair….burned them with a torch is certain areas then put polyurethane on them. Thanks for looking.

Lanette

Rolling Sofa Table

Submitted by alosman on Wed, 04/18/2012 - 14:55

This is the second project I have made from this website, which I LOVE! I needed some sort of table to use with a large sectional sofa because I refused to give up my huge ottoman for a coffee table! This is perfect. I loved the brag post with the shelf added so I used that idea also.

When it came to decoration, I used some apple barrel craft paint and found some scrapbook paper I really liked. This was my first use of modge podge so it was not as flawless as I hoped but I still think it turned out well. And best of all it will be used often!

FYI - by saving money on the particleboard shelf, I ended up spending a lot of time applying wood filler.

Estimated Cost
shelf - $4, 1x2 - $.98, wheels-$12
Estimated Time Investment
Afternoon Project (3-6 Hours)
Finish Used
Apple Barrel Acrylic craft pain in Burnt Umber and Beachcomber Beige
Modge Podge application of scrapbooking paper, sealed with Polycrylic
Recommended Skill Level
Starter Project

First homemade piece of furniture!

Submitted by rsabina on Sat, 02/01/2014 - 10:10

I decided I had to have a farm table, but could not pay the store bought prices. SO I spent weeks poring over plans trying to figure out which one to make.
We picked this plan because I felt like as a beginning it would be hard to make the legs. I REALLY wanted to get the husky legs found in the plan but they were a little pricey, so I just got the same height legs at lowes.
I am SO happy with my table. For anyone feeling daunted by pocket holes and a kreg jig: get a kreg jig mini. I couldn't afford the regular kreg jig but the mini was only 20 bucks or less.
Happy building!

Estimated Cost
$105
Estimated Time Investment
Day Project (6-9 Hours)
Finish Used
Minwax american
Recommended Skill Level
Beginner

Comments