DIY Wood Chair
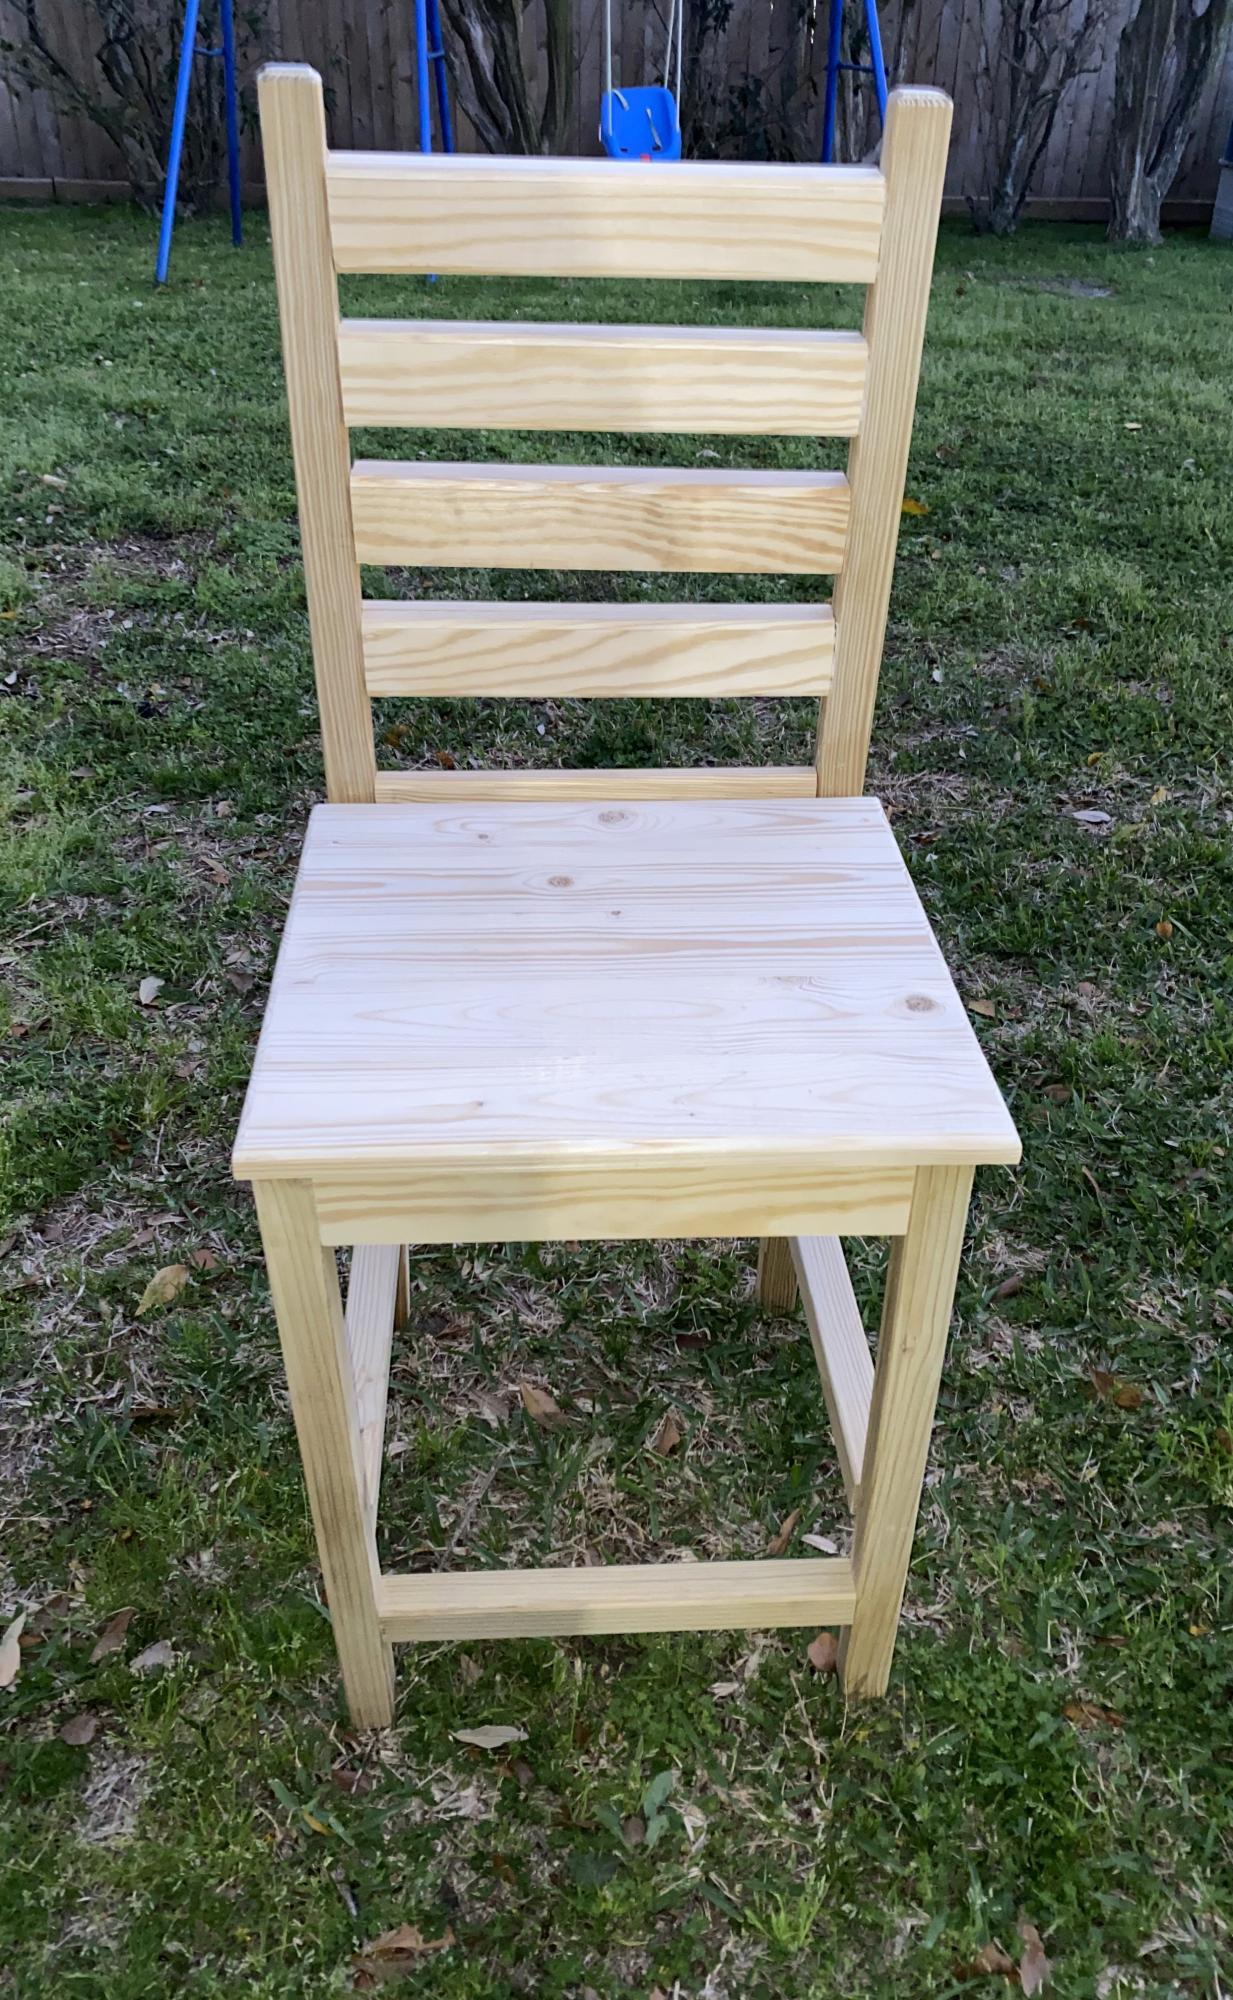
Still needs a finish but I couldnt wait to share.
Danny
Built from Plan(s)
Still needs a finish but I couldnt wait to share.
Danny
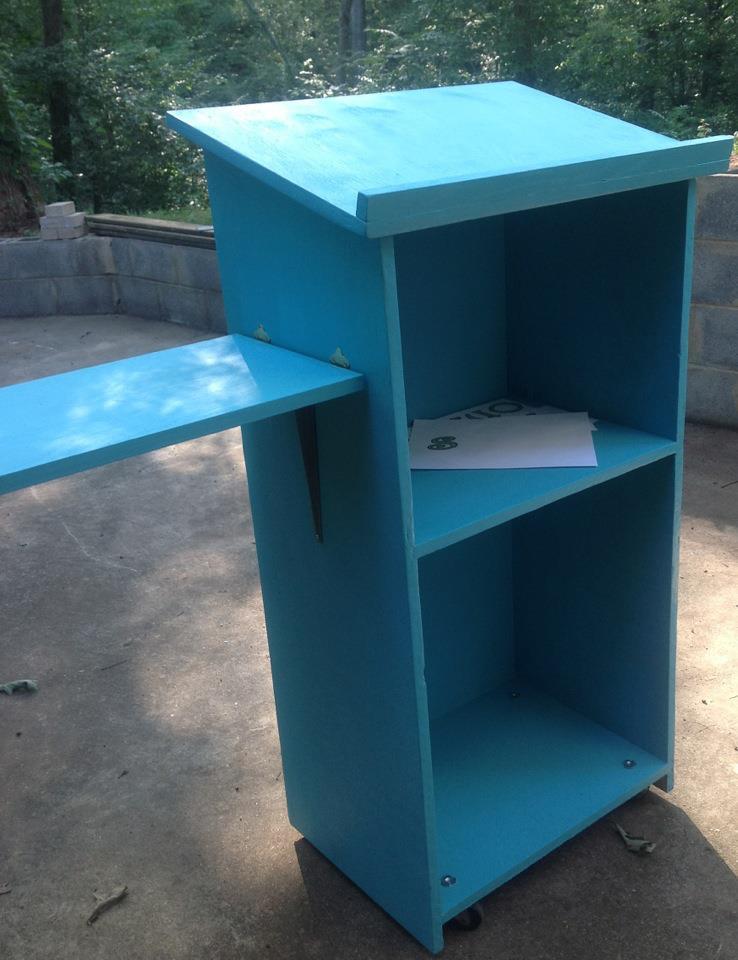
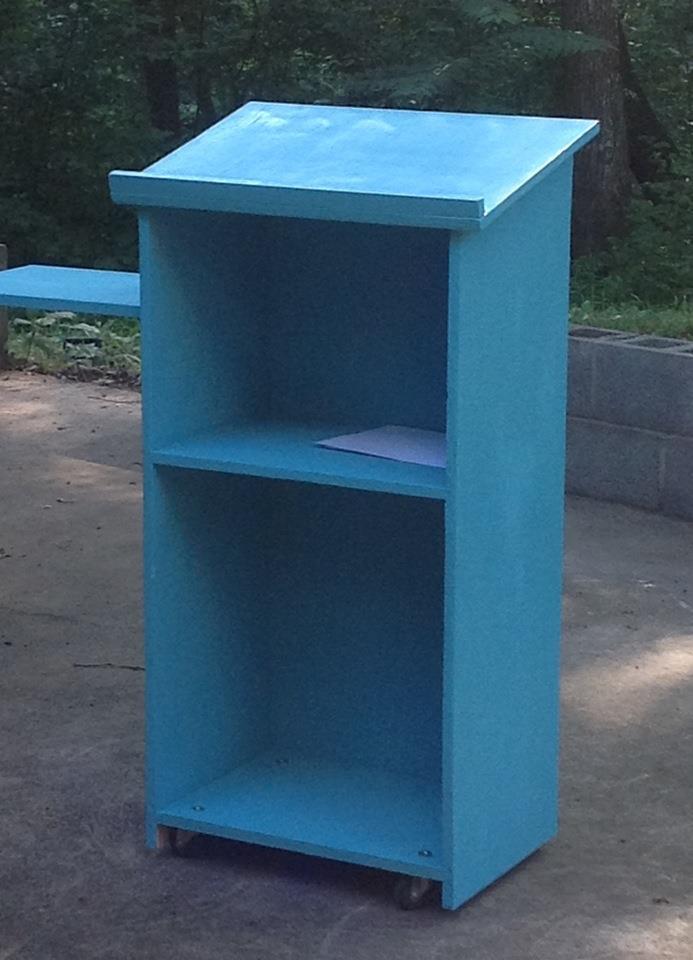
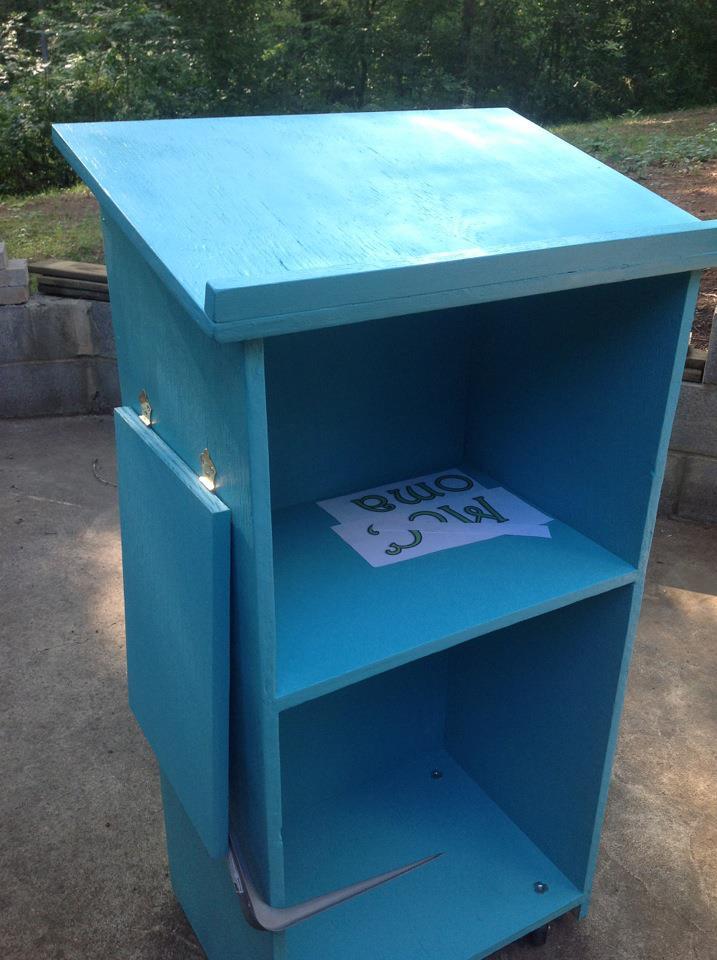
I recently landed my first teaching position, and unfortunately my predecessor left quite a blank canvas for my classroom. I will be teaching math and definitely needed a lectern to hold my book as reference for examples during instructional time. However, I was completely unable to fork over $200 for a lectern...so of course I turned to Ana White! I saw the Podium Plan that another had submitted, and used it as a guide with some changes:
1) My dimensions are 15" wide by 21" long by 43" tall (I'm shorter than your average bear).
2) Used the table saw set at 45 degrees to create mitered joint edges with my plywood
3) Inset the shelves into the frame for added stability using a router.
4) Added casters to the base for maneuverability
5) Added an easily-removable laptop shelf for the side for easy hook-up to the Promethean Board in the classroom.
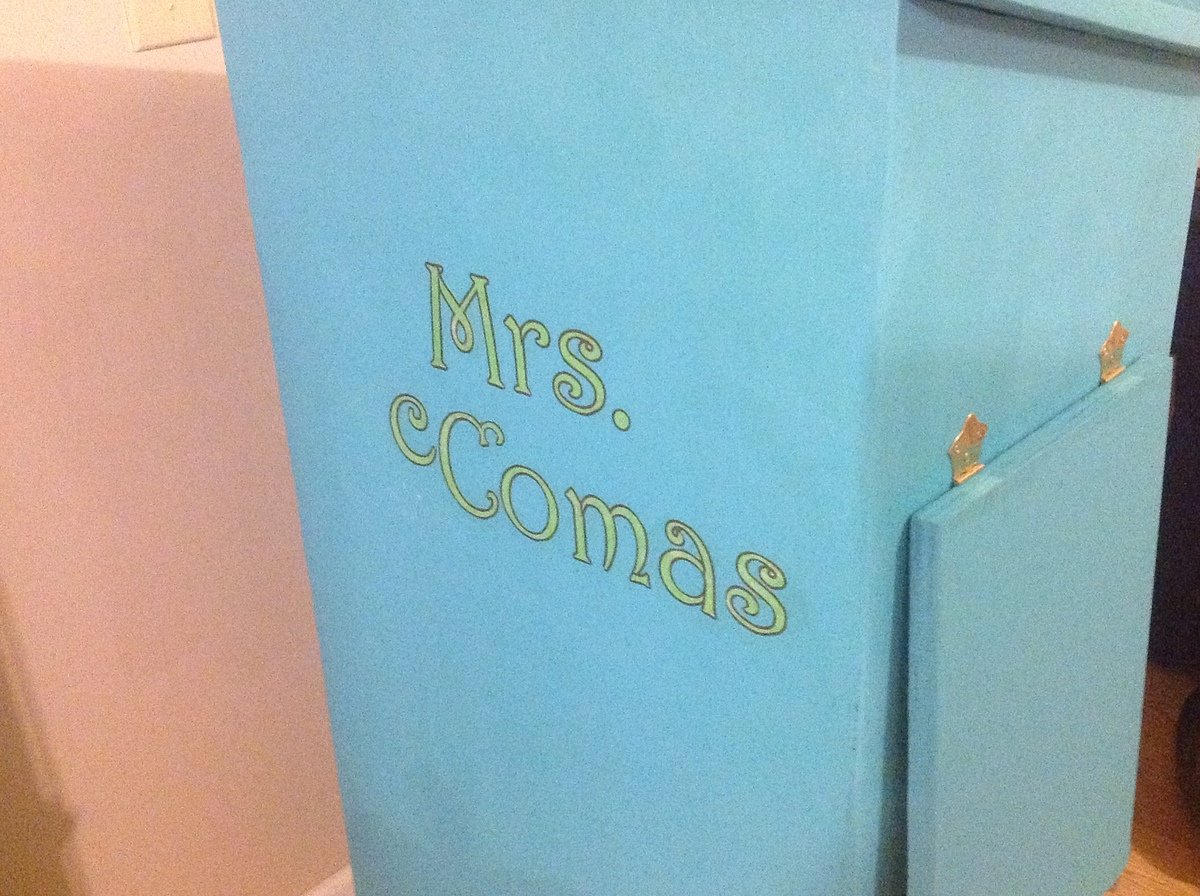
6) Decoupaging my name to the front for some visual interest...(and of course to claim ownership...:) )
My room is painted yellow, and all of my accessories are teal, lime green, and brown. This is gonna look GREAT in there, and best of all, it's attractive AND functional!

Sat, 07/28/2012 - 22:23
I don't remember having ANY teachers with anything this cool and personal in their classroom (except maybe woodshop, har-de-har-har). All the other teachers will be jealous!
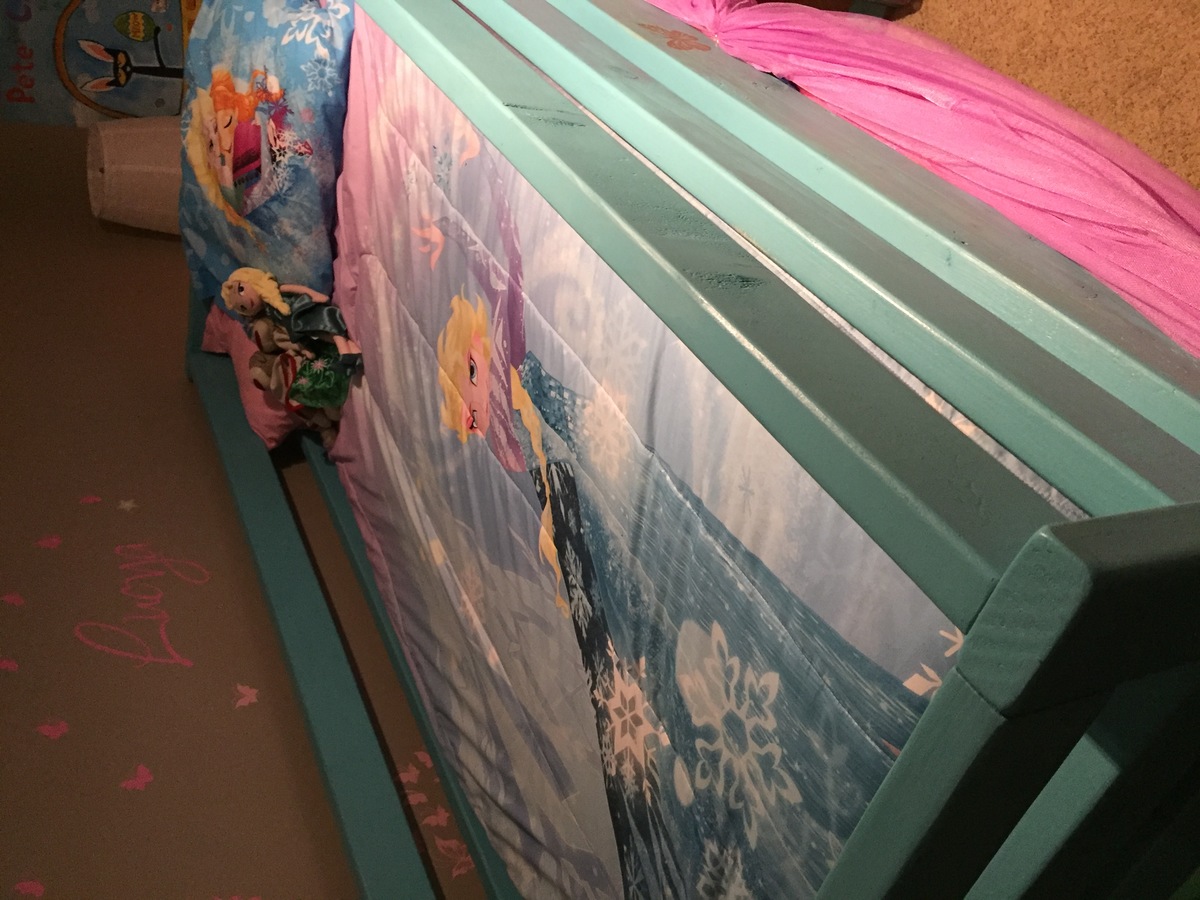
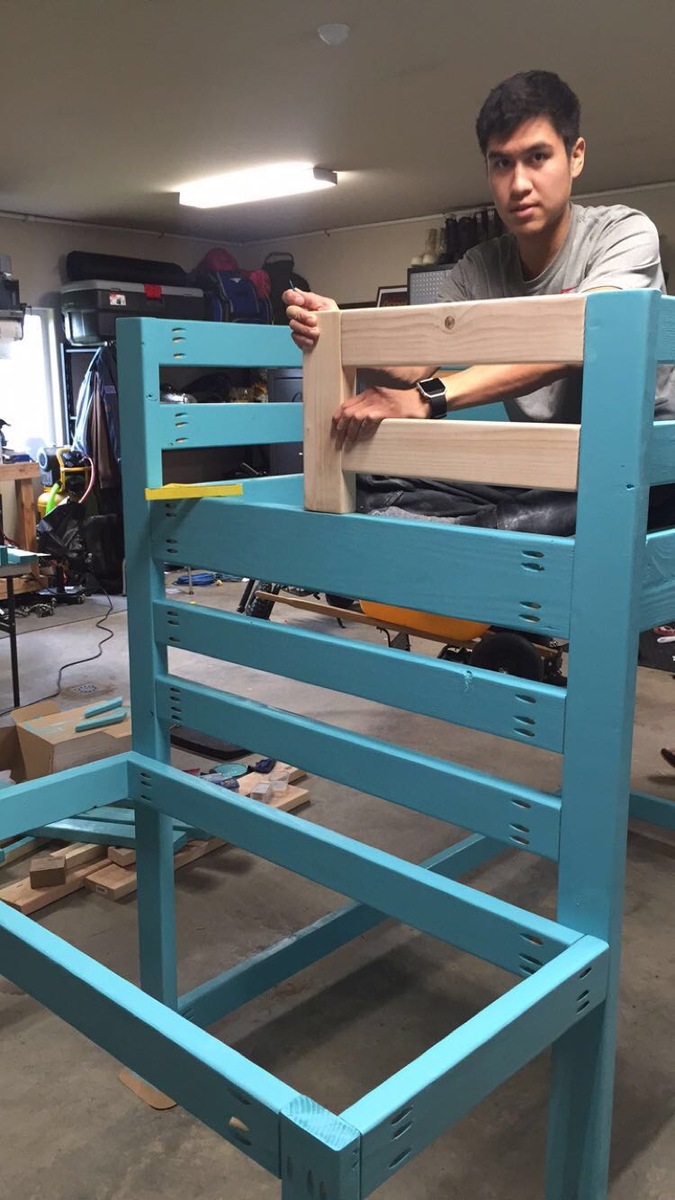
This was a fun simple project. I added some fabric to the bottom of the trundle. If you have questions when building please let me know. Thank you for viewing.
Wow! This took much longer than 2 hours and cost around 200 but it was worth it! My 3 year old LOVES it. We added a safety rail to the foot end.

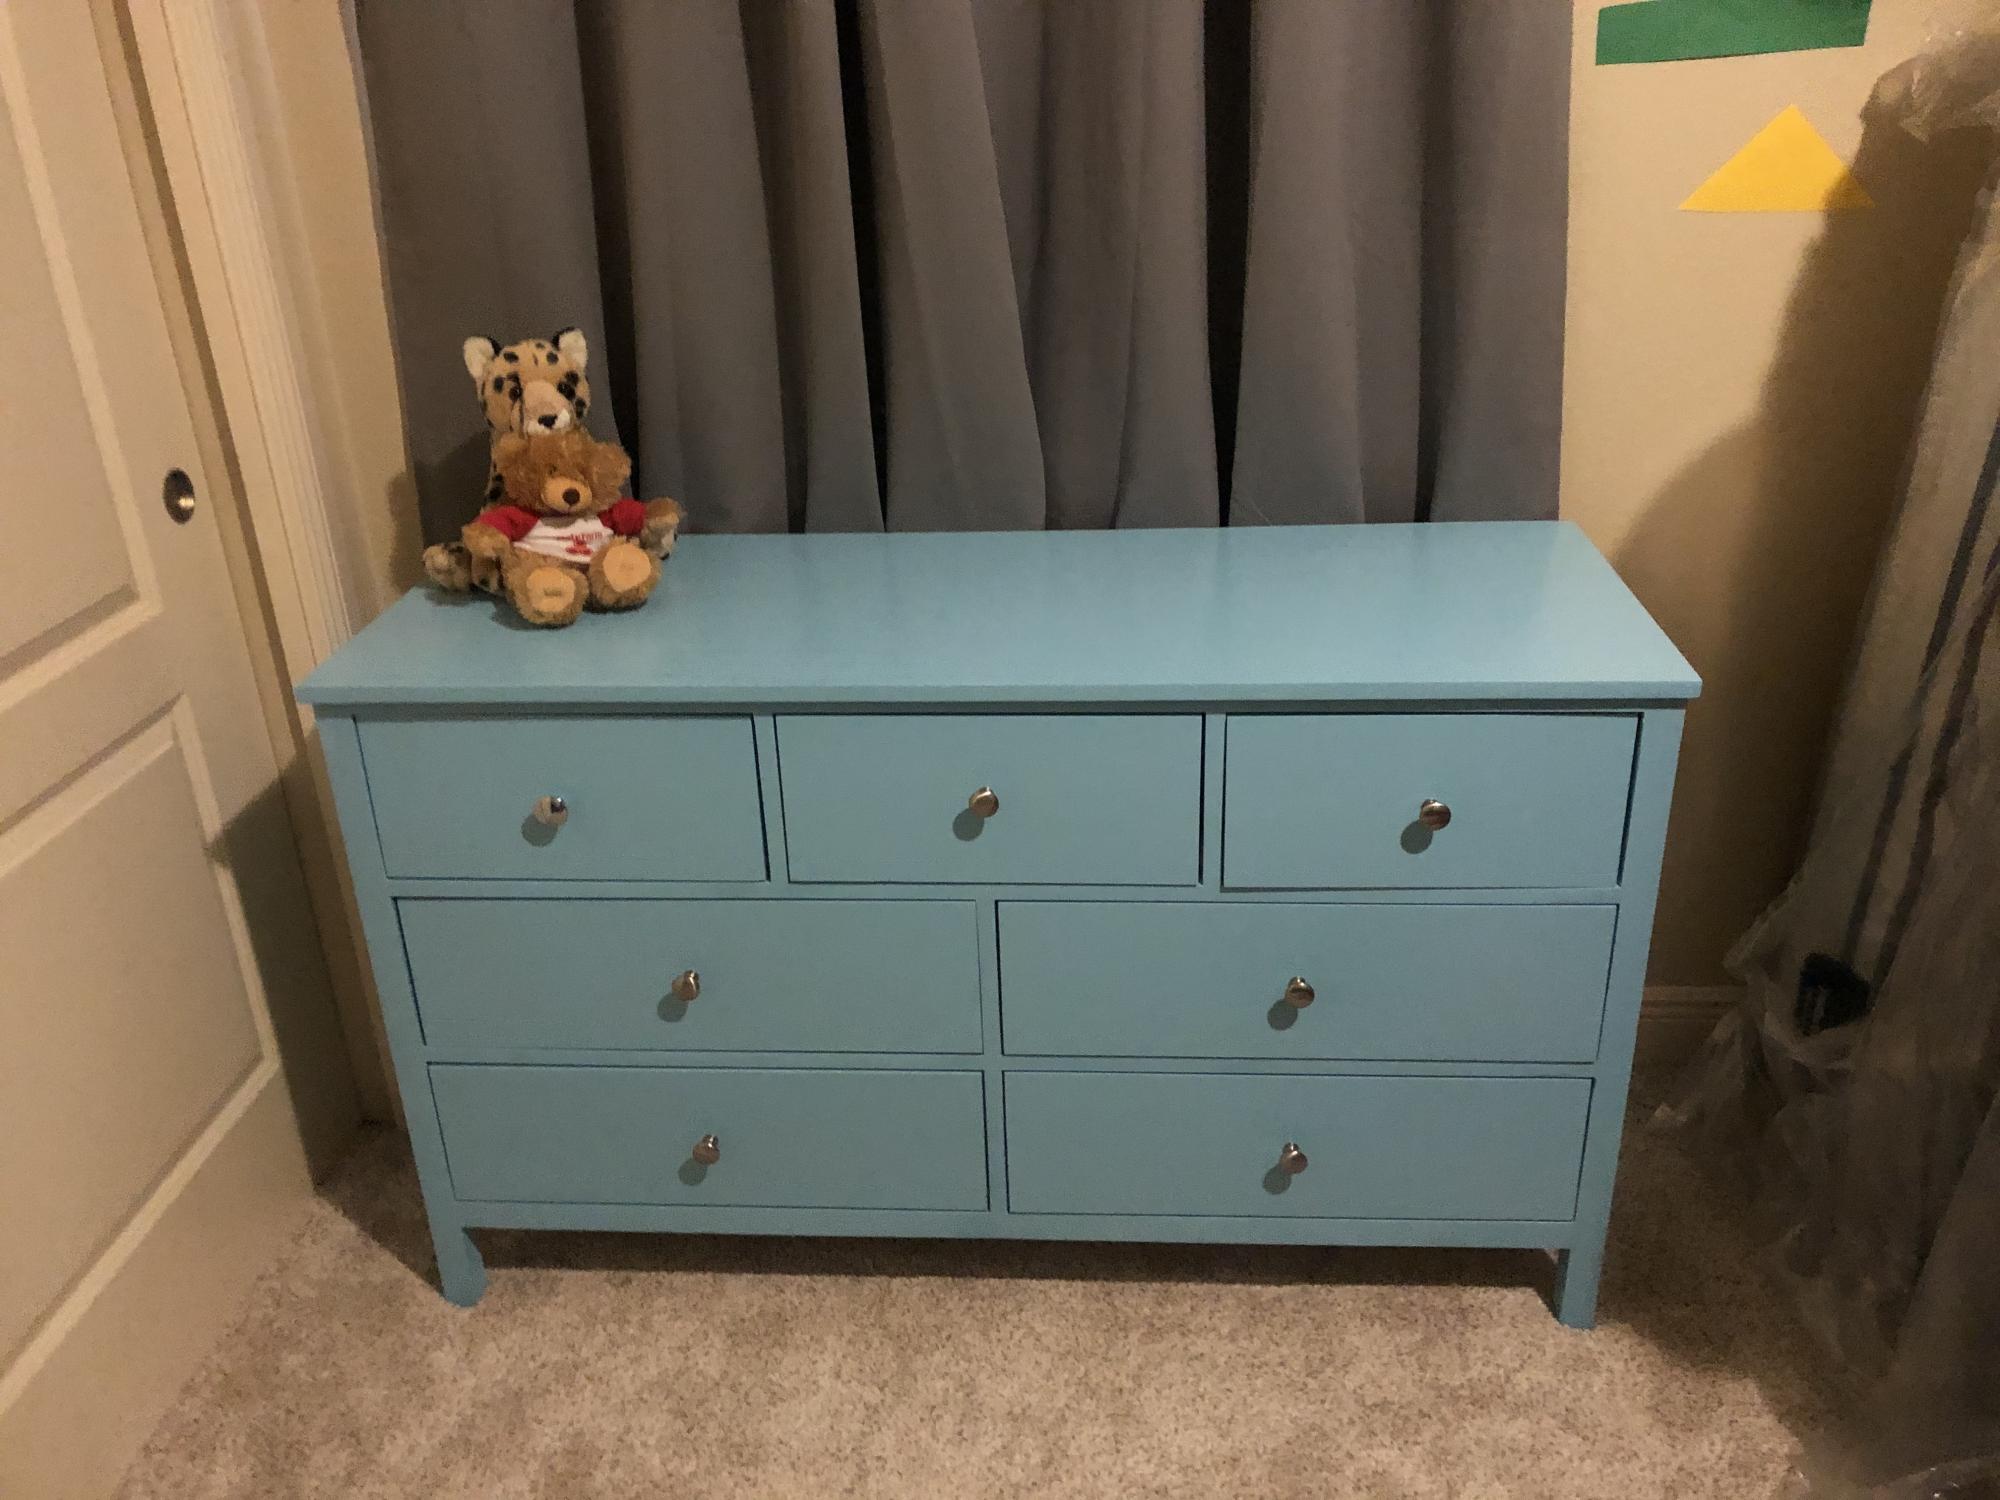
Struggled with this one, but it’s done and I’m pretty proud of her

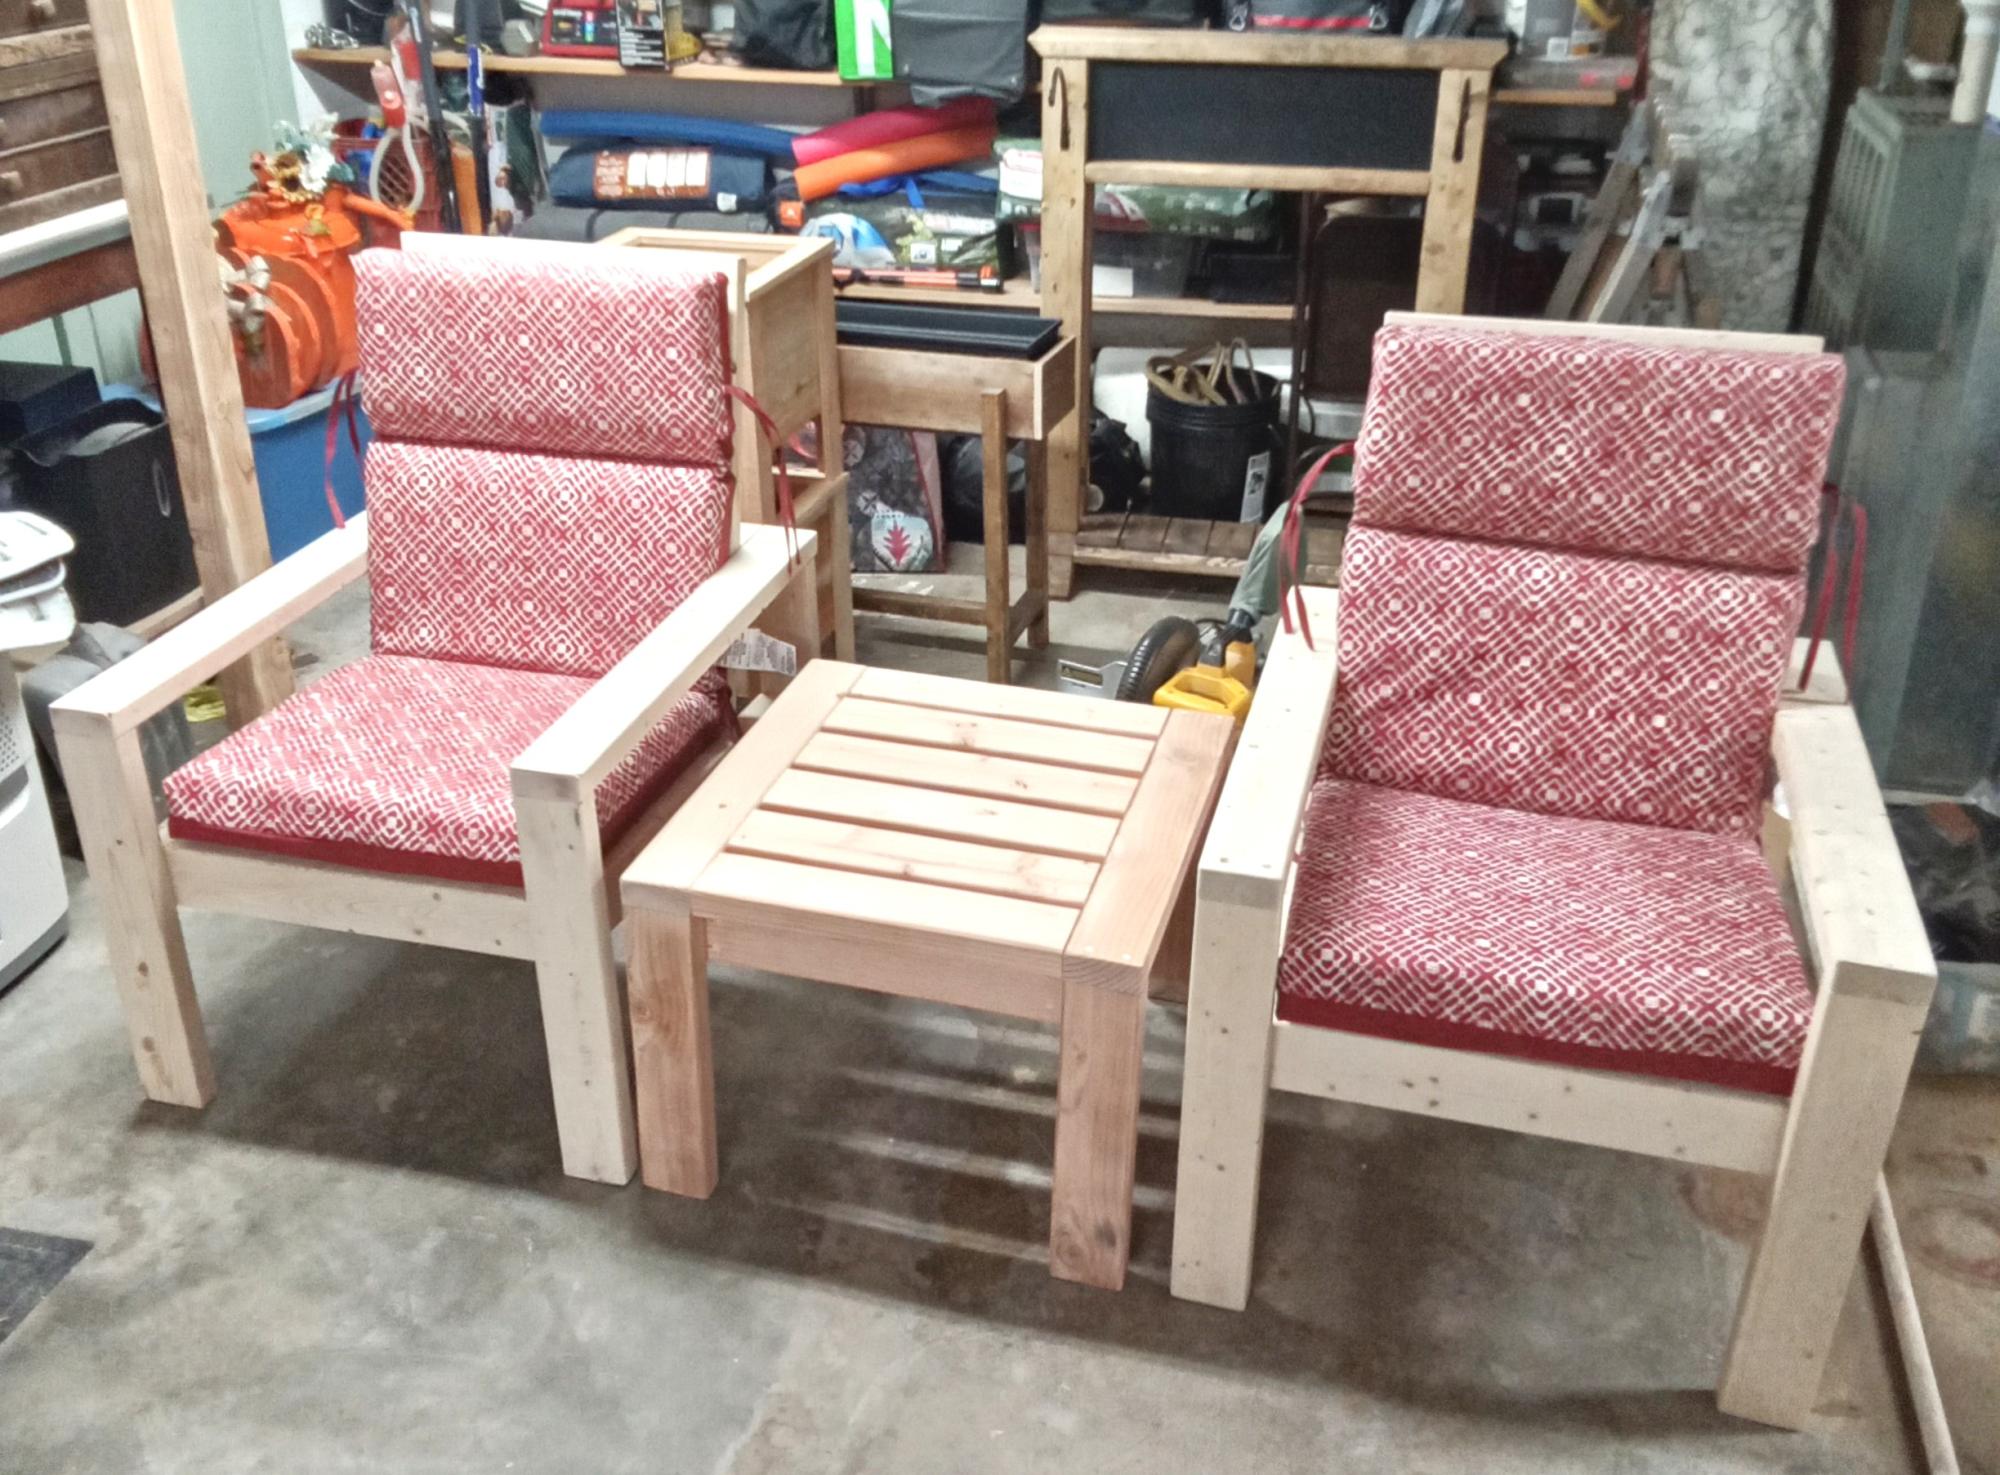
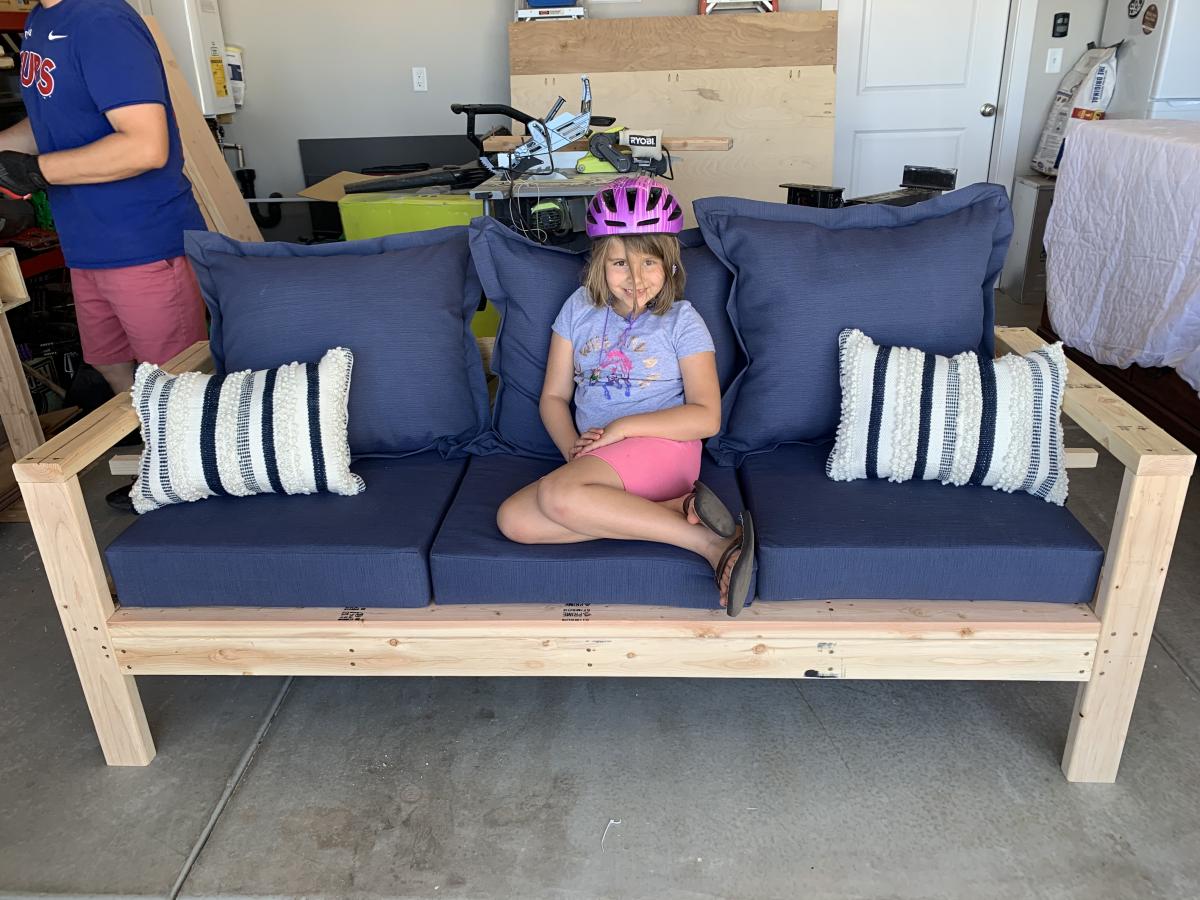
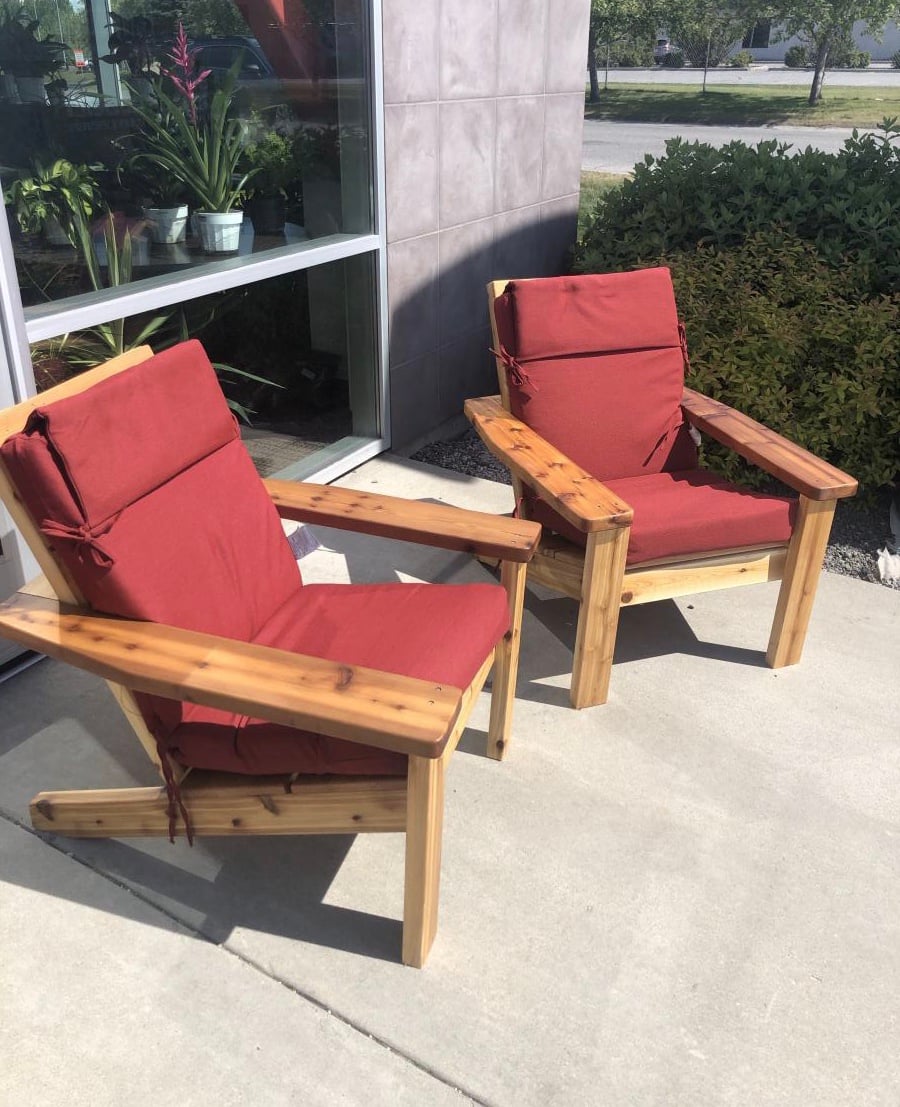
Done the 2x4 chair and table, I think it turned out well. Bought the cushions at Lowes.
Ray and Sandy
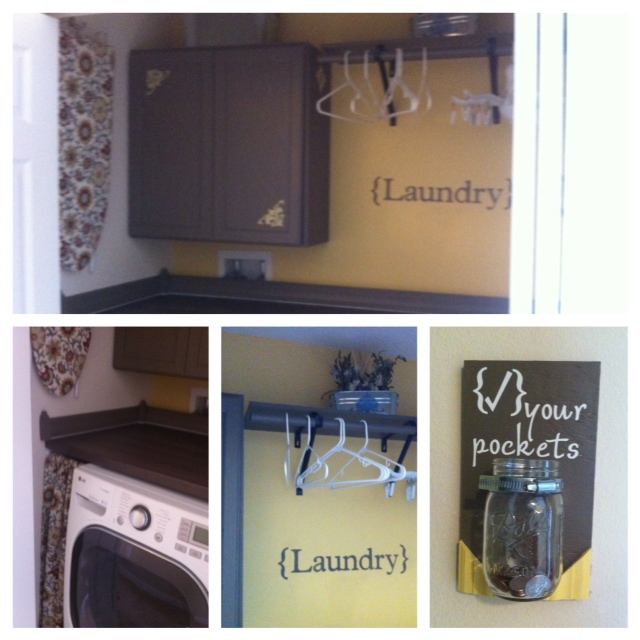
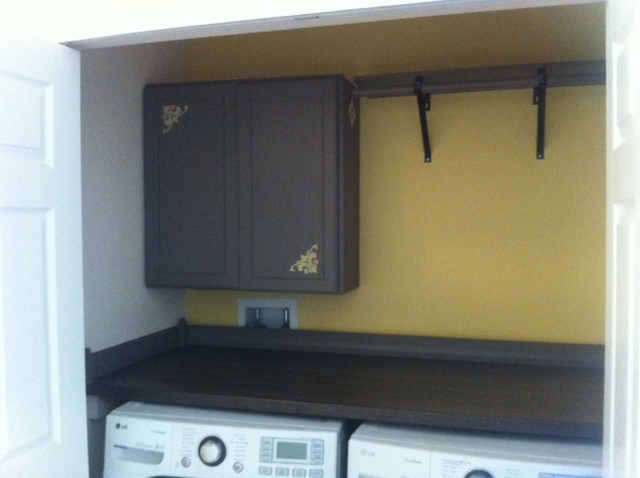
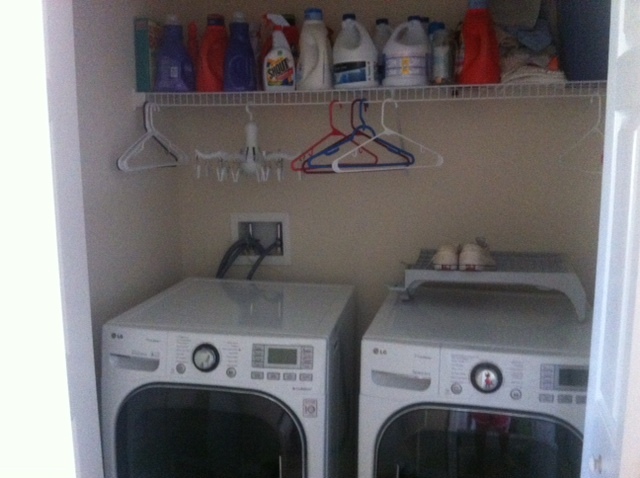
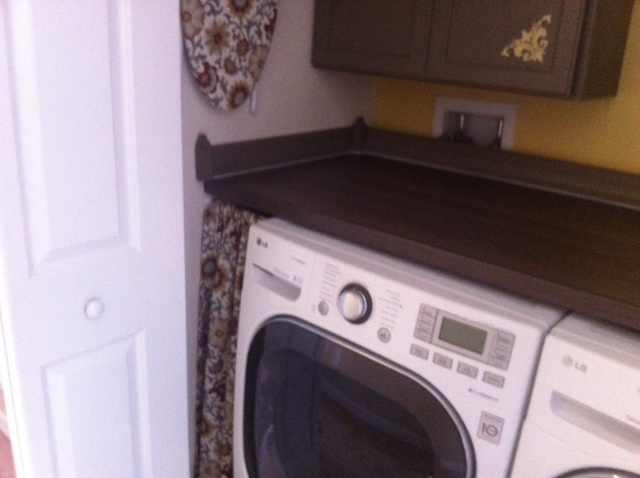
Laundry closet makeover. I was tired of having only the one wire shelf to store laundry supplies. So I added a cabinet, hanging rod, and counter-top over the washer/dryer for folding clothes. Also, behind the curtain on the left is a built-in garbage can for lit. Recovered small ironing board in same fabric as curtain and hung it up so save space.
I wanted to make something for my mom so she could have a place to grow her herbs this year on the balcony for easier access instead of planting in the backyard. The project was stretched over a few days. Cutting on day one, sanding on day two, painting on day three and drilling and putting it together on day four.
With the exception of the legs, the entire bench was put together using the Kreg Jig mini. I added extra 1x4s to the legs. Though, next time I will change to either 2x4s or 4x4s for extra stability when sitting. I really love how it turned out. I almost don't want to put it outside.
Wed, 11/25/2015 - 16:28
I love how your bench came out! I am looking at doing something similar - two in sectional arrangement to use as project/work space seating and convert to spillover sleeping area (the table will lower to bench height). I have a question about stability.Even with the additioanl 1x4 are you finding this bench not very stable?
thanks!

I am a really beginning builder (read: this is about my fifth project ever), but it is perfect for our tiny, narrow bathroom. I finished it with Golden Oak stain I already had on hand, and I enjoyed the process. Thanks so much for sharing the plans!

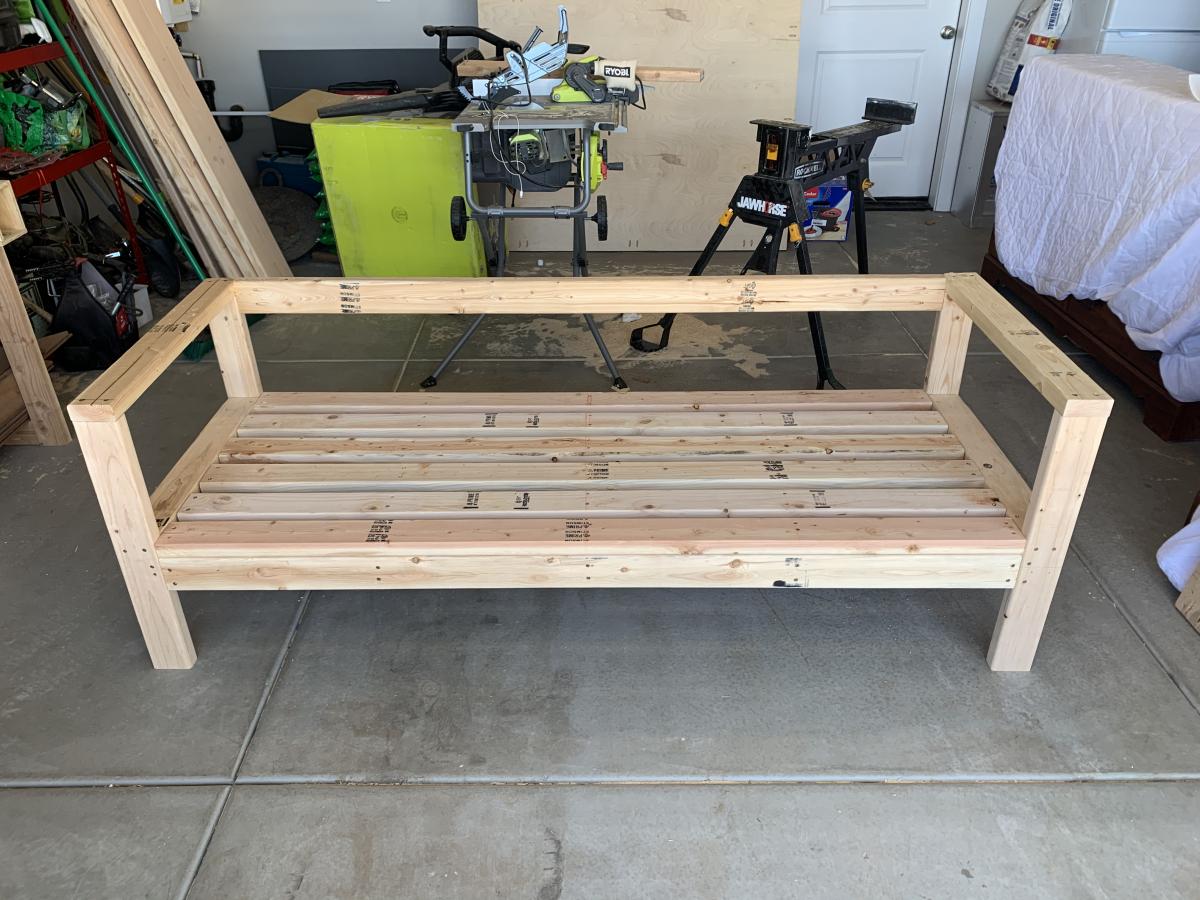
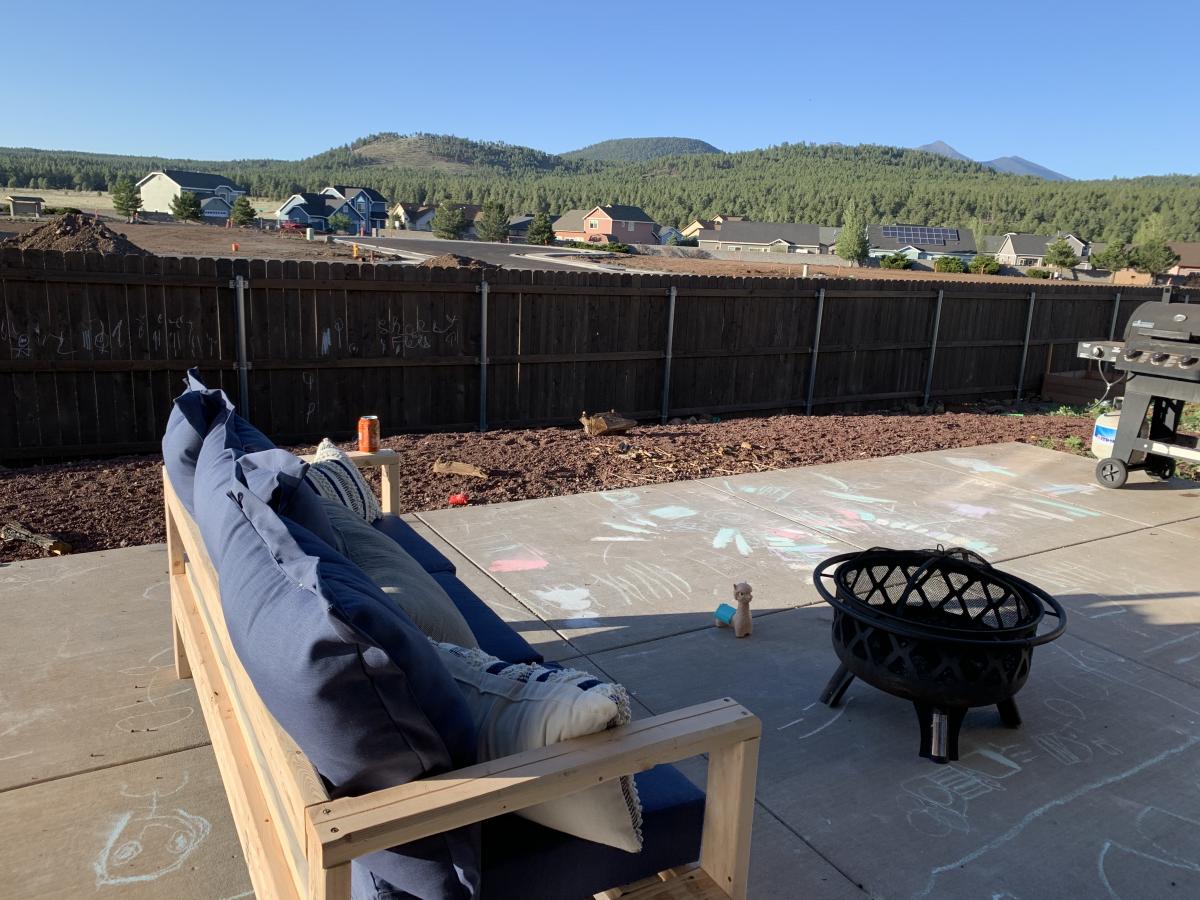
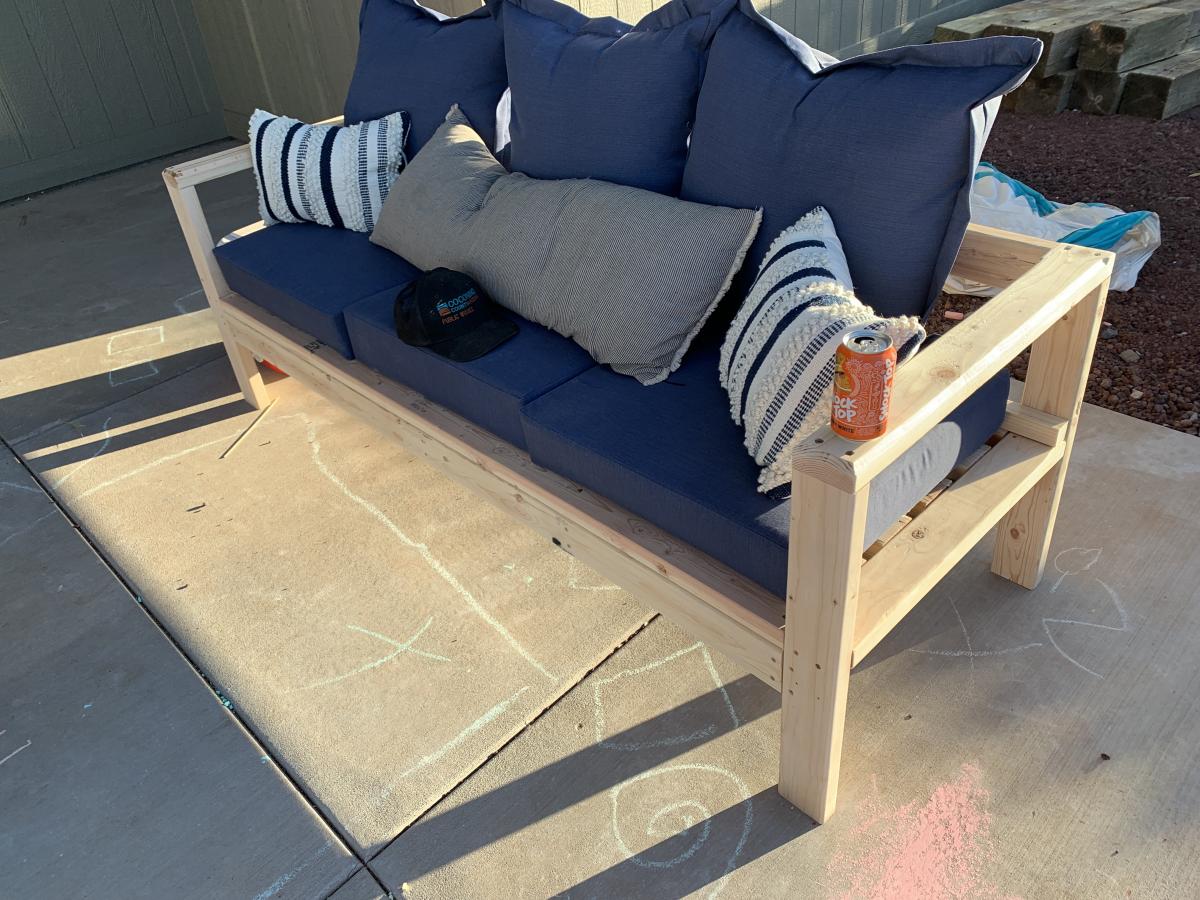
Fairly simple, especially if you have a miter station. So many repeating cuts. I think I cut the entire couch in 20 minutes. I believe we’re in this for about $250; including screws, and cushions, and paint. Very inexpensive compared to purchasing. So, I routed the arms with a 45 and added a 2x2 rail to keep the cushions from moving out the back. I will be turning it into a sectional soon. Also painting it red... Stay tuned.

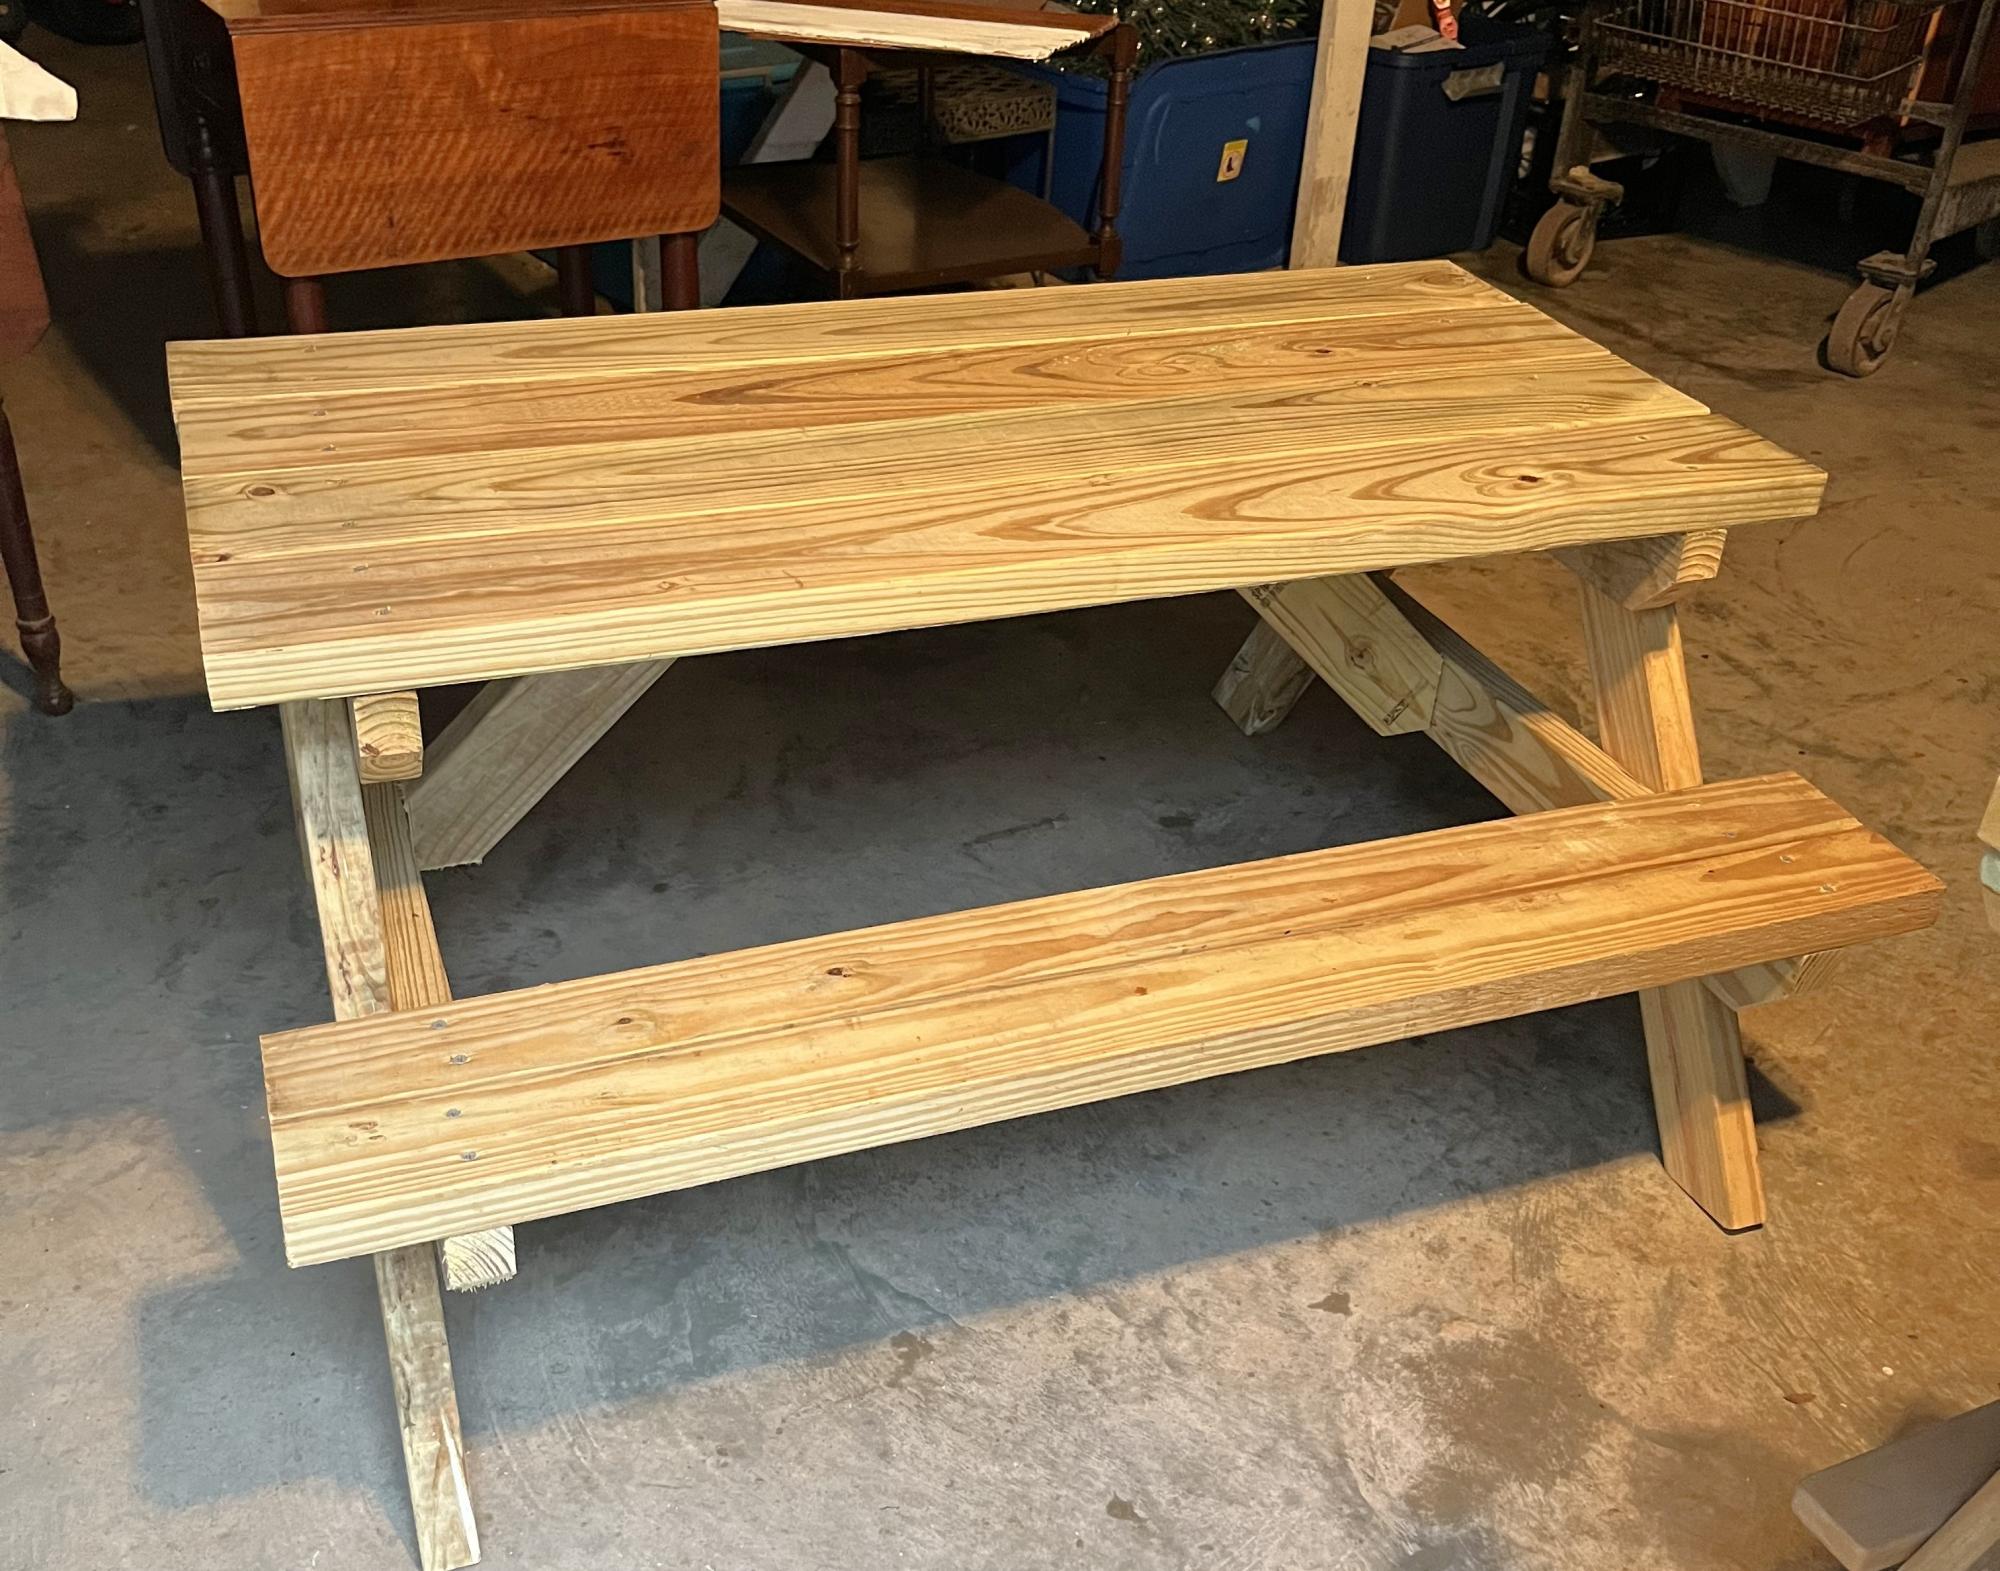
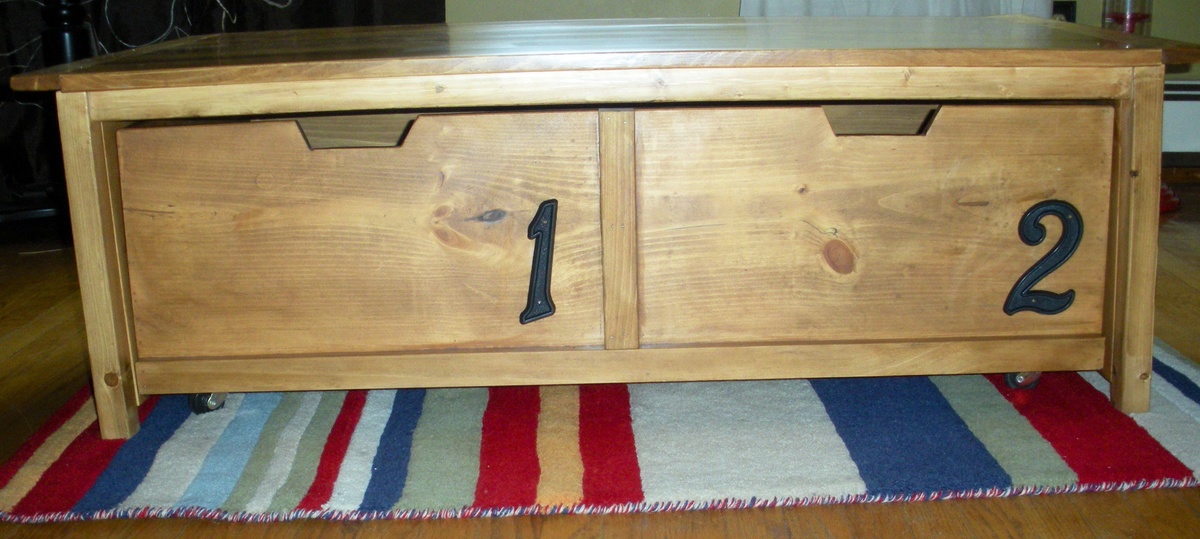
Built this to replace a cheap picnic table that I had bought. The table is solid and a great first project for me Pops. The grandkids will enjoy this one and Gammy has me already building #2 table. Thank you for the plans and your expertise.
Mark E aka Pops

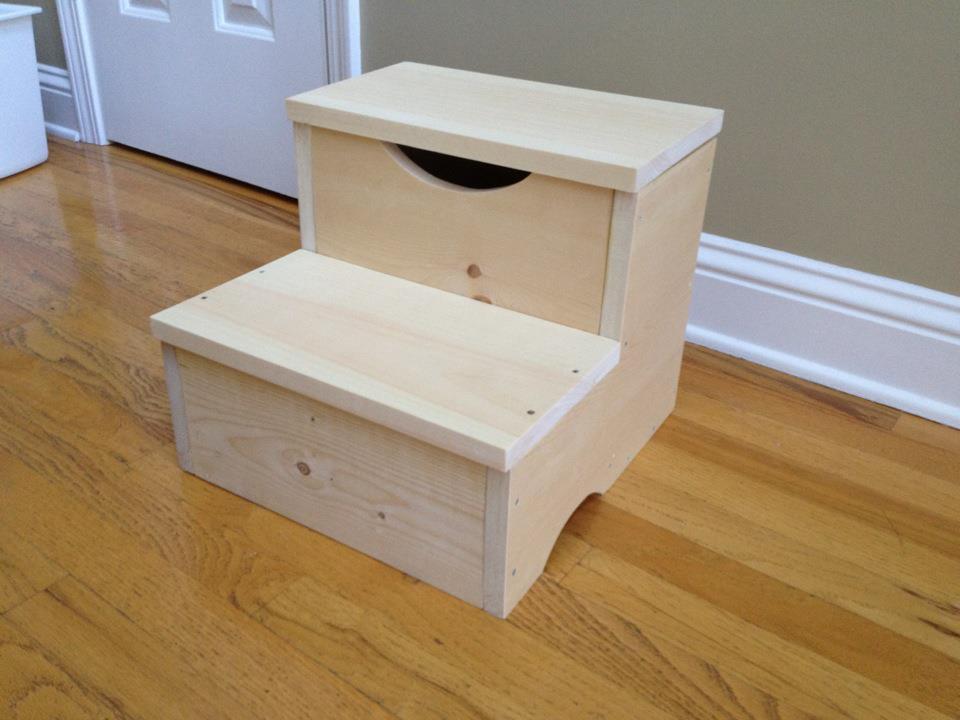
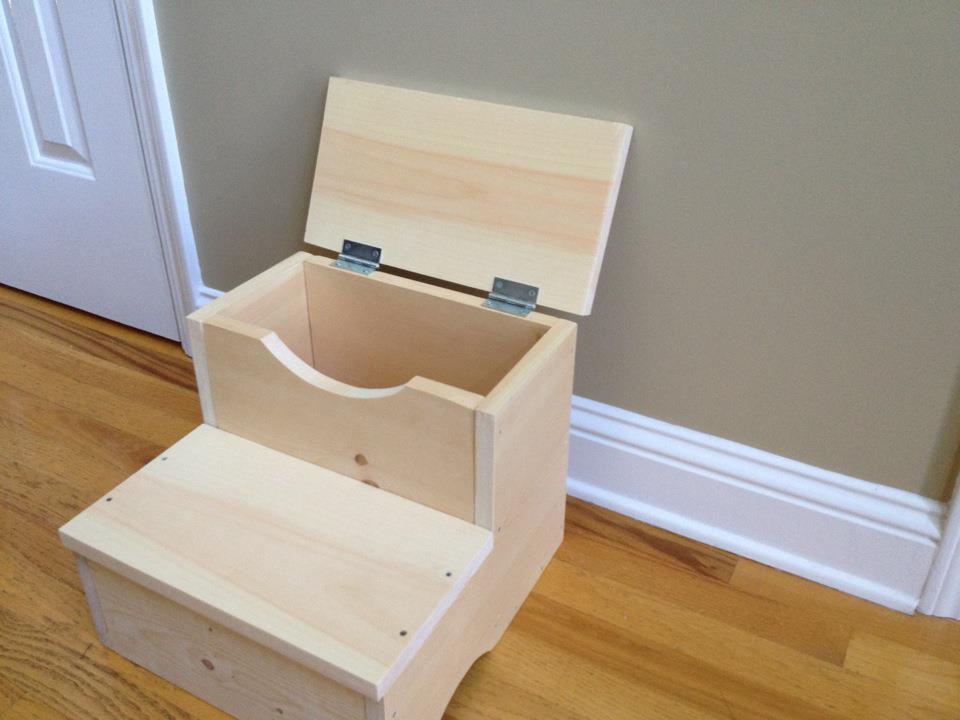
We moved my 3 year old son into his big boy room with a queen bed; it was a little tall for him so it was difficult for him to get in the bed so I set out to find a step stool. They were between $60-$80 and there was no way I was going to spend that kind of cash…..so that is how I found Ana’s site!
I built this with no problem and even got to know my jig saw a bit better.

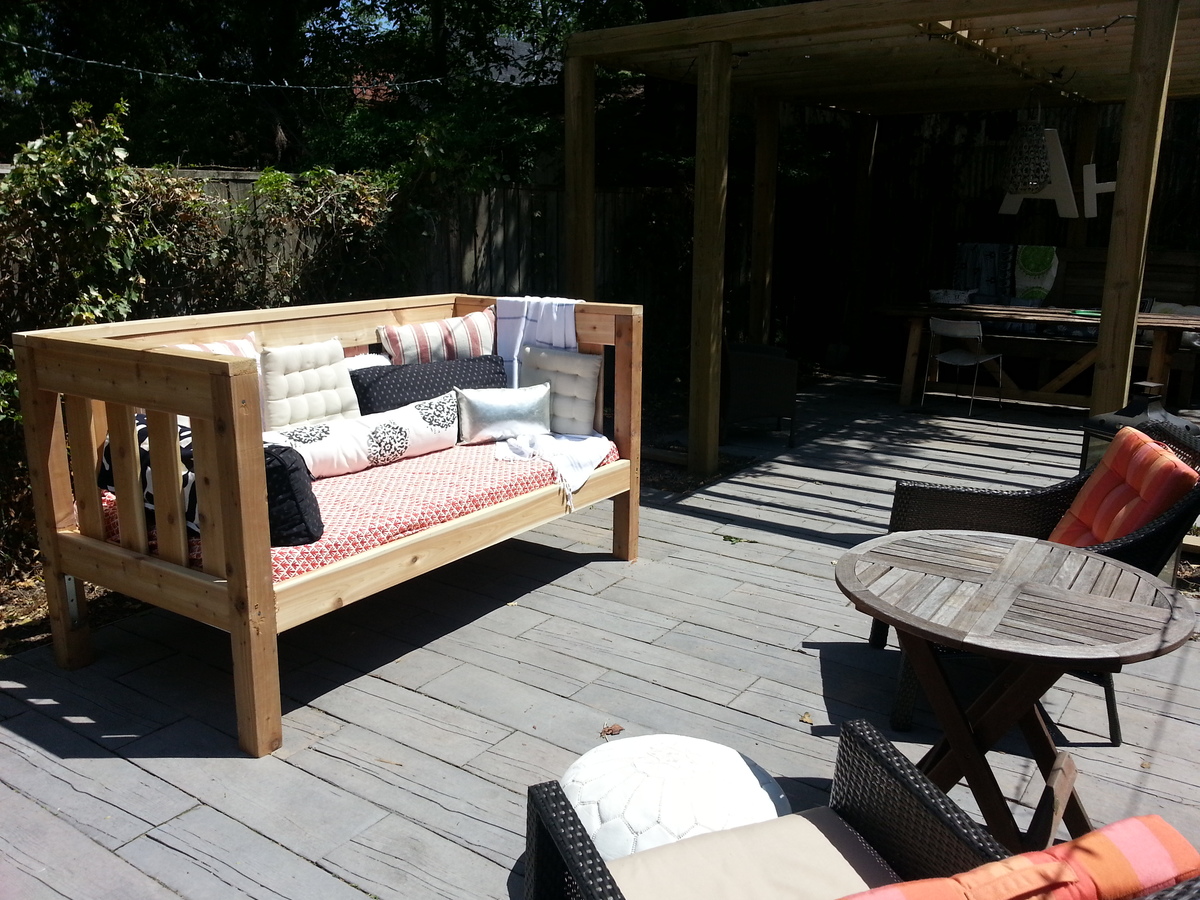
Modified from the plans for the simple day bed - link - http://ana-white.com/2009/12/plans-simple-daybed.html
Another visit from my friend Lisa and her miter saw - this time we were joined by my daughter Claudia. We changed the height of your indoor day bed from 31" posts to 44" posts in order to have enough height for people to lean back.
We used cedar so this can be left outside year round (I'm in Toronto, Canada). The lightweight foam single mattress can easily be removed.
Thanks for the plans!
My first project.
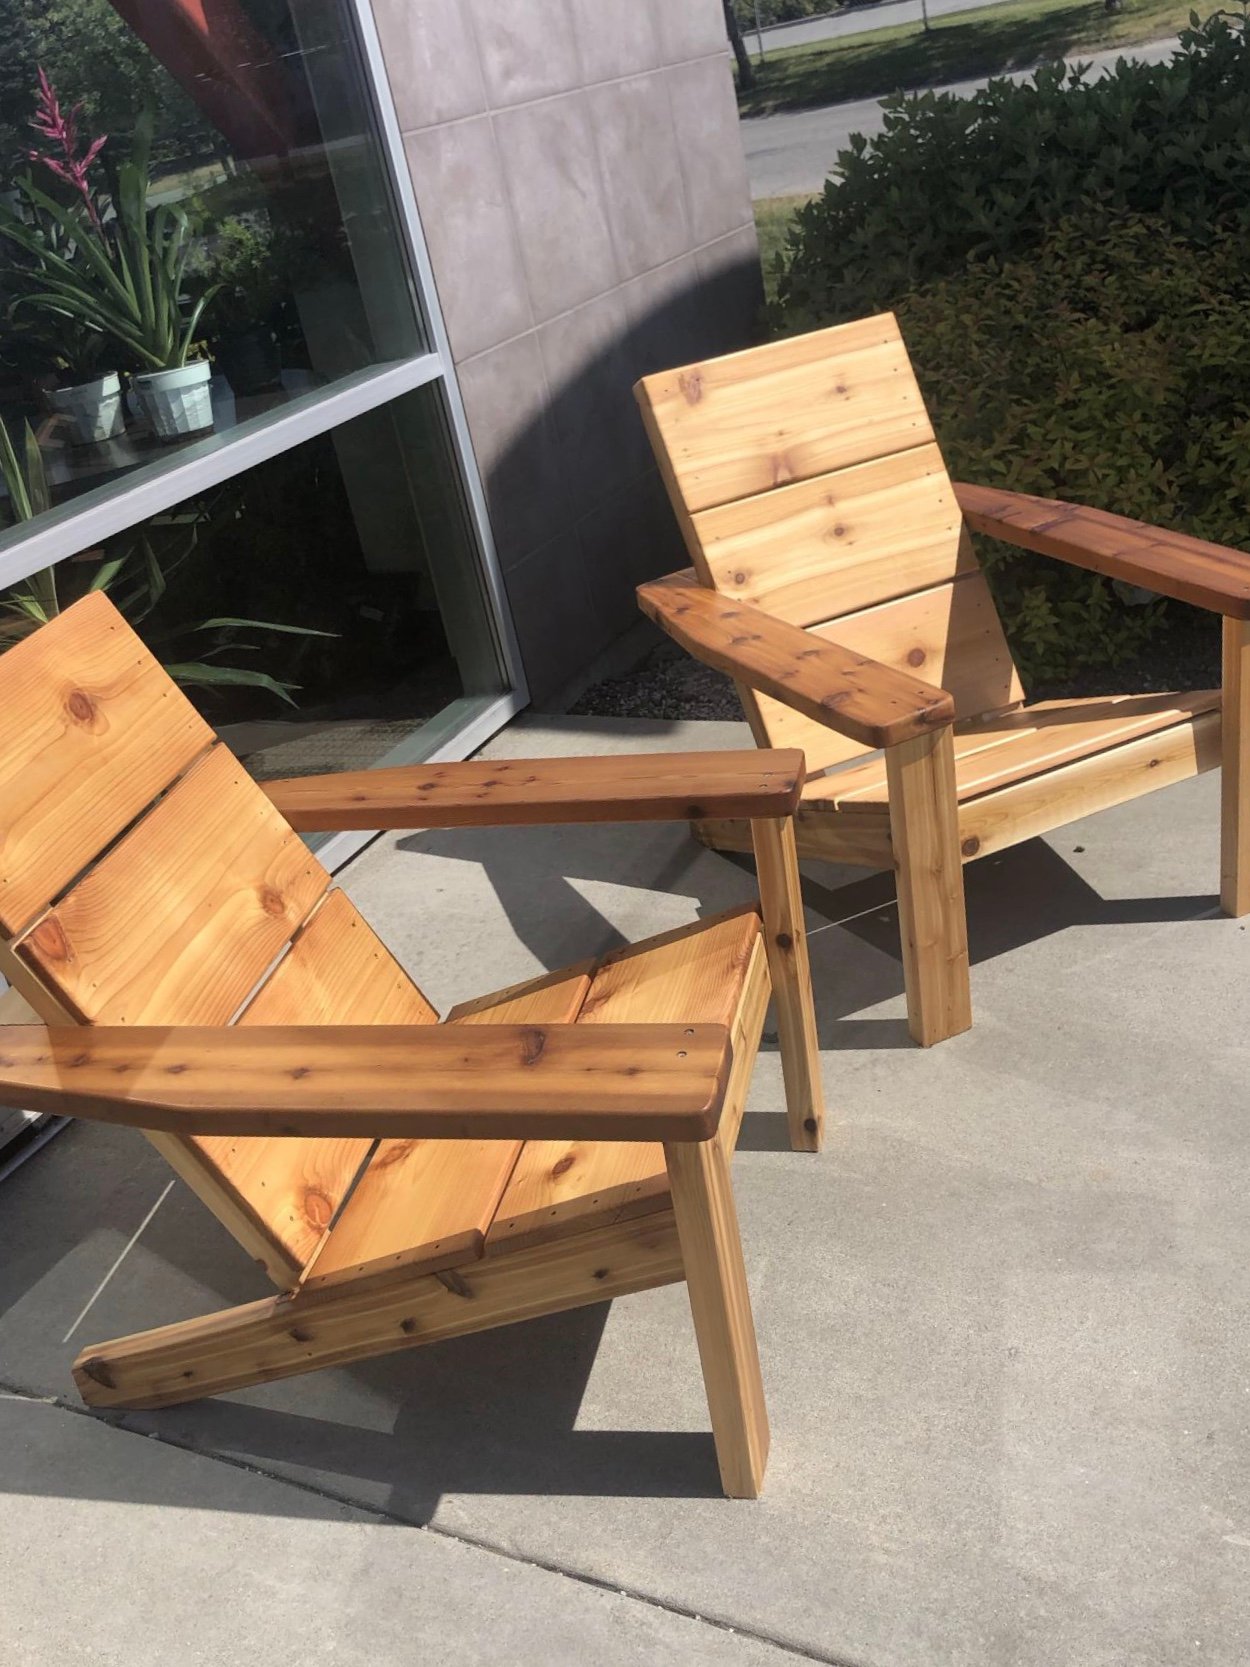
I made these modern Adirondack chairs for our business in Anchorage. GREAT and easy to build design by Ana - we upgraded the arms to tapered 2x6 and they're awesome!

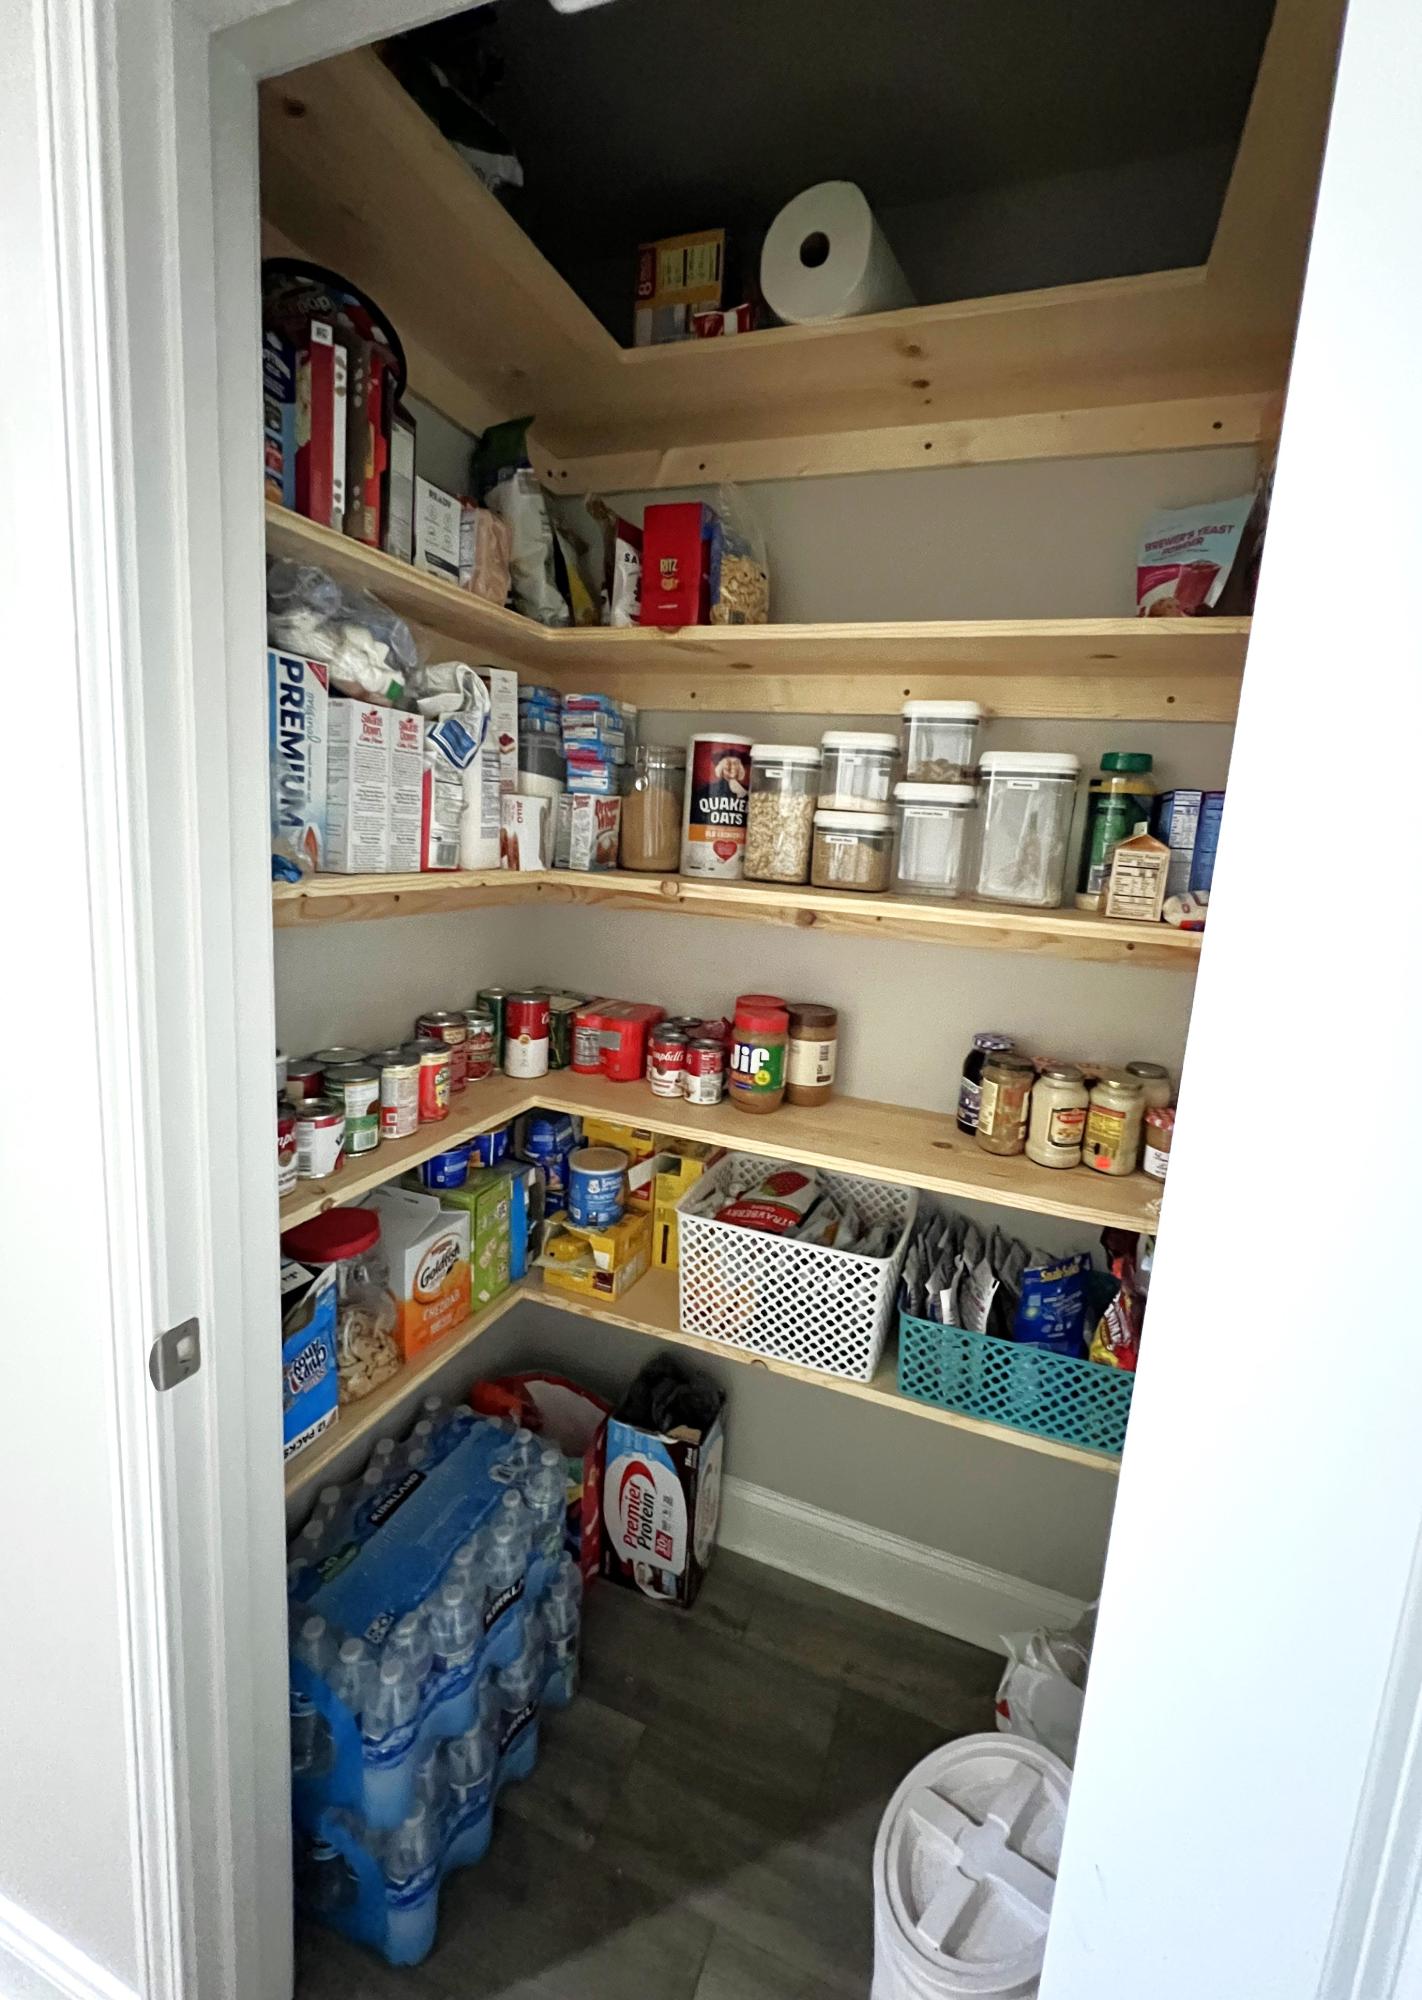
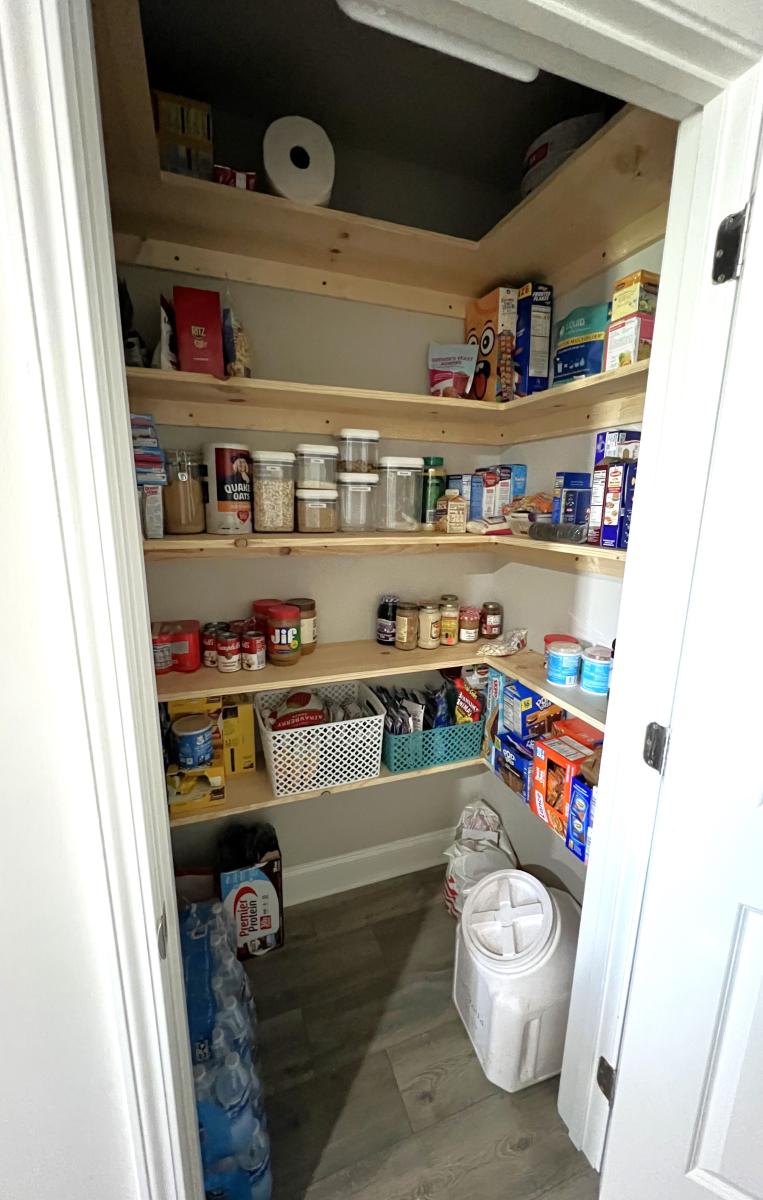
The wire shelves that the builder placed were not cutting it for storage. This setup from your plan helped garner so much more space for organizing. The pantry is roughly 54”x 35” and we were able to place five shelves instead of the four. Thank you so much for your assistance!
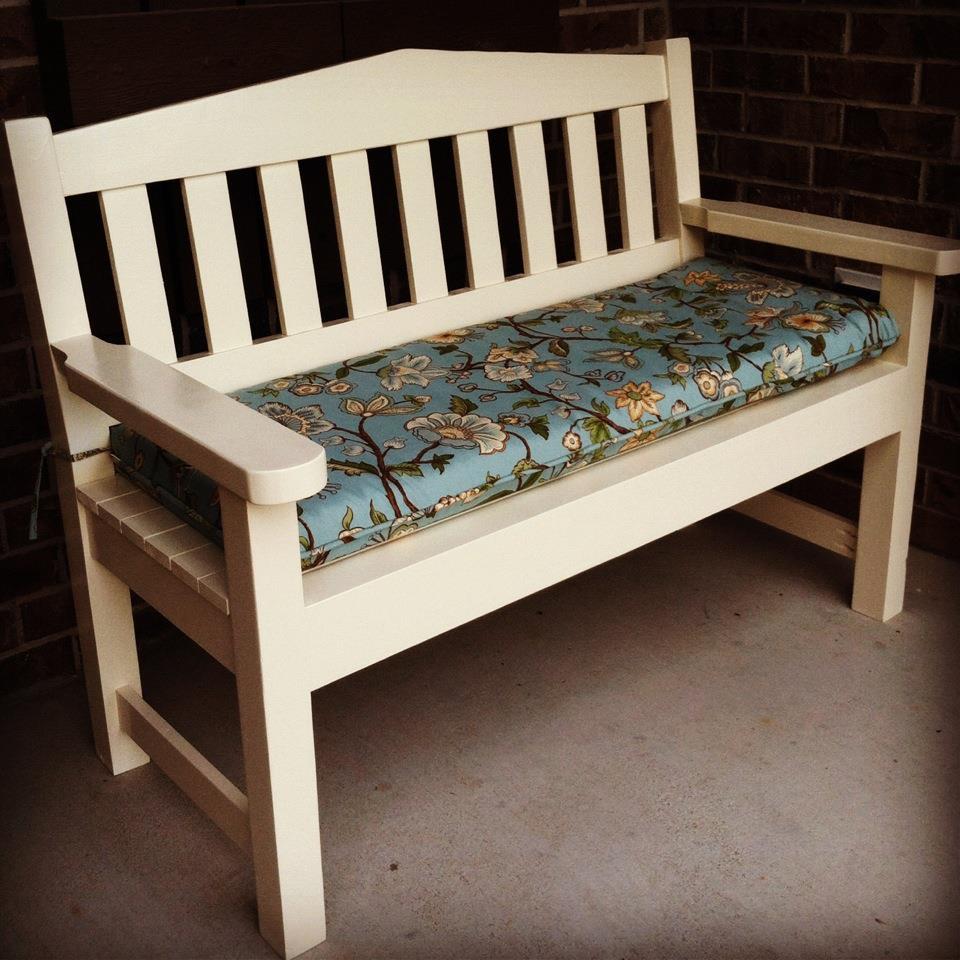
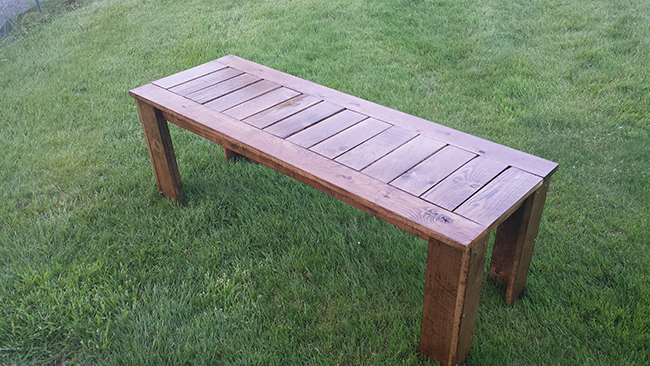
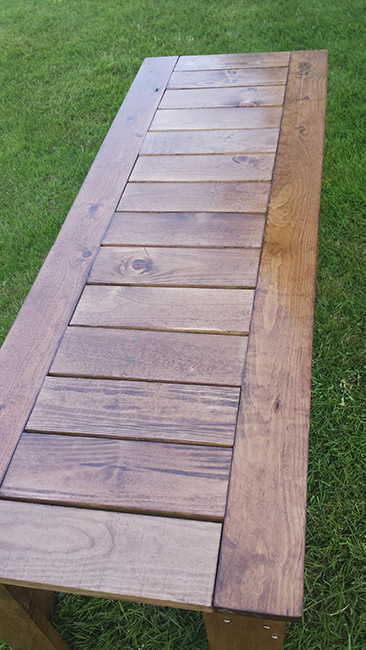
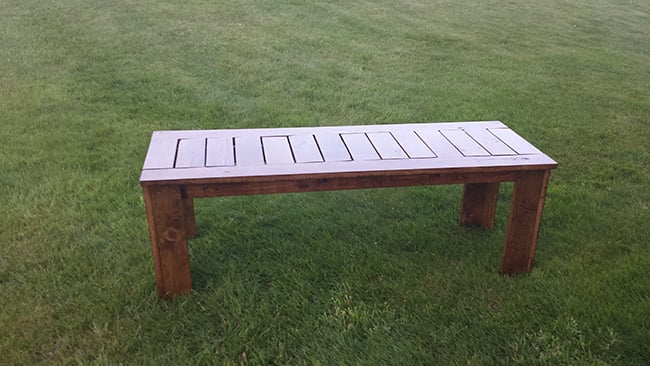
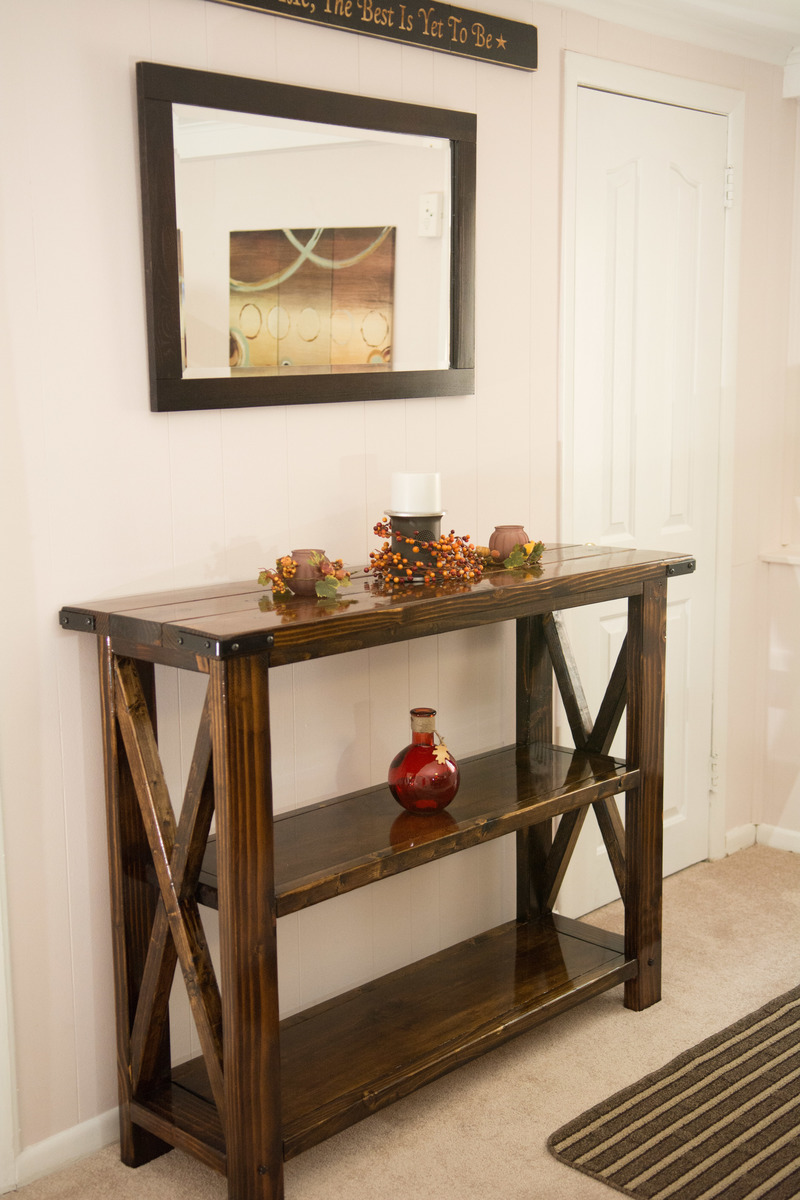
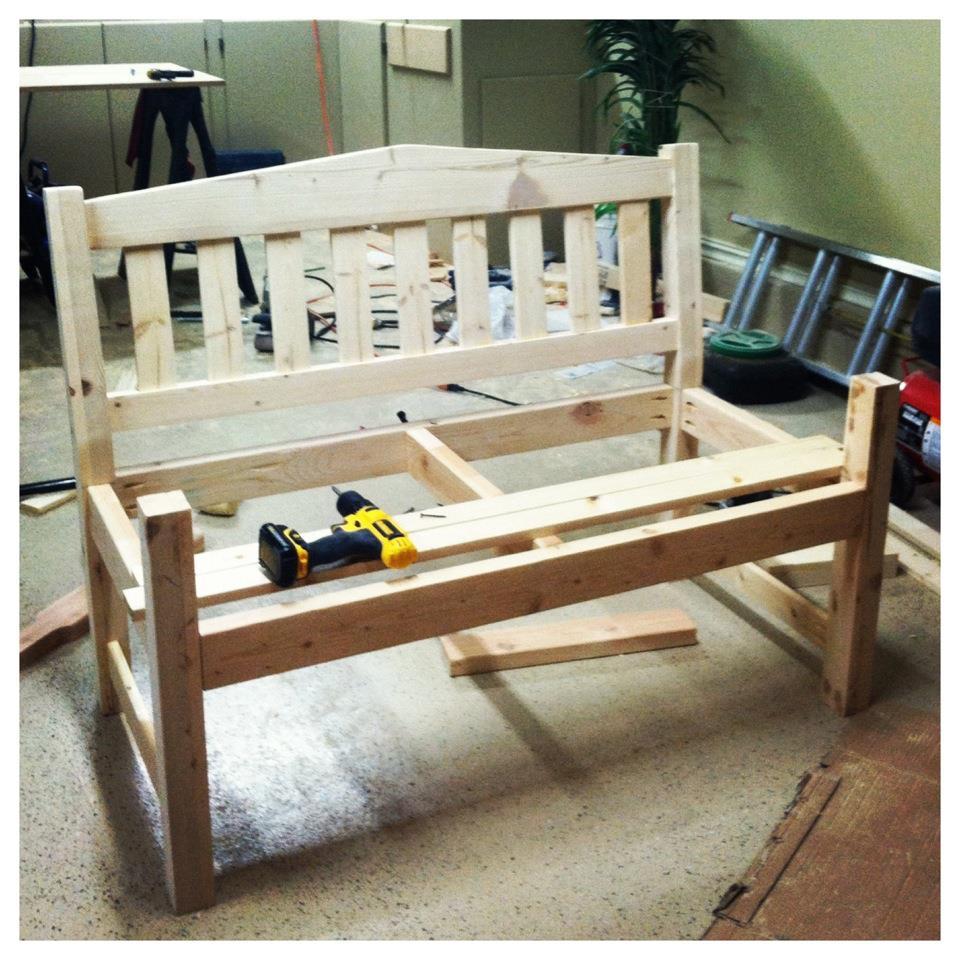
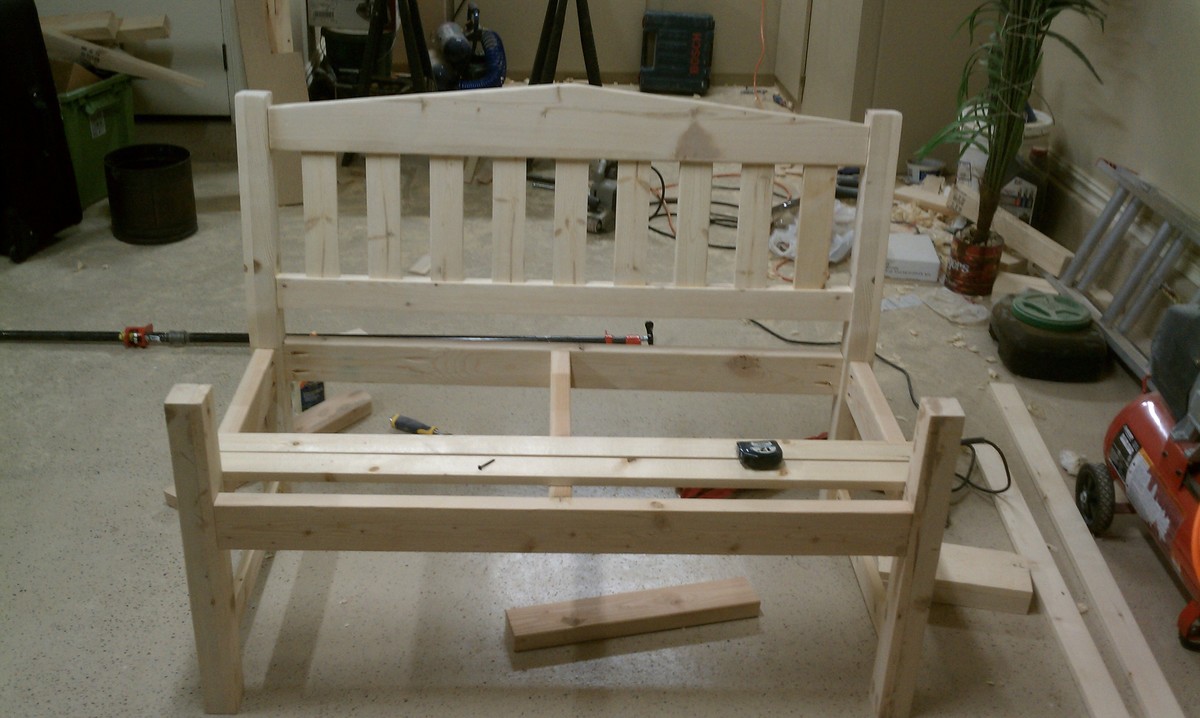
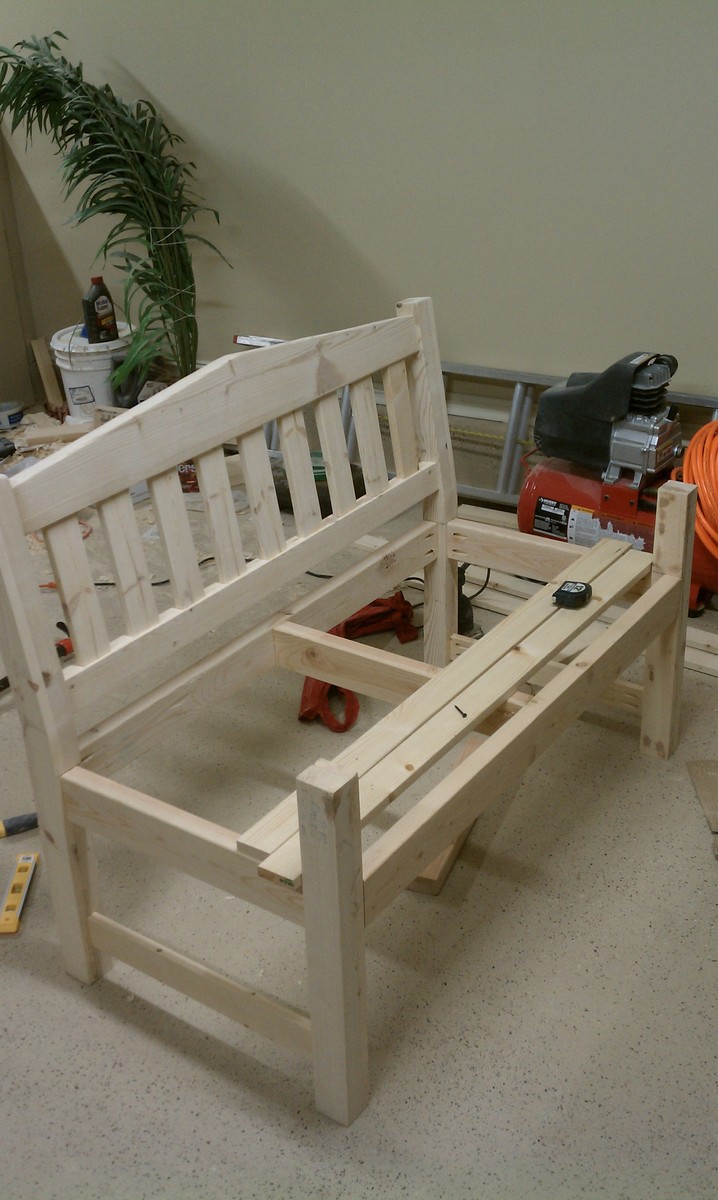
I built this for my wife for an anniversary present. She had wanted a garden bench for some time but the ones that she wanted were between $500-$700 which is ridiculous for this type of bench. So, I did a search on here for garden benches but there weren't really any plans for them and the few brag plans were not really the type of bench I was looking for. I printed off a few pictures of benches that I liked and got to work. The front and back legs a 2x6 and a 1x6 glued together and then cut to be straight. I wanted something thicker then just a plain old 2x6. If I had to do this again though, I would have just glued 3 1X6's together. The reason being, is that 1x6's usually do not have a rounded edge and a 2X6 does. So needless to say when you glue them together you have a nice little gap on either side. Without a table saw to take this off, its pretty difficult to get a straight cut. But I ended up getting it right after sweating for a few hours in the garage. The bench stands 36 inches high, 48inches wide and about 18 inches deep. The seat height is right at 18in also.
In the unfinished pictures I actually had the depth being 24 inches. After sitting on it though it was just way to deep. So I pulled it apart, made the adjustments and its now much more comfortable to sit in.
If anyone has any questions or wants more details feel free to drop me a line!
Thanks!

Fri, 06/19/2015 - 13:32
Yes I think thats what they came out to be. yes the cross pieces are 2x4 and the slats are 1x4's

In reply to back legs by smz1919
Fri, 06/19/2015 - 13:34
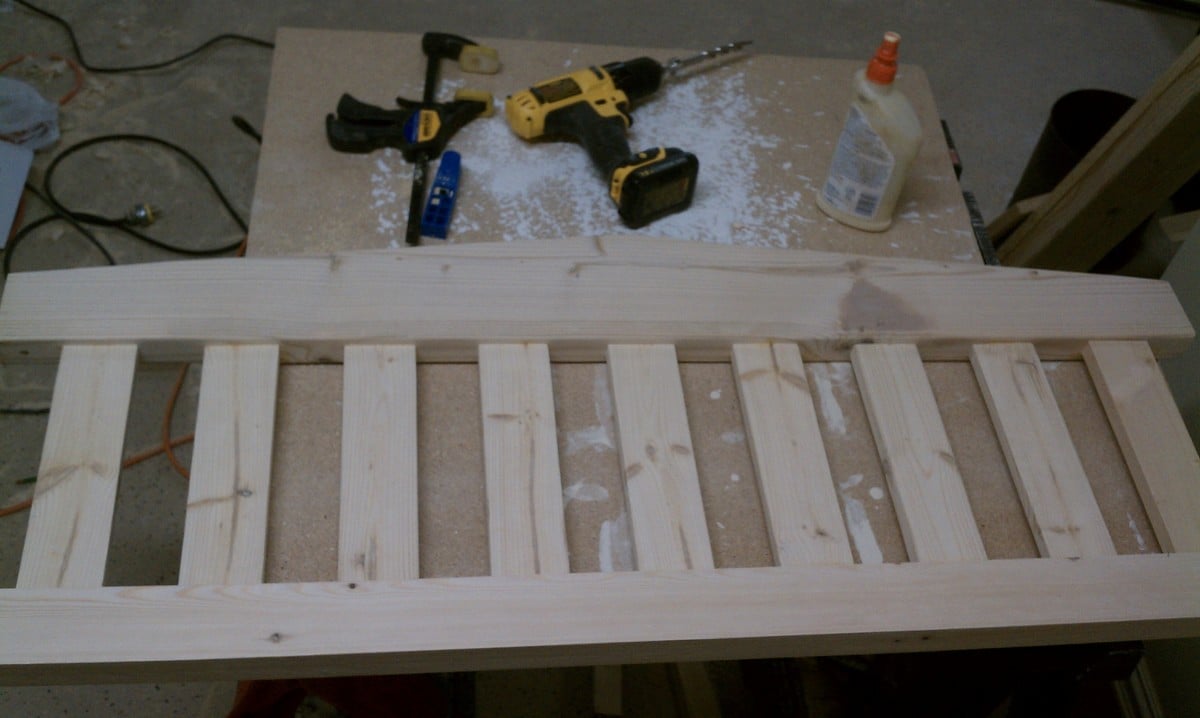
I glued a 2x6 and a 1x6 together to get the thickness. Now that i have a table saw and a jointer this entire process would have been much easier but after getting it to look like one solid piece i just outlined the slant i wanted and cut it using a jig saw.
Fri, 06/19/2015 - 20:17
So the back slats are just glued in place right? I wonder if it would be easier to use a biscuit joiner or not
Sun, 10/23/2016 - 17:46
Wed, 05/26/2021 - 08:32
Hi Nathan
Love the look of the bench. Would you have a list of material requirements. I intend to make a bench like this and would like to know the measurements of the top back spar (the shaped one).
Here in the Uk our timber yards do not always supply the same cuts as the US so I need to have some idea of the pieces I need
Many thanks
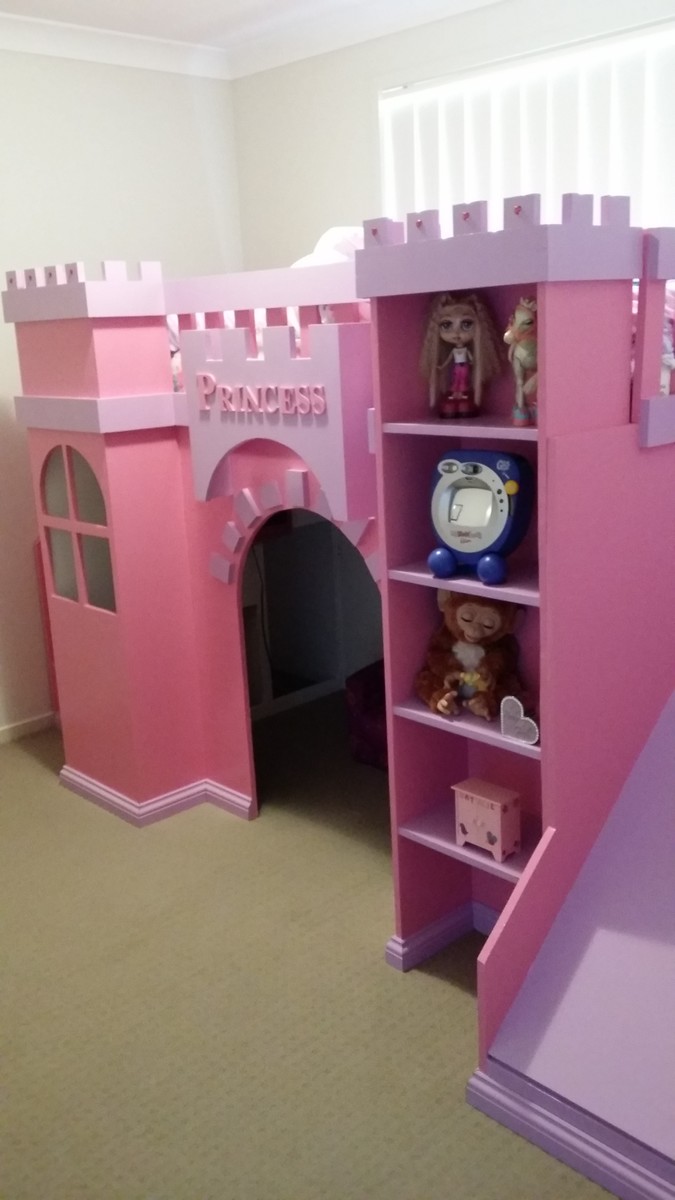
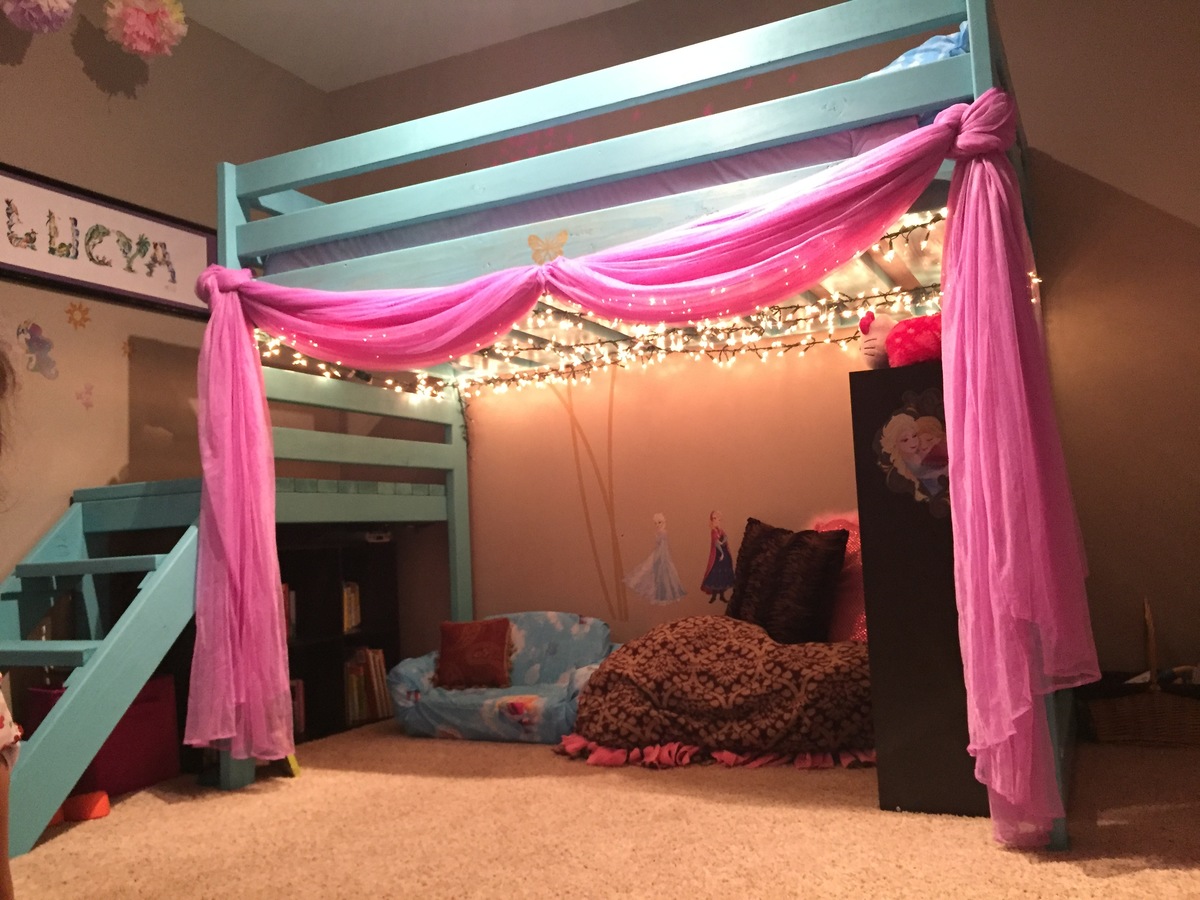
Castle bed


Thanks for the great plan Ana! Super cute addition to our bathroom!
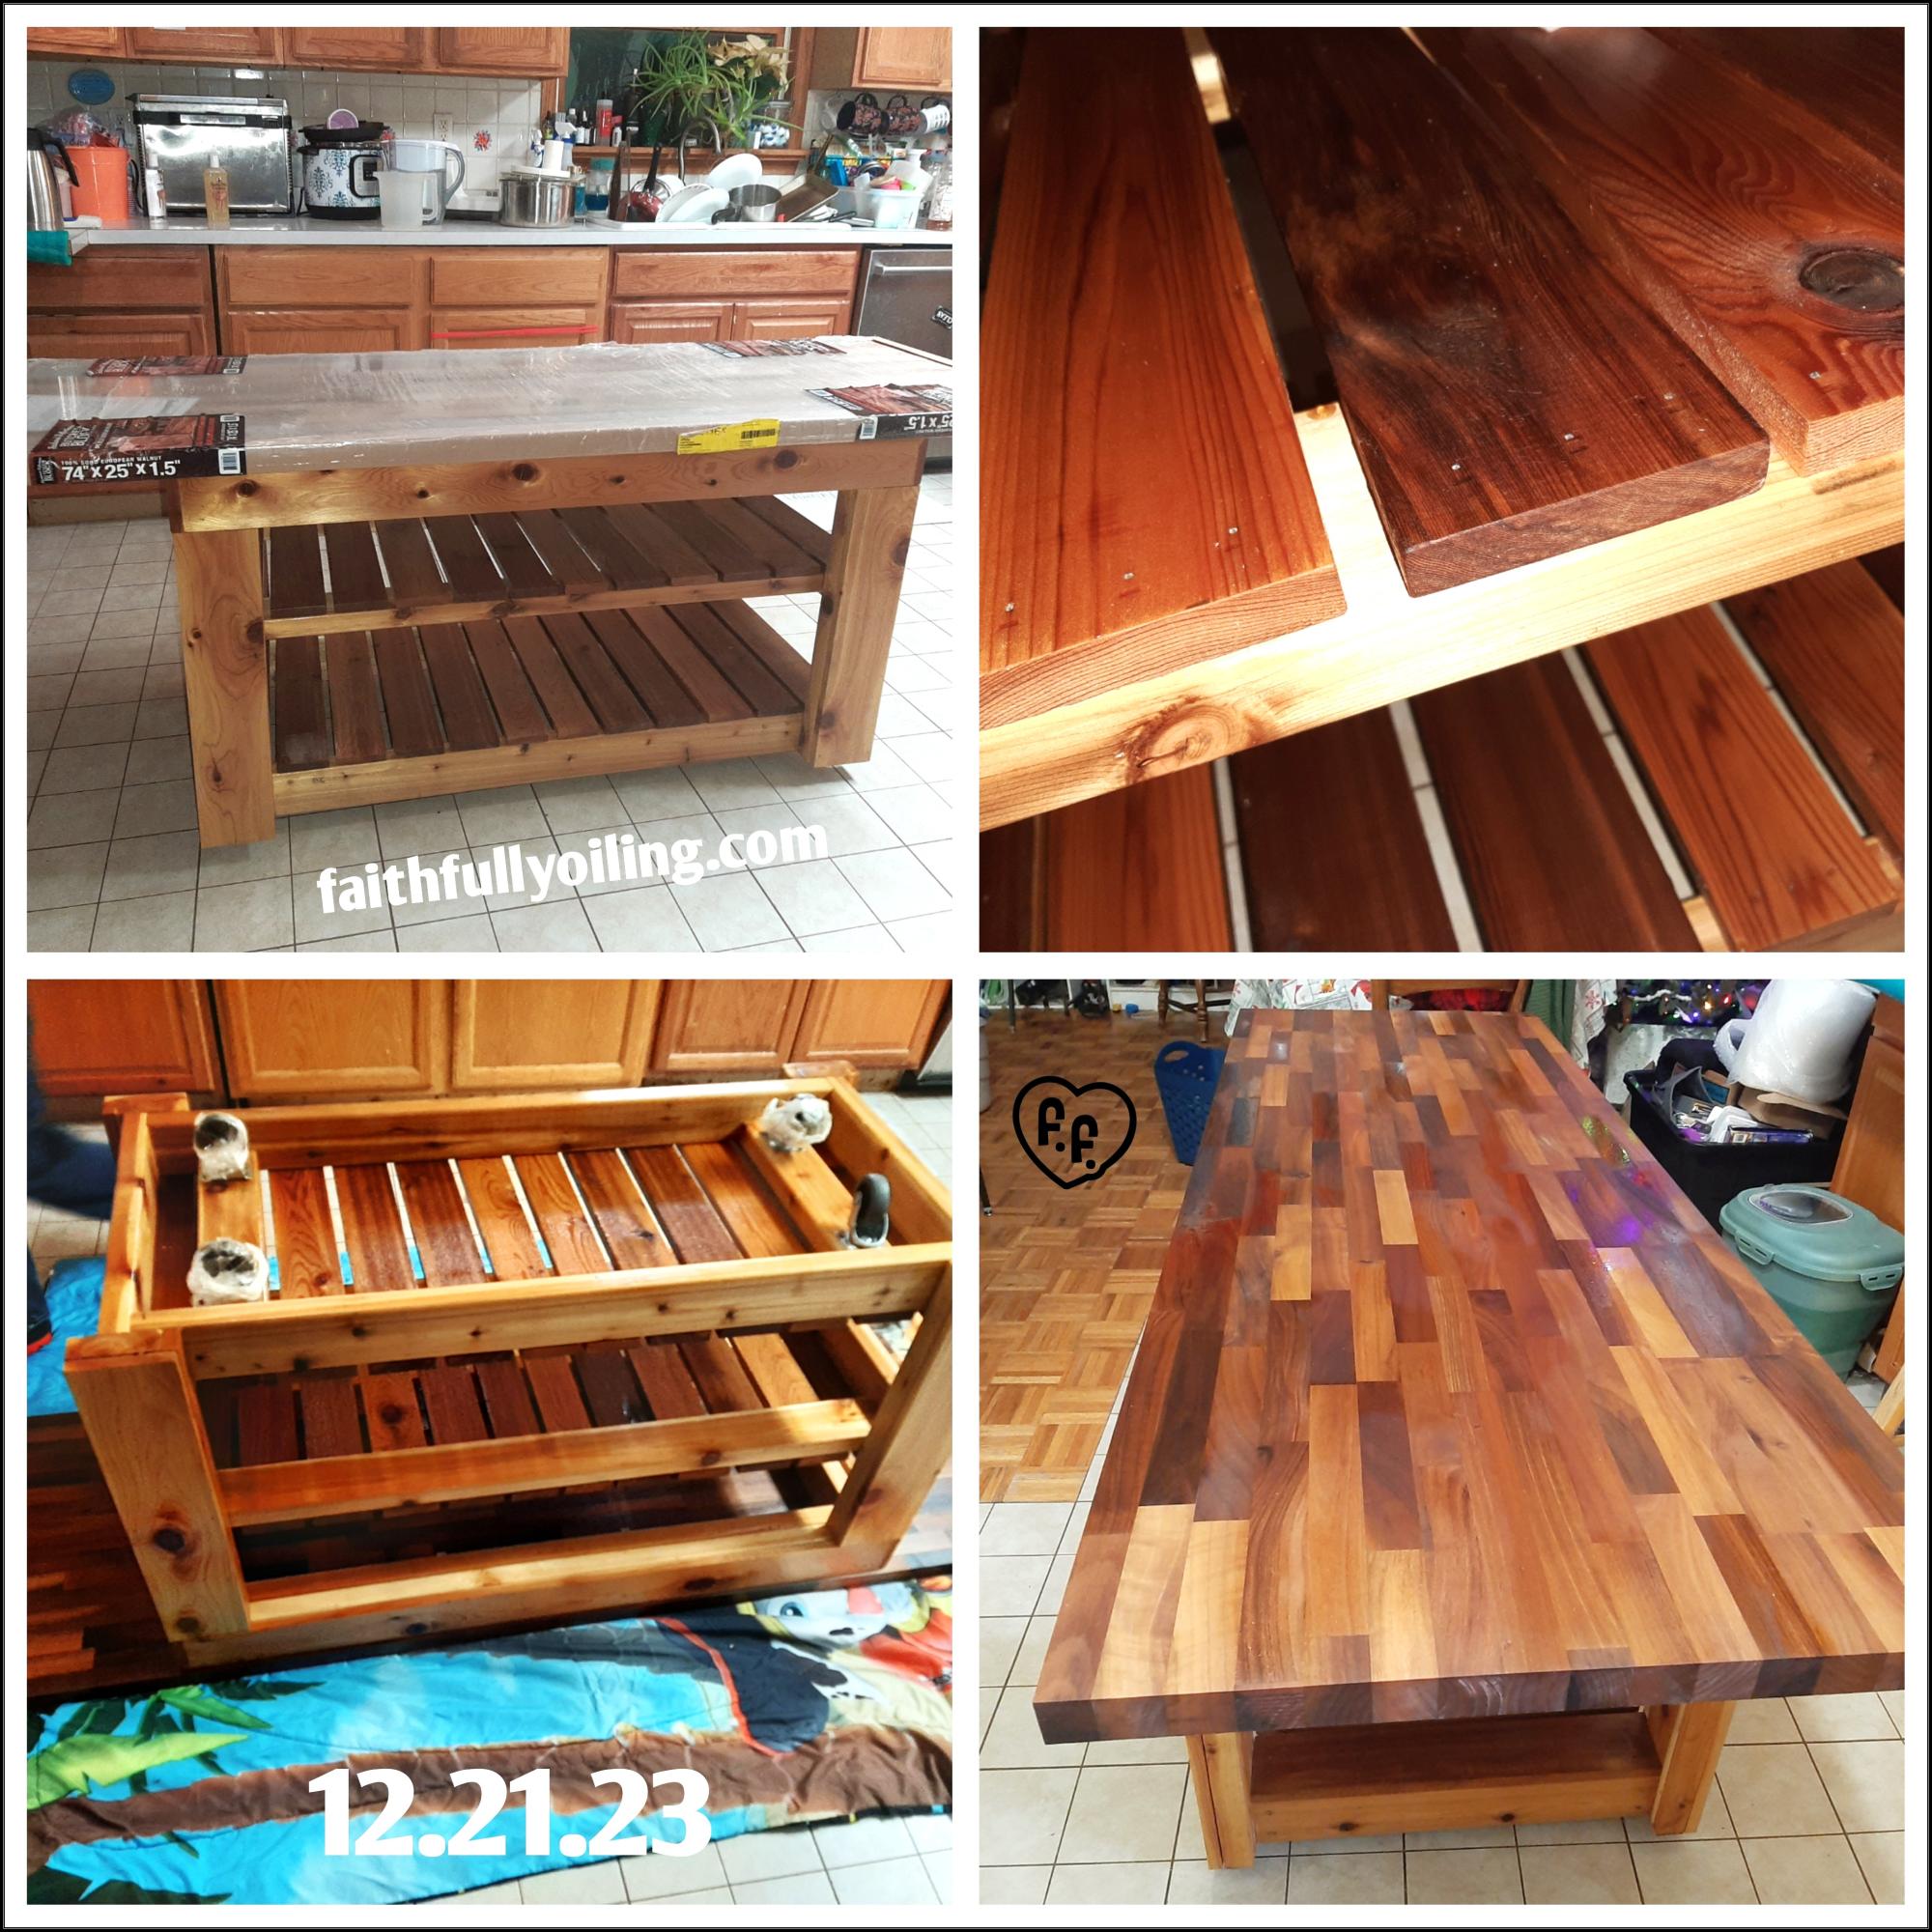
I really needed a kitchen island. That would work for me & last.
We, my husband & I, based our plan off of the Easy Kitchen Island Plans. I printed the plans. Then modified a few items. Originally I was gonna do a 4ftx25" but my butcher block we found was 6ft. So we left it with 6ft. My barstools slip under the overhang so kids can pull them out & use when needed but not be in the way.
We also made it custom to my height for mixing & kneading dough. The selves are different to work.with my tupperware containers. (Goal is to get all the same eventually).
We used cedar & a little pine for the main structure. The top is European walnut butcher block.
It's on wheels. So I can move it out of the way if needed.
We did seal the sides (kids & messy cook). The shelves & top I used butcher block oil & conditioner. Ever month I add a thin coat of conditioner to the top.
I love that I have so much room now to create.
Thank you so much for the inspiration!
Faith & Jonathan Flesher