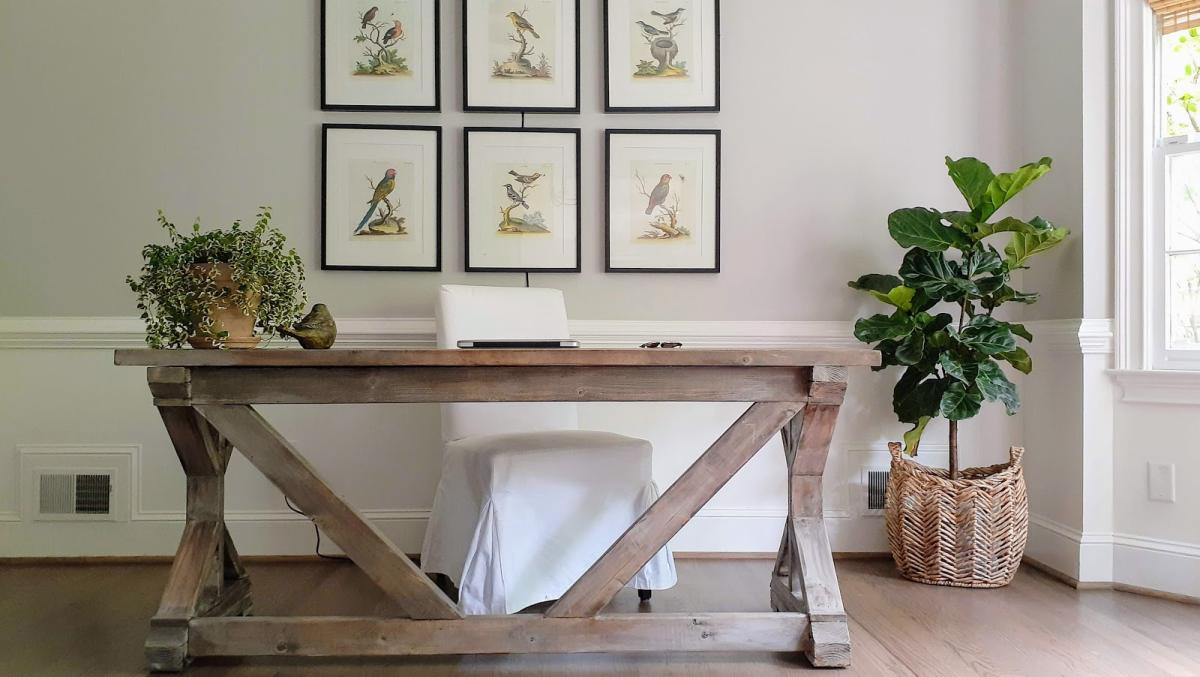
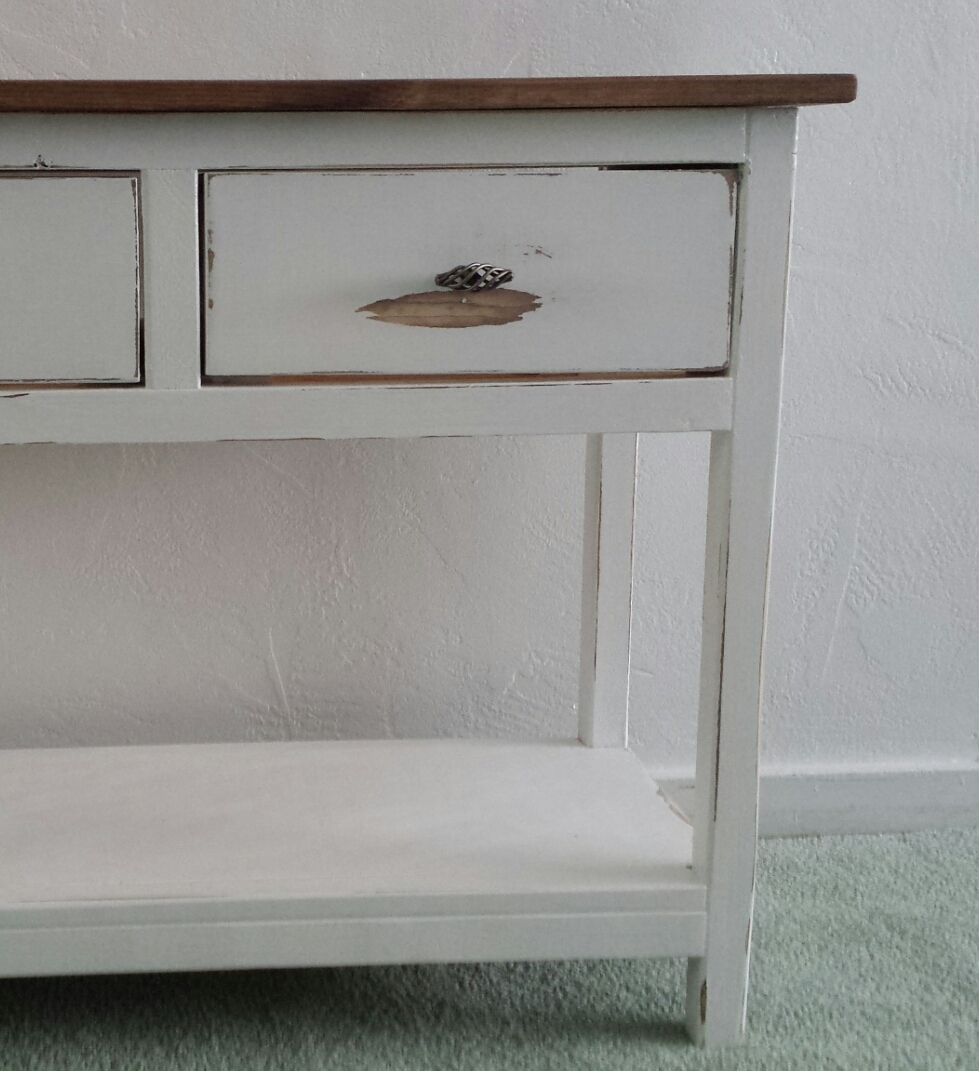
Fancy Farmhouse Desk

We love the style and finish on this fancy farmhouse desk, for more details visit Oak House Design Co.
Built from Plan(s)
We love the style and finish on this fancy farmhouse desk, for more details visit Oak House Design Co.

My 2nd project!

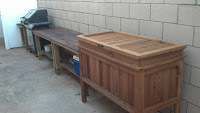
I do a lot of family gatherings and my daughter gave me a huge white cooler to accommodate all our different beverages. It's great to have, but its basic appearance didn't add much to the "party" atmosphere!
My son-in-law has a small mill and after a recent visit he had sent me home with a trunk load of beautiful cedar. At that time I had no idea what I'd do with it. But, after seeing so many rustic coolers I decided that would be a perfect project to build with my cedar.
I built this before the cute blue ice chest was posted by Birds and Soap, but that would be a great plan to follow!
My cooler had handles that were molded into the body of the chest, so the shape was a bit awkward to work with-especially considering that I'm really short on math skills! But, with a bit of trial and lots of error I made it work. I worked on it over several days, but if I'd buckled down and worked continuously I might have finished it in one day.
I love how it turned out, and after the 1st family gathering I had orders for 4 more (smaller) cooler chests!


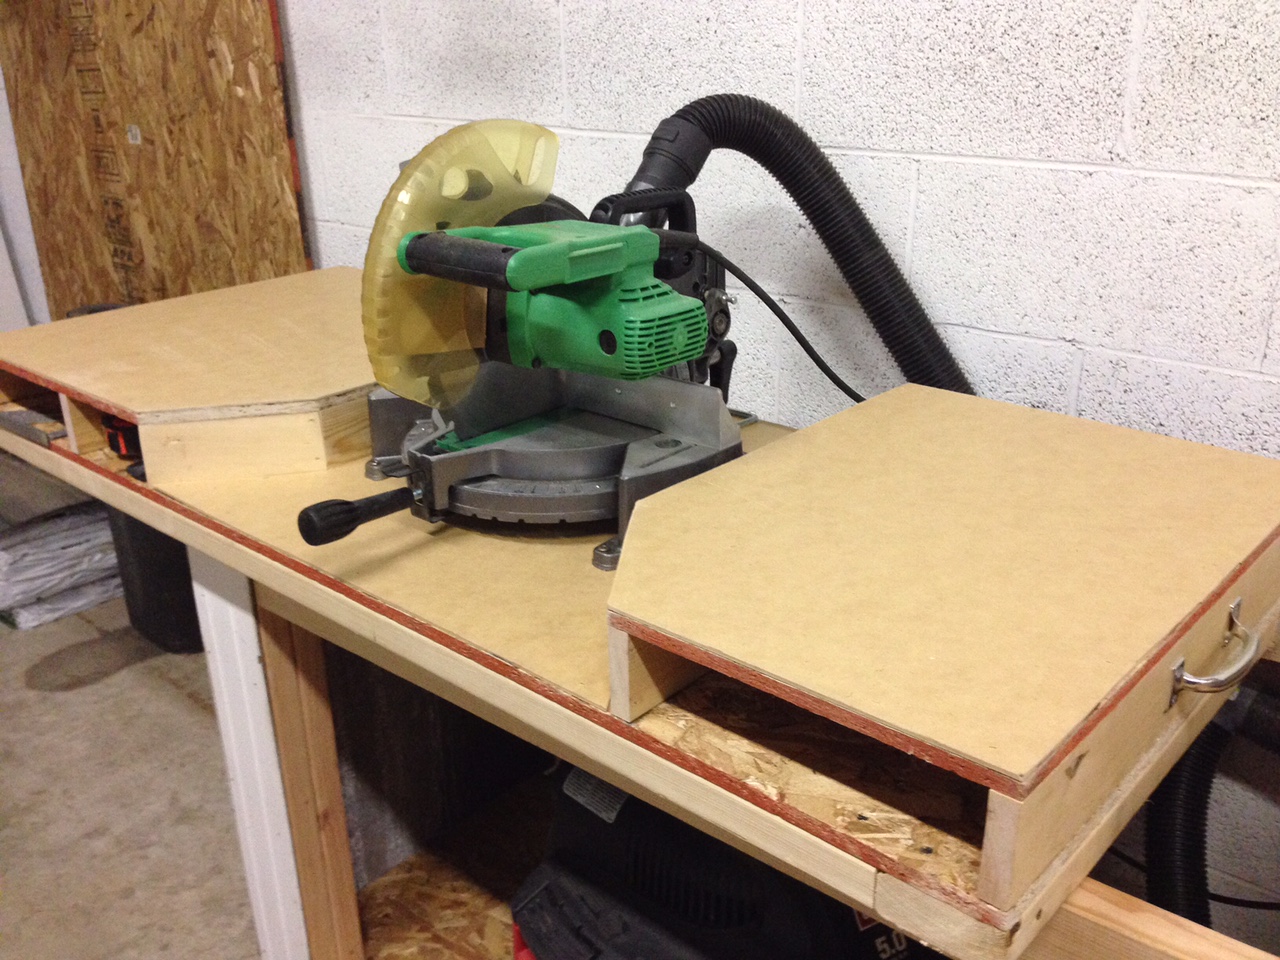
I was looking for a plan to build a miter saw cart but also wanted to include my table saw.
I was leery about making a permanent station for the miter saw in case in needed to move the saw for an inside trim job so I made the miter portion of workstation portable.
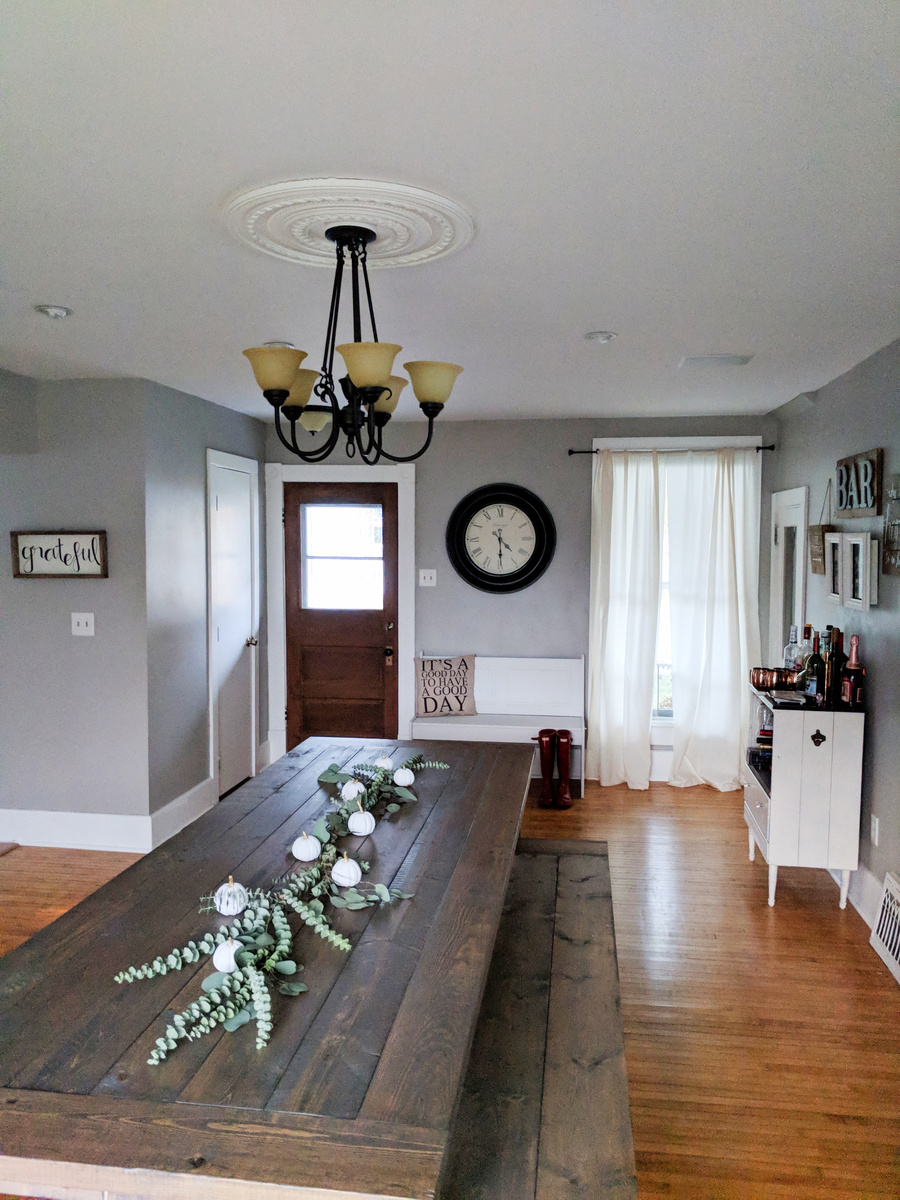
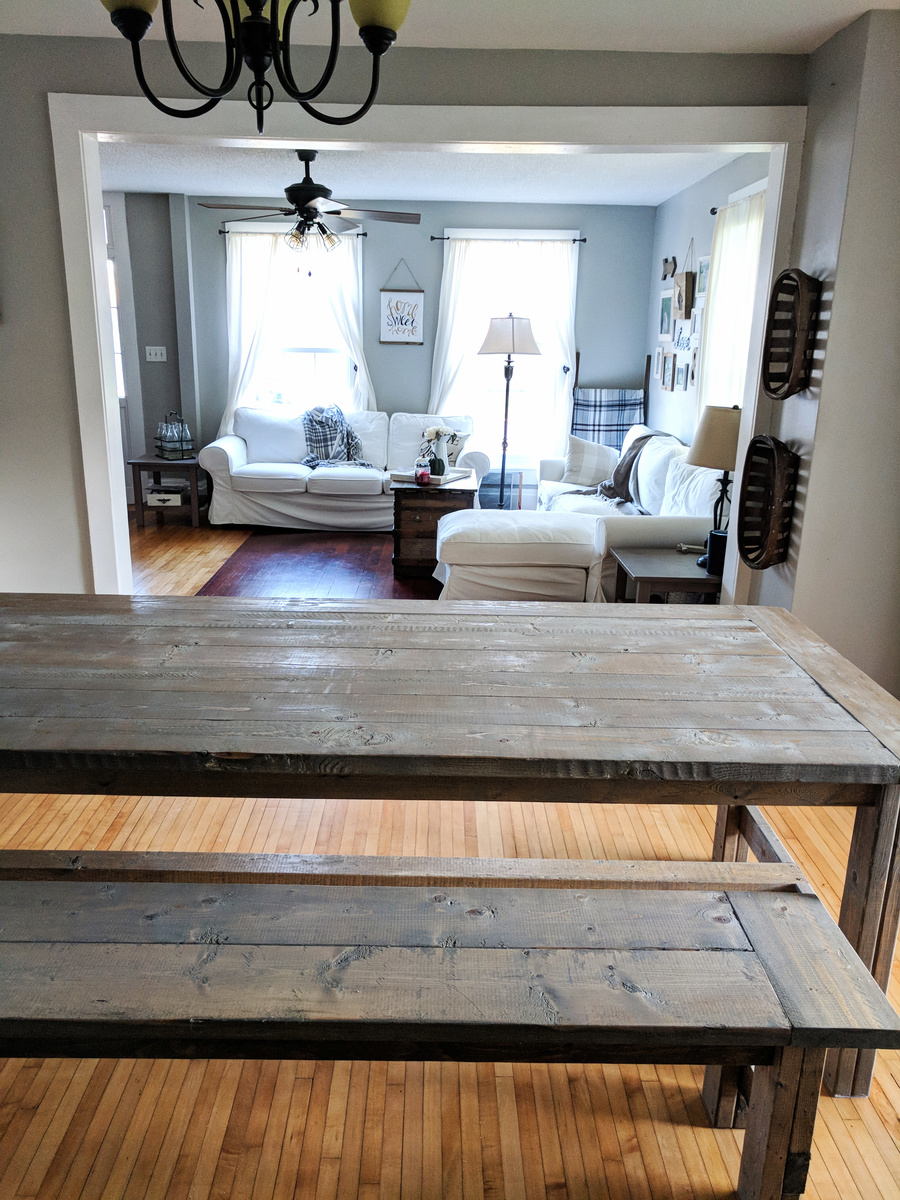
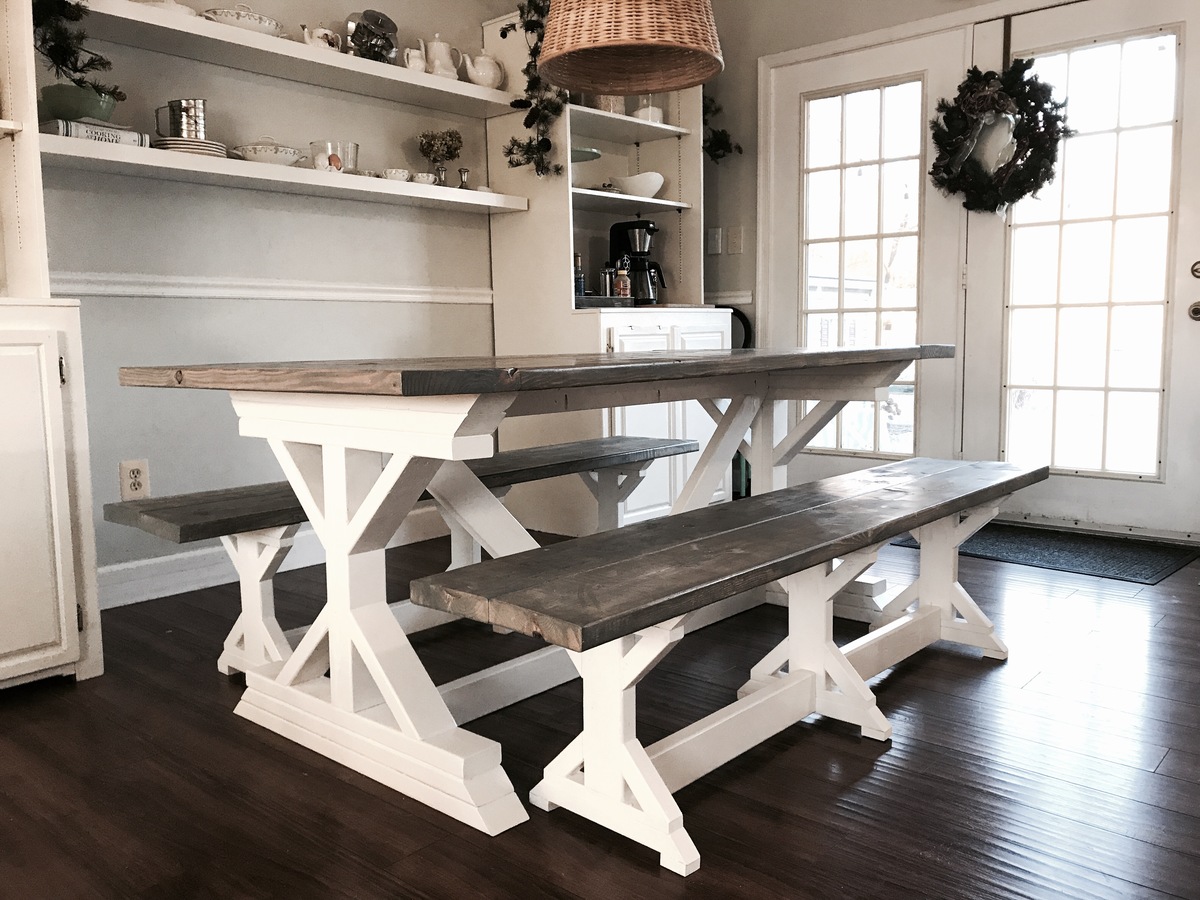
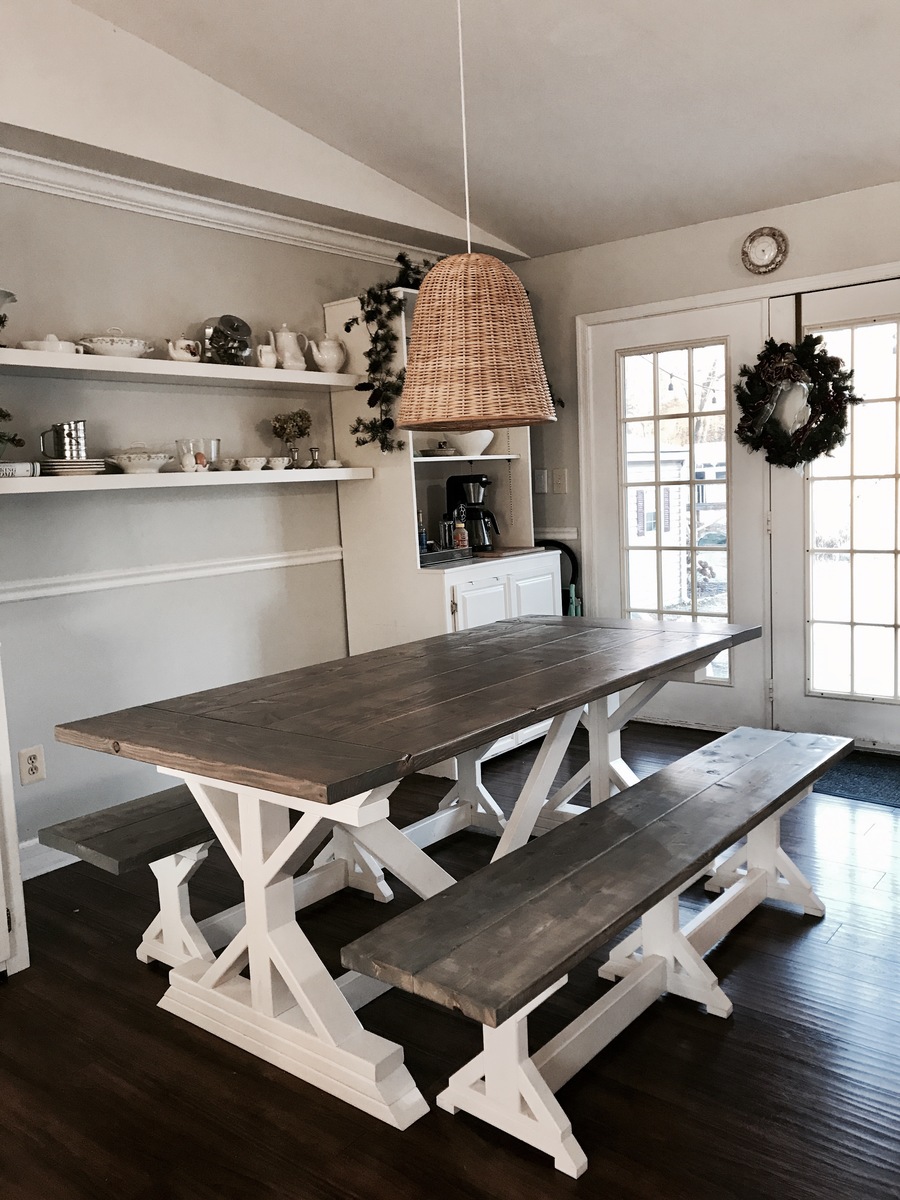
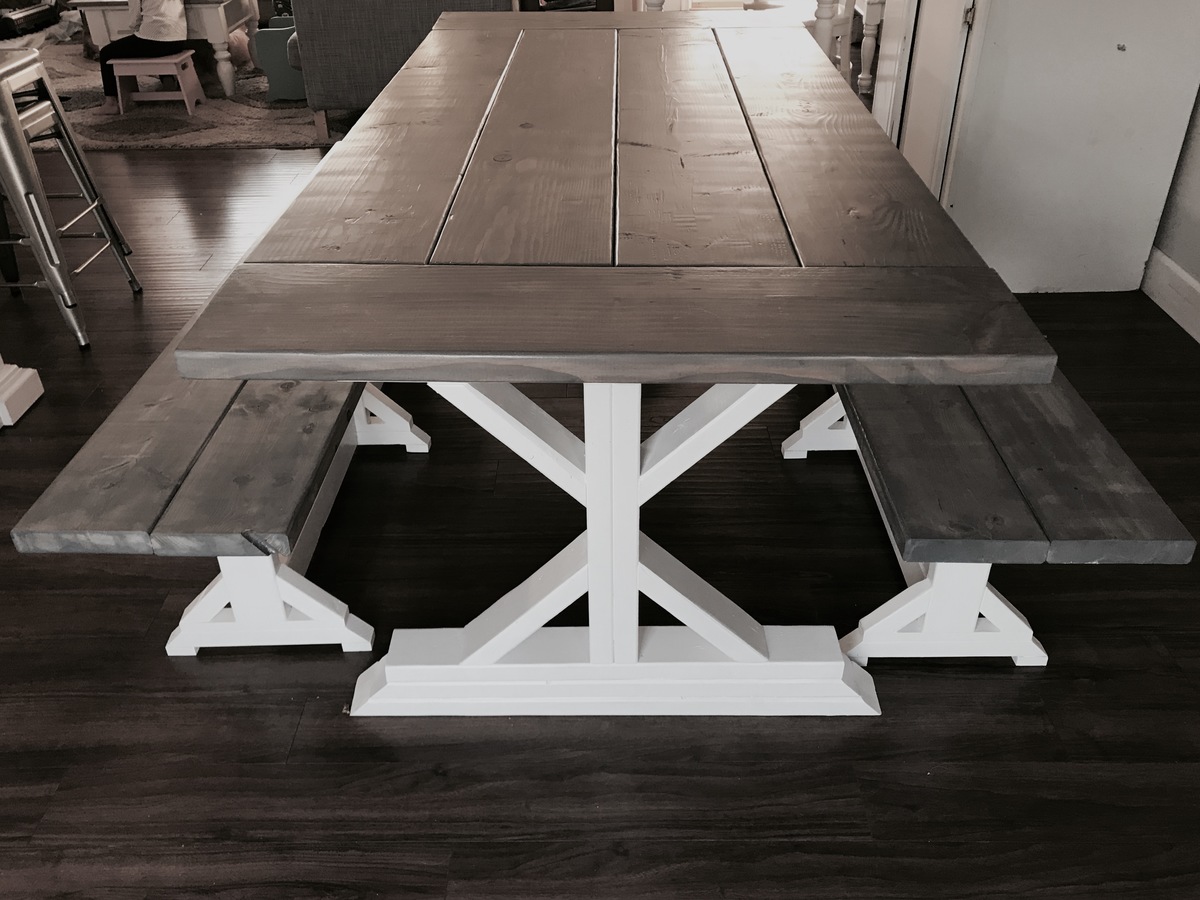
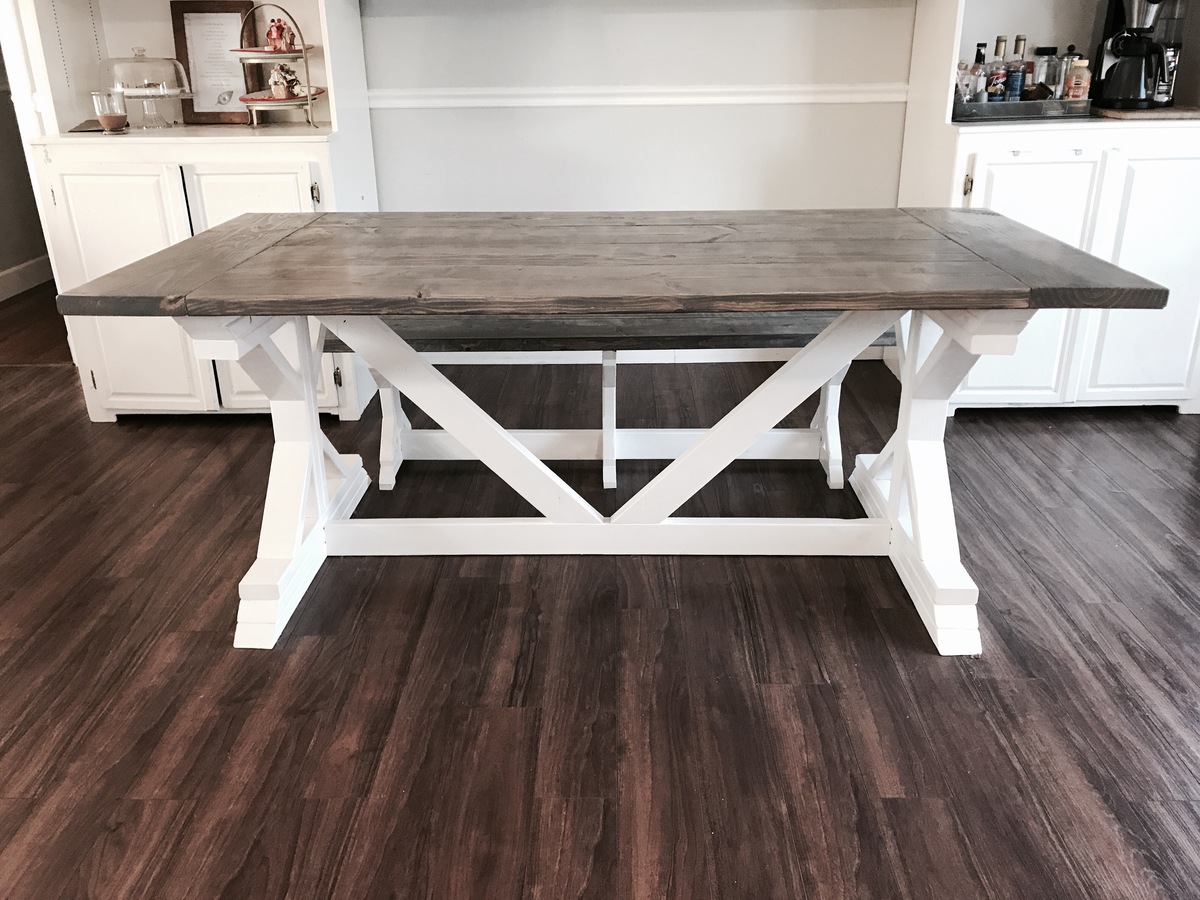
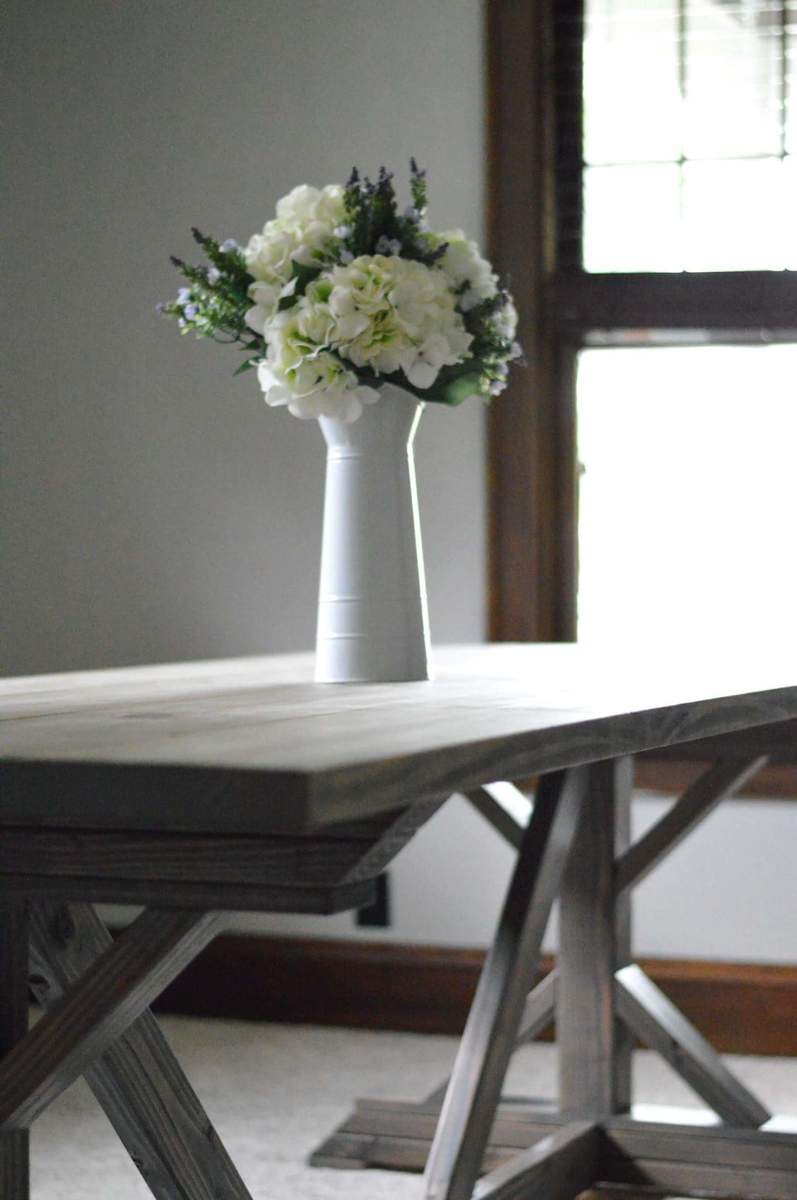
This was my first attempt at building a big project! I invested in a table saw a couple months ago since I sell handmade signs, but all I had tried to make were the signs and some very simple projects. I had been wanting a big farmhouse table for the longest time, but was so intimidated by such a big project!
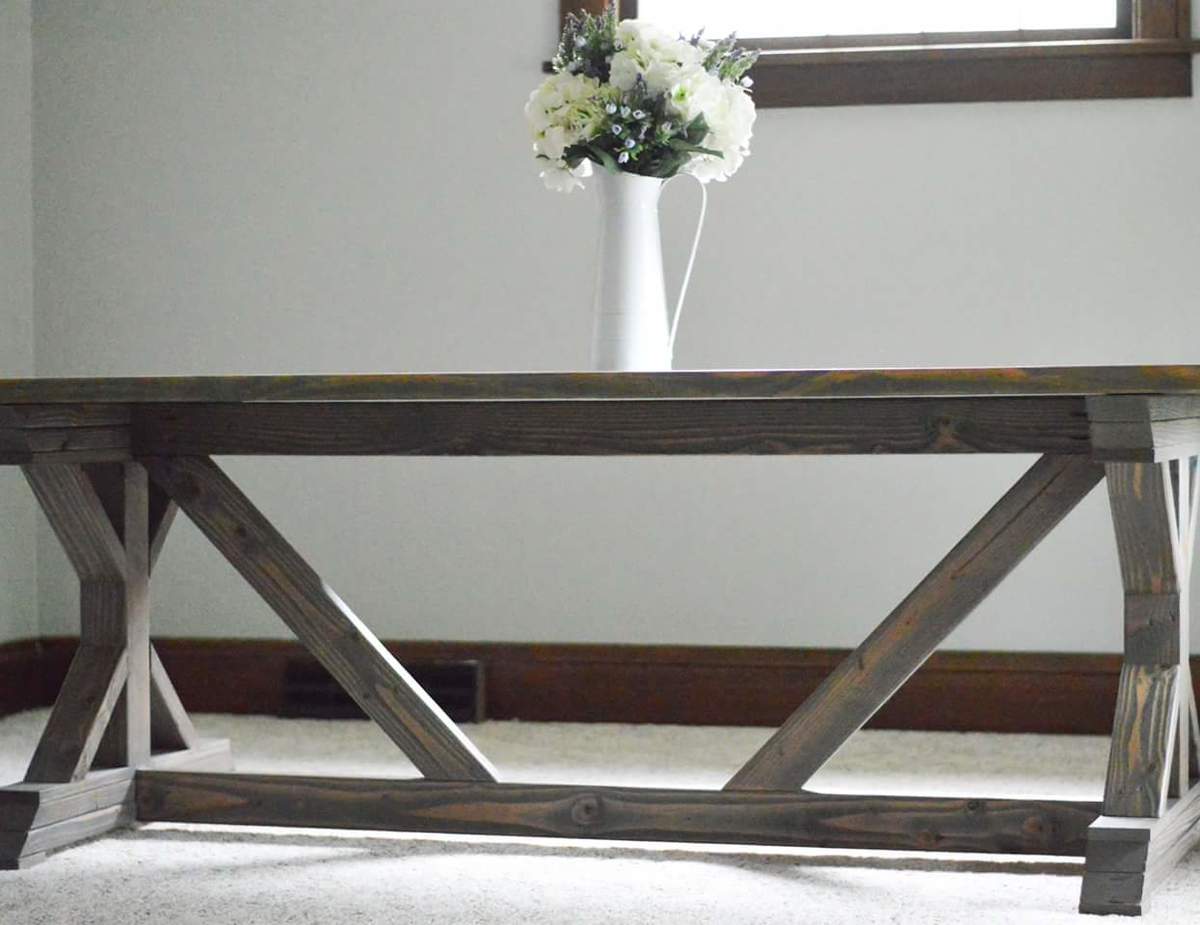
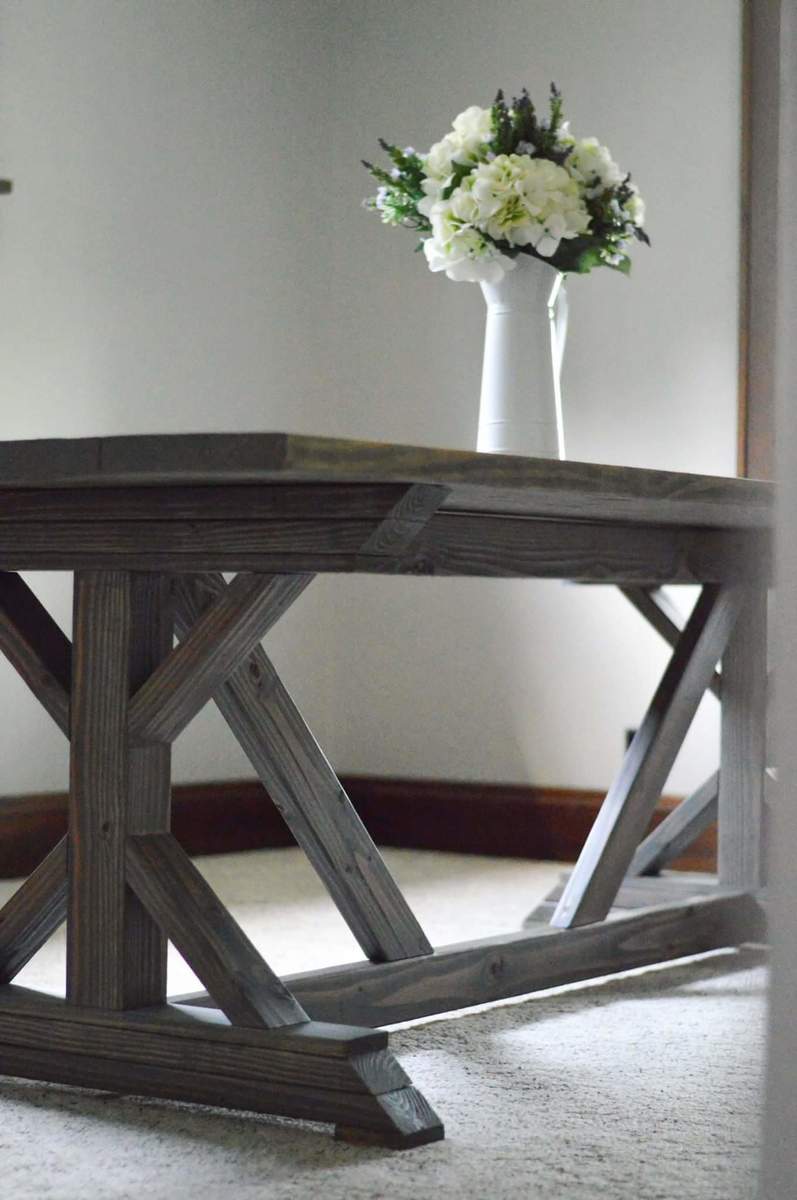
I finally got up the nerve and tackled it over the course of a weekend, and made the whole table by myself! I decided to buy a pocket hole Kreg Jig, which made the project go pretty smoothly. Ana's plan was easy to follow and I followed it to a T, other than using 2x6s instead of 2x8s for the tabletop, 2-2x4s instead of 4x4s for the legs, and extending the length a bit (my table is about 8.5 feet long!) It took me longer than it should have, I'm sure, but even as a beginner I finished the table from start to finish in a weekend.
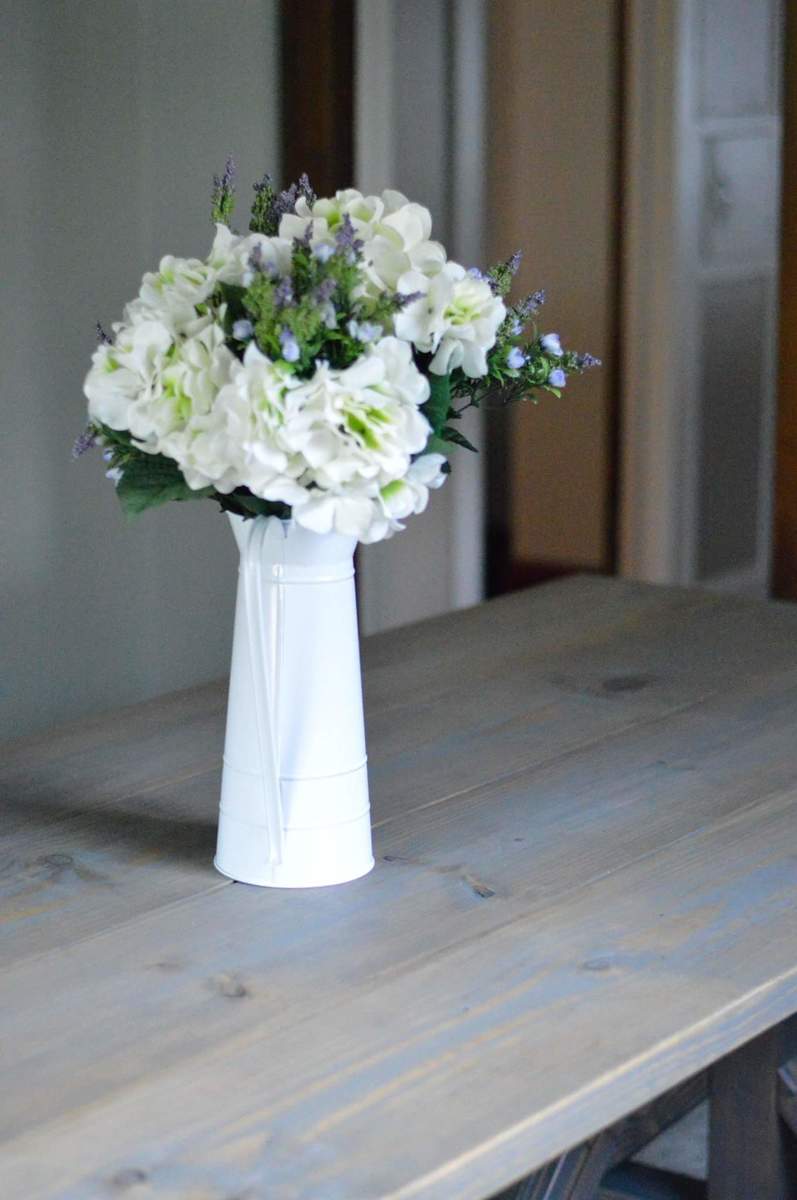
The finish is my favorite stain color, a half-and-half mix of Mixwax Weathered Oak and Espresso, topped with a coat of Varathane Triple Coat Matte Poly.
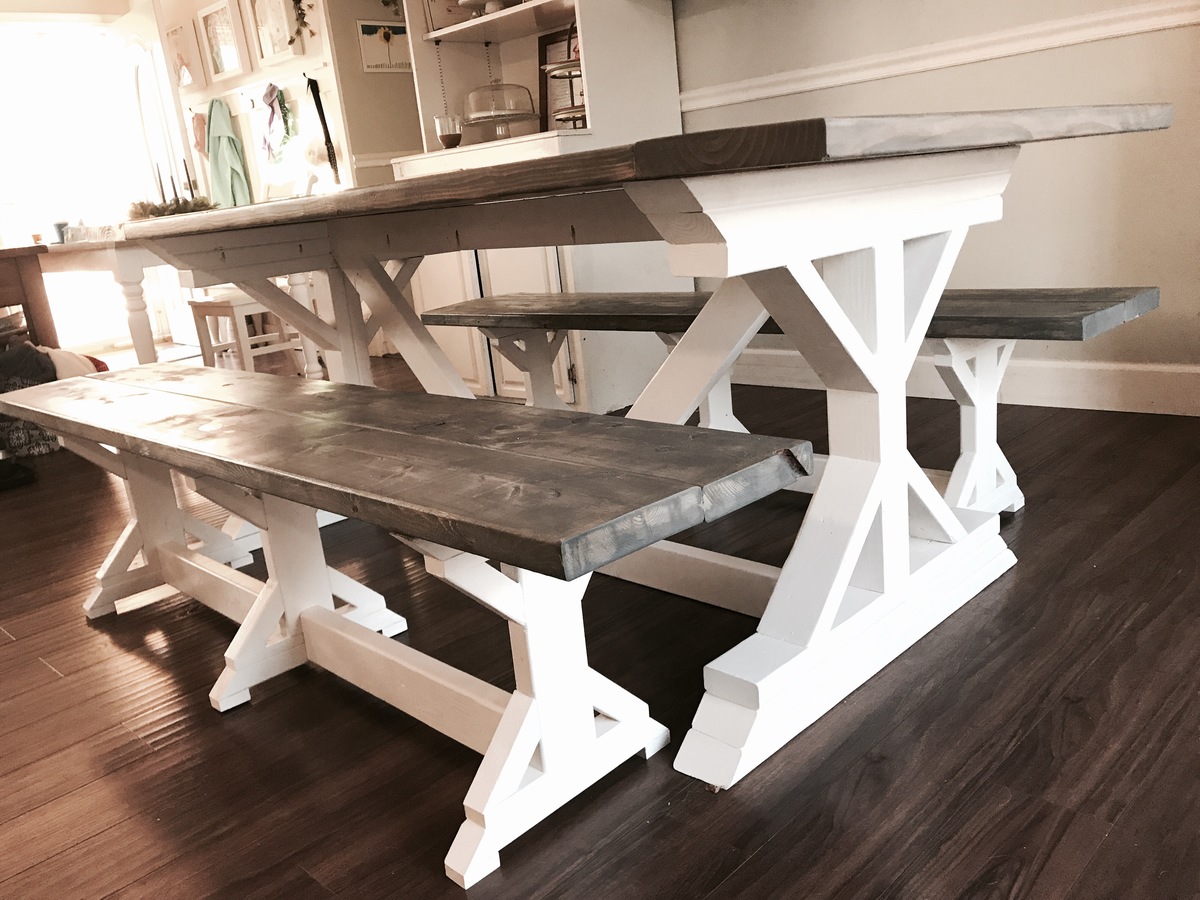
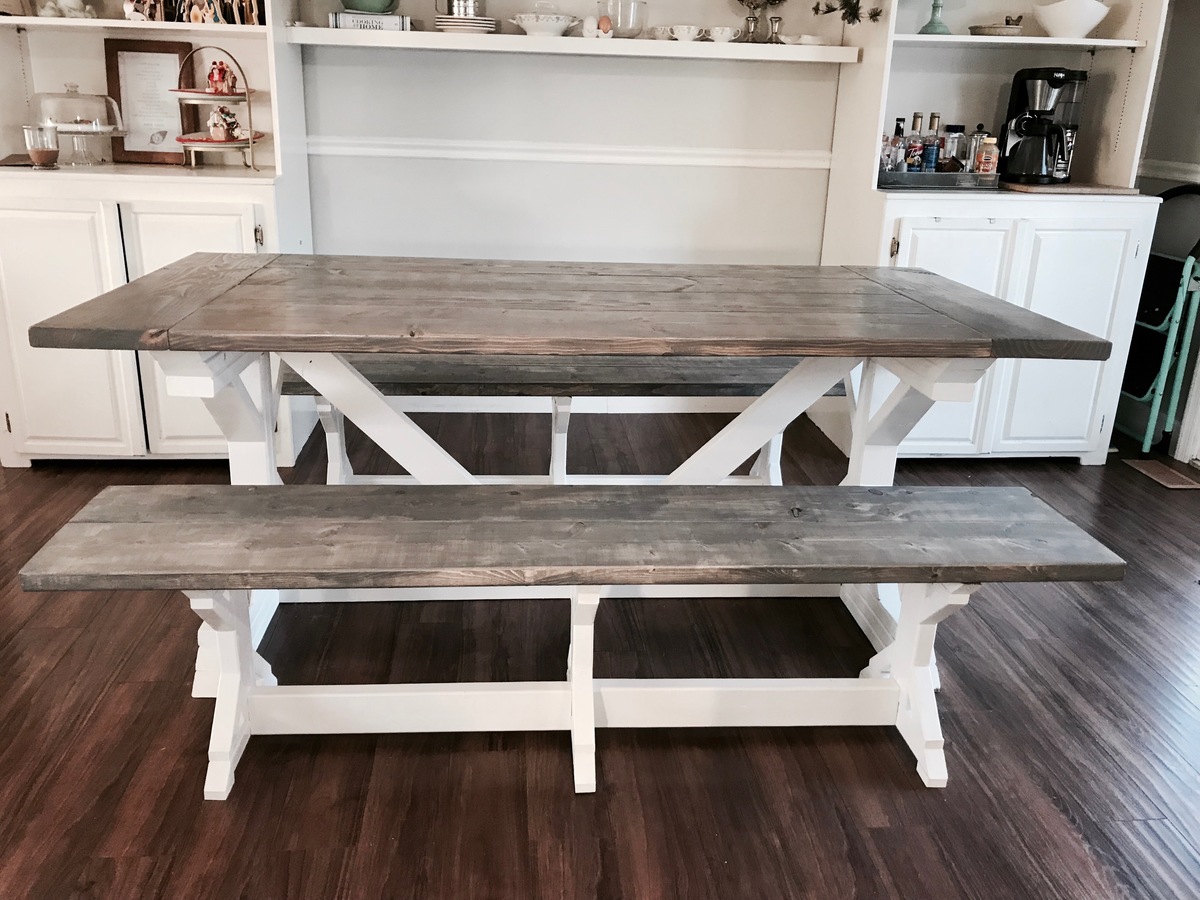
I built a matching bench the next day because I couldn't resist! I did accidentally put the end pocket holes on the wrong side of the end aprons, so they're facing outward (oops!) but I still love how the table turned out! I posted more photos of the process and finished product on my blog if you'd like to see more!
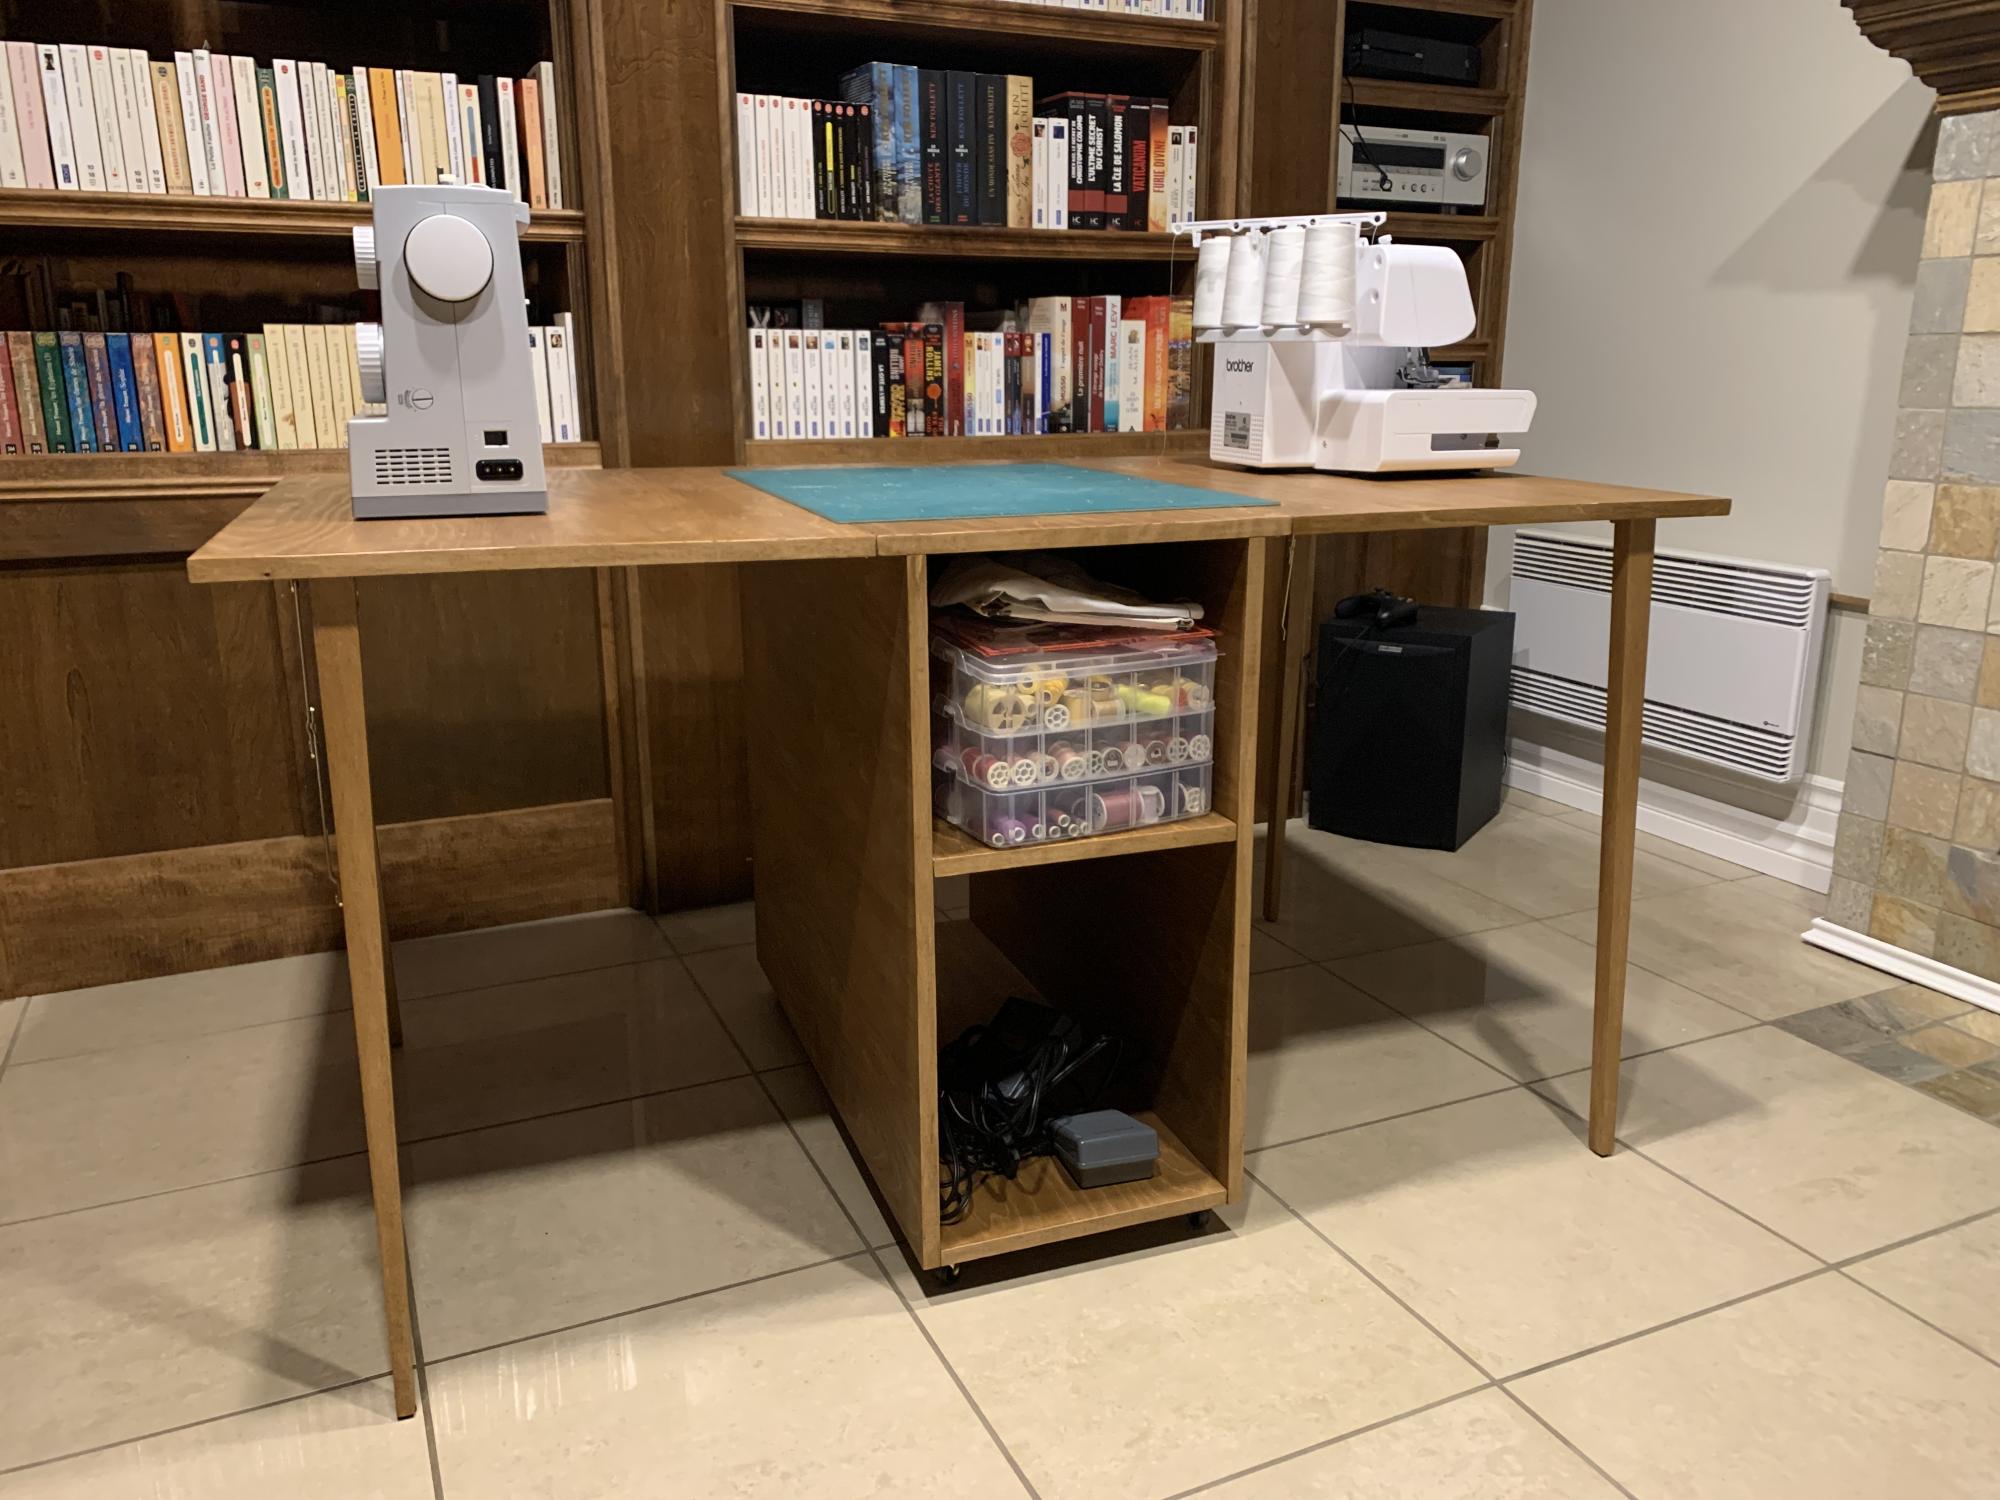
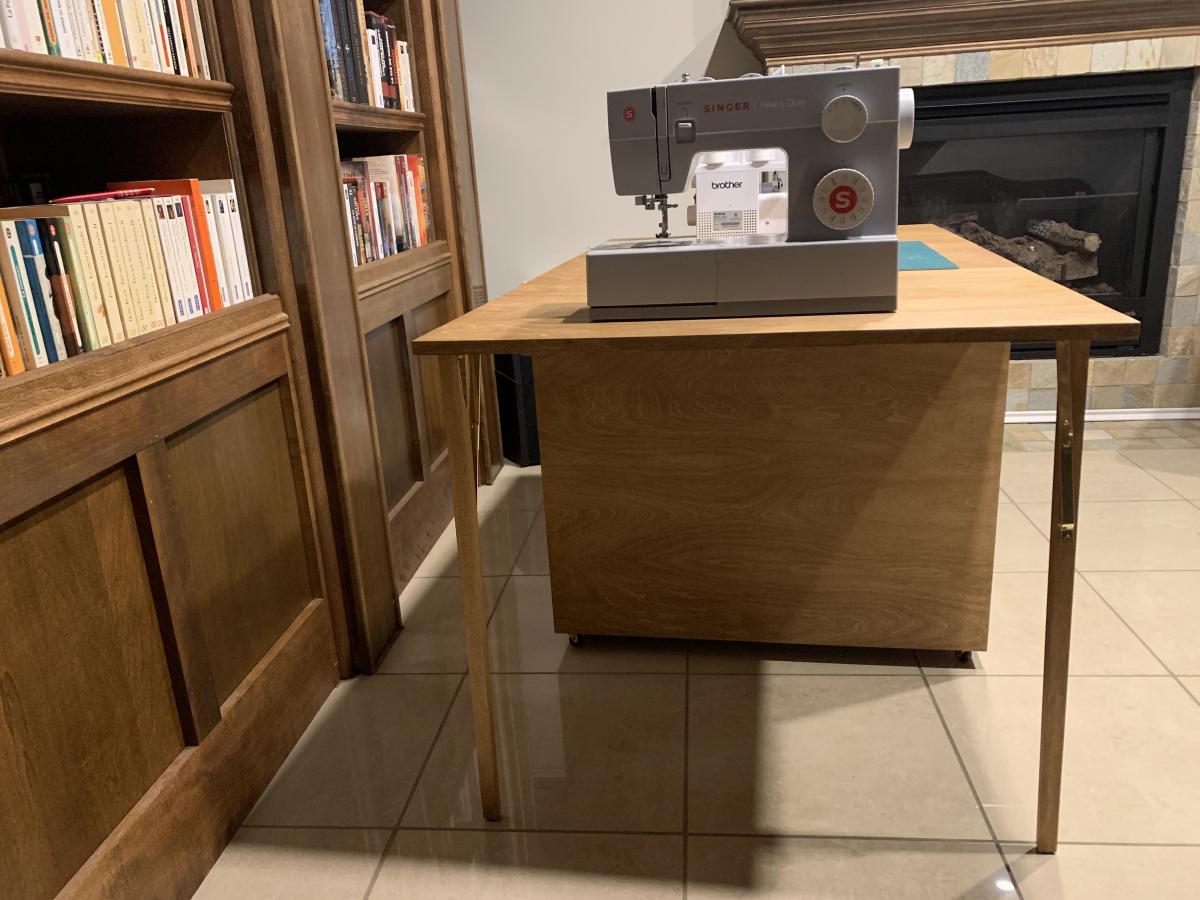
Built this Folding Sewing Table for my daughter.
- 18 mm Baltic Birch
- Birch leds
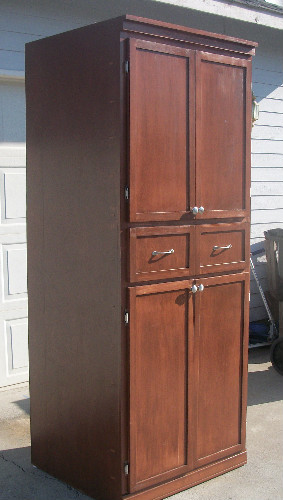
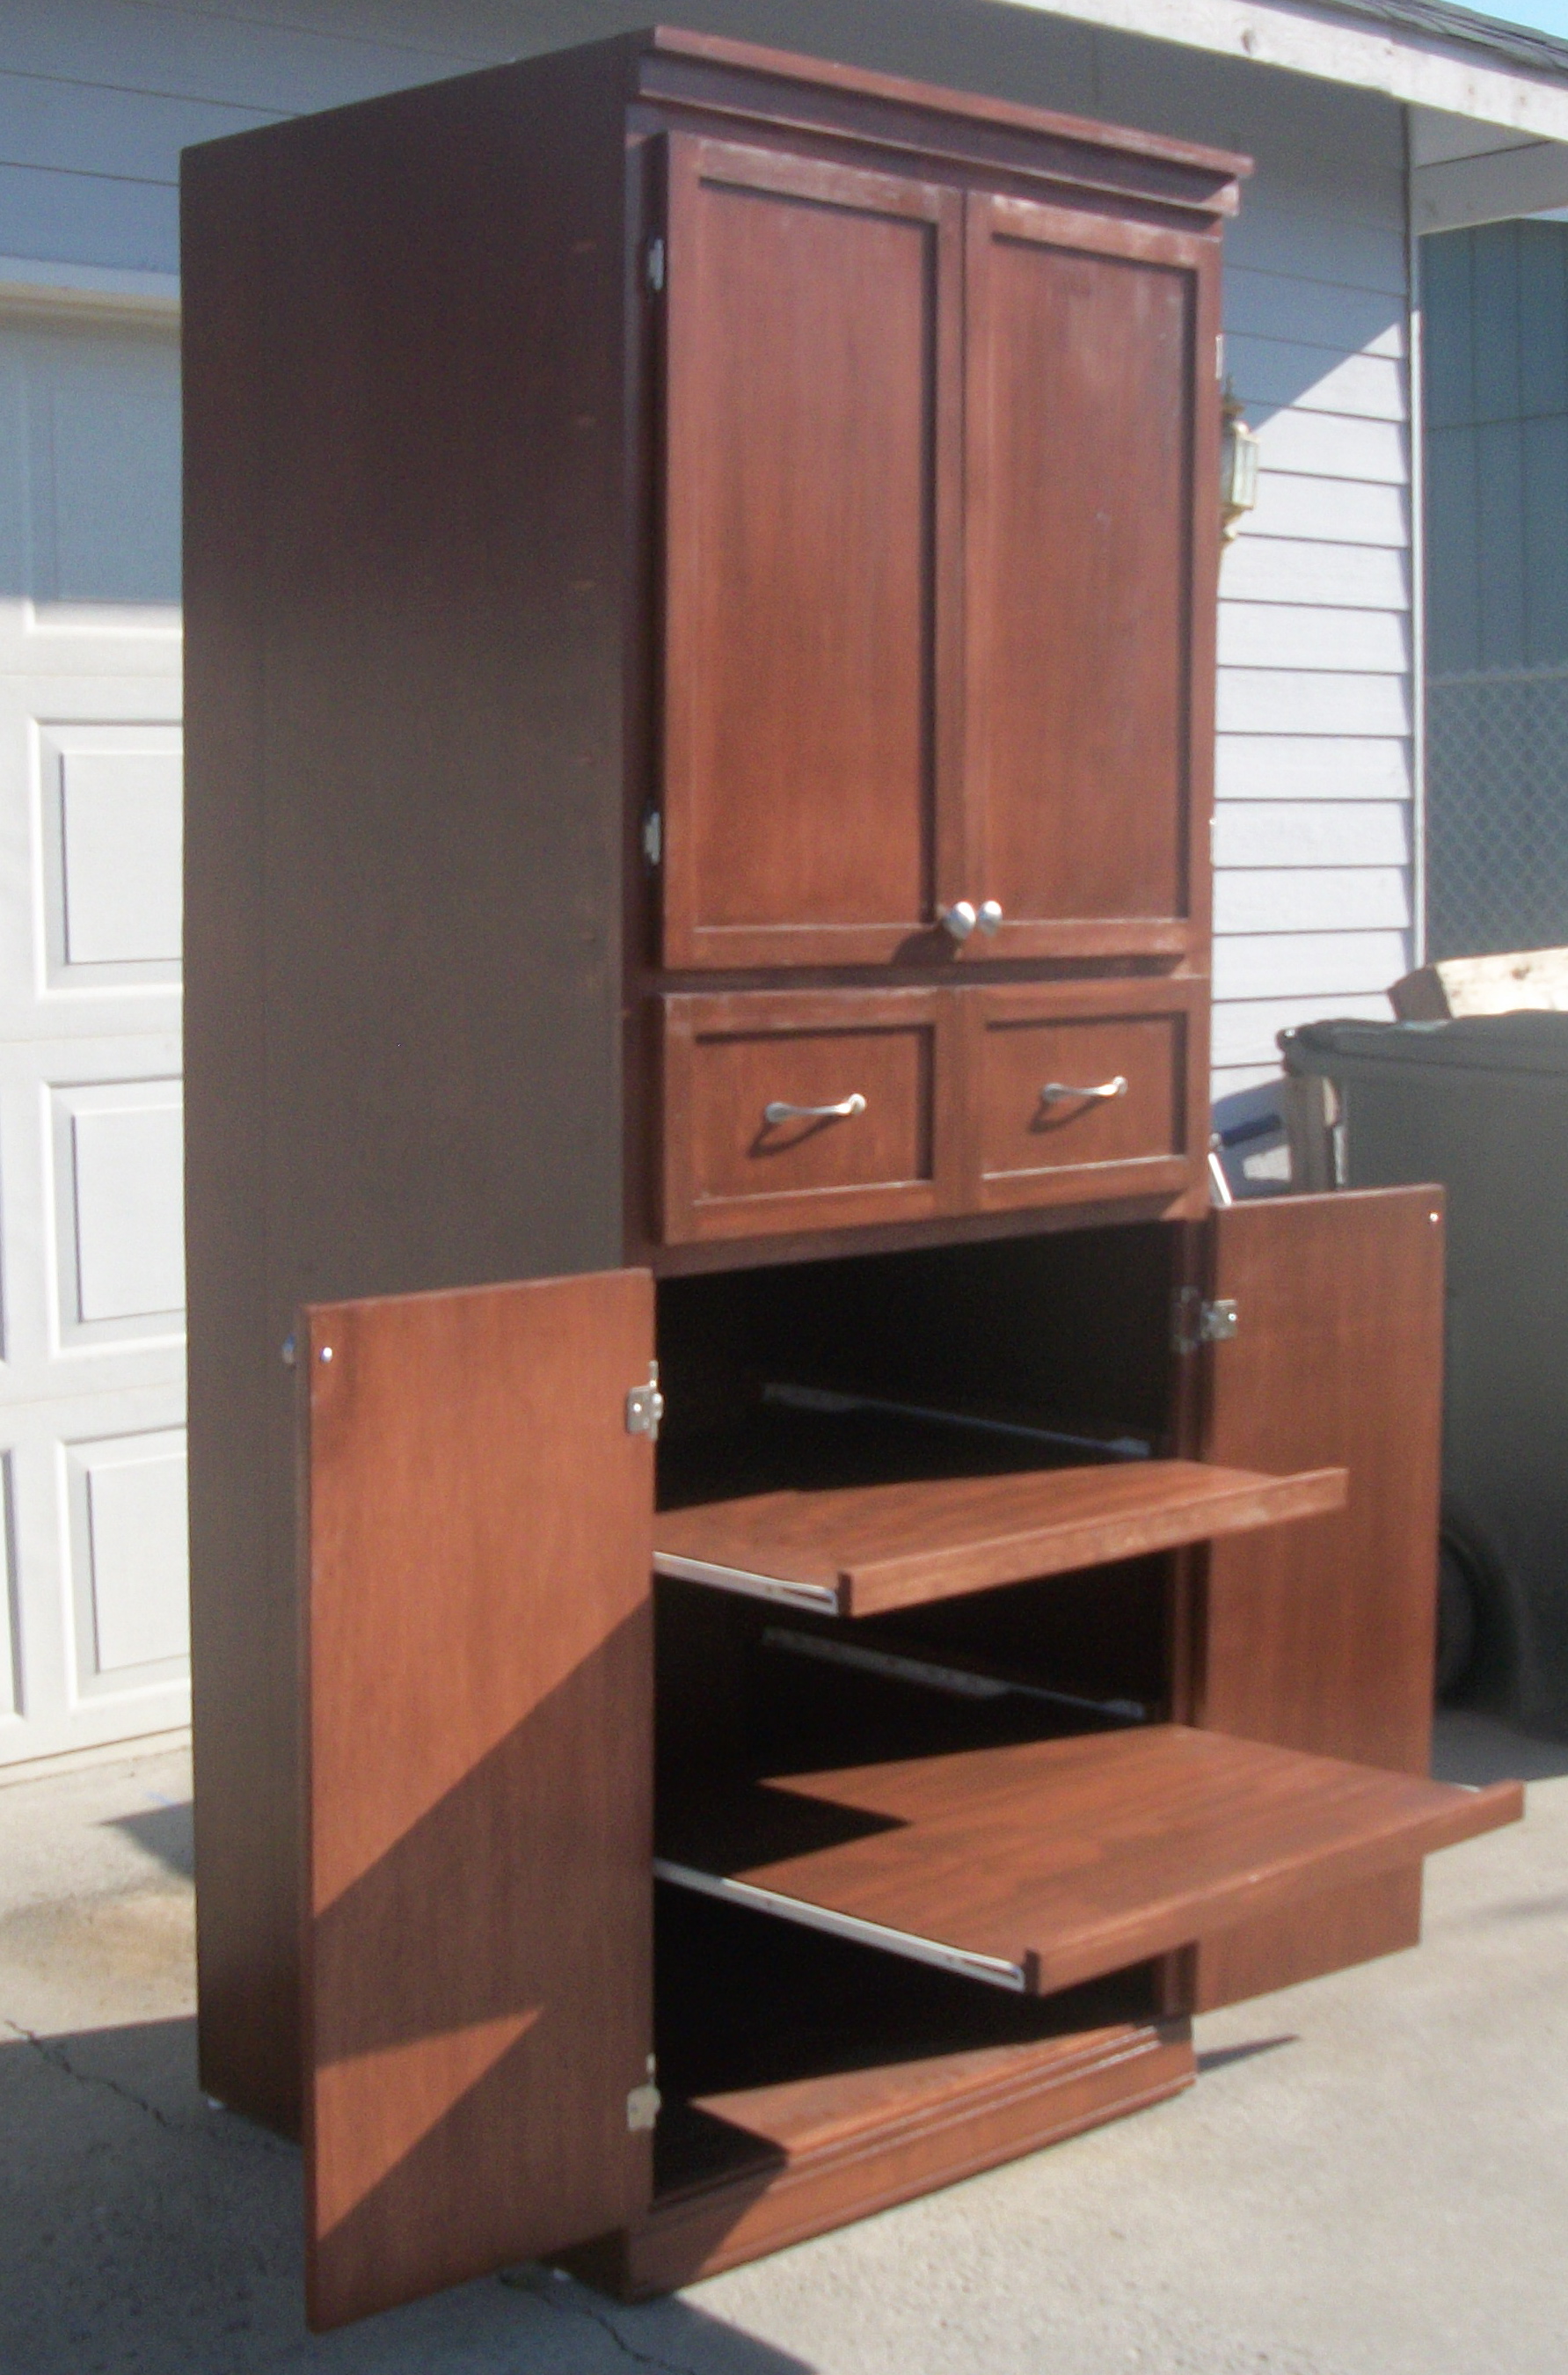
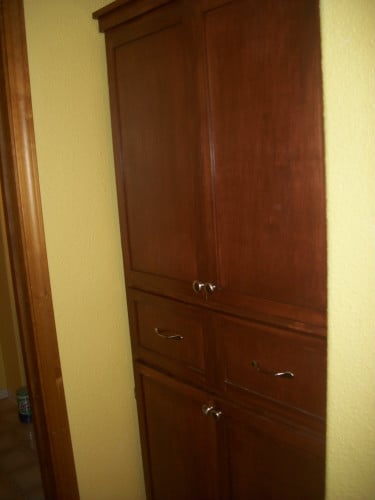
We built this armoire cabinet for a client of ours (this was a paying gig) who needed extra storage in her bathroom. I think it turned out beautifully if I do say so myself. So much so that I decided the build two of these to put in my laundry room for extra storage.
My First Project
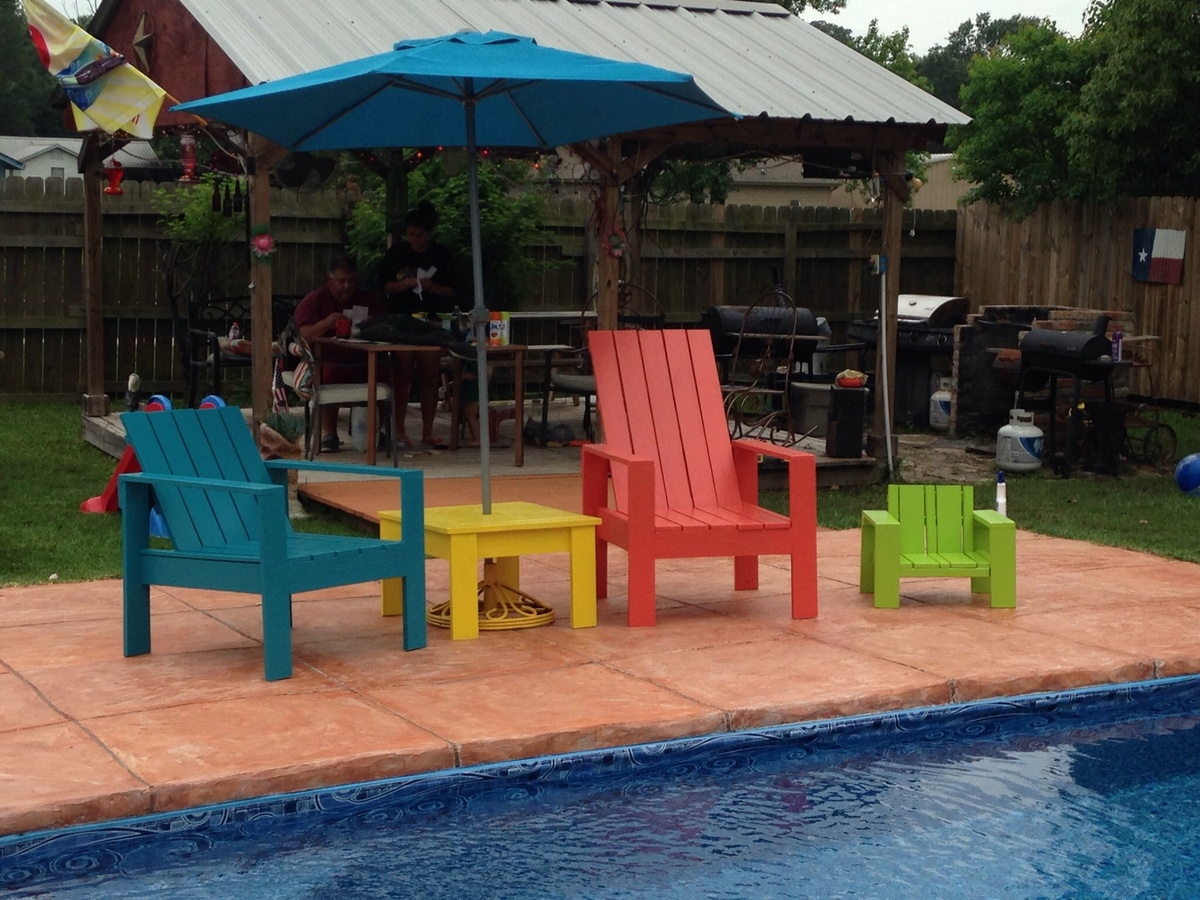
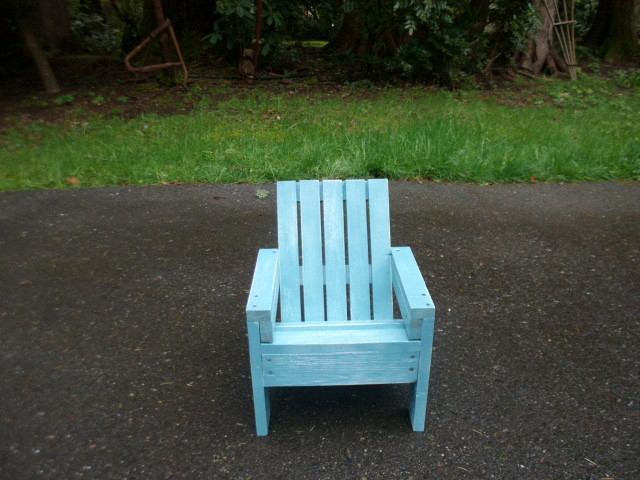
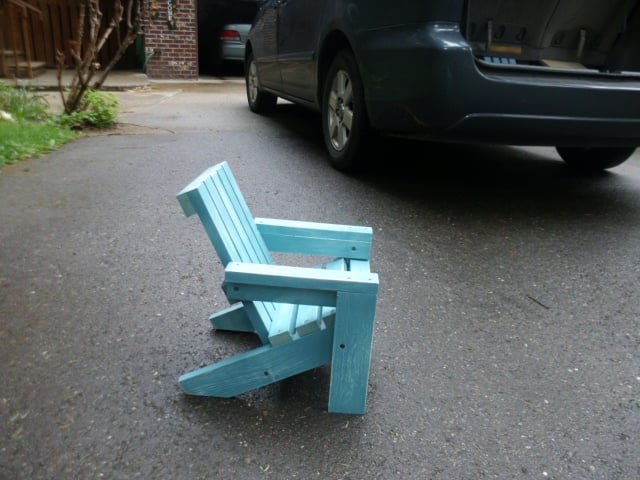
I made the back slats taller on the second chair (salmon colored one) so I could just lay my head back. They were so easy and I can't believe I did this myself! We made the baby chair with the scraps and our grandbabies love it!
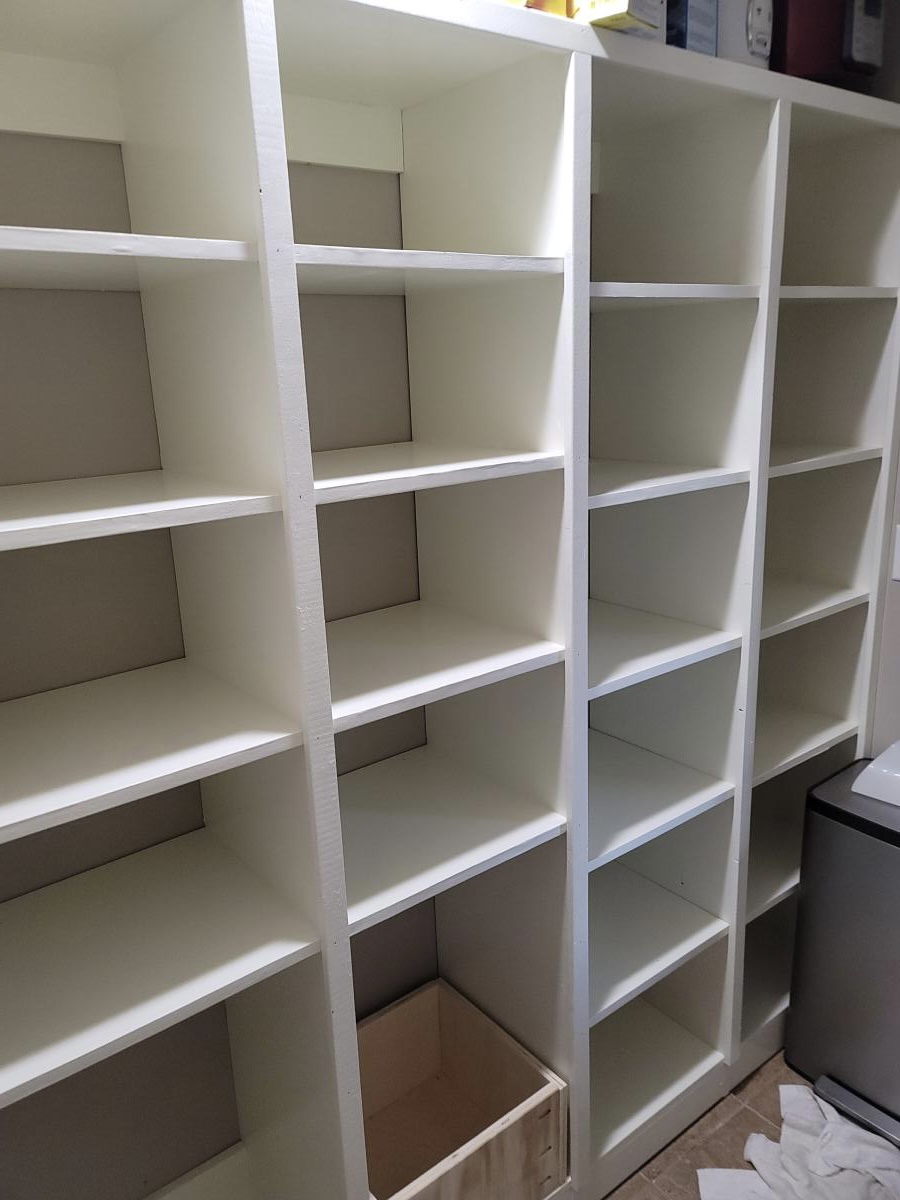
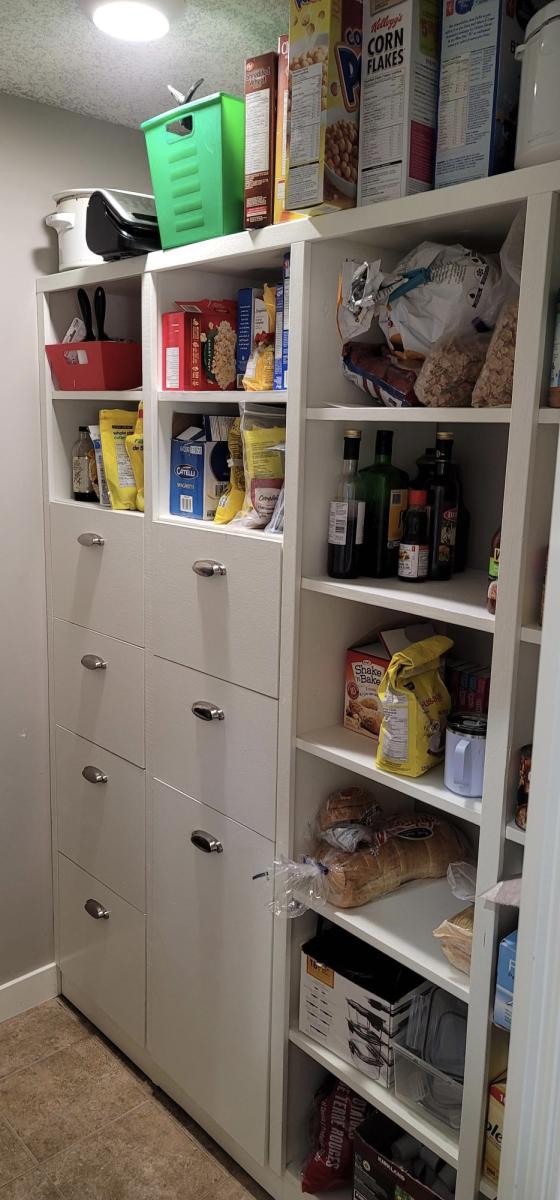
Kitchen pantry project using 3/4" plywood and using Anna's shelfhelp spreadsheet to get my dimensions. Added drawers including one large for recycling. I wanted to add another large drawer beside the recycling drawer for garbage but my wife nixed it stating she didn't want to have dripping greasy garbage in her hand and try and open the drawer...so she won that one.


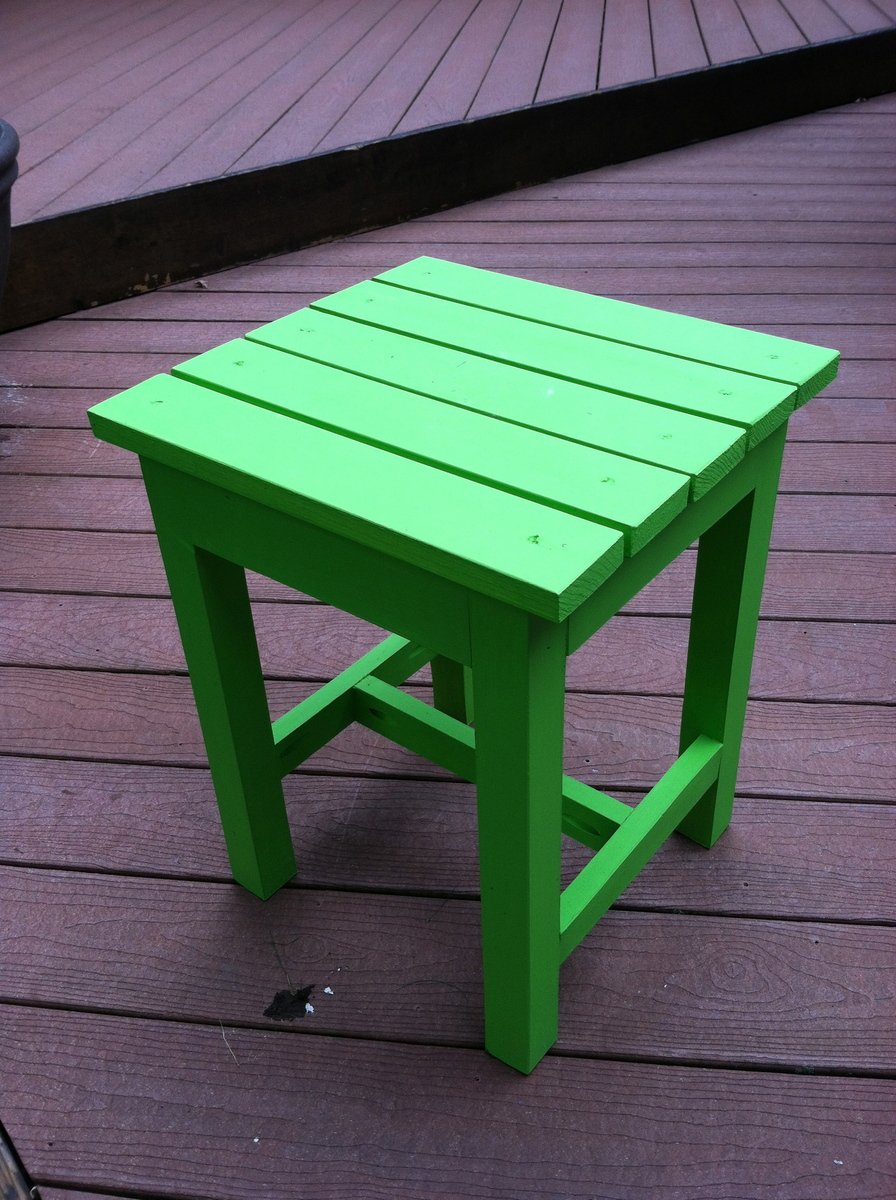
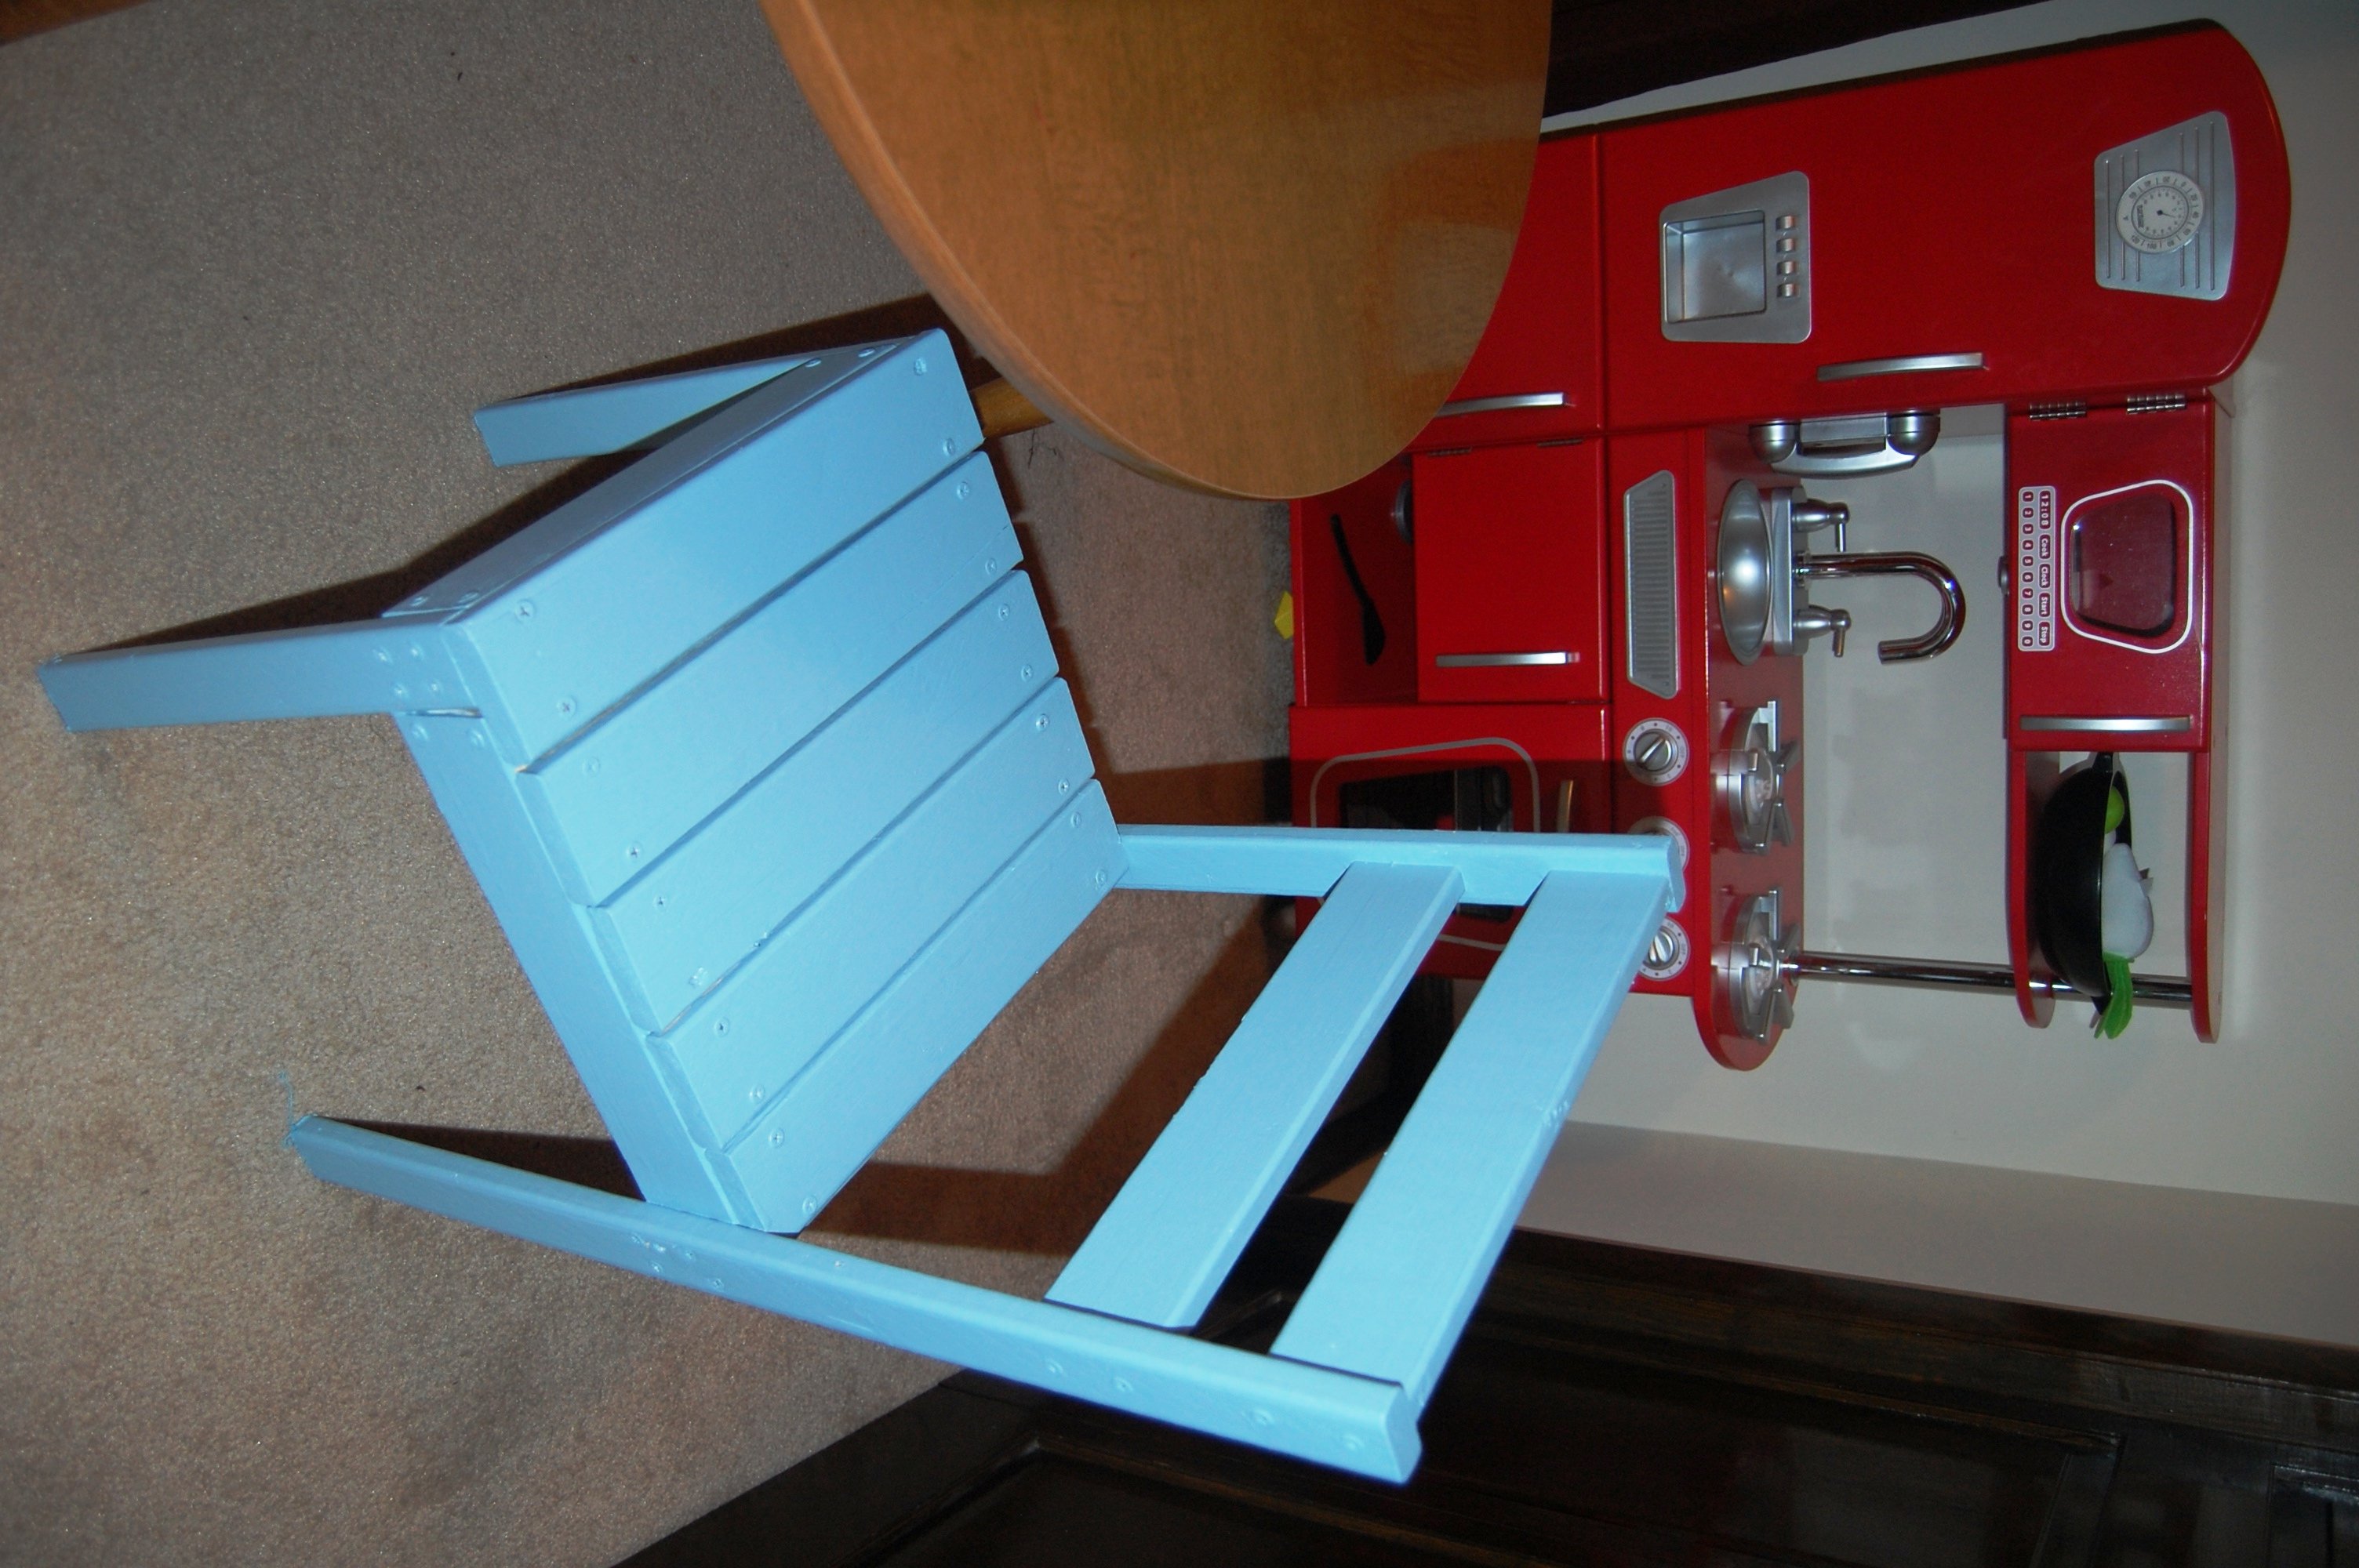
James got a sweet retro kitchen set for Christmas from his grandma. CarpenterMama scored a kids kitchen table (pretty sure it's authentic retro) at Goodwill for $8. All that he needed was a chair to sit in, and Ana's Four Dollar Stackable Chair fit quite nicely!
This was CarpenterMama's very first building project, and she is as proud as punch that she made something with her own two hands, some wood & screws, and oops paint. James is ecstatic that it is blue and he can sit in it. :-)
I wanted to share my most recent build with you.
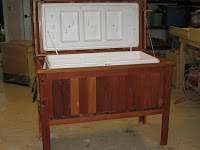
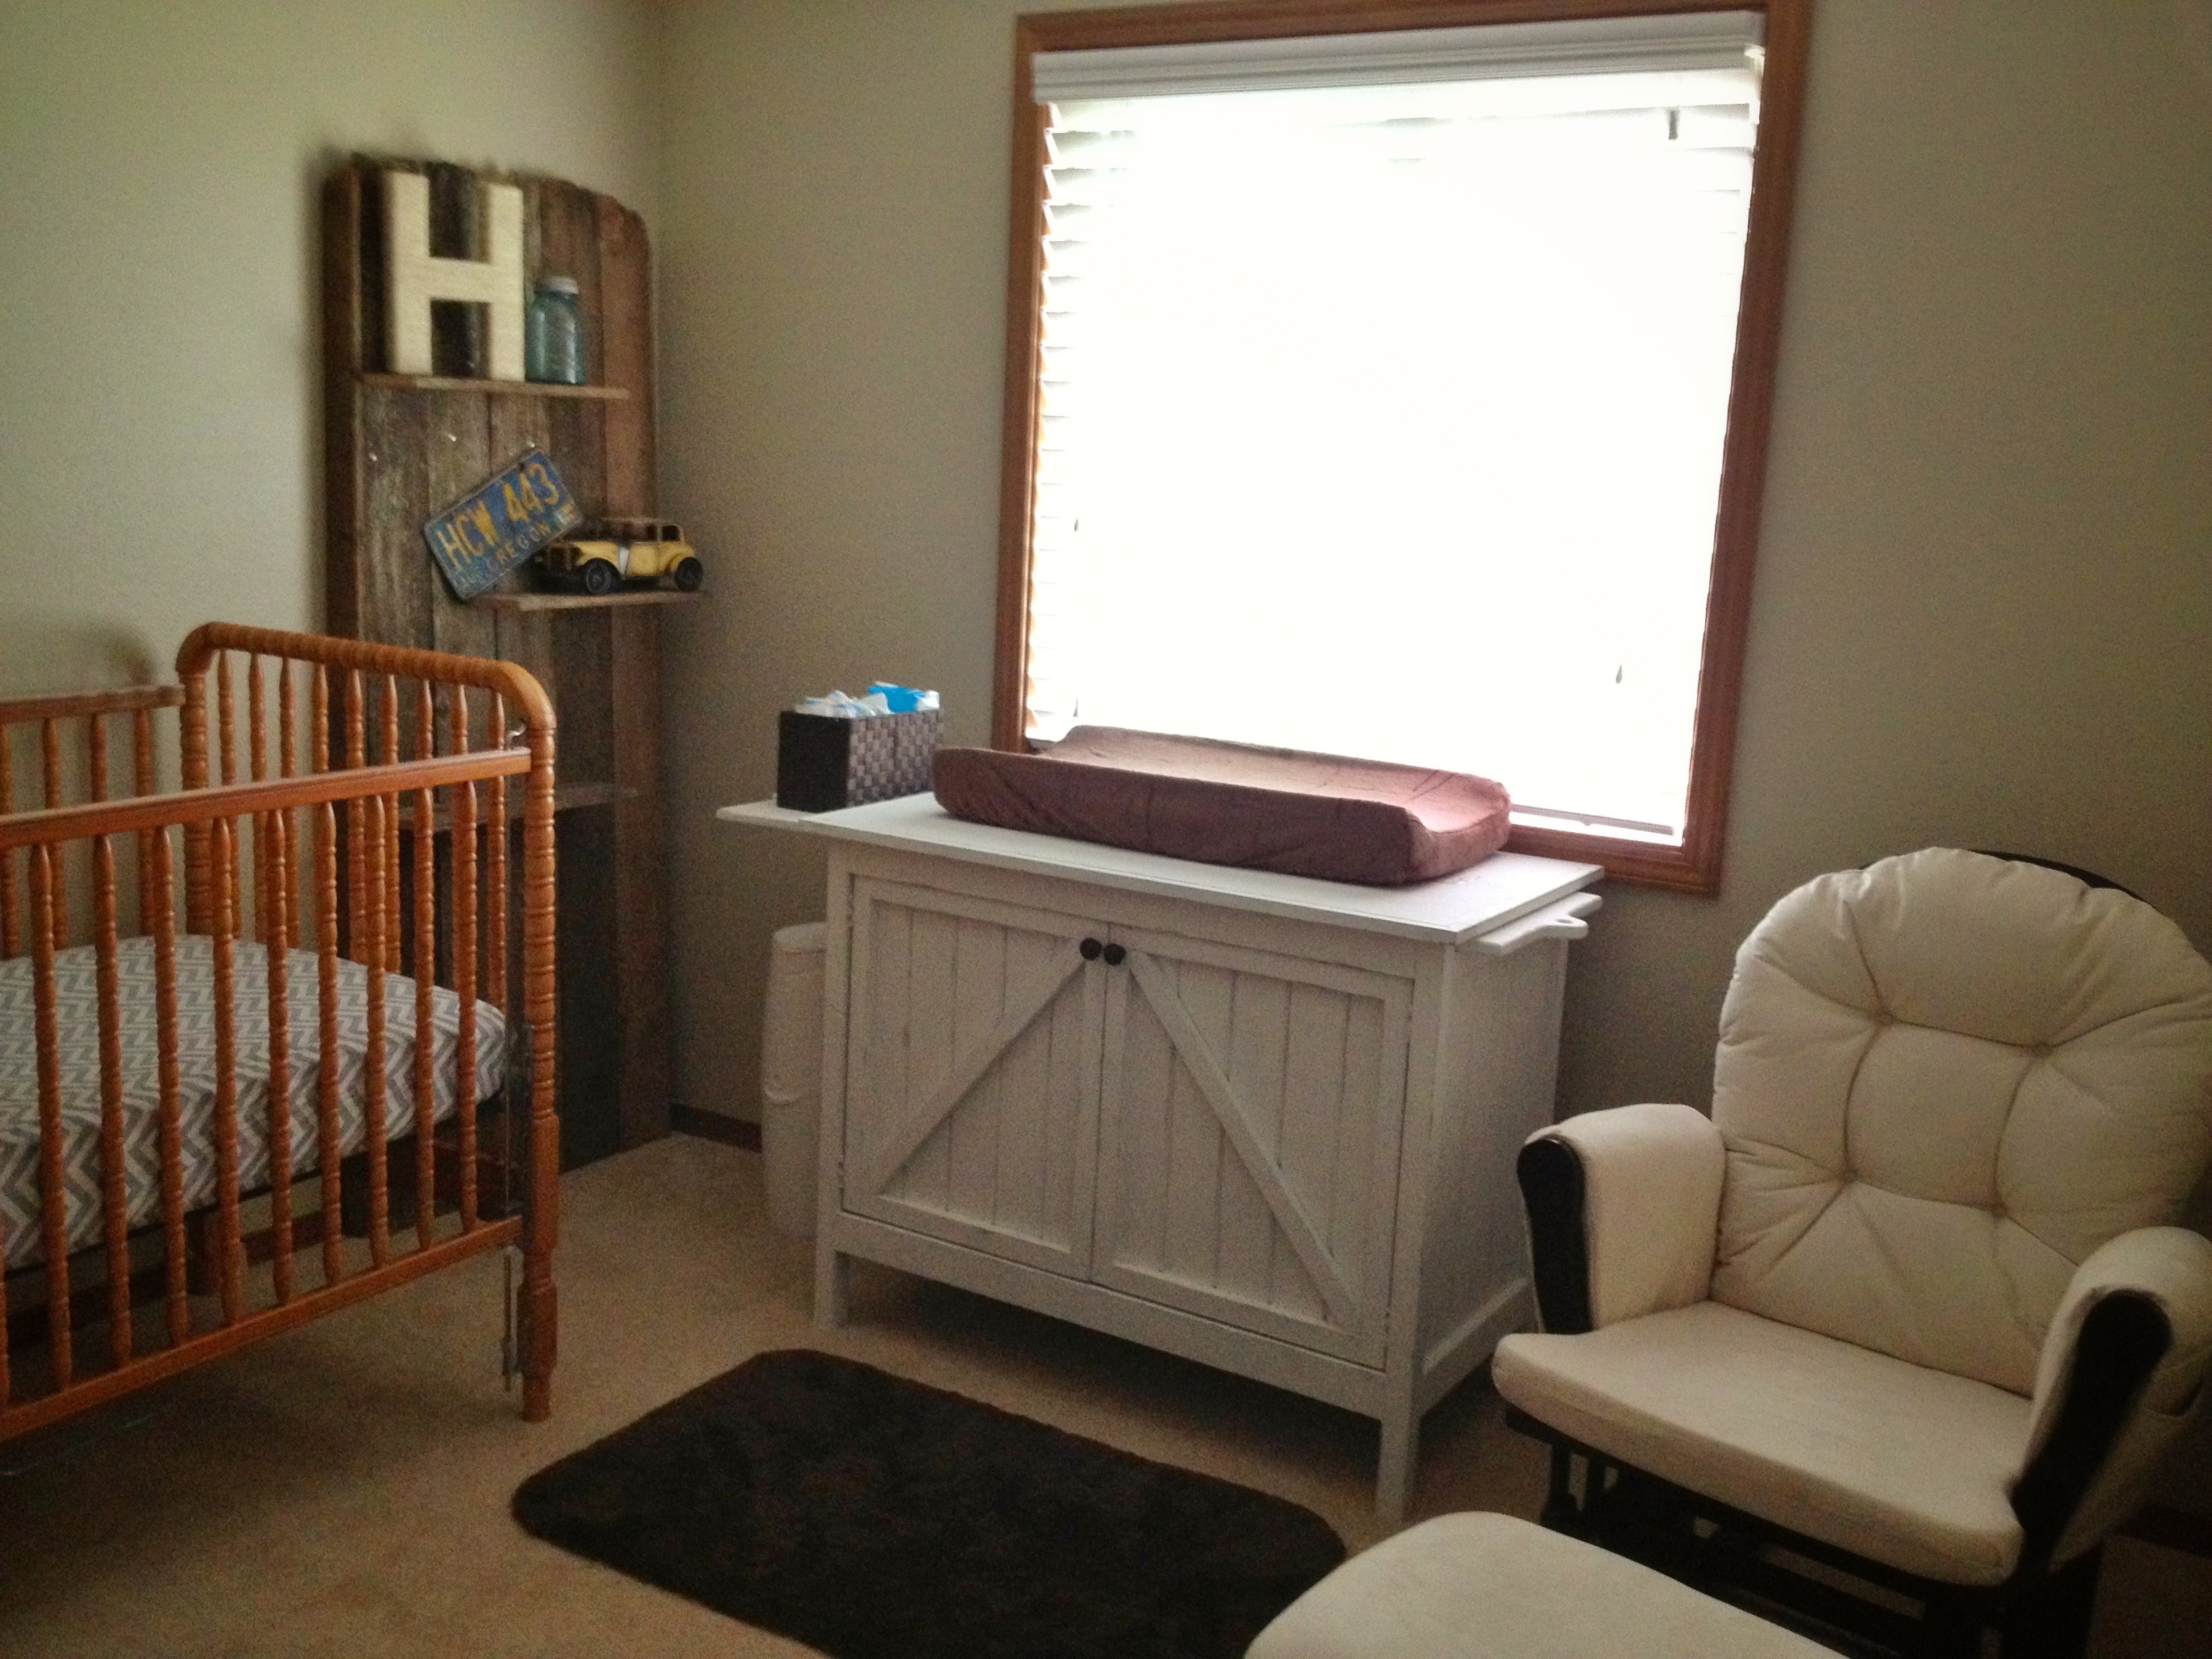
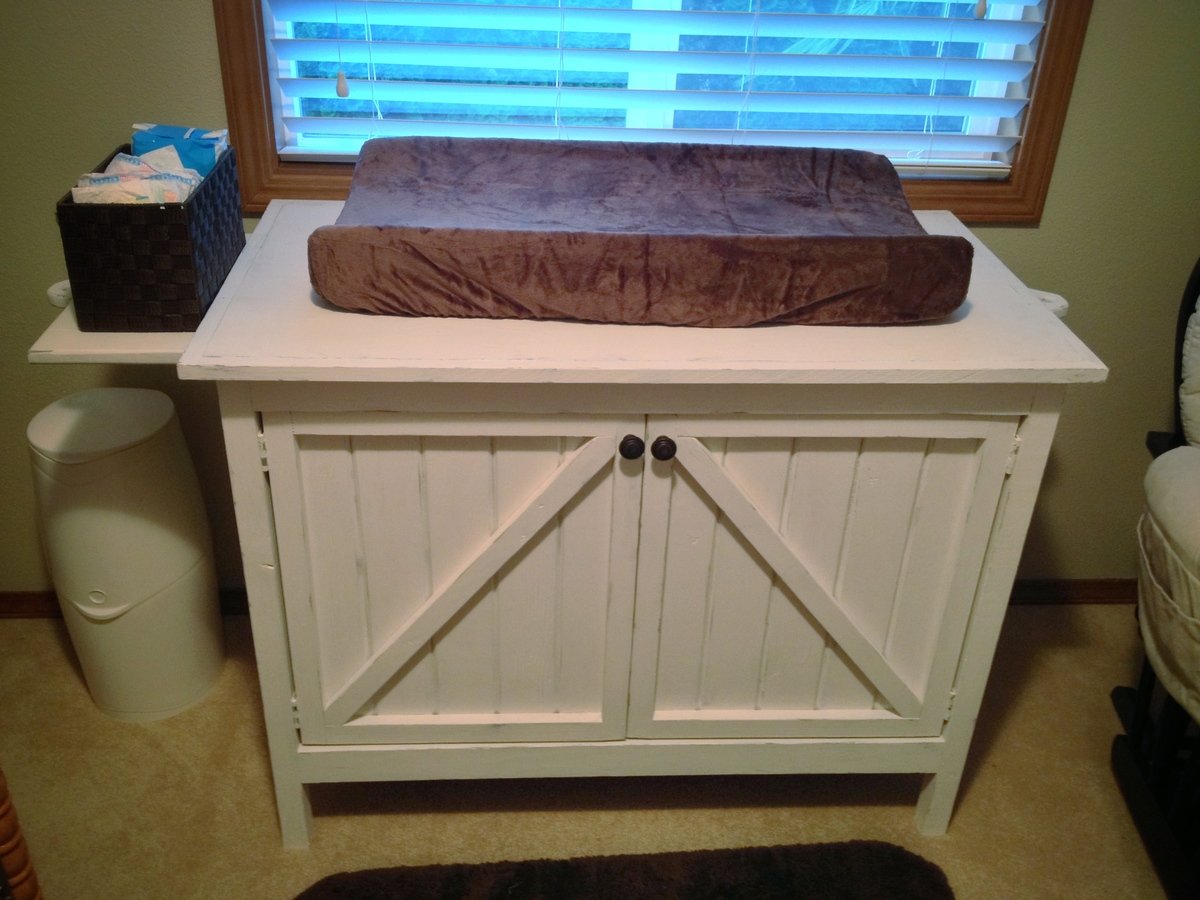
With only weeks before my son is due I finished his changing table/dresser.
I am still new to this whole woodworking adventure and this was my largest project yet. (Completed project was around $95)
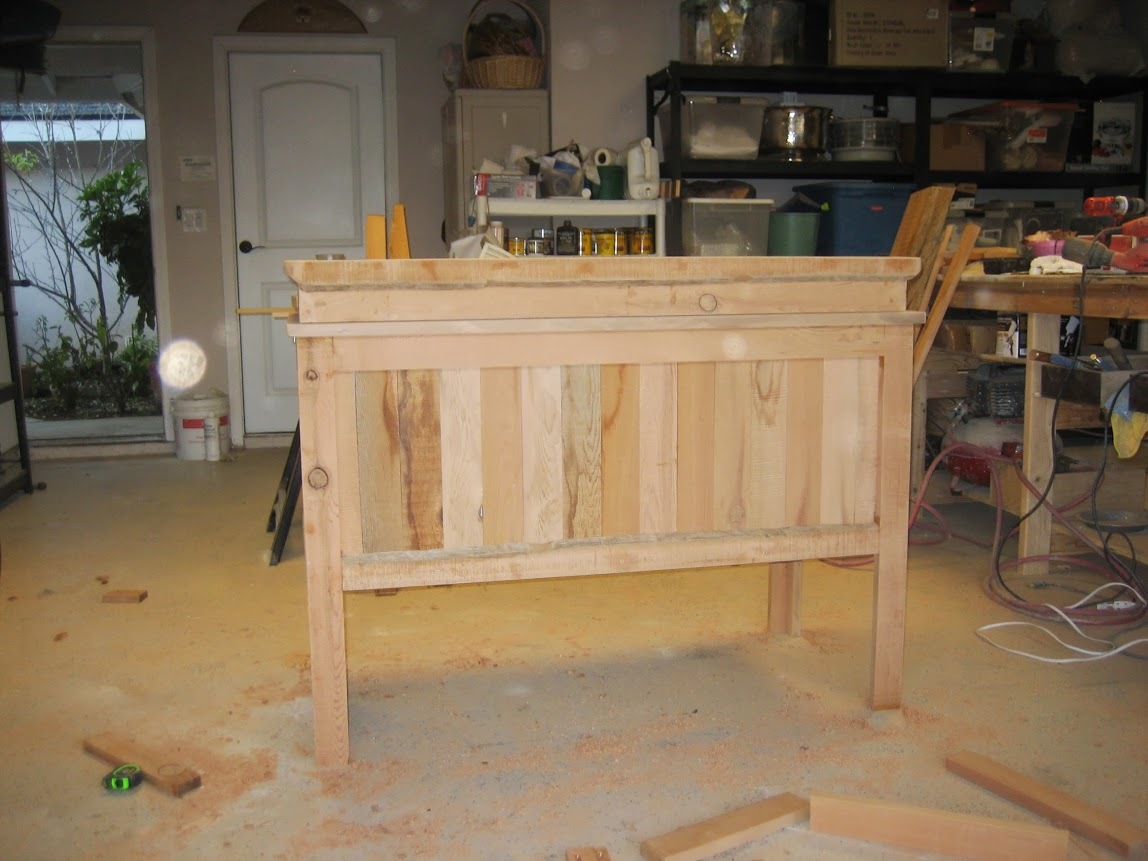
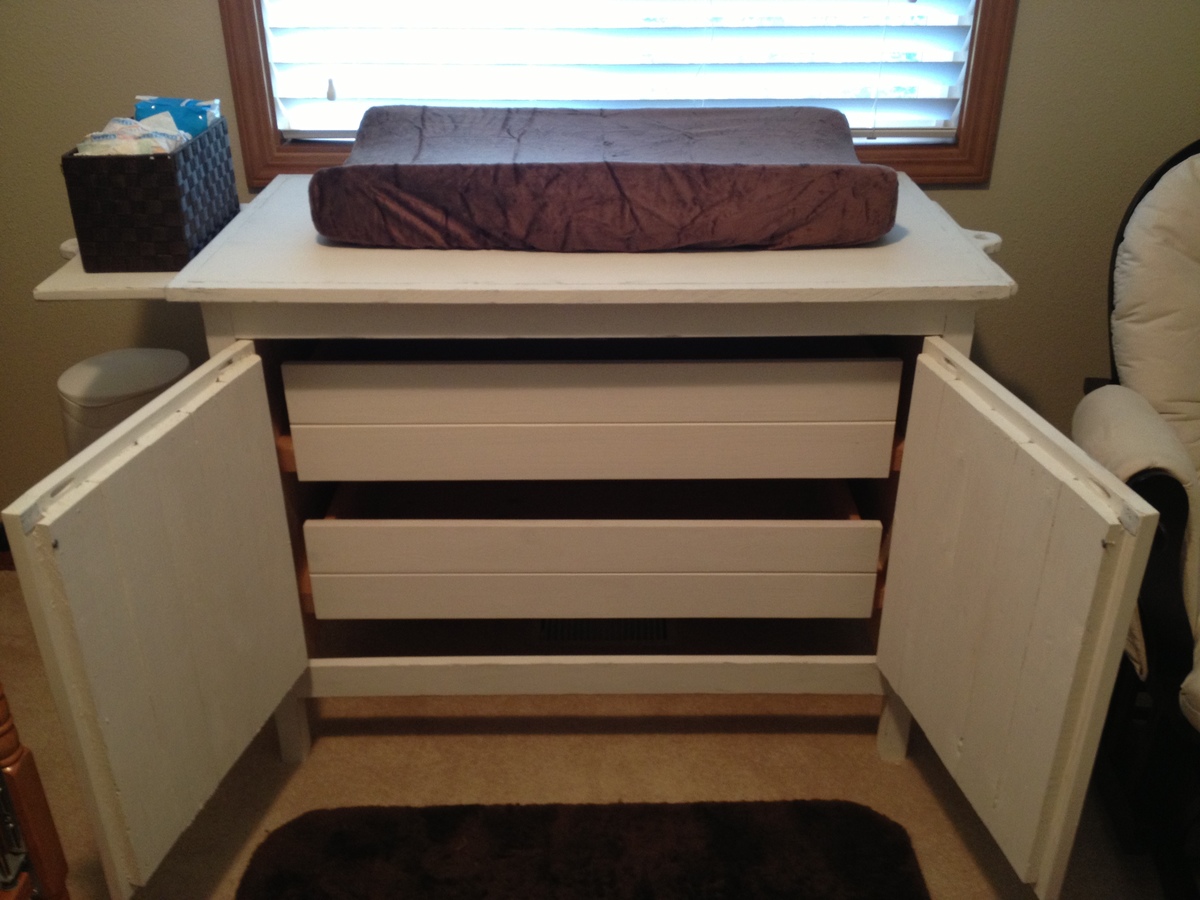
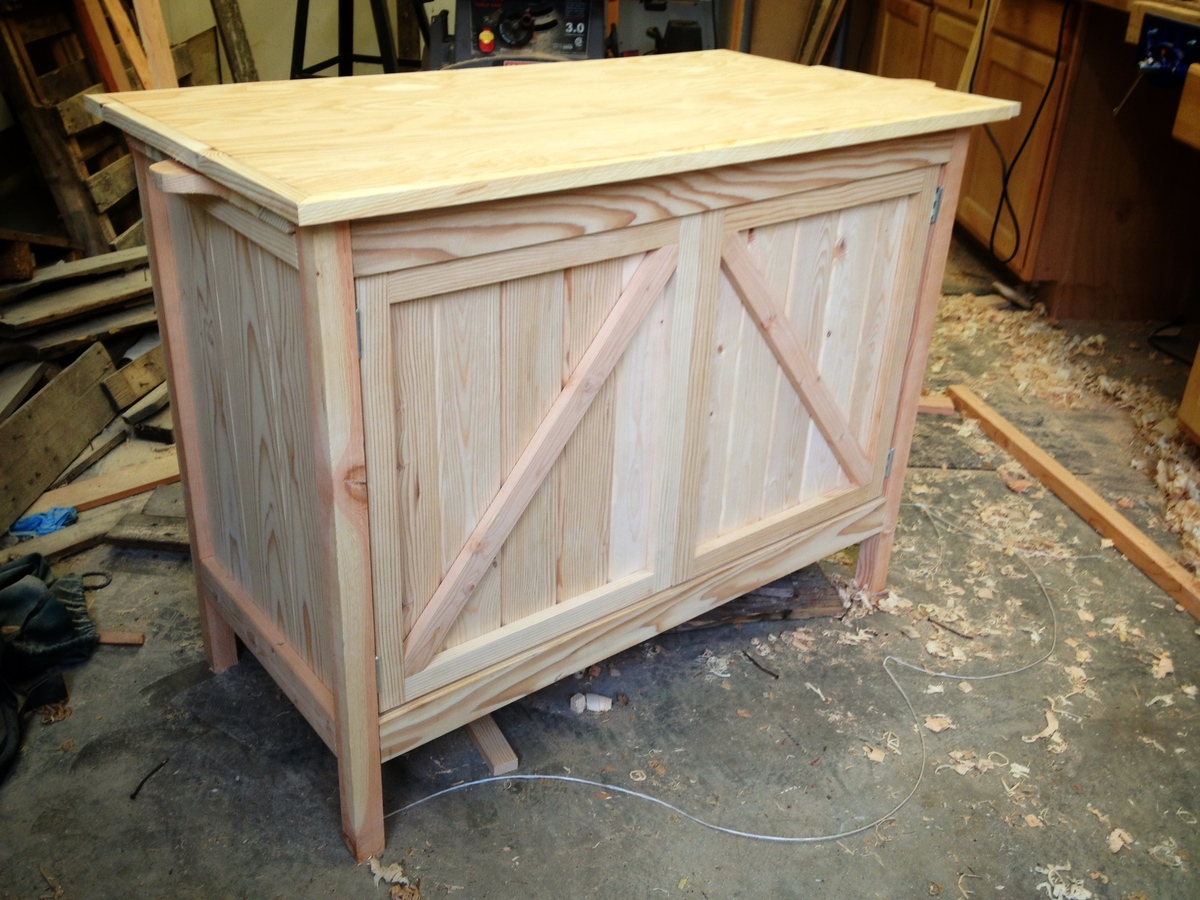
This dresser had a ton of ‘firsts’ for me and along with that I probably made nearly every mistake you can.
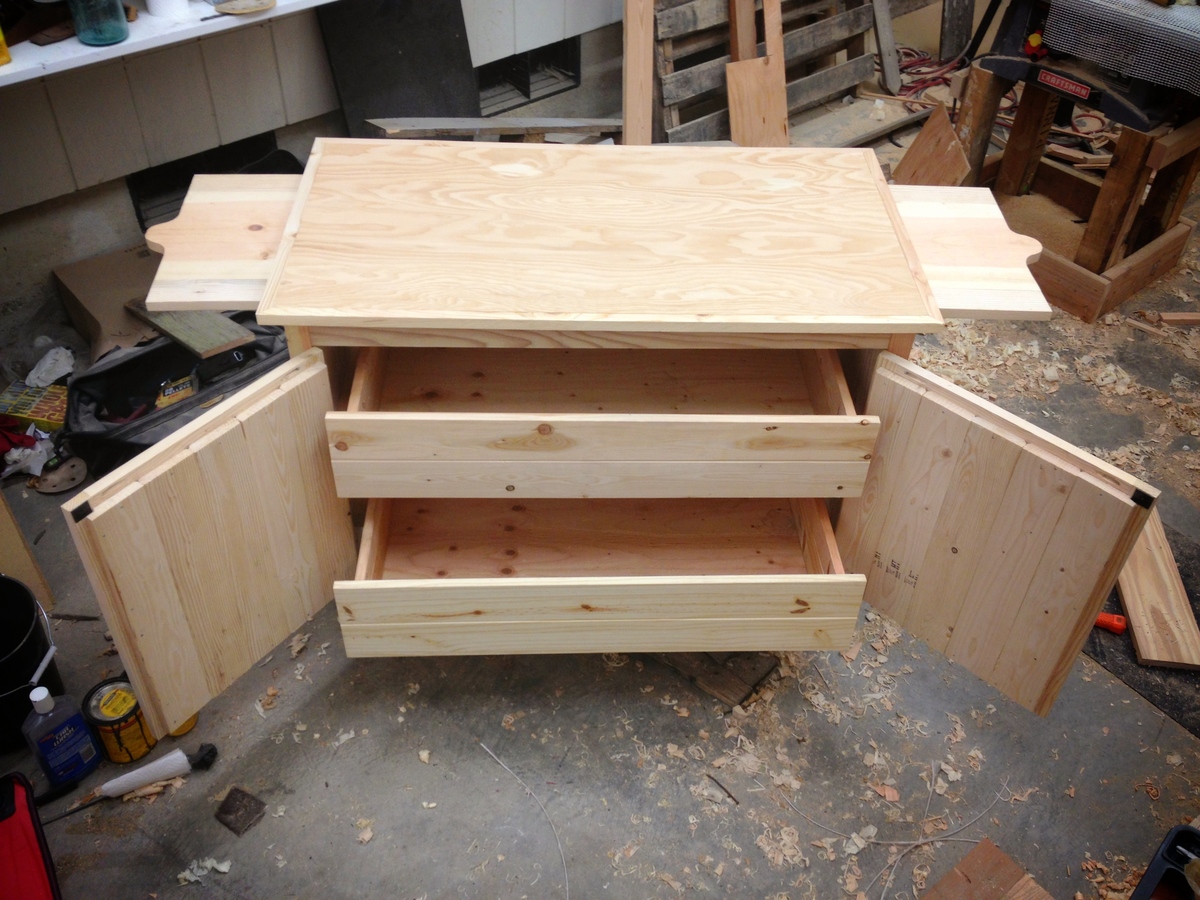
My firsts on this thing were:
-pocket holes
-sliding dovetails (to attach the drawer fronts)
-hand-cut dovetails (rear corners of the drawers)
-drawers with glides
-hinged doors
-table top fasteners
-distressing a paintjob
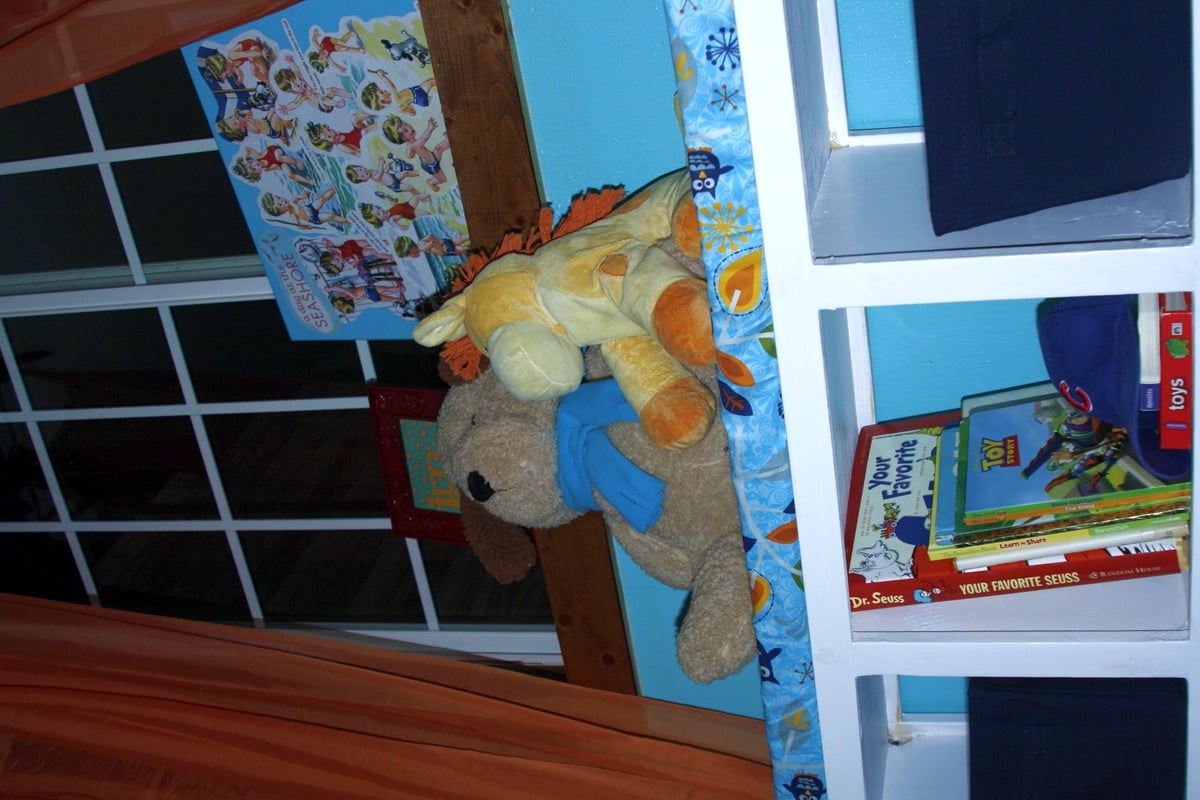
It was built knowing that my wife wanted it painted , hence the mismatched wood used(see pre-paint pics below). The nursery is designed around a rustic theme (see wall shelf unit in the first pic).
I will also be adding a hanging wall clock made from weathered pallet wood in the coming weeks.
I think one of the most challenging things for this project might have been the use of Home Depot lumber.
We were on a major budget so I purchased the cheapest wood in the sizes I needed. This meant combing throught the stacks to find acceptable pieces.
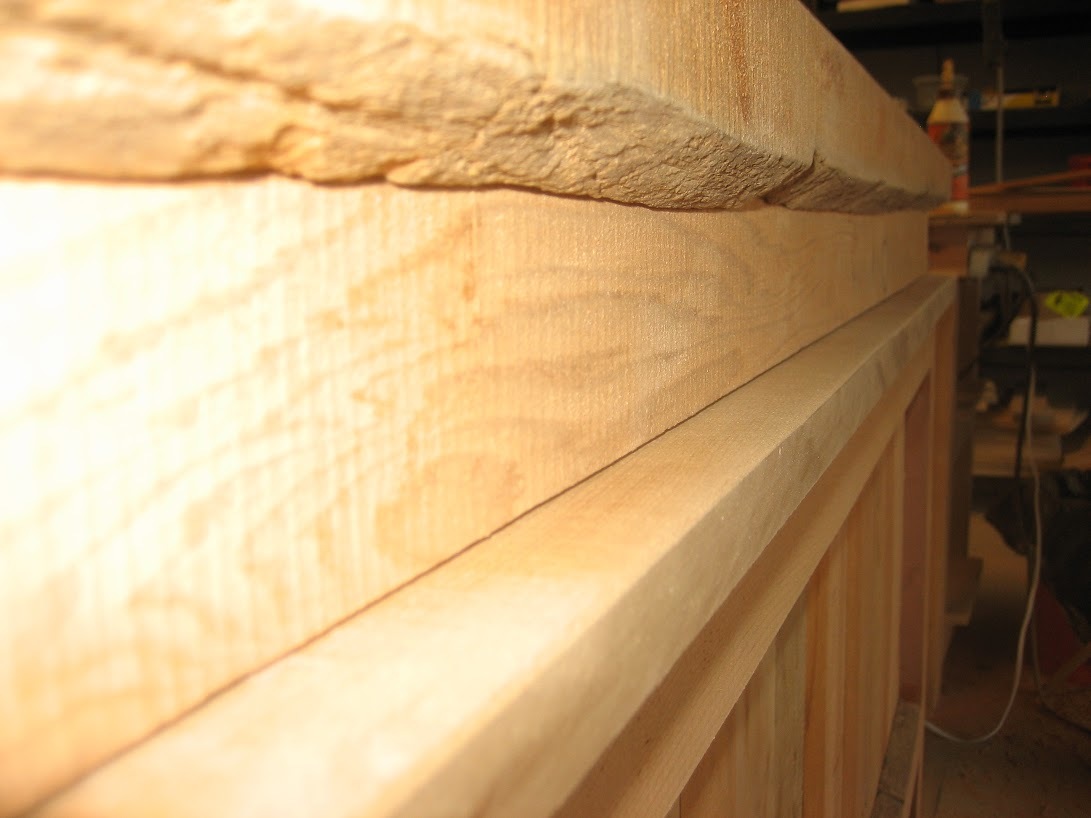
I do not own a jointer or planer, so in order to flatten and correct thickness issues with the wood I resorted to good ‘ol hand planes.
Time consuming, yes. But also very satisfying.


Sun, 04/12/2015 - 16:18
What an absolutely beautiful changing table! It's just my style too! Do you have building plans? I'm currently 7 months pregnant with baby #4 and trying to get our nursery together!
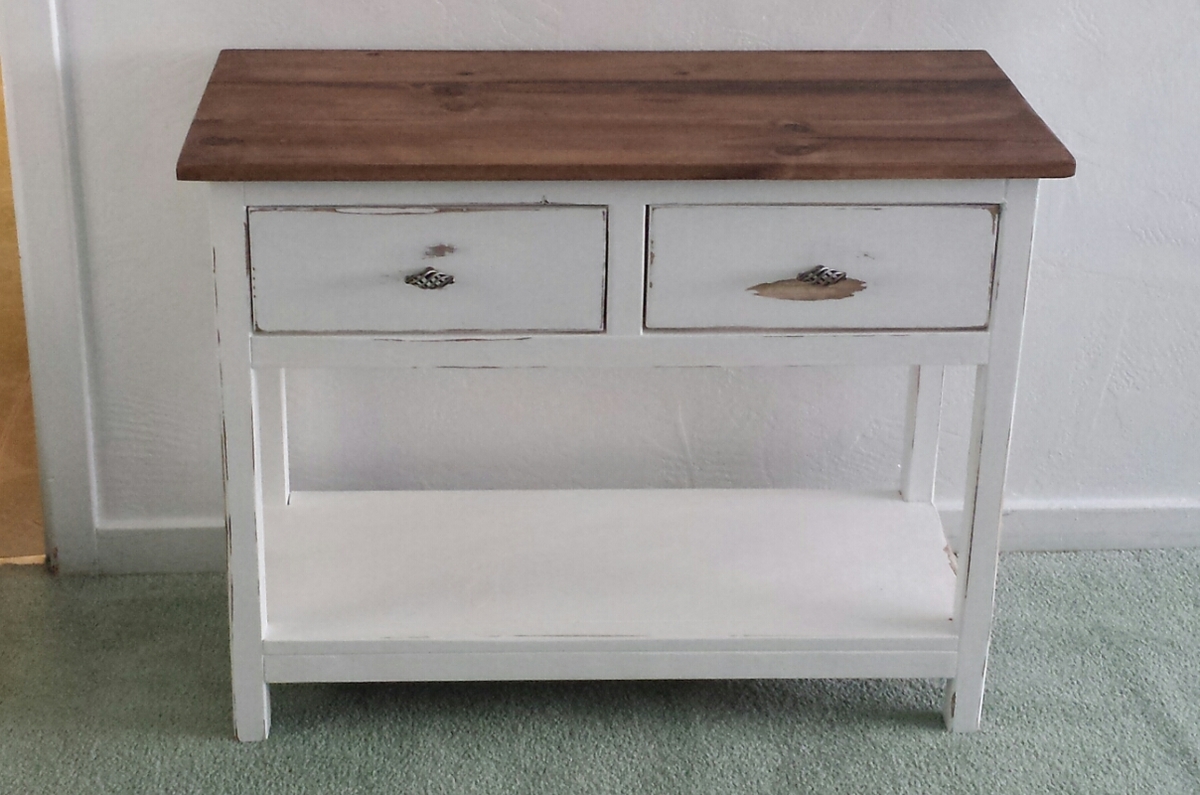
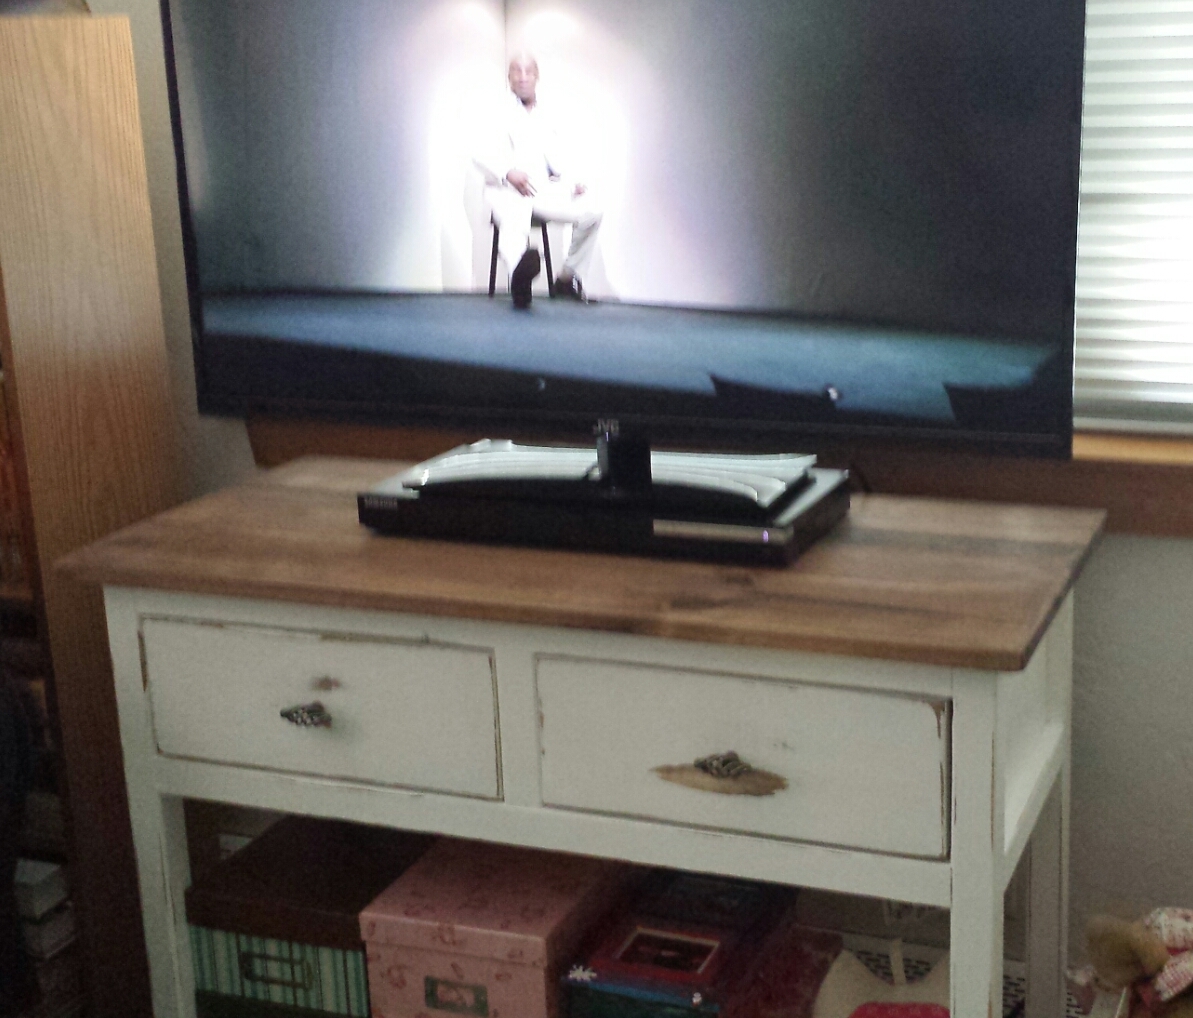
So I bought a tv for our bedroom rather spur of the moment last year and when I decided I didn't to wall mount it I needed a console for the tv to sit. This was going to be my 3rd build and I had recently made the Mini Farmhouse Bedside table. I modified the Mini bedside plans to make the console a larger two drawer style. I also increased the height by about 2" to put the tv at a better viewing angle. I didn't know that there was a similar plan in Ana's book at the time, as it probably would have been easier to just follow that. Oh well.

A beautiful 6 1/2 foot weather gray farm table. Thanks for the design, Ana!
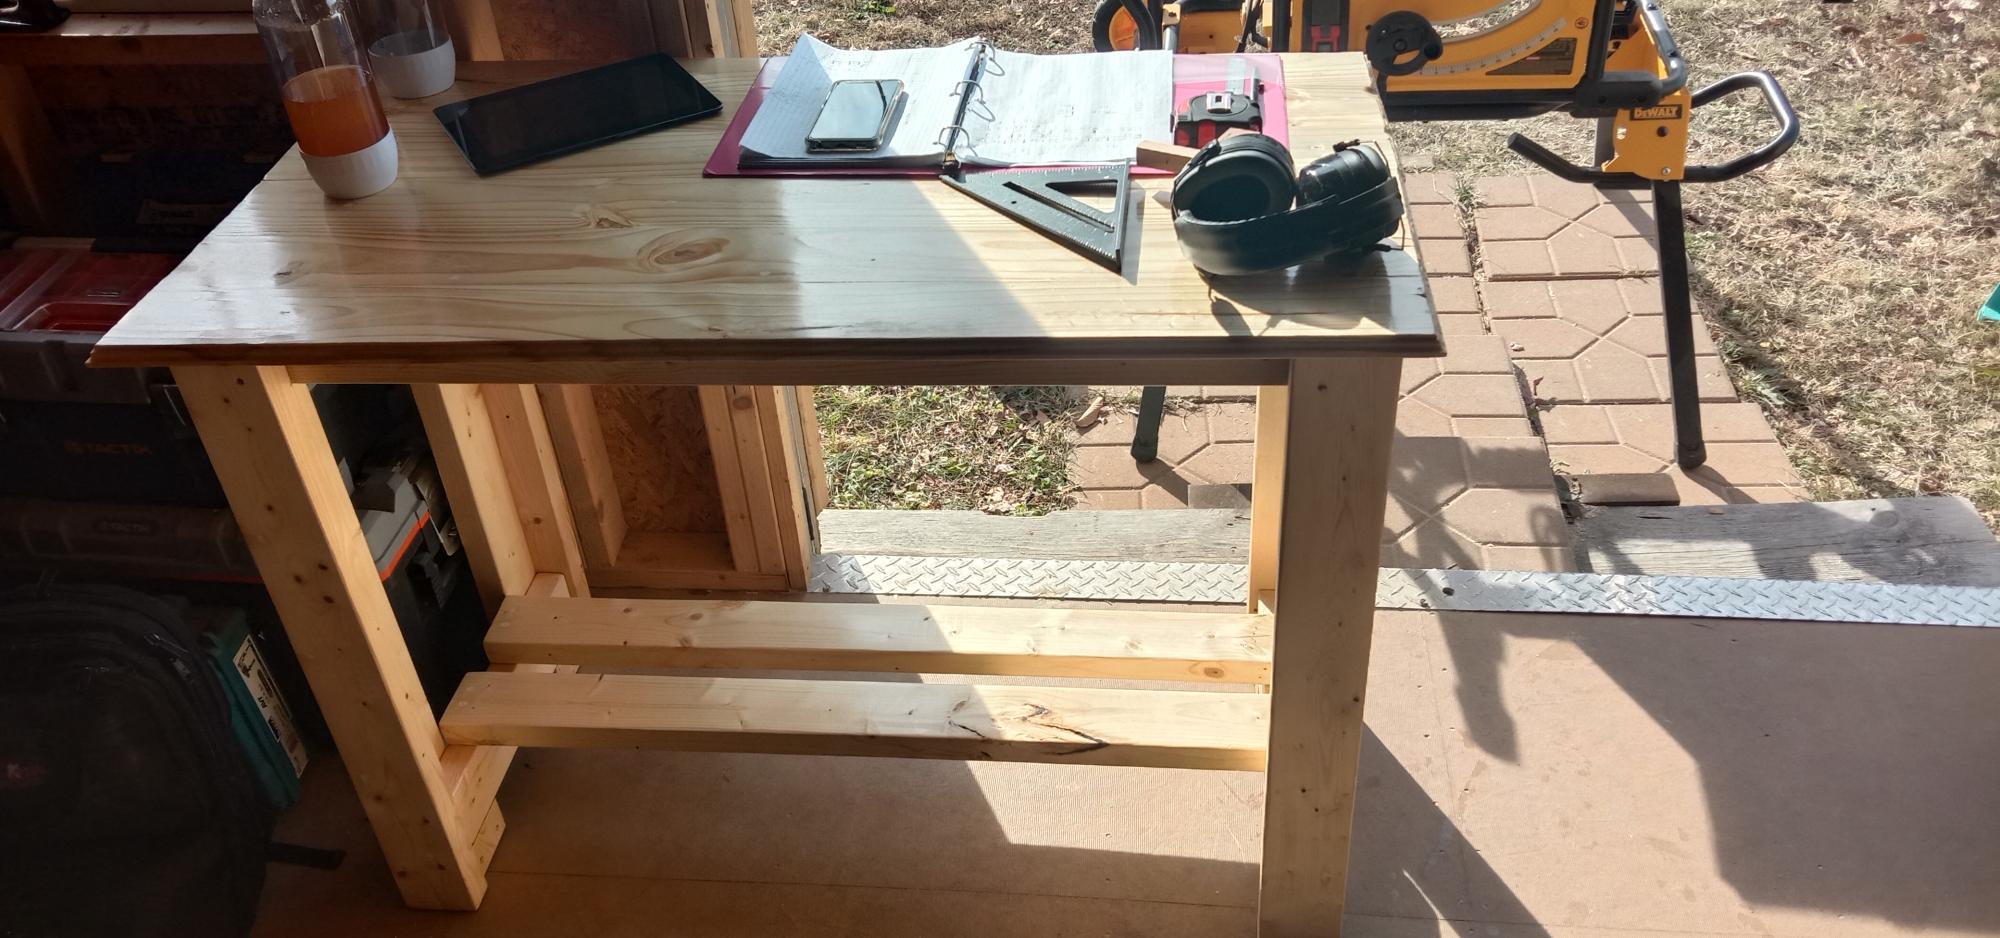
This was my first project and it was done entirely with a table saw, battery powered drill and a sander. It's uneven but stays stable in my shed/workshop. I learned a lot from making it and I hope to incorporate that knowledge in to my next project, L shaped desk for the wife.
The "decorative" edge was really just me testing a router that I got, you can see how it took chunks of the table top on the sides. I figured if I'm going to mess something up it might as well be the workbench.
As for the coating, it's just some polyurethane. I put three layers on the table top and one everywhere else, it looks slightly glossy and yellowish but its a lot less prone to denting then the bare wood was.
Fri, 12/17/2021 - 20:30
It looks great and functional, no doubt you learned something along the way! We can't wait to see the next project:)
Fri, 12/17/2021 - 20:30
It looks great and functional, no doubt you learned something along the way! We can't wait to see the next project:)
My husband made this chair in about 30 minutes. It was are first project from this sight. So easy and my niece loved it!! I painted he cut! what a team
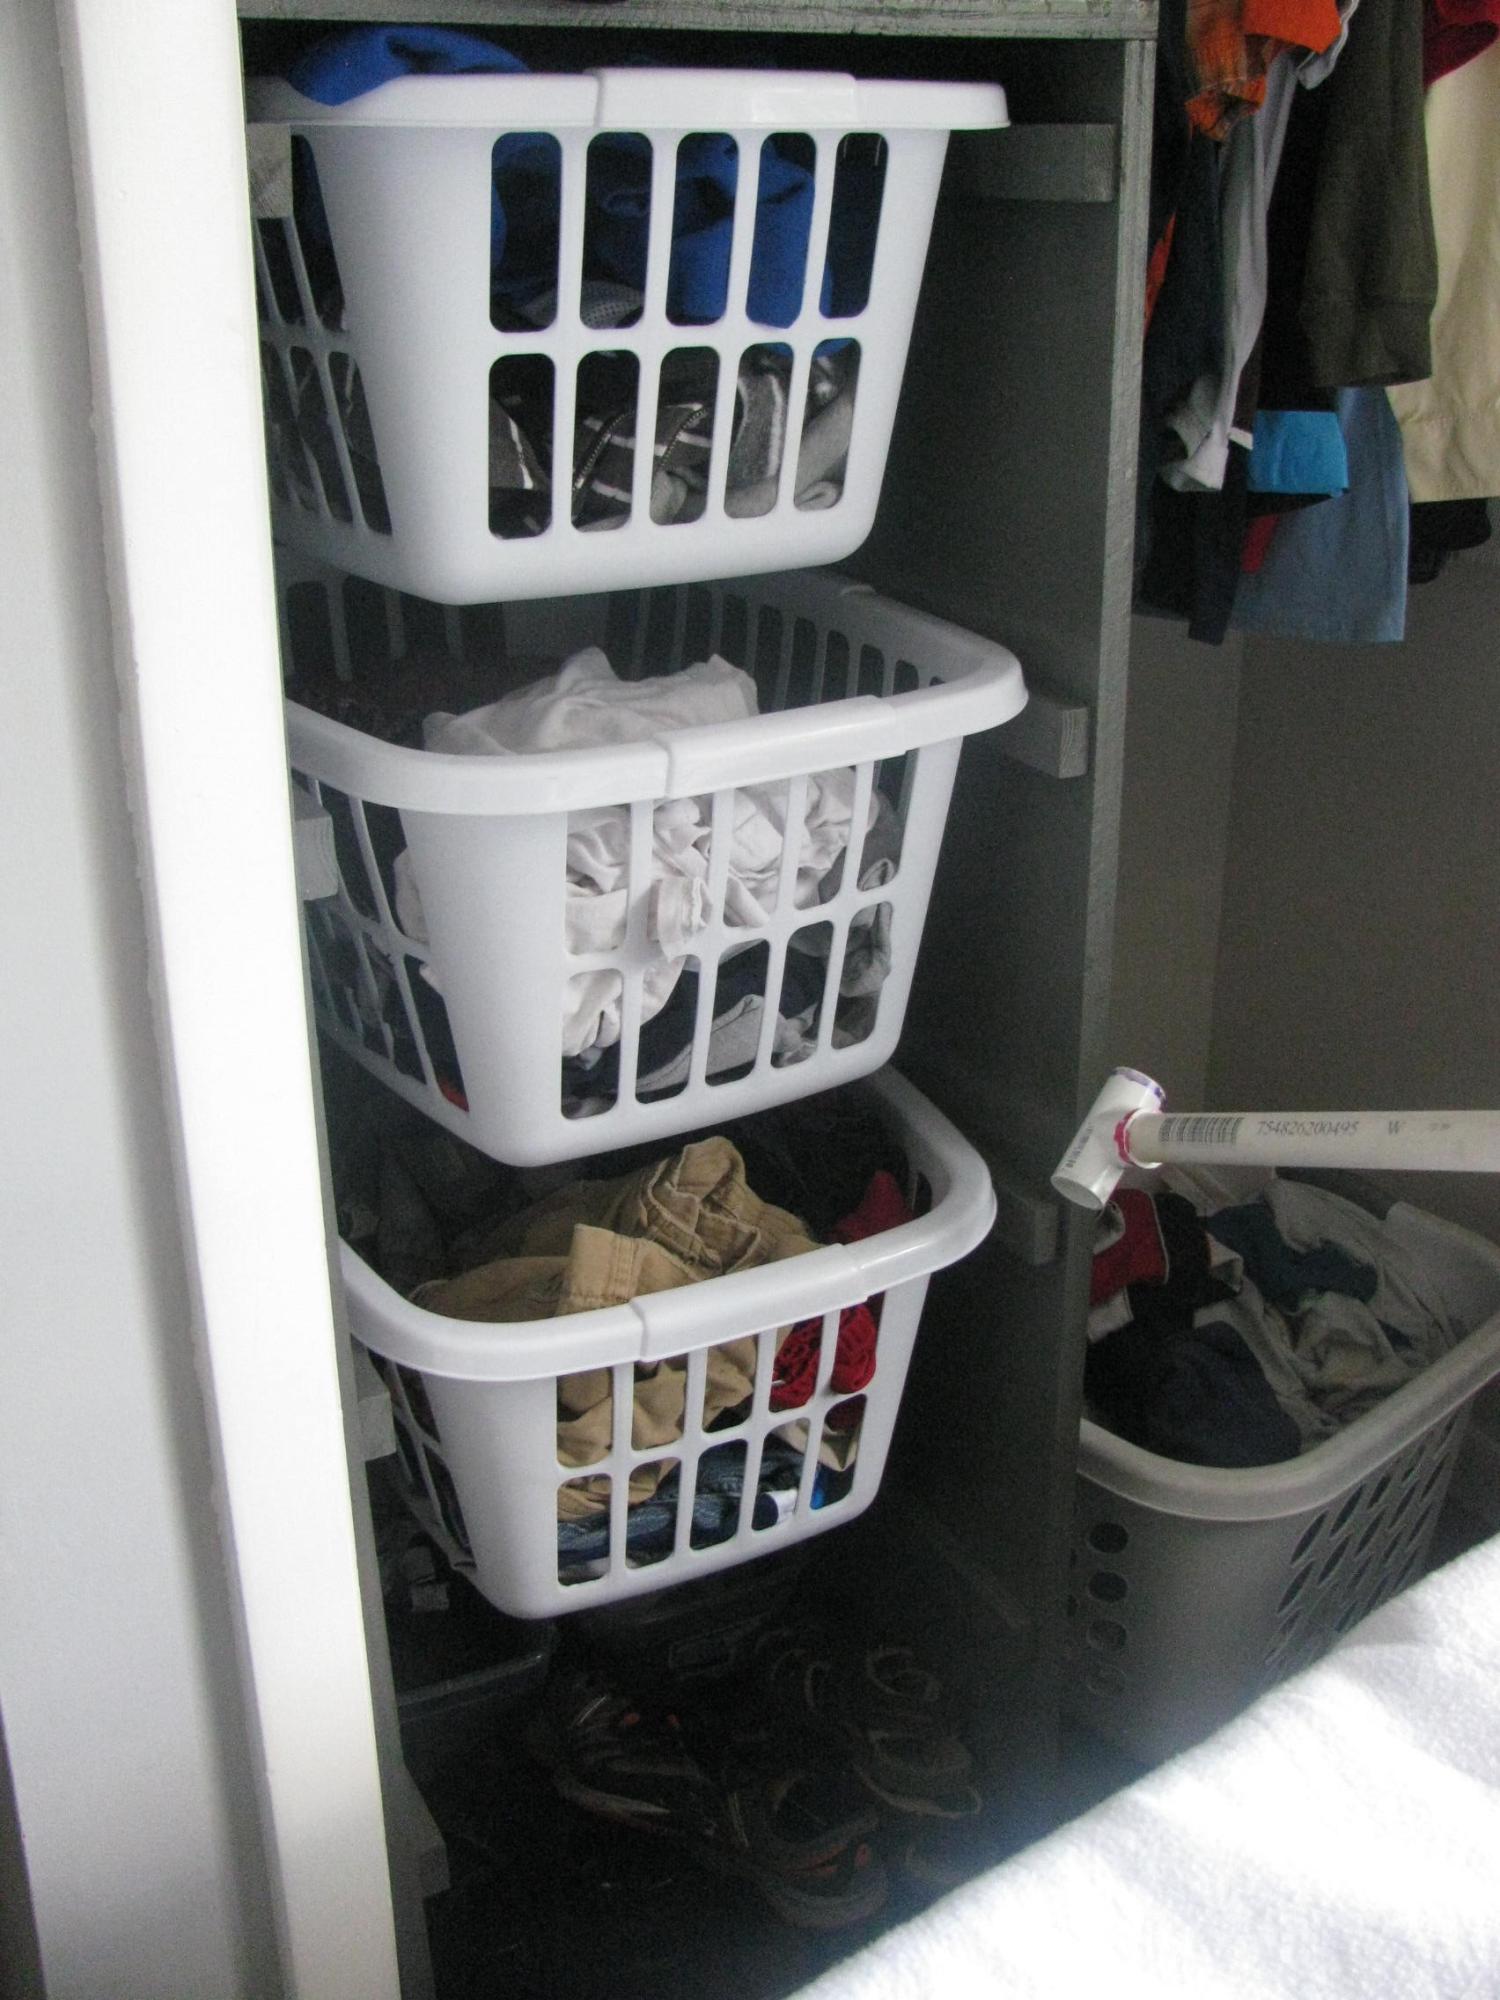
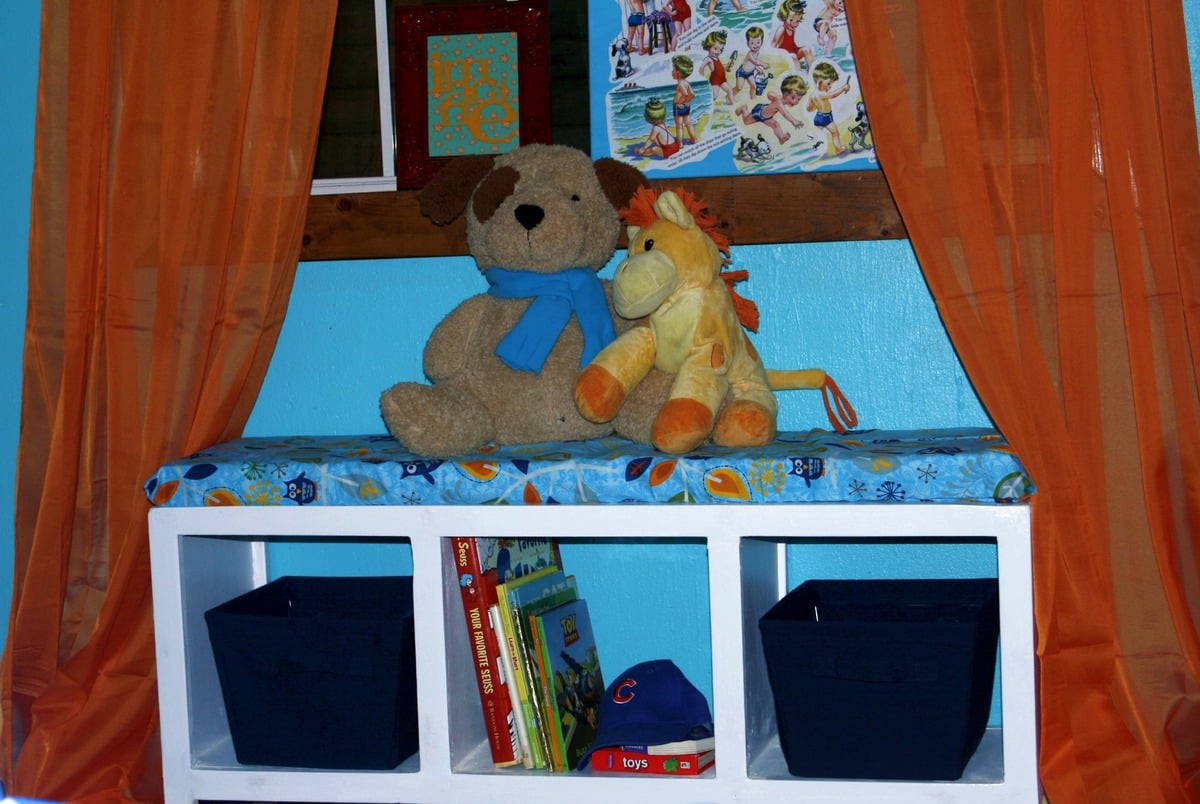
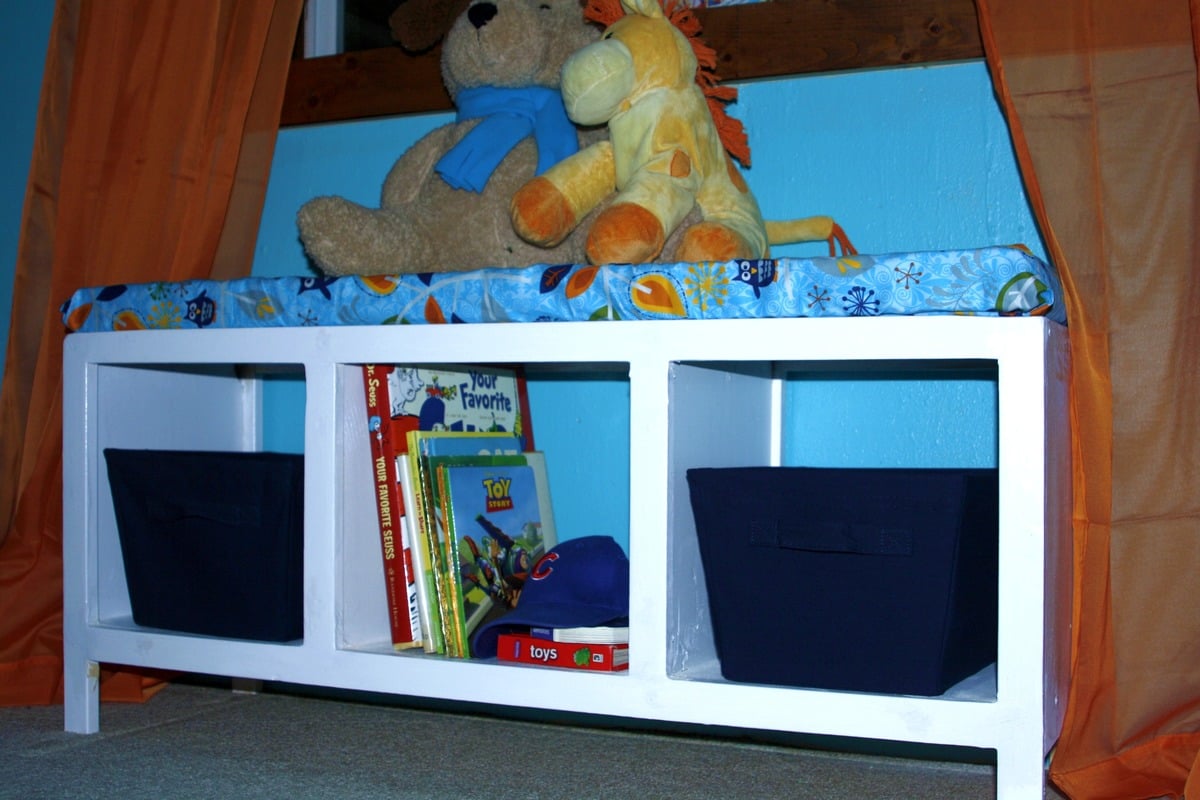
(again, I don't know why the image is showing up in the wrong direction)... While redoing my son's room, he needed a new dresser. His room is very small and we new we needed to be able to put it inside the closet. We couldn't find dressers that would fit the correct dimensions, but didn't think we had the ability (yet) to make a quality dresser for him. My kids don't like using dressers correctly anyway, so we thought this might be a great solution for him. Right now he is using the bottom area as a place for his shoes and small boxes for his underwear and socks. (We had thought about making one of the spaces into a shelf, but ended up not doing it, so I hadn't bought enough baskets).
Sun, 11/01/2015 - 08:45
Your table is gorgeous! I'm building this right now and am looking for this color stain ... What did you use? thank you!!
Sun, 11/01/2015 - 08:45
Your table is gorgeous! I'm building this right now and am looking for this color stain ... What did you use? thank you!!
Mon, 12/21/2015 - 21:04
Sorry I'm just now seeing your comment! If you still need the info I used a coat of Rustoleums Weathered Gray and then a coat of Minwax Provincial. I only left the Provincial sit on for maybe about a minute before wiping it off. Hope this helps!
Mon, 12/21/2015 - 21:05
Sorry I'm just now seeing your comment! If you still need the info I used a coat of Rustoleums Weathered Gray and then a coat of Minwax Provincial. I only left the Provincial sit on for maybe about a minute before wiping it off. Hope this helps!

I loved the original design but wanted to learn new skills and use hardwood.
I used a combination of pocket holes, biscuits to align the plates and the frames, and figure 8 fasteners to attach the top.
At a VERY low pace (~1-2 hours every day), and many mistakes, it took me about two months to complete this project. If I had to do it again, it would probably take me two-three weeks at the same pace.
Overall, I learned a lot and am very pleased with the final results.


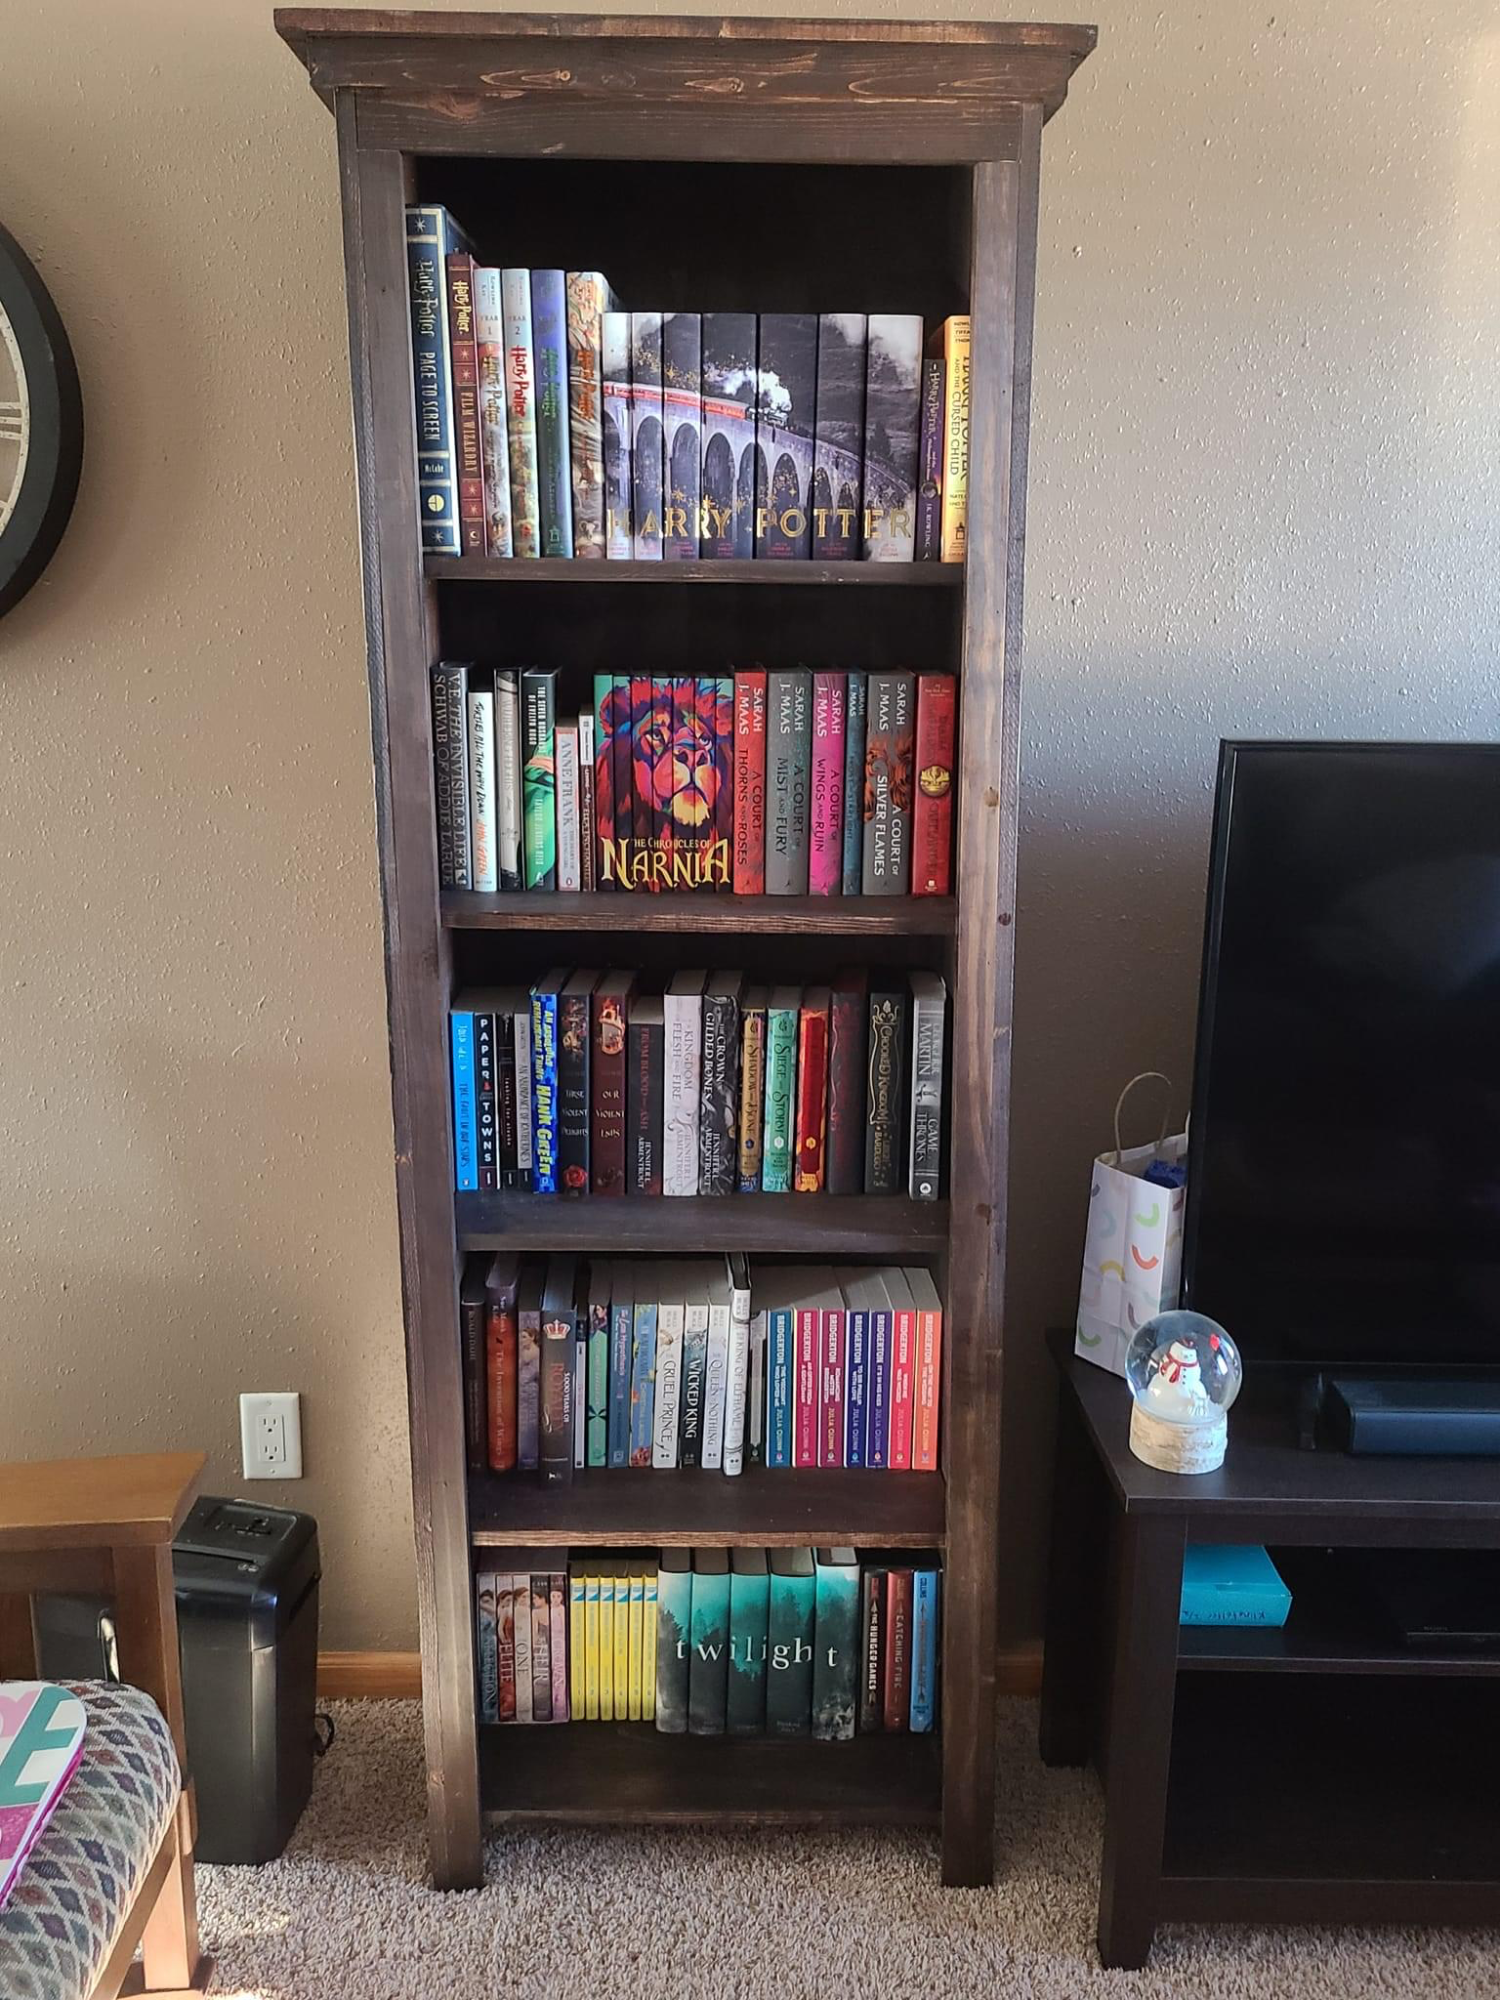
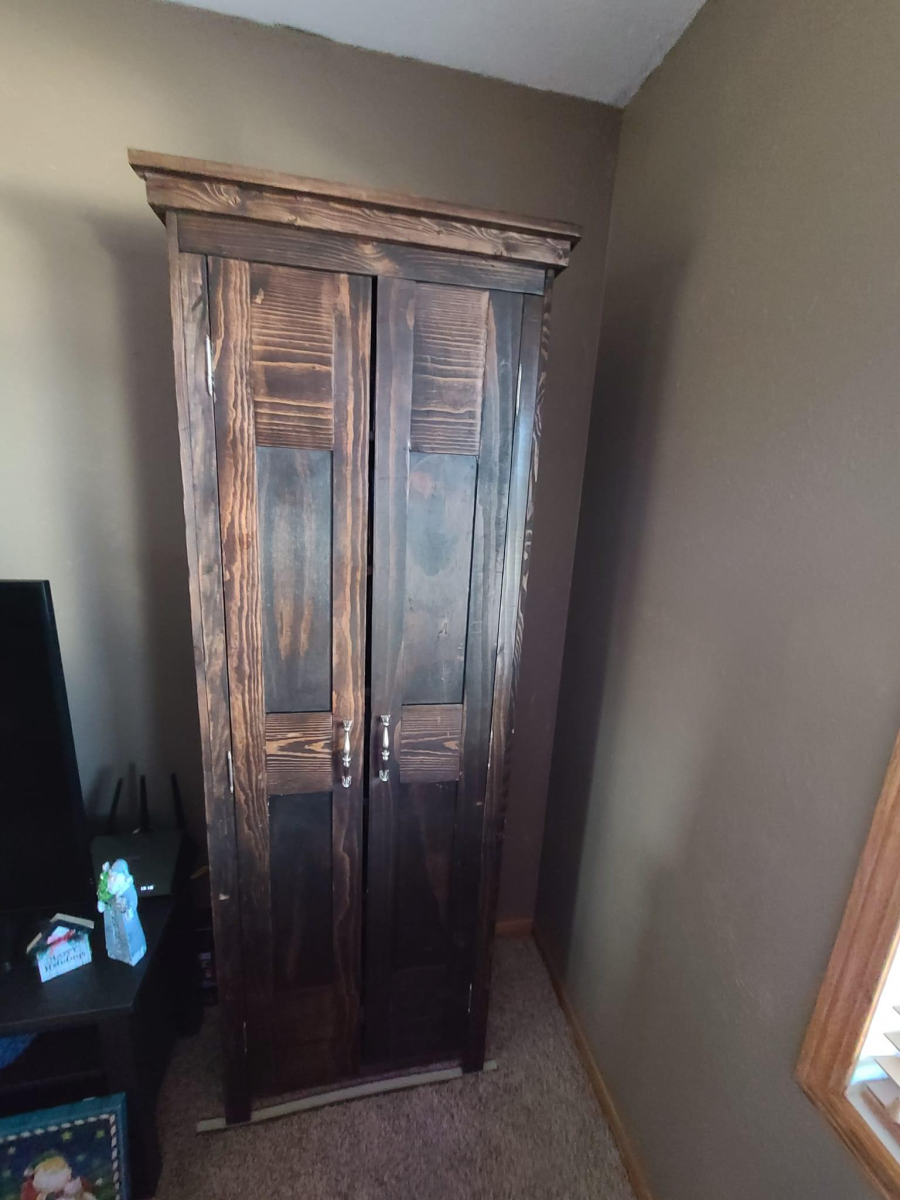
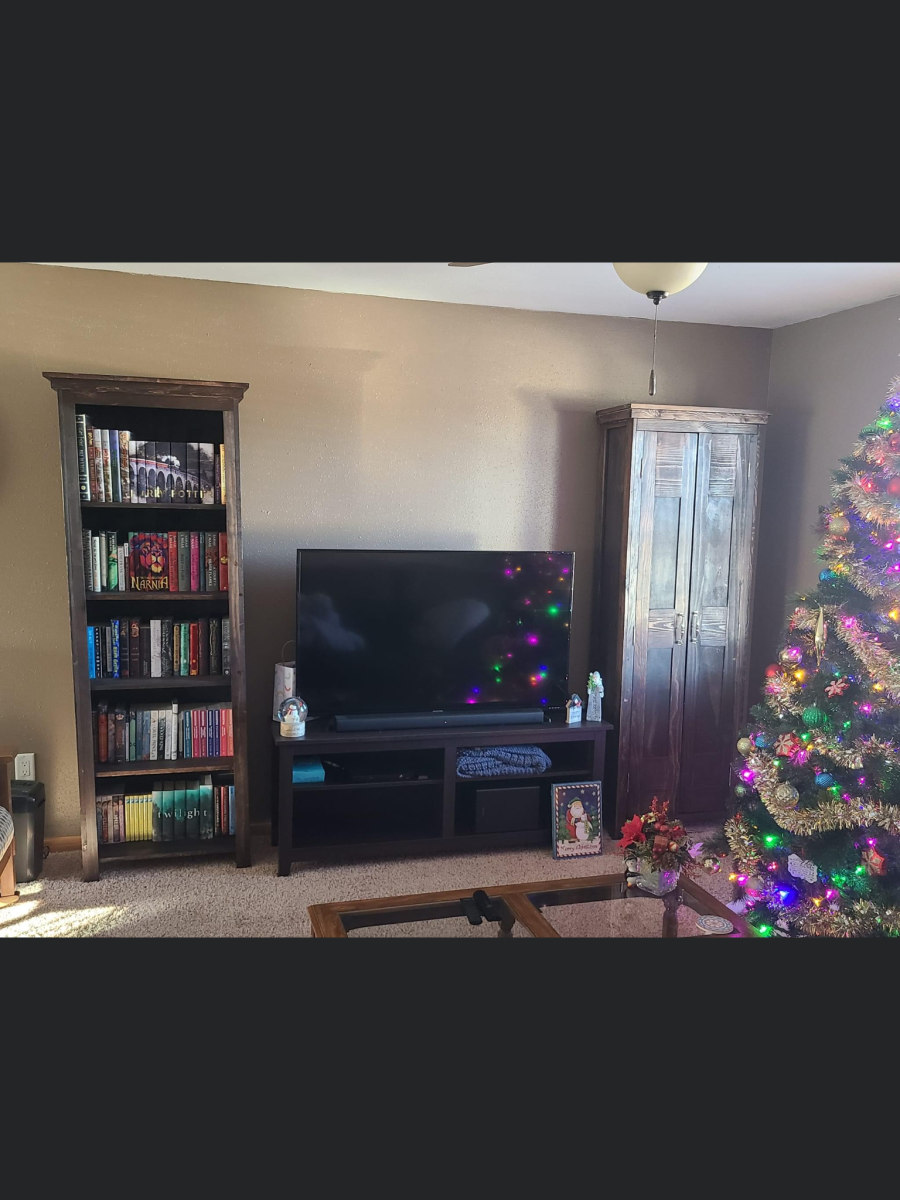
Using favorite bookshelf design I built 2 shelves, one for books (5 shelves) and one for DVD’s (7 shelves with doors). These were a present for my daughter for Christmas she loves them. They are made of pine finished with General Finish brand Java gel stain.

This was my first project. My wife saw it and told me to make it :)