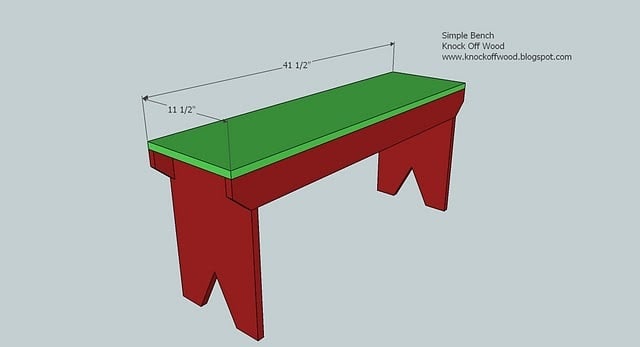
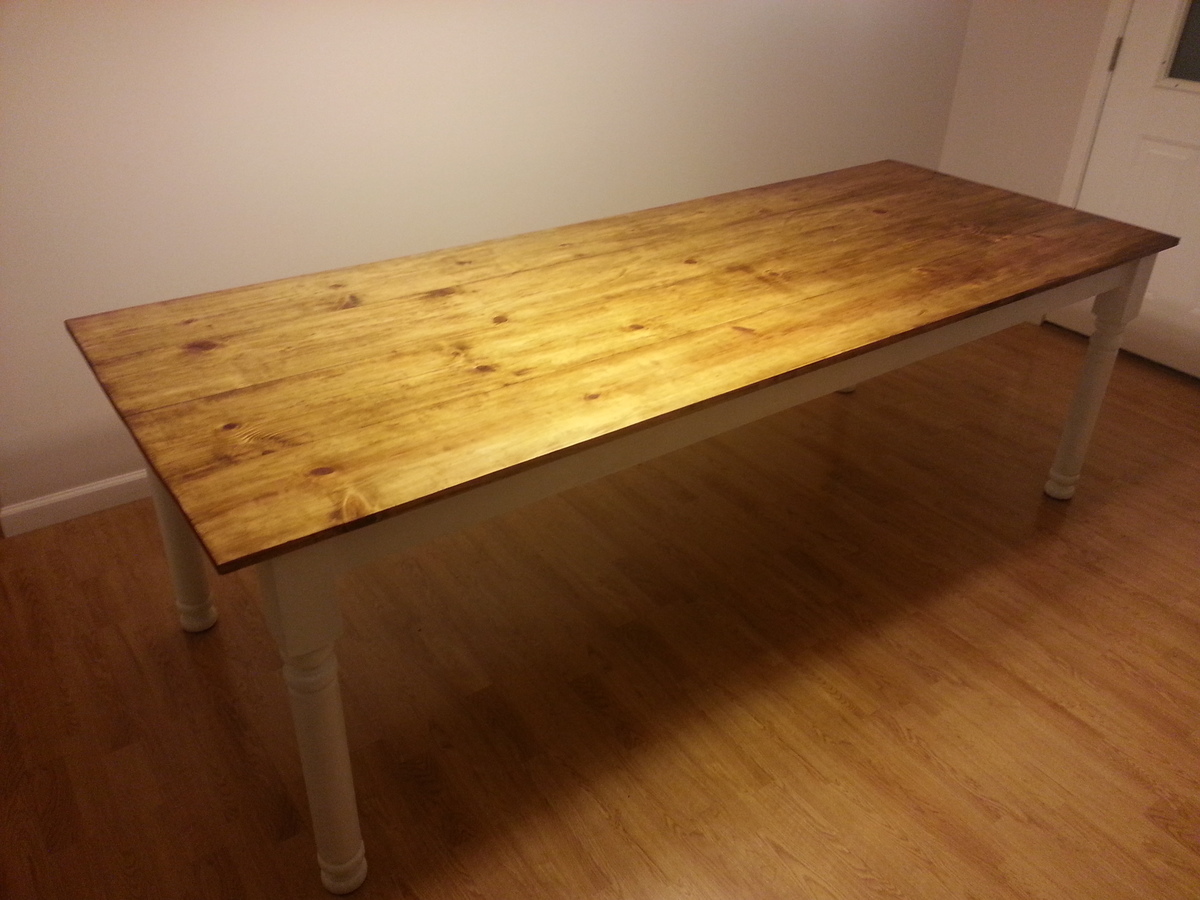
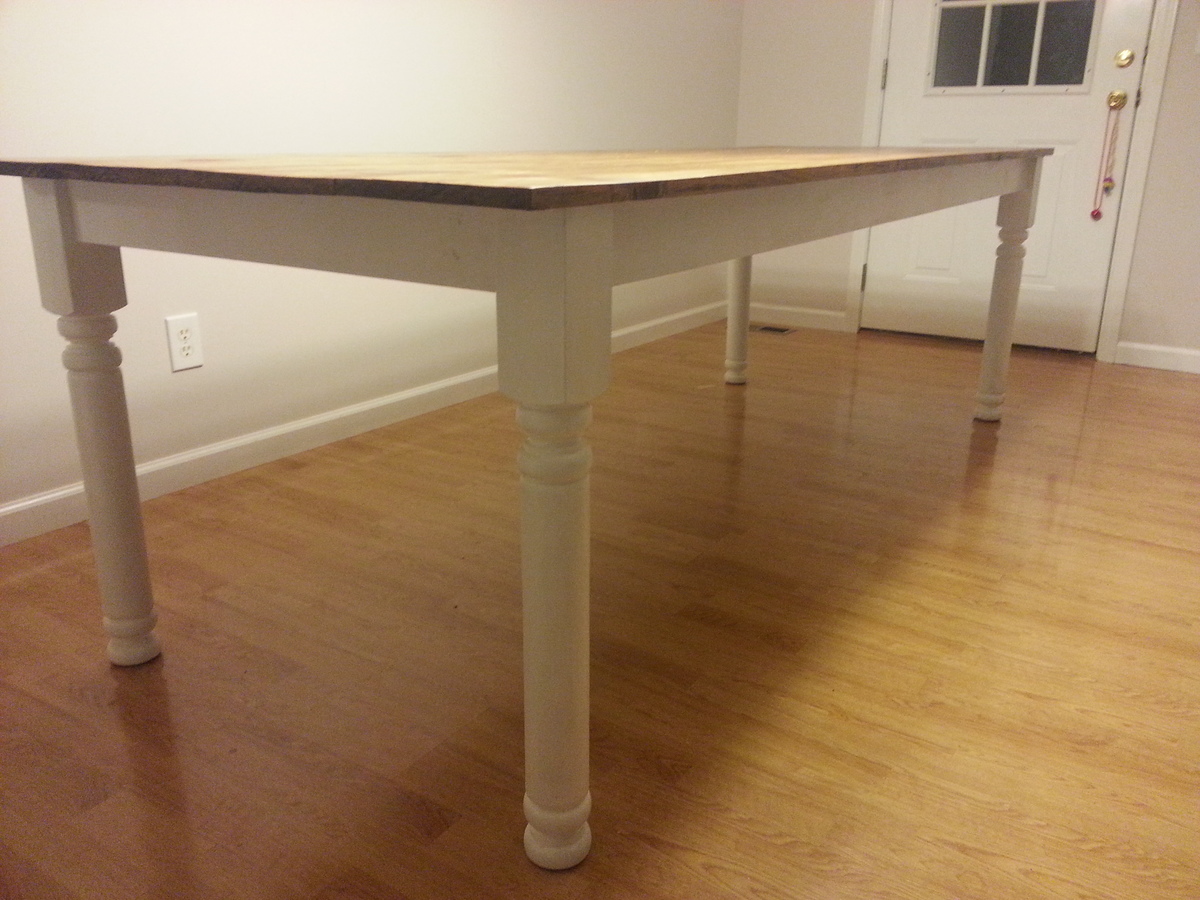
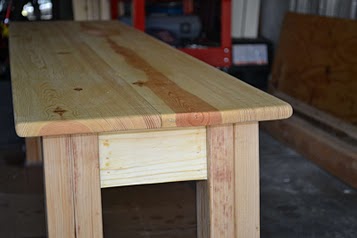
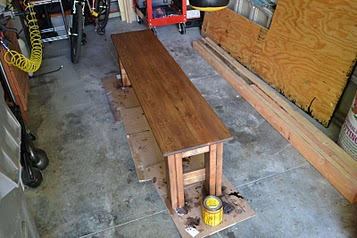
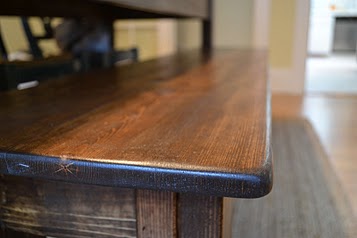
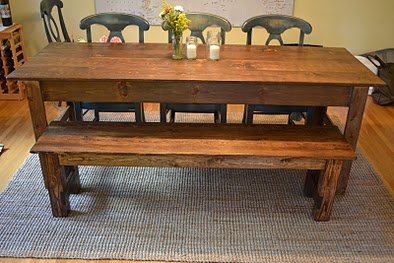
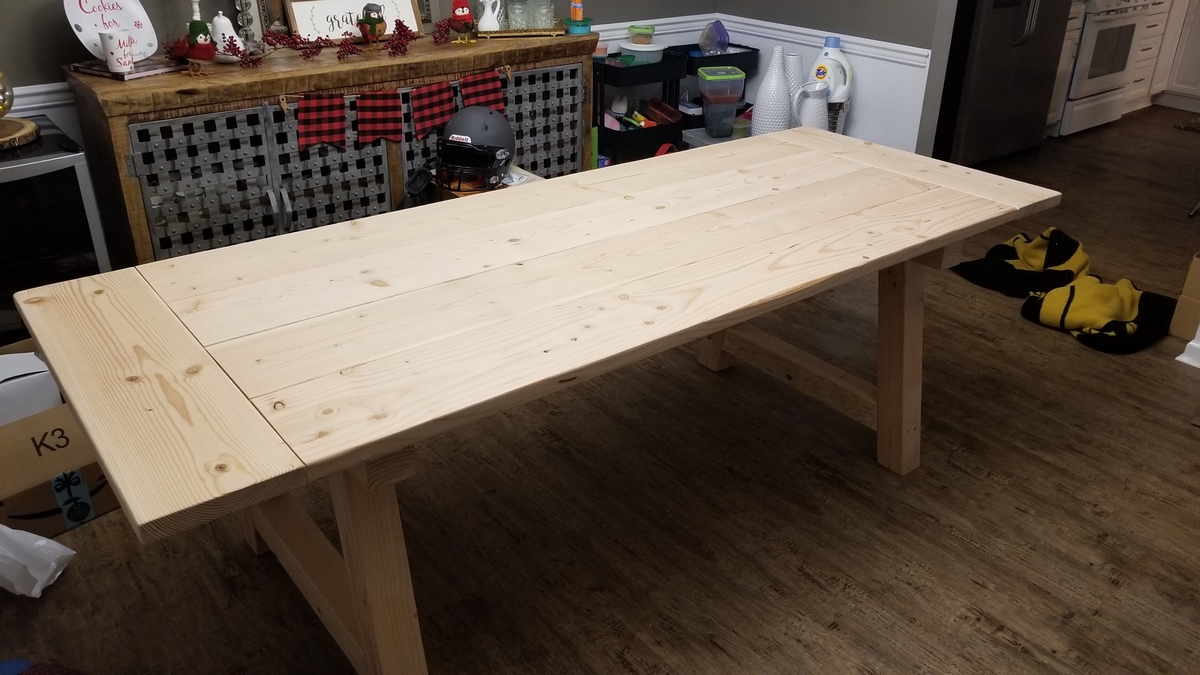
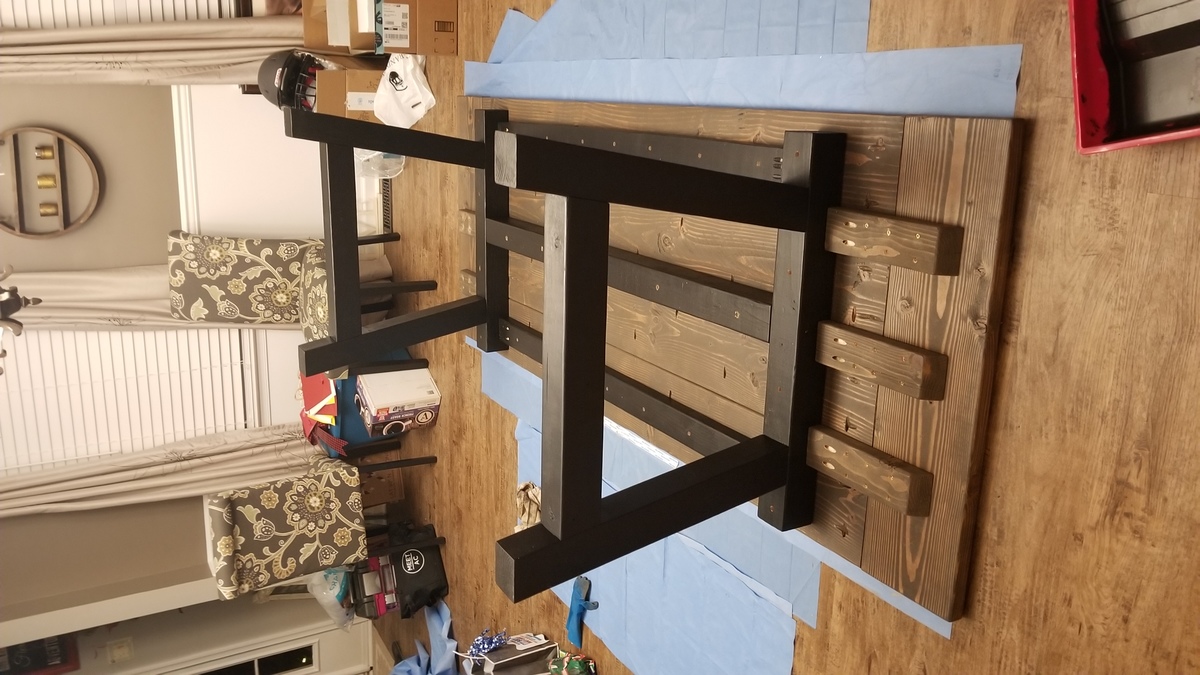
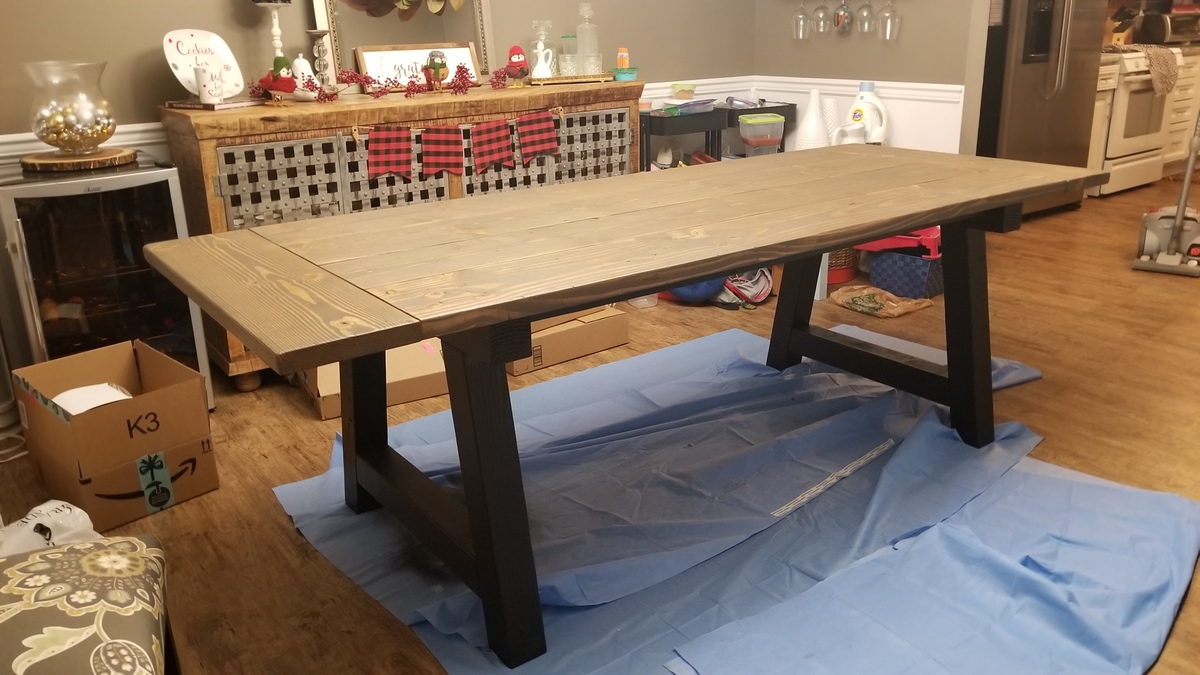
4x4 Truss Beam table
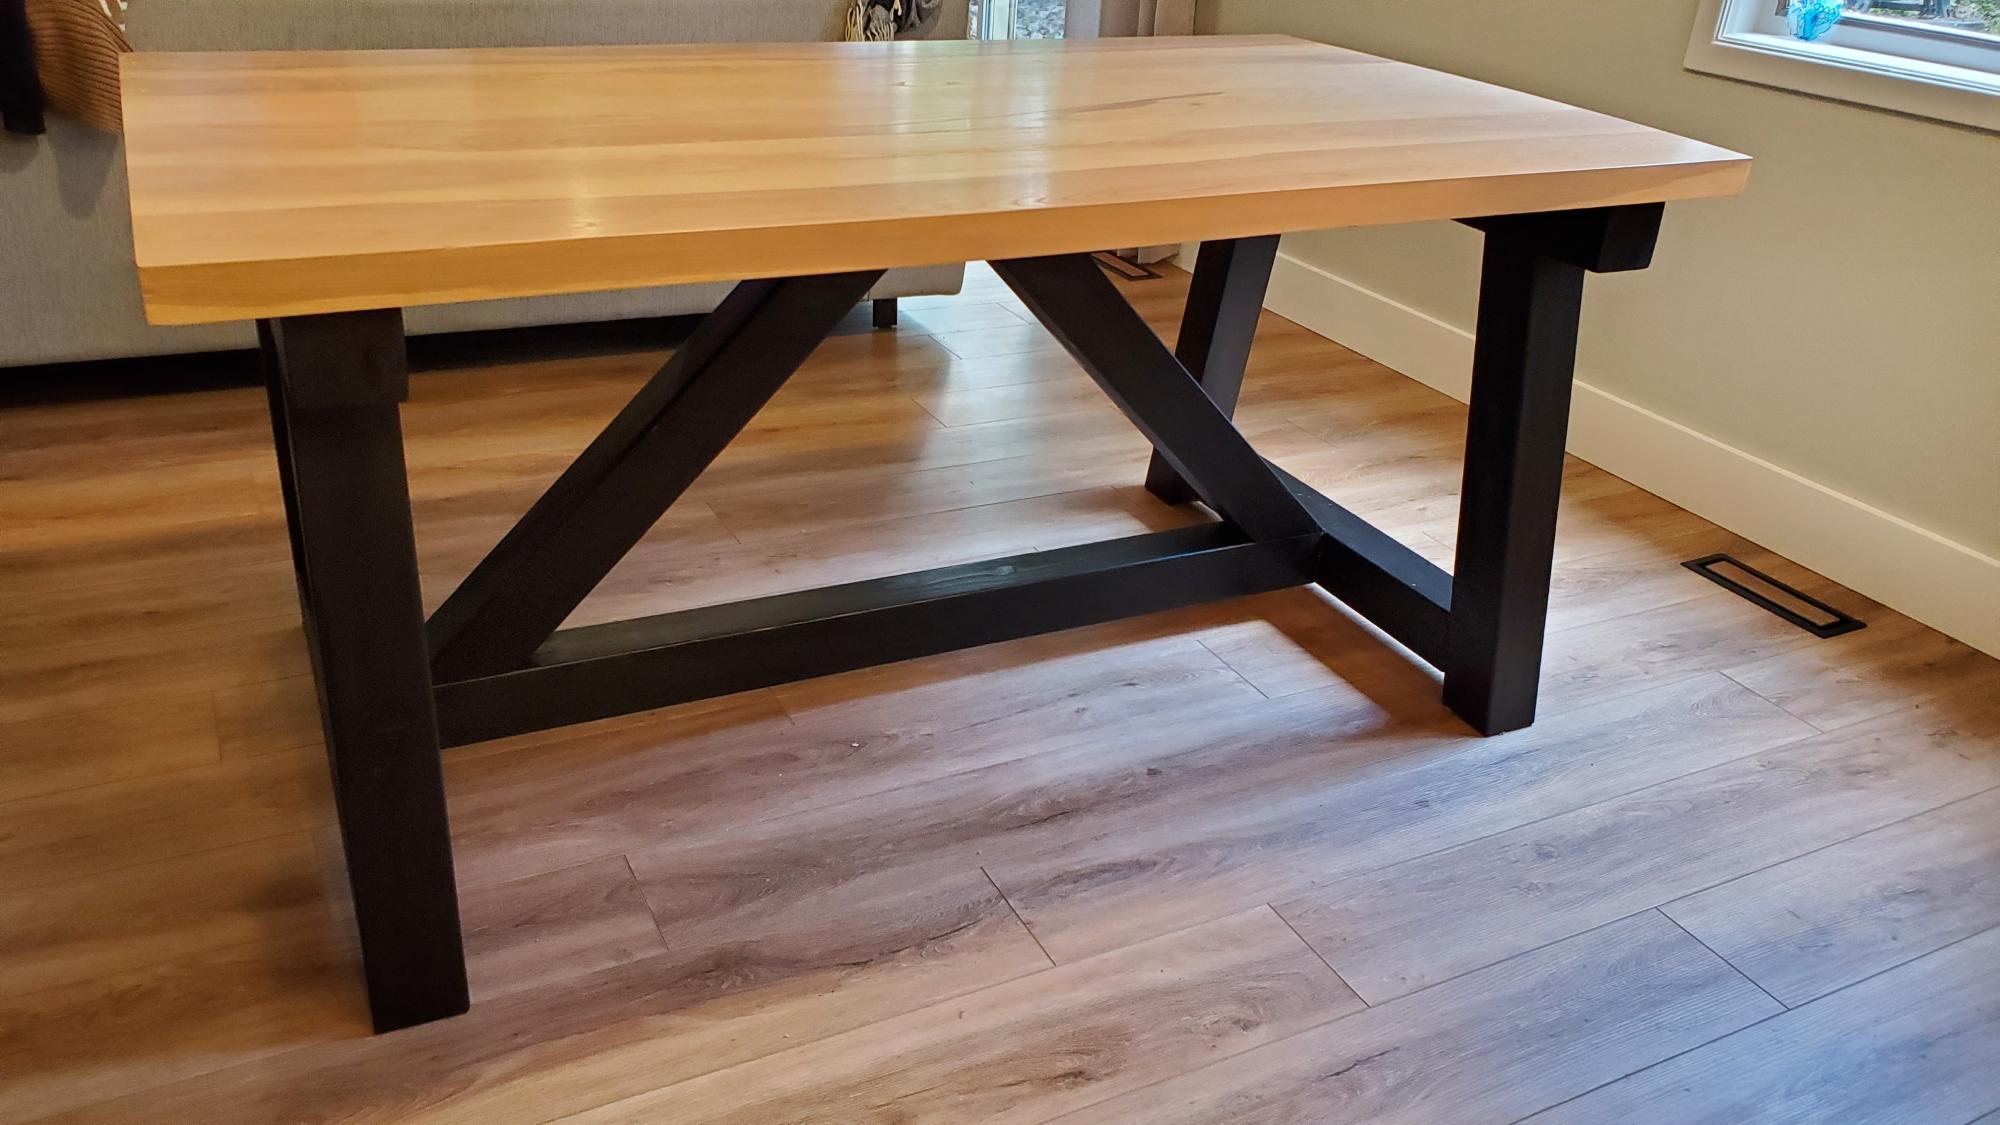
I went a little more high end for the table top, but really like the design for the frame
Built from Plan(s)
I went a little more high end for the table top, but really like the design for the frame

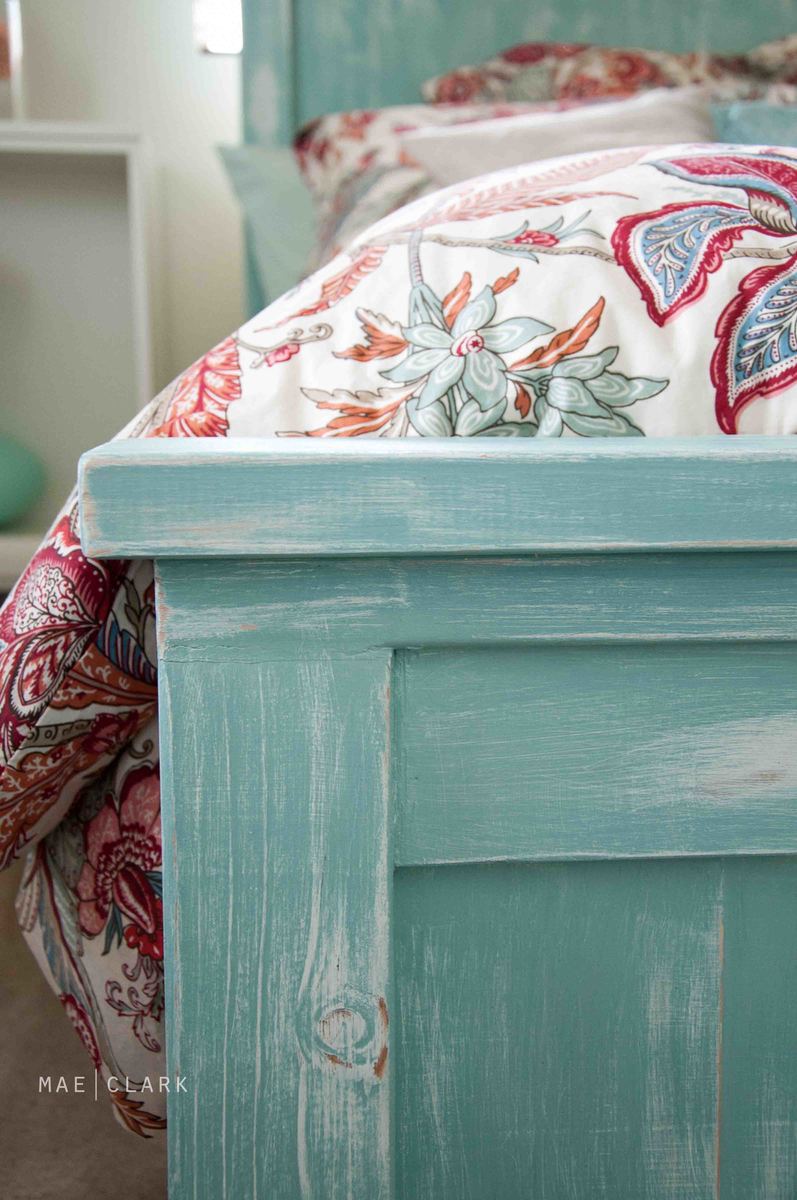
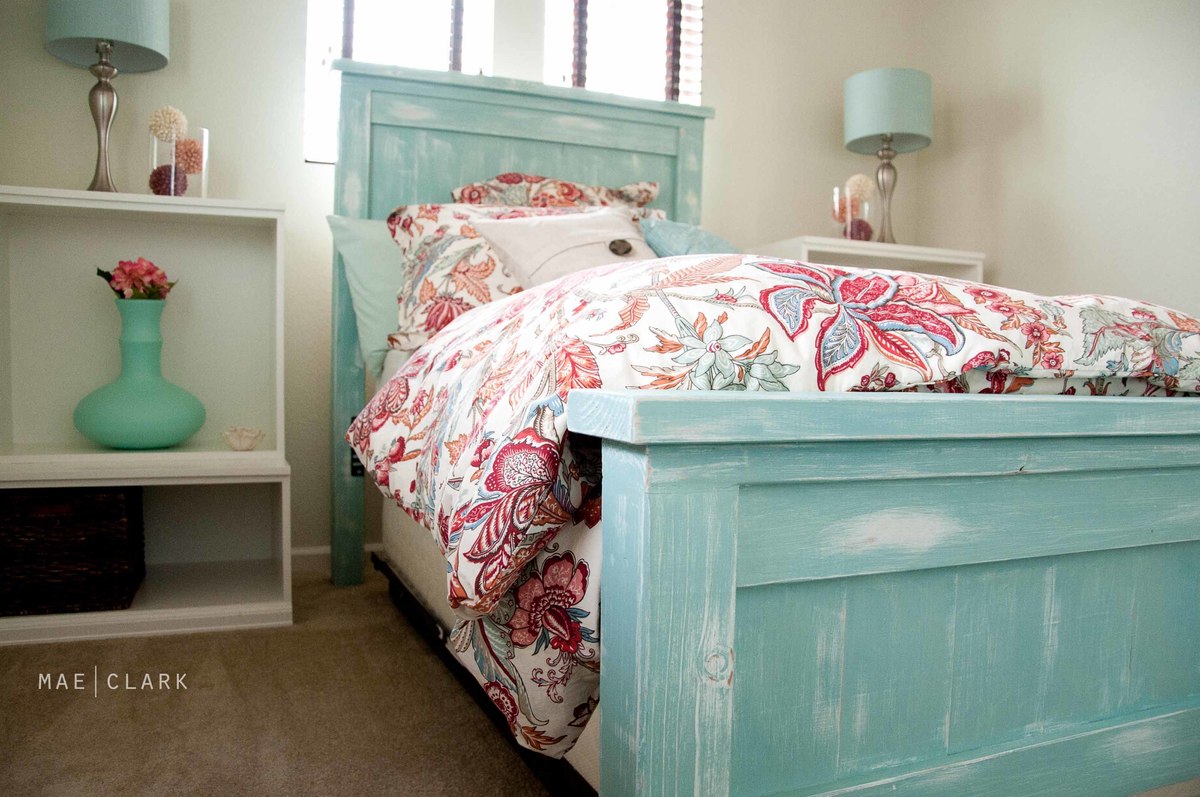
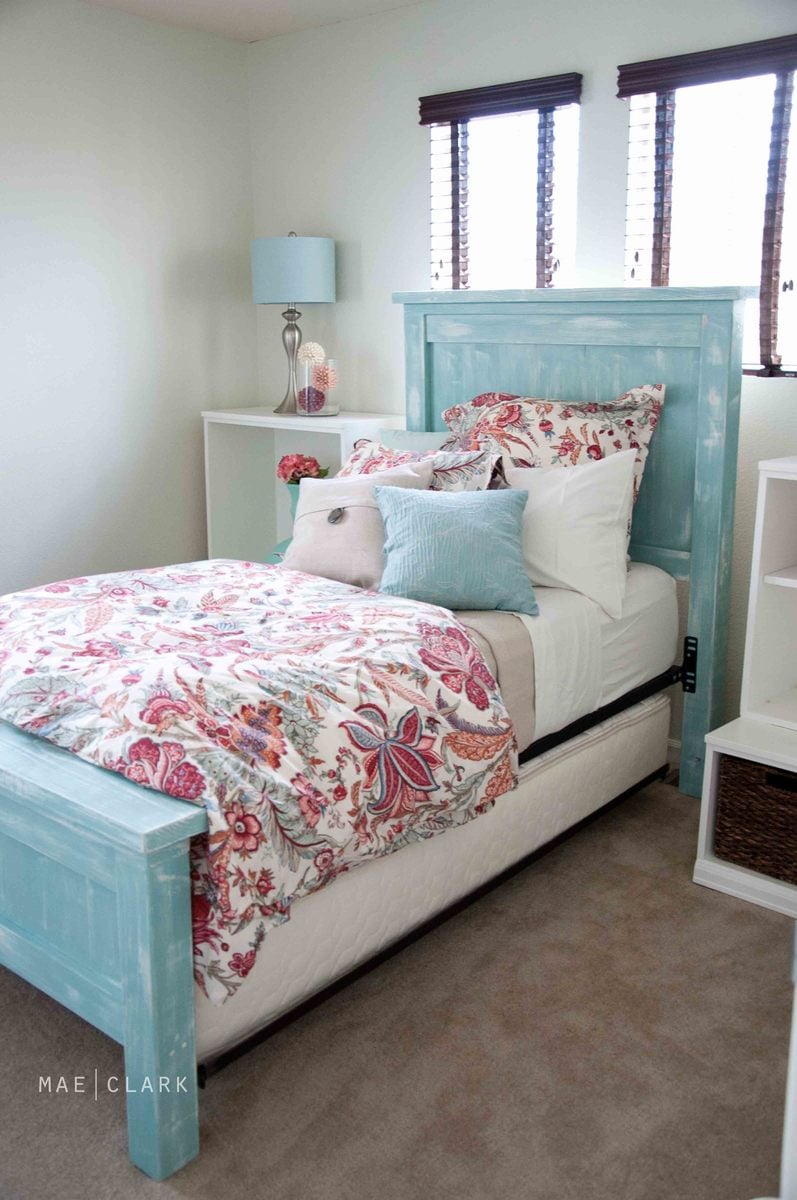
I decided to start on the project of converting my daybed to a twin farmhouse bed five days before I had a house full of company - genius! The hardest part was finding the 4x4 posts at the Blue store and deciding what length of screws to use. It's hard to say how much time I spent on it, as I was finishing up 46 other projects during the same time, but I would guess the build took about ten hours, and the finishing maybe three? This finish really is one of the easiest I've done to date. A quick coat of white/cream semigloss, another quick coat of turquoise semigloss, an hour of light sanding and wa-lah! I apologize for the poor photo quality - I borrowed a friend's camera lens to get wide-angle shots in my teeny guest room and the lens apparently wasn't made for my camera - whoops!

Sun, 08/14/2011 - 08:57
I absolutely LOVE the finish! Once I figure out which of Anna's beds I want to build, I will try to copy your fabulous finishing job. Thanks for sharing.
Sun, 08/14/2011 - 16:30
I love the beachy look. You did an amazing job. I have a day bed that I hate and I'm thinking this is a perfect solution. Thanks fir the inspiration.
Mon, 08/15/2011 - 05:36
This bed is GORGEOUS! Great Job! I think I need to get building and make 2 for my little girls :-)
Mon, 08/15/2011 - 08:41
I love the finish! I'm making one of Ana's beds for my daughter and may copy your finish technique, but use a pink (her favorite color) instead of blue.
I also noticed that you used the bedframe for the siderails instead of making them. Did you just screw them in to the posts?
In reply to I love the finish! I'm making by Miasmom (not verified)
Mon, 08/15/2011 - 19:25
Thanks! I just used the hardware that was used to screw the daybed into the original posts to attach it to the farmhouse headboard and footboard. Pretty easy! I plan to fashion a coordinating bedskirt to hide the trundle underneath.
In reply to bedding by designdoctor
Tue, 08/16/2011 - 19:52
Yup, Pottery Barn. The Deirdre Organic duvet and sham.
Mon, 11/21/2011 - 15:03
I was curious to know what your mattress is on for the trundle? I will be attempting the same thing, but was going to put the mattress in a wooden box on castors. Yours looks more friendly! Thanks for your time. Excellent job.
Trish
Fri, 02/10/2012 - 09:01
Hey Amanda... this is beautiful. I'm hoping to try this type of finish on a bed I am working on now. How does it seem to be holding up without a sealer? You didn't use any primer, correct?? Thanks. Really beautiful work.
Sat, 02/18/2012 - 07:29
I love the color so I went to the paint store bought palladian blue) by Benjamin Moore but it sure didn't look your color. It was more of a weathered gray look. Which was nice too but definitely not the same. Are you sure that you used palladian blue?
Mon, 04/23/2012 - 11:50
Absolutely beautiful, and such an inspiration. I think the color is stunning, and the weathered look you created is just perfect. It goes so well with the bedding too. I would love to have the exact same thing in my own house!
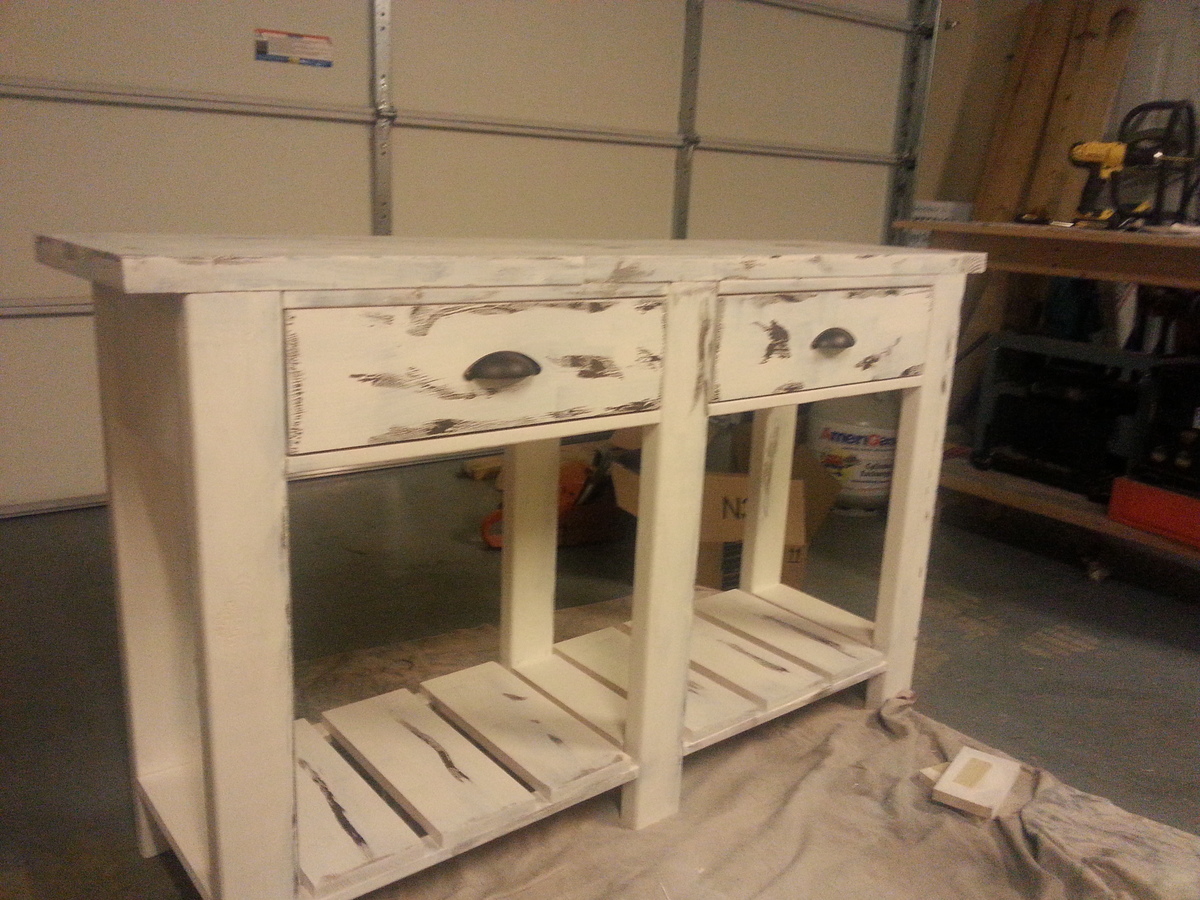
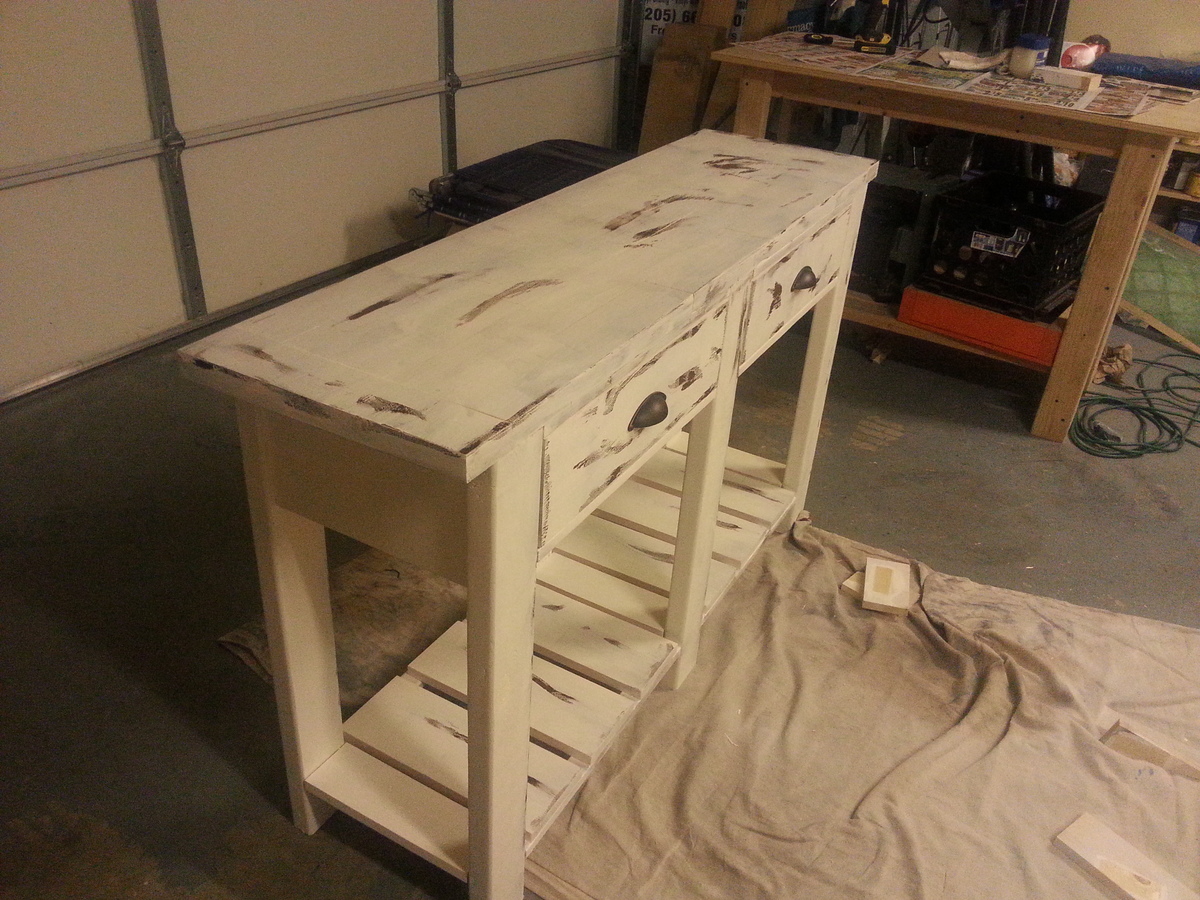
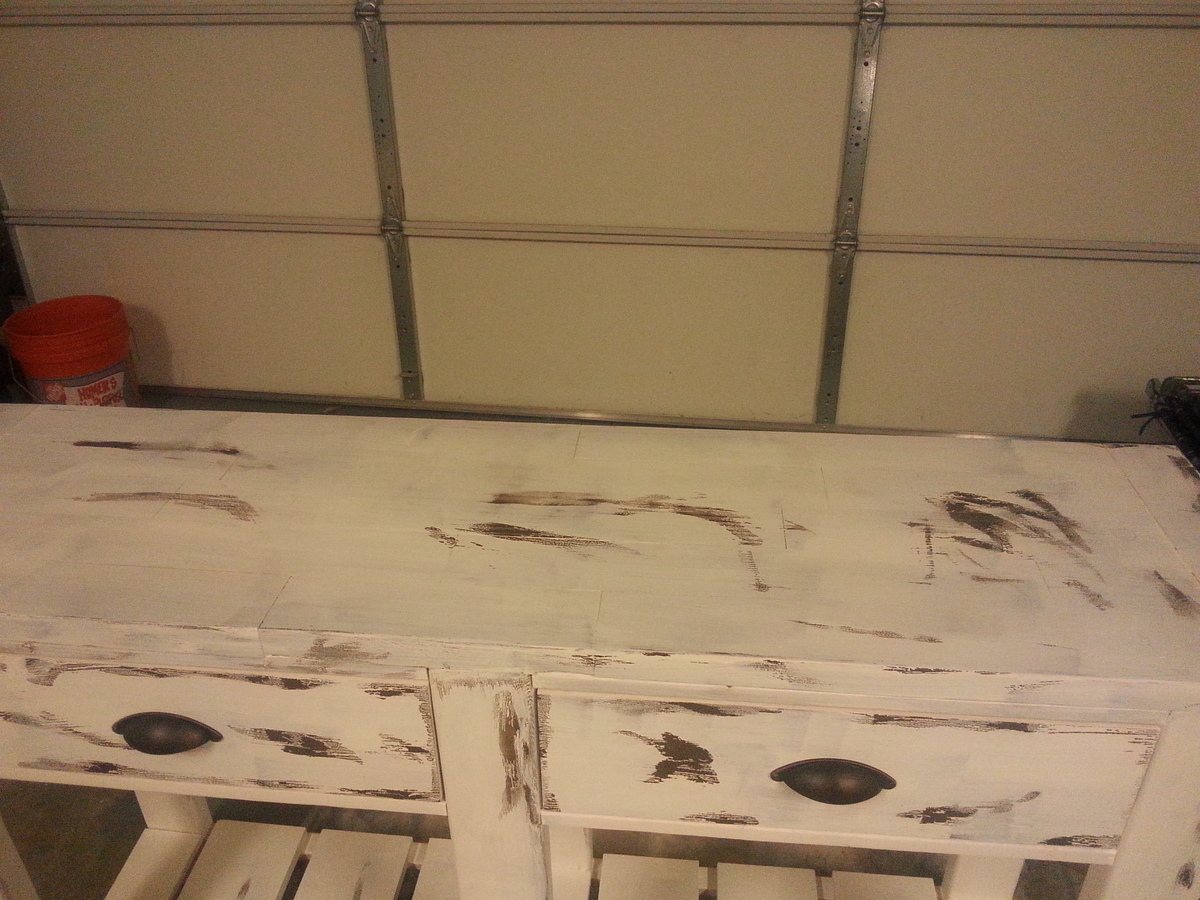
I have built this console quite a few times. Always trying different finishes. Love all of them. Have to say I always skip the X on the sides, I just get lazy towards the end :) Im in the process of building a couple more, will try to add the X to it this time...we will see :)


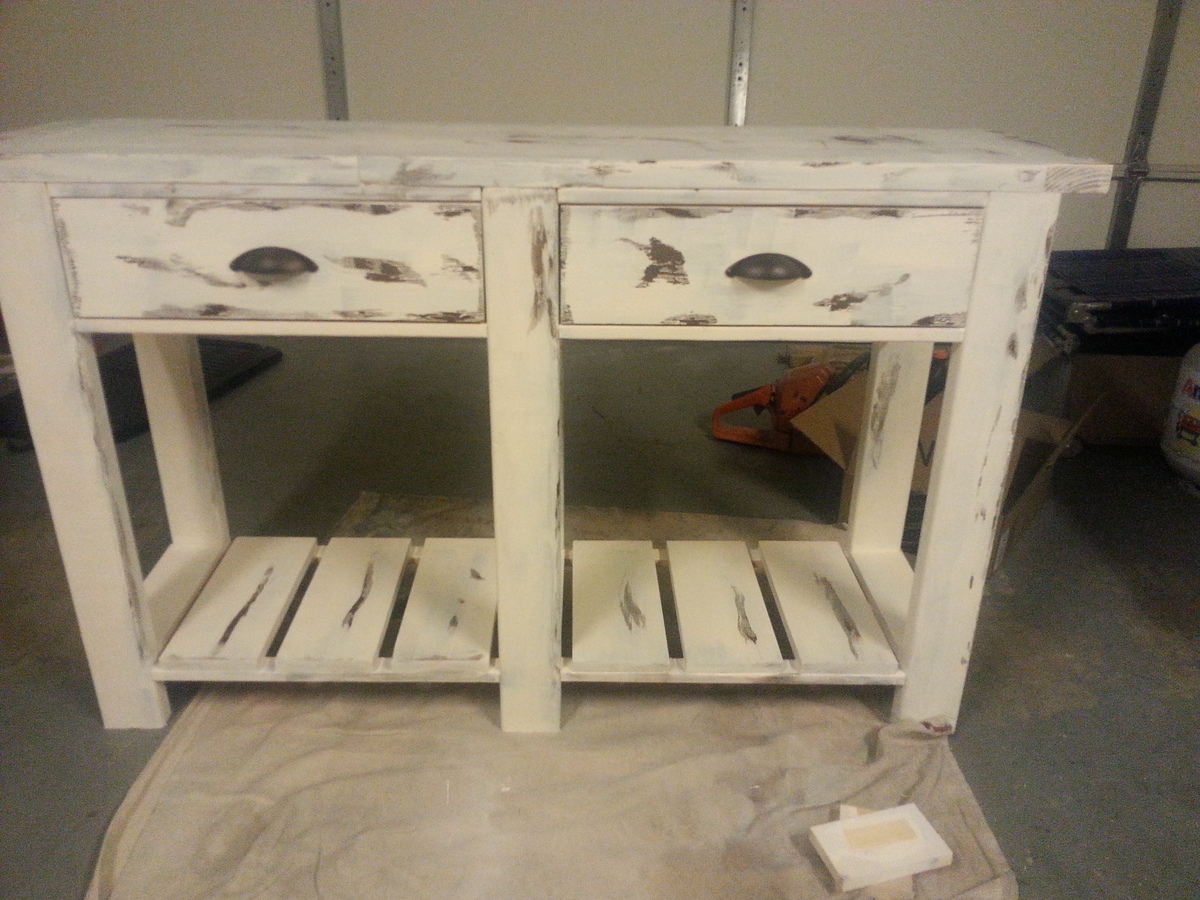
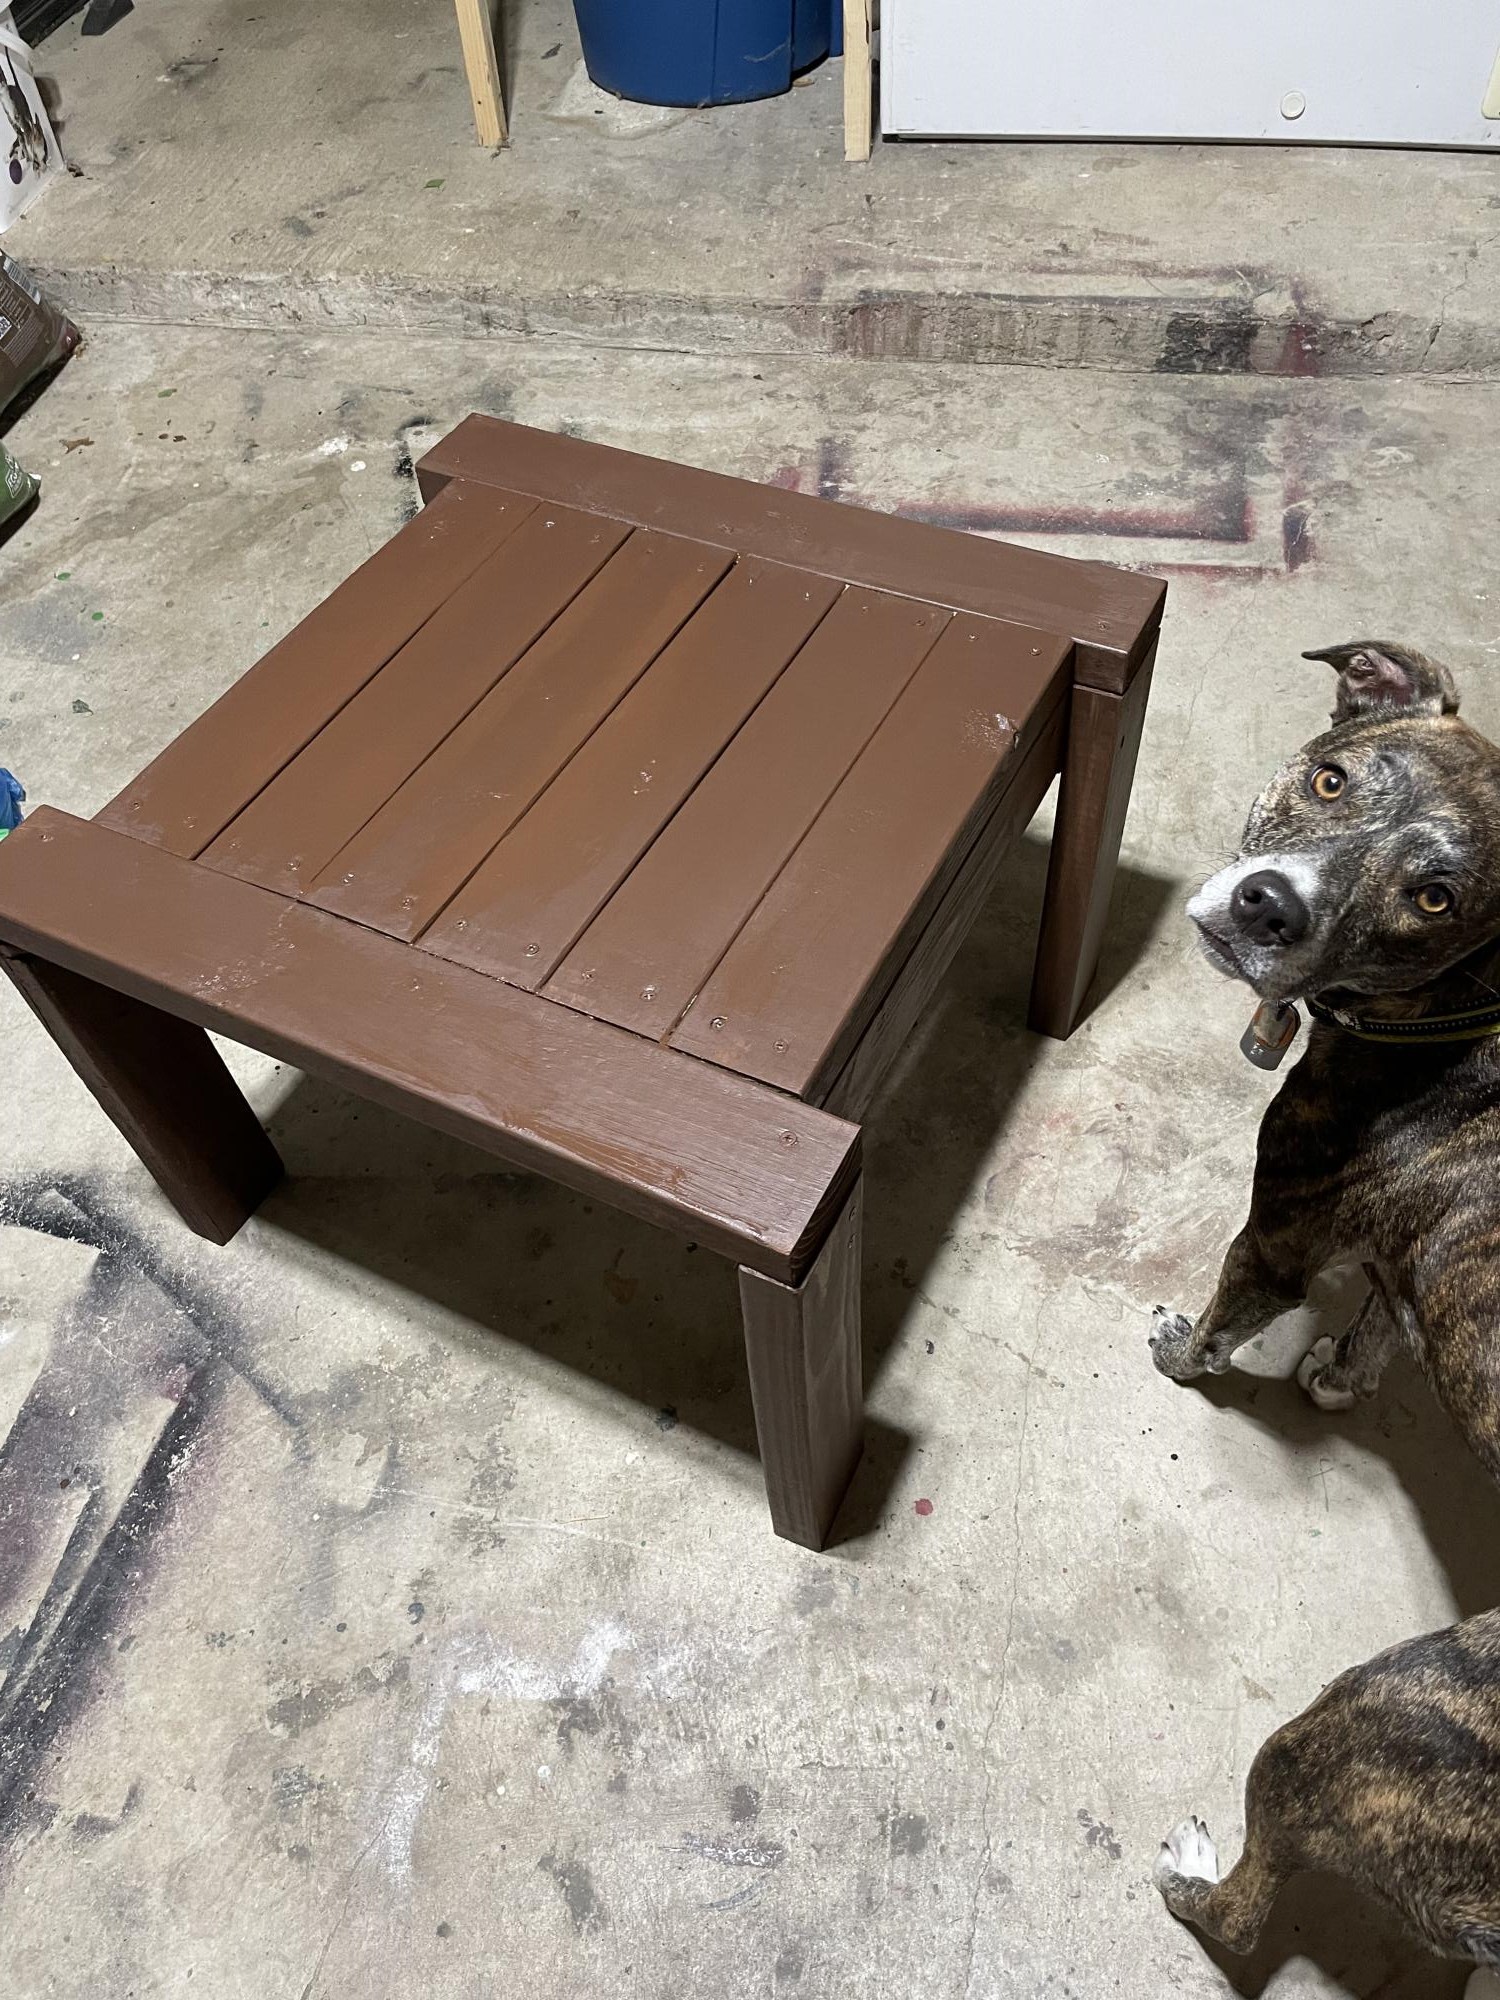
This was the first attempt at using the vaseline method to distress furniture and my wife loves it. I made the table top out of scrap 2x4's.

As Ana mentioned in her video, this project could be made with scraps. That’s just what I used. I used a lot of scraps and cut offs for this project.
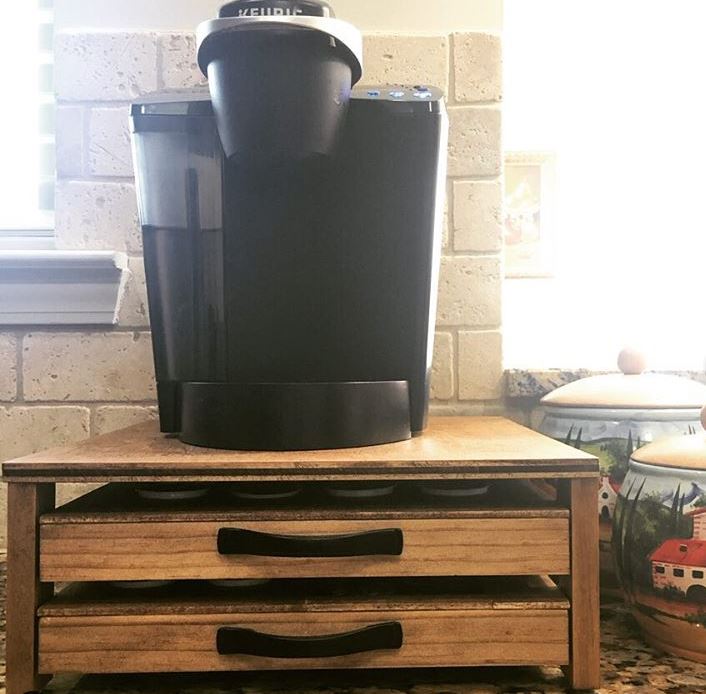
I needed to make a K cup holder but also space to hold tea in addition to other coffee "toppings" if you well. In the pictures you can see mini creamers.
This modification was made by adding a small drawer in addition to the holes that would hold the K cups. The small drawer was made with 1/2” plywood (even more scraps) ripped just shy of 1-1/2”. I did this to make sure we did not see the plys of the drawer as I planned to add 1/4” plywood to the top all around. I wanted this to make it all uniform with the K cup area.
I added little rubber feet’s to the bottom as this will be on a granite countertop which could results in slipping and sliding.


Thu, 06/25/2020 - 06:53
Made this for my mother in law. She loves it, thank you for the plans. I cant figure out how to add the pics of the one I did for her hit it was awesome and my very first wooden build EVER
Built the 2x4 outdoor out of scrap and discount Home Depot wood. The stain was $.50 from the oops paint rack at Home Depot.
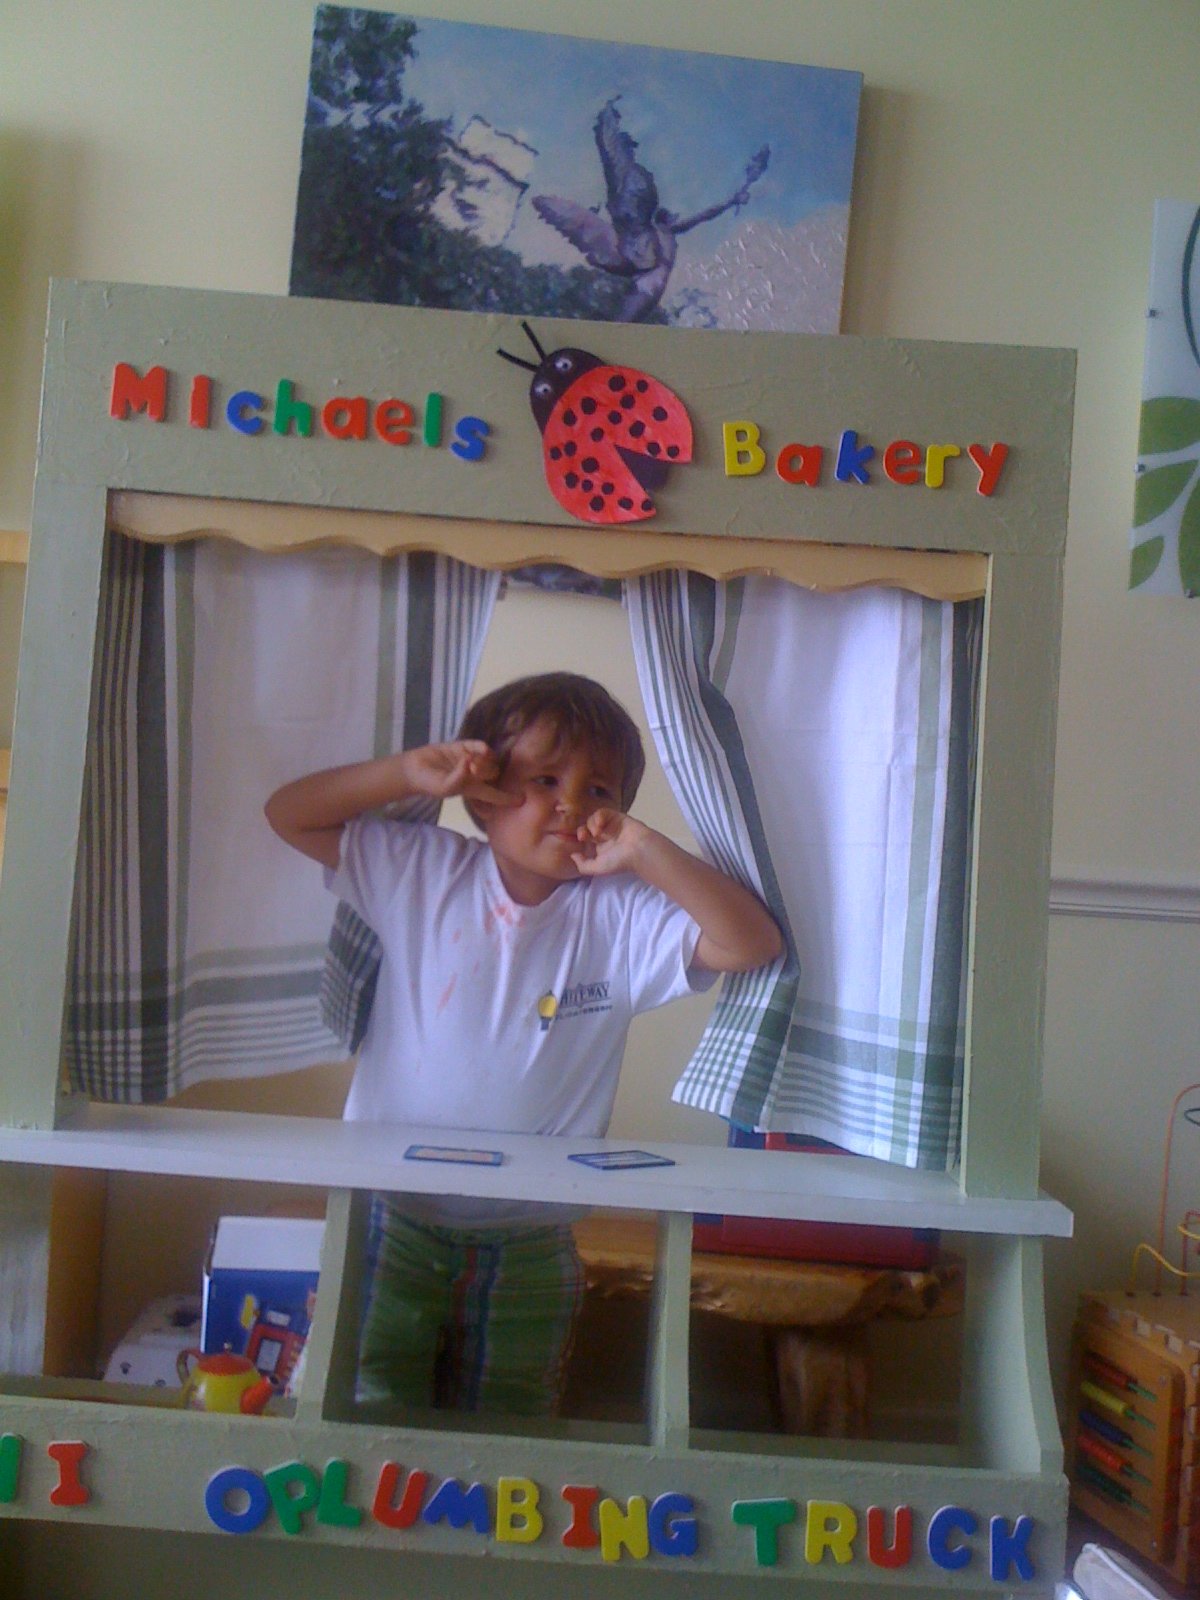
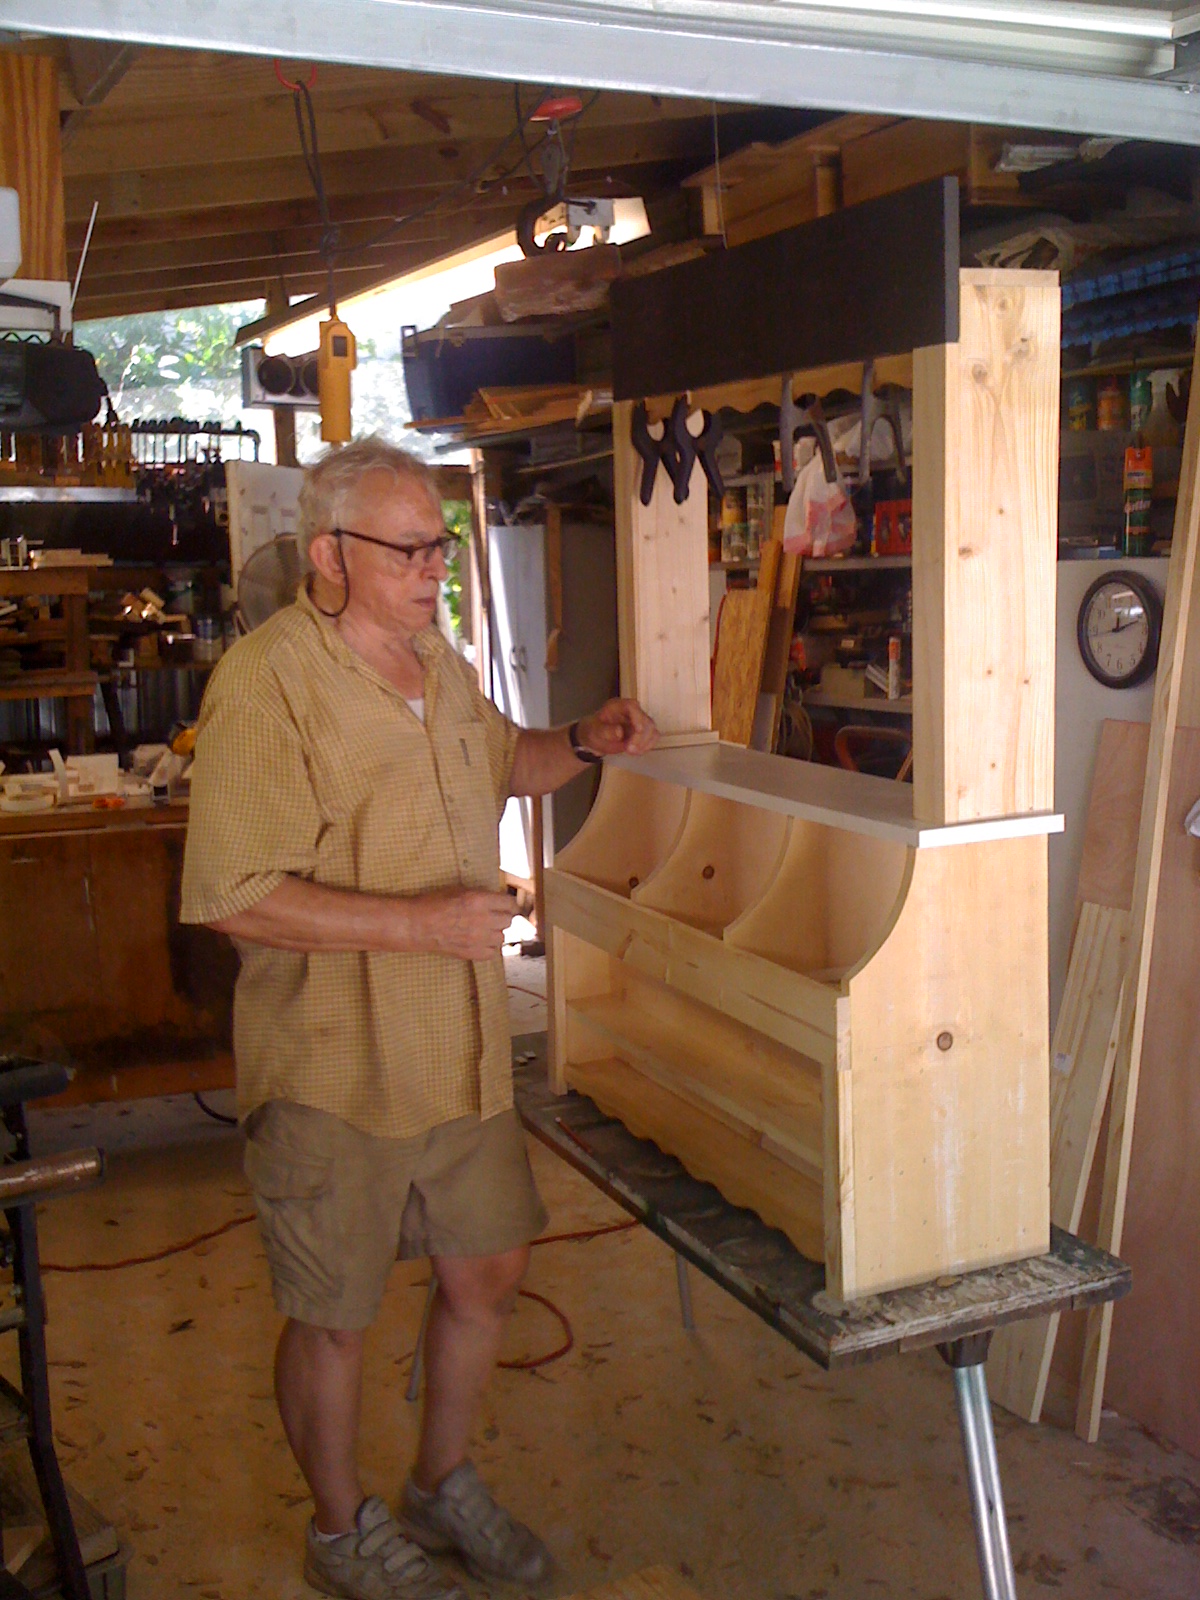
We let my son choose whether he wanted a modern store bought play market or whether he wanted help Mommy and Padre (my dad) build one for his 3rd birthday present. We used magnetic primer so he can change the name whenever he wants and added some trim and some tea towel curtains! He loves it!

My spin on the rustic table. Used staircase spindles for legs, cut the side boards to accommodate. Rest of plan was pretty much the same. Wife wanted a big table, thats what she got.
I loved the country gray paint, so stayed with that. But my bed is one of the farmhouse beds and needed it to be a little taller. It turned out beautiful and have already made a second to match!

Pine box with walnut top and drawer faces. Behr paint on the box and tung oil finish on the walnut.
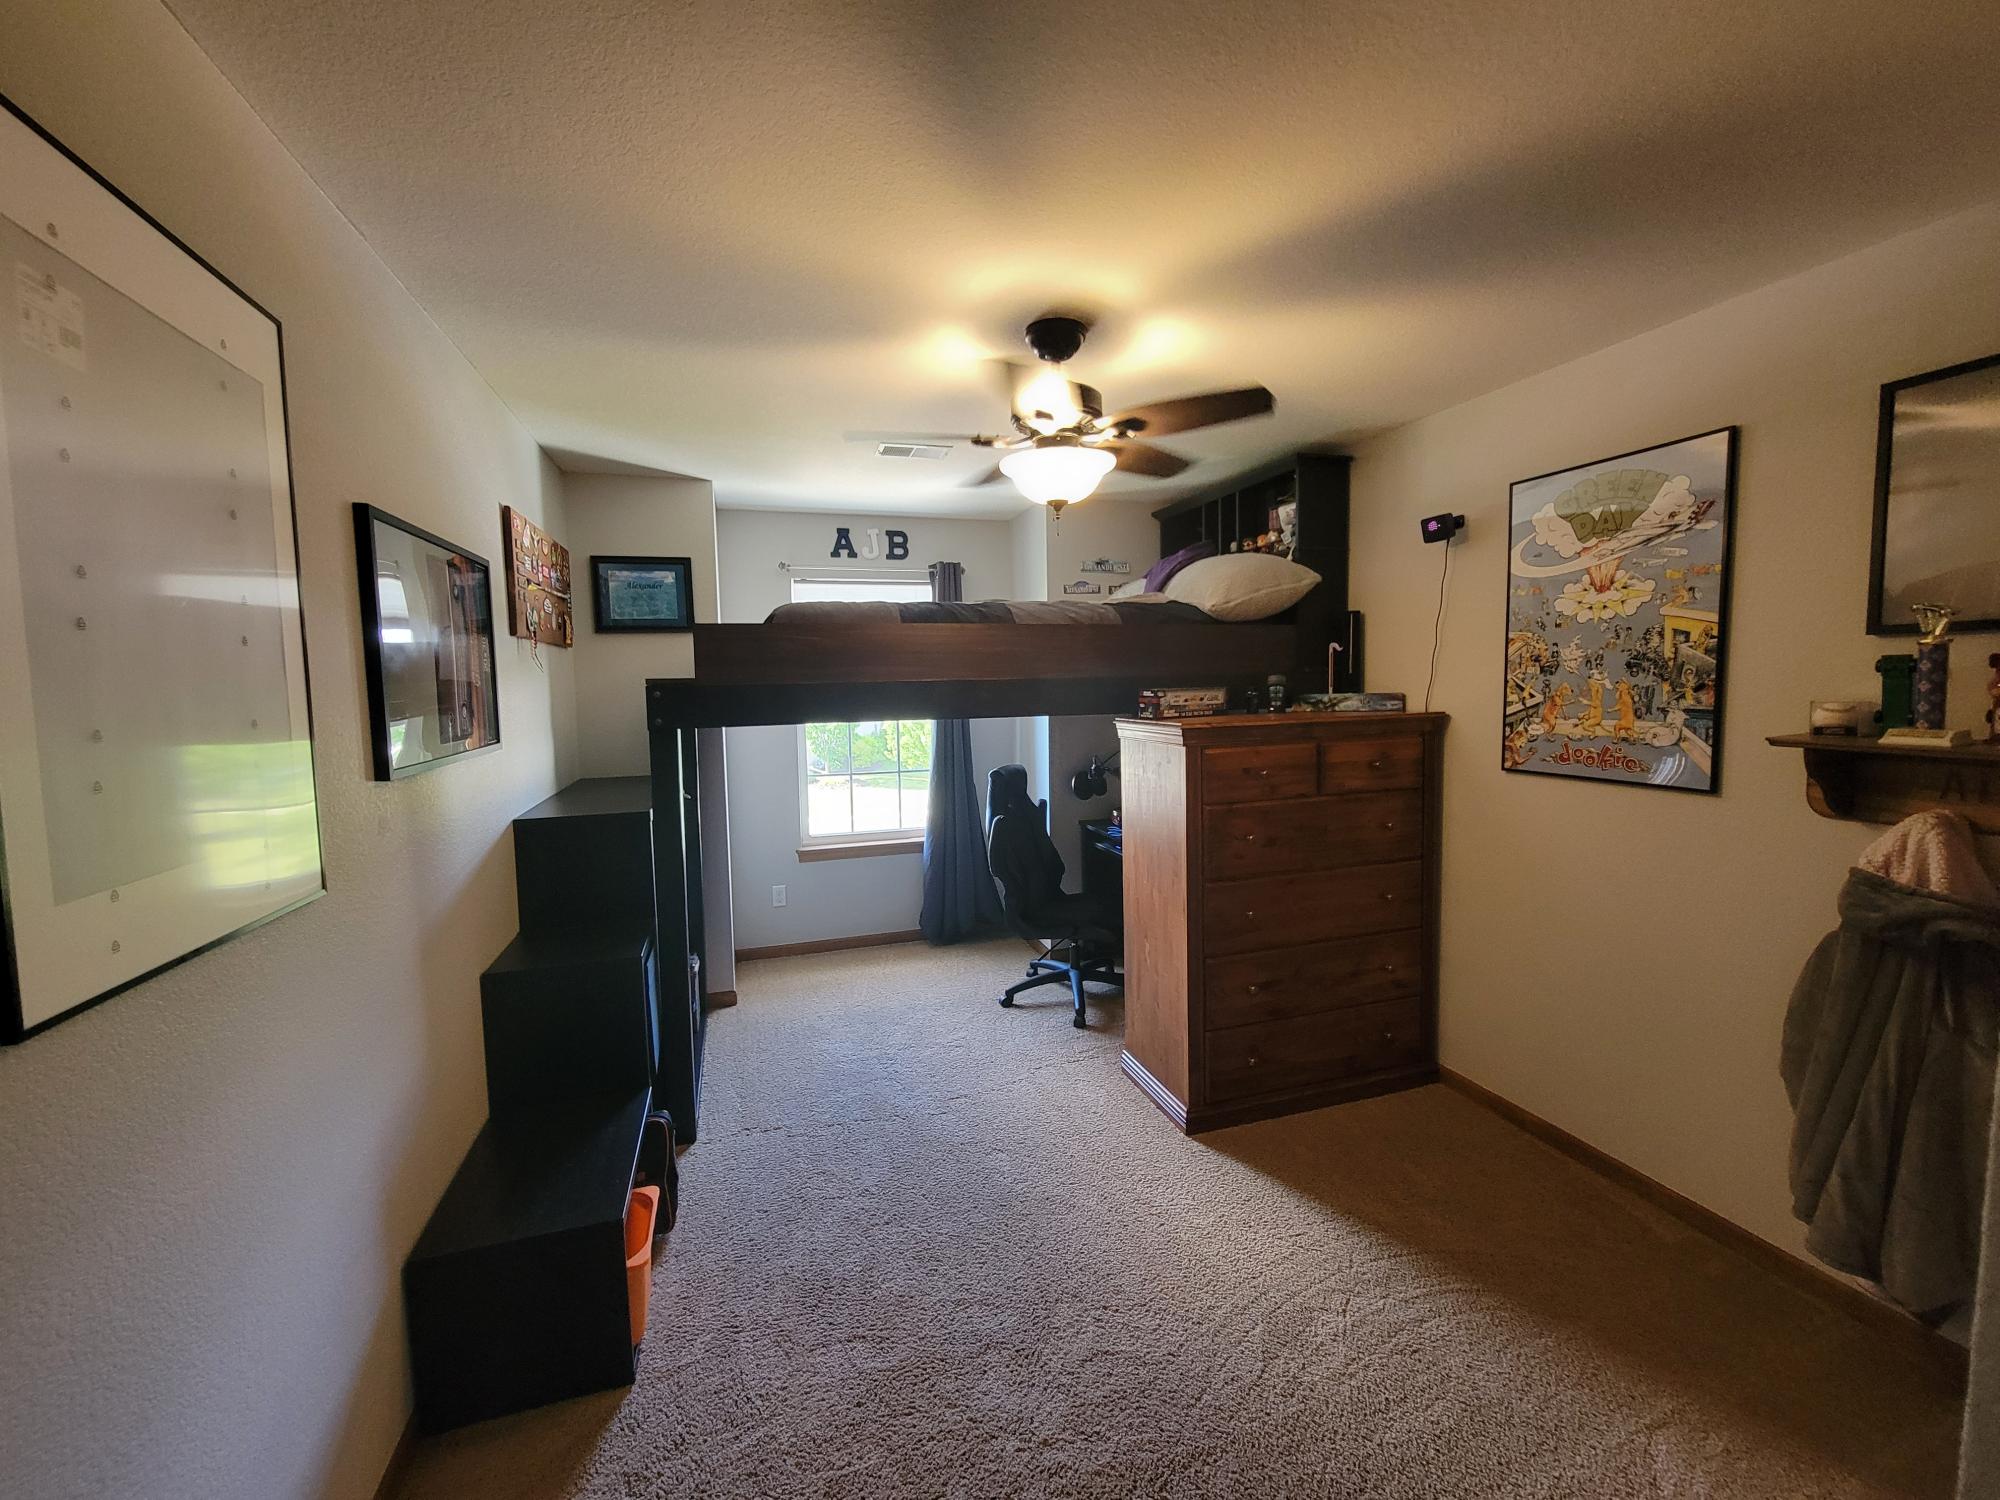
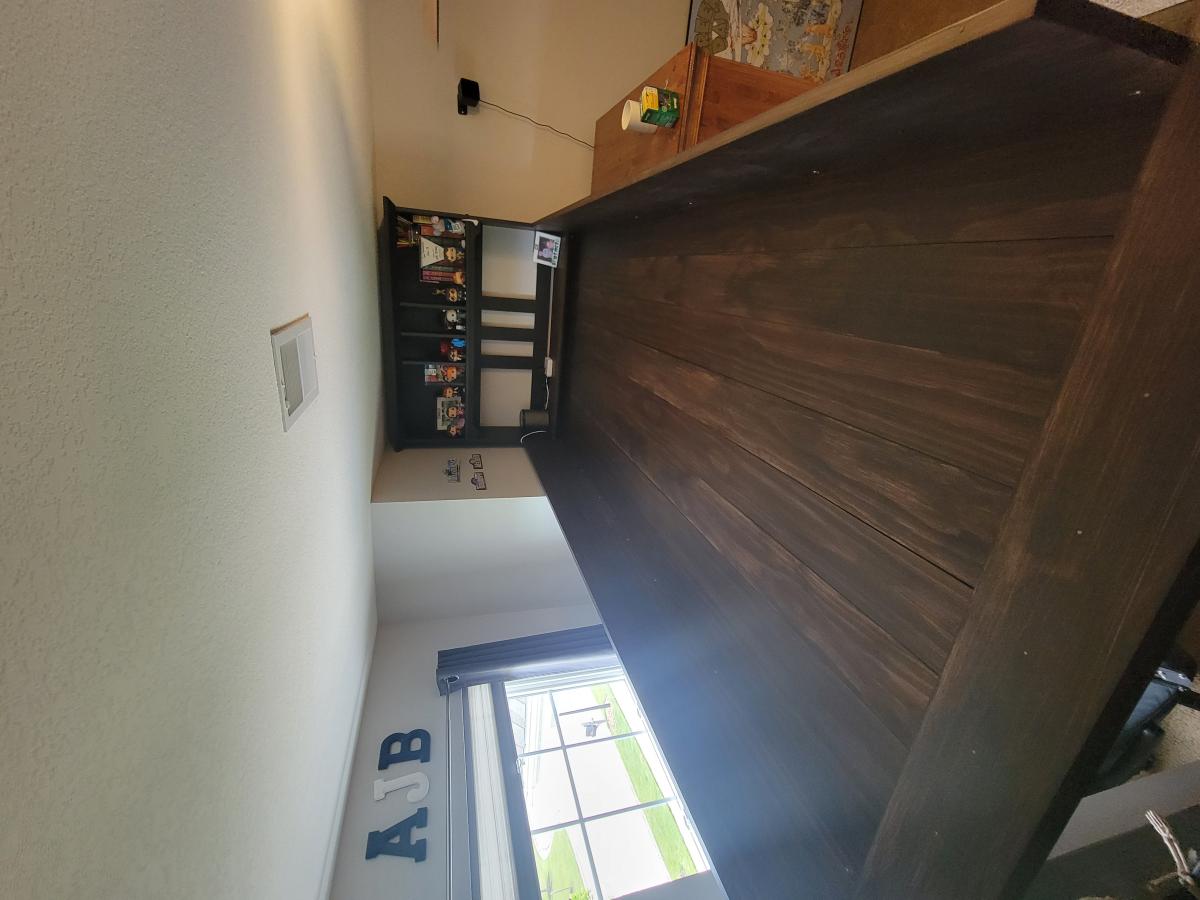
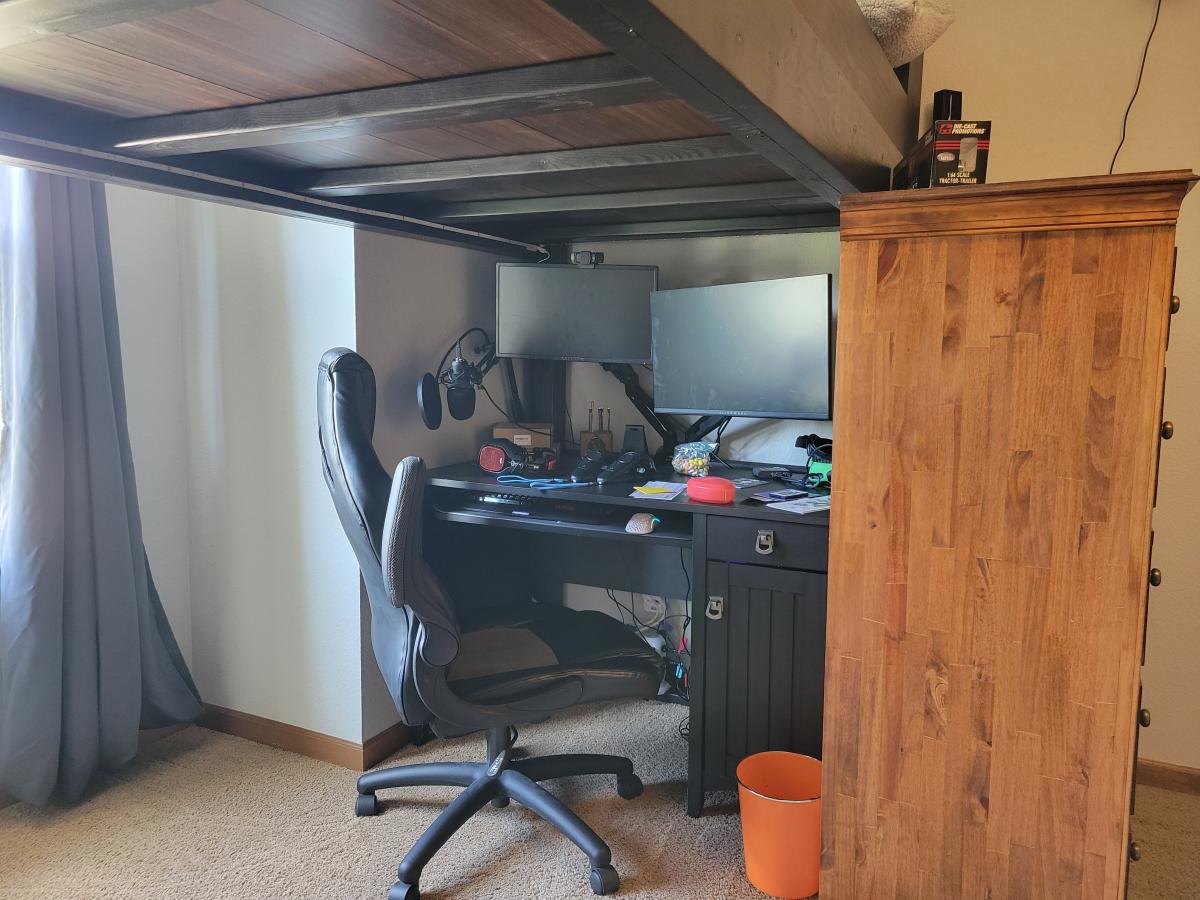
Designed a loft bed for teenage son. We used iKea shelving cubes for stairs/storage. The boards(flooring) are pine boards stained a dark brown. The other wood is painted black. The "headboard" is actually the bookcase shelf from his desk.
I had been eying the IKEA Expedit 4-cube bookcase and figured I could build it for cheaper and have lots of leftover plywood for some other projects. I was right!
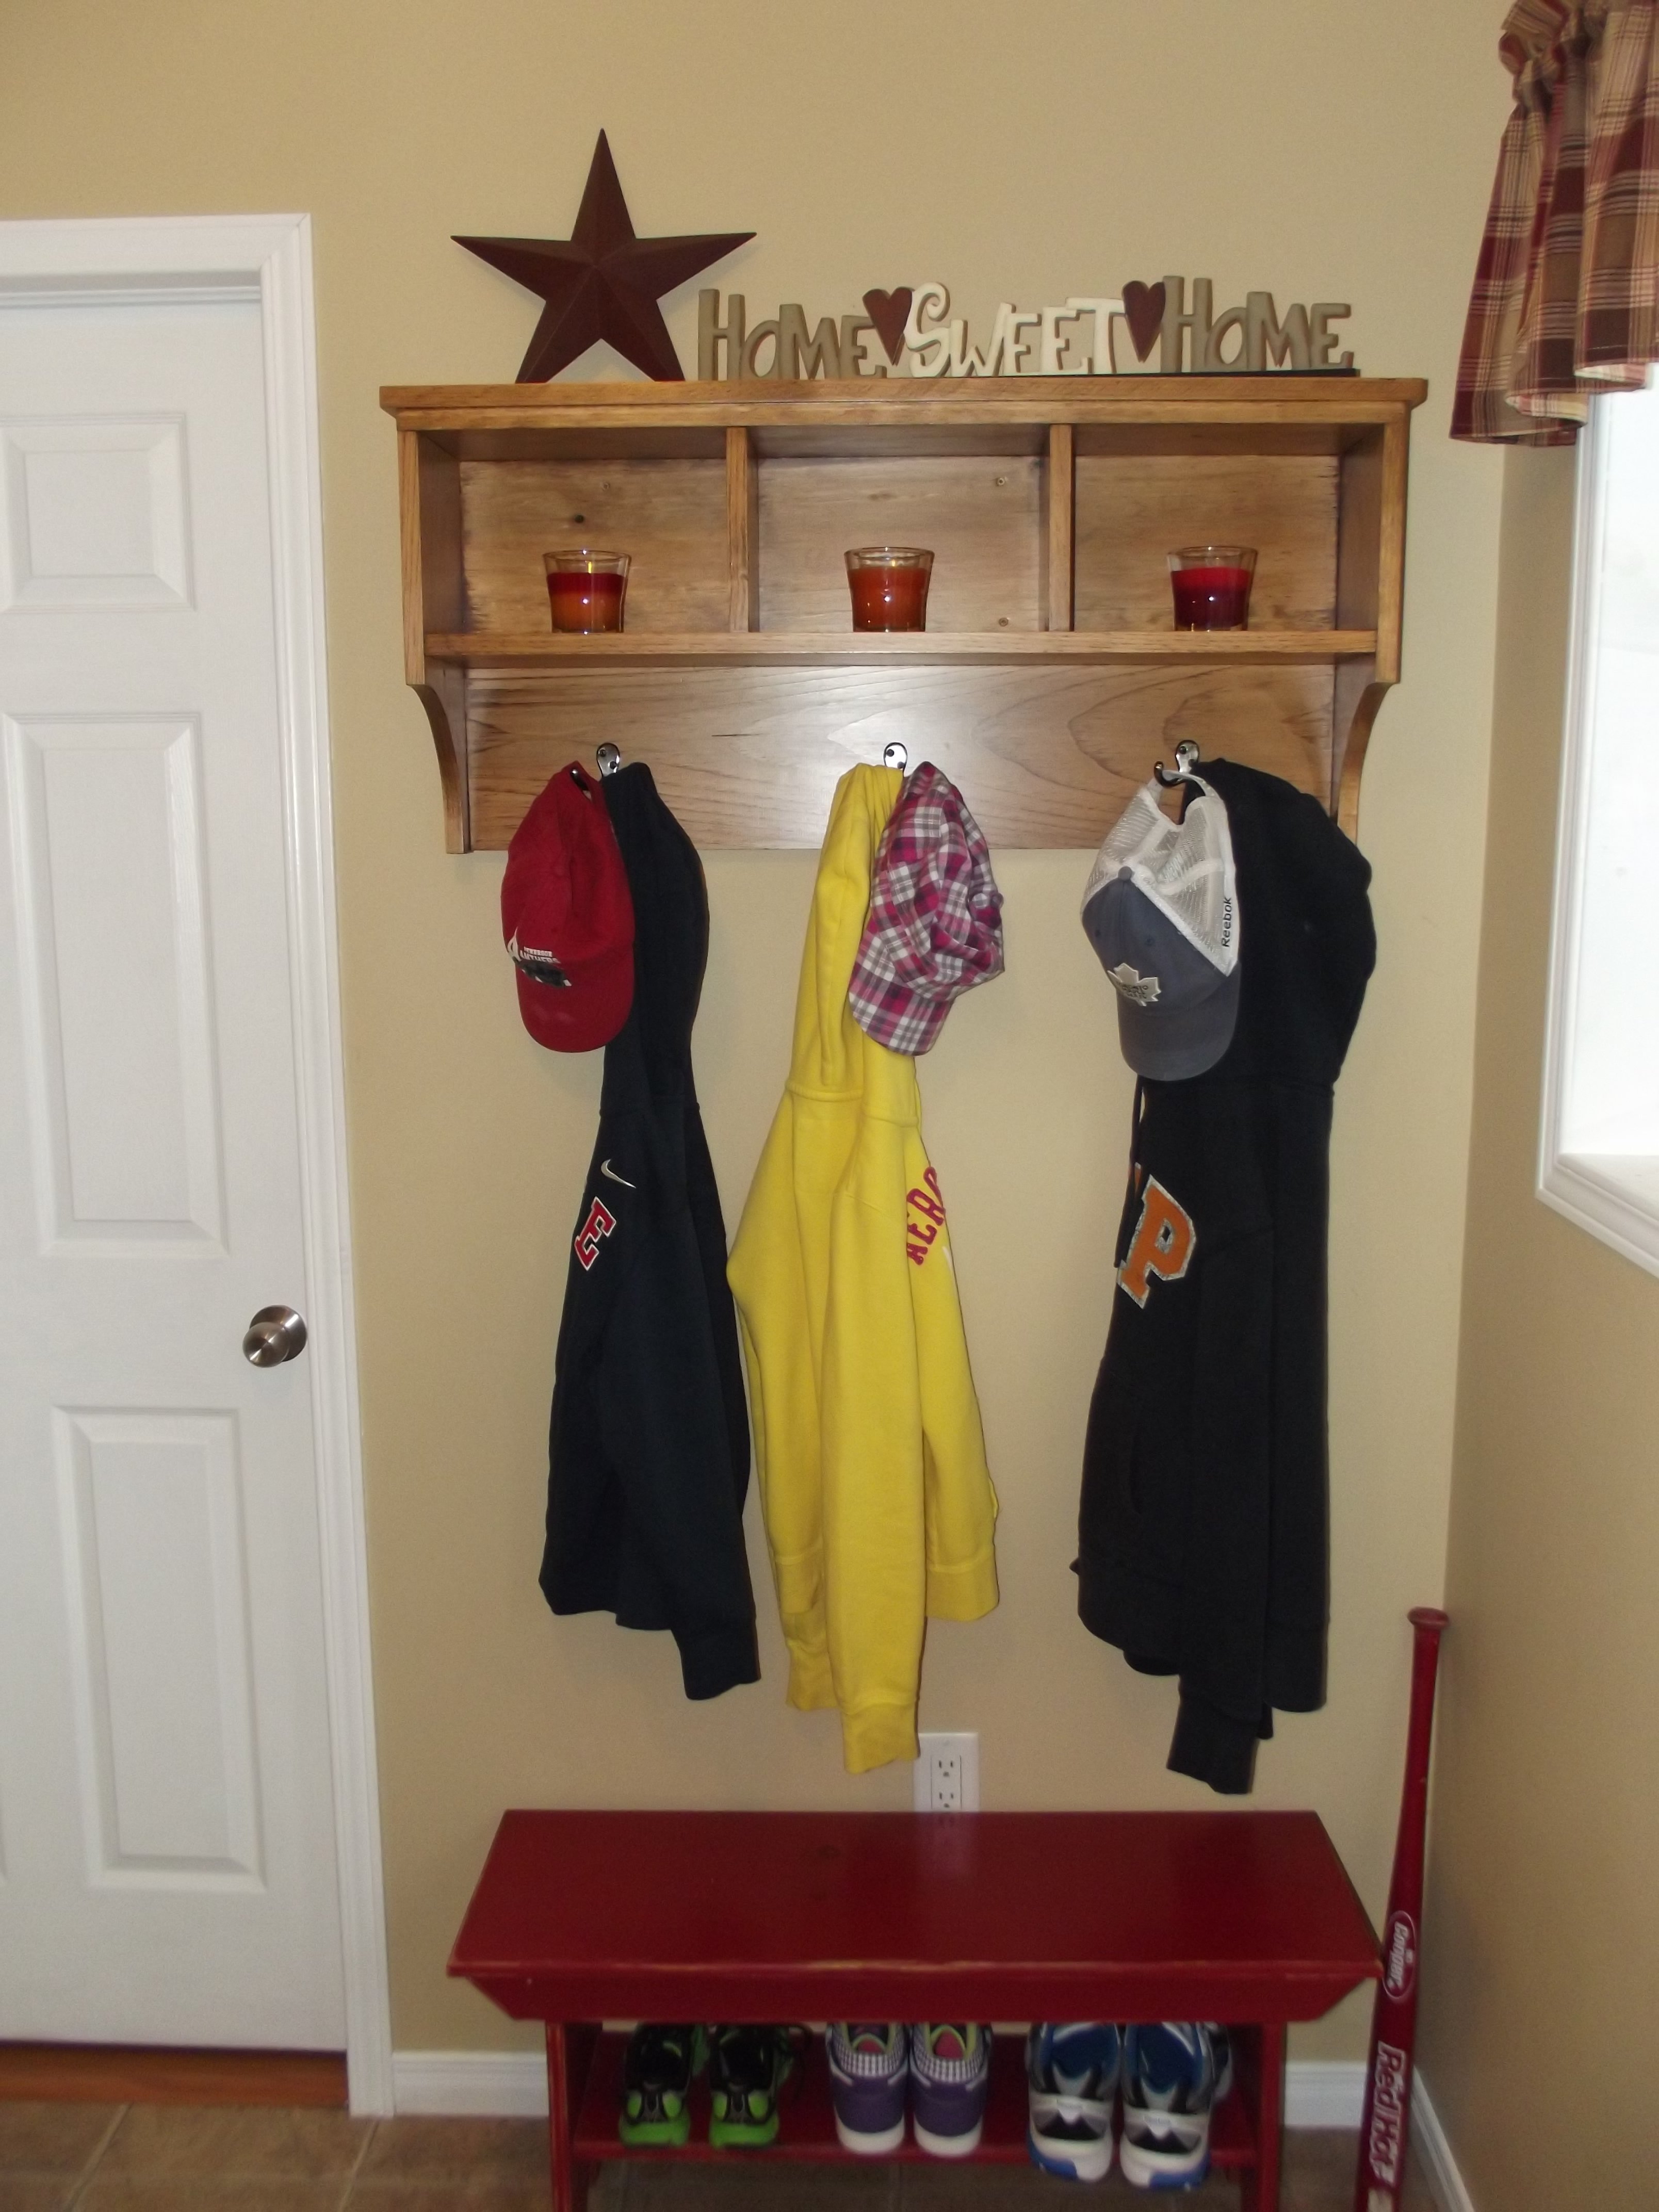
I built this shelf for my mudroom. I modified this plan to fit my space, it is 36 inches wide. I also used 3 - 1x3" pine boards for the top. Love this plan so much that I've made two more to give away as gifts!
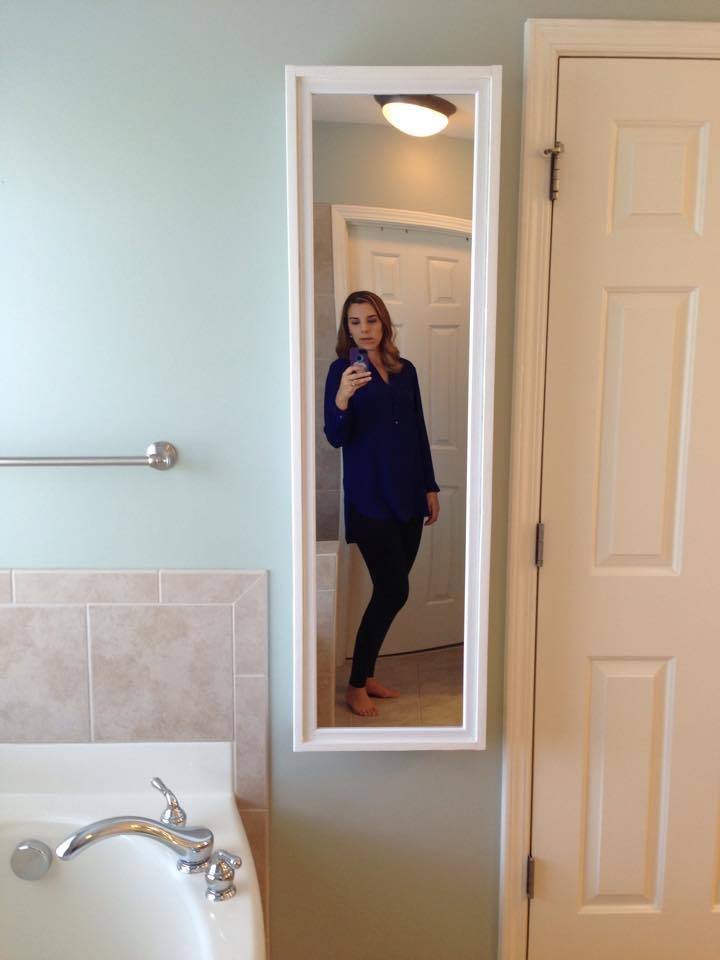
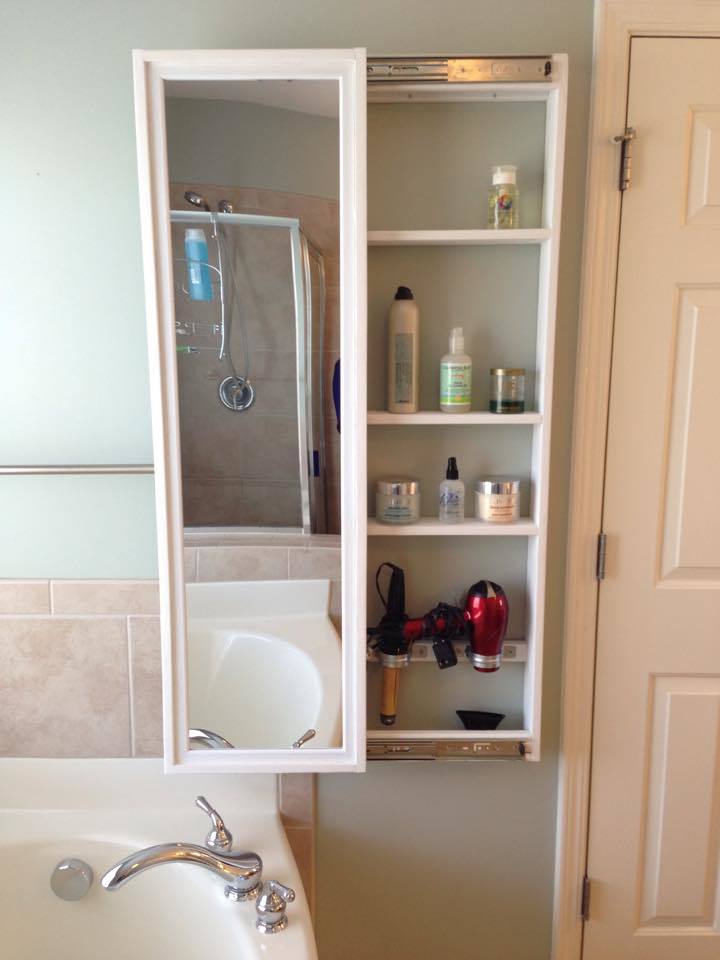
I built the beauty storage cabinet with sliding mirror door from Ana White's website.

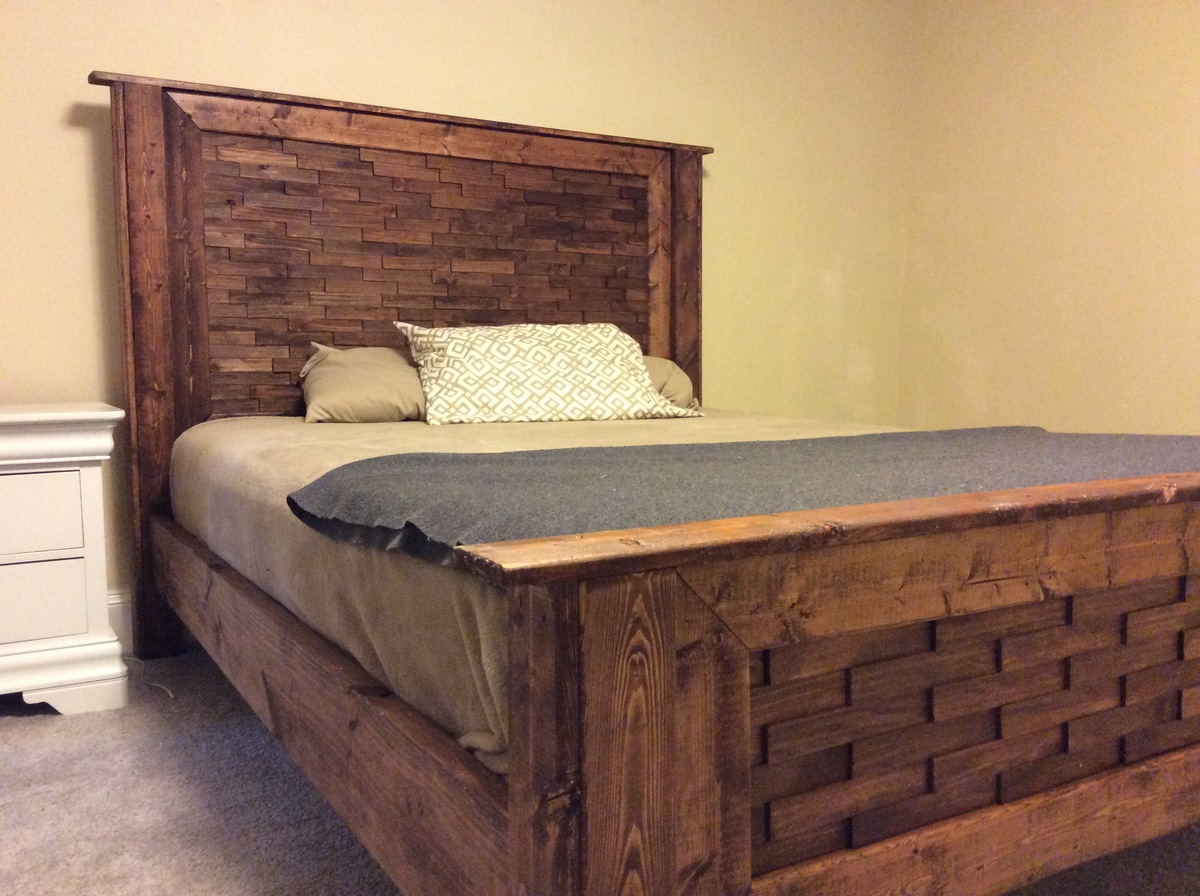
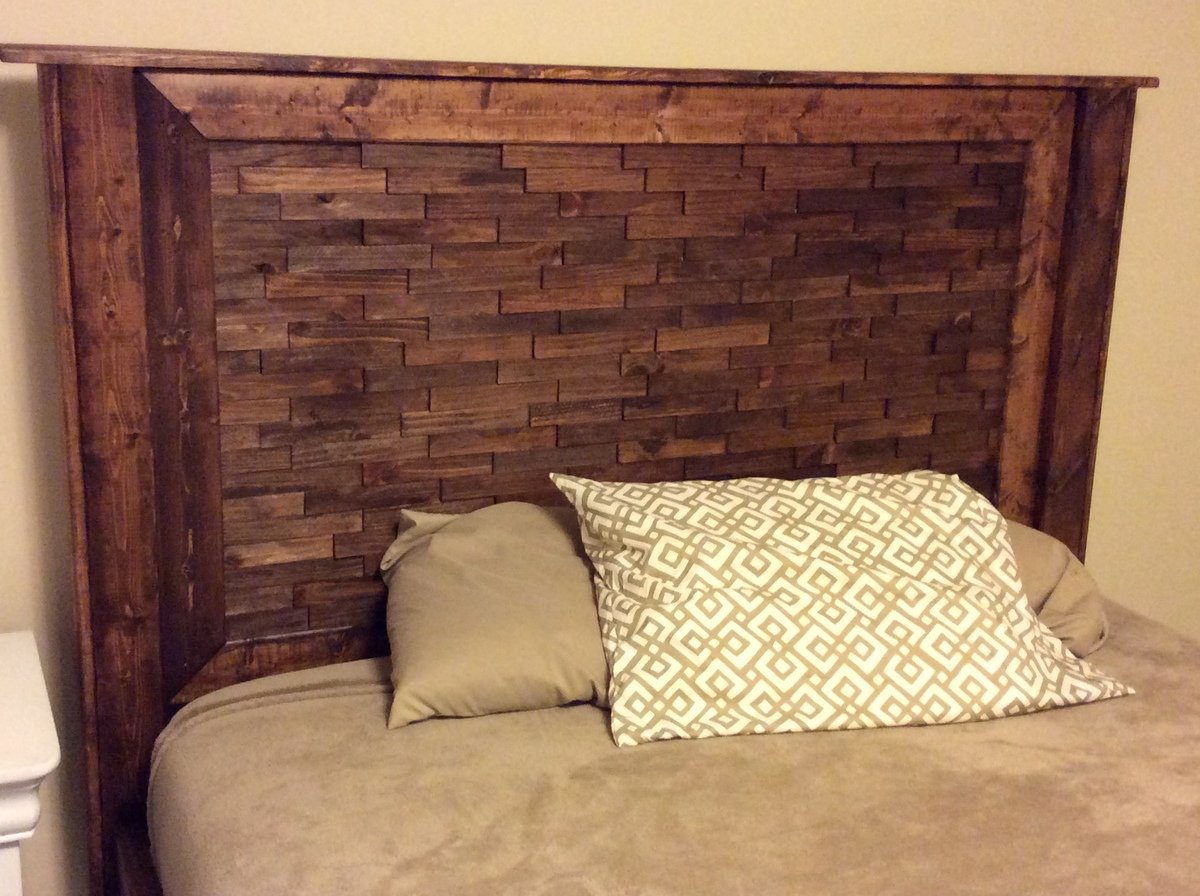
Queen bed with shim head and foot boards

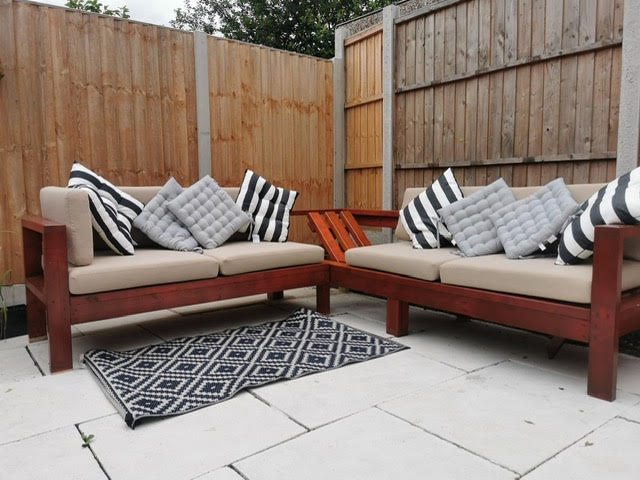
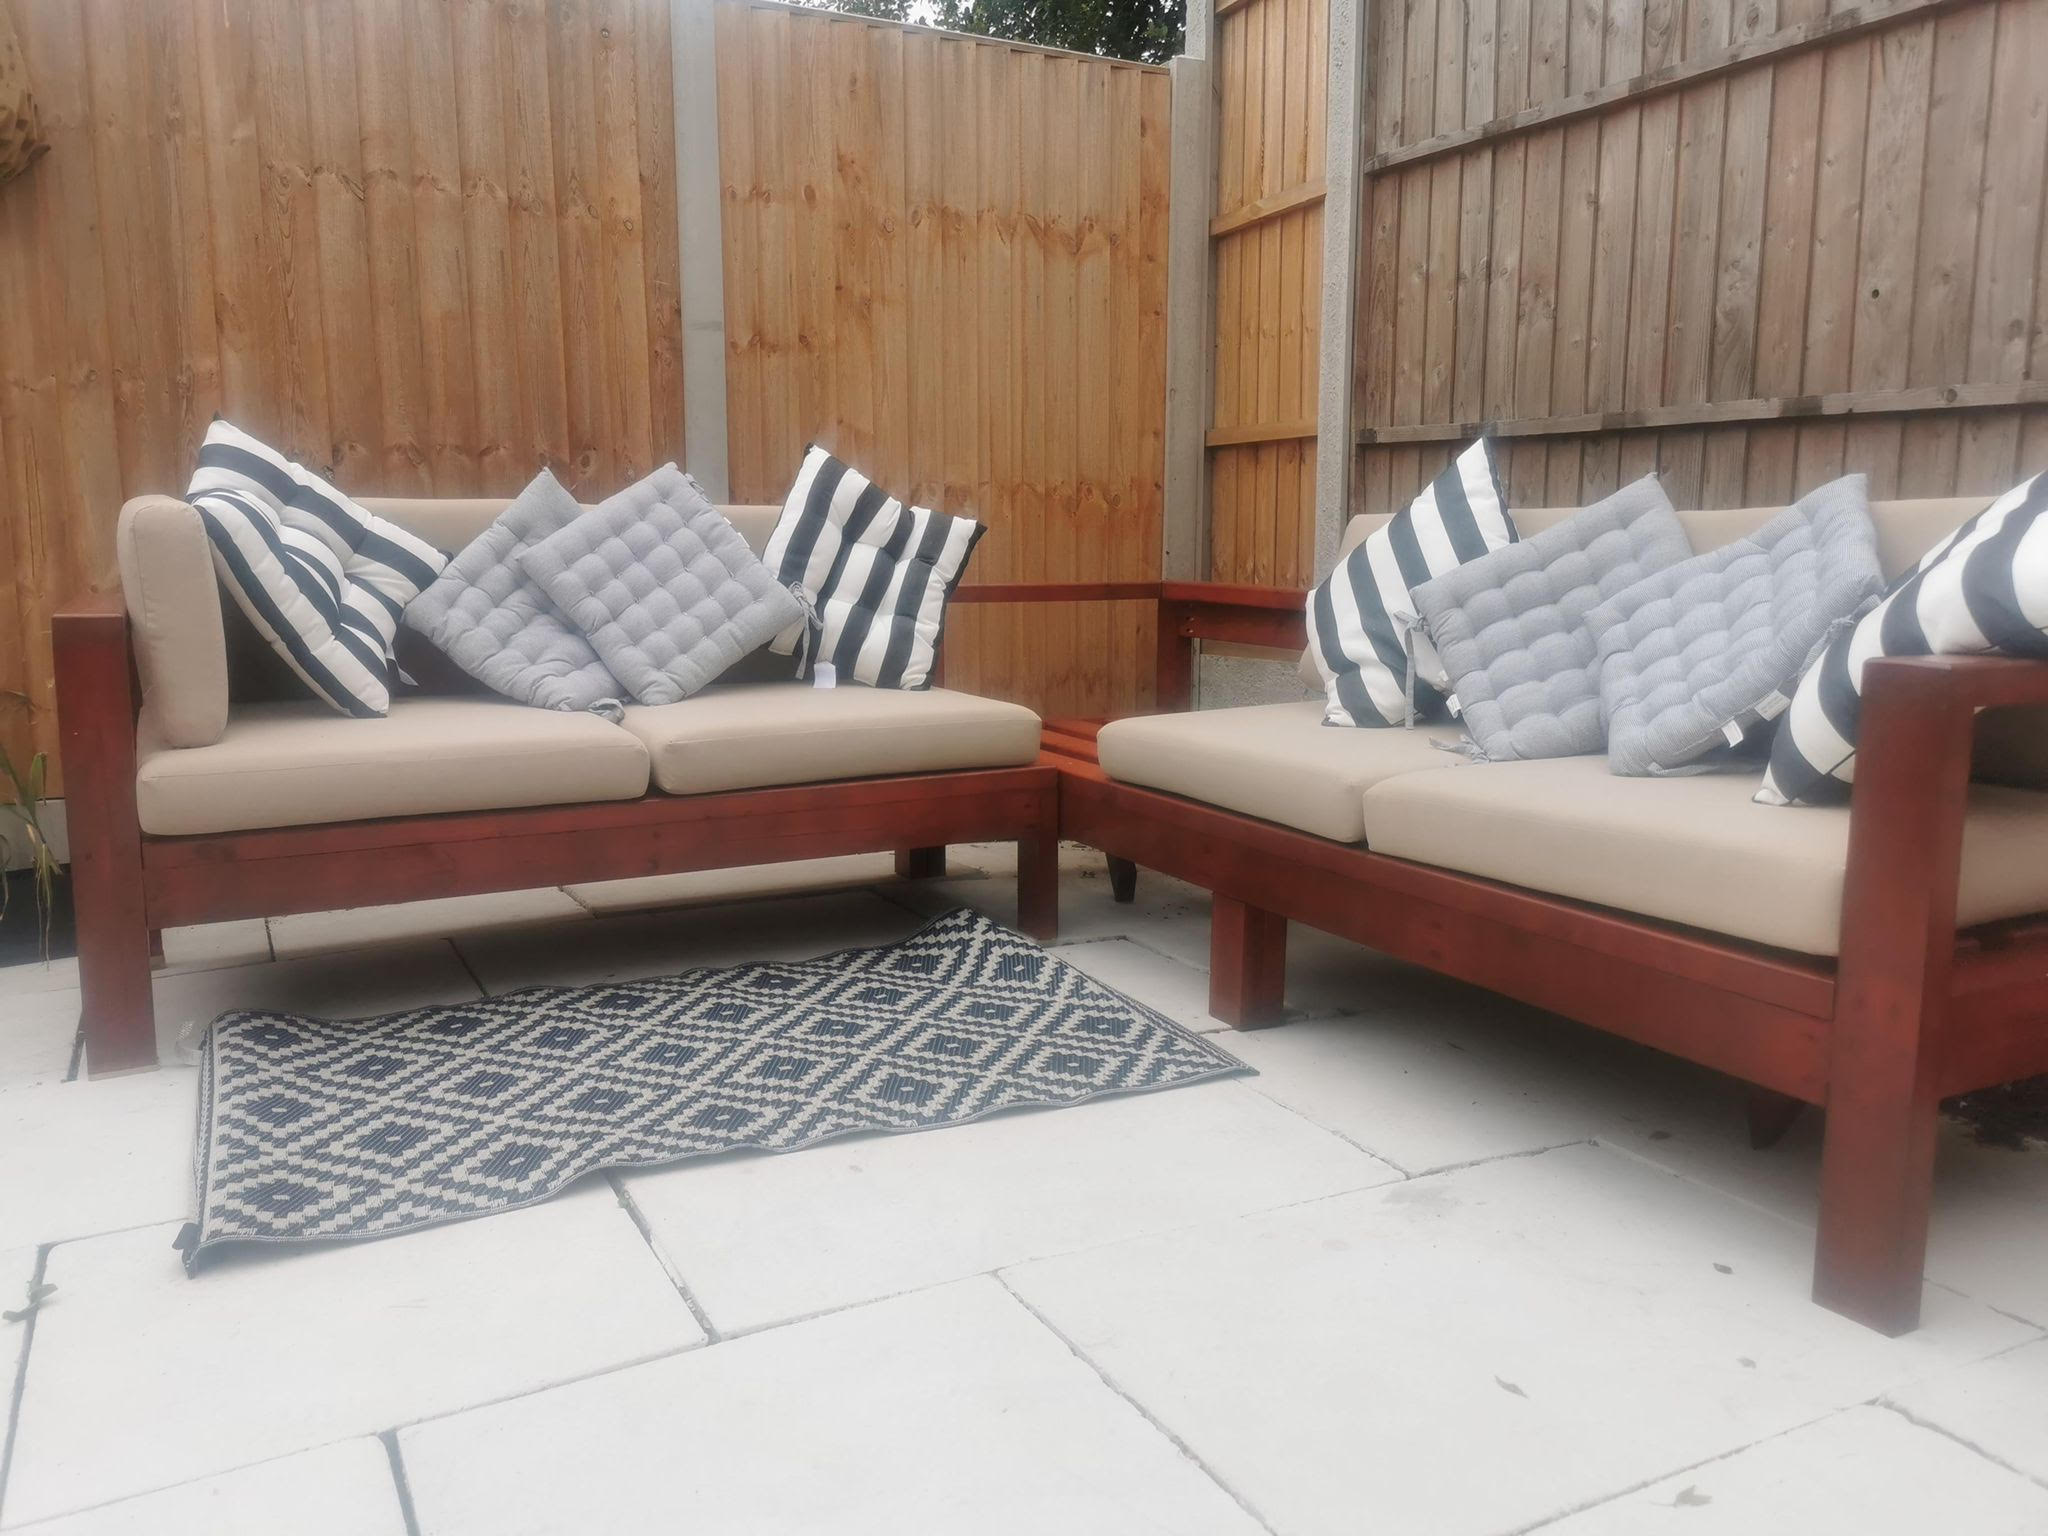
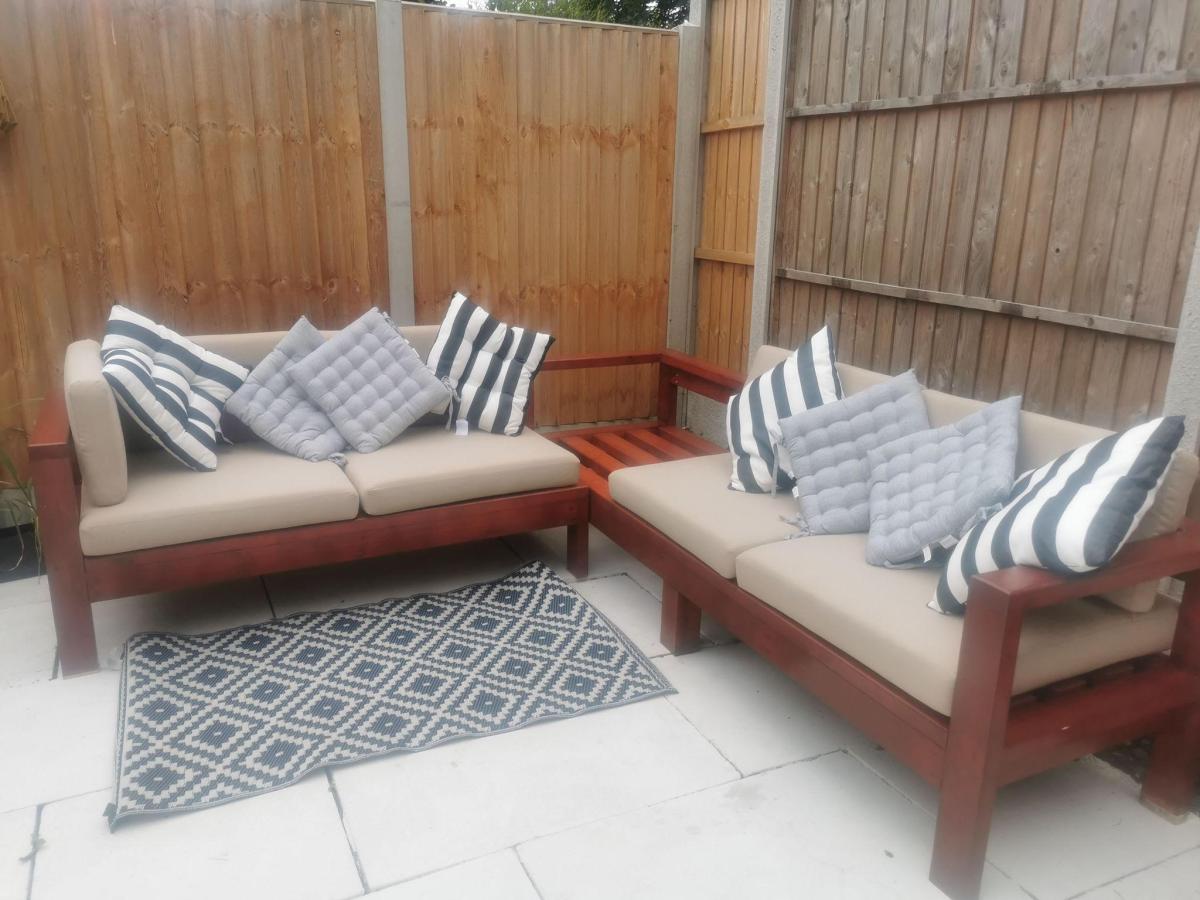
Just wanted to share the results of the sectional I built with your plans.
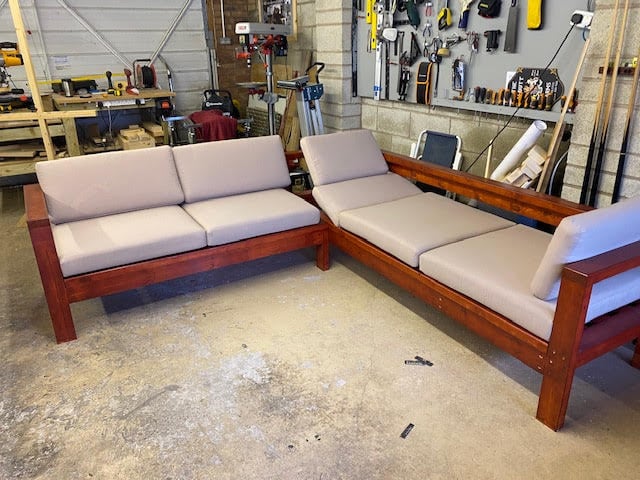
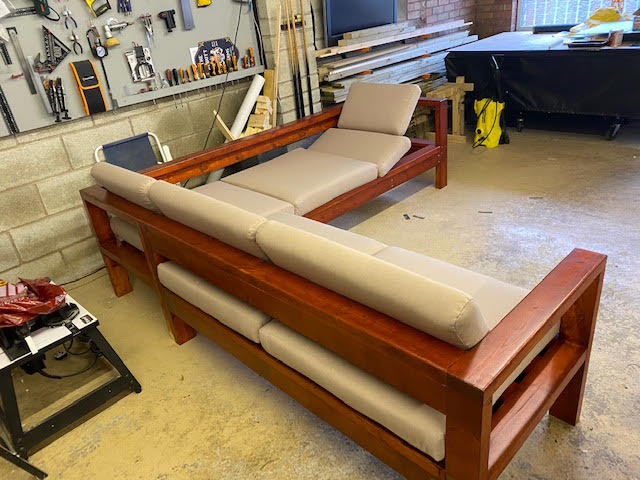
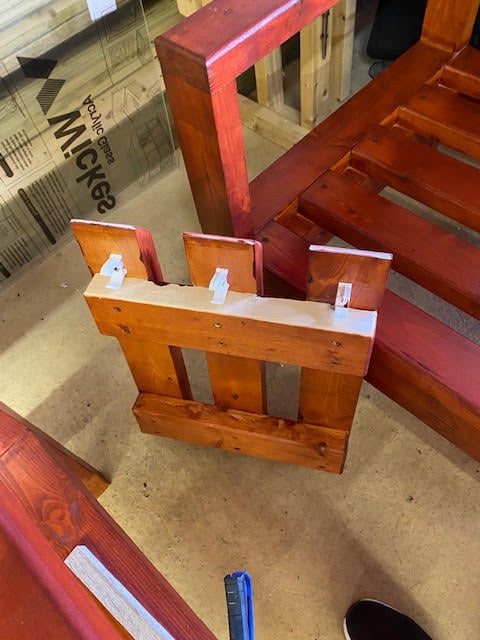
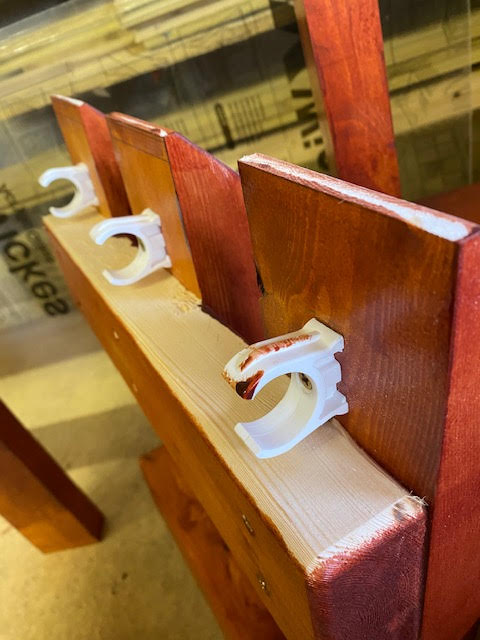
I’m new to woodwork, newly retired, built these for my daughters, with a twist, she wanted a lounger sofa, hope you like.

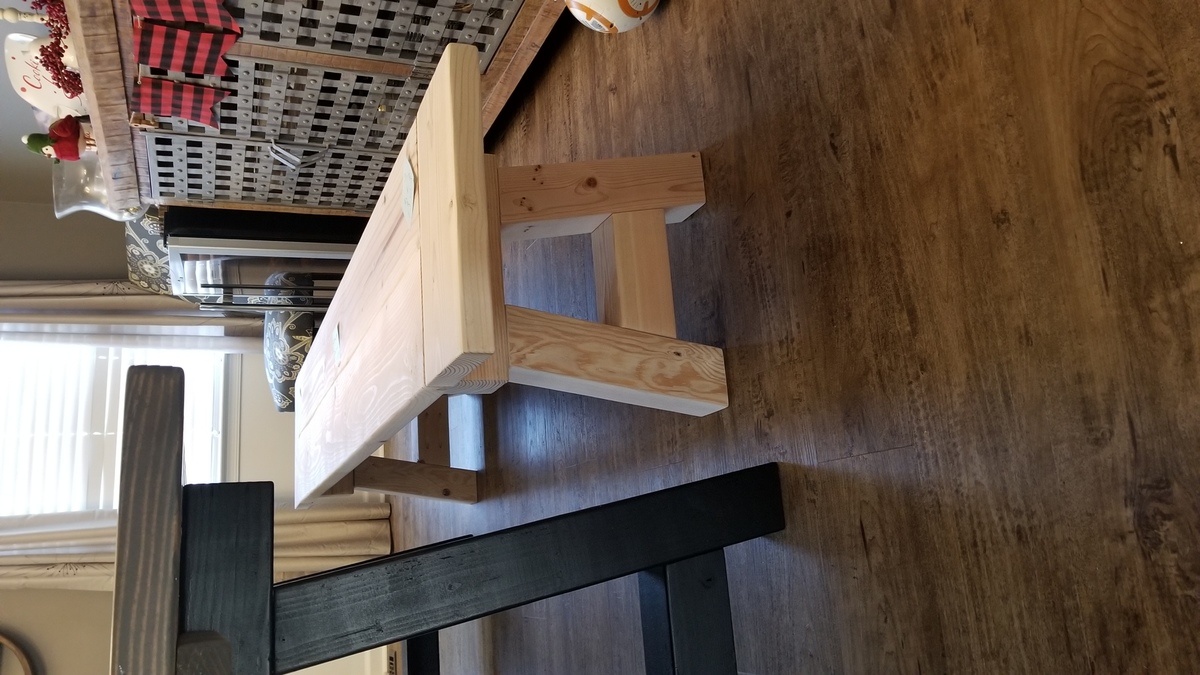
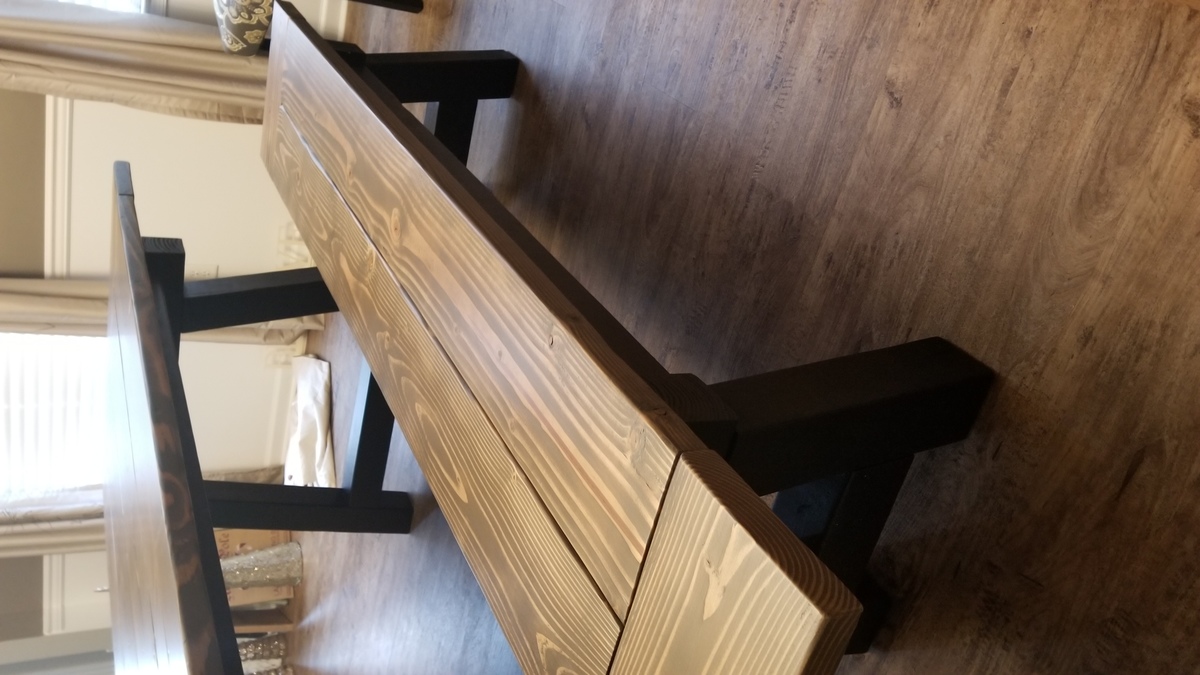
I made a few changes to the Farmhouse Bench plans as I wanted to match the design of the table. Most notably, I lengthened the seat boards to replace the breadboard end caps. This made my total length 67″, the perfect size to fit under the table if needed. The width was changed to 15″ and the height remained 18″.


In reply to finish by suze (not verified)
Wed, 08/08/2012 - 13:31
I did. Being that it was cheap pine, I used Minwax pre-stain conditioner as directed on the label.
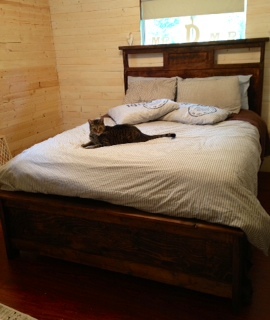
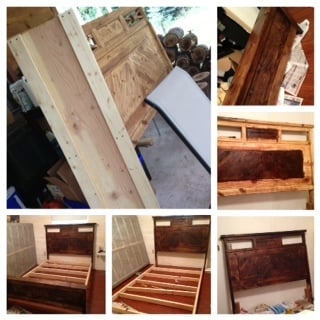
We haven't had bed frame since we moved from Florida and as we now have our own home, it was time to get one. My friend gave me headboard they had no use, so I just had to build rest of a frame.
Notice that we are middle of the hole house renovation so we have no trims, walls are lacking paint etc :) I still need to make night stands and closet for us :) Let see how they come out.
Follow our projects and life middle of the mountains in my blog :)

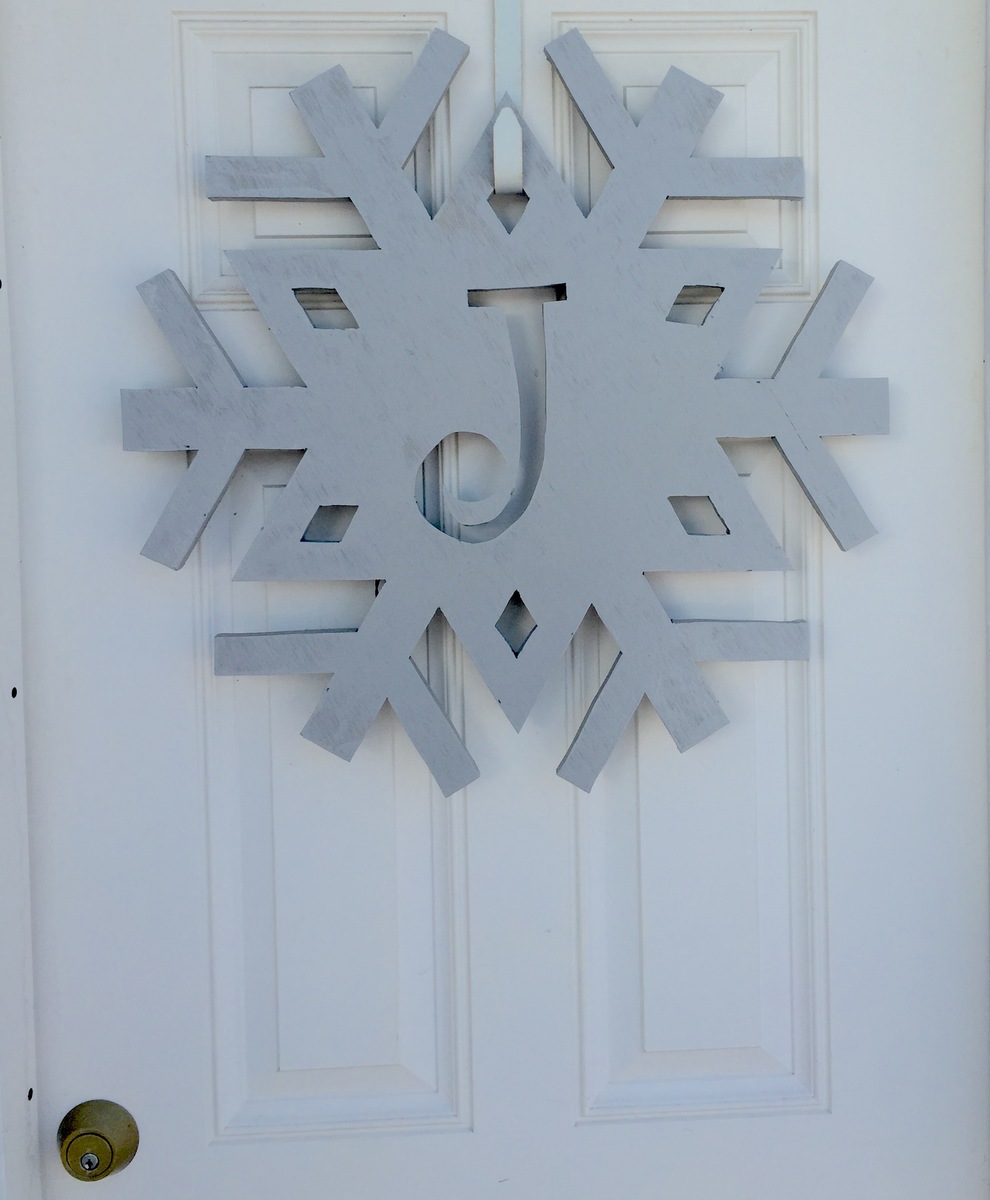
Followed the plans for the Easy monogram snowflake, painted it with pewter gray, and added a set of battery powered led lights to the back. Thanks for the plans Ana fun build and now everyone wants one.

Mon, 11/23/2015 - 07:21
What a great idea! How are you hanging this? It looks like it is floating.
Great project for my first attempt at building a farmhouse table. I adjusted the base to allow a chair to slide in at both ends. Braced breadboards on each end with (3) 2x4. Very strong and sturdy. Decided not to use the lower base support to see how it held up and has been extremely stable. My wife liked the open look so that's all I needed to hear. Excellent plans, had fun and came out better than I anticipated!

Built-in floating shelves!
by Lisa


Comments
Ana White Admin
Sun, 09/04/2022 - 12:55
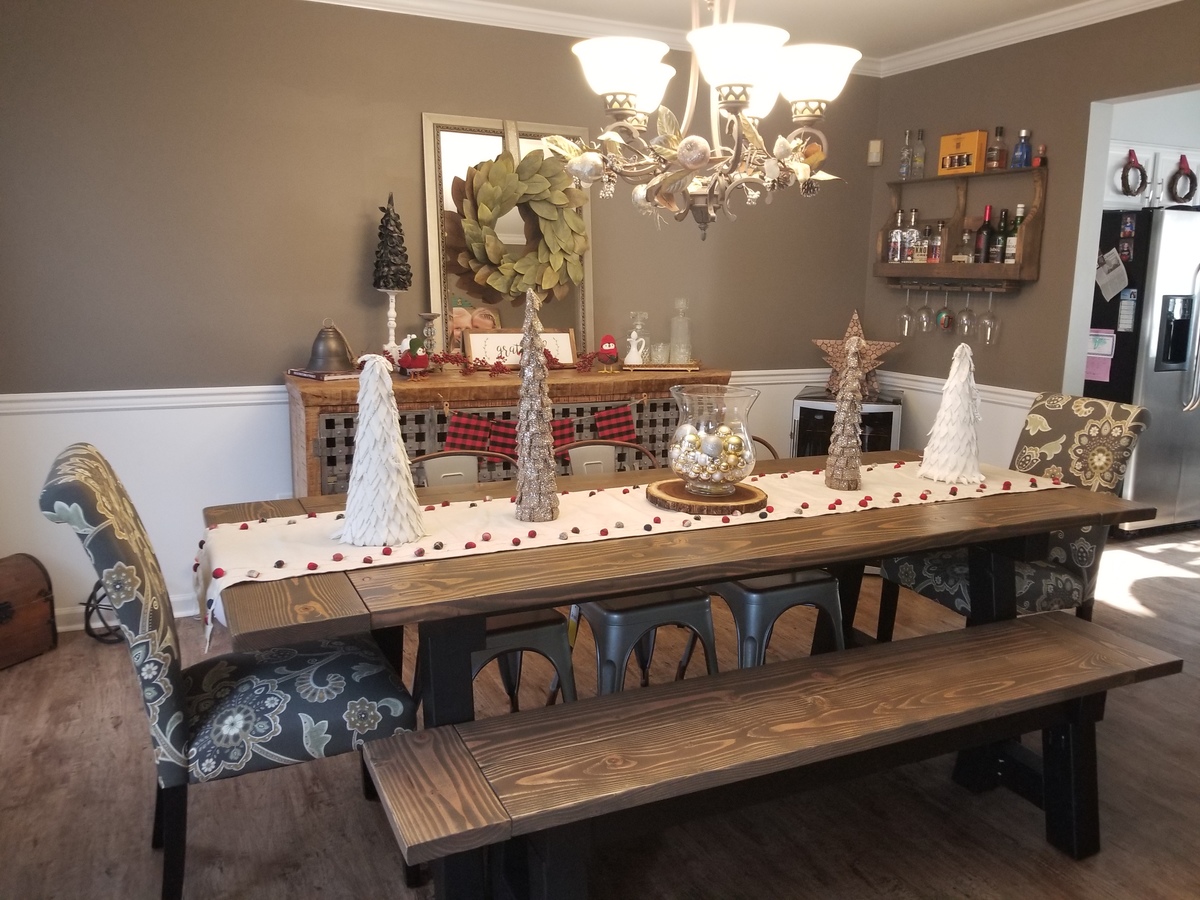
Love this table!
Wonderful work, the top is gorgeous and accents the base very well! Thanks for sharing.