Community Brag Posts

Outdoor Privacy Wall

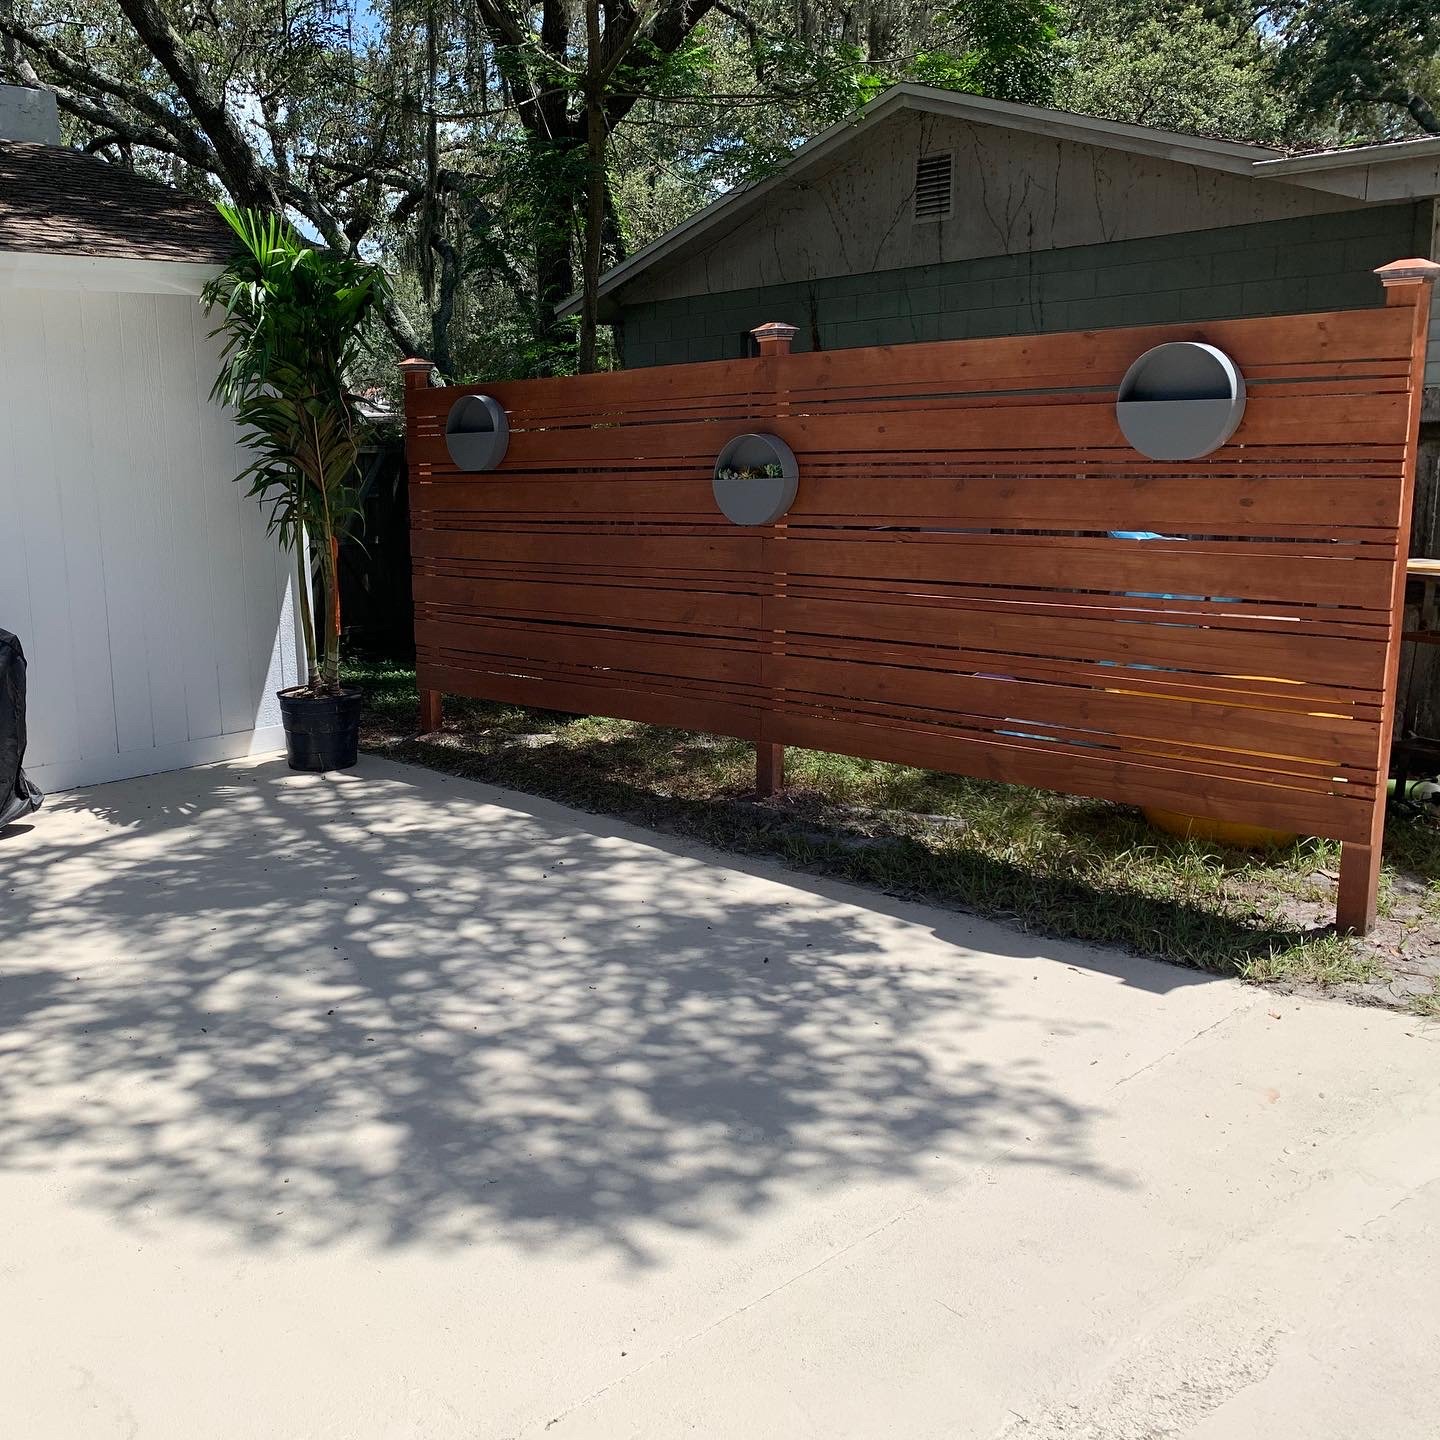
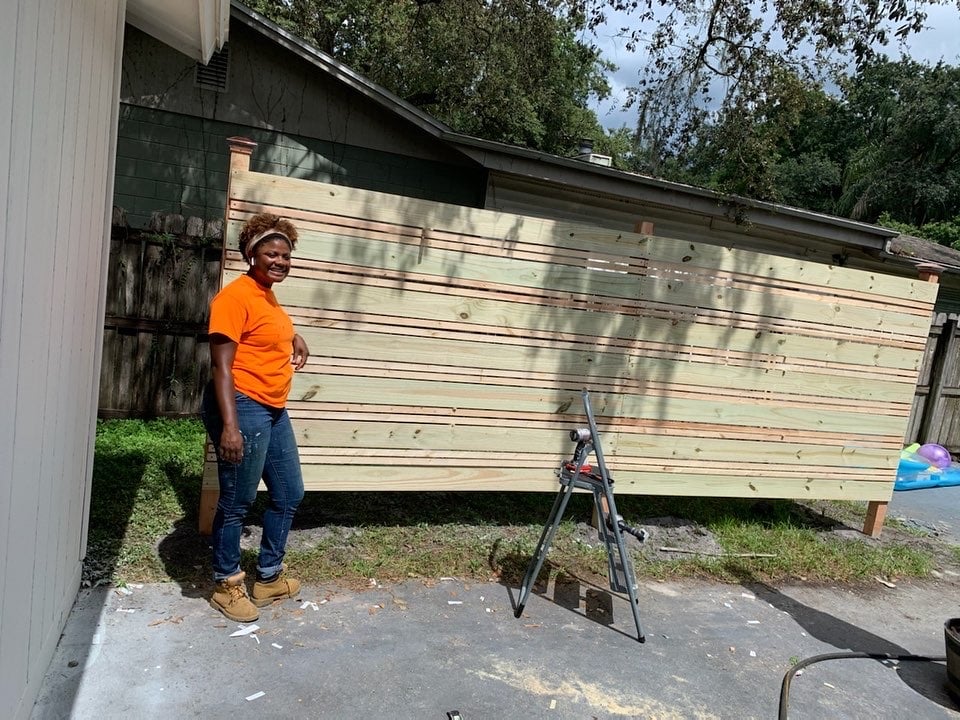
I built this wall to give us a little privacy when our family wants to lay out and go swimming. Also, to hide our neighbor’s ugly fence! The length for all pieces are 8’ long for no cutting and the widths are 1x2, 1x6, 4x4 with 3/4” spacing and about 100 or so deck screws. I modified the pattern from a photo of a fence I seen on HomeDepots YouTube.

Estimated Cost
140
Estimated Time Investment
Afternoon Project (3-6 Hours)
Finish Used
Thompson Waterseal - Semi Transparent - Autumn Brown
Recommended Skill Level
Beginner

Large Old English Style Farmhouse Dining Table

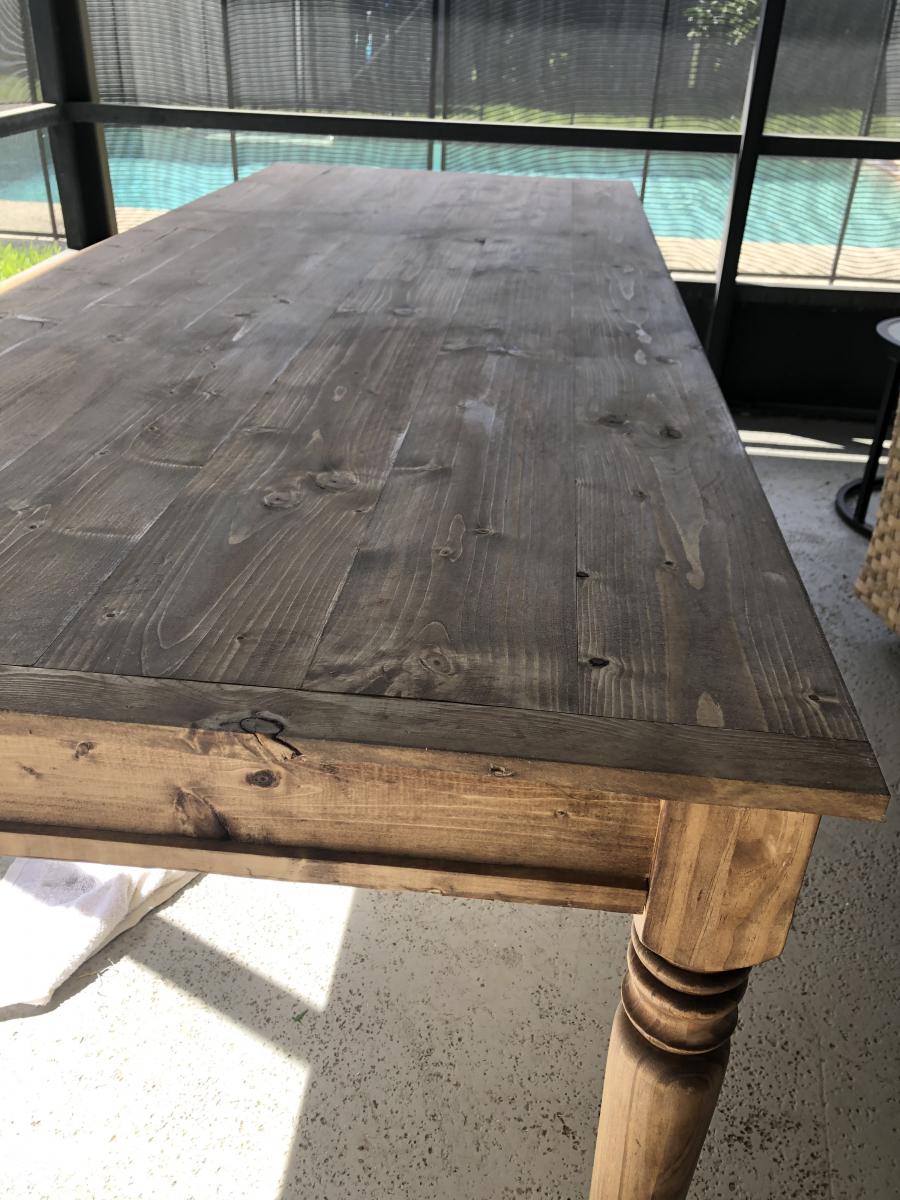
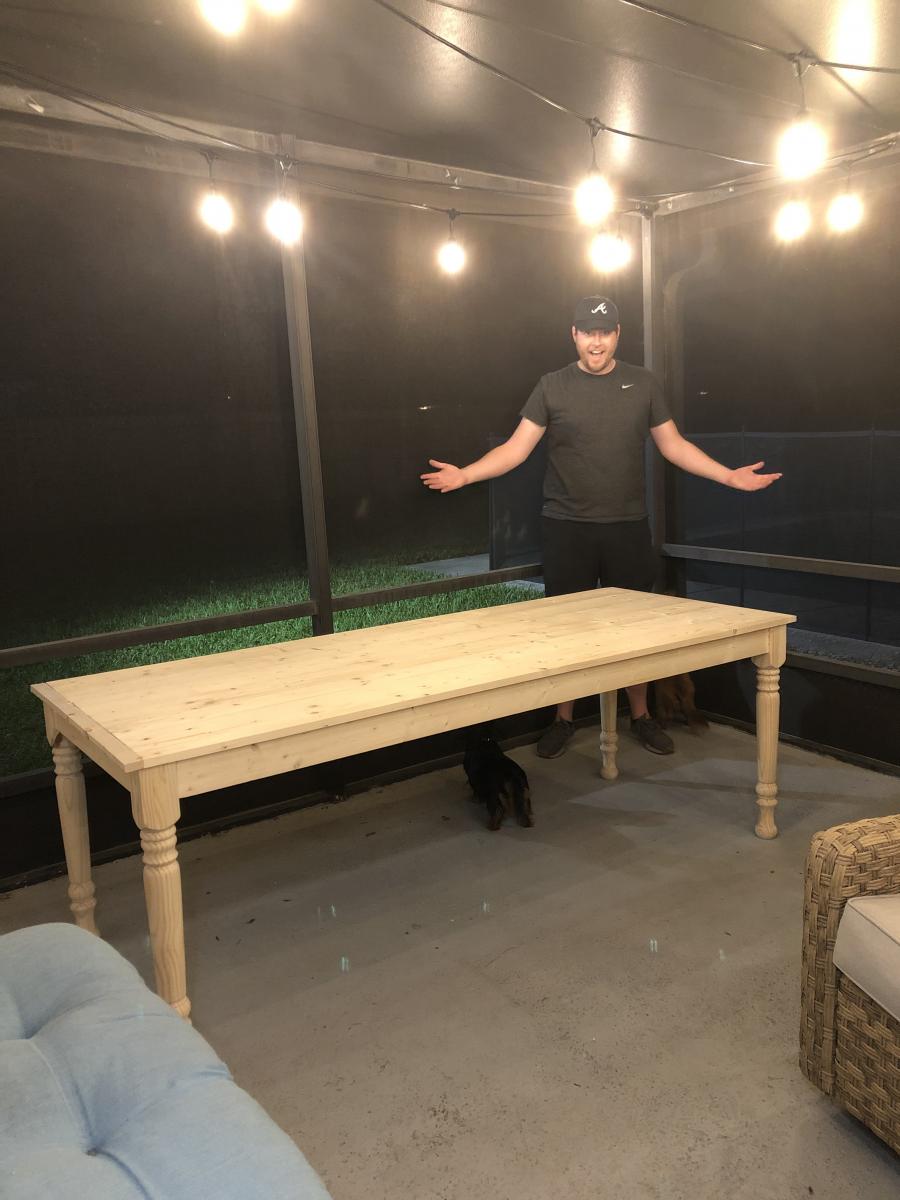
My wife and I were wanting a large outdoor farmhouse table that looked stylish, and like it could have been bought at Pottery Barn or another high-end furniture store. We found this plan that Ana white had made "Small Old English Style Farmhouse Dining Table". We often host groups from our church and will have 15-20 people on our patio or around our pool area, so we needed a bigger table... I just made some modifications to make it longer (7ft) in length to better fit our space and allow for more people to sit.

To make this plan longer, I simply adjusted the cut-list on the long 1x2s, 1x4s, and 1x6; and added a crossbar to prevent the longer tabletop from sagging. I also added the diagonal corner struts to make the table a little sturdier.

Adjusted Shopping List:
4 - 1x2 @ 8ft
5 - 1x4 @ 8 ft
6 - 1x6 @ 8ft
Waterproof 1 1/4" Kreg screws (for outdoor use)
Minwax Weathered Oak
Minwax Vintage Grey

Adjusted Cut-List
• 2 - 1x2 @ 26.5"
• 2 - 1x2 @ 76.5"
• 2 - 1x2 @ ~33.25"
• 2 - 1x4 @ 26.5"
• 2 - 1x4 @ 76.5"
• 4 - 1x4 @ 7.25" w/ 45º miter (diagonal corner supports)
• 1 - 1x4 @ ~28" (Crossbar - I forget the exact measurement)
• 6 - 1x6 @ 82"

For seating we just bought some inexpensive farmhouse weather resistant chairs from Walmart:
https://www.walmart.com/ip/Yaheetech-Metal-Dinning-Chairs-Stackable-Cof…

Estimated Cost
$170
Estimated Time Investment
Day Project (6-9 Hours)
Finish Used
Minwax Early American (base), Minwax Weathered Grey (2nd coat)
(See more on outdoor use of stains: https://ana-white.com/blog/2019/05/outdoor-wood-furniture-finishing-secrets)
Recommended Skill Level
Beginner

Comments

Patriotic Cornhole Boards

Submitted by ae1ret99 on Fri, 07/16/2021 - 13:30

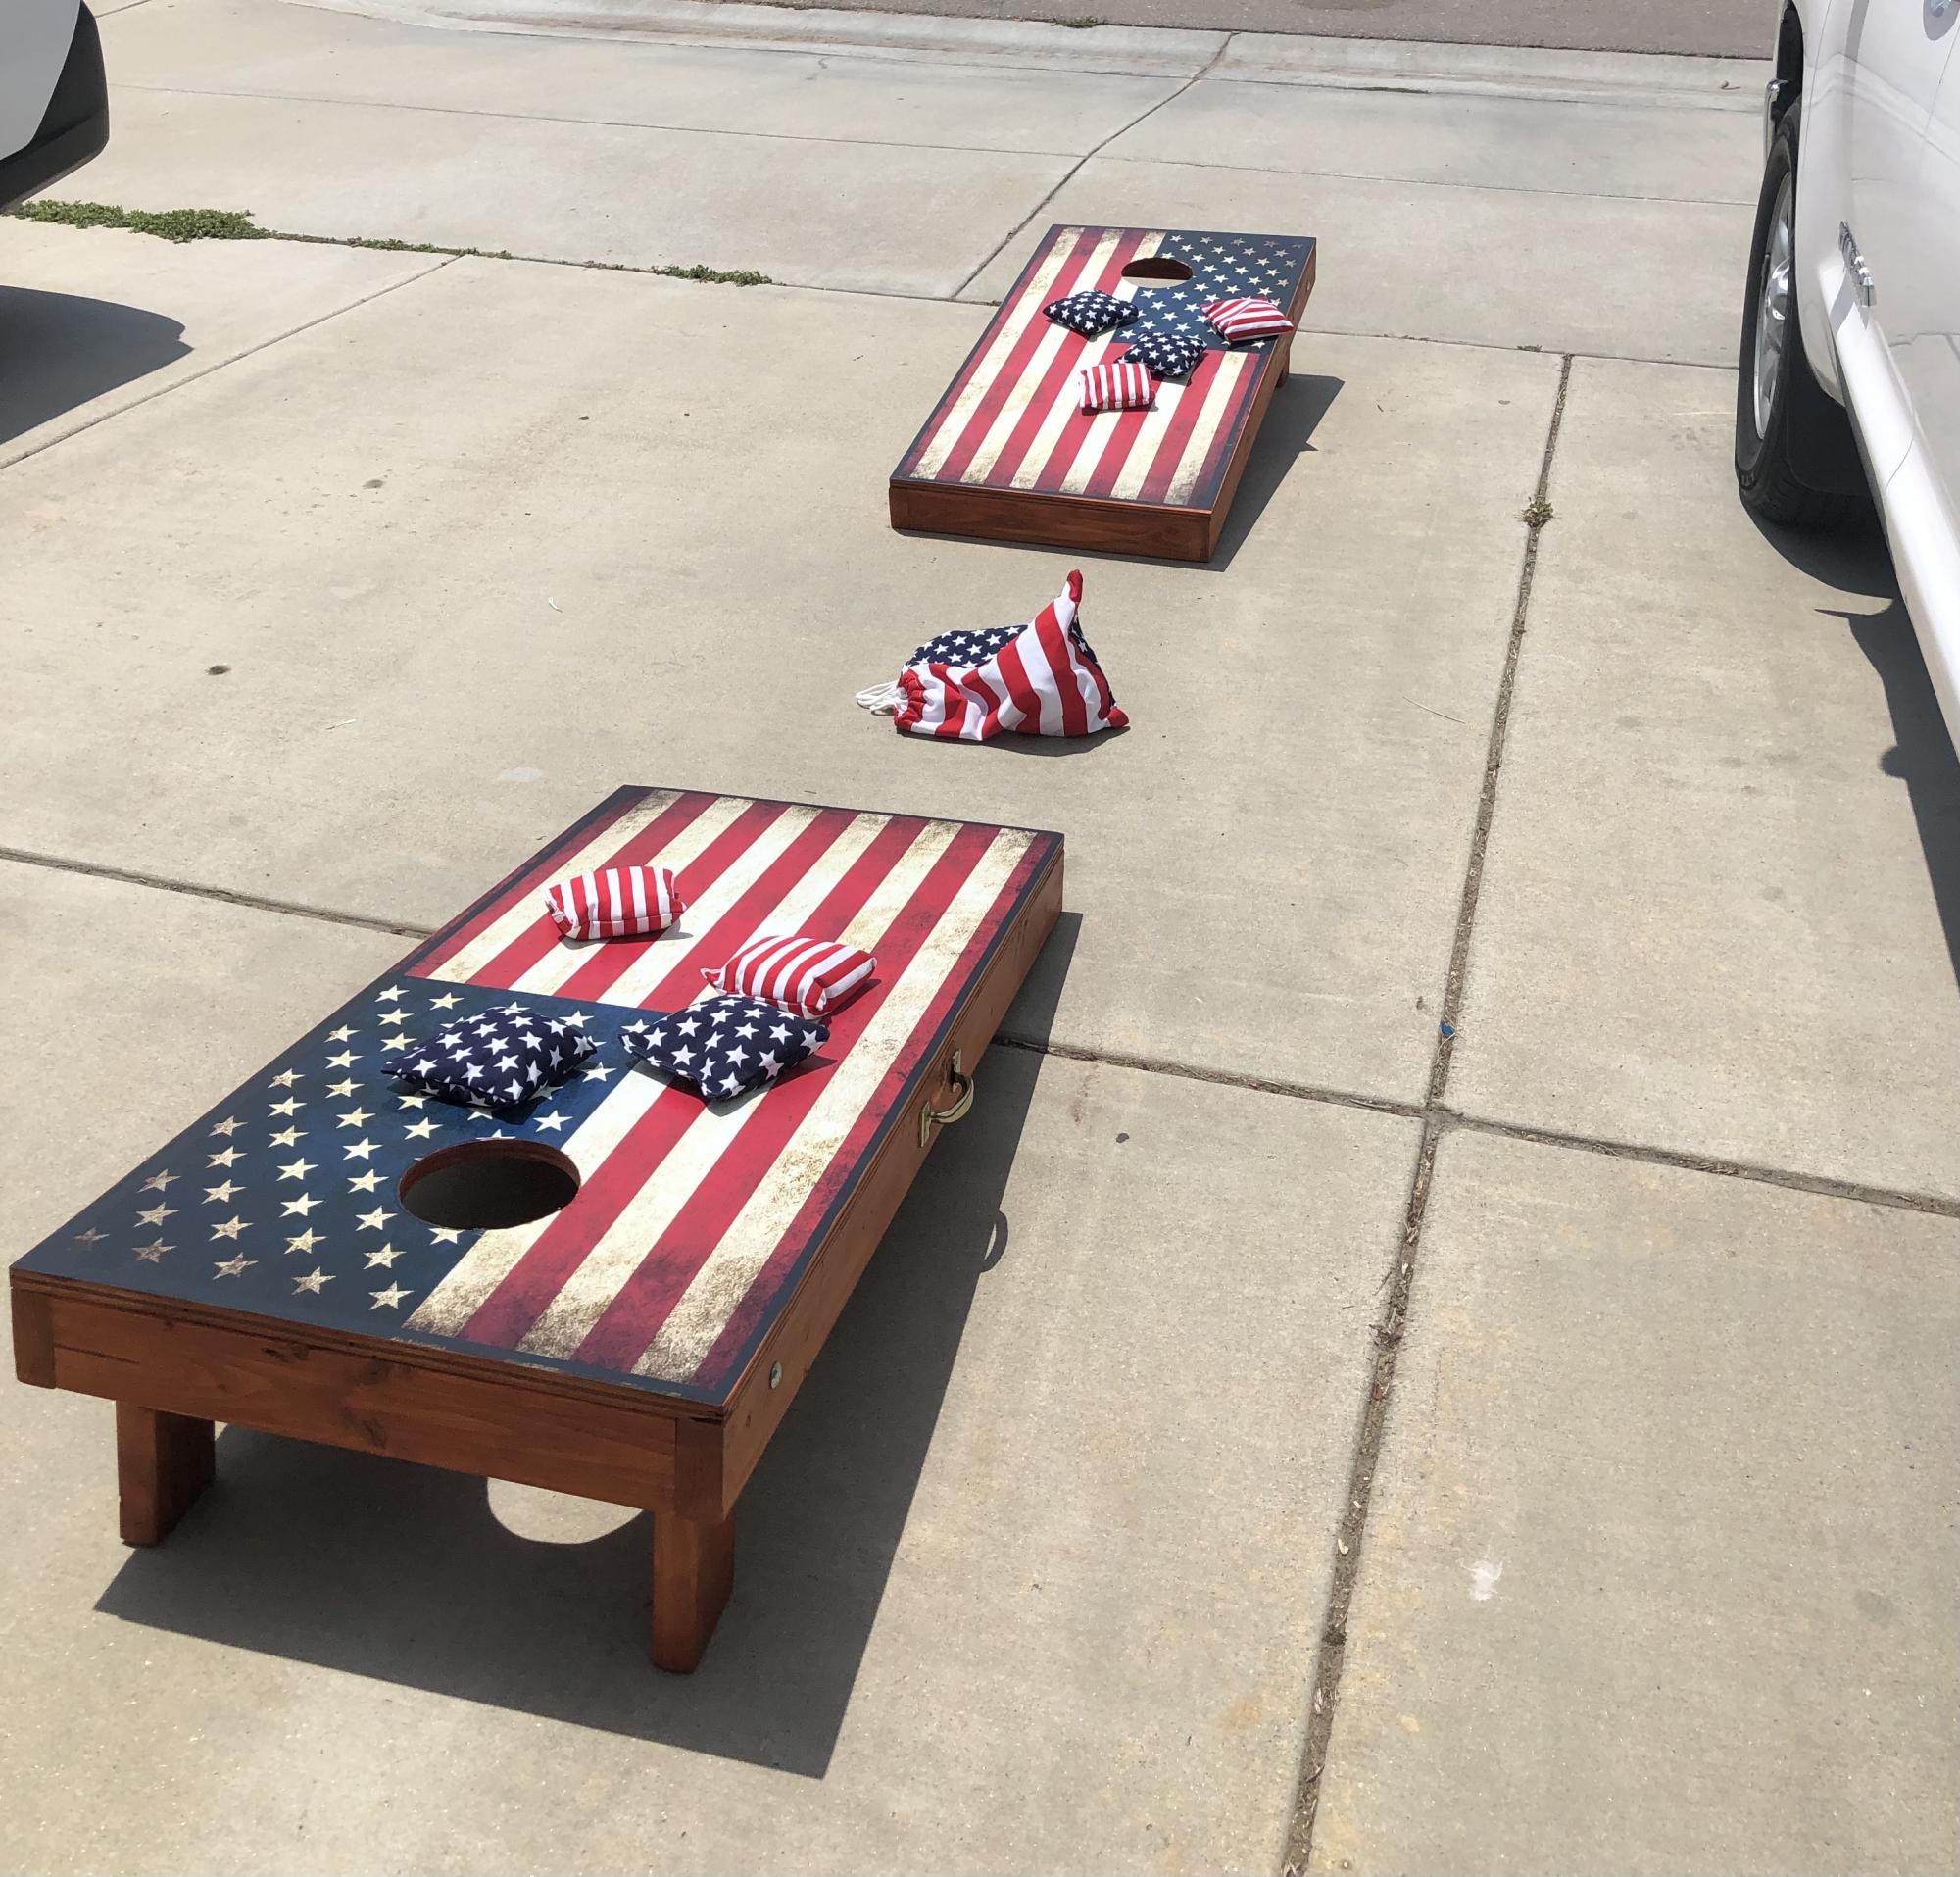
I wanted some Cornhole Boards and I wanted to make them myself. I used some vinyl stickers (distressed American flags) that I got on Amazon! I also bought the Cornhole Bag set on Amazon as well! I added some carrying handles from hardware At Home Depot. I found the link here on Ana's website! I love them!

Estimated Cost
$150
Estimated Time Investment
Weekend Project (10-20 Hours)
Finish Used
Stained the base with Valspar Redwood tone from Lowe's. Then applied some water-based poly over the top.
Recommended Skill Level
Intermediate

Comments

Potting bench from recycled materials

Submitted by Anonymous (not verified) on Wed, 06/22/2022 - 07:42

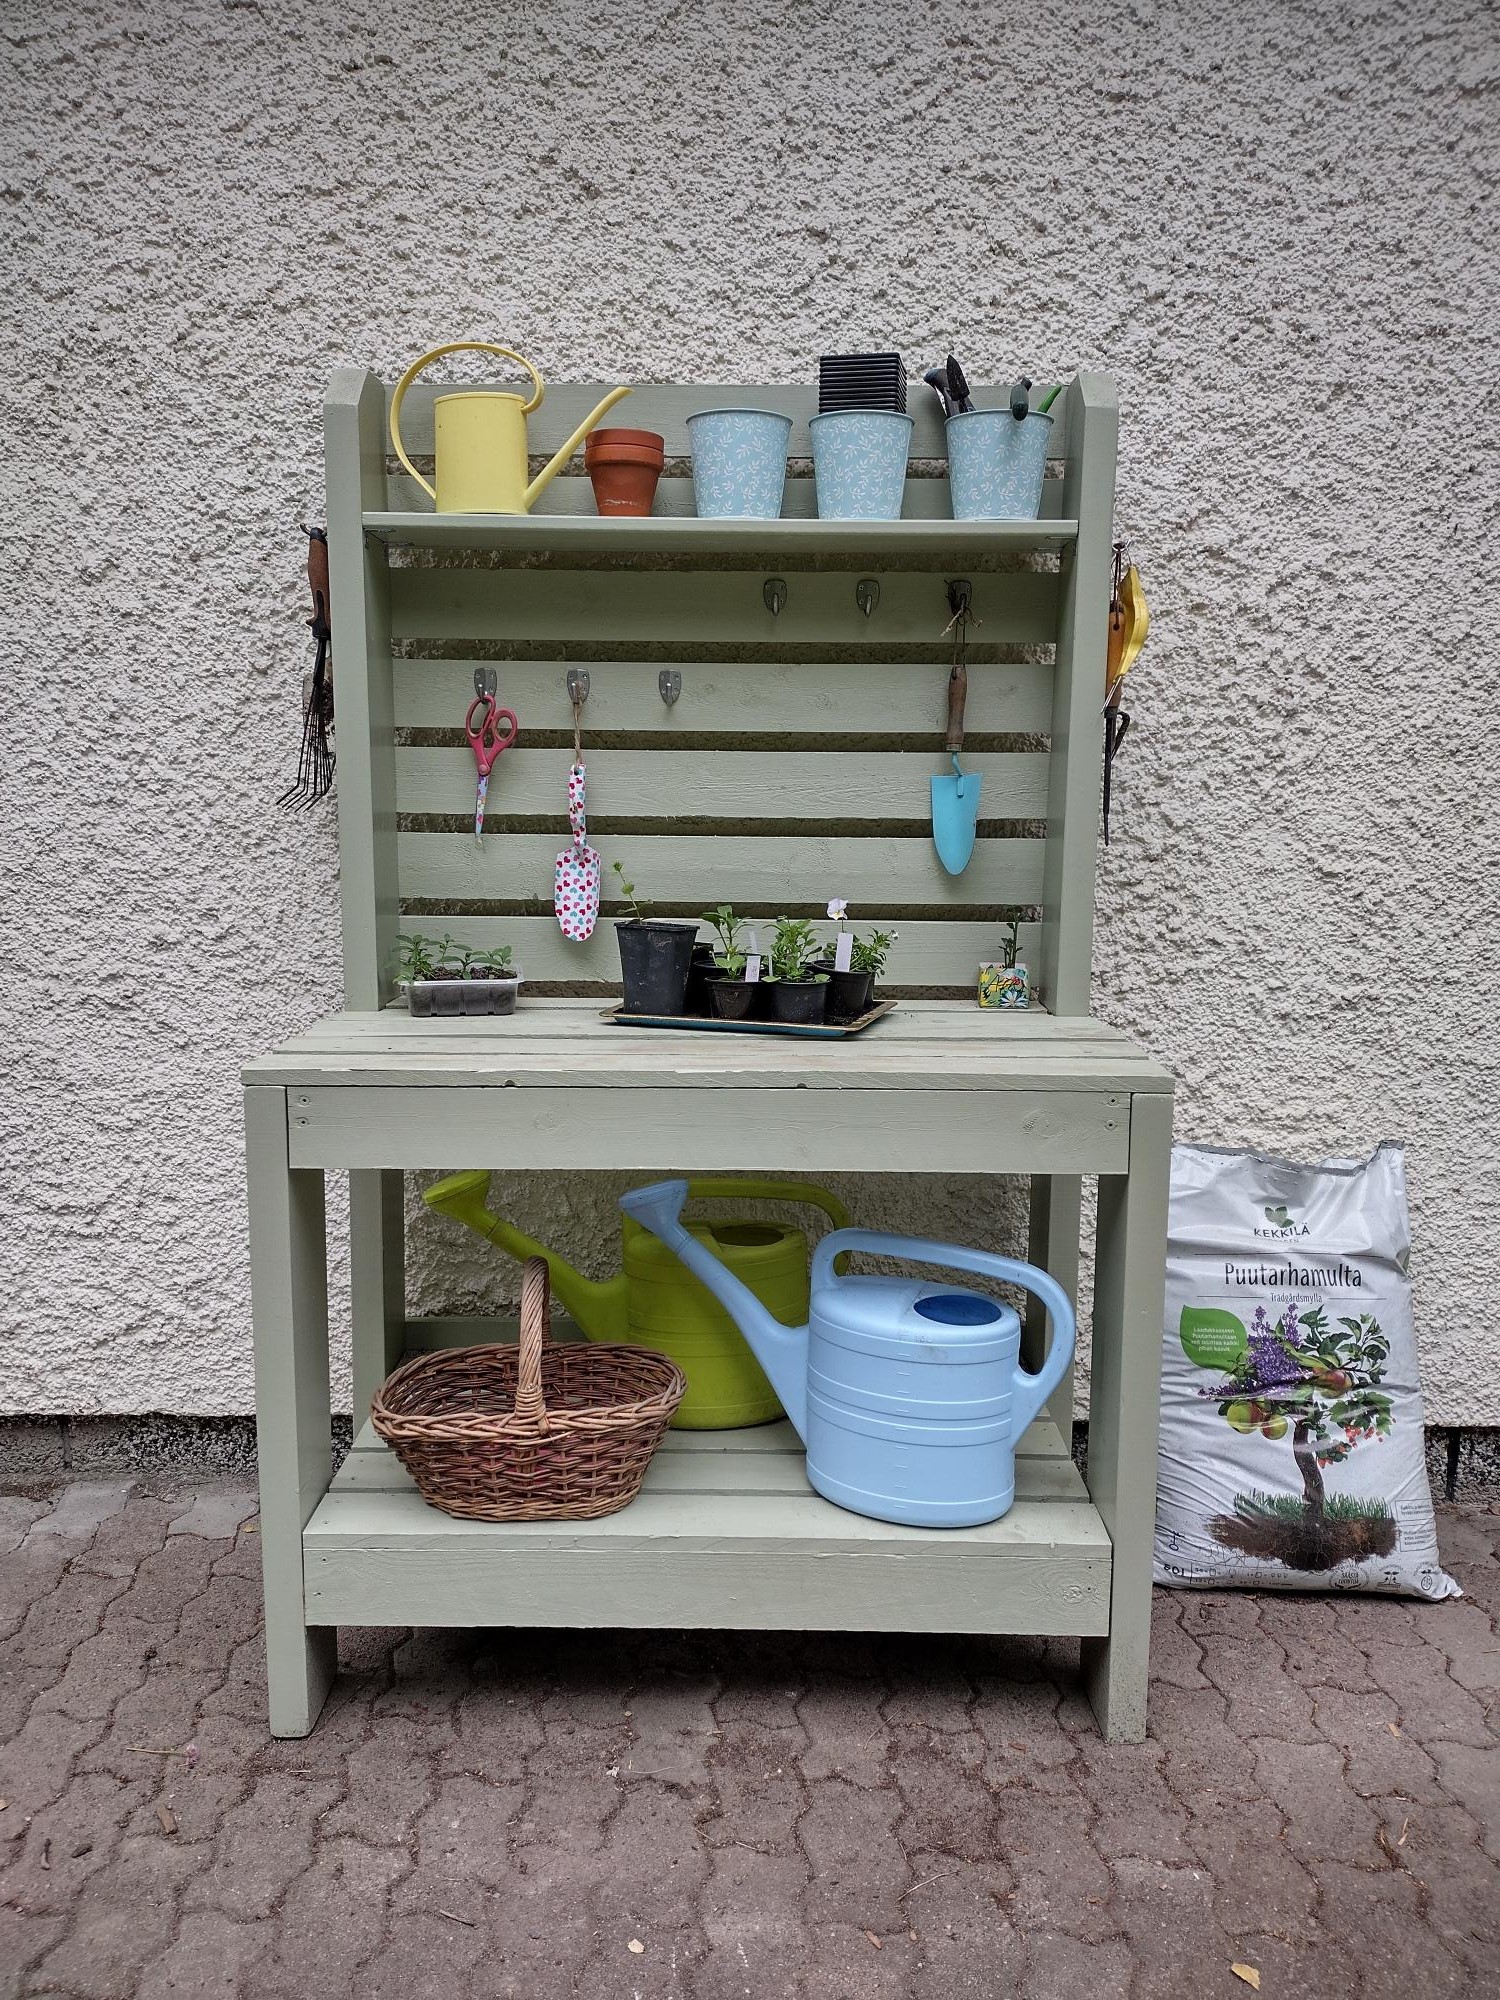
I used recycled materials for my potting table. The boards for the front and back legs I found from a factory's dumpster. Side aprons are from boards I saved when we took down a wall in our home. The boards were a part of the wall's frame. All the boards for the worktop, back wall and the lower shelf came from the dumpster of a company selling plastic sewer pipes. They used to be frames holding together the bunches of pipes during transport from factory to the store. And lastly, the board for the little shelf used to be part of the structure holding up the tarp over a freight truck's freight space.

I've only built raised beds and crude shelves for seedlings up until this project. This was my first more complex project. And the first with which I had to follow a plan. Due to my materials being differently sized than in the project plan, I had to make some adjustments along the way. My husband helped me to make sense of the instructions and also helped when I needed another pair of hands to keep parts still while drilling.

The biggest setback during the project was the board for the small shelf splintering while drilling it into place. It splintered even though we pre-drilled holes for the screws to go into especially to prevent splintering. I made another board and that one we secured in place with small corner braces which worked better.

Thank you Ana for the project plan. Here in Finland potting tables like these are not common and they are not sold anywhere. I've dreamt of one for 15 years and now, finally, I made my dream home true with your help.

Best wishes,
Aija

Comments

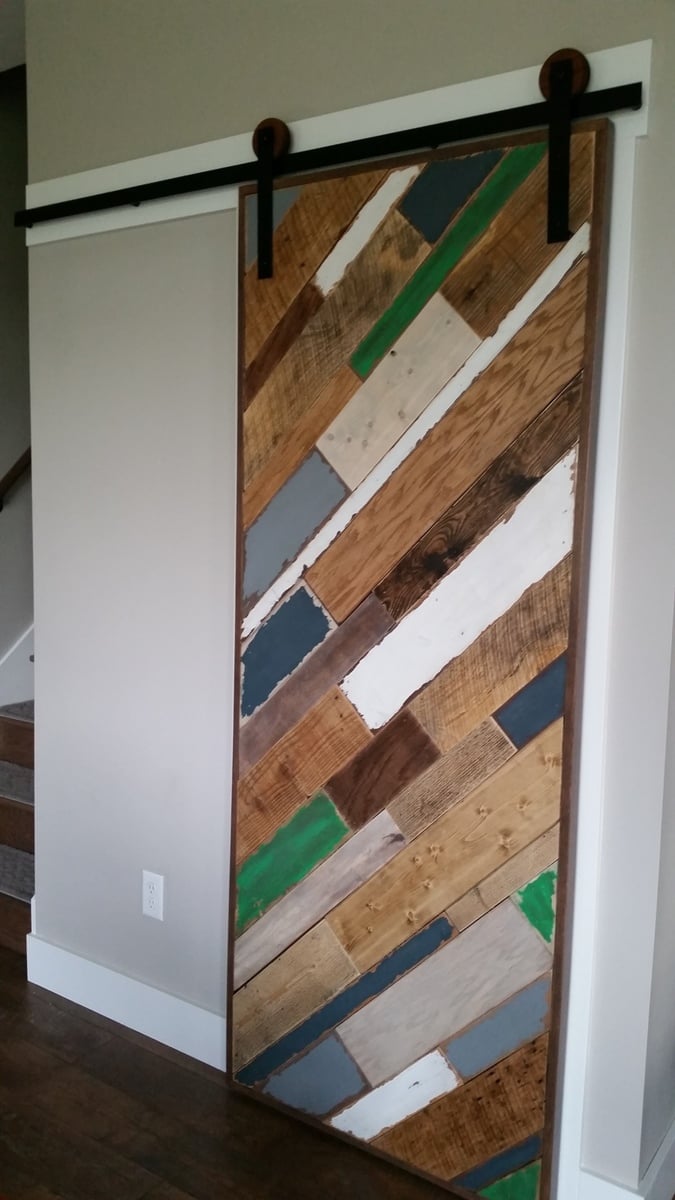
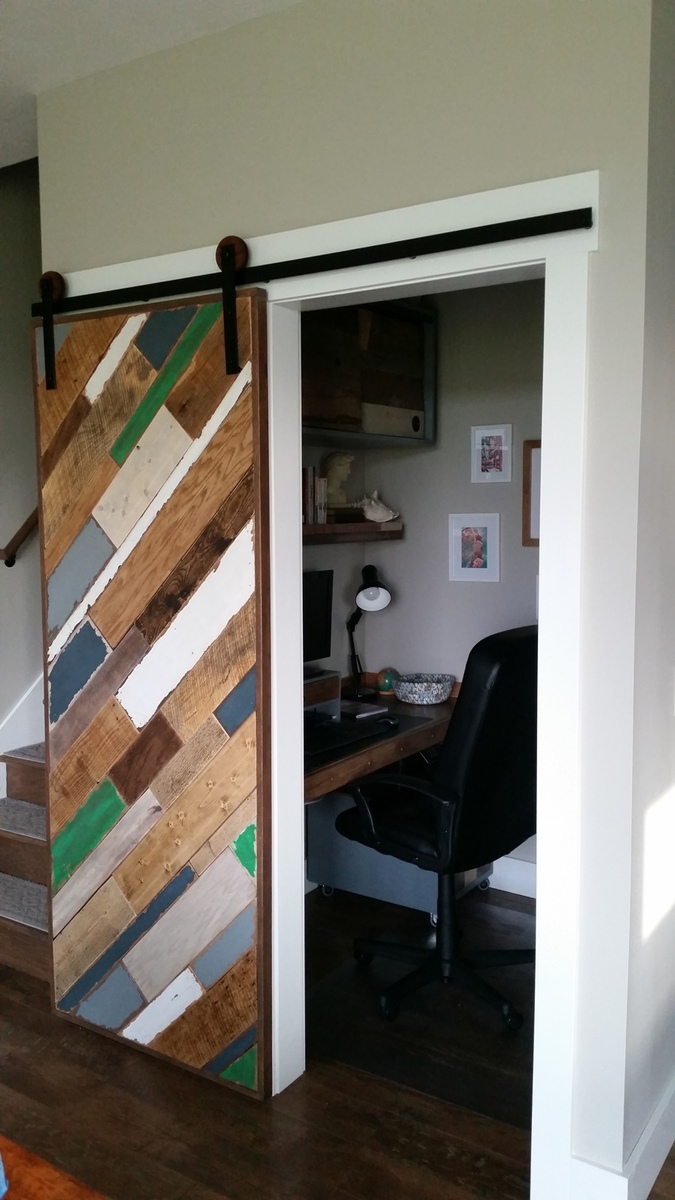
Scrap Wood Barn Door

Submitted by milleall on Mon, 10/12/2015 - 07:31

I am finally getting around to the final touches on the home we built.  I have a small pocket office that needed a sliding barn door.  I build this door out of 3/4 inch plywood framed with 1x2 oak boards.  I added planks of scrap plywood, 1x boards, and pallet wood.   I added some different colors to make for a fun industrial/modern look.  I made the barn door track out of steel purchased at a local metal shop and wooden wheels purchased online.  

Estimated Time Investment
Weekend Project (10-20 Hours)
Finish Used
Different colors of diy chalk paint (flat paint with water and plaster of paris), various stain colors, and triple thick satin poly.
Recommended Skill Level
Intermediate

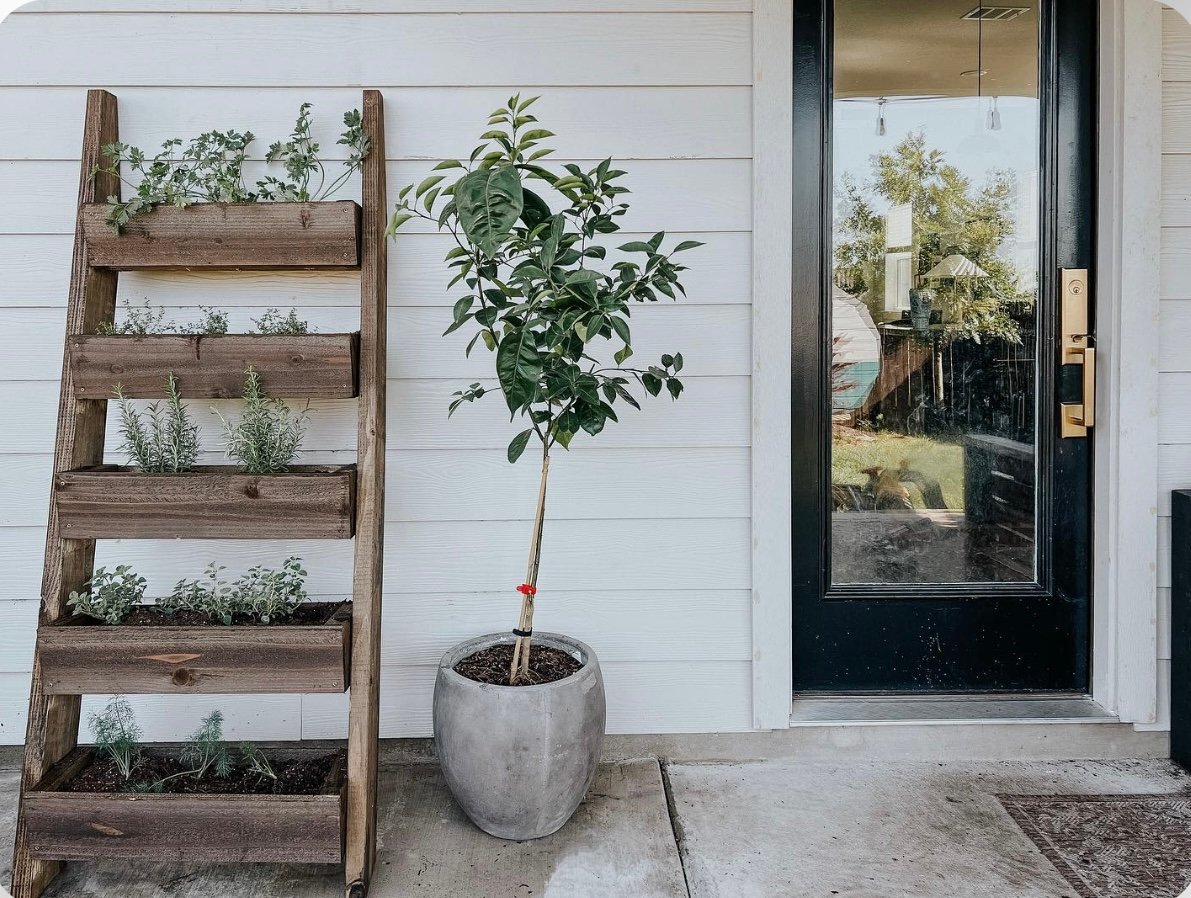
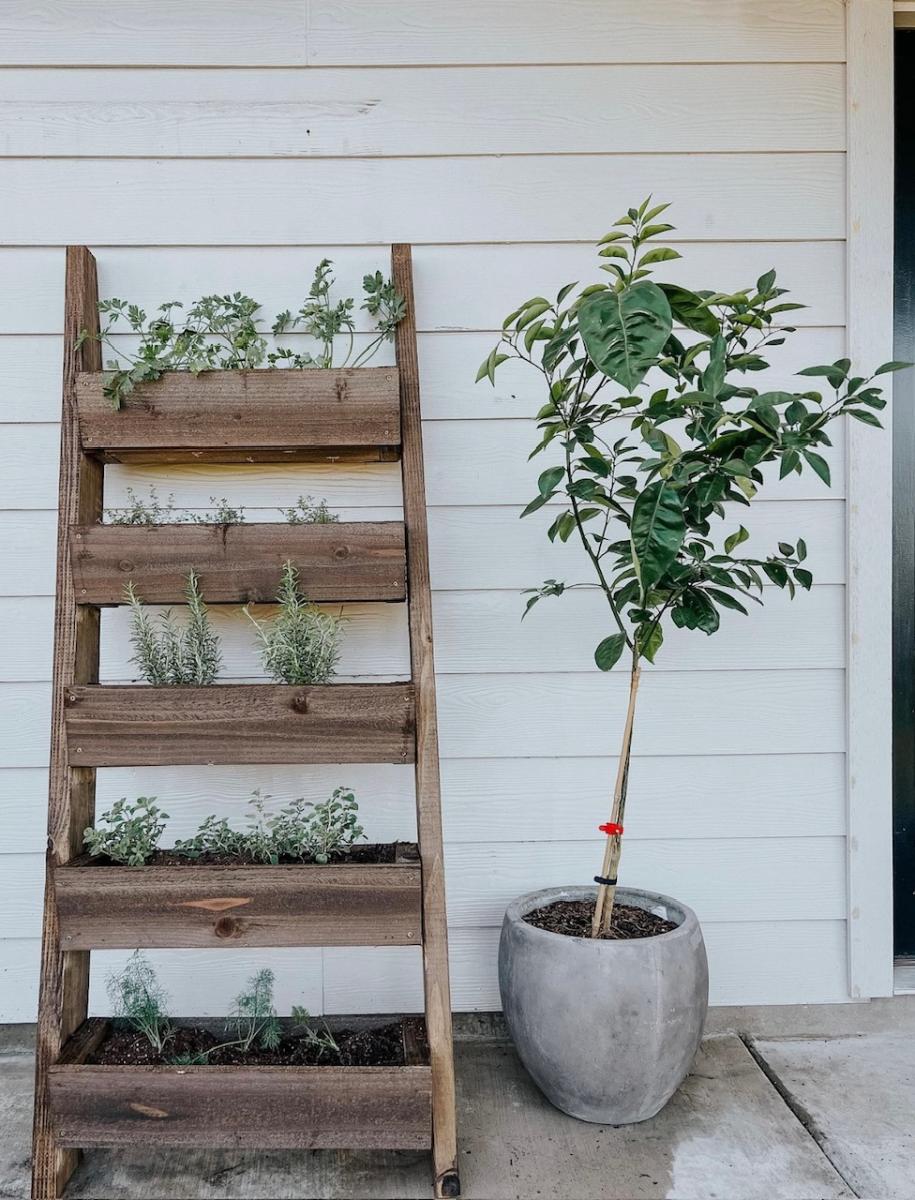
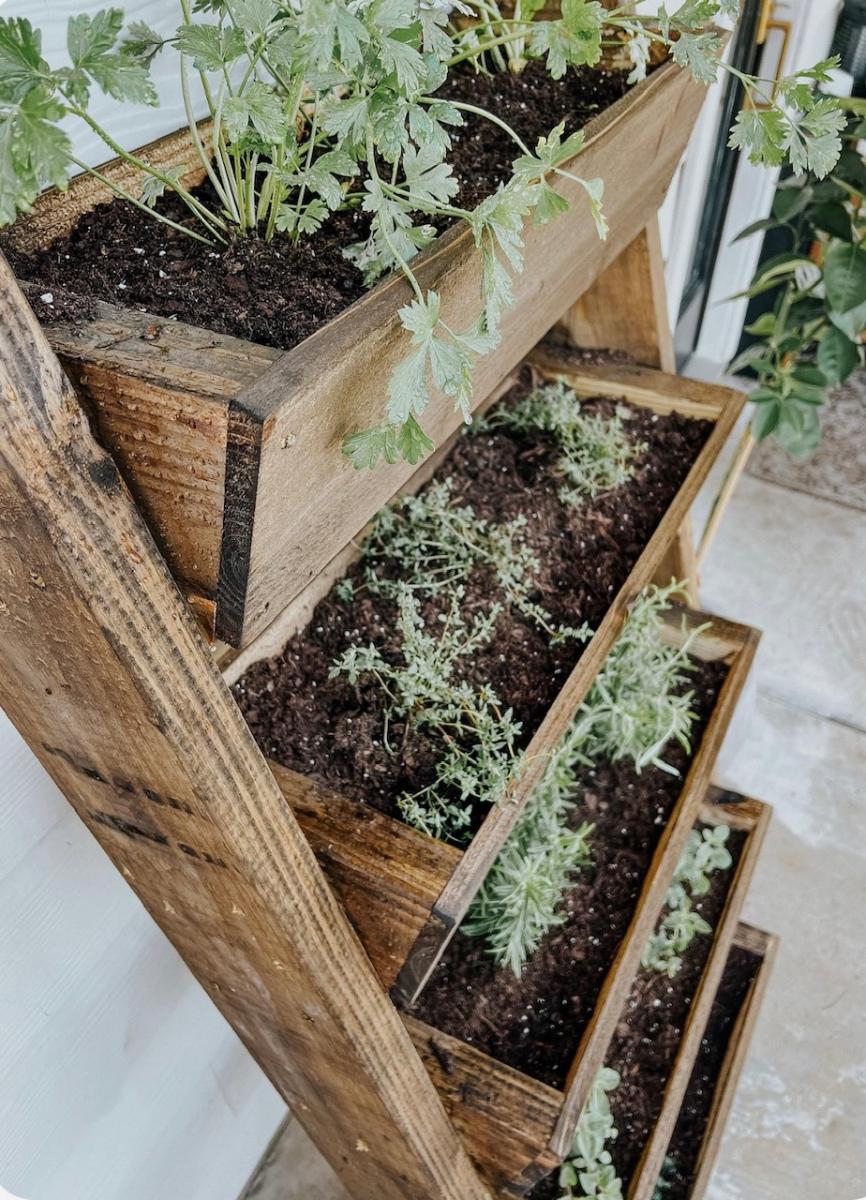
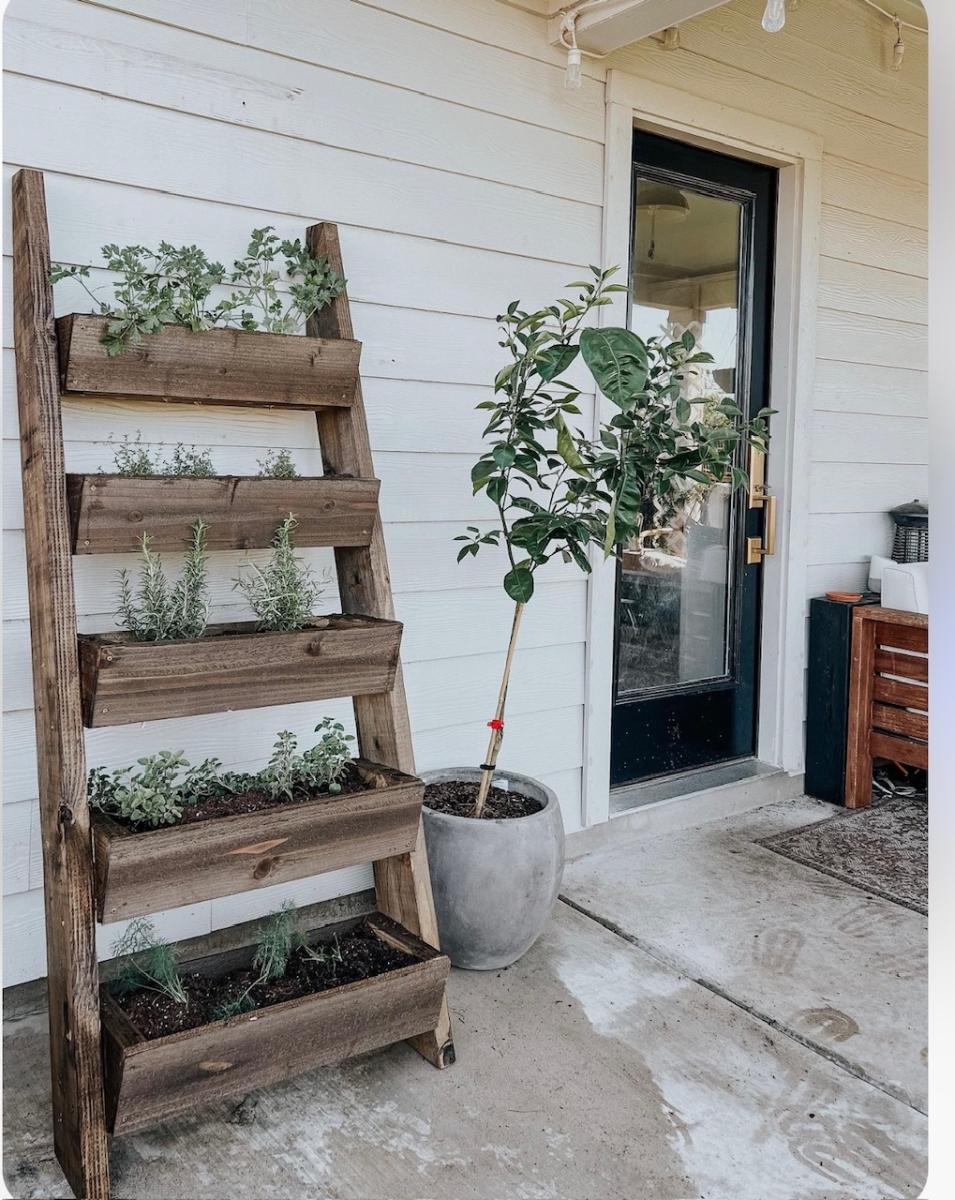
Leaning Herb Garden by Love & Renovations

"For this project, I decided to lean on the expertise and creativity of someone else, and I followed a tutorial from Ana White It was incredibly easy to follow, really well written, and a super simple build. It took me just a few hours to build the leaning planter, and cost about $45 in wood." - Amanda


Seasonal And Holiday

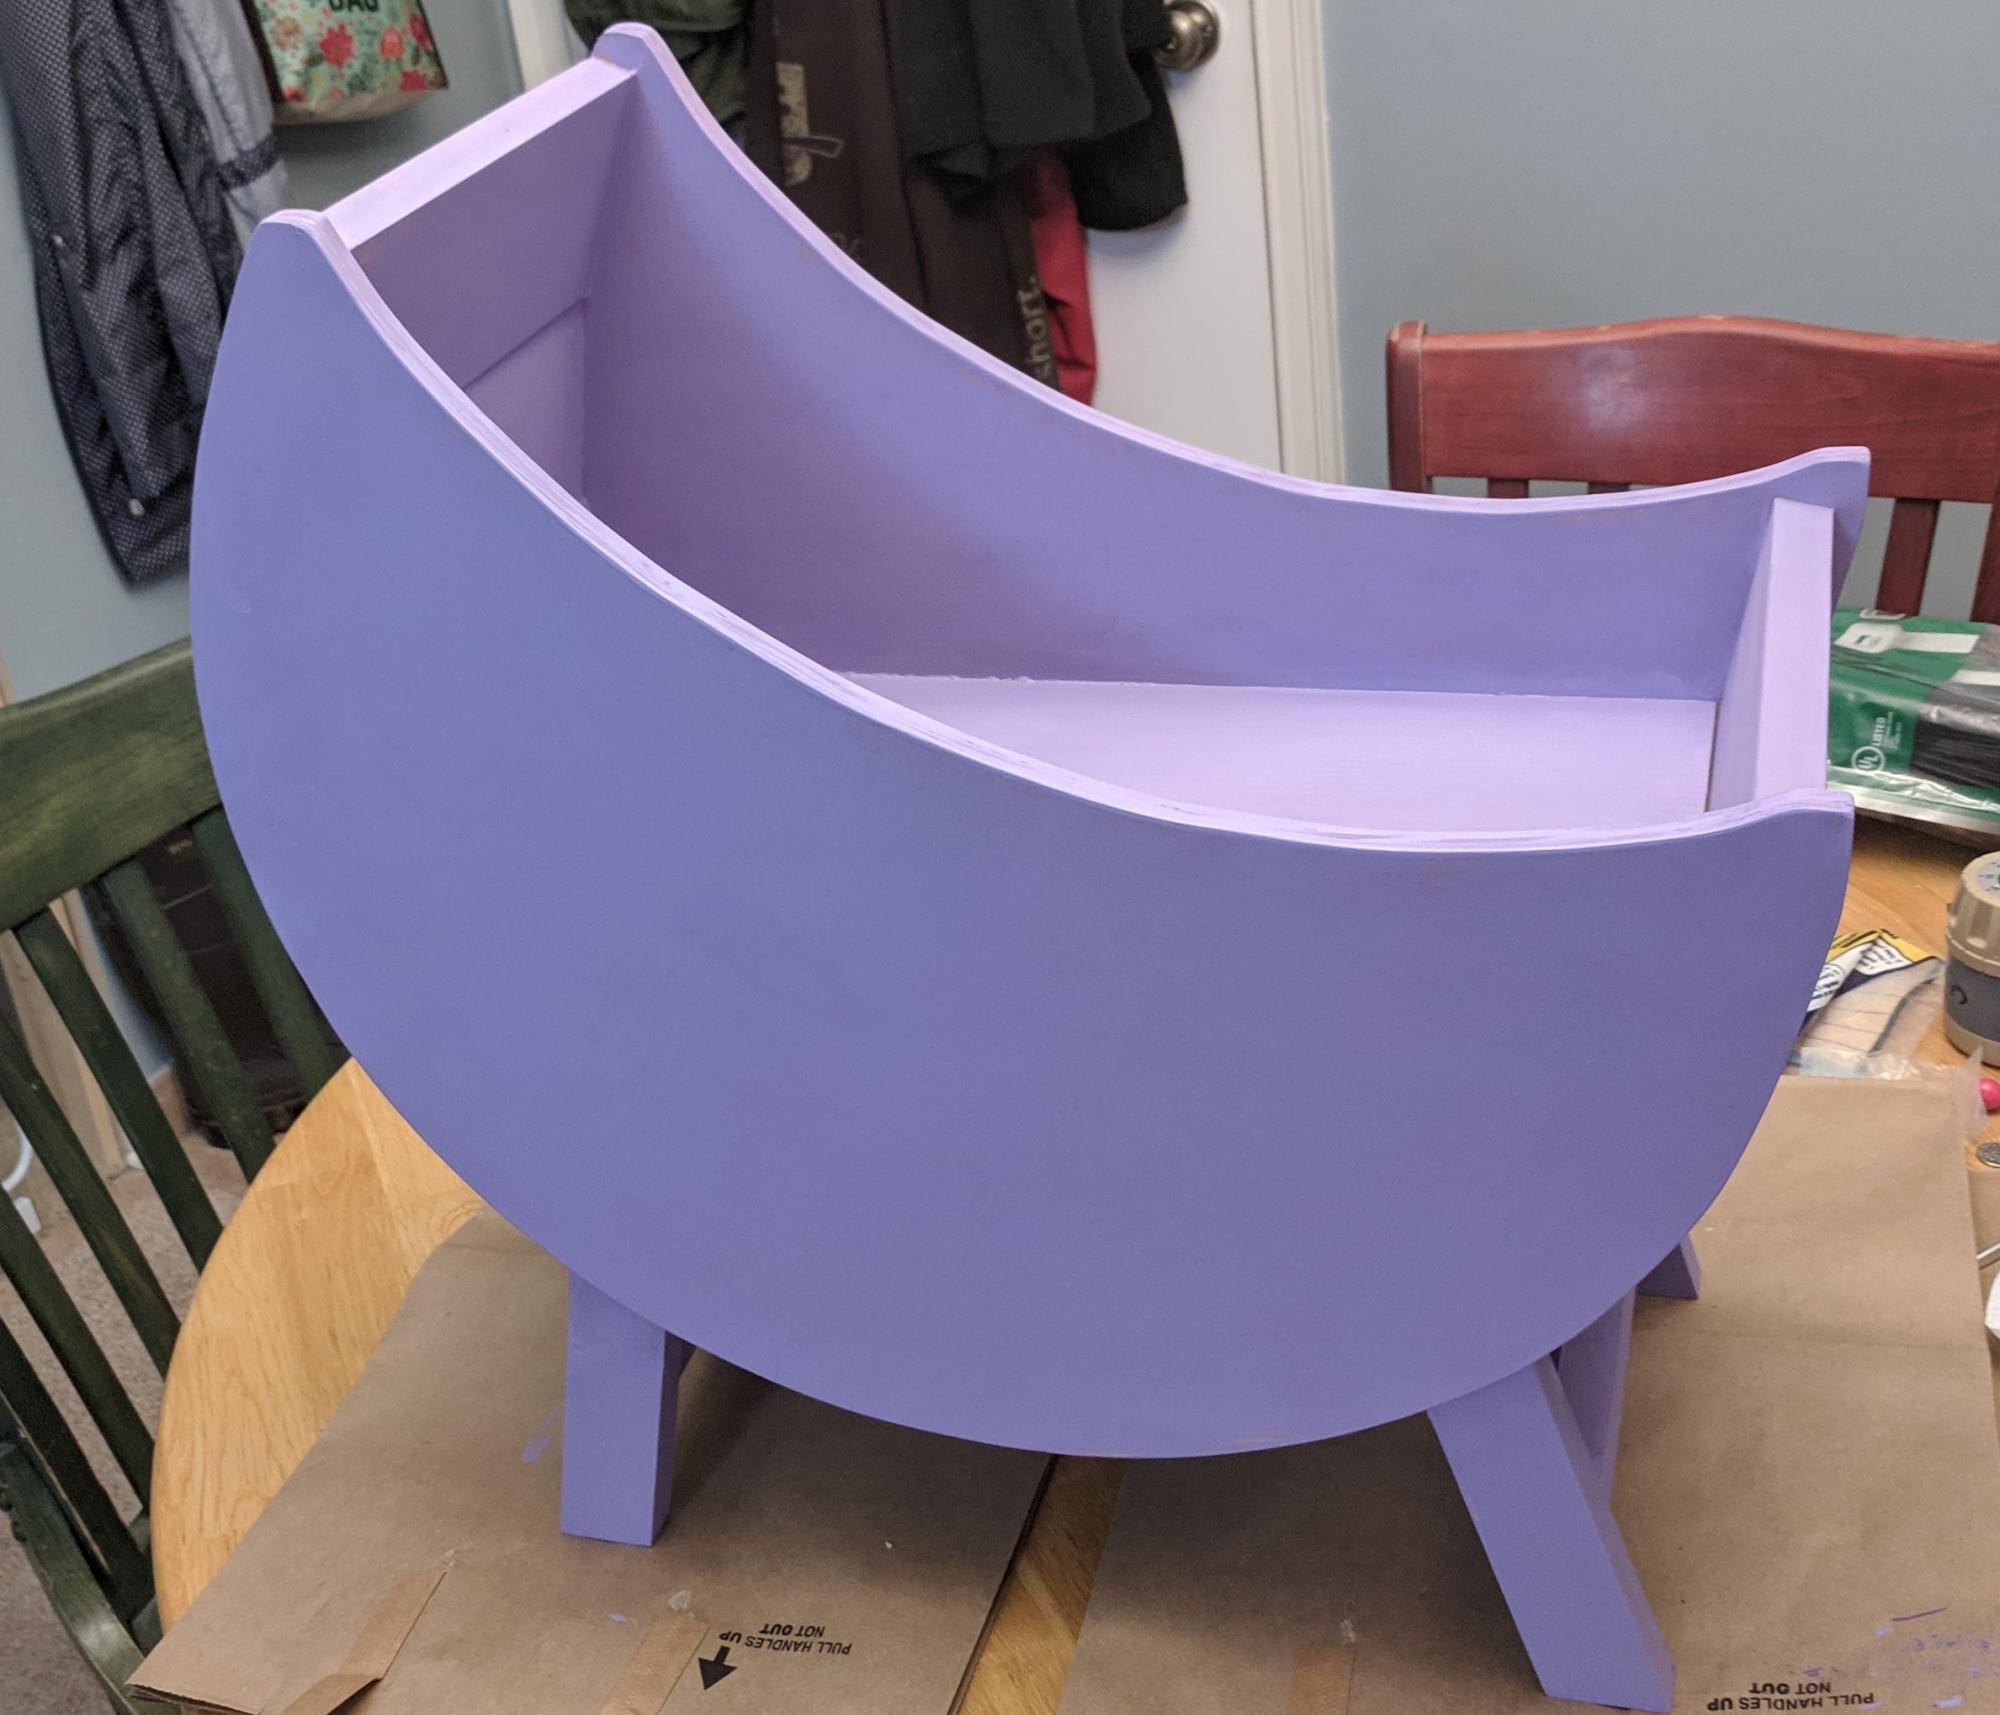
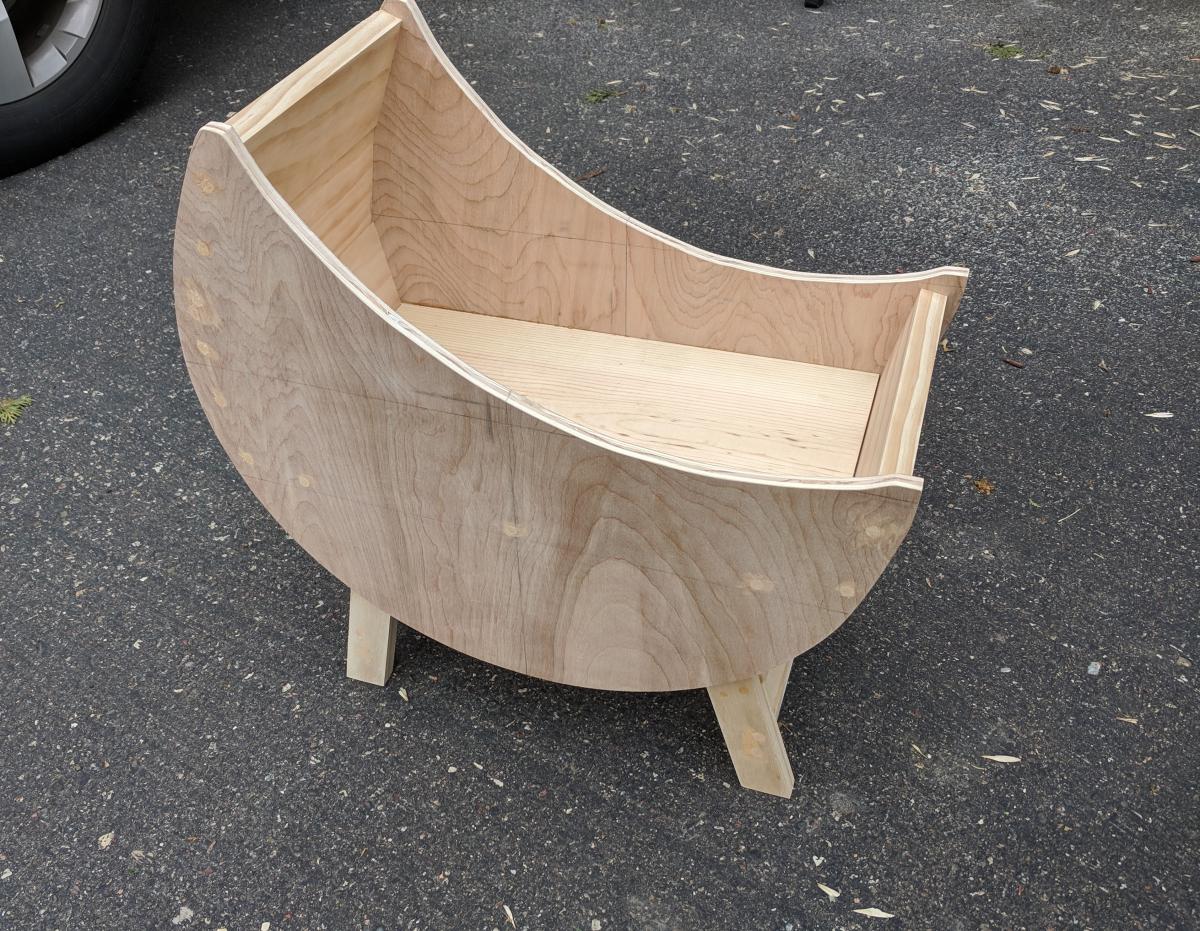
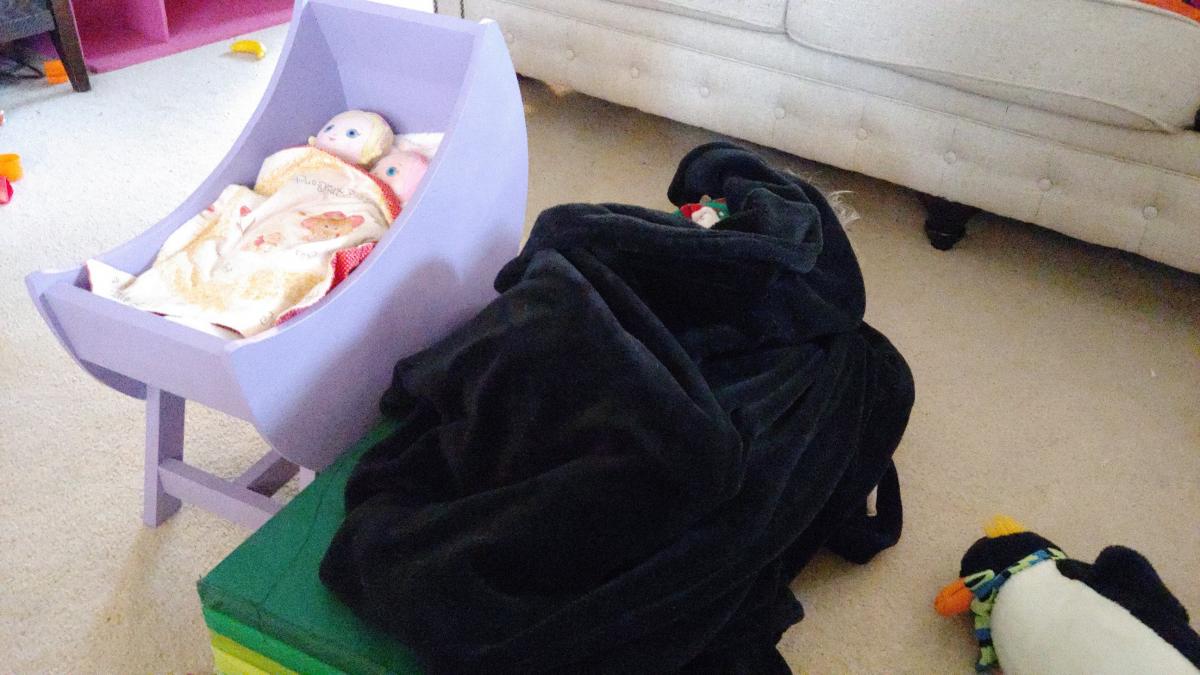
Lavander Moon Bassinet

Submitted by papamike on Sun, 01/05/2020 - 13:39

My daughter-in-law asked me if I could build a doll crib for my granddaughter. I had no idea how to do that, so of course I said "Absolutely!" Then I immediately came to the Ana White site!!

I found a few options and checked with my daughter-in-law to see what style she wanted.  She chose the "Baby Doll Furniture Moon Bassinet" and said that it needed to be "lavander".  

As usual, Ana's plans made me look like a hero!  My granddaughter liked it so much she insisted on sleeping on the floor next to it during her nap!   

Estimated Time Investment
Afternoon Project (3-6 Hours)
Finish Used
Paint and satin clear coat.
Recommended Skill Level
Beginner

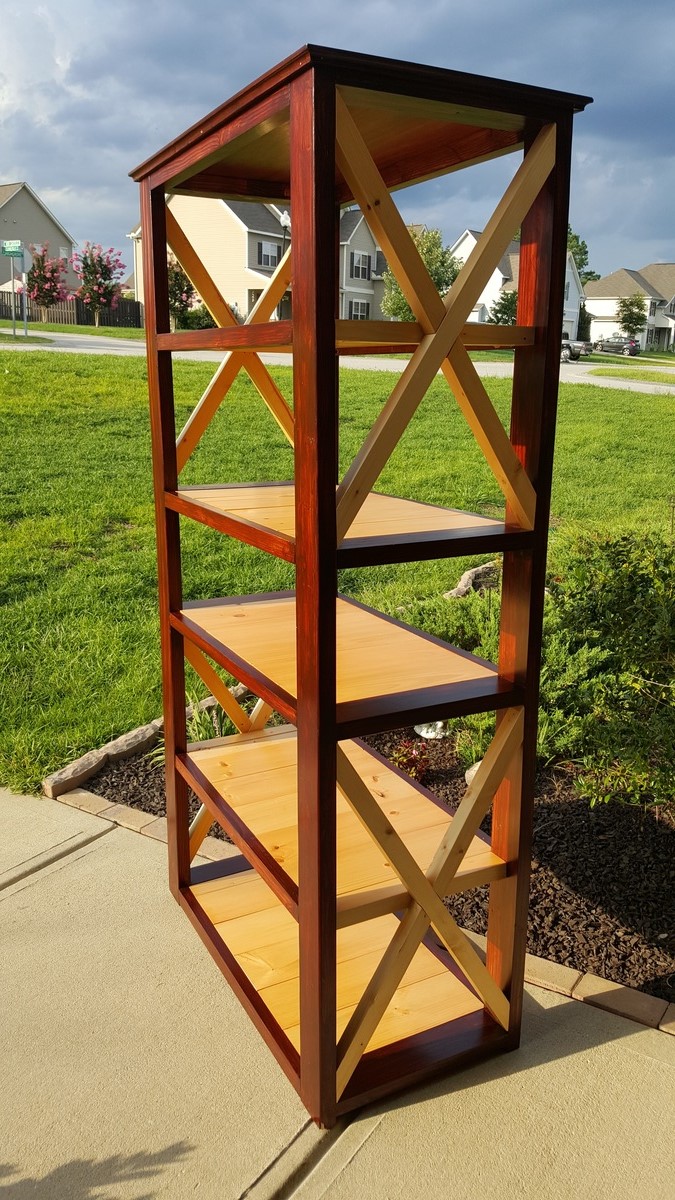
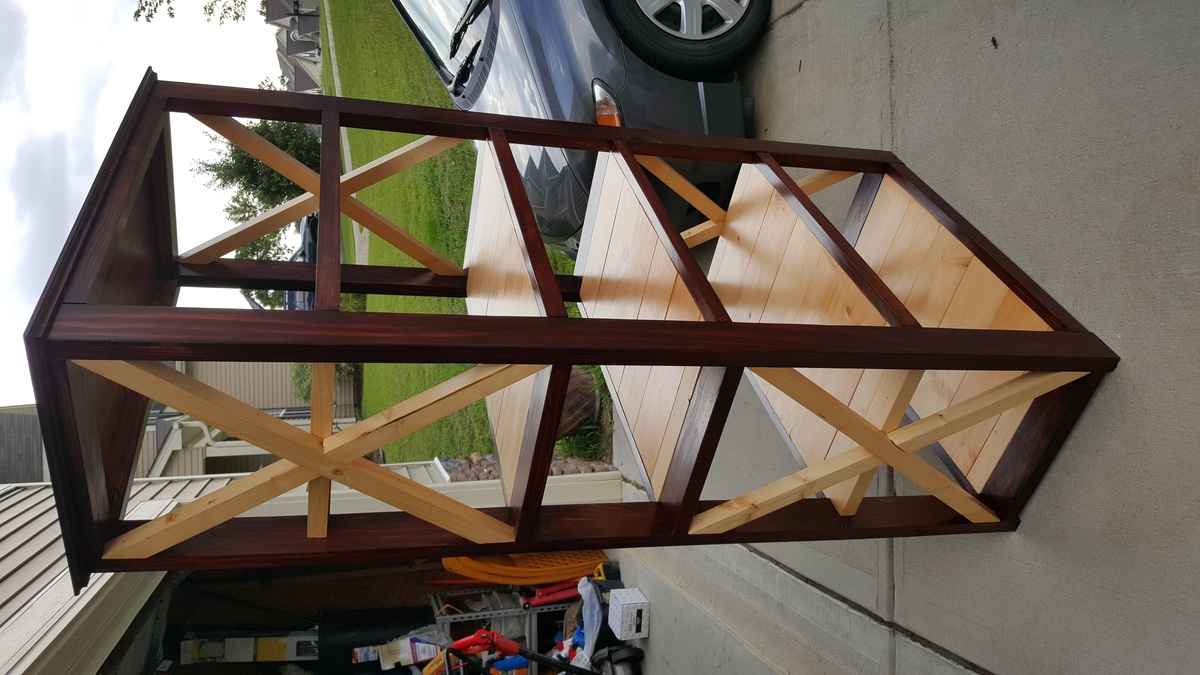
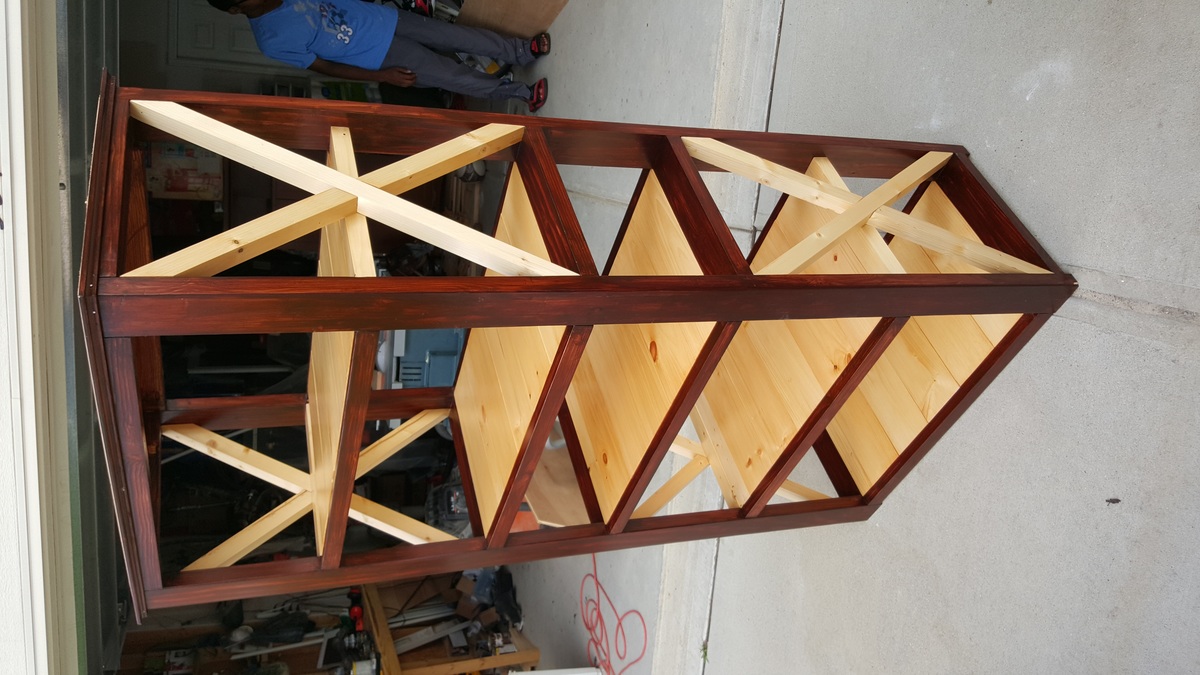
X-Book Case

Submitted by veiglcc on Sun, 07/24/2016 - 14:09

I made this book case  for my daughter to replace an existing book case.  I the design is a little different from what I found. 

Estimated Cost
Estimated Cost includes wood stain and lacquer $120. It could be a little cheaper ($30) it you use ply wood for the shelf.
Estimated Time Investment
Weekend Project (10-20 Hours)
Finish Used
Wood stain (gel) and lacquer as the protective finish.
Recommended Skill Level
Intermediate

Cabana turned Galmper

Submitted by JeannaF on Wed, 06/17/2020 - 19:16

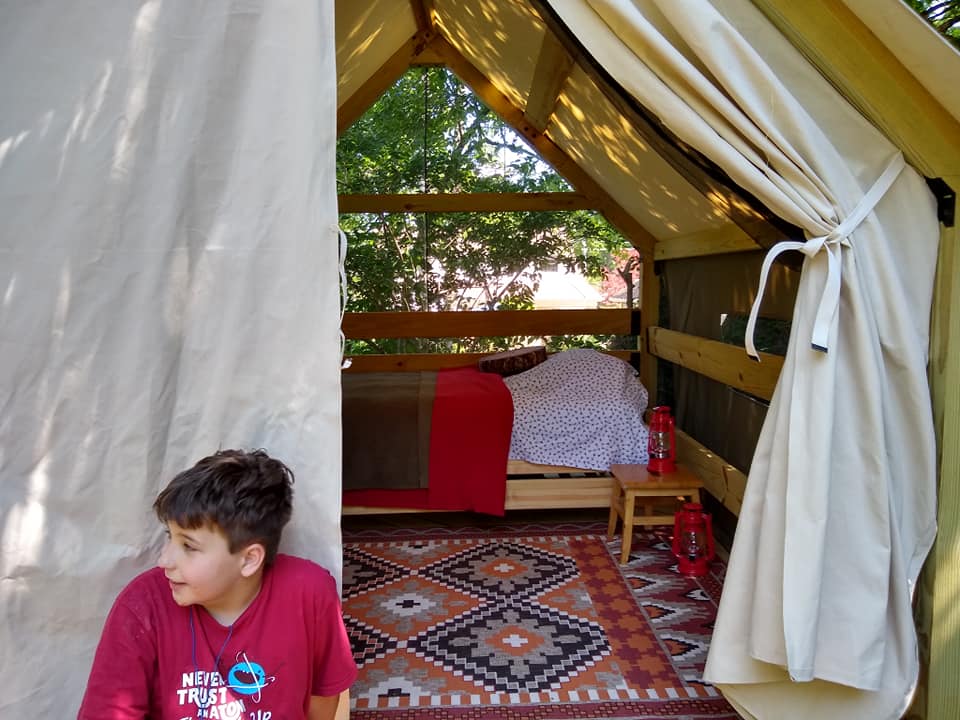
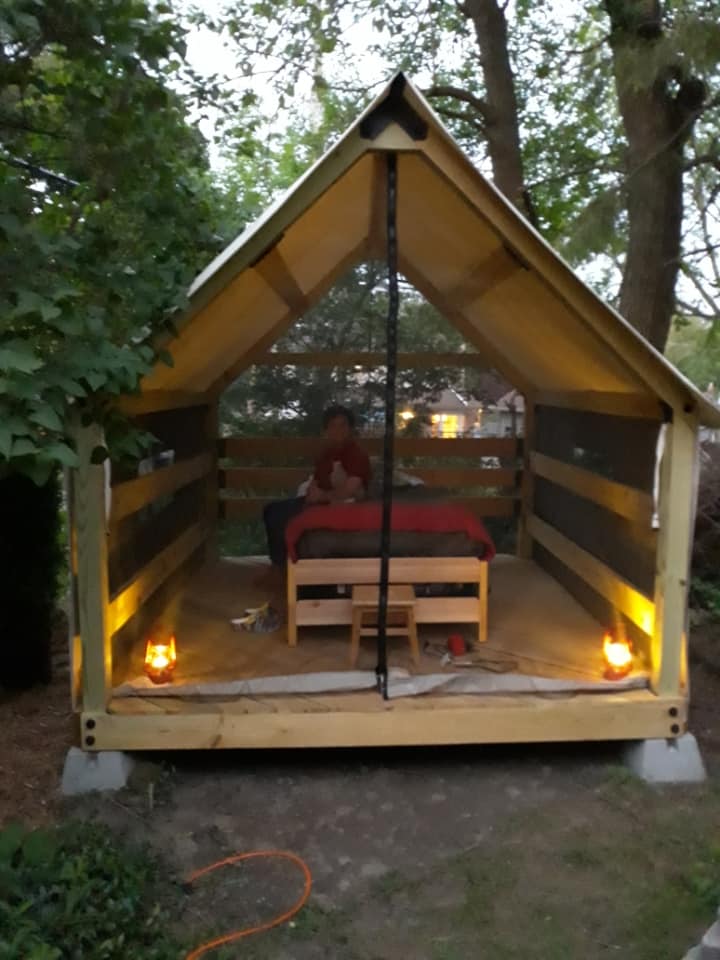
I stumbled across the Cabana design and just fell in love.
Once I decided I was making in tough, I needed to customize it a bit to meet our needs.
1. Needed to be able to sleep in it (so Mosquito proof)
2. If I am sleeping in it I want
a. Privacy
b. Possible rain protection ( I like a dry bed)
3.Need to be able to have a guest

So, We made it a bit larger 9x10
Added screens all around and under floor boards, Zipper entrance in front.
Made Canvas side panels (attach with velcro)
Made front and back canvas panels/doorways.
Chose two stacking twin beds that can be snapped together for a couple or left apart for two guests.

Just for fun, we used timber framing ties (Simpson Strong) instead of the joist hangers and end caps...this gives is big beefy bolt heads and black metal straps across the beams. They do the same thing but give it a more rugged look.

My 12 year old has slept in it for two weeks already and plans to not come in until the snows come this winter!

Thanks so much for the great inspiration and general plan to get us started.

Built from Plan(s)
Estimated Cost
$300 for all the Tent Canvas and about $500 in other materials.
Estimated Time Investment
Week Long Project (20 Hours or More)
Finish Used
Canvas
Recommended Skill Level
Advanced

Laundry Pedestal

Submitted by Kamoanui on Tue, 06/30/2020 - 09:42

This was quick build. First time for us using trim, so we wasted a few feet getting the angles right. We attached the legs directly to the frame, and did not use the metal brackets. We also did not build the floor frame. We measured how high/wide the laundry baskets ($3/piece at Target!) were, and made it to fit them. We added a piece of rubber mat to the top (bought at Lowe's). A few weeks later we helped our daughter and son in law build one for their new house!

Estimated Cost
$40
Estimated Time Investment
Afternoon Project (3-6 Hours)
Finish Used
White satin paint
Recommended Skill Level
Beginner

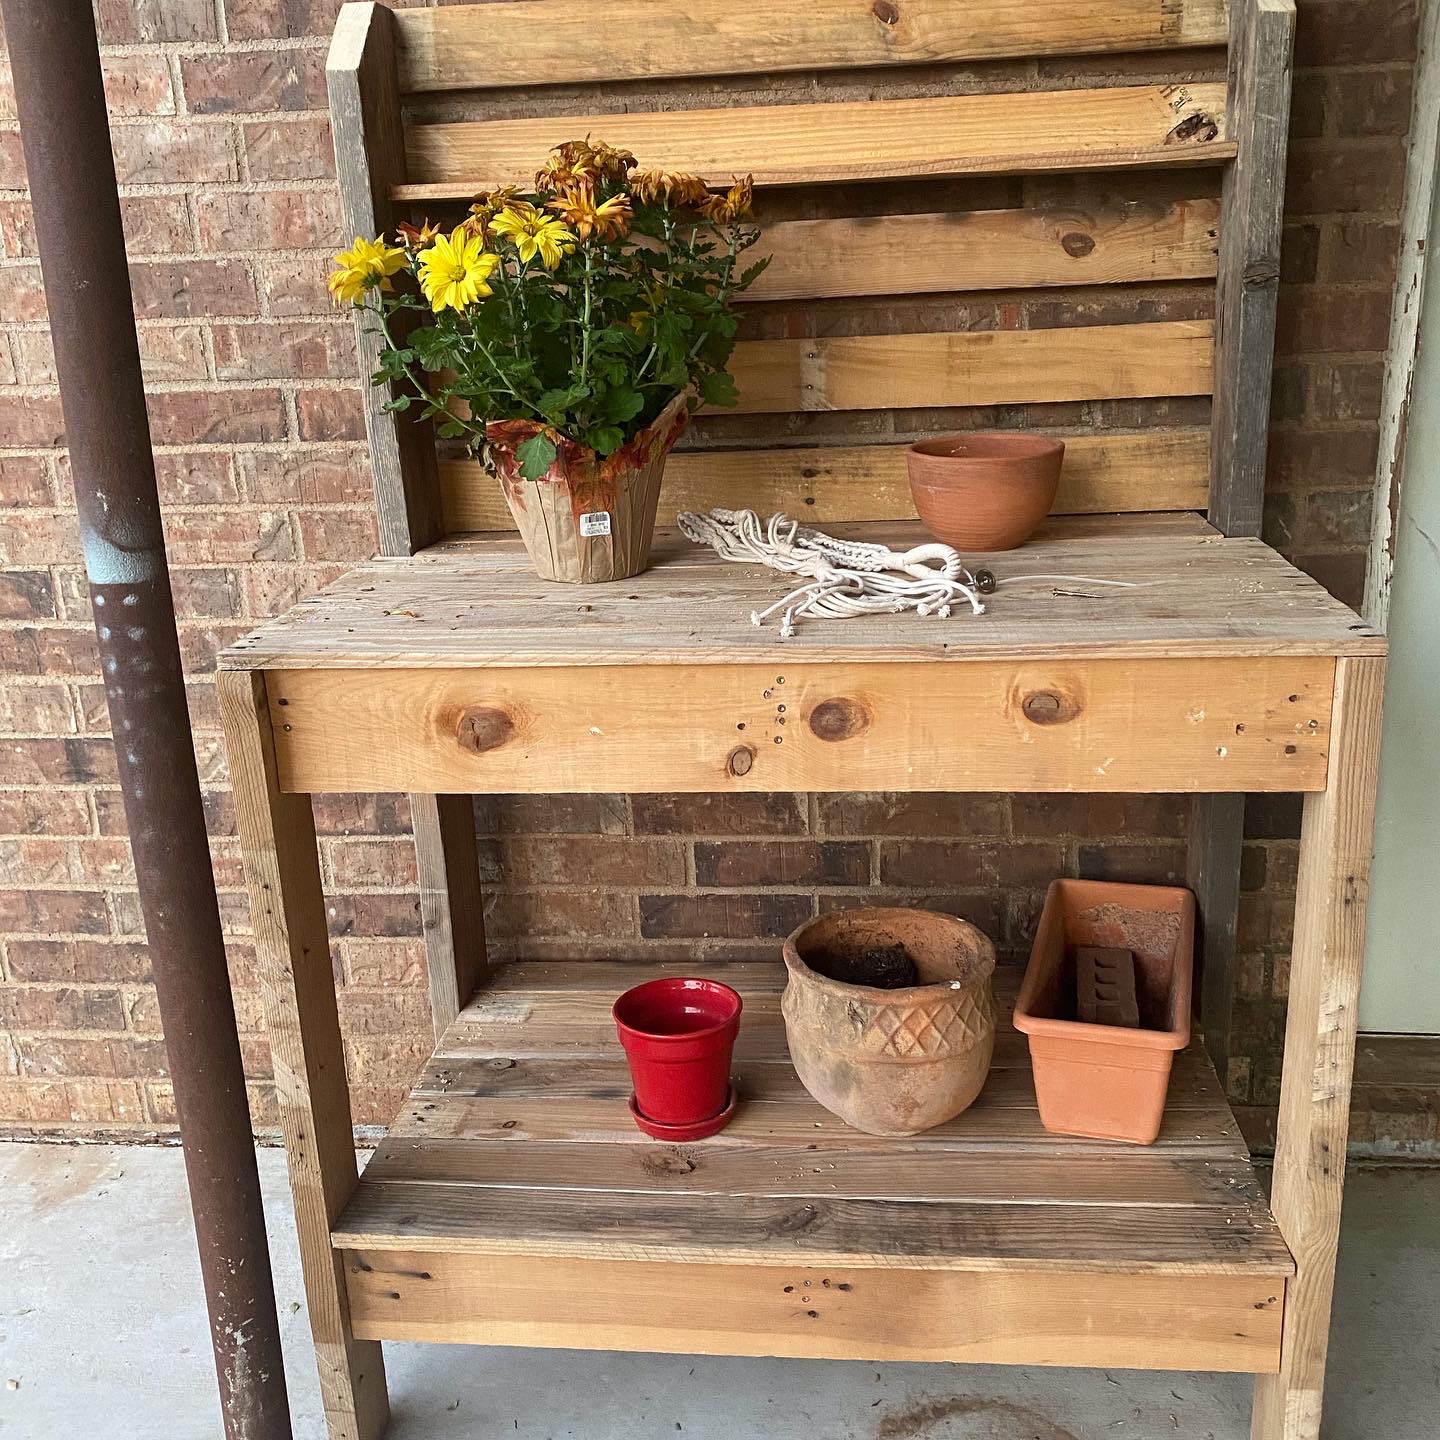
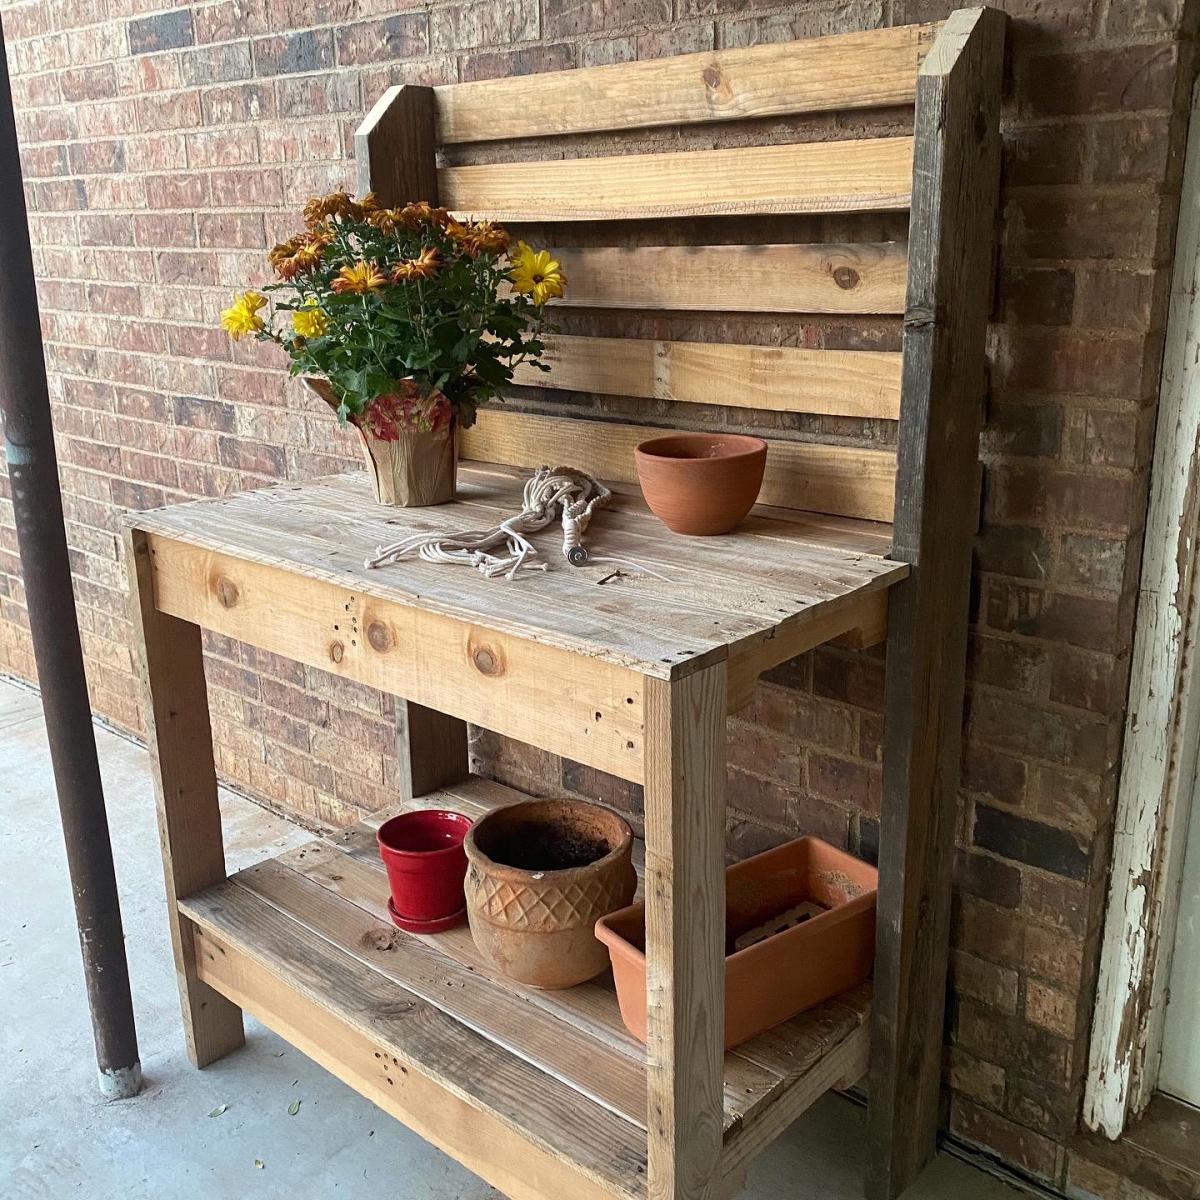
Pallet wood potting bench.

Submitted by Anonymous (not verified) on Sun, 10/04/2020 - 19:34

Thank you Ana for the great plans! We adapted the project for wood we had on hand. It is only 40 inches wide instead of 42”. Our widest pallet board was only 40”.
Thank you for continuing to inspire us! We made two couches a couple of months ago. Great plans!

Estimated Cost
Box of screws!
Estimated Time Investment
Afternoon Project (3-6 Hours)
Finish Used
Potting bench.
Recommended Skill Level
Intermediate

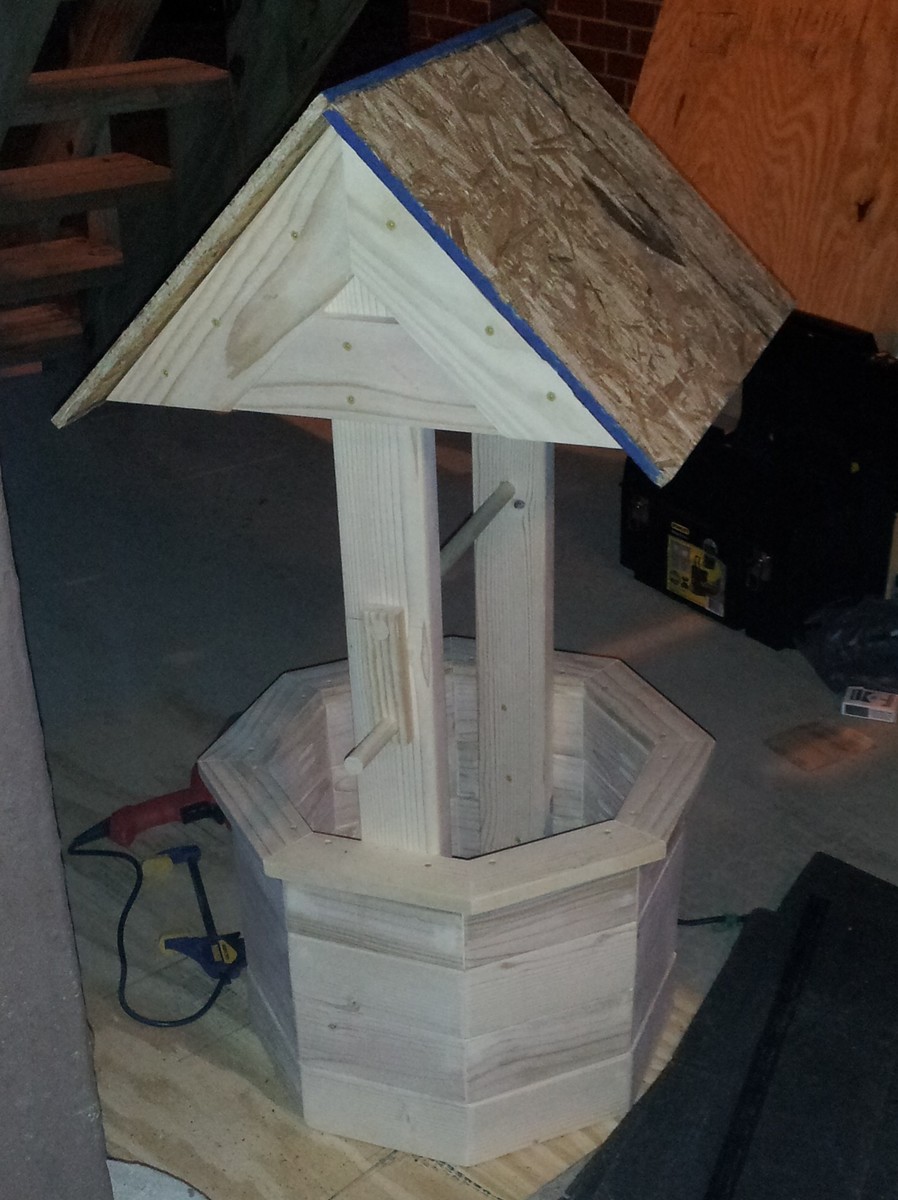
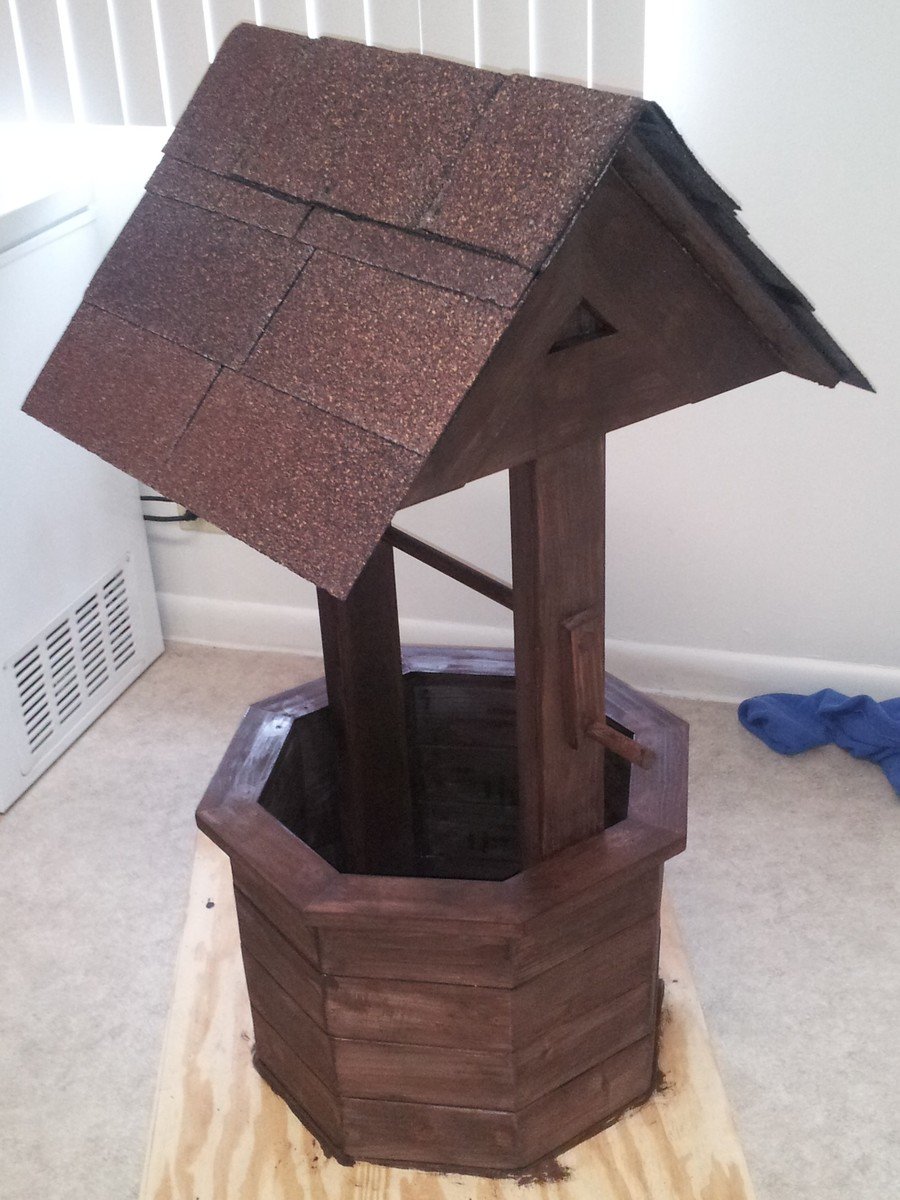
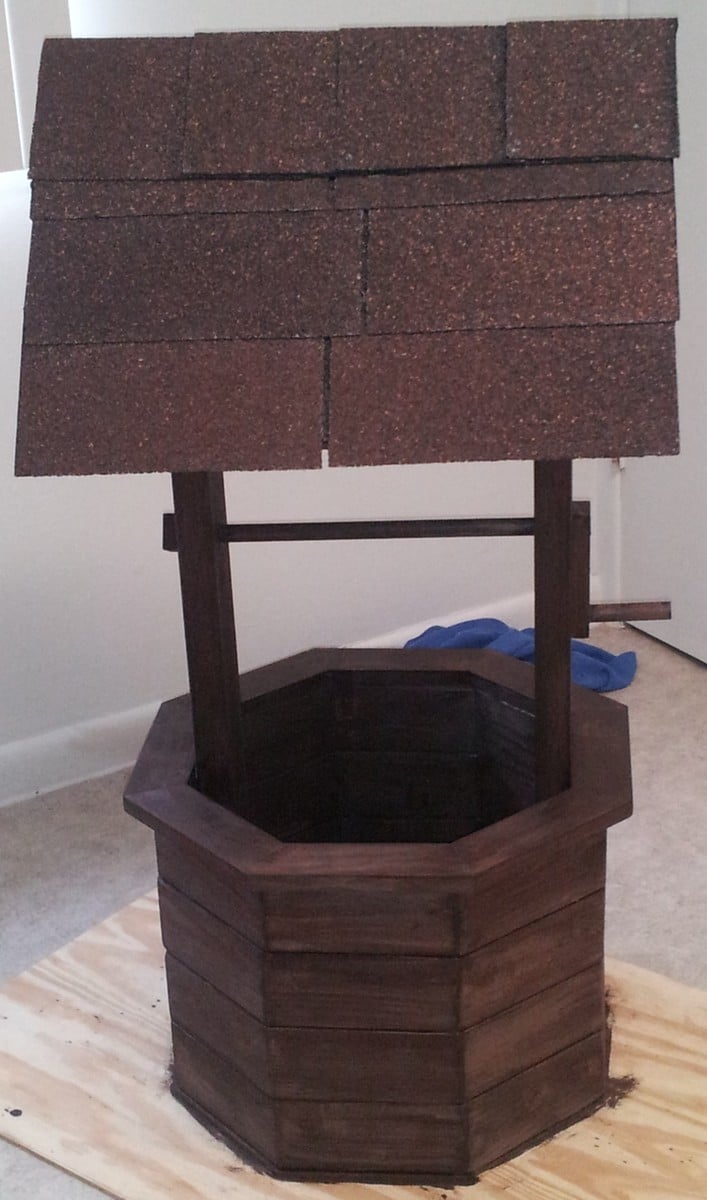
Wishing Well Planter

Submitted by RobKelly3 on Sat, 03/16/2013 - 16:57

This is a wishing well I made for my sister for her wedding. It will be used during the wedding for people to drop "wish you well" cards into and afterward she can use it as a planter in her yard.
I followed ideas from multiple plans here on Ana-White.com, but I didn't follow any specific plan. Mostly I followed tips and instructions for cutting angles, drilling pocket holes and some finishing tips. This is the first "big" project I've done and I"m quite proud of it.

With everything, it measures 44.5 inches high. The well measures 21 inches across and 15 inches high. The roof measures 22.75 inches by 23.75 inches.

I hope y'all like it. I worked hard on this! :)

Thank you, Ana and everyone who contributes to this site. It's been so much fun and I've got lots of ideas for more stuff. If I was any good at all at Google Sketchup I'd put up the plans but I'm not. If anyone could help me with that, that would great. :)

Have a great day!

Estimated Cost
about $100
Estimated Time Investment
Weekend Project (10-20 Hours)
Finish Used
Olympic Maximum Stain and Sealant in One, Semi-Transparent, in Oxford Brown. Use 2inch stain brush. Used 100, 150, and 220 grit sandpaper before staining.
Recommended Skill Level
Intermediate

Comments

bellows86

Mon, 07/21/2014 - 20:04

Anyway you can please tell me the angle for the boards ont the walls. I reallly like your well, and would like to build this for my wife but im not sure on what angles to use thank you

Shanty Sideboard

Submitted by Anonymous (not verified) on Sat, 07/17/2021 - 04:47

Wife fell in love with these plans from Ana White. Took longer than I want to admit to finish, but looks amazing! Thank you for the plans Ana!

This was my first major project for my wife with a set of new tools to start into woodworking.

Built from Plan(s)
Estimated Cost
Around $200 in lumbar and hardware
$500 or so in tools and mistakes learned along the way!
Estimated Time Investment
Week Long Project (20 Hours or More)
Finish Used
Valspar ultra white
Minwax Jacobean (three coats)
Minwax clear semi gloss polyurethane (three coats)
Recommended Skill Level
Intermediate

Comments

2x4 Entryway System

Submitted by Anonymous (not verified) on Tue, 01/25/2022 - 14:31

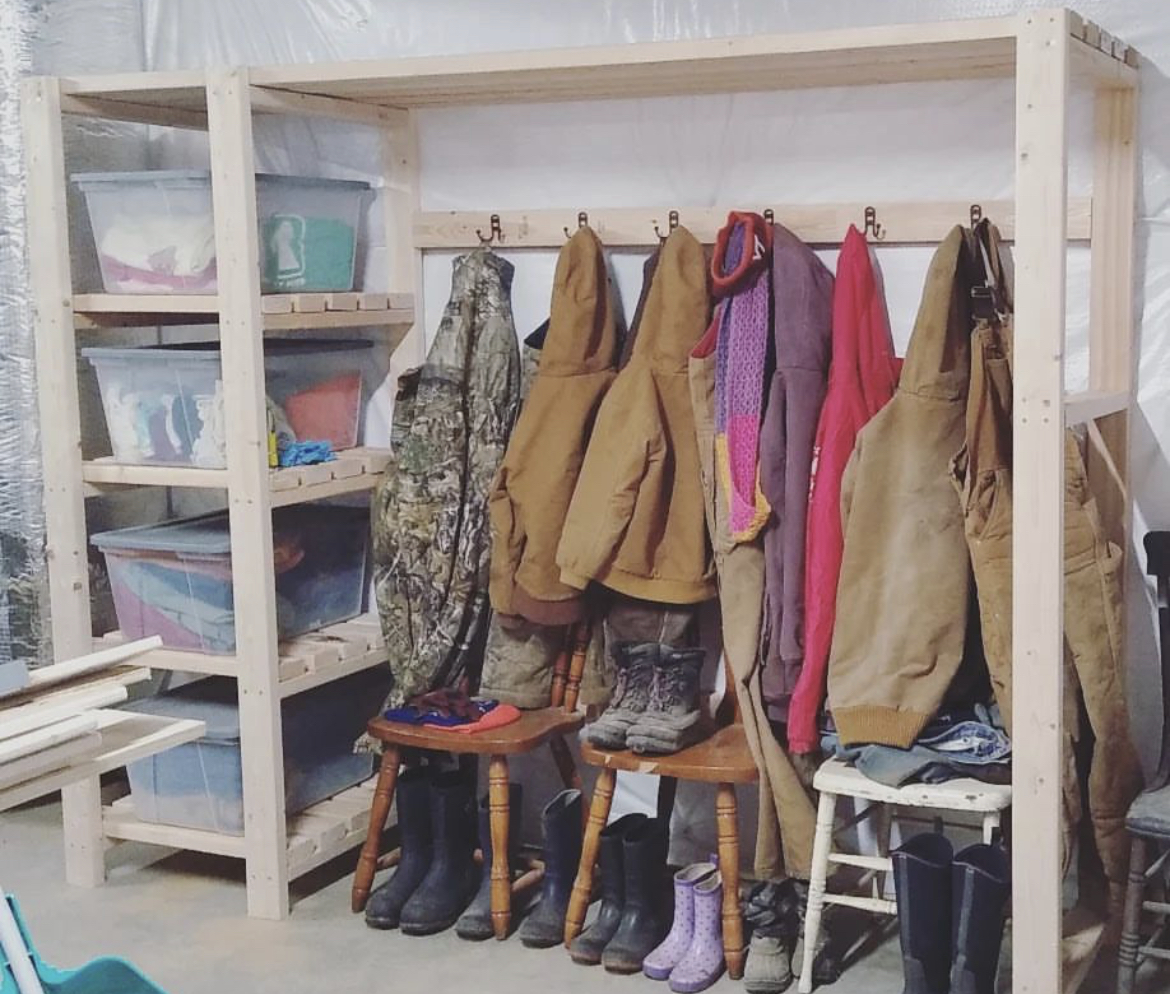
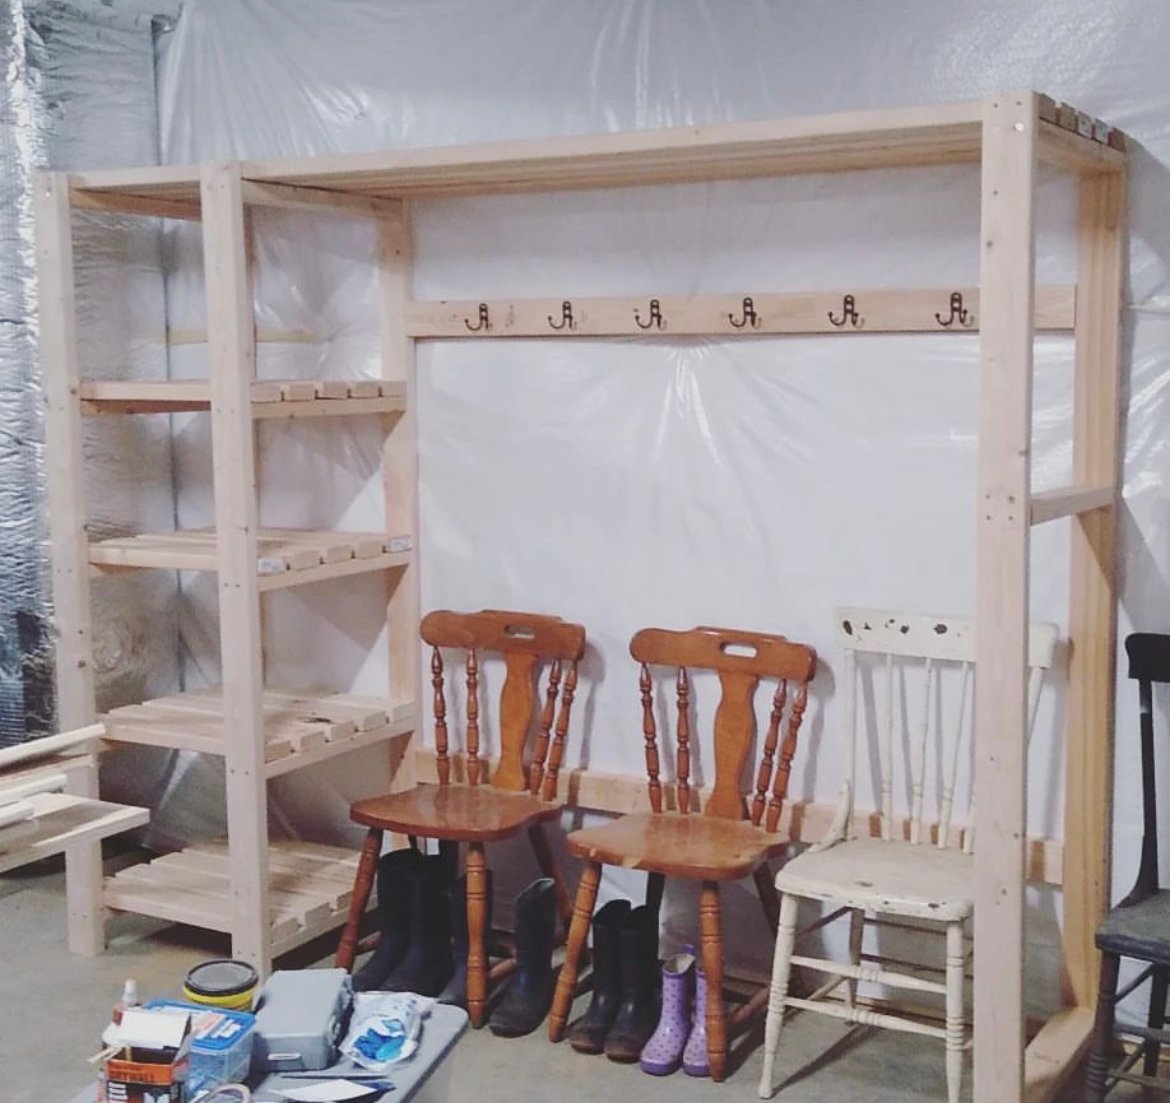
Freestanding closet shelving modified to make a mudroom!! More details in link below. 

Comments

Play Kitchen

Submitted by carlynoel on Tue, 08/20/2013 - 16:50

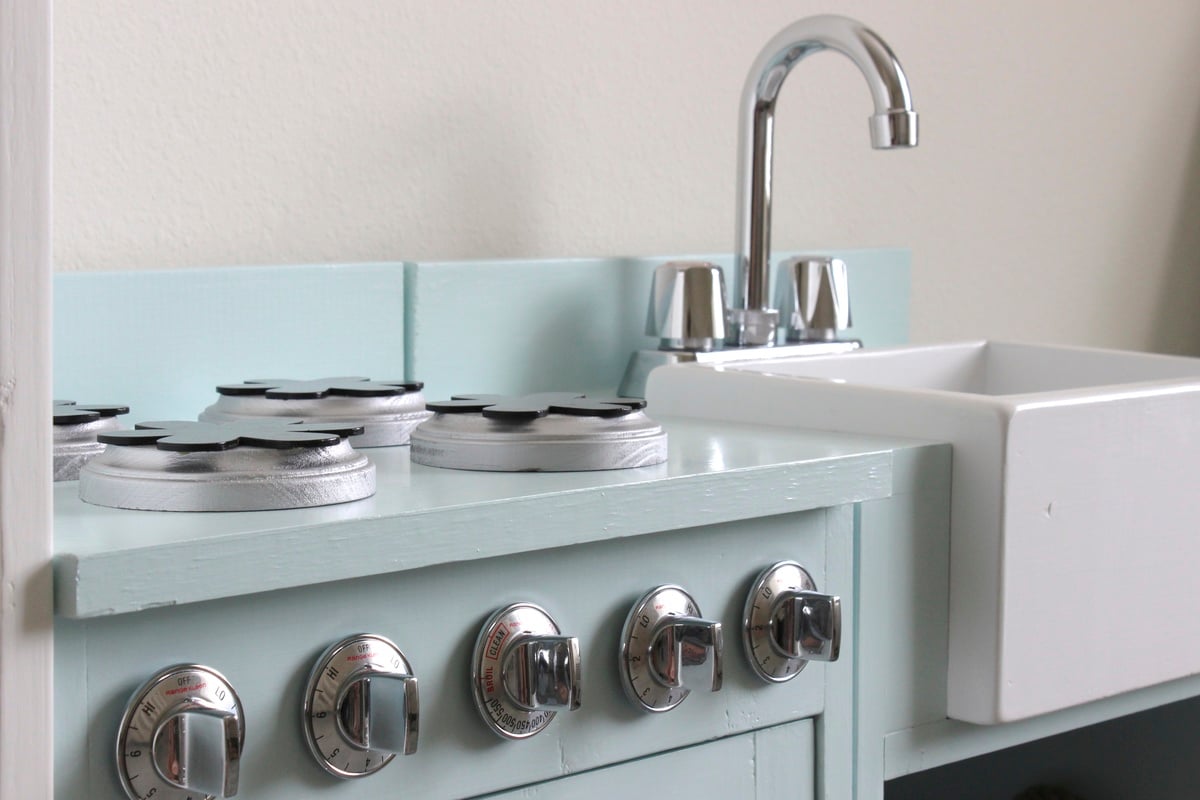
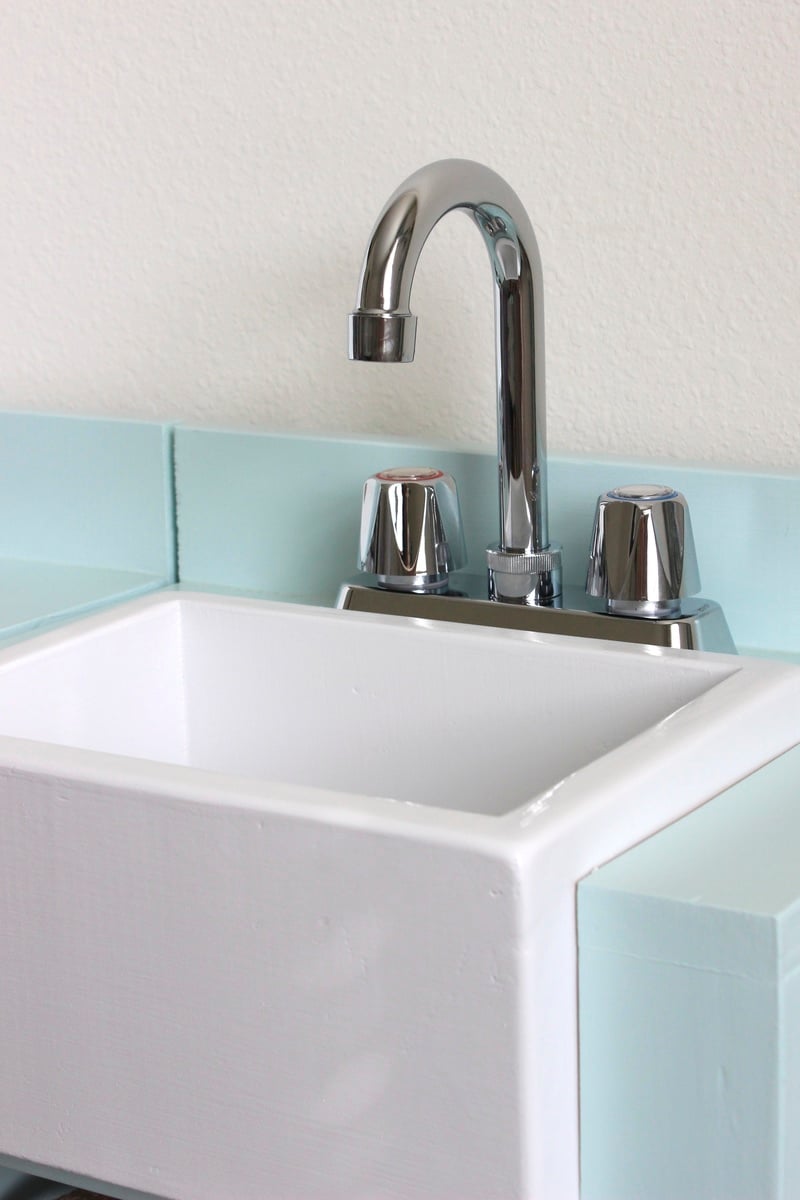
This was so fun. My little girl loves it and we have another on the way, so I am thrilled with how it turned out. The assembly wasn't hard, but it took FOUR coats of paint and three coats of finish. That was the most tedious part. I made a box for the apron sink, rounded off the edges, sprayed it with a white lacquer, and modified the countertop so it fit in nice and snug. It's my favorite part. I love that it tied in the white fridge. It ended up costing me 130 bucks. 50 in wood, 35 in paint/supplies, 45 in handles, knobs, faucet, hinges, stovetop etc.

COUNTERTOP AND SINK MODIFICATION:
I hope this isn't too confusing. It's hard when you can't see it, so don't hesitate to email for clarifications.

Countertop
(2) 1x3 @ 10 ½” (these boards go on either side of the sink when looking from above)

(1) 1x4 @ 11“ (this is the board the faucet sits on)

Put the backsplash on the same way the original plans say.

Sink box
11” wide, 8” deep, 5.5“ high (Using all 1x6 boards)

(2) 1x6 @ 11” (front and back)

(2) 1x6 @ 6.5” (left and right sides, on the inside of the 11" boards)

6.5x9.5 inside bottom (cut down whatever board you need to to get this size. This should fit snuggly inside the walls of the box)

Because a 1x6 is really 5.5 inches wide, and the countertop is 3/4" thick, and 3/4" of the sink sits above the countertop, that means 4” of the sink will be under the countertop. So looking at the sink from the front, you need (2) 1 ¾” wide x 4” long blocks of wood on either side of the front part of the sink. Then I just put a 1x12x14 1/2" shelf under the whole thing to hold it up. I built the sink box first and spray-painted it with a white lacquer, then I built the entire sink countertop and base, and then shoved the sink in last. It was a very tight squeeze so I didn't have to nail or glue it in or anything. About an inch of the sink should be sticking out of the front, and 3/4" should be sticking out the top.

Good luck!
Email me for questions!
[email protected]

Or visit my blog for details where I got all the accessories
carlyandjordan.blogspot.com/2013/08/play-kitchen.html
Estimated Time Investment
Week Long Project (20 Hours or More)
Finish Used
Behr Paint/Primer (color: Dreamy Cloud by Valspar) Minwax Satin Finish
Recommended Skill Level
Beginner

Laundry Tower

Submitted by Anonymous (not verified) on Thu, 02/07/2019 - 17:13

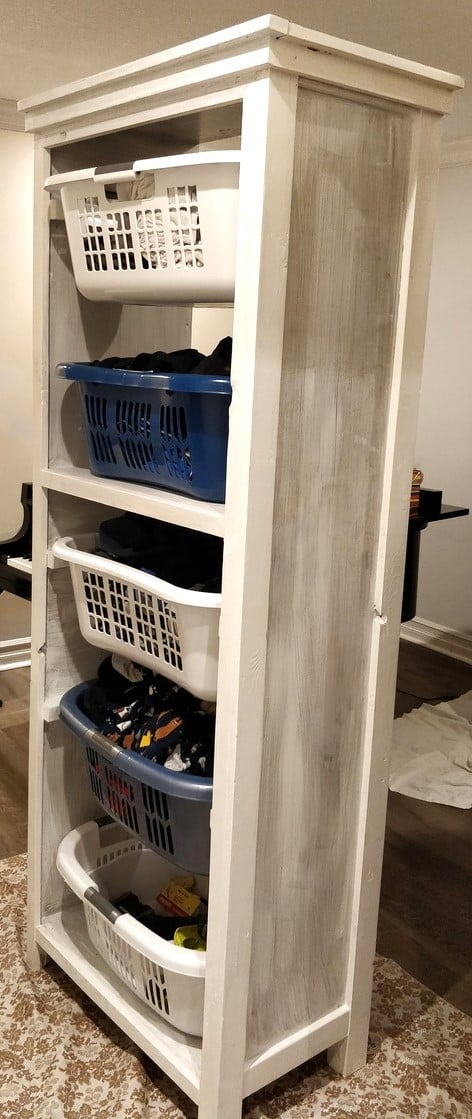
I modified the plans from the favorite Bookshelf to fit my laundry baskets. Once I'm done painting, this will be installed in my master closet. (Finally all the dirty laundry off the floor!)

Built from Plan(s)
Estimated Time Investment
Afternoon Project (3-6 Hours)
Recommended Skill Level
Beginner

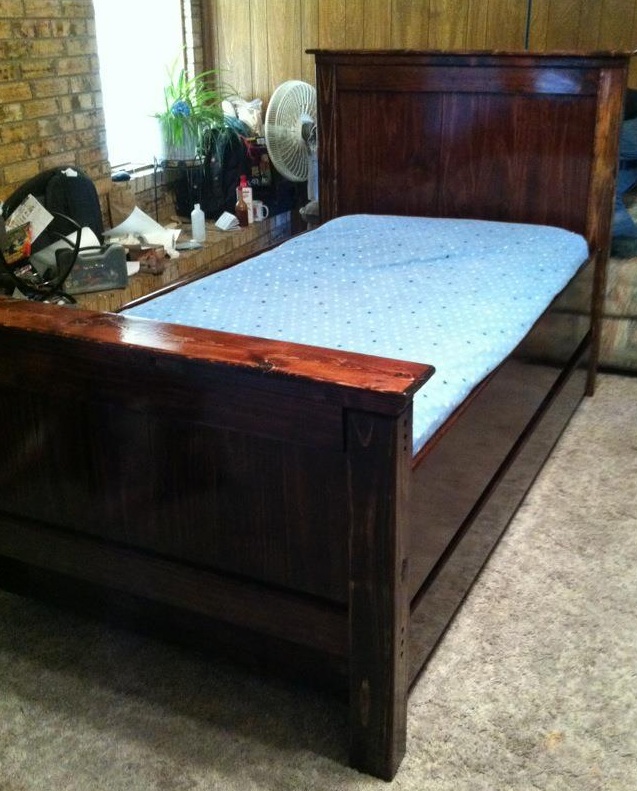
Twin farmhouse with trundle

Twin farmhouse bed with trundle. Slightly modified to make foot board a bit taller.

Estimated Cost
$350
Estimated Time Investment
Weekend Project (10-20 Hours)
Finish Used
Minwax Red Mahogany stain, with Minwax fast-drying polyurethane.
Recommended Skill Level
Beginner

Comments

staci (not verified)

Thu, 09/06/2012 - 19:19

I would love to get blue prints if u still have them please

Potting Bench with Sink

Submitted by Anonymous (not verified) on Sun, 05/19/2024 - 10:48

I used the basic 2x4 potting bench and made it a bit wider to have room for the sink. Had to make slight modifications -- put a 2x4 in the back to help support the half shelf on top. Found the sink at the restore for $15 have have been waiting to do this. Ana's plan was easy to follow and modify for my needs. Spent 88$ on lumber, nails, 15$ for the sink, plus about 40 $ for additional hardware for the sink. This sets beside my deck. I love it. Now I can was my hands outside and can't wait to rinse my veggies off when they produce.

Susan Chewning

Back