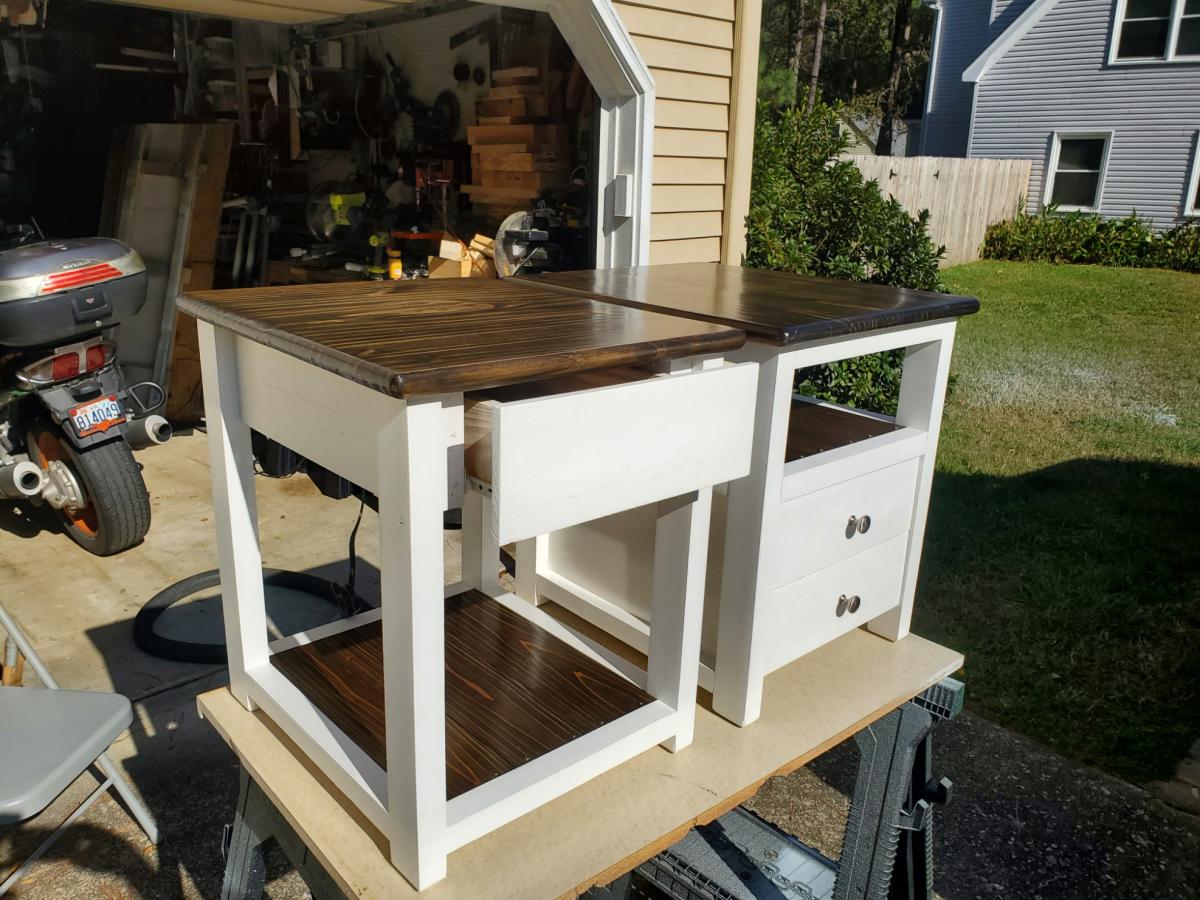
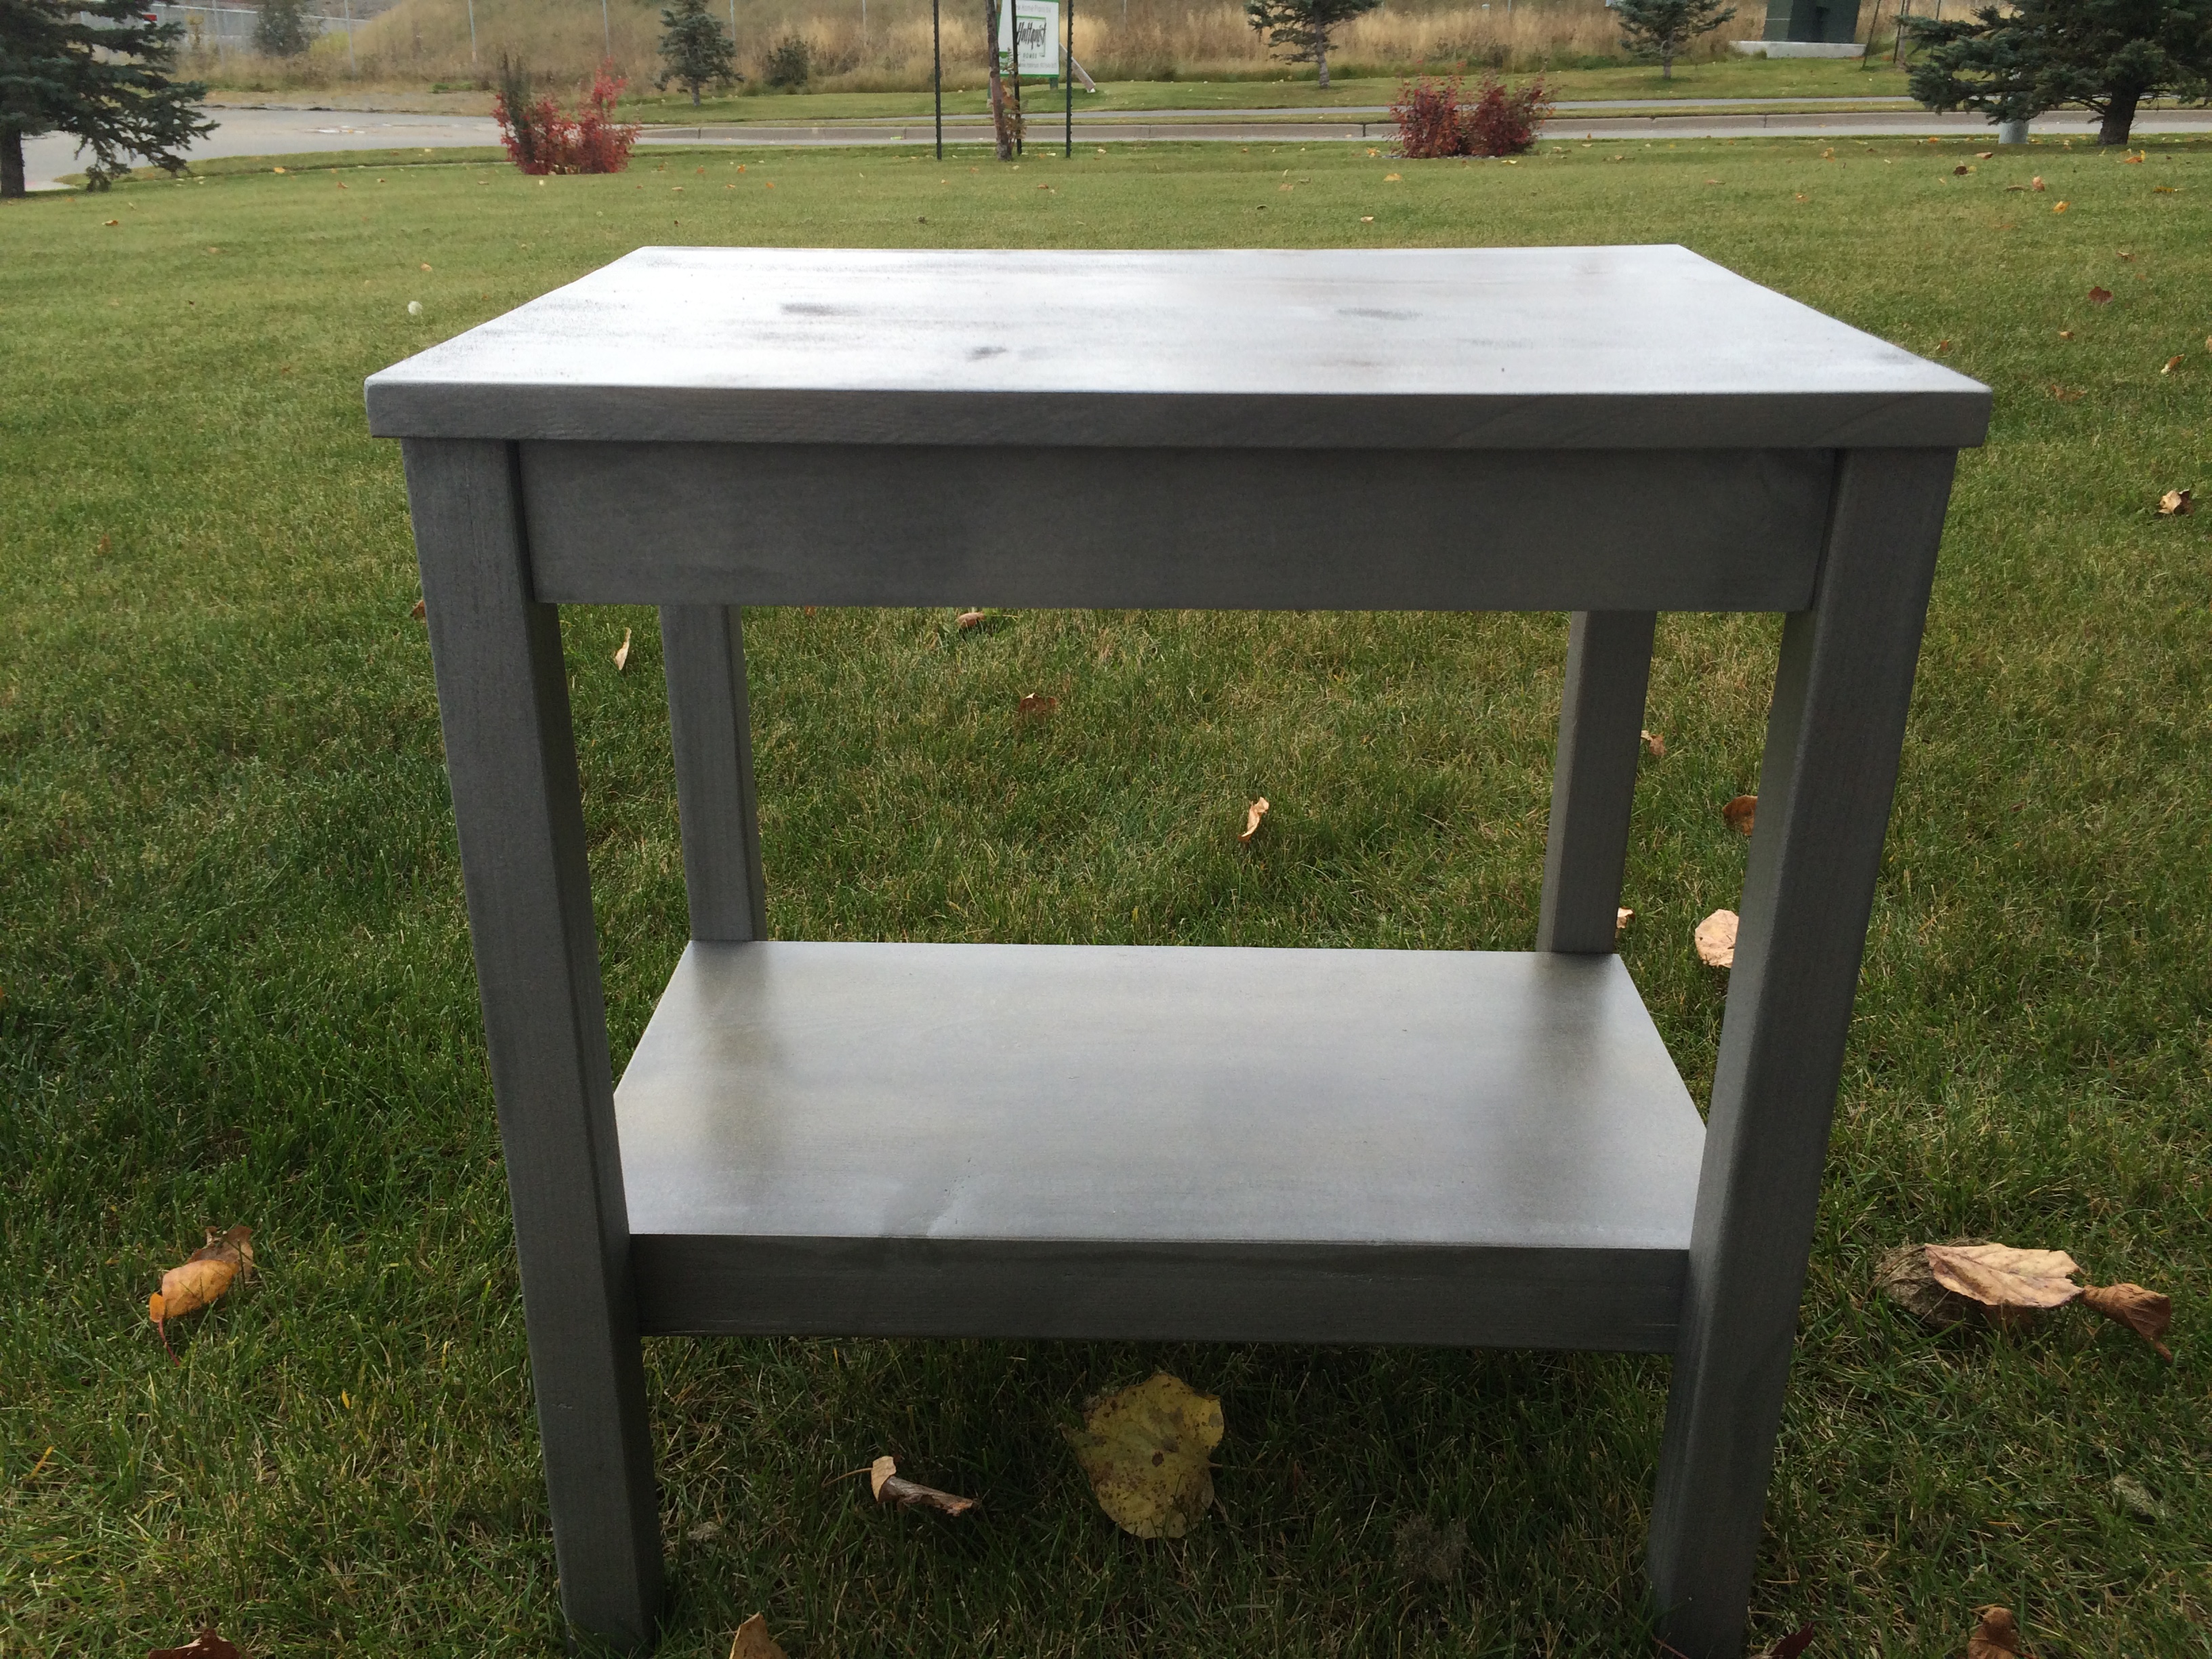
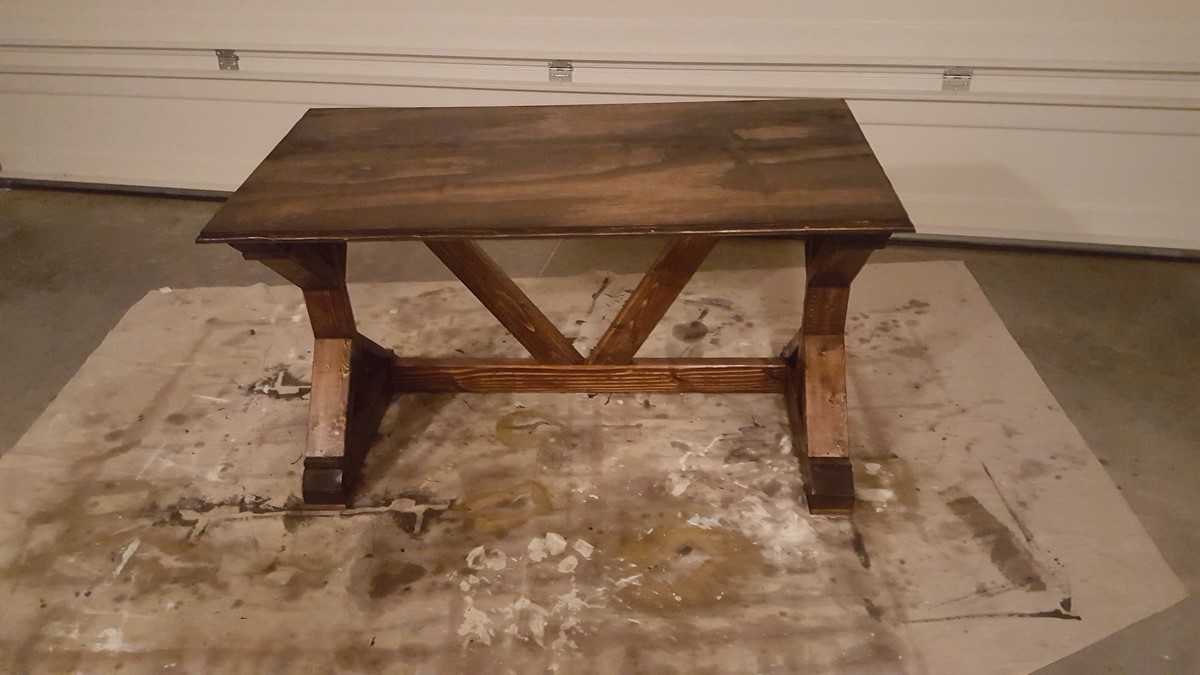
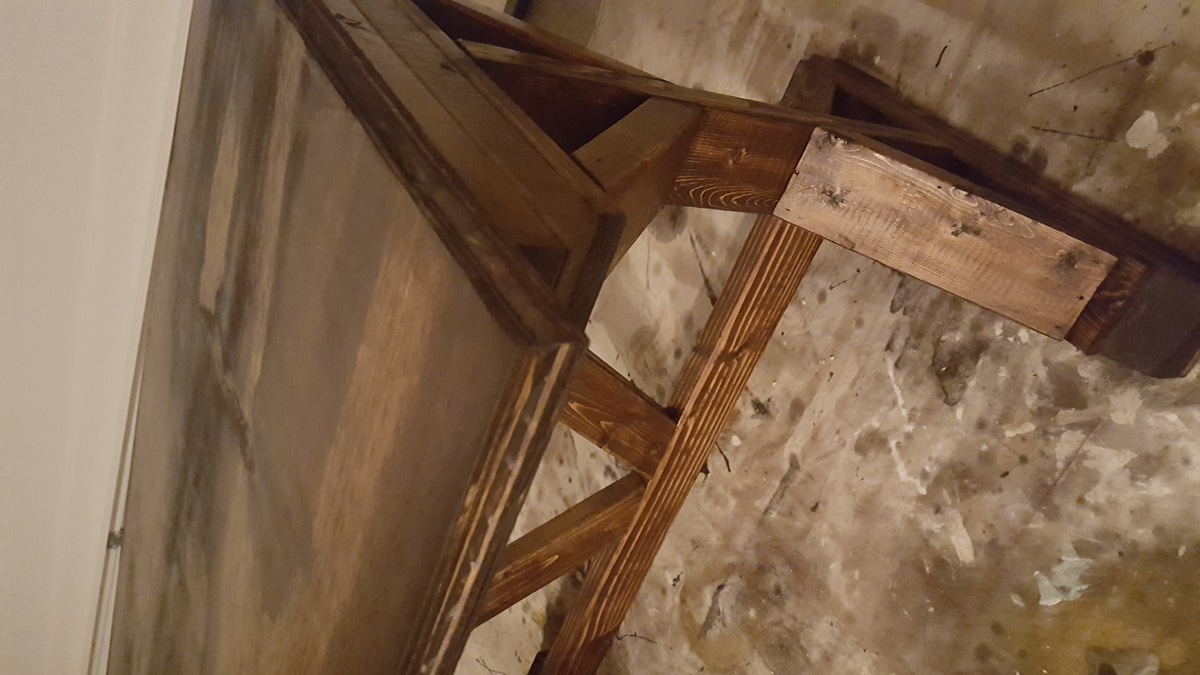
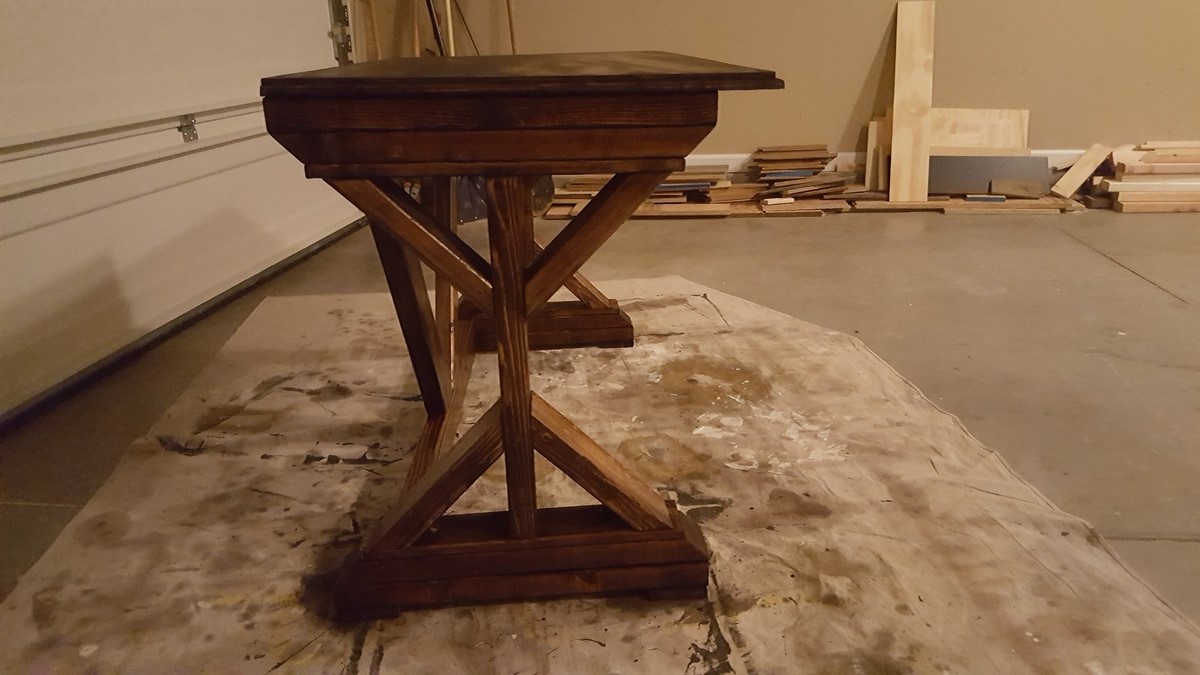
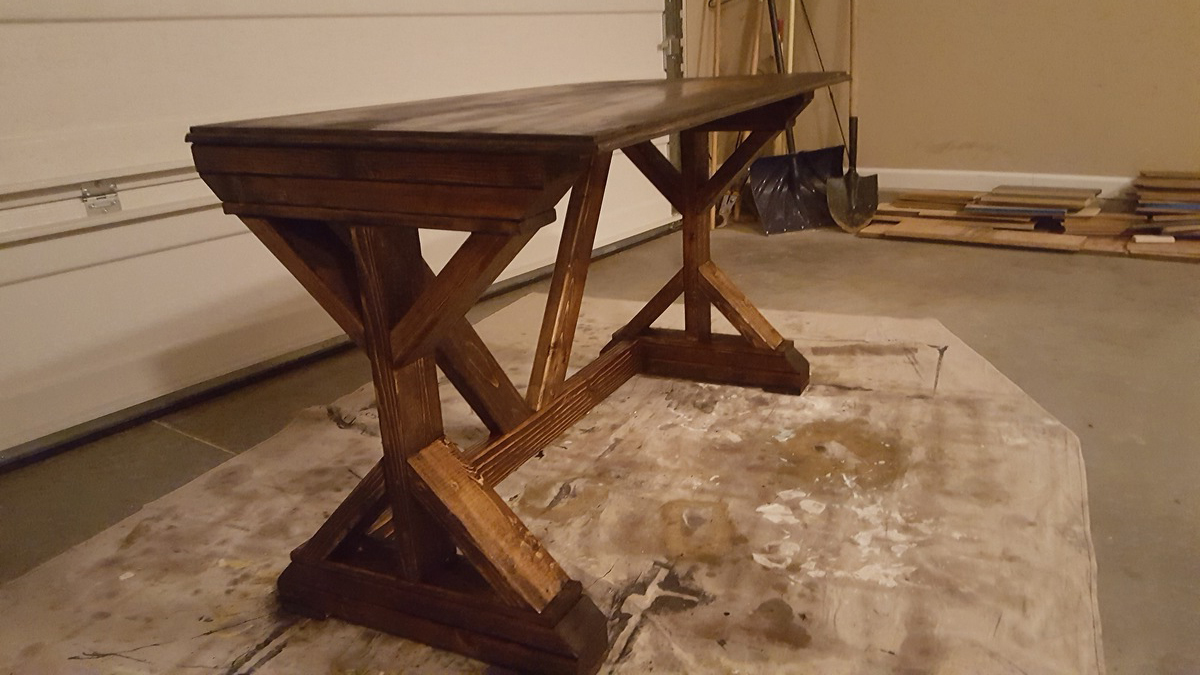
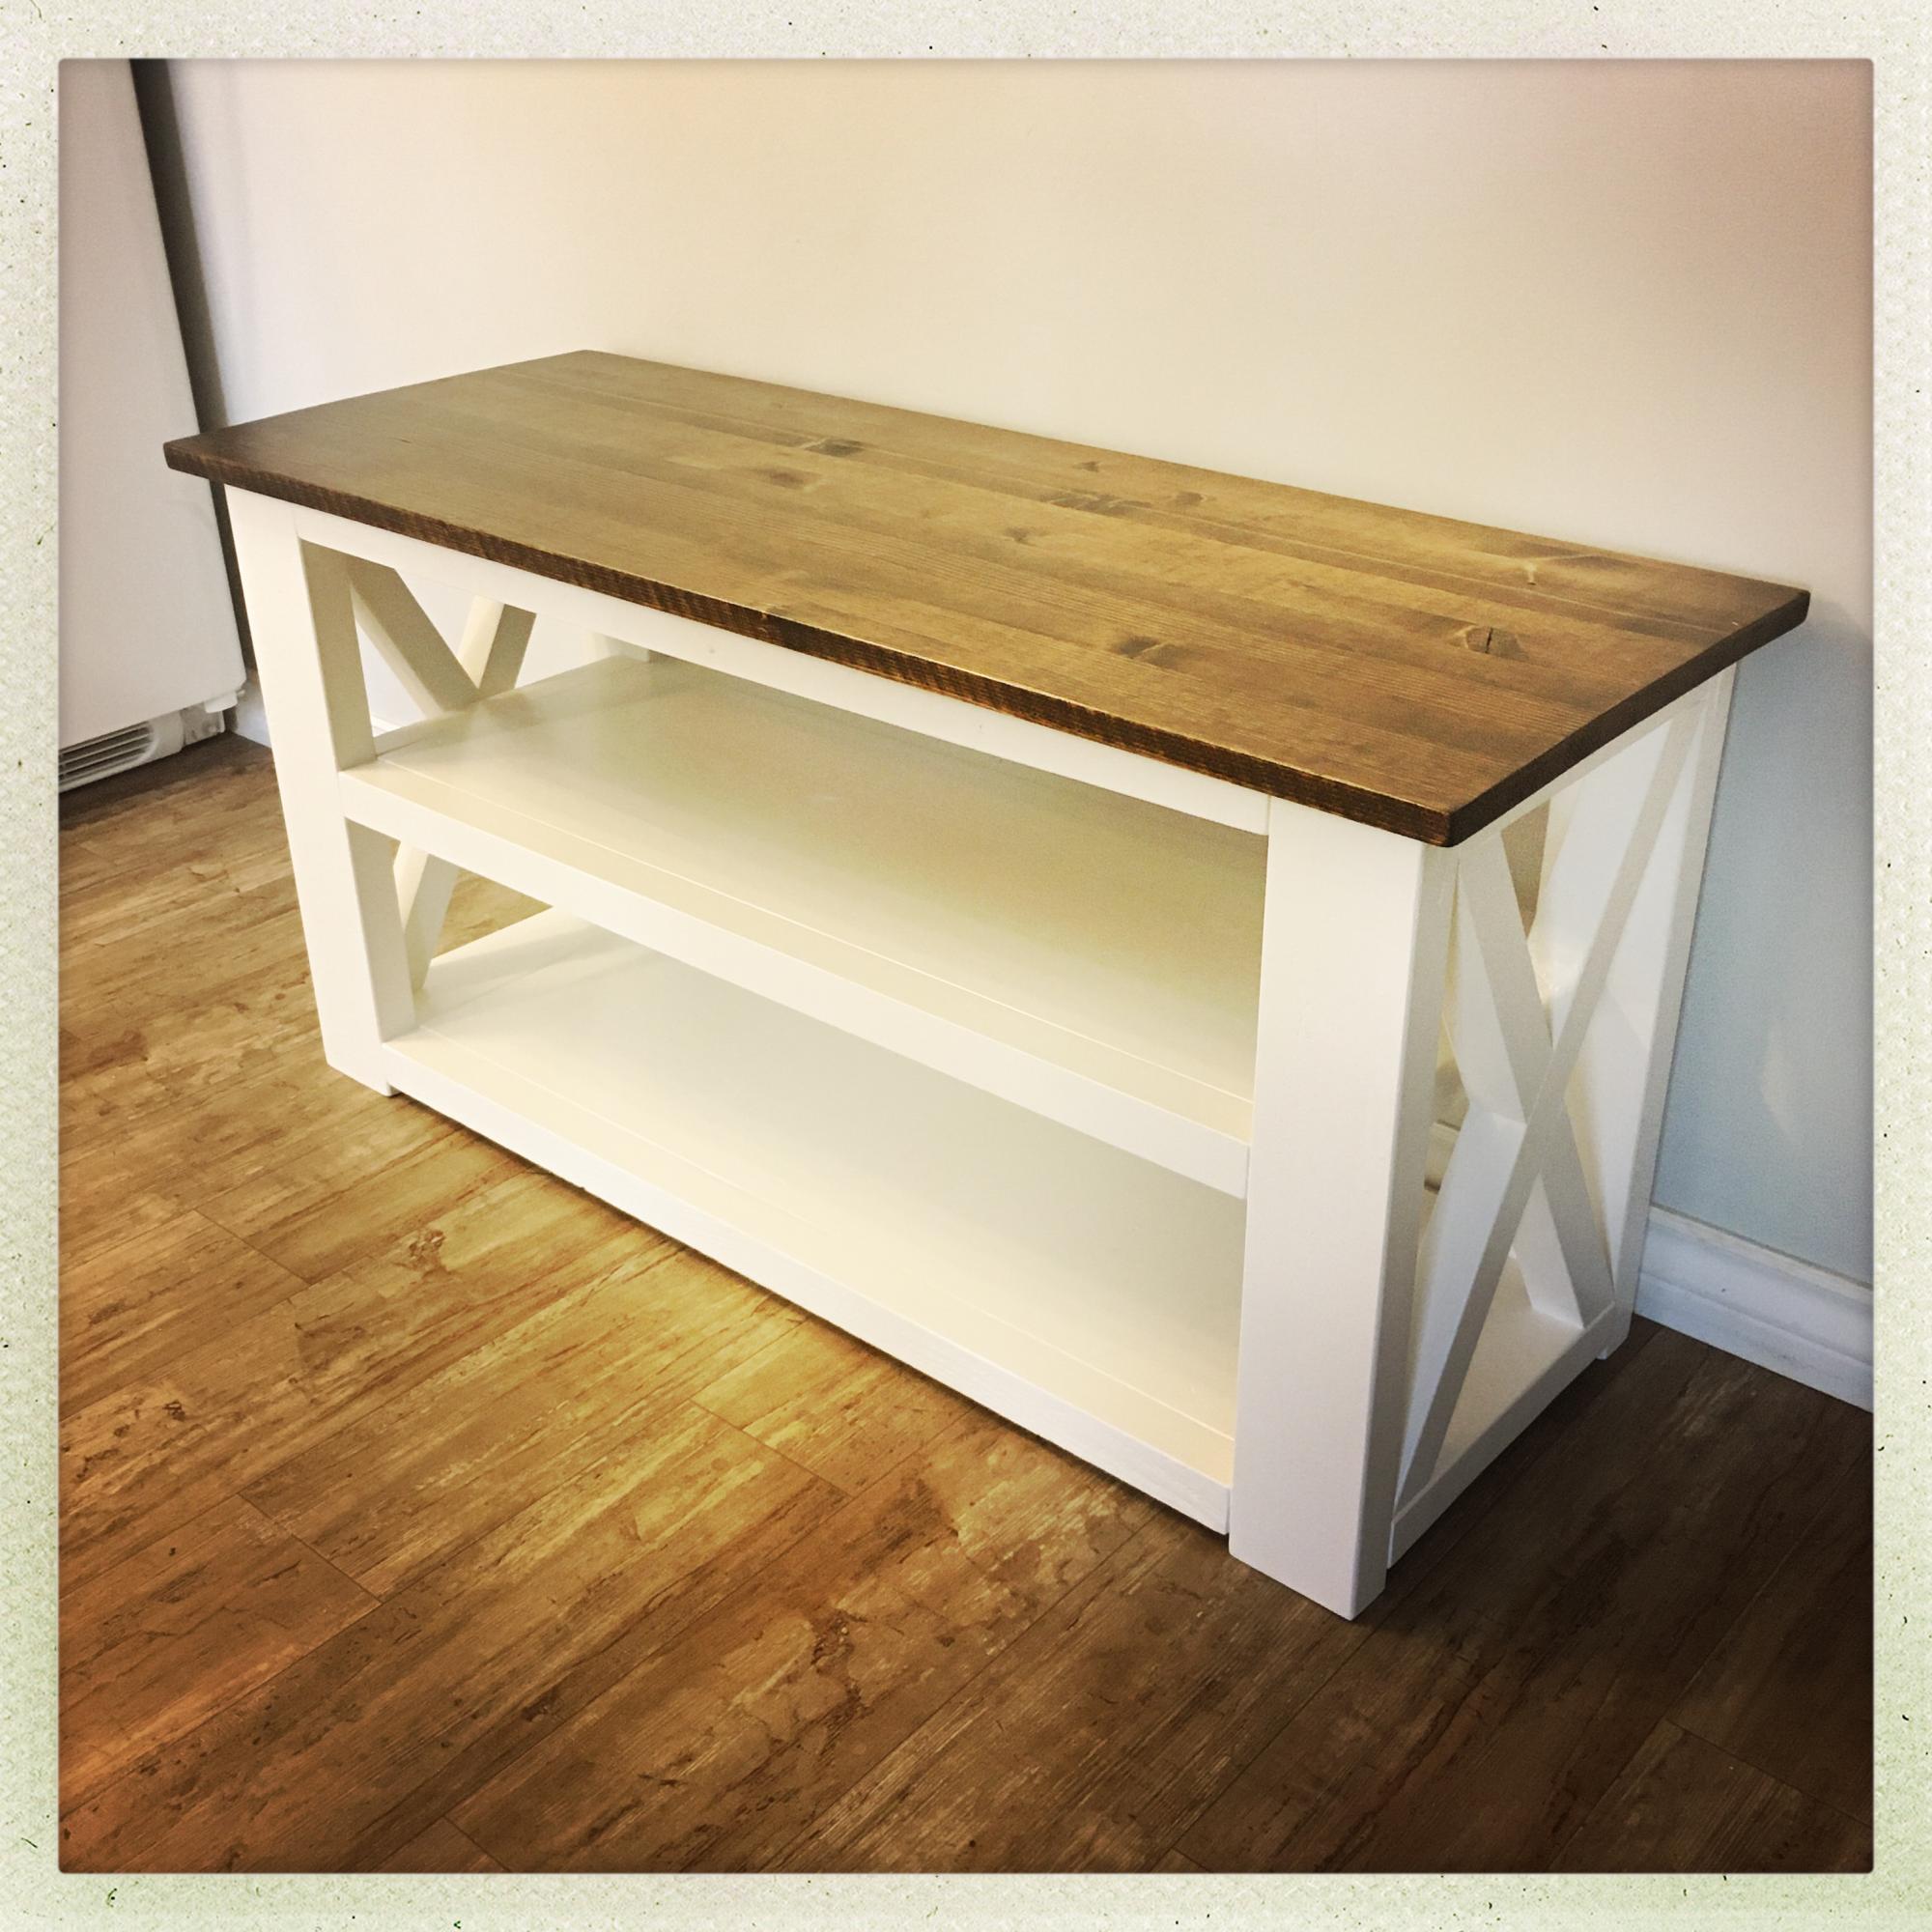
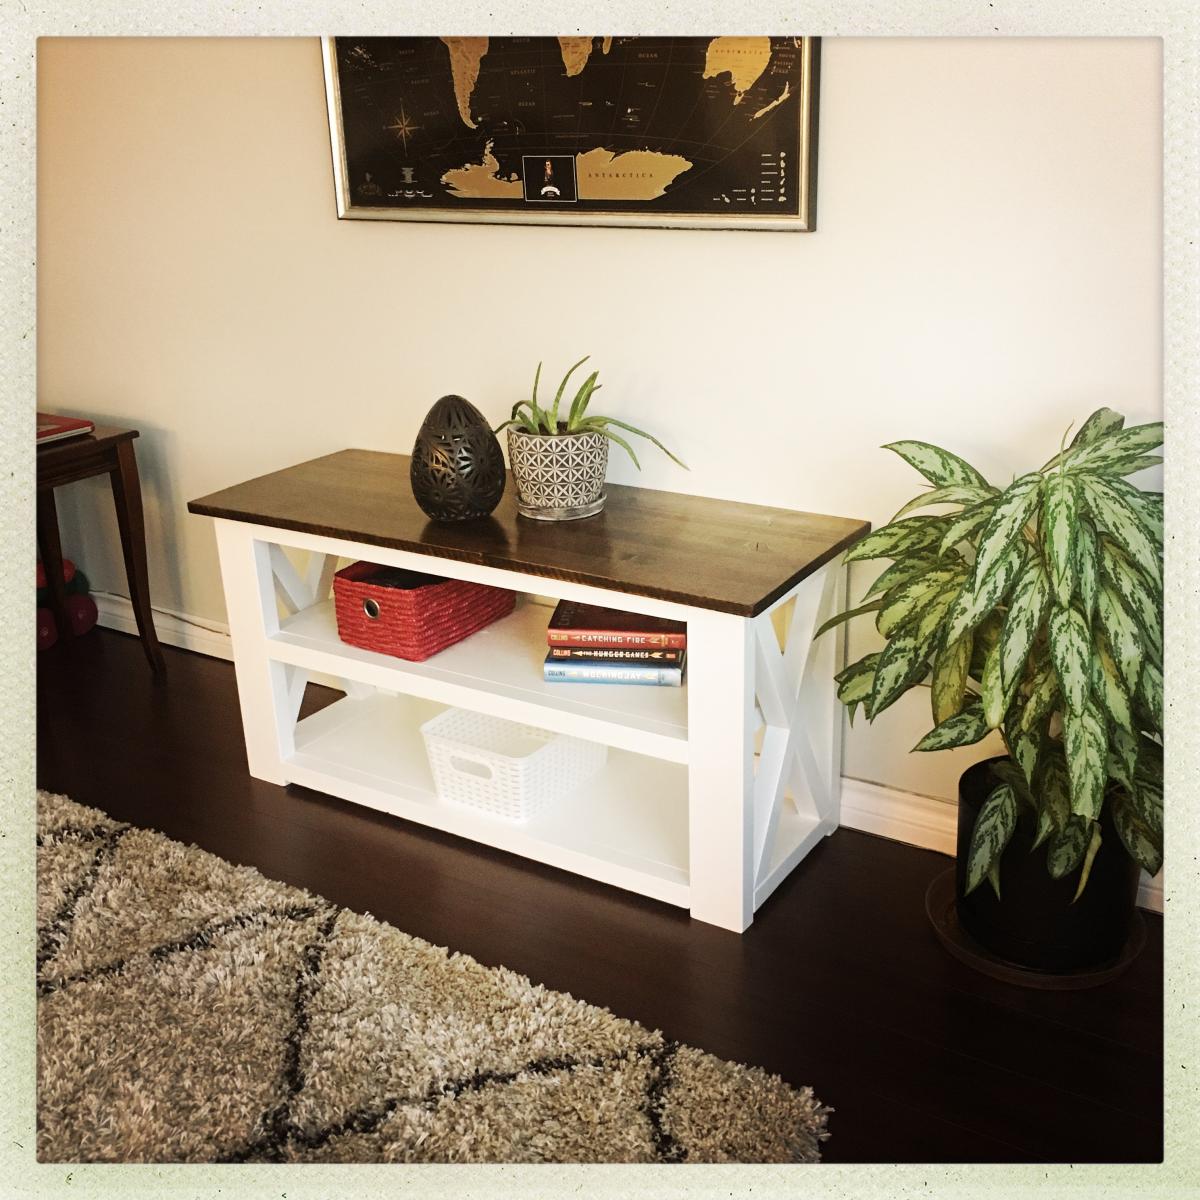
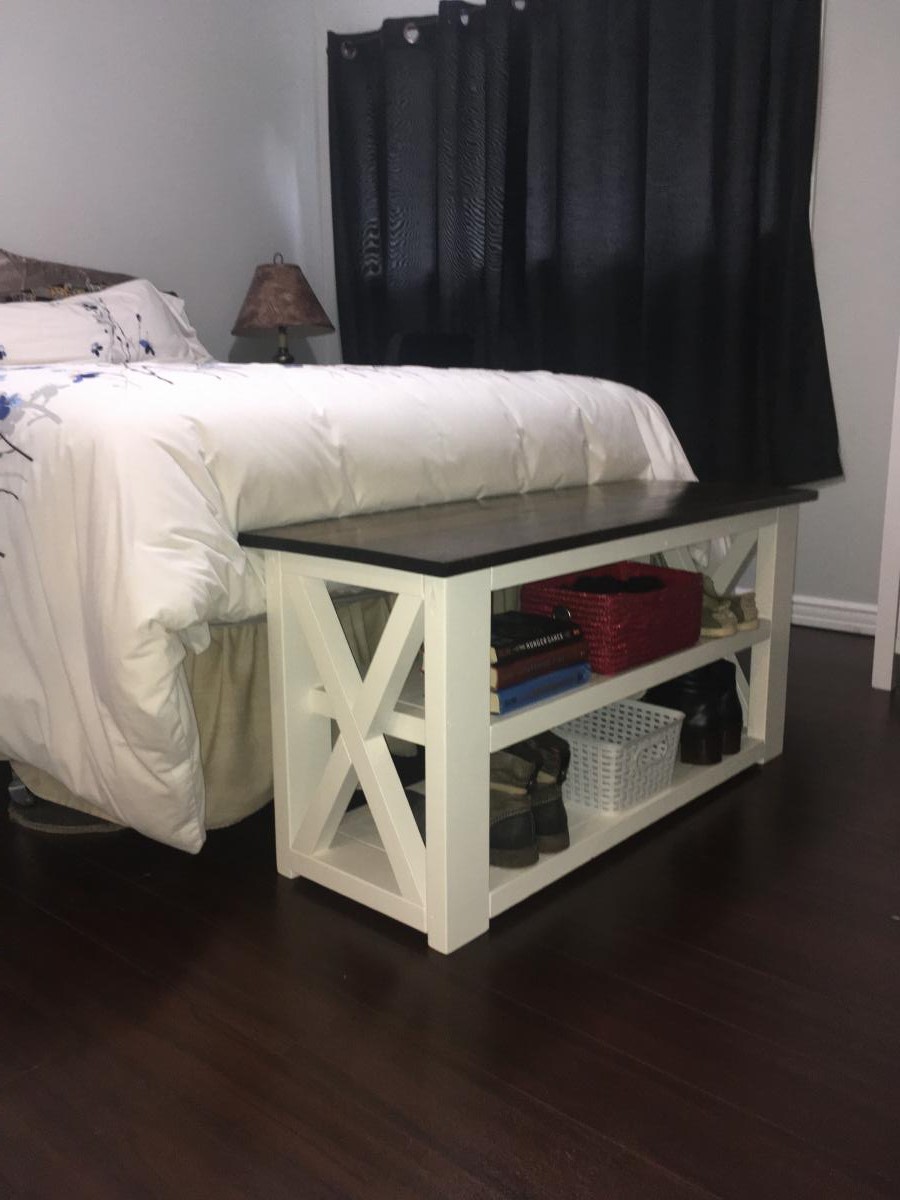
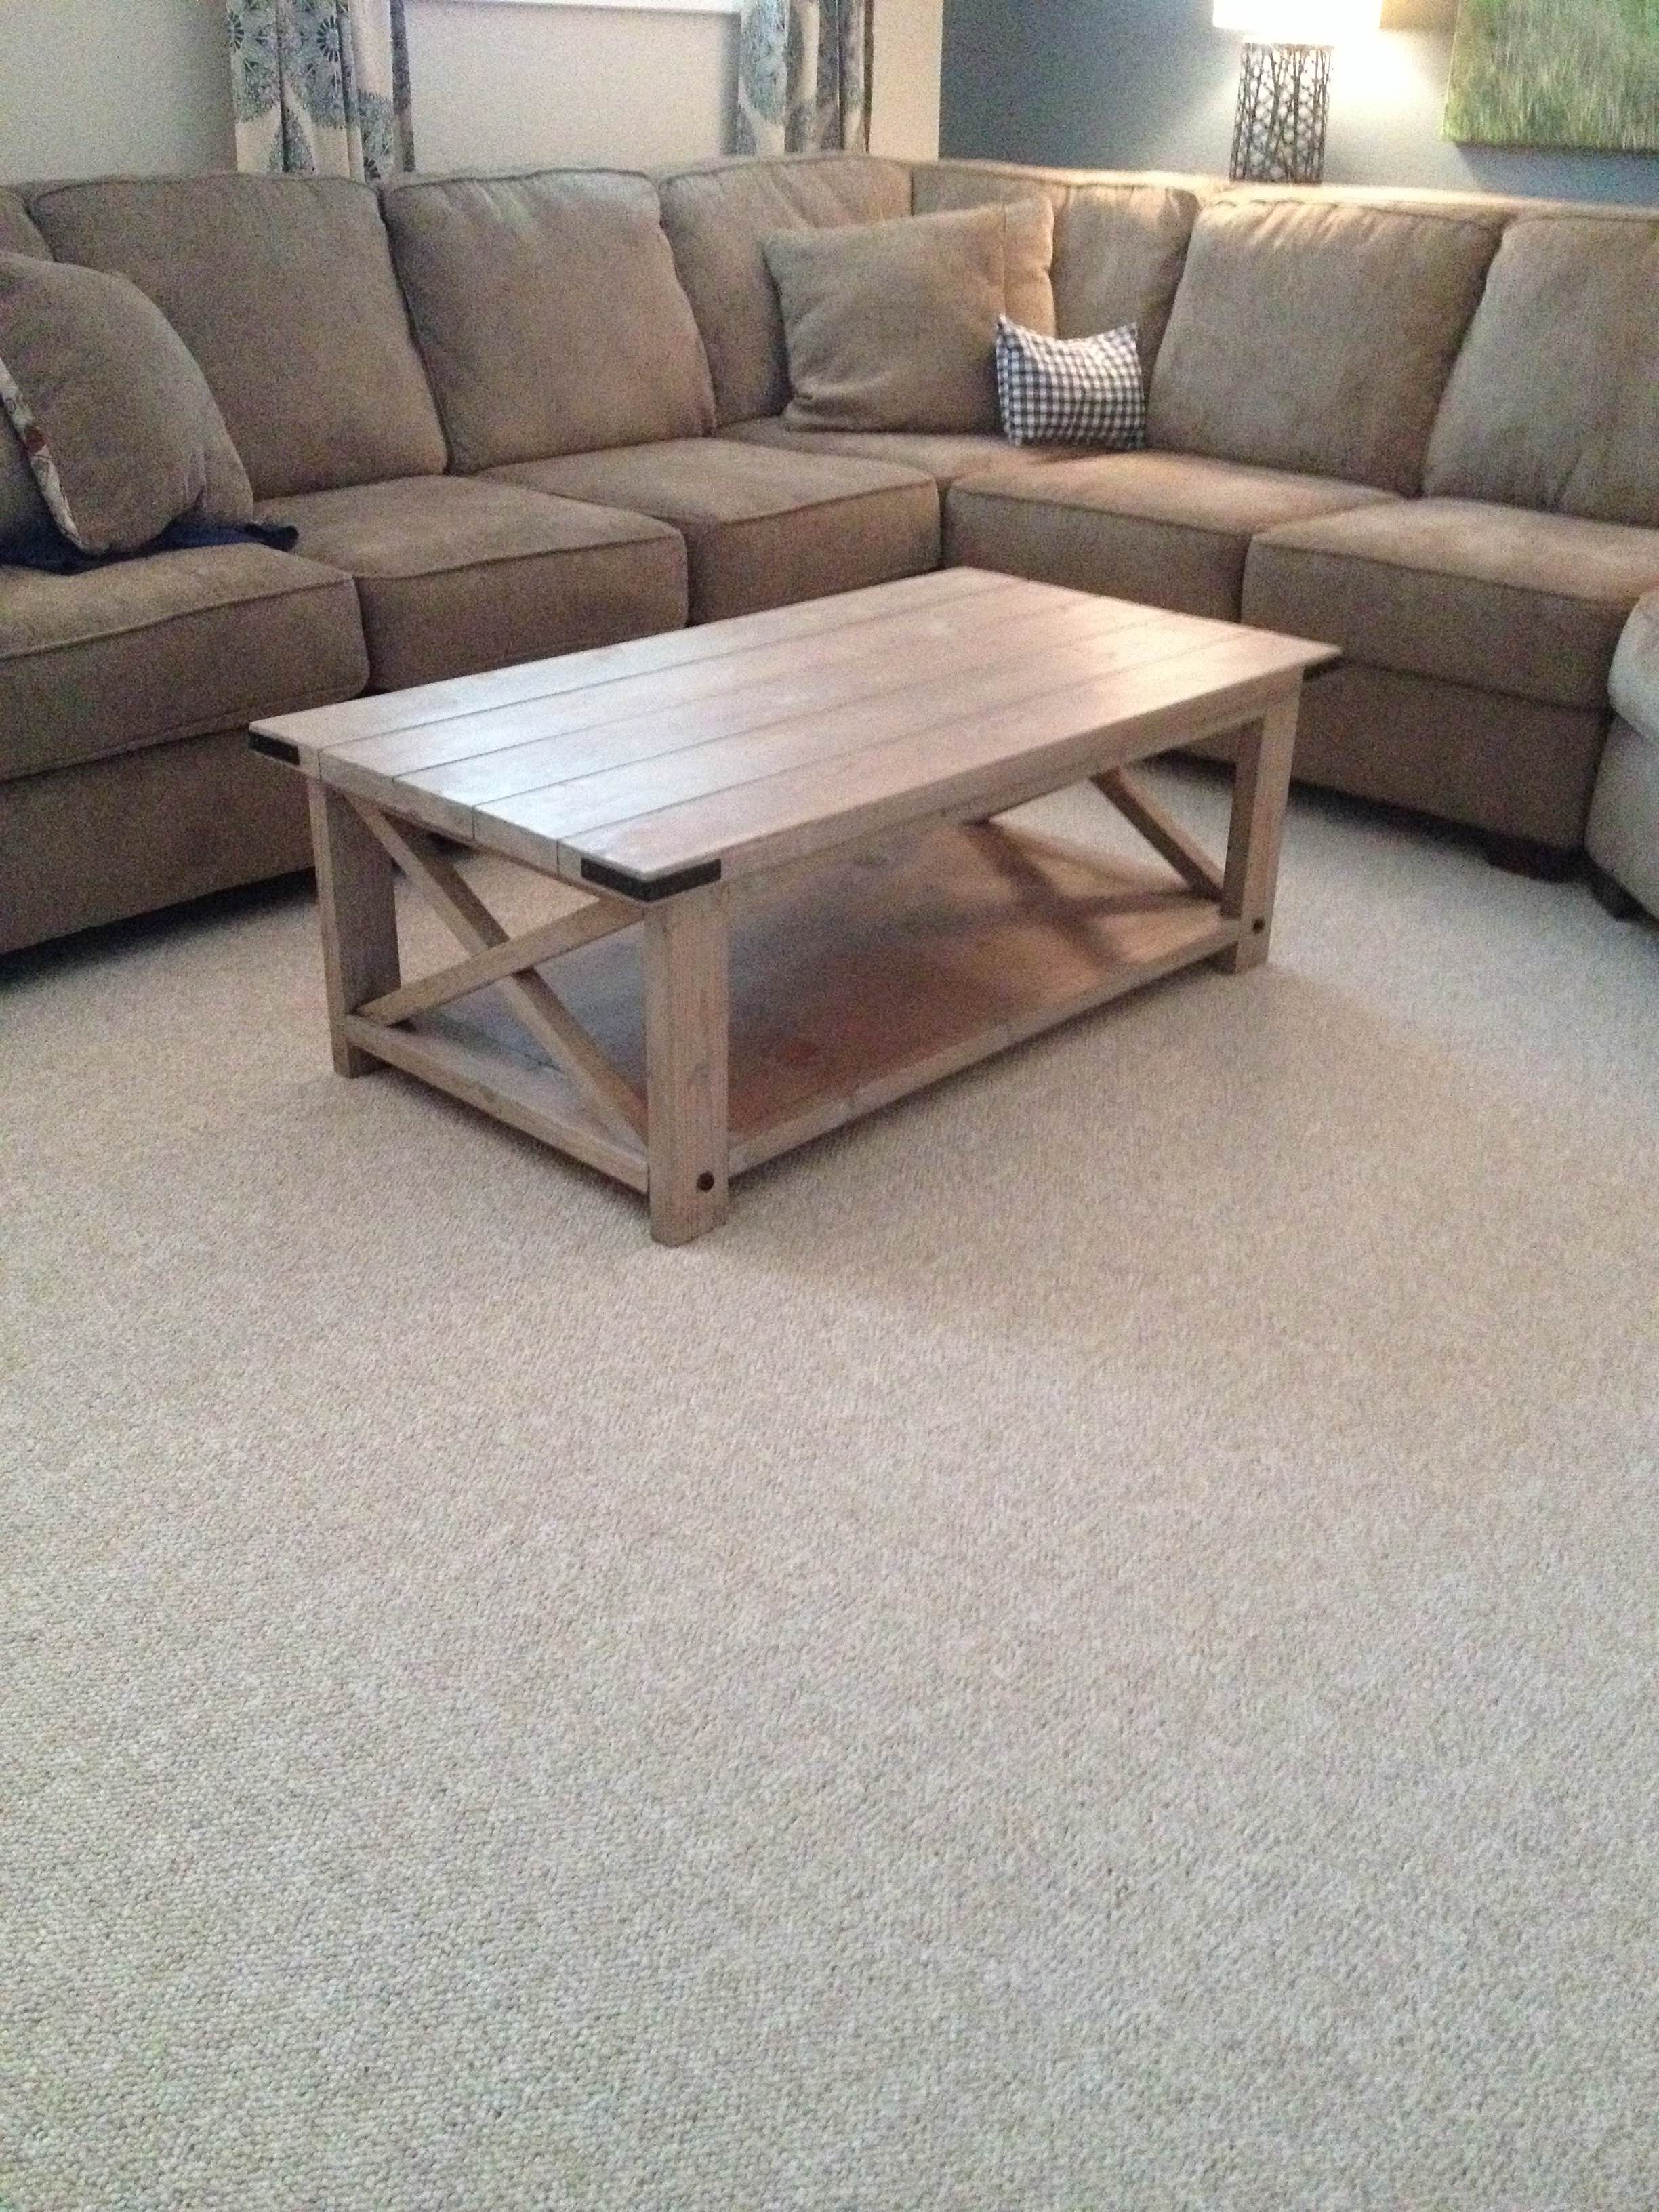
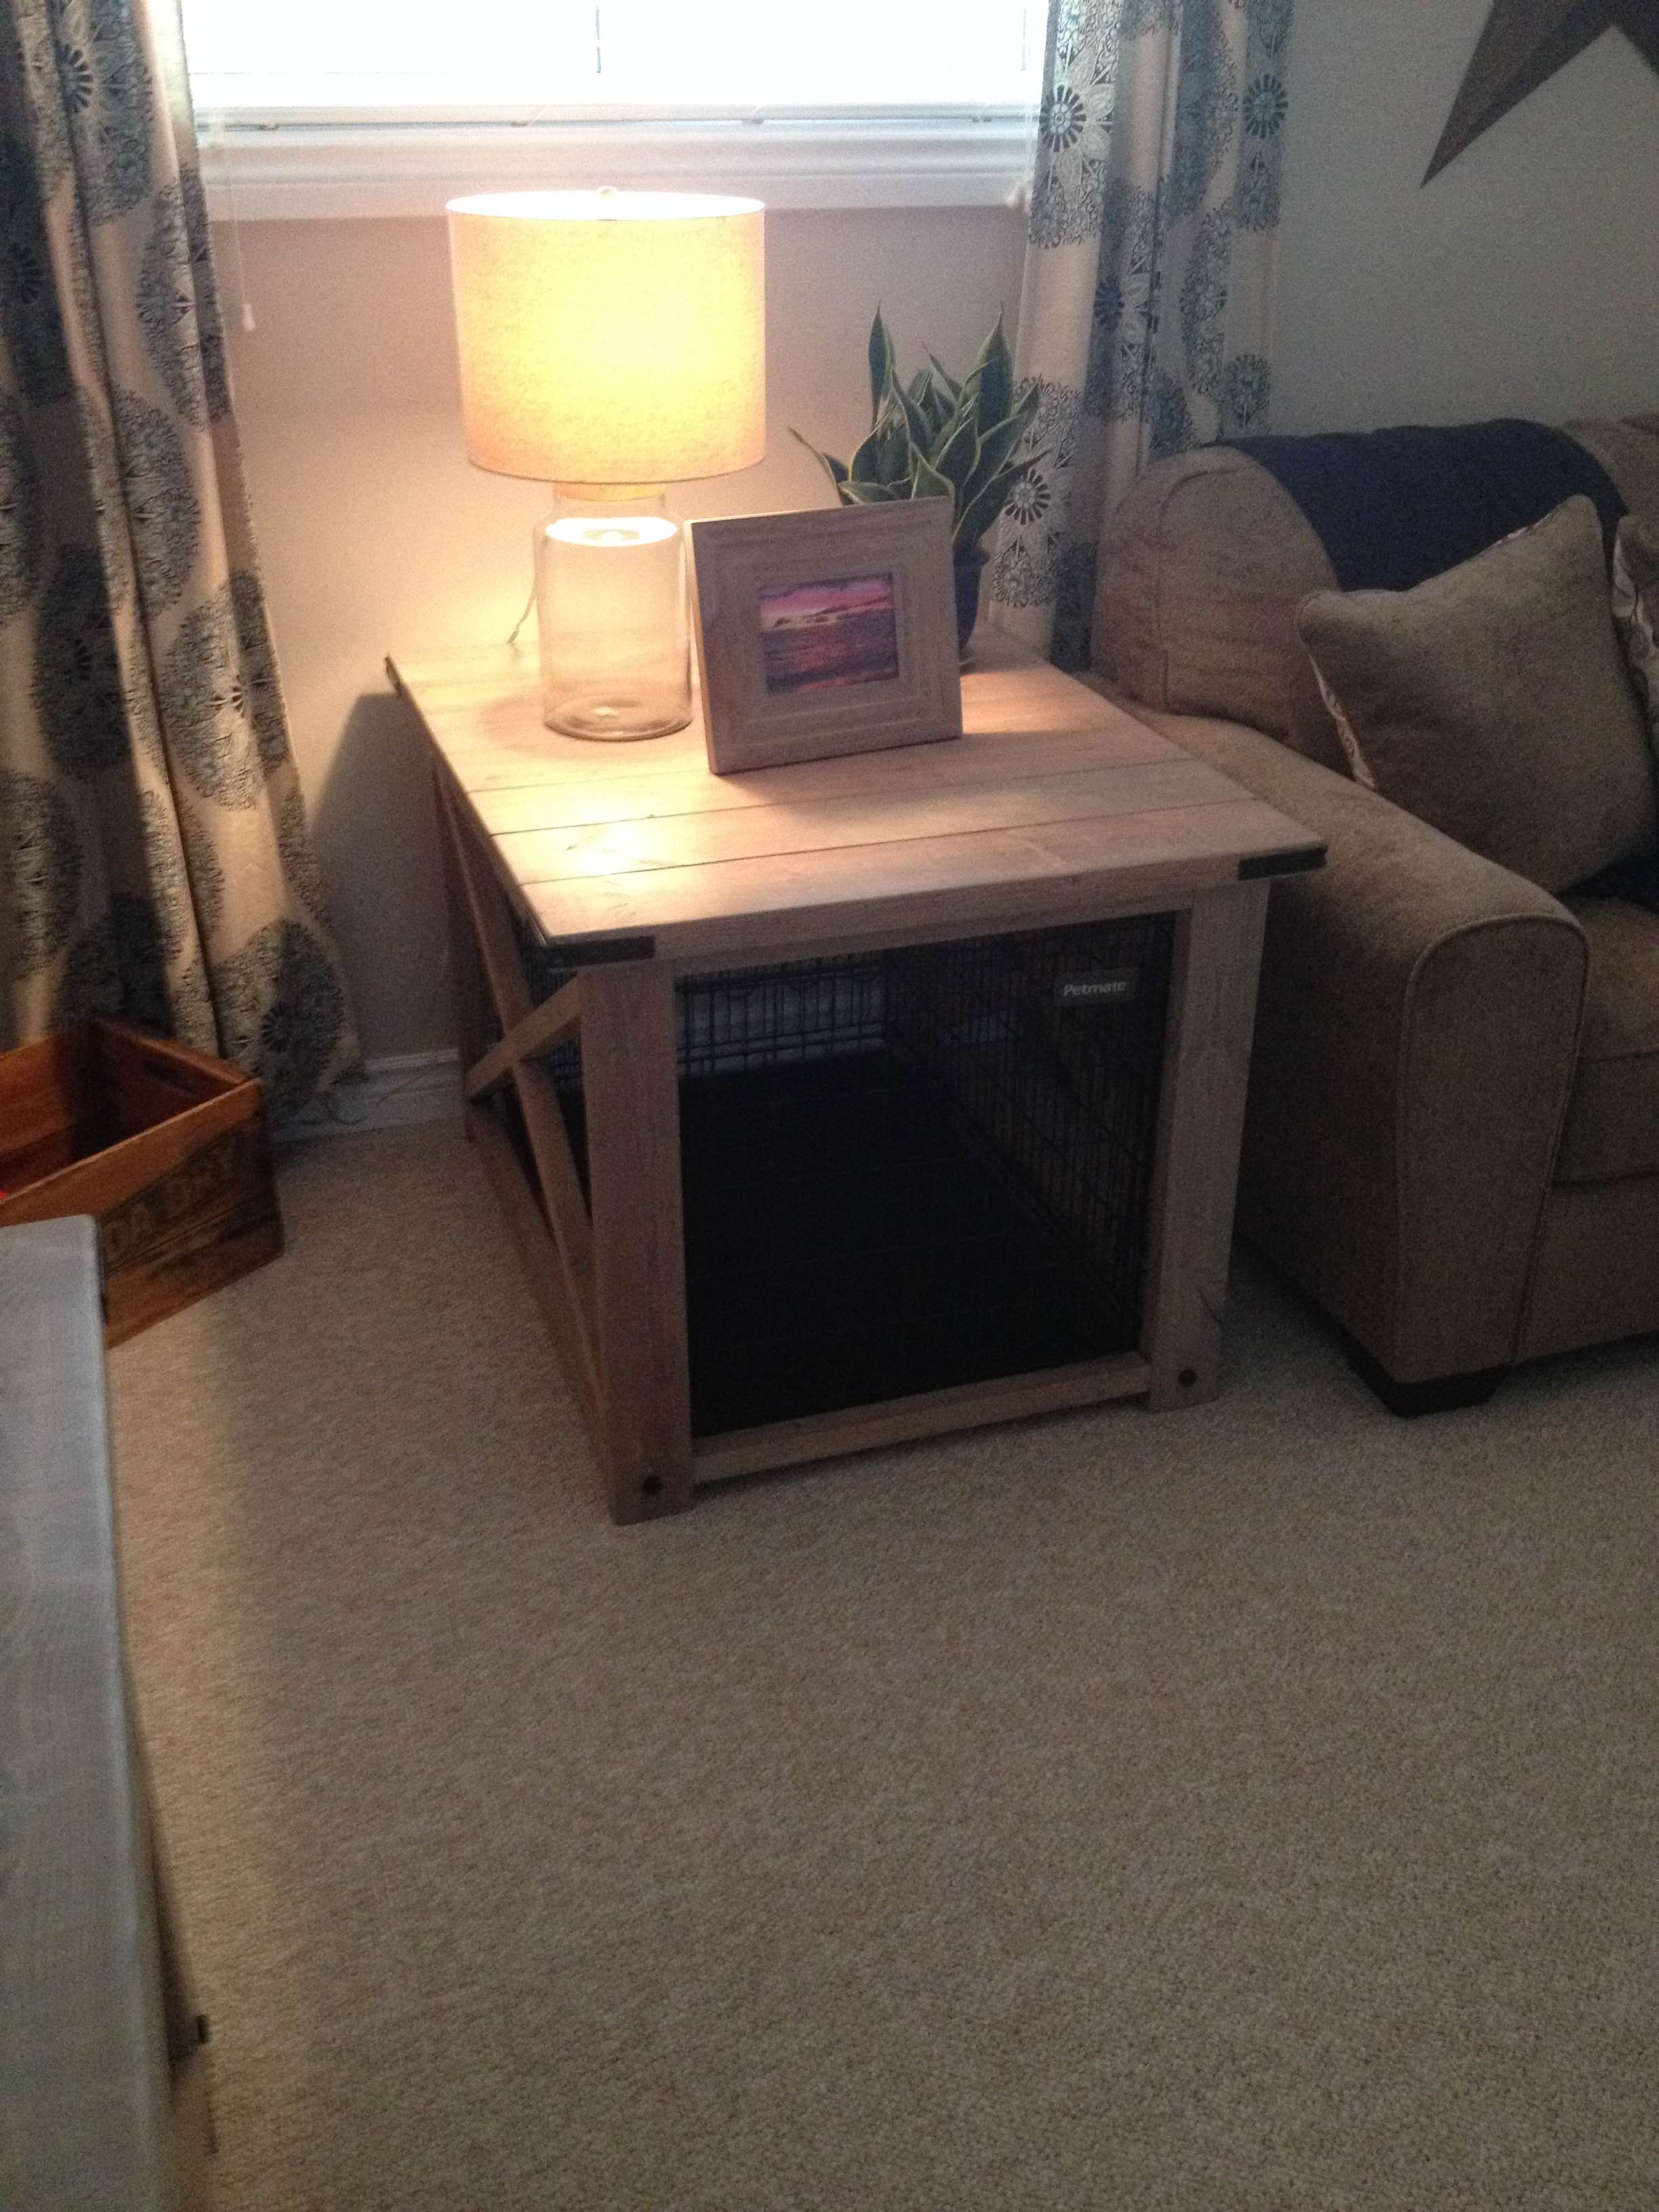
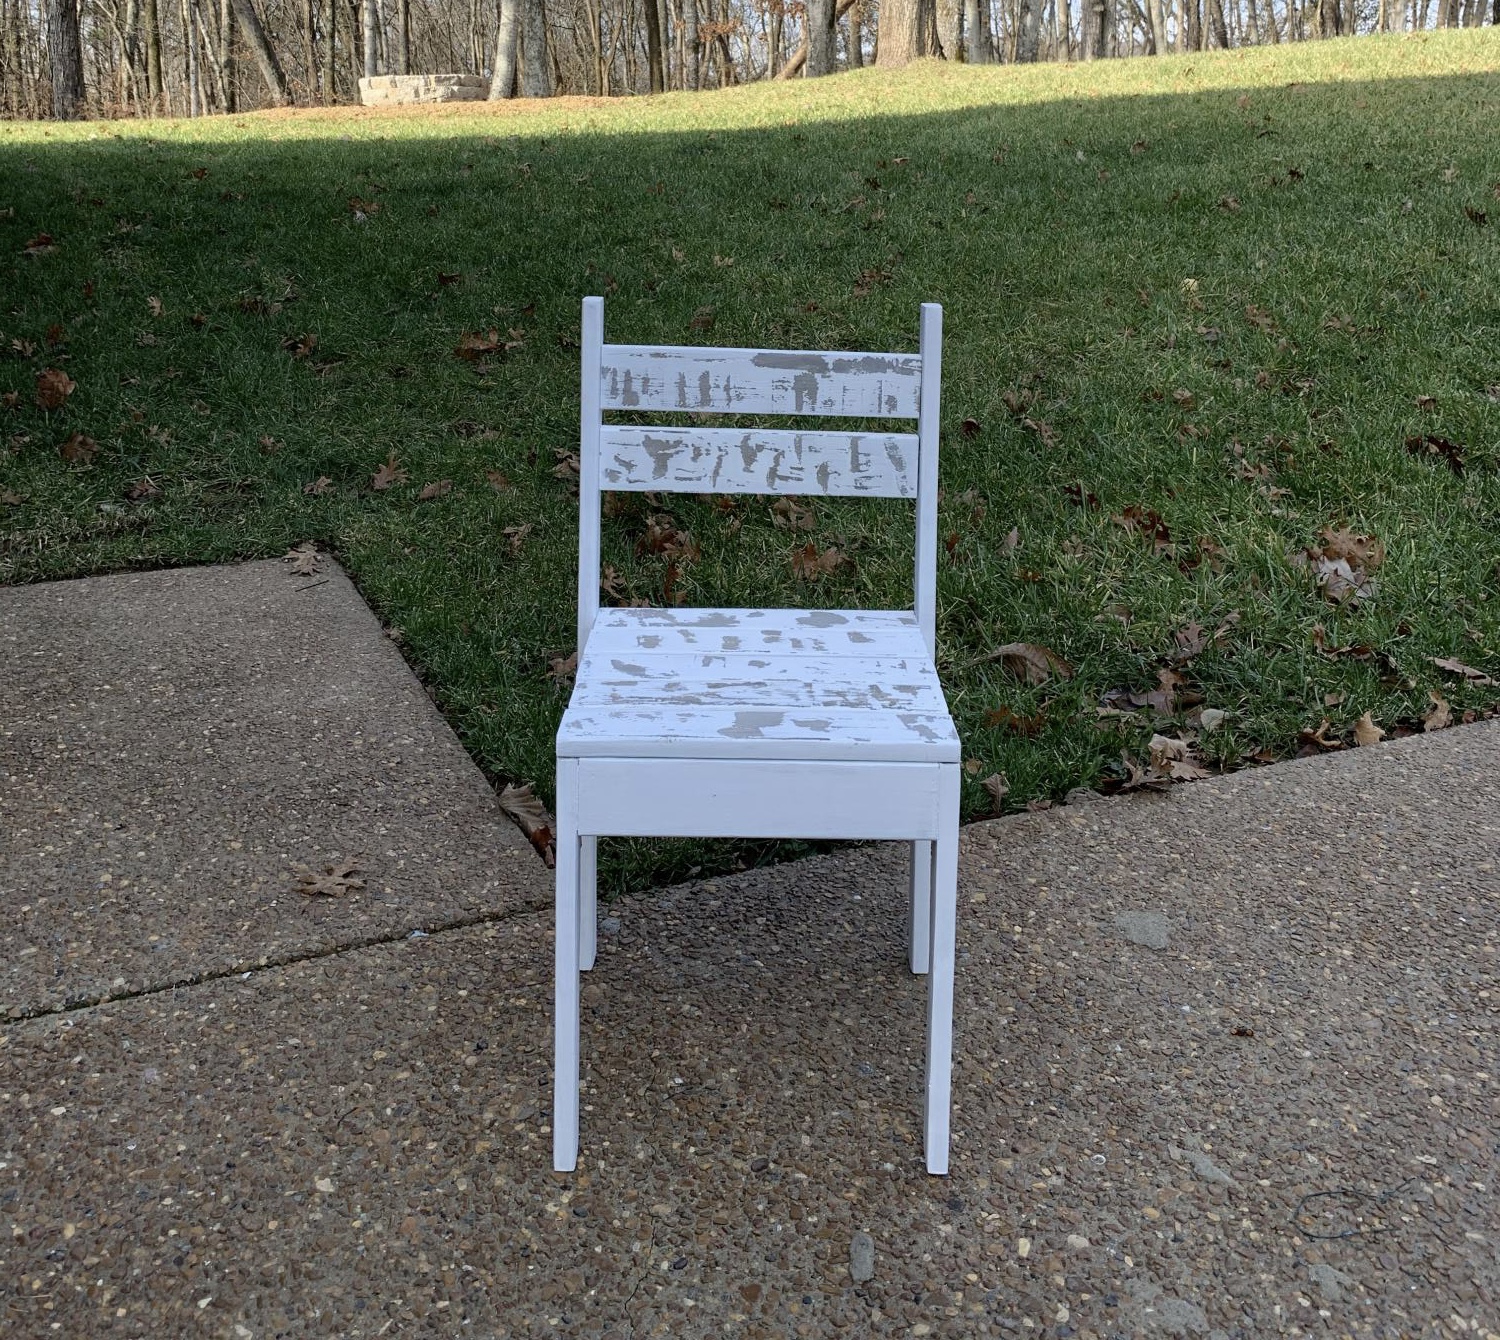
Community Brag Posts

End Tables

Submitted by bozarthm1 on Sun, 11/15/2020 - 16:22

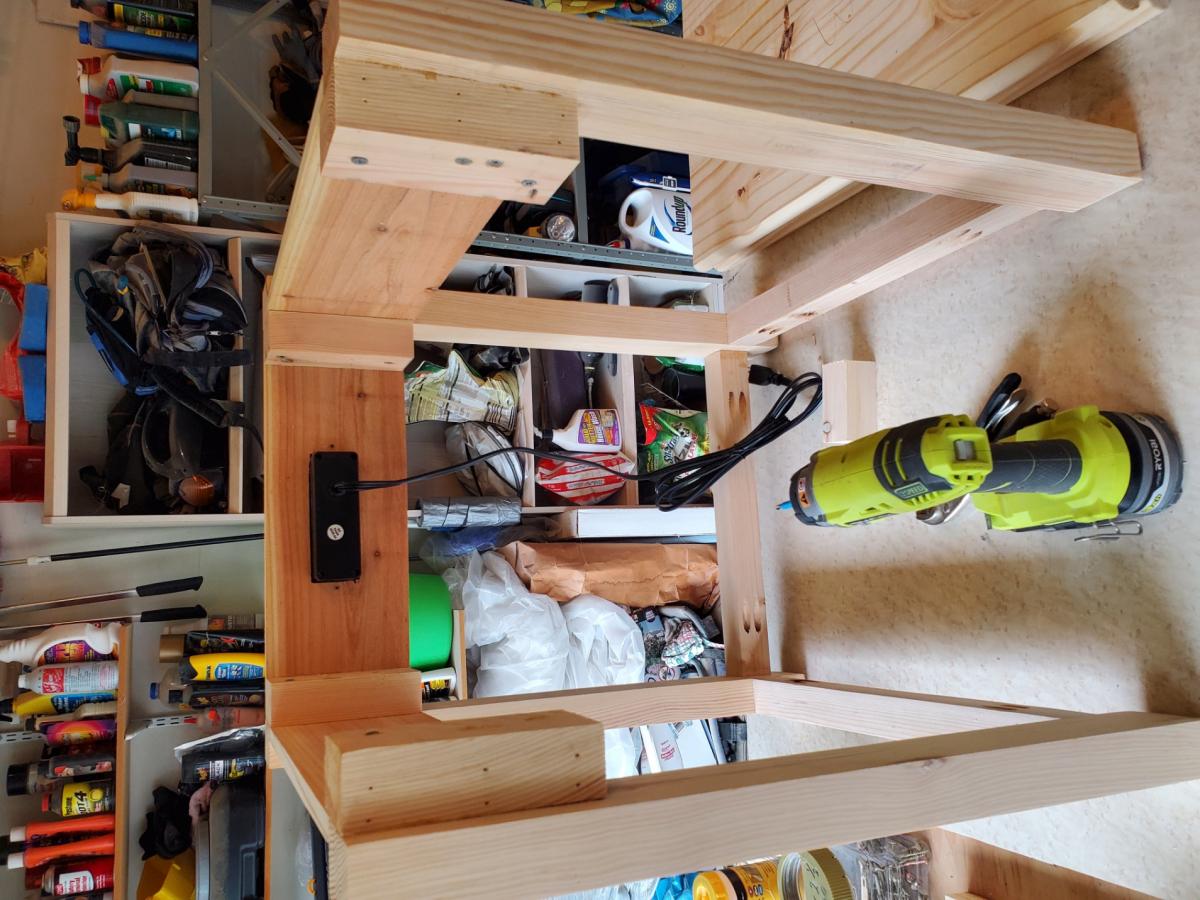
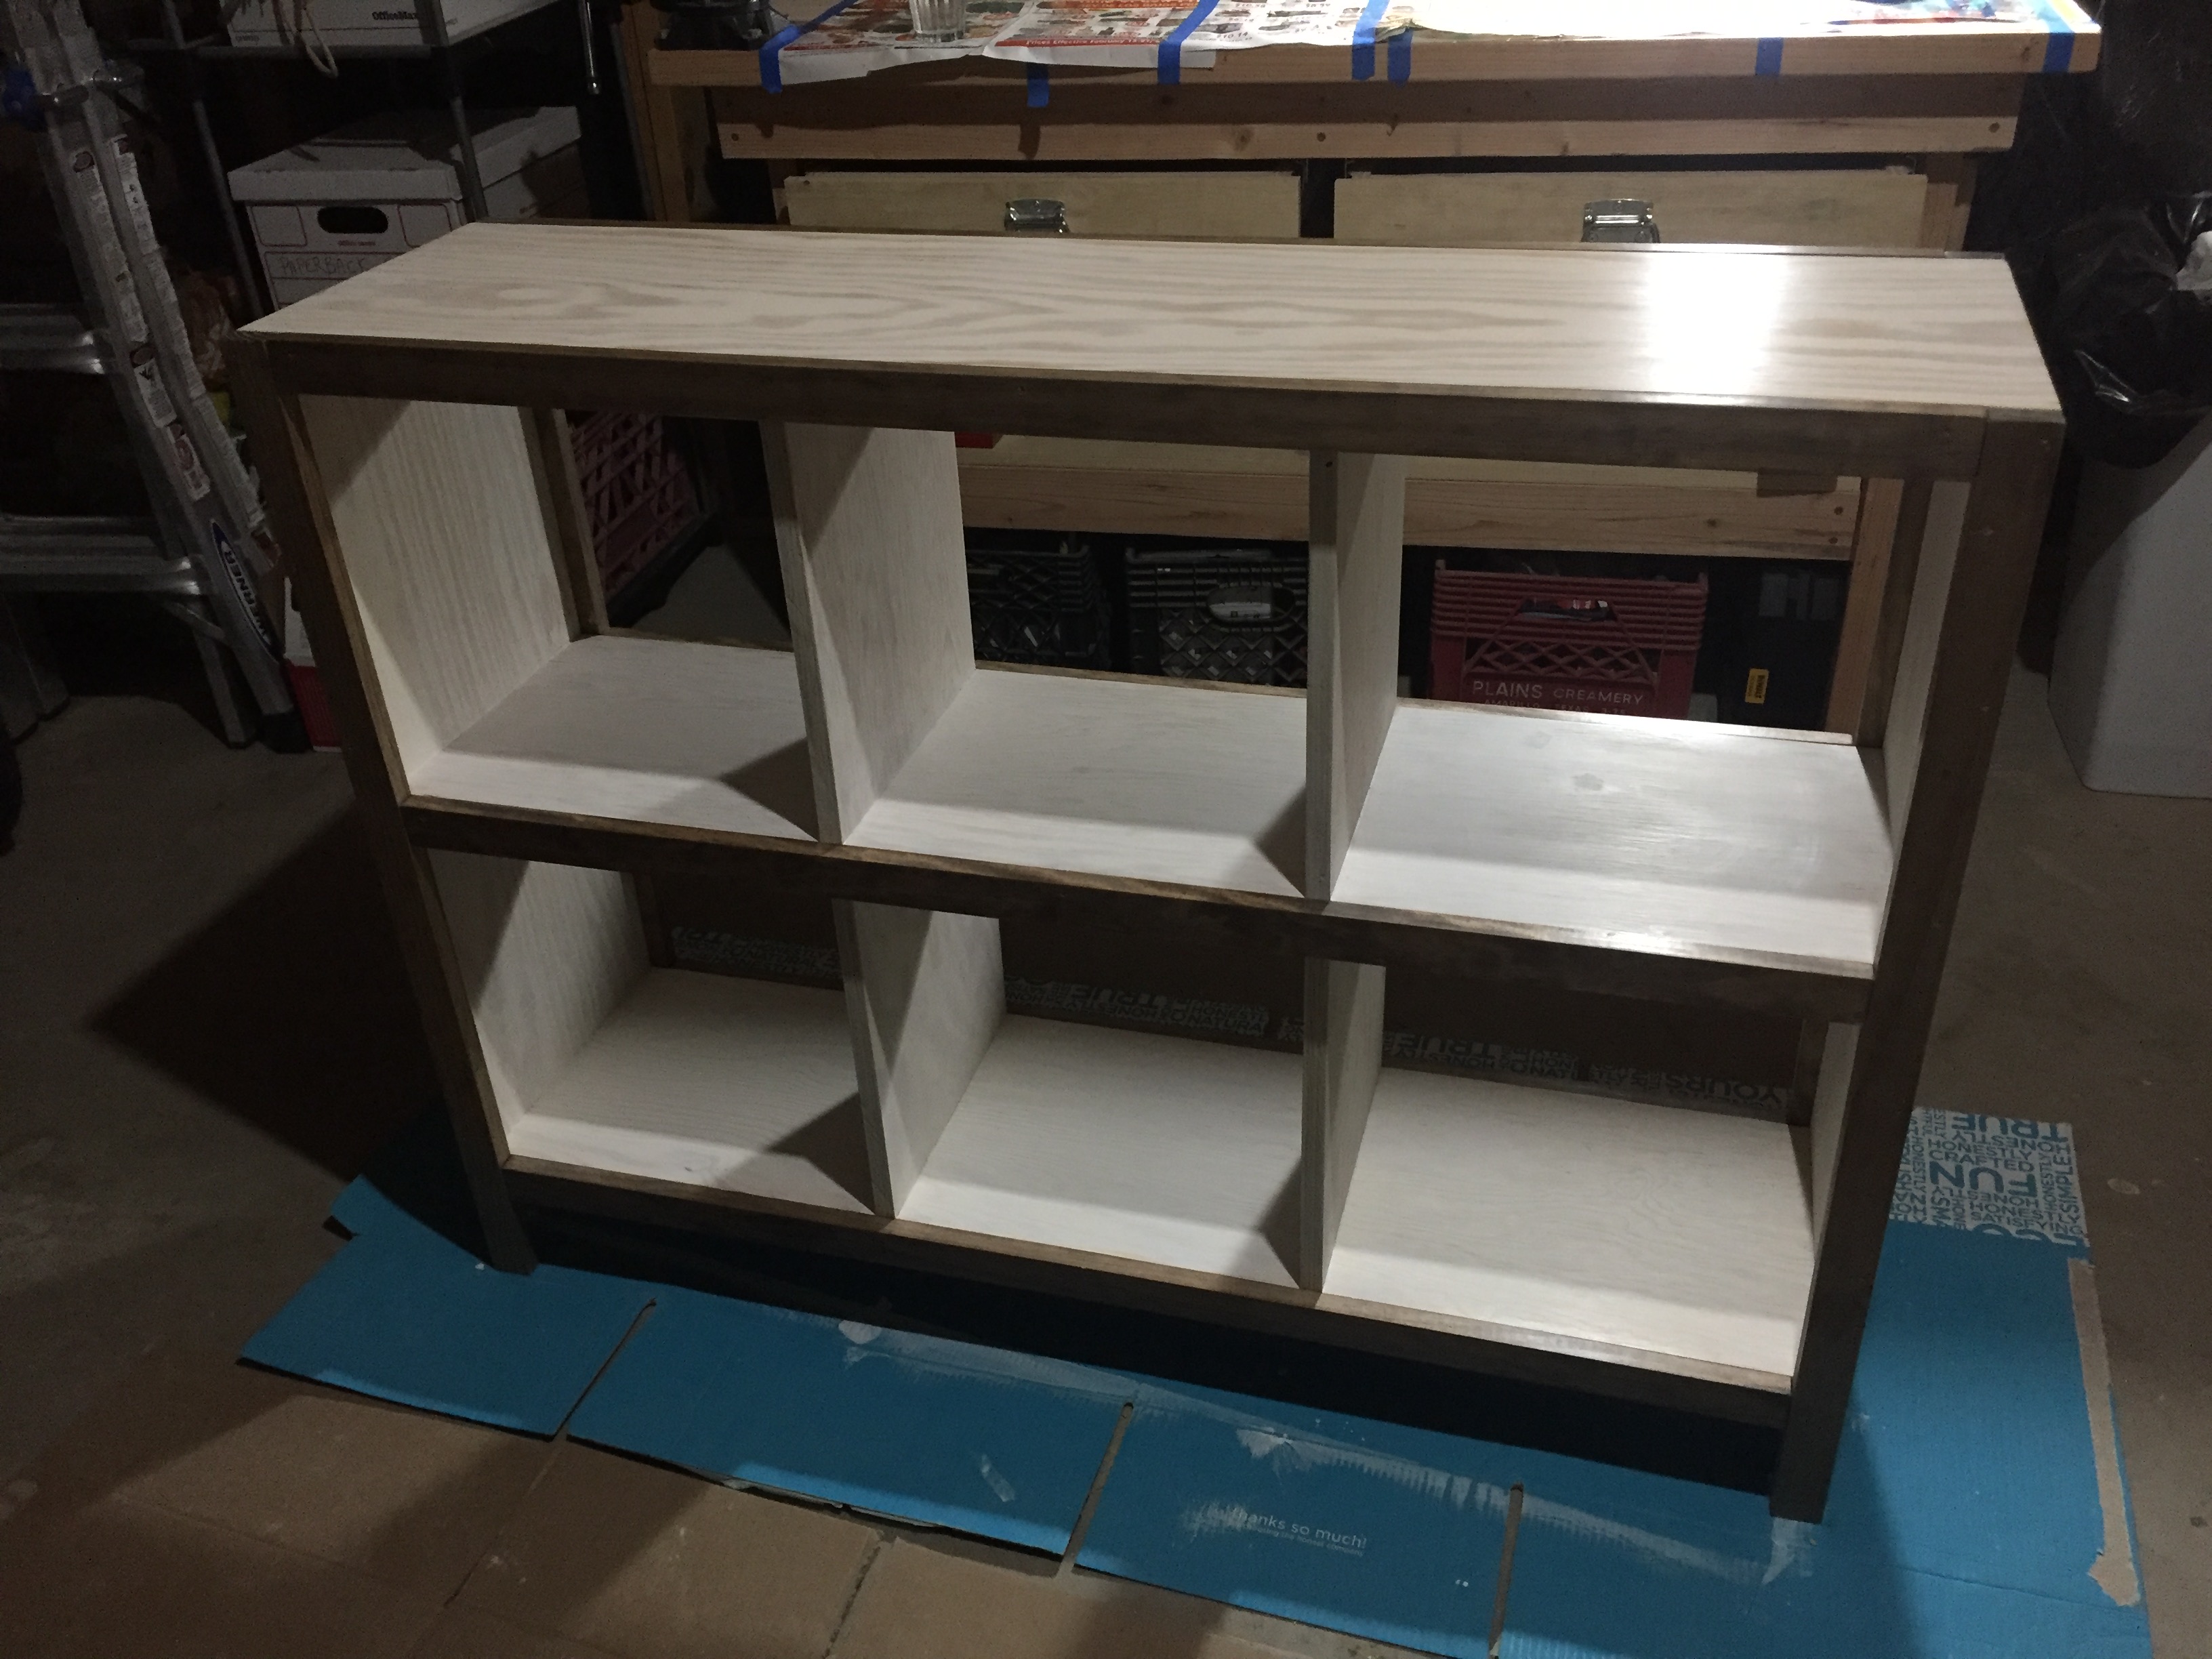
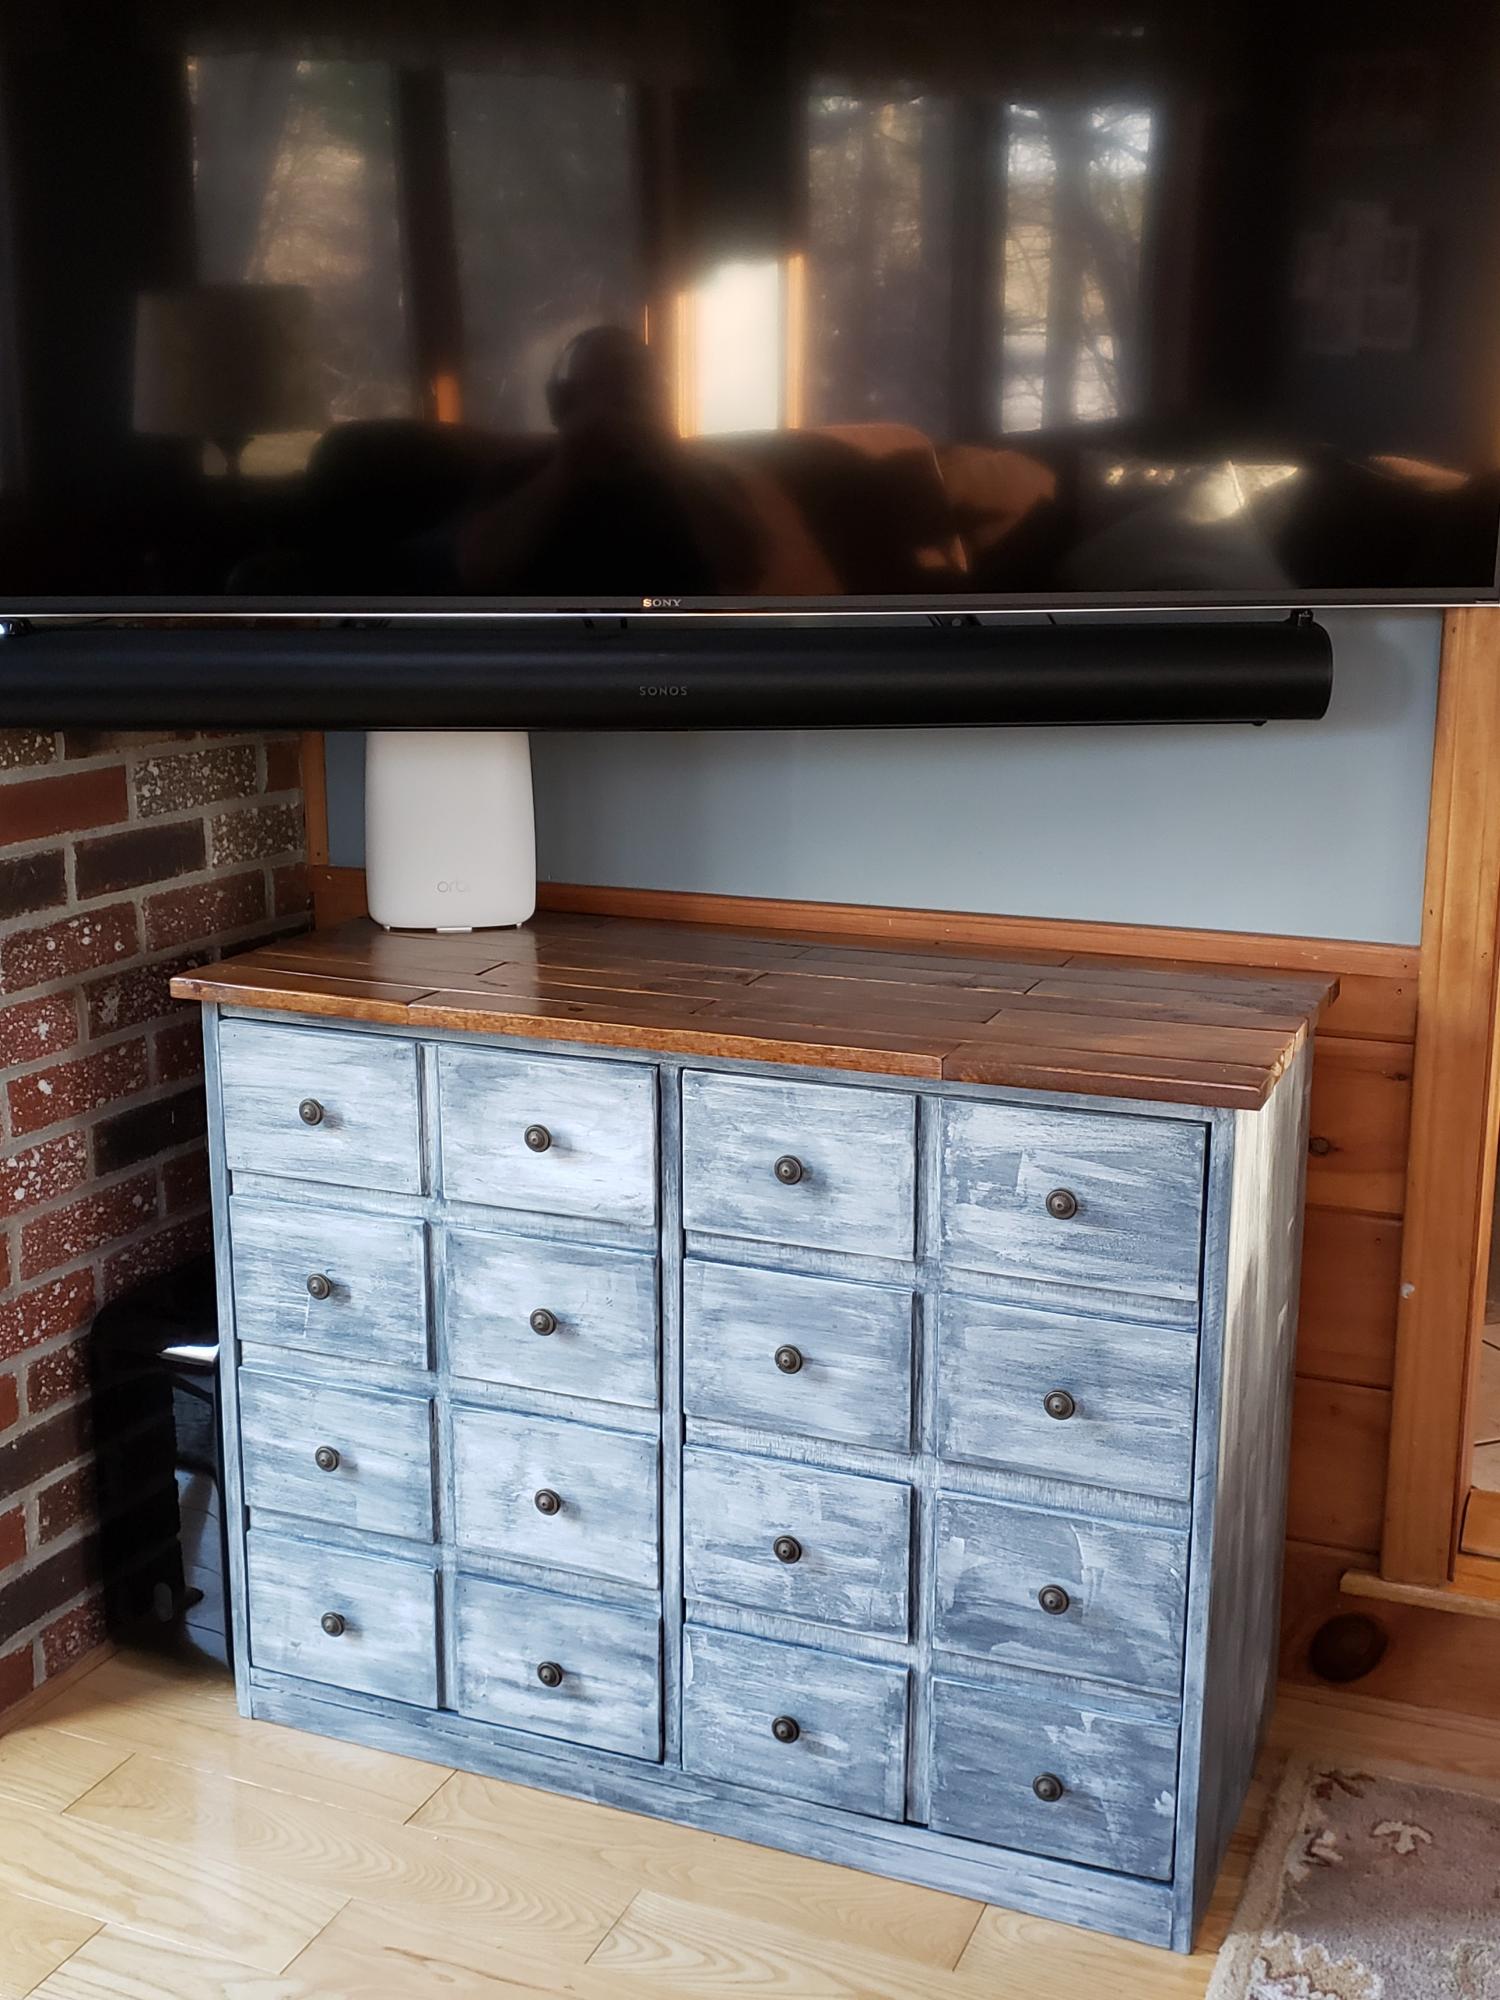
Built these two end tables from Ana's nightstand plans. Modified to add a shelf and drawers. I used stair treads to make the tops which give a nice thickness and strength. The shelves are cedar fence pickets. Shelf and tops are stained Jacobean with a semi gloss poly finish. Had to watch Ana's videos several times to get the build right, but spent much more time on the finish than the build. Added electric extension/usb outlet. Really happy with the project. THANKS Ana!

Estimated Time Investment
Week Long Project (20 Hours or More)
Finish Used
Jacobean stain, semi gloss poly, white primer and paint
Recommended Skill Level
Intermediate

Comments

bozarthm1

Sun, 11/15/2020 - 16:28
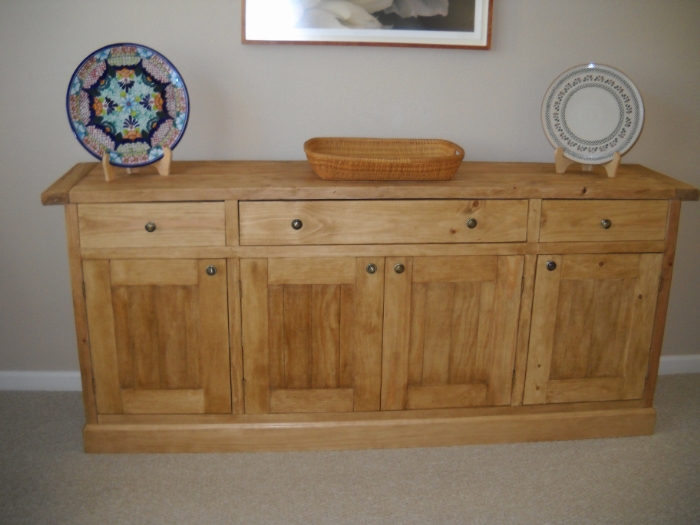
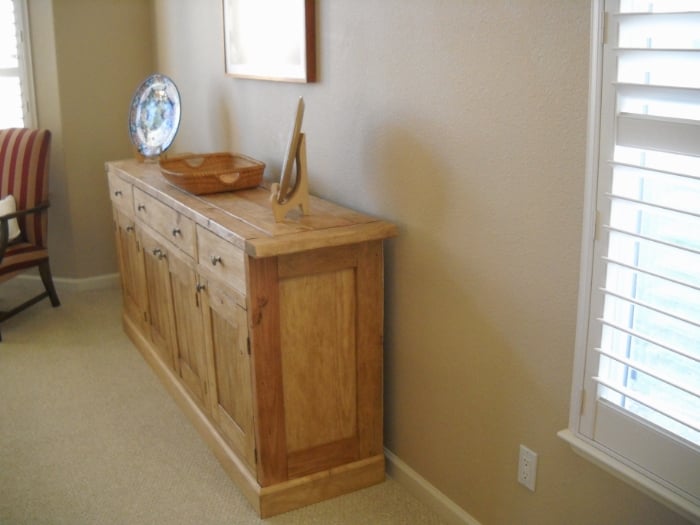
Project for my son. End tables with one and 2 drawers. Shelf and tops stained with poly, frames and drawer primed and painted. Tops made from Stair treads. they are 12" edge glued so just had to trim down and glue together. comes with one bullnose, rounded off the other sides with a 1/2inch roundover router bit.

Entertainment Center

Submitted by Millerx4 on Tue, 01/15/2013 - 13:37

We used kristenlotz plans and AZCA33 style.

Estimated Cost
$1,000
Estimated Time Investment
Week Long Project (20 Hours or More)
Finish Used
Creamy white with a stain distress
Recommended Skill Level
Advanced

Comments

kristenlotz

Fri, 01/18/2013 - 15:58

I love looking at the brag posts and seeing similar entertainment centers to the one we built! I am so glad people like our plans. It looks way good in white. I think we are going to re-do our doors and add the rope trim. I love how it looks. Just wondering, do you use the plans we posted at our woodworking blog at http://www.jrlwoodworking.com/2012/12/furniture-plans-custom-entertainm… ? I am so glad you built this. We love ours!

Millerx4

Sat, 01/19/2013 - 21:41

Yes! We used your plans. You did such a good job with them...my husband is a beginner and I think he did an amazing job by following your plans. Thank you!!

Fancy X farmhouse with extension

Submitted by Anonymous (not verified) on Thu, 02/16/2017 - 18:02

This was the first furniture my husband built. He also did amatching  sideboard table using Ana white plans.

Built from Plan(s)
Estimated Time Investment
Weekend Project (10-20 Hours)
Finish Used
I used wood conditioner and then dark walnut stain. My husband built me a sideboard table to match this table.
Recommended Skill Level
Intermediate

Corner Cupboard

Submitted by strez4prez on Fri, 11/20/2020 - 19:08

Thanks for the plans. had fun building this. I made it a little higher and added an additional shelf. I wanted it to be rustic, so I beat it with a chain, hammer, and some screws. Used Early American stain. Used Rustoleum Triple Thick Poly satin finish. Not all straight and perfect, but it works. It matches the farmhouse table I built last year.

Estimated Time Investment
Weekend Project (10-20 Hours)

Comments

Daybed with Storage

Submitted by Bemof13 on Sun, 01/20/2013 - 17:54

This is my first Ana White project. It was so fun to do and turned out really well. Thanks so much Ana for your great plans and help with building them. the Kreg jig is great!

Estimated Cost
$125 +/-
Estimated Time Investment
Weekend Project (10-20 Hours)
Finish Used
Minwax Polyshades Bombay Mahoganey
Recommended Skill Level
Beginner

End Table

Submitted by JoeP on Thu, 11/13/2014 - 16:48

Quick and easy endtable made from scraps I had on hand.

Estimated Time Investment
Afternoon Project (3-6 Hours)
Finish Used
Antique nickel paint and 3 coats of gloss polyurethane, I sanded between each coat of poly.
Recommended Skill Level
Beginner

X-DESK

Submitted by Jasonhash on Sun, 02/19/2017 - 07:39

Made from your Fancy X-desk plans. Dark Walnut & clear gloss polyacrylic Miniwax finishes.

Built from Plan(s)
Estimated Cost
Lumber $18
Plywood $13
Glue, nails, & screws $3
Stain $8
Poly $6.50
$50+/- all day
Estimated Time Investment
Weekend Project (10-20 Hours)
Finish Used
Miniwax Dark Walnut
Mini wax polyacrylic gloss
Recommended Skill Level
Beginner

Shoe and storage bench

Submitted by Anonymous (not verified) on Fri, 11/27/2020 - 07:21

I love your designs and could spend hours browsing here! But that doesn't get things built! ;)

I used your general plan to build this cute bench as my first project for my new Handywoman Business

I was easily able to adjust and customize it to my customers specifications and it is very sturdy. Also my first adventure in pocket holes and I am in love!

Built from Plan(s)
Estimated Cost
$140.00
Estimated Time Investment
Weekend Project (10-20 Hours)
Finish Used
Minwax Dark Oak
Minwax satin varnish
Beauti-tone interior Latex, Semigloss in Cloud White
Recommended Skill Level
Intermediate

Comments

Drawer Organizer

Submitted by mseely02 on Tue, 01/22/2013 - 13:19

Organization is a constant struggle in our house and our junk drawer became more of a place to stick things when you didn't want them on the countertop than an actual funtional part of the kitchen. That won't change with the addition of the organizer, but it was nice to have it cleaned out.

In total, this only cost about $12 (for 3 drawers) and that was only because I used the S4S wood. My HD didn't carry 1x3 in anything else. May have been for the best because now I didn't have to sand anything.

The lesson learned from this project was that I should have cut everything to size instead of relying on the measurements of the drawer. The silverware drawer wasn't perfect and I will likely redo a little of it because the junk drawer turned out great.

Estimated Time Investment
An Hour or Two (0-2 Hours)
Finish Used
None
Recommended Skill Level
Starter Project

Children's Adirondack Chair

Submitted by JamieLynn on Mon, 11/17/2014 - 12:40

Made the super cute Adirondack Chair for my nephew Brady.  He loves it. Now i'm making 2 more for my two nieces as well.  

Estimated Cost
<$20
Estimated Time Investment
An Hour or Two (0-2 Hours)
Recommended Skill Level
Beginner

Two-tone Large Cube Shelf

Submitted by Anonymous (not verified) on Tue, 02/21/2017 - 09:43

Large cube shelf made to fit 13" cubes or milk crates, for my two and a half year old son. For the larger cubes, I added 2" to the measurements for each cube, so 6" to the horizontal and 4" to the vertical measurements. Total shelf measures 46.5" wide by 35" high by 13.5" deep.

Built from Plan(s)
Estimated Cost
$75
Estimated Time Investment
Day Project (6-9 Hours)
Finish Used
Body: white latex primer, two parts paint to one part water.
Trim: special walnut stain
Everything: Minwax Paste Wax
Recommended Skill Level
Intermediate

Apothecary Console Table

Submitted by knoxadam on Tue, 12/01/2020 - 11:08

Thanks for the plans! Modified the scale to make it shorter and deeper. Really happy with the results!

The scale changes tested my math skills :)

It took some creative Googling to find the hardware you used. A link would be awesome. I actually did a Google image search of your hardware image to locate it.

Built from Plan(s)
Estimated Cost
150-200
Estimated Time Investment
Weekend Project (10-20 Hours)

Comments

Ana White Admin

Tue, 12/01/2020 - 11:27

YES! Mods can be challenging:) It appears you rose hugely to the occasion, I will try and do better at linking hardware!

Full Size Bed Frame

This is one of the first furniture projects ive done in 2 years. A finished picture will be up later on. I painted this project because the customer wanted it painted not a big fan of paint but what they want the get.

Estimated Cost
30 to 35
Estimated Time Investment
Afternoon Project (3-6 Hours)
Finish Used
Satin paint
Recommended Skill Level
Beginner

Rustic X Coffee Table and Console

I built the coffee table and console to plan and also a custom cover for our dog's crate to match.  Simple builds with easy to follow plans!  For the Xs, I just clamped the 2x2s up to the opening and scribed where to cut.  Then, I notched out where the intersection is so that the X is more solid and I didn't have to worry about the cut portion lining up.  A bit more time consuming but definitely worth the effort.  So happy with how these turned out, thanks Ana!

Estimated Cost
$40 Coffee Table and maybe $60 for the console.
Estimated Time Investment
Weekend Project (10-20 Hours)
Finish Used
I did the oxidization but really wasn't happy with how orange/dark it went. I didn't want to sand everything back and start over, so I did a coat of liming wax to make it lighter and more grey, then followed up with a couple coats of clear wax. Love the smoothness of a wax finish. The liming wax definitely gave it a beachy/whitewashed look.
Recommended Skill Level
Beginner

Comments

X Leg Farmhouse Bench

The challenge this go around is build benches to match a wheat colored dining table, sight unseen. Quite a challenge!. The table has X legs with cross braces running from leg to table bench top for support. Coming up with a design to match the X legs was simple however matching the color was not easy and left me anxious until I delivered the benches. Thanks to my previous experience building a farmhouse bench and using this plan, I had the foundation and cut list to execute. With a few tweaks it came together very nice!


Visit charitybuilds.com to find our how the color turned out!

Built from Plan(s)
Estimated Time Investment
Day Project (6-9 Hours)
Finish Used
Varathane Sunbleach, Summer Oak and Honey Maple. Head over to charitybuilds.com to find out ratio to acheive final color.
General Finishes High Performance Top Coat
Recommended Skill Level
Starter Project

Stephen Gort

Submitted by spgort on Tue, 12/08/2020 - 15:03

Sideboard/Buffet

Estimated Cost
$350
Estimated Time Investment
Week Long Project (20 Hours or More)
Finish Used
Briwax
Recommended Skill Level
Intermediate

Comments

Our Big Boy Fort Bed!

Submitted by Kabarie on Fri, 01/25/2013 - 18:03

This was sooo easy for a first timer like myself. Followed Anna's plan. Learned as I went. Customized a little...started with the end panel..could only fit it cut in sections in car from store, so decided to separate the sections and open it up a little with a peek a boo window. Used a little unsanded grout in my paint choice so that my son can doodle some art on the panels with his chalk. Added some support boards on lower corners for extra support...also used the Long L brackets as bed rails to support the slats. Make sure you get enough wood to cut the vertical side of ladder as the plans didn't include it. Cost about $100 without the mattress. Very happy with it. Thanks Ana!

Built from Plan(s)
Estimated Cost
$100
Estimated Time Investment
Weekend Project (10-20 Hours)
Finish Used
Sanded, wiped down with wet rag and applied one coat of Minwax Ipswich Pine 221 to wood.

For painting the panels I mixed 2tbs of unsanded grout with 1 cup of my choice of paint so that chalk could be used on it.
Recommended Skill Level
Starter Project

DIY Liam Barn Light Bed - Full

Submitted by thehallway on Sat, 11/22/2014 - 16:26

I found the Liam Barn Light Bed online and knew it was perfect for our son's room (except for the price tag).    After some research, I decided to use the Reclaimed Wood Headboard plan with some modifications.  I increased the height to 72", like the inspiration bed.  We used 1x6 Tongue and Groove boards for the middle panels instead of a mix of 1x4 and 1x6s.  Then we cut holes and installed the barn light and dimmer switch.  For the bed frame, I used just the frame from Mom's Fancy Farmhouse Bed, which I had used before HERE.

Building the headboard and frame was quick and only took a short afternoon.  Finish took a lot longer since I used oil based paint.  That only allowed me 1 coat per 24 hours, so it took several days.  I wanted a durable surface for a kid's room though.  I used the same paint to modify Ikea Hemnes Dressers and Nightstand to match, along with adding custom hardware.  I love the way everything came together and our son loves it too!

Visit the link to my blog for more information and the modified material and cut lists.  I have also posted the material and cuts lists for TWIN SIZE as well.

Estimated Cost
~$350
Estimated Time Investment
Afternoon Project (3-6 Hours)
Finish Used
Behr Oil Base Semi-Gloss Enamel in Cracked Pepper (PPU260-1)
Recommended Skill Level
Beginner

Comments

Frozen Theme Bed

Submitted by Anonymous (not verified) on Mon, 02/27/2017 - 00:09

Never having done anything like this before I knew it would be a challenge. I used the base plans provided and taught myself the CAD program used in the provided plans. From there I redesigned it to meet my dimensions and what I wanted. It took a lot of time overall but am thrilled with the turn out. Thank you for the original plans to use as a guide! Also with the cost I used a higher grade of plywood and also used cabinet paint to make it durable wich drove the price up some.

Estimated Cost
$450
Estimated Time Investment
Week Long Project (20 Hours or More)
Finish Used
Cabinet Paint
Recommended Skill Level
Intermediate

Comments

Kid's chair

Submitted by Anonymous (not verified) on Sun, 12/13/2020 - 09:58

Fun little project. Tried for the “distressed look” Now it’s on to a craft table.

Finish Used
I used Briarsmoke stain and white paint.
Recommended Skill Level
Beginner

Rustic Bench

This is the Rustic X Bench featured in Ana's Book, The Handbuilt Home.

Estimated Cost
$30-$40
Estimated Time Investment
Afternoon Project (3-6 Hours)
Finish Used
Dark Walnut & Early American stain.
Recommended Skill Level
Intermediate

Comments