Community Brag Posts

2X4 and 3/4" Pipe Industrial Closet
Submitted by Anonymous (not verified) on Mon, 02/29/2016 - 07:59

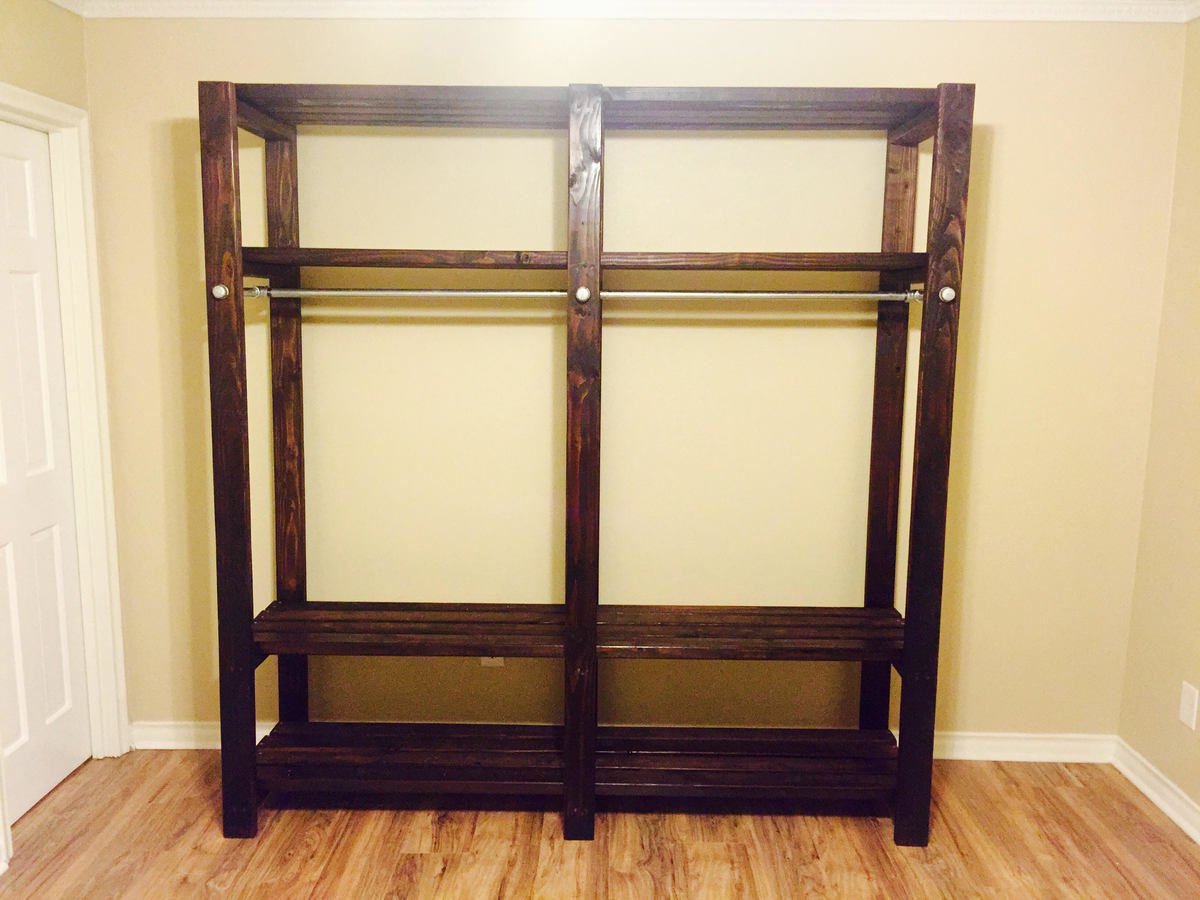
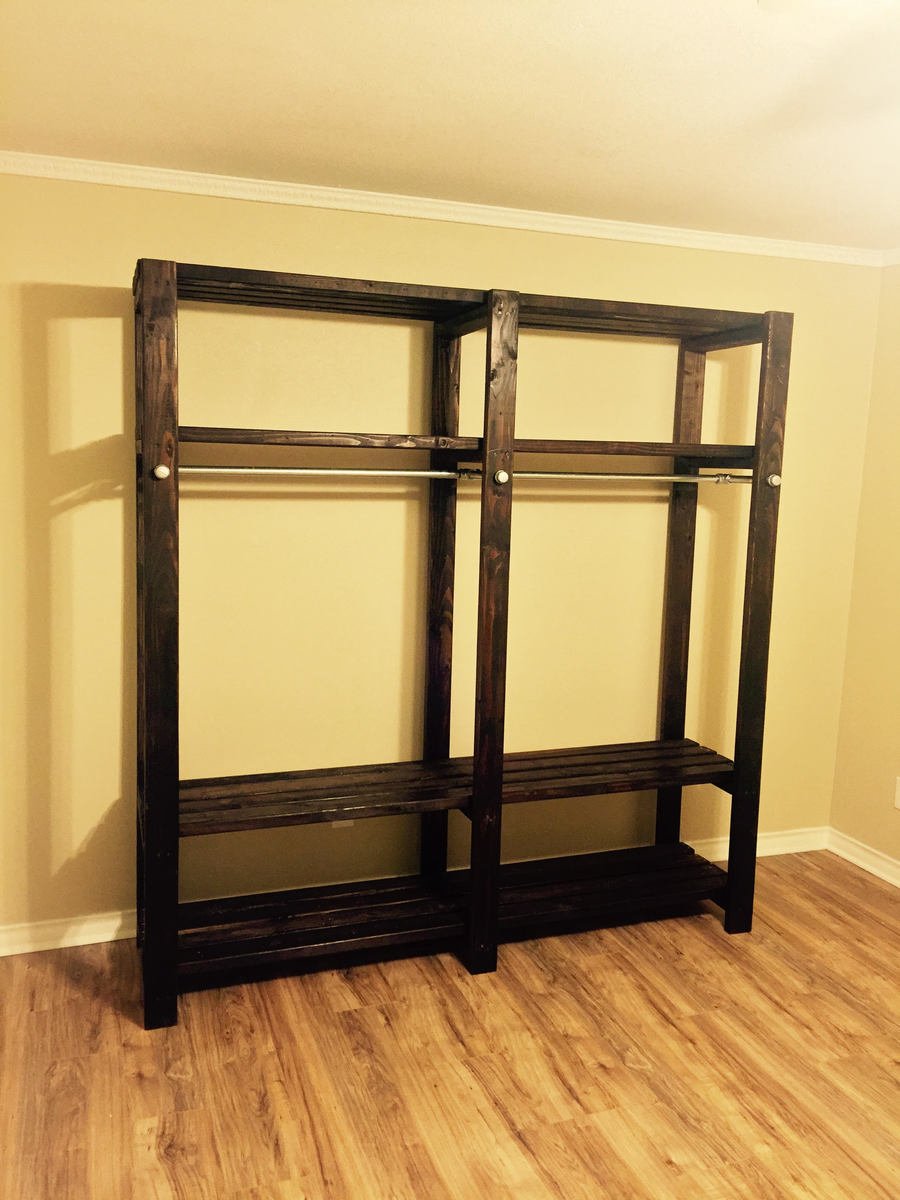
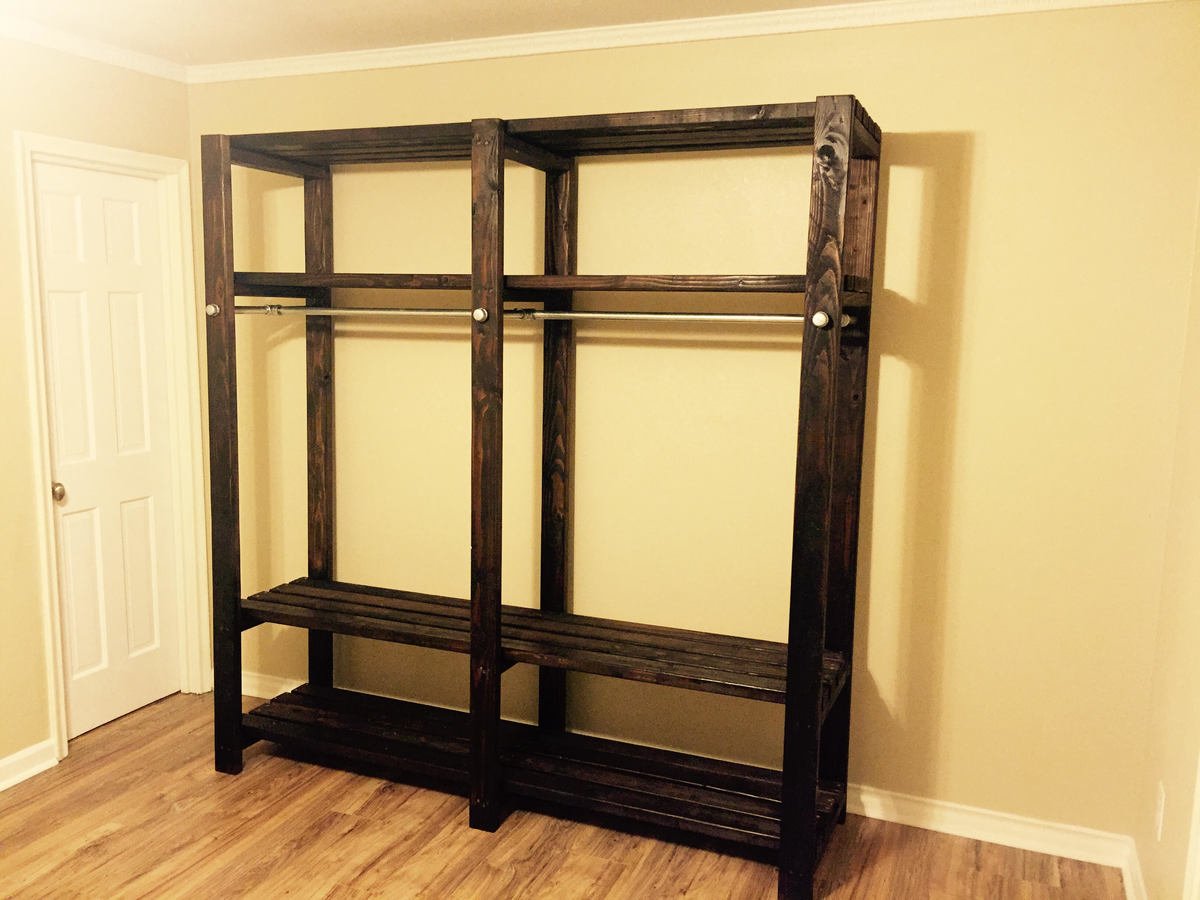
I built this closet for a room in a newly renovated house which was improved from a 3BR to a 4BR but the new additional BR didn't have space for a closet. The entire closet is made of only cheap 2X4's and galvanized pipe found at the local hardware store.

The user didn't need the middle shelves so I modified the original plans to make it shorter in width but 4 inches deeper by using 10" nipples instead of 8". I sanded and stained all the 2X4's first before doing anything. Then I created the 3 legs first (end boards - 82" inside boards - 17.5"). Once the legs were ready, I cut the boards for the shelves at 79" (4 boards for each shelf, evenly spaced out). Before putting the shelf on the legs, I laid each leg on the ground and unscrewed one side of the shelf and added wood glue in the hole, then screwed it back in to increase stability. Next, drill the pipe holes evenly and connect the pipe. Once the pipe is connected, place (4) 79" 2X4's evenly distributed on each shelf and drill 2 screws from the boards into the bottom of the legs on both ends and the middle to stabilize the shelf. From here, I took some pledge and wiped it down which smoothed down the surface. The longest part of the project was making sure the stain was dry and evenly applied.

I recommend using a miter saw for straight and smooth cuts and take the time to sand the wood (even the ends after you cut it).

2X4 Studs - 28
10" 3/4" Galvanized Pipe - 6
36" 3/4" Galvanized Pipe - 2
3/4" Galvanized Pipe T - 2
3/4" Galvanized Pipe Cross - 1
3/4" End Caps - 6

Pipe Wrench for tight connections
2.5" Screws (Drill pilot holes for everything)
1 1/8" drill bit for each hole
Stain - Minwax Espresso
Wood Glue
Built from Plan(s)
Estimated Cost
Less than $200
Estimated Time Investment
Weekend Project (10-20 Hours)
Finish Used
Minwax - Espresso
Recommended Skill Level
Beginner

Comments

Ahc0037

Mon, 02/29/2016 - 12:35

I accidently added this project without logging in so it shows it as Guest. Is there anyway to assign it to my username so if there are questions, I will receive a notice about it.

Ahc0037

Mon, 02/29/2016 - 12:36

I accidently added this project without logging in so it shows it as Guest. Is there anyway to assign it to my username so if there are questions, I will receive a notice about it.

King Bed Frame for adjustable base

Submitted by Anonymous (not verified) on Tue, 10/08/2019 - 05:50

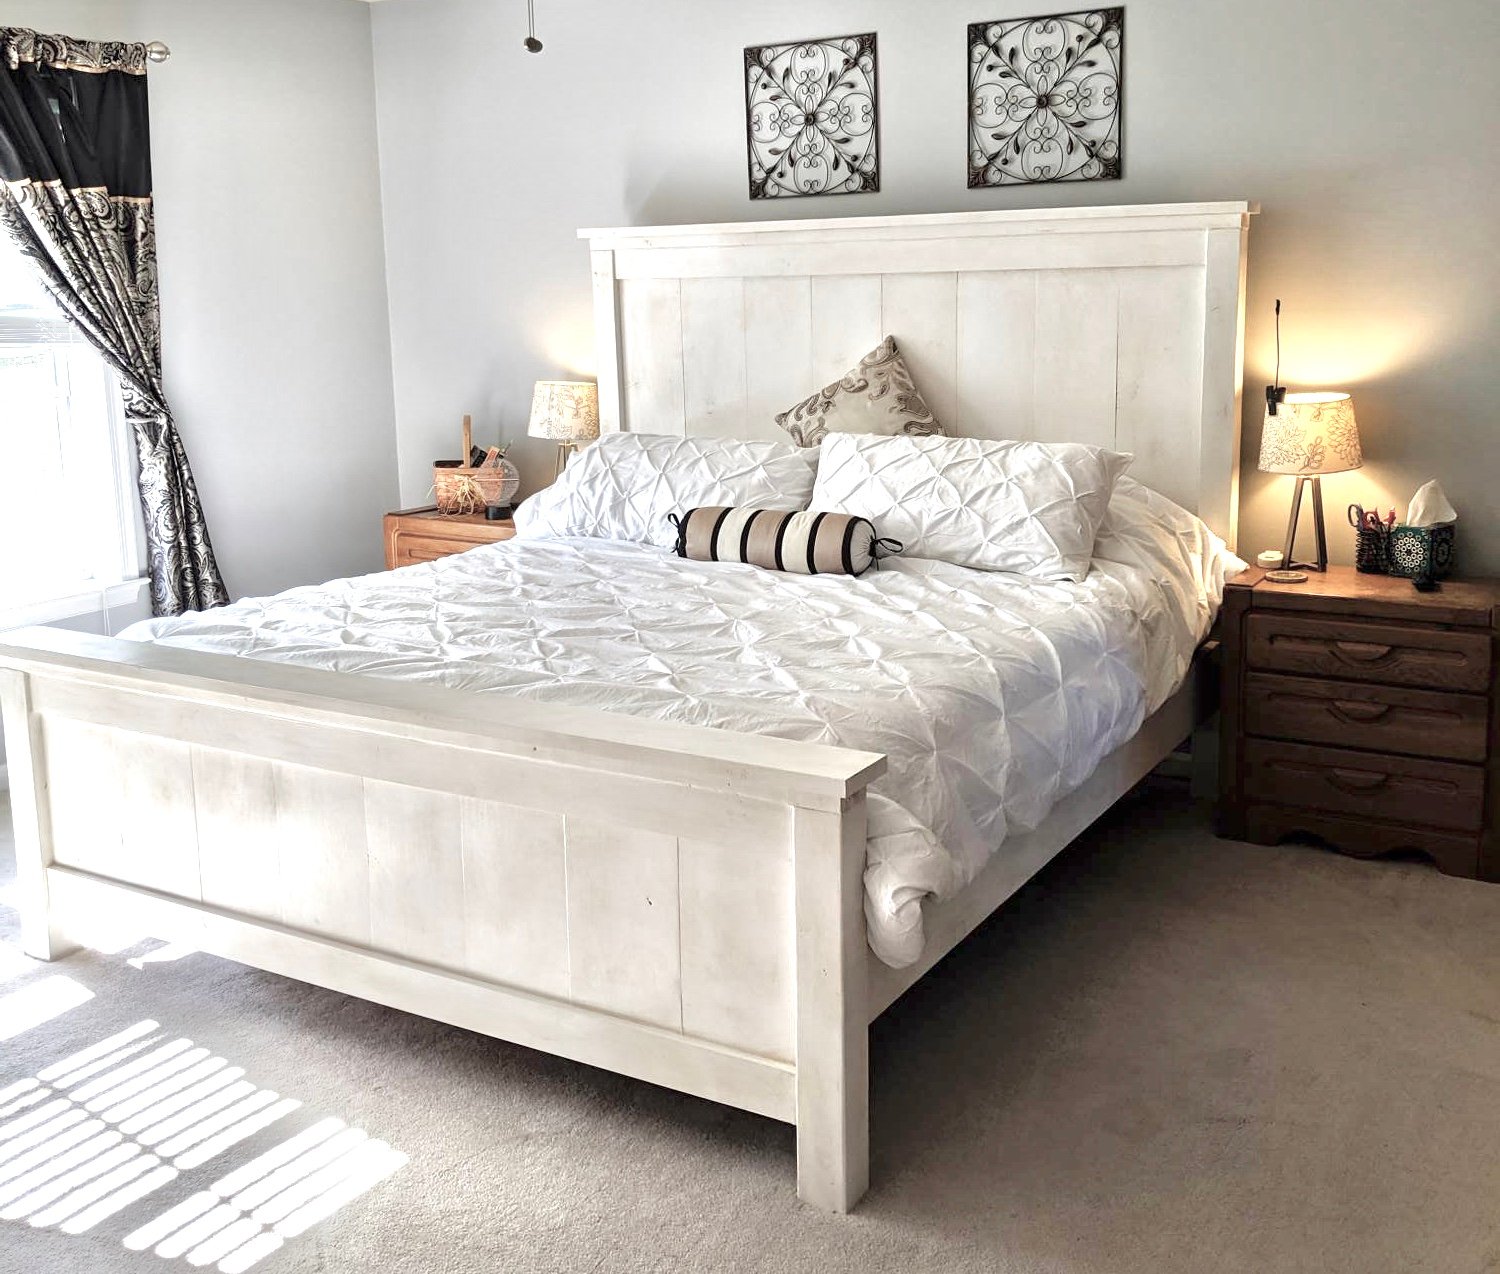
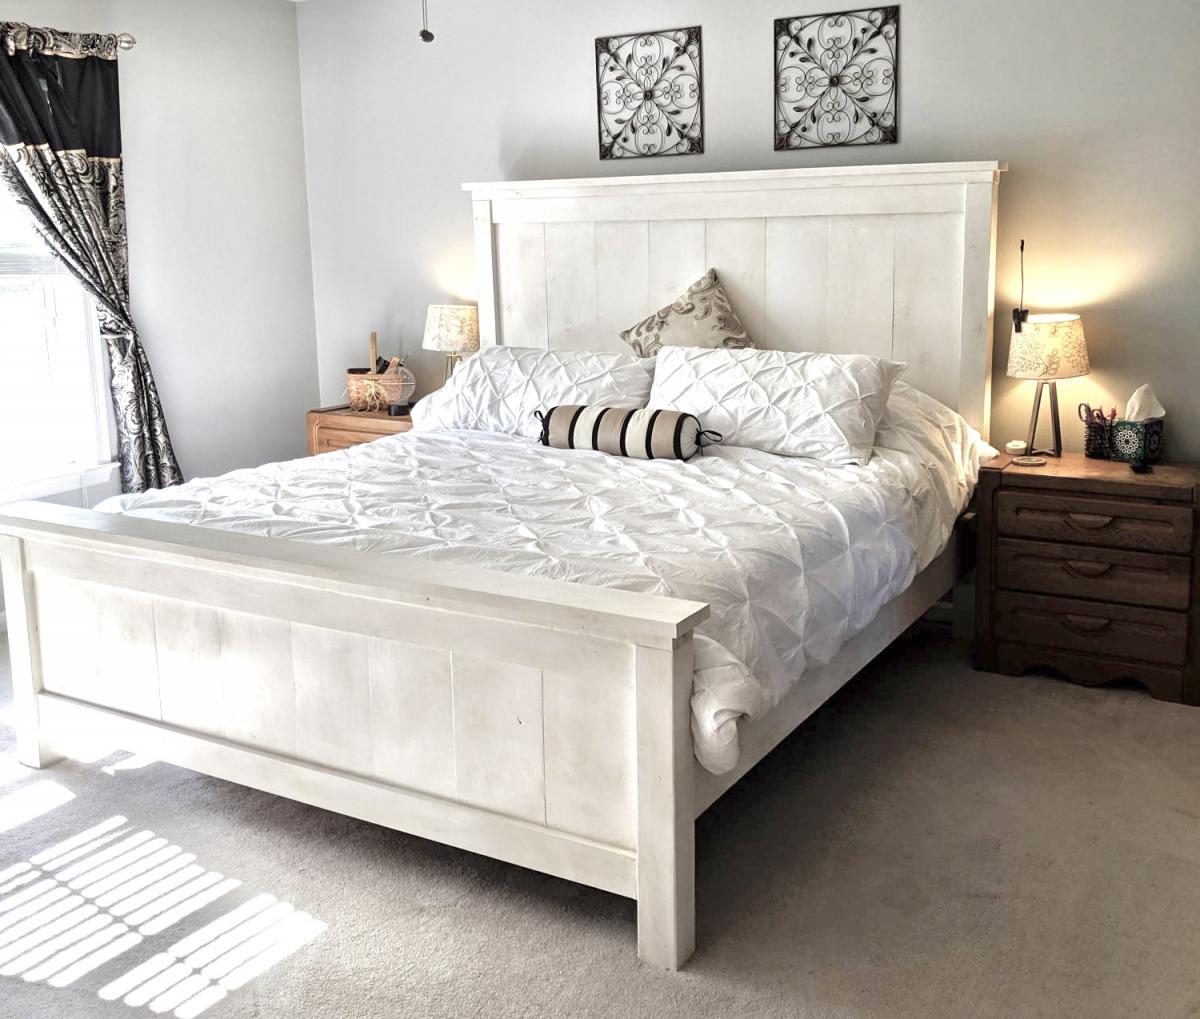
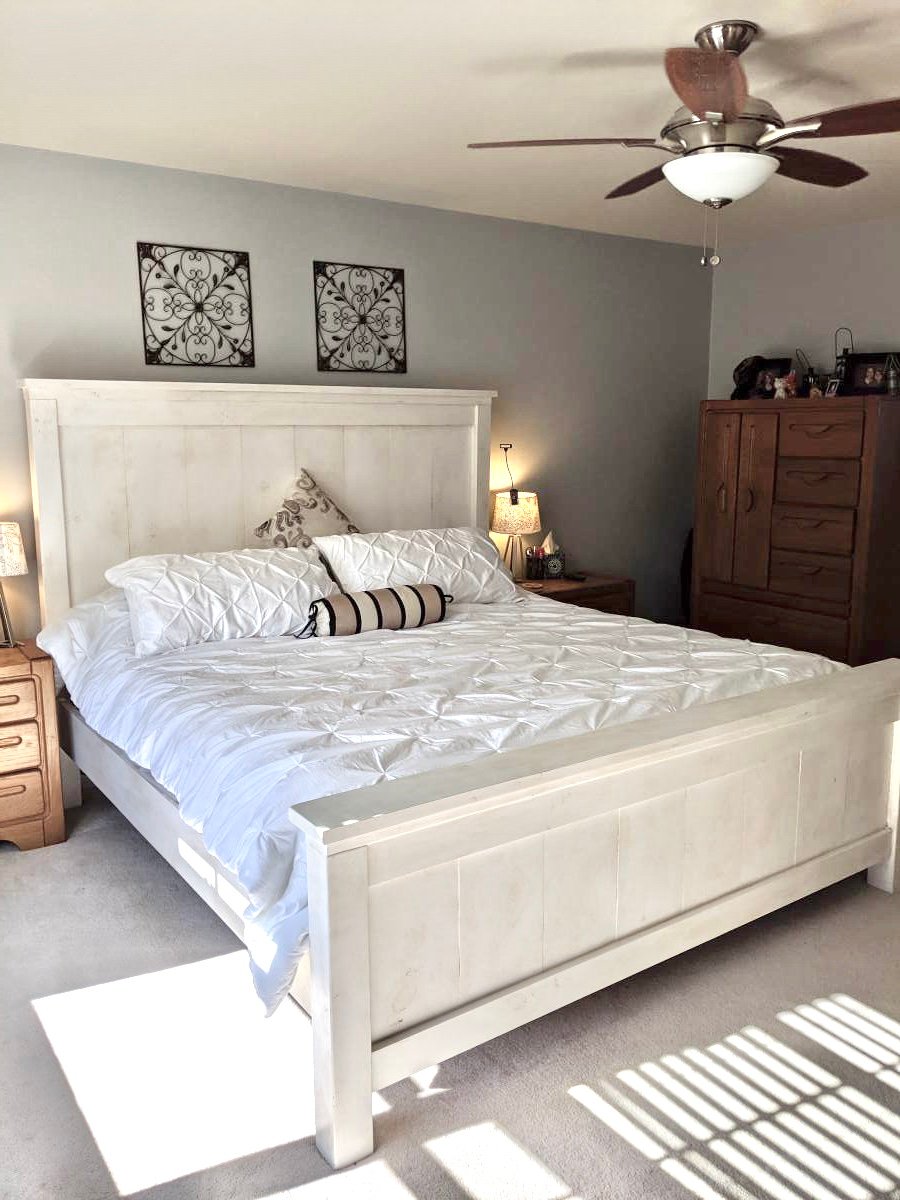
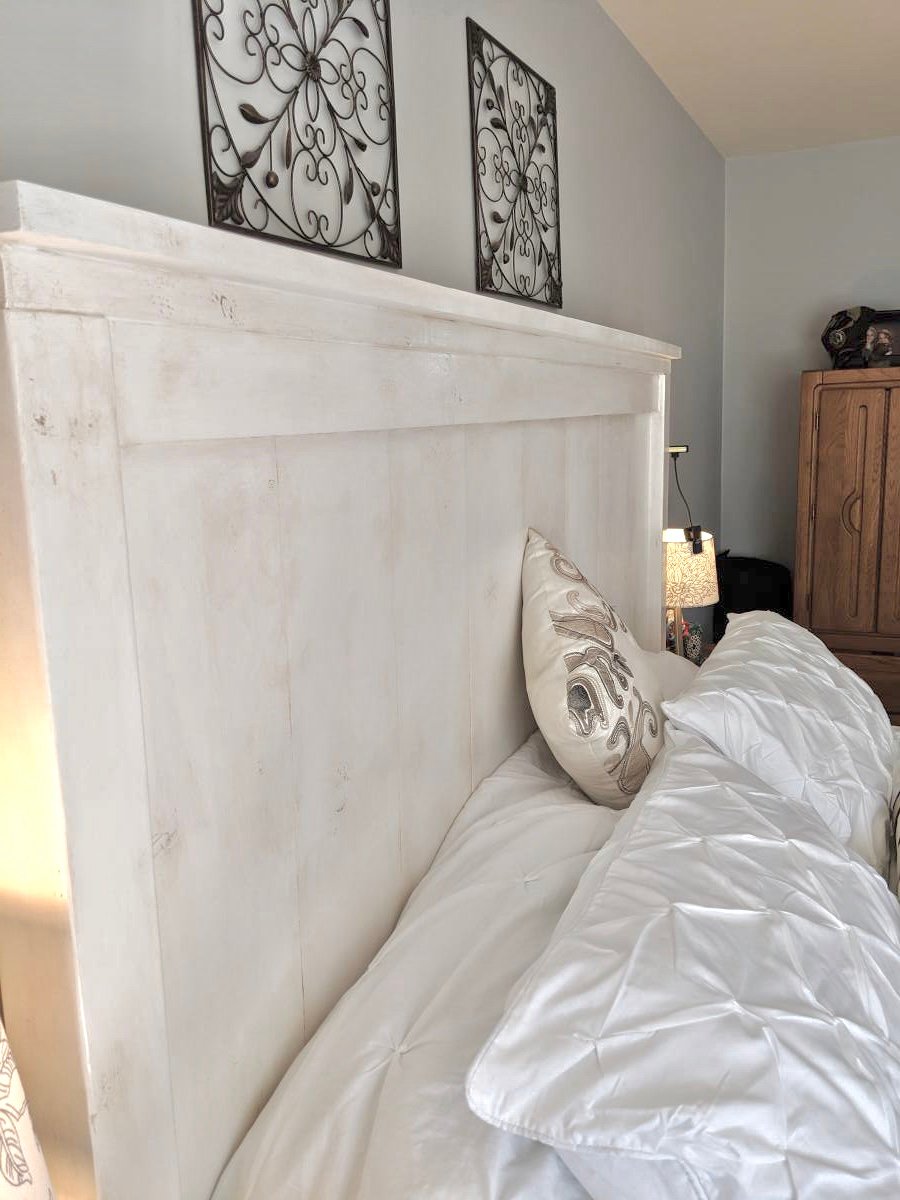
I could not find a frame which would accommodate my new adjustable king base. Modified Anna's plans by increasing the height of the headboard and footboard. Finished with chalk paint and antique finish for a rustic look. Side rails attached with mortises to allow for moving bed in 4 pieces if needed. Love my new bed

Estimated Cost
$300
Estimated Time Investment
Weekend Project (10-20 Hours)
Finish Used
Chalk paint (purchased from Habitat for Humanity re-store) using recycled paint. Finished with three coats of Annie Sloan wax
Recommended Skill Level
Intermediate

Comments

khowe791

Sat, 11/30/2019 - 03:31

Hi! We are making this headboard this weekend. We want to increase the headboard height and footboard as well. Do you happen to know the cut measurements or how you adjusted the height of the 1x6 (or 1x8 as others used) to make it work? Yours looks perfect! Thank you in advance for any feedback! 

Blanket Chest and DVD Shelves

Submitted by Robinwood on Tue, 02/14/2012 - 19:55

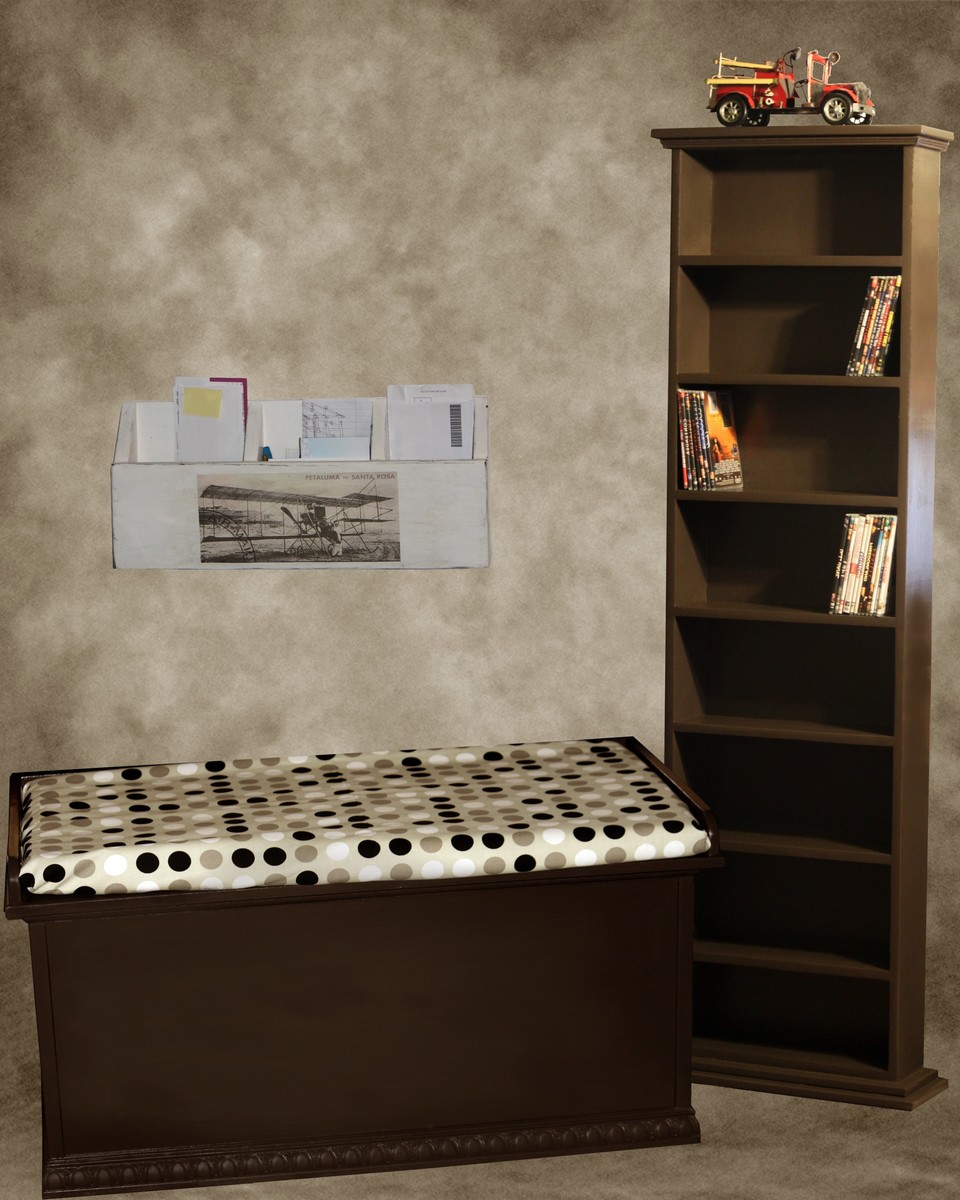
These were all Christmas projects...My daughter needed a blanket chest, so I used Anna's Toy Chest plans - modifying them to add a lid (which also functions as an extra seat). I made the dimensions larger because she had some really large blankets to store and also added some fancier trimming. Her husband wanted DVD storage in their room, so I built the cabinet and painted it to match the blanket chest. I do most of my building in the evenings, so it took a couple of days to build these - the finishing took the most time over several evenings. Also shown is the mail organizer, with an airplane motif because of my grandson's love of airplanes.

Estimated Cost
$100.00
Estimated Time Investment
Week Long Project (20 Hours or More)
Finish Used
Paint and polyurethane finish
Recommended Skill Level
Intermediate

Comments

Sandie

Mon, 02/20/2012 - 14:48

You did a great job on all of it! I especially LOVE the brown color!!

relye4b5

Tue, 03/12/2013 - 19:42

This looks amazing! I'm wanting to do something similar... a 28"x41" toy box that could double a a lounge seat. Would you be willing to share your plans for the lid addition? I really love the lip on the lid to keep the cushion in place!

Robinwood

Mon, 04/01/2013 - 12:56

Sorry, I hadn't noticed there was a new comment. I am one of those who just look at something or see a need and form plans in my head (I'm not good at writing them); so I don't have any plans. I just cut the lid so that it would overhang an inch on the ends and front. Then I cut a 1x2 the length of the lid and attached it on top of the lid at the back (the 3/4 side against the wood). The 1x2's for the end of the lid were cut to fit; the fronts rounded with a jig saw; then attached. I hope this helps.

DIY Sofa - Storage Sectional

Submitted by LittleG on Thu, 08/09/2012 - 15:38

Basically I took Ana's plan and tweaked it to create a diy sofa, a love seat, and a corner piece to make a sectional. All 3 pieces have the same basic design and function (they all have a storage compartment), although the corner piece, because of its placement and the thickness of the seating cushions, doesn't open unless the couch is opened first. We purchased custom cut, 6" thick foam cushions for the seats (we bought the XL-38 foam from https://www.buyfoam.com/, but if we had to do it again, we'd go with the XL-28 as the 38 is VERY firm). We also used upholstery fabric instead of a paint drop-cloth to cover the couches. The foam and upholstery fabric upped the overall cost significantly. Other changes from Ana's plan, I used 15/32" OSB because the 1/4" plywood just felt too flimsy (I'm a large guy). I also added I bolts to the underside of the seat before the foam and upholstery so I could add a stress relief rope to prevent the kids from opening the top and dropping it and ripping out the hinges. I used piano hinges as they seemed to me to provide the most support. Finally, I ended up using 1x2s for the base trim since I couldn't find any 2x2s that were straight and finish-ready, then I added router detailing to provide some visual interest. I used 3" pieces of 4x6 for the feet and added matching router detail. Additionally, I used T-Nuts and bolts to make the feet and base trim completely removable.


Built from Plan(s)
Estimated Cost
$1300
Estimated Time Investment
Week Long Project (20 Hours or More)
Finish Used
Minwax PolyShades Espresso
Recommended Skill Level
Intermediate

Comments

masmith38

Fri, 10/23/2015 - 11:11

Love this!  Totally want to think hard about doing this instead of buying when time for a new couch comes. Job well done, and the storage is a total plus.  

Chased

Sun, 05/15/2016 - 21:15

Where can I find the plans to this or the cut list

mikeyb

Mon, 10/03/2016 - 18:11

Awsome job!!! question? is that a typo on the cost to build??

mikeyb

Mon, 10/03/2016 - 18:12

Awsome job!!! question? is that a typo on the cost to build??

albertmick30

Mon, 08/17/2020 - 07:46

It is superb blog and i really appreciate your blog. It is because i always like the informative blogs. You did a great job and thanks for sharing.I am impressed by your post. It contains very informative data and i gain a lot information from it. It is very useful for me. Thanks for sharing and keep on sharing that type of posts.The Mobile App Developer Dubai provides good service you visit here site https://www.mistersaad.com/

Simple Outhouse

Submitted by Anonymous (not verified) on Thu, 06/18/2020 - 13:45

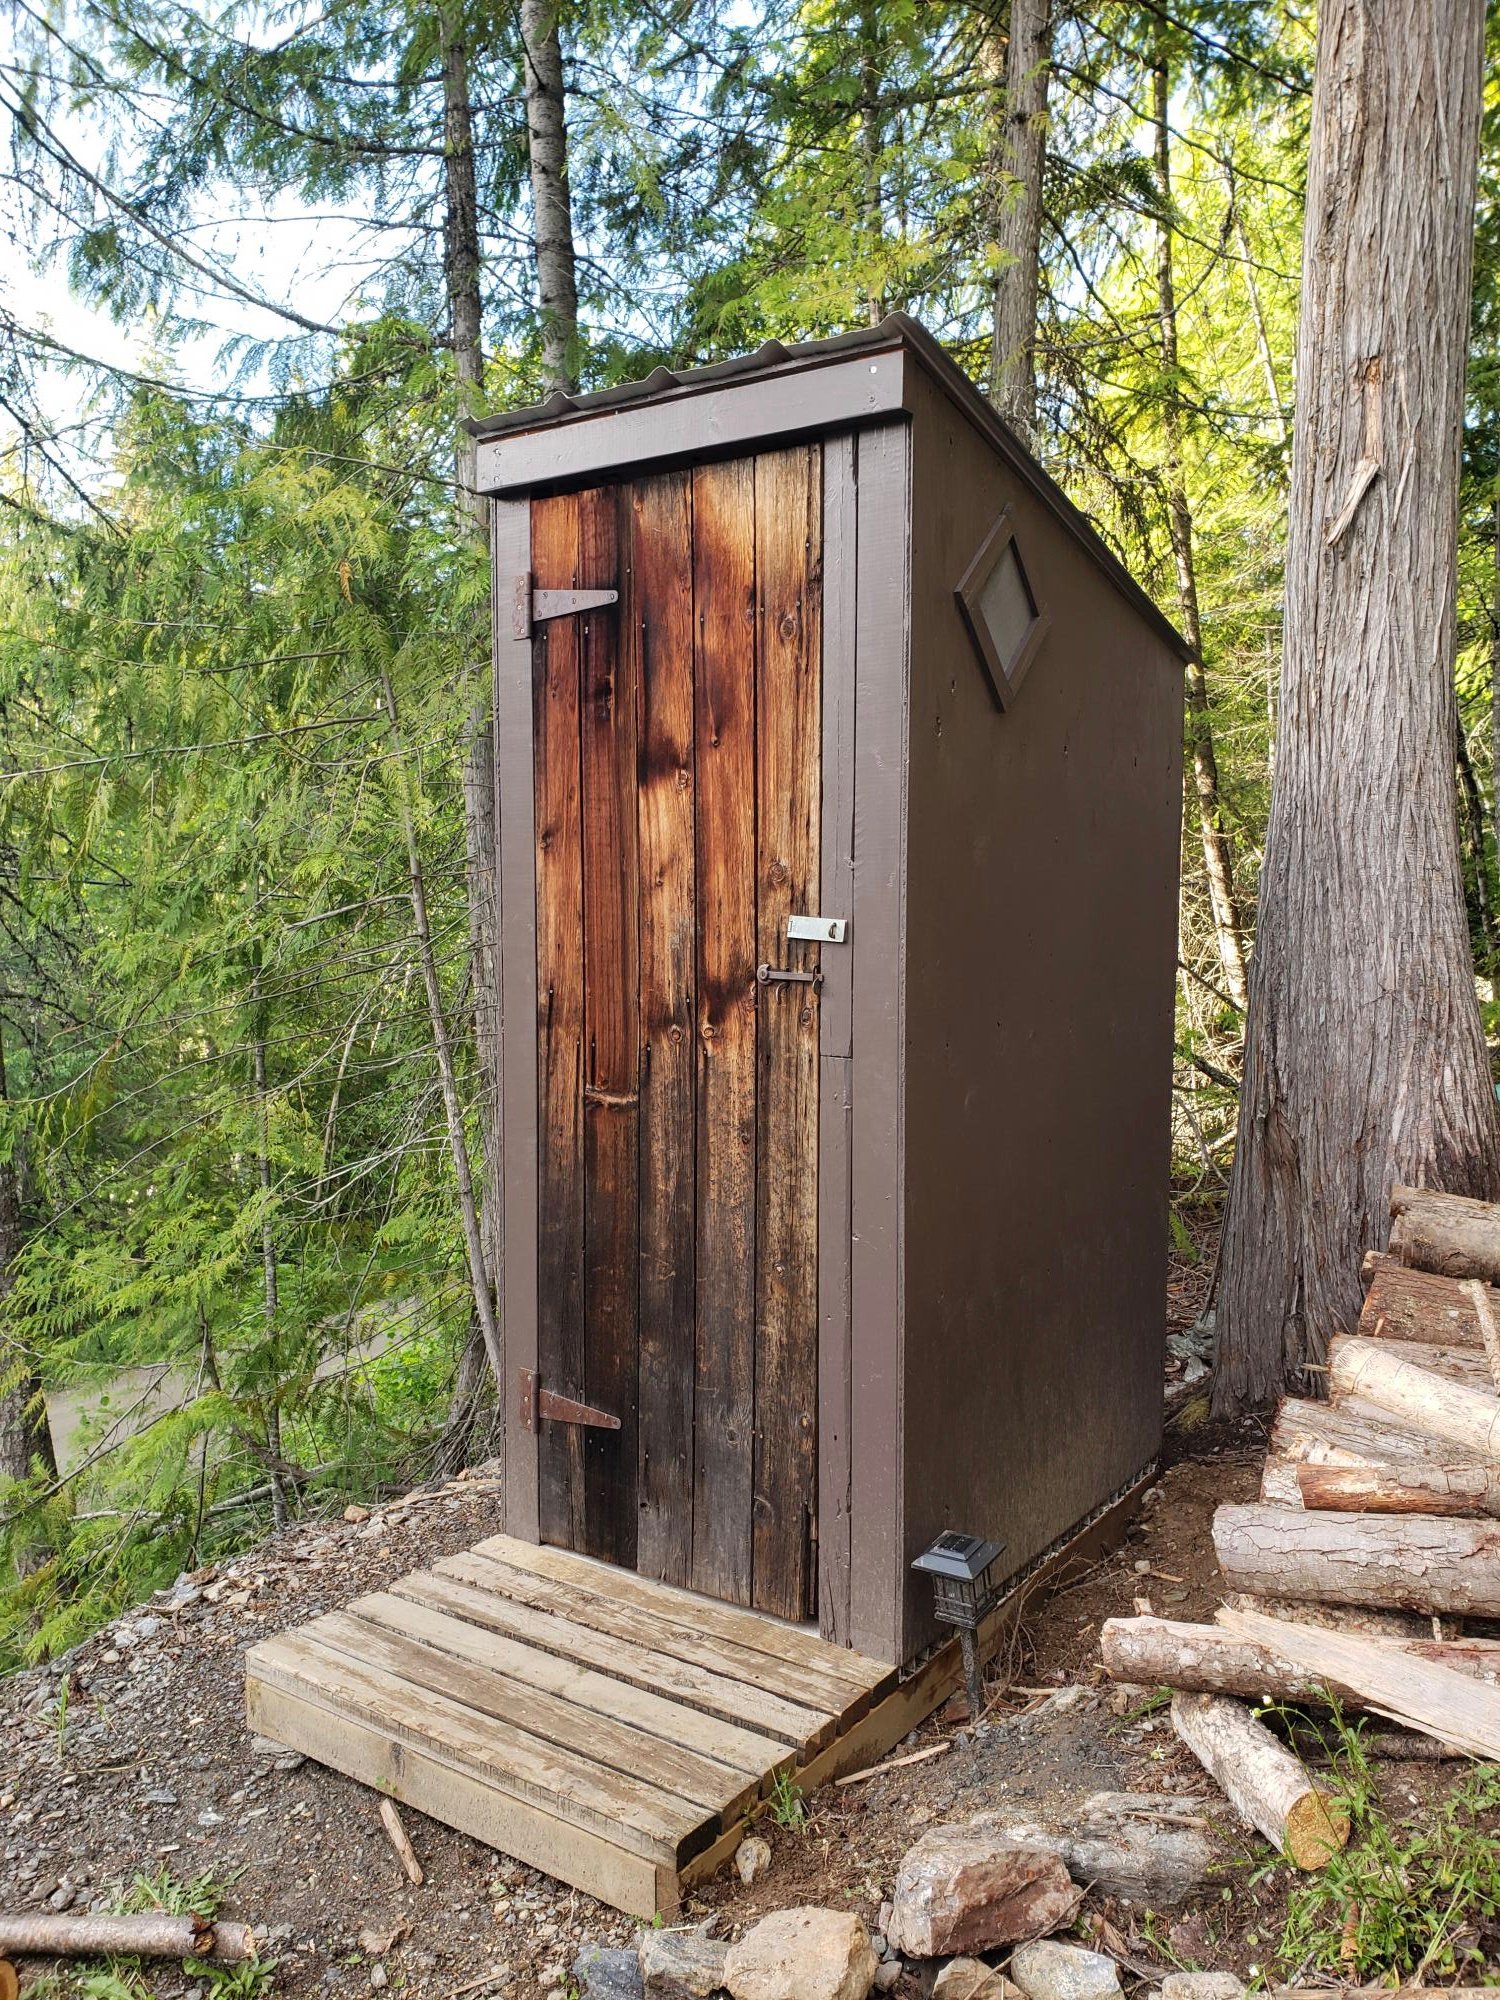
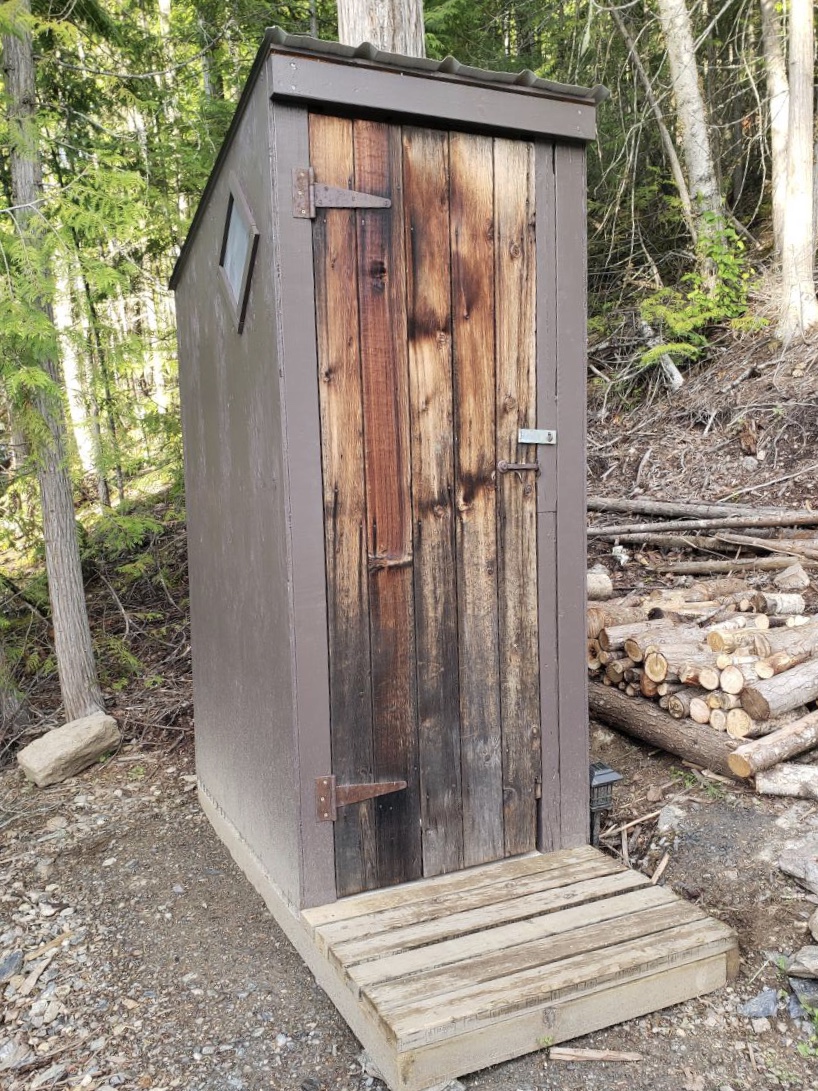
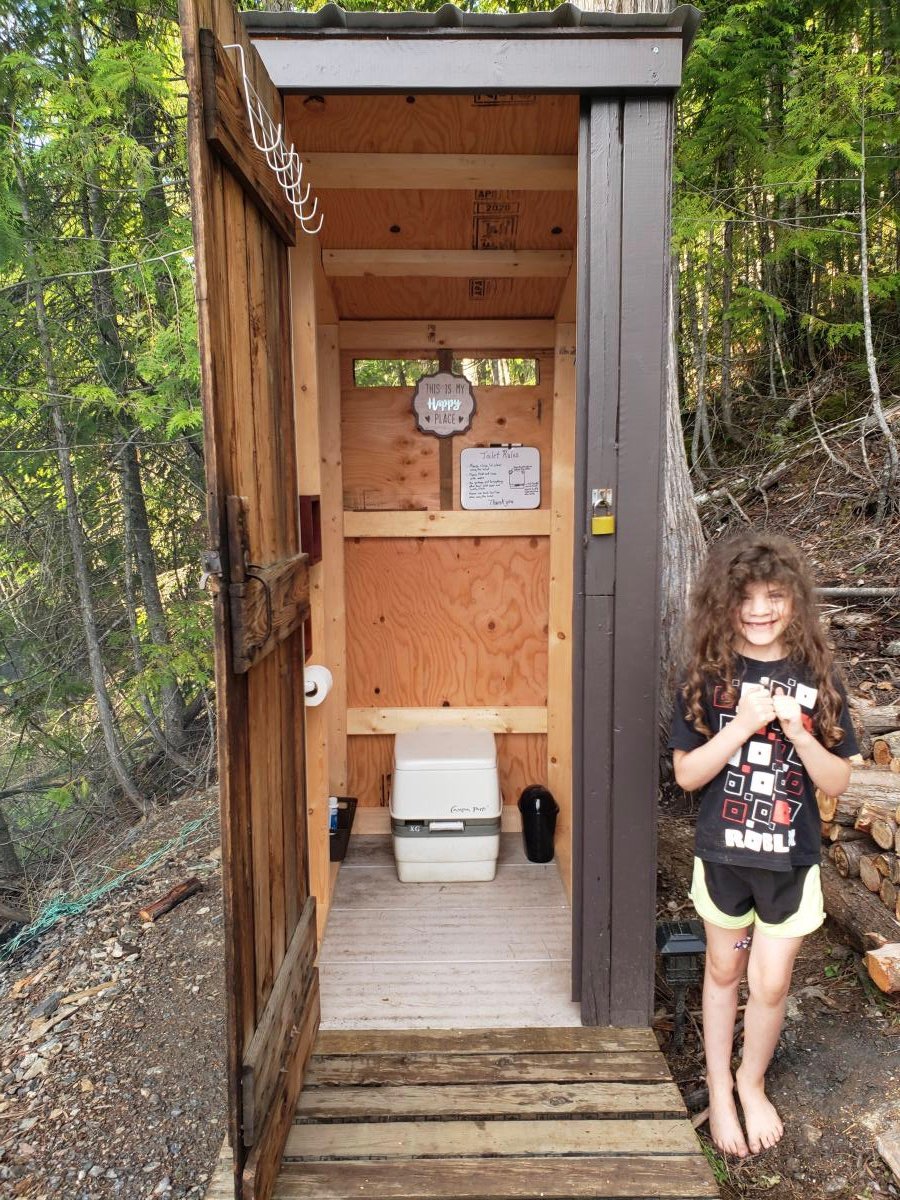
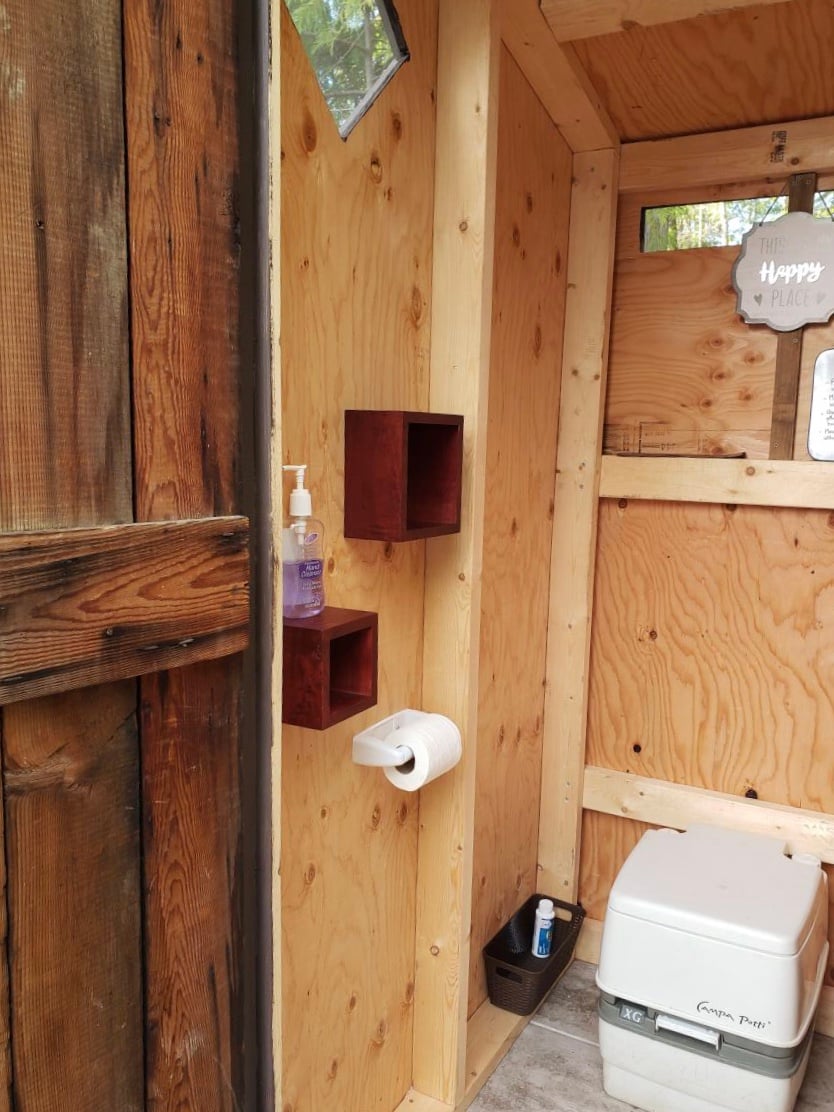
We used the plans from the Simple Outhouse to make a space to hold our porta potty. The door is a repurposed barn door and I think it looks amazing! These plans were perfect for us as we were able to build it in panels and reassemble on our property by the lake. Some screened windows to allow for ventilation and light were the finishing touches. Thanks Anna for the simple to follow plans!

Built from Plan(s)
Estimated Cost
$200 Canadian
Estimated Time Investment
Weekend Project (10-20 Hours)
Finish Used
We used pressure treated wood for the base and deck. For inside, we repurposed some scraps of composite decking. Painted with exterior latex "driftwood".

Garden Shed

Submitted by Deborah on Sat, 08/18/2012 - 23:01

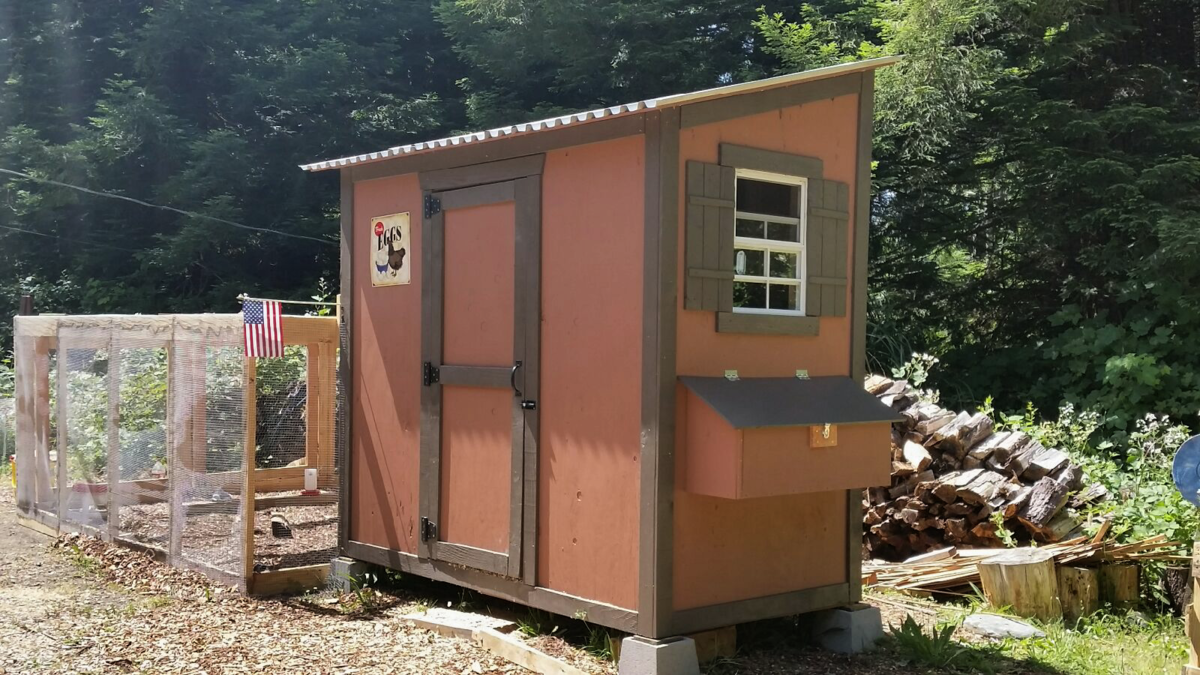
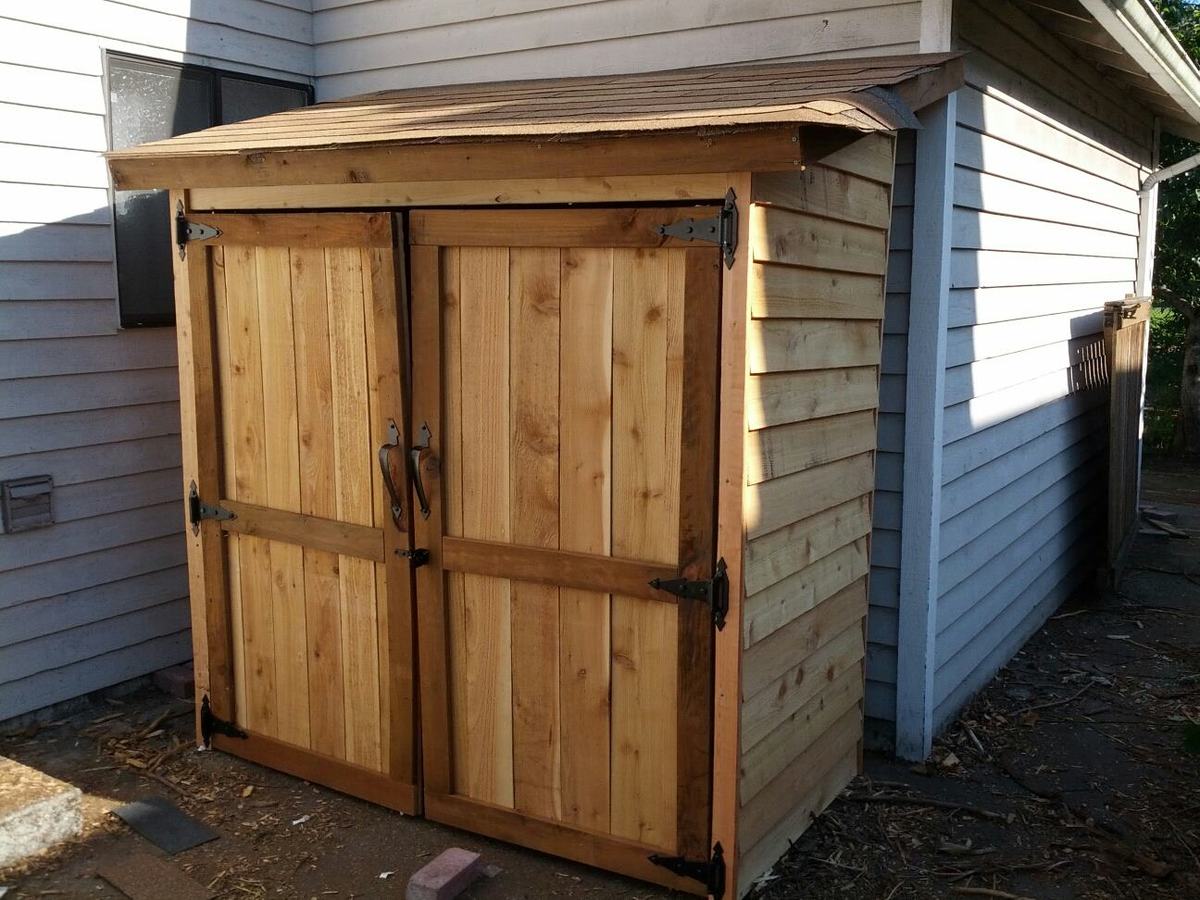
I have been dreaming about building so many things featured on this website, and I finally buckled down and built something. I figured that an outside garden shed would be a bit more forgiving than a project requiring a bit more precision, and from the picture, you can see that it's not perfect! I'm still working on trimming the shingles and I still have to stain/seal it. I've got to admit, when I first picked up the wood for the project at the store, I wondered what I had gotten myself into. But I just jumped in, and here it is.

Built from Plan(s)
Estimated Cost
$300
Estimated Time Investment
Weekend Project (10-20 Hours)
Finish Used
Plan to stain it with some sort of deck stain.
Recommended Skill Level
Beginner

Comments

Outdoor Umbrella Stand

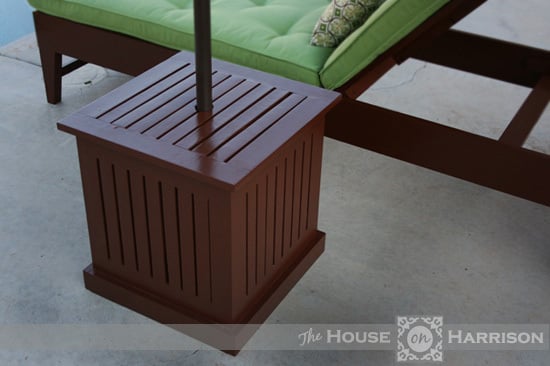
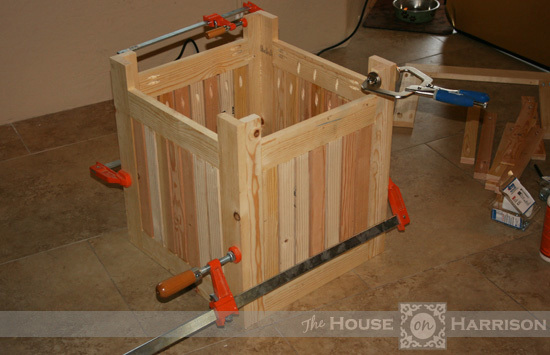
This was such and easy project. It went together in a few hours. The hardest (and most time consuming) part was finishing it. I detailed the build process on my blog if you'd like more info.

Built from Plan(s)
Estimated Cost
$30
Estimated Time Investment
Day Project (6-9 Hours)
Recommended Skill Level
Beginner
Seasonal And Holiday

Cedar Planter for Pole Beans

Submitted by swhitead on Mon, 07/20/2020 - 10:41

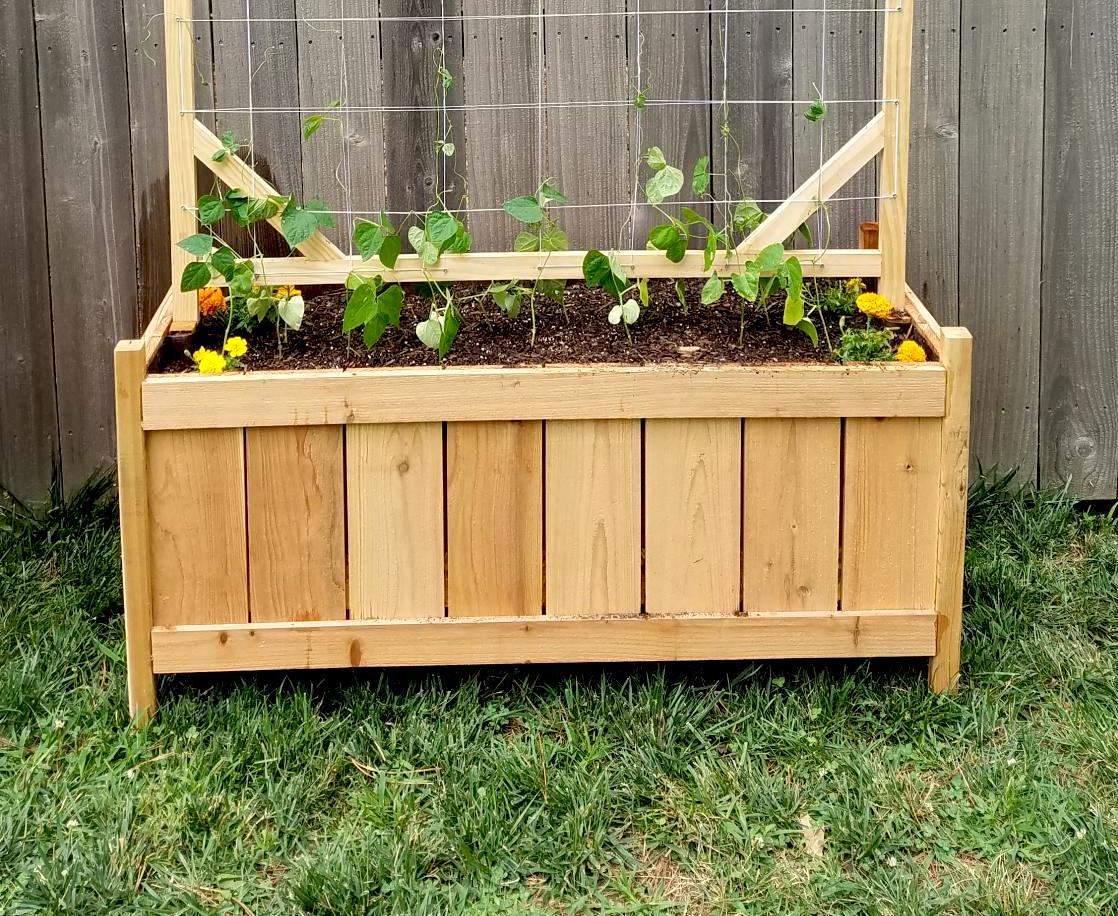
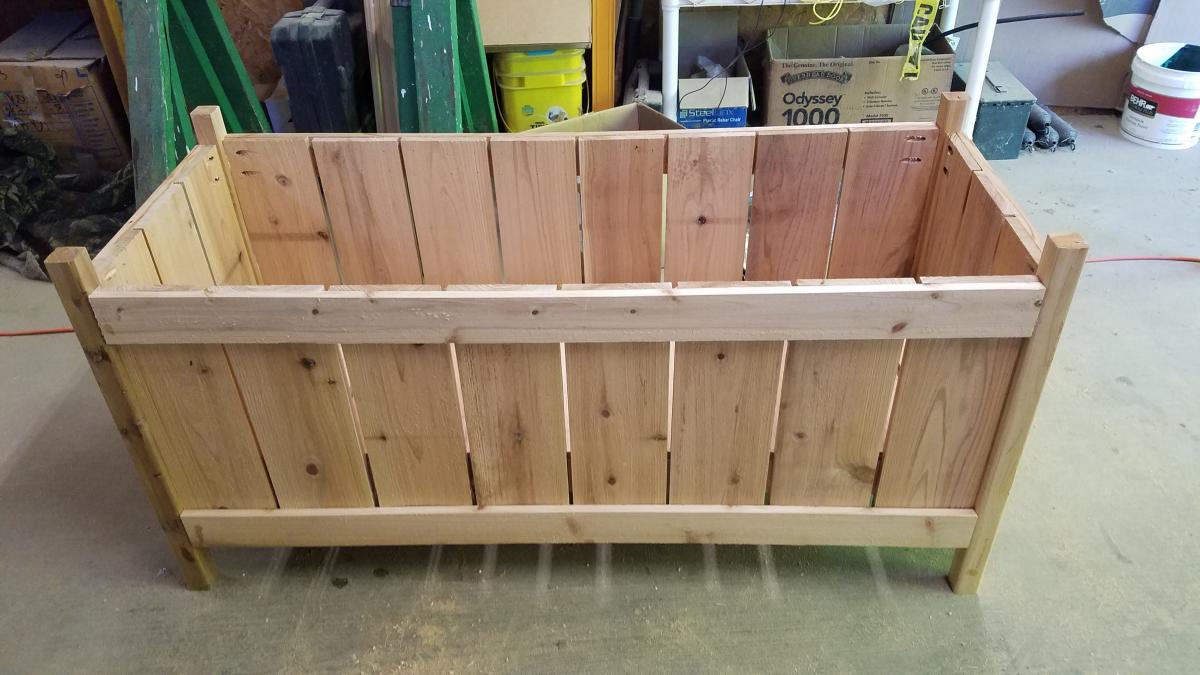
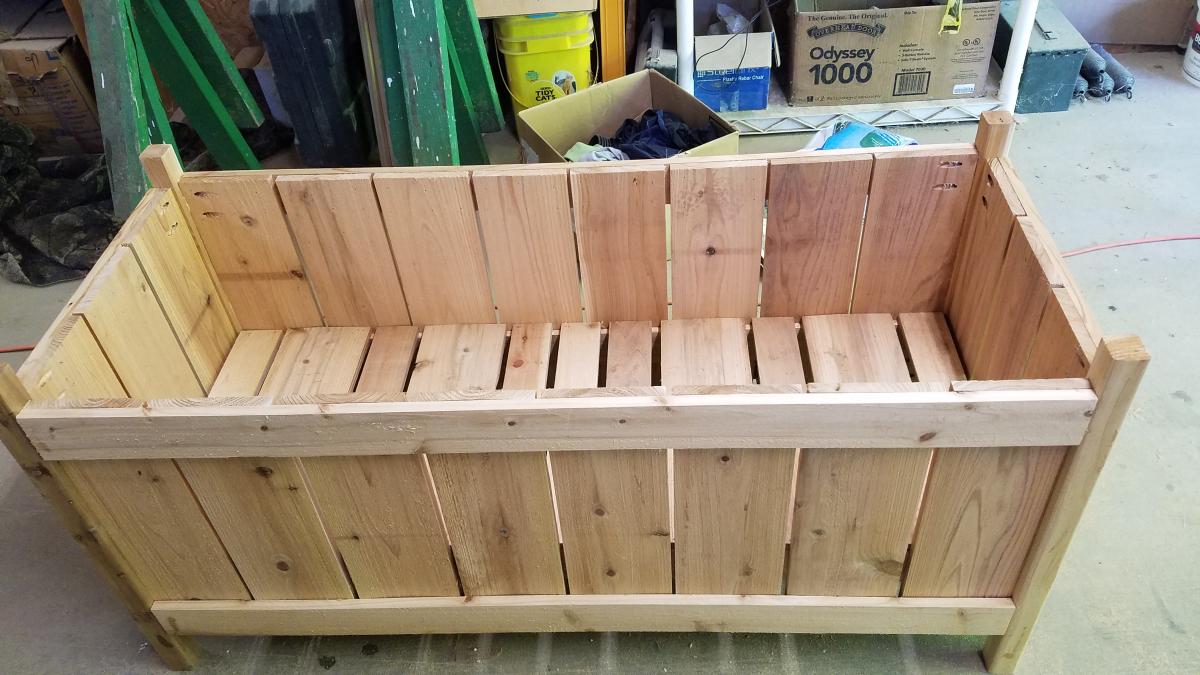
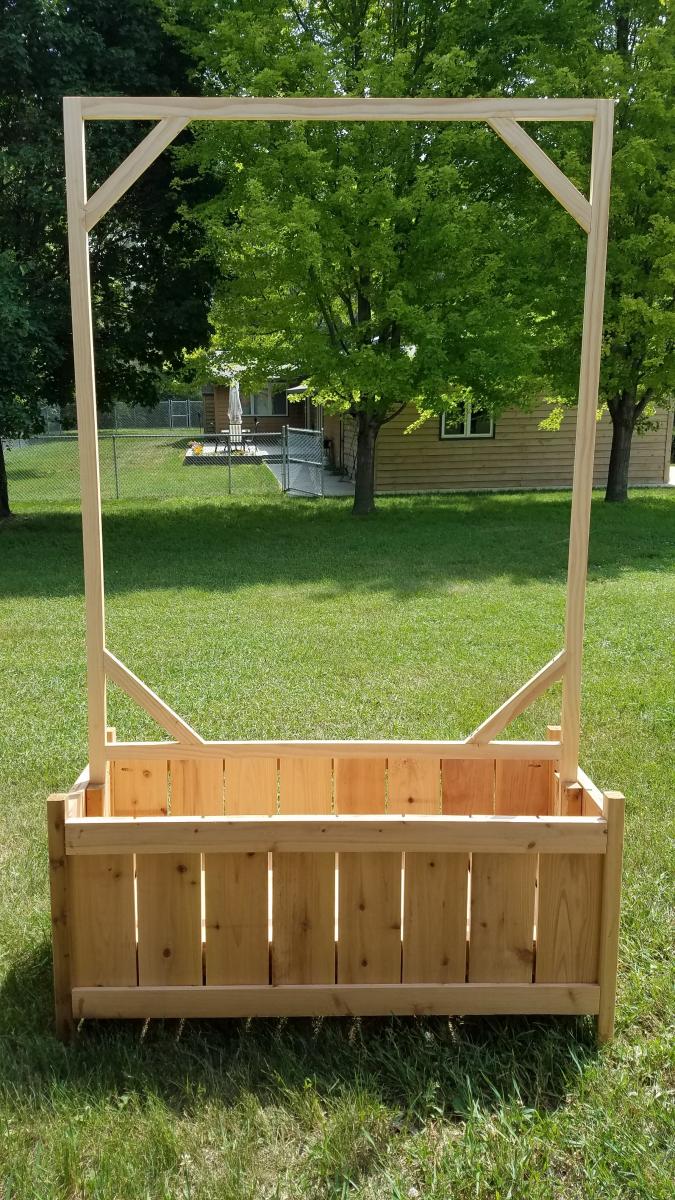
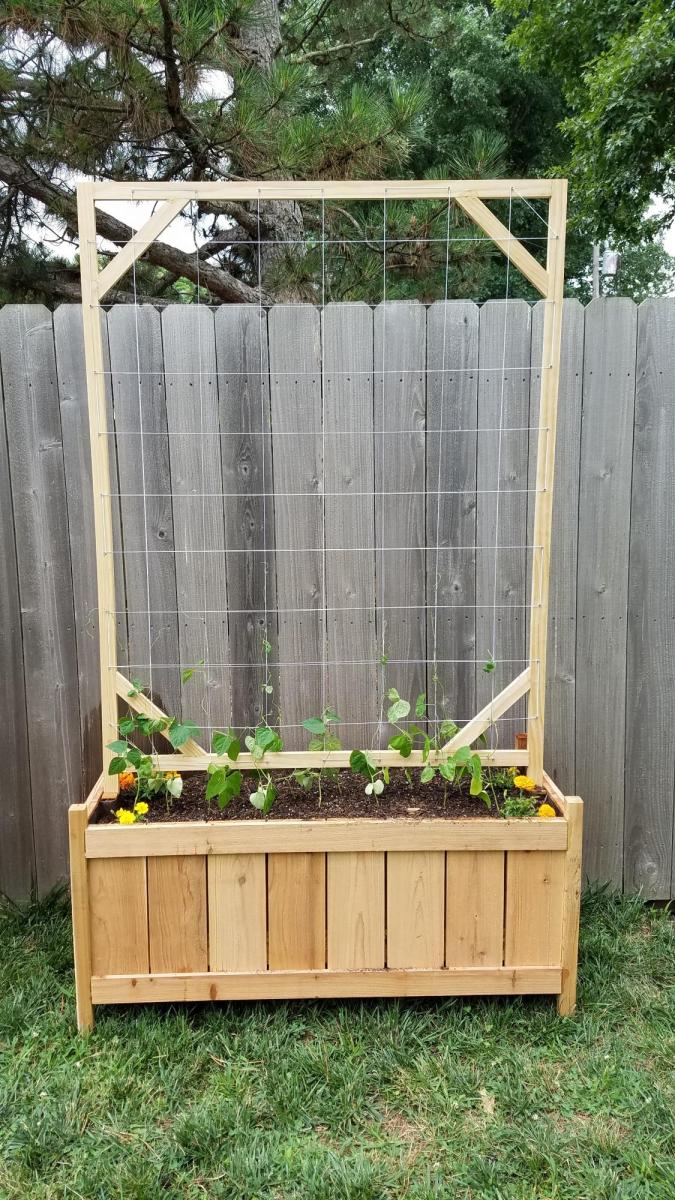
Increased width of box to 46" by using 8 fence boards instead of 3. put base at 12" down, lined box with landscaping fabric to hold dirt. Created trellis with 1x2 boards with 10" long corner braces, spaced screws 6" apart around edges and weaved cotton thread to create the trellis. Used 12" scraps of 2x2 to create a "slot" inside the center of the planter to support the trellis. Added container mix and green pole beans started in egg cartons earlier in the spring.

Built from Plan(s)
Estimated Cost
$35
Estimated Time Investment
Day Project (6-9 Hours)
Finish Used
None
Recommended Skill Level
Intermediate
Seasonal And Holiday

An Heirloom for the Niece

This is the 3rd wagon I've made.  It makes an excellent 'heirloom' gift that you can personalize for each recipient that will last for years to come and can be handed down through generations.  I decided to go with 5" wheels on my wagons.

Built from Plan(s)
Estimated Cost
$75-$100
Estimated Time Investment
Weekend Project (10-20 Hours)
Finish Used
Wagon: Minwax Early American on wood and Krylon Satin Black on Metal pieces. Wood letters and plaque: DecoArt Americana Lamp Black and Williamsburg Blue
Recommended Skill Level
Beginner

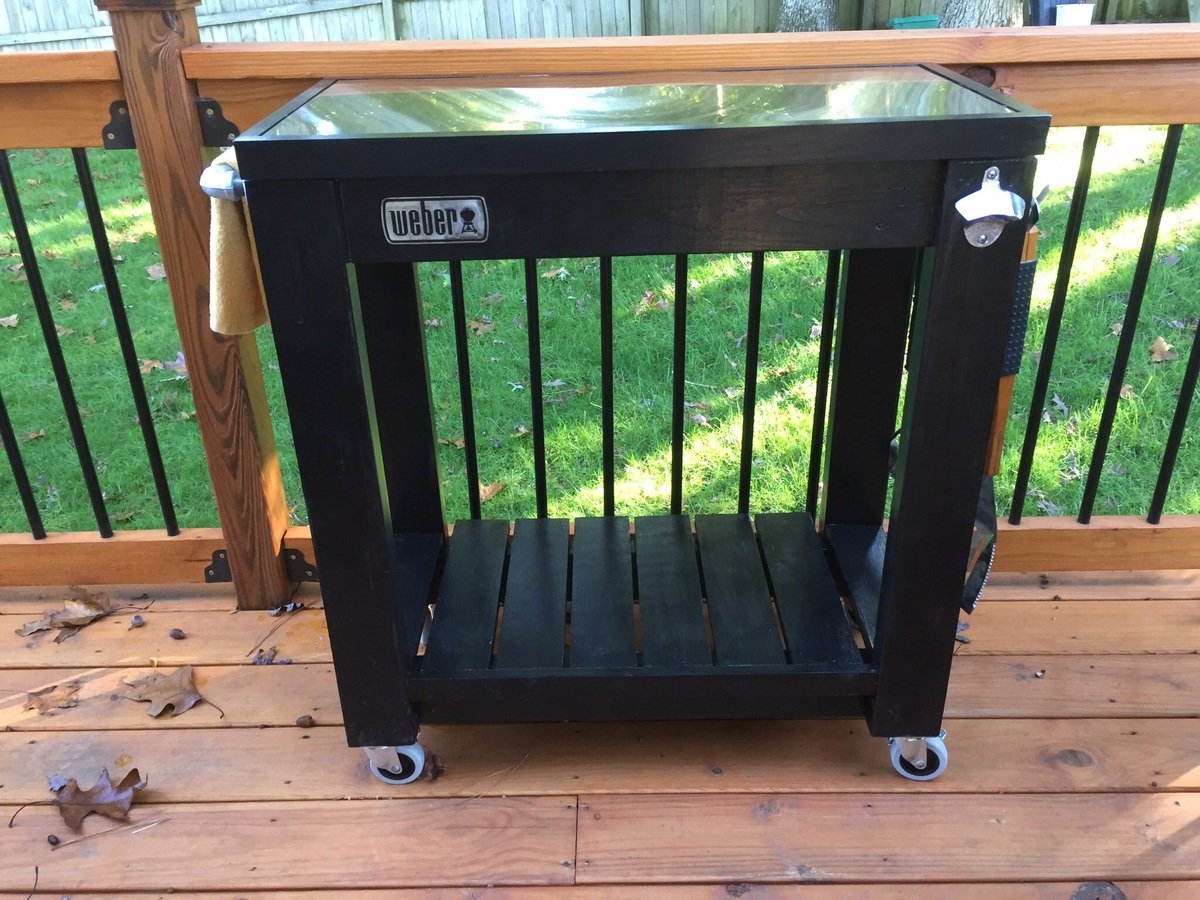
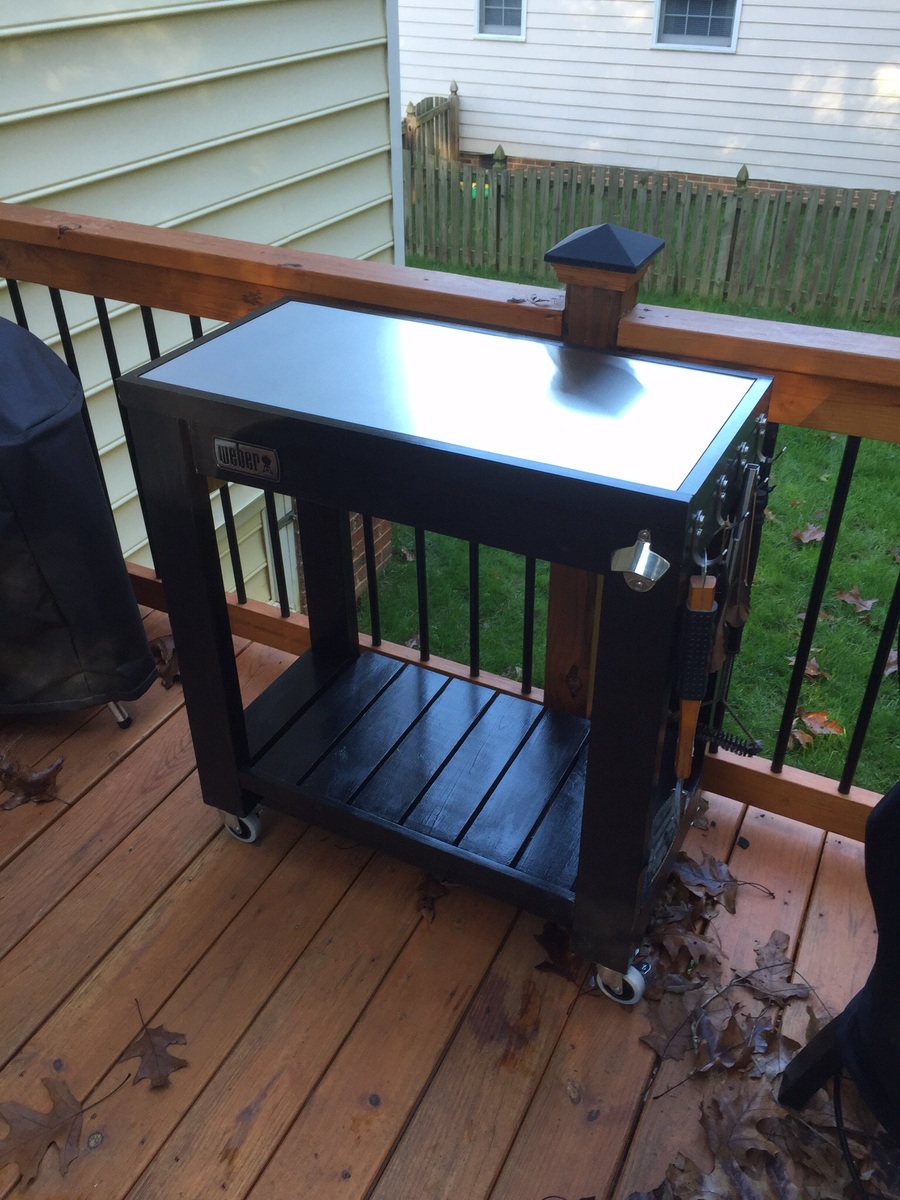
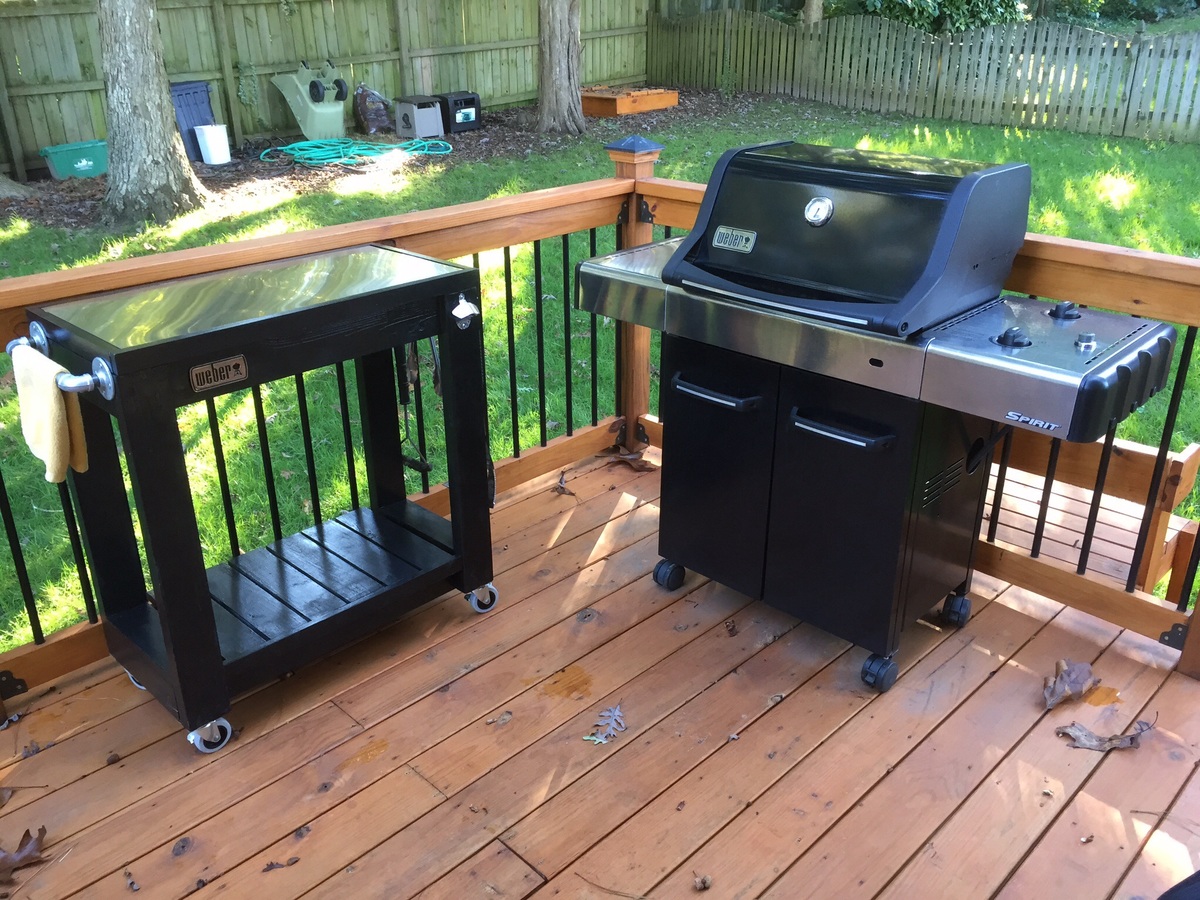
Rolling grill cart table

Submitted by kmatt55 on Sat, 10/18/2014 - 19:13

I made the countertop with 2 plywood boards screwed together and topped the stainless steel with heavy duty adhesive.  I adjusted the plans a little to accommodate my space.  Thanks for the plans!  It was a fun build!

Built from Plan(s)
Estimated Cost
$100
Estimated Time Investment
Day Project (6-9 Hours)
Finish Used
Glossy black exterior paint
Recommended Skill Level
Beginner

Backyard Bliss!

Submitted by kdins31 on Mon, 01/12/2015 - 09:26

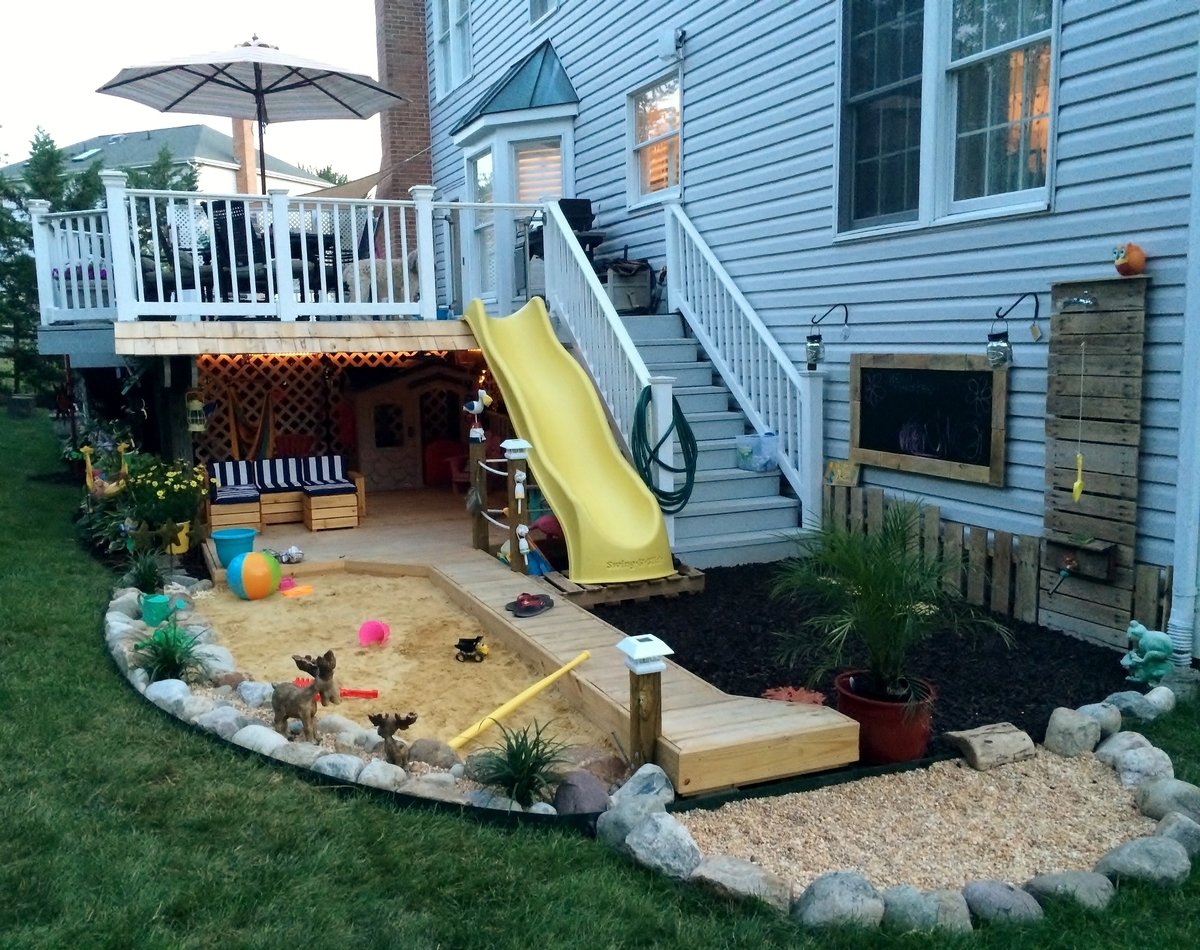
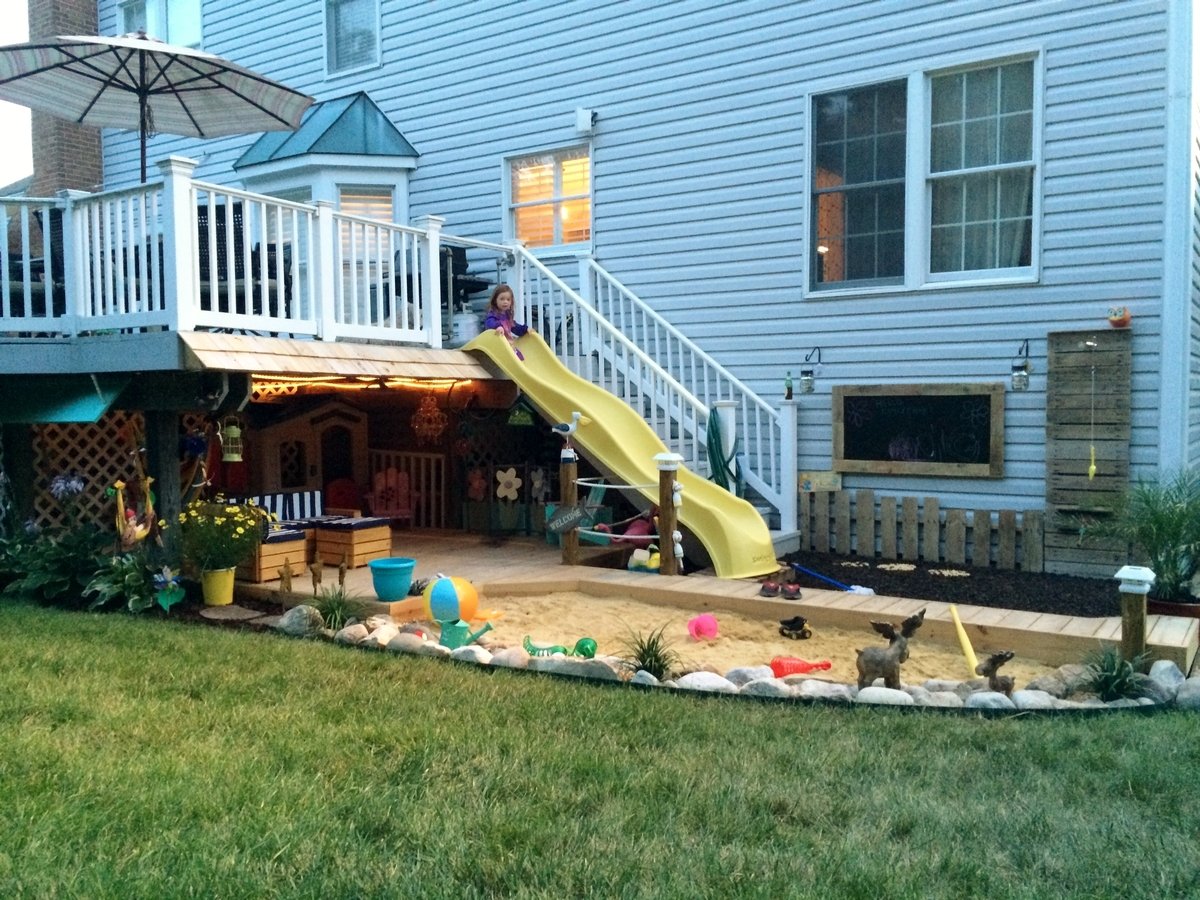
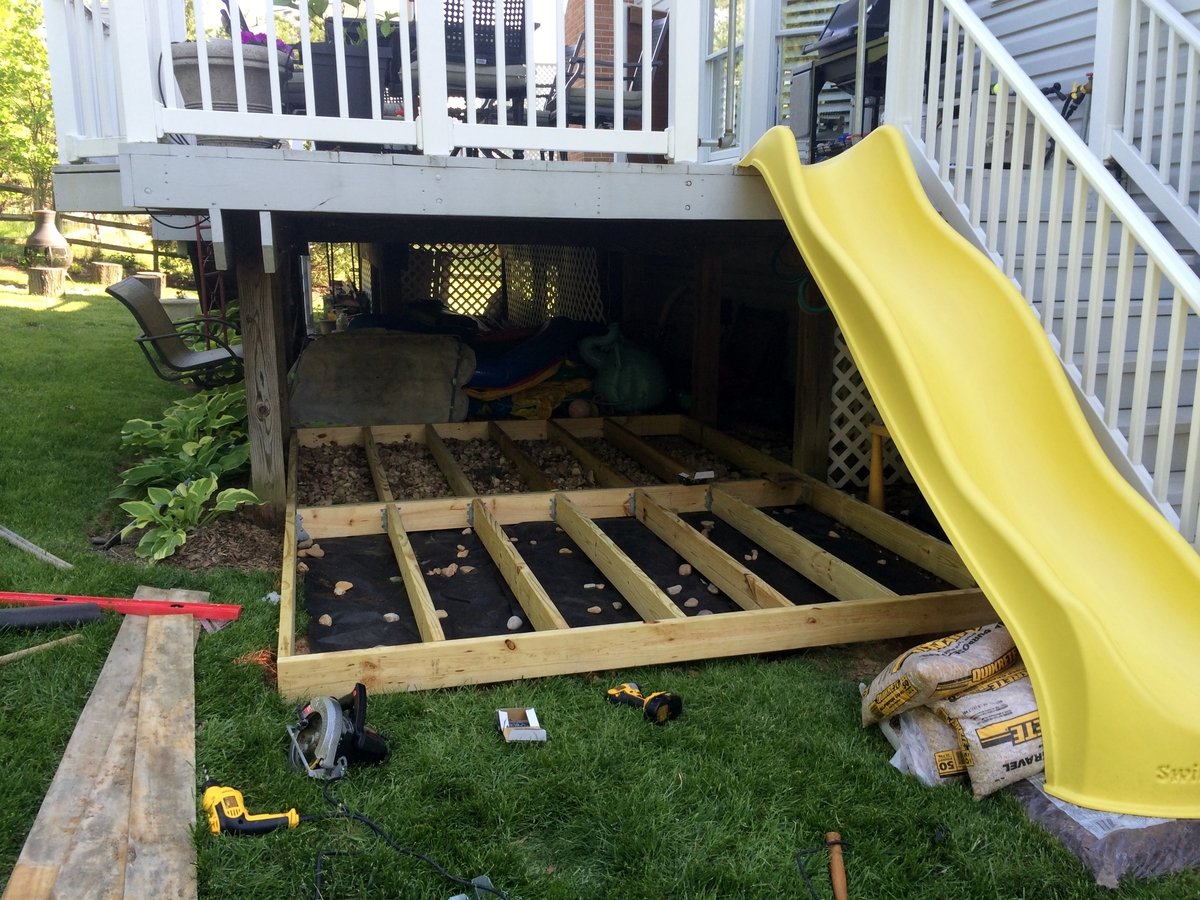
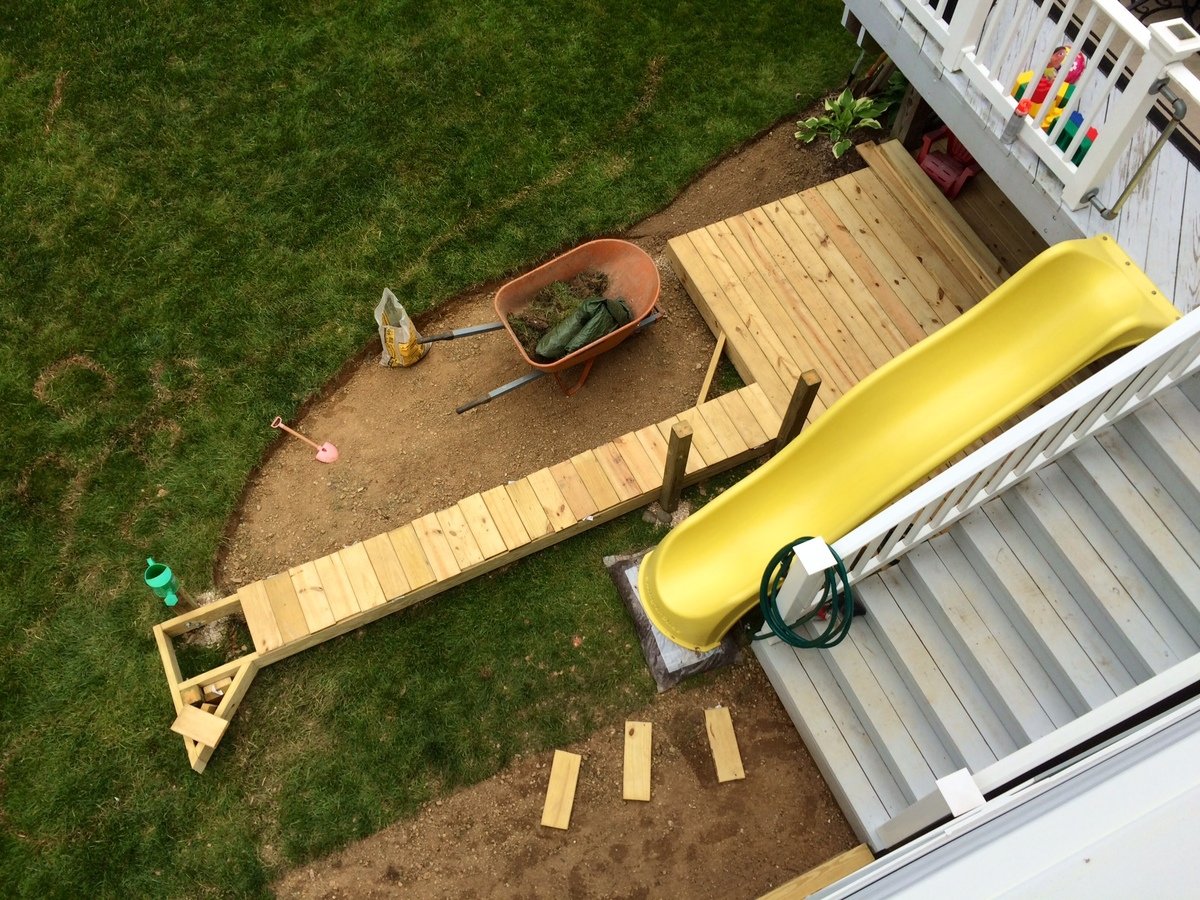
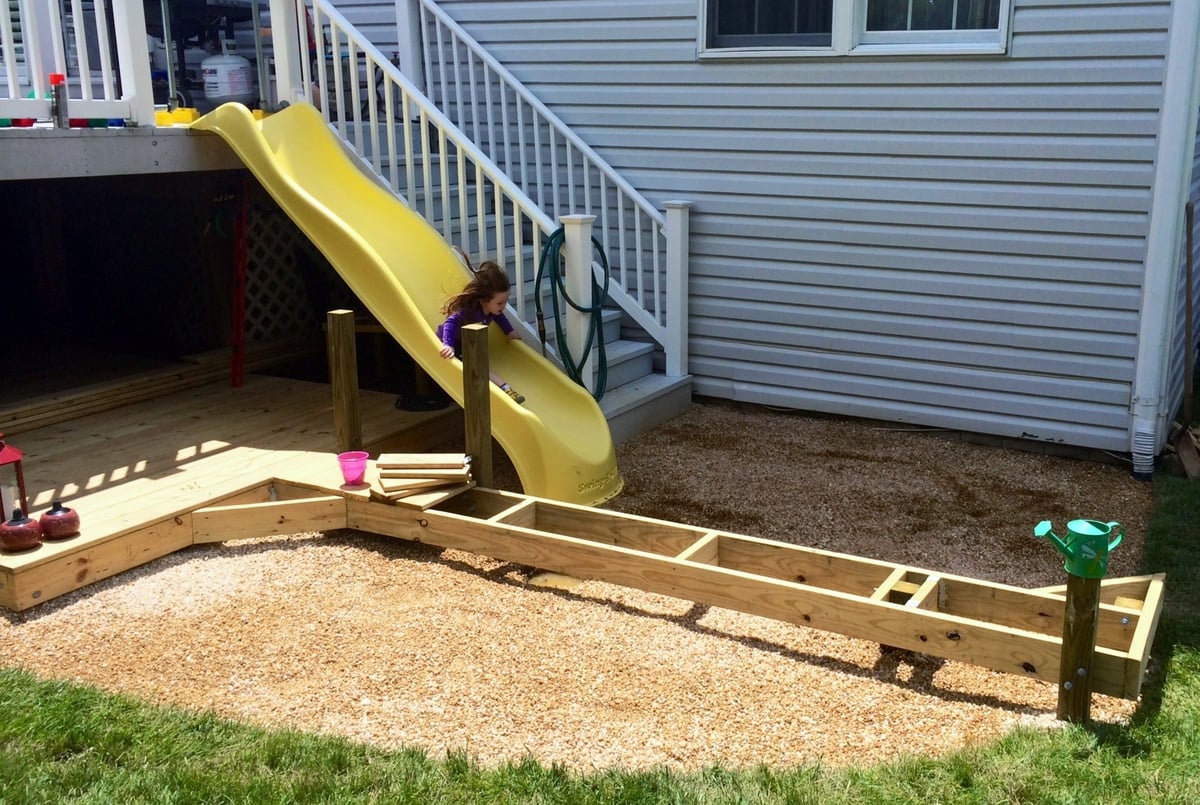
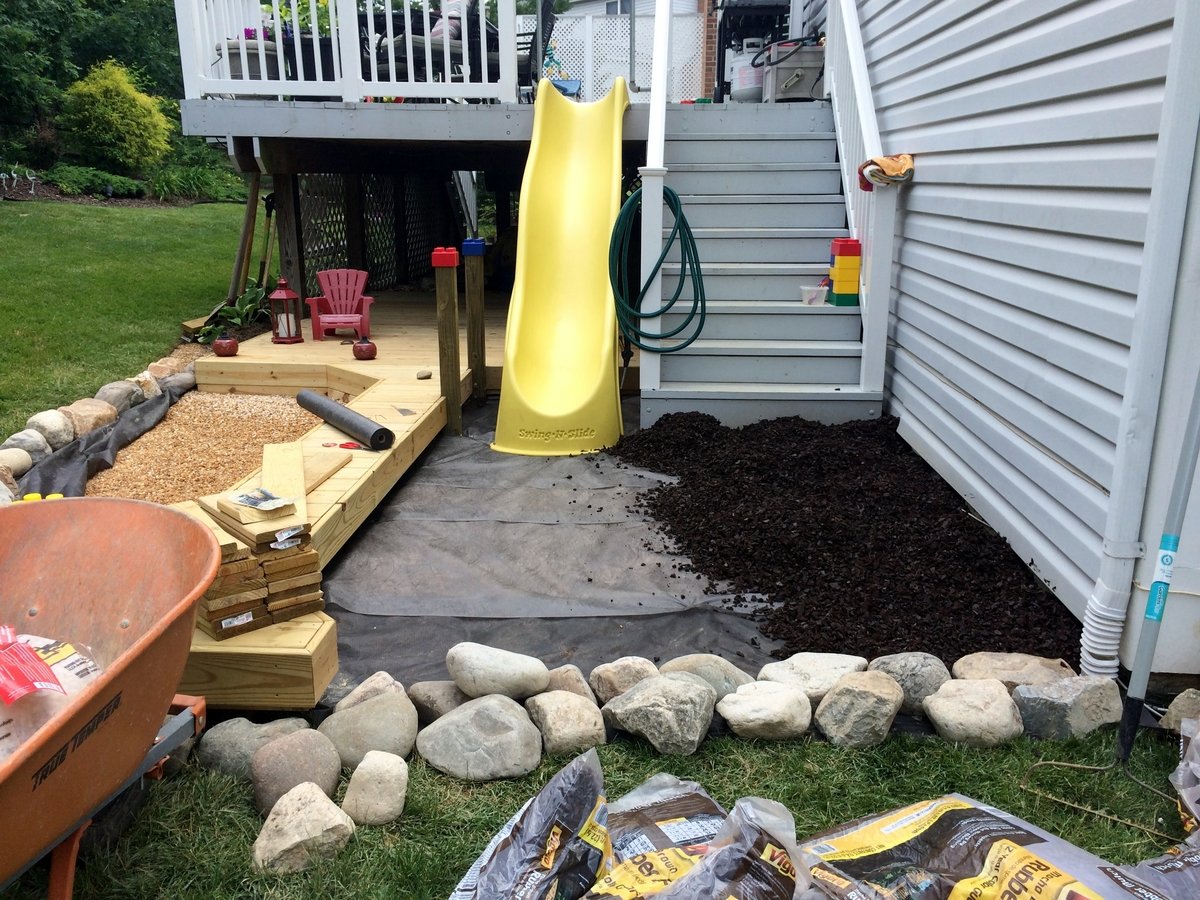
I built this outdoor play area for my kids this past summer.  The area under that portion of the deck was always messy and muddy and so I wanted to make use of it.  I built the deck and anchored it with lag bolts to the deck supports.  On the one side I used rubber mulch and on the other there is play sand.  I dug holes in various locations and filled with gravel to allow for drainage under the sand and mulch.  For the awning I used plain cedar shingles.  I added a shower that is just regular 1/2" metal pipe with a hose adaptor.  The shower wall and fence are just old pallets that I had for a while, cut to size, which was pretty much random but they came out great.  I added a misting system under the awning that works great, the kids love the cool mist on the hot days. Overall, a heavy job ripping up the grass, moving the wood, gravel, stones, sand and mulch, but a fun deck build and even better experience doing this with my kids by my side!  

Estimated Time Investment
Week Long Project (20 Hours or More)
Recommended Skill Level
Intermediate

Comments

Einman10

Tue, 12/29/2015 - 17:10

I'm extremely interested in the plans for the bathroom vanity with the step stool that pulls out for kids to be able to reach the sink.  Is there a way I can get those plans?

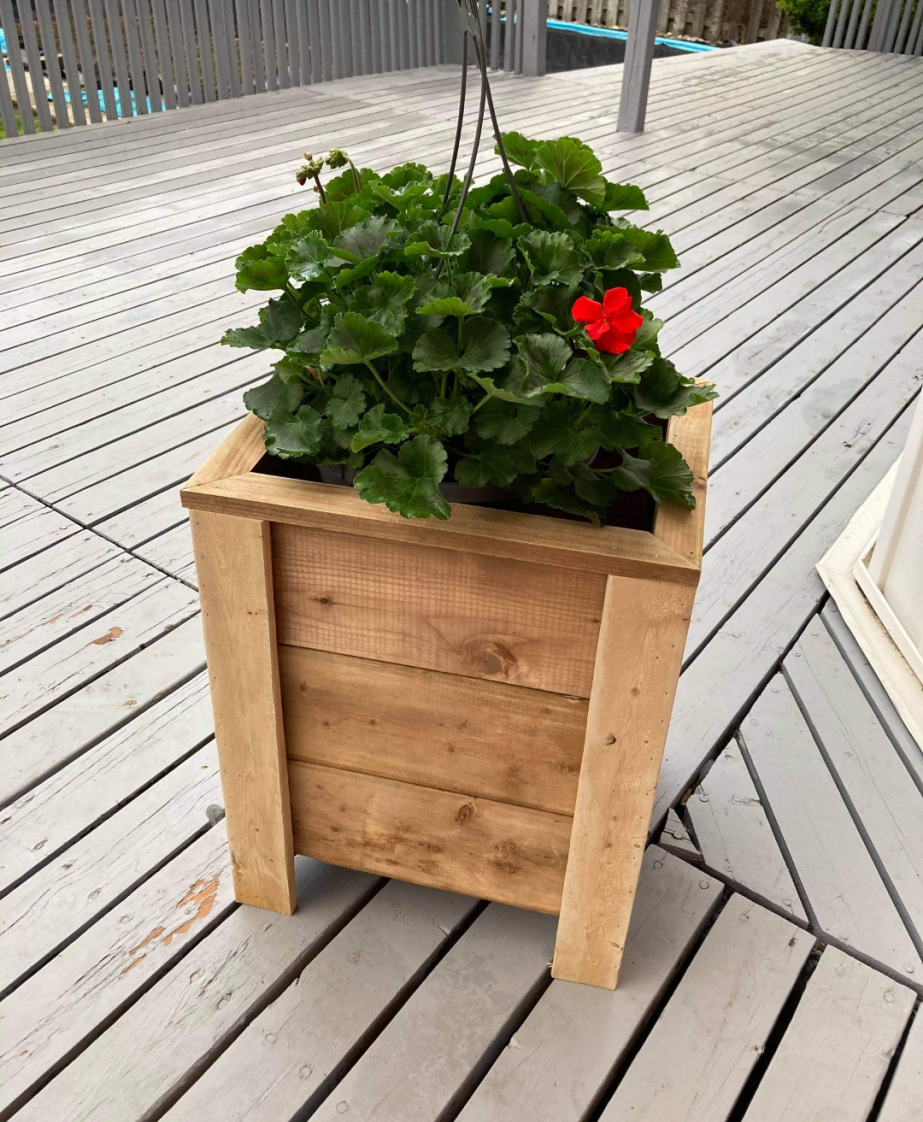
Beautiful planters!

Submitted by Anonymous (not verified) on Wed, 05/17/2017 - 17:32

I made 2 for my bare front patio

Built from Plan(s)
Estimated Cost
$38 for 2
Estimated Time Investment
Afternoon Project (3-6 Hours)
Finish Used
None yet
Recommended Skill Level
Beginner

“American Girl Dollhouse”

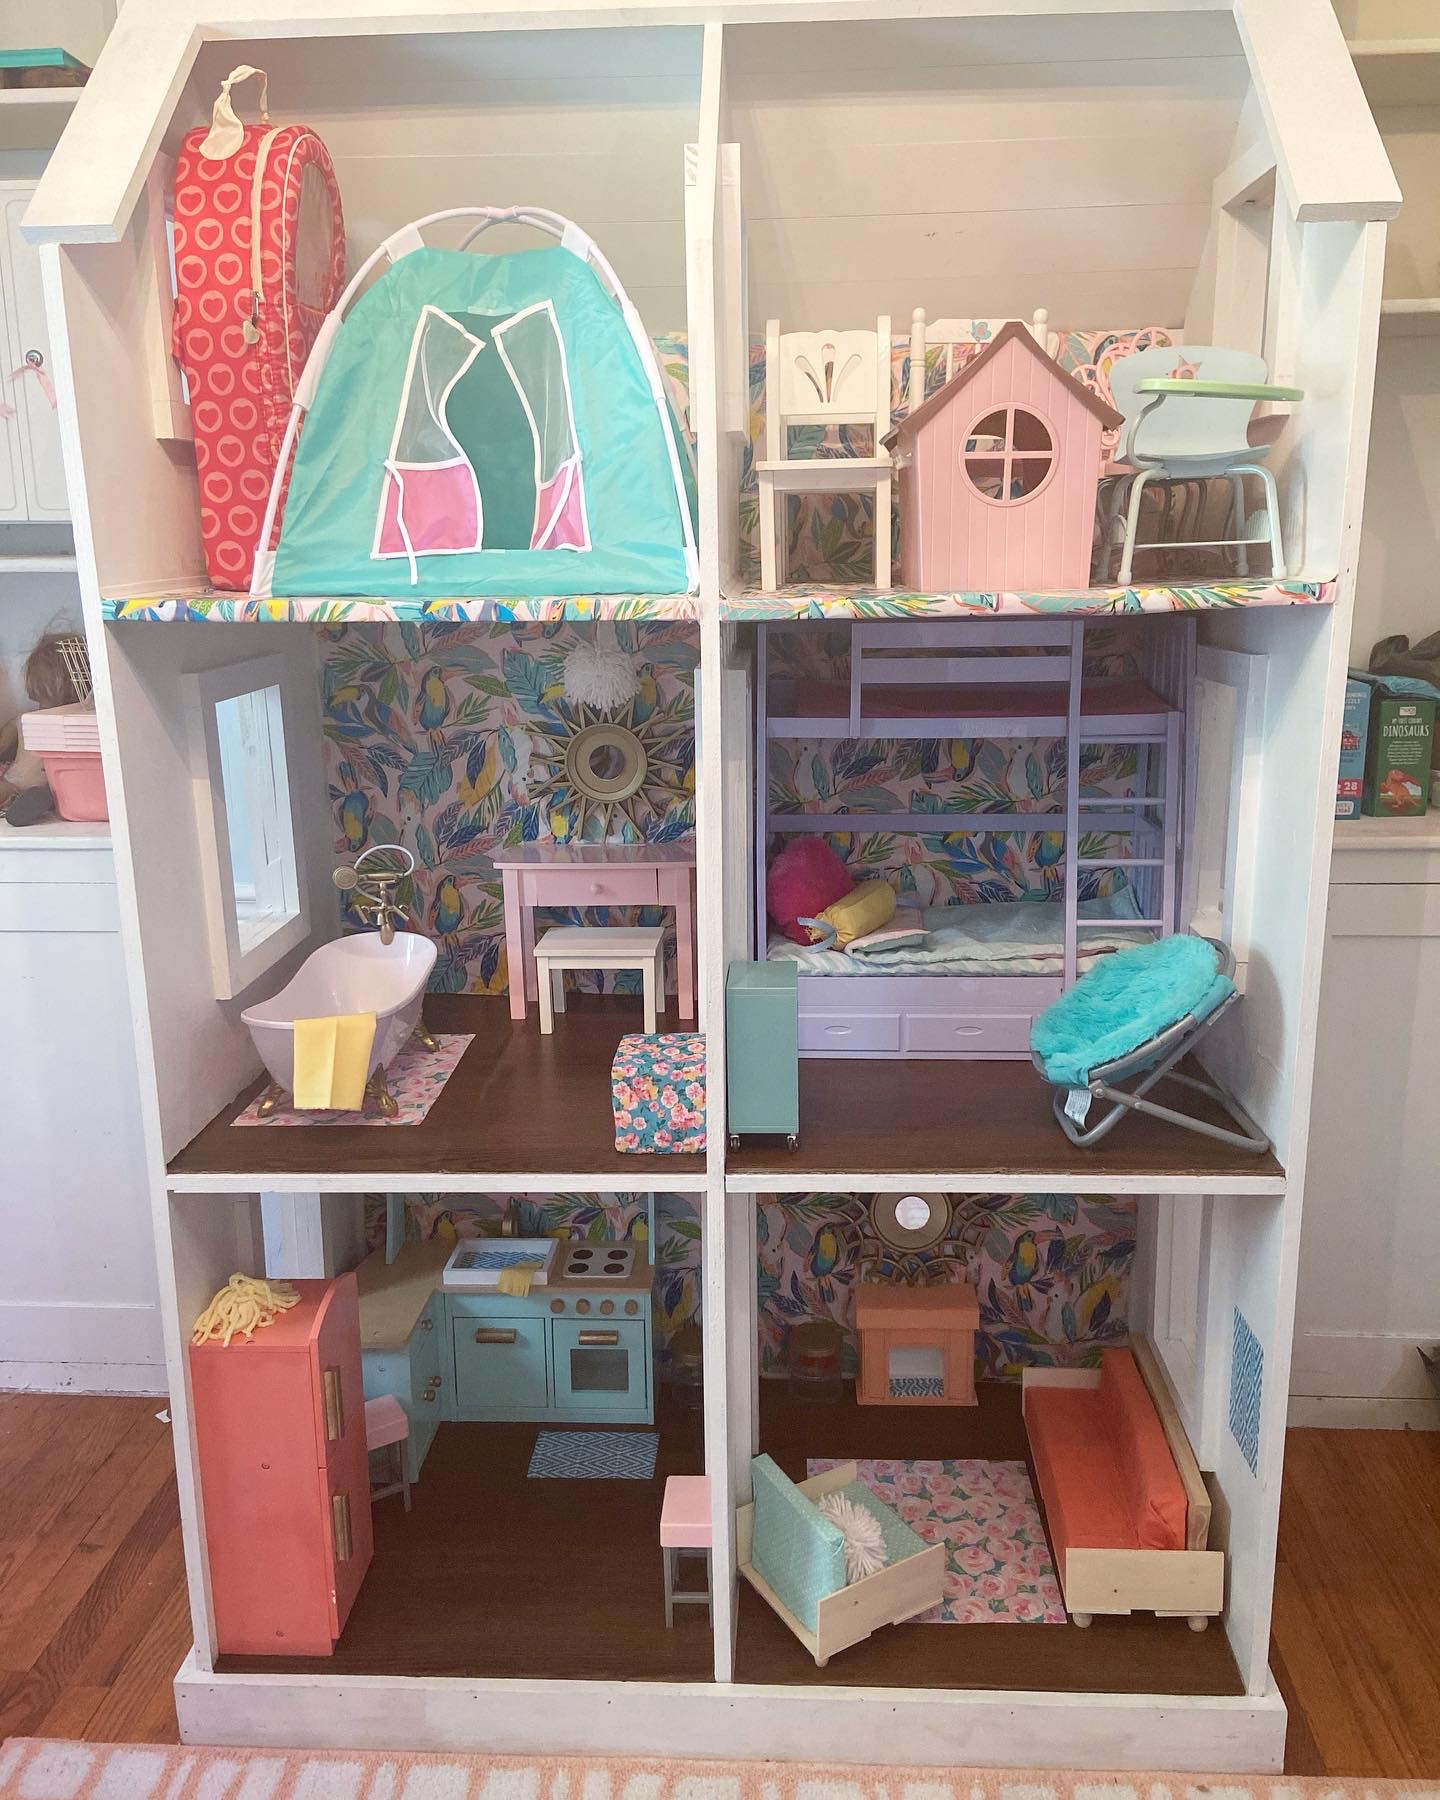
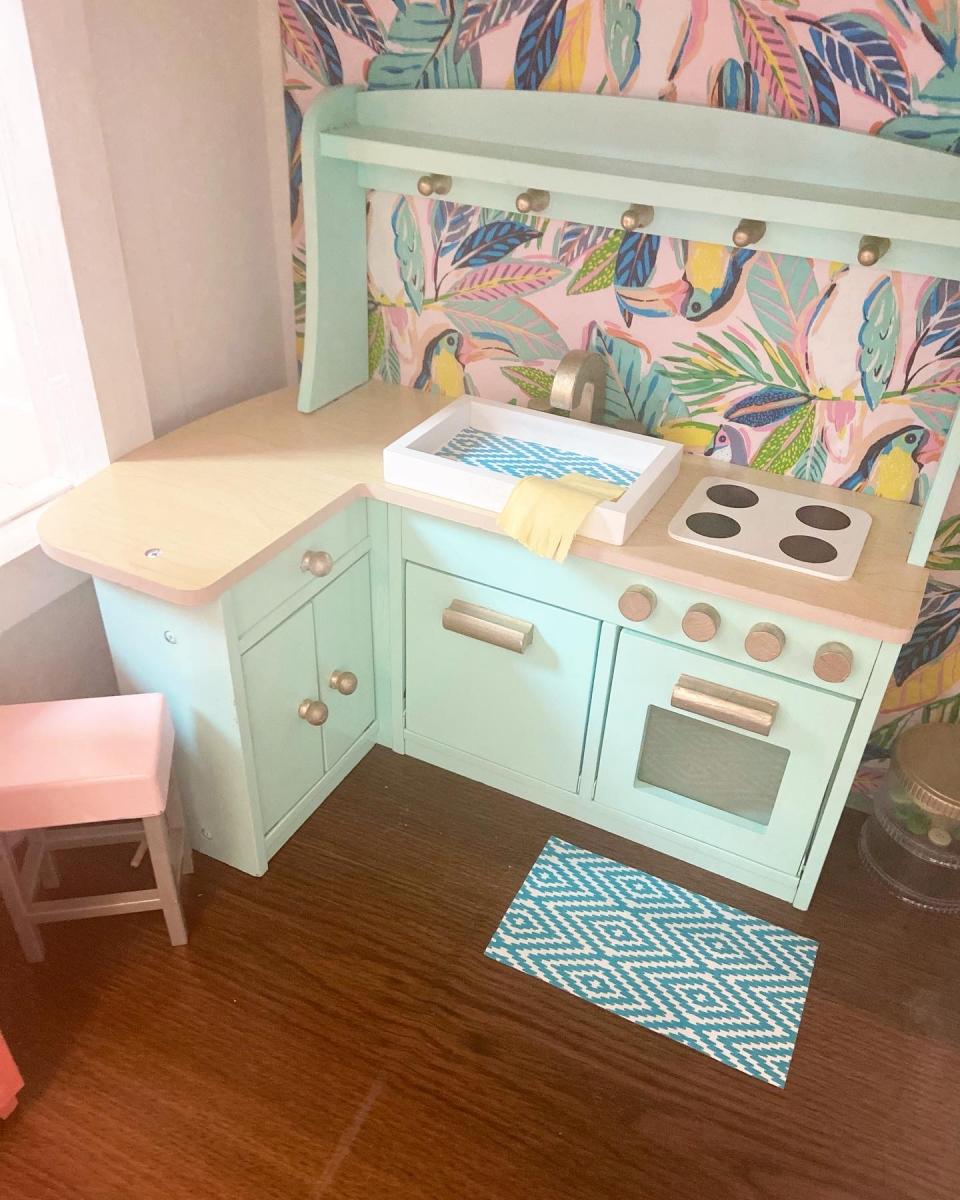
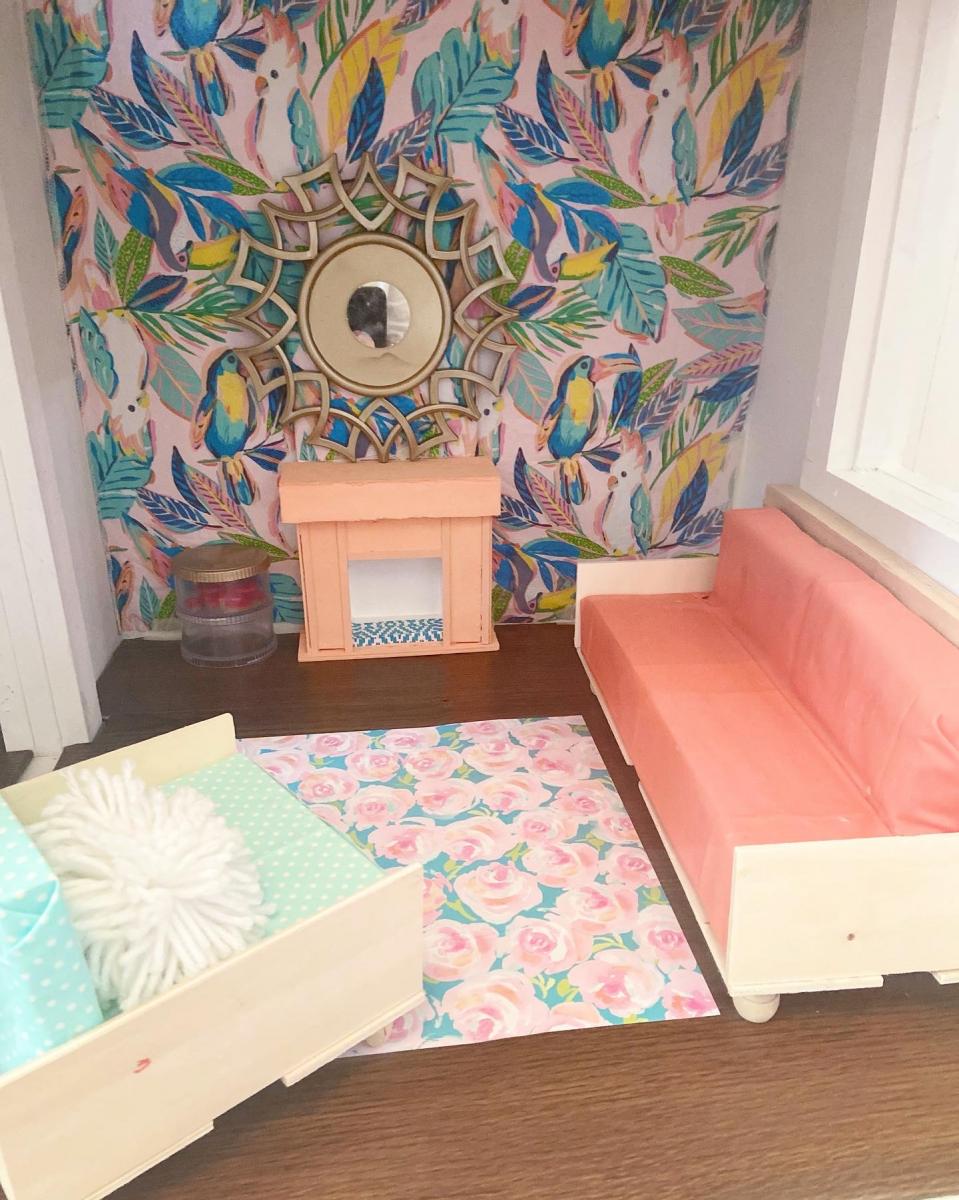
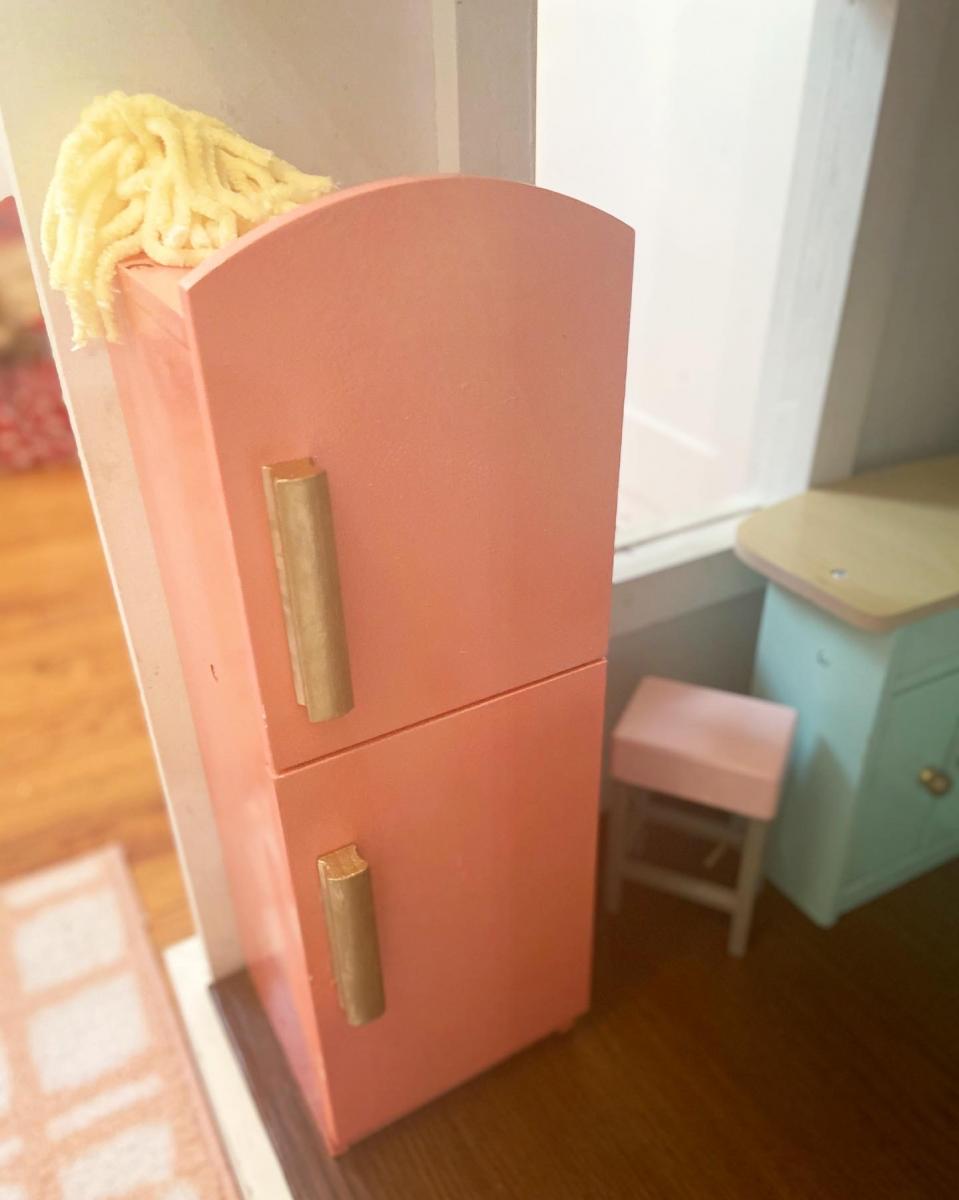
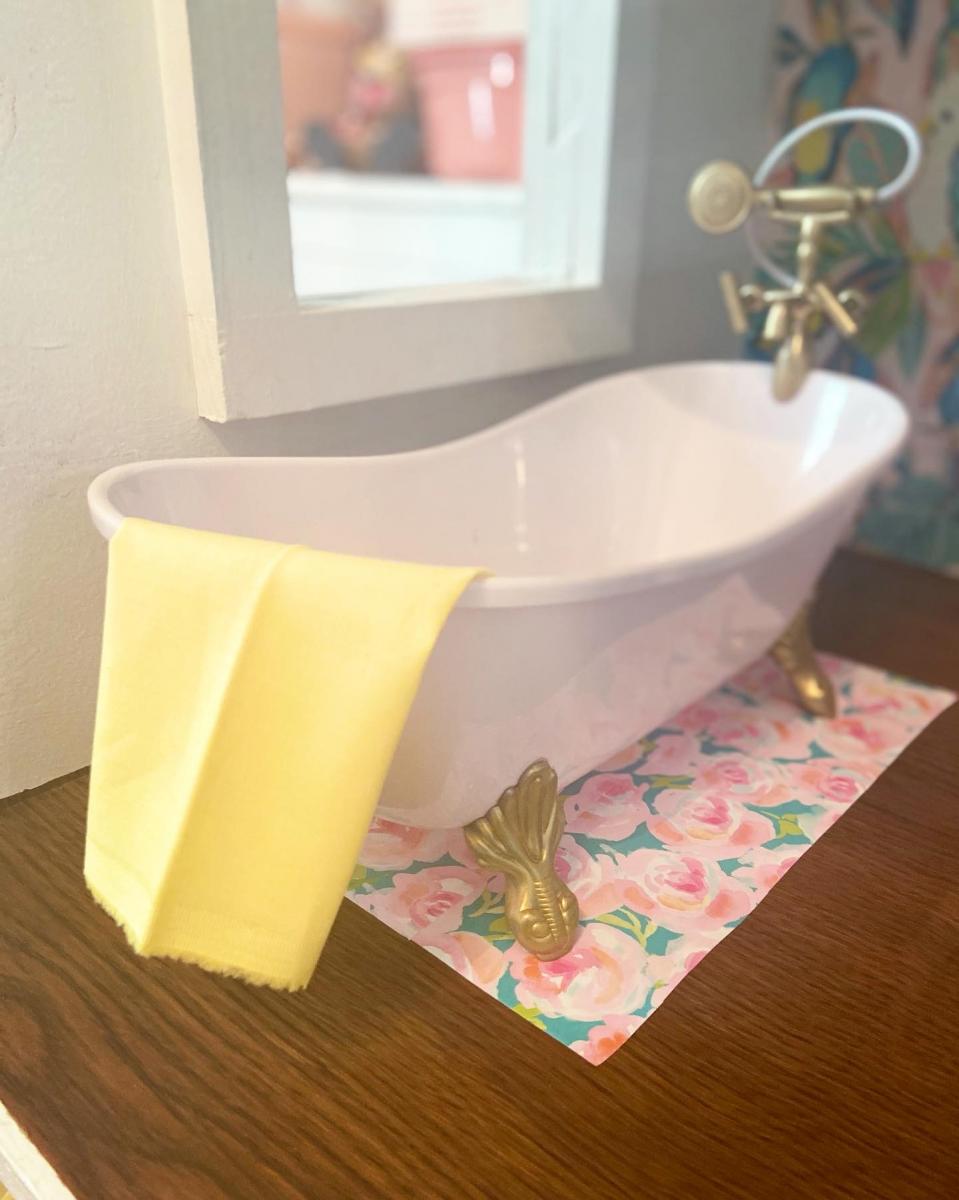
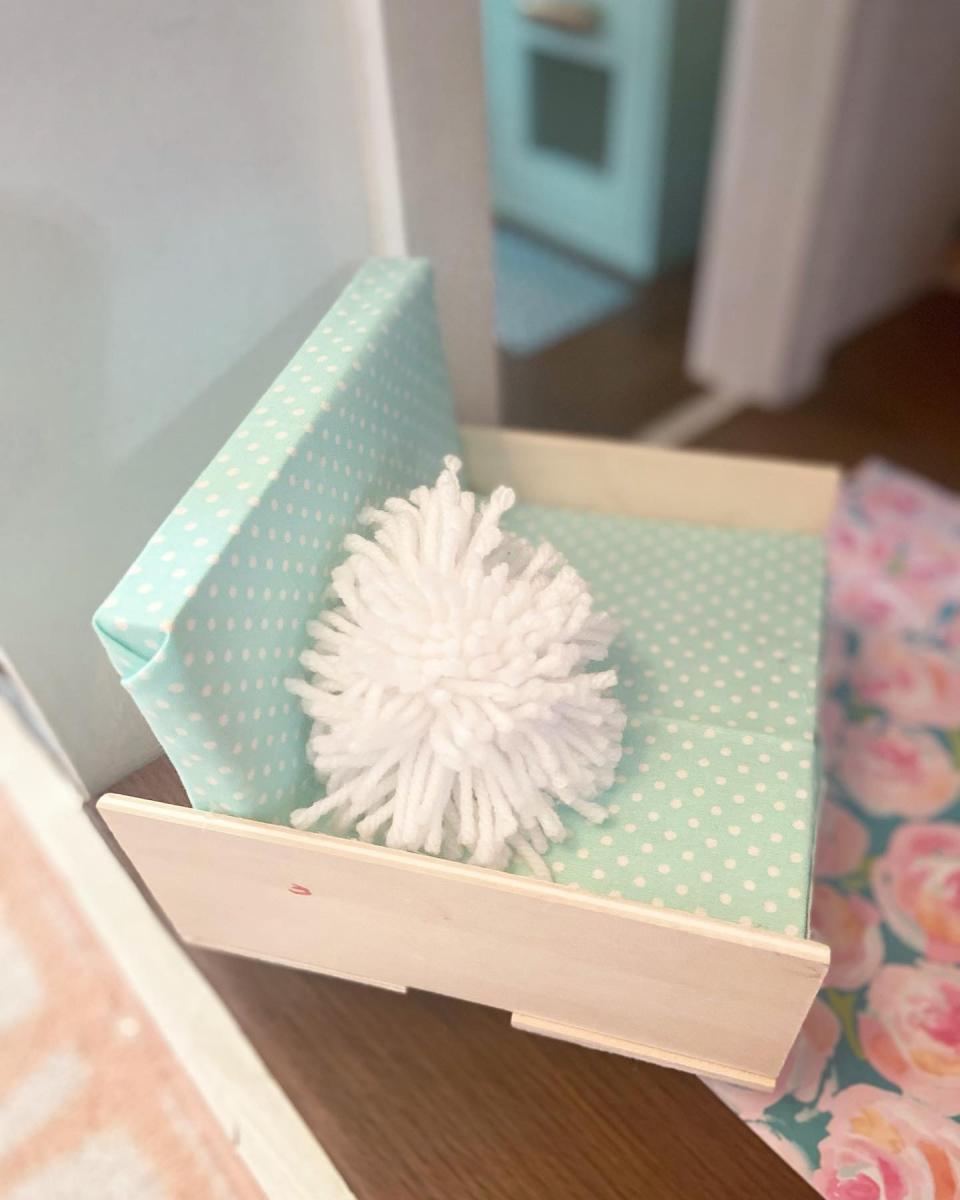
Let me start by saying all of the credit for building this beauty goes to my husbands super talented 90 year grandfather!! I found your plans a few years ago & instantly fell in love but sadly did not have the skills or confidence at the time to tackle such a project. Luckily “Pal” (aka hubby’s grandfather) so graciously jumped at the task & built this for my girls as their gift from “santa”! I recently gave the interior a complete DIY budget makeover & my girls are in love! With all of the wonderful memories they’ve created & will continue to partnered with the fact that I can eventually tell them their GREAT grandfather handmade this for them makes this that much more special! ❤️
Estimated Cost
$150
Finish Used
Painted White!

Comments

Cherry coffee table with herringbone tiled top

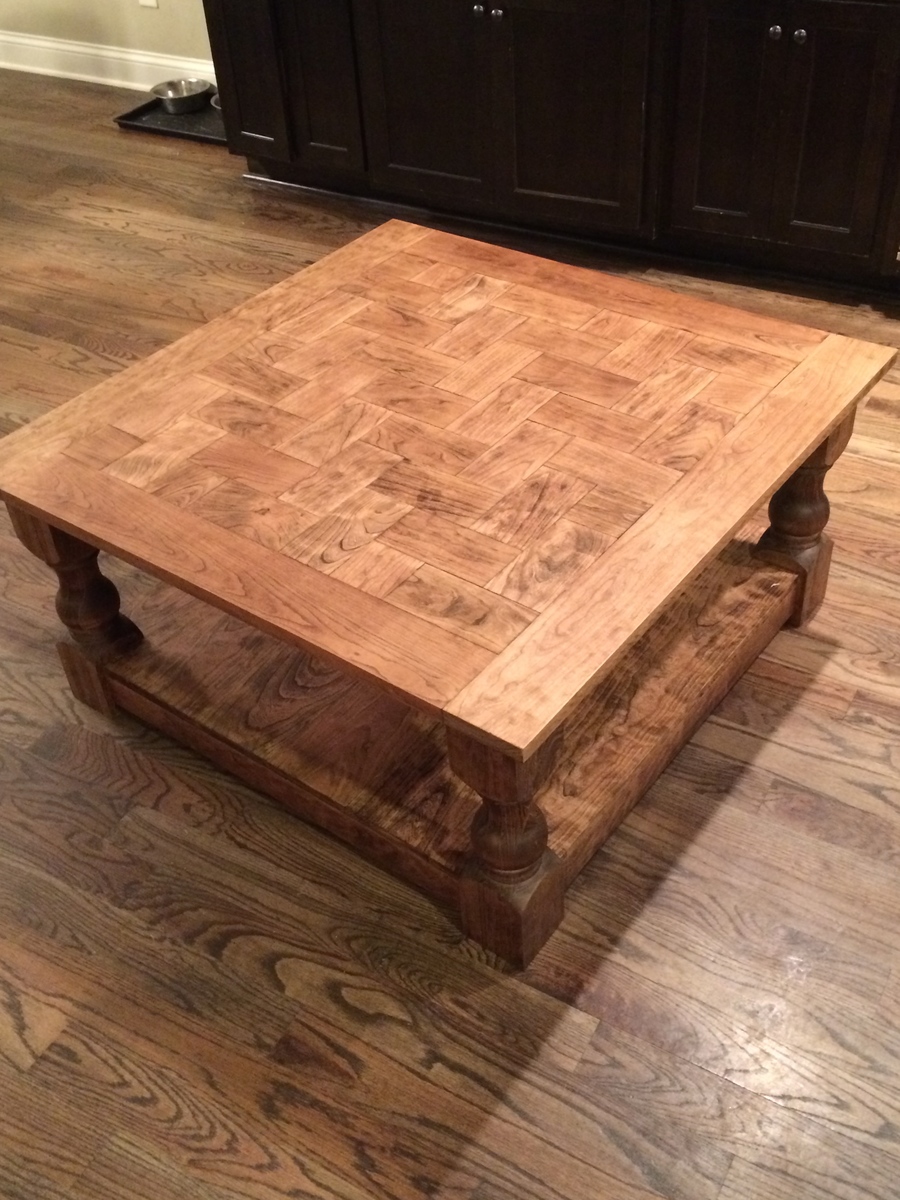
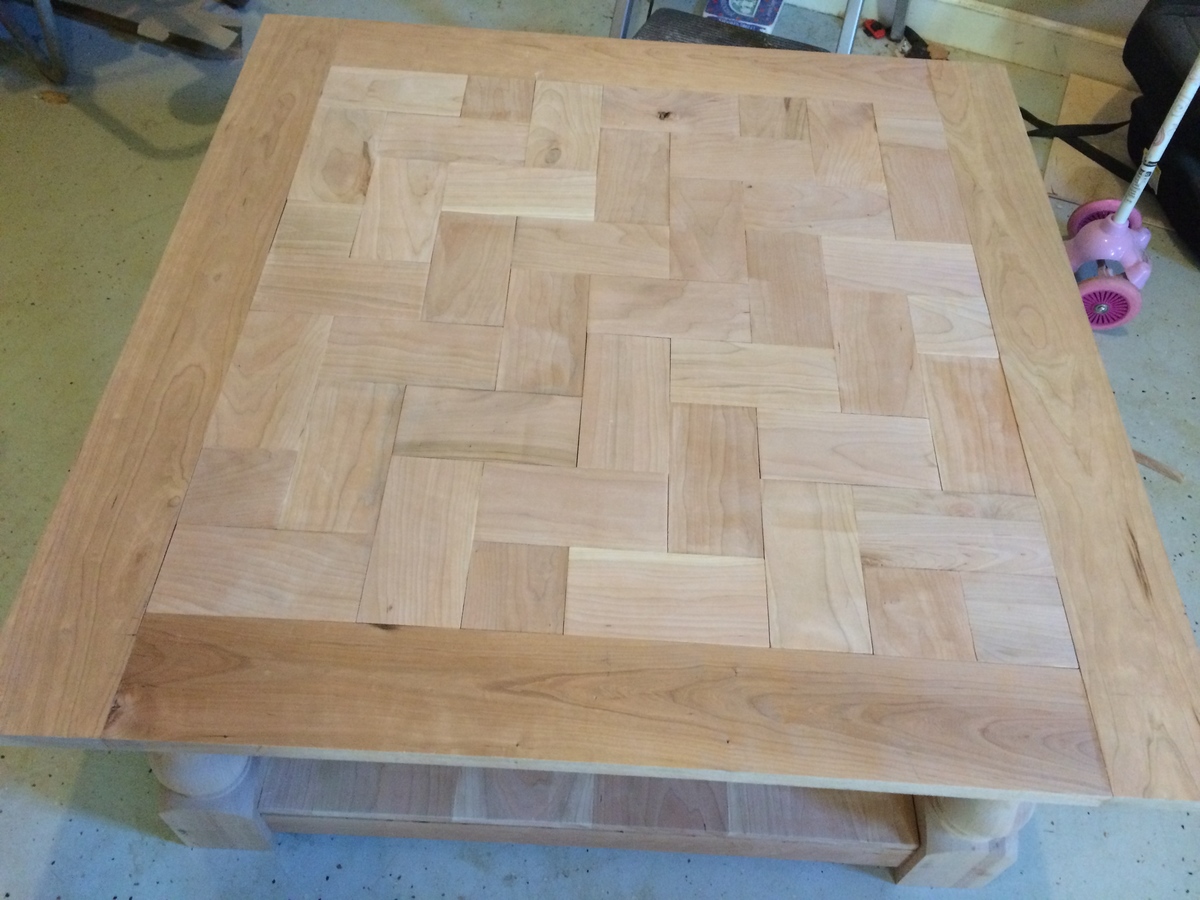
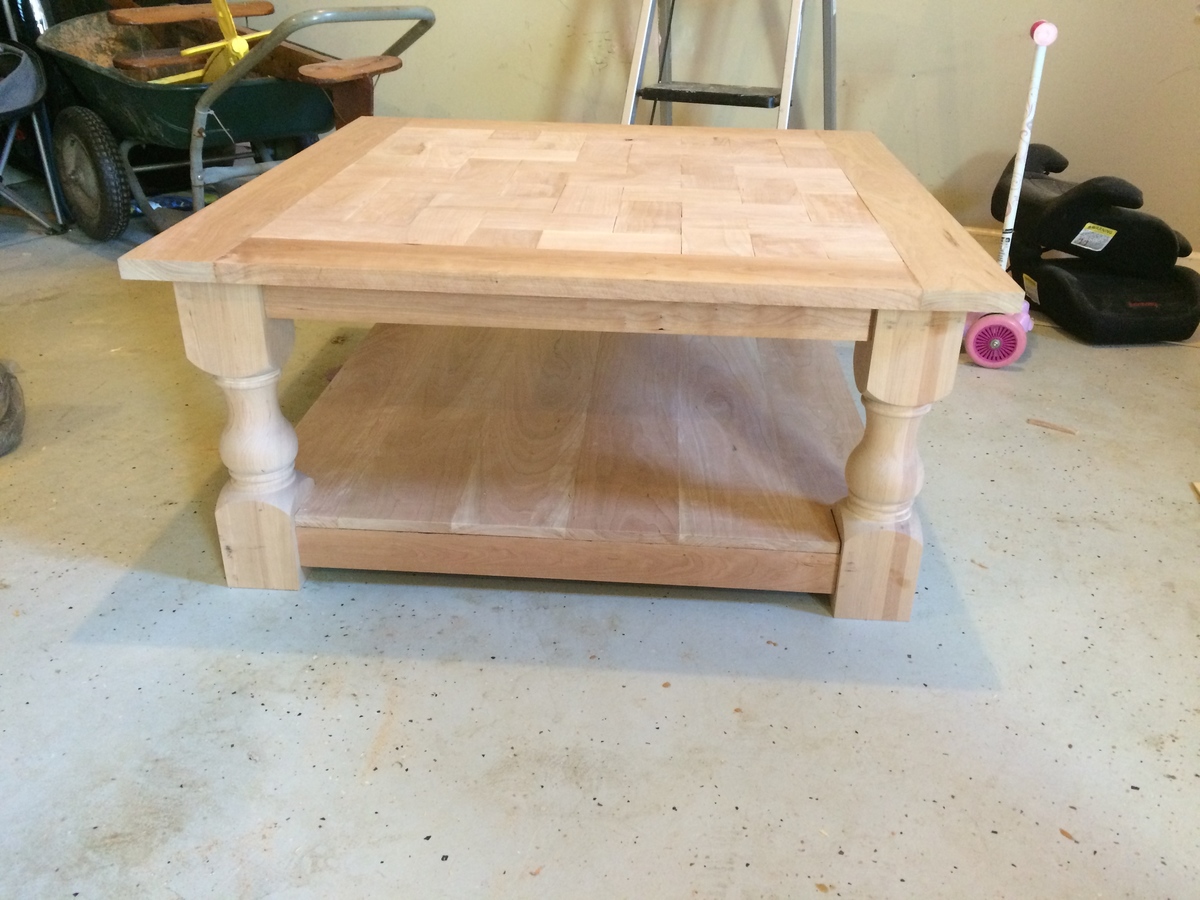
Submitted by monty742 on Sat, 03/14/2015 - 05:23

I altered the plan a little - this is 40" square.  I edge-glued planks for the bottom level, so I had them sit on top of the aprons instead of inside them.  Note: if you have top and bottom aprons attached to the legs before you put the bottom in (that will sit on top of the apron and not within), you can't get it on in one piece...oops. :) The most difficult part was the herringbone - figuring all the dimensions, cutting everything precisely, getting all pieces to fit, and finding a way to attach it to the framing boards and support in underneath.  I love the table, but I'm very frustrated with the finish.  It's so blotchy, and I tried to do everything correctly to prevent that (see info on the finish).  With every project I learn a few things...

Built from Plan(s)
Estimated Cost
Cherry isn't economical...$500. I used it because it matches the basement.
Estimated Time Investment
Week Long Project (20 Hours or More)
Finish Used
Minwax Wood Conditioner - don't follow the manufacturer directions here to apply the stain within 2 hrs...wait 24 hours and then apply stain or yours might be as blotchy as mine is...I got my Fine Woodworking magazine in the mail the day after I finished the project, and there was an article that showed the progression of blotchiness with the wood conditioner at different time intervals. Oh, if I had only waited a couple days to finish it!

Minwax Provincial Stain

Rusto-leum Matte Polyurethane
Recommended Skill Level
Intermediate

Comments

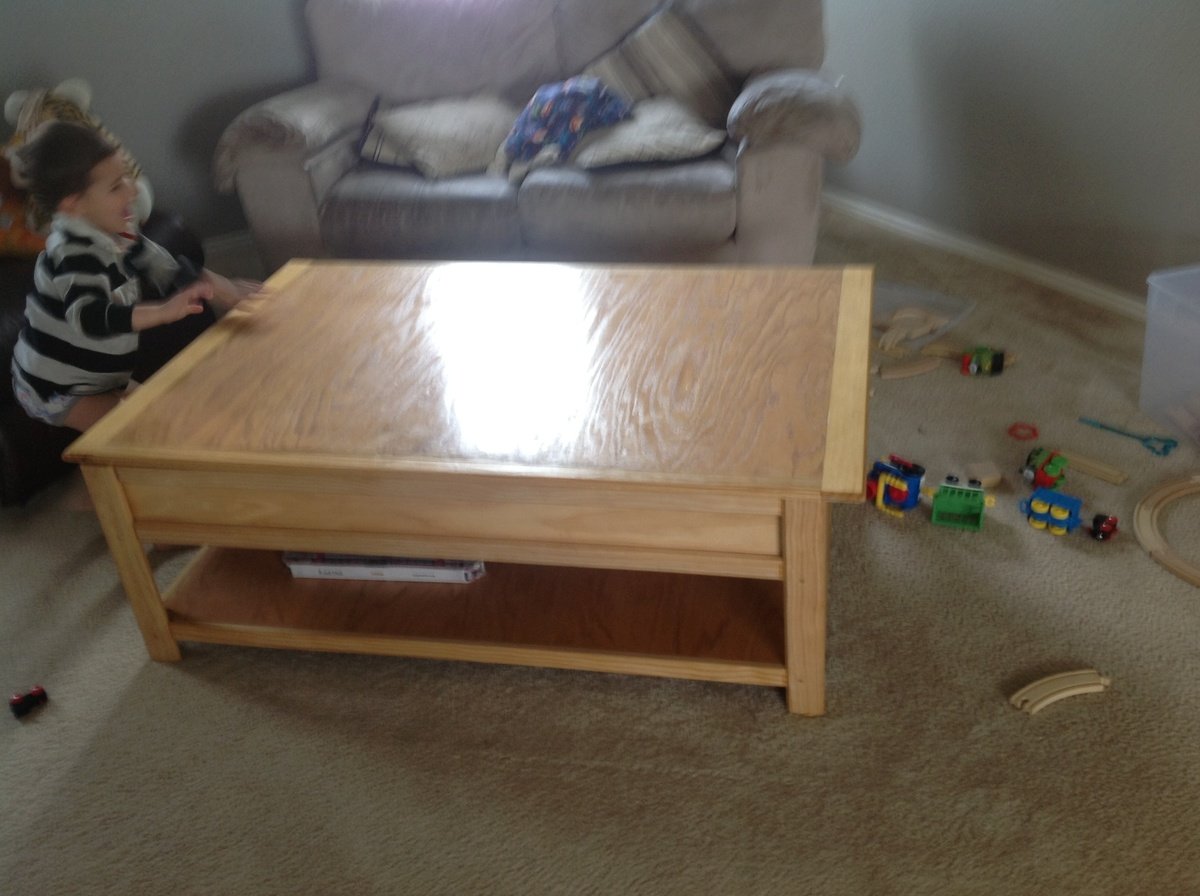
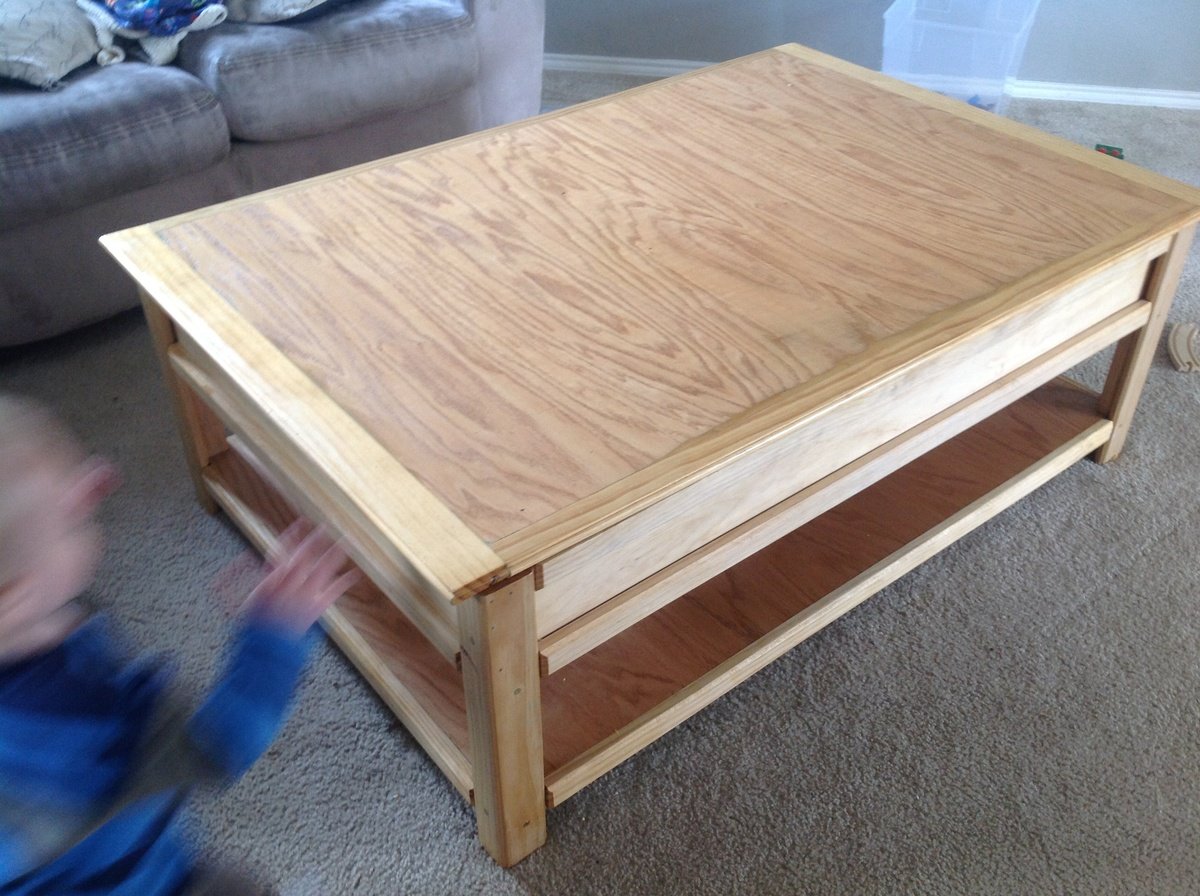
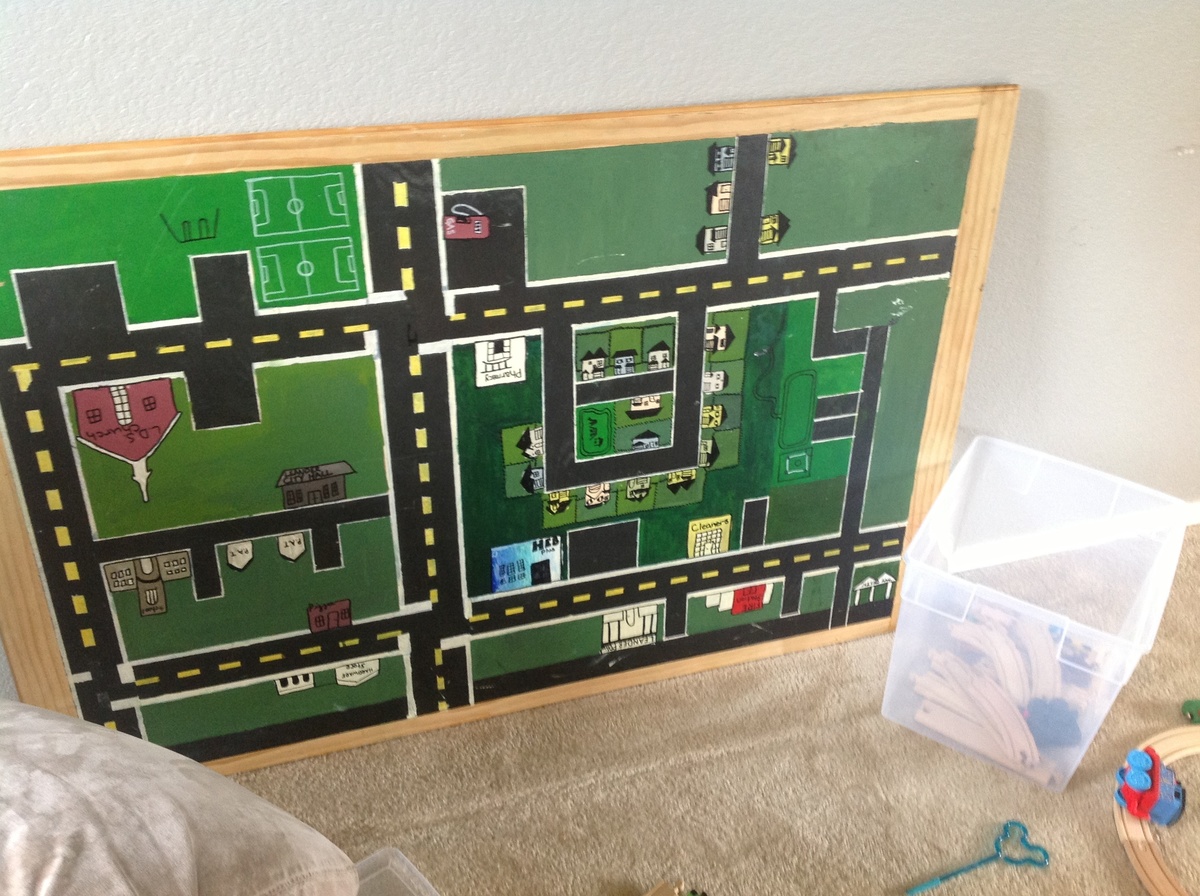
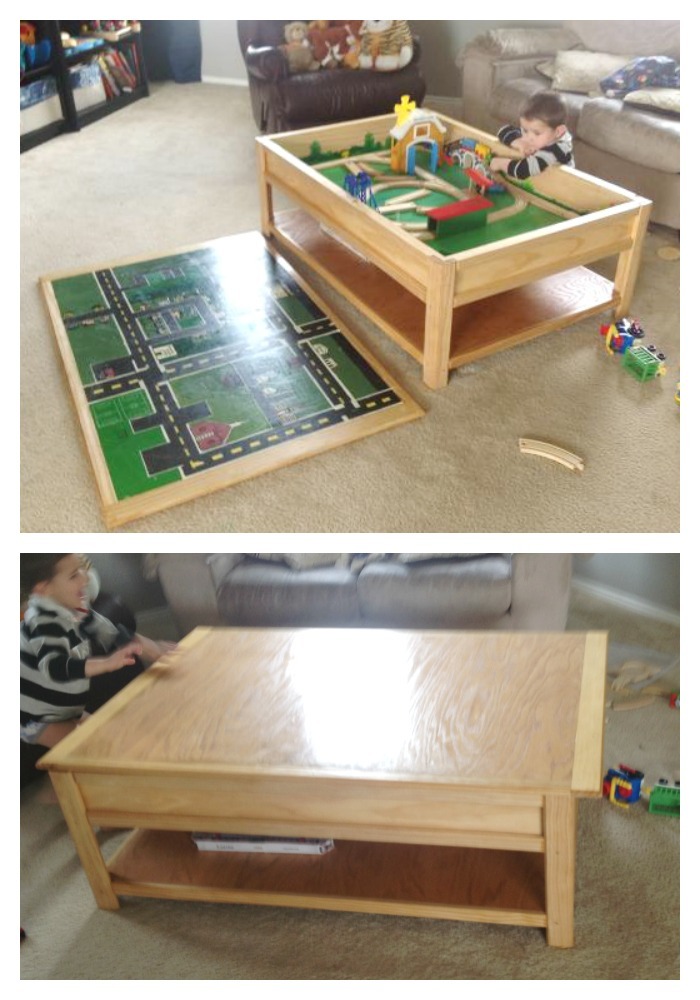
Train & car table

Submitted by Jrich on Thu, 04/25/2013 - 12:58

We customized the train table a bit and laminated the top into one solid piece so that we could paint a car map of our neighborhood on the underside. It's heavy! But with two boys in the house it's never really on anyways! :)

Built from Plan(s)
Estimated Time Investment
Week Long Project (20 Hours or More)
Finish Used
Tung oil
Recommended Skill Level
Beginner

Comments

mswendsen

Thu, 03/06/2014 - 22:26

I was wondering how you made it possible to lift and what the process was to do the map? I am wanting to do something like this for hot wheels for our friends son so he has something to play with when they come over.
Thank you

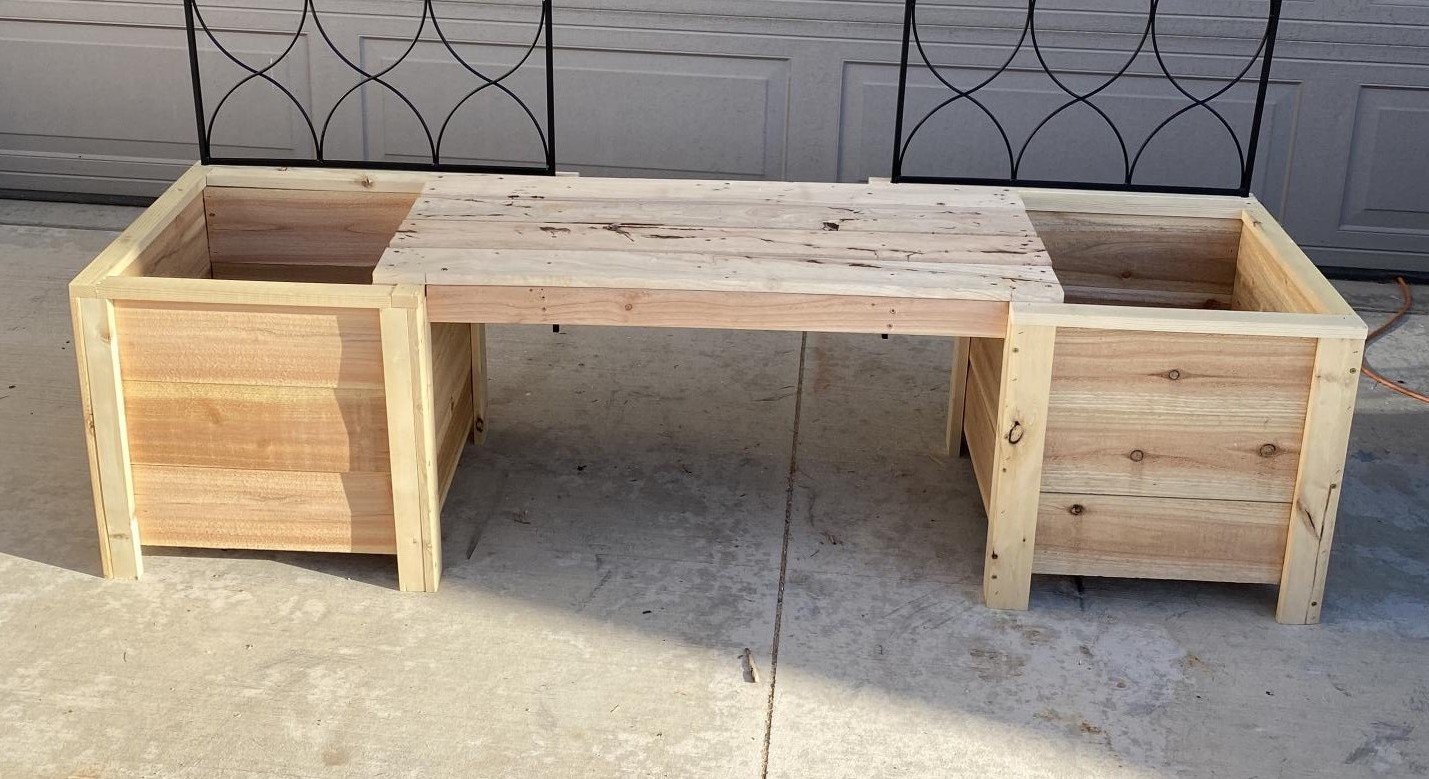
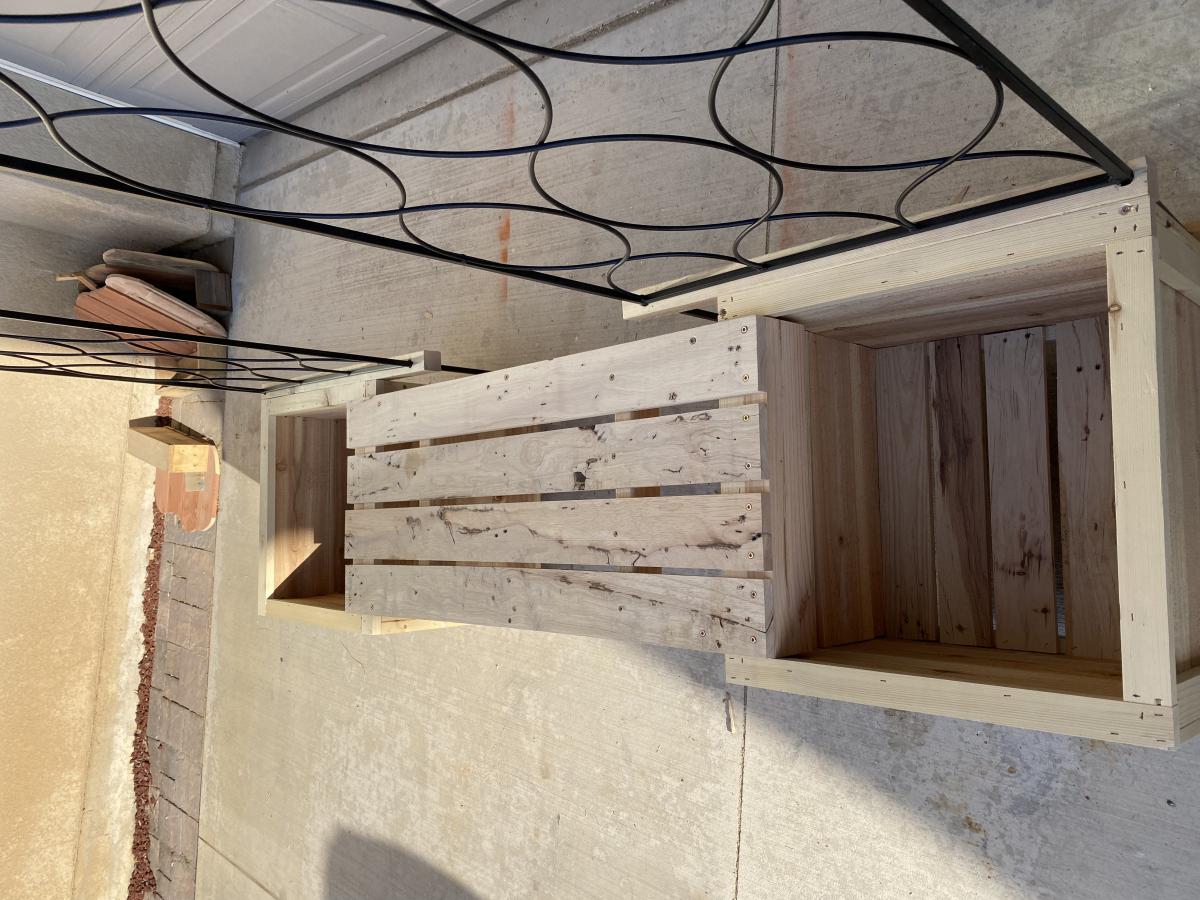
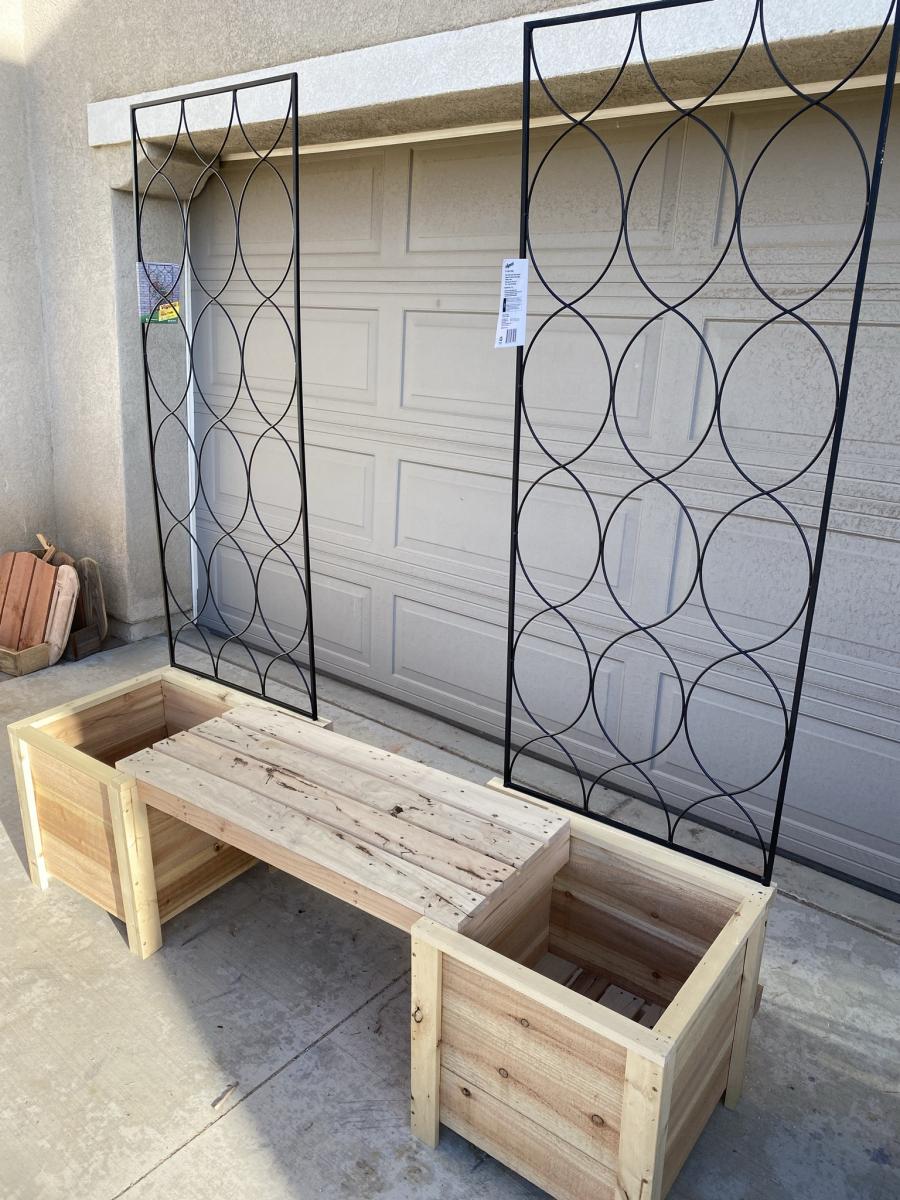
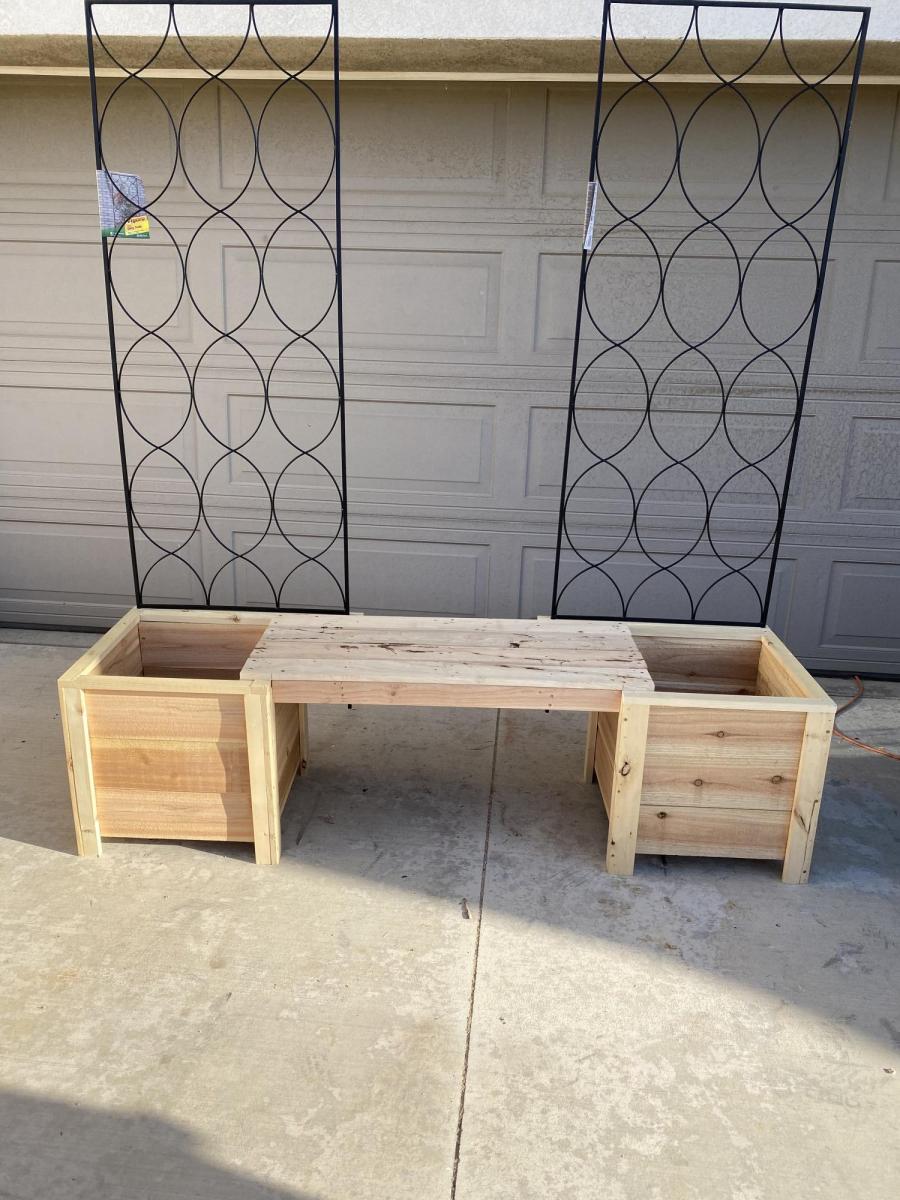
Planter Boxes

Submitted by Anonymous (not verified) on Mon, 10/04/2021 - 12:53

I made the boxes from plans, but added bench and trellis from my own design.

Built from Plan(s)

Comments

Seasonal And Holiday

My first project

Loved how these plans were so easy to follow and certainly appreciate the accompanying video.

Comments