Community Brag Posts

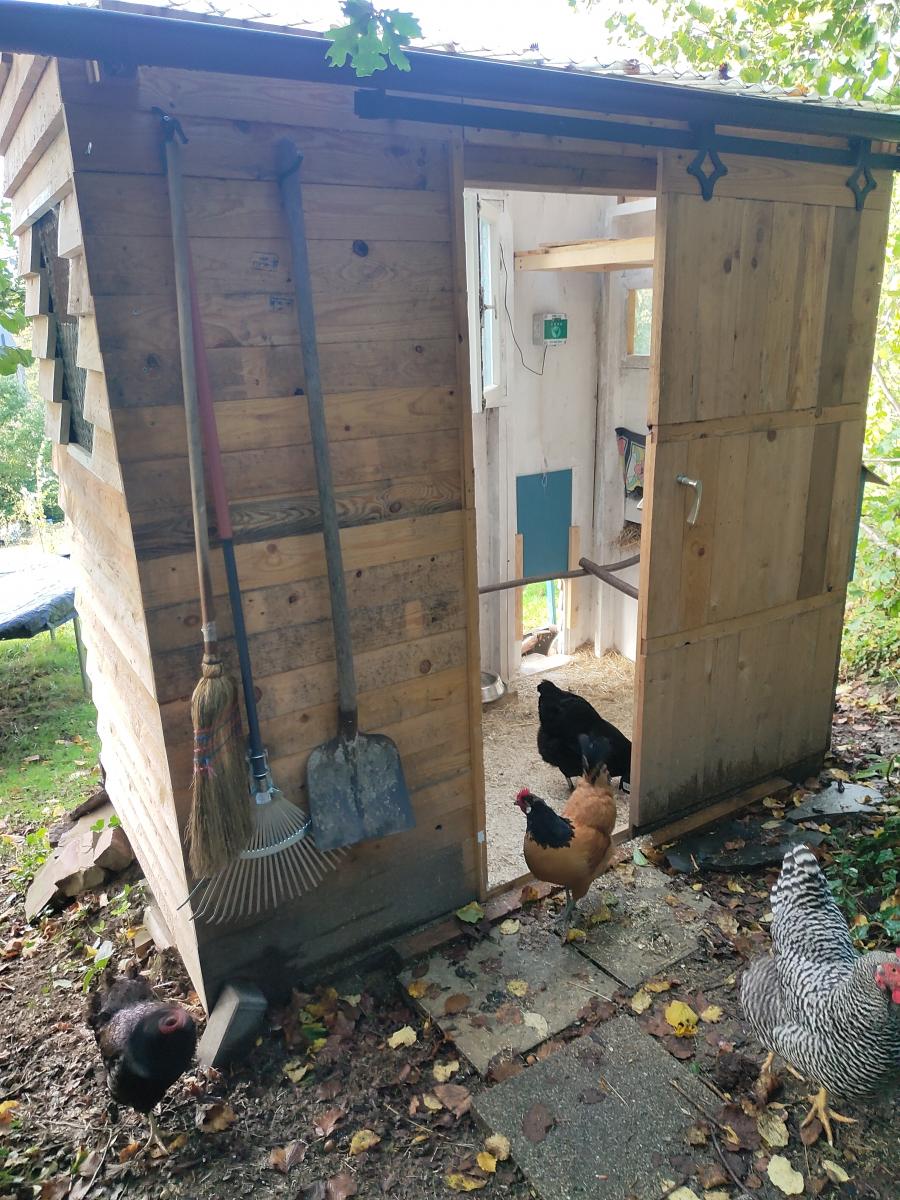
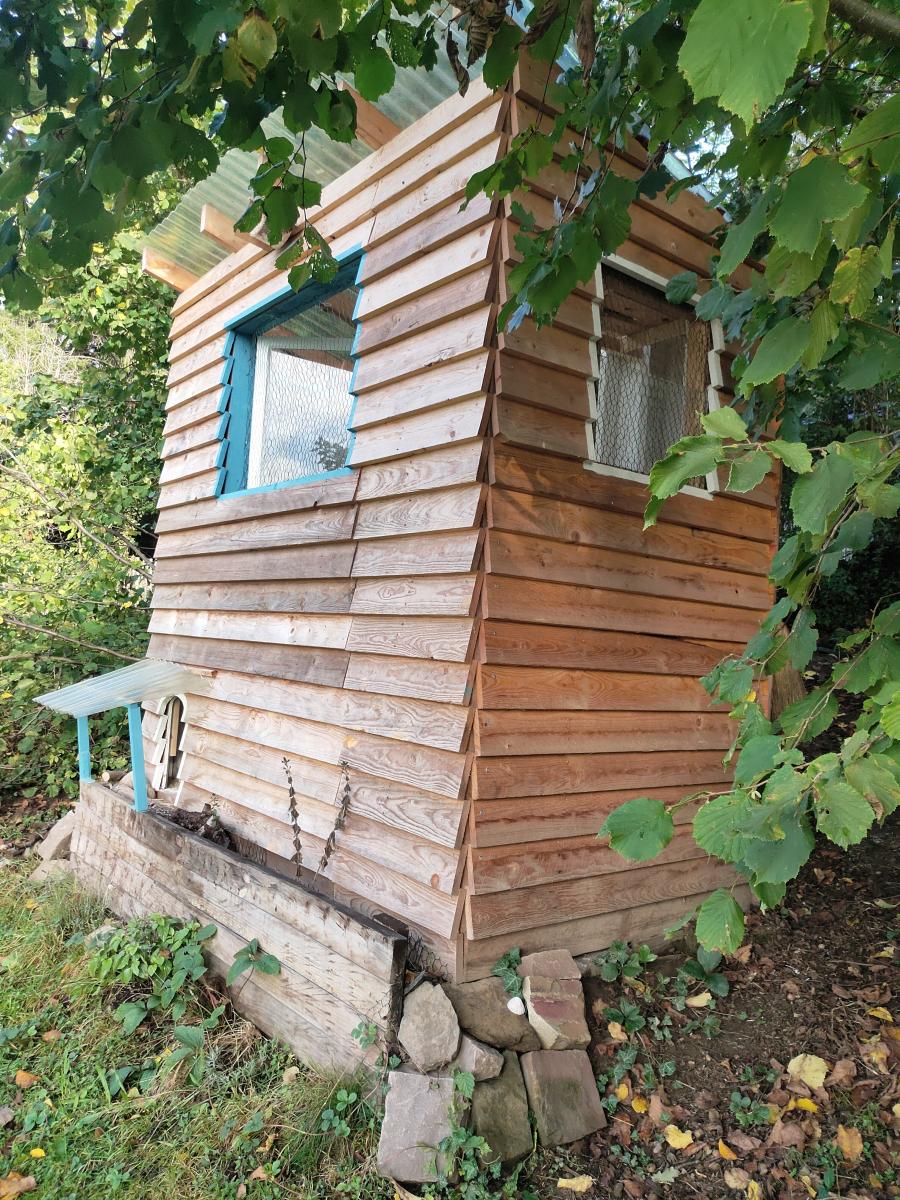
Chicken shed

Submitted by diegaeb on Wed, 10/07/2020 - 08:32

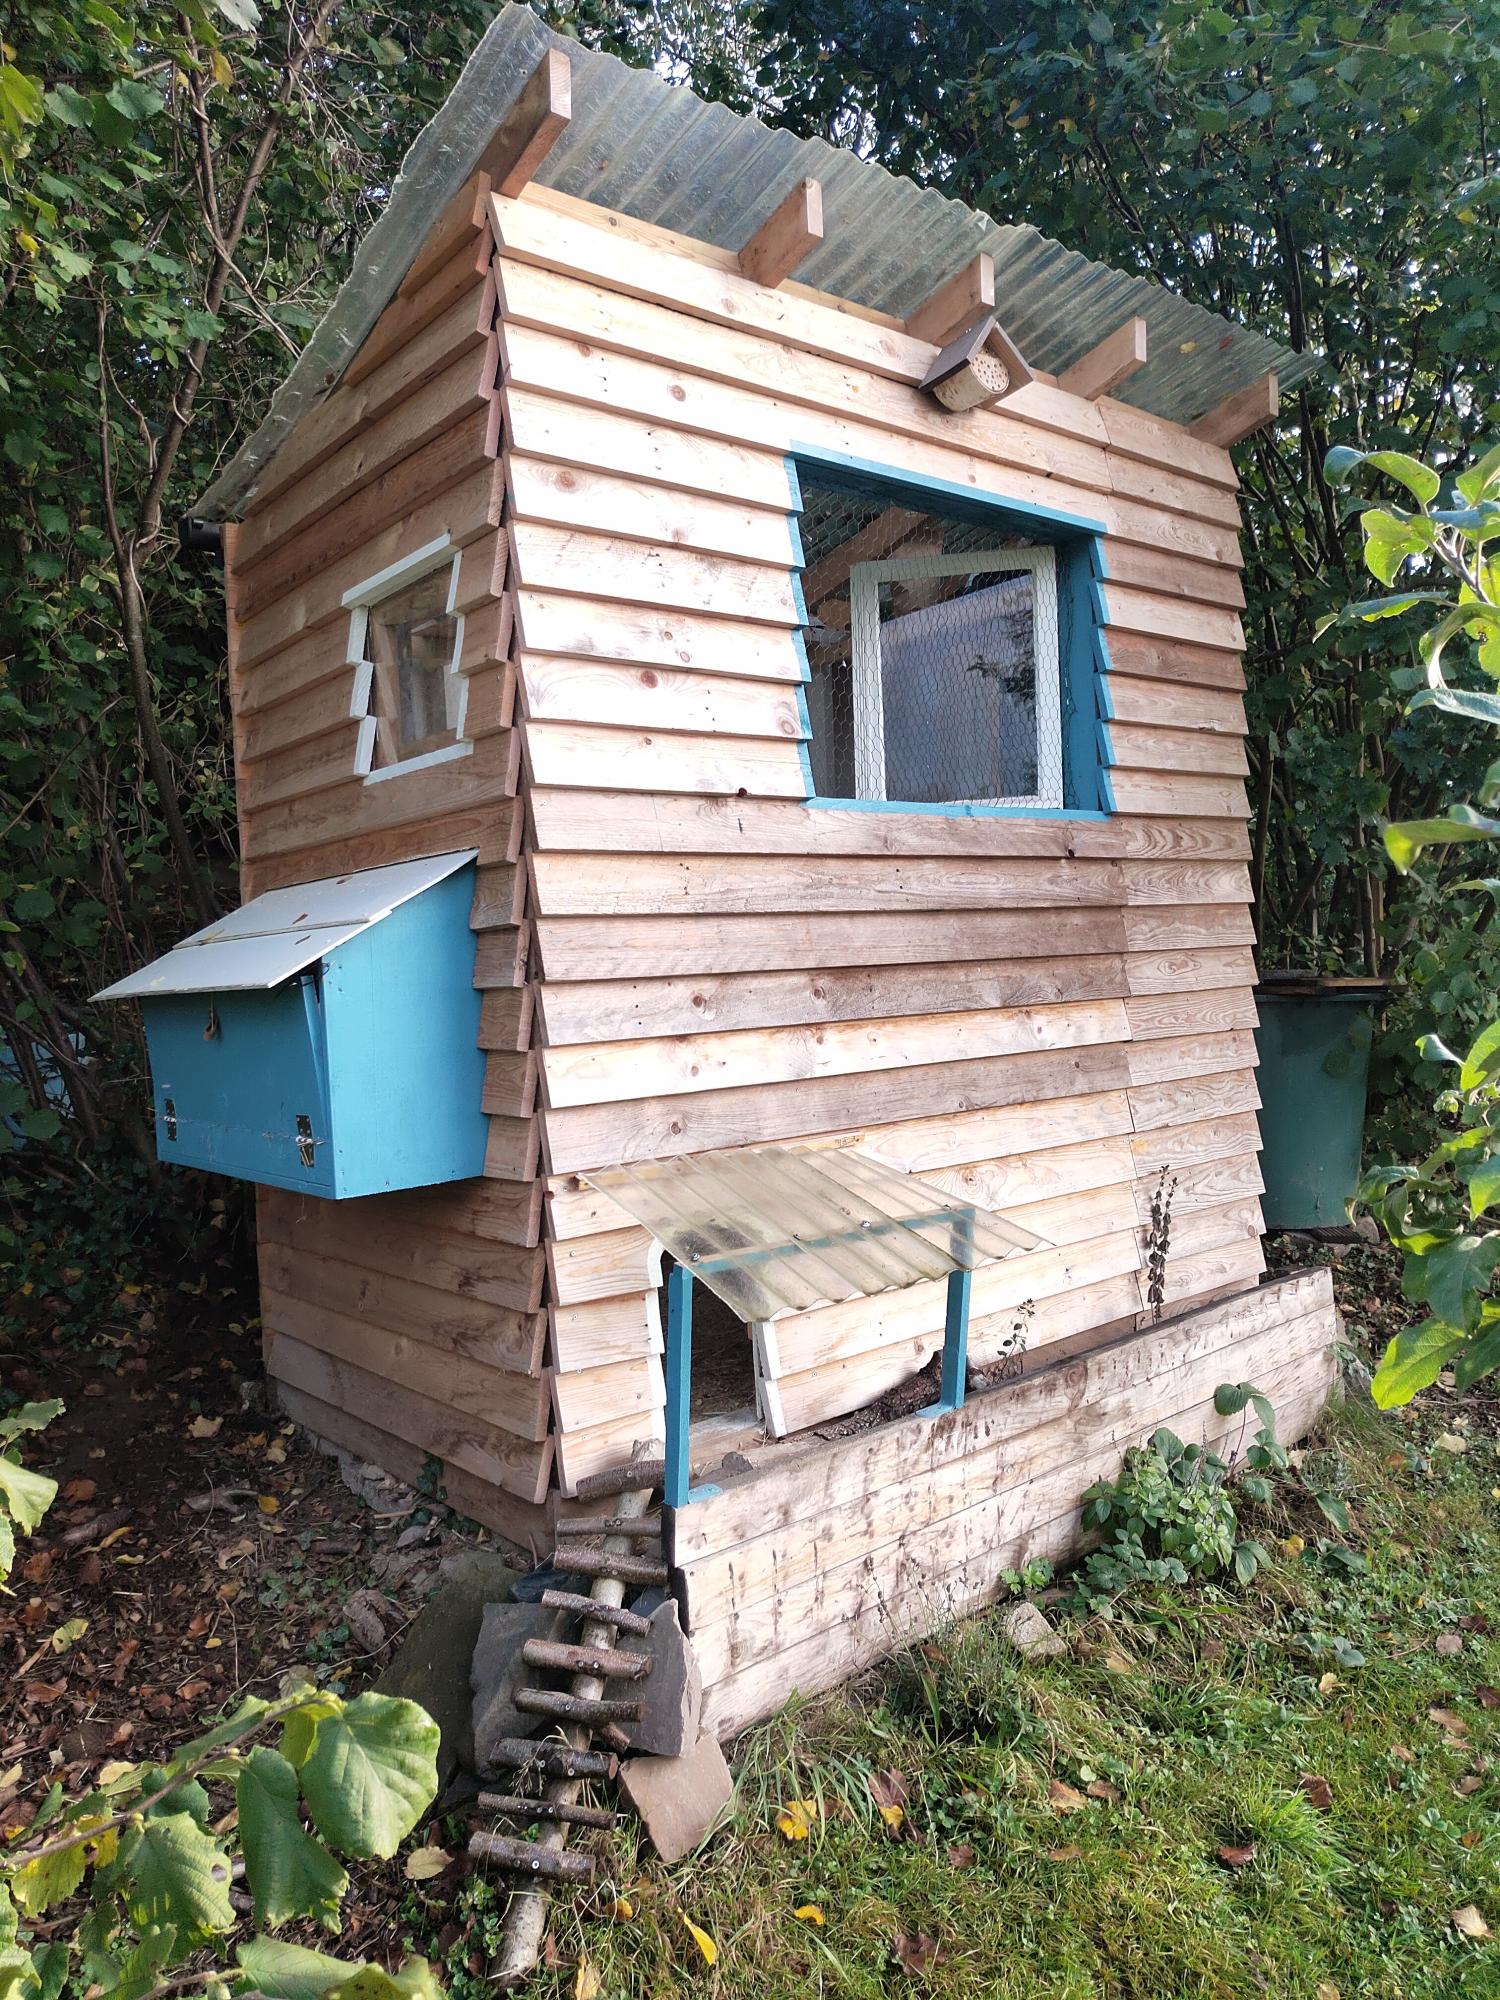
I had started this project last year in September and finished it finally 2020 in March because I get my chicken then.
I did modify the chicken coop a little bit due to the material I got.
The instructions and most of all the cutting list I like best!

Antje

Built from Plan(s)
Estimated Time Investment
Week Long Project (20 Hours or More)

Comments

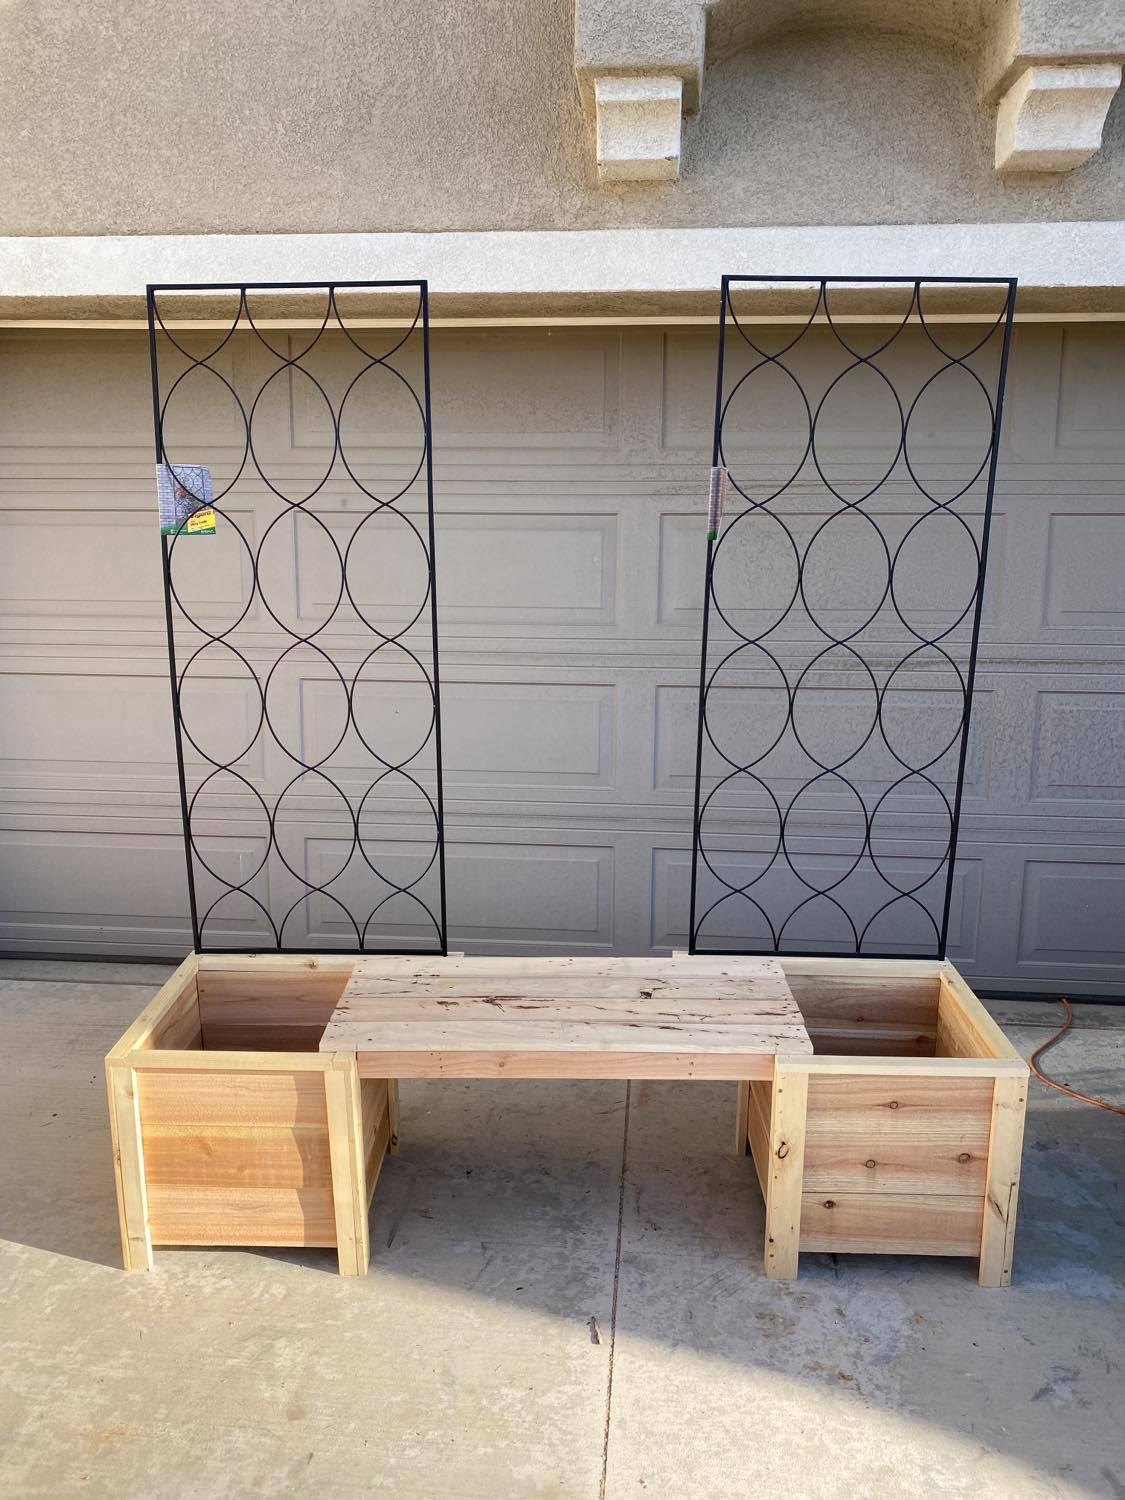
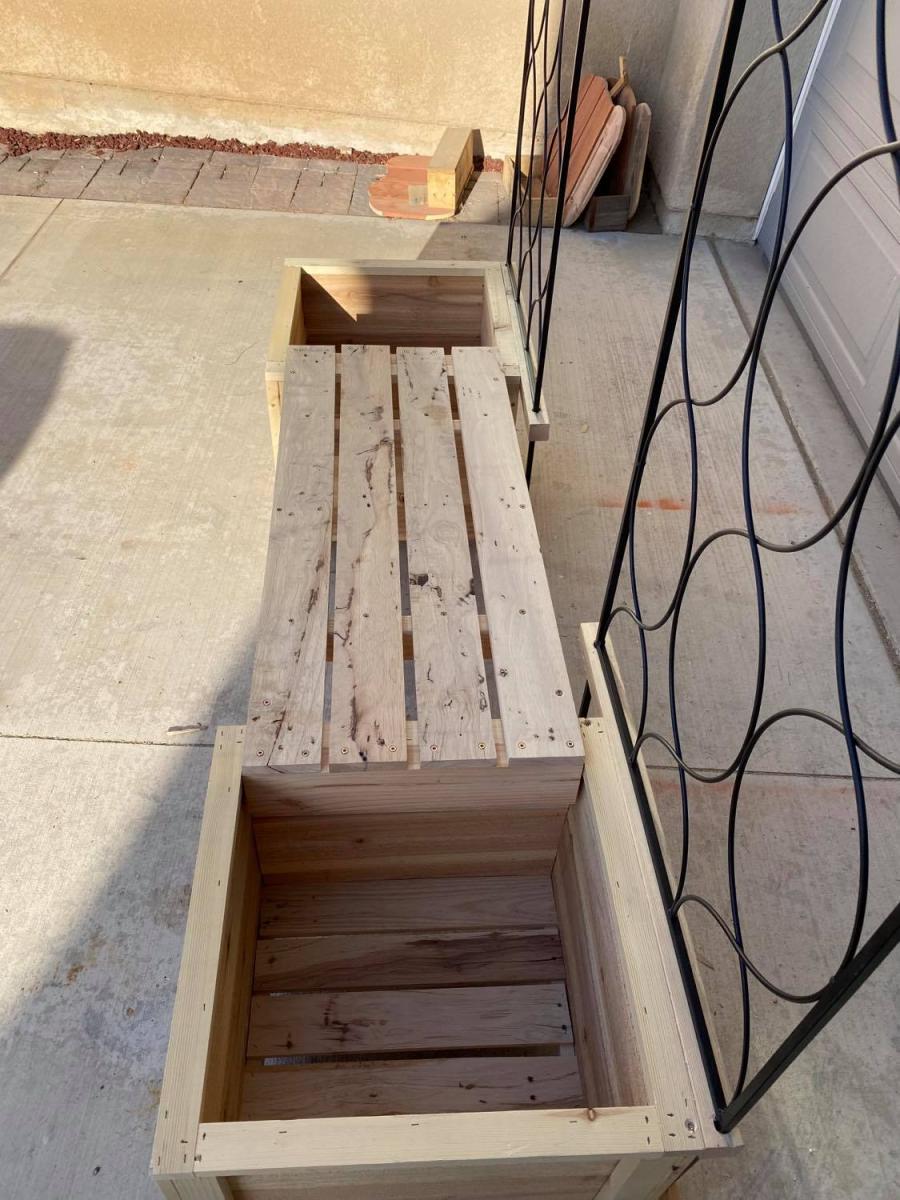
Planter Box/Bench with trellis

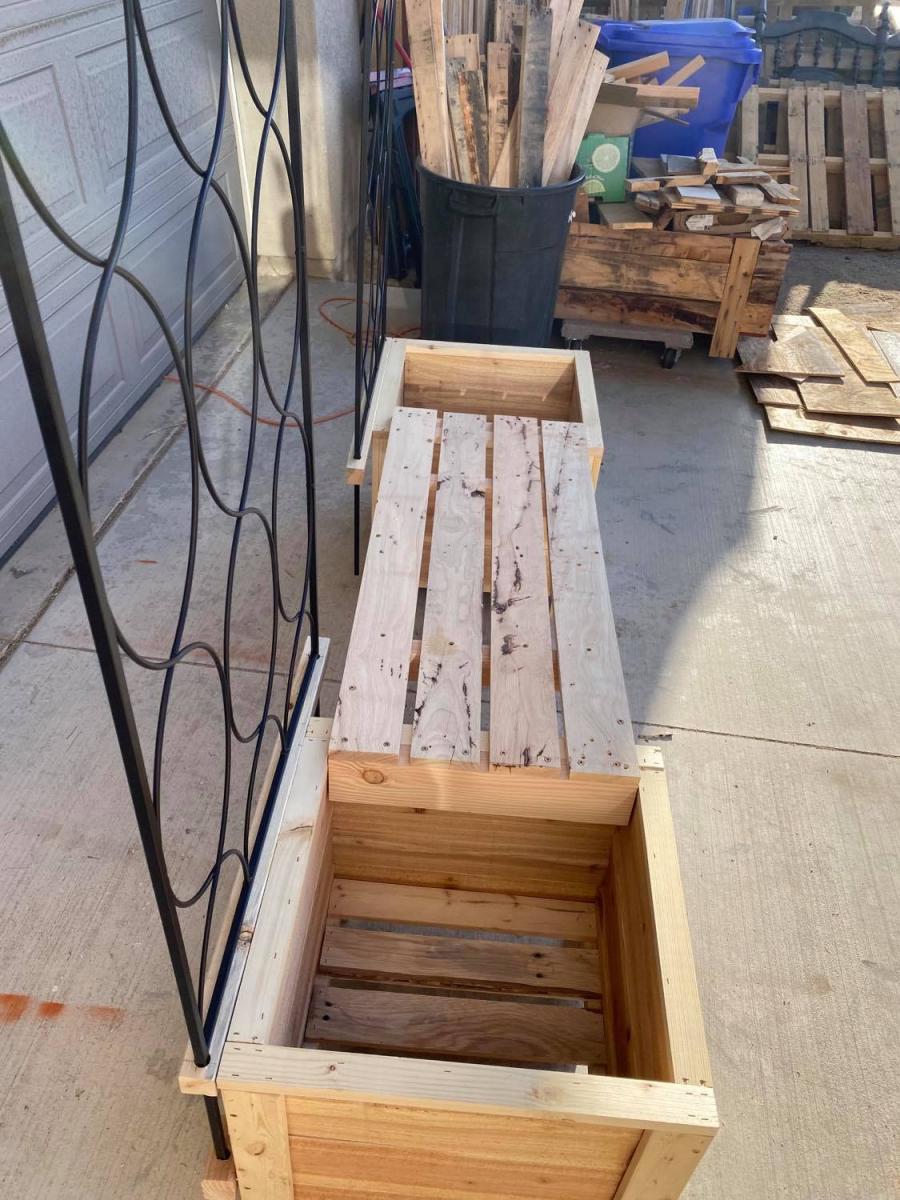
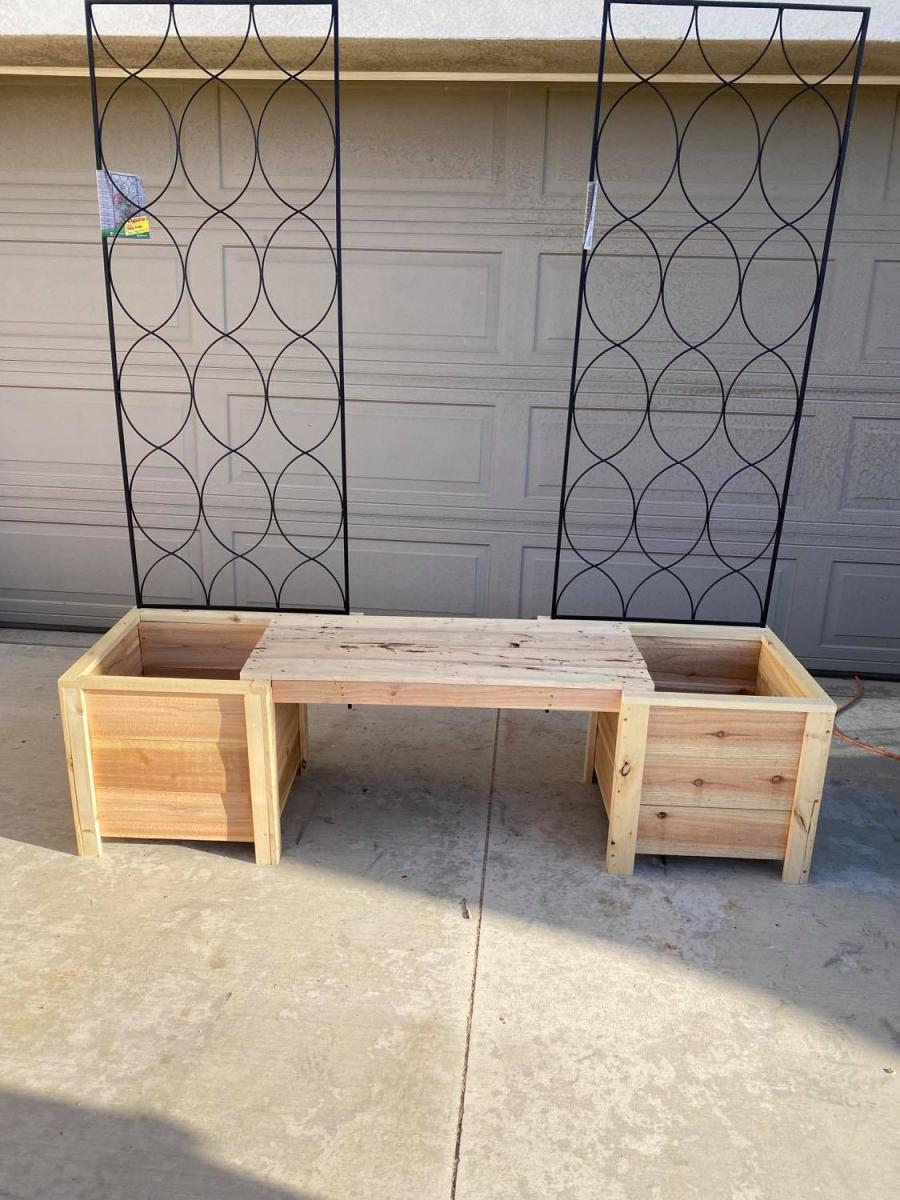
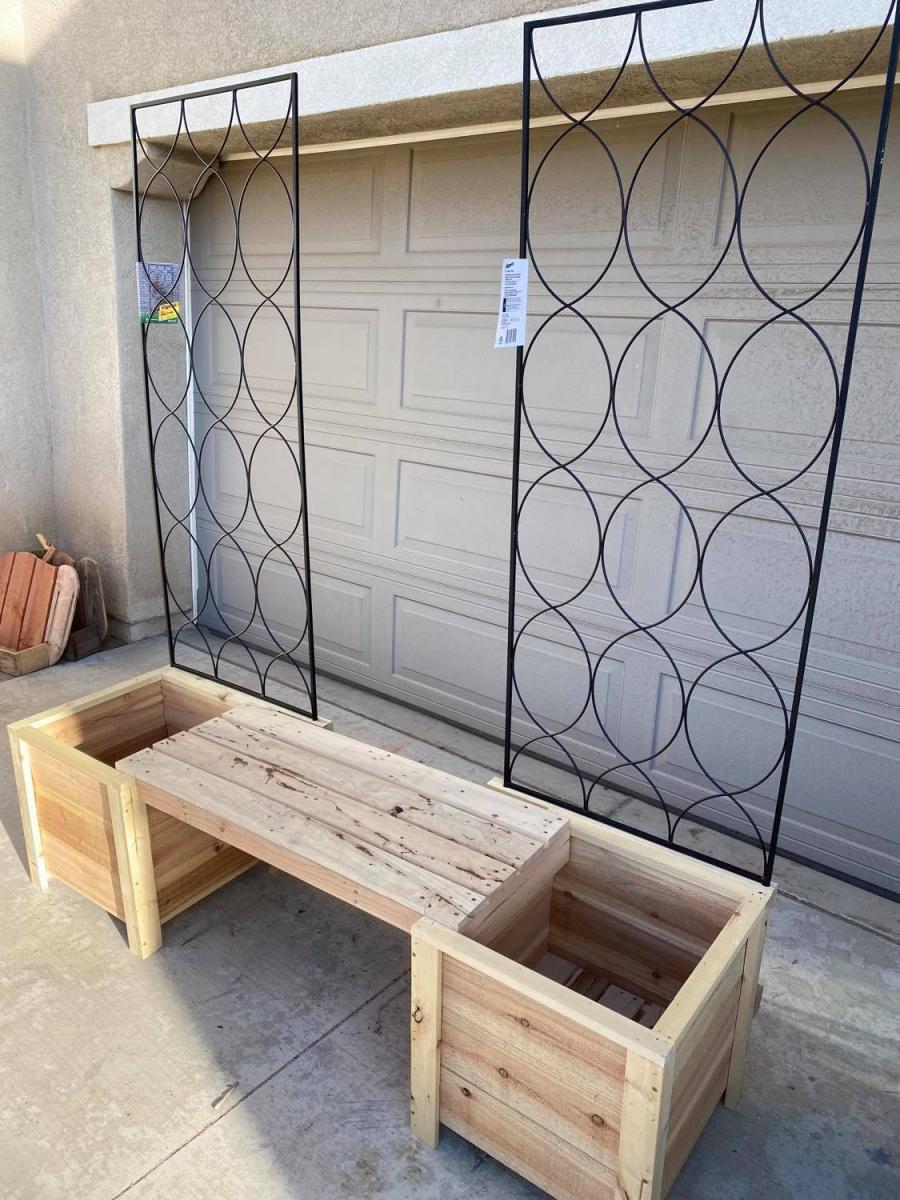
I used Ana's planter box plans and I designed and built the bench out of pallet wood, and purchased the power coated trellis's and custom fit then to the planters.

Estimated Cost
$110.00
Estimated Time Investment
Day Project (6-9 Hours)
Finish Used
unfinished
Recommended Skill Level
Intermediate

Comments

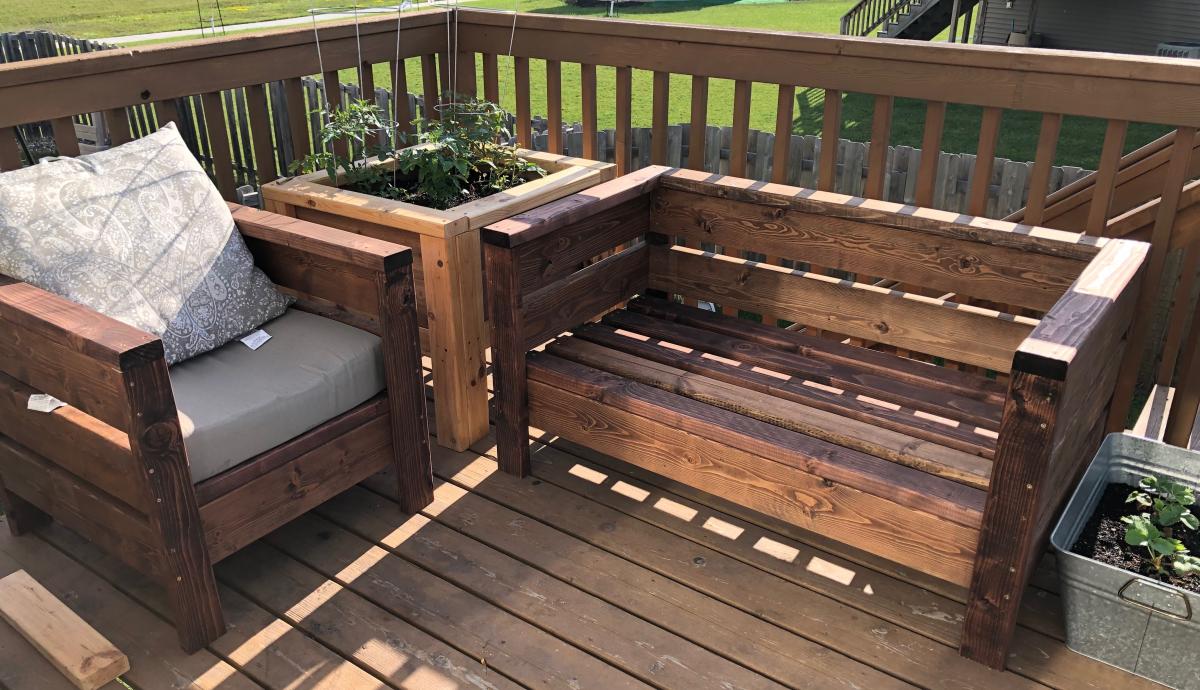
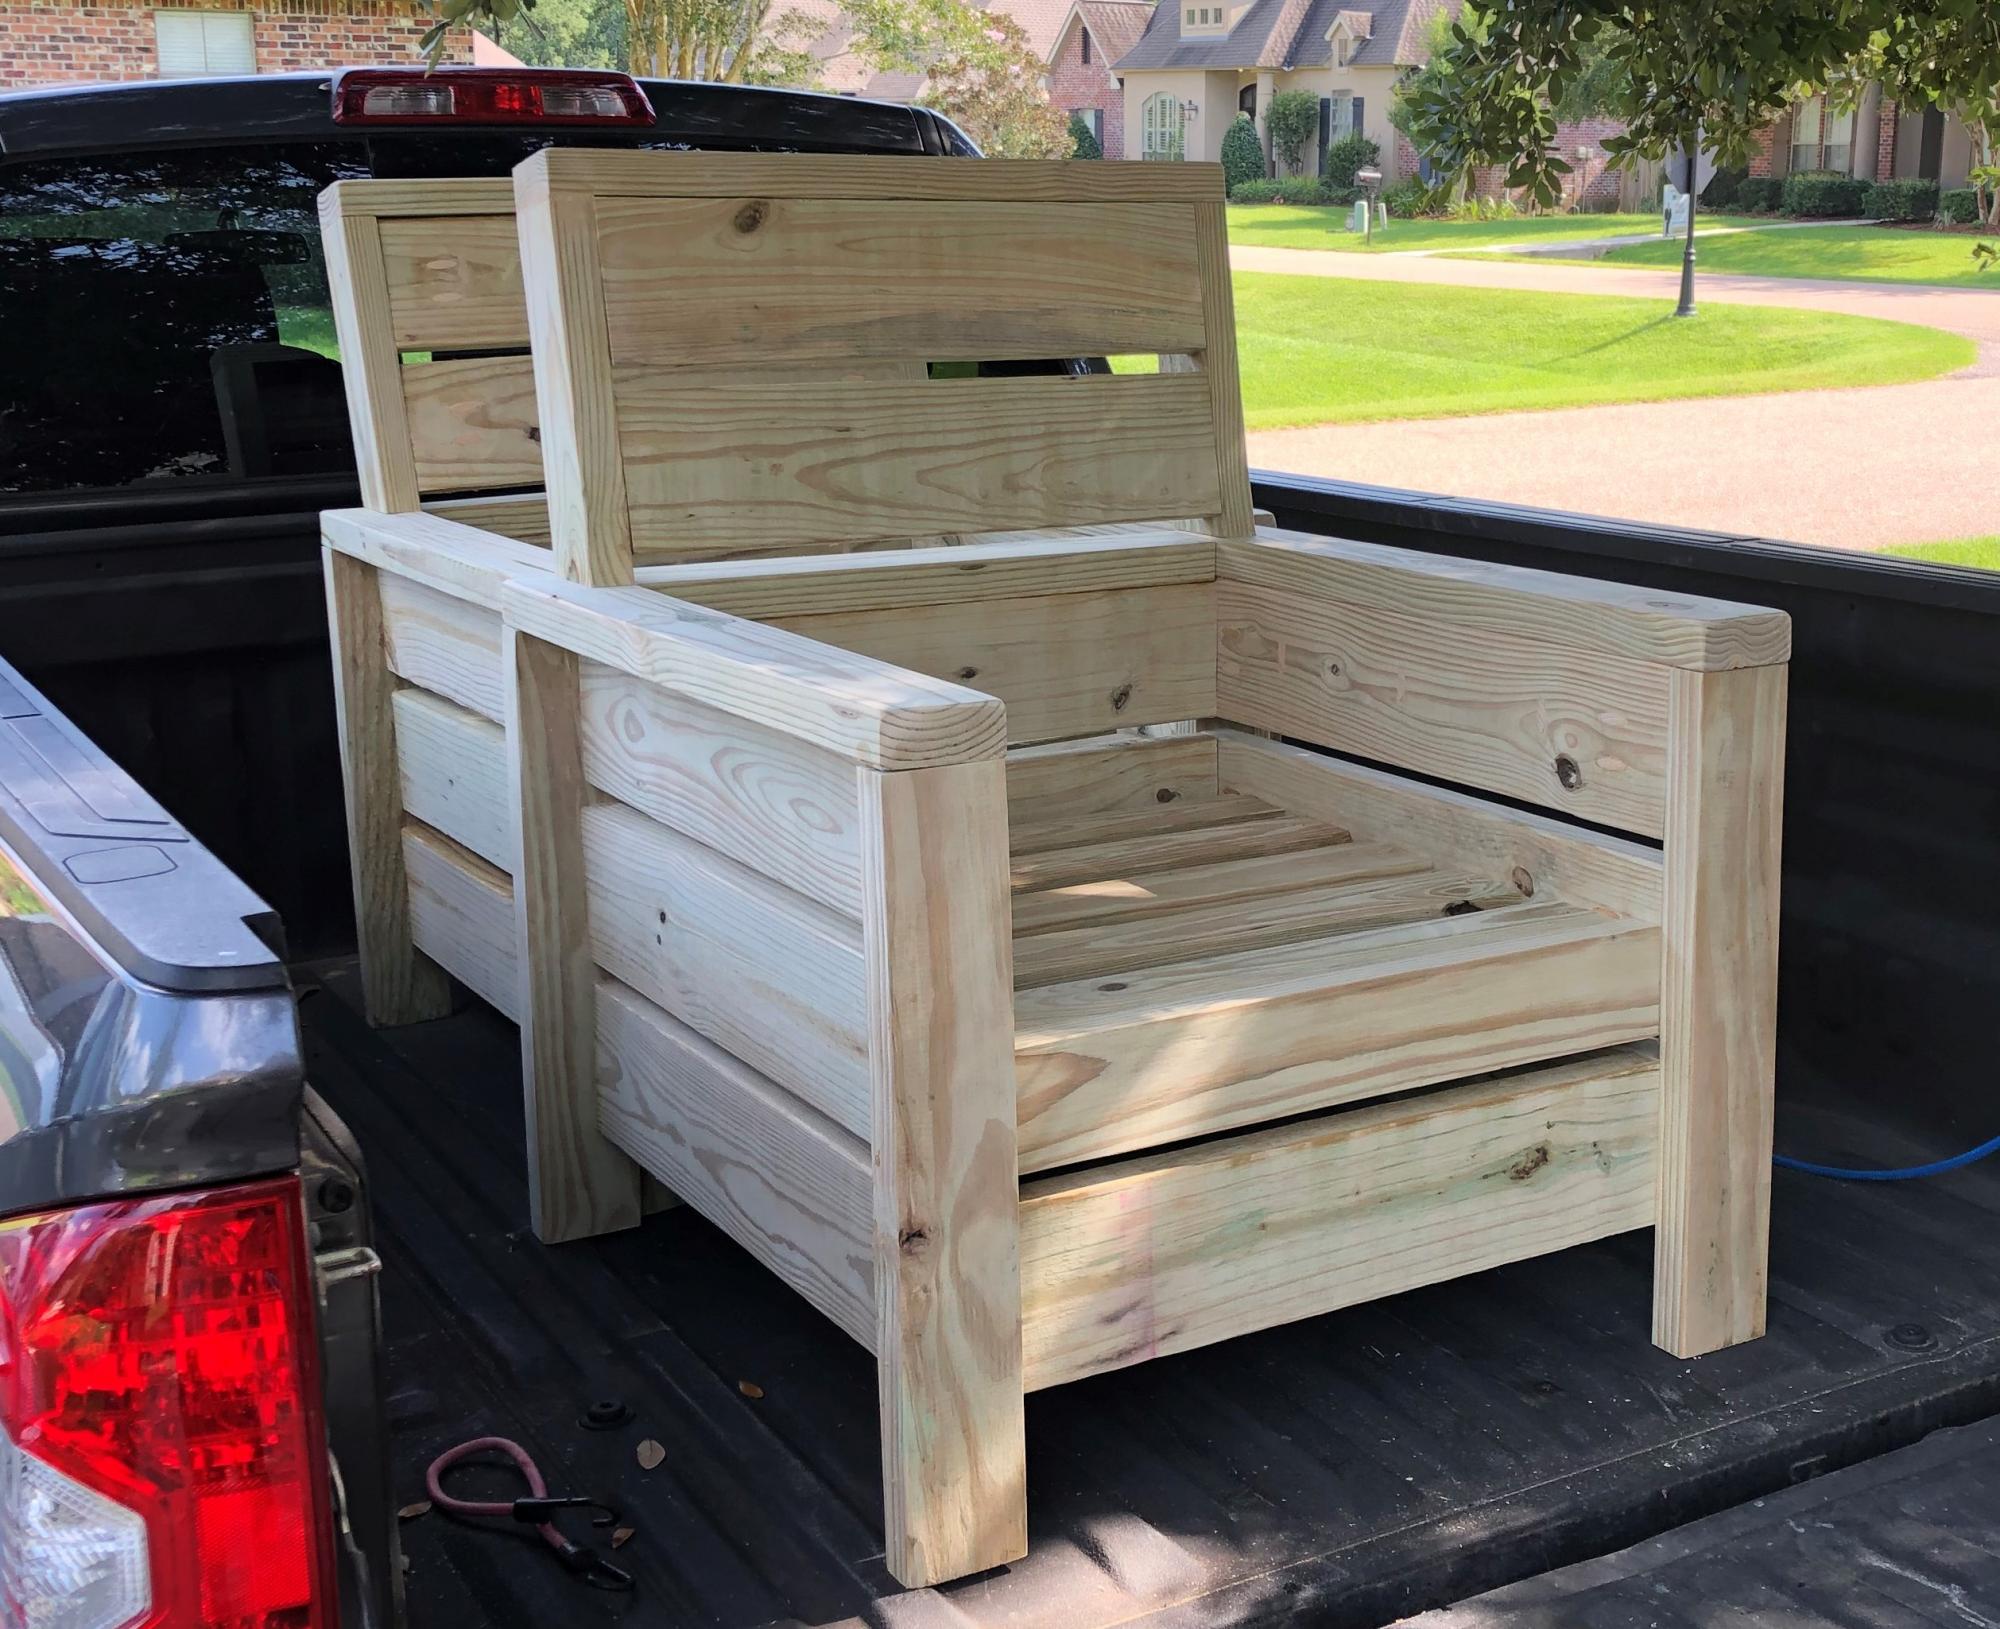
Modern Outdoor Chair & Love Seat

Submitted by Wilsjac1 on Wed, 06/26/2019 - 13:59

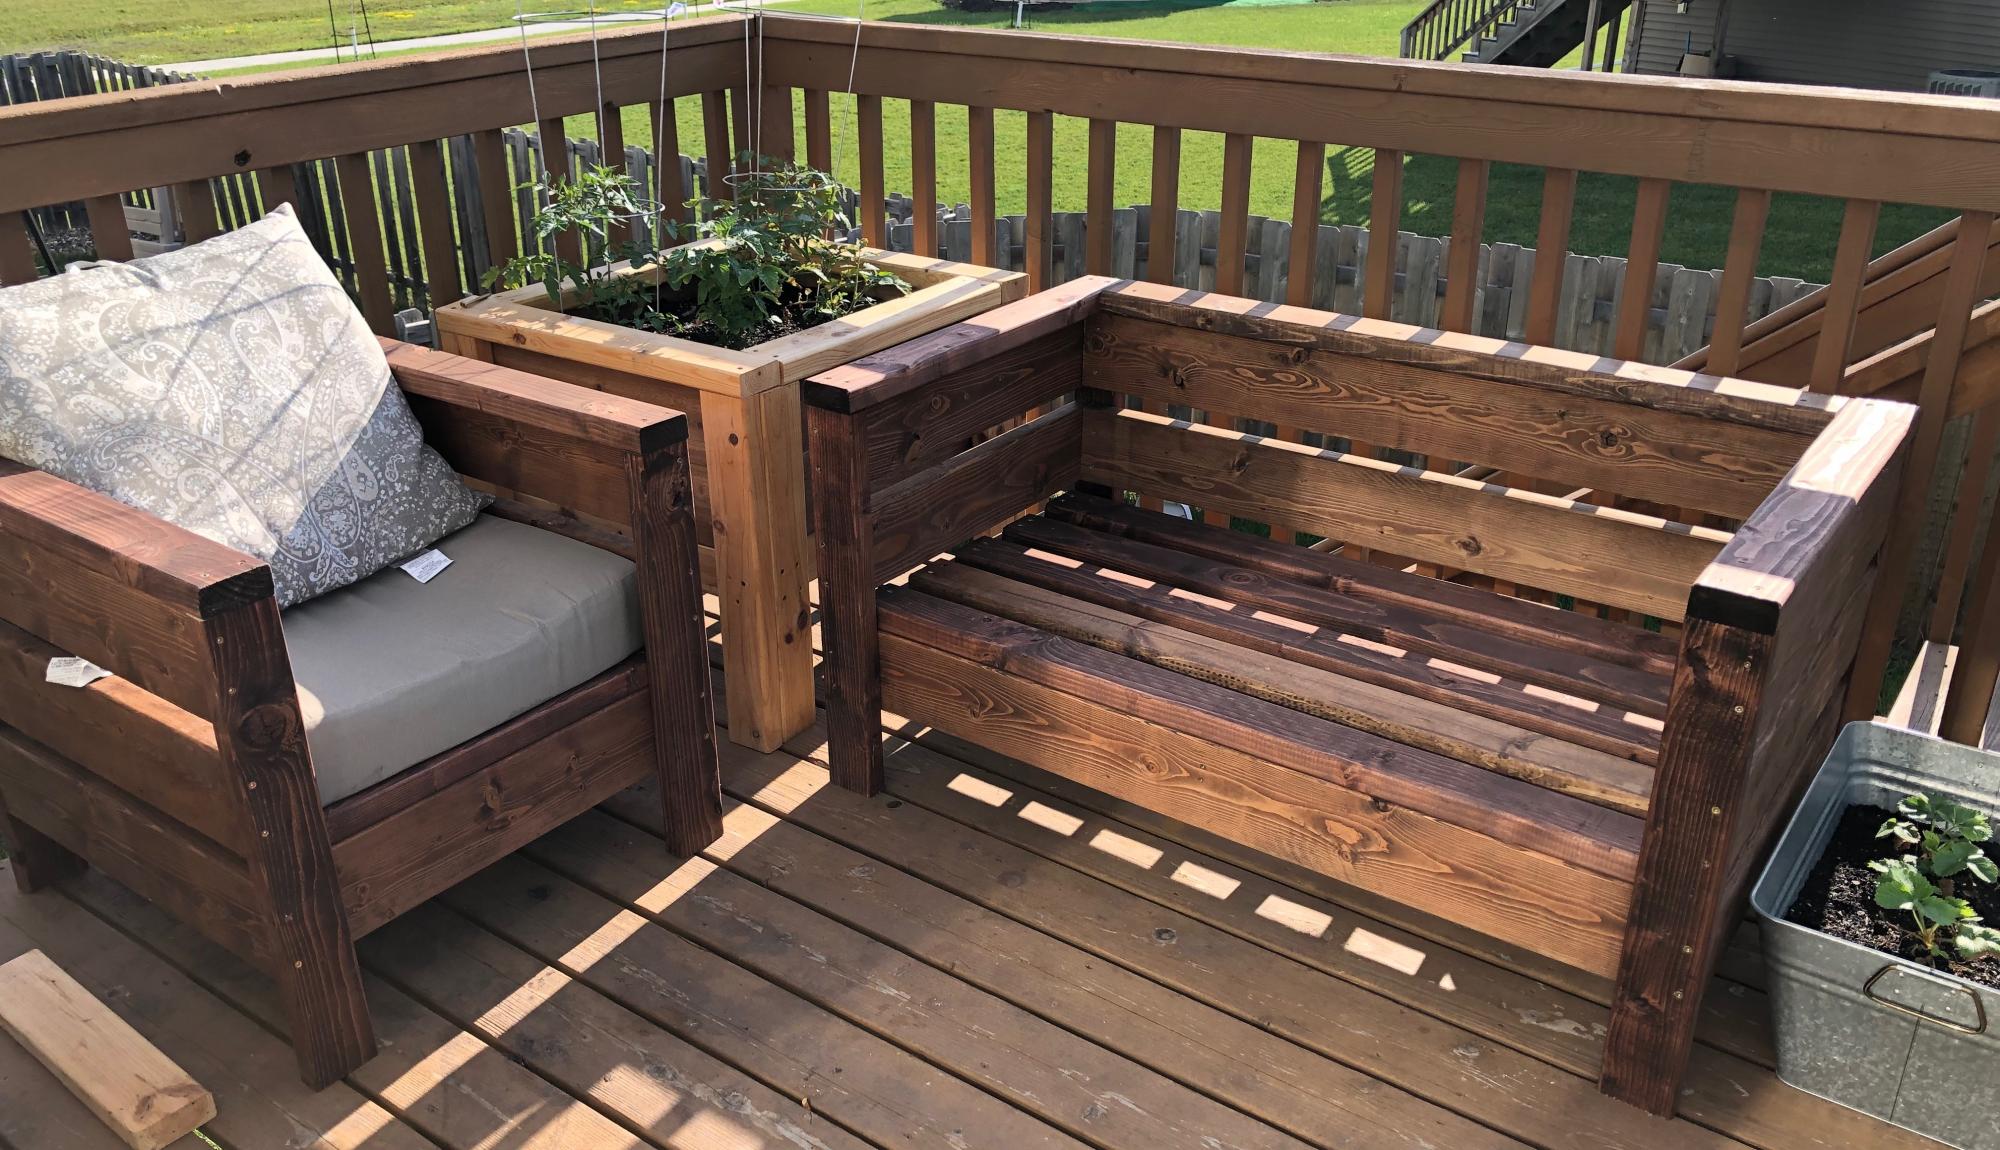
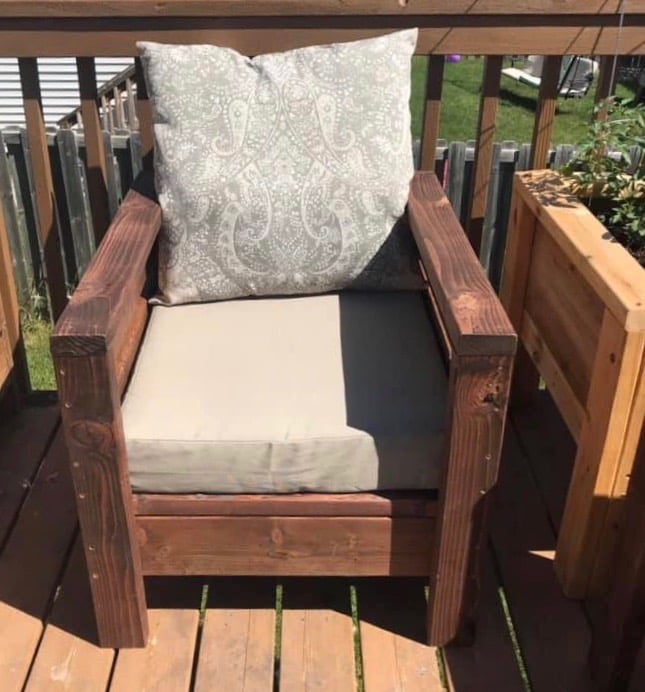
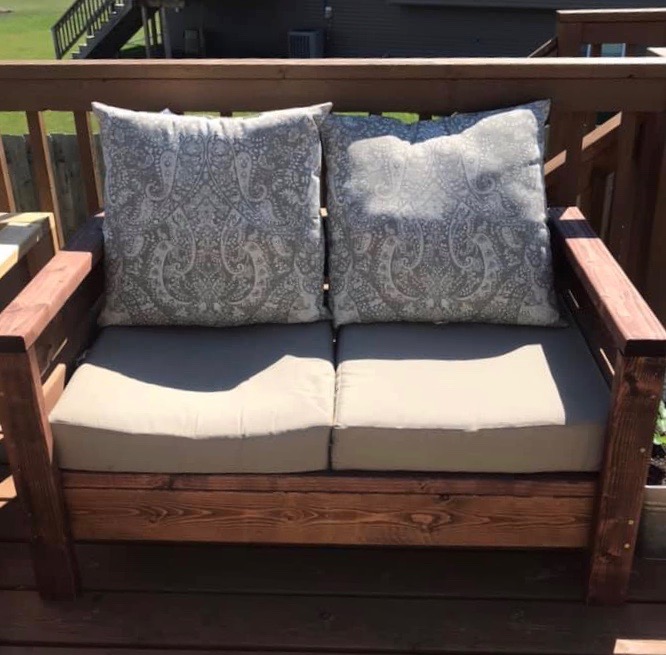
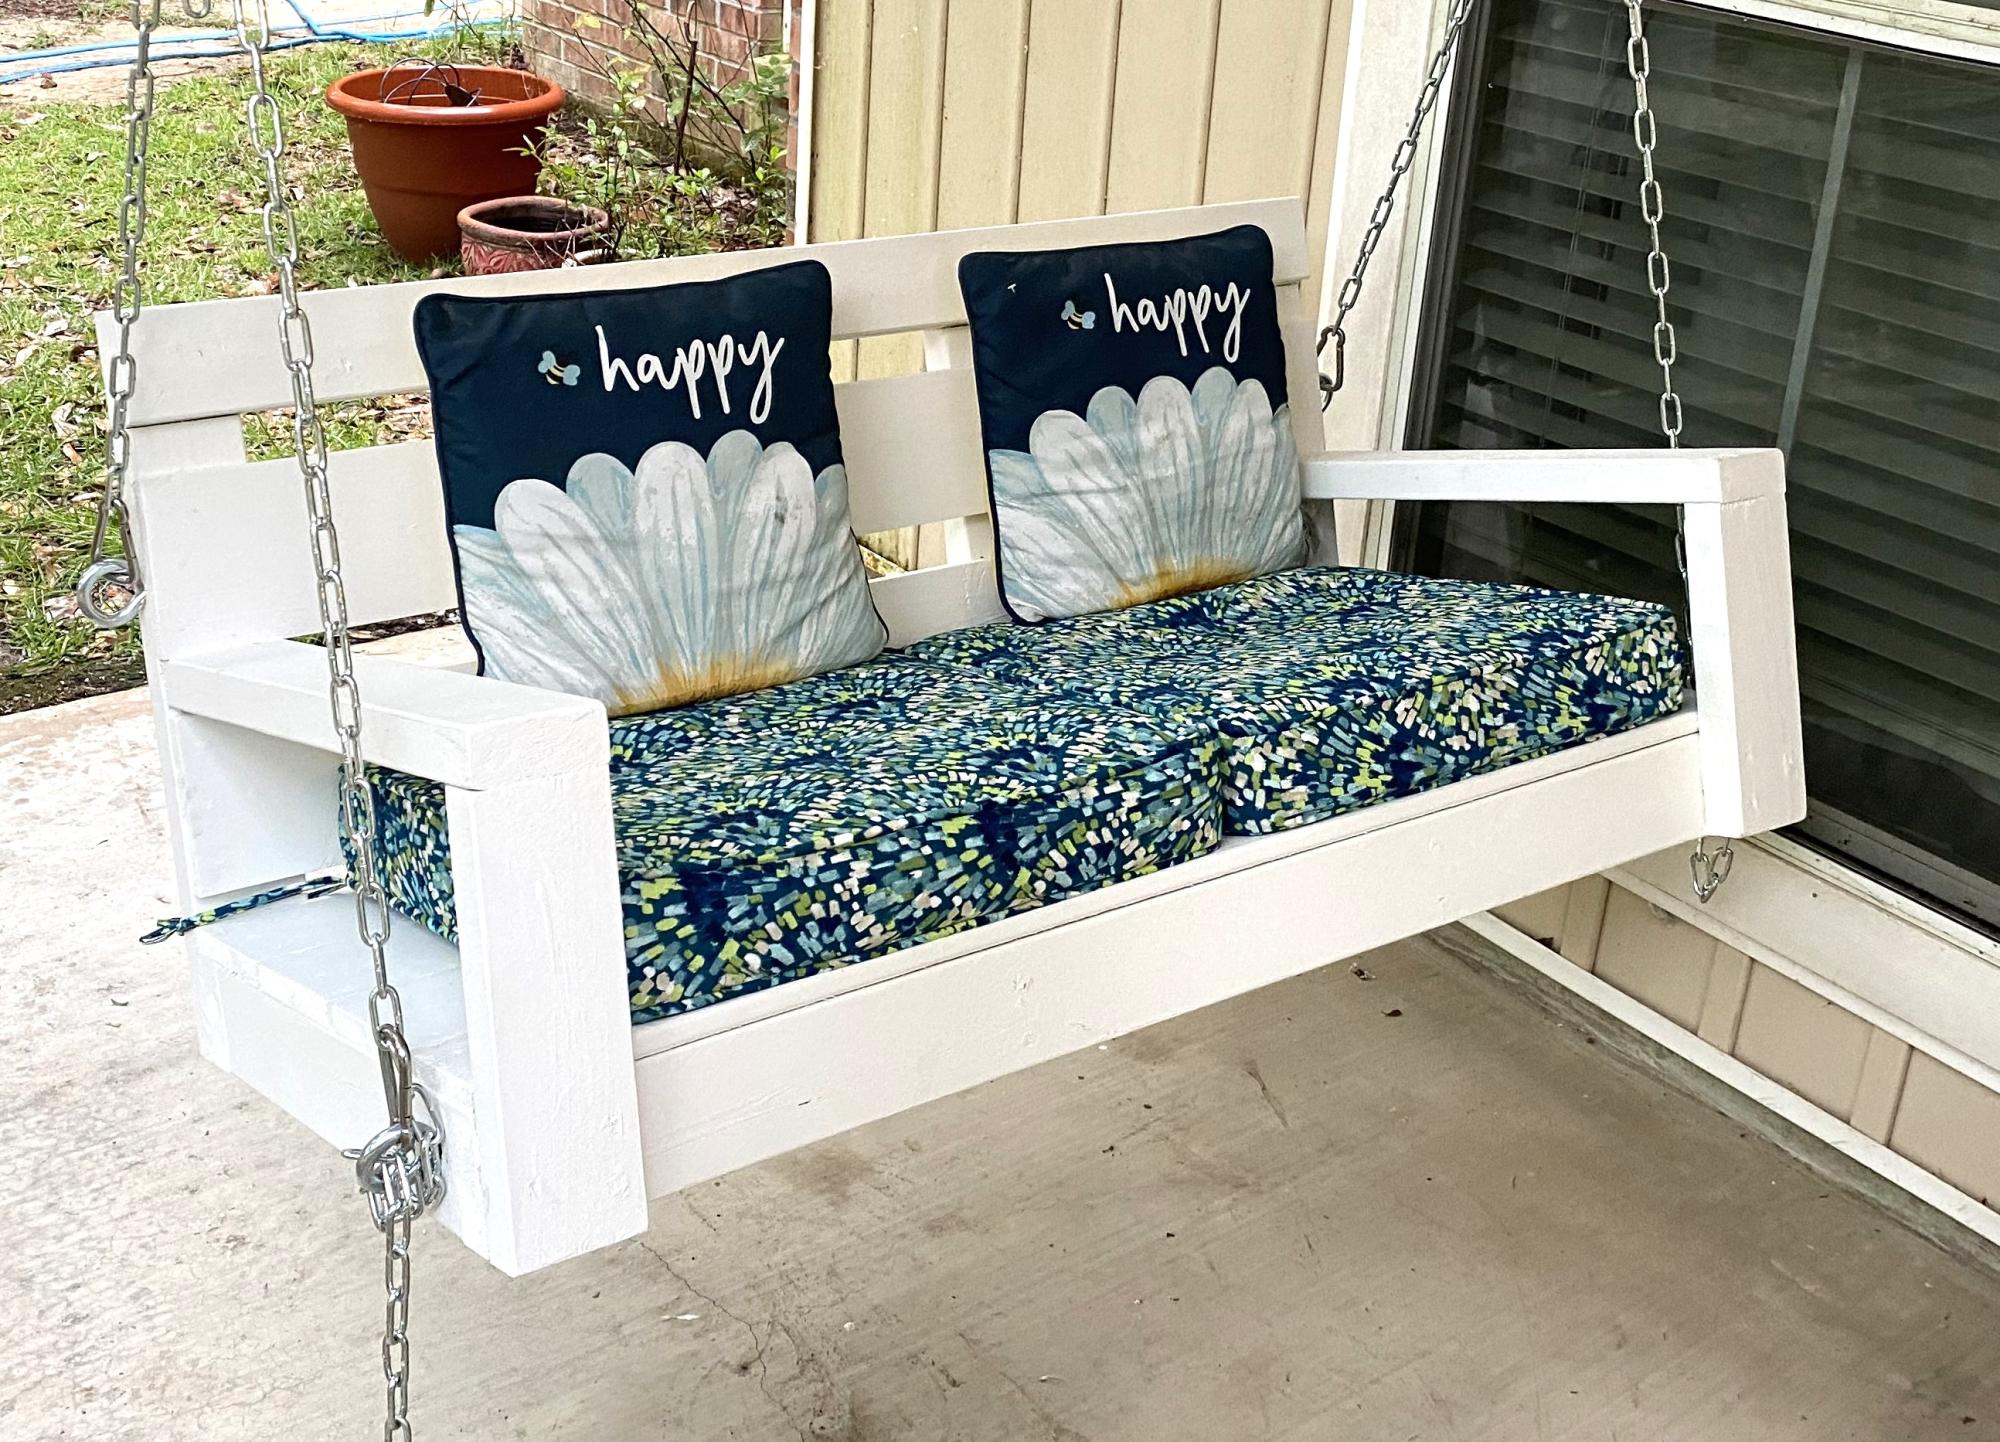
After building the first chair I decided I did not like the sizing, it felt like the arms were to low and the back cushion really did not have any support so I modified the chairs a bit and rebuilt the chair and also made a matching loveseat. 

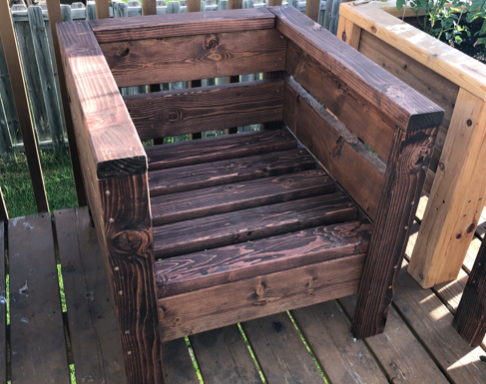
I also decided to reverse the arms so the 2×6’s are on the outside instead of the inside, Originally I did this by mistake but I decided to keep it that way because it helped hold my cushion in place and I like it better that way. But most people I have asked say they prefer the arms the original way that Ana-White had them though.

I ended up making the legs 3" inches longer to raise the height. 

I made the side slats and the armrests 3" shorter to reduce the depth to make my cushions fit better

For the love seat the only thing I had to change was I made the back slats the front slats and the seat slats 48" and I added in a 2x4 for support under the seat slats that attached from the front slat to the back slats.

Overall I love the way they came out very sturdy and we use them everyday! 

Estimated Cost
$75
Estimated Time Investment
Afternoon Project (3-6 Hours)
Finish Used
I sanded all of the 2x4's and 2x6's with 80 grit & 220 grit, I then used minwax primer before applying the stain, I used the color "Honey"
Recommended Skill Level
Beginner

Modern Outdoor Chair with Backrest

Submitted by PoppaZotch on Mon, 08/17/2020 - 11:53

Per request of my wife, I opted to add a backrest to the chair. I feel as though my backrest design keeps with the style of the original build. I accomplished this by cutting the 2x4 vertical arms of the backrest at 13 inches with a 10 deg miter cut at the base. This allows you to keep with the 3/4" on the 2x6 backrest slats. I finished it off with a 2x4 top plate. I'd also note that I made slight modifications to the plans to accommodate 24" cushions.

Estimated Cost
$100
Estimated Time Investment
Afternoon Project (3-6 Hours)
Finish Used
sanded to a 220 grit
Recommended Skill Level
Intermediate

Ana White chicken coop with modifications

We started with the basic chicken shed coop plans and modified it some. We wanted the peak to be in the front for ease of access and to allow leaves from tree overhead and rain and snow to fall to the back away from the entrance. The windows raise from the inside using 1/8" wire secured on the inside with a rope cleat hook.

We added Dutch doors. We added latches for the pop door to keep it iopen or closed as needed. Dutch doors also have decorative latches and eyehook latches to secure them when they are fully open. I rested the shed on 12 in. x 8 in. x 12 in. concrete patio pier blocks to allow drainage. we extended the roof about 6 " to allow for extra protection and avoid dripping whe  it rains.

On the inside I have a roost and a poop deck. Hanging from the poopdeck I have their feed to keep it off the floor and keep shavings, etc. from getting into the food. The poop deck  and the floor are covered with comercial grade tile to facilitate easier cleaning.

Built from Plan(s)
Estimated Cost
$1,000 including tools (Keg Jig) decorative hinges, wood, sheathing, shingles.
Estimated Time Investment
Week Long Project (20 Hours or More)
Finish Used
White KILZ primer, Glidden Kenya for walls of coop and basic Glidden white. and Glidden red for Dutch Doors, for 1X6 under roof Glidden dark brown
Recommended Skill Level
Advanced

Comments

anxo-a

Sat, 03/14/2015 - 02:50

Hi!

I love your coop and the modifications you made - I was planning on doing the same thing with the placement of the door. I was wondering if you could post a couple of photo of the inside of the coop? I'm especially interested in where you placed the roost.

Thank you so much for sharing!

DIY Minecraft Torches

My favorite 7 year old recently had a Minecraft themed birthday party.    For party favors, I made Minecraft torches from a 2×2 board.   Painting each pixel of the torch was an incredibly time consuming process.  This is definitely not a project you want to procrastinate on.   I would budget two hours per a torch.   The torches are 1.5″ wide and 7.5″ tall.  The scale for the pixels is 0.75 inches.  I am pretty happy with how the torches came out.  It is a great way to use leftover 2×2 boards in the garage and a neat treat for fans of the game.

Estimated Time Investment
Afternoon Project (3-6 Hours)
Finish Used
Acrylic craft paint sealed with Mod Podge (Matte Finish)
Recommended Skill Level
Starter Project

lawn and garden shed

Submitted by brittanyj on Wed, 08/19/2015 - 13:17

Needed a shed to store bikes and mowers, etc, so I'd have more room in the woodshop : )  I made a lot of modifications to the plan to fit my space and make it much larger.  The completed size is 7 foot tall at the peak, 6 feet deep and 5.5 feet wide.  I made it as a 3 sided shed, using the wall as the 4th to save on cost, increase air flow, and make the exterior house wall accessible.  I also made an egress in the back of the shed in order to get behind the shed if needed. 

Instead of roofing shingles, I opted for ribbed metal sheets and one clear sheet in the middle to make a skylight, so there would be light in the shed.  This is my favorite part of the project.  It was a huge pain to attach the roofing from a ladder with very limited access, but it looks great and I love the light coming in.  We have very little rain in CA, so I'll have to wait until winter/rainy season in order to test out its waterproofing. 

Since the shed sits between the house and the neighbors block wall fence, and I wanted to use as much of the space as I could, I decided to design the shed to have the side wall against the house rather than the back wall, as shown in the plan.  This took a large amount of modifications, but with careful planning and measuring, it can be done.  This also meant blocking off access to behind the shed, so I cut an egress in the back wall and added hinges so you can lift the back cut out panel, and rest it on a stop block attached to the fence behind it in order to have access.  That's what woodworking is about- problem solving.  Love it. 

As you can see by the full shed picture, it fits a large amount of stuff- 2 adult bikes, mower, edger, trimmer, chainsaw, hedge trimmer, garden tools, shovels, etc, with plenty of room for more.  I now have a free corner in my garage that I've already filled with a DIY rolling workbench and more pegboard space for tool hanging.  Woodshop increased space= happy Brittany. 

I should also mention that building the frame and adding the pickets was quite a quick and easy job.  The hardest and most time consuming part was the roof (I didn't have metal cutting tools), rolling each very heavy wall to the site (I was alone) and the previous 2 weeks in which I built the paver patio the shed sits on.  Hard work, but worth it.  I love it!
Built from Plan(s)
Estimated Cost
$280
Estimated Time Investment
Week Long Project (20 Hours or More)
Recommended Skill Level
Intermediate

Comments

brittanyj

Mon, 01/25/2021 - 13:15

It has been incredibly useful for storing! One thing about the skylight- Over time the sun has warped it and there is now a hole and crack there. So I wouldn't plan on the clear roofing being a long term solution- I will be replacing it with either thicker clear roofing or 2 layers.

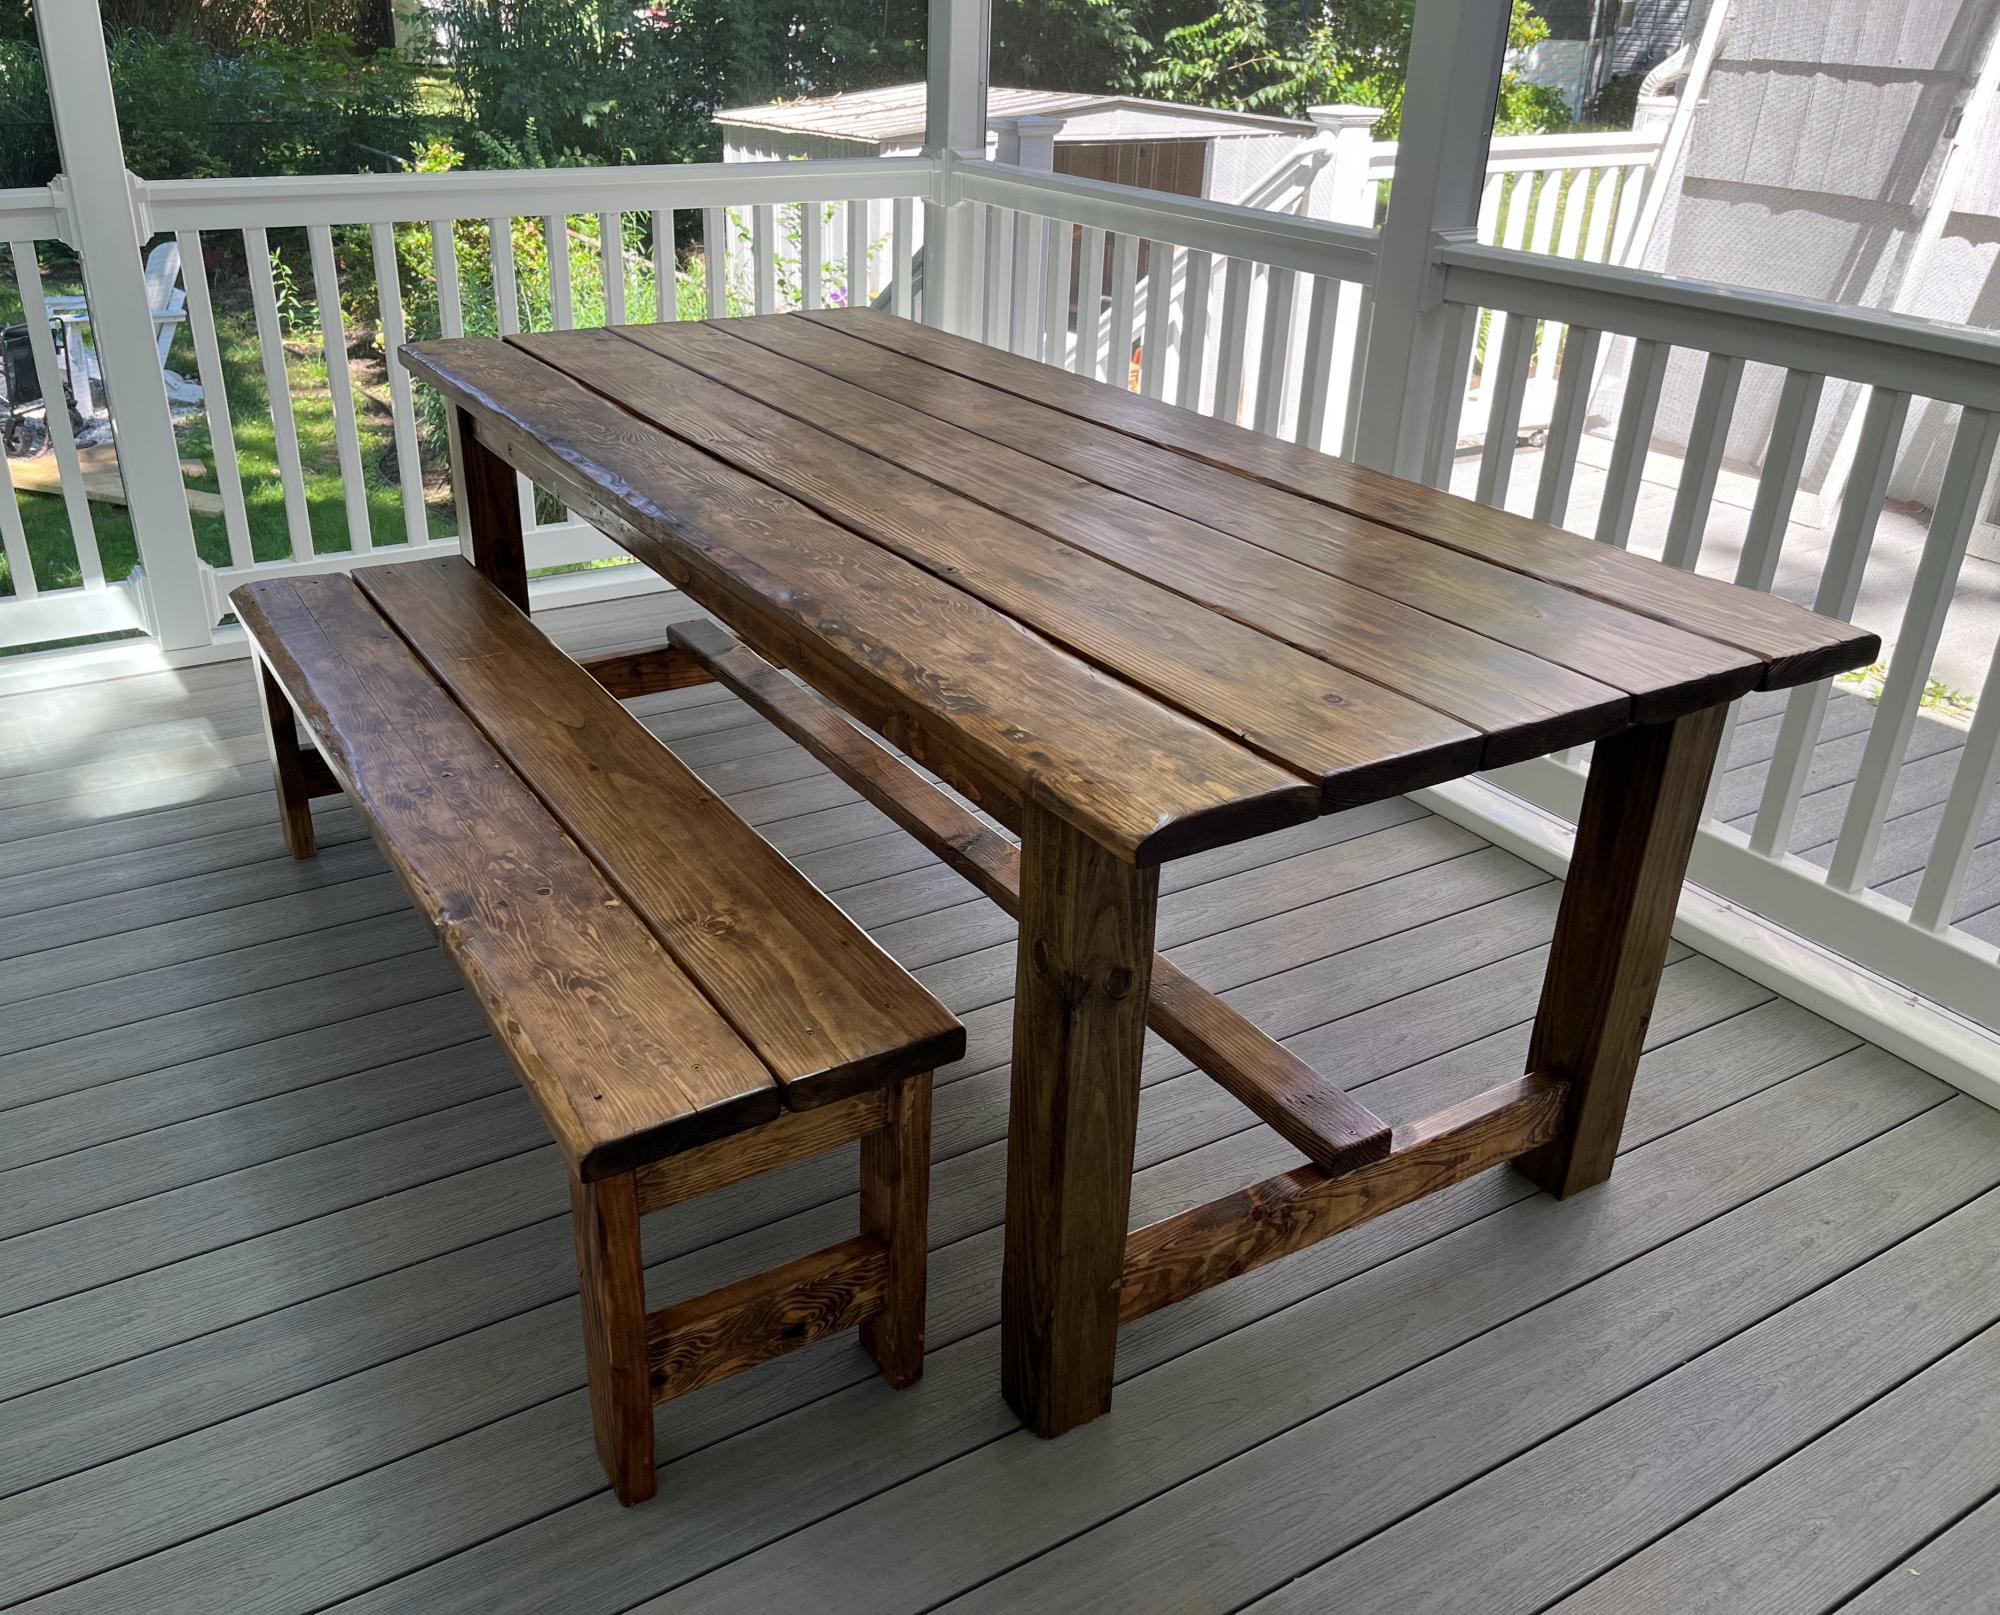
Modified Beginner Farm Table and Bench

Submitted by Anonymous (not verified) on Tue, 06/28/2022 - 12:09

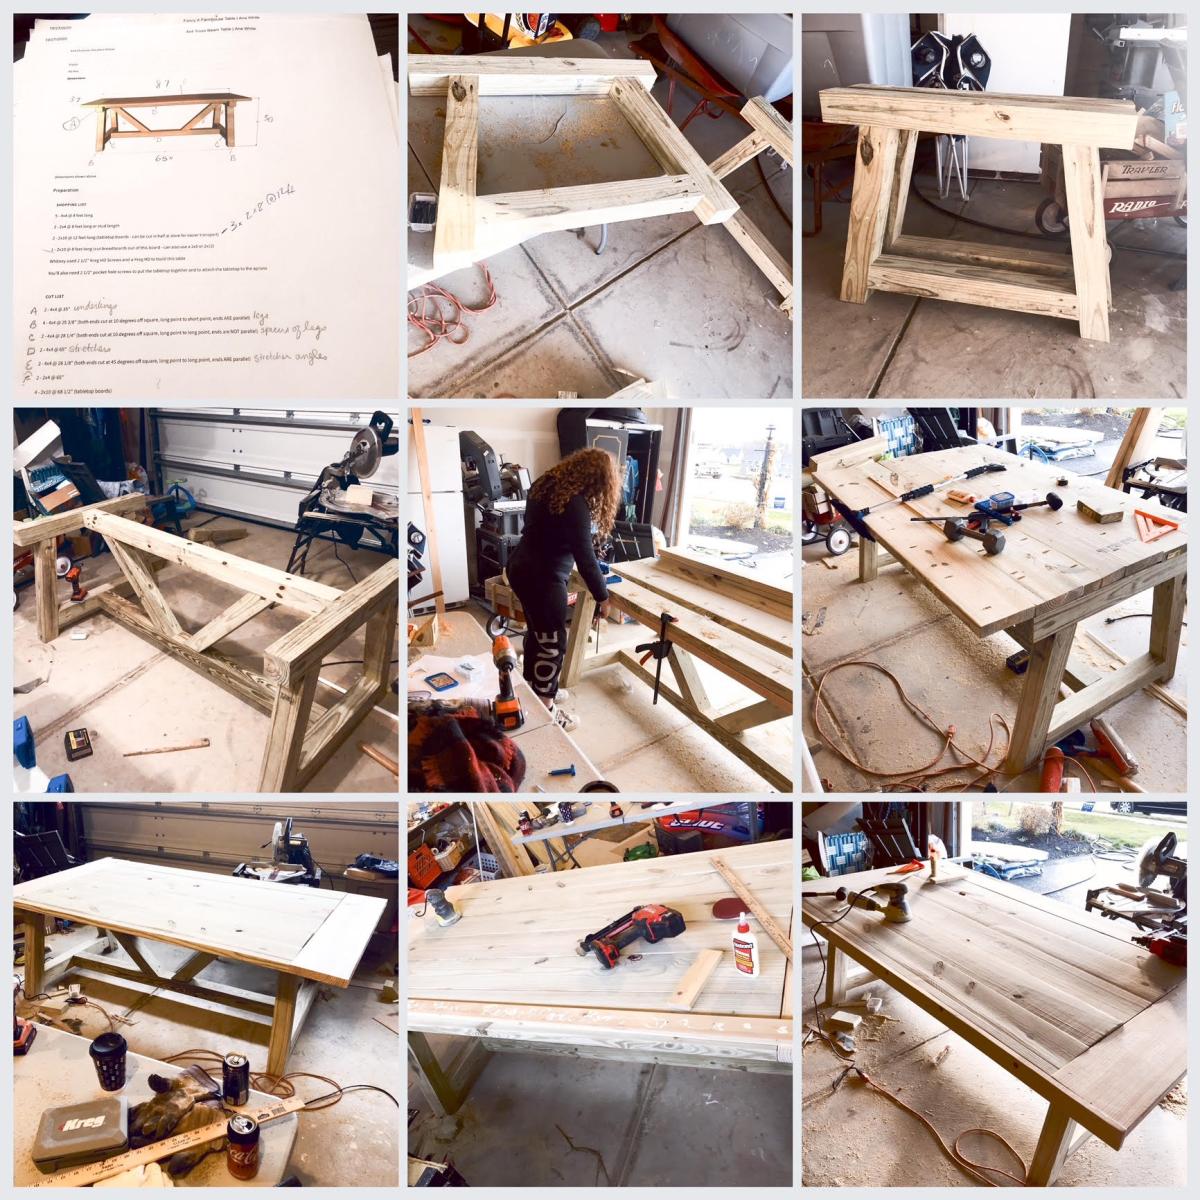
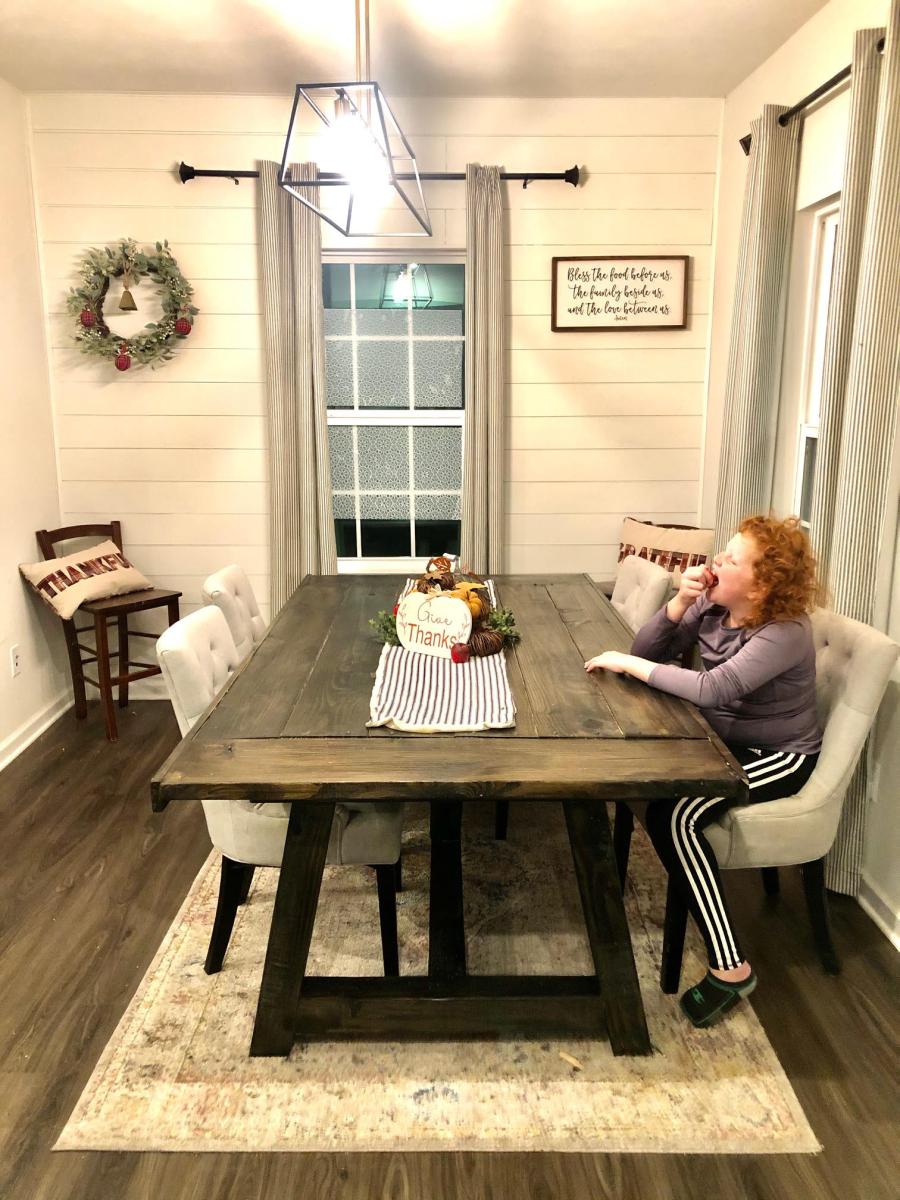
Altered the Beginner Farm Table plans to use 2x8s for the top and 4x4s for the legs. I used pocket holes for the table. I followed the bench plans almost exactly, adjusting slightly for the 2x8 tops. I am a beginner and I did it myself! The table and bench are beautiful and sturdy! Thanks Ana!

Comments

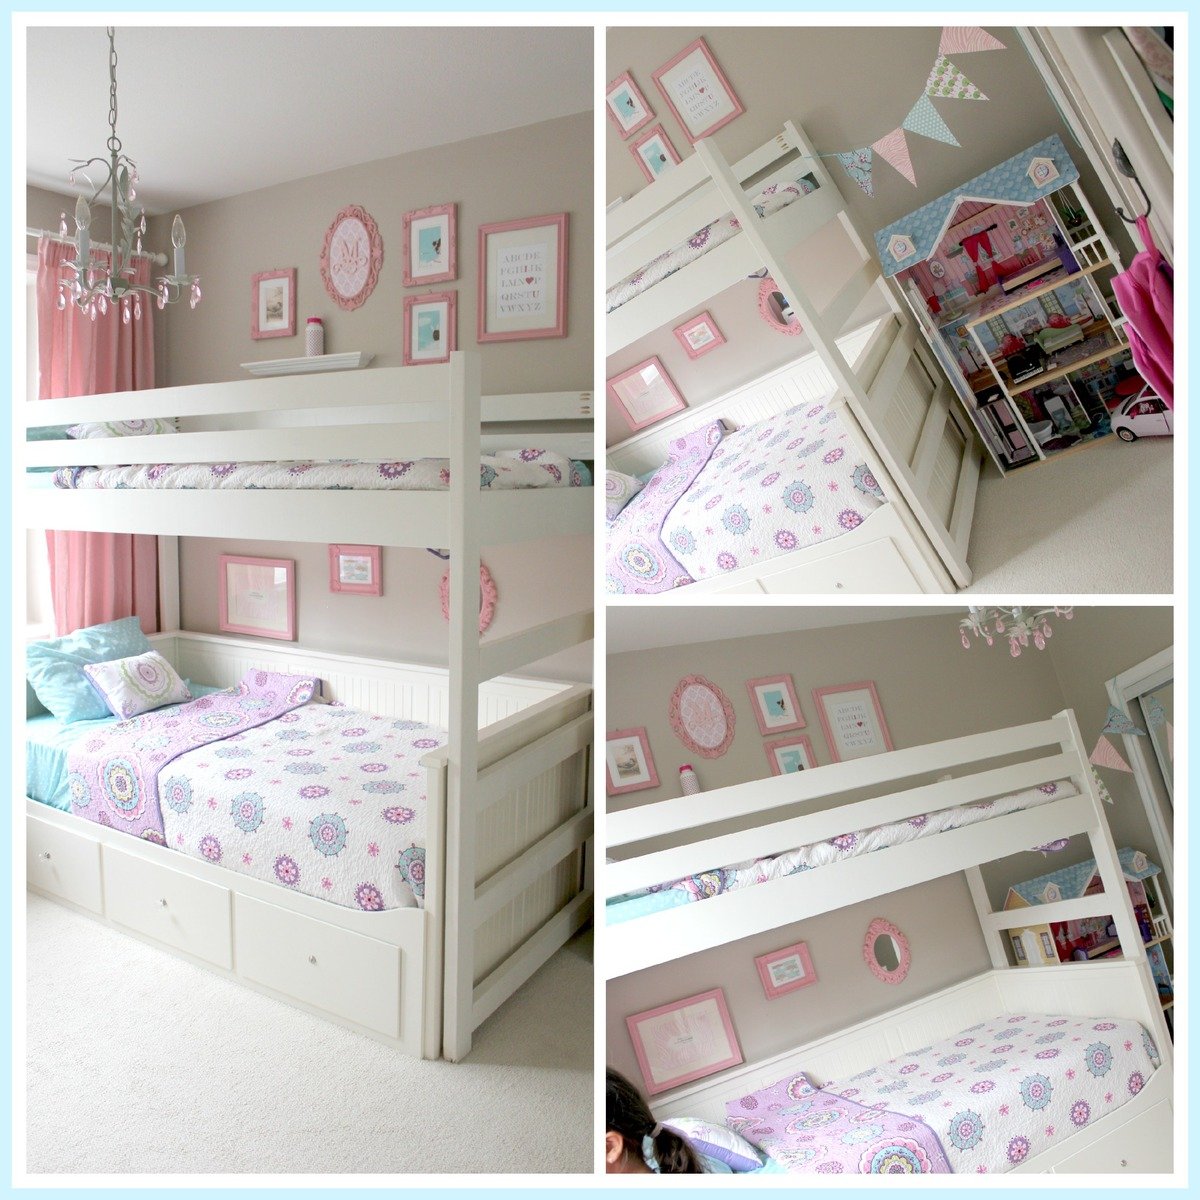
Camp Loft bed - modified

Submitted by Milhouse on Tue, 09/24/2013 - 12:04

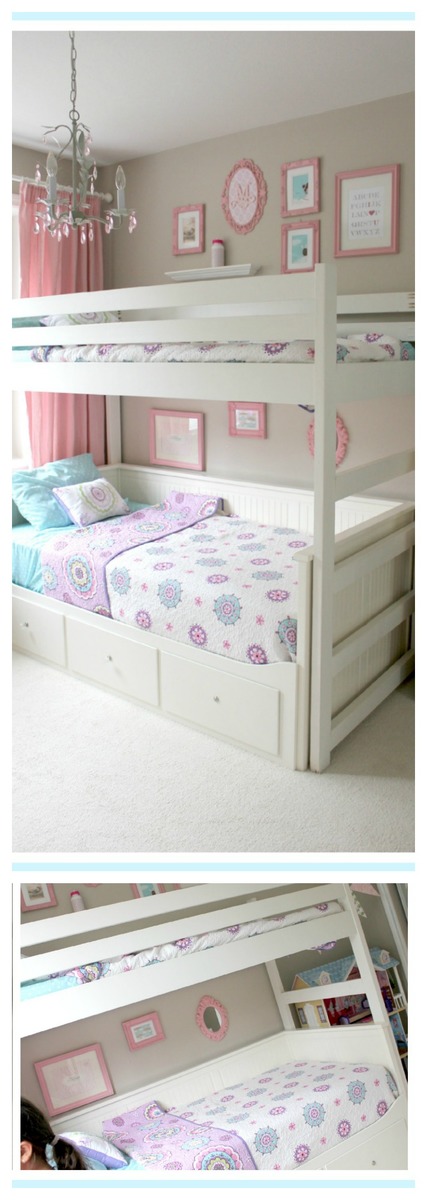
I liked the simple design of the camp loft bed, so I took the plan and modified it to fit over top of our existing Ikea daybed. I adjusted the width of the loft bed and made it a little taller, so that I could sit on the bottom bed and read to the kids with out hitting my head on the loft bed all the time.


I built the ladder into the side of the loft bed so that it wouldn't interfere with the drawers on the front of the daybed. This worked out well, as it also gives the girls more room to play!

This build is super easy, but I have to say that I don't like working with 2x4s. They are so rough....I spent a lot of time sanding and filling, and it's still not perfect. But I'm ok with it ;) I may add another cross support because it is a bit wobbly (probably b/c I made it taller).


The finish is a color matched 'All surface enamel' from Sherwin Williams.


Estimated Time Investment
Weekend Project (10-20 Hours)
Recommended Skill Level
Intermediate

Comments

roxanne89

Wed, 08/04/2021 - 06:38

Hello Millhouse. I love the loft bed you created. I have the exact hemnes daybed for my daughter and I beg to build the same loft bed. Do you have the exact modified plan you used with the measurements that fit the bottom bed? This would be super helpful!! Thanks in advance!

Queen Murphy Bed

Submitted by Jenga on Sun, 12/06/2015 - 12:59

Not too bad of a project but had to a good bit of guess work so I could changed the plans for a queen size bed and flip in on its side.

Estimated Cost
$200 if you already have the bed
Estimated Time Investment
Week Long Project (20 Hours or More)
Finish Used
White Paint and laminate flooring left over from the floor.
Recommended Skill Level
Beginner

Comments

Arilie

Sun, 05/29/2016 - 18:50

Good evening!

I am new at wood working, and would be very interrested in knowing the different measurements you changed to get from a twin to queen murphy bed. If it is posted on this page, I tried but couldn't find it. Thank you for your help. Have a good day.

Marie-Julie

Holiday Colored Tapered Crates

Submitted by PL8IM on Sun, 06/04/2023 - 15:49

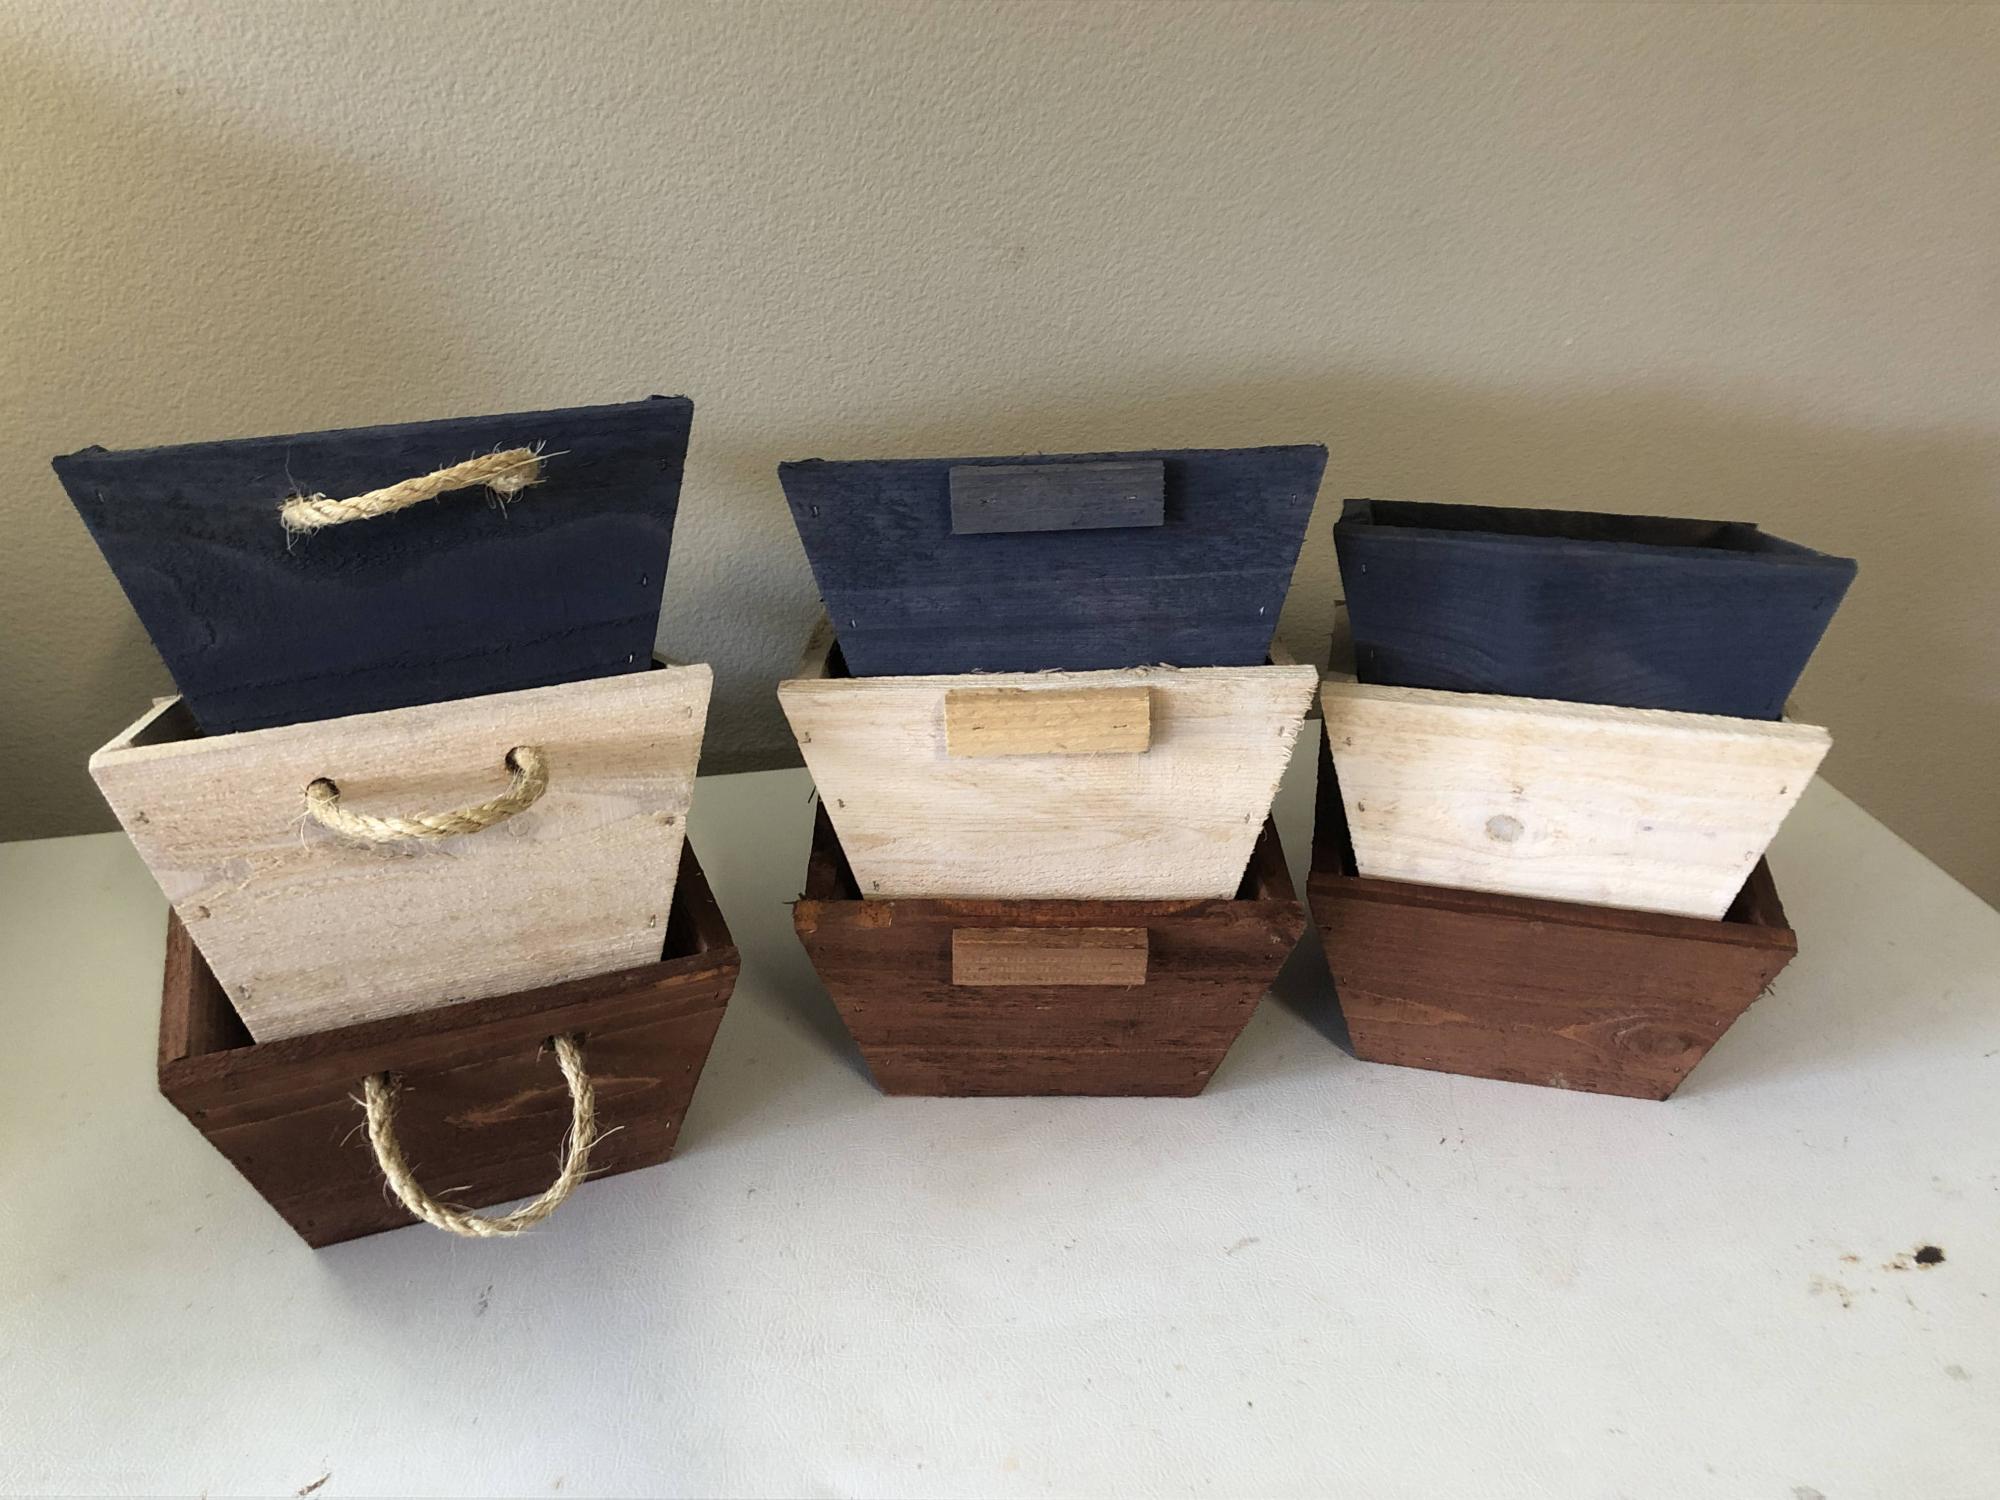
We like to fly the flag in our family so 4th of July is a big deal for us. I built three sets of crates to share, each with a little difference but all three with red white and blue stain from HD.
Easy to build and the instructions/plans were perfect. Nine crates required four cedar picketts.

Comments

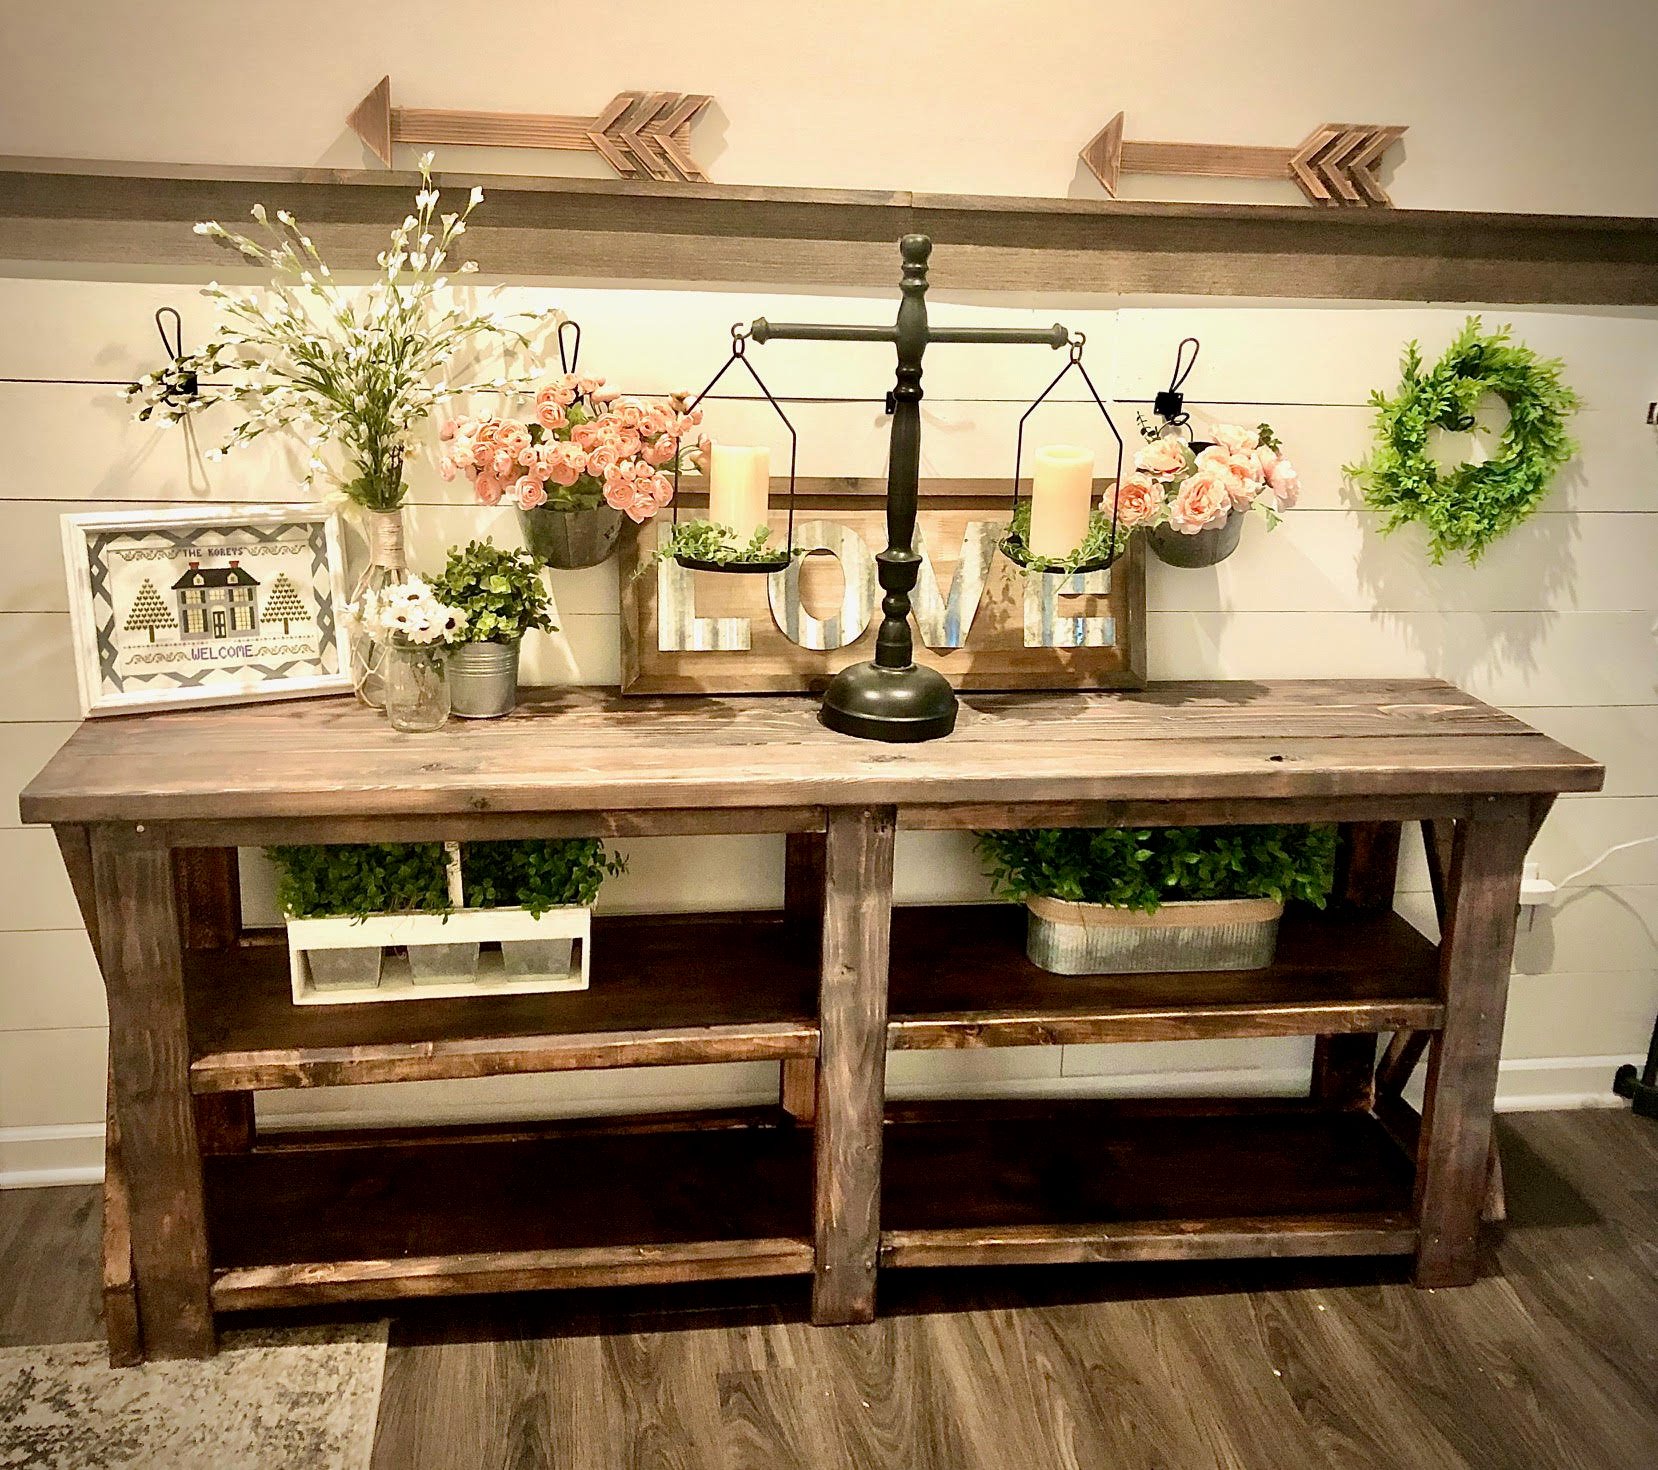
Storage cabinets

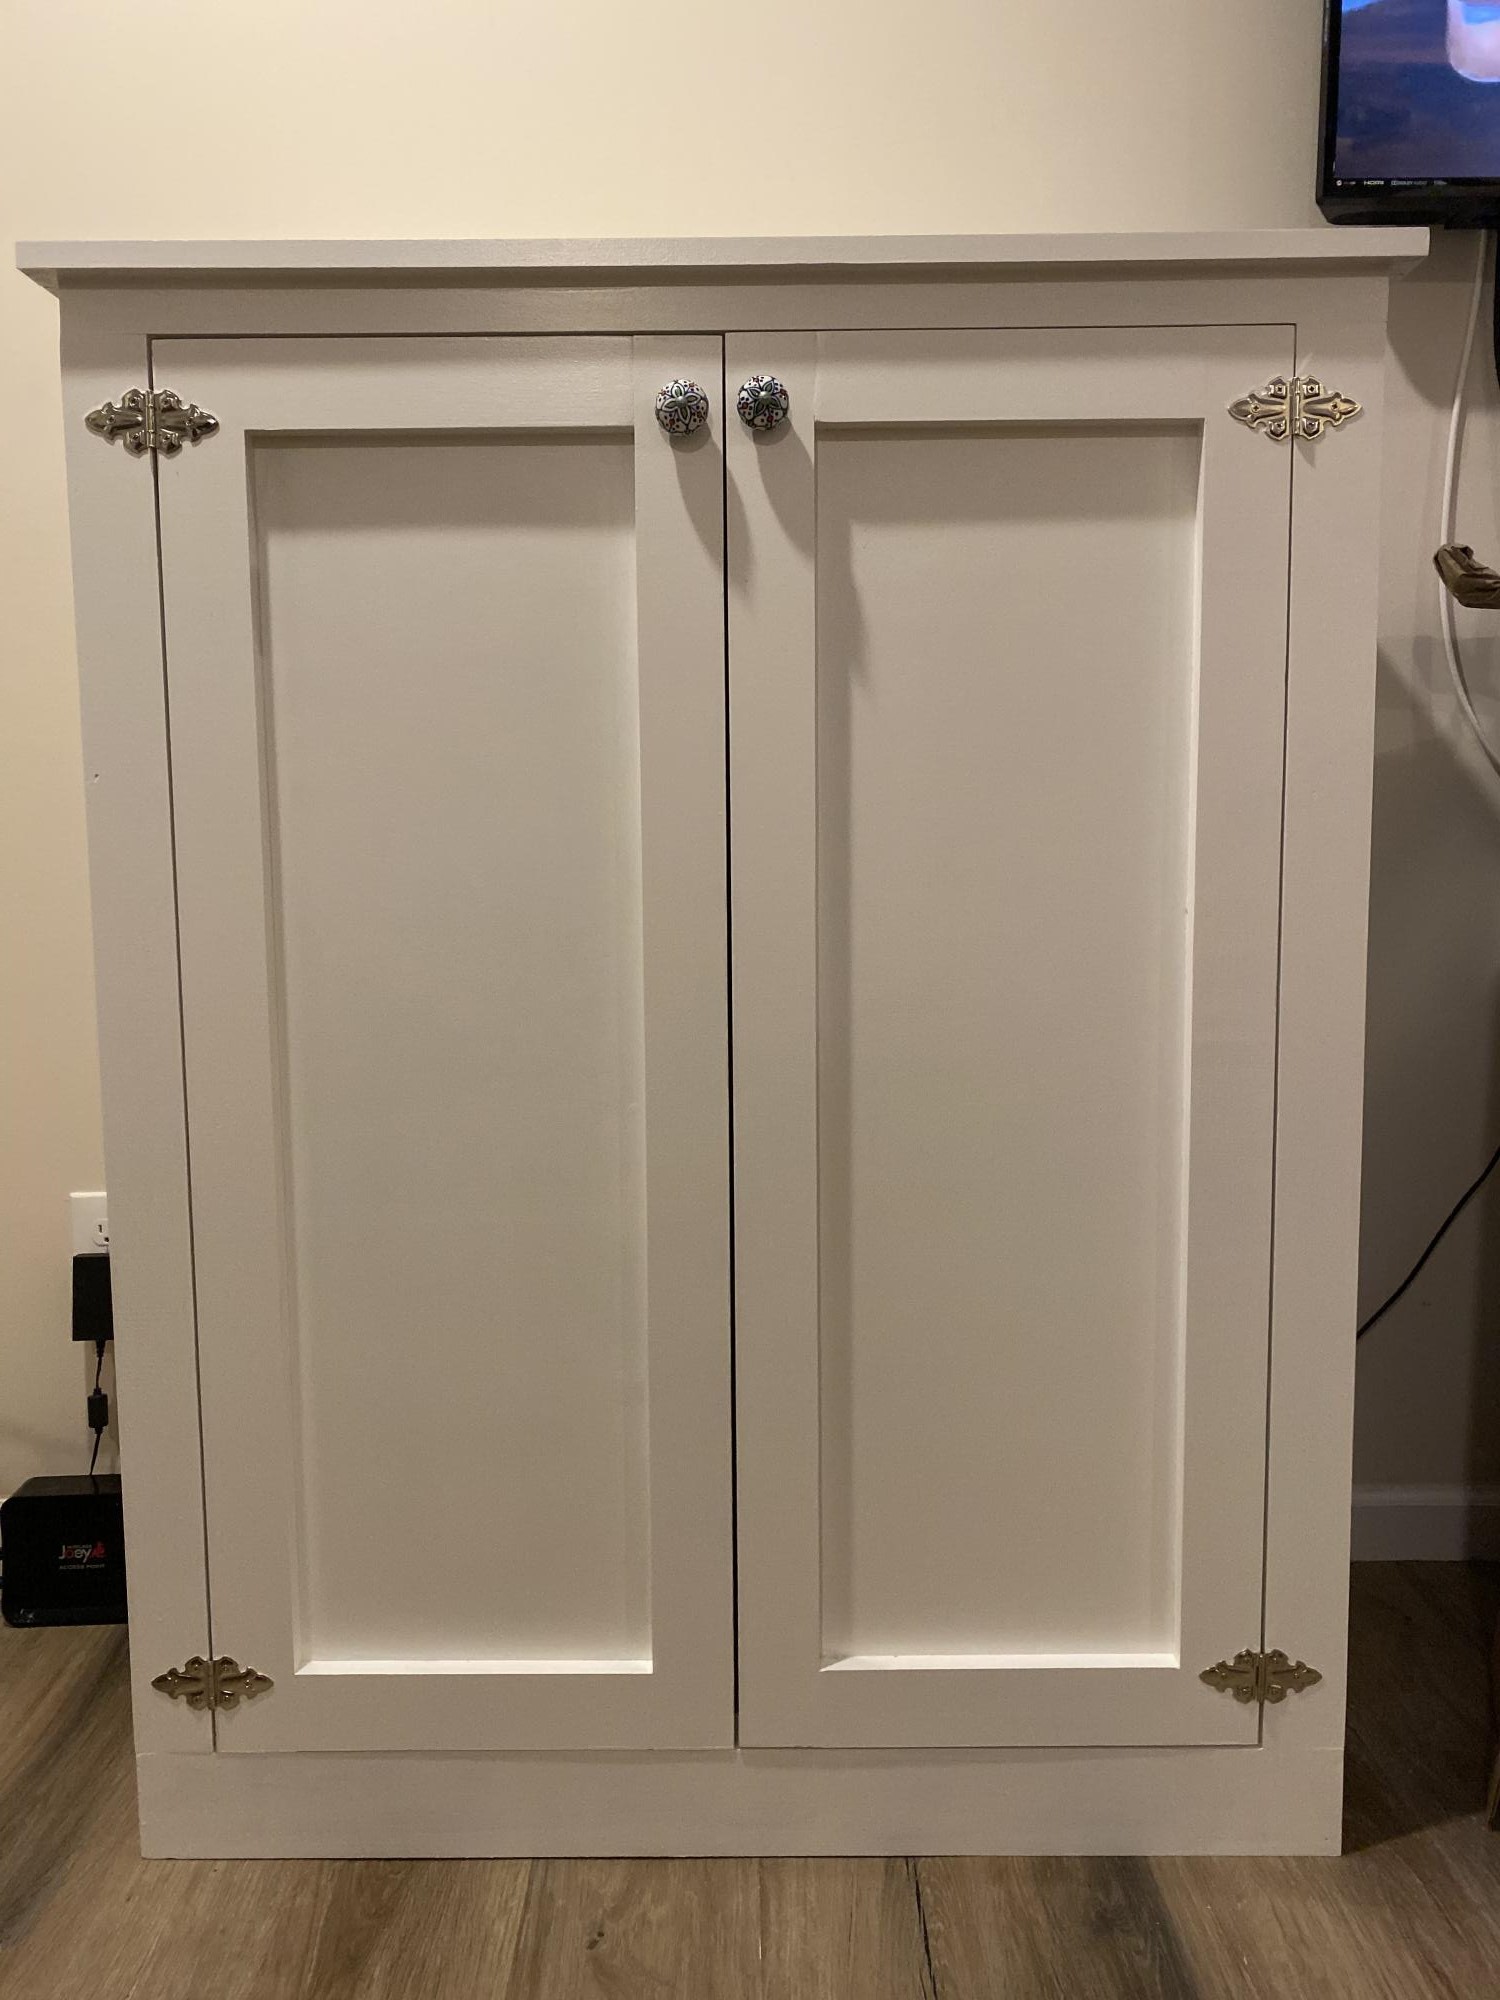
We needed extra storage in the living room and I didn’t want to pay mega bucks for our cabinet guy to make something I thought I could do. 
Its four ft tall, 3 ft long and 16 inches deep. I added 1x3’s to the sides and 1x4’s to the bottom.
I bought the Kreg shelf pin jig and it was super easy to use. Plan to use it again on a bigger project. 
Next is a fireplace and TV surround. 

Thanks Ana for the easy to follow plans!
 

Estimated Cost
$250-300. for both cabinets
Estimated Time Investment
Week Long Project (20 Hours or More)
Finish Used
Valspar cabinet paint in cream delight, applied with a sponge roller, 3 coats and sanded in between each coat. Knobs from Hobby Lobby and hinges from Hardware Source.
Recommended Skill Level
Intermediate

Western Saloon doors

Submitted by tracysmith on Thu, 08/02/2012 - 00:44

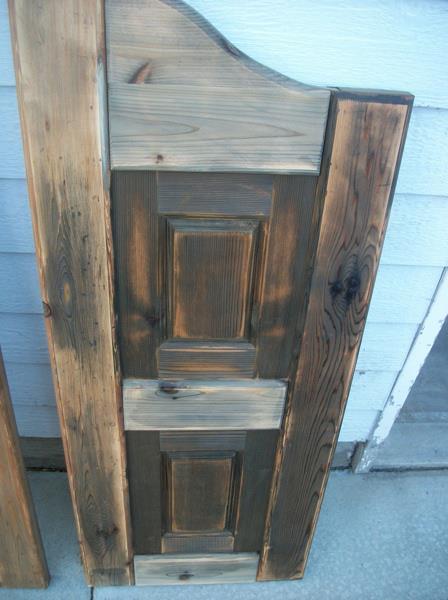
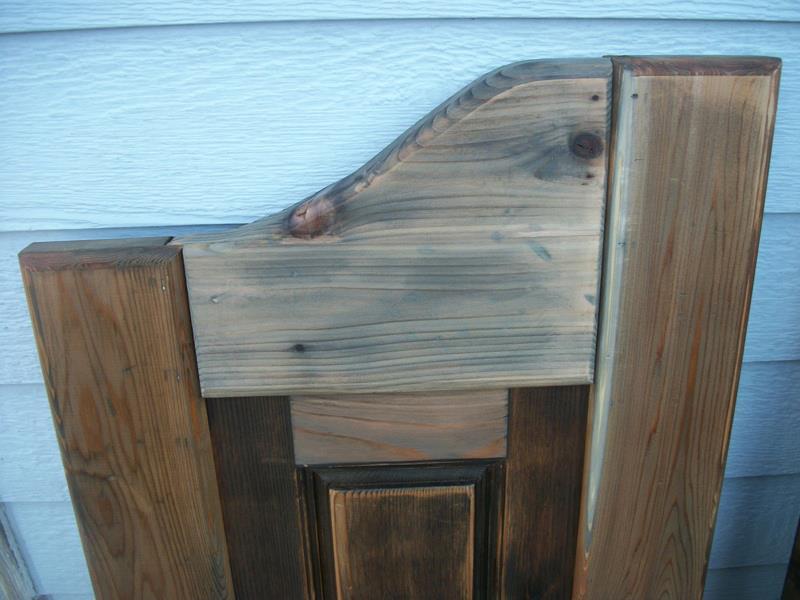
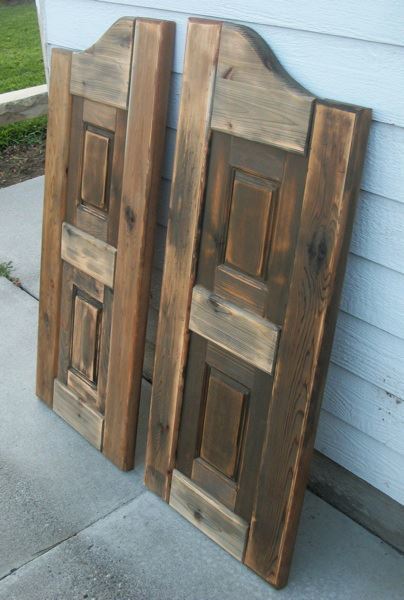
I built these doors for a very good friend of mine who actually helped me get started turning my new love for building (after finding Ana's site) into a way for our family to make some extra money.

It took me a little while to wrap my brain around building something without using my Kreg Jig. I used a router table set up with some raised panels bits and put the whole thing together with glue and nails! Wonderful experience!

For the finish, I used a vinegar solution to give the cedar wood an old barn look. I think the final result turned out great and the final step was a clear coat sprayed on out of a rattle can.

Estimated Cost
Lumber cost was about $80
Estimated Time Investment
Week Long Project (20 Hours or More)
Finish Used
Vinegar solution and a clear coat put on.
Recommended Skill Level
Advanced

Comments

birdsandsoap

Thu, 08/02/2012 - 10:51

These turned out great! I haven't seen this style of door in forever! They used to be really popular, I remember my Aunt and Uncle having these in the entry to their kitchen. They were the coolest thing ever when I was a kid! Maybe they are a making a comeback?
I'm really impressed with your routing skills, that's a task I have yet to tackle, but I've got the bits laying around waiting.

Nice job!

tracysmith

Thu, 08/02/2012 - 21:10

Thanks a bunch! My friend is replacing an old set of louvered doors that went into her laundry room. Her family are farmers and rodeo people so the western decor really fits in their house. Great western stuff there. They made a chandelier out of a wagon wheel! Really cool!

This was my first attempt at routing so I really appreciate your compliment! It's really simple if you can get the basics of it. I'm sure you'll do just fine when you get to that point. If I can do it, anyone can do it! Thanks again!!

laneal1987

Mon, 01/23/2017 - 09:32

I really want to try and build this for a closet.  Are there any instructions for this?  This is the first door of this style that I have come across that I absolutely love.

Large Garden Enclosure

Submitted by Anonymous (not verified) on Sun, 05/19/2024 - 10:40

The enclosed garden plan.
I made mine 12x12 and added a middle The instructions were very easy to follow. I also had old paver stones, sand and gravel kicking around from a project from last year so created a floor to help with weed control. I used screws and fender washers instead of staples to attach the caging. I added two tiny beds to the inside for sweet peas to grow up the caging to attract pollinators. Let the growing begin!

Barb

Built from Plan(s)
Seasonal And Holiday

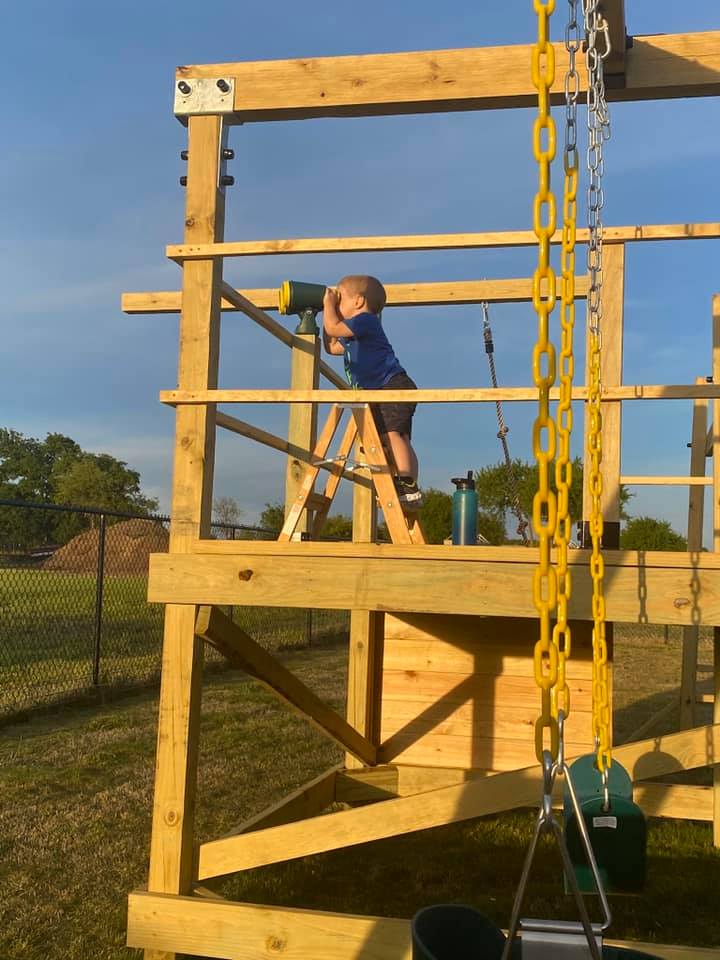
Swing Slide Playset for Grandson

Submitted by shellyward on Wed, 05/20/2020 - 09:22

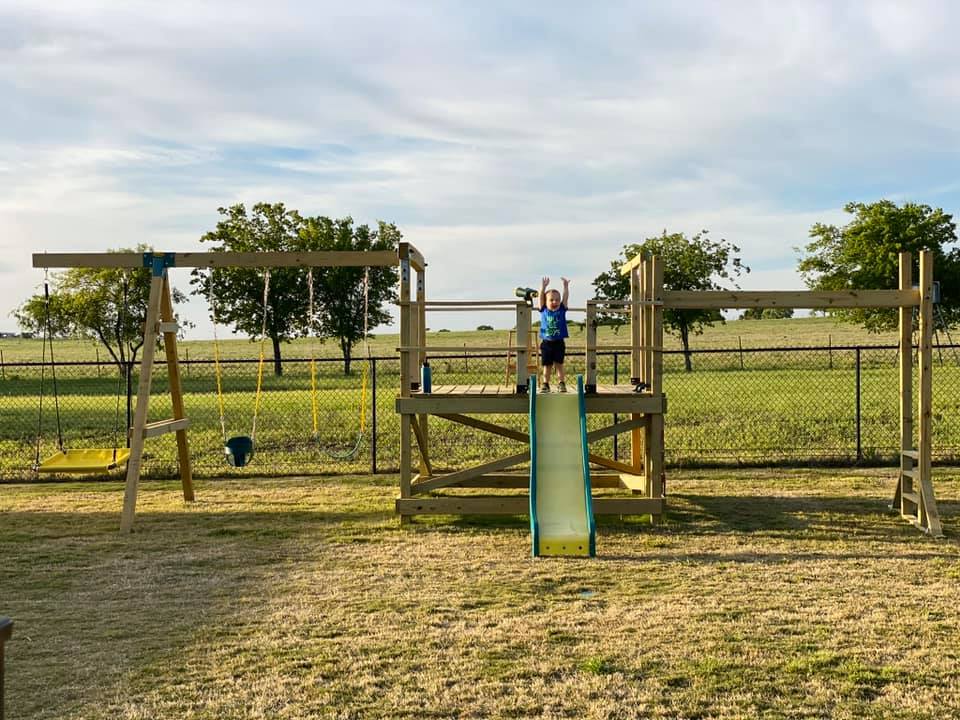
We are used to seeing our grandson every weekend but during the 2020 COVID quarantine we were unable to do so. Instead, we filled our time building him a swing set for our backyard. He loved it!! We are going to add more to the swing side but the hardware I want isn't available right now (apparently there is a lot of swing set building going on during this time). I look forward to many years of playing on this with our grandson and hopefully additional grandkids in the future... Our cost was pretty high mainly because our first round of lumber came from a local lumberyard that was willing to deliver within a few days (big box was going to take several weeks) and they had what is supposed to be higher end lumber (not sure I am convinced of that)....also, i chose some pretty expensive hardware (brackets) just for the added security.....

Estimated Cost
1800-2000
Estimated Time Investment
Week Long Project (20 Hours or More)
Finish Used
not done yet but will be staining/sealing when the wood is ready
Recommended Skill Level
Intermediate

Comments

Seasonal And Holiday

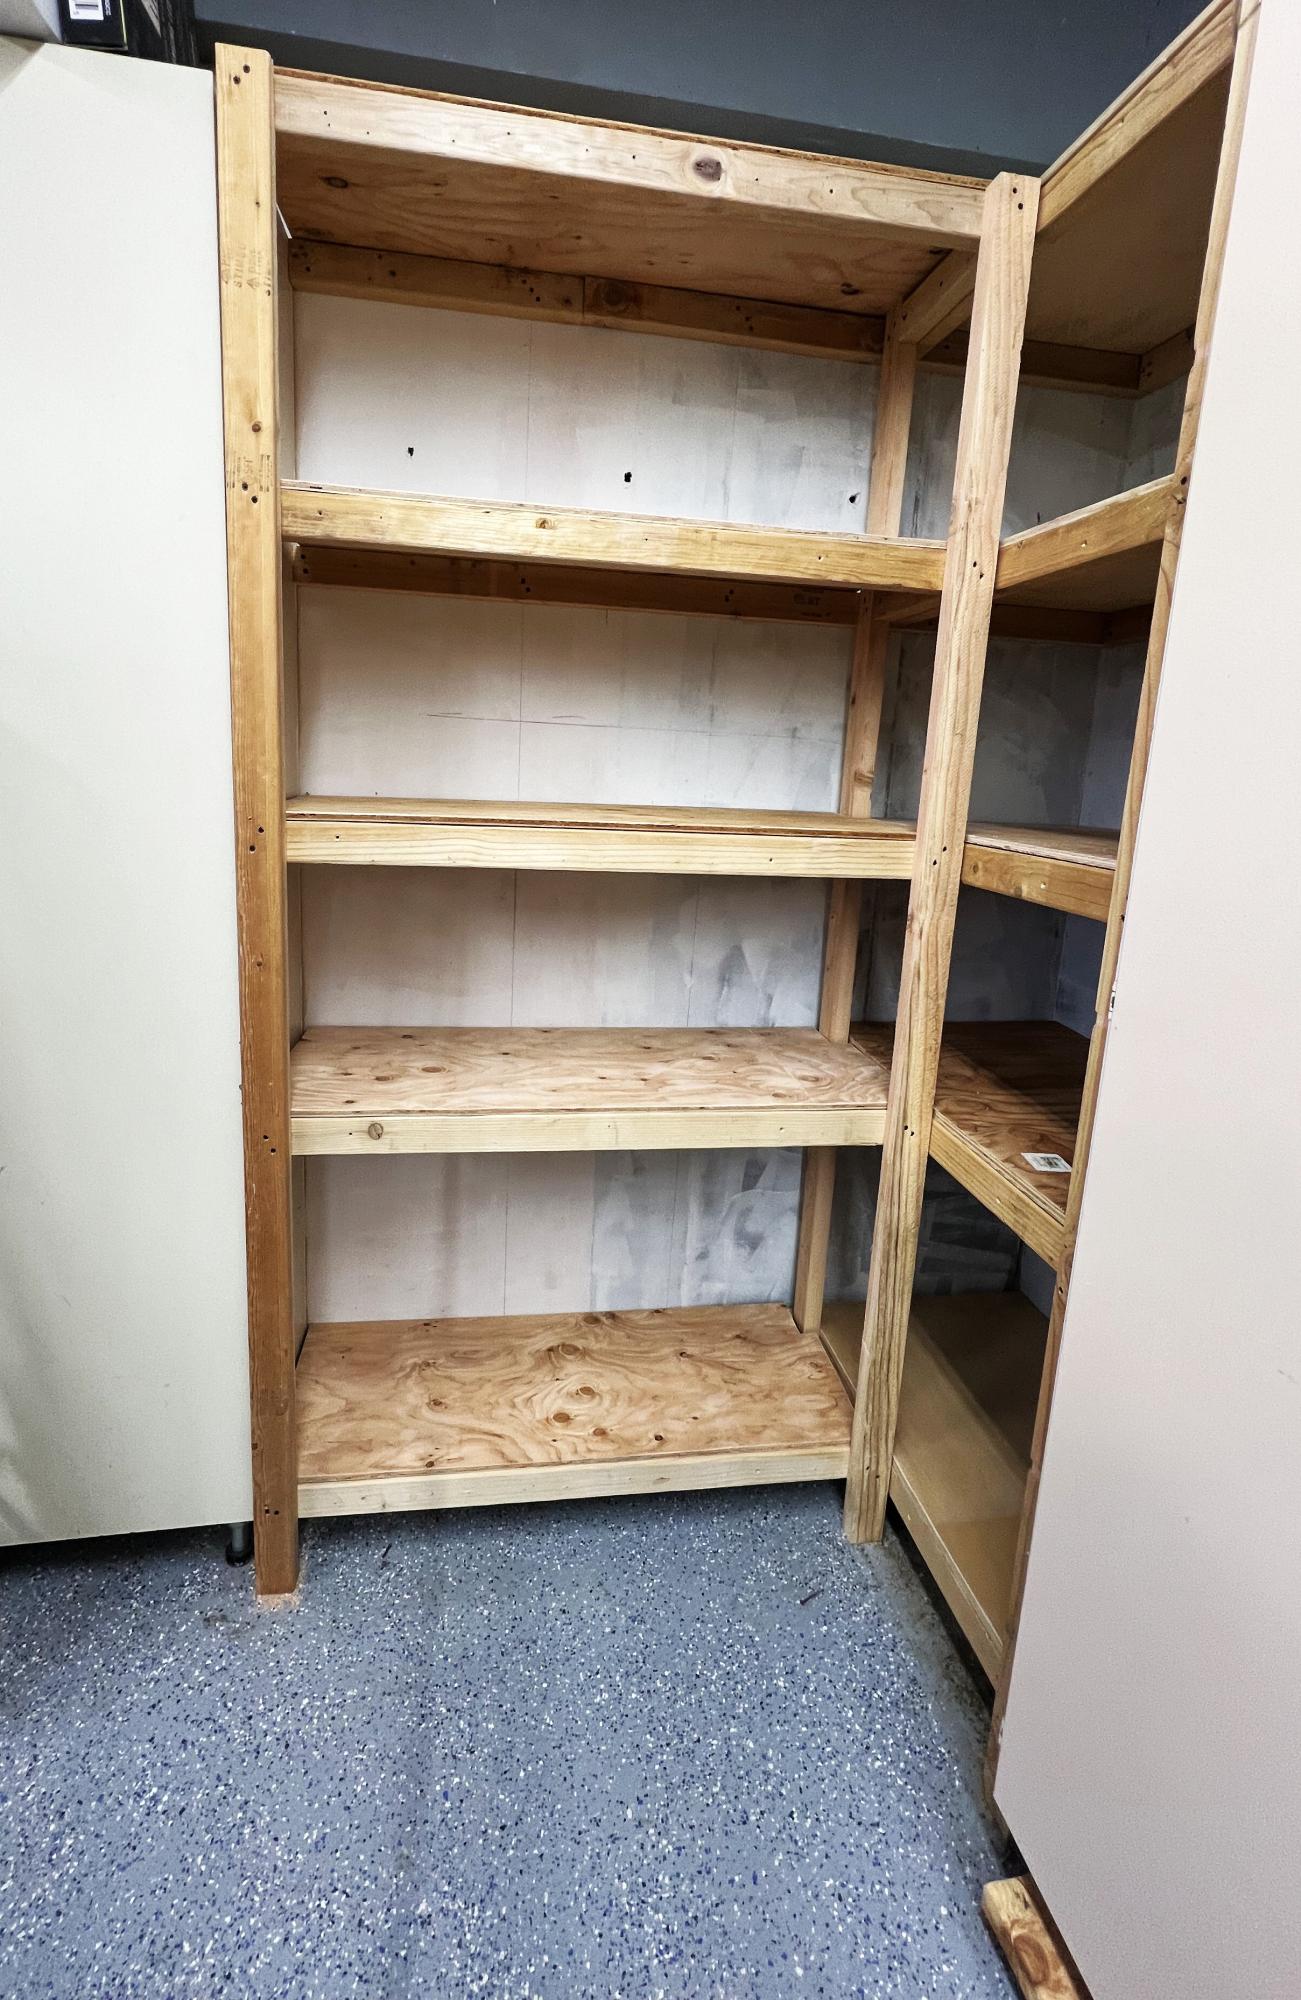
Wood Garage Shelves

Submitted by Anonymous (not verified) on Tue, 02/20/2024 - 08:40

This was made using Ana's "Garage Shelf" plans. I modified it for a corner spot between two exiting cabinets, so it took a bit of thought, but the Ana's technique for the build made it so easy.
AND I used up scrap wood that I'd been hording in the garage for the build.
Thank you Ana!

Full length sliding mirror cabinet

Submitted by mltdblack on Tue, 10/16/2018 - 19:25

I built this for my daughter after building a ladder shelf for my kids bathroom. It took more time to install and adjust the drawer slides and paint the project.  

Estimated Cost
$65.00 - I used a slightly larger mirror.
Estimated Time Investment
Day Project (6-9 Hours)
Finish Used
Exterior - Valspar Black Flat Latex
Interior - Valspar Filtered Shade Flat Latex
Top Coat - Minwax Gloss Spray Polyurethane
Recommended Skill Level
Beginner

Comments

akagracegallag…

Sat, 09/07/2019 - 03:32

Hi mltdblack

Really nice finish on the cabinet.  

It looks like there’s molding on top of your mirror.  

Did you buy a mirror with a frame or buy molding and put it on over the mirror?  

What molding did you use an how did you secure it?  

What size mirror did you use?  Thanks

mltdblack

Fri, 01/07/2022 - 14:14

I am so sorry. This is the first I am seeing your question. The mirror came with a frame and I carefully nailed thru the frame to attach with my 18 gauge nailer. I bought the mirror at Lowe’s and I believe it was 15.5” x 50”. Also, I used full extension soft close drawer slides.

Back